
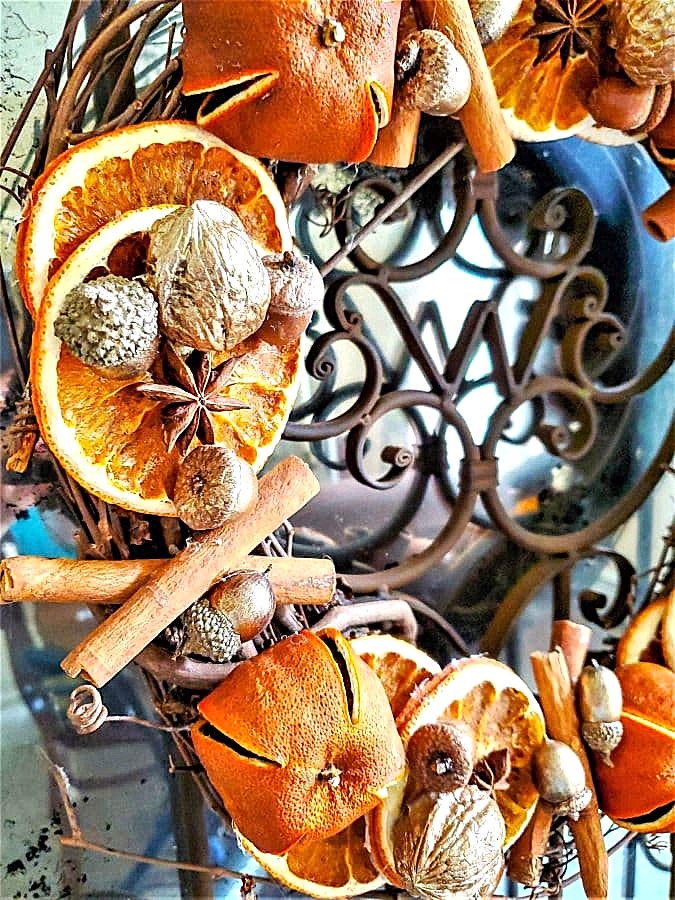
Dried Orange Wreath With Natural Decorations
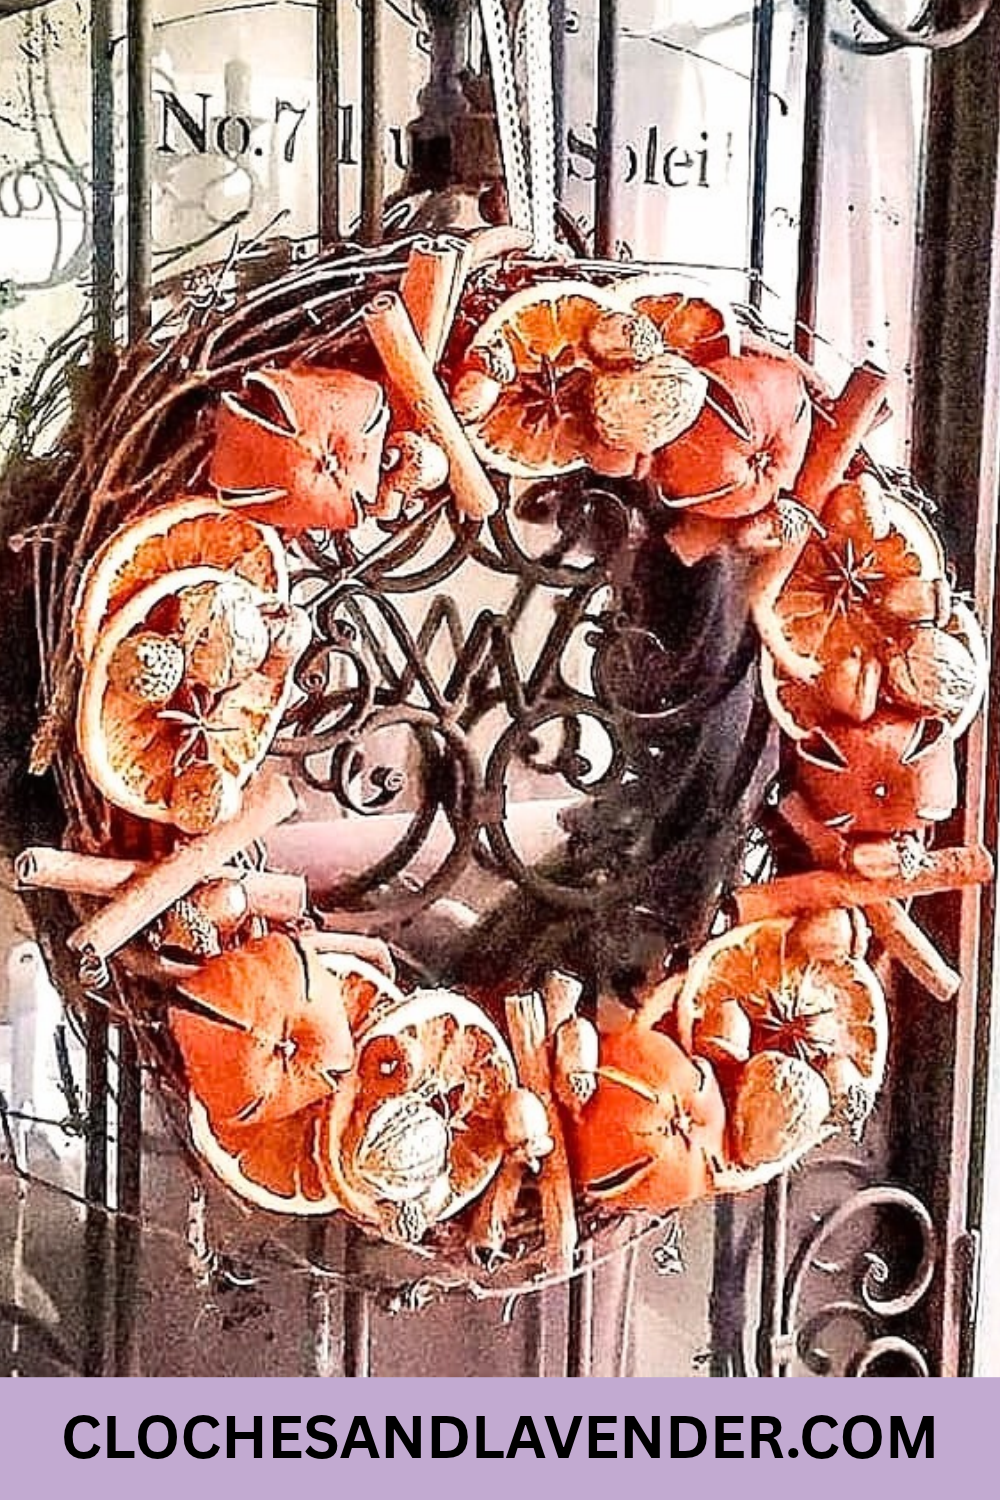
Discover a simple crafting project: a dried orange wreath with natural decorations. In this step-by-step tutorial, I’ll share easy DIY ideas to enhance your orange wreath and citrus garlands. When it comes to holiday decor, one of my favorite ways to add charm to the season is by bringing in natural elements, and this easy project is a perfect fit for our home.
As an Amazon Associate and through other affiliate links, I earn a small commission from qualifying purchases made through affiliate links. The price is the same whether you use the affiliate links or the website. All opinions are my own. (Check our full disclosure and privacy policy.)
The good news is this DIY Christmas wreath is a great activity for the whole family during the cozy months, with a roaring fire, hot cocoa, and music. And tis wreath isn’t just for Christmas. It works for fall, holiday decor, and winter decor, making it a versatile natural decoration you can enjoy throughout the season.
The best part? This is an eco-friendly way to get a head start on your holiday decorating.
Supplies: Dried Orange Wreath with Natural Decorations
- Grapevine wreath or wire wreath frame (HERE AND HERE)
- Orange slices – navel oranges and blood oranges
- Whole dried mandarins
- Walnuts in the shell
- Acorns – (FAUX – BUY HERE)
- Cinnamon sticks
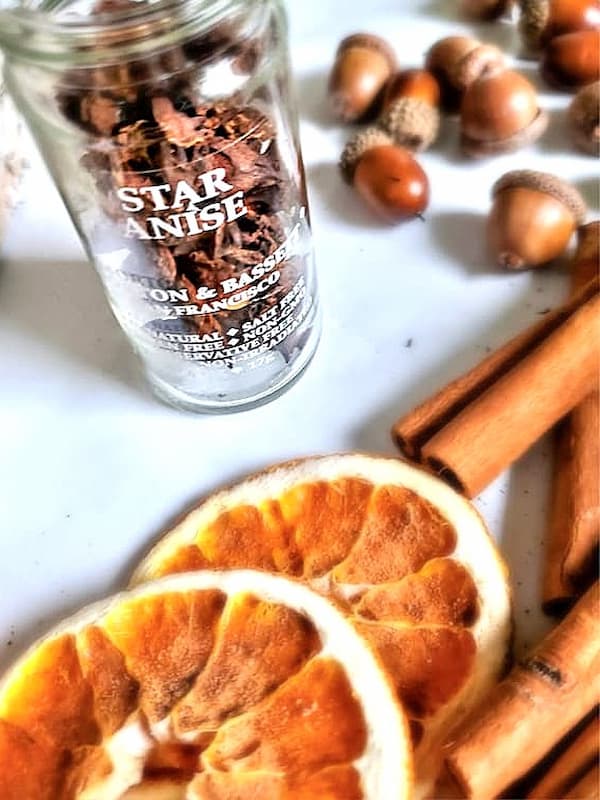
- Star anise
- Champagne-colored craft paint – or paint of your choice
- Hot glue gun and glue sticks
- Paint brush
- Floral wire (optional)
- Surebonder glue pot (optional) – (BUY HERE)
- Ribbon
I prefer a grapevine wreath because its rustic look works well with dried oranges and other natural elements. You can also use a wire frame if you have it on hand. Wrap the wire frame with burlap before creating this wreath.
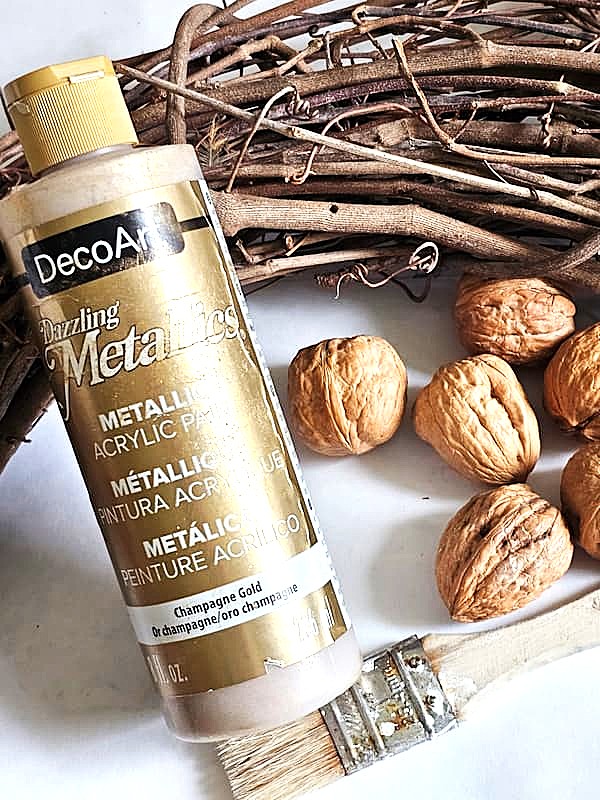

Step 1: Paint the Walnuts
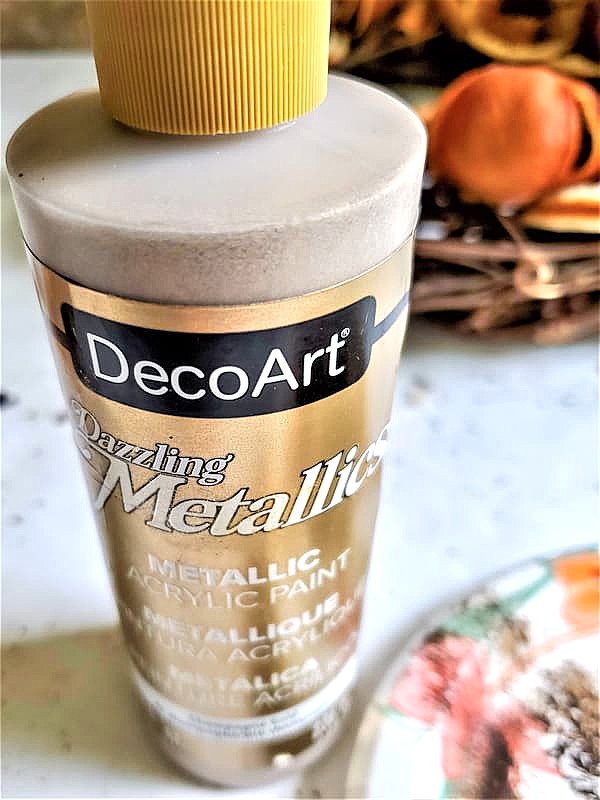
Start gilding the walnuts using champagne-colored craft paint. You can completely cover them or let some of the natural color show through.
Allow the walnuts to dry completely before assembling the wreath. I like to make this wreath on a flat surface so everything is easy to see and reach.
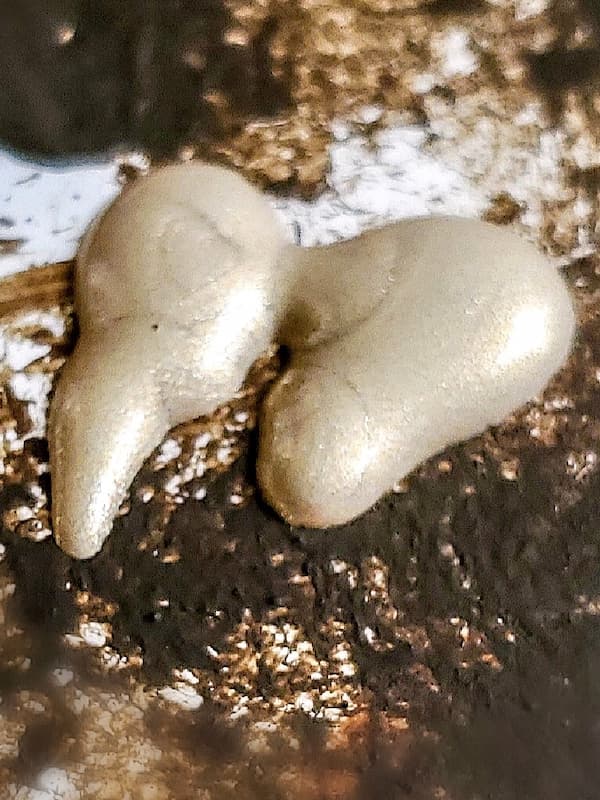
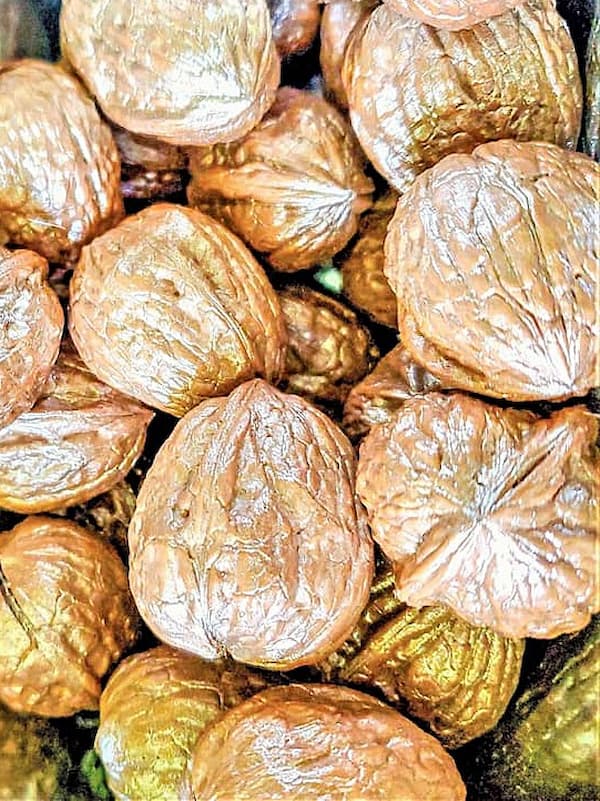
Step 2: Attach the Orange Slices
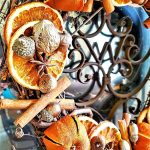
Begin adding the dried orange slices to the grapevine wreath using hot glue. Work in smaller sections, placing the slices close together and overlapping them slightly.
I like using dried orange slices in different sizes because the variation gives the orange slice wreath a natural look. You don’t need to make the arrangement perfectly uniform.
Cindy’s Tip: Floral wire is another option when you want to attach an individual slice and have a little more flexibility while arranging the wreath.
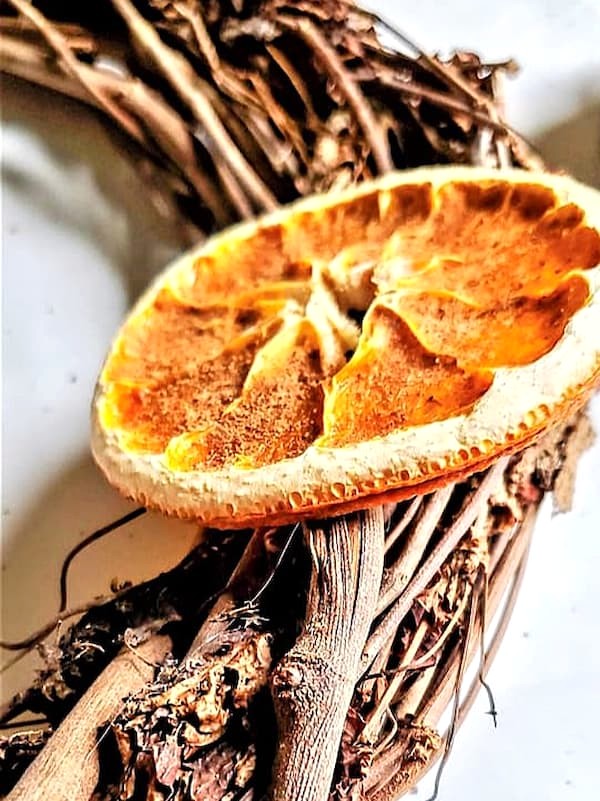
Step 3: Attach the Whole Mandarin Oranges
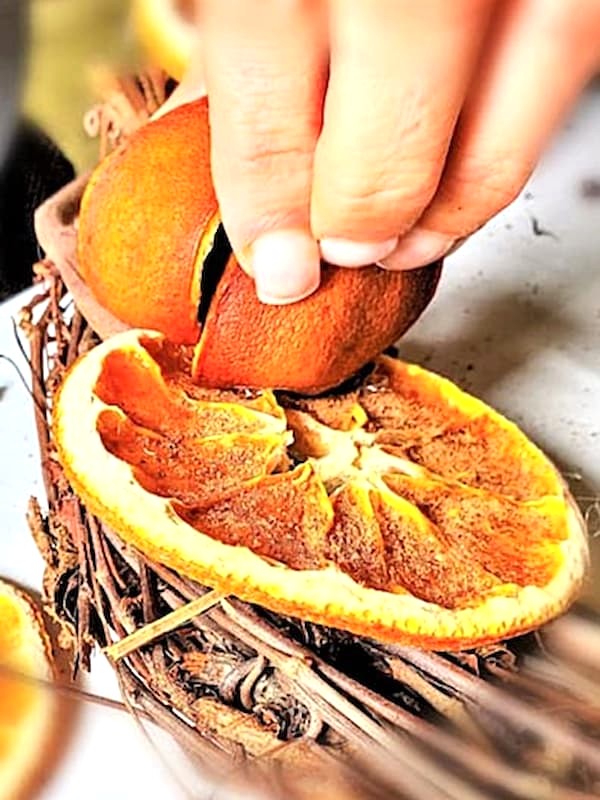
Next, add the whole mandarins to the wreath. These larger pieces give the orange farmhouse wreath dimension and balance the flat shape of the dried orange slices.
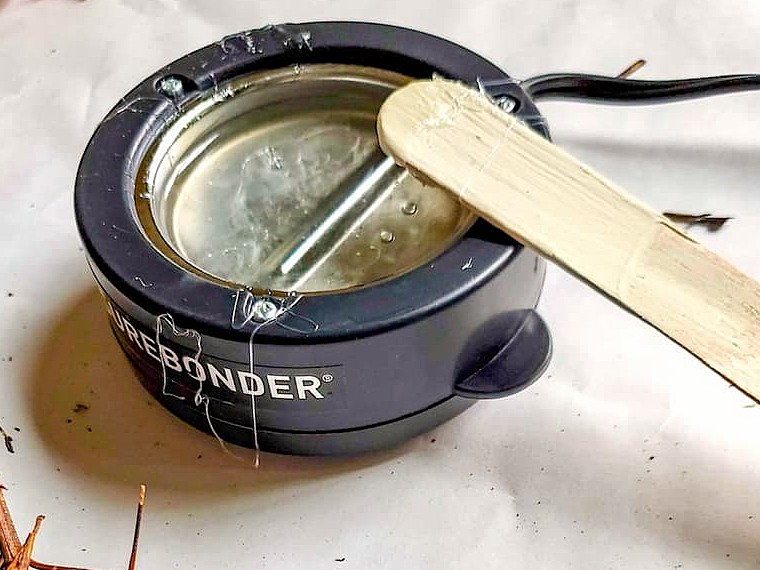
A hot glue gun will work for attaching the mandarins. I used my Surebonder glue pot because I find it faster when adding larger pieces to a project.
Dip the mandarin in the glue pot, add glue to the back, press it onto the grapevine wreath, and hold until it sets.
I like placing the mandarins between the dried citrus slices rather than grouping them. Using different sizes throughout the entire wreath creates a more natural arrangement.
How to Dry Whole Mandarins
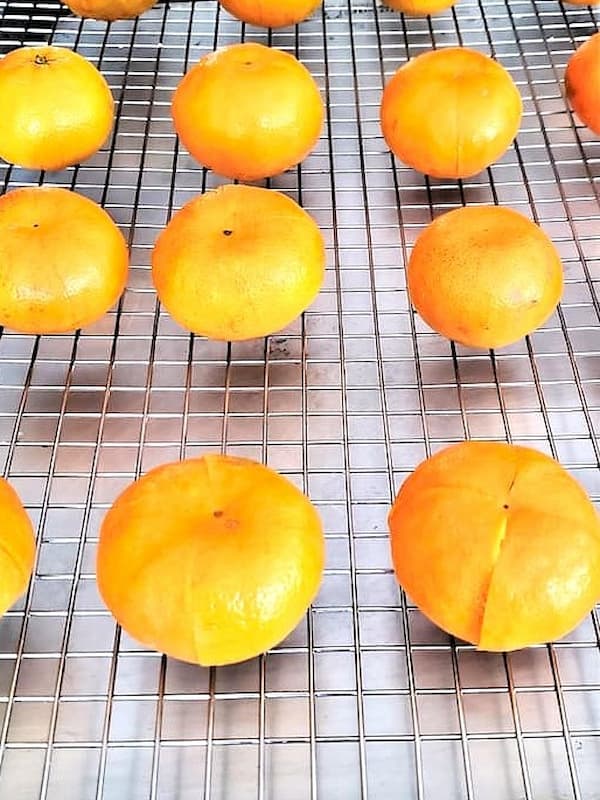
To dry whole mandarins or clementines, use a sharp knife to cut through the peel at four points: 12, 3, 6, and 9 o’clock. Roll each mandarin on a paper towel to remove excess moisture. Place them on a wire rack over a baking tray or cookie sheet lined with parchment paper. Dry them at a low temperature, about 200 F, for 4 hours, rotating them halfway through the drying process.
Step 4: Add the Walnuts and Cinnamon
Now it’s time to add the painted walnuts and cinnamon sticks.
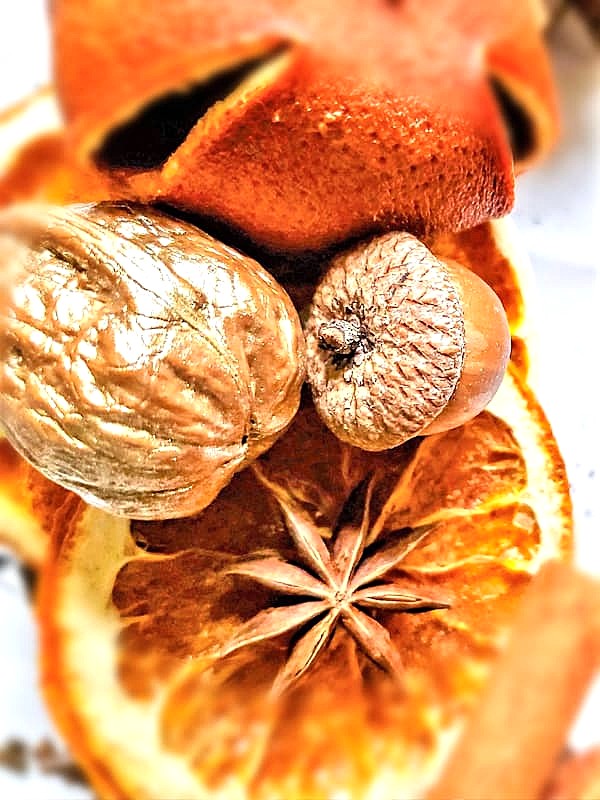
The champagne-painted walnuts are a great addition to the dried citrus. Use hot glue to secure the walnuts beside the citrus slices.
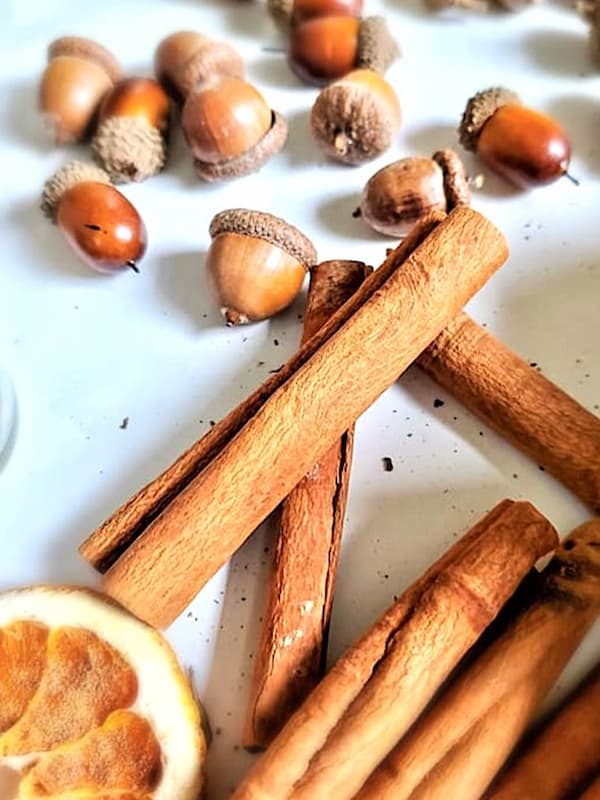
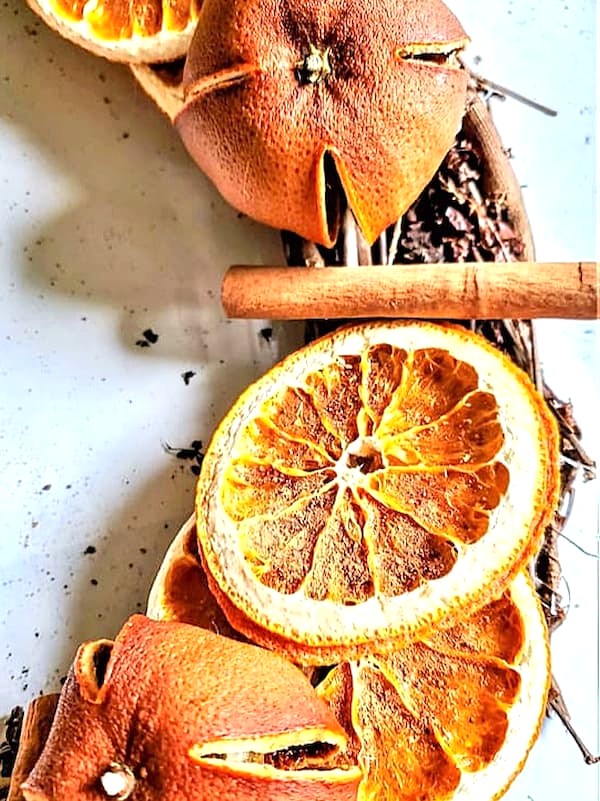
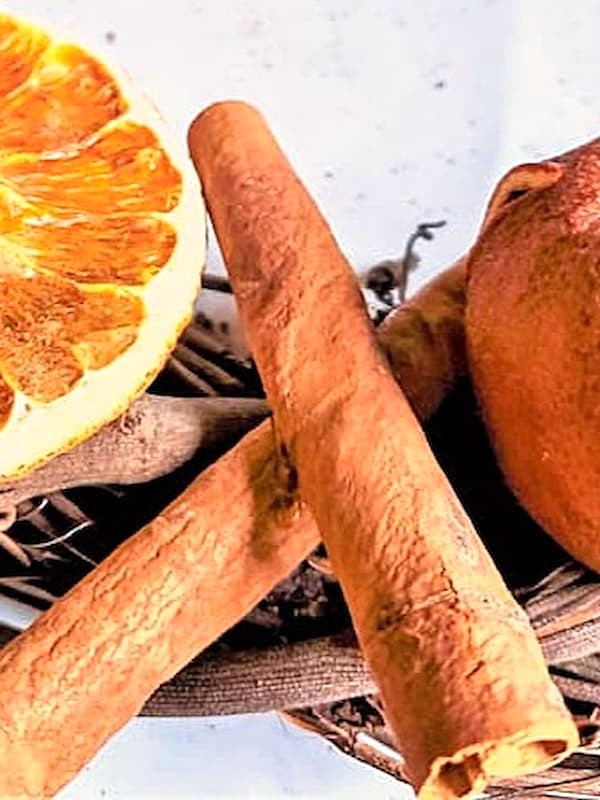
Then add cinnamon sticks throughout the wreath. I tucked them between the dried oranges and the walnuts, then placed them in a pattern.
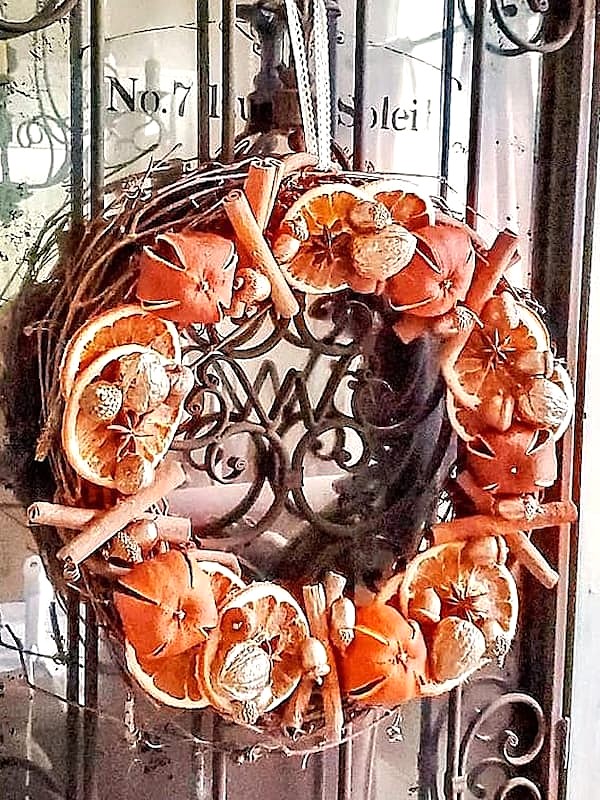
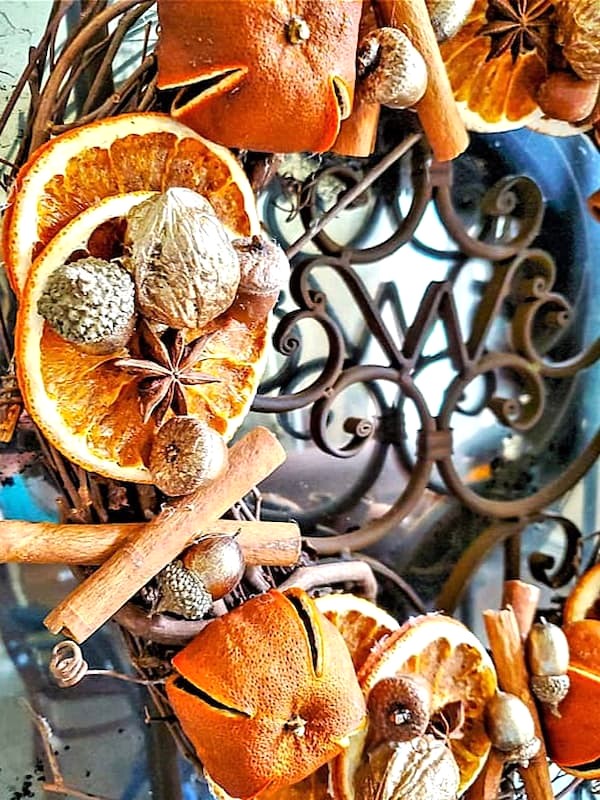
Dry oranges, cinnamon, walnuts, and a grapevine base give this DIY Christmas wreath a rustic look.
Step 5: Add Star Anise
Star anise is one of my favorite natural items to pair with dry oranges. The little star shapes add an interesting detail and a woodsy fragrance.
Glue a star anise over the small holes on top of the orange slices.
Look at the entire wreath as you work and fill any open areas of the orange farmhouse wreath. Using natural items in different sizes helps keep the wreath looking natural.
Step 6: Add the Acorns
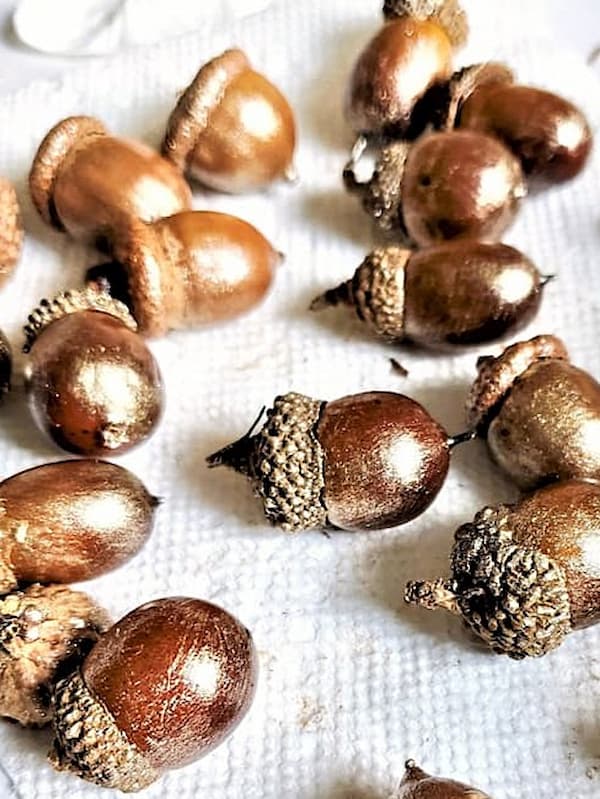
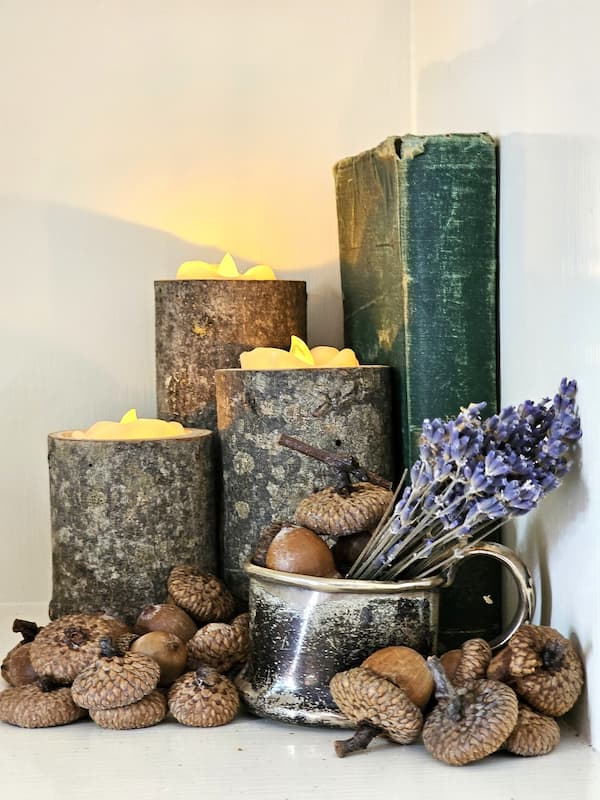
I love using preserved acorns in my decorating because I can collect and preserve them and use them year after year. Lightly dry brush them in the champagne-colored paint gives the acorns a little detail while preserving their natural look.
To dry brush the acorns, dip just the tip of the brush into the paint and wipe off most of the paint on a paper towel. Lightly brush the surface of the acorns, allowing the natural color to show.
Use a glue gun to attach the acorns to open areas. This is the perfect way to make this a rustic and natural orange decoration.
If you collect your own acorns, see mt tutorial on how to clean and preserve acorns before using them in your projects or home decor. (HERE)
Cindy’s Note: For me, this is what sustainable decorating is about: using nature, preserving pieces I can reuse, and creating decorations that can be enjoyed for multiple seasons.
Step 7: Add Ribbon and Hang the Orange Farmhouse Wreath
Once all the natural elements are attached, add your ribbon to the top of the wreath, then hang it from the top of the door or a protected front door.
Rather than a traditional red or a piece of gray buffalo check, I like using lace or velvet ribbon for a little contrast against the grapevine base.
This wreath is beautiful for fall and Christmas decorating. The natural colors and textures make it easy to enjoy throughout the holiday season and winter.
How to Make Dry Orange Slices
If you don’t have dry orange slices, you can easily make them at home.
- Slice Oranges: Start with fresh orange slices. Navel oranges and blood oranges are my favorite ways to make dried citrus. Use a sharp knife to slice oranges into 1/4-inch-thick slices. Slices about 1/4-inch thick are best because thin slices can brown and burn more easily during the drying process.
- Remove Moisture: Place each orange slice on a paper towel and gently dab one side to remove excess moisture. Flip the slice over and use another paper towel to dab the other side. I find this is the best way to remove as much excess moisture as possible before drying. Repeat this process with each of the orange slices.
- Prepare Baking Tray: Arrange the slices in a single layer on a wire rack over parchment paper on a cookie sheet or baking tray. Using a wire rack allows air to circulate around the citrus as it dries. Make sure the citrus slices aren’t overlapping while drying.
- Drying Oranges: Set the oven to a low temperature and begin the drying process. I turn the orange slices over every hour and rotate each baking tray so the slices dry evenly.
- Check for Dryness: Drying time will depend on the thickness of your citrus slices and how much moisture they contain. Thicker slices will take longer than thin slices, so check them periodically. The goal is completely dry oranges with no damp or moist areas remaining.
- Cool Completely: Allow the slices to cool completely before using them for decorating.
Cindy’s Tip: Don’t rush the drying process by using a high temperature. A low temperature helps the oranges dry slowly while preserving their natural look and color.
Using the Wreath for Fall, Christmas and Winter
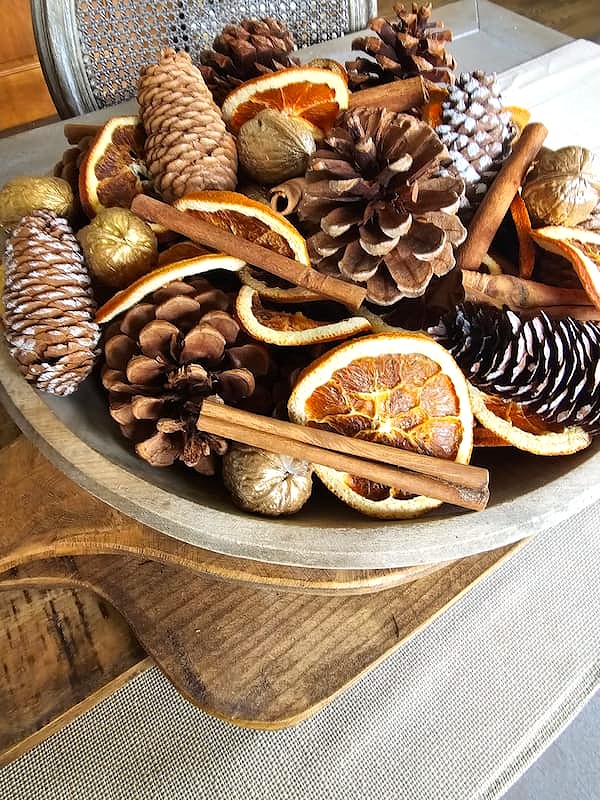
- Fall: For fall, dry orange slices, walnuts, acorns, anise stars, and cinnamon sticks work with other natural decor such as pine cones, pumpkins, birch logs, and fall foliage.
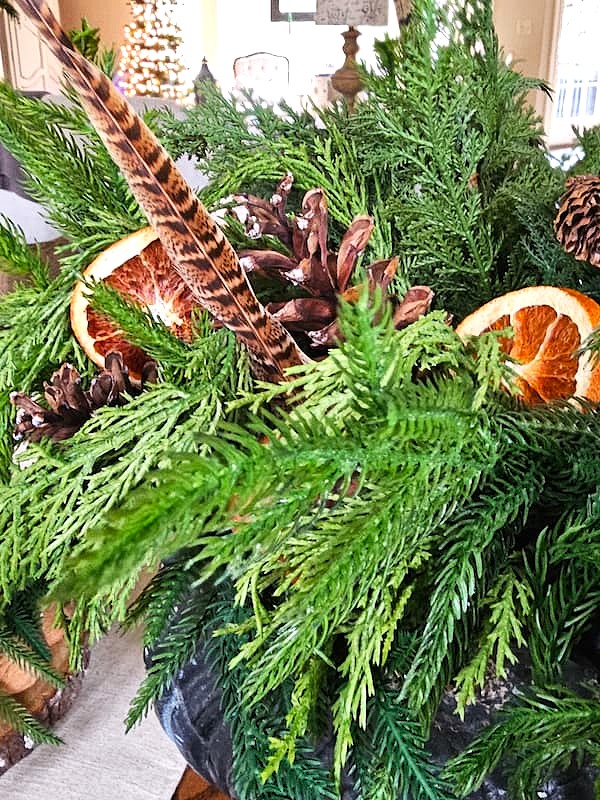
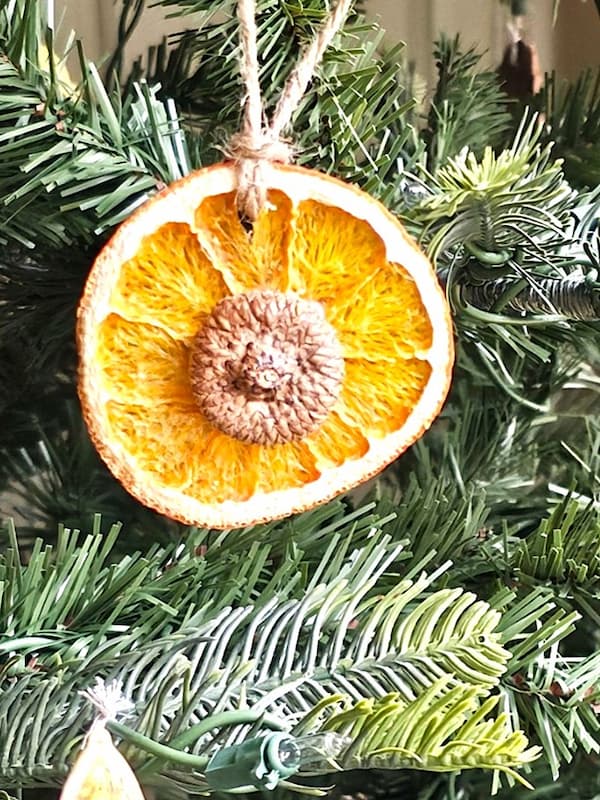
- Christmas: For Christmas decorating, add velvet ribbon, fresh greenery, evergreen branches, or a few additional seasonal touches. Dried oranges also make perfect orange ornaments for a Christmas tree or can be used in an orange slice garland.
I enjoy using natural holiday decor because it doesn’t have to feel limited to one holiday. This finished wreath is a perfect way to enjoy fall and Christmas decorating throughout the holiday season and into winter.
More Ways to Use Dried Oranges
If you enjoy working with dried oranges, there are plenty of other ways to use them in your home.
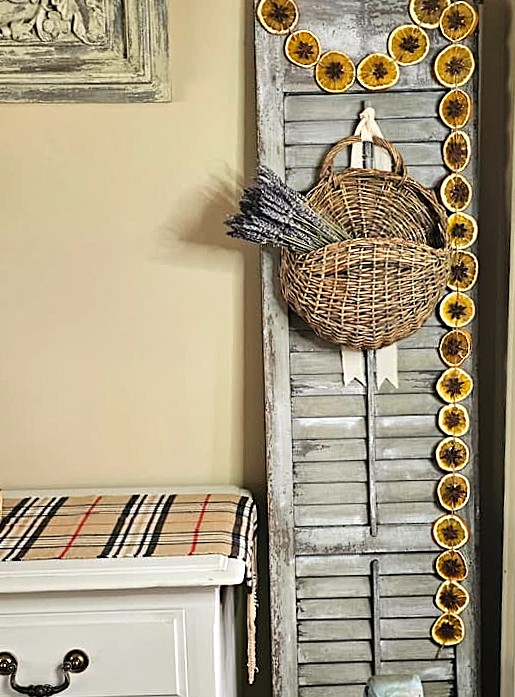
- DIY Dried Orange Garland: My dried orange garland is an easy project using dry orange slices and star anise. It is a perfect garland for fall, Christmas decorating, and winter. See it (HERE).
- Natural Christmas Ideas: You can see my natural Christmas decor ideas for any home style for more inspiration. My favorite ways for decorating are using natural decor, like pine cones and evergreen branches, mixed with fresh greenery, birch logs, and simple pieces of nature. See it (HERE).
- Fall Decorating: For fall inspiration, see my fall decorating ideas for additional seasonal decorating with nature. You will see pine cones, sweet gum balls, birch log candle holders, and tons of nature. See it (HERE).
This Wreath Isn’t Only for Hanging
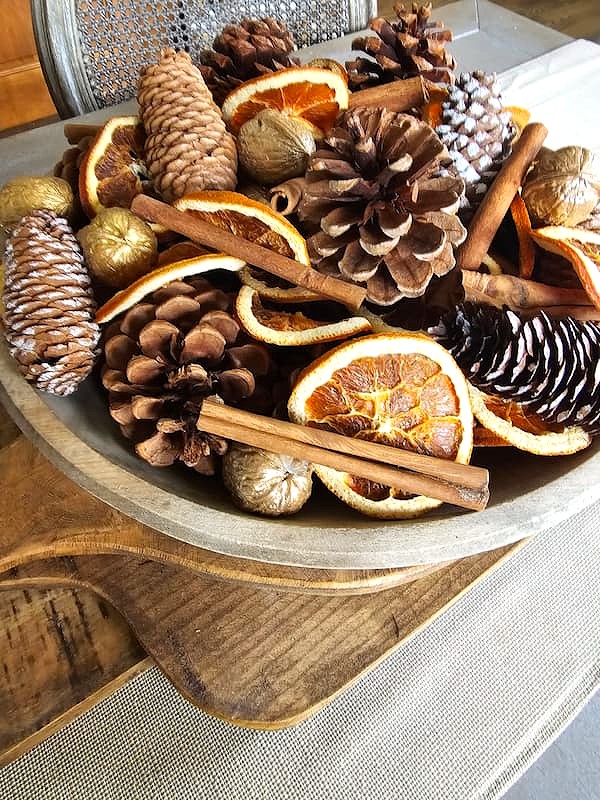
This orange farmhouse wreath isn’t only for hanging. It’s a great way to add natural decor to a table with a flameless candle in the center. Any natural wreath is the best way to create a focal point for a dining or coffee table during the holiday season. Once the holiday decor comes down, this entire wreath is perfect for any living space for winter.
How to Store this Wreath
The good news is that with the proper care, you can enjoy your dried orange wreath with natural decorations next year.
Because the wreath is assembled as one piece, you can’t take your finished wreath apart for storage. If you have the space, store it flat in a cool, dry place.
You can also hang the finished wreath over a hanger in a dry, dark closet or cabinet. Keep it away from moisture and humidity, and make sure the dried elements are completely dry before storing to avoid mold. When next fall and Christmas arrive, bring out your finished wreath to enjoy again.
Other Wreath Base Options:
- straw
- wire wreath frame wrapped with burlap
- foam wreath form
- eucalyptus wreath
Set the hot glue gun on a low setting when using a foam wreath form. The glue will break down the Styrofoam.
A Natural Wreath for Many Seasons
I love decorating with natural elements, especially pieces I can preserve and use year after year. Acorns are one of my favorites, and I’ve been preserving them for years so I can bring them back into my seasonal decorating.
For me, this is an eco-friendly way to decorate sustainably; it’s about using what nature provides, reusing what I already have, and creating pieces that don’t need to be put away after one holiday. That’s one reason I love this wreath. it can move from fall into the holiday season and right into winter.
This dried orange wreath with natural decorations is a beautiful addition to natural Christmas decor while still giving you plenty of ways to enjoy it beyond Christmas.
I hope this easy project inspires you to look around your own home and see what natural elements you can use in your decorating.

My Favorite Items
Projects of Interest
DRIED ORANGE WREATH WITH NATURAL DECORATIONS
Notes
Dried Orange Wreath With Natural Decorations
Supplies:
- Grapevine wreath or wire wreath frame (HERE AND HERE)
- Orange slices – navel oranges and blood oranges
- Whole dried mandarins
- Walnuts in the shell
- Acorns – (FAUX – BUY HERE)
- Cinnamon sticks
- Star anise
- Champagne-colored craft paint – or paint of your choice
- Hot glue gun and glue sticks
- Paint brush
- Floral wire (optional)
- Surebonder glue pot (optional) – (BUY HERE)
- Ribbon
Step 1: Paint the Walnuts
Start gilding the walnuts using champagne-colored craft paint. You can completely cover them or let some of the natural color show through. Allow the walnuts to dry completely before assembling the wreath. I like to make this wreath on a flat surface so everything is easy to see and reach.
Step 2: Attach the Orange Slices
Begin adding the dried orange slices to the grapevine wreath using hot glue. Work in smaller sections, placing the slices close together and overlapping them slightly. I like using dried orange slices in different sizes because the variation gives the orange slice wreath a natural look. You don’t need to make the arrangement perfectly uniform. Cindy’s Tip: Floral wire is another option when you want to attach an individual slice and have a little more flexibility while arranging the wreath.
Step 3: Attach the Whole Mandarin Oranges
Next, add the whole mandarins to the wreath. These larger pieces give the orange farmhouse wreath dimension and balance the flat shape of the dried orange slices. A hot glue gun will work for attaching the mandarins. I used my Surebonder glue pot because I find it faster when adding larger pieces to a project. Dip the mandarin in the glue pot, add glue to the back, press it onto the grapevine wreath, and hold until it sets. I like placing the mandarins between the dried citrus slices rather than grouping them. Using different sizes throughout the entire wreath creates a more natural arrangement.
How to Dry Whole Mandarins
To dry whole mandarins or clementines, use a sharp knife to cut through the peel at four points: 12, 3, 6, and 9 o’clock. Roll each mandarin on a paper towel to remove excess moisture. Place them on a wire rack over a baking tray or cookie sheet lined with parchment paper. Dry them at a low temperature, about 200 F, for 4 hours, rotating them halfway through the drying process.
Step 4: Add the Walnuts and Cinnamon
Now it’s time to add the painted walnuts and cinnamon sticks. The champagne-painted walnuts are a great addition to the dried citrus. Use hot glue to secure the walnuts beside the citrus slices. Then add cinnamon sticks throughout the wreath. I tucked them between the dried oranges and the walnuts, then placed them in a pattern. The dry oranges, cinnamon, walnuts, and a grapevine base give this DIY Christmas wreath a rustic look.
Step 5: Add Star Anise
Star anise is one of my favorite natural items to pair with dry oranges. The little star shapes add an interesting detail and a woodsy fragrance. Glue a star anise over the small holes on top of the orange slices. Look at the entire wreath as you work and fill any open areas of the orange farmhouse wreath. Using natural items in different sizes helps keep the wreath looking natural.
Step 6: Add the Acorns
I love using preserved acorns in my decorating because I can collect and preserve them and use them year after year. Lightly dry brush them in the champagne-colored paint gives the acorns a little detail while preserving their natural look. To dry brush the acorns, dip just the tip of the brush into the paint and wipe off most of the paint on a paper towel. Lightly brush the surface of the acorns, allowing the natural color to show. Use a glue gun to attach the acorns to open areas. This is the perfect way to make this a rustic and natural orange decoration. If you collect your own acorns, see mt tutorial on how to clean and preserve acorns before using them in your projects or home decor. (HERE) Cindy’s Note: For me, this is what sustainable decorating is about: using nature, preserving pieces I can reuse, and creating decorations that can be enjoyed for multiple seasons.
Step 7: Add Ribbon and Hang the Orange Farmhouse Wreath
Once all the natural elements are attached, add your ribbon to the top of the wreath, then hang it from the top of the door or a protected front door. Rather than a traditional red or a piece of gray buffalo check, I like using lace or velvet ribbon for a little contrast against the grapevine base. This wreath is beautiful for fall and Christmas decorating. The natural colors and textures make it easy to enjoy throughout the holiday season and winter.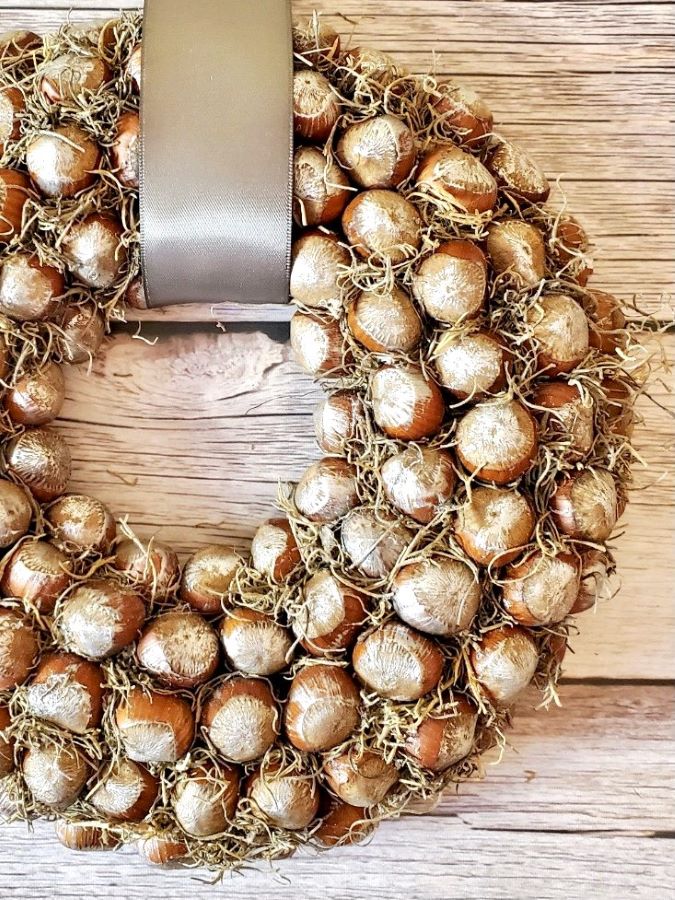
The base is a grapevine wreath, or a wire frame wrapped in burlap, layered with dried navel and blood orange slices, whole dried mandarins, walnuts gilded in champagne paint so some shell still shows, plus cinnamon, star anise, and acorns. It is meant to hang for fall, Christmas, or winter, the kind of project you do by a fire with hot cocoa. I kept thinking about a still of those orange slices on the grapevine. VisionDir (https://visiondir.com/) is the studio I would open to try that wreath from a short description.