
DIY Christmas Signs
Today I’m sharing ideas for DIY Christmas signs to use outdoors and inside that are perfect for this time of year.
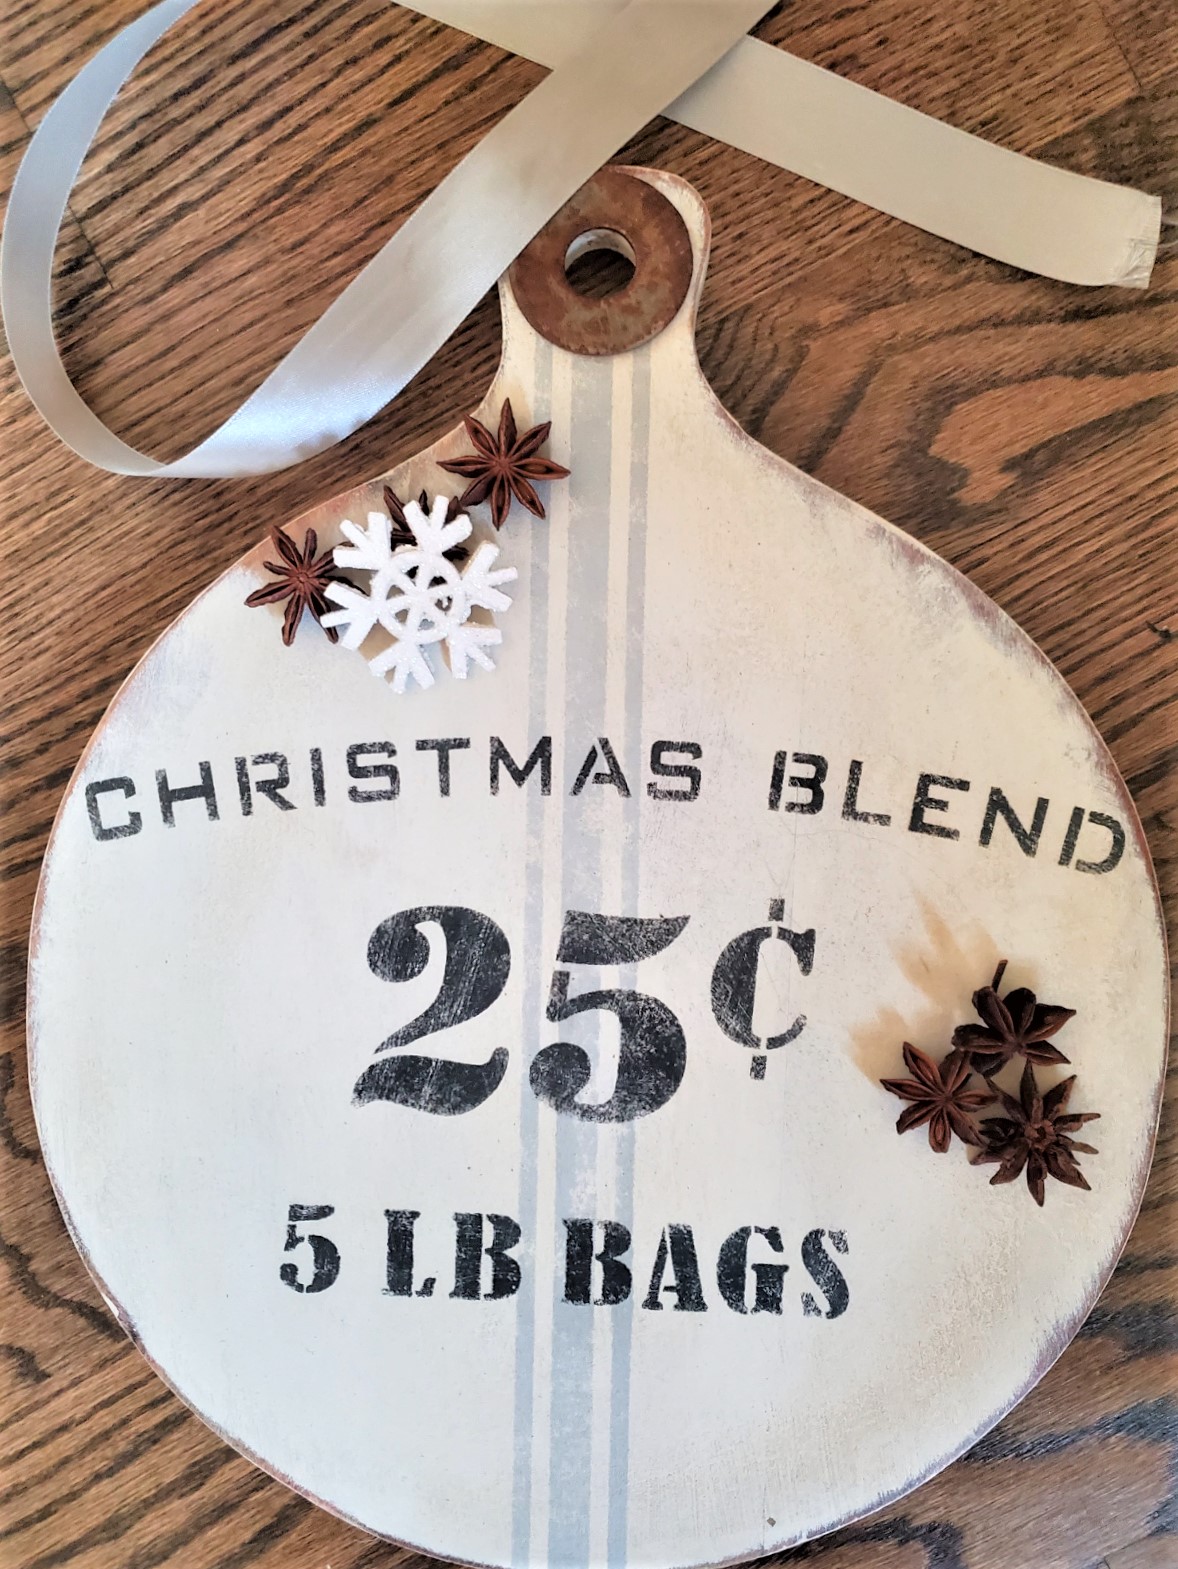
First I thought about what to use for this wooden Christmas sign. My first thought was to use scrap wood. I remember having an old cutting board that would make a cool sign for Christmas decorating.
Often when I recommend a craft project or DIY I shop the house to see if there are pieces I can upcycle. This is a great way to keep costs down and use what we already own. Also because I enjoy crafting and making projects I try to keep supplies I may need in my craft closet.
Not to mention my husband’s my handyman and often has extra pieces of wood in our garage. So my advice is to not throw good-sized pieces of wood away. These pieces of wood scraps come in handy, especially for making signs, birdhouses, trays, a wooden crate, a long wood box for the center of a dining table, or even a riser to use in your home decor.
Table of Contents
- 1 Table of Contents
- 2 Ideas for Different Types and Ideas to Use Signs for Christmas
- 3 More Ideas to Make and How to Decorate with Signs
- 4 Steps to Make This Holiday Idea
- 5 Painting the Christmas Sign White
- 6 Add Texture to the Paint by Stippling to Add a Rustic Look
- 7 Adding Character To This Project with a Grain Sac Stencil
- 8 Making My Dark Green Paint to Add to the Stencil
- 9 Stencil the Paint in Steps for a Clean Look
- 10 Adding More Character by Sanding The Stencils for a Rustic Sign
- 11 Adding Clear And Dark Waxes for More Age
Table of Contents
Ideas for Different Types and Ideas to Use Signs for Christmas
Different Woods to Use and Ideas on How to Use Signs Indoors and Outside
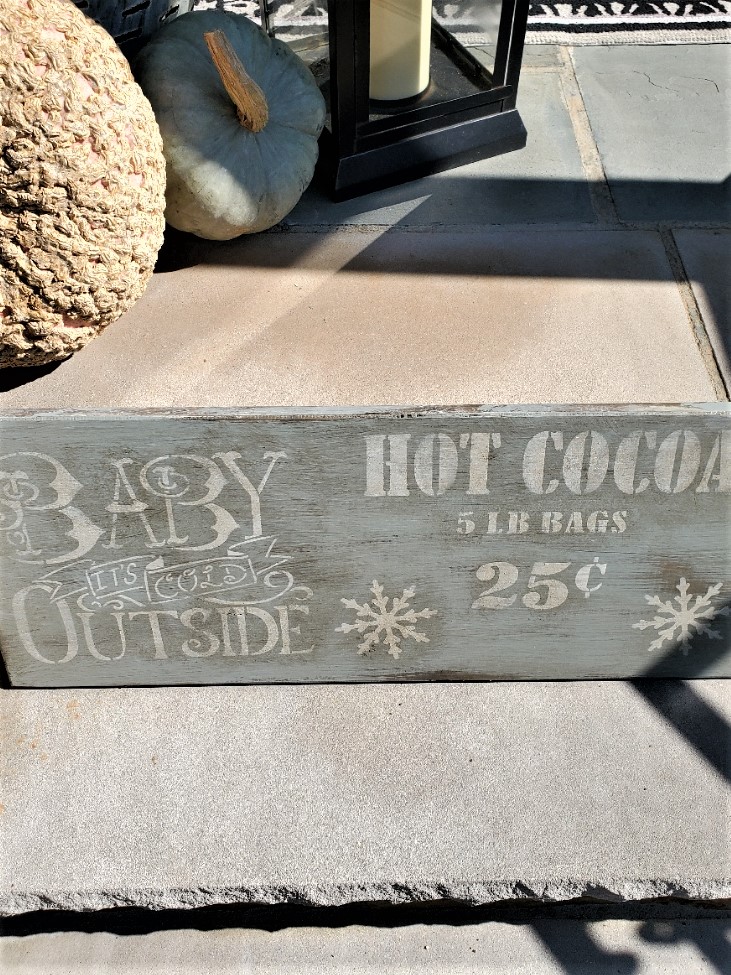
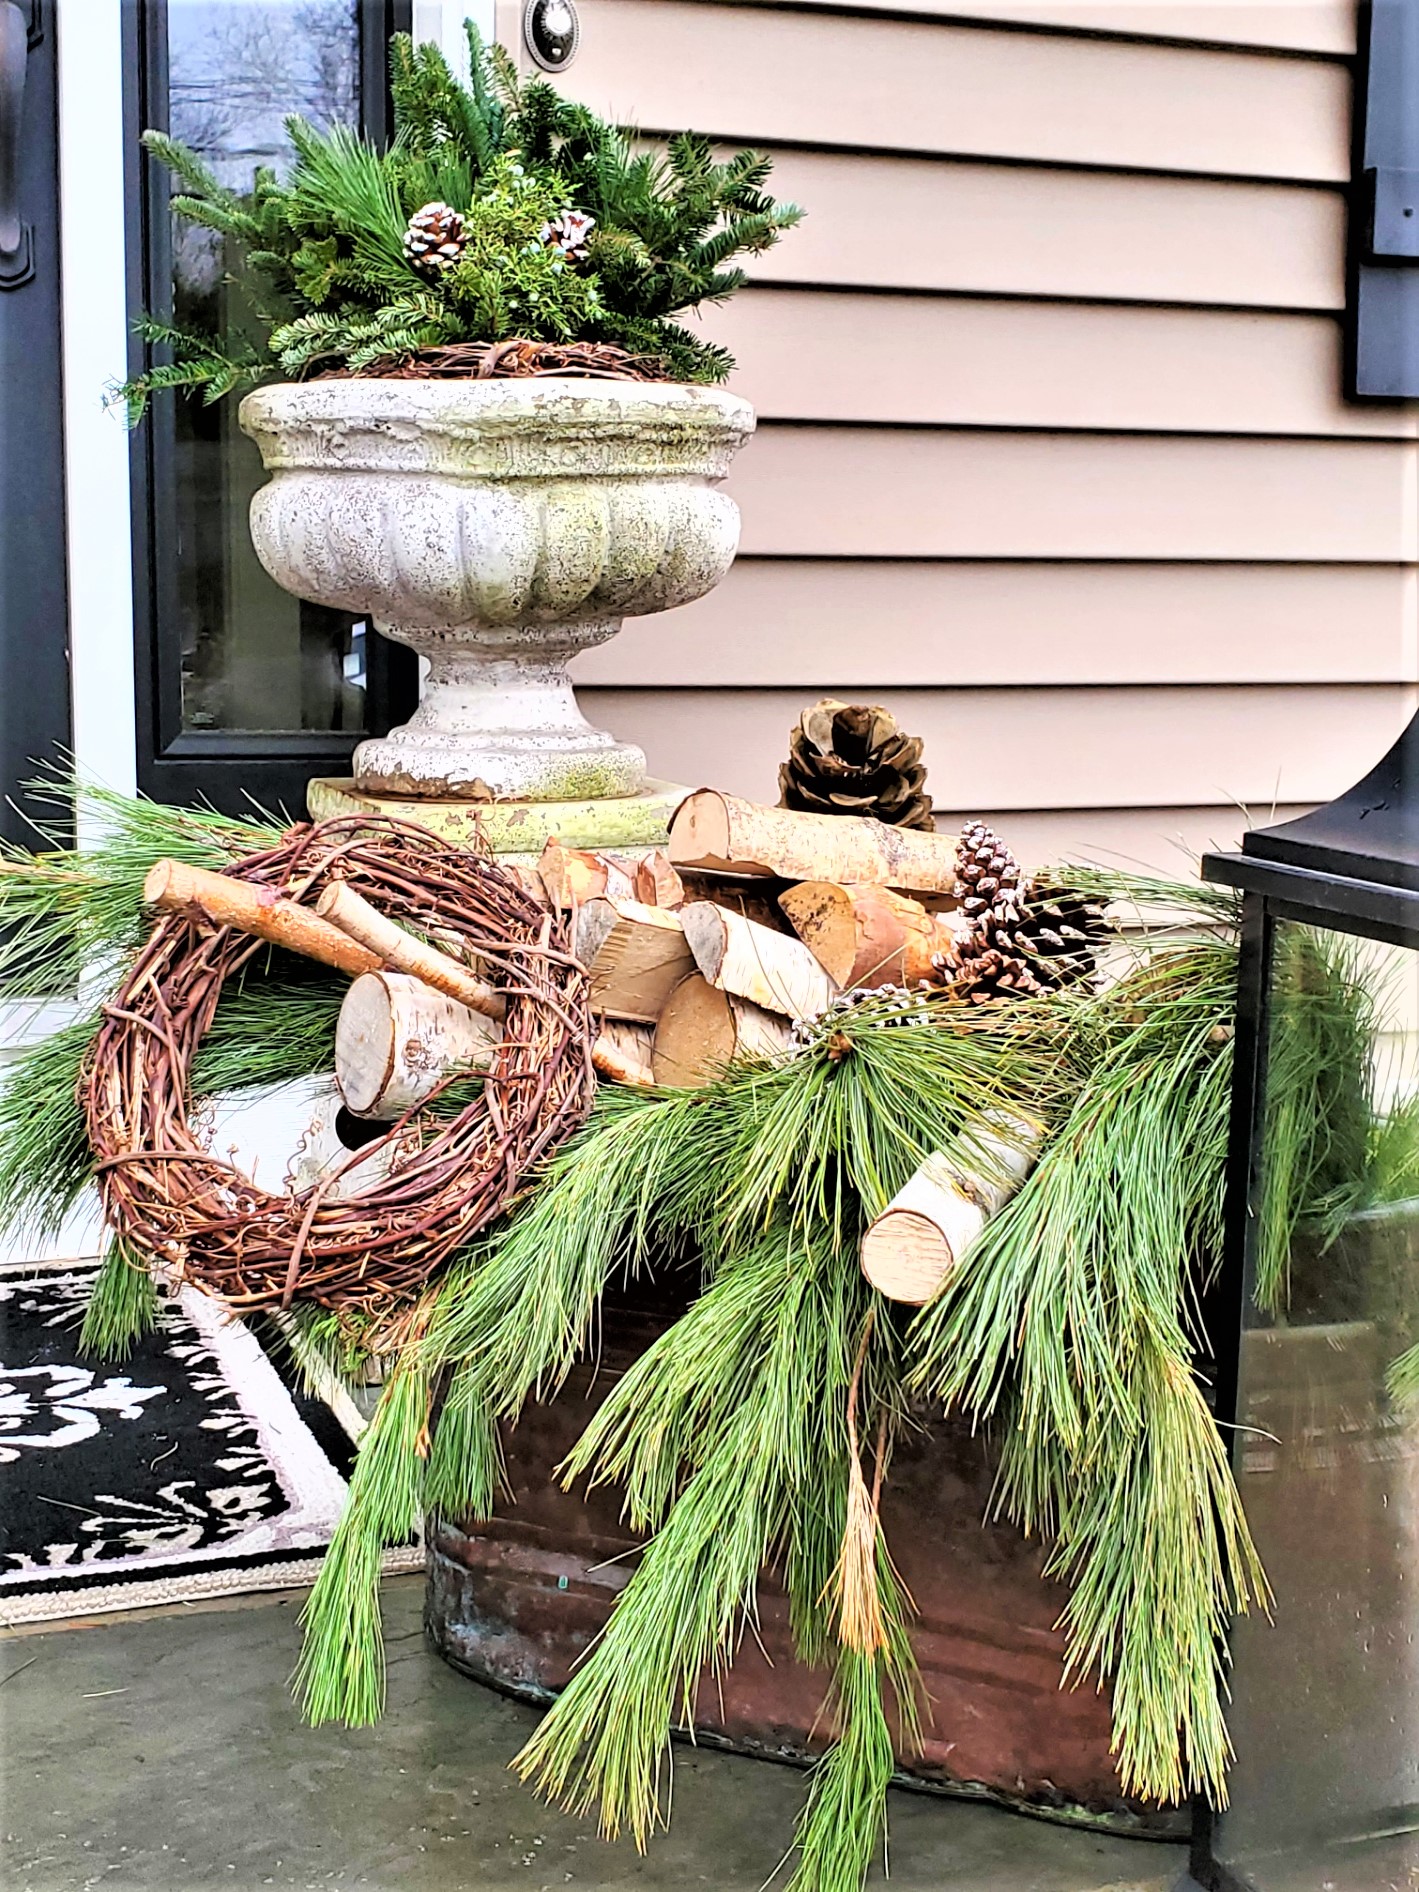
Before we get to this easy Christmas DIY let’s read how to make this in different ways. Also, I’m sharing how to add these signs to a front porch, a fireplace mantel, an old picture frame, pallets, and jars.
Here are some ideas on how to make different types of signs and add them to your Christmas decorations.
- Pallet wood is a great idea to make DIY Christmas signs with a distressed look which is similar to the piece I’m sharing with you today.
- Even an old frame with a wooden board insert works excellently for a sign. This can be hung on the door, leaned on a shelf hung on a closet door, or leaned on a bookcase. How about adding the perfect-size Christmas wreath? How pretty would this be?
- I also have seen wood blocks with letters to spell out the word Noel or Joy used on the fireplace mantel. How cute is this idea?
- Another cute idea is using mason jars with wood tags from the dollar store or a Dollar tree painted with chalkboard paint. Add holiday sayings hang them from the jars and fill them with candy canes for the family to enjoy while sipping hot chocolate.
- For another easy idea fill these jars with battery-operated fairy string lights and add pine cones for the Christmas season. The lights I bought last year are perfect for this decorating idea. How pretty will this idea be with the tinkle of warm lights and a fire?
More Ideas to Make and How to Decorate with Signs
Ideas to Make and How to Decorate with Signs on Your Front Porch
- Use pallet wood and make a sleigh rides Christmas sign for your front porch. The best part, this sign works for the entire winter too! Use zip ties so your homemade sign stays in place on a windy winter evening. I also have a great place to buy this stencil because I own a few from this same company!
- Another example of a great way to add a Christmas sign is making a sign for Santa. Have you ever seen signs that stand up with arrows pointing in different directions? This is a great sign to leave by the front door in case you don’t have a chimney. This also helps Santa Claus know which way to go to put the kid’s Christmas presents. I have you covered this with a stencil listed below for this fun idea too!
- You can even add different arrows to let Santa know which way he has to go to get back to the North Pole. I think this is especially fun for the little ones.
Steps to Make This Holiday Idea
Steps for Making This Sign for the Holidays
So let’s get the details on making this DIY Christmas sign with this easy tutorial. One thing I enjoy about this Christmas DIY is I gave it a worn and rustic wood sign look.
Not to mention, it’s an incredibly easy project to make. Also, this makes a wonderful handmade gift for Christmas!
Speaking of handmade gifts, they are often cherished the most. Family and friends feel that DIY Christmas gifts come from the heart, especially during a busy time of year. So think about taking the time to make something to make for a Christmas present.
Craft Supplies Needed:
- a wood round, reclaimed wood, or a pallet
- chip brush and stencil brush
- stencils
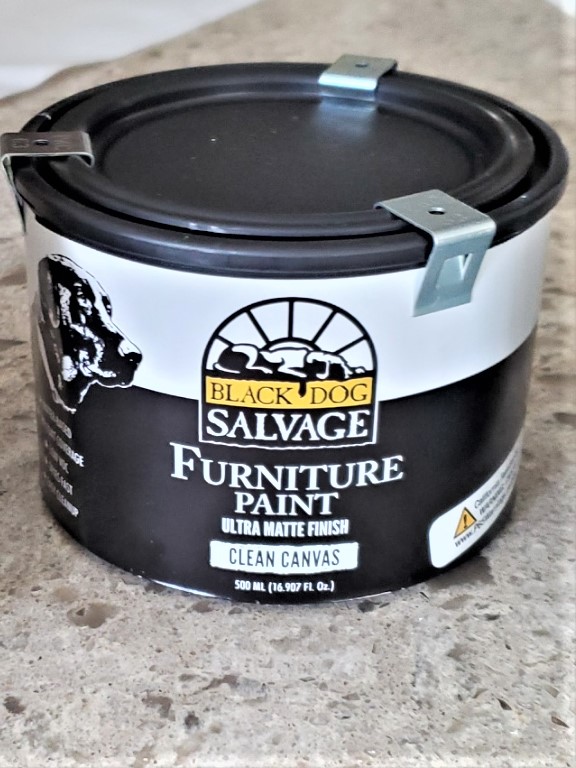
- Black Dog Salvage clean canvas or white craft paint
- medium gray paint or paint of your choice
- dark green craft paint
- wood stick
- washer optional
- peroxide, white vinegar, and salt are also optional
- 120-grit sanding sponge
- clear wax and dark wax, raw umber paint watered down a bit will work too
- lint-free rag
By the way, this is one of the fastest DIY projects and there’s no extra cost!
Painting the Christmas Sign White
Step 1: Painting the Round Piece White for this Simple Idea
First, I begin by cleaning the cutting board well with warm soap and water. Then let it dry for a few hours.
Next step, using my chip brush I paint the cutting board to use with my holiday decorations two coats of Salvage Dog clean canvas white, letting it dry between coats.


By the way, if you would like to learn more about Salvage Dog furniture this shutter project is a must-see. I share tons of information about the paint line and the company. And if you order through me you get ***20% off***! The code is at the end of this post.
*As an Amazon Associate, B lack Dog Salvage and other Affiliate links I earn from qualifying purchases*
If you purchase something through any link, I may receive a small commission with no extra charge to you. All opinions are my own
Add Texture to the Paint by Stippling to Add a Rustic Look
Step 2: Stippling to Add Texture to the Project for a Rustic Wood Sign
For the next step, using a light stippling or soft pouncing motion with a little paint add an extra layer of texture with the white paint to the Christmas sign. Doing this step adds more character.
Next, begin sanding lightly on the edges, this adds a rustic look to the Christmas wooden sign.
Adding Character To This Project with a Grain Sac Stencil
Step 3: Add Additional Character to the Craft Project with a Stencil
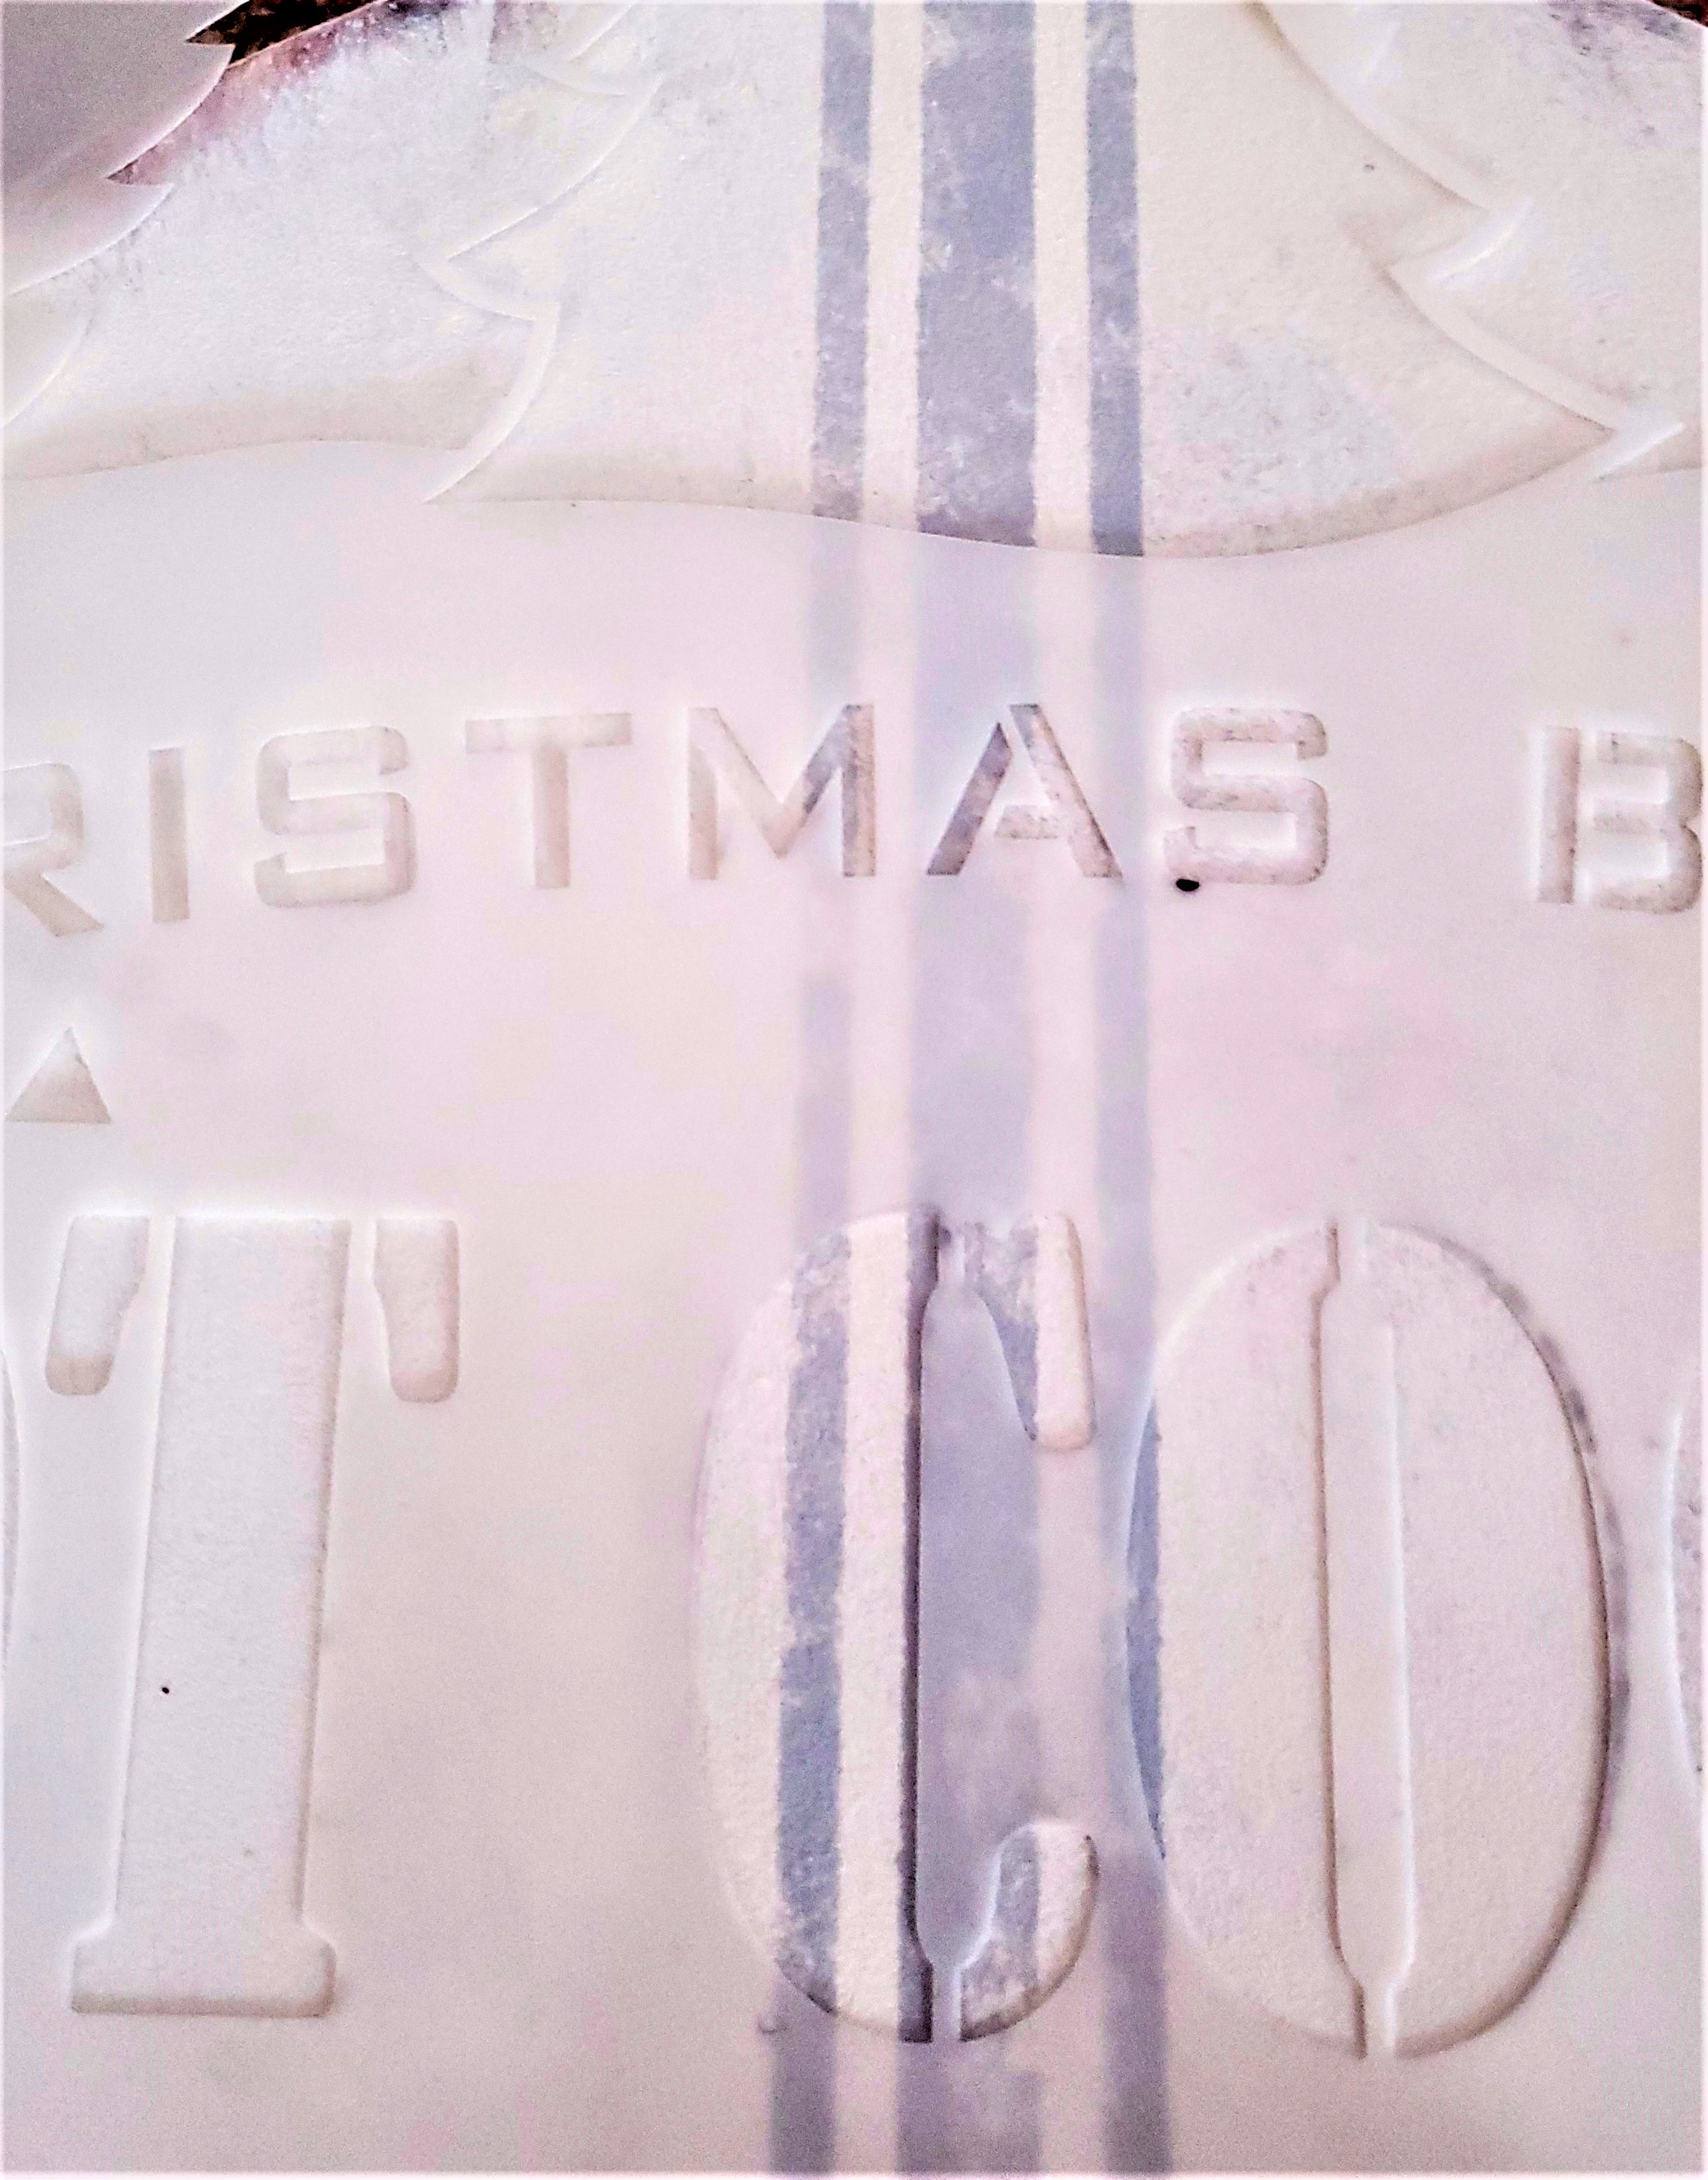
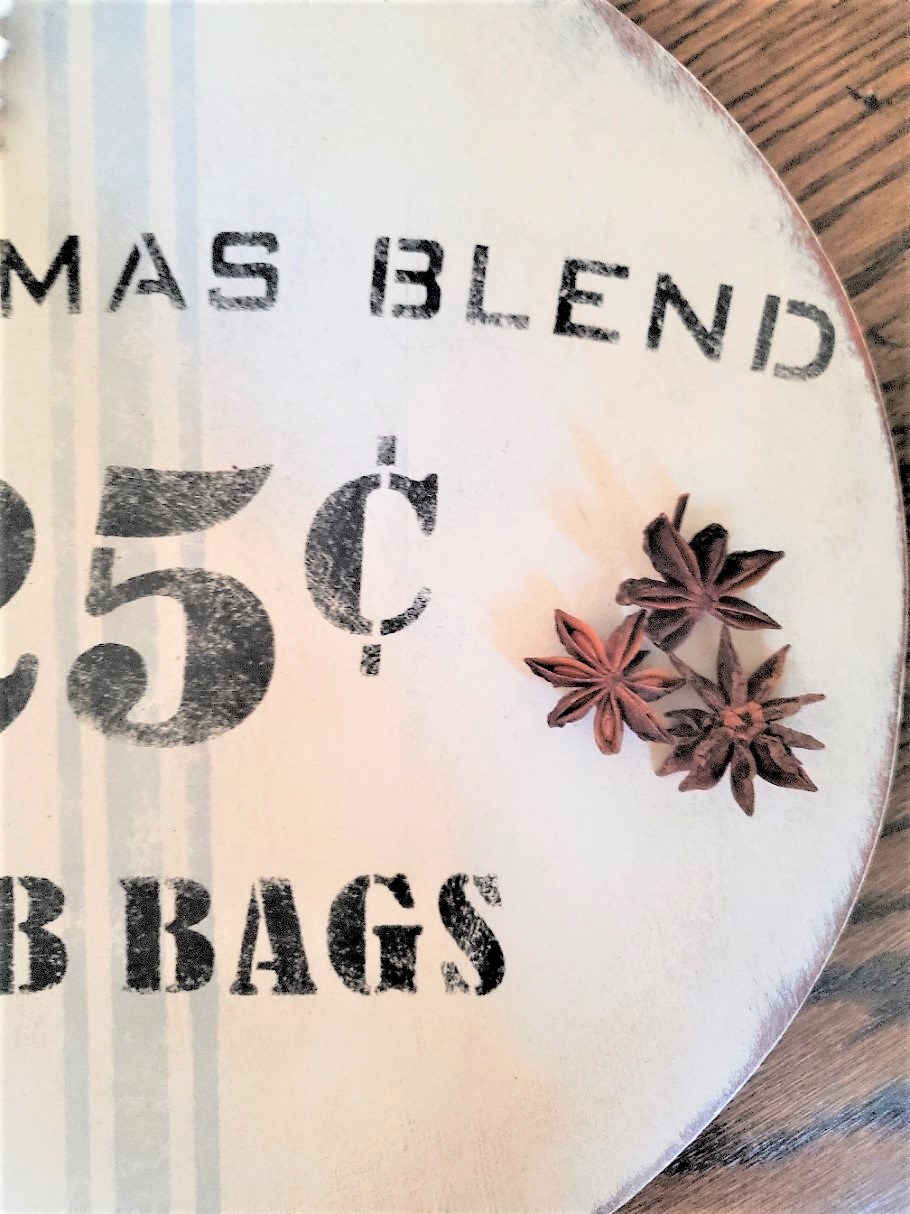
After sanding use a grain sack stencil from Funky Junk Old Sign Stencils or stencils of your choice and color that works in your home.
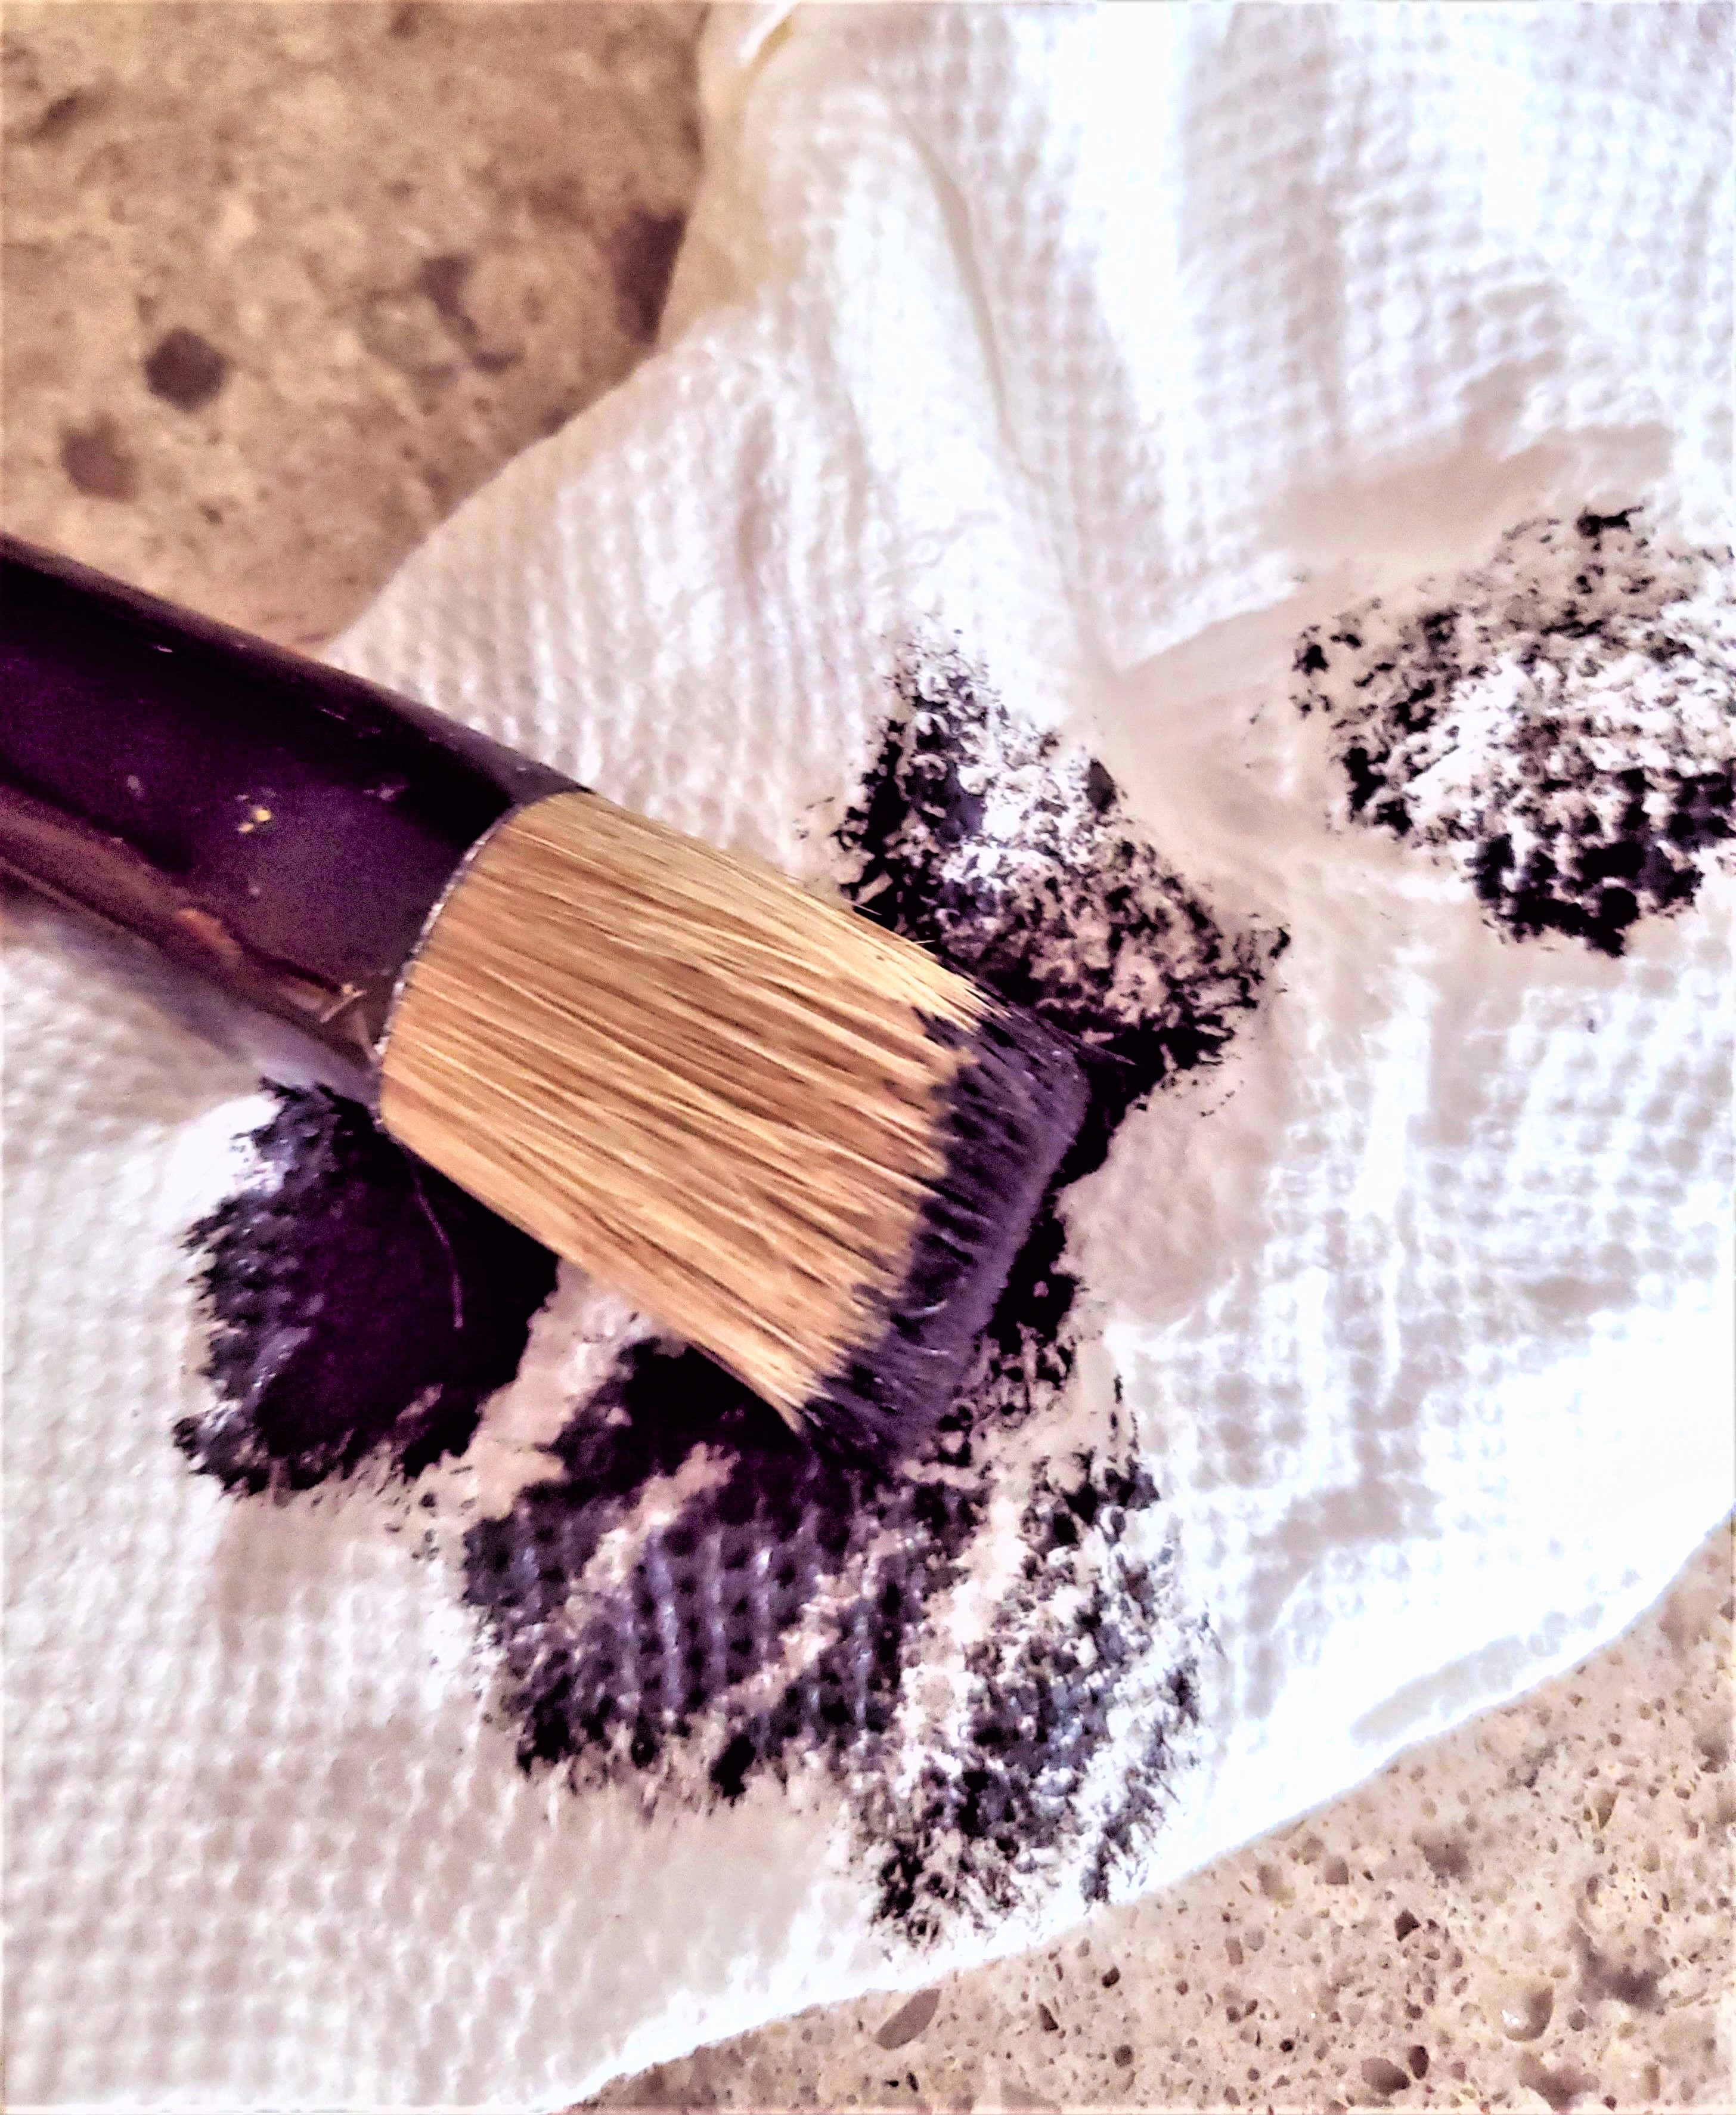
Tip: Loading And Off Loading A Stencil Brush
Tip: When loading your stencil brush it’s very important to offload the brush before stenciling. Leaving little paint on the brush.
After removing the paint begin to pounce your brush. It’s important to pounce straight up and down to avoid bleeding. This will give any project you stencil an uneven look which is the best way to add movement when stenciling.
Making My Dark Green Paint to Add to the Stencil
Step 4: Creating Dark Green Paint for the Words on my Project Idea
Because I didn’t have any green paint for my Christmas project I mixed my own instead of running to the craft store.
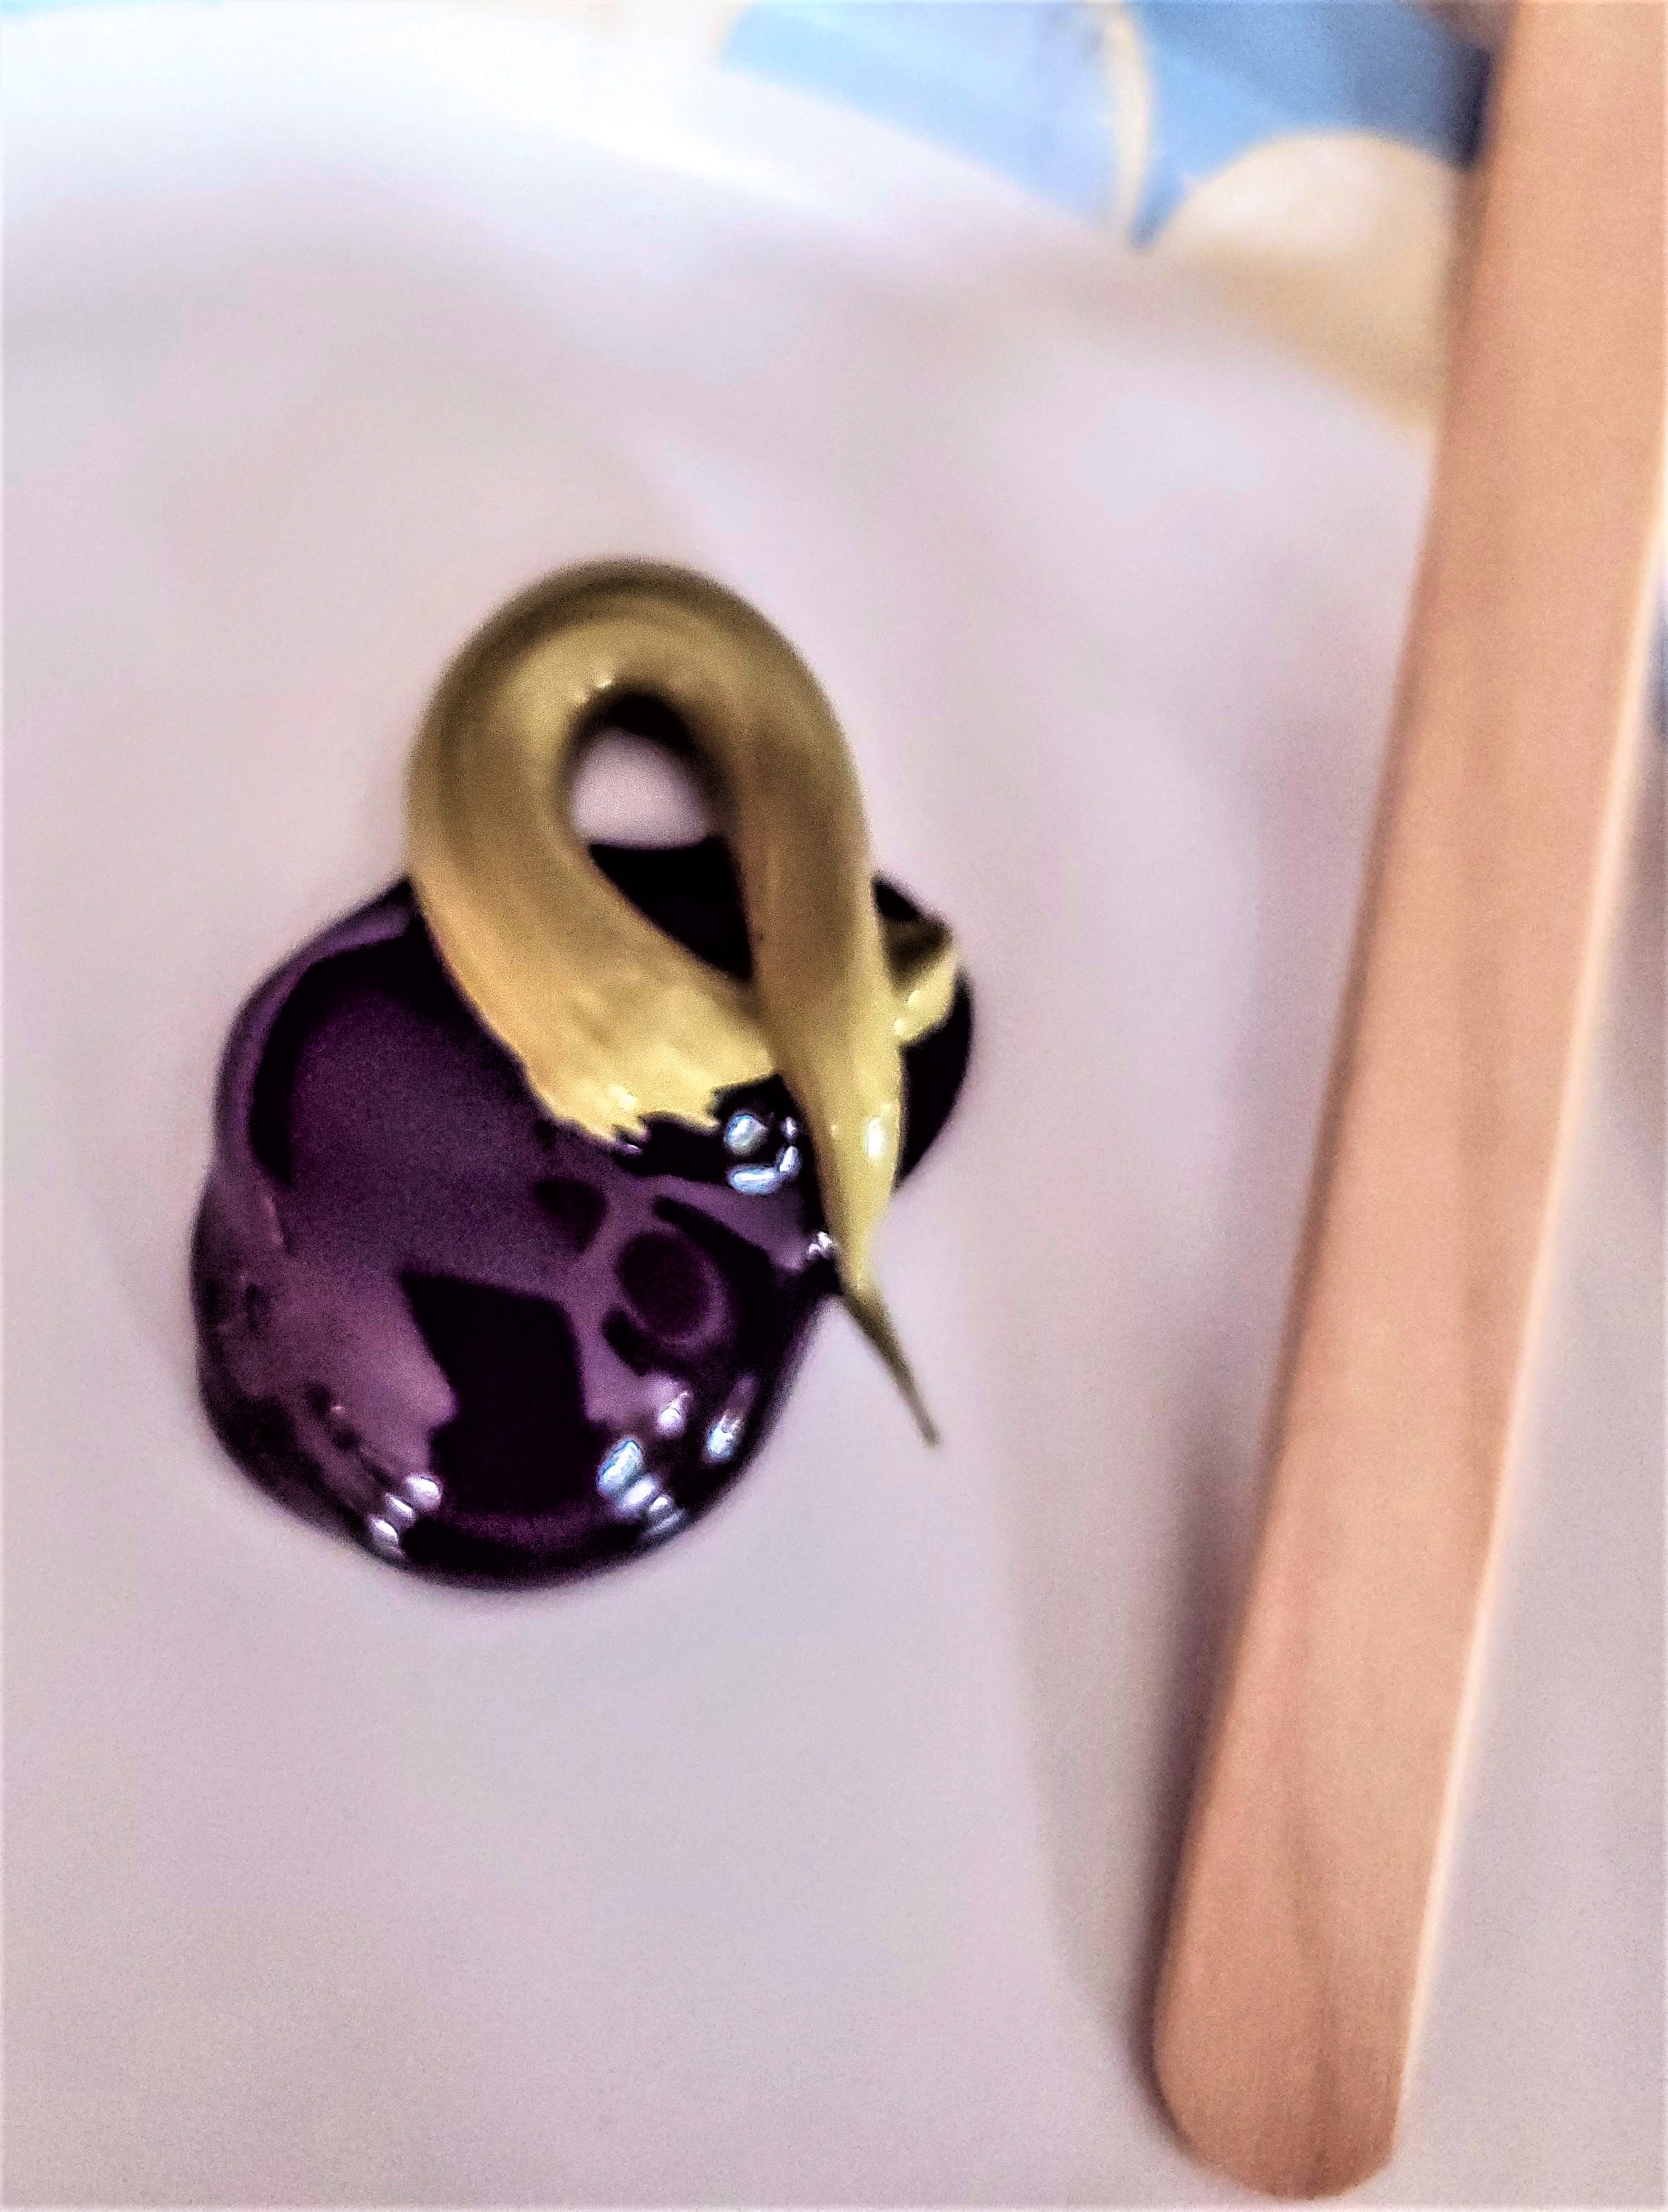
So, using moss green and black paint I mixed them and it gave me my custom color, a greenish-black for the lettering. It’s so much fun to make different colors, especially in the middle of a project.
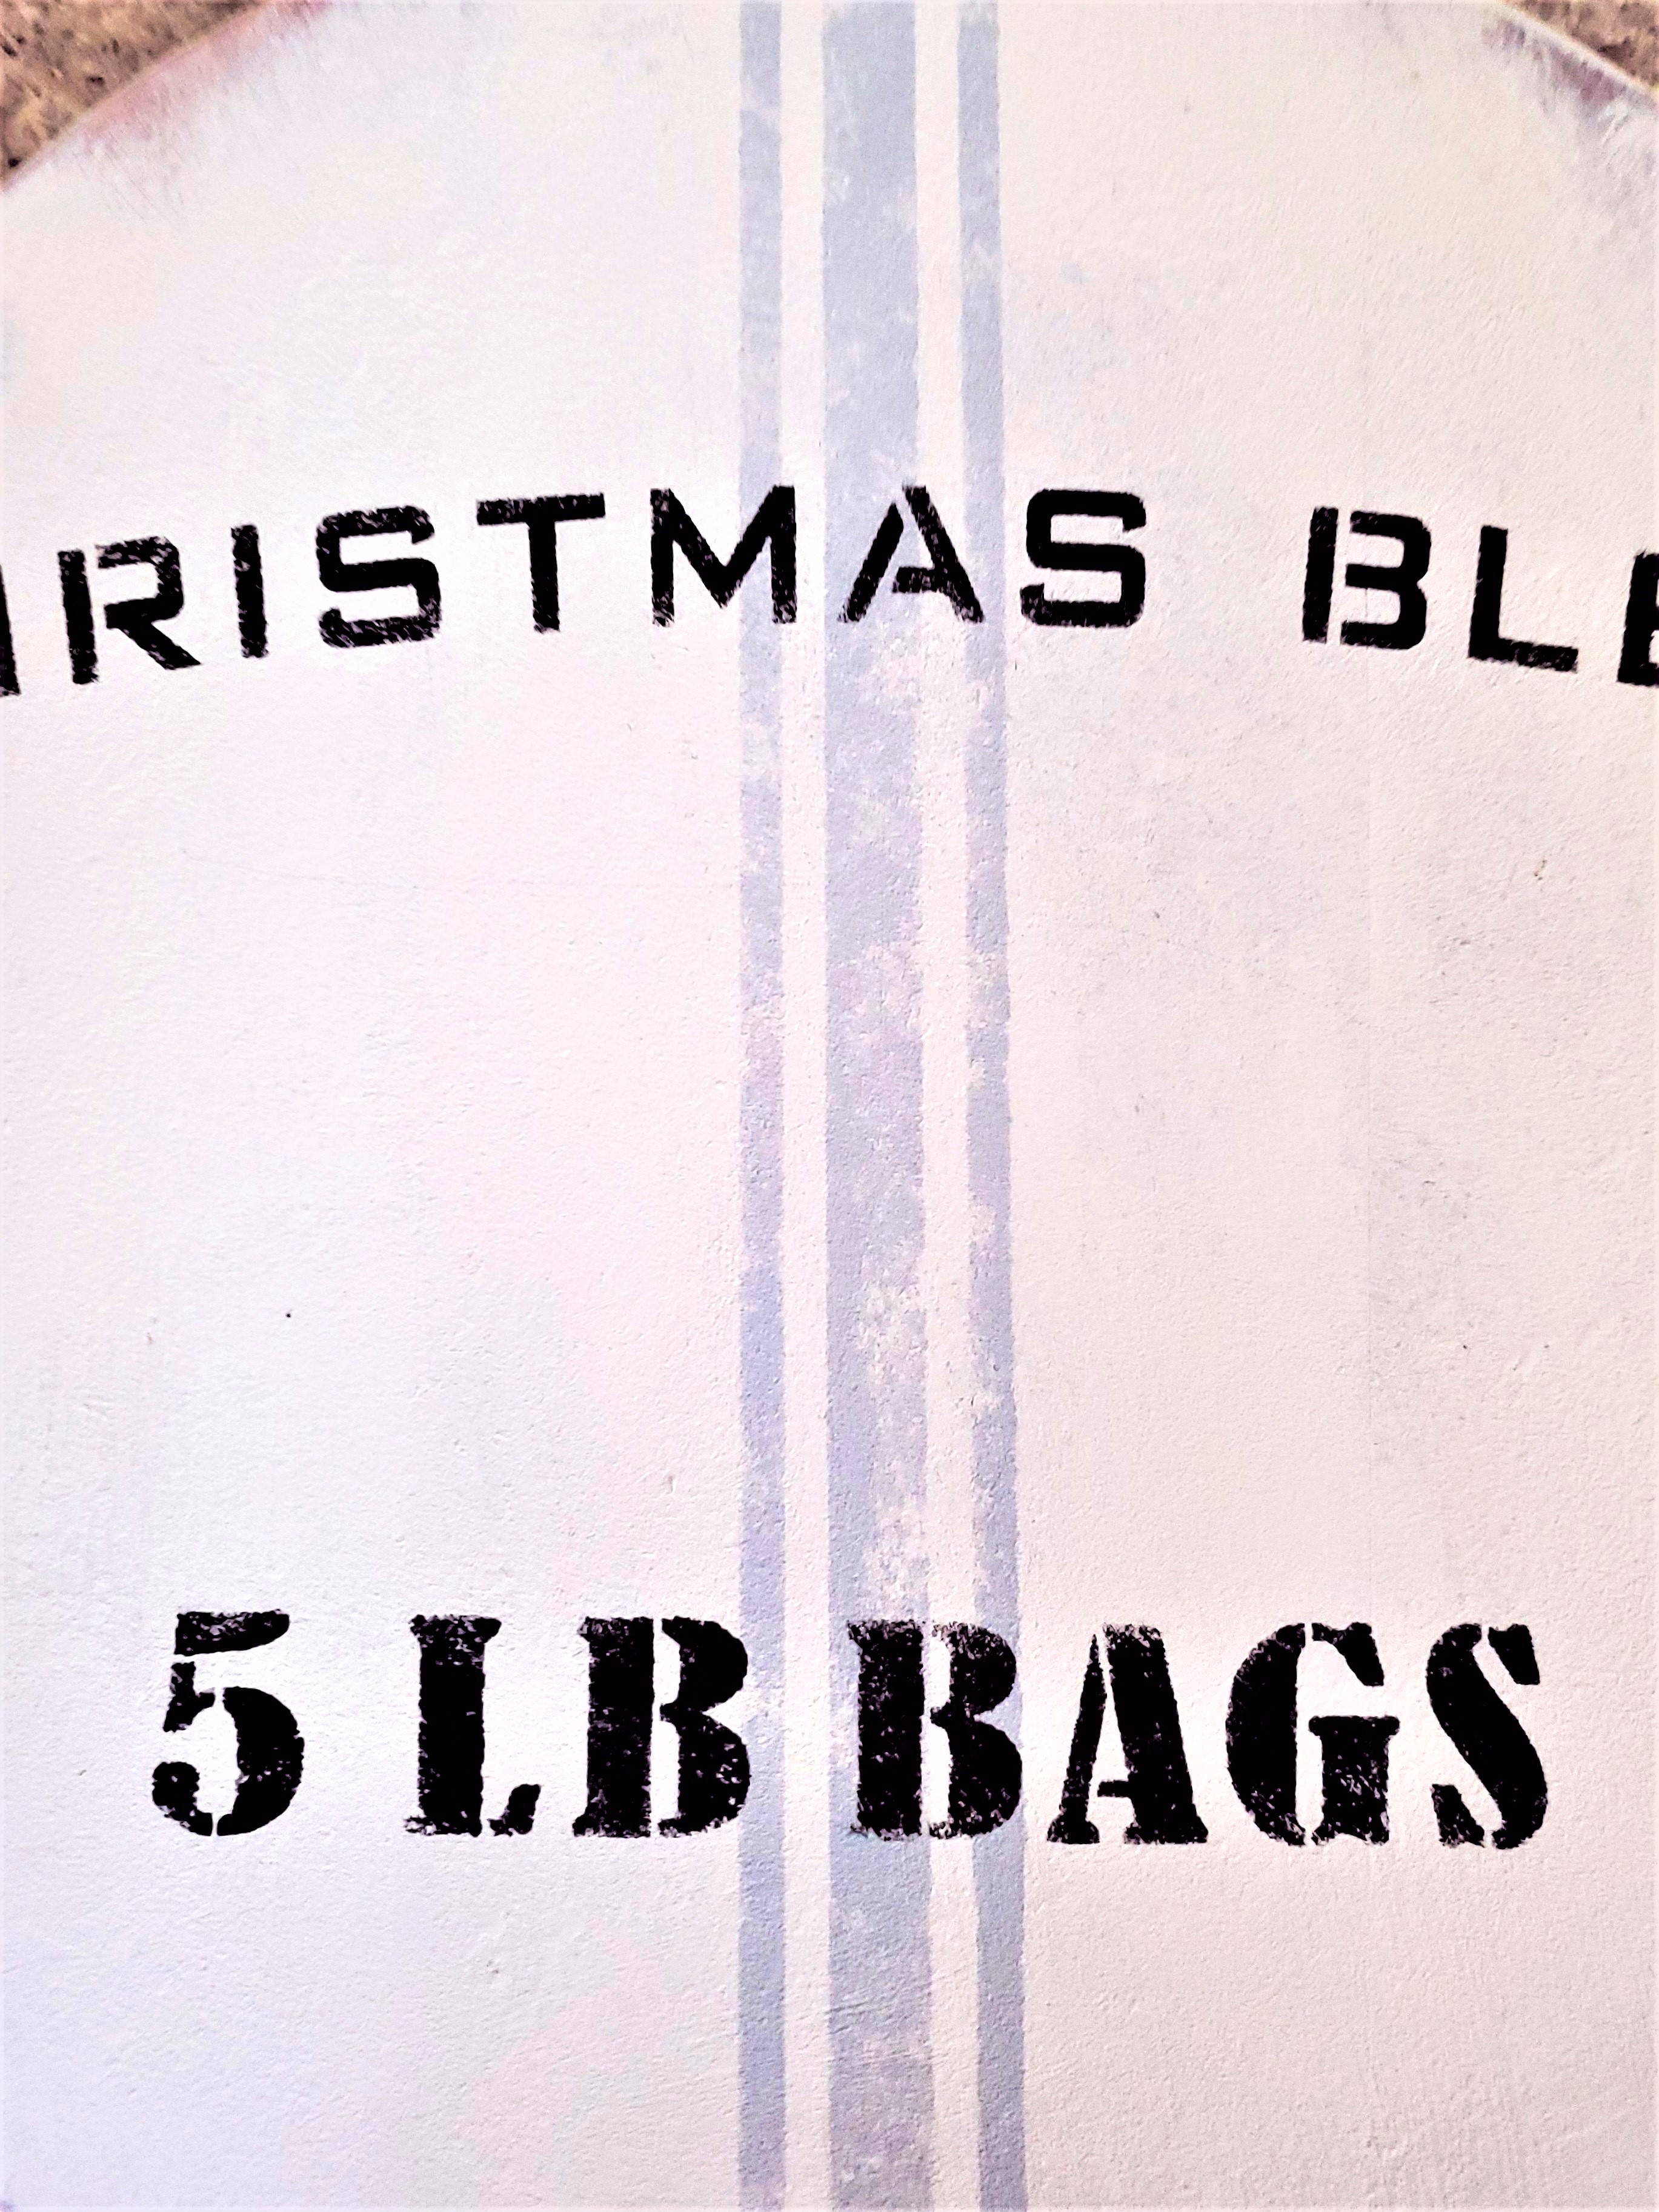
Next, grab the stencil of your choice and begin to add more details to this fun project for Christmas.
Stencil the Paint in Steps for a Clean Look
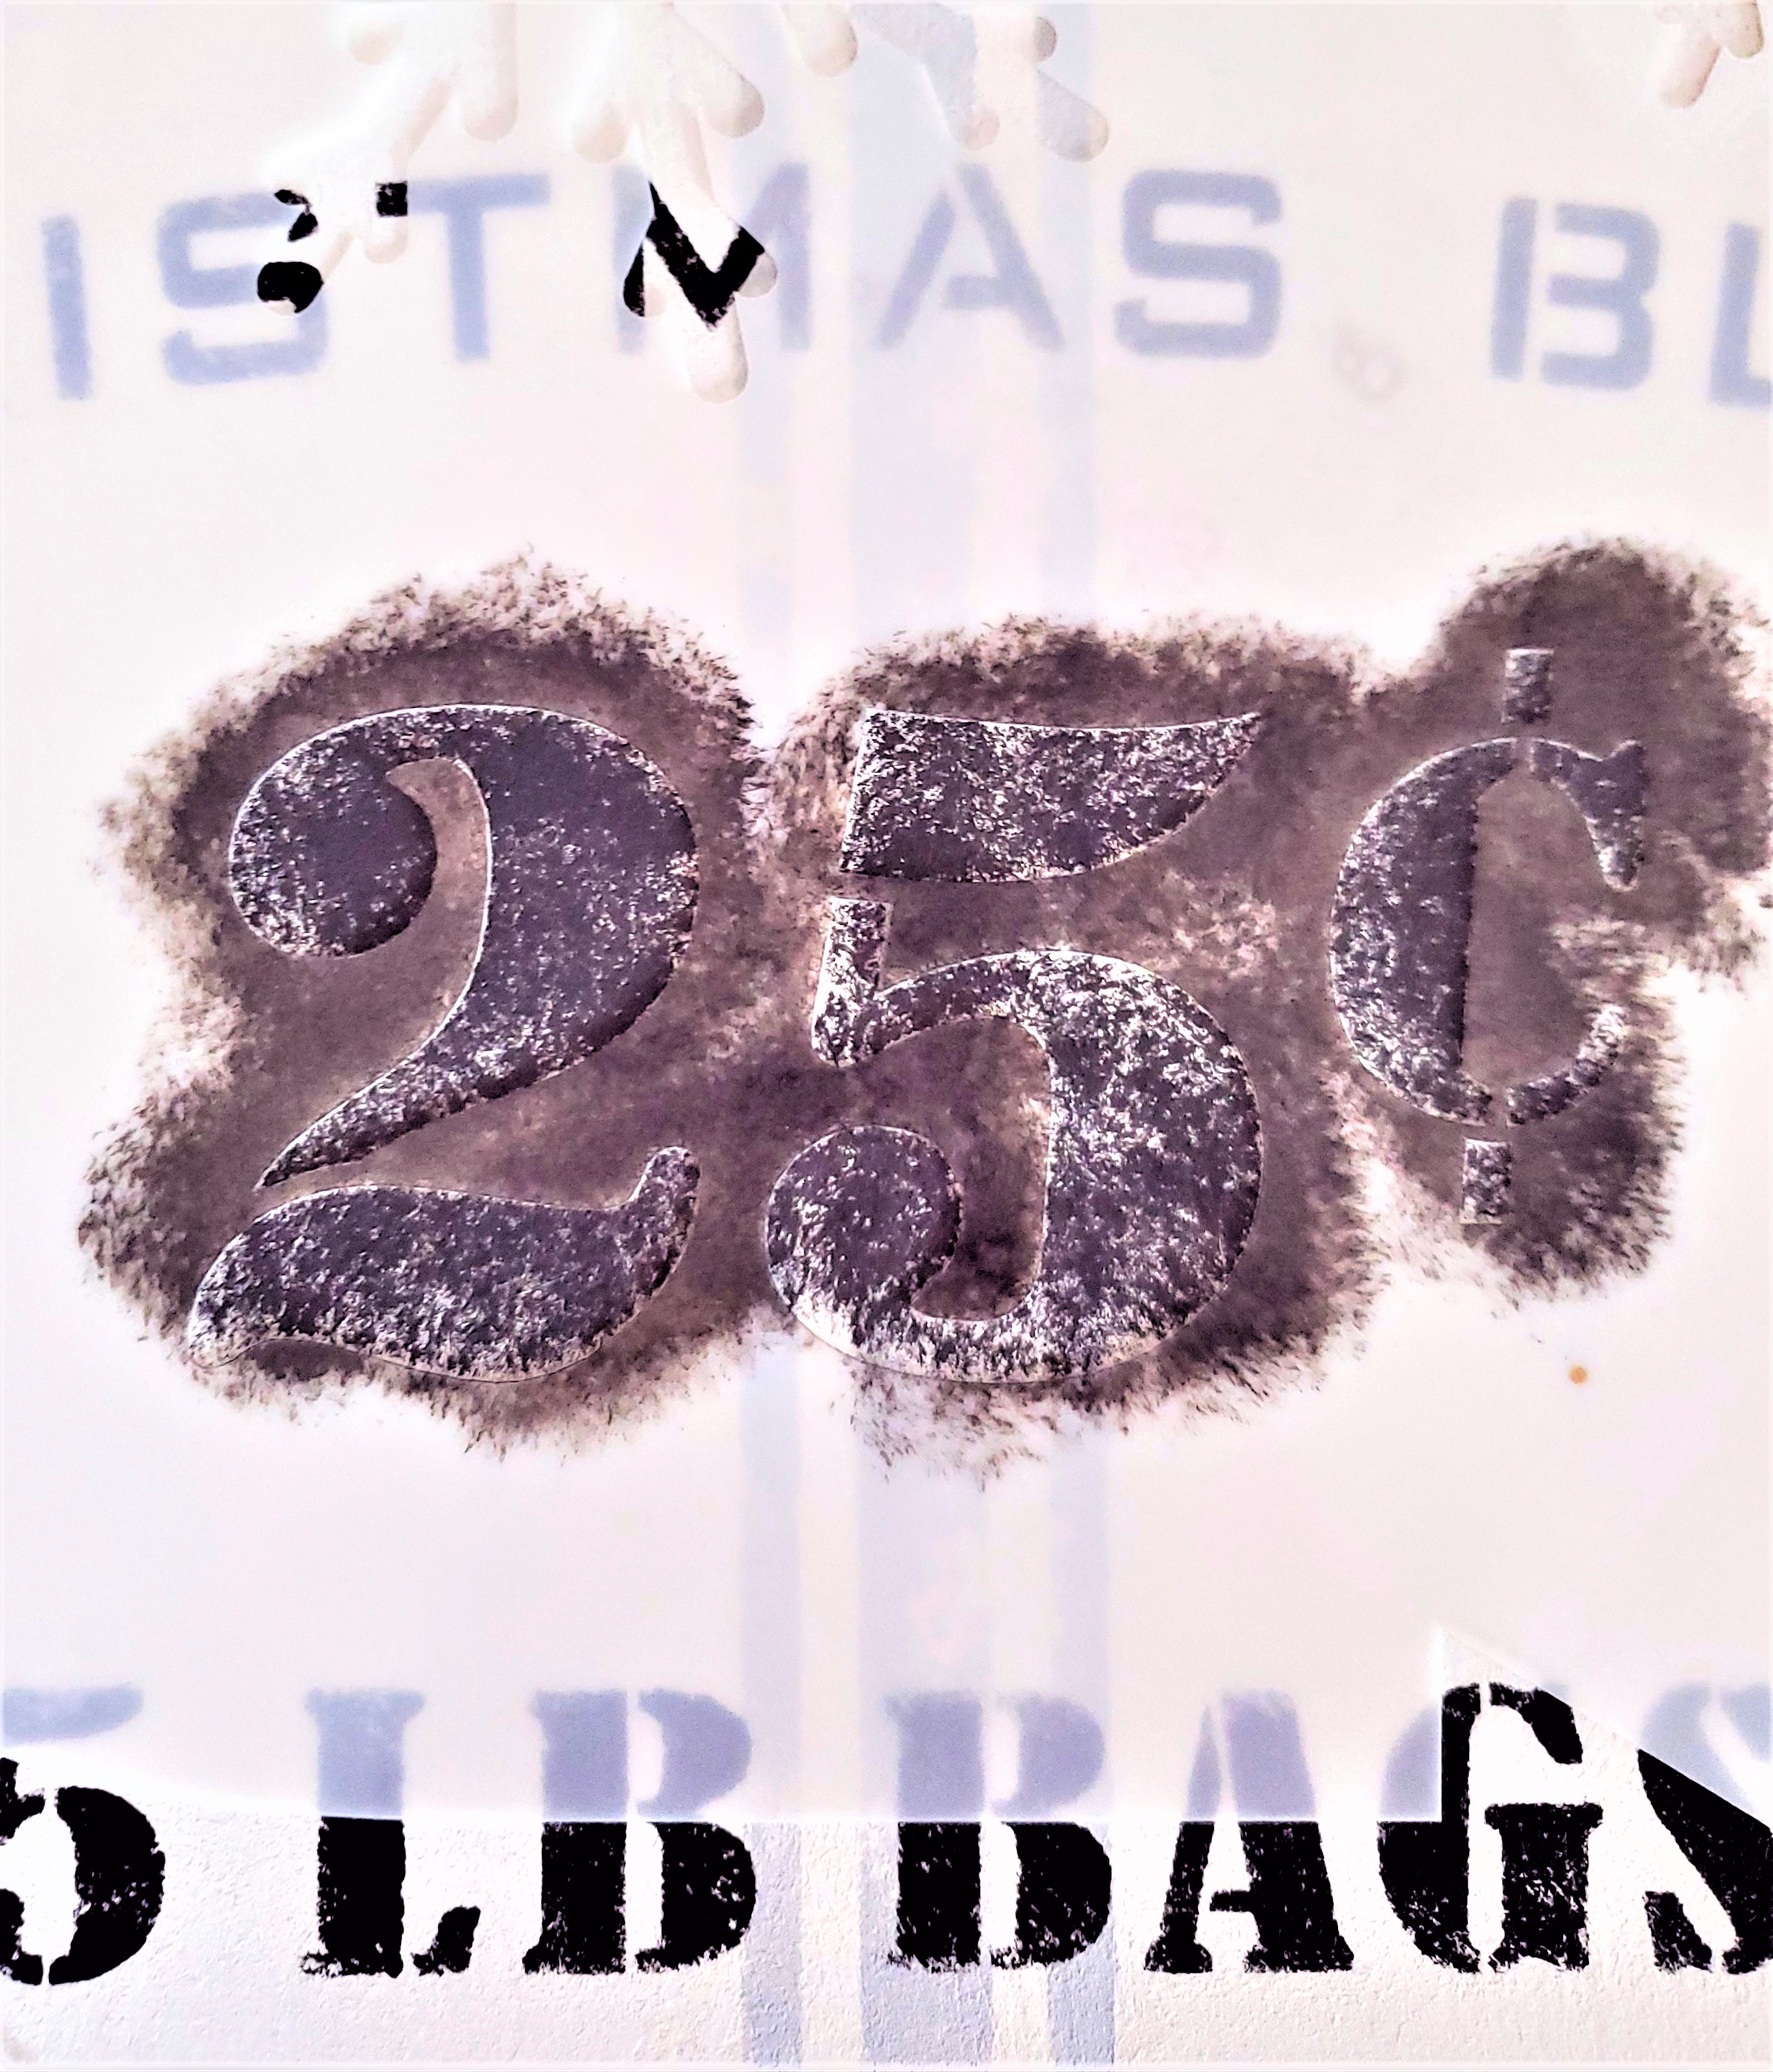
Step 5: Stenciling in Stages to Keep it Neat and Clean
Because the stenciling needs to be done in stages on this particular DIY project, let the paint dry for a few seconds before laying the stencil down again. This will avoid any smudging.
Adding More Character by Sanding The Stencils for a Rustic Sign
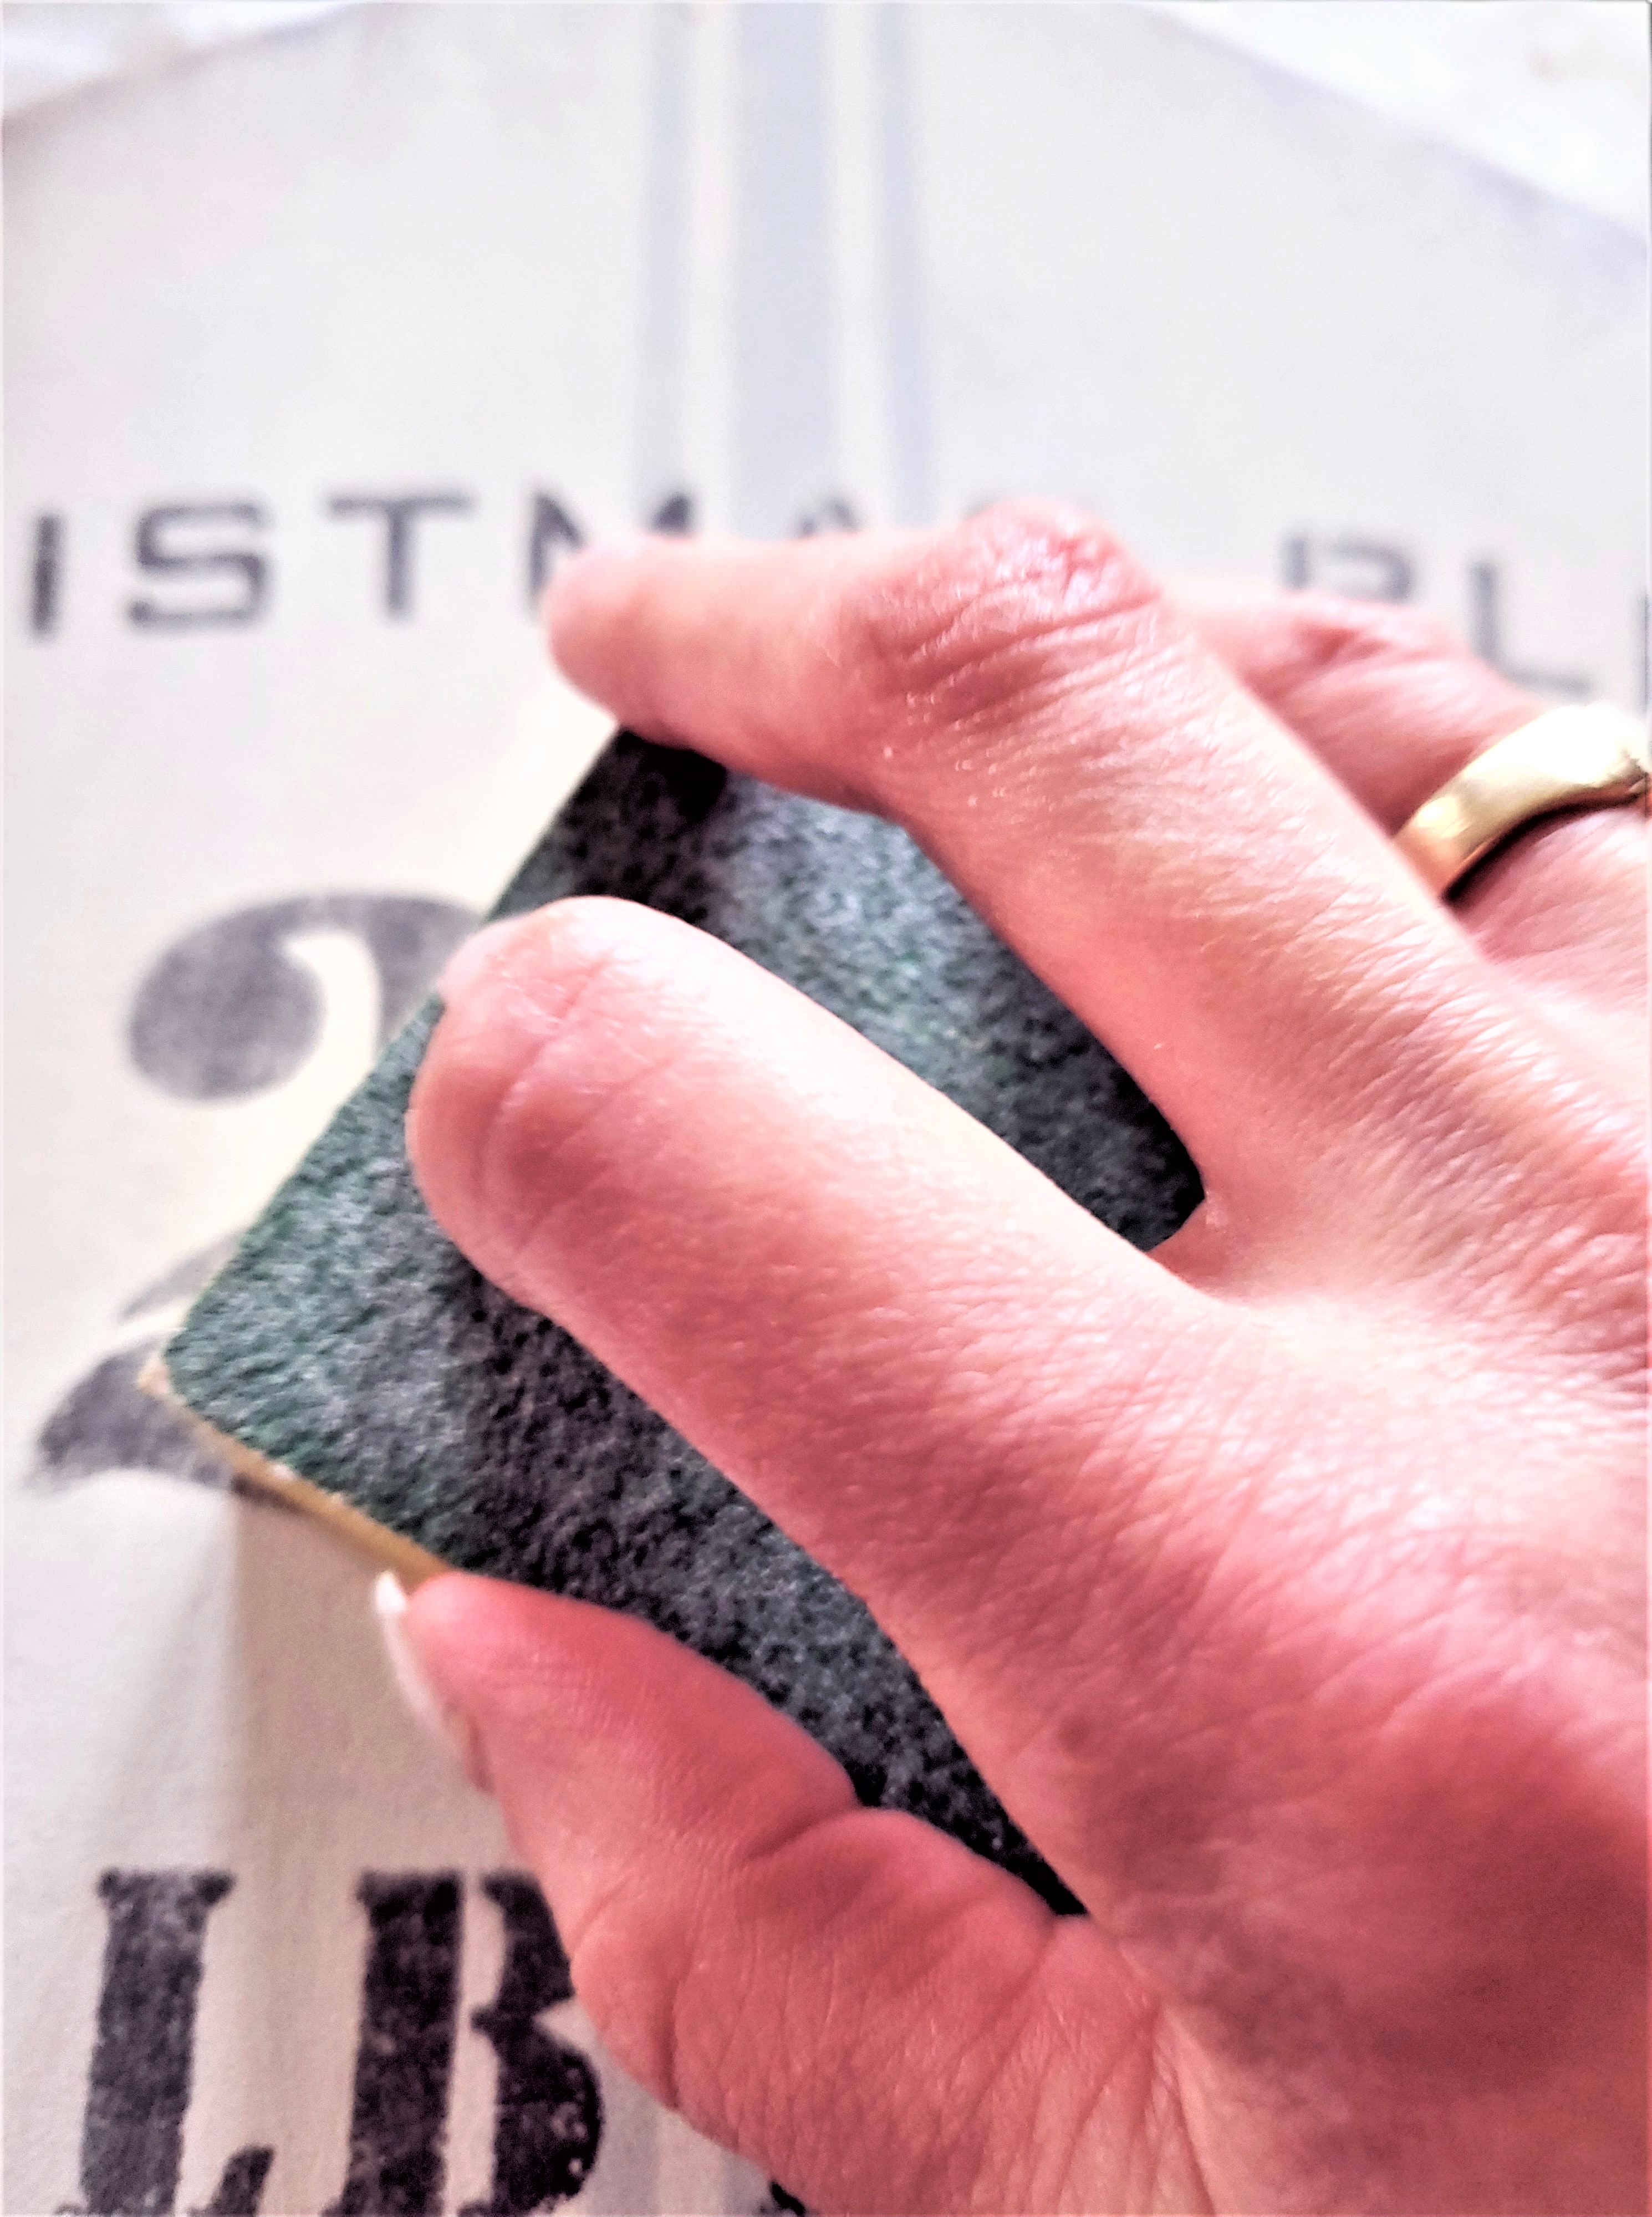
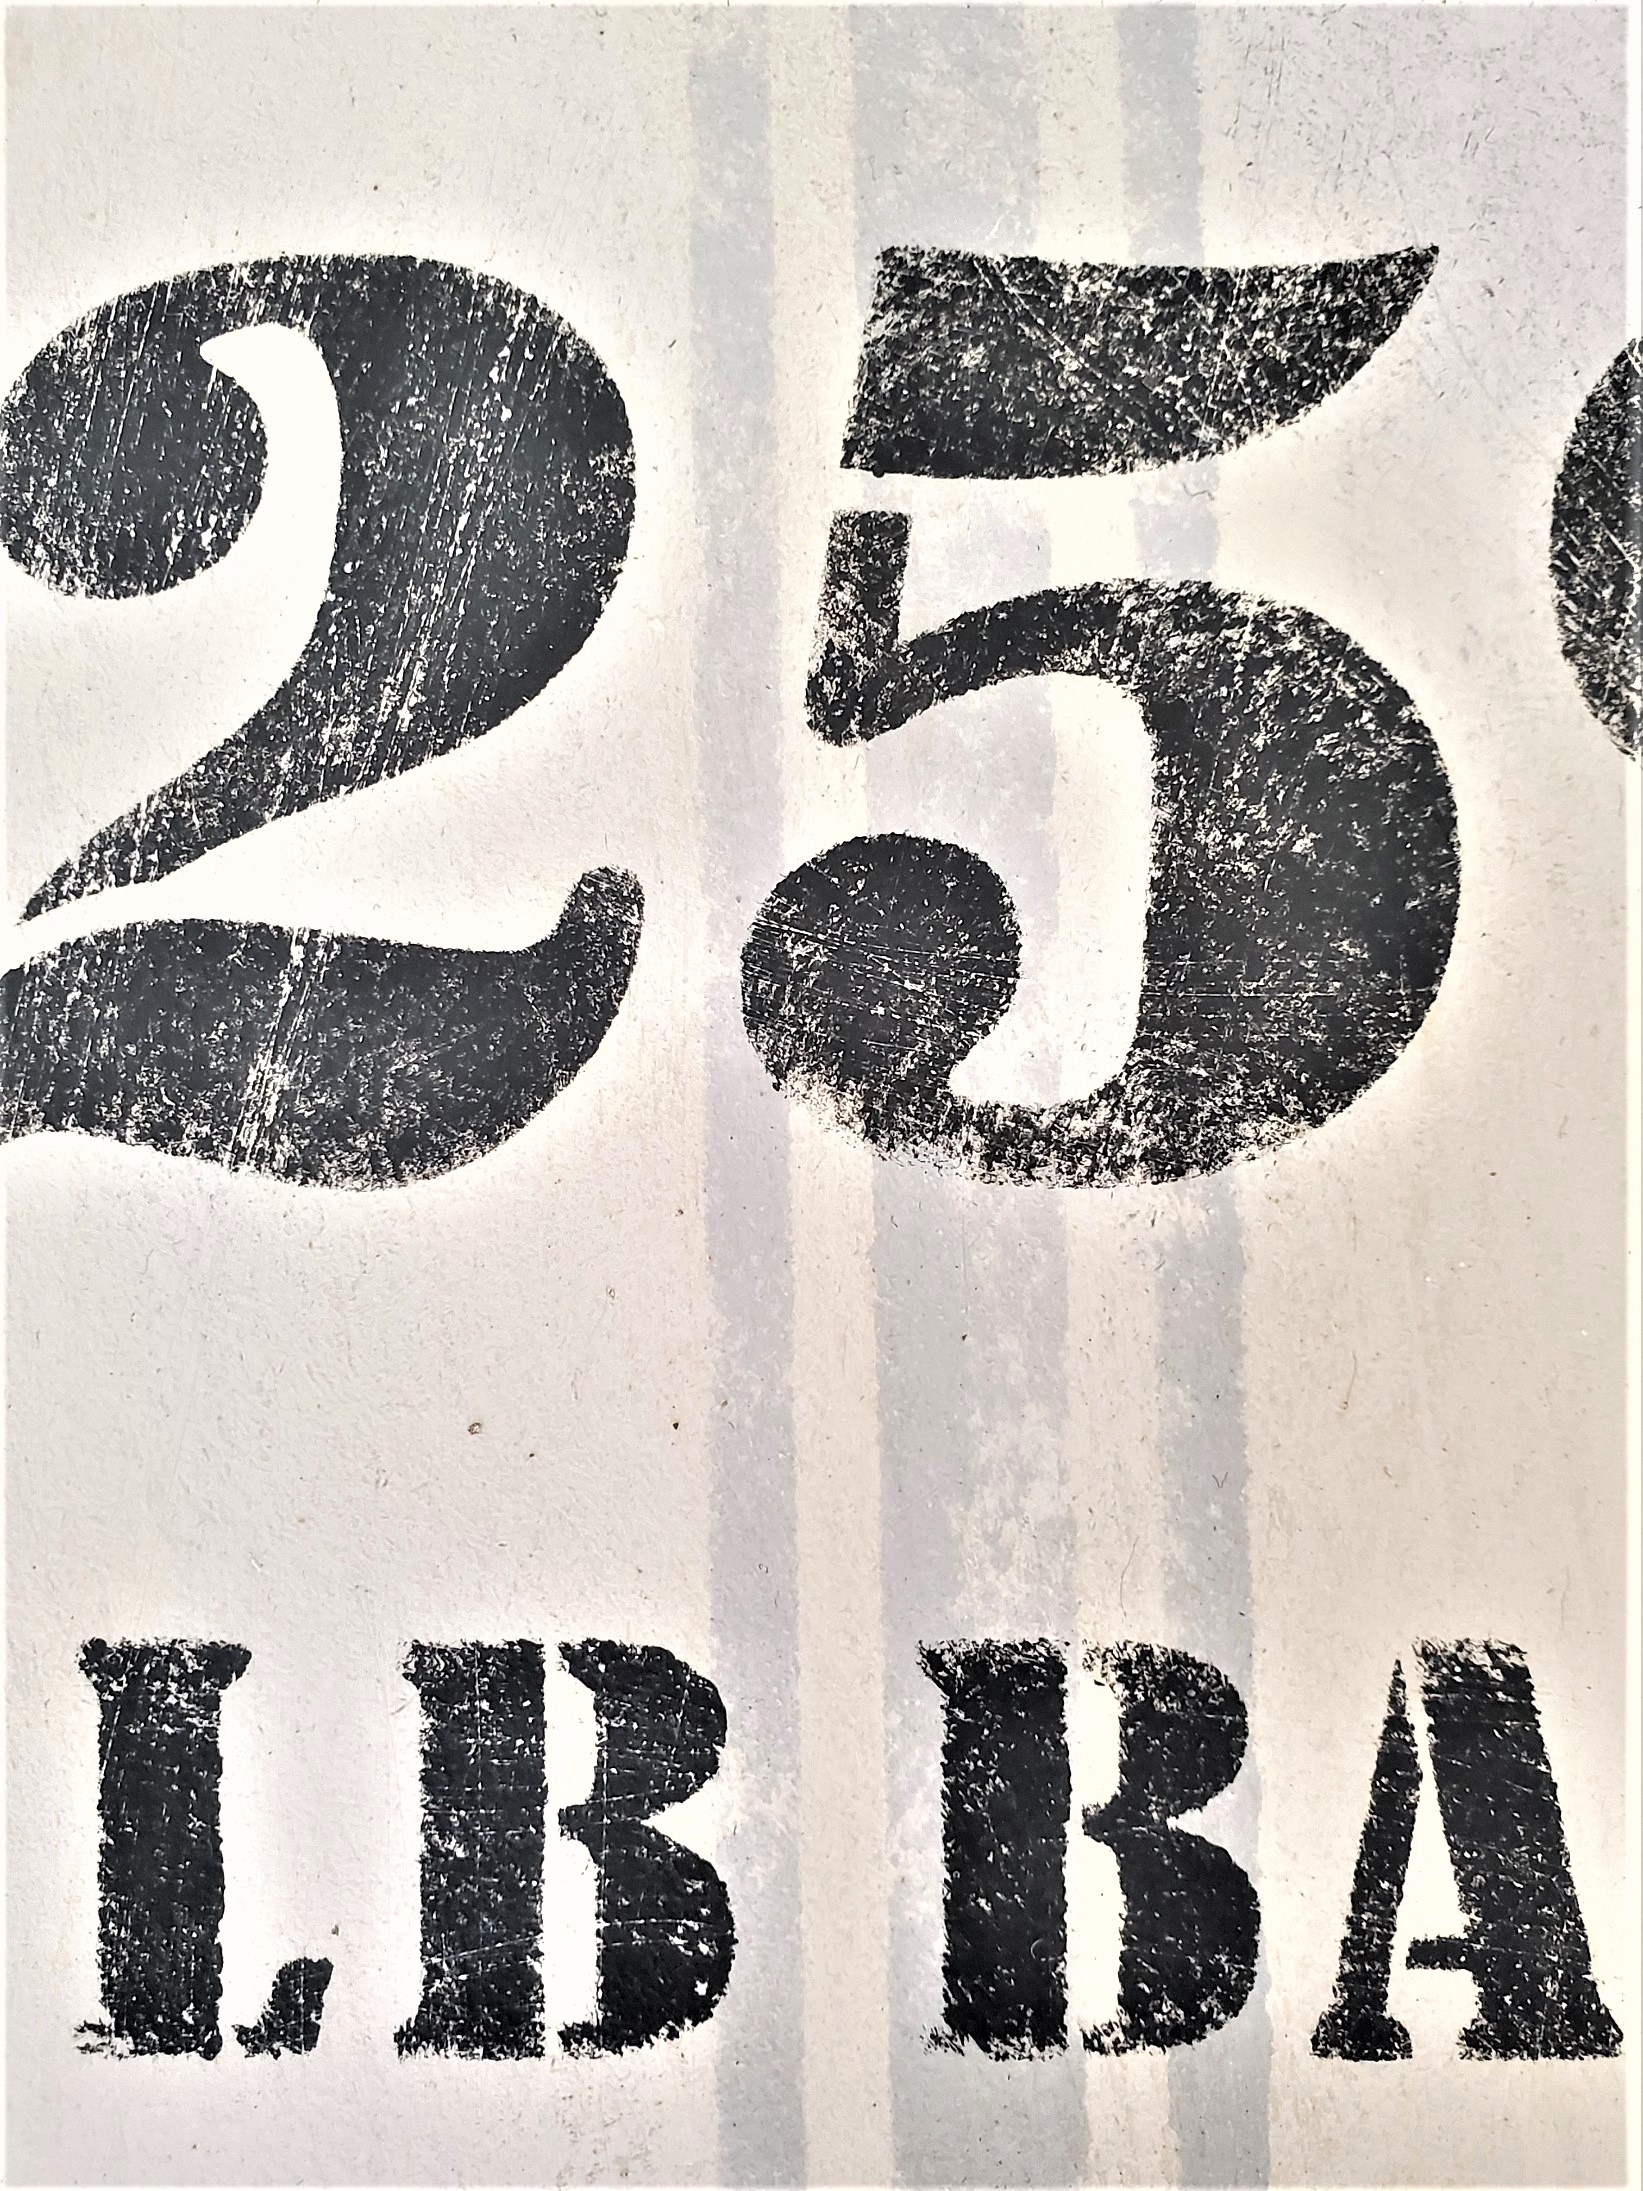
Step 6: Adding Age By Sanding the Paint for Rustic Wood Sign
Using your sanding sponge lightly sand the stencil. This is the perfect way to give the words a slightly worn appearance and adds an instantly aged look to the Christmas sign.
Adding Clear And Dark Waxes for More Age
Step 7: Clear and Dark Wax for an Antique Look
Lastly, applying a light coat of clear and light brown wax is a fun way to add even more age and adds an old look to this sign. Rub well with a lint-free rag to remove any excess wax.
Raw Umber craft paint will work as well. Simply add a bit of water to a little bit of the paint. Add it to the Christmas sign wipe the excess off with a dry chip brush and blend.
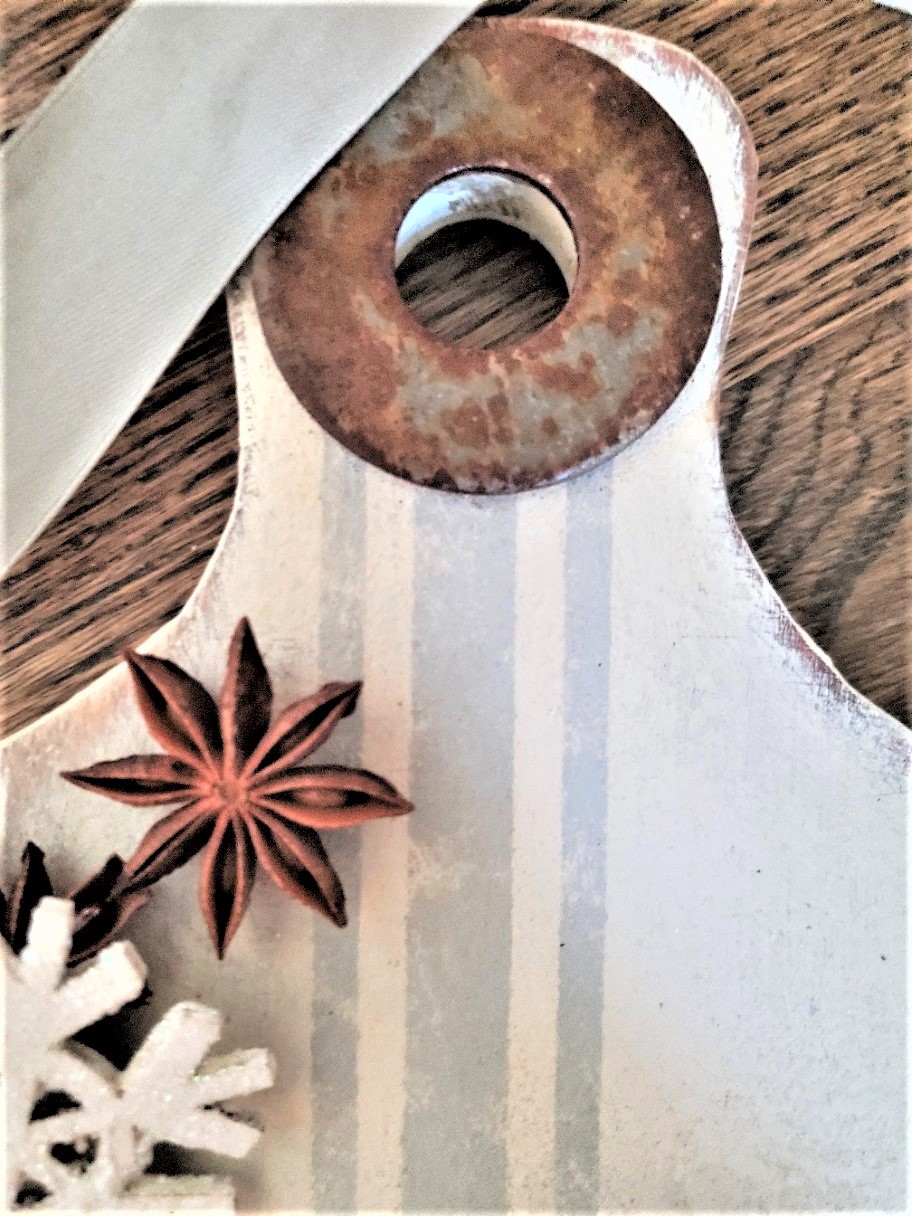
By the way, if you love the rusty washer it’s easy to accomplish. Add table salt, white vinegar, and peroxide to a paper bowl, heavy plastic cup, or plastic container. Let them sit overnight. The next day remove the washer from the solution and let the air dry it and it becomes rusty. Now, how cool is that? I bet you didn’t realize I’m a scientist too!
I hope you enjoyed this post about DIY Christmas signs and think about making one for your home too. Remember these ideas I shared make great and easy gifts for loved ones at Christmas.
Use CODE: C-L20 and receive 20% off this fantastic paint product.


OTHER PROJECTS OF INTEREST!
Farmhouse Front Porch Christmas

Here’s a Fall to Christmas sign in white with color lettering
How about a Thanksgiving sign that reverses to Christmas?
Also, here’s a great Red & Black Christmas sign
And how about this is a rustic lighted sign
Here’s an Arrow stencil for direction!
So Santas knows which way to go!
Lastly, here’s Sleigh Rides Stencil and all these stencils come in a variety of sizes!

Another winner, Cindy!
Super Cute Cindy as all your crafty items are. Happy Friday have a good weekend. xoxo
I am loving your Christmas in July series. Your projects are great.
Cindy, you keep blowing me away. I love this sign!
I love this Cindy!!!
This is so darling! So many fun Christmas crafts! You are amazing!
Thanks so much Karin. You made my afternoon!
I love how this turned out.
This is a super cute project Cindy.
Love this one, Cindy. xo Laura
It’s a lovely sign, Cindy!! So festive!!
Thanks my friend
I love this Christmas craft project, Cindy! Pinned!
This is such a cool project. I love the way it turned out!
This is a great upcycle project! I always see wood boards while thrifitng. Super cute!
Thank you. I love upcycling!
Thank you again Cindy
Love this project. It would make lovely Christmas gifts.
Thanks Tammy. I think it would make a great gift too
This sign is gving me the Christmas spirit. So cute!
Thank you so much!
This turned out so charming!
Thank you so much!
I love the stencil you used! This Christmas sign is really pretty. I have an old cutting board and some left-over chalk paint, maybe I will have a go at this! Pinned!
Thanks for Pinning. It’s a quick project too
Great tutorial on stenciling in stages!
Thank you so much
This is a great project – I love anything with a grainsack stripe. I need to try those stencils!! Pinning!
Funky Junk Interiors has a great selection You won’t be disappointed
Thanks for sharing with us at the To Grandma’s house we go link party – I’ll be featuring you this week!
I absolutely love this project! Thank you so much for sharing! I already have the cutting board, the paint, sanding sponges & the grain sack stripes stencil! I can’t wait to begin!
Happy I inspired you. It’s a fun and easy project
Love this! Thank you for the inspiration!