Acorn Napkin Rings Easy Fall DIY
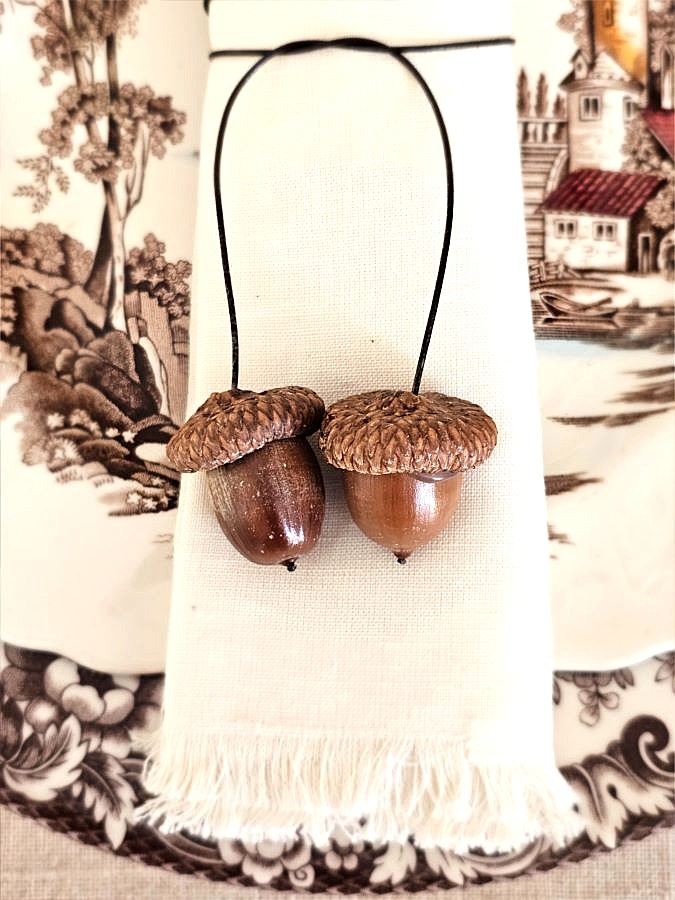
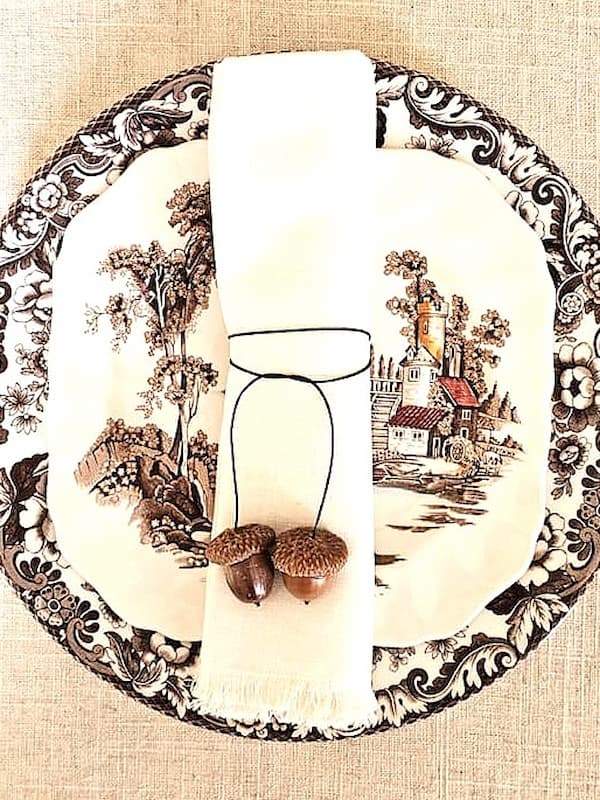
Are you looking for a fun fall craft that adds rustic charm to your table setting? Acorn napkin rings easy fall DIY is a simple project. It comes together in minutes with a few basic craft supplies. These lovely napkin rings bring the beauty of natural acorns to a fall table and make a pretty addition to place settings for everyday meals or special occasions.
If you enjoy working with natural elements and letting your creative side shine, you’ll love how quickly these acorn napkin rings come together. I have been crafting for 25 years, and this is one of those projects that gives you beautiful results without spending hours at the craft store or filling your shopping cart with supplies. Let’s make these essy napkin rings and add a natural touch to your fall table.
As an Amazon Associate and through other affiliate links, I earn a small commission from qualifying purchases made through affiliate links. The price is the same whether you use the affiliate links or the website. All opinions are my own. (Check our full disclosure and privacy policy.)
Jump to Printable DIY CardCraft Supplies: Acorn Napkin Rings Easy Fall DIY
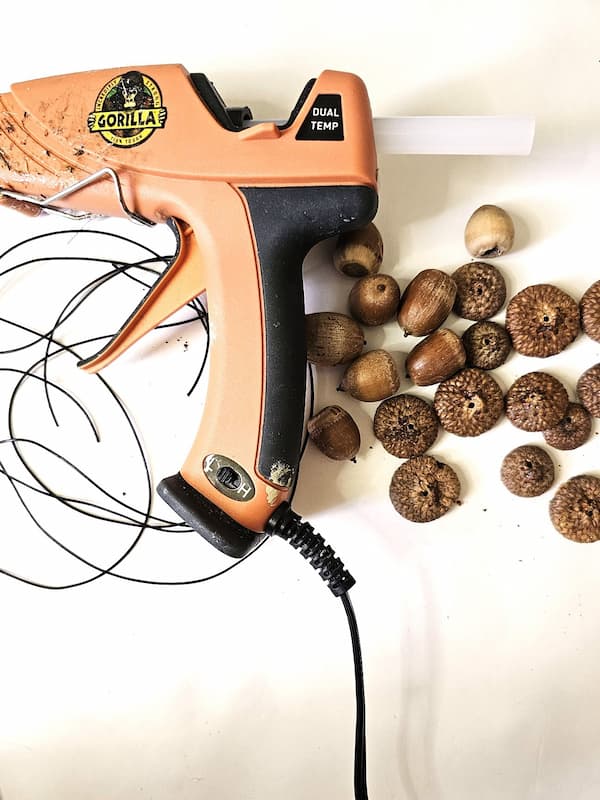
- 12 real acorns or 12 acorn caps
- Hot Glue Gun
- Tweezers I use these, and they are best sellers
- Pliers
- Coated floral wire
- Wire cutters or scissors
- Drill
- 1/8 drill bit
Cindy’s Tip: If you have whole acorns, don’t throw away the caps when you remove them. You’ll use the acorn and its matching cap together when making the first version of these napkin rings.
Step 1: Preserve Acorns
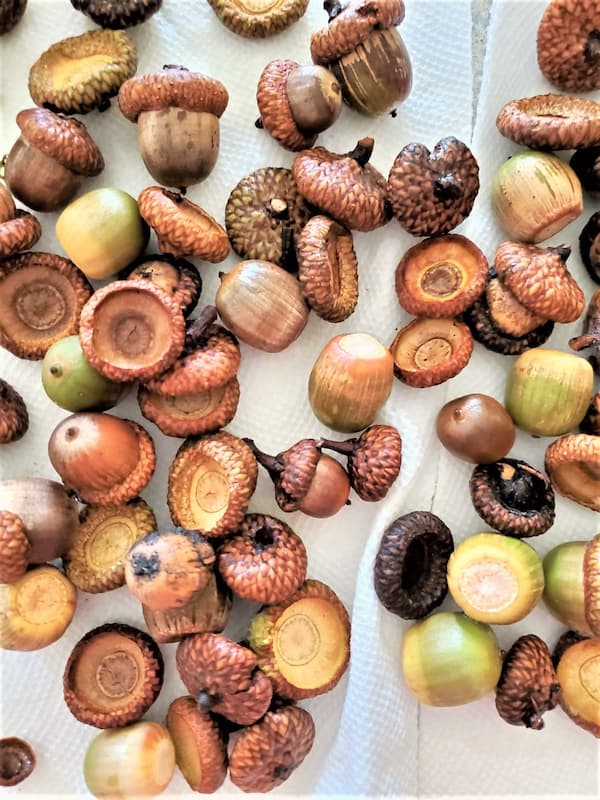
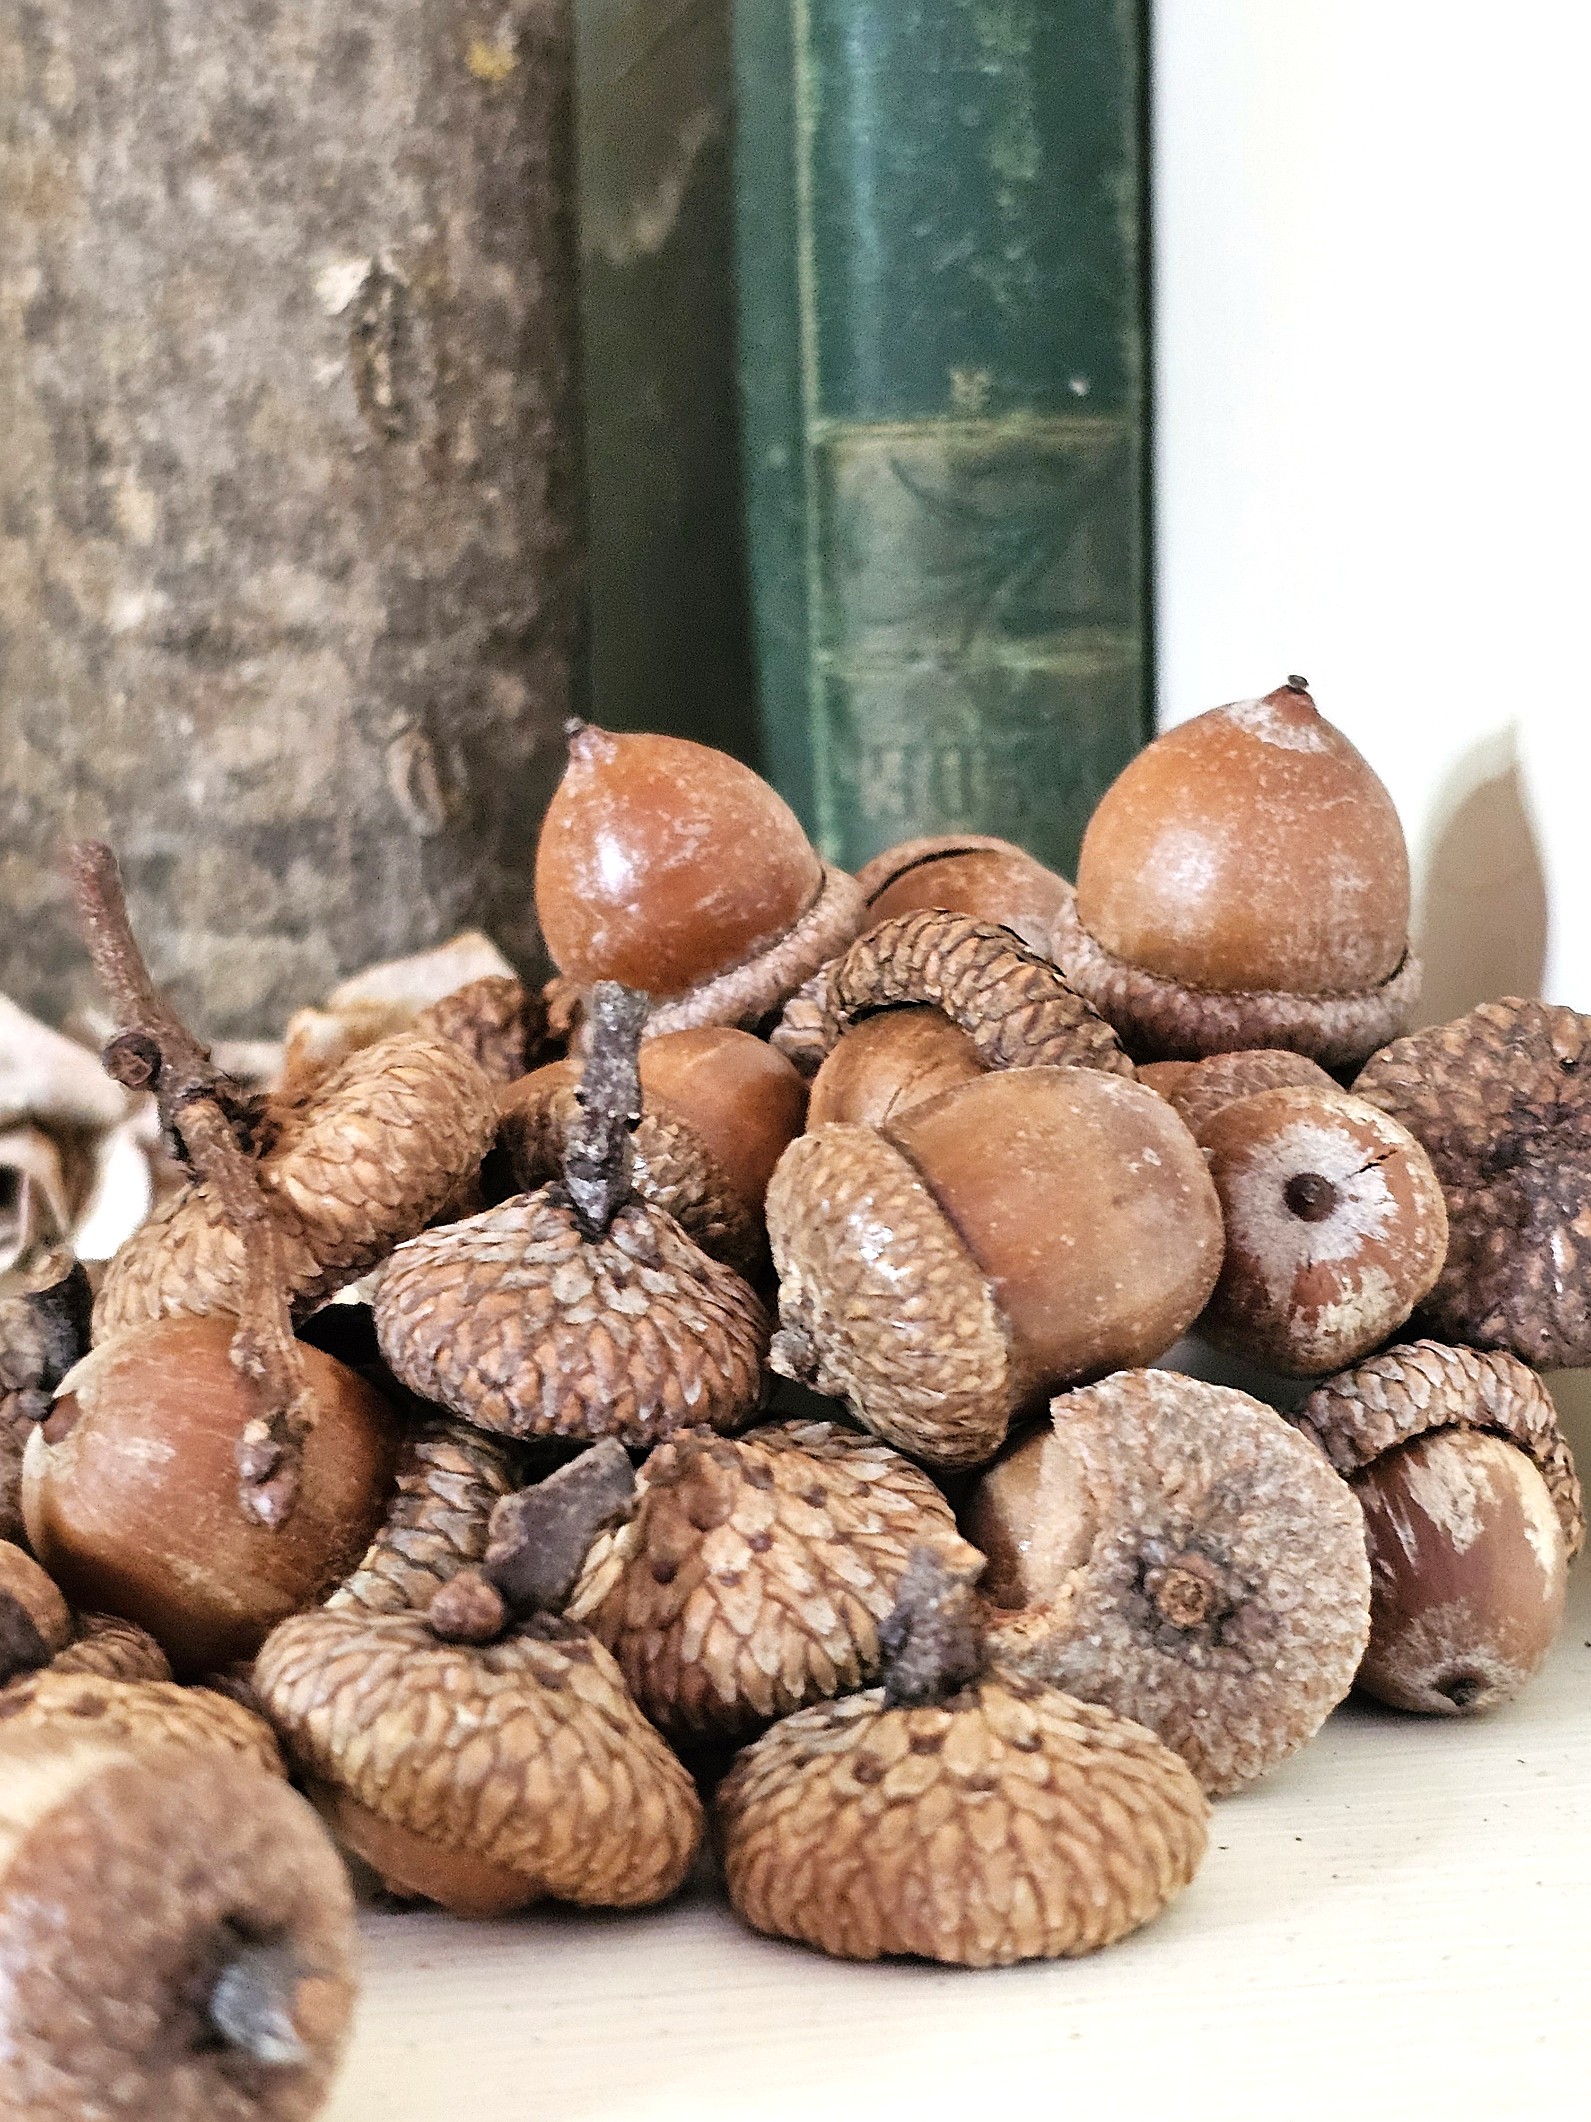
The first step is important if you want to use your oak napkin ring year after year. If you plan to make these for special occasions, an autumn table, or your Thanksgiving table, I recommend cleaning and preserving the acorns before assembling them.
If you’ve been following Cloches & Lavender, you know how much I enjoy bringing natural elements into our home. I’ve been collecting and decorating with acorns for years, and my own collection is now a decade old.
For the process, see my post on how to clean and preserve acorns for crafts and decor. I share exactly how to clean, dry, and preserve real acorns so they can be enjoyed in fall decor and craft projects for years.
Cindy’s Acorn Tip: Don’t skip this step if you plan to store your napkin rings nd ujse them again. The preservation process helps remove dirt and insects and prepares the acorns for long-term decorating.
Using Acorns for a Special Occasion
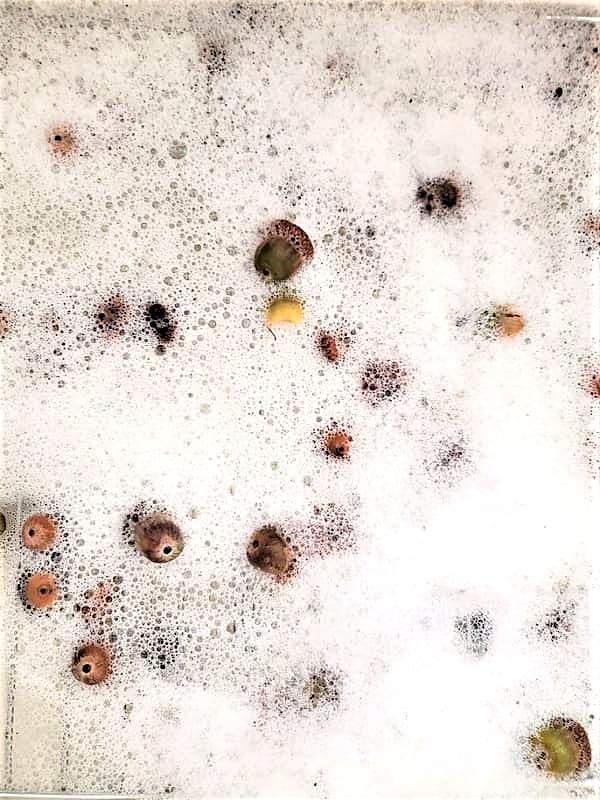
If you’re making an oak napkin ring for one dinner or special occasion and don’t plan to keep them, you can wipe the acorns with a damp cloth and a small amount of dish soap. Allow them to dry completely before crafting.
For reusable napkin rings that you’ll bring out for fall place settings year after year, I recommend taking the extra time to clean and preserve the acorns properly. It’s a fun way to bring a little piece of nature to your table.
Step 2: Measure and Cut the Wire
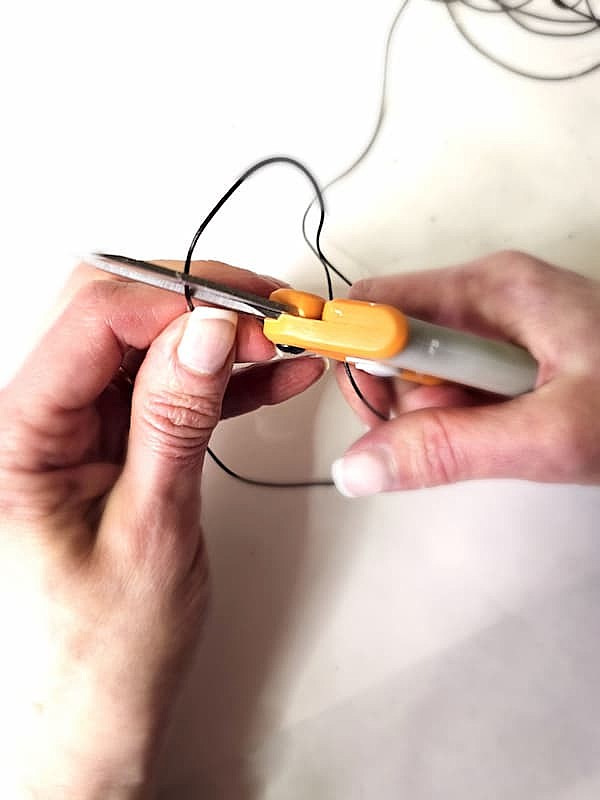
Measure the coated floral wire to 18 inches and cut it out with wire cutters or scissors. This length gives you enough wire to form the napkin ring and secure the ends.

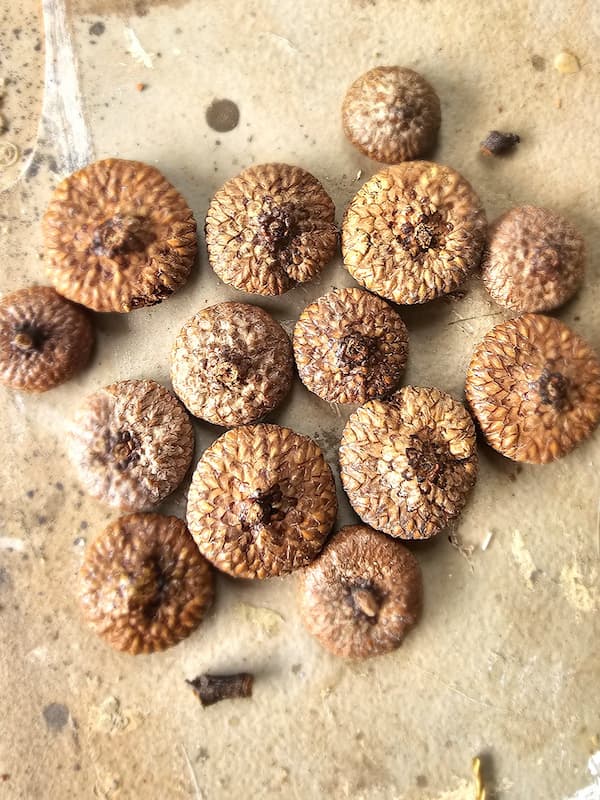
Step 3: Remove the Caps
Carefully remove each acorn cap. The cap should come off easily from most real acorns. If one is stubborn, use the pointed tip of a pair of tweezers and gently slide it underneath the edge of the cap. Give it a little lift, nd it should pop off.
Next, use pliers to remove the small stem from each cap. Keep each acorn cap next to its matching acorn. This makes it easy to find the right cap when you’re ready to put your napkin ring together with your hot glue gun.
Step 4: Drill the Caps
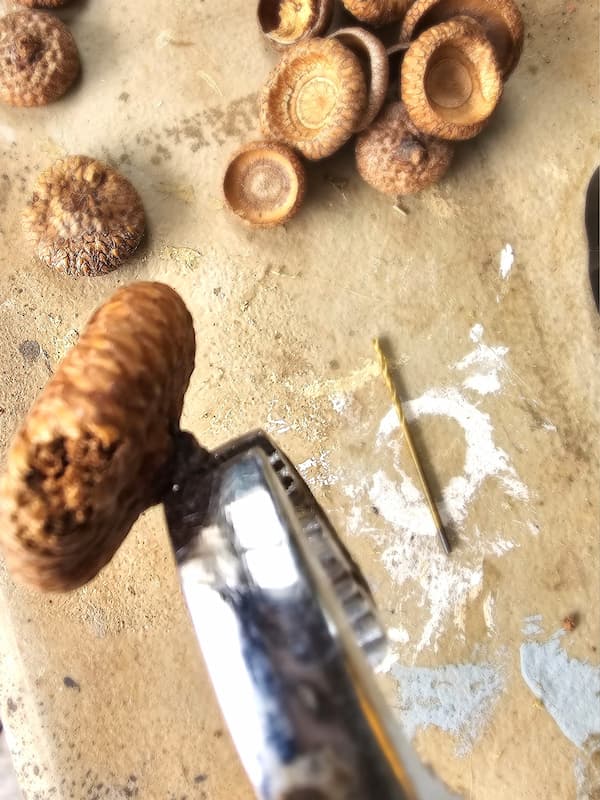
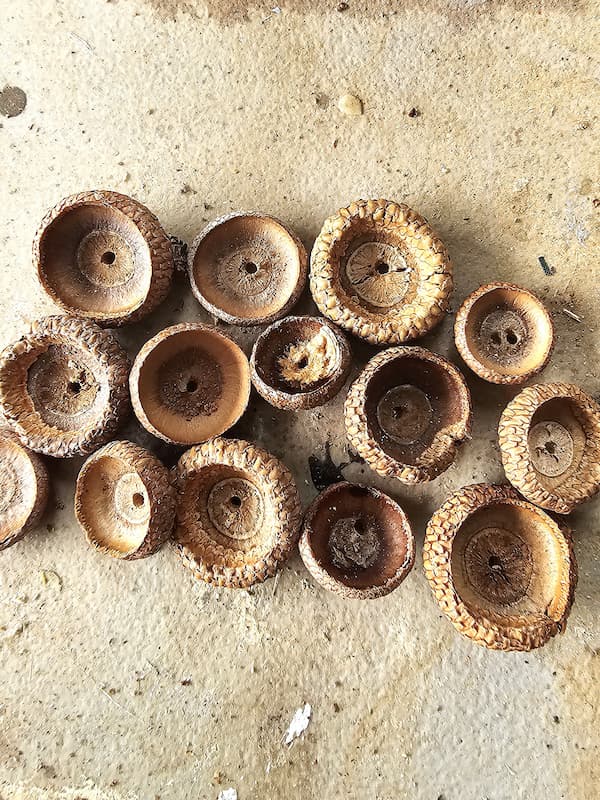
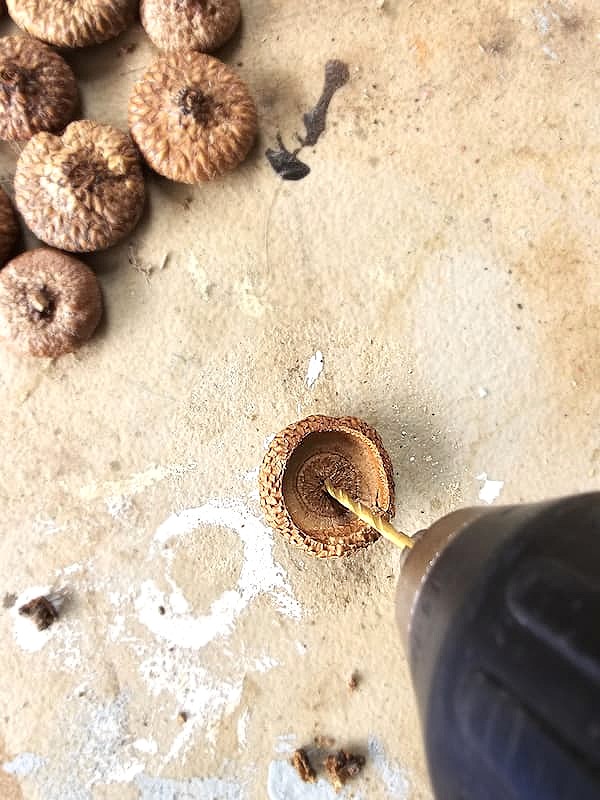
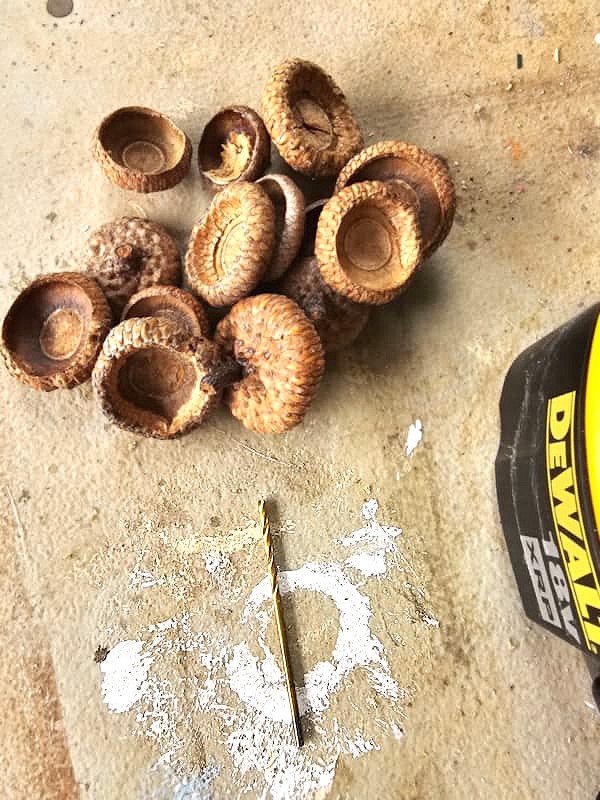
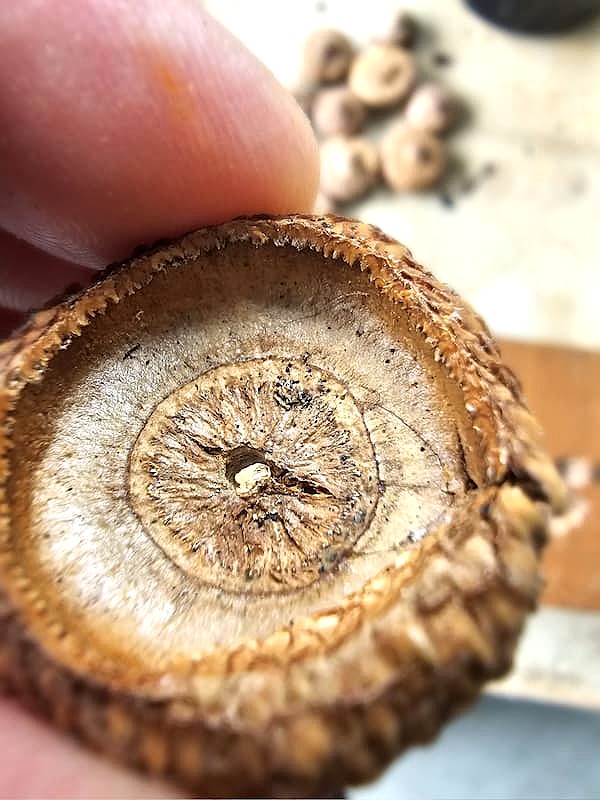
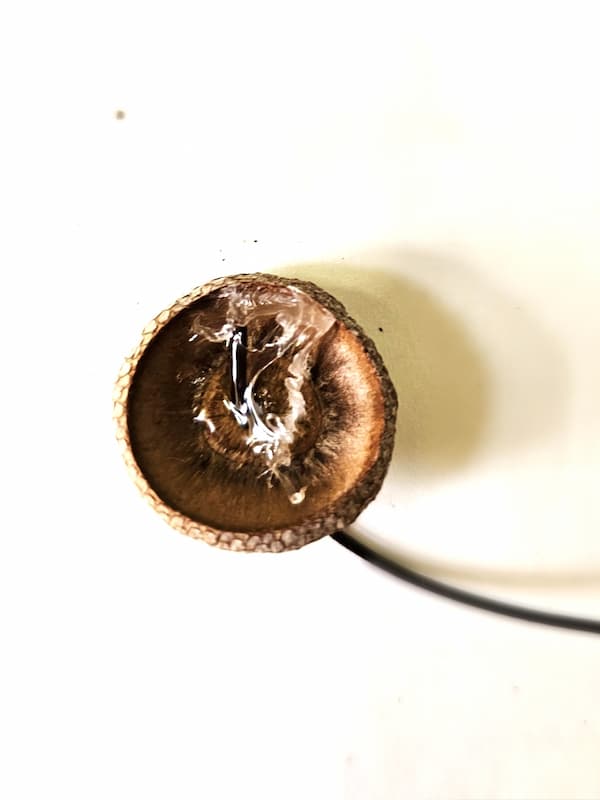
For the next step, carefully drill a small hole through the center of each cap using a 1/8 inch drill bit. A small hole is all you need for the floral wire to pass through.
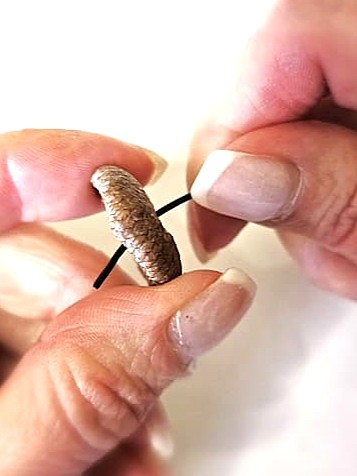
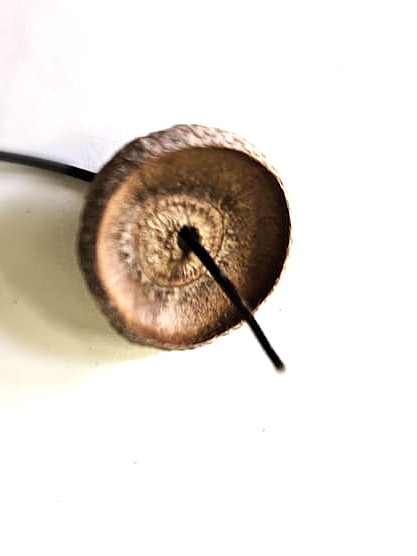
Once the holes are drilled, thread the ends of the wire through each cap. Make sure both ends of the wire come through the cap so you can secure them in the next step.
Have your glue gun heating while you work. It will be ready when it’s time to attach the wire and the acorn cap to create your finished napkin ring.
Step 5: Glue the Cap in Place
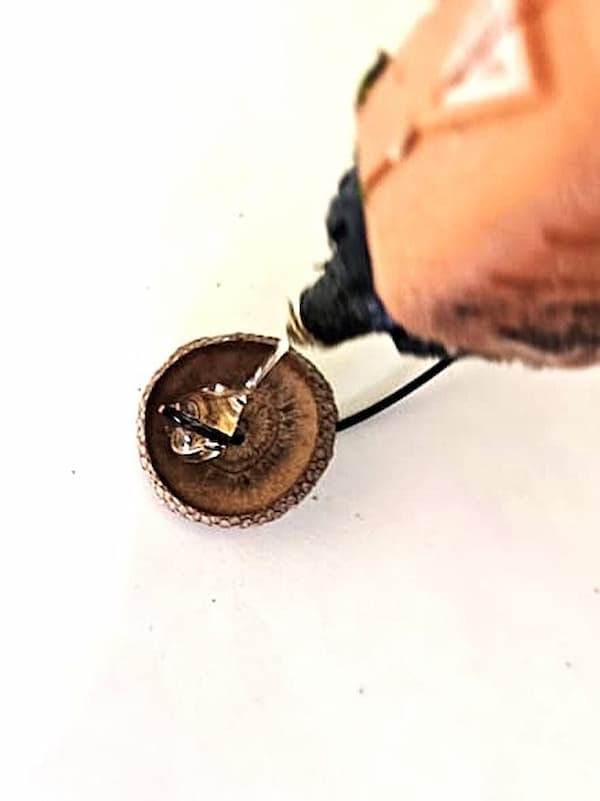
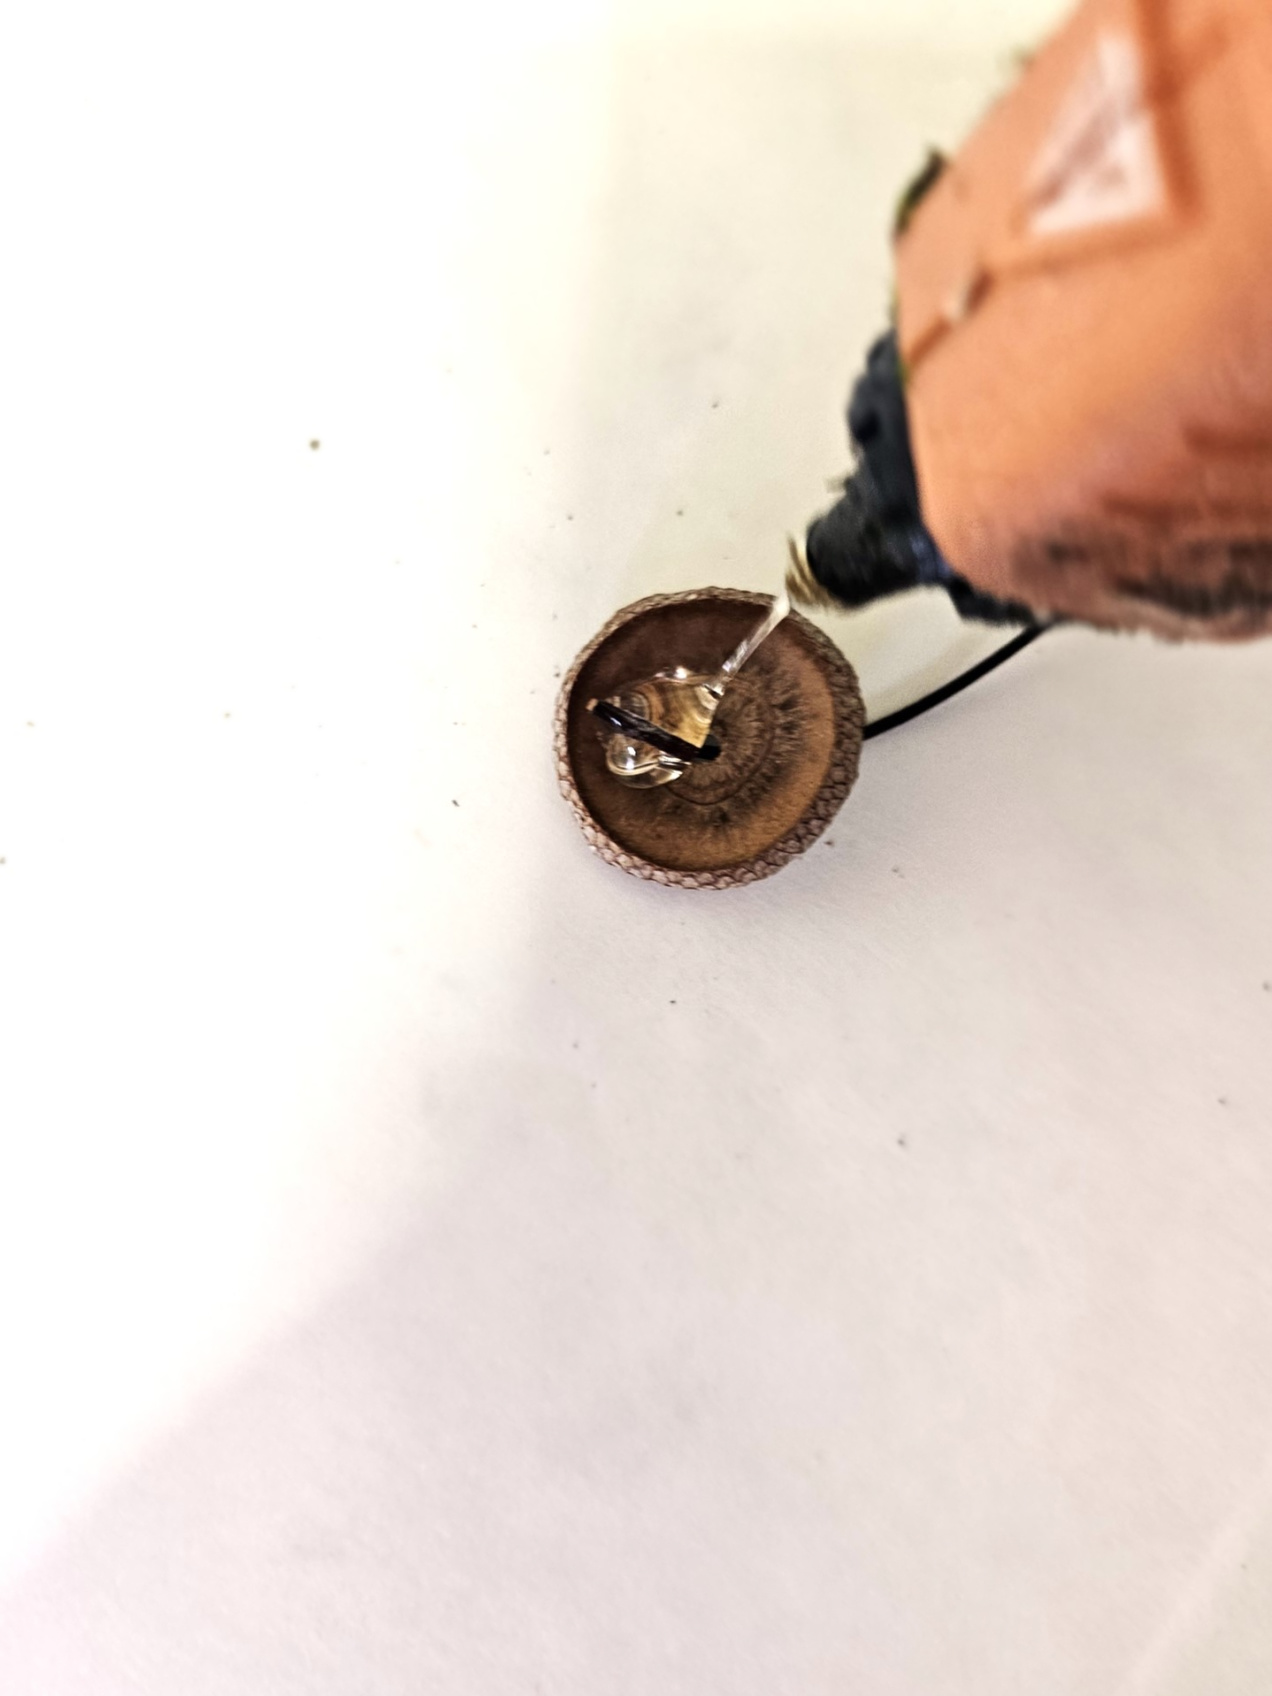
Using your hot glue gun, add a bit of hot glue to the ends of the wire inside the cap. Hold the wire in place for a few seconds until the glue sets.
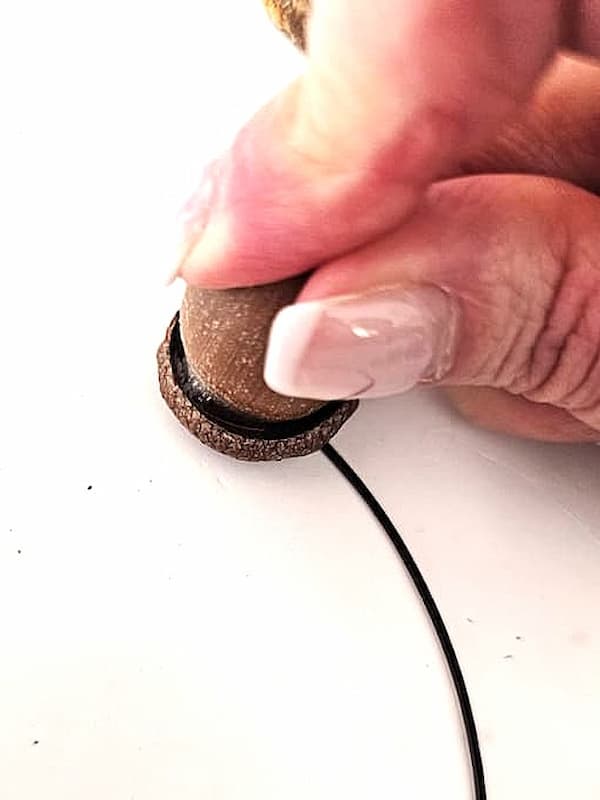
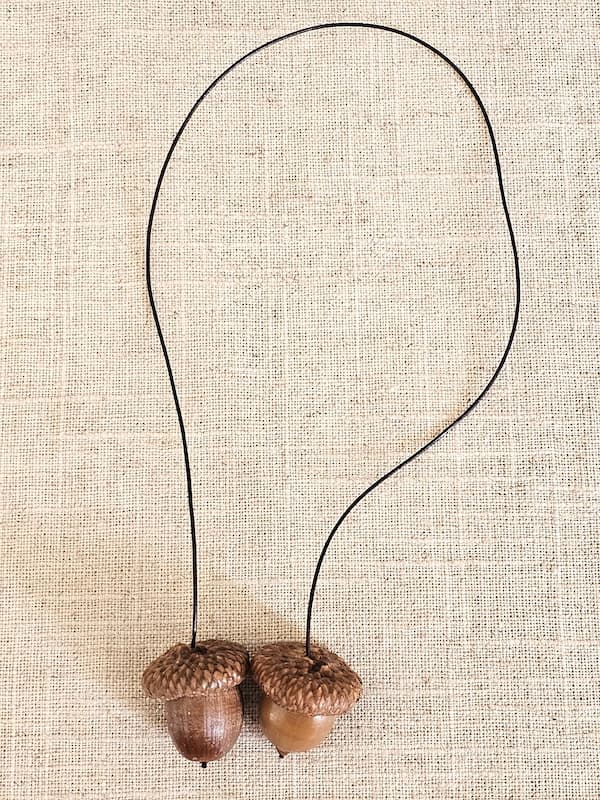
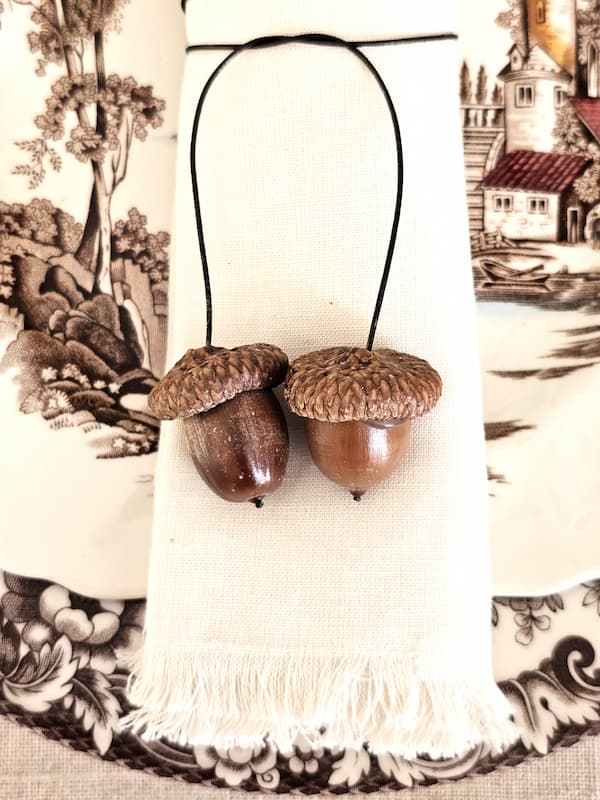
Next, add another bit of glue inside the acorn cap. Place the cap back onto its matching acorn and hold it firmly in place until the glue sets.
That’s it! Your acorn napkin ring is finished.
Cindy’s Tip: The speed of this project is what makes this a fun fall craft. Once your supplies are ready, you can make several napkin rings in a short amount of time. This is perfect when you’re getting your fall or Thanksgiving table ready for this time of year.
Make Napkin Ring Using Only Acorn Caps
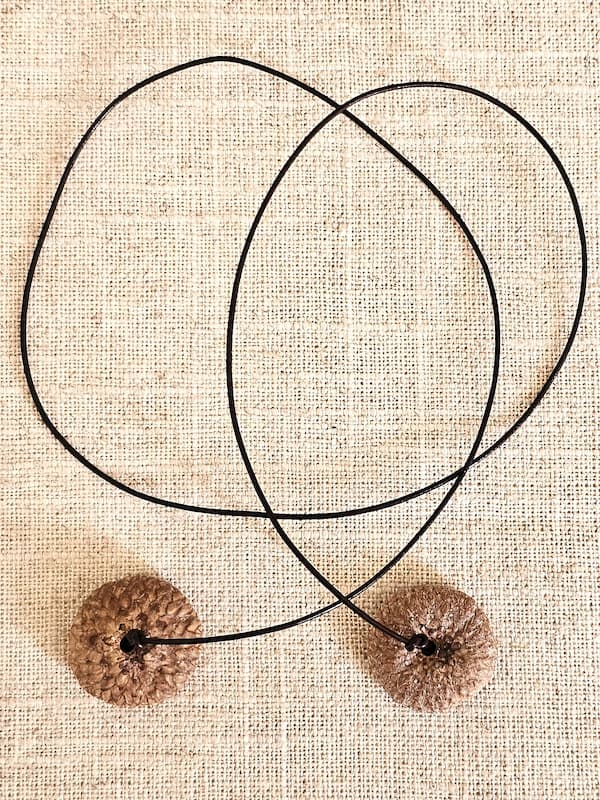
Don’t have enough whole acorns? You can make these napkin rings using acorn caps. This is an alternative if you don’t have easy access to real acorns, and it gives the finished napkin rings a slightly different look.
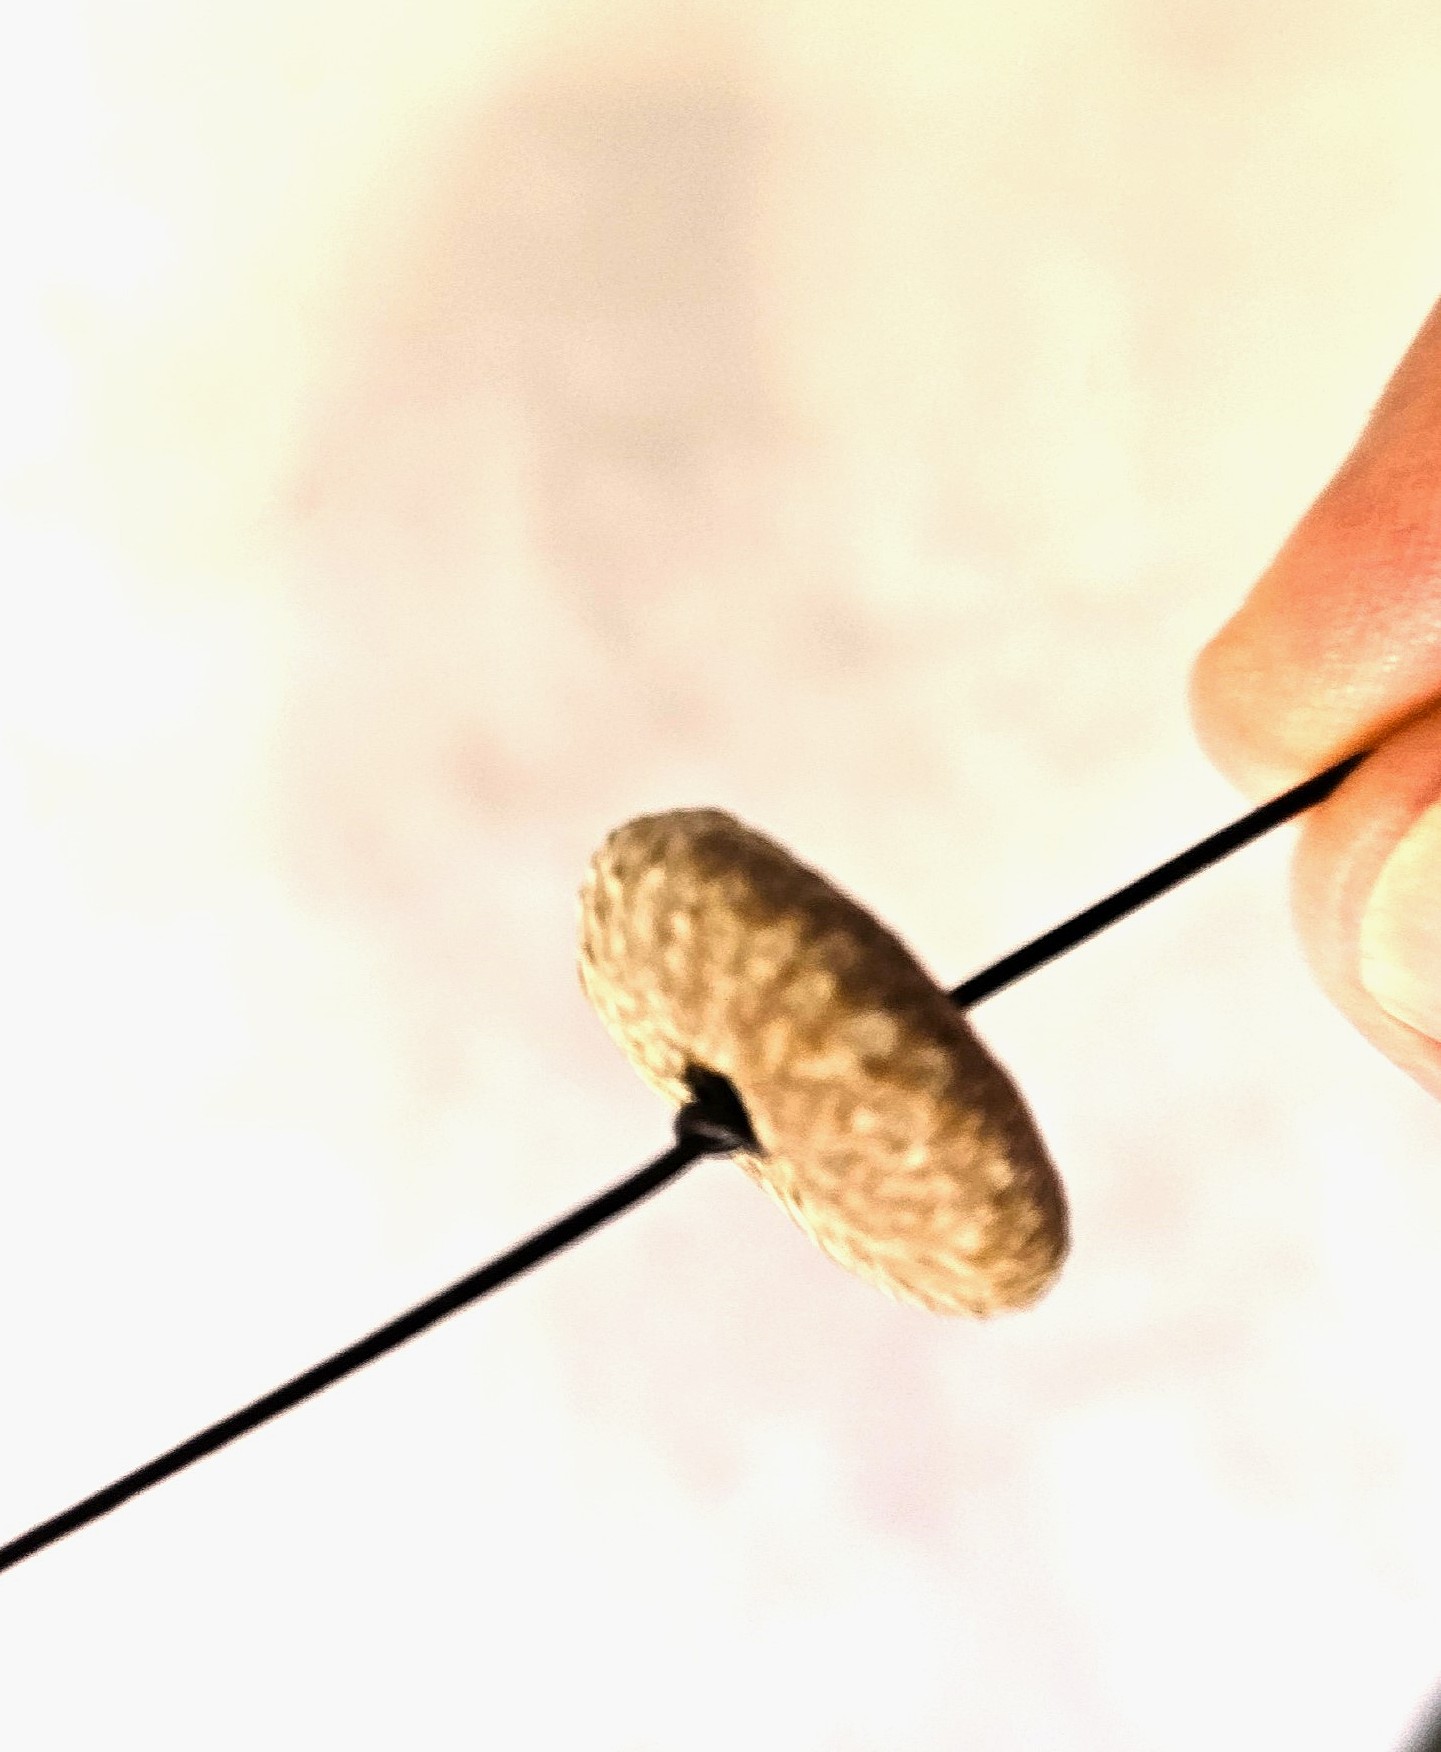
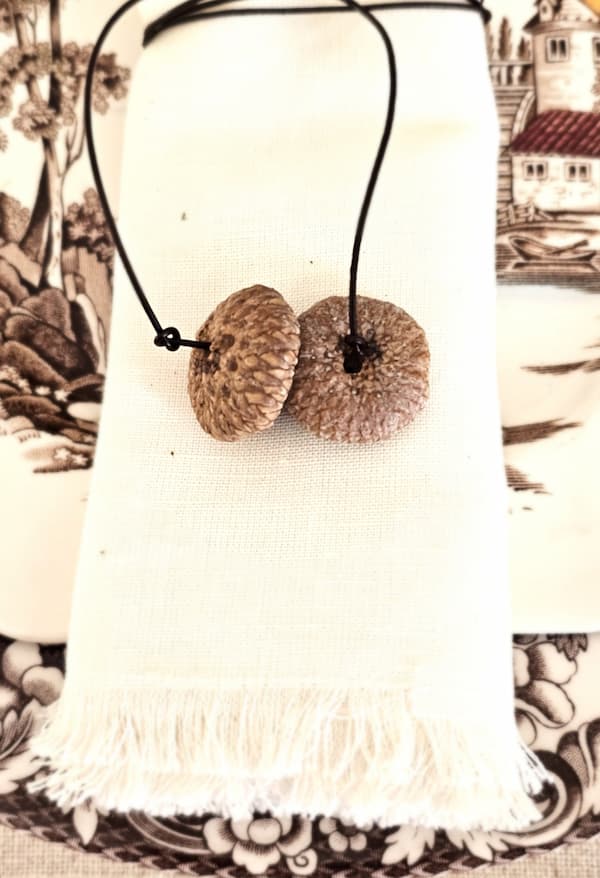
Start by using pliers to remove the small stem from each cap. Next, drill a hole through each cap using a 1/8 inch drill, then thread the coated floral wire through the opening.
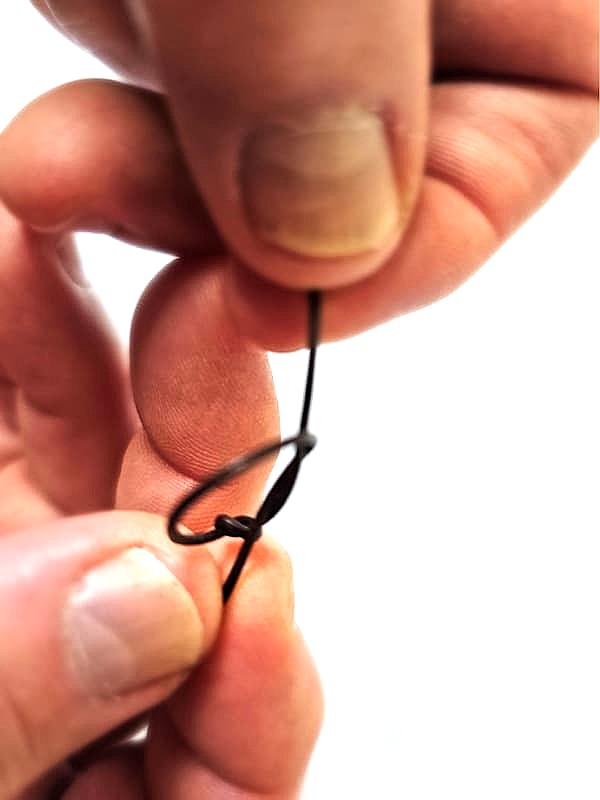
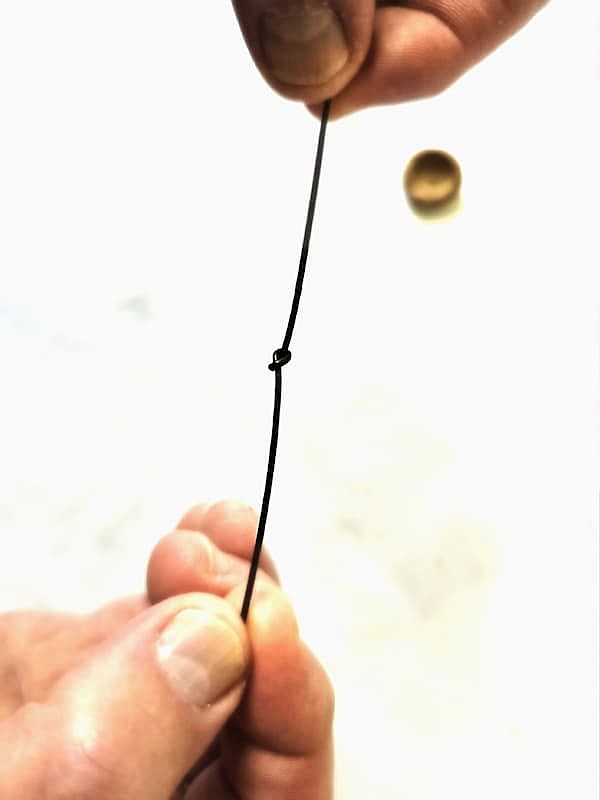
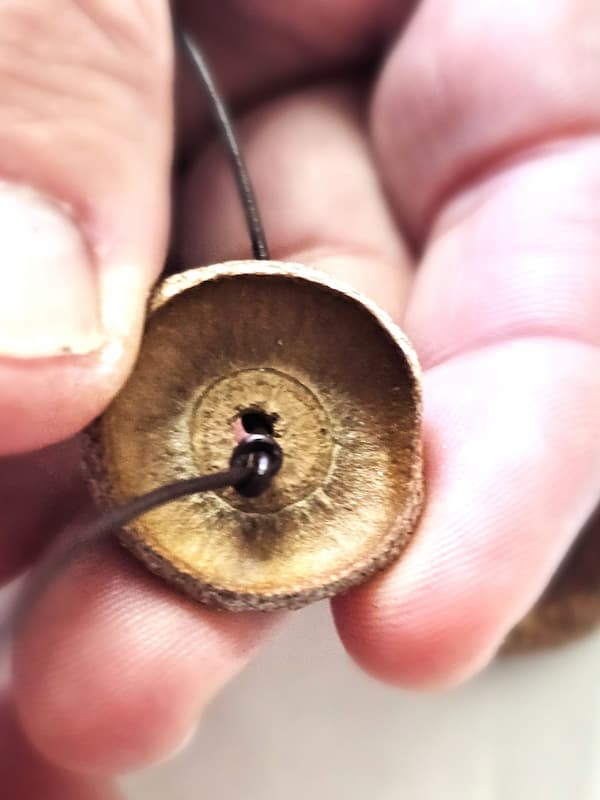
Tie a secure knot on the outside of the cap. Then tie another knot on the inside to keep the wire in place. If you’d like extra security, add a bit of hot glue to the knot and allow it to set completely.
I tested the finished napkin rings by gently tugging on the wire several times, and the knots stayed securely in place.
Safety Tip: Never leave a hot glue gun unattended. If children or pets are nearby, keep them away from the hot glue, tools, and loose wire while making your napkin rings.
Where to Find Acorn Caps
You may not find real acorns at your local craft store, but they are available online. I have them through Amazon, Walmart, and Etsy.
If you’d like to make these lovely napkin rings but don’t have access to enough acorns, Etsy has several sellers offering acorns and acorn caps in different sizes and styles. Some are listed as best sellers.
Cindy’s Note: If you’re planning to make these for fall entertaining or several place settings, I suggest adding these caps to your shopping cart early. Availability and styles can change as the season approaches.
- MosseerStudio
- MyFamilysNutz
- NewHampshireNature
- FairieGifts
- KVRClassics – acorns
- Maeryzdotes – acorns
- GSboutique has gold-plated dark acorn caps
Cindy’s Fall Table Tips: Use faux oak leaves or other colorful leaves you can find at Dollar Tree or the craft store. This is an easy fun fall craft and a great way to use these as place cards. Write each name and add the oak leaves to your place settings with your easy and lovely napkin rings. These are perfect for any special occasions you have coming this time of year. Imagine how pretty these will look on a Thanksgiving table. Each themed oak napkin ring will add instant charm and rustic natural elements to your place settings.
Style Your Autumn Table with Nature
Now that these lovely napkin rings are finished, let’s have fun styling your fall table. I love using natural elements because they add texture and rustic charm to a table without making it overdone.
For an easy place card idea, tuck a faux oak leaf or colorful fall leaf into each napkin ring. Write each guest’s name on the leaf and place it at their seat. The leaves become simple place cards while the finished rings add a natural touch to each of your place settings.
Cindy’s Tip: Faux oak leaves are easy to find at a craft store or Dollar Tree. You can also collect colorful leaves the day of your event from your yard. Choose leaves that coordinate with your table linens and other fall decor.
Natural Additions for a Cozy Table
You don’t need expensive decorations to create a beautiful table setting. Some of my favorite fall decorations come from nature or can be found inexpensively at the grocery store or craft store.
- Pumpkins – Amazon
- Fall Flowers – Amazon
- Pomegranates – Amazon or Etsy
- Apples – Amazon
- Dried Artichokes –Etsy
- Pinecones
- Acorns
- Nuts in their shell
- Indian Corn
- Gourds
- Pumpkin stems – Etsy
- Bittersweet – Amazon
- Birch logs – Amazon or Etsy
- Bare branches
- Branches with fall foliage
- Faux or fresh oak leaves
- Dried artichokes
These natural elements add texture and interest to your table. For a natural look, use acorns, pine cones, birch logs, and bare branches. For traditional fall colors, add pumpkins, gourds, colorful leaves, or bittersweet.
Battery-operated candles are another simple addition. I use them throughout our home from fall through winter because they add a warm glow without an open flame.
Cindy’s Tip: Start with the items you already have and build from there. A simple combination of natural textures, warm fall colors, and candlelight can make an ordinary table feel special without spending a lot.
Creating a Cozy Table on a Budget
One of my favorite things about decorating for all is that nature provides so many decorating materials. You can gather acorns, branches, colorful leaves, and pine cones from your own yard, then add a few inexpensive items from the grocery store or craft store.
These acorn napkin rings easy fall DIY and a simple way to bring natural charm to your table. Whether you use whole acorns or acorn caps, this quick project adds a special touch to fall gatherings, Thanksgiving, or everyday meals. I hope you enjoy making them as much as I do!
I share more ideas from my fall decorating ideas for a cozy home. It includes ways to use acorns, pinecones, dried artichockes, gourds, and other natural elements. These ideas make it easy to create a welcoming home without spending a lot.

Other Natural Decorating Ideas. Click the Purple Link
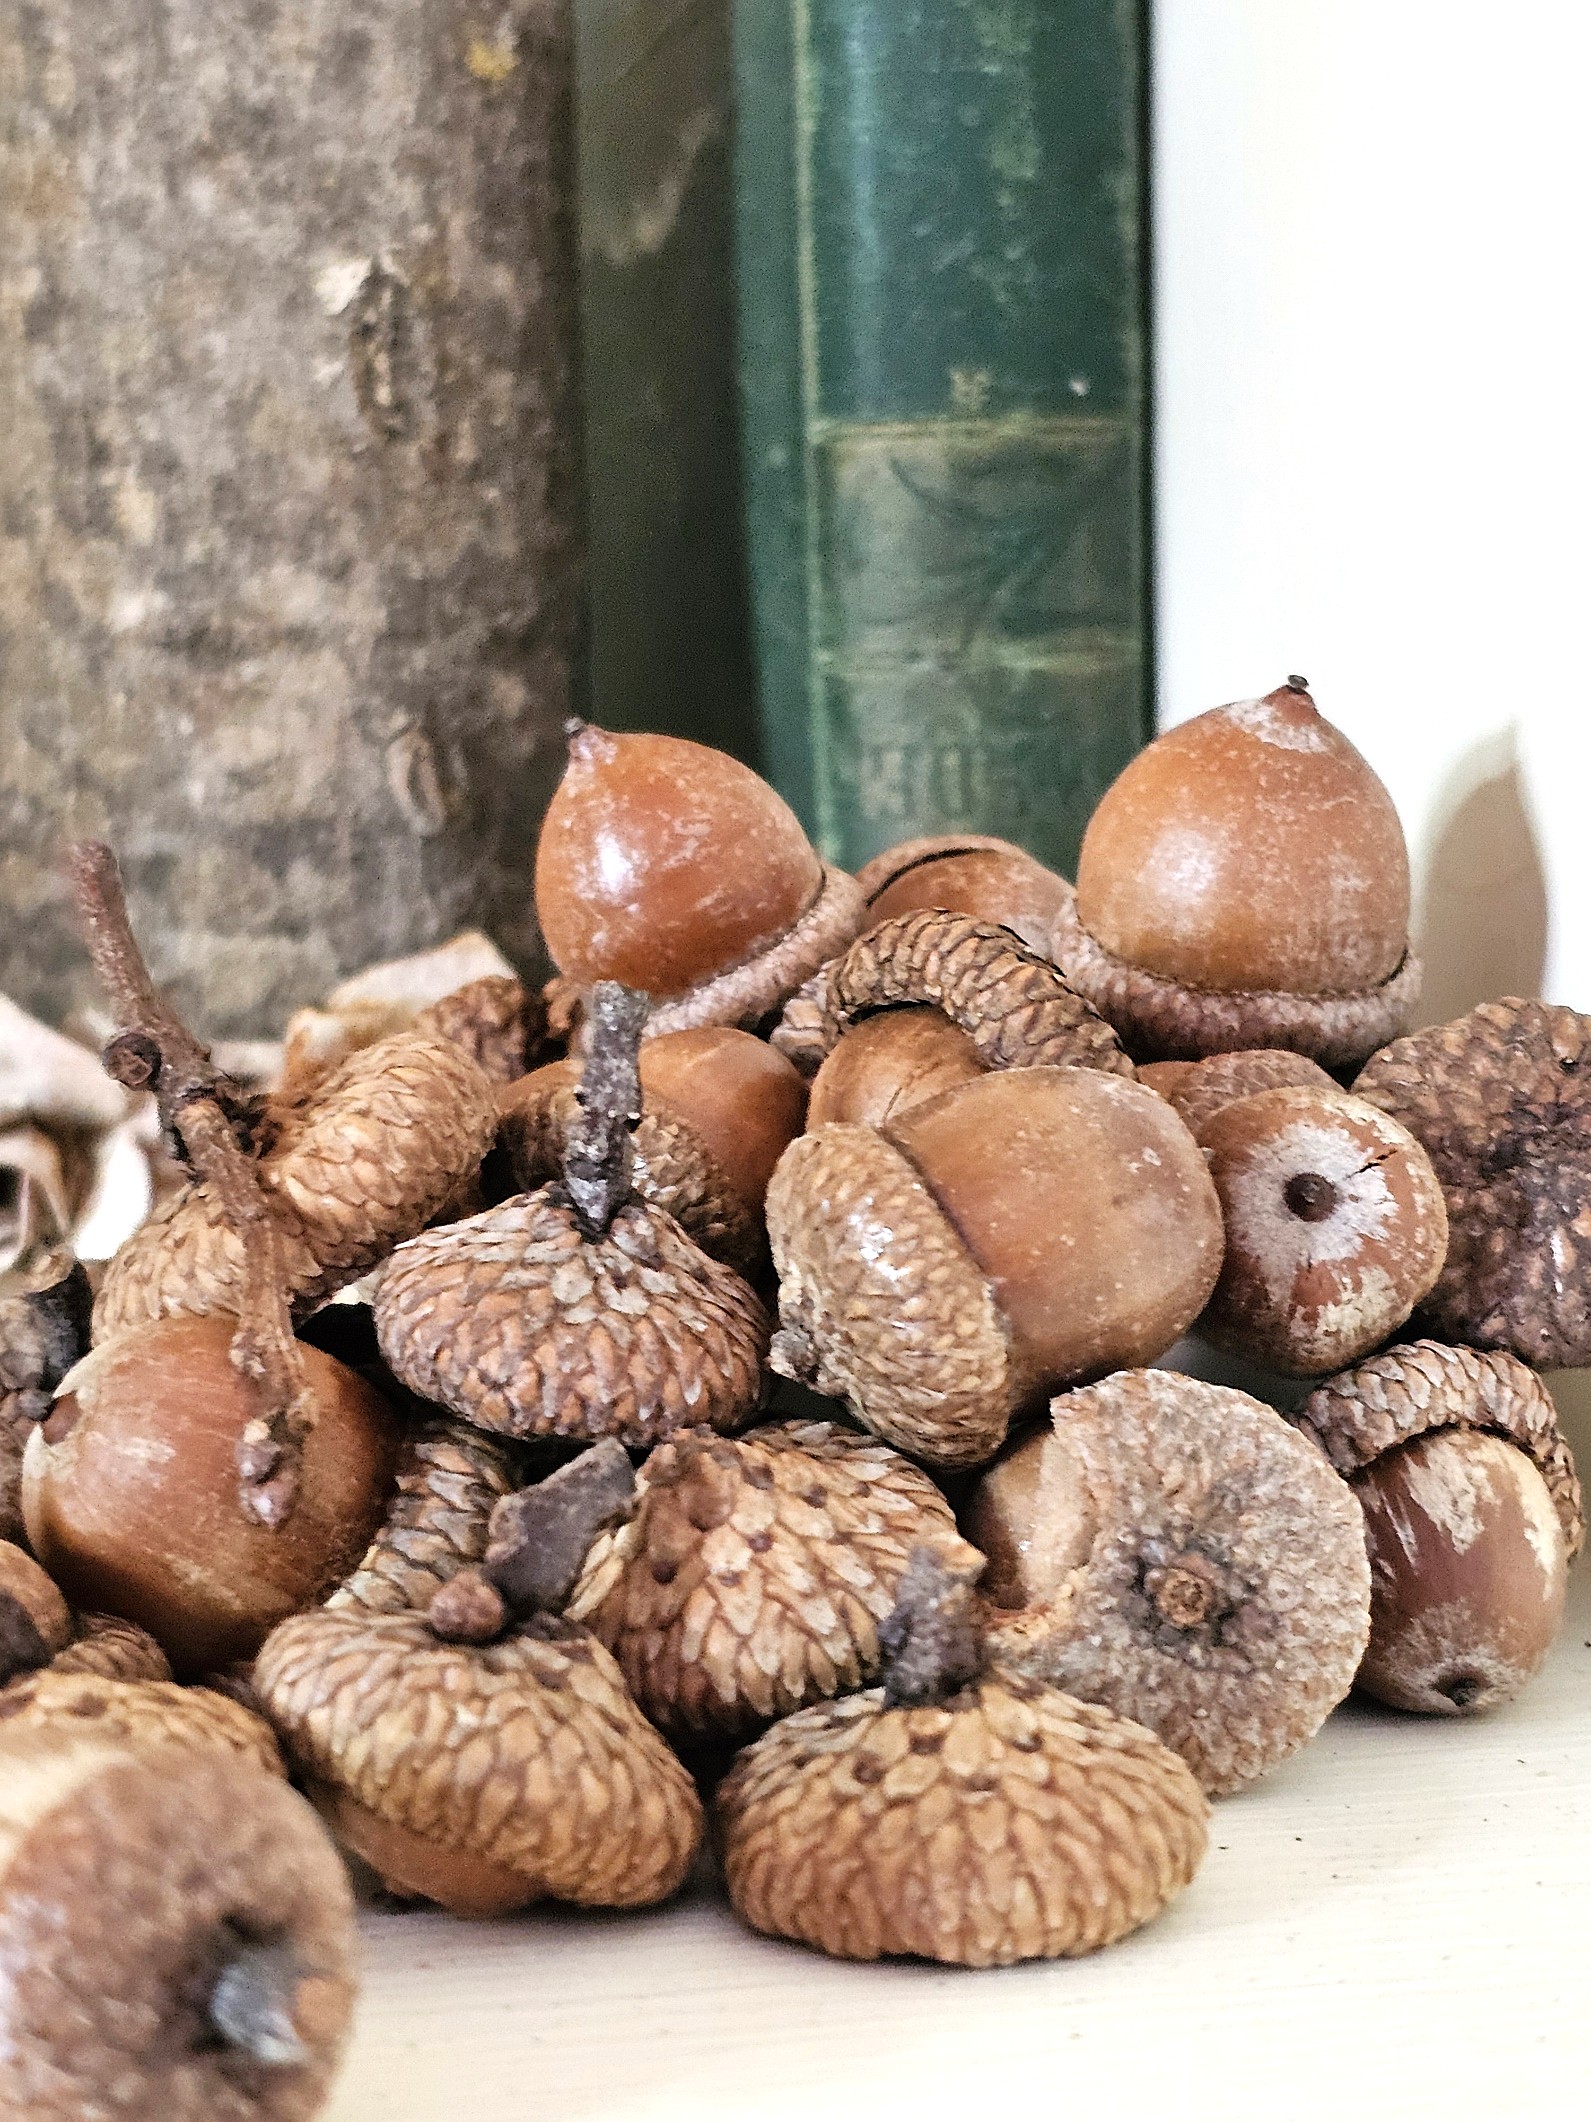
Clean and Preserve Acorns for Crafts and Decor
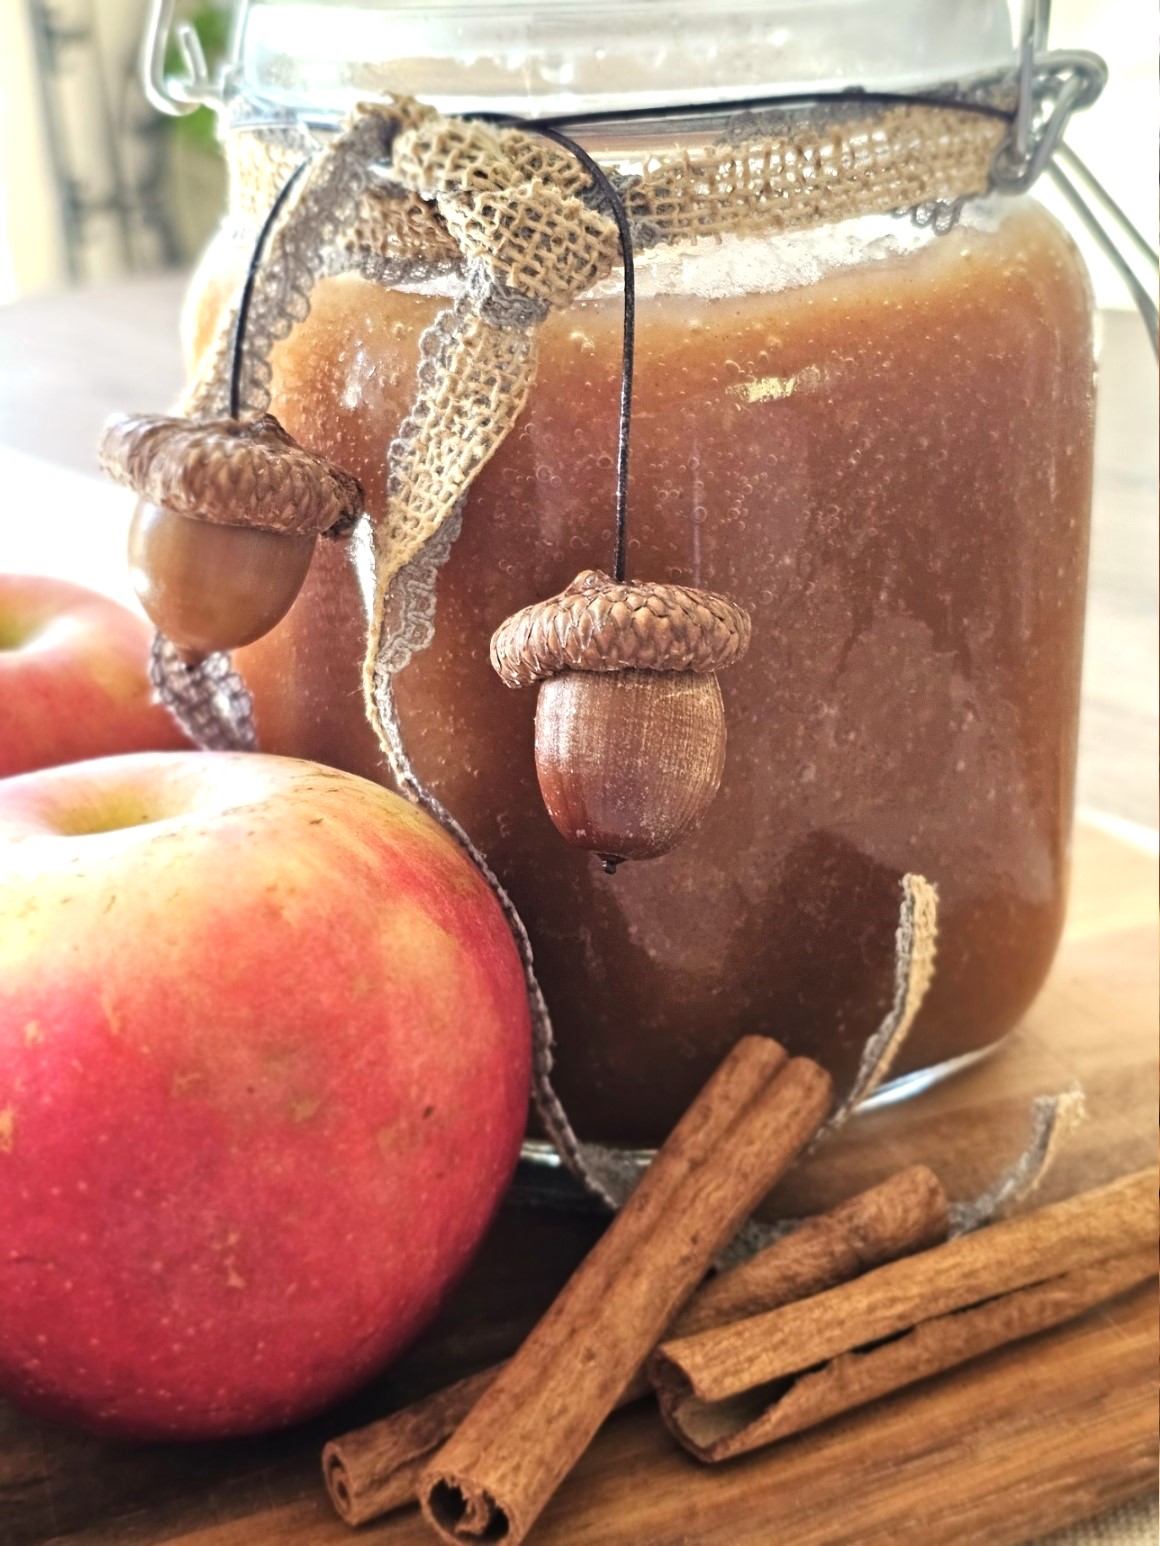
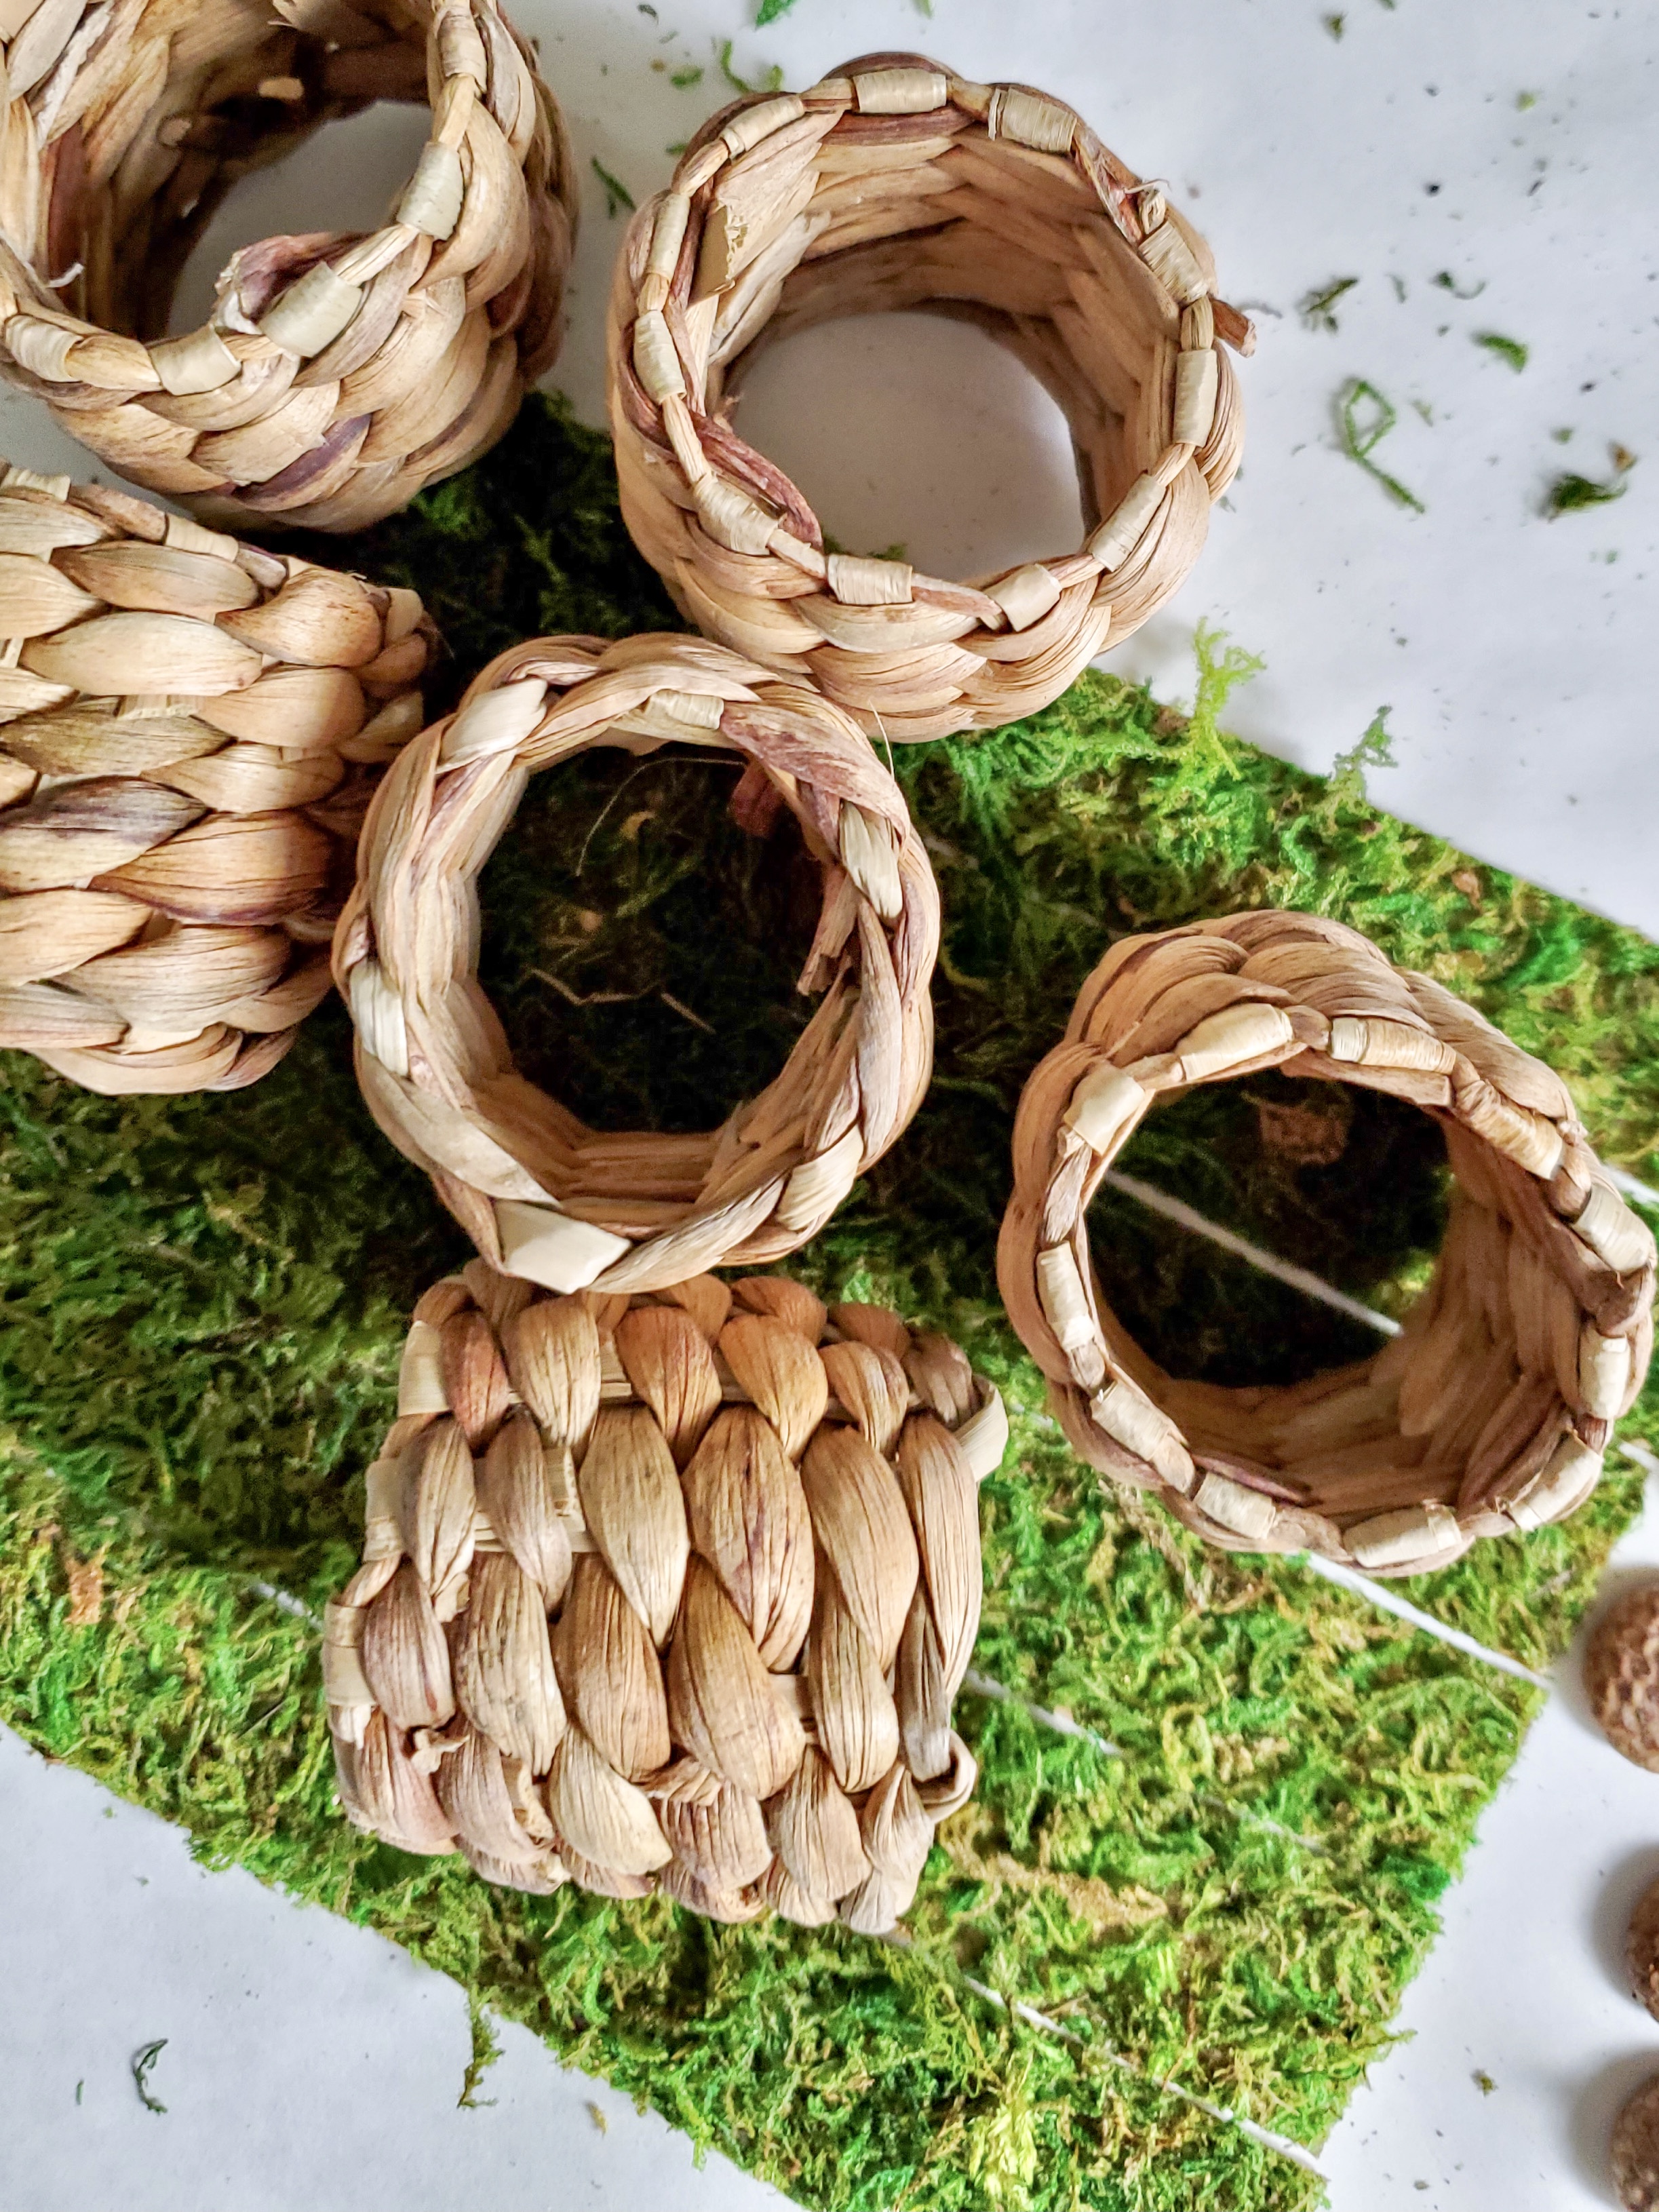
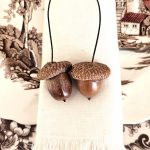
Napkin Rings Easy Fall Craft
Notes
Oak Napkin Rings Easy Fall Craft
Craft Supplies:
- 12 real acorns or 12 acorn caps
- Hot Glue Gun
- Tweezers
- Pliers
- Coated floral wire
- Wire cutters or scissors
- Drill
- 1/8 drill bit
Step 1: Preserve Acorns
The first step is important if you want to use your oak napkin ring year after year. If you plan to make these for special occasions, an autumn table, or your Thanksgiving table, I recommend cleaning and preserving the acorns before assembling them. If you’ve been following Cloches & Lavender, you know how much I enjoy bringing natural elements into our home. I’ve been collecting and decorating with acorns for years, and my own collection is now a decade old. For the process, see my post on how to clean and preserve acorns for crafts and decor. I share exactly how to clean, dry, and preserve real acorns so they can be enjoyed in fall decor and craft projects for years. Cindy’s Acorn Tip: Don’t skip this step if you plan to store your napkin rings nd ujse them again. The preservation process helps remove dirt and insects and prepares the acorns for long-term decorating.
Step 2: Measure and Cut the Wire
Measure the coated floral wire to 18 inches and cut it out with wire cutters or scissors. This length gives you enough wire to form the napkin ring and secure the ends.
Step 3: Remove the Caps
Carefully remove each acorn cap. The cap should come off easily from most real acorns. If one is stubborn, use the pointed tip of a pair of tweezers and gently slide it underneath the edge of the cap. Give it a little lift, nd it should pop off. Next, use pliers to remove the small stem from each cap. Keep each acorn cap next to its matching acorn. This makes it easy to find the right cap when you’re ready to put your napkin ring together with your hot glue gun.
Step 4: Drill the Caps
For the next step, carefully drill a small hole through the center of each cap using a 1/8 inch drill bit. A small hole is al you need for the floral wire to pass through. Once the holes are drilled, thread the ends of the wire through each cap. Make sure both ends of the wire come through the cap so you can secure them in the next step. Have your glue gun heating while you work. It will be ready when it’s time to attach the wire and the acorn cap to create your finished napkin ring.
Step 5: Glue the Cap in Place
Using your hot glue gun, add a bit of hot glue to the ends of the wire inside the cap. Hold the wire in place for a few seconds until the glue sets. Next, add another bit of glue inside the acorn cap. Place the cap back onto its matching acorn and hold it firmly in place until the glue sets. That’s it! Your acorn napkin ring is finished. Cindy’s Tip: The speed of this project is what makes this a fun fall craft. Once your supplies are ready, you can make several napkin rings in a short amount of time. This is perfect when you’re getting your fall or Thanksgiving table ready for this time of year.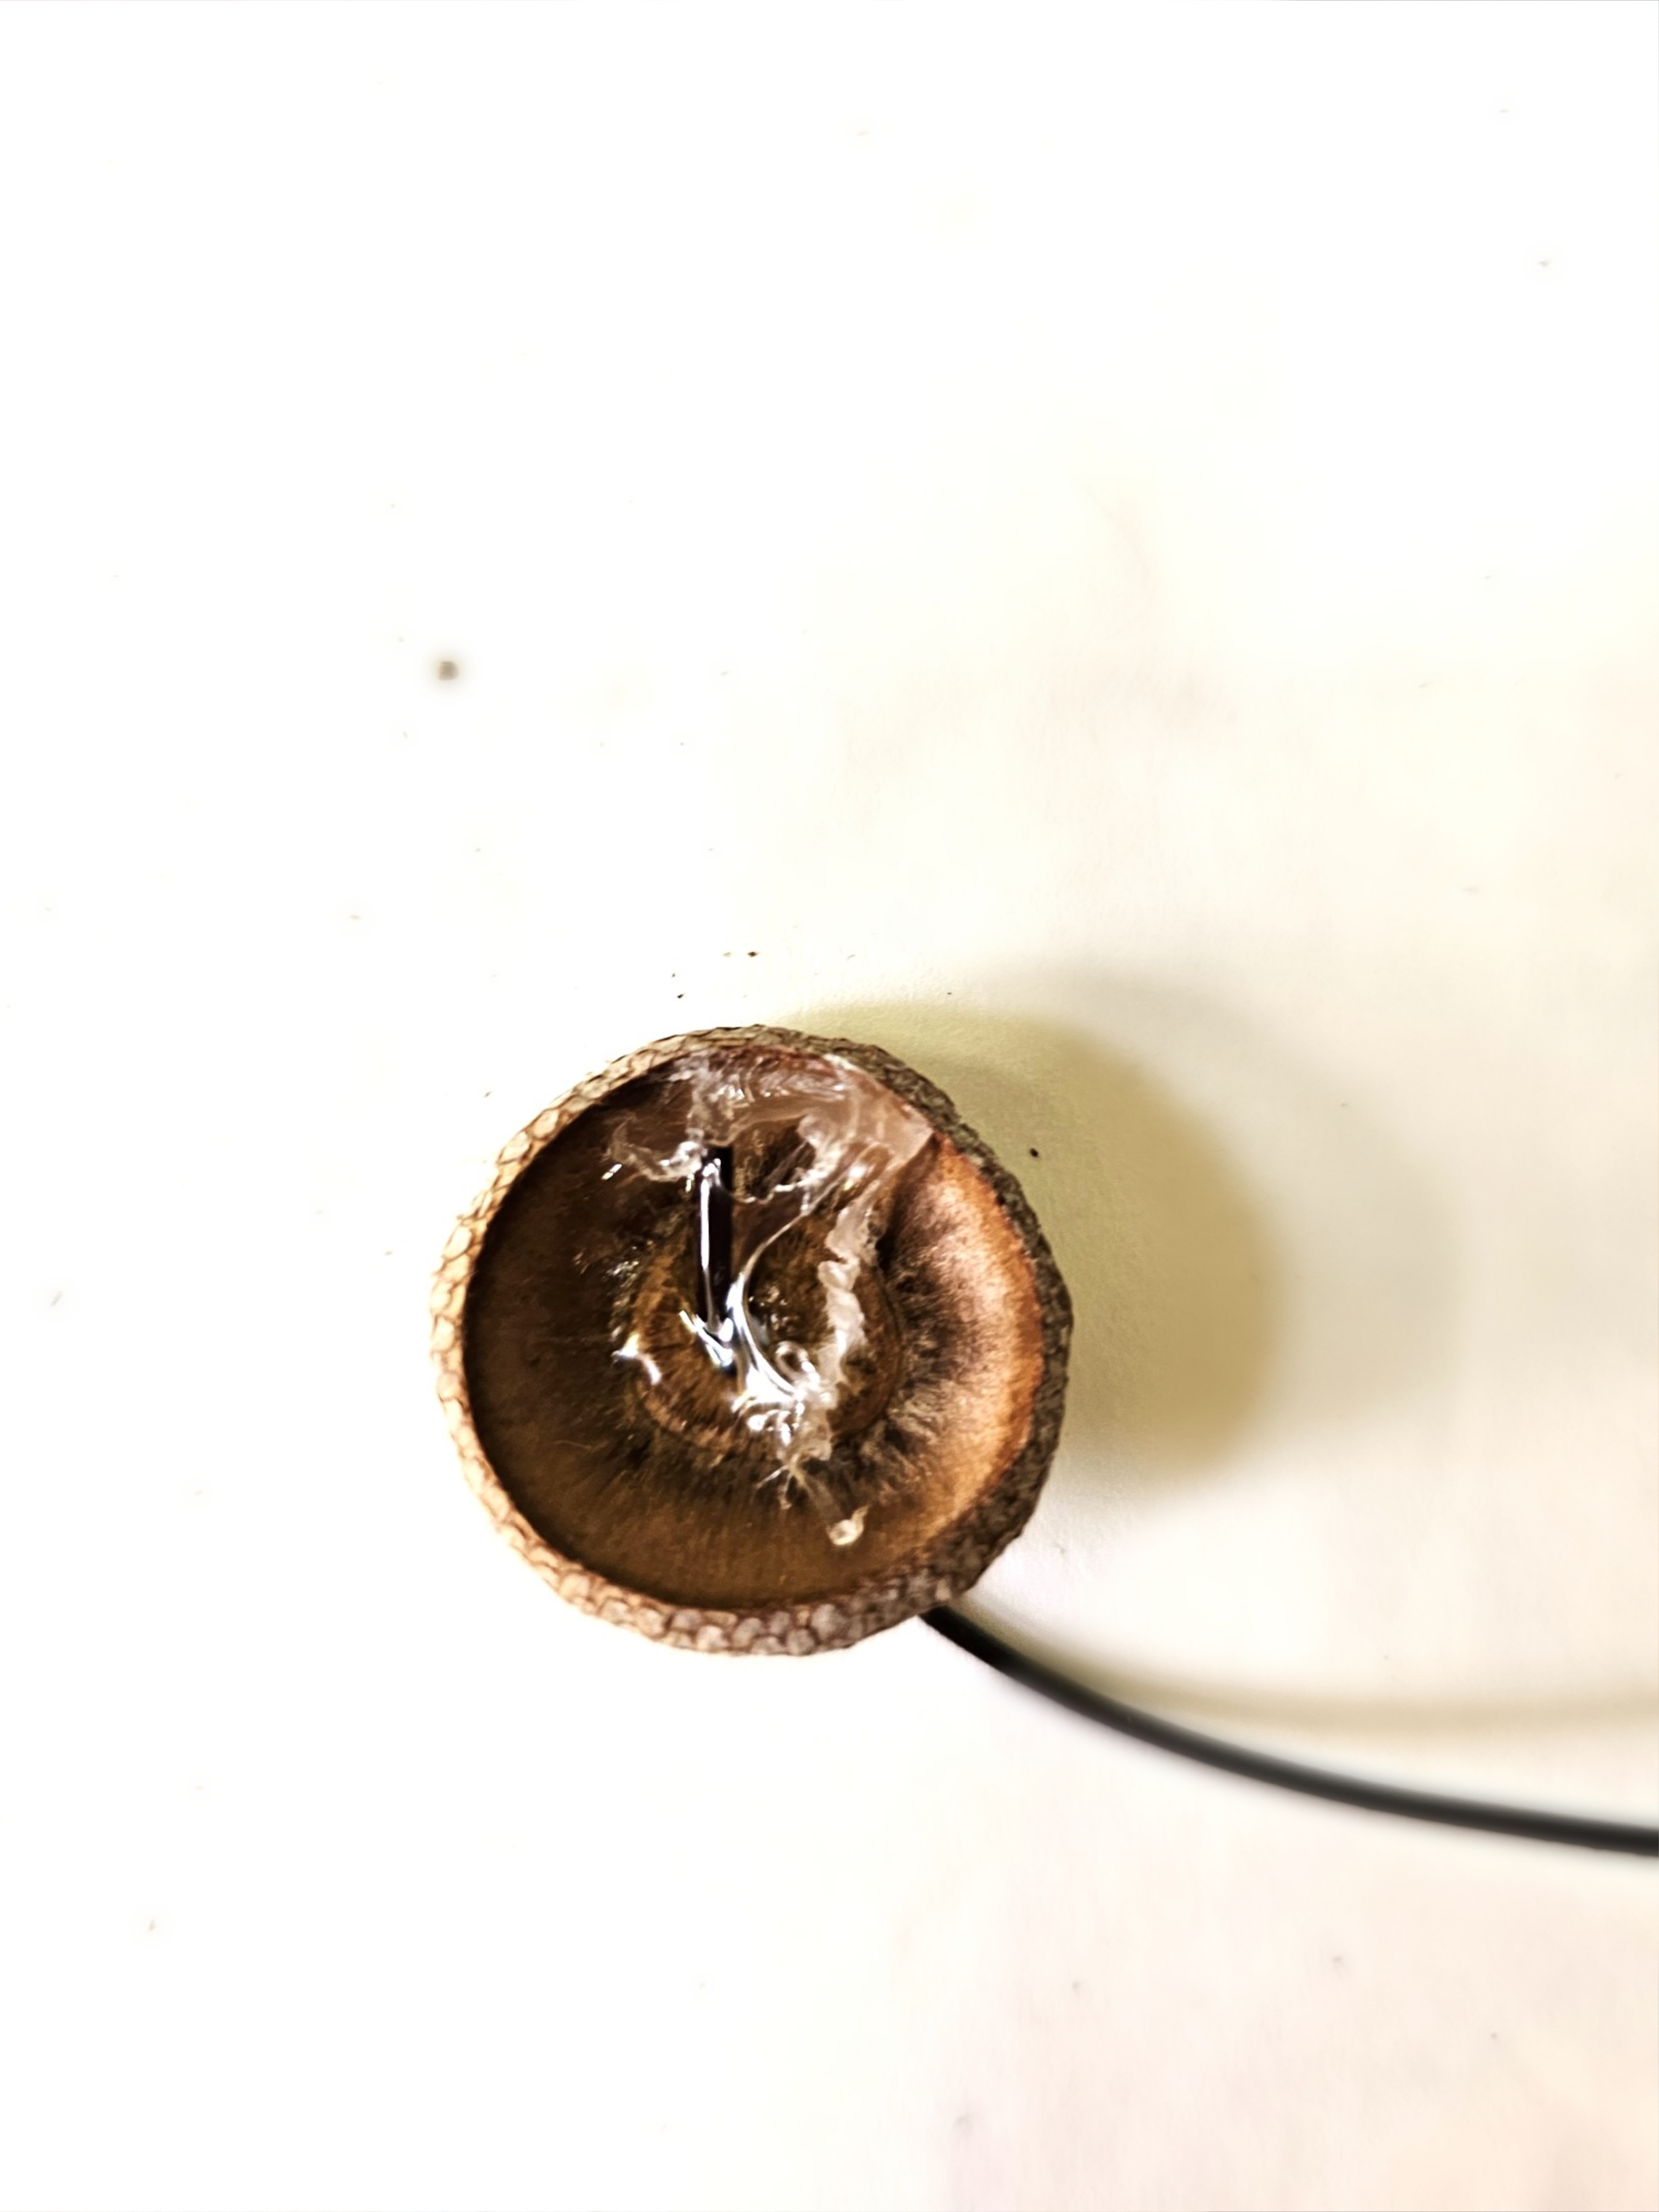
Make Napkin Ring Using Only Acorn Caps
Don’t have enough whole acorns? You can make these napkin rings using acorn caps. This is an alternative if you don’t have easy access to real acorns, and it gives the finished napkin rings a slightly different look. Start by using pliers to remove the small stem from each cap. Next, drill a hole through each cap using a 1/8 inch drill, then thread the coated floral wire through the opening. Tie a secure knot on the outside of the cap. Then tie another knot on the inside to keep the wire in place. If you’d like extra security, add a bit of hot glue to the knot and allow it to set completely. I tested the finished napkin rings by gently tugging on the wire several times, and the knots stayed securely in place. Safety Tip: Never leave a hot glue gun unattended. If children or pets are nearby, keep them away from the hot glue, tools, and loose wire while making your napkin rings.
If you don’t have access to acorns:
Don’t forget to check the links in the blog post to purchase acorns and caps!


These are so sweet. Have a great week. Hugs. Kris
Thank you Kris!
Love these so much! Organic and nature inspired decor makes my heart sing. Thanks for all the great tips about working with natural acorns. Lovely! XO- MaryJo
Thank you so much! You and me both. It make my heart happy
Hey Cindy! I’m pinning now because this is the first year I have seen acorns growing on our oak tree! I can’t wait to harvest them and use them in decor! Thanks for the tips and sharing your cute napkin rings!
Oh Donna, welcome to acorn bliss! It’s my obsession. Thank you
These acorn napkin rings are a fantastic and easy way to bring autumn charm to your table! Love the step-by-step guide and creative ideas!
These look lovely! Such a simple idea and they look beautiful!
Love these acorn napkin rings! They add such a charming touch to fall tables. Can’t wait to try making them!
Thank you so much for sharing this with us on Farmhouse Friday 365. I love it and excited to feature it tomorrow. pinned 🙂
These are so pretty! I am happy to feature you at TFT this week!
Suppose someone chooses the cap-only version and plans to use thick cloth napkins. The knots might pass the gentle tug test, but sliding the ring over a folded napkin would also help check whether the cap stays in position during use. Trying that before making the remaining rings would give a clearer basis for deciding whether to add the optional glue.