
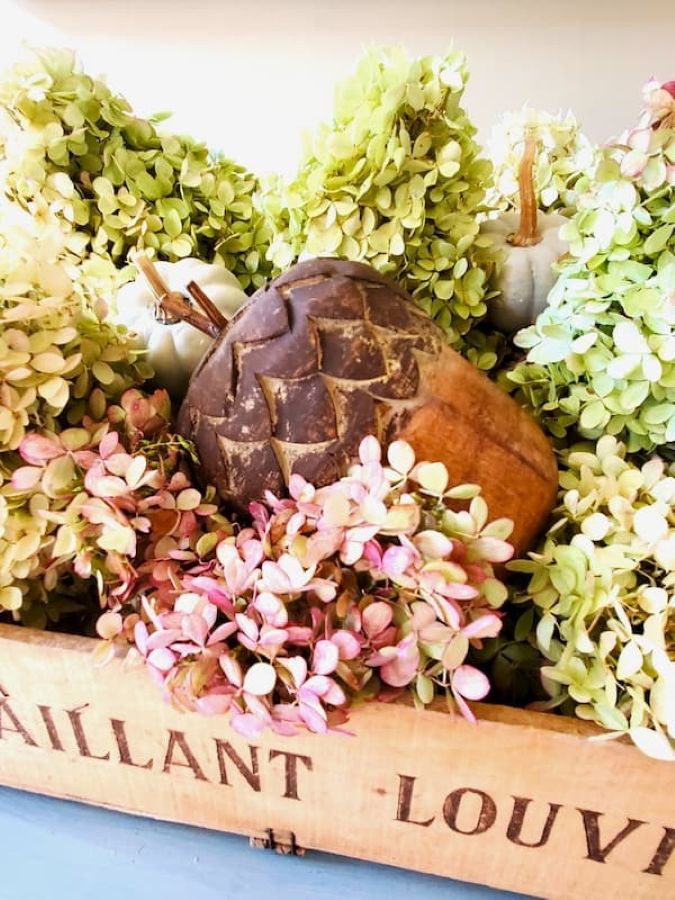
How To Clean And Preserve Acorns For Crafts And Decor
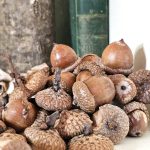
In this blog post, I’ll share the easiest way to clean and preserve acorns for crafts and decor. I’ll share the best way to remove signs of insects, clean dirt, and bake clean acorns on a cookie sheet before sealing them with clear acrylic sealer for long-lasting use. As temperatures drop and fall strikes, acorn season begins. Looking for real acorns and pine cones is a fun fall activity for the whole family, especially little kids. Preserved acorns can be enjoyed in craft projects and fall decor year after year.
As an Amazon Associate and through other affiliate links, I earn a small commission from qualifying purchases made through affiliate links. The price is the same whether you use the affiliate links or the website. All opinions are my own. (Check our full disclosure and privacy policy.)
Jump to Printable DIY CardEmbrace the Season: How to Preserve Acorns for Crafts and Decor
Learning how to clean and preserve acorns for crafts and fall decor is the best way to bring nature indoors. As we add touches of fall throughout our home, real acorns are timeless symbols of the season. Oaks are majestic trees and provide a great place to gather acorns each autumn for crafts and seasonal decor.
Supplies Needed: How To Clean and Preserve Acorns for Crafts and Decor
- dish soap
- warm water
- sink or large bucket, or large bowl
- paper towel or towel
- clear acrylic sealer
Equipment Needed:
- cookie sheet or baking sheet
- oven set at 200 degrees f
- nylon brush or old toothbrush (optional)
- hot glue gun – for gluing caps if needed
Step 1: Good Starting Point for Crafts: Easy Way to Clean Acorns for Decor
The drying process and baking the acorns in a single layer for 2-3 hours are important steps to help prevent future insect problems. Once they have cooled completely, they’ll be ready to enjoy for a long time in projects and seasonal decor.
Acorns without caps can also be used, adding natural imperfect beauty to your decor. If you find loose acorn caps, let them soak as well. After they dry completely, attach the caps with a small amount of hot glue.
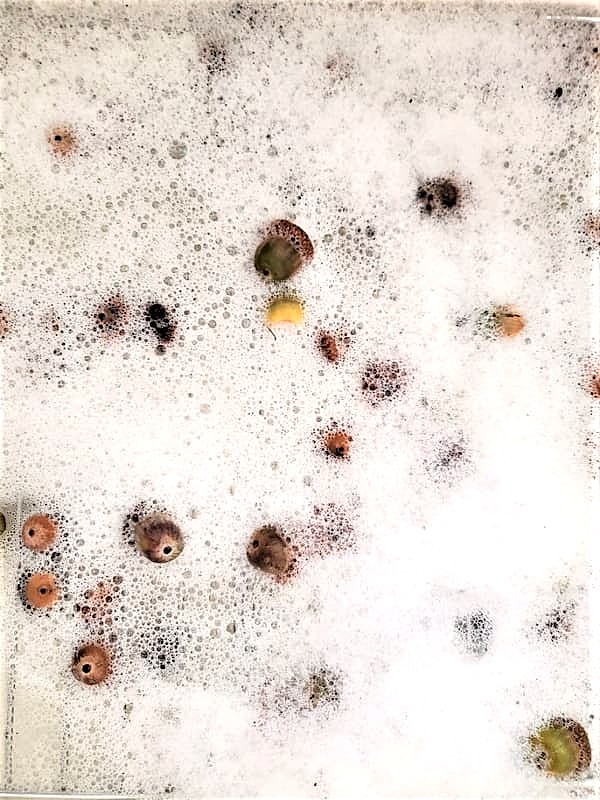
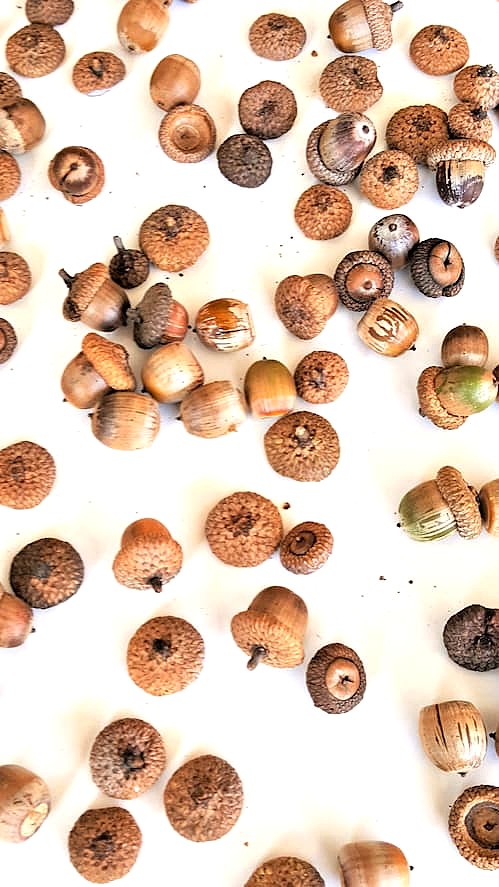
After collecting the desired amount of acorns, one of the best practices is to soak them in warm soapy water. This is the easiest way to remove dirt and check for any signs of little bugs before preserving them for crafts and decor.
Fill your kitchen sink, utility sink, large bowl, or large bucket with warm soapy water. Soak acorns for about 30 minutes. Some people recommend half a cup of vinegar, but warm soapy water is the most popular method and has always worked well for us. We’ve used this process many times, and it works like a charm.
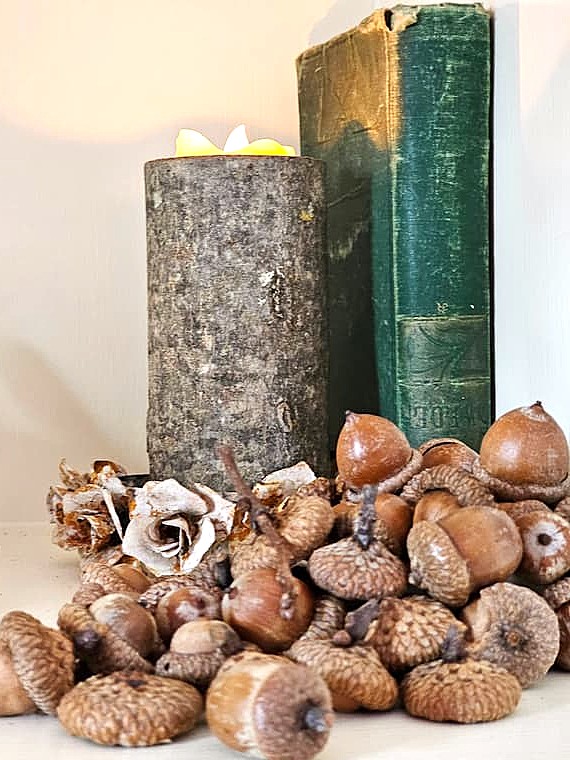
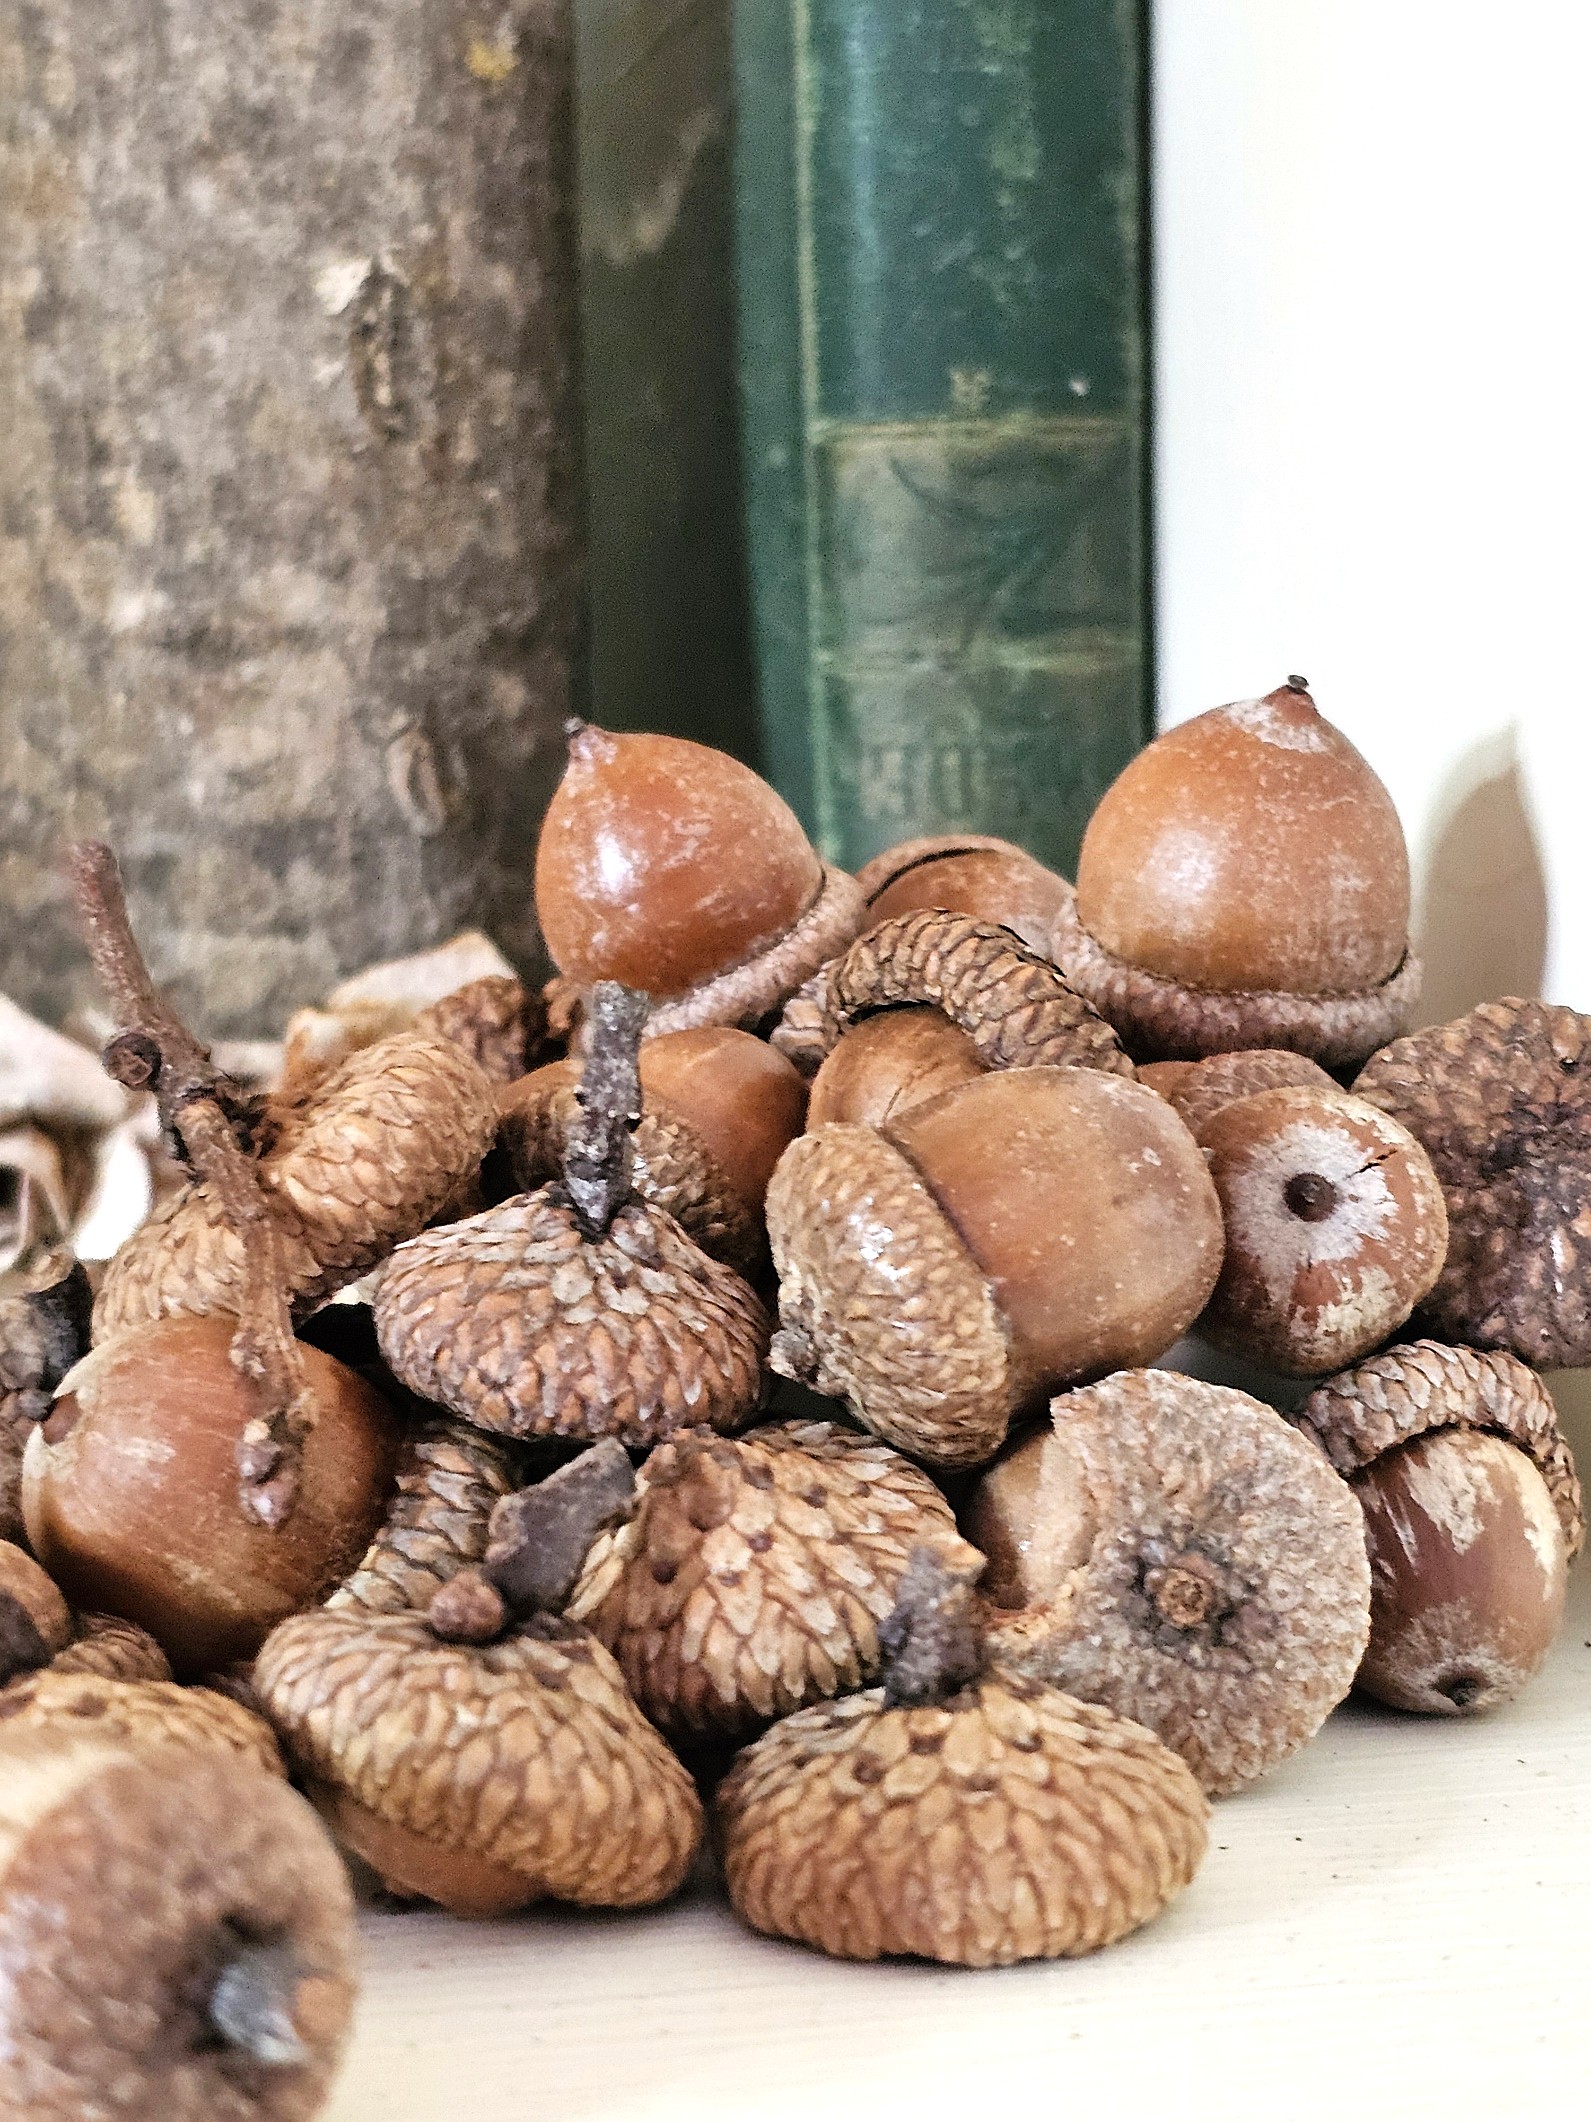
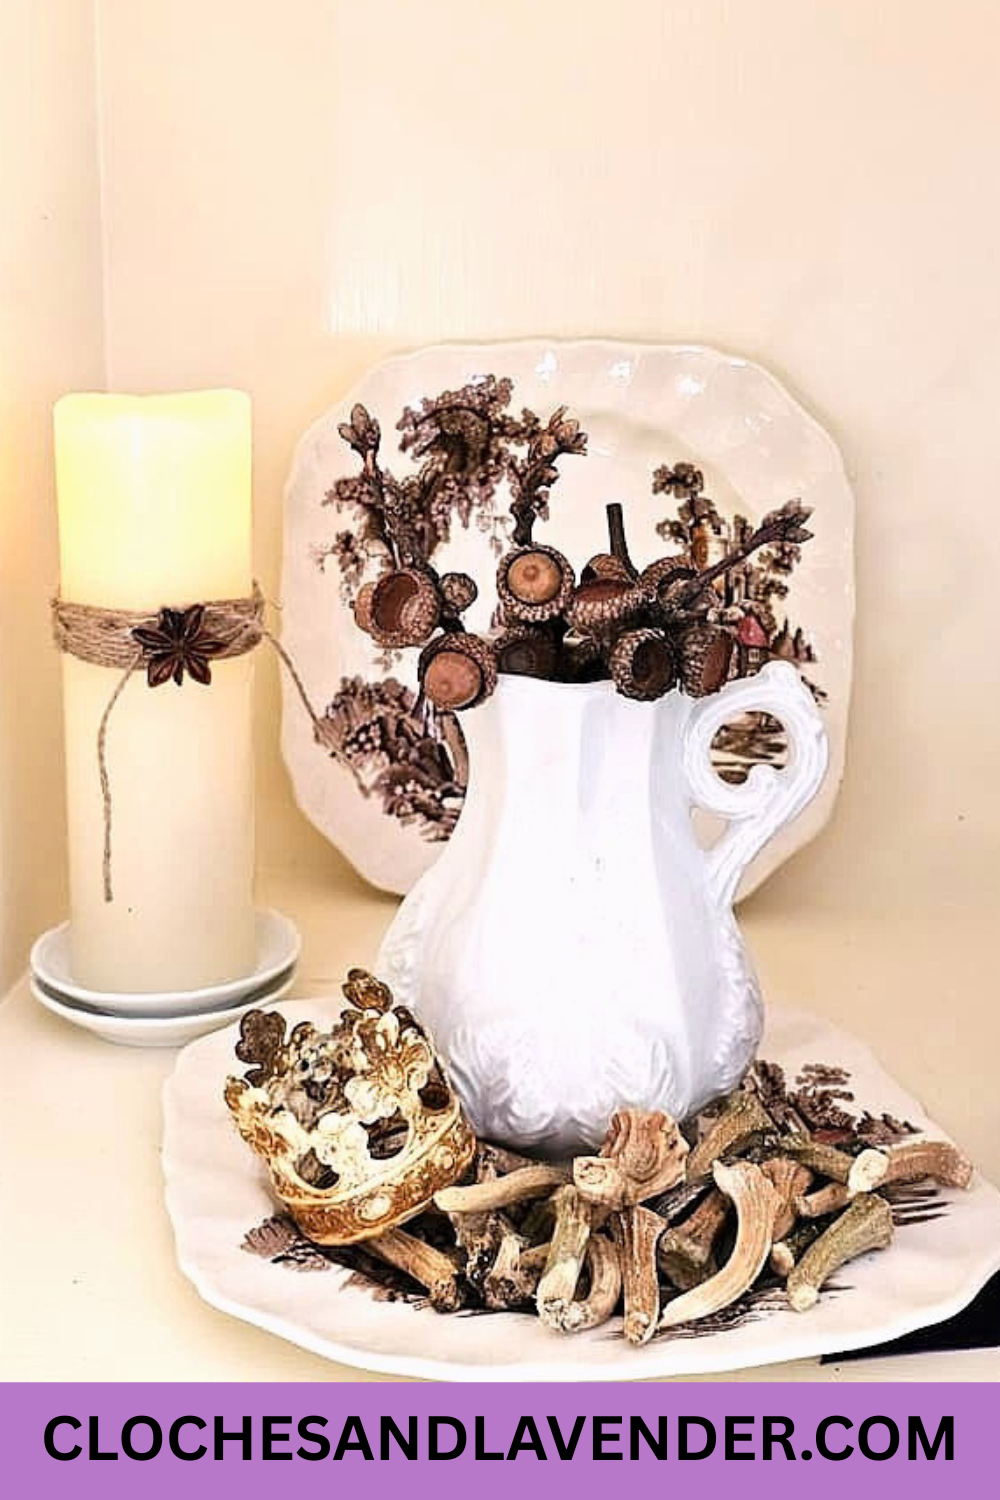
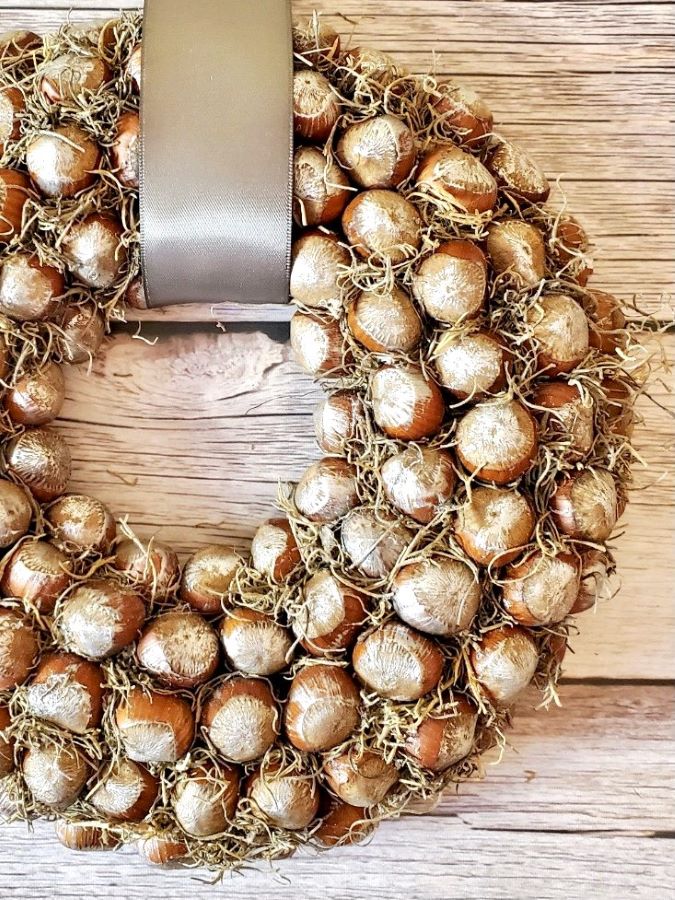
As an example of my love for nature and natural elements, here’s one of my favorite ways to preserve real acorns for decorating. Take a peek at my favorite decorating ideas in this blog post to see my passion for adding nature to our home.
As an example of my love for nature and natural elements, here’s one of my favorite ways to preserve real acorns for decorating. Take a peek at my favorite decorating ideas in this blog post to see my passion for adding nature to our home.
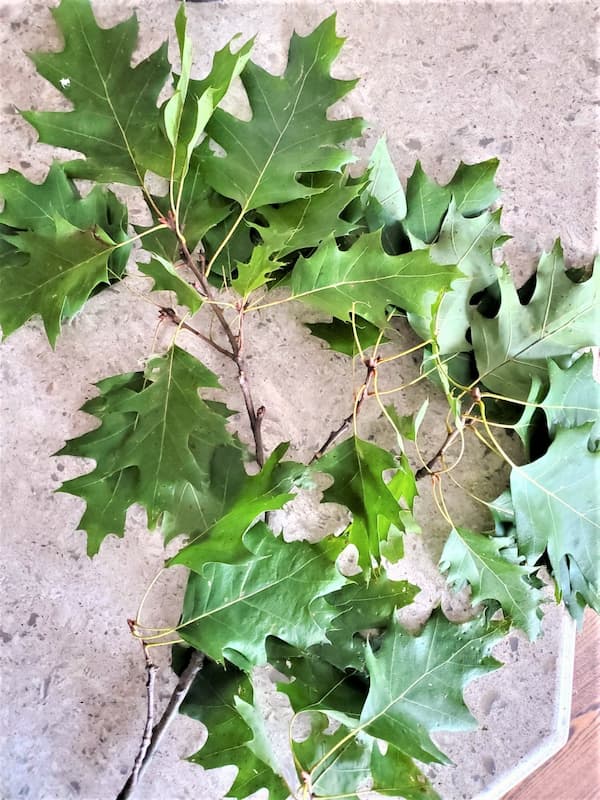
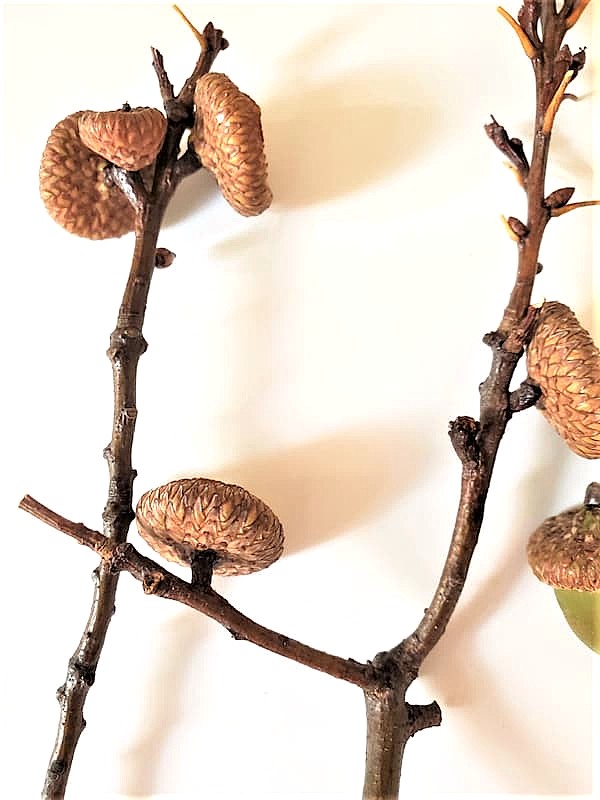
Cindy’s Acorn Tip: I have always collected acorns that are attached to small branches whenever I can find them. Remove the leaves before soaking the branches. If they’re higher up on the tree, use a long pole or a strong branch to bring them within reach. Bake the branches along with the acorns. As you will see below, they’re another gift from nature and perfect for fall and seasonal decor.
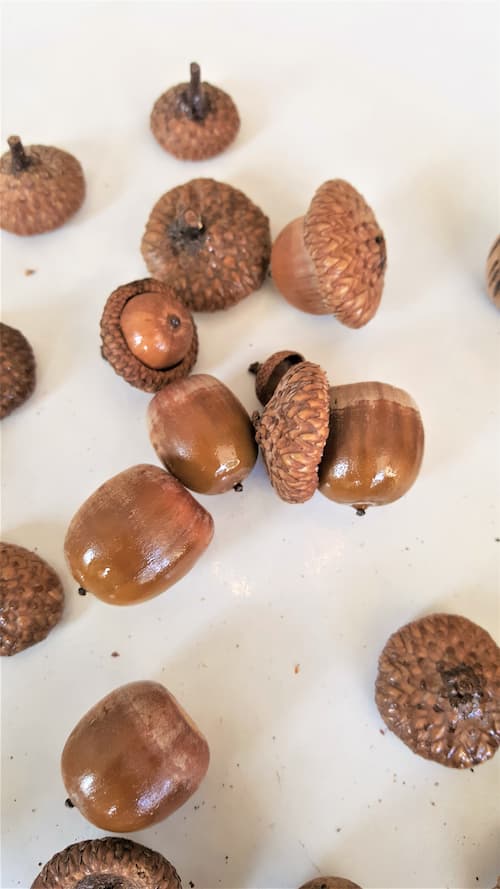
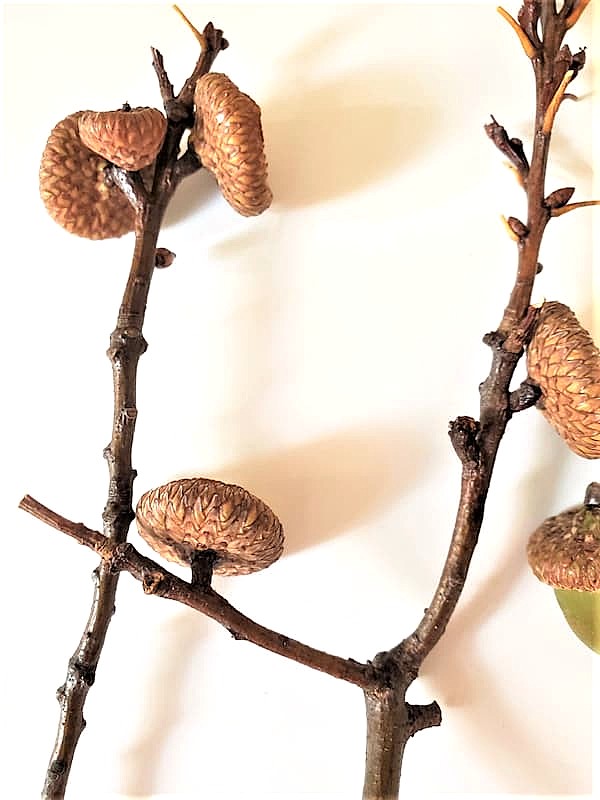
Step 2: Drying and Preserving Acorns
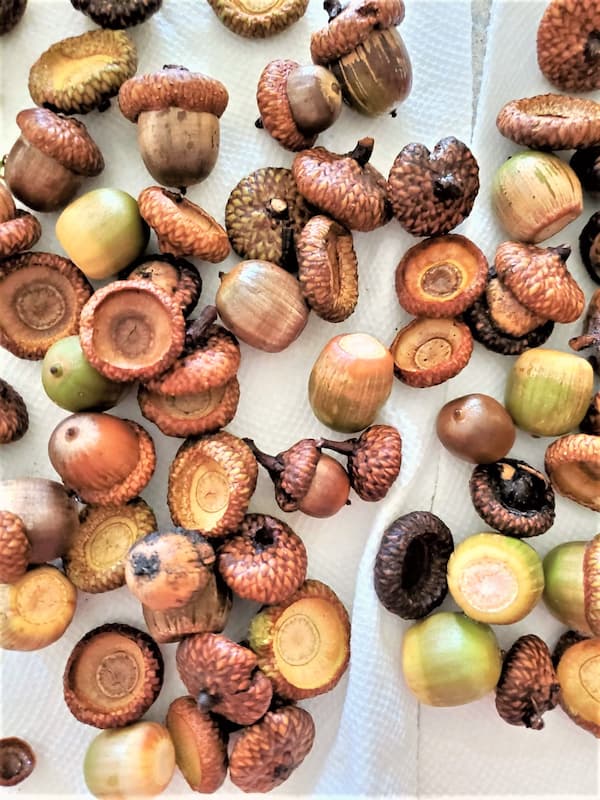
For the drying process, place the clean acorns in a single layer on a cookie sheet or baking sheet. Bake them at 200 degrees for 2-3 hours, leaving the oven door closed. This helps remove moisture, making it the most popular method, and does a great job of removing signs of insects and reducing any future insect problems.
When the time goes off, remove the baking sheet from the oven and let the acorns cool completely before applying the clear acrylic sealer.
Cindy’s Note: I don’t line my baking or cookie sheet with foil for my acorns. Since I have preserved an overabundance of acorns for crafts and seasonal and fall decor over the years, I have never had a problem with sap getting on the pans, and this method works and saves a lot of time.
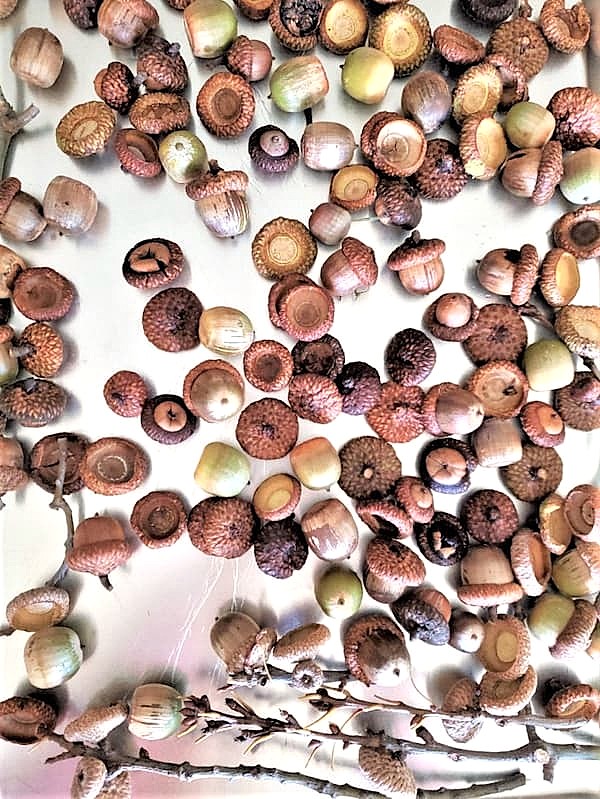
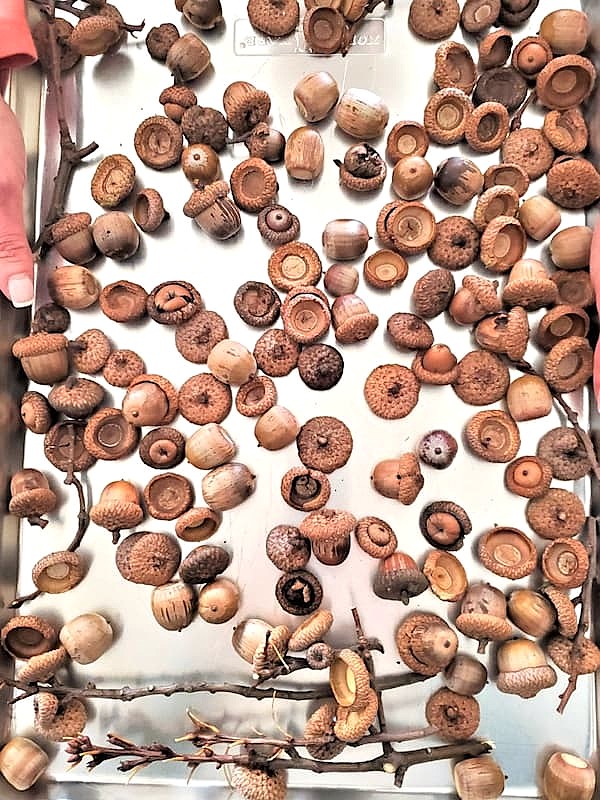
Step 3: Seal Acorns for Lasting Beauty
Once the acorns have cooled completely, apply a light coat of acrylic sealer. Sealing clean acorns helps protect their natural beauty, so you can enjoy your acorns in craft projects and fall decor for a long time.
Cindy’s Acorn Tip: I use a matte acrylic sealer because it keeps my acorns looking as natural as possible. Mod Podge is my favorite sealer, and I have enjoyed using it for all these years.
Step 4: Storing Preserved Acorns Year After Year
The best practice when storing acorns is to keep them in a cool, dry place.
- Store them in plastic bags, canvas bags, or an airtight container.
- Keep them in a dark, dry place away from humidity and moisture.
- Closets work well for long-term storage. These steps help your preserved acorns last.
Cindy’s Note: I have an overabundance of acorns, so I store my acorns in a canvas bag in an airtight container in a closet. Some of these I preserved 20 years ago still look just as beautiful today. That’s one of the reasons I love decorating with them; they can be enjoyed for a long time.
How do I Clean and Preserve Acorns for Crafts and Decor?
To choose the best acorns, collect them on a dry day. Make sure there are no small holes or broken fragments, as small holes are often a sign of little bugs. Soaking acorns in warm soapy water helps loosen dirt, and a paper towel is the best to remove any remaining clean dirt.
Can I Collect Green Acorns for Crafts and Decor?
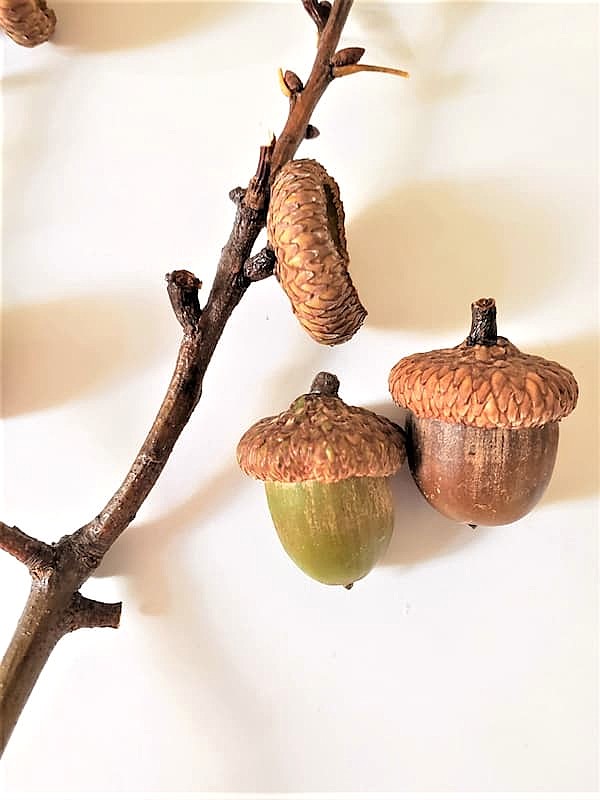
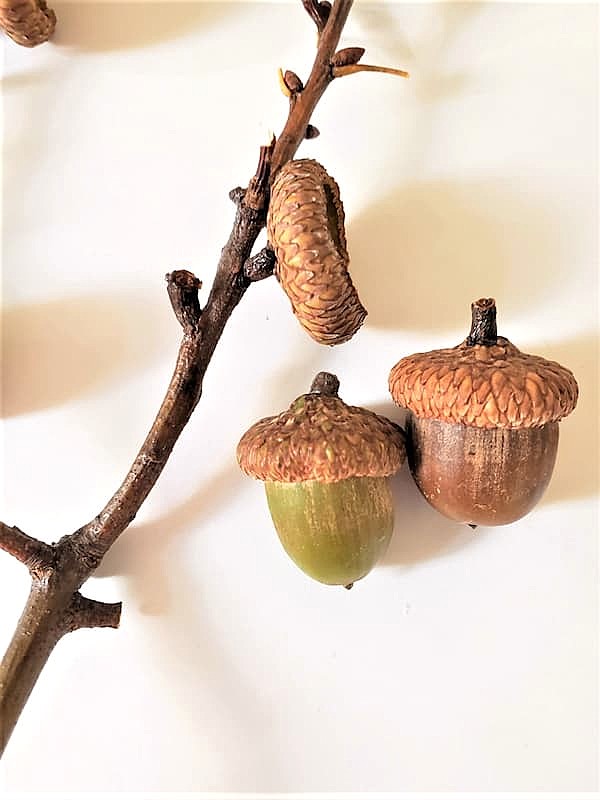
Green acorns can be collected, too. The green color means they’re not fully ripe. Sometimes they stay green, and other times they turn brown after baking. As you’ll see in the pictures below, a few stayed green while others turned brown. That’s one of the things I love most about decorating with acorns and nature. No two acorns are the same, right?
If you are gathering a lot of acorns, avoid using a scooping action. It’s the easiest way to collect more dirt, leaves, and debris than acorns. Instead, hand-pick the best acorns for your decor. This is a fun way for little kids to get out and enjoy a day in nature together.
Cindy’s Tip: I always save small oak branches with attached acorns instead of tossing them aside. Once they’re cleaned, dried, and preserved, they become great additions to fall arrangements, wreaths, centerpieces, and decor.
Best Practices: Harvesting and Preserving Acorns
The best time to collect a lot of acorns is as soon as fall strikes and acorn season begins. This gives you the best opportunity to gather the best and a lot of acorns before they are damaged by weather, little bugs, or wildlife.
If you find acorns still attached to small branches with leaves, lightly twist or pull each acorn from the base. If an acorn cap comes off, don’t throw it away. Soak and bake the caps along with the acorns. Once cooled, add a small dot of hot glue to reattach the caps. They will be ready to add to your decor and seasonal displays.
Where Can You Find Acorns?
If you don’t have oak trees in your yard, ask family or friends if you can gather acorns from theirs. Visit a nearby park or a running stream, where you’ll often find a bunch of acorns surrounding these majestic trees.
If collecting your own isn’t an option, you can purchase real acorns on Etsy at a great price. This is a good starting point if you need them for craft projects or decor.
Here are acorn caps and acorns I found:
- Mosser Studio
- Nafelron Works Design
- Nafelron Works Design – Giant Bowl Fillers
- Jabber Gems – Copper Charms
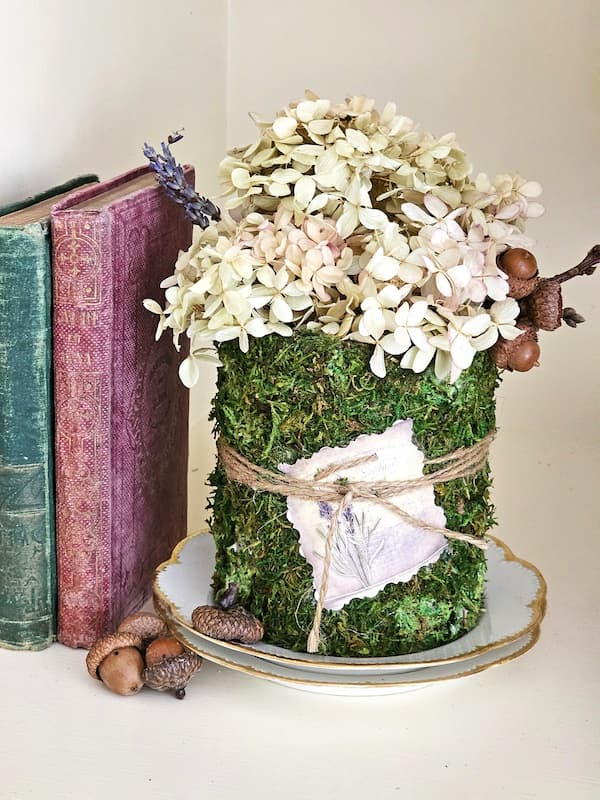
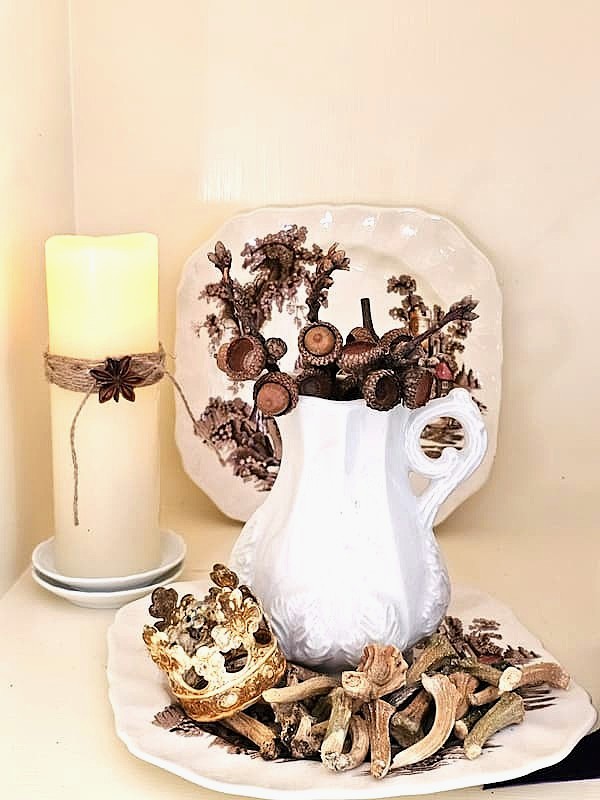
Cleaning and Preserving Acorns
Follow these easy steps to clean and preserve acorns for fall crafts, home decor, and seasonal displays:
- Collecting Options: Your best rake or leaf blower is an inexpensive way to collect acorns and does a great job. A nut gatherer, lawn sweeper, lawn vacuum, riding mower, shop vacuum, and power brooms make collecting easier if you have a large amount of acorns. For normal-sized yards, using your best rake does a great job gathering a bunch of acorns.
- Timing Matters: Collect acorns as soon as fall strikes be able to collect the It’s the best way to start collecting an overabundance of acorns. A good starting point is to gather acorns on a dry day.
- Budget-Friendly Tip: Use a long pole or sturdy branch to reach acorns attached to branches that are too high. Move any wet leaves to avoid slipping.
- Creative Uses: Decorate with preserved acorns in wreaths, centerpieces, garlands, napkin rings, and other autumn decor and seasonal displays.
- Beyond Acorns: Gather pine cones, leaves, sticks, and other natural elements to create beautiful seasonal decor.
- Imperfections Add Character: Don’t hesitate to gather acorns with missing acorn caps. However, avoid collecting acorns with cracks or small holes, as they may contain insects.
- Pre-Soak: Soak acorns in warm soapy water to remove dirt before preserving them. A nylon brush or an old toothbrush works well for cleaning stubborn dirt, leaving your acorns clean for craft projects and decor.
- Baking: Bake acorns or pine cones in a single layer on a cookie or baking sheet at 200 f for 2-3 hours with the oven door closed. This drying process removes moisture and insect problems from your acorns.
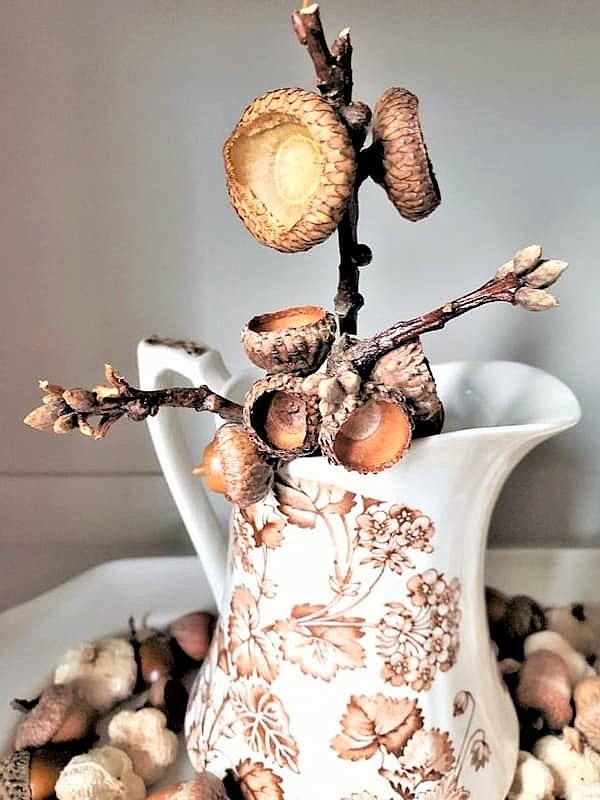
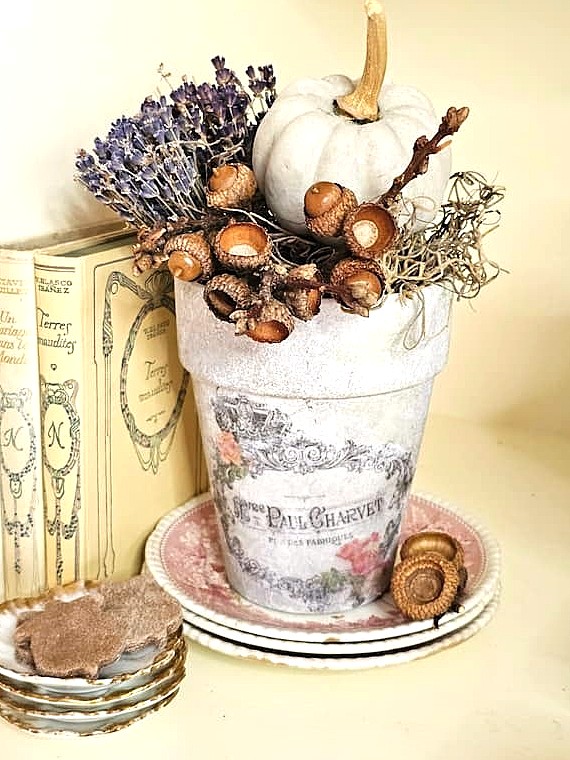
Sealing and Storage
Protecting your acorns properly helps them stay beautiful for years to come.
- Sealing: Apply a clear acrylic sealer in a matte finish to protect your acorns while maintaining their natural appearance for a long time.
- Storage: Store your acorns in an airtight container or plastic bags in a cool, dark place. Proper storage keeps them ready for future crafts and decor.
Why Begin Collecting Acorns Now?
Once your acorns are clean and preserved, there are tons of ways to use them around your home:
- Explore Nature for Crafts: If you enjoy incorporating natural elements into your crafts and decor, why stop at acorns? Explore other nature-inspired crafting ideas. From pine cones to leaves and sticks from your yard. These are free!
- Get Crafting: Don’t wait any longer! Gather the best acorns, follow the simple steps outlined here, and create an acorn craft to add nature to your home. They are Free! Unleash your creativity and bring your decor ideas to life!
- Decorating Inspiration: Use your acorns and acorn caps in your autumn decor, wreaths, centerpieces, flower pots, bowls, garlands, napkin rings, and other seasonal displays throughout your home.
- Embrace the Season: Preserved acorns make a magnificent addition to any home.
Trees That Have Acorns
White and red oaks are majestic trees. The acorn is the fruit of oak trees, which are mostly found throughout the Northern Hemisphere.
There are hundreds of species of these trees around the world, with 90 varieties native to the United States.
Difference Between Red Oaks and White Oaks
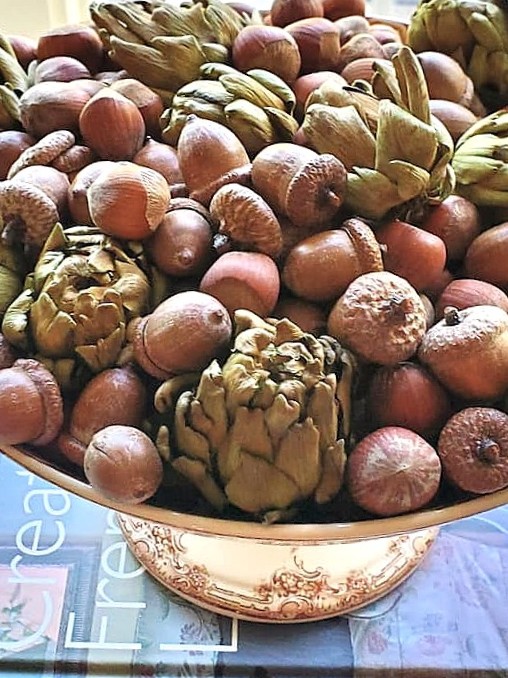
- White oaks produce white oak acorns that are generally longer in length but smaller in diameter.
- Red oaks produce red oak acorns that are shorter and have a larger diameter.
So, this explains why the acorns my husband brought home from his morning run were the biggest acorns I had seen since becoming a proud nut gatherer. It’s common for a mast year to occur every few years, producing a much heavier acorn crop. Learning this answered a question I hadn’t even realized I had.
Weather Affects a Mast Year: Thin, Longer, and Wider Acorns
Some oak trees produce large acorns, and the reason acorns come in different sizes is not completely understood.
A milder winter can often mean more acorns because white oaks and red oaks may produce more seeds in the spring. A harsh winter or a late spring freeze can reduce the acorn crop significantly, or prevent one altogether.
Learning how weather affects a mast year helped explain why our oak trees produce more acorns some years than others. Spring freezes are common where we live in Northern New Jersey, so now I understand why the acorn crop can vary from year to year.
Cindy’s Acorn Excitement: Last year was a mast year, and my best friend, who still lives near our old home, gathered the biggest and best acorns for me.
Enjoying Nature: Clean and Preserve Acorns for Crafts and Decor
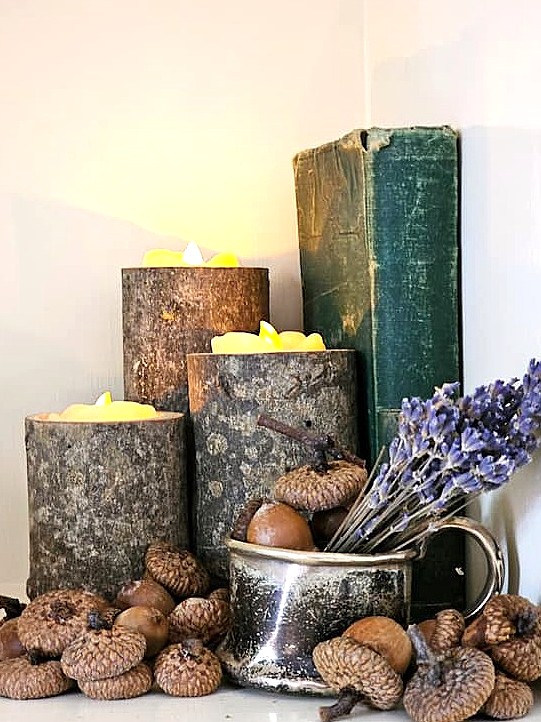
Incorporating a bit of nature into your home adds rustic charm to every season. By following these simple steps on how to clean and preserve acorns for crafts and decor, you’ll have acorns ready whenever inspiration strikes. Whether you’re making an acorn craft, decorating your home for fall, or adding natural touches to everyday displays, these tiny treasures are a timeless way to celebrate the gift of nature. Happy crafting and decorating!

Shop the Post
Tealight candle holders – wood
Have these, and they’re sturdy and comfy
Other Blog Posts of Interest!
How to Clean and Preserve Acorns for Crafts and Decor
Equipment
- 1 small amount of dish soap
- 1 sink or large bowl filled with warm soapy water
- 1 baking pan or cookie sheet
- 4 pieces of paper towel
- 1 can of clear acrylic sealer optional
- 1 oven set at 200 dgrees f.
Instructions
Step 1: Good Starting Point for Crafts: Easy Way to Clean Acorns for Decor
The drying process and baking the acorns in a single layer for 2-3 hours are important steps to help prevent future insect problems. Once they have cooled completely, they'll be ready to enjoy for a long time in projects and seasonal decor.Acorns without caps can also be used, adding natural imperfect beauty to your decor. If you find loose acorn caps, let them soak as well. After they dry completely, attach the caps with a small amount of hot glue.After collecting the desired amount of acorns, one of the best practices is to soak them in warm soapy water. This is the easiest way to remove dirt and check for any signs of little bugs before preserving them for crafts and decor.Fill your kitchen sink, utility sink, large bowl, or large bucket with warm soapy water. Soak acorns for about 30 minutes. Some people recommend half a cup of vinegar, but warm soapy water is the most popular method and has always worked well for us. We've used this process many times, and it works like a charm.As an example of my love for nature and natural elements, here's one of my favorite ways to preserve real acorns for decorating. Take a peek at my favorite decorating ideas in this blog post to see my passion for adding nature to our home.As an example of my love for nature and natural elements, here's one of my favorite ways to preserve real acorns for decorating. Take a peek at my favorite decorating ideas in this blog post to see my passion for adding nature to our home.Cindy's Acorn Tip: I have always collected acorns that are attached to small branches whenever I can find them. Remove the leaves before soaking the branches. If they're higher up on the tree, use a long pole or a strong branch to bring them within reach. Bake the branches along with the acorns. As you will see below, they're another gift from nature and perfect for fall and seasonal decor.Step 2: Drying and Preserving Acorns
For the drying process, place the clean acorns in a single layer on a cookie sheet or baking sheet. Bake them at 200 degrees for 2-3 hours, leaving the oven door closed. This helps remove moisture, making it the most popular method, and does a great job of removing signs of insects and reducing any future insect problems.When the time goes off, remove the baking sheet from the oven and let the acorns cool completely before applying the clear acrylic sealer.Cindy's Note: I don't line my baking or cookie sheet with foil for my acorns. Since I have preserved an overabundance of acorns for crafts and seasonal and fall decor over the years, I have never had a problem with sap getting on the pans, and this method works and saves a lot of time.Step 3: Seal Acorns for Lasting Beauty
Once the acorns have cooled completely, apply a light coat of acrylic sealer. Sealing clean acorns helps protect their natural beauty, so you can enjoy your acorns in craft projects and fall decor for a long time.Cindy's Acorn Tip: I use a matte acrylic sealer because it keeps my acorns looking as natural as possible. Mod Podge is my favorite sealer, and I have enjoyed using it for all these years.- Keep them in a dark, dry place away from humidity and moisture.Closets work well for long-term storage. These steps help your preserved acorns last.Step 4: Storing Preserved Acorns Year After YearThe best practice when storing acorns is to keep them in a cool, dry place.Cindy's Note: I have an overabundance of acorns, so I store my acorns in a canvas bag in an airtight container in a closet. Some of these I preserved 20 years ago still look just as beautiful today. That's one of the reasons I love decorating with them; they can be enjoyed for a long time.Store them in plastic bags, canvas bags, or an airtight container.
Step 4: Storing Preserved Acorns Year After Year
The best practice when storing acorns is to keep them in a cool, dry place.Cindy's Note: I have an overabundance of acorns, so I store my acorns in a canvas bag in an airtight container in a closet. Some of these I preserved 20 years ago still look just as beautiful today. That's one of the reasons I love decorating with them; they can be enjoyed for a long time.Store them in plastic bags, canvas bags, or an airtight container.Keep them in a dark, dry place away from humidity and moisture.Closets work well for long-term storage. These steps help your preserved acorns last.
Notes
Clean and Preserve Acorns for Crafts and Decor
Supplies:
- dish soap
- warm water
- sink or large bucket or large bowl
- paper towel or towel
- clear acrylic sealer
Equipment:
- cookie sheet or baking sheet
- oven set at 200 degrees f
- nylon brush or old toothbrush (optional)
- hot glue gun – for gluing caps if needed
Step 1: Good Starting Point for Crafts
The drying process and baking the acorns in a single layer for 2-3 hours are important steps to help prevent future insect problems. Once they have cooled completely, they’ll be ready to enjoy for a long time in projects and seasonal decor. Acorns without caps can also be used, adding natural imperfect beauty to your decor. If you find loose acorn caps, let them soak as well. After they dry completely, attach the caps with a small amount of hot glue. After collecting the desired amount of acorns, one of the best practices is to soak them in warm soapy water. This is the easiest way to remove dirt and check for any signs of little bugs before preserving them for crafts and decor. Fill your kitchen sink, utility sink, large bowl, or large bucket with warm soapy water. Soak acorns for about 30 minutes. Some people recommend half a cup of vinegar, but warm soapy water is the most popular method and has always worked well for us. We’ve used this process many times, and it works like a charm. As an example of my love for nature and natural elements, here’s one of my favorite ways to preserve real acorns for decorating. Take a peek at my favorite decorating ideas in this blog post to see my passion for adding nature to our home. As an example of my love for nature and natural elements, here’s one of my favorite ways to preserve real acorns for decorating. Take a peek at my favorite decorating ideas in this blog post to see my passion for adding nature to our home. Cindy’s Acorn Tip: I have always collected acorns that are attached to small branches whenever I can find them. Remove the leaves before soaking the branches. If they’re higher up on the tree, use a long pole or a strong branch to bring them within reach. Bake the branches along with the acorns. As you will see below, they’re another gift from nature and perfect for fall and seasonal decor.
Step 2: Drying and Preserving Acorns
For the drying process, place the clean acorns in a single layer on a cookie sheet or baking sheet. Bake them at 200 degrees for 2-3 hours, leaving the oven door closed. This helps remove moisture, making it the most popular method, and does a great job of removing signs of insects and reducing any future insect problems. When the time goes off, remove the baking sheet from the oven and let the acorns cool completely before applying the clear acrylic sealer. Cindy’s Note: I don’t line my baking or cookie sheet with foil for my acorns. Since I have preserved an overabundance of acorns for crafts and seasonal and fall decor over the years, I have never had a problem with sap getting on the pans, and this method works and saves a lot of time.
Step 3: Seal Acorns for Lasting Beauty
Once the acorns have cooled completely, apply a light coat of acrylic sealer. Sealing clean acorns helps protect their natural beauty, so you can enjoy your acorns in craft projects and fall decor for a long time. Cindy’s Acorn Tip: I use a matte acrylic sealer because it keeps my acorns looking as natural as possible. Mod Podge is my favorite sealer, and I have enjoyed using it for all these years.
Step 4: Storing Preserved Acorns Year After Year
The best practice when storing acorns is to keep them in a cool, dry place.- Store them in plastic bags, canvas bags, or an airtight container.
- Keep them in a dark, dry place away from humidity and moisture.
- Closets work well for long-term storage. These steps help your preserved acorns last.


I too love acornsfor fall decor and have both real and faux. Have you ever seen Burr Oak acorns? They are the largest and very pretty. My daughter just found a tree at the hospital where she is a nurse. I am in N.C. so I don’t know if they grow where you live. I always fill a large glass brandy sniffer with them to set on my coffee table but only after they have been cleaned and debugged.
Happy fall.
Yay another acorn lover. I haven’t heard of them so I’ll look into it. Thanks for letting me know!
What is it about acorns that make them so cute!!!! I love all the info on acorns you supplied Cindy. Also how to care for them. Have a great week. xoxo Kris
Thanks Kris I am so addicted to them I can’t believe it. Have a great afternoon
Good morning, Cindy! Your post about preserving acorns is very informative. I have started to hear them fall. I may have to try my hand at preserving them to display with my fall decor. Thanks for sharing the tutorial. I hope you have a wonderful day, sweet friend!
It’s so easy Shannon and they last for years. Just follow my instructions and promise it works like a charm
We have a Burr Oak tree in our yard. The leaves and acorns are huge. Acorns are golf ball size! You would LOVE them.
I’m going to research this more and I mentiooned it to my husband
We used to call them cups and saucers when I was a kid and I always collected handfuls of them when I lived on the farm. Love this post. xo Diana
Thanks so much Diana. The good old days.
I loved reading your post, Cindy! Acorns are amazing! What’s not to love, eh?
Thanks so much Marieza. I adore them as you now know!
Thank you for sharing this with us on Farmhouse Friday! I really needed it. I’m featuring it this week and hope you continue linking up. pinned
Hi Cindy,
I remember this post. Thanks or sharing again. Fall will be here before we know it. Hugs. Kris
Thanks Kris. I can’t wait for fall!