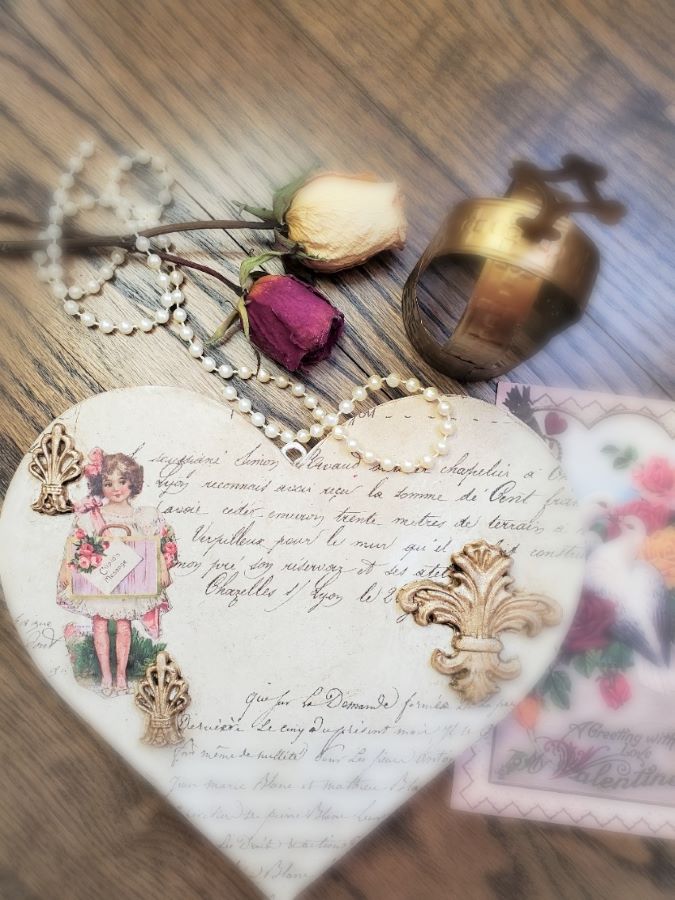
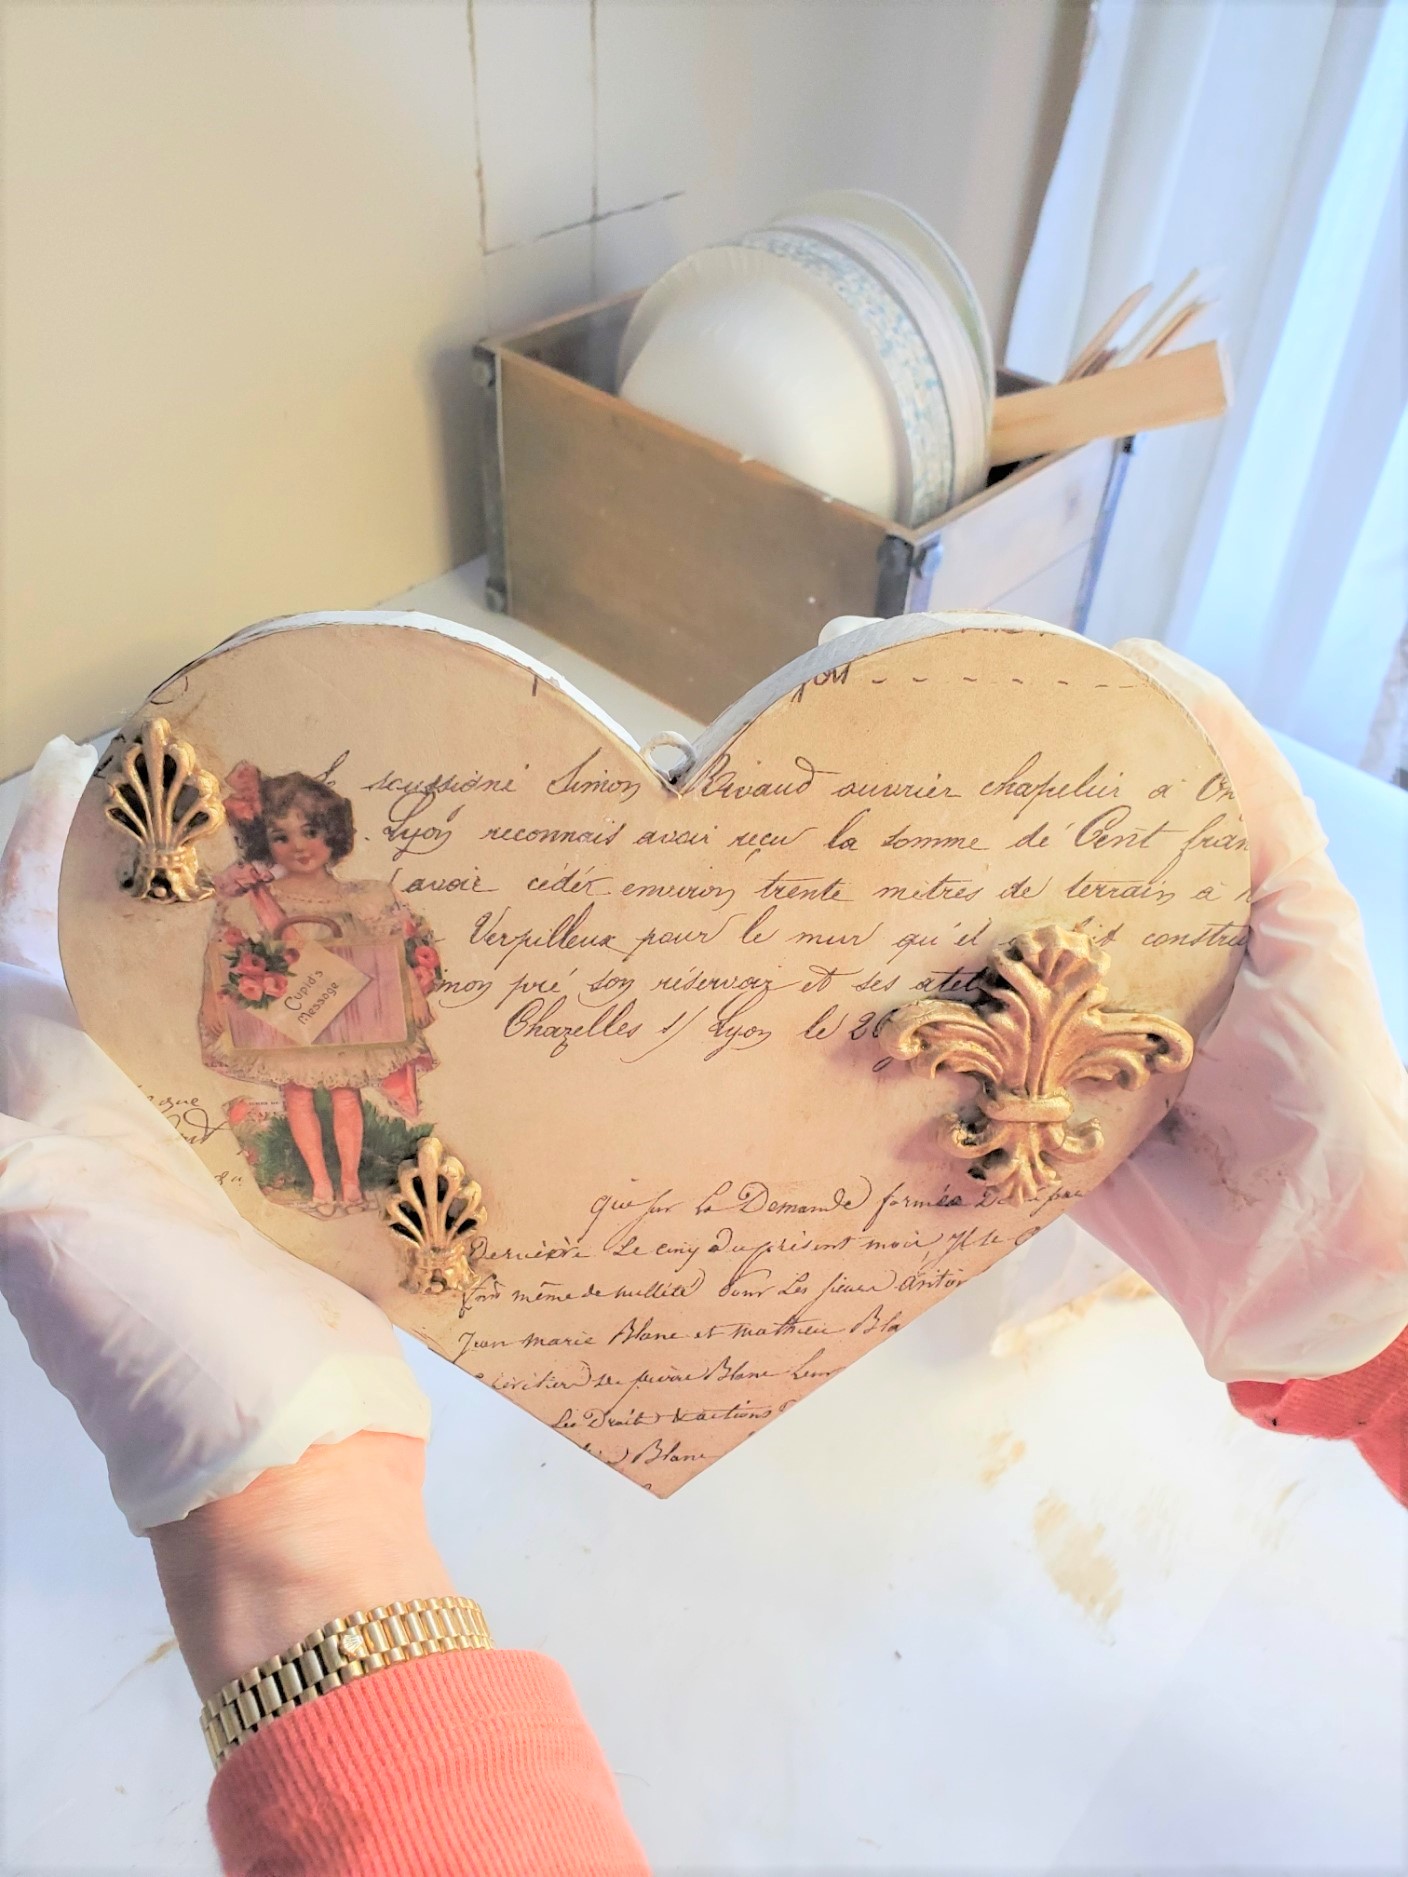
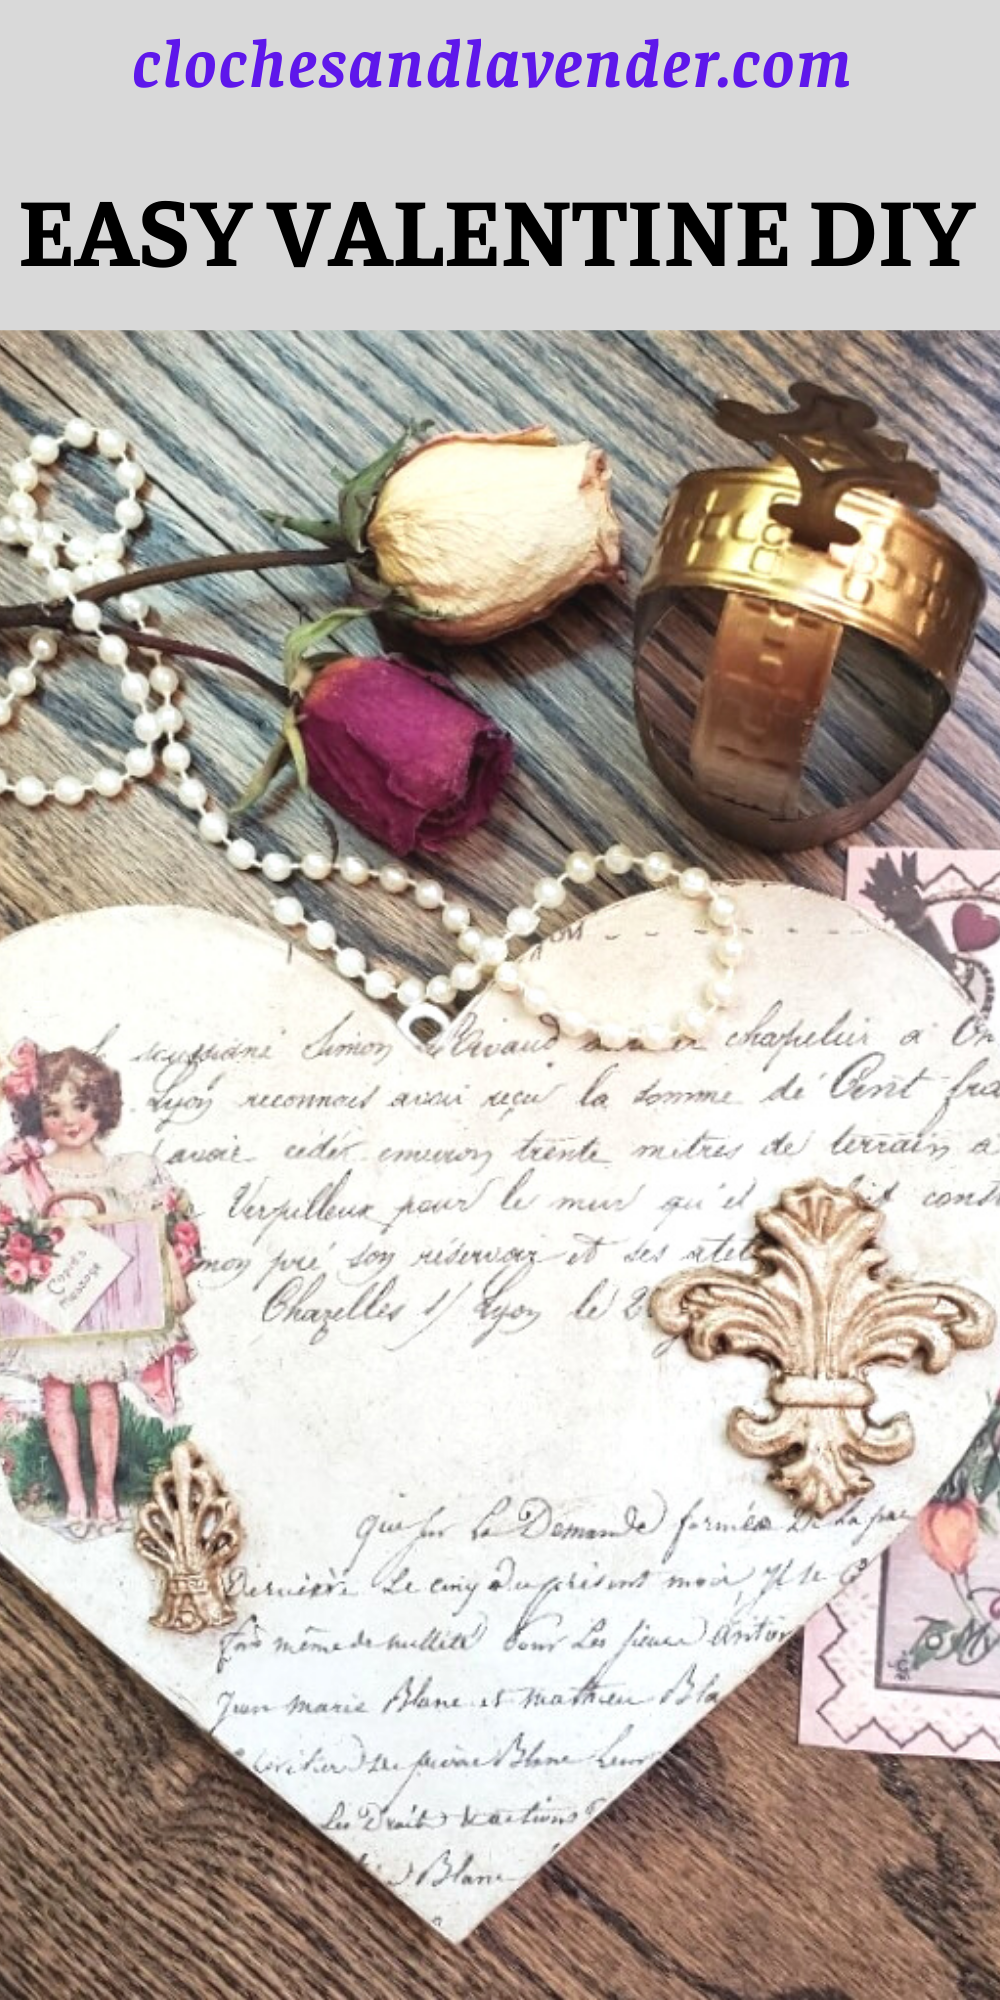
Easy Elegant Valentine DIY
See an easy elegant Valentine’s DIY. Have you ever wanted to make an elegant Valentine? Well, this post is for you because I am sharing how to make this easy elegant Valentine’s DIY.
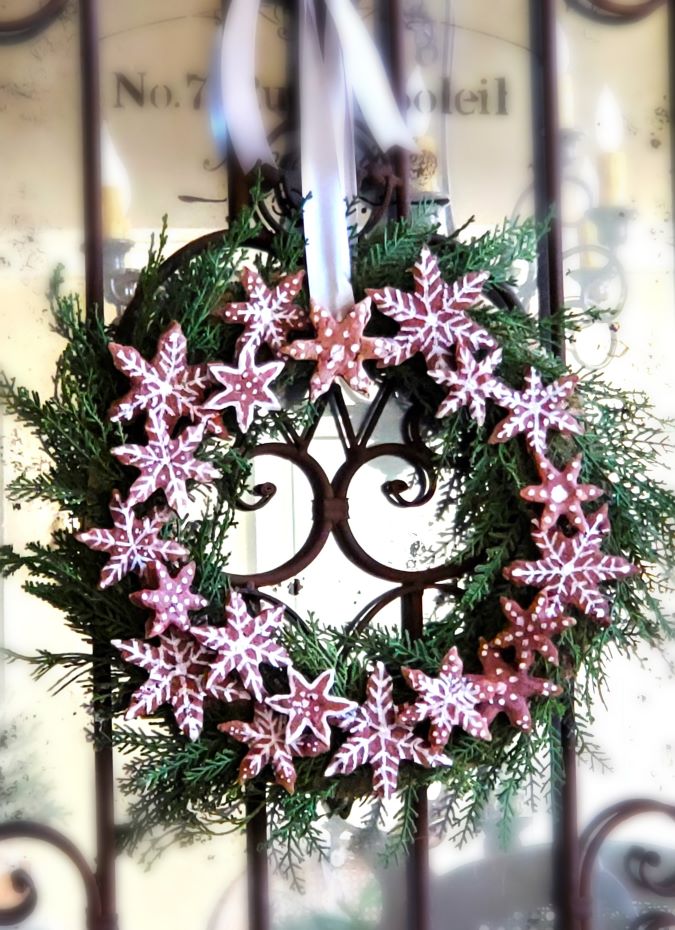
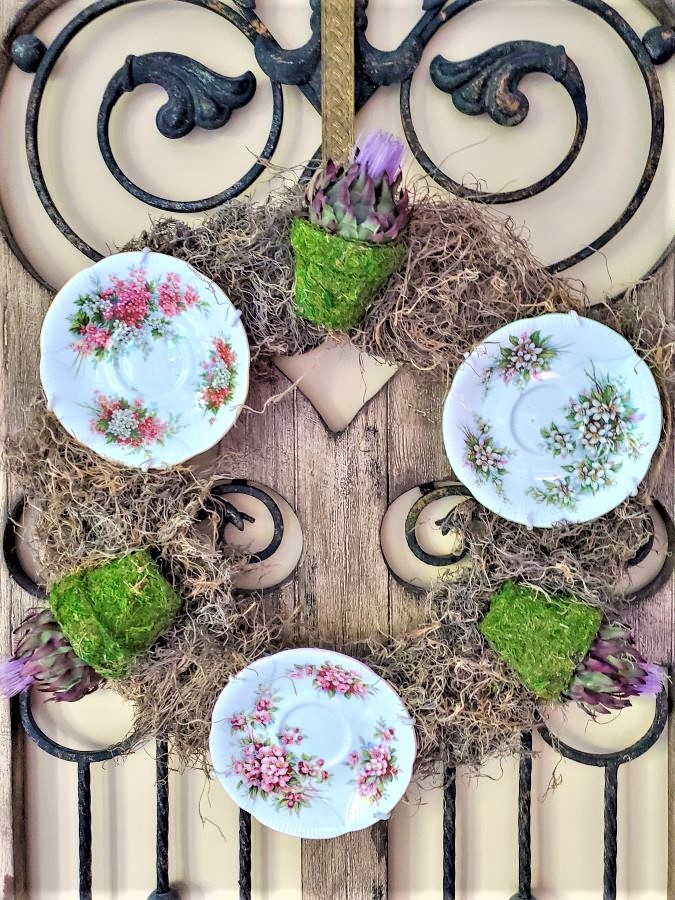
If you are stopping by after visiting Renae from Peacock Ridge Farm welcome. She’s creative and her heart wreath is beautiful.

What’s your favorite thing about Valentine’s Day? Honestly, my favorite is the fact the day is about love. I know sappy right? Truth be told, I love, love. I’m a romantic at heart and that’s why this easy elegant Valentine’s DIY came to be.
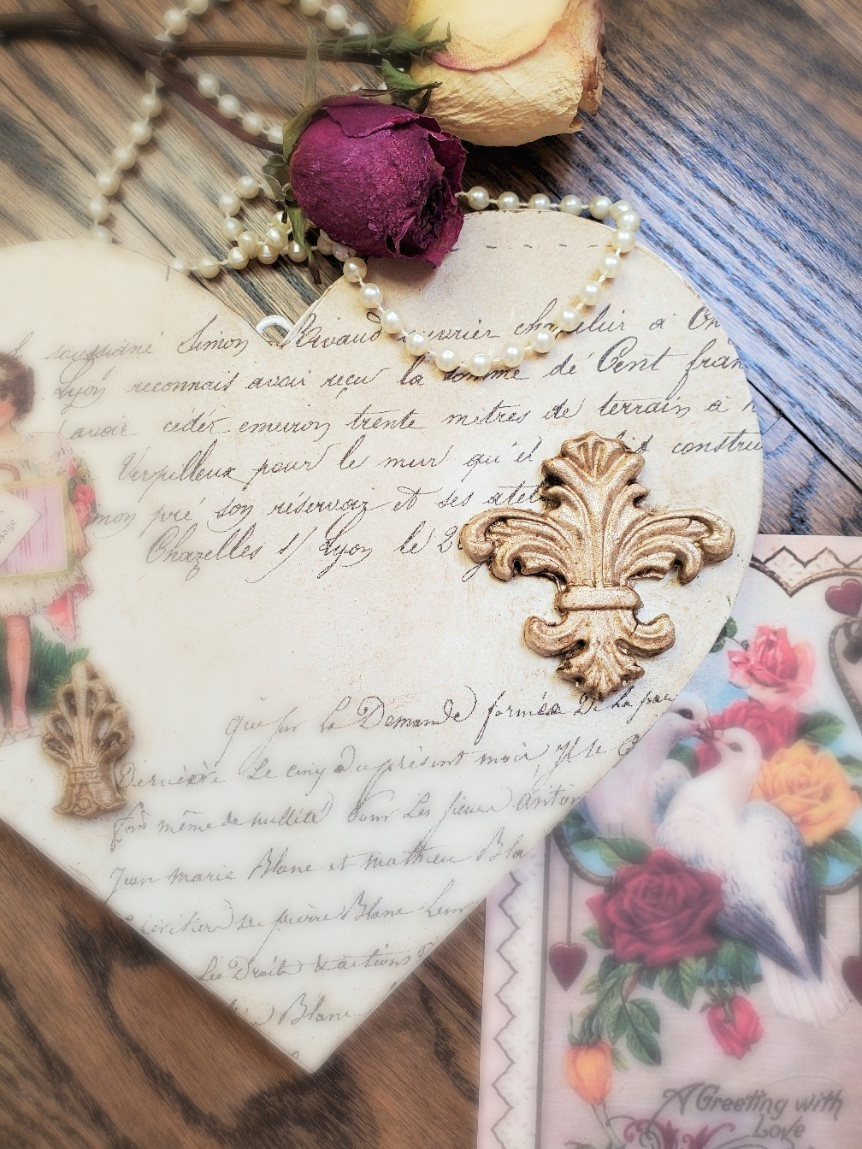
Not only does it signify the day with your typical wood heart. This DIY has French wrapping paper layered on top.
Table of Contents
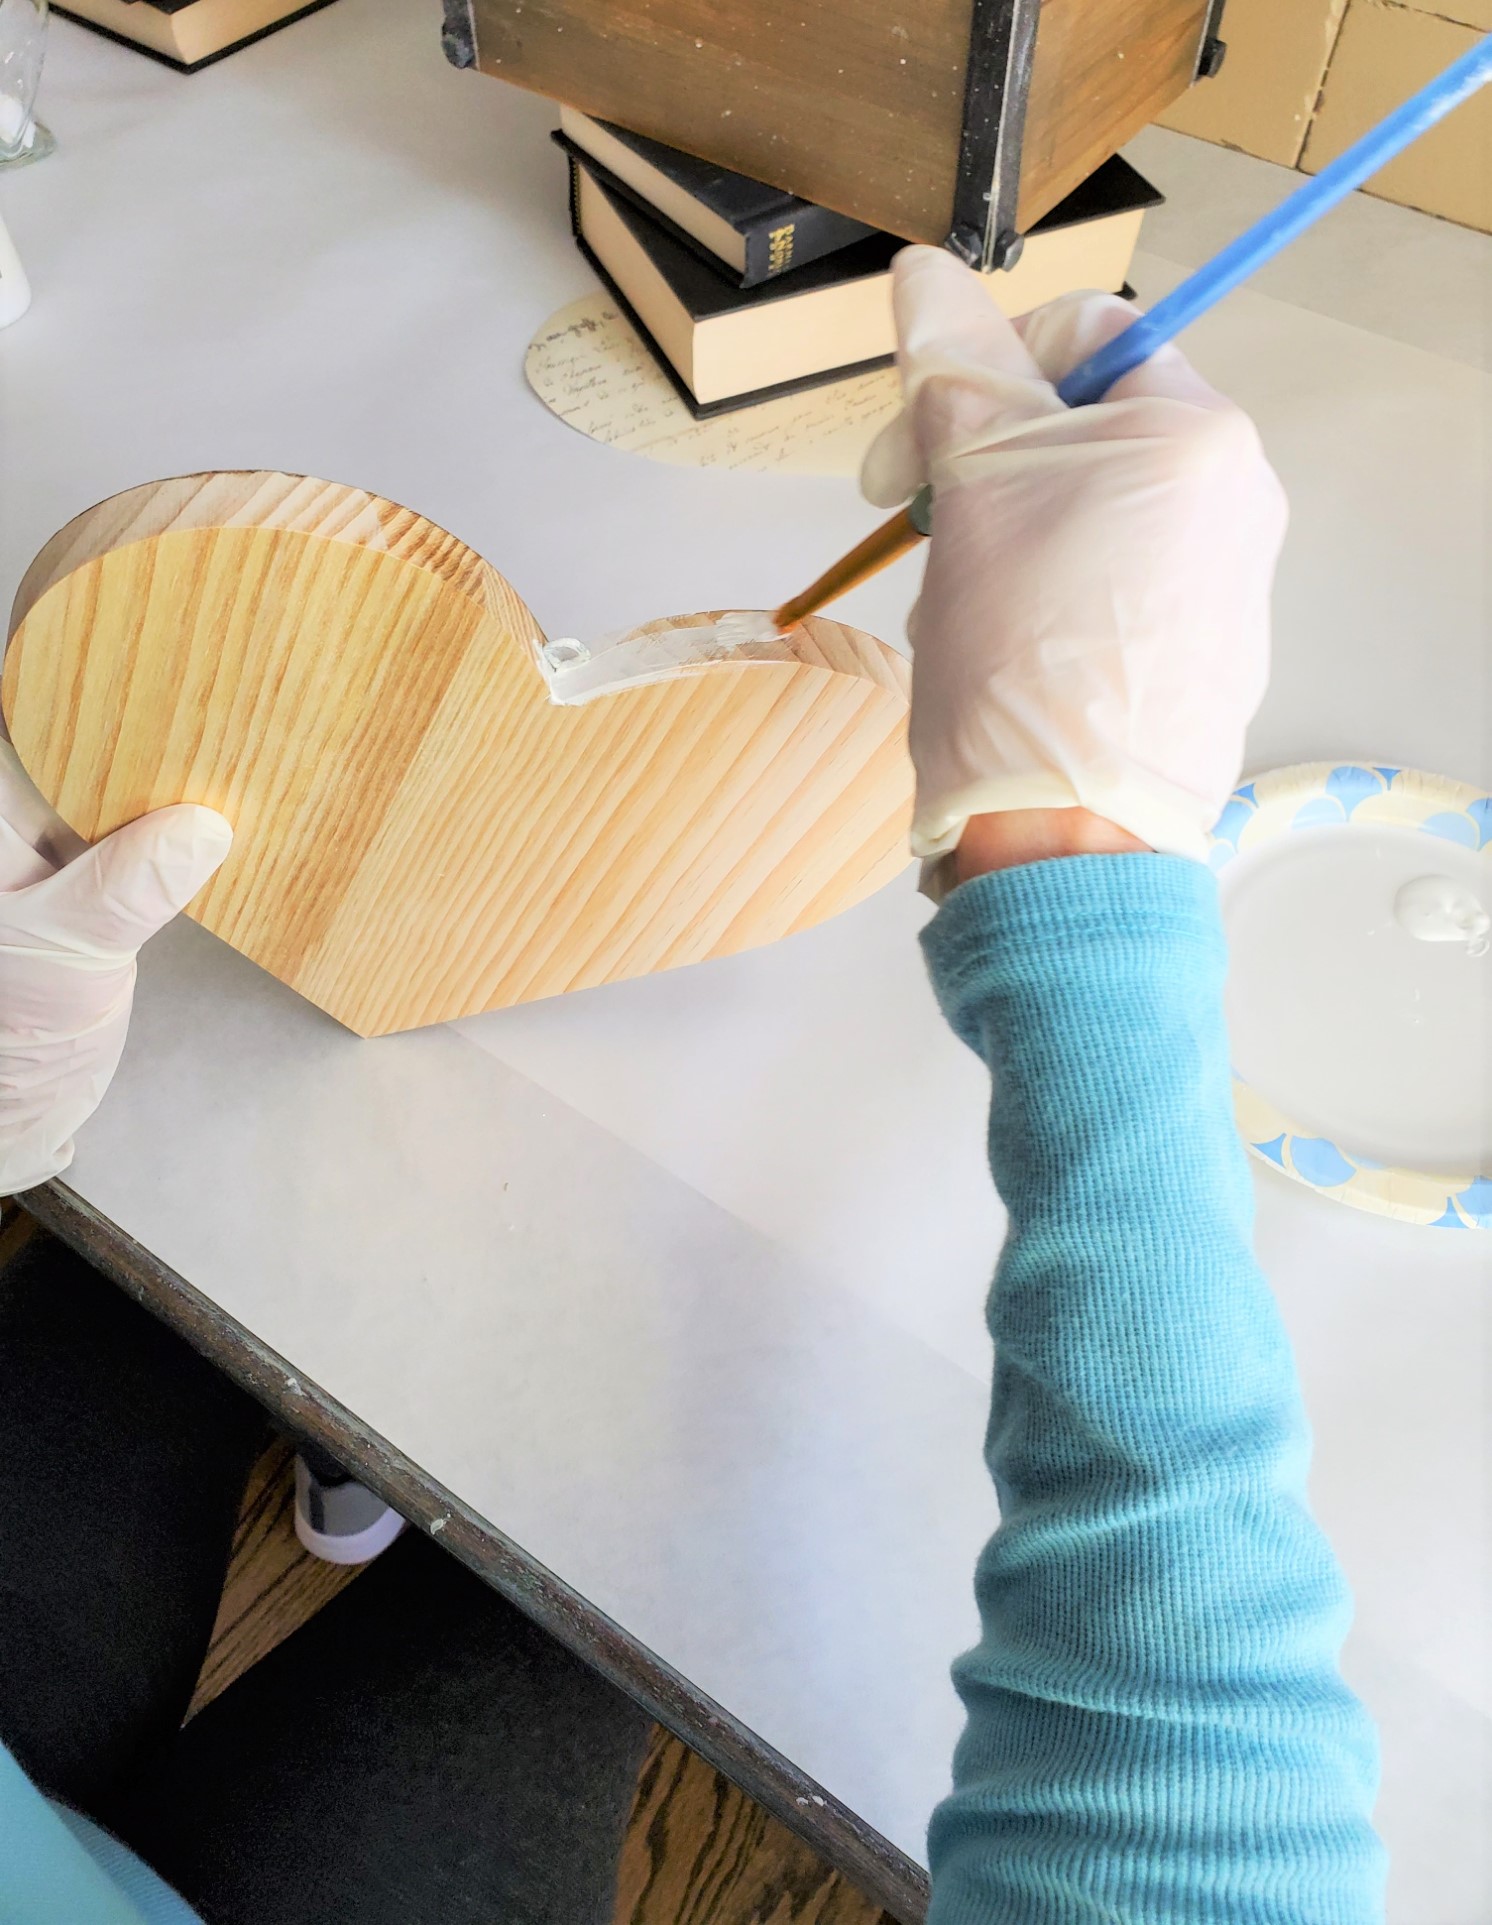
Paint The Edge With White Paint
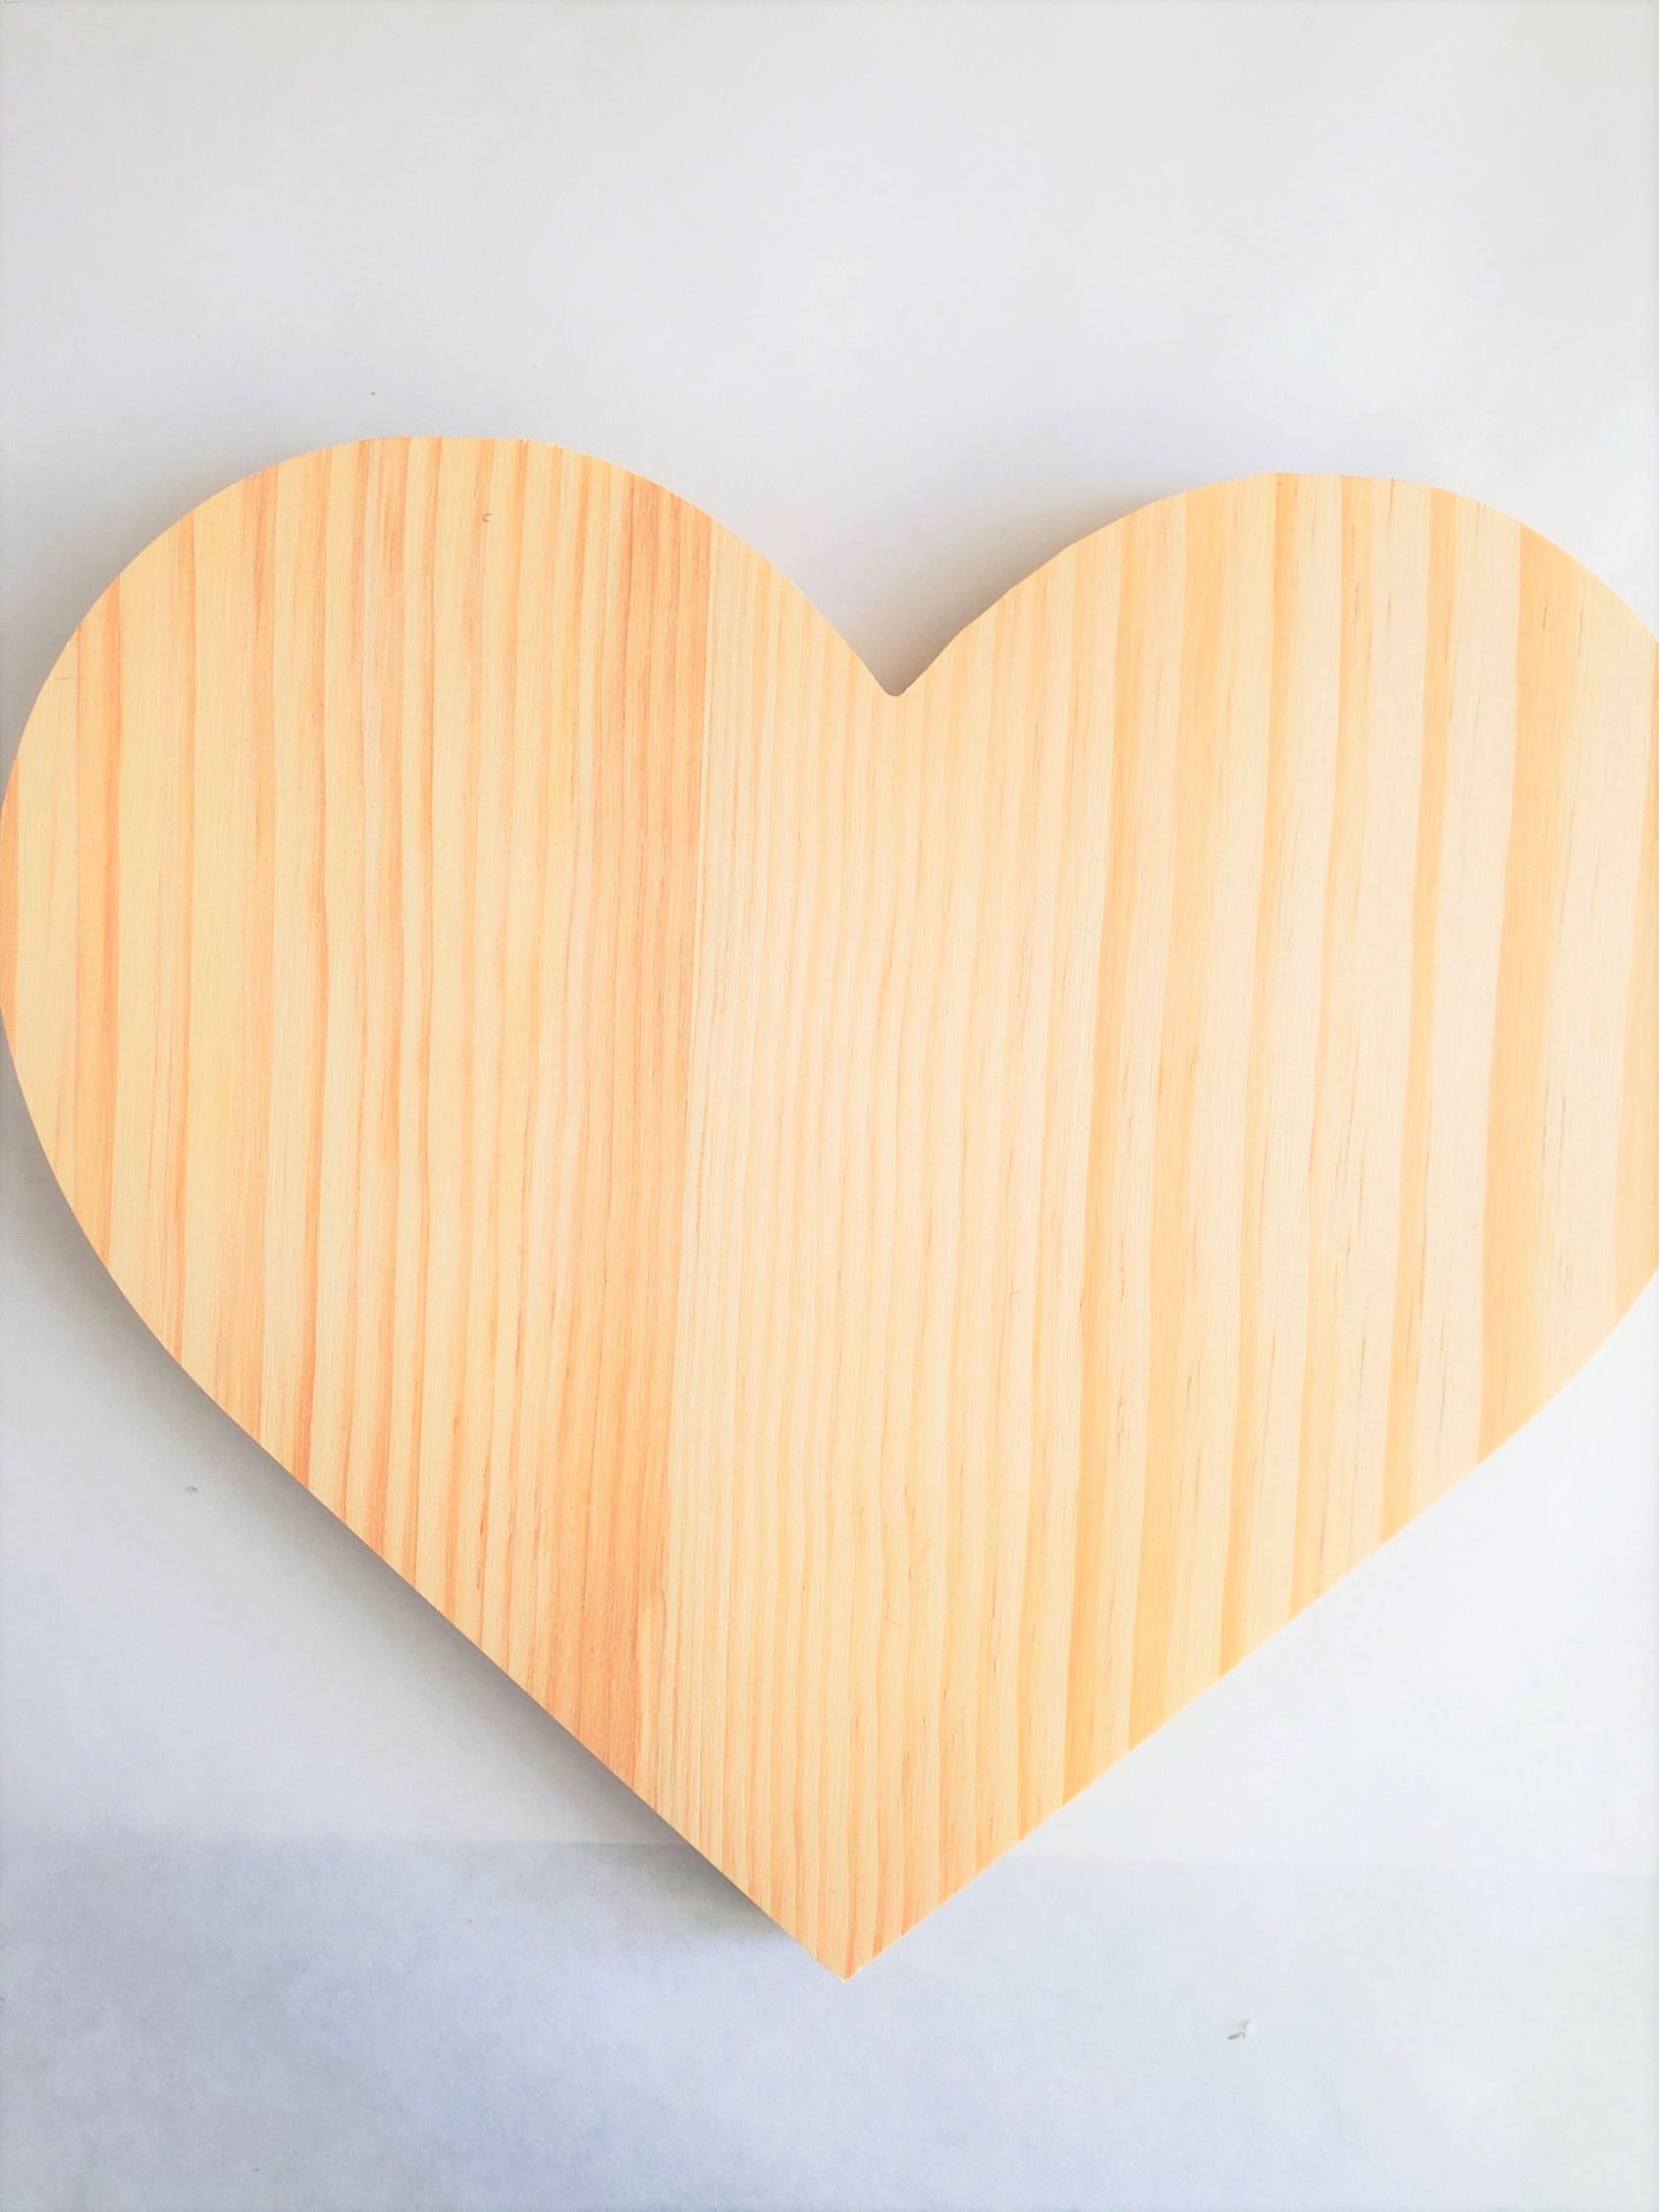
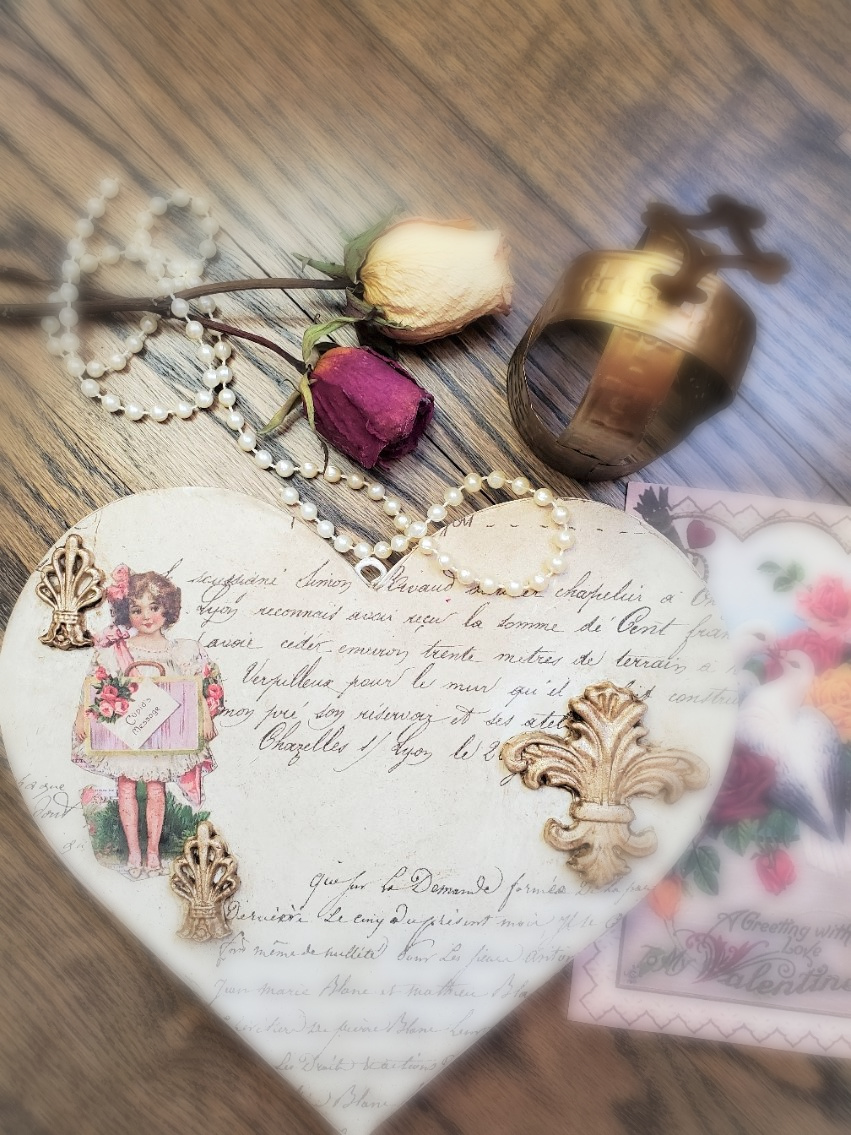
First, I bought this from Michaels for $2. Can you believe it? Take a look because you won’t believe the size for the price of my DIY. Incidentally, this comes with a small round hook so it can be a wreath too!
Next, I begin adding white craft paint to the edge of the wood heart for my easy elegant DIY and let it dry.
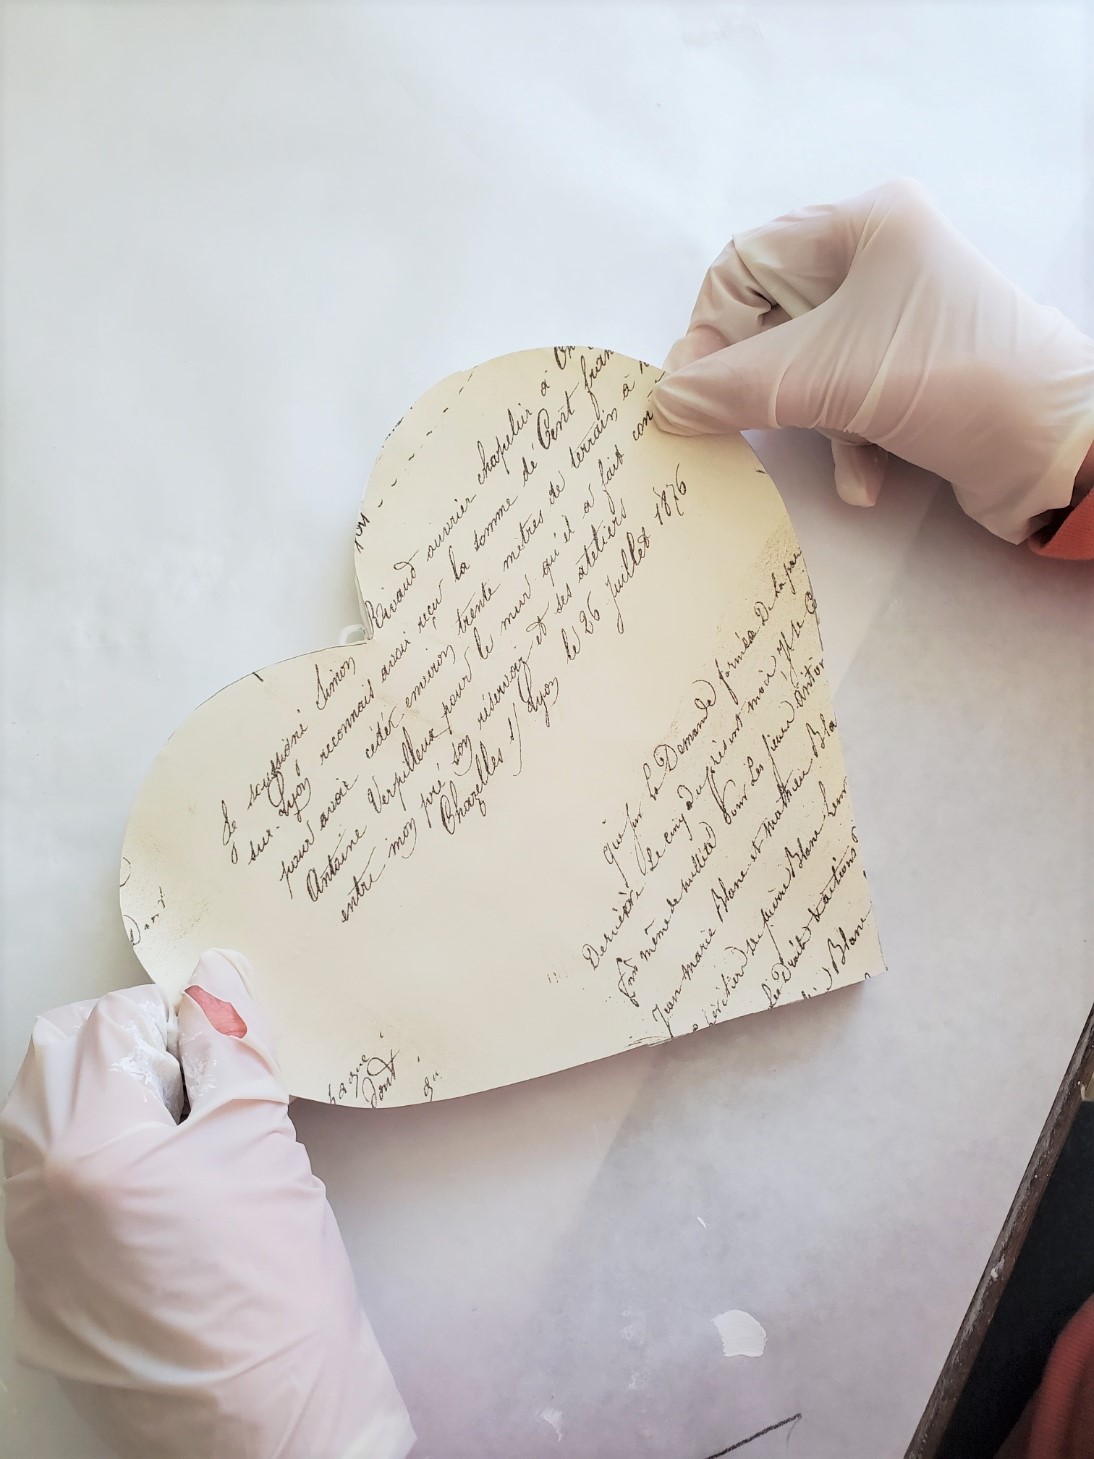
Before painting, I trace the heart on my elegant wrapping paper. By the way, I have had this wrapping sitting in my craft closet. Having pieces for free for projects is great in the craft closet!
Using sharp scissors, I cut the pattern. Because this is wrapping paper, I added a stack of books to flatten Valentine’s heart. As you can see above.
Cut Heart Shape
Add Wrapping With Mod Podge
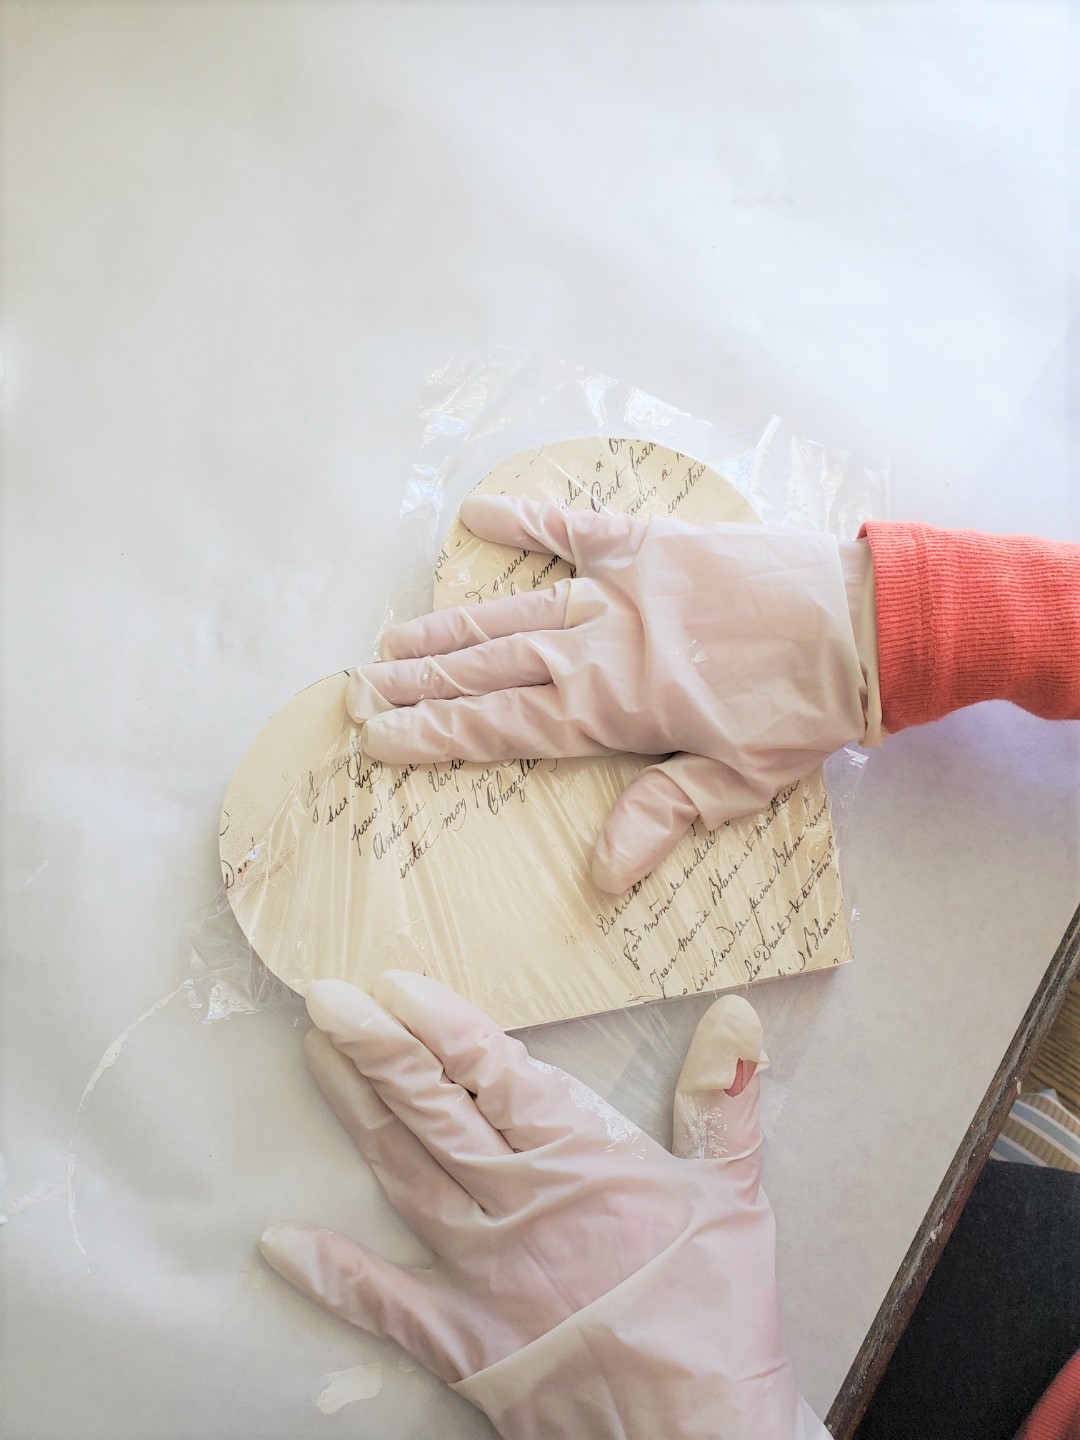
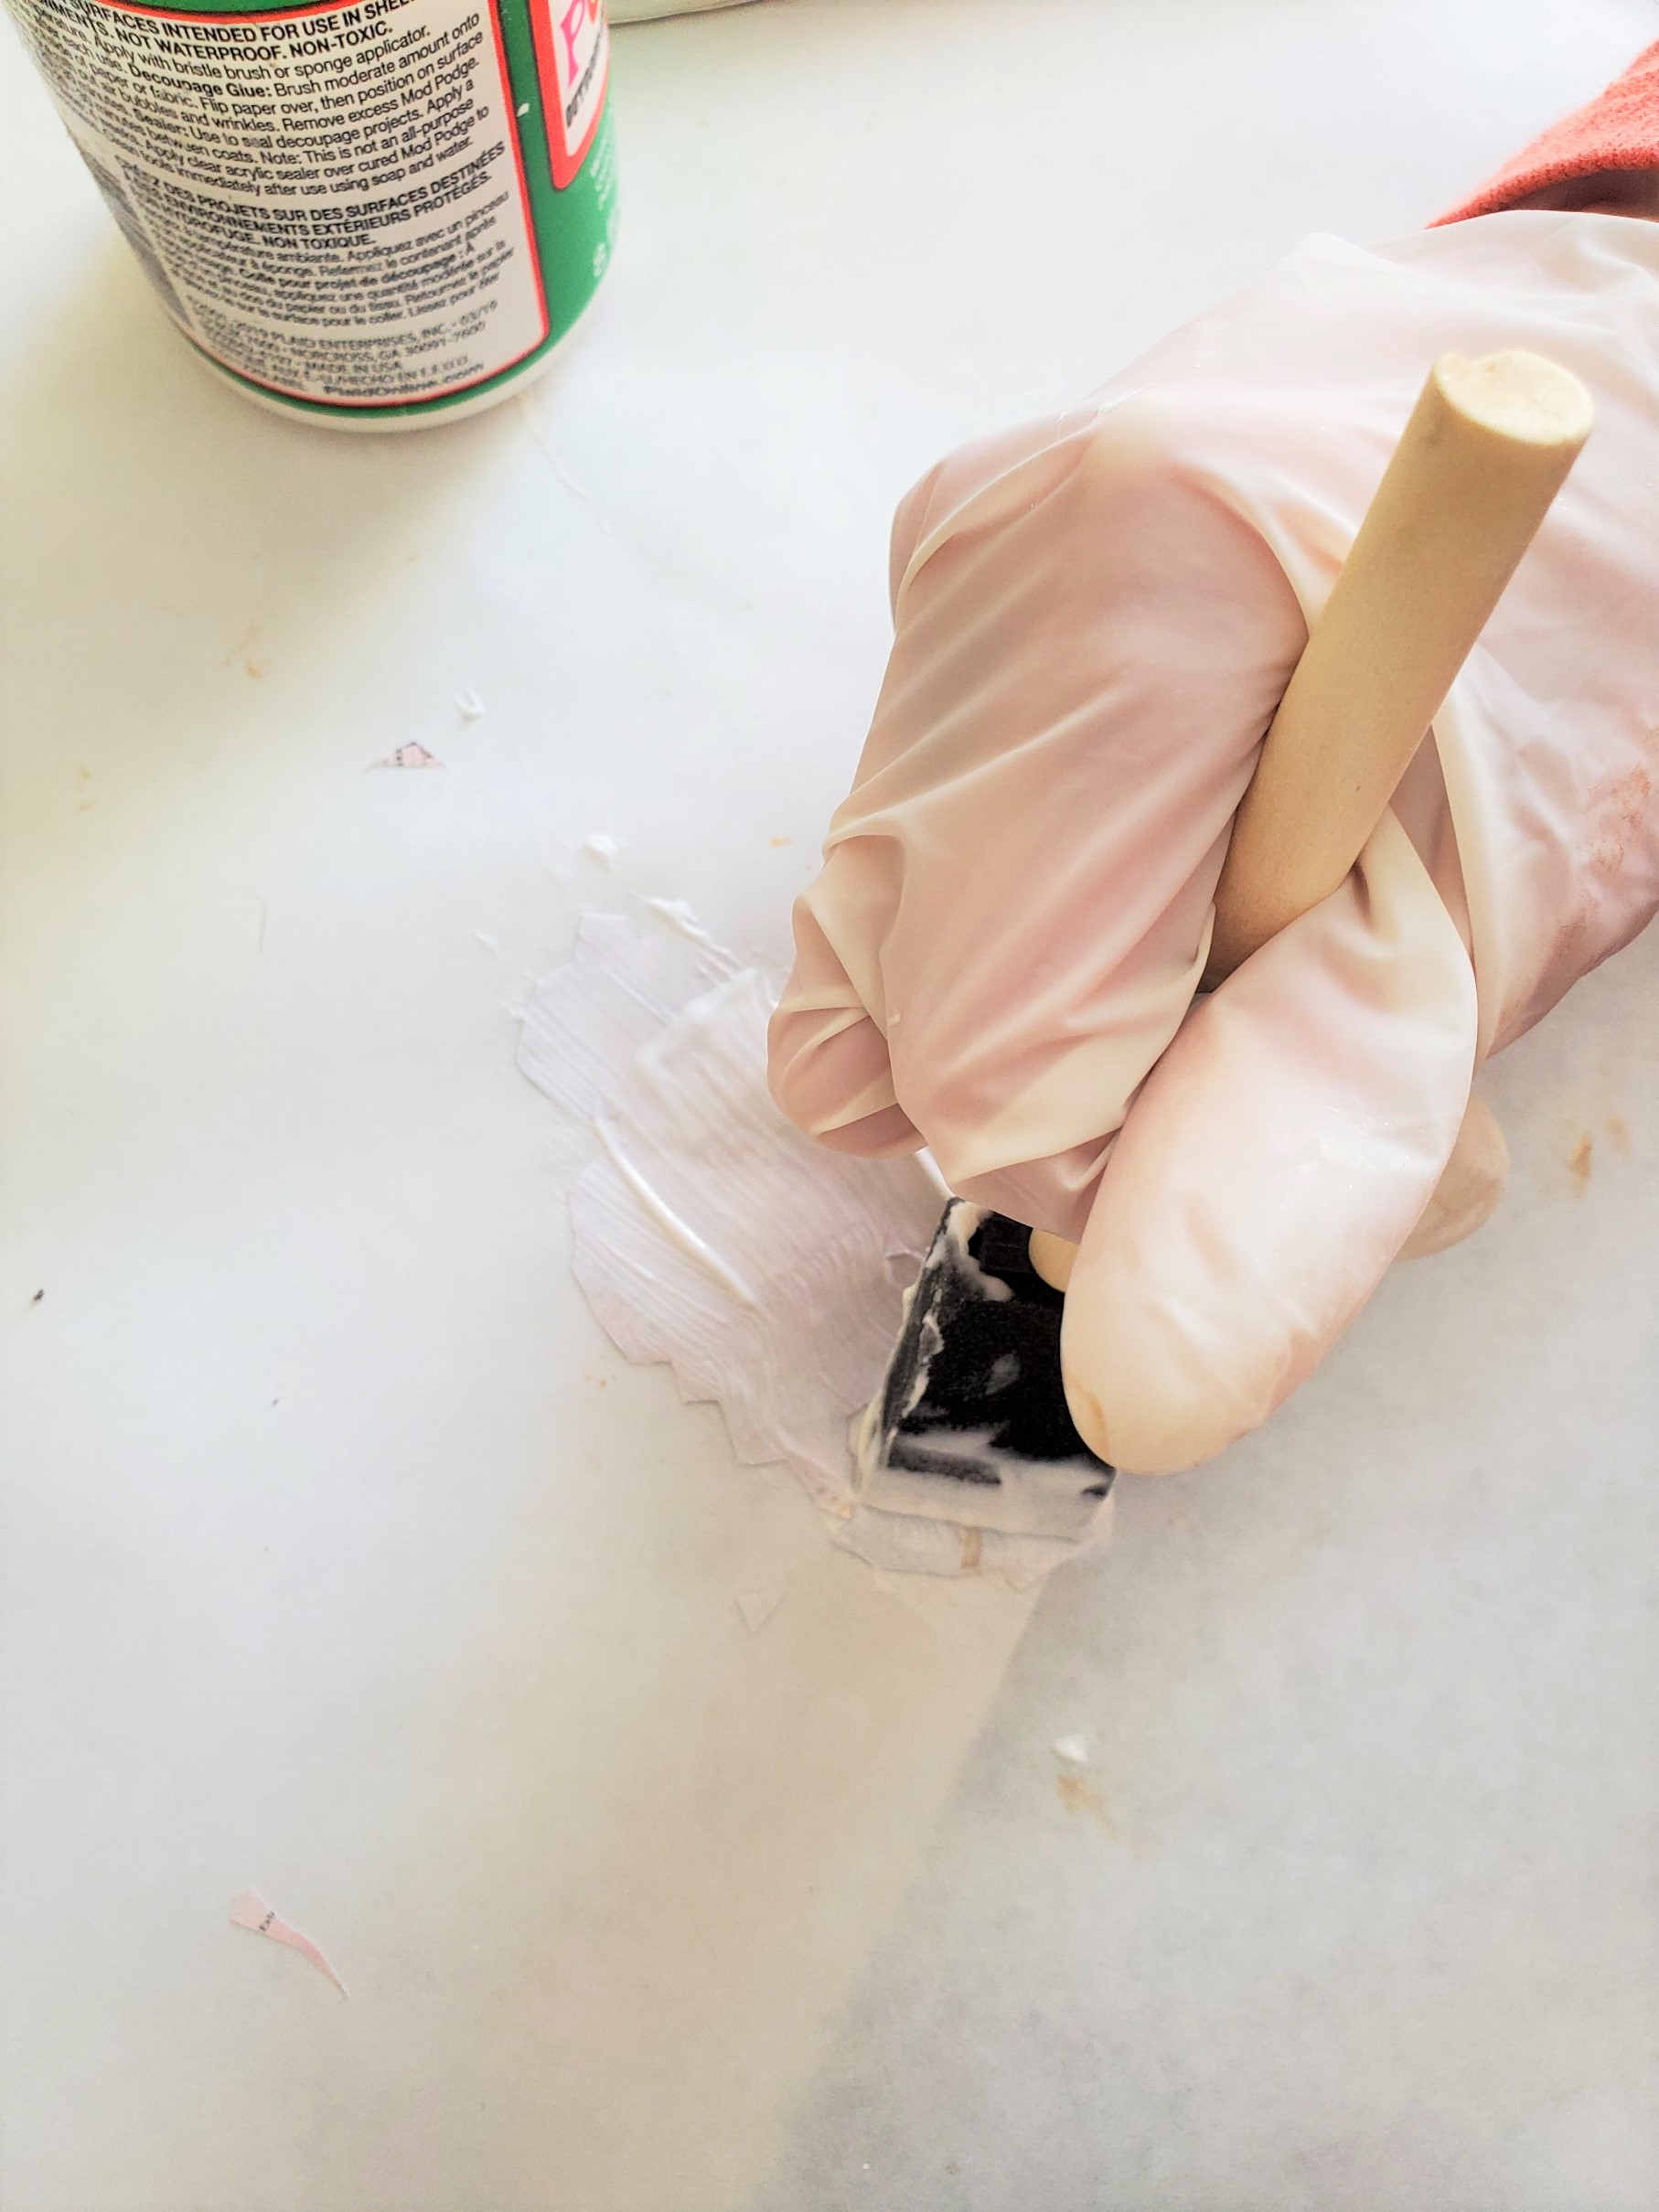
Using a sponge brush or a paint brush andMod Podge I brush a good coat on my heart for the easy DIY. For the most part, be sure to cover the edges of the paper well.
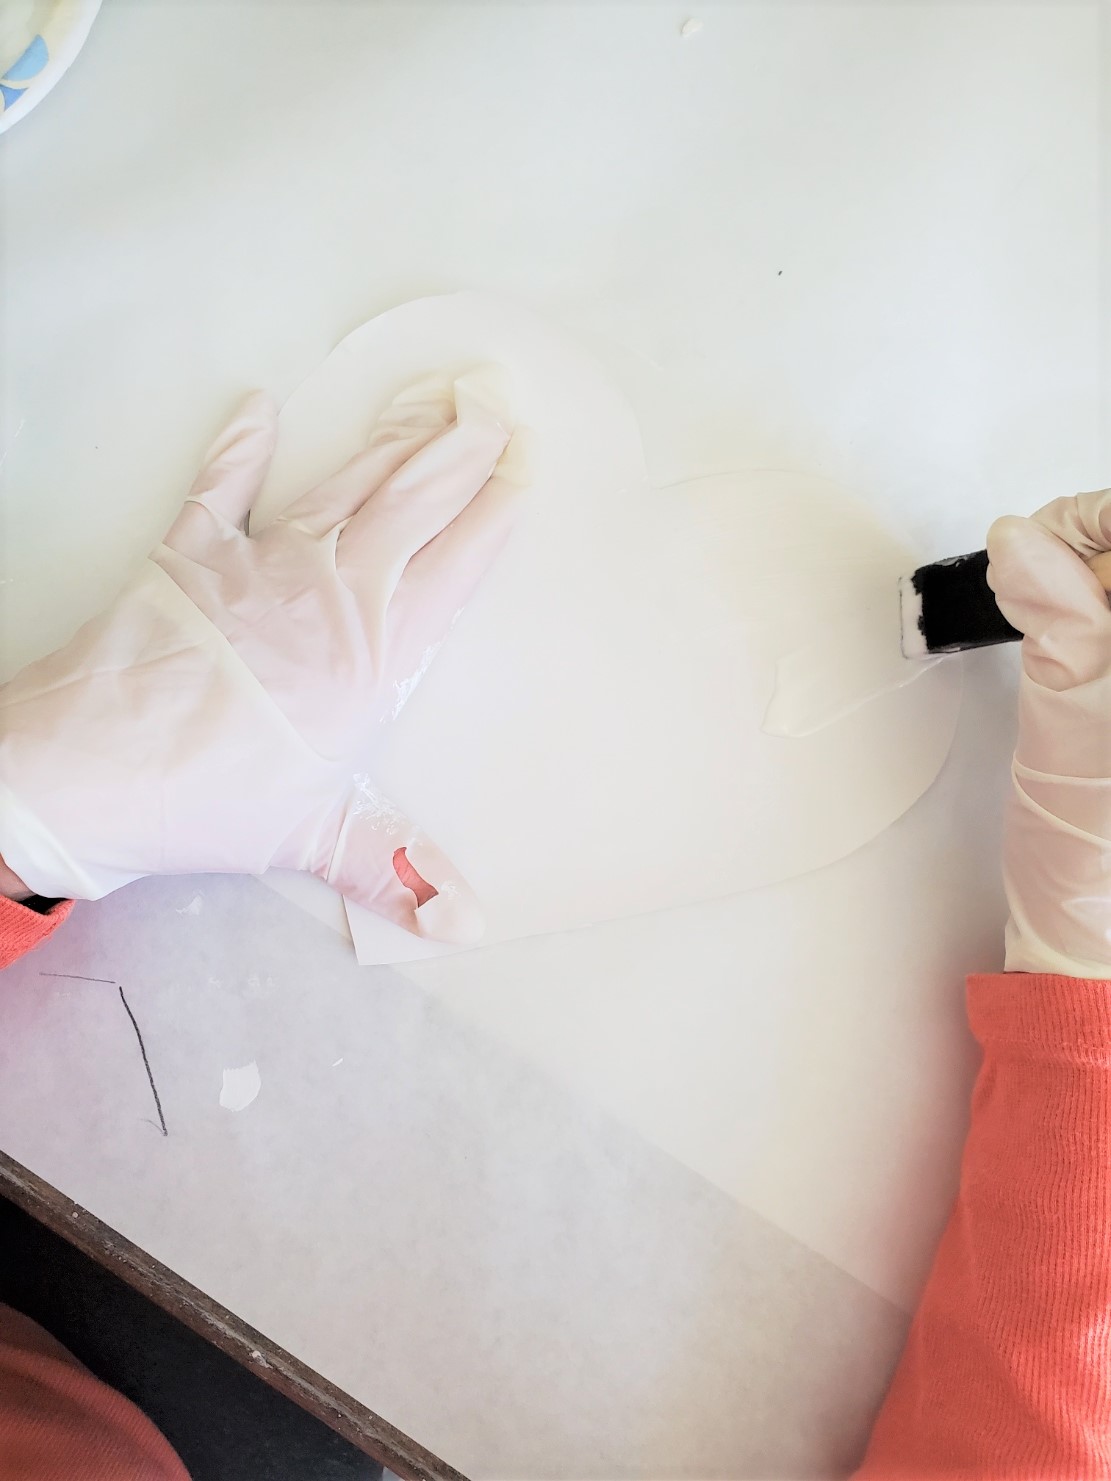
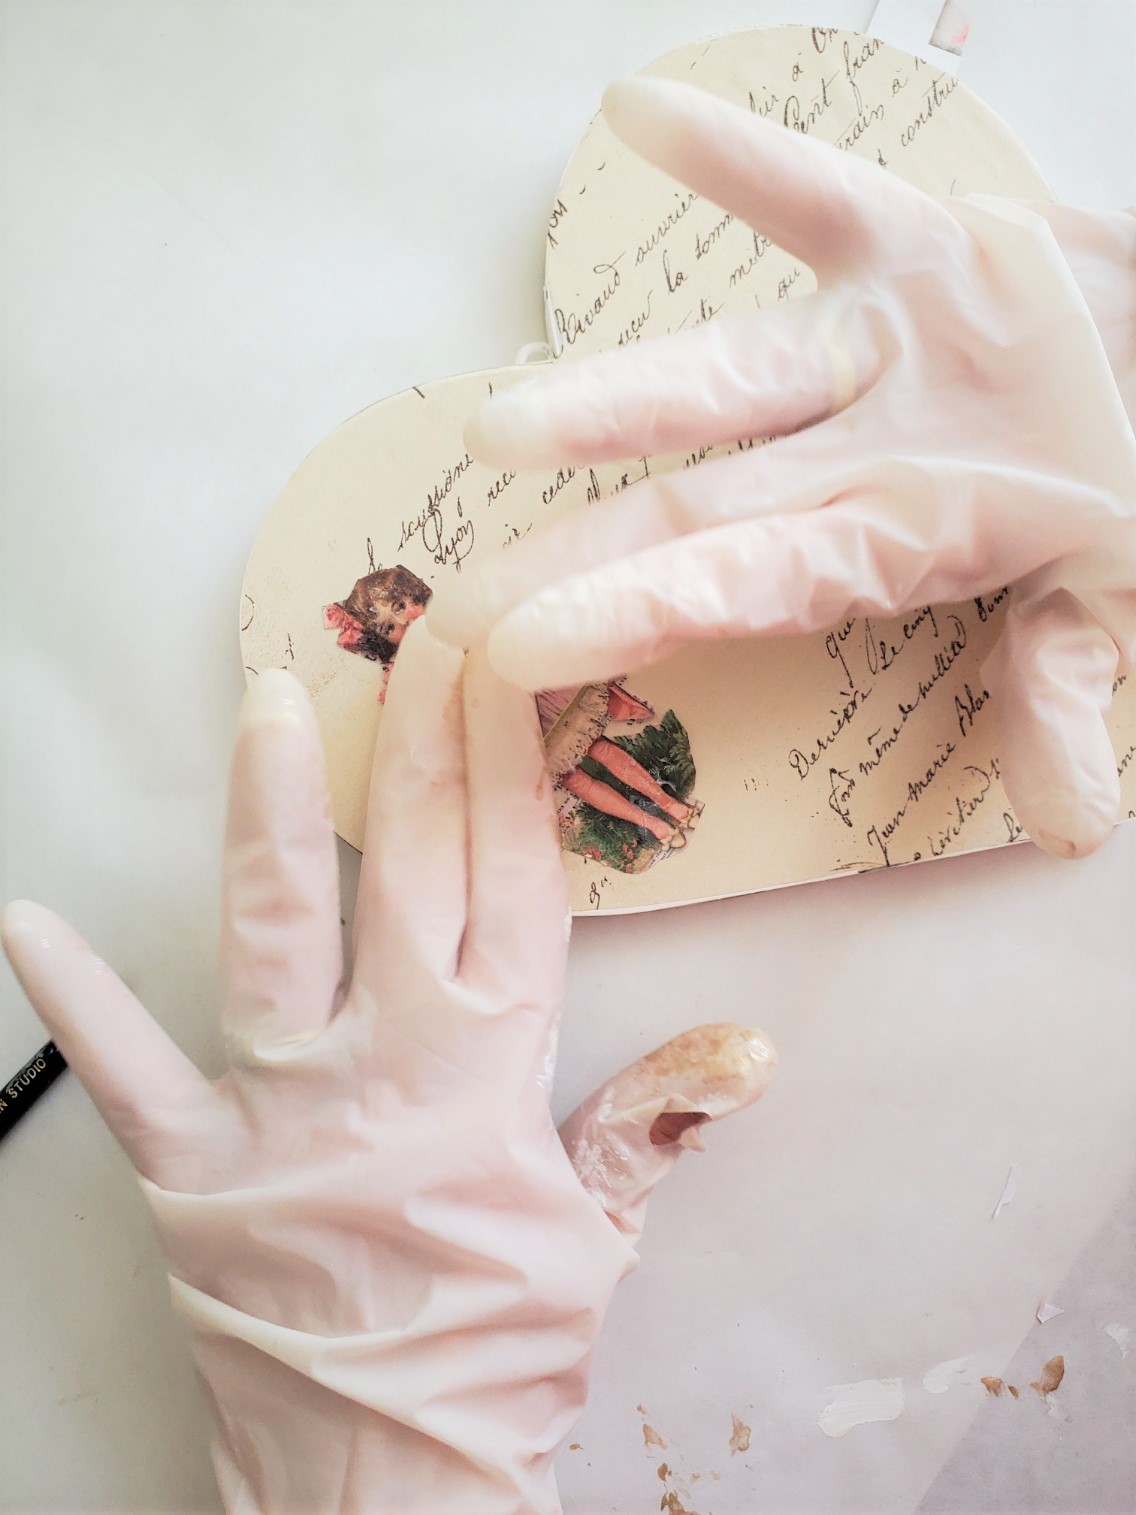
Flip the wrapping paper and place it on the heart. Here’s where I am sharing a trick that I regularly use when Mod Podging. Also, this works every time to prevent wrinkling so definitely try this technique.
Using Decoupage scissors or sharp scissors carefully cut around my graphic to add to an elegant romantic Valentine’s DIY. Because delicate cuts are needed for this step these scissors work well.
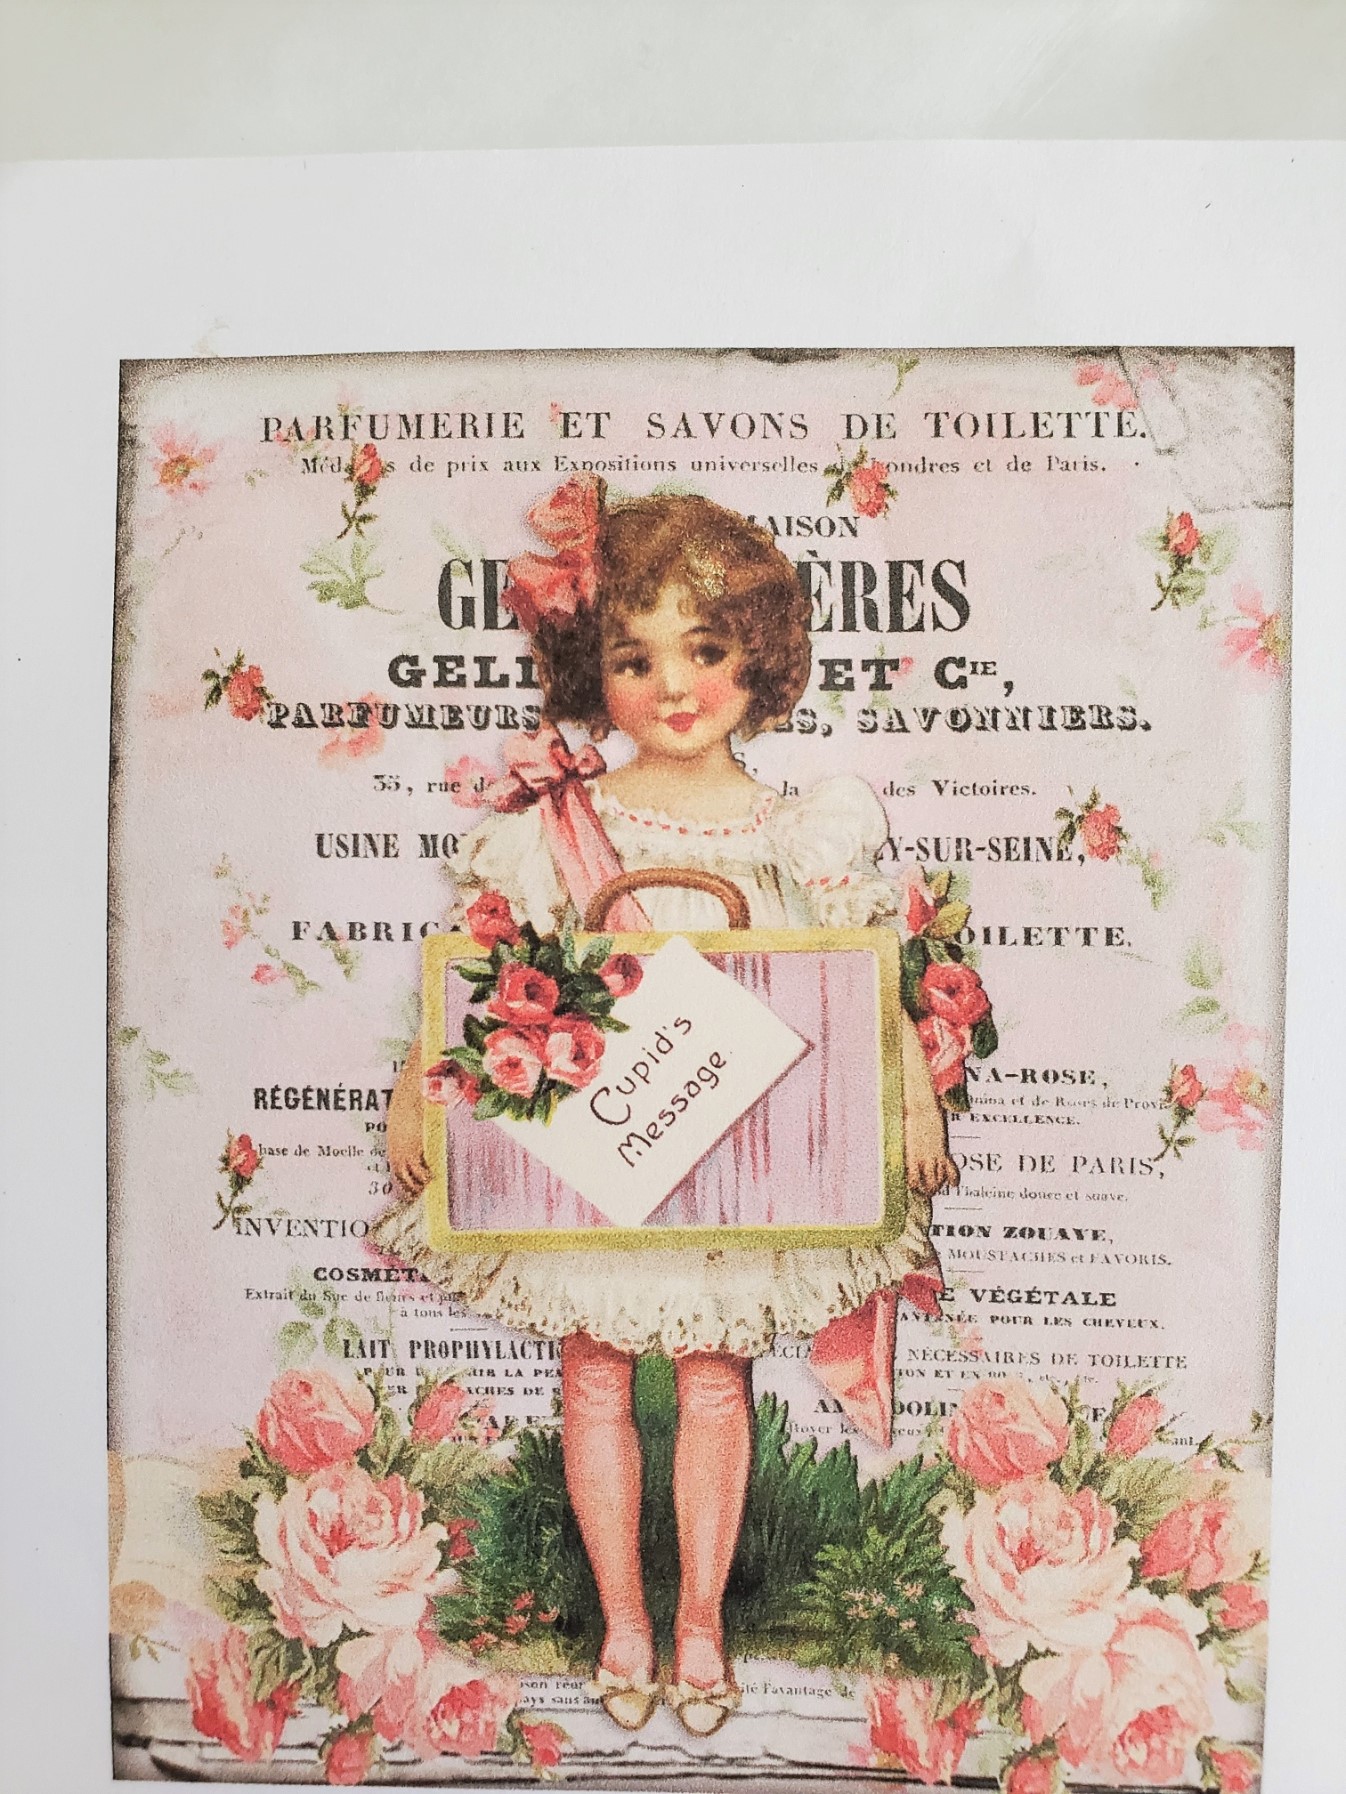
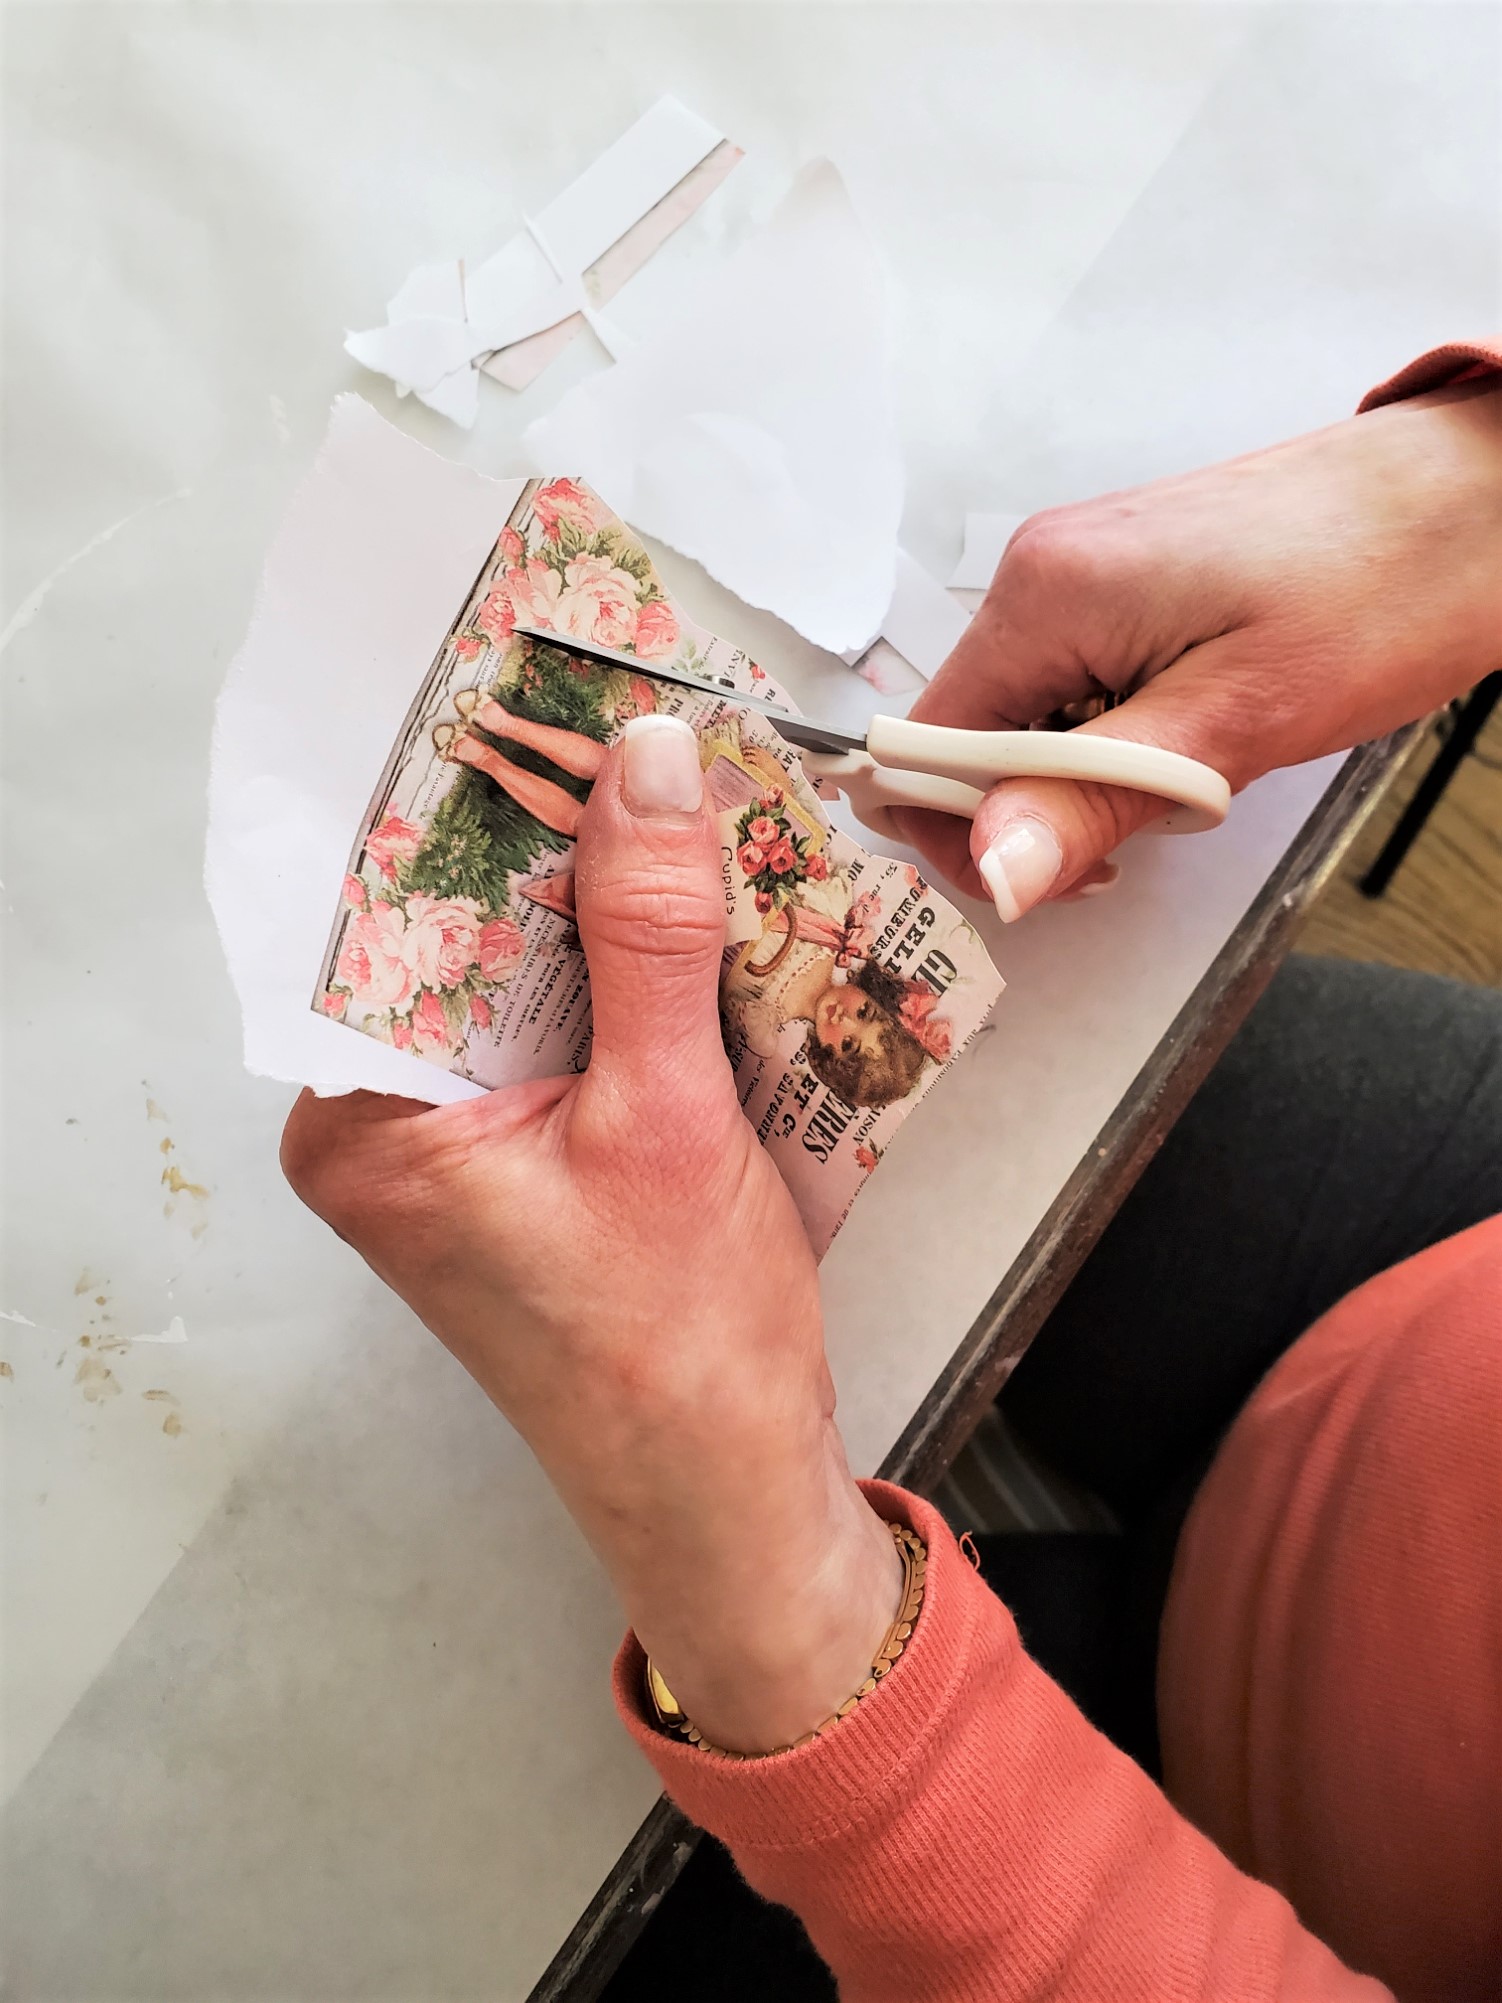
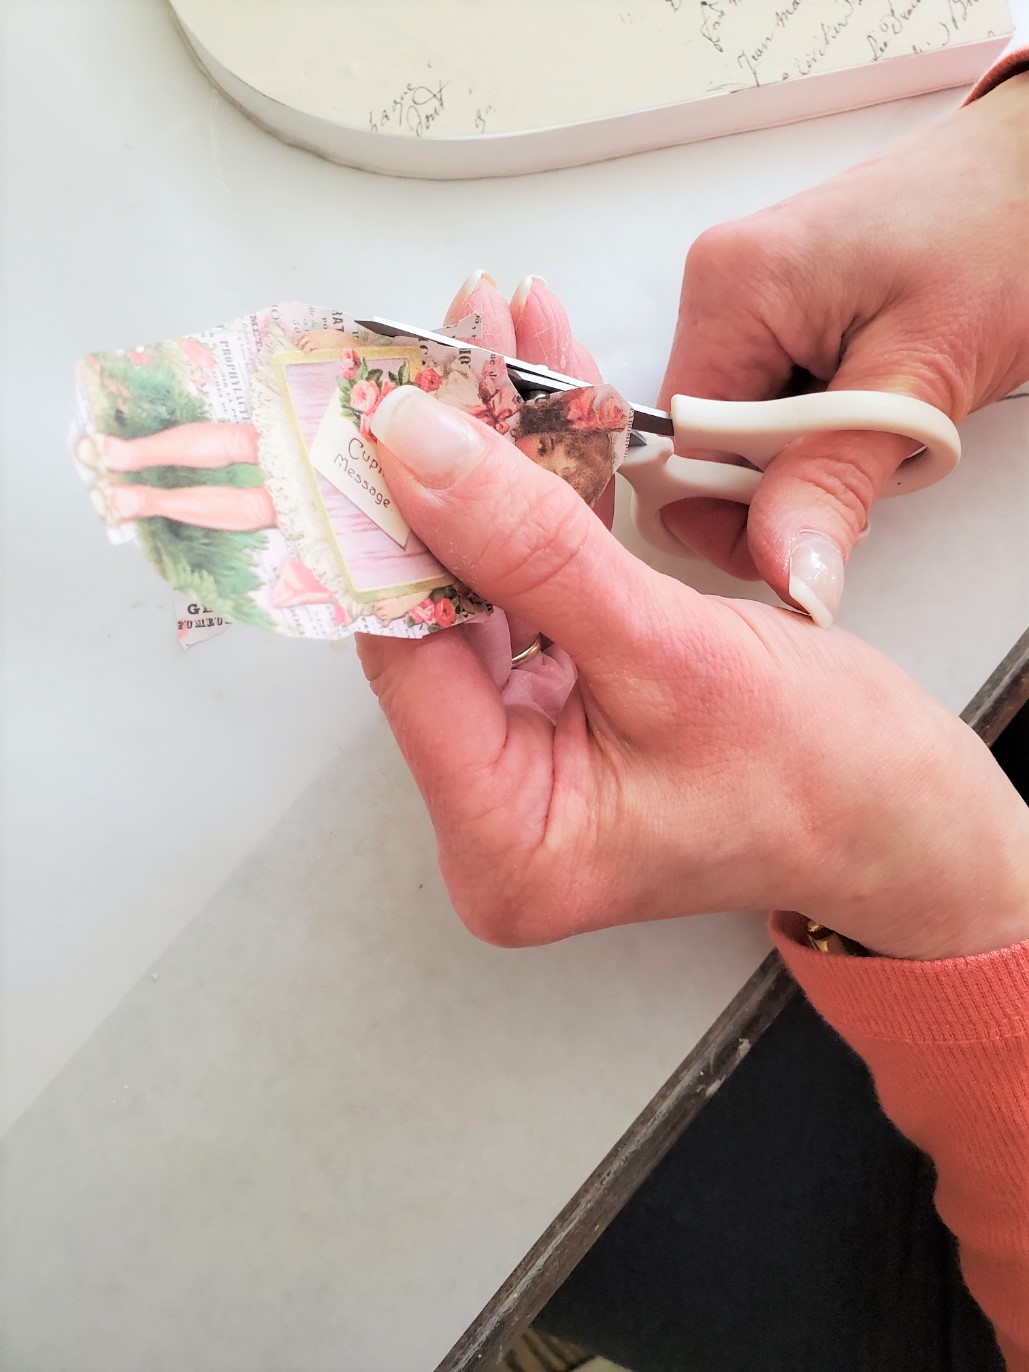
Add Mod Podge to the back of the image making sure to go to the edges. Now carefully flip the image and add it to the DIY Valentine project.
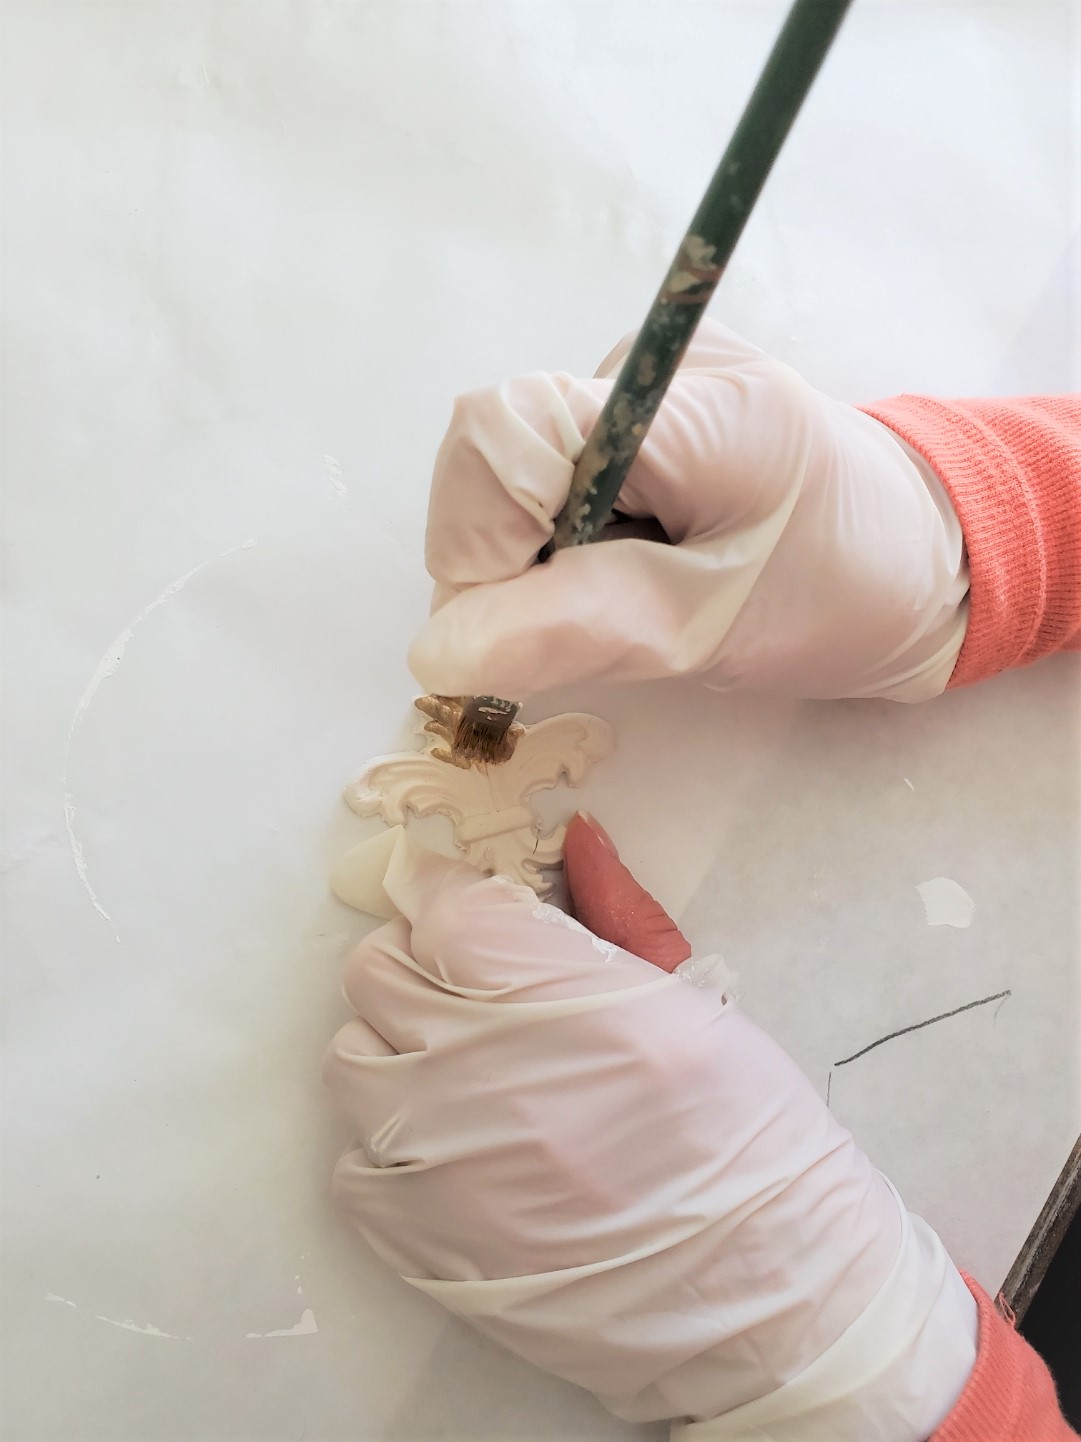
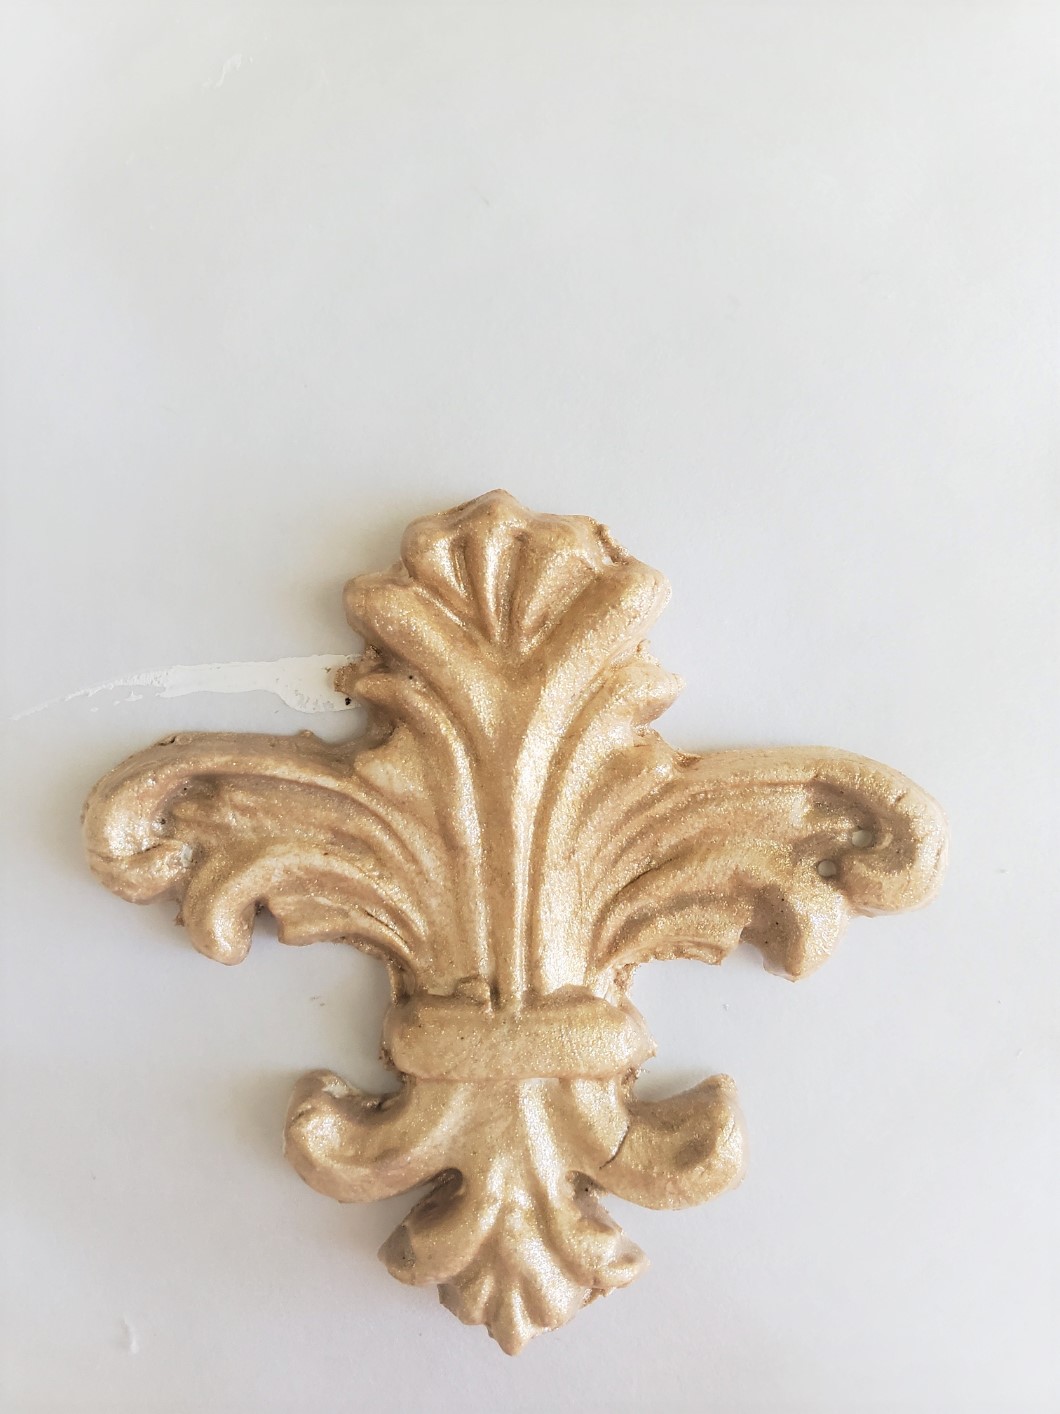
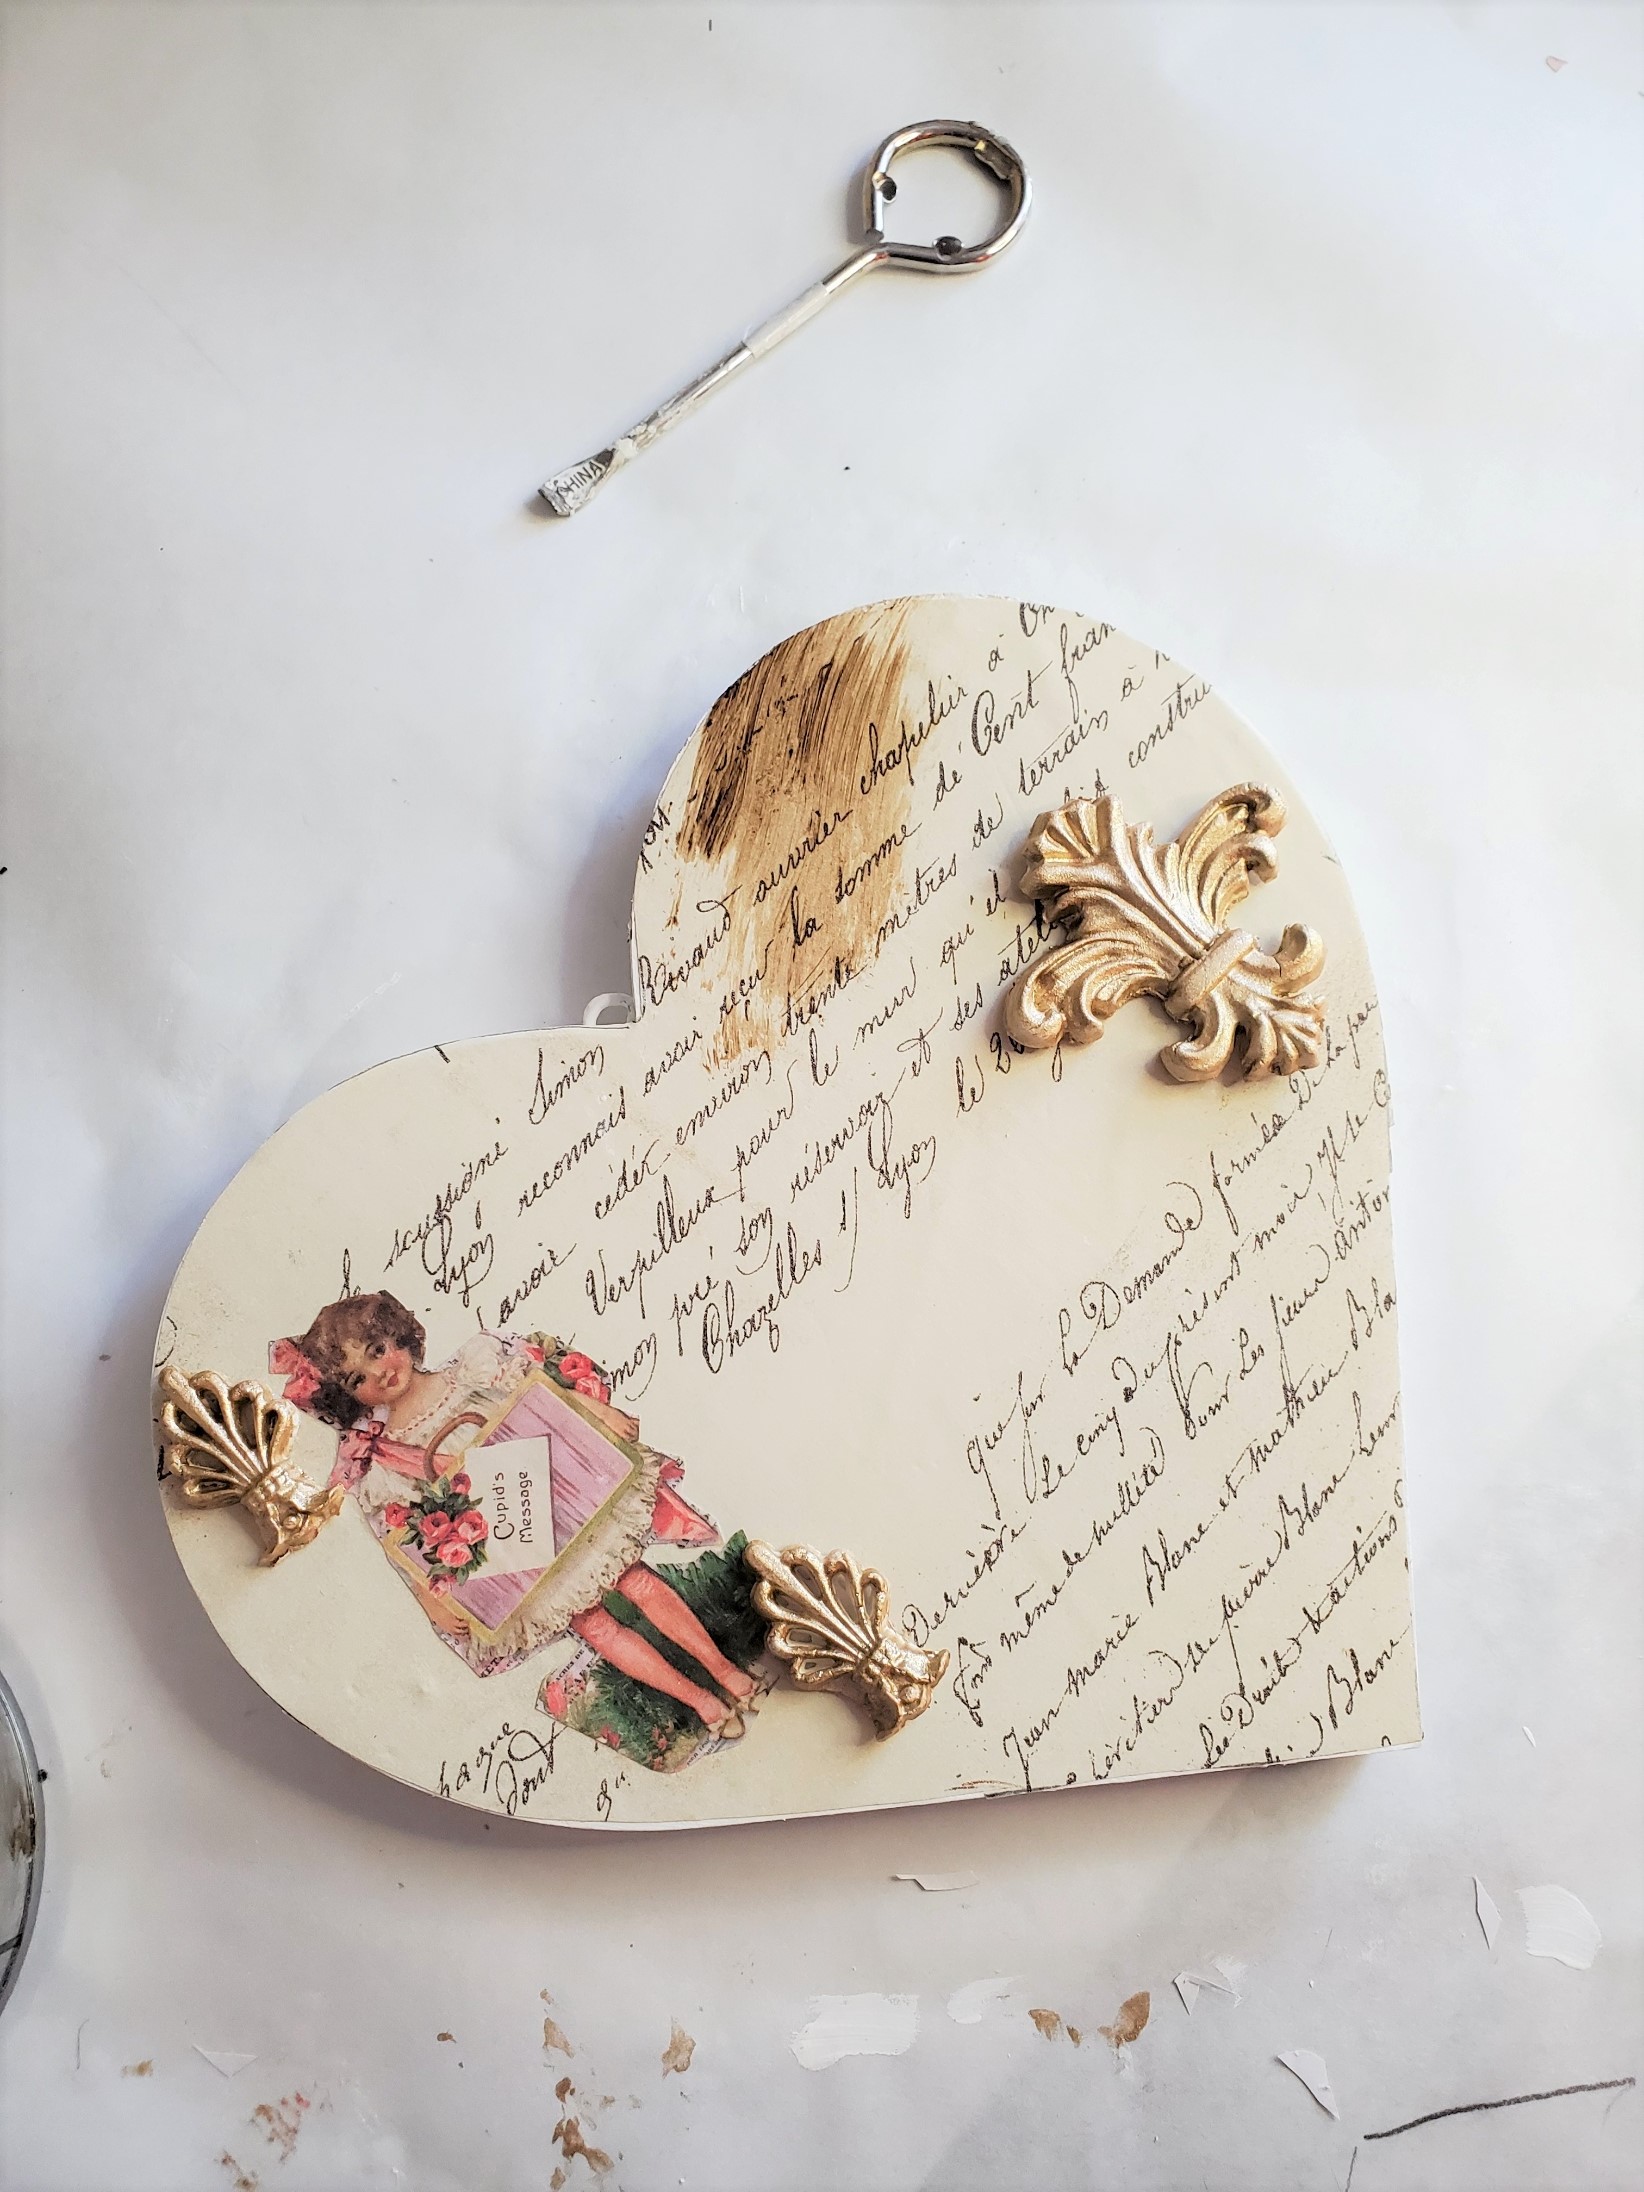
Paint Appliques
Painting Metallic Before Gluing
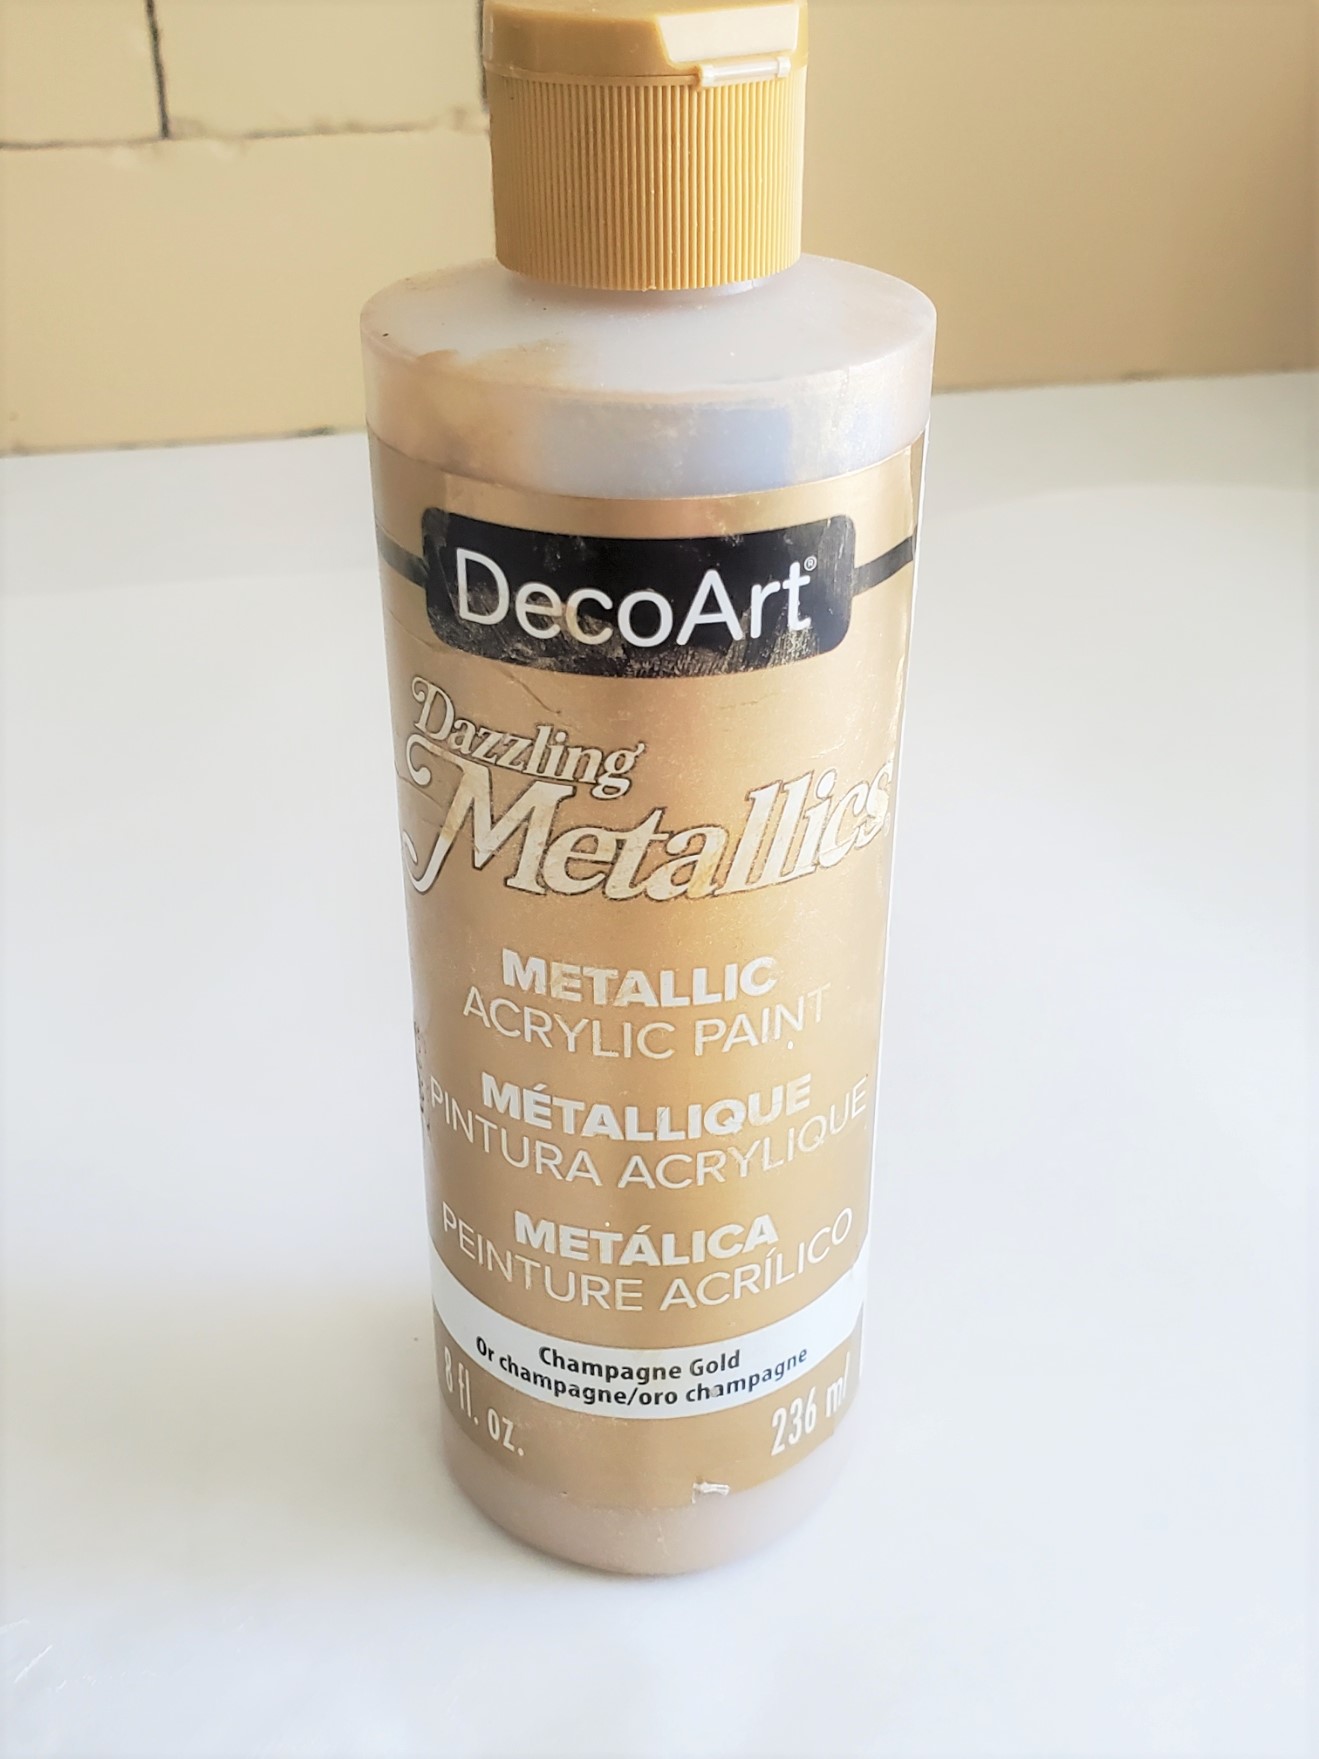
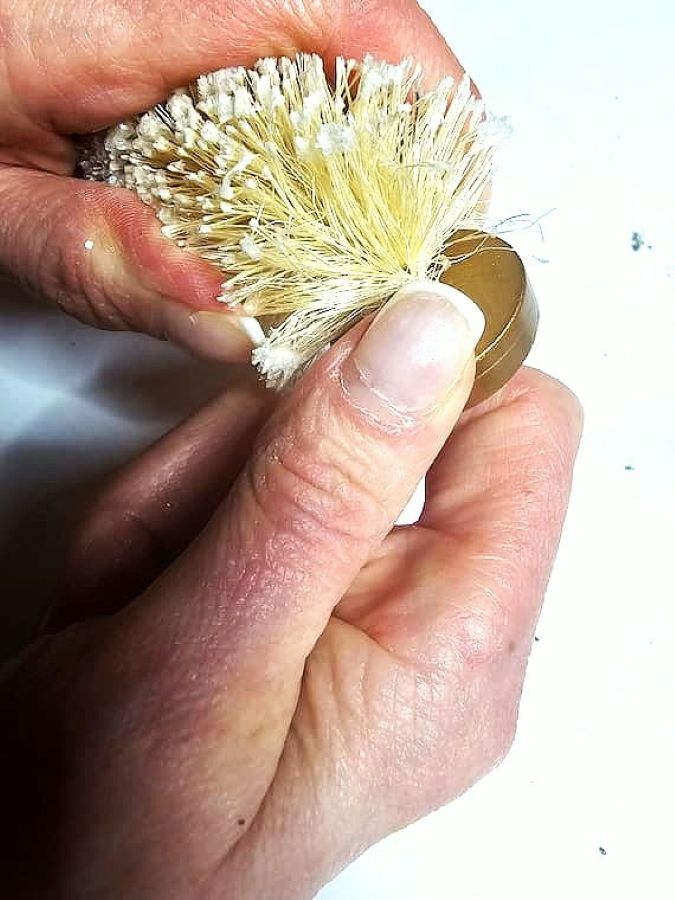
Before adding the appliques to my DIY project, I painted each one using Champagne craft paint. You can of course purchase this at any craft store. This step only takes one coat of paint. I did choose to add appliques to add an extra elegant look to my DIY.
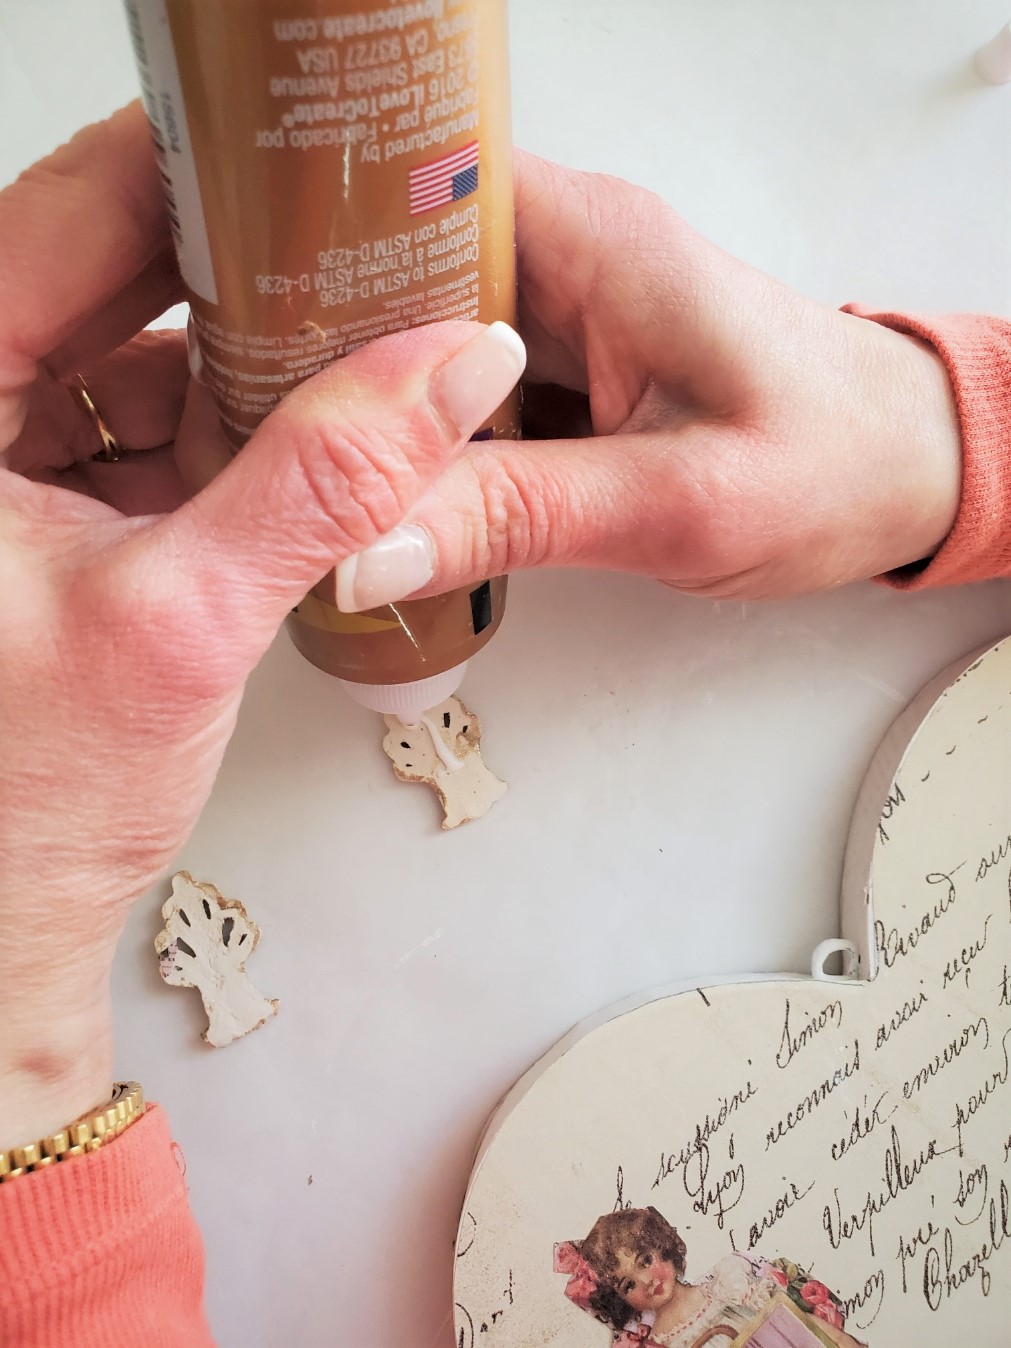
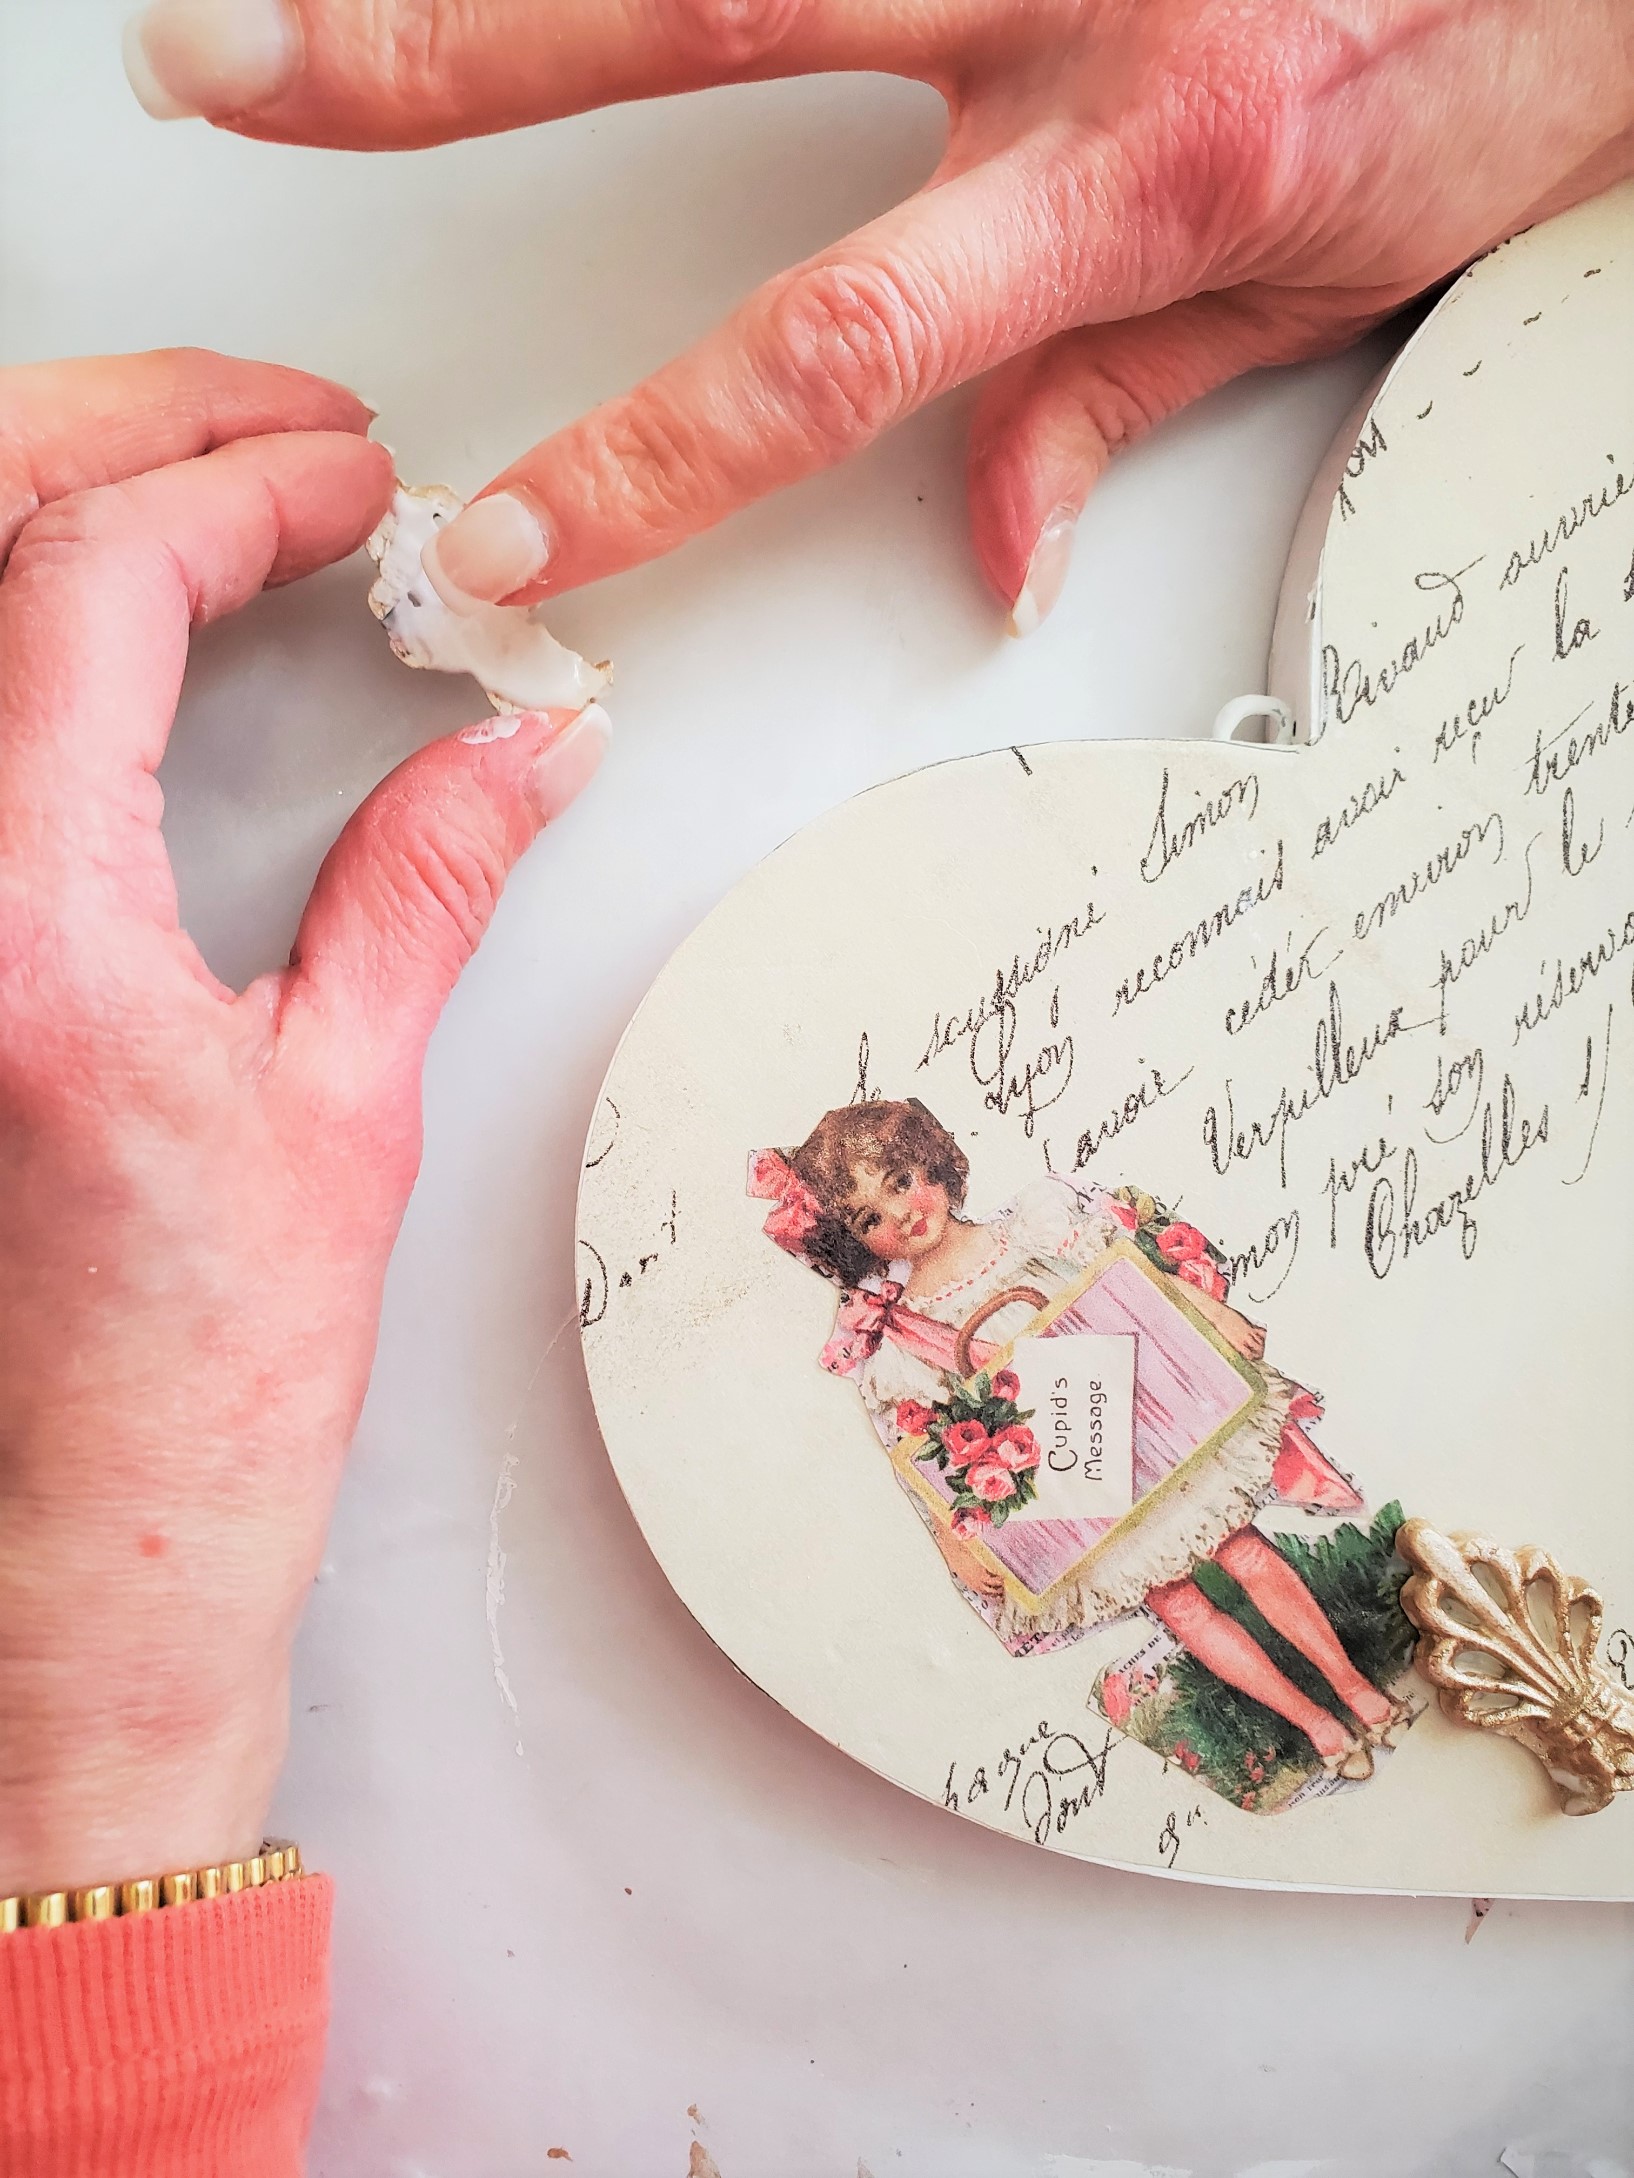
Attach The Clay Appliques
Adding Charm With Embellishments
To attach the appliques to the easy Valentine, I added Aleene’s Tacky glue. Did you know Aleene’s has a quick dry glue now? She also has her Tacky glue available in a bottle that’s upside down.
I think that’s great because it’s hard to get the last bit of glue out of the bottle. Wood glue works great too.
Let the appliques dry.
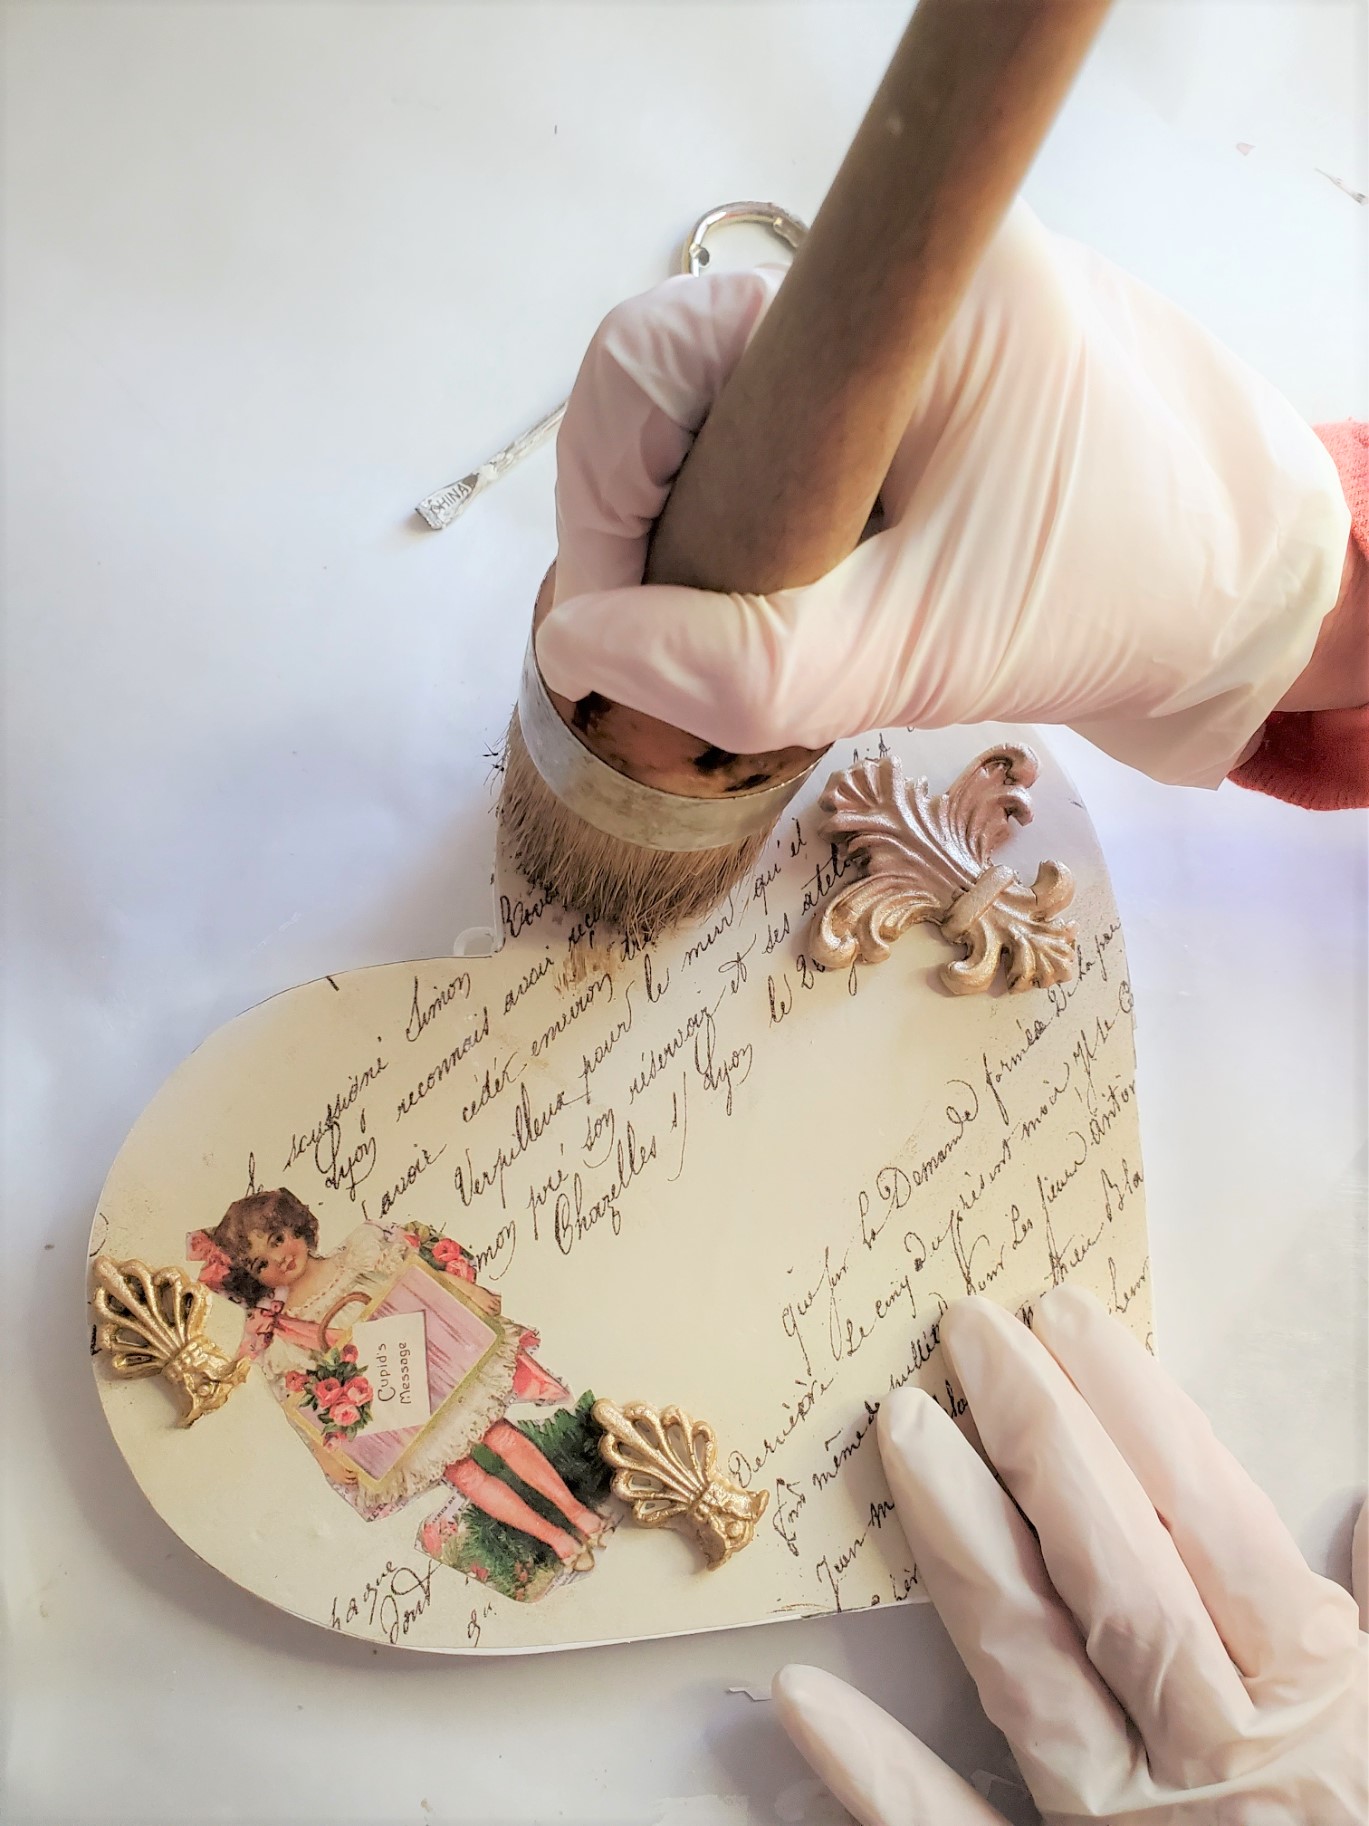
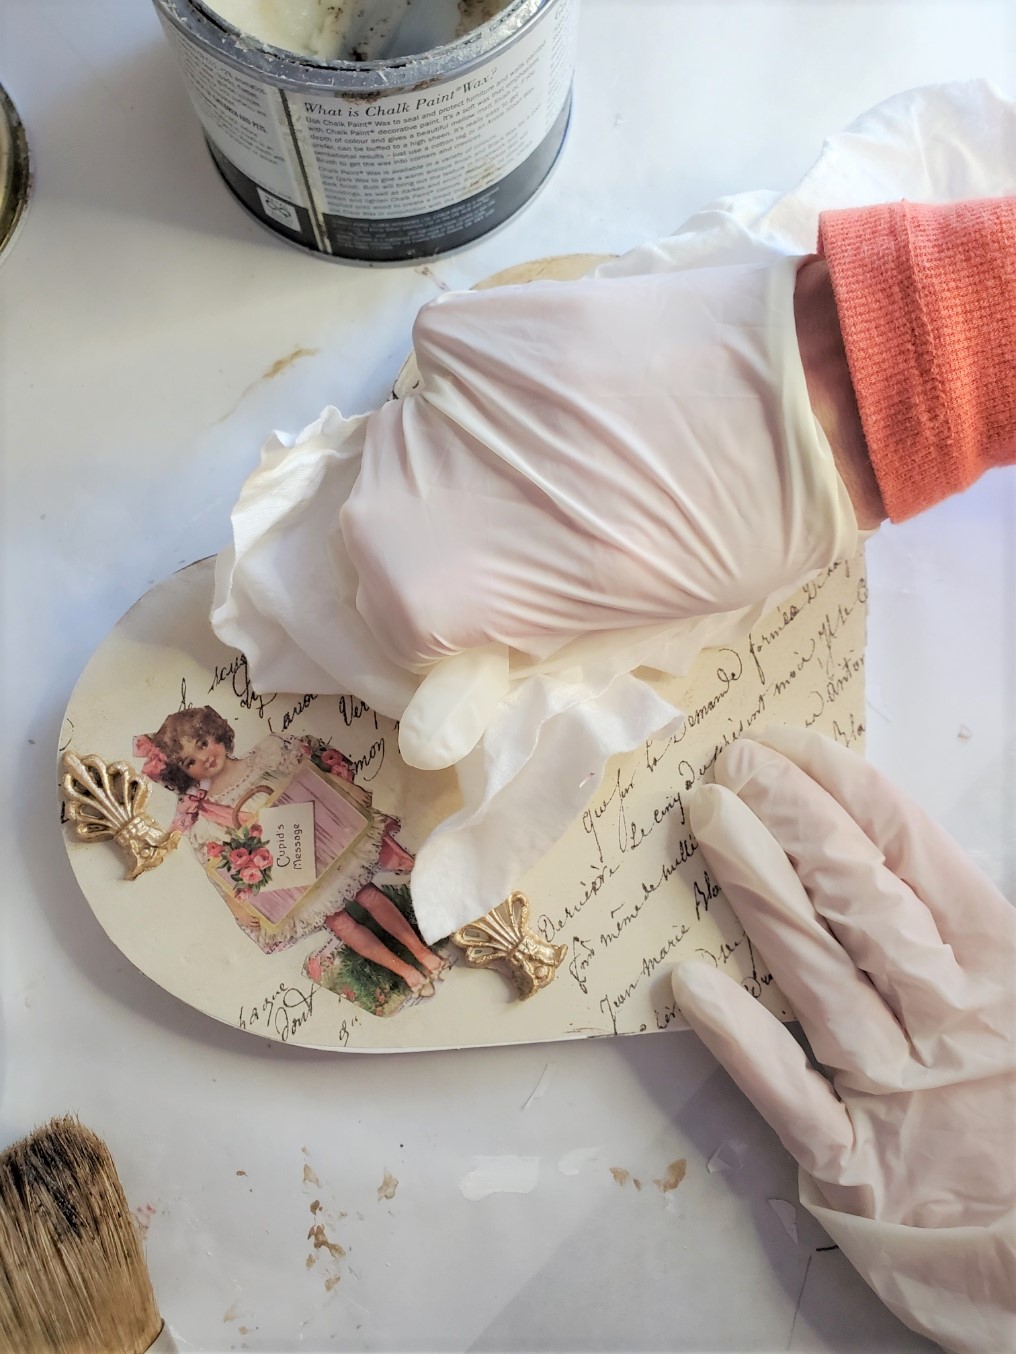
Dark Wax
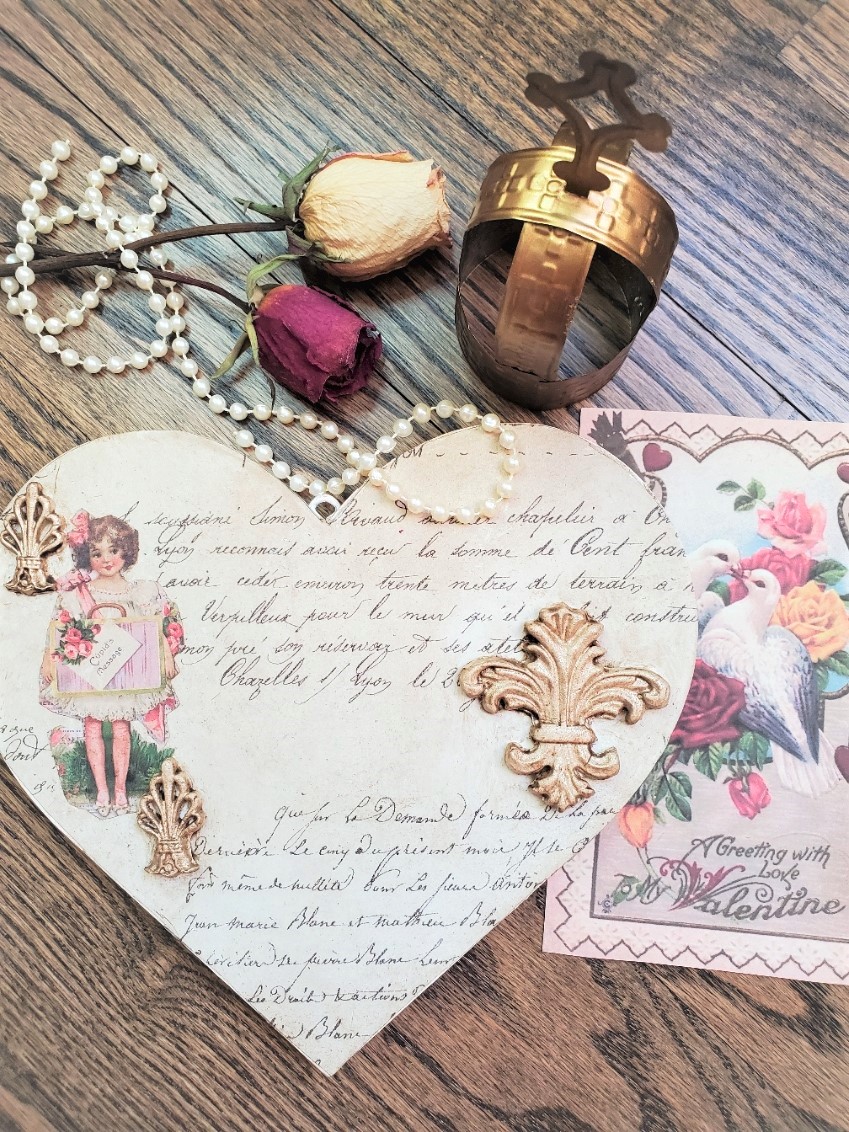
Add Character: Vintage Charm With Wax
In the final step, I add dark wax to the entire piece bits at a time. After applying the wax, I rub it with a lint-free cloth. Remember, I have said in the past it’s important to rub wax well into a project to prevent it from getting sticky.
You may enjoy especially if you adore romance here in THIS inspiration too!
I hope you enjoyed this easy elegant Valentine’s DIY. Do you make anything special for Valentine’s Day? I’d love to know; I enjoy connecting with my readers.
Now let’s visit Kim from Farmhouse To Florida and see her tulips. Here she speaks about how different colors of tulips have unique symbolic meanings. Use these meanings to send your Valentine a special greeting!

Valentine’s Blog Tour
Next stop on the tour is Renae at Peacock Ridge Farm with a romantic, heart-shaped wreath. Want to see more Valentine’s ideas? Well then, that’s great because today, you are in for a treat!â£ï¸ 💟 💟 â£ï¸ More Amazing Valentine’s Inspiration â£ï¸ 💟 💟 â£ï¸
Click the links below the images to go straight to their posts. ENJOY!
Chalking Up Success // Sweet Valley Acres // A Life of Balance // Peacock Ridge Farm
â£ï¸ 💟 💟 â£ï¸ 💟 💟 â£ï¸

Cloches & Lavender // From Farmhouse to Florida // My Family Thyme // Sonya Burgess
â£ï¸ 💟 💟 â£ï¸ 💟 💟 â£ï¸

Design of Your Life // Saved From Salvage // Zucchini Sisters
â£ï¸ 💟 💟 â£ï¸ 💟 💟 â£ï¸
RECENT POSTS
TRADITONS/MEANINGS CANDLES IN THE WINDOWS
PSST, I LOVE CROWNS IN HOME DECOR
APPLIQUES – HERE

I was fascinated by the whole process Cindy! Thanks for the tip about using cling film to make the decoupage smooth, I’ll file that little titbit away in my crafting tips. I love how the decoupage heart turned out – so pretty! Pinned!
I love how this project turned out. I’m always amazed at how vintage you are able to make your projects look. That really is a skill that I haven’t mastered yet. Pinned.
Cindy – I learned so much! I used to be a crafter years ago and then with kids and work all my knowledge flew out the window. I remember how much I used to love working with mod podge and now you have me wanting to do some projects. I love that it was wrapping paper that you used – how brilliant is that! Also the wax – I had no idea – I used to use wet tea bags but this is so much better. It turned out so lovely! Thanks for hopping along with me!
Bravo Cindy this is so cute. I have not done mod podge in many years but remember how easy and fun it was. Have a great weekend. xoxo Kris
Thanks so much Kris!
What a neat project. I love how you put it together and made it appear vintage, I love anything script. Pinning this one for sure. So happy to have been on the hop with you.
Thanks Sonya. Great hopping with you too
So cute, Cindy! I love the vintage look. You did a great job, my friend. Haugs and blessings to you.
beautiful, Cindy! Thanks for sharing all the details! I haven’t decoupaged anything in quite a while! your beautiful creation makes me want to try it again! Great hopping with you!
Thanks Kimberly!
Cindy this is beautiful, so romantic and creative. I’m pinning this for sure. I’m excited we got to hop together for this!
I love this vintage look so much. Just beautiful.
Thank you so much!
Cindy, this is gorgeous! I love how you used wrapping paper! Adding dark wax and the metallic paint added so much character. It was so much fun to hop with you! Happy Valentine’s Day!
Thank you so much! Fun hopping with you too!
Cindy, I love your valentine craft. It’s so sweet and romantic…perfect for Valentine’s Day! It was fun hopping with you. Happy Valentine’s Day! Pinned 🙂
Always fun hopping with you!
This is so pretty, Cindy!
Thank you Paula!
So pretty! I love the vintage feel of it.
Thanks!
How Beautiful! Would make such a sweet addition to a little girls room.
Yes it would
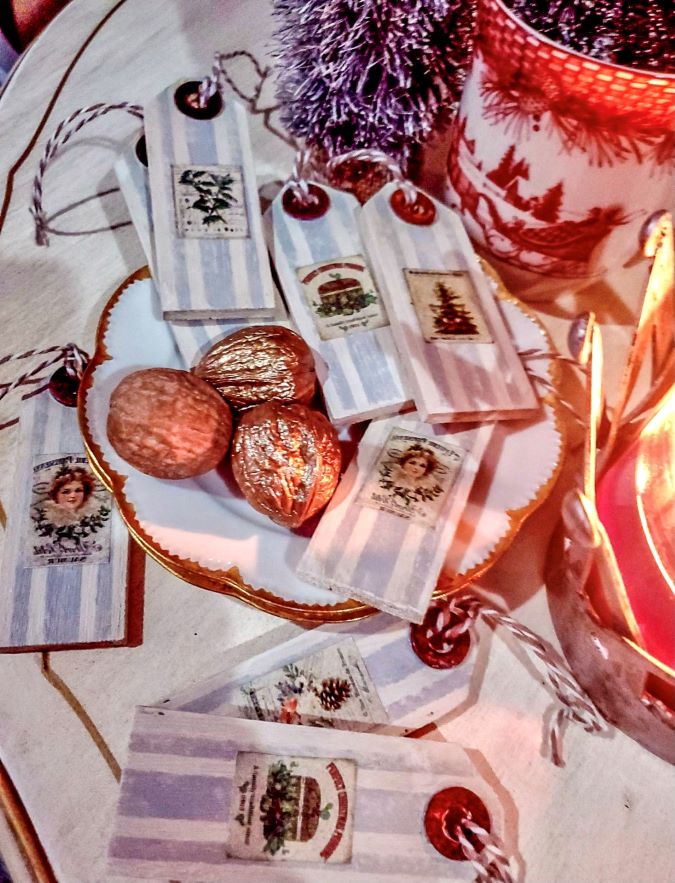
Such a beautiful idea. I could see a smaller version of this as a gift tag!
I did something similar for Christmas.
There are so many fantastic Valentine’s Ideas in this post, Cindy! I loved the vintage inpiration you added to the heart. It was really pretty and I definitely something to keep around all year. Can’t wait to see more! Hugs, CoCo
Thanks sweet friend!