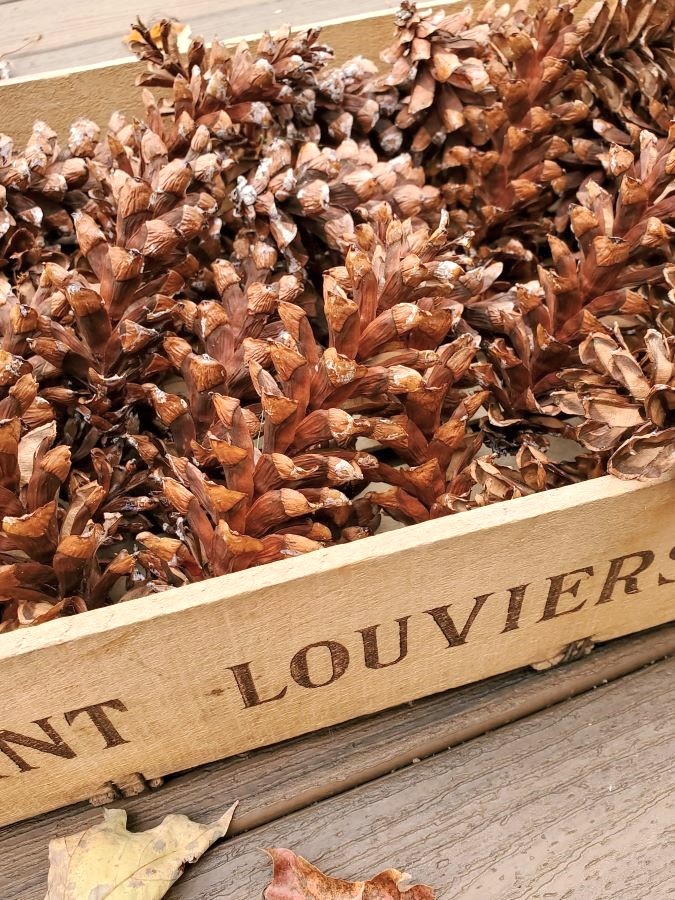
Preserving Pinecones For Crafts And Decor
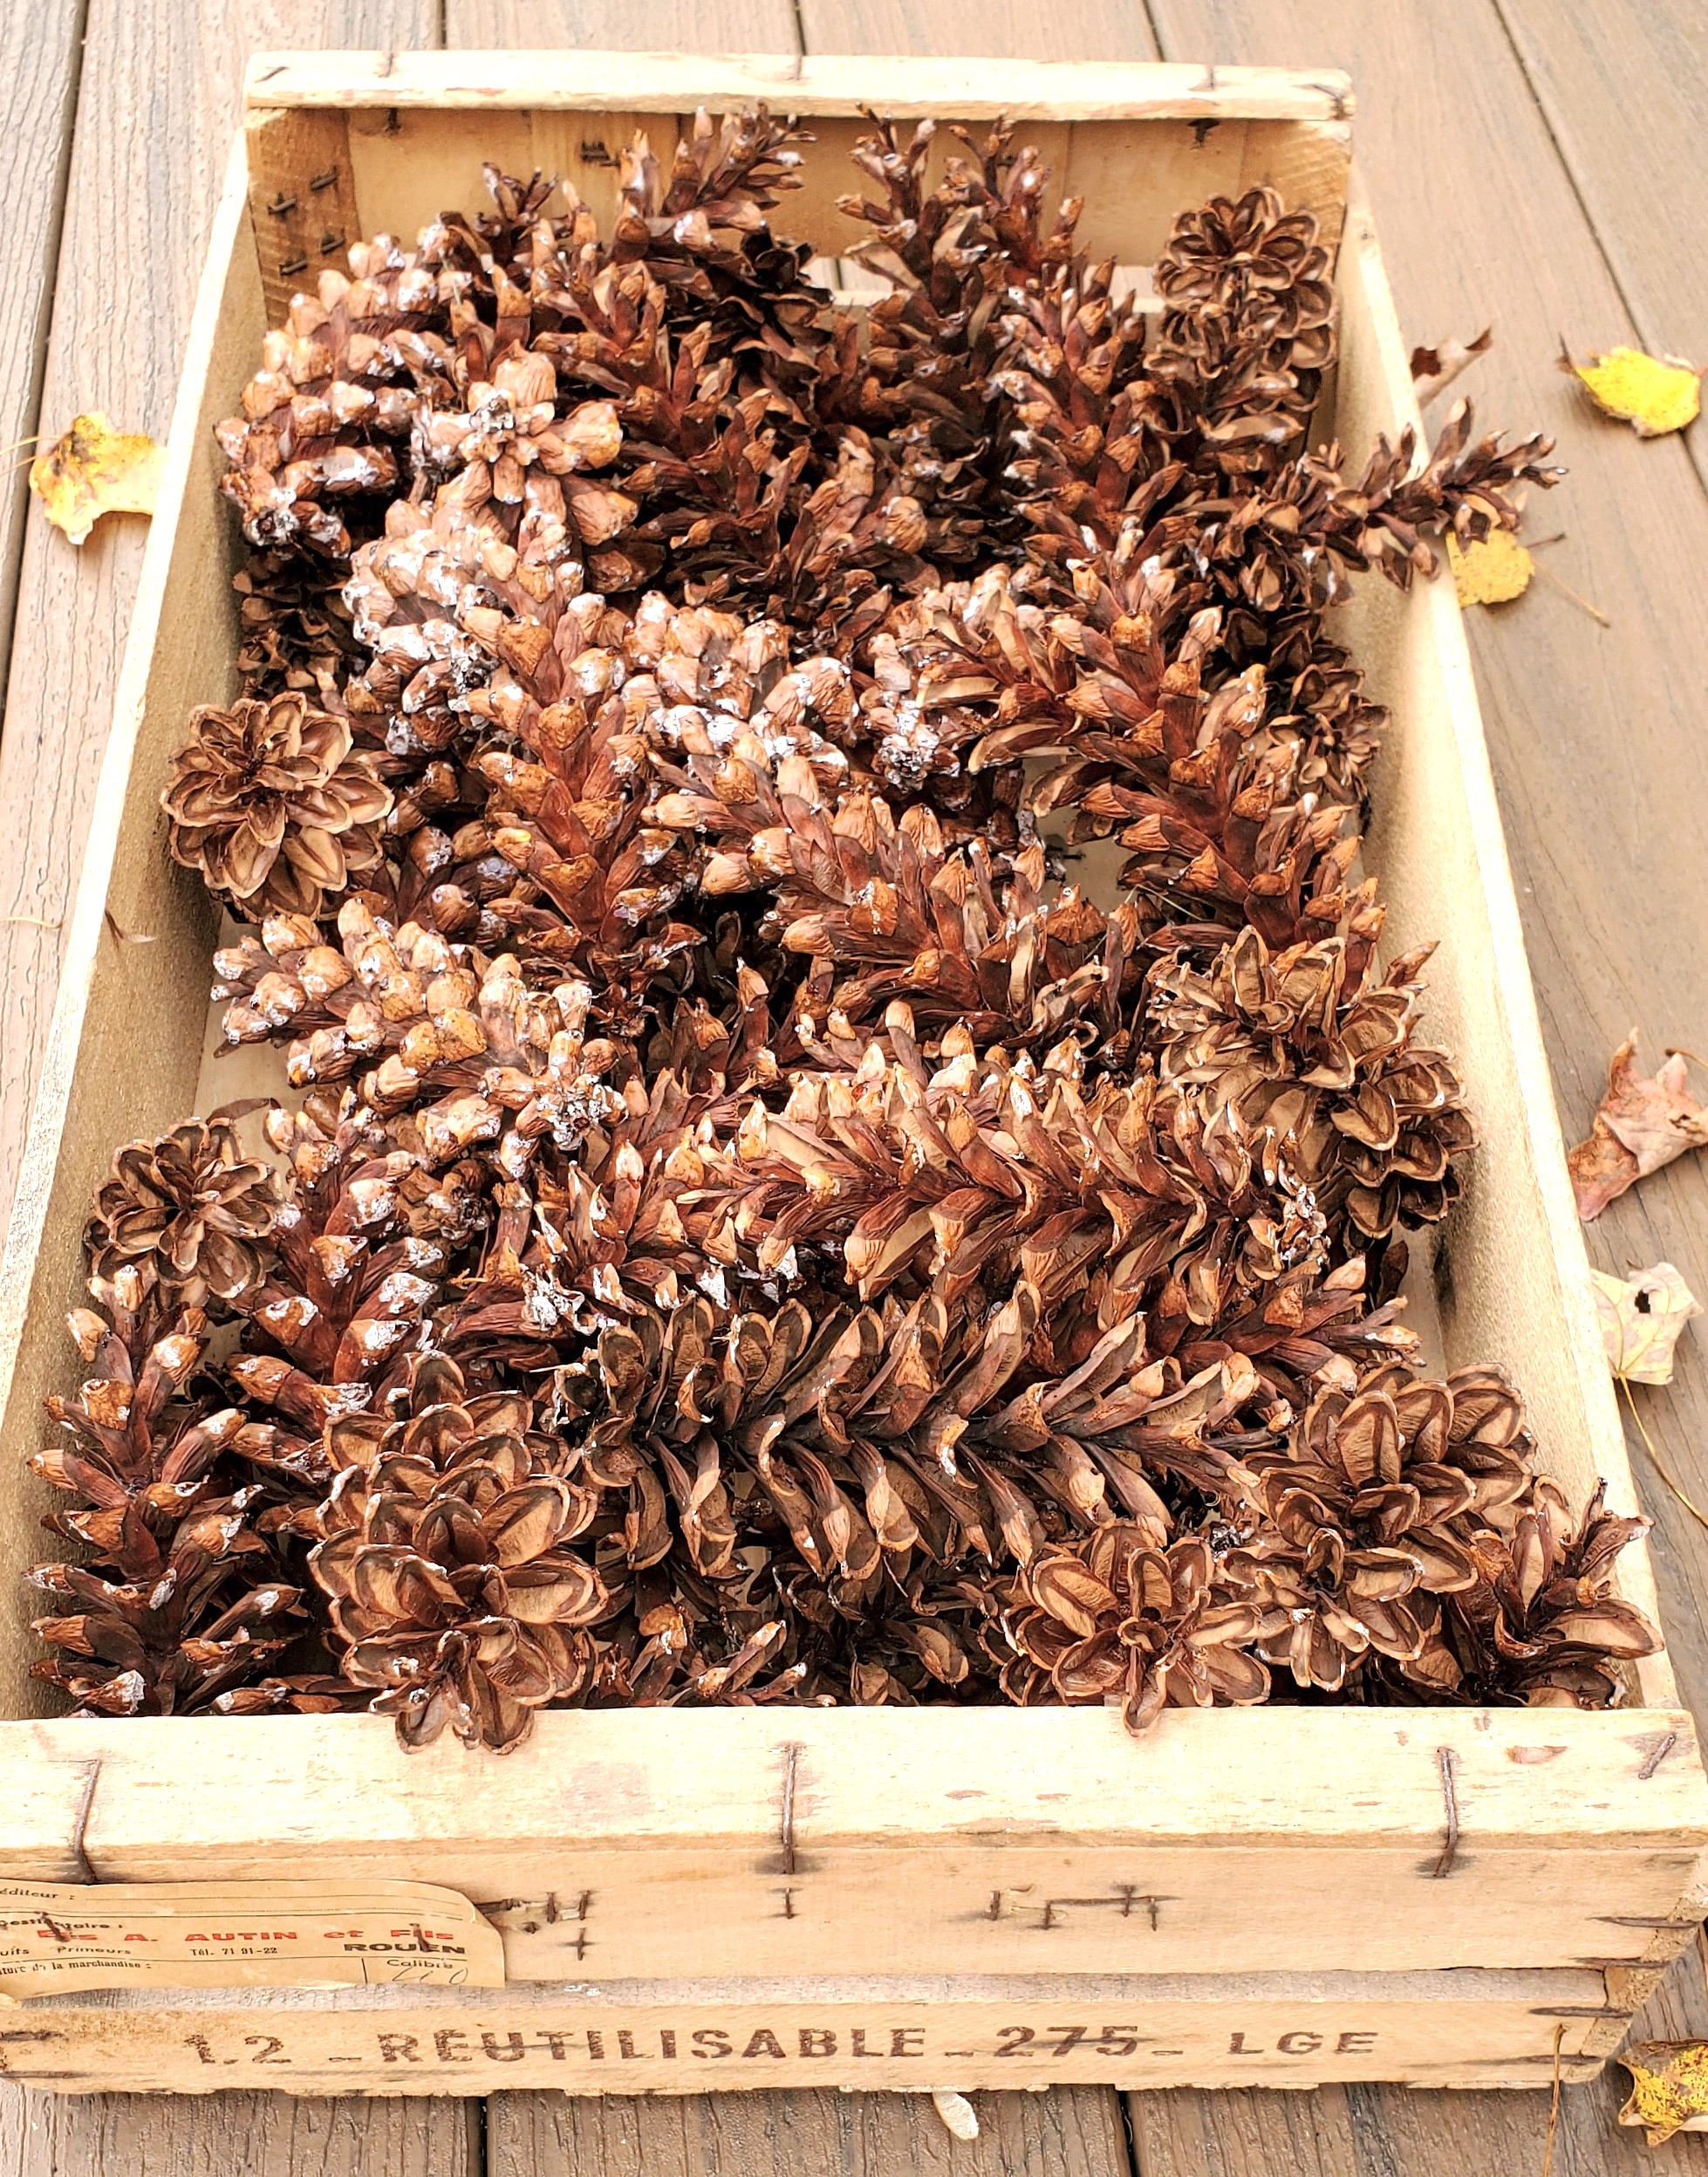
As autumn shares warm hues and cool breezes fill the air, fall gracefully brings joy by adding natural elements to our homes. During this season we find ourselves drawn to nature, embracing one of its best gifts, fresh pine cones. Join me for this easy craft as I share an easy process for preserving pinecones for crafts and decor. Grab a small bucket and gather fresh pine cones from your yard from pine trees or wooded areas. Nature offers great gifts and it’s FREE! In 30-45 minutes to clean and 1-2 hours of drying time to open back up, you will have pinecones to enjoy for years!
With this easy process, you can unlock a fail proof method, from removing pine needles to soaking them in warm water and soap, air drying, and ridding them of pesky bugs and sticky sap. Clean pine cones and preserve them, to add them to your home decor for years.
Jump to Printable DIYReasons To Collect Pine Cones Now!
- Pinecone Elegance: Embark on an easy way to decorate with nature’s treasures. Collect pine cones to bring beauty into your living spaces.
- Create Lasting Memories with Loved Ones: Involve your children, grandchildren, or friends with an easy way to preserve pinecones. Spend time together while crafting a pine cone turkey, ornaments, wreaths, or potpourri. Pass on the tradition and collect pine cones one of nature’s gifts. Create decor that has a personal touch.
- Explore Endless Possibilities: Pine cones are just the beginning of your natural crafting. Discover more creative ideas using nuts, bare branches, and acorns. Add the warmth and beauty of handmade, nature-inspired to add the charm and beauty of nature to your home.
Living beside neighbors with pine trees, I was thrilled when they approached me with an offer. Knowing my love for decorating and creating, they asked if I would be interested in their pinecones. I thrilled. Little did I know the load of pinecones I’d bring home until we collected armfuls of these beauties. This means no running to the craft store to stock up to make any easy craft or decorate our home.
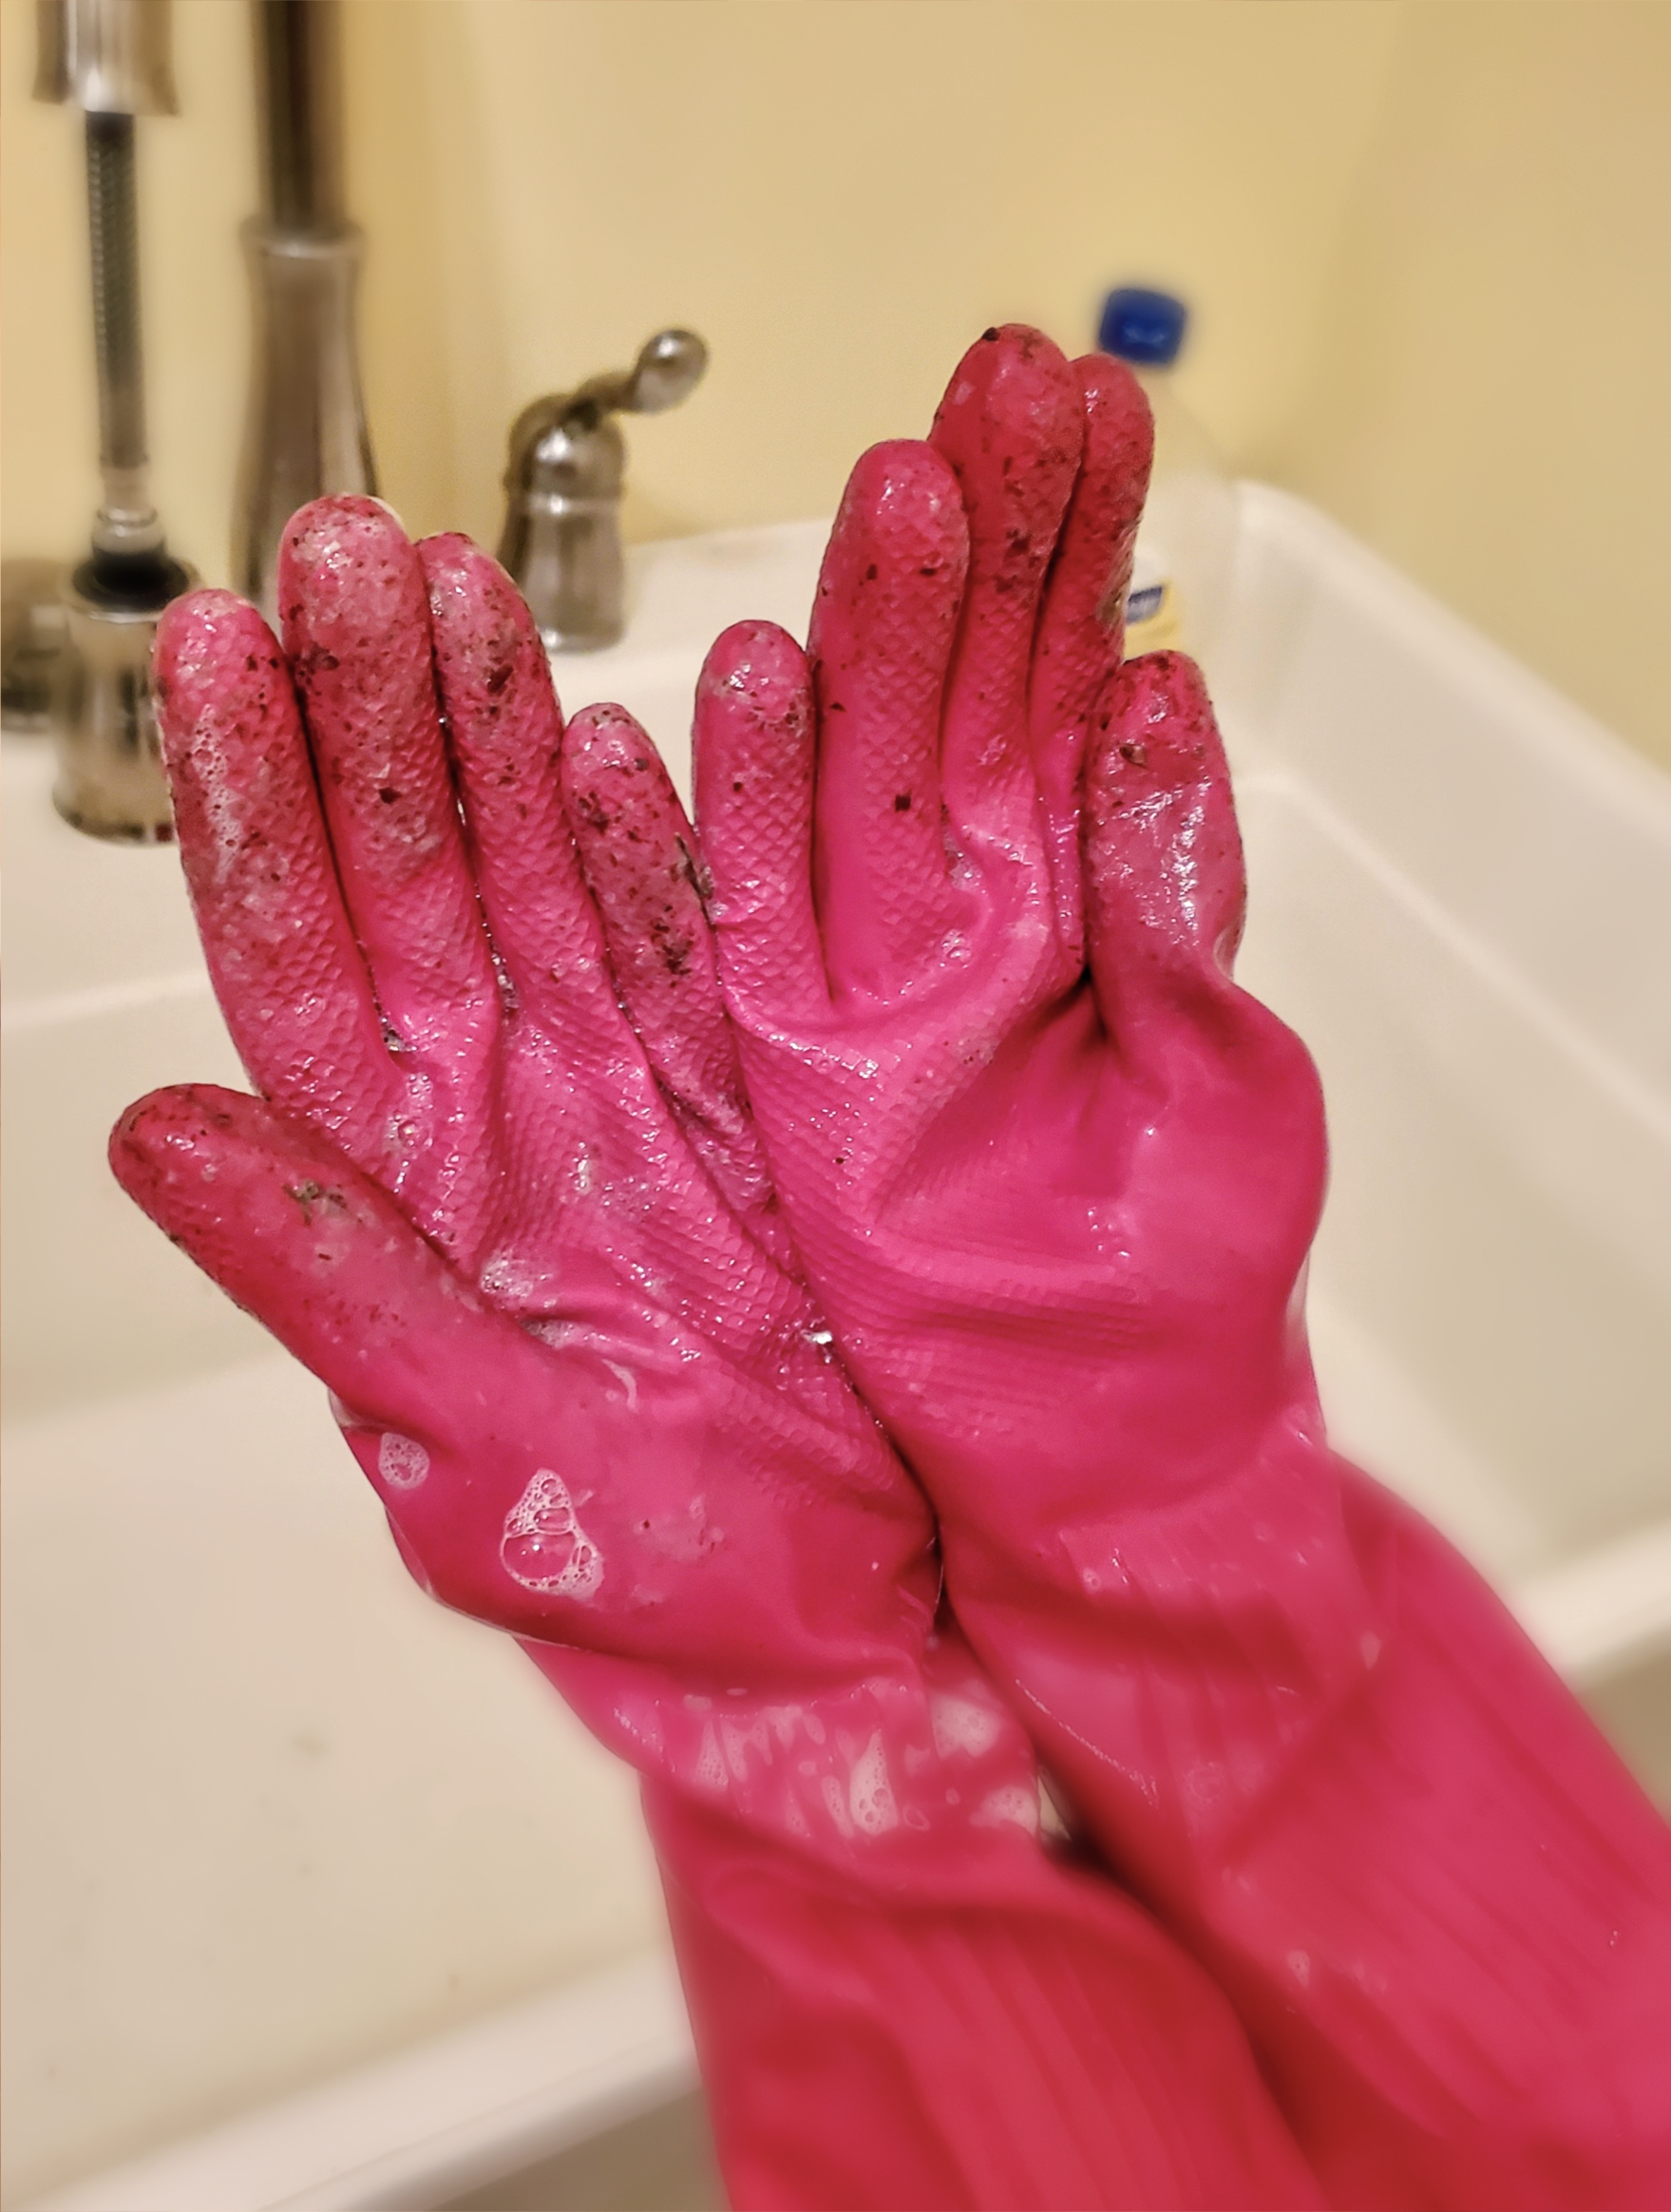
With several pinecones for our home, I wanted to preserve their rustic charm and easy way to get rid of their sticky sap, and pesky bugs. Remember the movie Christmas Vacation? The sticky sap from pine needles was spot on, it happened to me. Wait until you see my pink gloves covered in sap!
Collect Pinecones For Home Decor And More
- Pinecone Elegance: Embark on an easy way to decorate with nature’s treasures. Collect pine cones to bring beauty into your living spaces.
- Create Lasting Memories with Loved Ones: Involve your children, grandchildren, or friends with an easy way to preserve pinecones. Spend time together while crafting a pine cone turkey, ornaments, wreaths, or potpourri. Pass on the tradition and collect pine cones one of nature’s gifts. Create decor that has a personal touch.
- Explore Endless Possibilities: Pine cones are just the beginning of your natural crafting. Discover more creative ideas using nuts, bare branches, and acorns. Add the warmth and beauty of handmade, nature-inspired to add the charm and beauty of nature to your home.
Why Preserve and Clean Pinecones?
How to Use Pinecones?
Pinecones are versatile and can be used in a variety of ways. Here are some ideas:
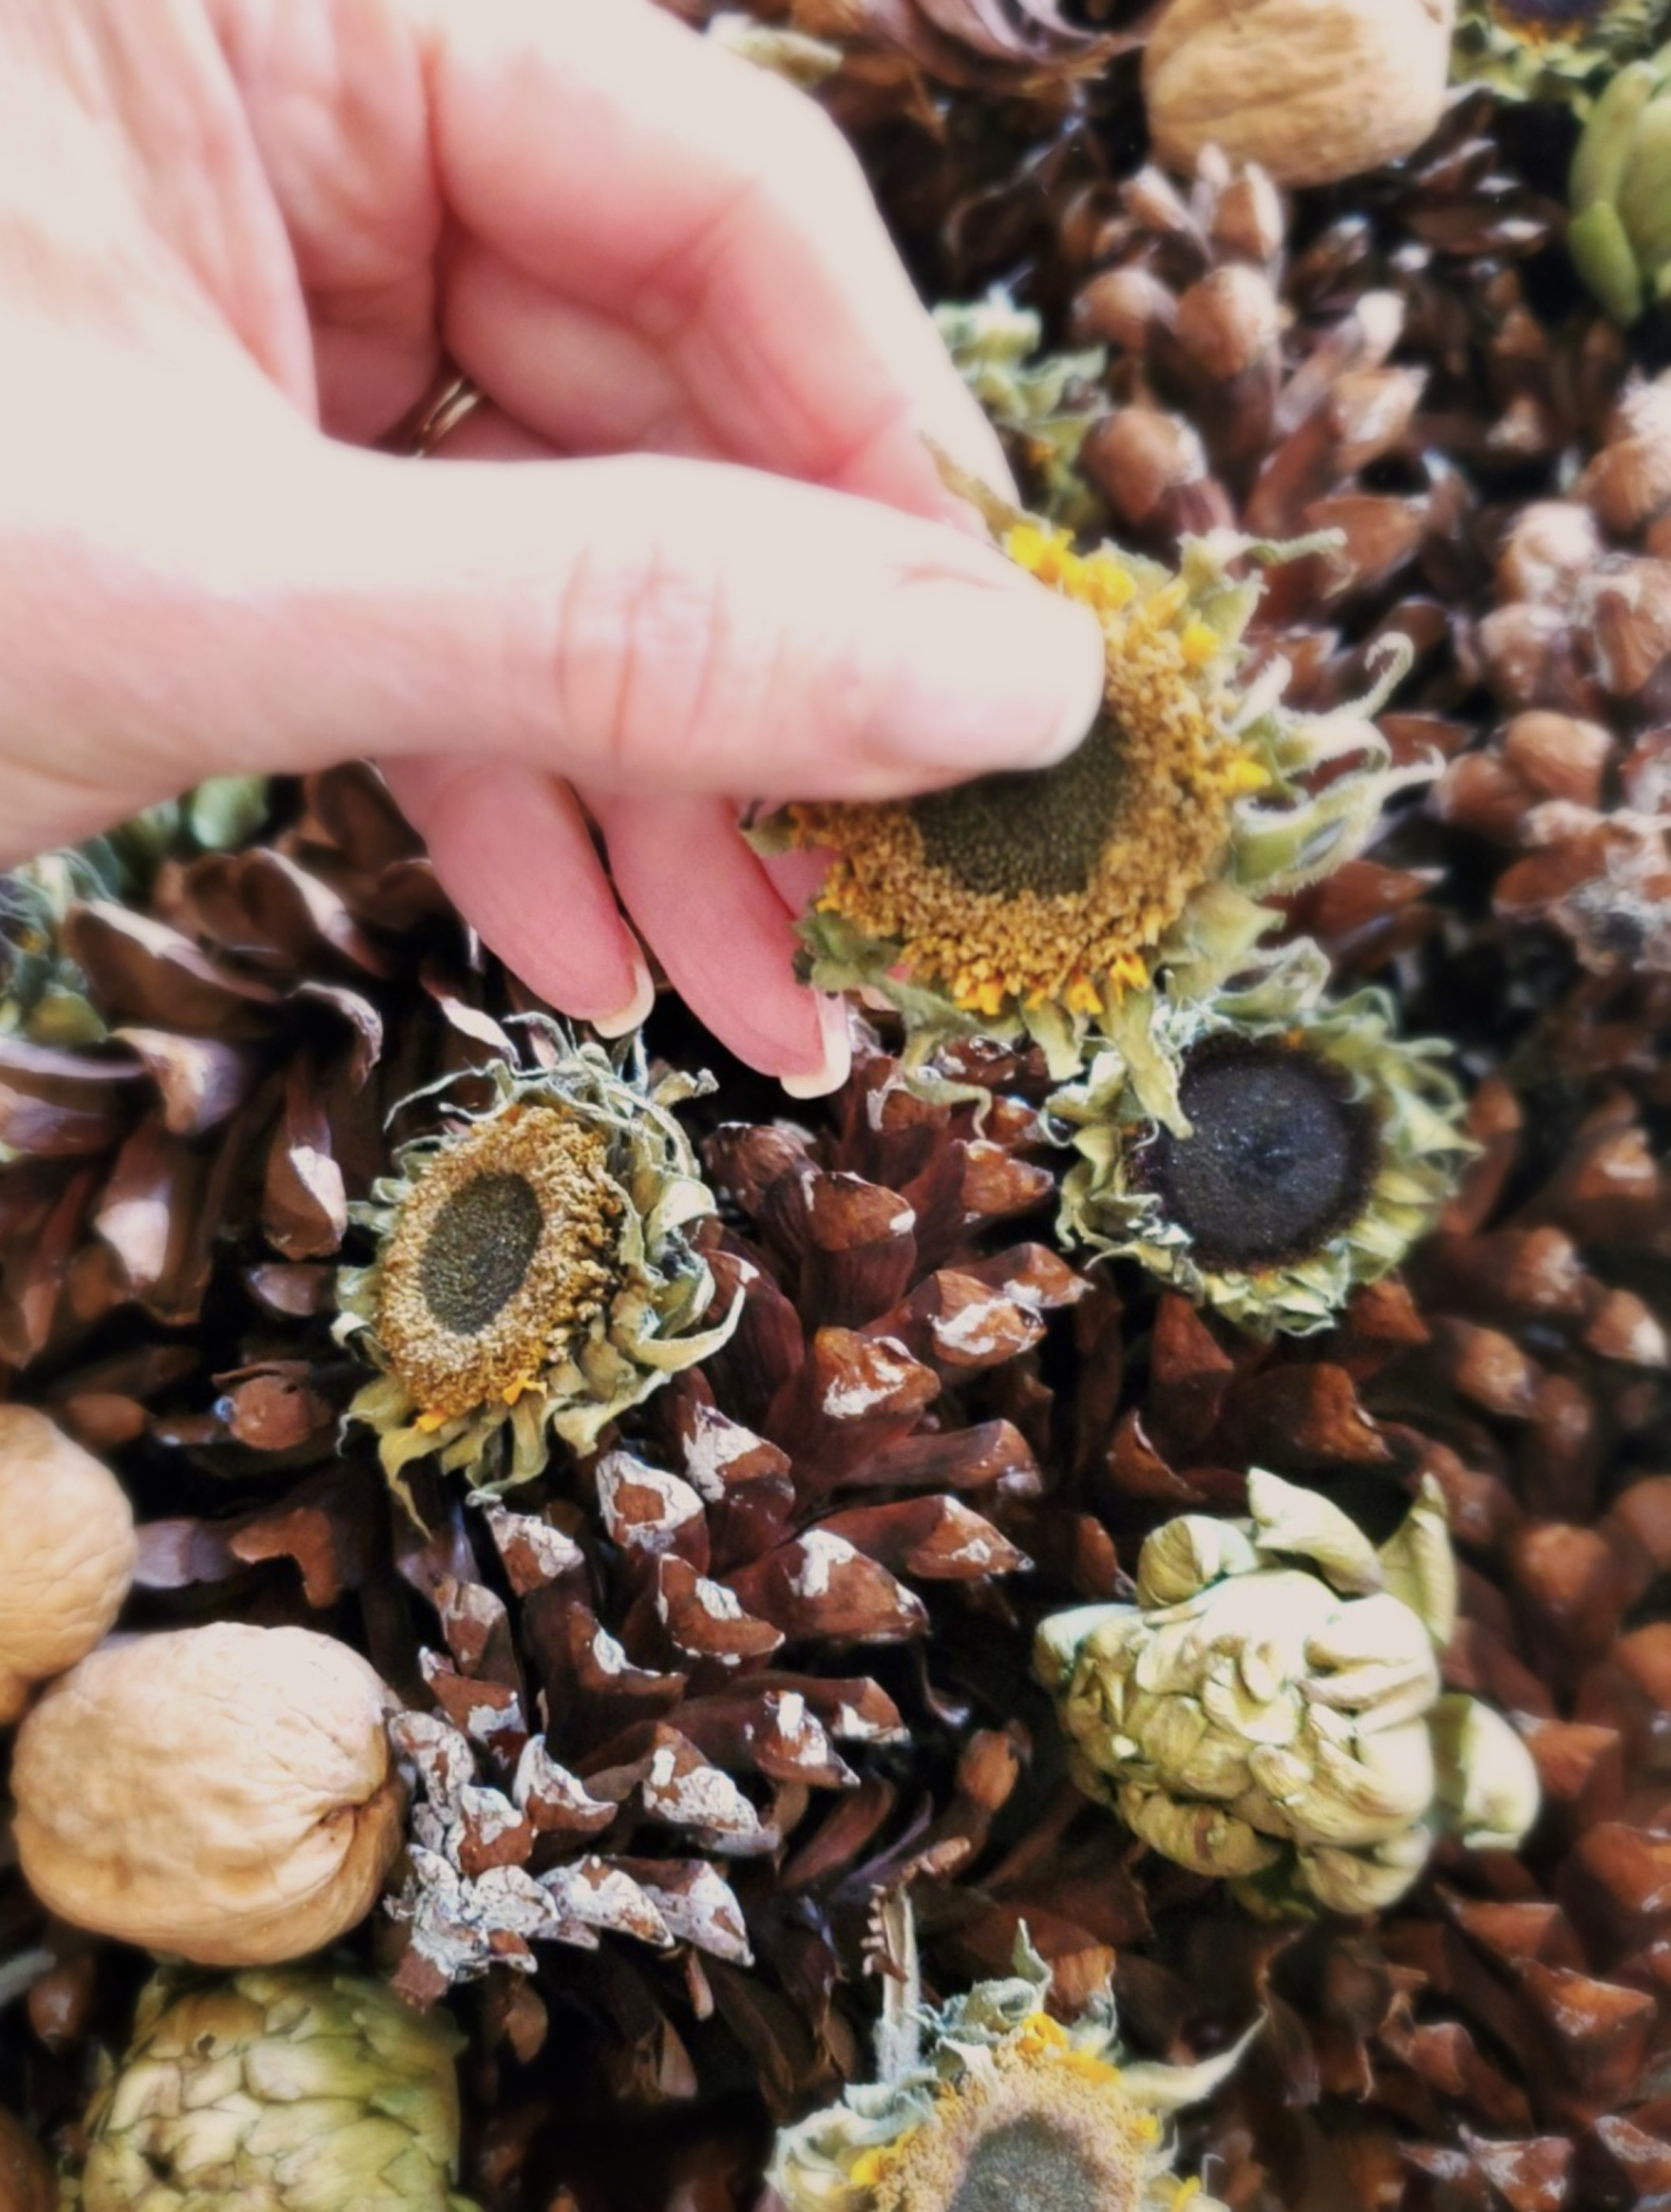
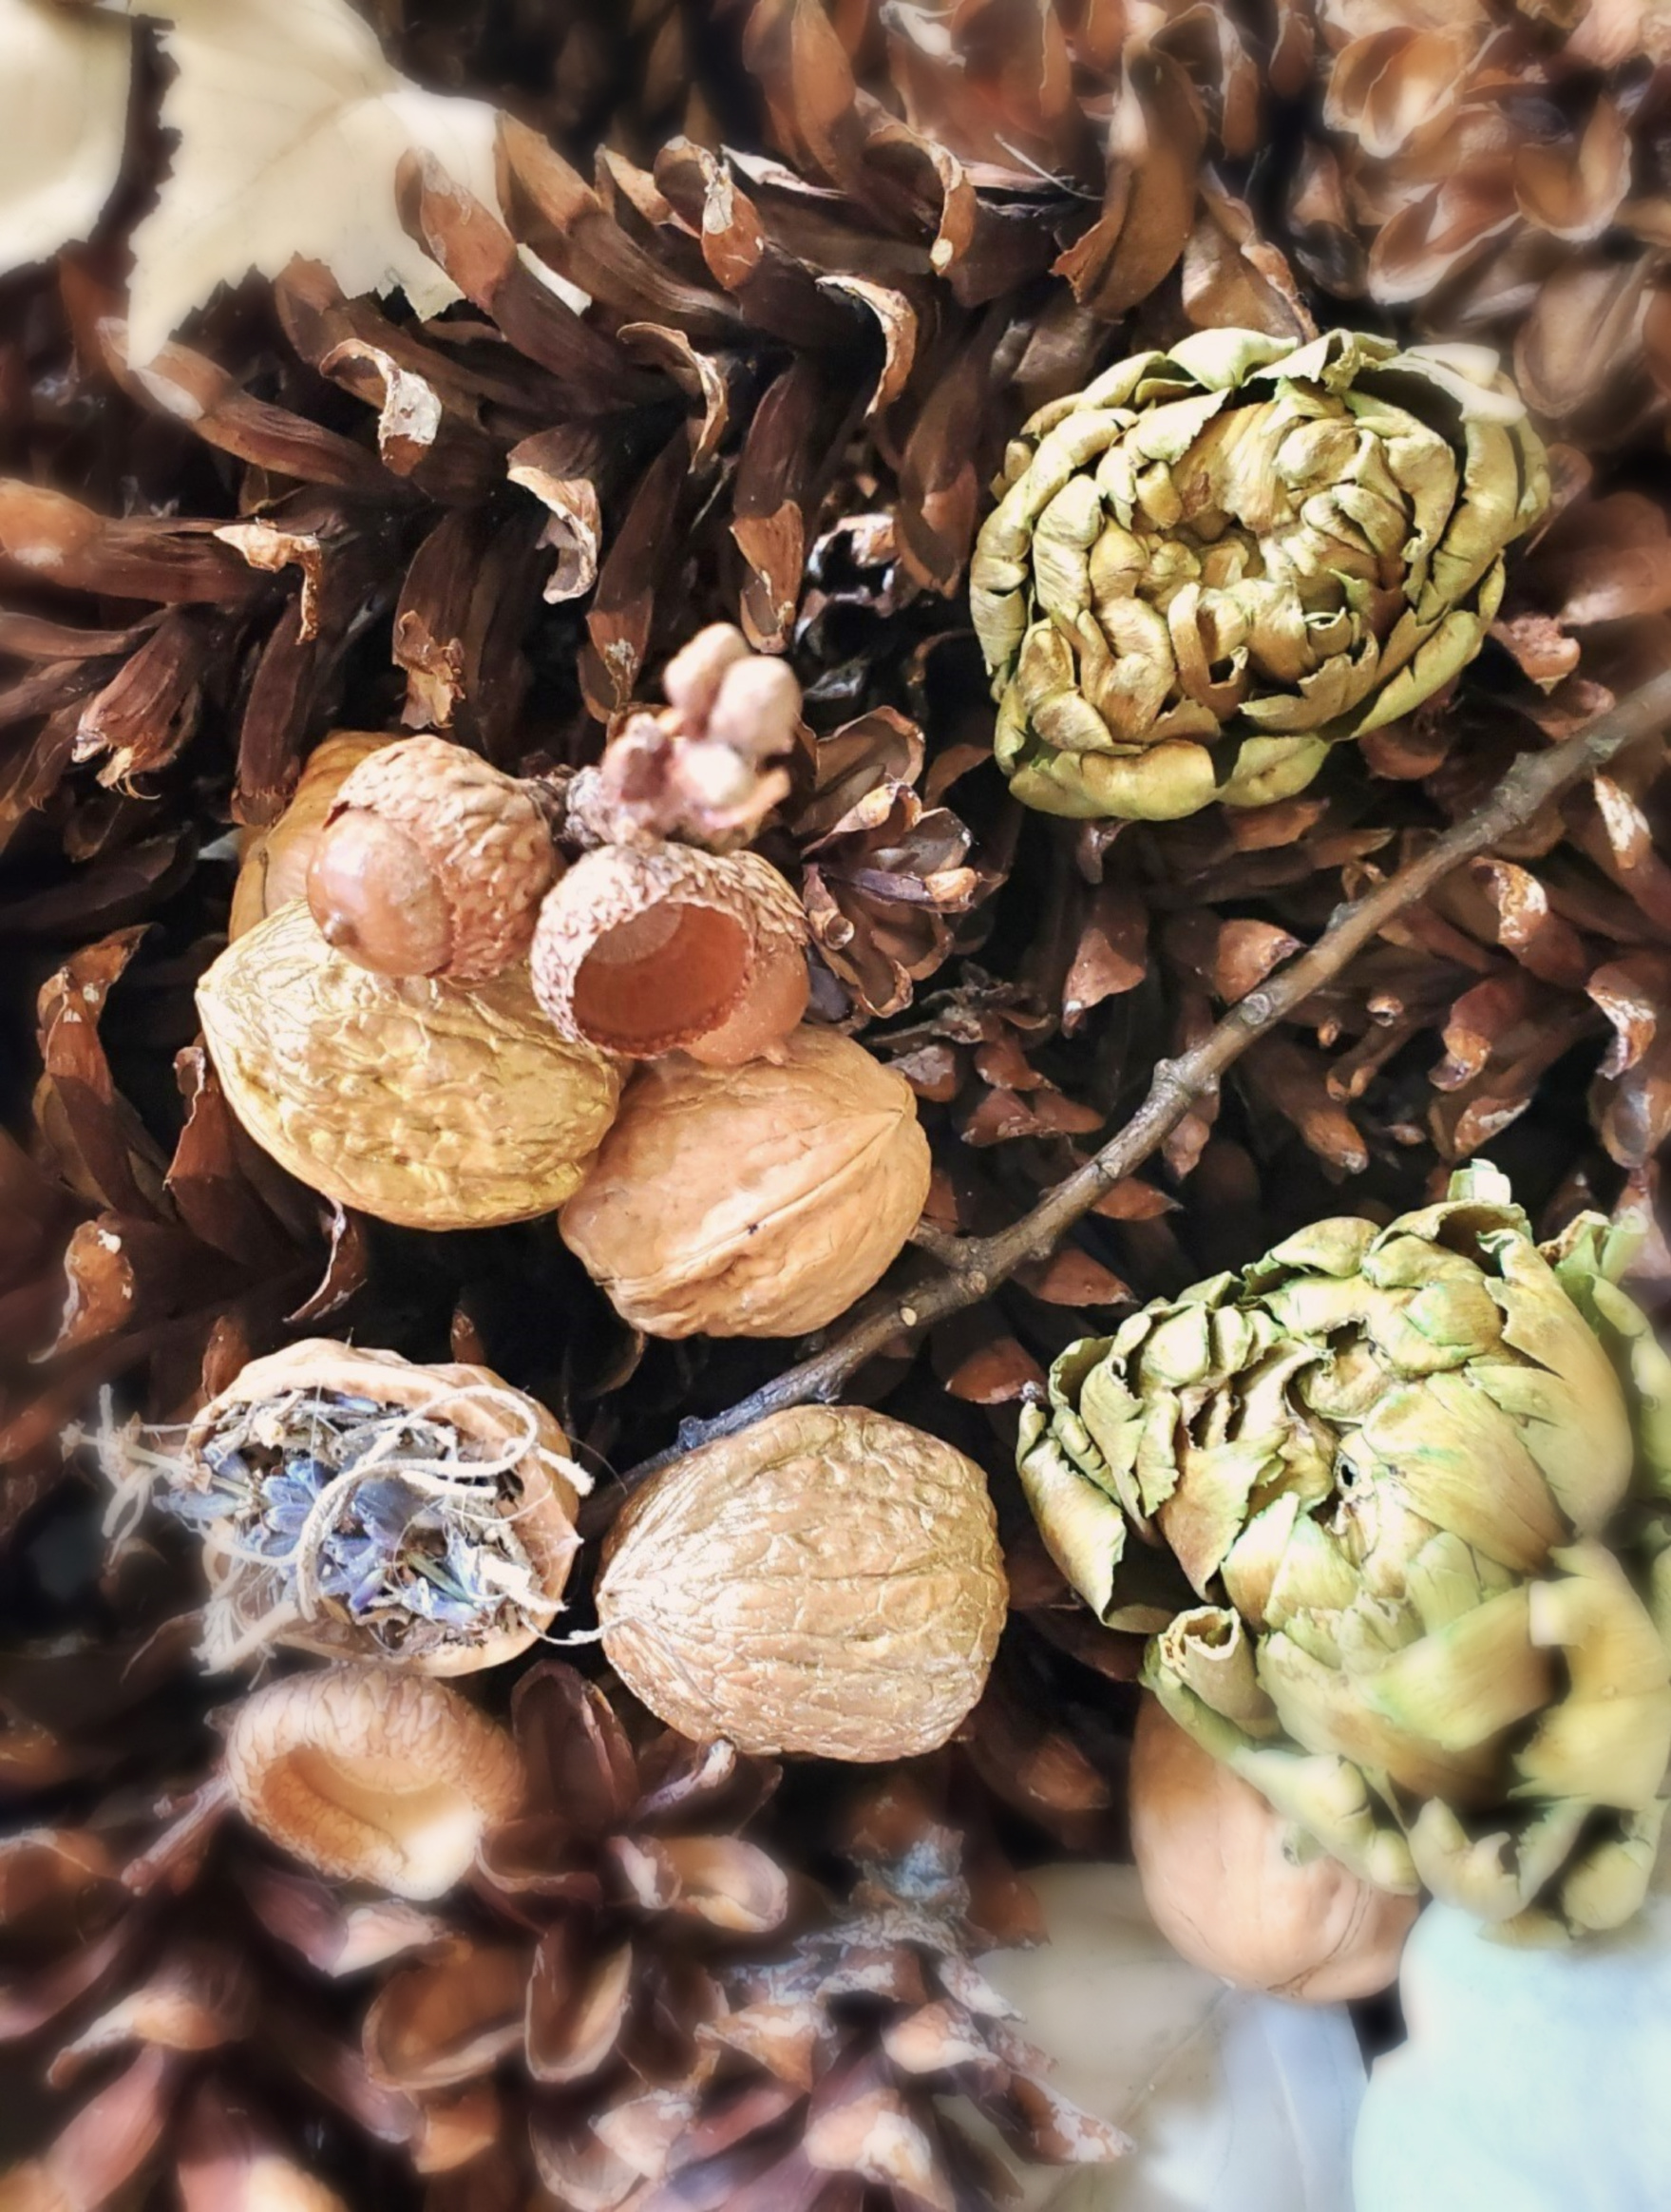
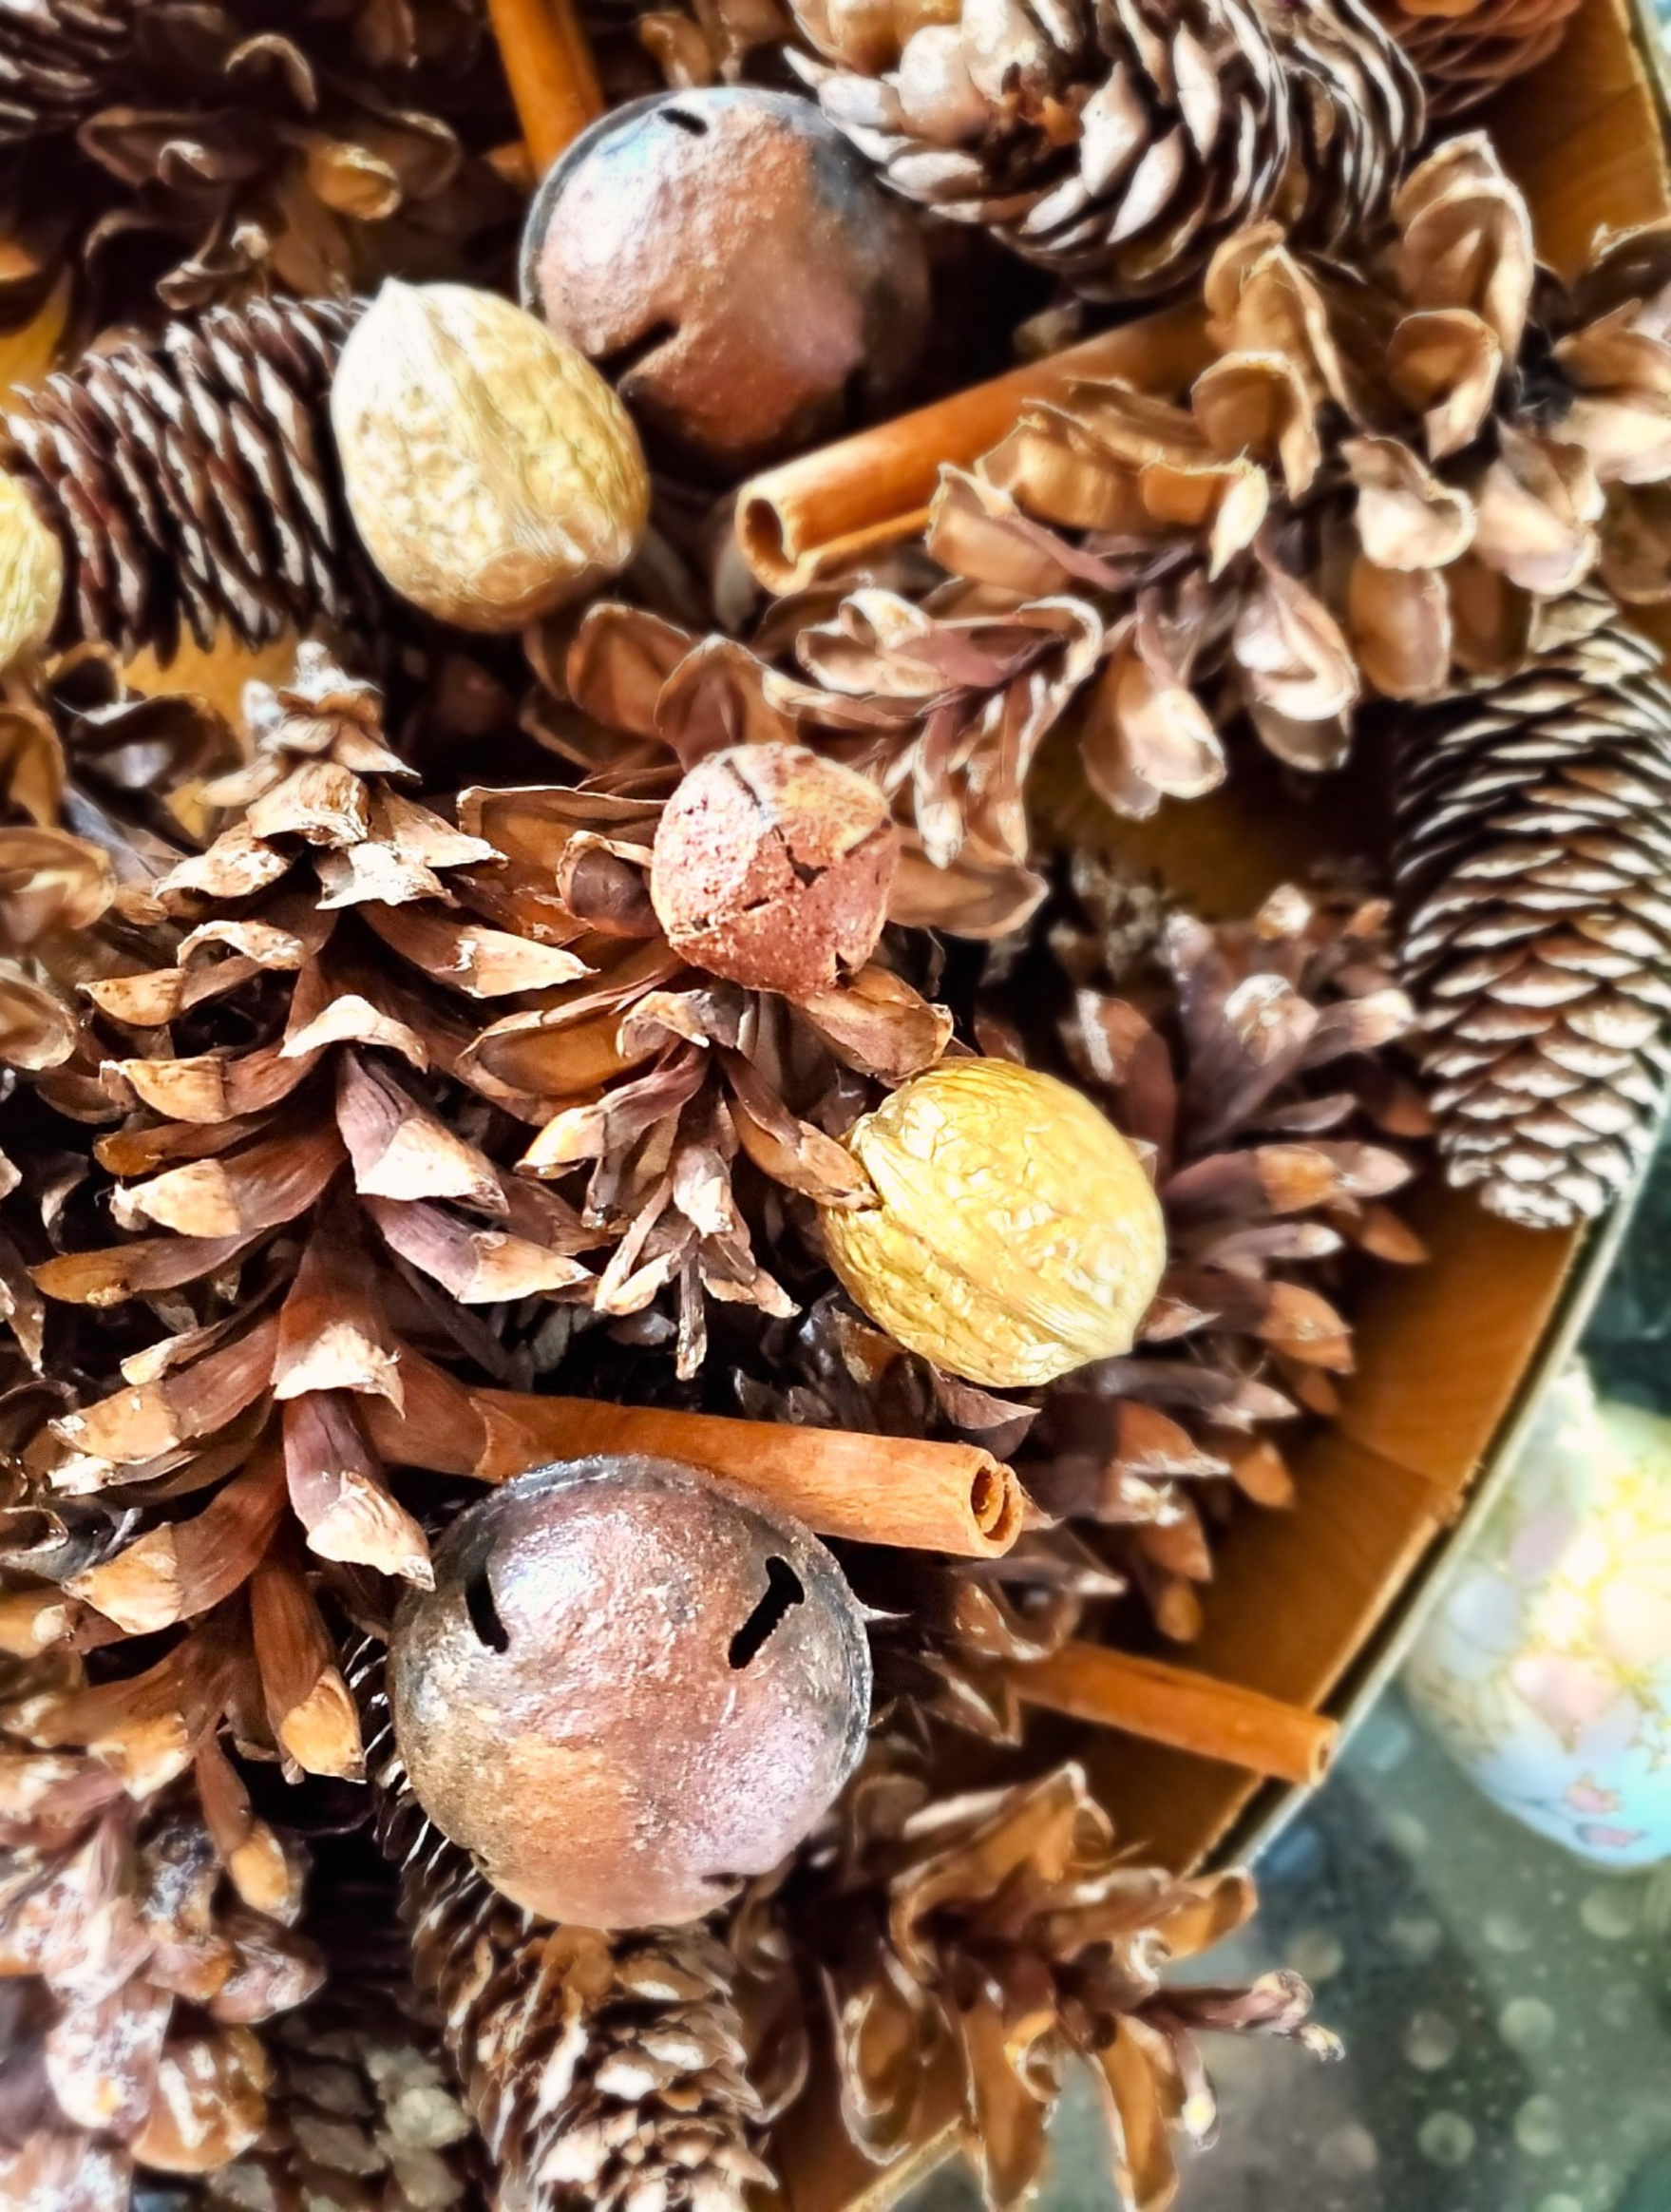
- Decorate with them: Dry pine cones can add a natural and rustic touch to your home decor. Add them to a bowl, vase, or tray as a centerpiece with dried orange slices, cinnamon sticks, acorns, and fall foliage from the craft store or the backyard. (See My Tip Below) Place pine cones on wreaths, garlands, and other seasonal decorations.
- Create a scented potpourri: These can create a fragrant potpourri. Add essential oils, cinnamon sticks, dried orange slices, walnuts in the shell, and sprigs from pine trees for a simmer pot.
- Pinecones in DIY projects: Dry pine cones can be used in DIY or easy craft projects. You can make bird feeders by covering them with peanut butter and birdseed, or create ornaments by painting them and adding glitter or other embellishments.
- Use them as fire starters: Female cones can be used as kindling for your fireplace or outdoor fire pit.
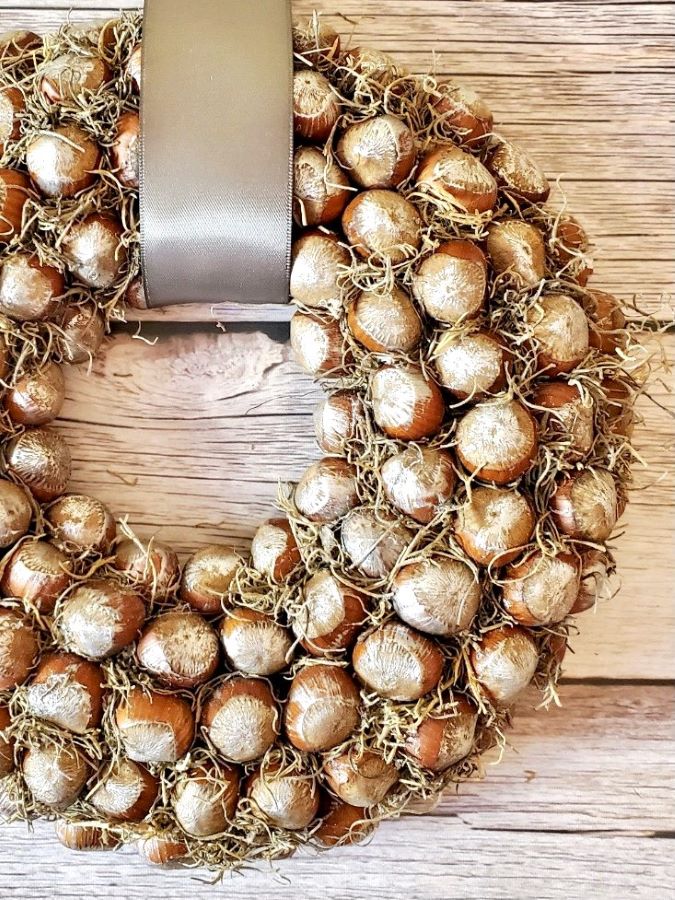
- Pinecone crafts: Pinecones can be used to create a variety of crafts, including a pine cone turkey with the little kids, pinecone wreaths, ornaments, and pinecone garlands.turkey
These are just a few ideas of what you can do with pinecones.
Why Use Pieces From the Grocery Store?
Use Pieces in the Home From the Grocery Store
I love using natural elements from the grocery store in our home for fall and the holiday seasons.
- It’s budget-friendly and eco-friendly.
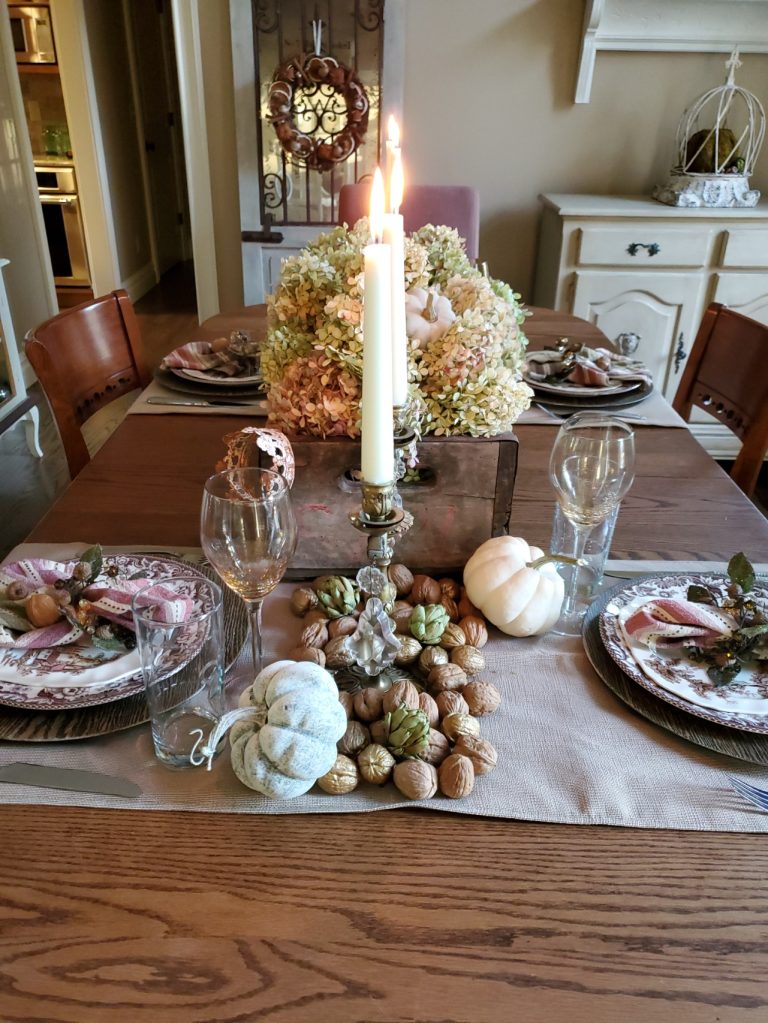
- Nuts, oranges, apples, acorns, corn husks, bittersweet, birch logs, and pears add color for the cooler months ahead.
Scatter pieces from wooded areas around centerpieces and add them to bowls and vignettes. Be careful loved ones may steal your props to enjoy for themselves as a snack.
If you have been following Cloches & Lavender I enjoy decorating with natural elements in our home. Especially for the fall and holiday seasons so sharing how to preserve pinecones is a must.
Scatter pieces from nature around centerpieces and add them to bowls and vignettes. Be careful loved ones may steal your props to enjoy for themselves as a snack.
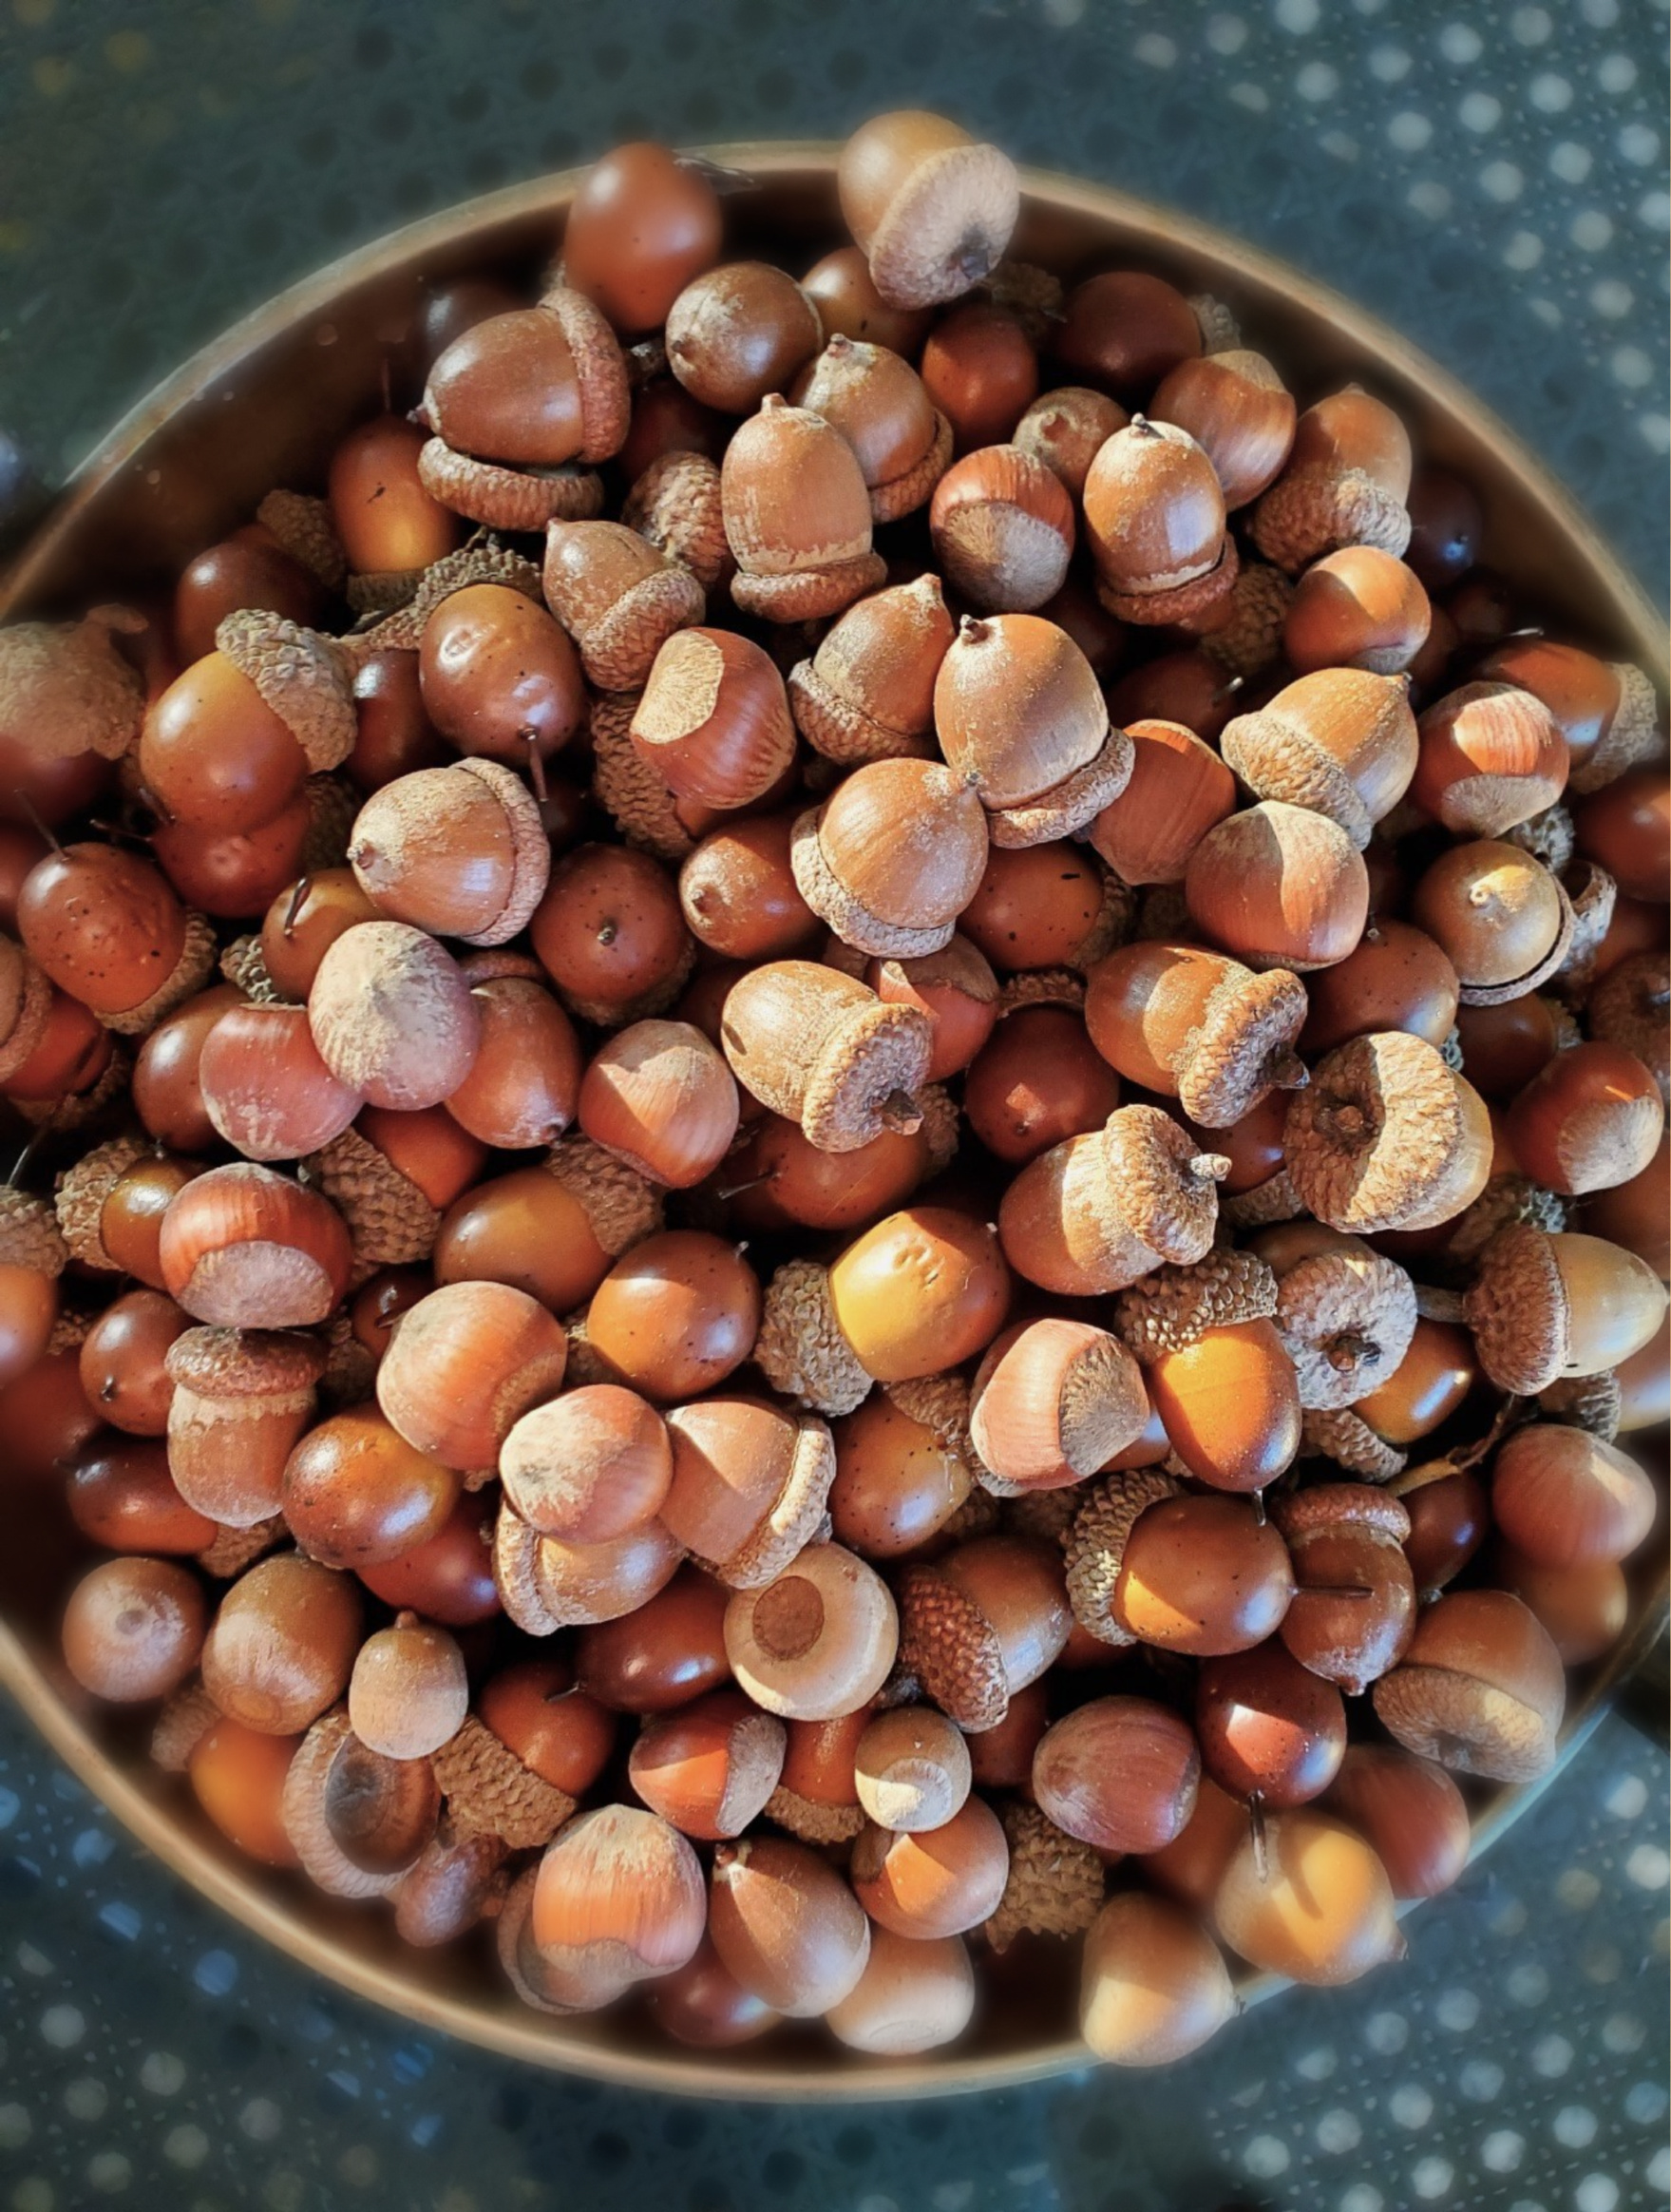
If you can’t save acorns this is a great shop to purchase them already finished. However, these are free in parks, wooded areas, and the yard, and the cleaning and drying time for acorns is fast.
Have Acorns? Here’s an Easy Way to Save Them for Years
Saving Acorns for Home Decor and Crafts
You will love this fail proof method where I share how to preserve real acorns for years. Here I share my love of acorns. I have a collection of hundreds and share how to clean and preserve these fall gems. My collection has been going on for 20 years now. So, it should be no surprise I’d share preserving pinecones.
If you have acorns scattered across your yard, driveway, or wooded areas don’t let them go to waste! Instead, preserve these little tokens of fall for years to come. In this post, I want to share my affection for acorns. Soak them in soapy warm water to remove visible dirt, drying time in a single layer that has served me well.
Discover Why To Dry Oranges
Drying Oranges: Nature’s Magic For The Home
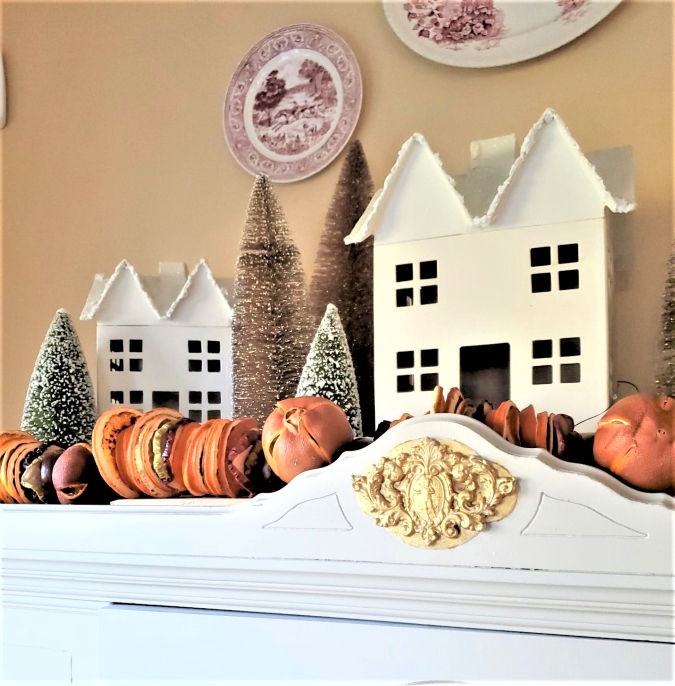
Discover dried oranges, another easy process to add natural pieces to the home. I enjoy adding these for the fall and holiday seasons. Dried oranges make beautiful Christmas ornaments but blend seamlessly with pinecones and the other touches of nature.
See the process for dried orange slices and clementine. I also share how to use dried oranges when decorating the home seasonally.
Cindy’s Tip: Hot glue pieces of evergreen, pine trees, and cinnamon sticks for a rustic and natural look. Thread twine through the small hole and you have a pretty ornament to hang on your Christmas tree.
Bonus: Learn how to save acorns too. It’s so simple to do and these are gems from nature and look beautiful in any home decor for fall throughout Christmas! I share all the details you need for this easy process.
Supplies List Preserving Pinecones For Crafts And Decor
- Pinecones/female cones
- Soap
- “‹Sink or bucket
- Cookie sheet
- “‹Paper towels
- Parchment paper or aluminum foil
- “‹Rubber gloves
- Large towel – for air drying
- “‹Cooling rack
- Spray varnish (optional)
Clean Pine Cones a Fail Proof Method
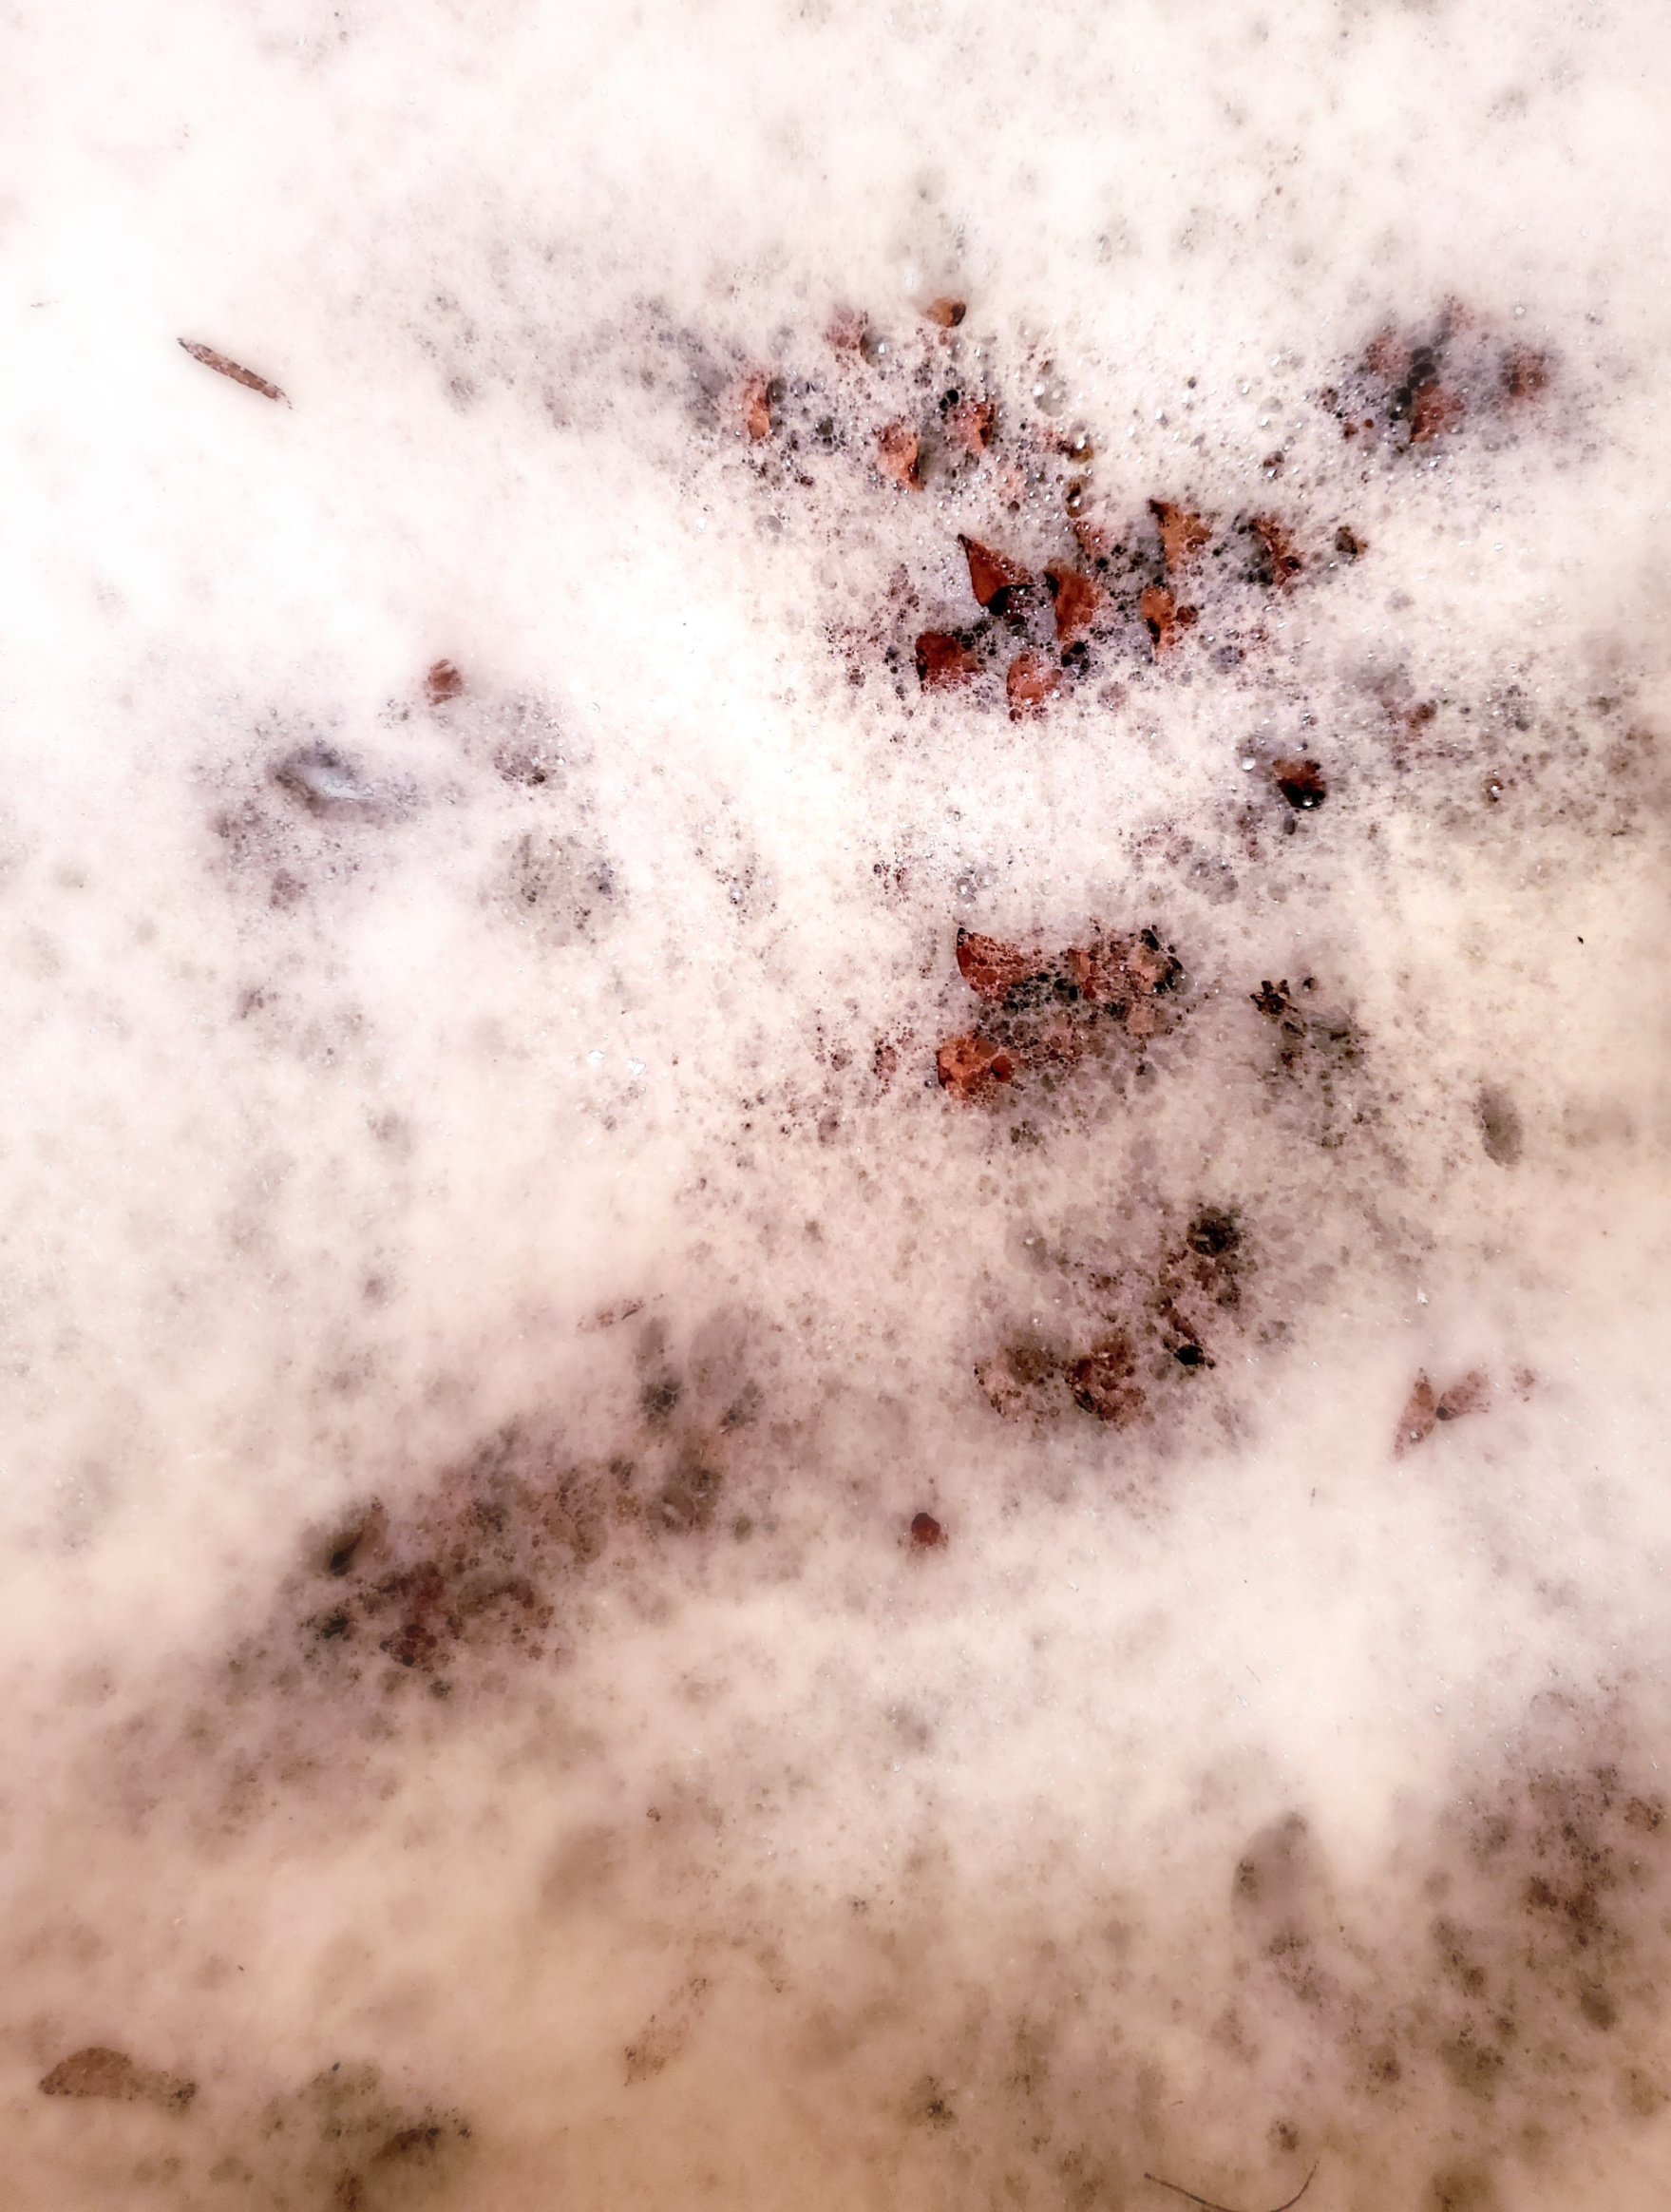
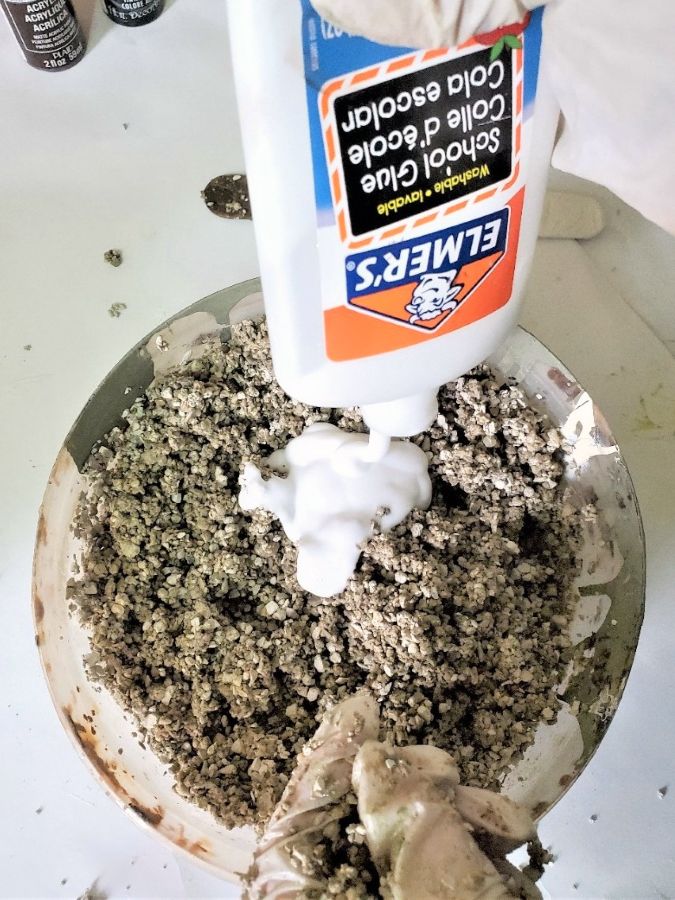
Step 1: Soak Them In Dish Soap And Warm Water
Place pine cones in the sink with warm water and 1/4 teaspoon of dish soap to clean pine cones from any visible dirt and pine needles.
After the water and dish soap covers the female cones let them soak for 30-45 minutes. This helps remove pine needles that may have been missed.
In the meantime, place pine cones on a large towel or stack of paper towels to absorb any excess water.
Wear rubber gloves when preserving fresh pine cones, especially from pine trees because of their sticky sap. My gloves are covered in sap.
Cindy’s Tip: Wear gloves, it’s a must. The sap is sticky and you will wind up like Chevy Chase in the movie Christmas Vacation. Your hands will be sticky for a long time!
Pine Cones Air Drying
Step 2: Let Them Dry Completely
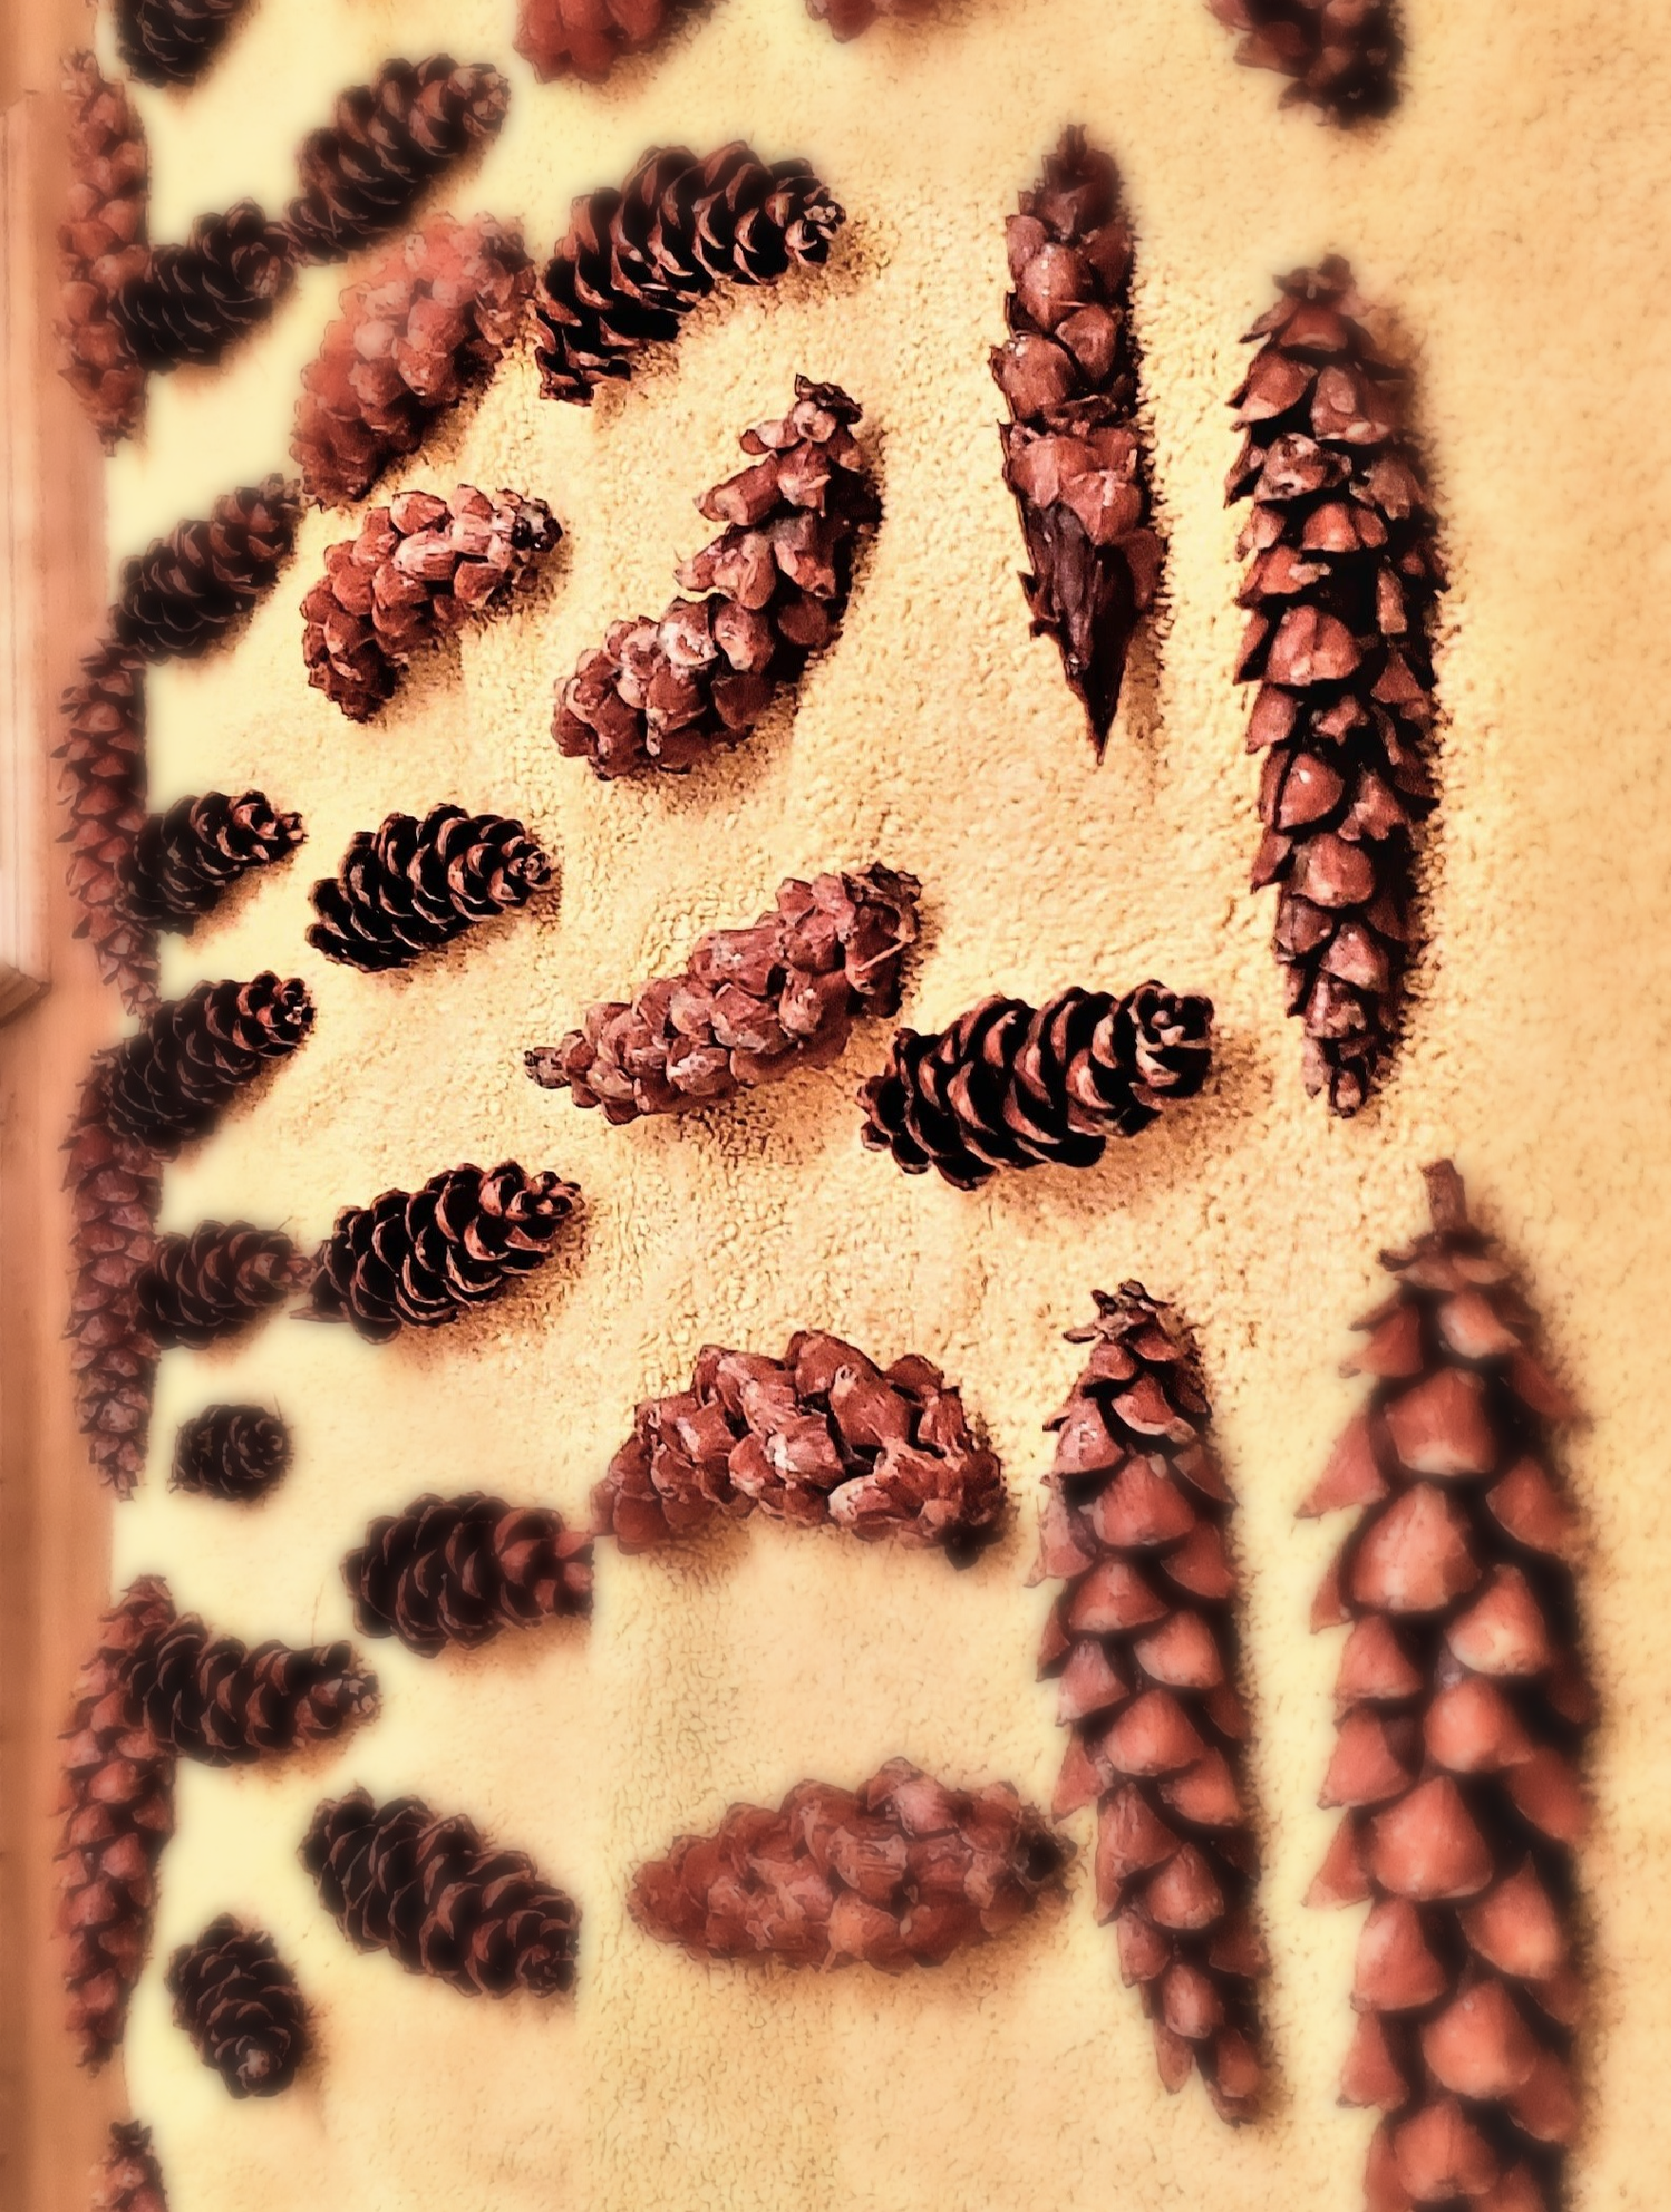
Air dry pine cones in a single layer on paper towels or a large towel overnight for several hours. We did this easy process in the early evening. Make sure to turn them on the other sides of the cone to finish air drying.
Cleaning Pine Cones With White Vinegar
Cindy’s Tip: This is another method to clean pine cones- add 1 cup of white vinegar to 2 parts water. This will remove dirt and pesky bugs. I chose warm water and dish soap because my mom used this technique for preserving pinecones. It works like a charm!
Add To The Oven For The Baking Process
Step 3: Adding These To The Oven
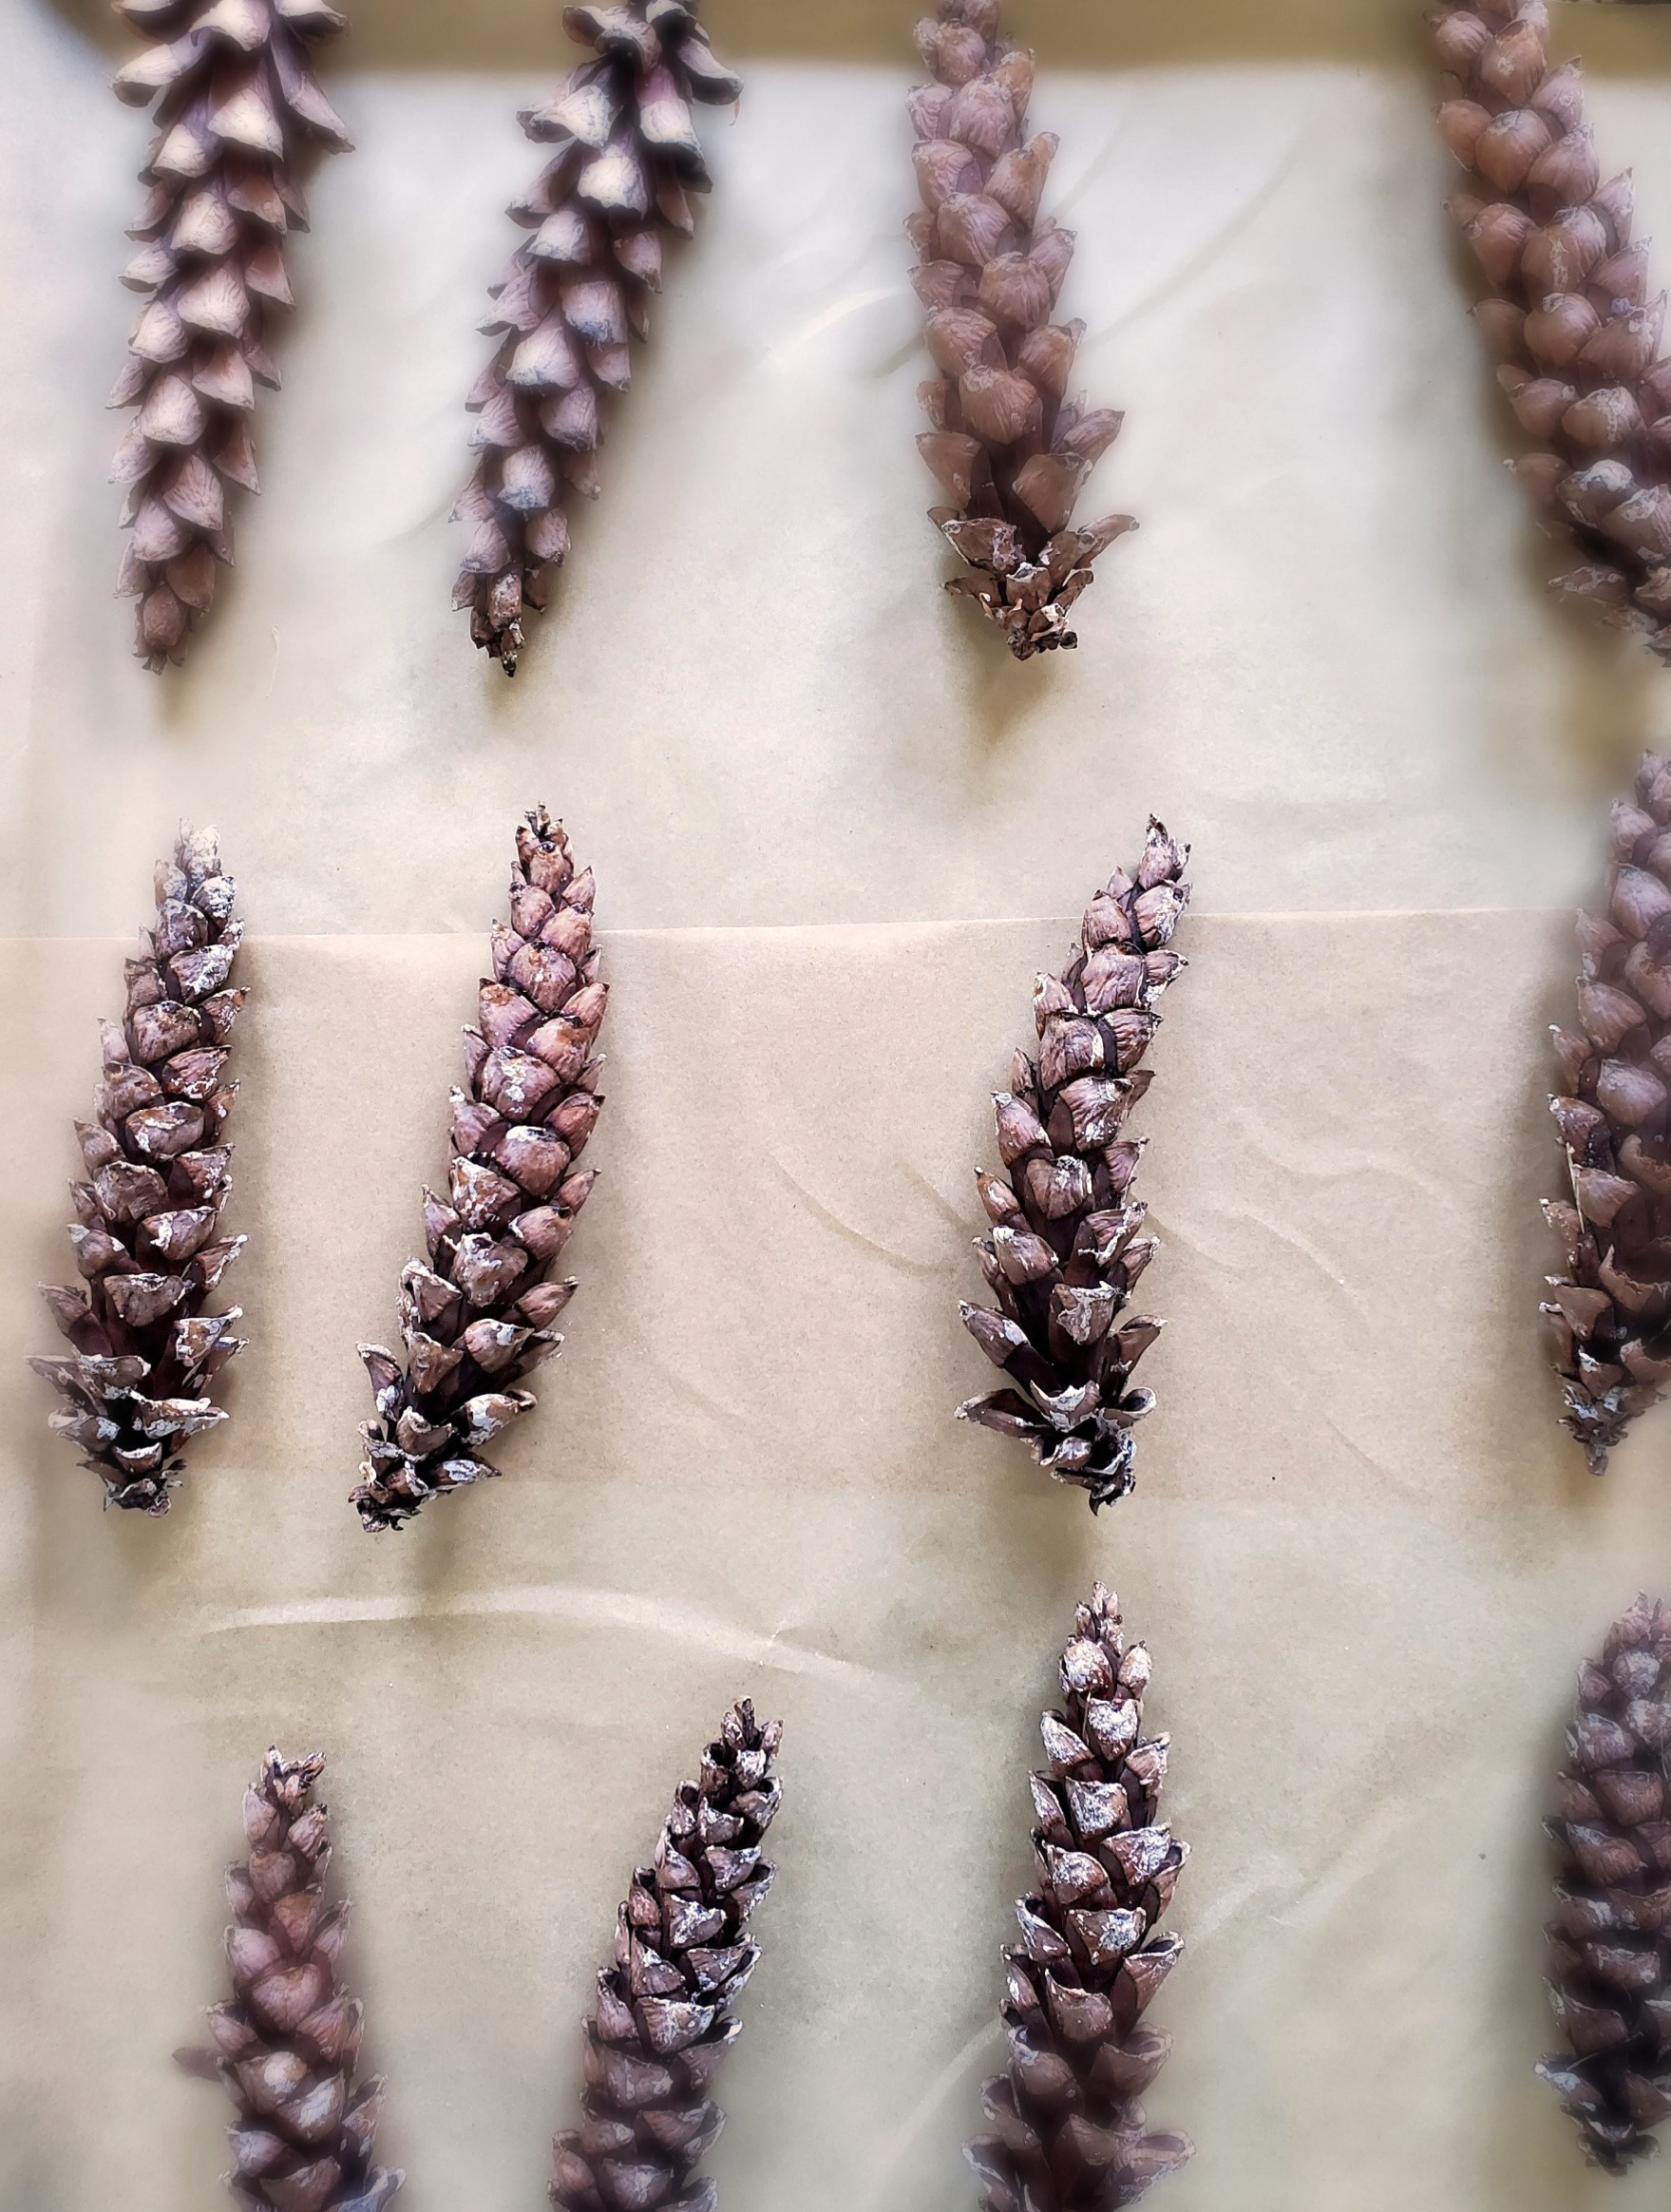
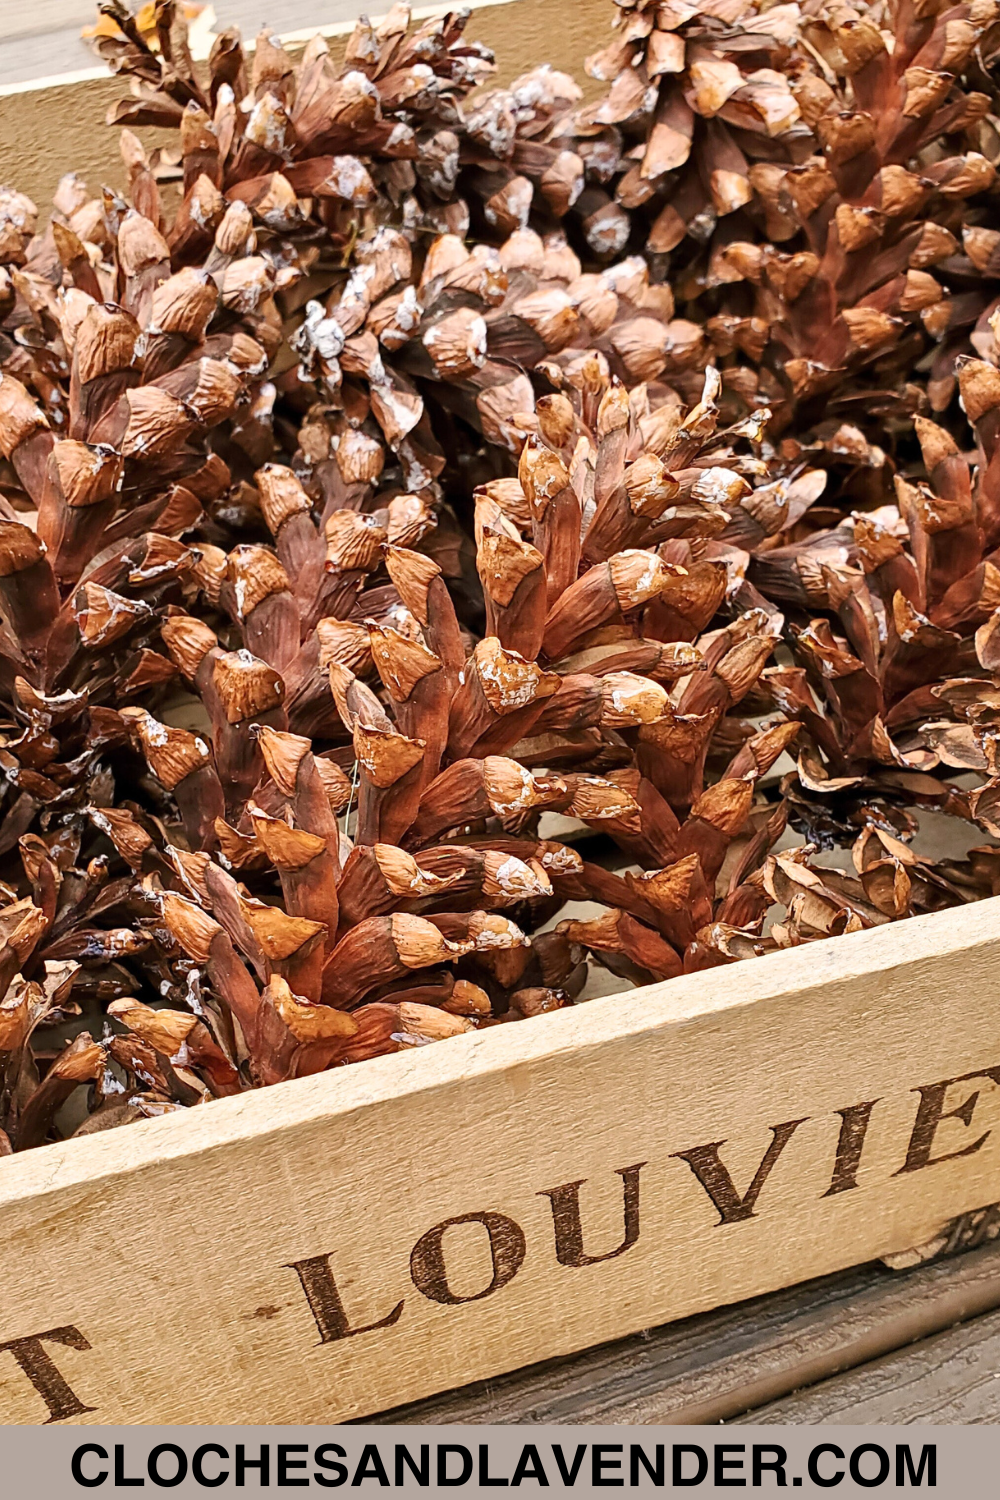
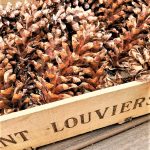
Preheat the oven to 200 degrees. Next, use a baking sheet or cookie sheet, lined with parchment paper or aluminum foil before adding the fresh pine cones for the baking process. I used a large baking sheet for each set of pinecones for 78 pinecones.
Place pinecones on the baking sheet or cookie sheet in a single layer for 1-2 hours drying time in the oven. Keep an eye on them depending on the size.
Cindy’s Tips: Perfect Preseved Pinecones Keeping Them for Years
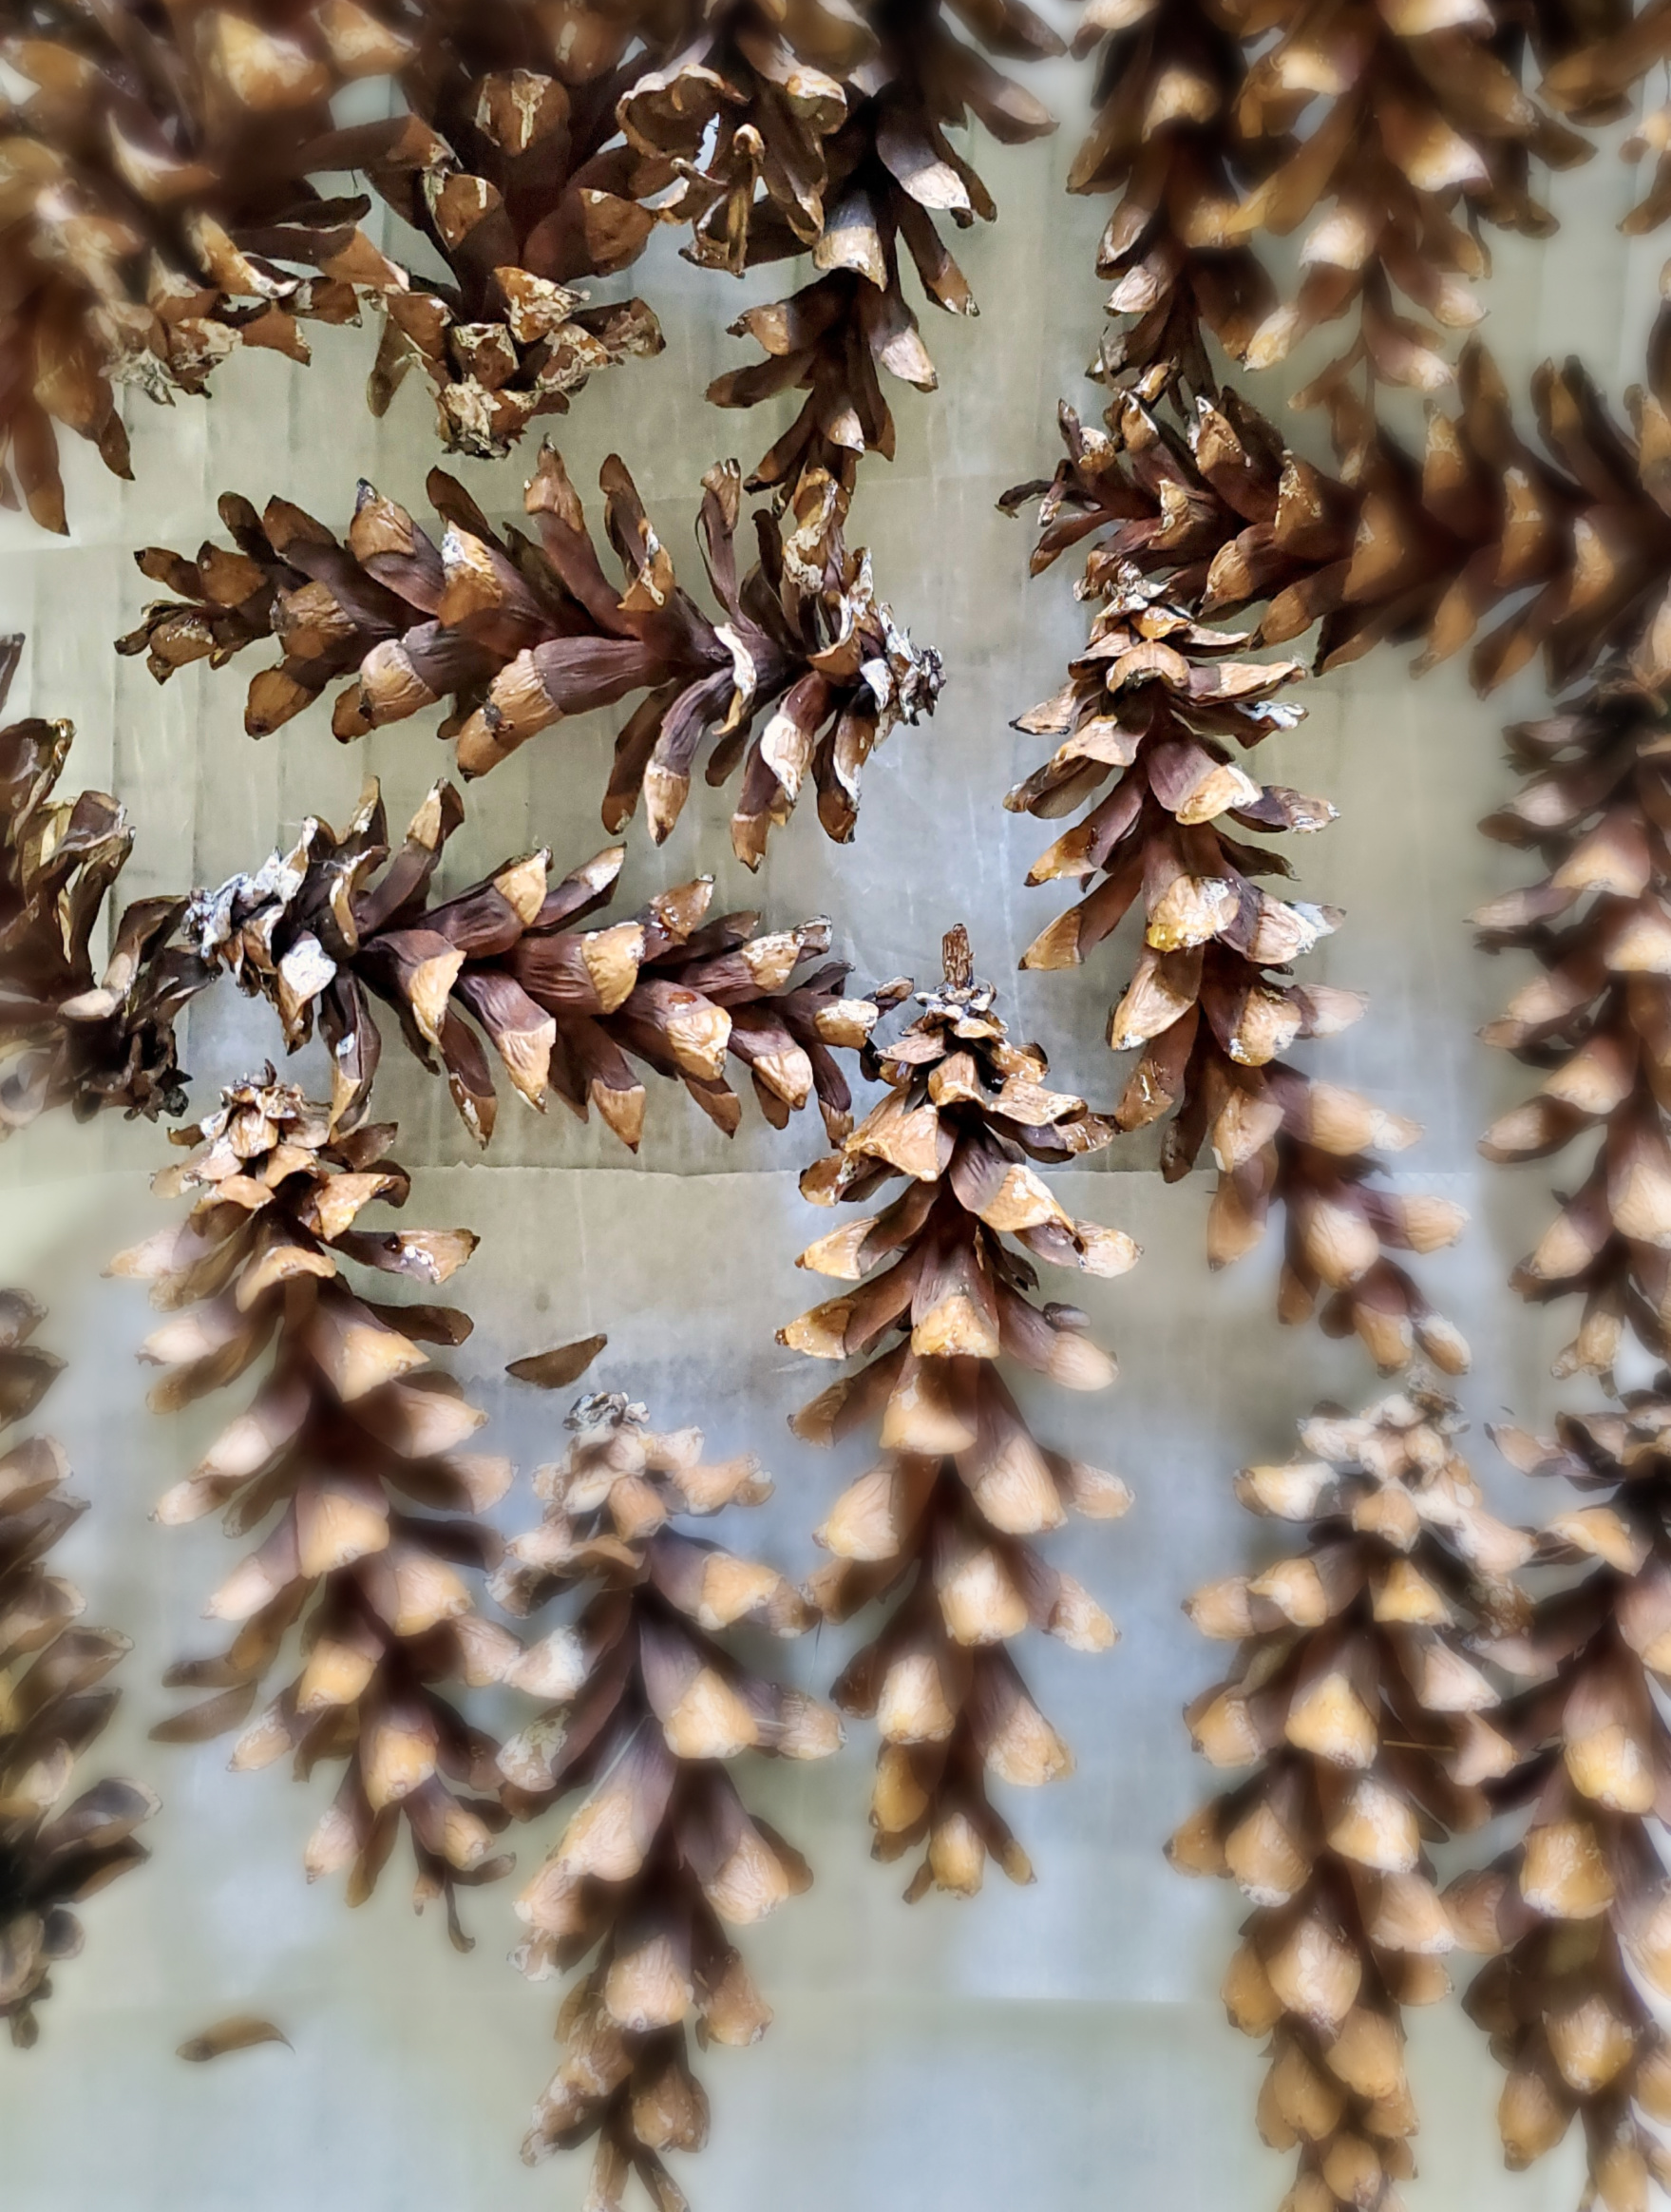
As fresh pinecones are going through the baking process, this is when they will open back up. Since they will open back up, leaving room between each one is important. They will get wider from baking.
This process is also important to get rid of pesky bugs, which is when the sticky sap gets removed from the fresh pine cones.
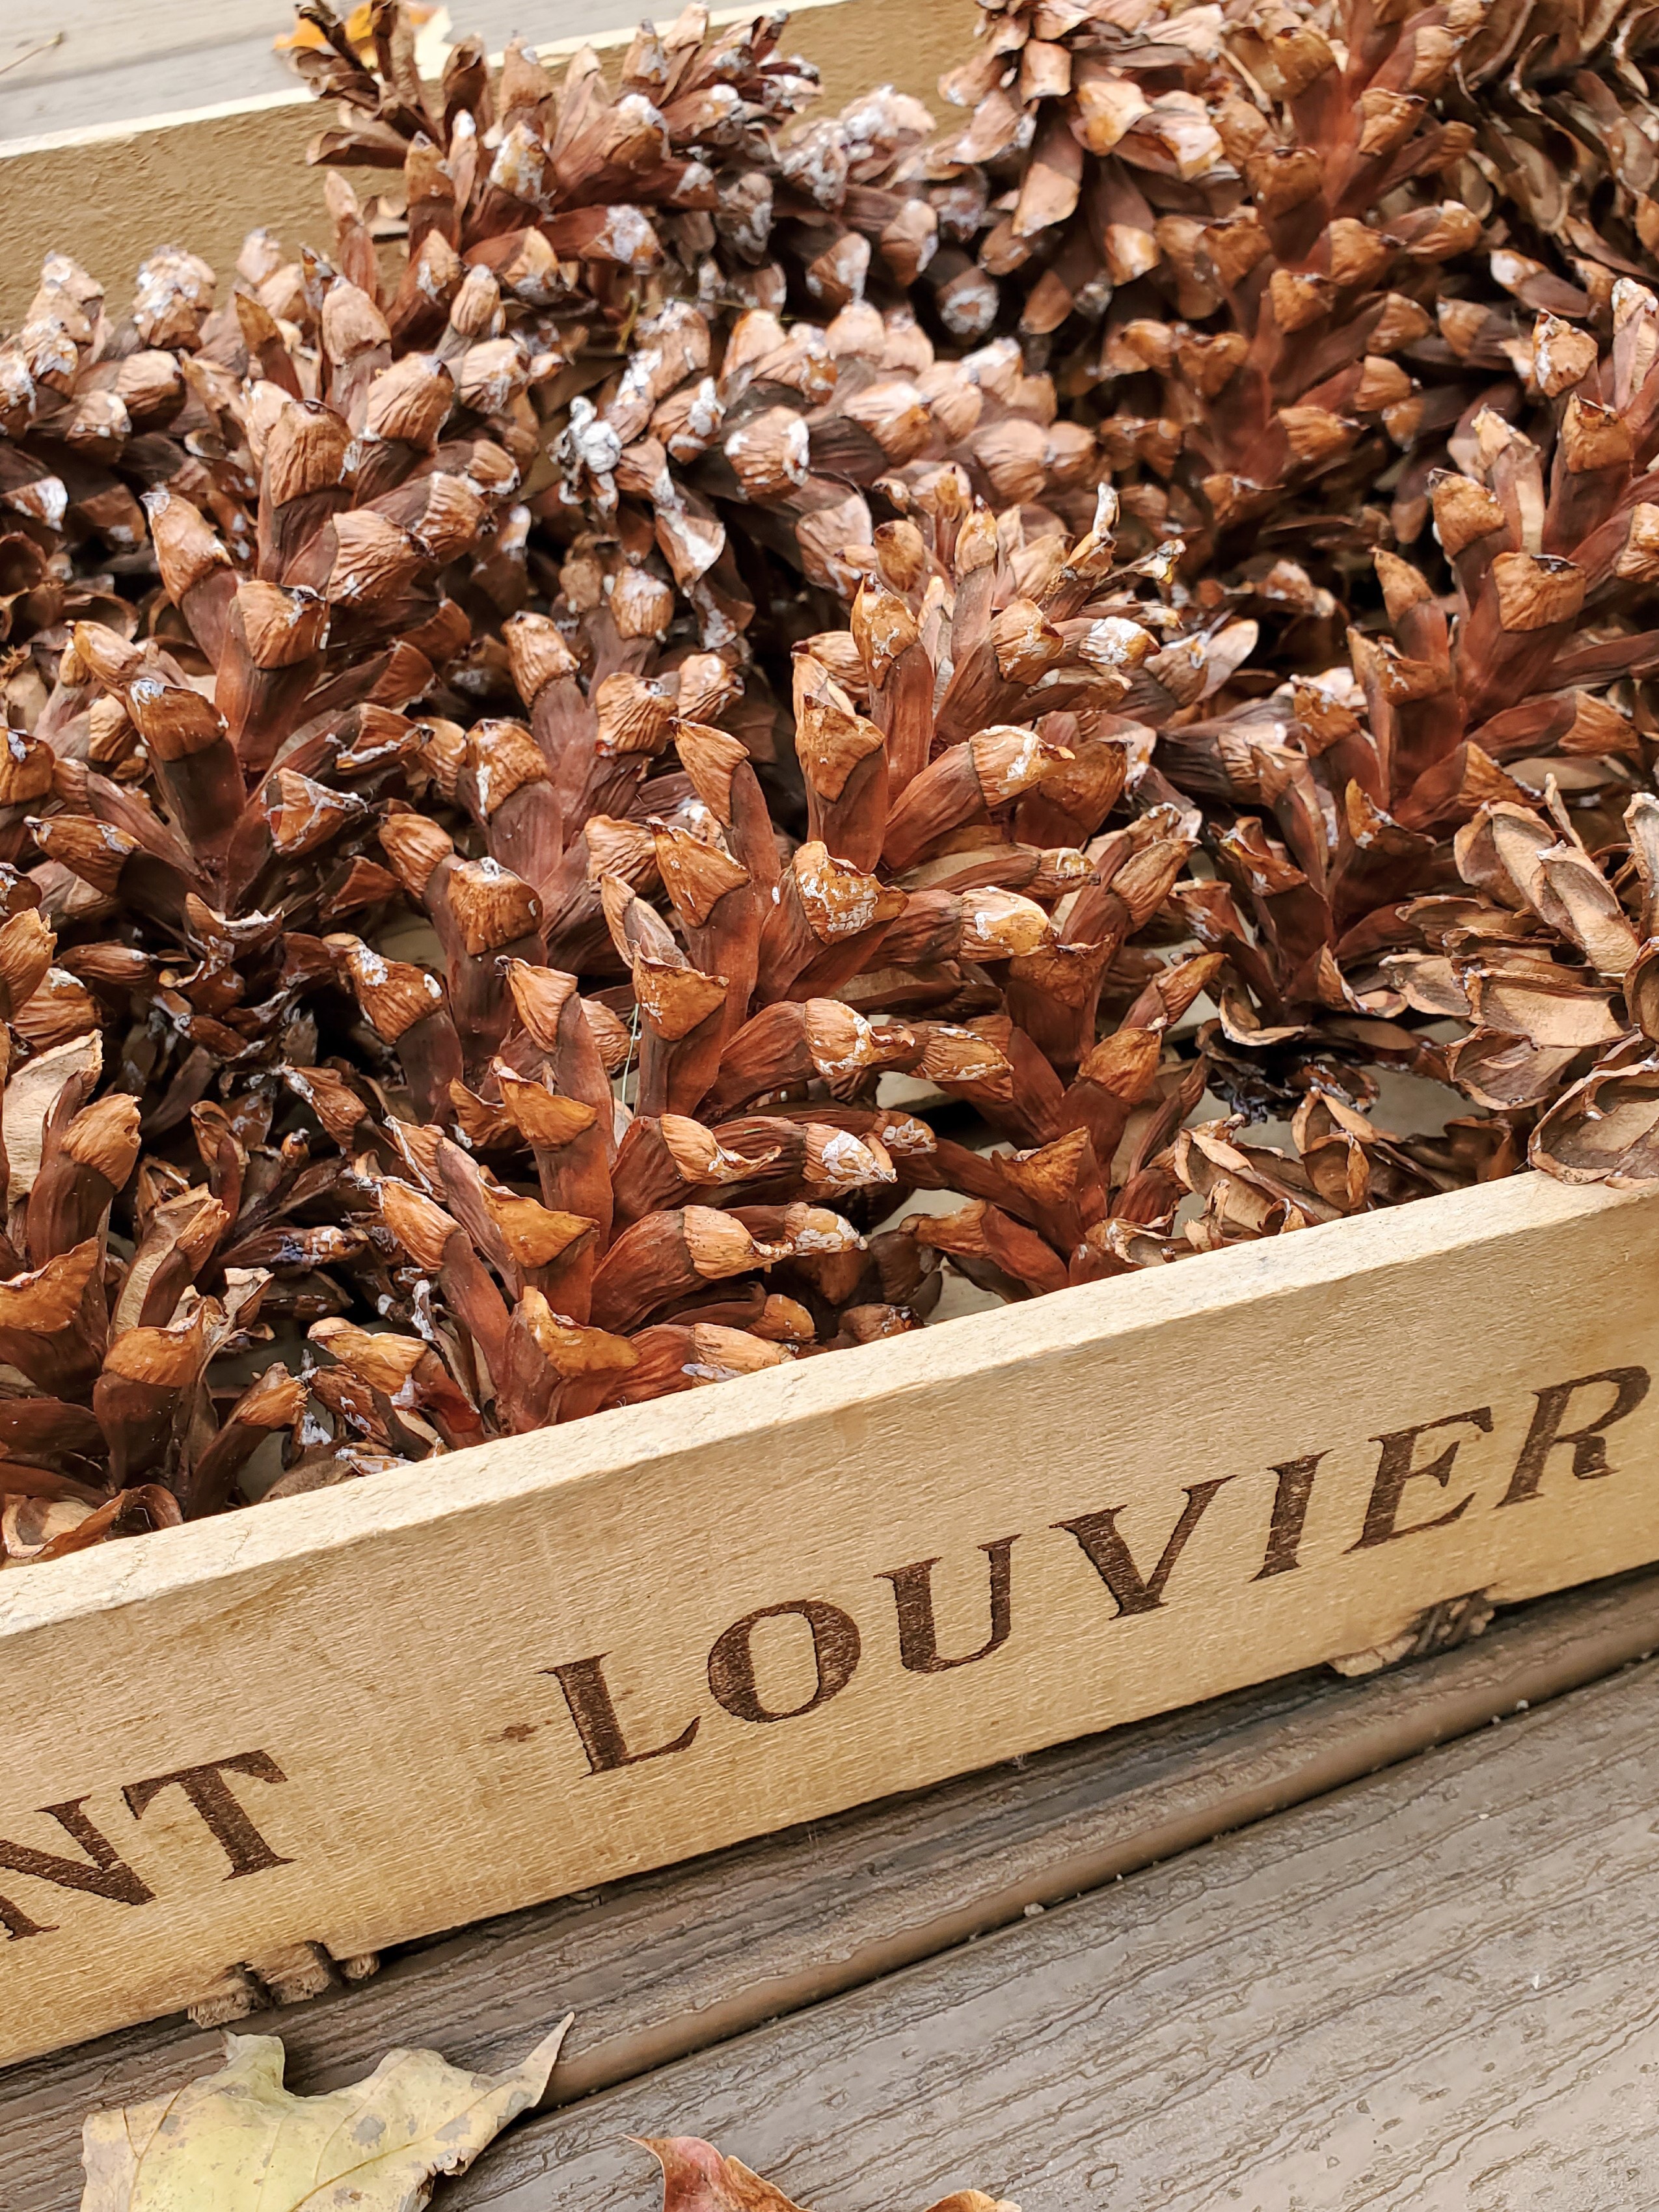
After the baking process add the pinecones to a cooling rack. I didn’t add spray varnish to our pinecones after preserving them. They are still perfect today!
Cindy’s Tip: Begin slowly with the first sheet. For my first baking sheet, I set my timer for 15 minutes. I did this because I didn’t want the pinecones to burn. To be honest I wanted to see how the preserving process worked.
If you don’t want to preserve pinecones, purchase them here on Amazon or they can be found at any craft store.
As an Amazon Associate, Black Dog Salvage Furniture Paint affiliate, and other Affiliate links I earn from qualifying purchases Use Code: C-L20 when visiting Black Dog Salvage Furniture Paint and RECEIVE 20% OFF!! I earn a small commission from qualifying purchases through affiliate links. I use affiliate links, which means a small commission is earned if you purchase through the link. The price will be the same whether you use the affiliate links or go directly to the website. All opinions are my own. (Check our full disclosure Policy)
Discover the Eco-Friendly and Fail-Proof Method to Preserve Pinecones for Decor
I hope you found this fail proof method for preserving pinecones for crafts and decor easy to follow. The next time you see these beauties near pine trees in parks grab them throw them into a small bucket bring them home to preserve and clean pine cones to enjoy for years! The beauty of nature is it’s eco-friendly and FREE! Pinecones work for any decorating style, making them a convenient choice for any easy craft project and to add to your home for the fall, holiday seasons, and winter. Whether crafting wreaths, a pinecone turkey, ornaments, or centerpieces, they add a touch of nature and elegance to any home.

Preserving Pinecones For Crafts And Decor
Equipment
- 1 large towel
- 1/4 tsp dish soap and warm water
- 1 cooling rack
- 3 baking sheet or cookie sheet depends on how many fresh pinecones you are cleaning and drying.
- 1 parchment paper parchment paper for each cookie sheet
- 1 pair of rubber gloves Keep sticky sap from getting on your hands
- paper towels
Notes
Preserving Pinecones for Crafts and Decor
Supplies List Preserving Pinecones For Crafts And Decor
-
-
- Pinecones/female cones
-
- Soap
-
- “‹Sink or bucket
-
- Cookie sheet
-
- “‹Paper towels
-
- Parchment paper or aluminum foil
-
- “‹Rubber gloves
-
- Large towel – for air drying
-
- “‹Cooling rack
-
- Spray varnish (optional)
-
Step 1: Soak Them In Dish Soap And Warm Water
Place pine cones in the sink with warm water and 1/4 teaspoon of dish soap to clean pine cones from any visible dirt and pine needles. After the water and dish soap covers the female cones let them soak for 30-45 minutes. This helps remove pine needles that may have been missed. In the meantime, place pine cones on a large towel or stack of paper towels to absorb any excess water. Wear rubber gloves when preserving fresh pine cones, especially from pine trees because of their sticky sap. My gloves are covered in sap. Cindy’s Tip: Wear gloves, it’s a must. The sap is sticky and you will wind up like Chevy Chase in the movie Christmas Vacation. Your hands will be sticky for a long time!Step 2: Let Them Dry Completely
Air dry pine cones in a single layer on paper towels or a large towel overnight for several hours. We did this easy process in the early evening. Make sure to turn them on the other sides of the cone to finish air drying.Cleaning Pine Cones With White Vinegar
Cindy’s Tip: This is another method to clean pine cones- add 1 cup of white vinegar to 2 parts water. This will remove dirt and pesky bugs. I chose warm water and dish soap because my mom used this technique for preserving pinecones. It works like a charm!
Step 3: Adding These To The Oven
Preheat the oven to 200 degrees. Next, use a baking sheet or cookie sheet, lined with parchment paper or aluminum foil before adding the fresh pine cones for the baking process. I used a large baking sheet for each set of pinecones for 78 pinecones.
Place pinecones on the baking sheet or cookie sheet in a single layer for 1-2 hours drying time in the oven. Keep an eye on them depending on the size.
Cindy’s Tips: Perfect Preseved Pinecones Keeping Them for Years
As fresh pinecones are going through the baking process, this is when they will open back up. Since they will open back up, leaving room between each one is important. They will get wider from baking.
This process is also important to get rid of pesky bugs, which is when the sticky sap gets removed from the fresh pine cones.
After the baking process add the pinecones to a cooling rack. I didn’t add spray varnish to our pinecones after preserving them. They are still perfect today! Cindy’s Tip: This is another method to clean pine cones- add 1 cup of white vinegar to 2 parts water. This will remove dirt and pesky bugs. I chose warm water and dish soap because my mom used this technique for preserving pinecones. It works like a charm!
Happy Crafting and Happy Fall!
This is really such a cool idea. I love the natural look of the pinecones after you baked them to open them up. I have a question for you. I love the spice/cinnamon scent of pine cones. If I wanted to put a scent on them when would I do that? Would it be during the baking process or when I am soaking them. Thanks for the info these are really cool Have a great week. xoxo Kris
Thanks Kris. That part I’m not positive about. I think I have read it’s after they are dry.
I believe it’s cinnamon oil.
Tons of information on Pinterest. I’m thinking if you want natural spices add it when they are damp.
I would ad nutmeg, a dash of clove and cinnamon.
Very cool!! I learned something new today!!
Thanks!
Great tips! I am still using pine cones for decor that I picked up out of the yard in 1993.
I love them! Anything from nature us the best!
This was such a great post, Cindy! We have a ton of pinecones on our property and it would be so much fun to get to use them. I can’t wait to try this too. It’s going make decorate with them so much easier. Thank you! Hugs, CoCo
I love using things from nature. It’s so cozy not to mention free
Cindy, I have preserved pinecones myself, but had to go read your preserving acorn post. I was afraid of bringing them in not sure if I could bake them as I did the pinecones. Thanks for your tips on your blog.
Do It. I have 100s of preserved acorns 10 years now. An addiction
Using things from nature brings a warm feeling to any home, doesn’t it? Thanks for this complete tutorial. I have quite a few pinecones that I have been wanting to preserve but haven’t been real sure how to do it. Now I do! Happy Fall!
Thanks Meegan, I agree nature adds so much to a home
I just picked up a bunch of pine cones this month at my friends cottage. This will definitely come in handy. Thanks for sharing.
Oh so happy I shared this when I did. It’s easy and works
Have fun Kim. So easy
I have those exact same pinecones in my yard!! I’m going to grab some and bake them for some projects! Thanks for the tips 🙂 Pinned!
Thanks Cindy. Are yours full of sap too? That’s why I wore gloves. I had to throw them out. They were a sticky mess.
I’d do it again though
Our pine tree drops so many cones! I always want to bring them in, but worry about insects coming along for the ride! Now I know how to clean them!
This takes care of that. Enjoy and wear rubber gloves because of the sap like I say
Yes, thank you! My pinecones usually end up in our compost 😬 But now I’ll use your tips- thanks for sharing!
Not anymore. Save them!
I miss living were we could pick up all sizes of pine cones. I thought you were wearing gloves to protect your hands, not the pine cones!
I was wearing them because they were full of sap. My hands would been filled with sticky sap
Great idea to wash your pinecones. I had no idea you could wash them so from now on I am washing my pinecones before using them.
Yes it gets everything out of them. Mine had tons of sap. Good thing I wore gloves
I can’t wait to try this! Pinned!
So easy and well worth it!
Great tutorial; I”ve never done this before!
Thanks Sara. If you can give it a try.
I love to decorate for fall and winter with pinecones. This is a great tutorial. Thanks for sharing.
Me too. Thanks Jennifer
I loved this post! While I don’t have any pinecones I do love the link for acorns. Storybook Cottage has 16 oak trees and boy do I have acorns. LOL!
Preserve them. Mine are 10 years old. Spraying them with matte poly helps. They fade over time but are gorgeous. I use them every year
I didn’t even know preserving pine cones was a thing! Years ago, someone brought me huge ones from California. I just recently threw them out. Too bad I didn’t know to preserve them!
Bummer. Yes it works
Great post Cindy. We see pine ones lying around. I love those little ones they have up the hill. Our acorns are so small. Happy fall.
Thanks Linda
Such great tips! Thank you for sharing.
It was fun to do. Lots of sap but fun
Thanks for sharing with us I’ll be featuring you this week when the next To Grandma’s house we go link party starts!
Thank you so much!
What a wonderful idea, I need to try this!
Thank you so much for sharing and loved having you part of our Welcome Home Saturday series.
xoxo,
Brendt
Thanks so much! Loved the opportunity
i’m so glad you joined us this week for Welcome Home Saturday and shared this post!
thank you for having me!
Great ideas as usual with clever tips.