How to Paint Furniture With Acrylic Paint
Let’s talk about how to paint furniture with acrylic paint. Basically, this paint is an acrylic blend.
Most chalk paints are pure latex based with a calcium carbonate additive, with no acrylic in the mix, so ours is unique in that regard.
This paint formula also contains calcium carbonate, plus additional clay & mineral properties.
So, today I will share how to get the best results when using this type of paint. How this furniture paint is the best paint, and how this works on a variety of surfaces. It’s truly amazing.
Do you enjoy painting furniture as well as crafts? Well, this is the product for you and I hope I encourage you to make this your choice of paint! I have been painting furniture and updating accessories in our home for years. So now I’m going to explain why this paint product has become the right paint for me.
What paint am I referring to? Well, it’s Black Dog Salvage Furniture paint of course. Cloches & Lavender has a working relationship with this furniture paint company and I will share the best way to apply this for painting furniture with this acrylic blend paint and much more.
Here, I will also share how I went from painting wood furniture with chalk paint for a long time to love this product! And tips for applying this latex/acrylic blend paint to any piece of furniture. Yes, any piece of furniture.
Also, I will share tips on how to get a smooth surface every time how to use this paint, and the different finishes you can create using Salvage Dog painting products.
Table of Contents
- 1 Table of Contents
- 2 Details About This Furniture Paint
- 3 Do I Need Expensive Brushes For This Paint?
- 4 What Surfaces Will This Acrylic/ Paint Work on?
- 5 Color Choices For This Product That Are Available
- 6 How to Prep Furniture Before Painting
- 7 Preparing My Furniture For the Acrylic Furniture Paint
- 8 Adding Gilding To My Furniture Piece
- 9 Adding A Coat Of Sealer
- 10 Adding Fabric Inside And Making A Pattern
- 11 Cleaning the Nightstand Handles
- 12 POSTS OF INTEREST!
- 13 CLICK ON THE IMAGE OR WORDS TO SHOP IN ONE SPOT!
Table of Contents
Table of Contents
Will I be sharing a furniture piece with you today? Of course, I will and I look forward to sharing my project!
Details About This Furniture Paint
About This Furniture Paint
- This paint is water-based. How perfect is this, especially for clean up?
- Also, this paint is VOC free so there’s no strong odor. In fact, there’s no odor at all!
- And it’s made in the USA
- It also can be used over all types of paint.
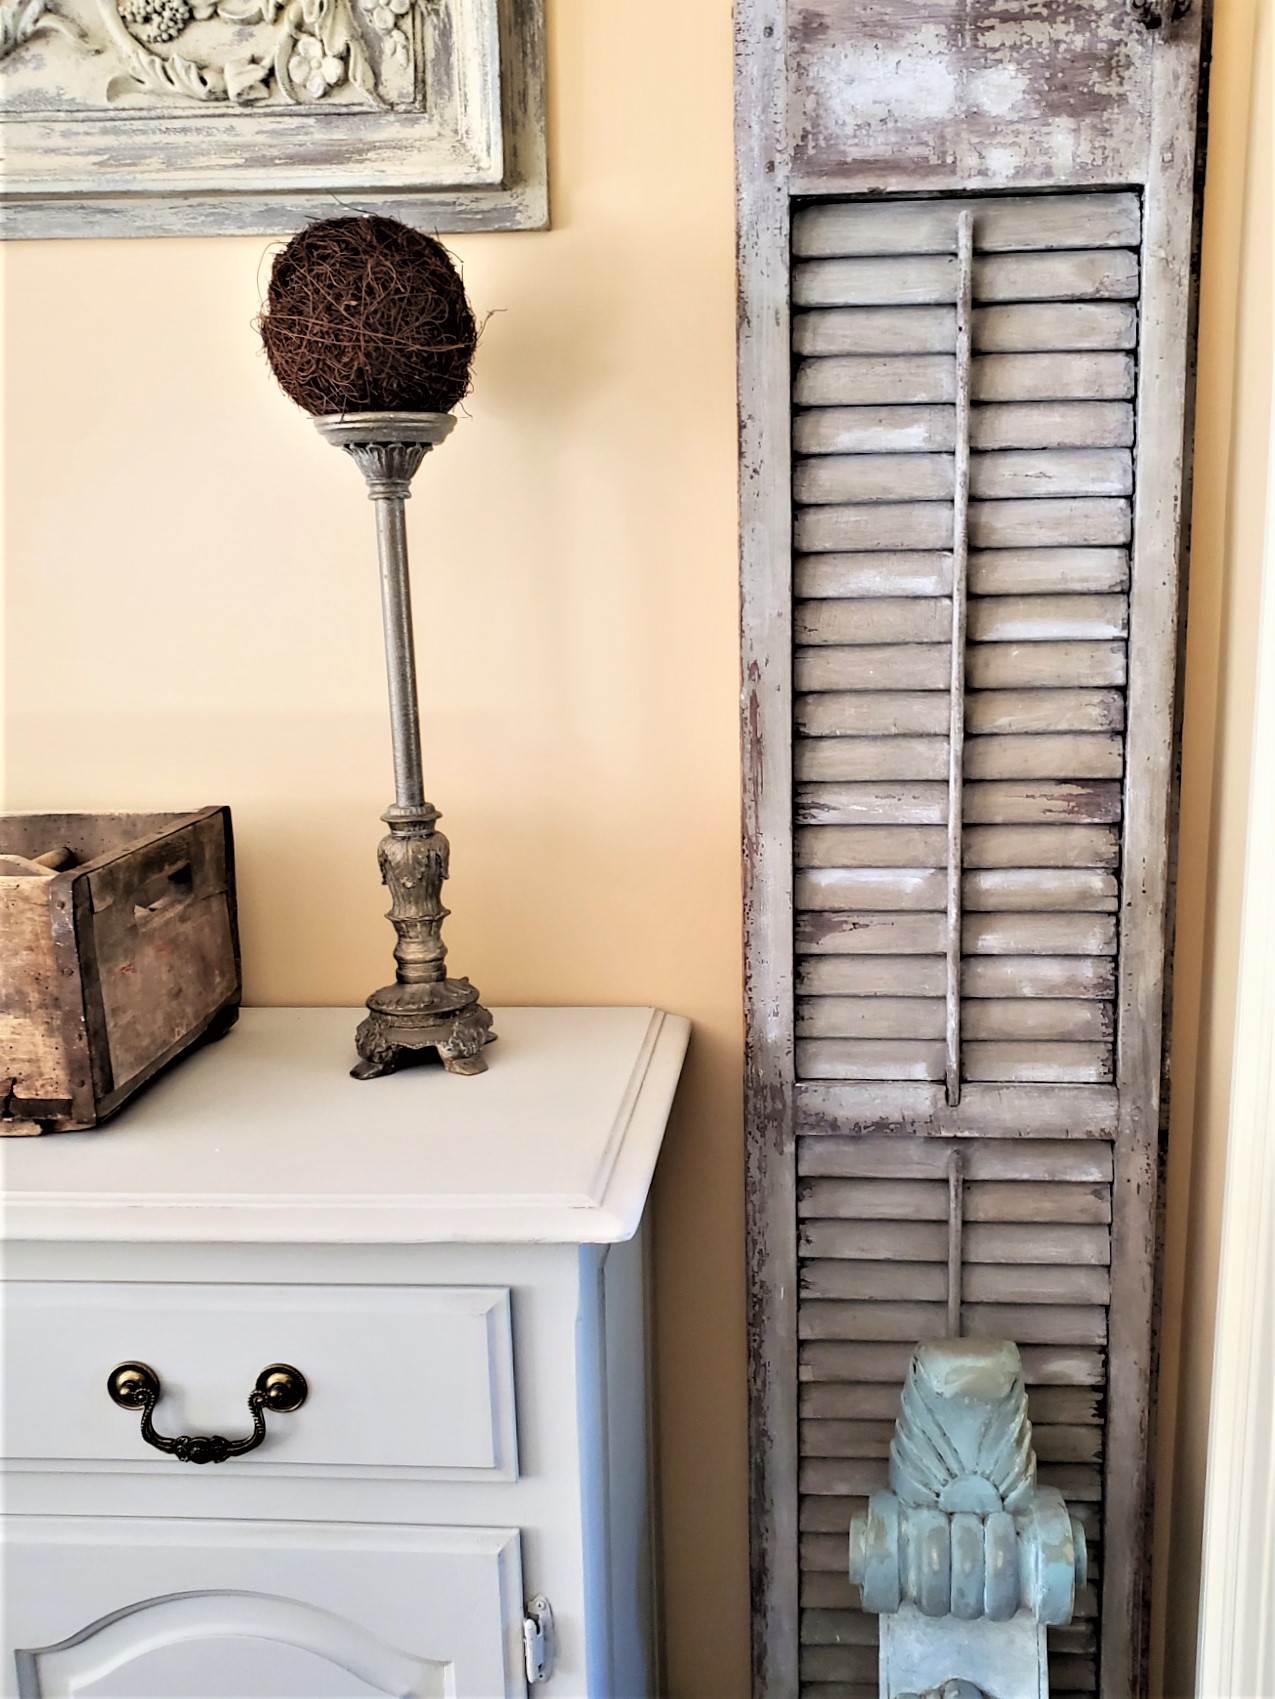
- Distressed effects and washes can also be done with this paint. You may want to look at this shutter project it’s a great way to update an old piece with this paint!
- A top coat is recommended and is also water-based.
- Show Dog top coat is best for white and pastels. This will avoid any ambering. Show Dog and Guard Dog both come in a matte finish and satin sheens
- You must clean your piece before painting. It’s suggested to use TSP(Trisodium Phosphate) or Krud Kutter. Remember to wipe down your piece with clear water after cleaning to remove any residue.
- Do not use products like dishwashing soap or Murphy’s Oil Soap to prep for paint.
- Also, wait at least 24 hours before applying the topcoat. Again, if it’s very humid allow for longer curing and drying time.
Do I Need Expensive Brushes For This Paint?
Need Expensive Brushes to Apply This Paint?
Also, the good news, cheap brushes work fine when applying this furniture paint. However, foam brushes and rollers are not RECOMMENDED.
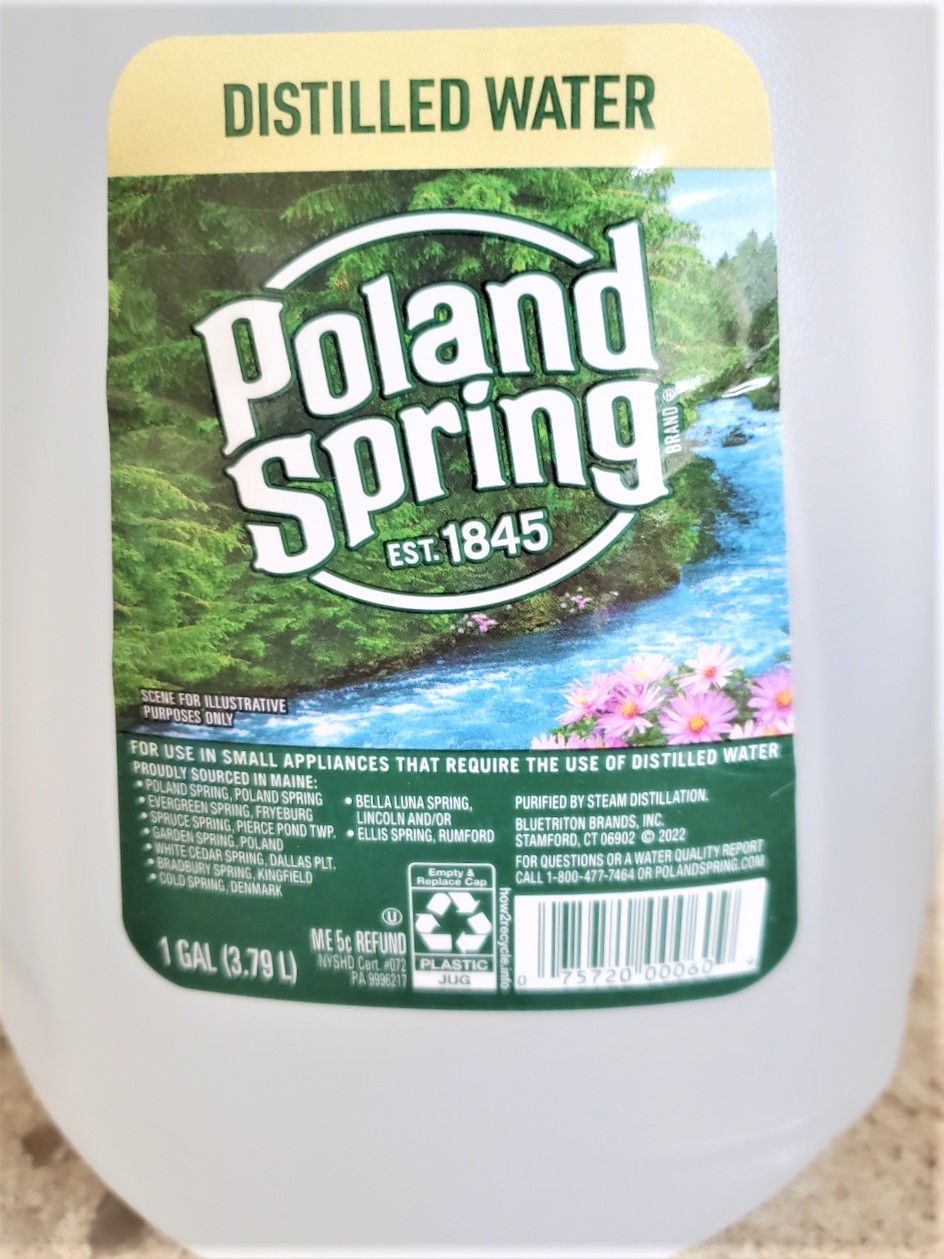
This paint may also be used as a spray paint with a paint sprayer. I recommend adding a little bit of distilled water to the paint and following the recommendations of the paint sprayer.
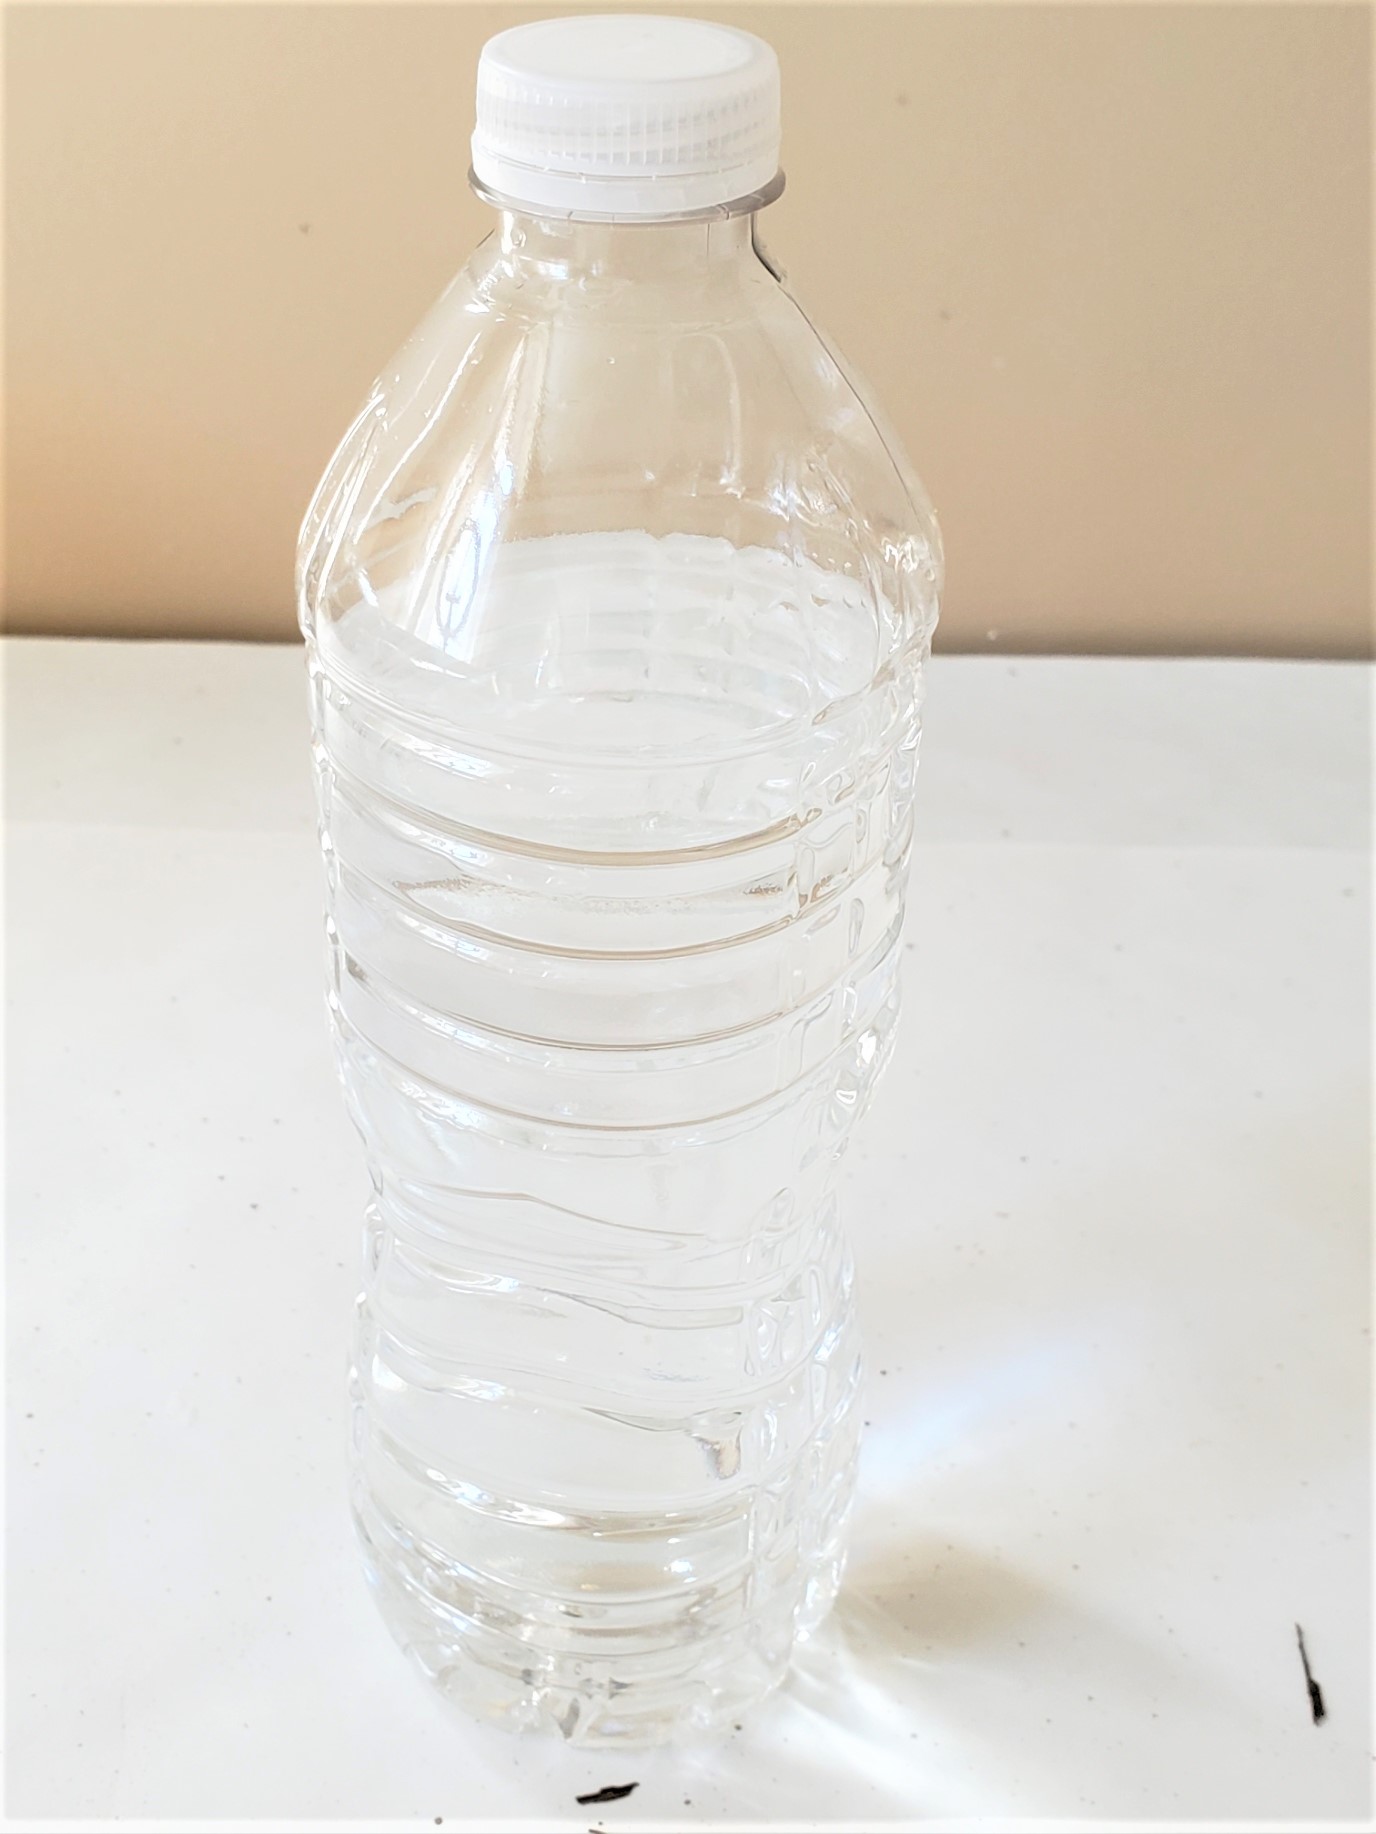
It’s also recommended to add a bit of distilled water to the paint before painting. Doing this is an easy way to get a super smooth finish and no brush strokes.
I do this when painting and it works like a dream and it’s perfect every time!
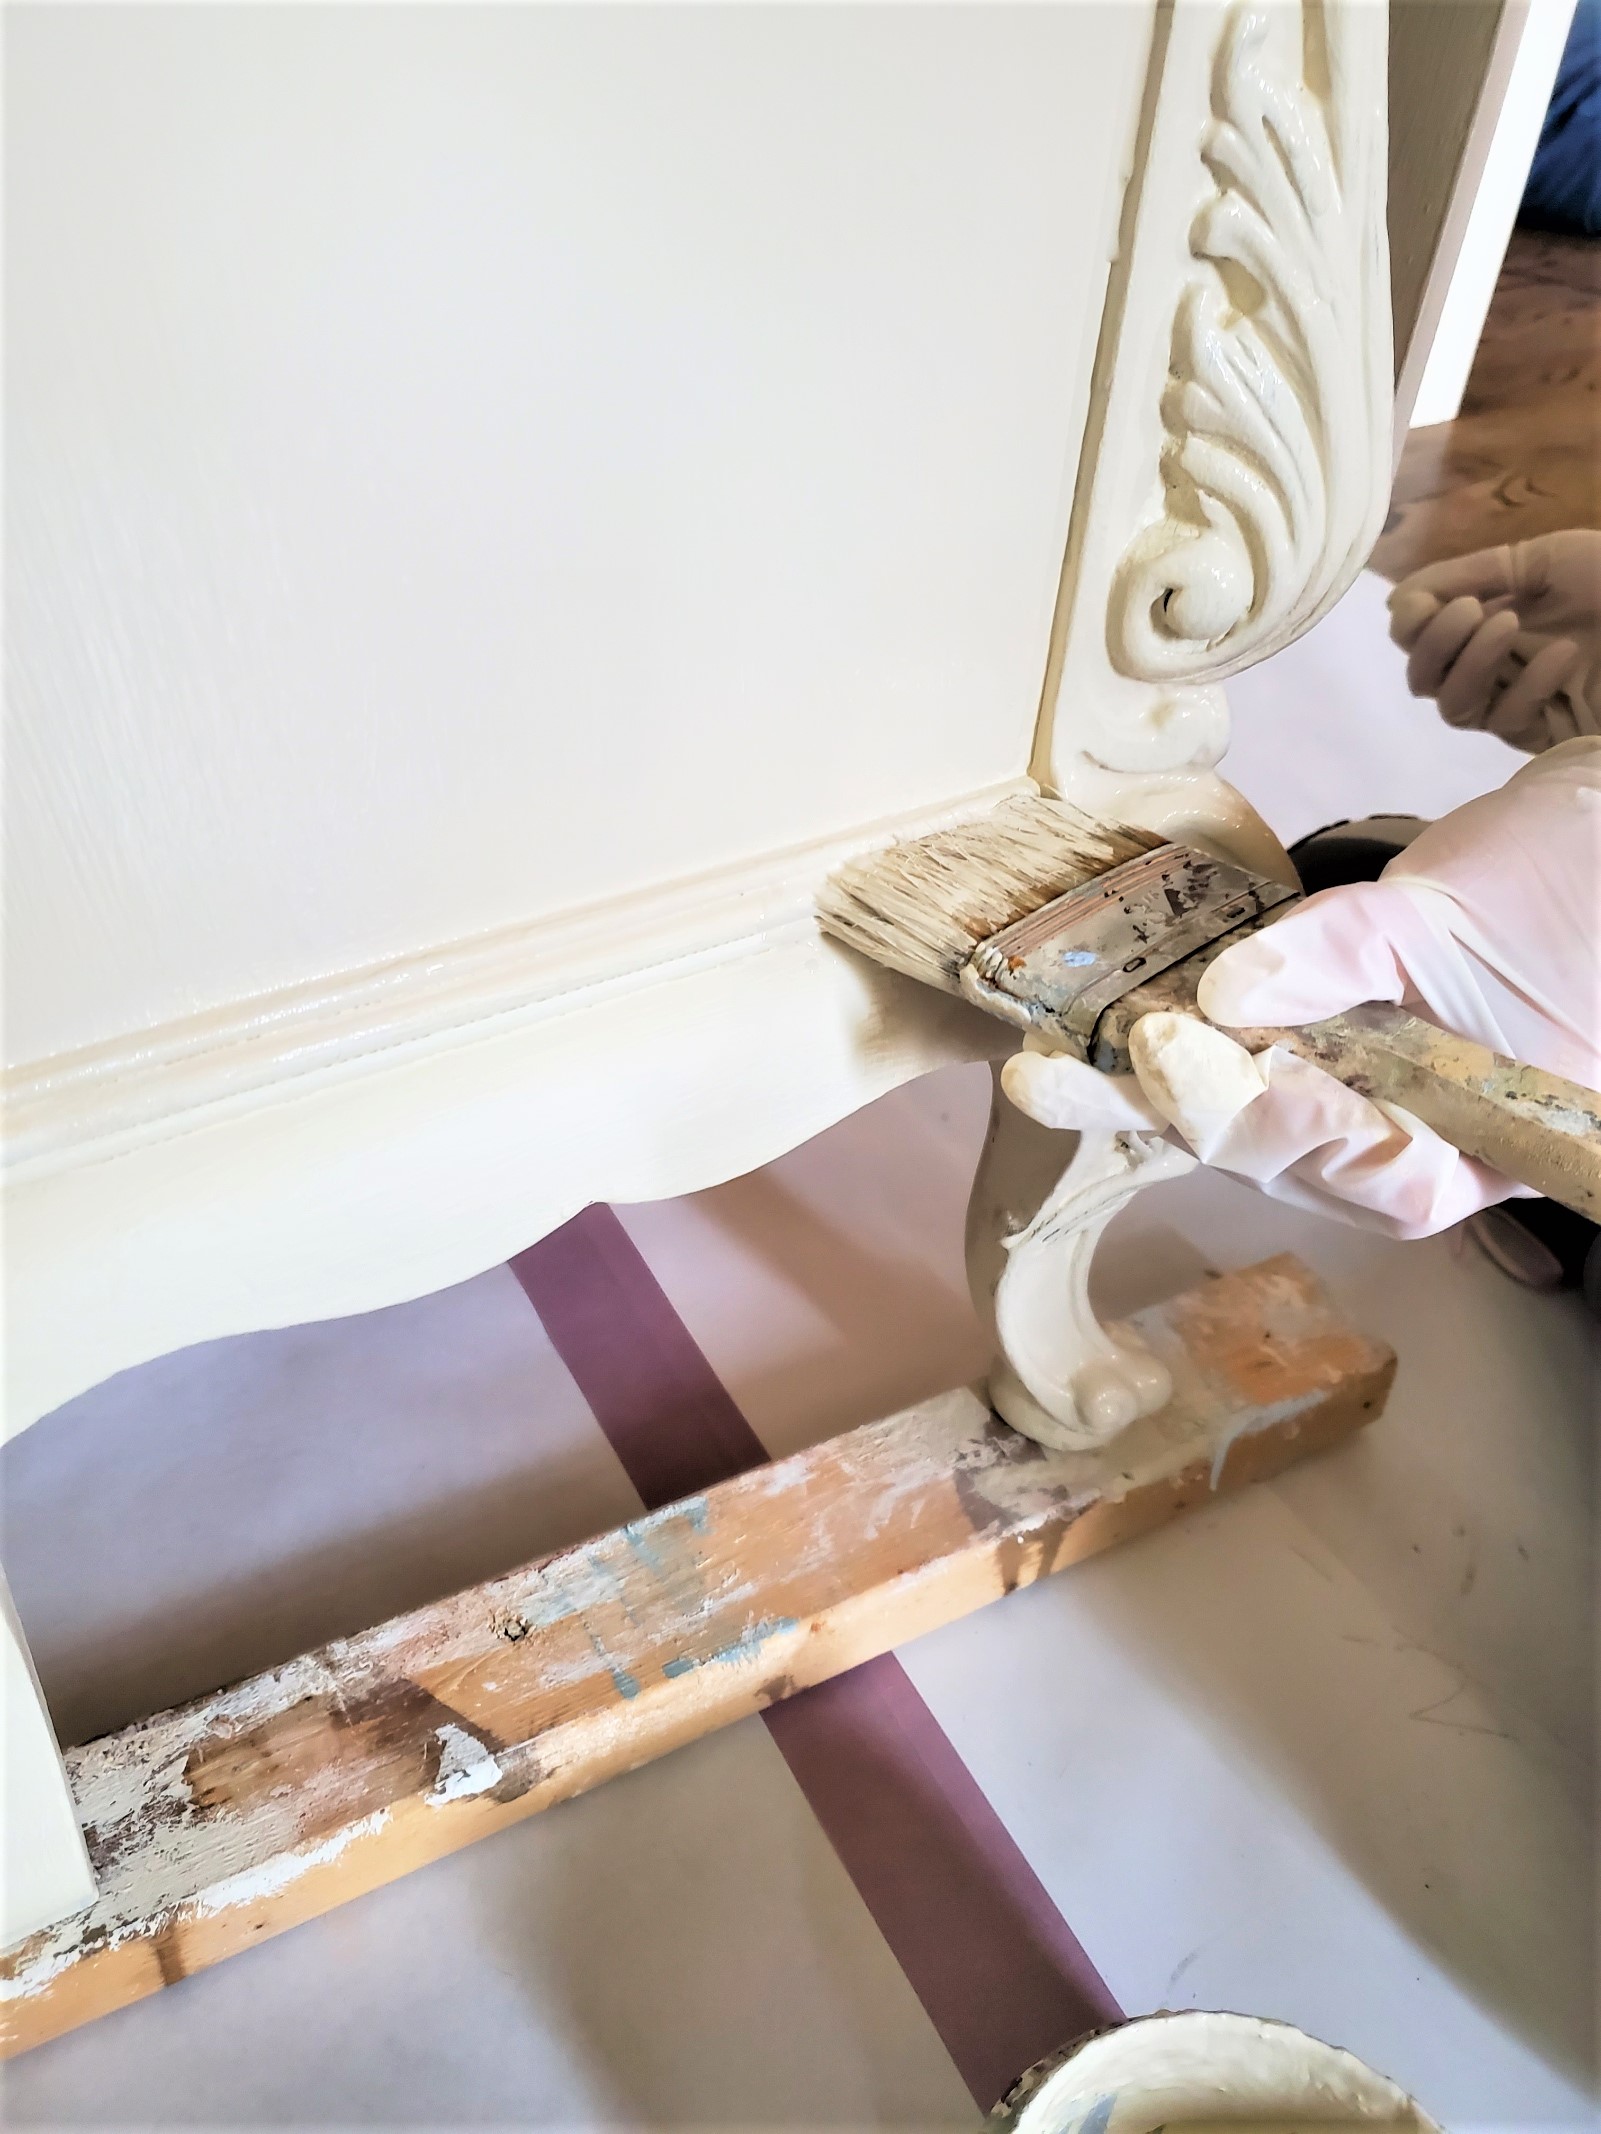
Also, always paint in the direction of the wood grain. It’s also a good idea to use a thin layer of paint at a time as well as not overwork the paint.
What Surfaces Will This Acrylic/ Paint Work on?
SurfacesThis Paint Works on
Are you ready to be WOWED? This is mainly what makes this the best acrylic paint on the market. Because this paint works on a multitude of surfaces.
Here is a list of examples:
- latex paint
- oil-based paint
- milk paint
- laminate furniture
- porous surfaces
- all metals
- glass
- ceramics
- varnish wood pieces and wooden furniture
- wood filler
You can give anything new life with this paint. How amazing is that?
Color Choices For This Product That Are Available
Paint Colors Available
What makes this furniture paint different from other furniture paints is that black is made with true black and the white paint is true white. This also affords the ability to mix custom tints and shades.
Bright colors are also available for a more contemporary look and this paint has a matte finish.
How to Prep Furniture Before Painting
Prepping Furniture Before Painting
Before painting a piece of furniture that needs sanding, fine-grit sandpaper will do the trick. Make sure to sand with the grain of the wood.
Next step, use a tack cloth to remove any sanding dust. Also, remove any dust in the crevices and creases from the wood surface.
If the furniture you are painting needs cleaning a damp cloth with TSP is the best choice to clean the entire piece. Be sure to let your piece completely dry.
*As an Amazon Associate and other Affiliate programs I earn from qualifying purchases*
As an Amazon Associate and other Affiliate, I earn from qualifying purchases. If you purchase something through any link, I may receive a small commission with no extra charge to you. All opinions are my own
Preparing My Furniture For the Acrylic Furniture Paint
Preparing My Furniture Pieces For Salvage Dog Paint
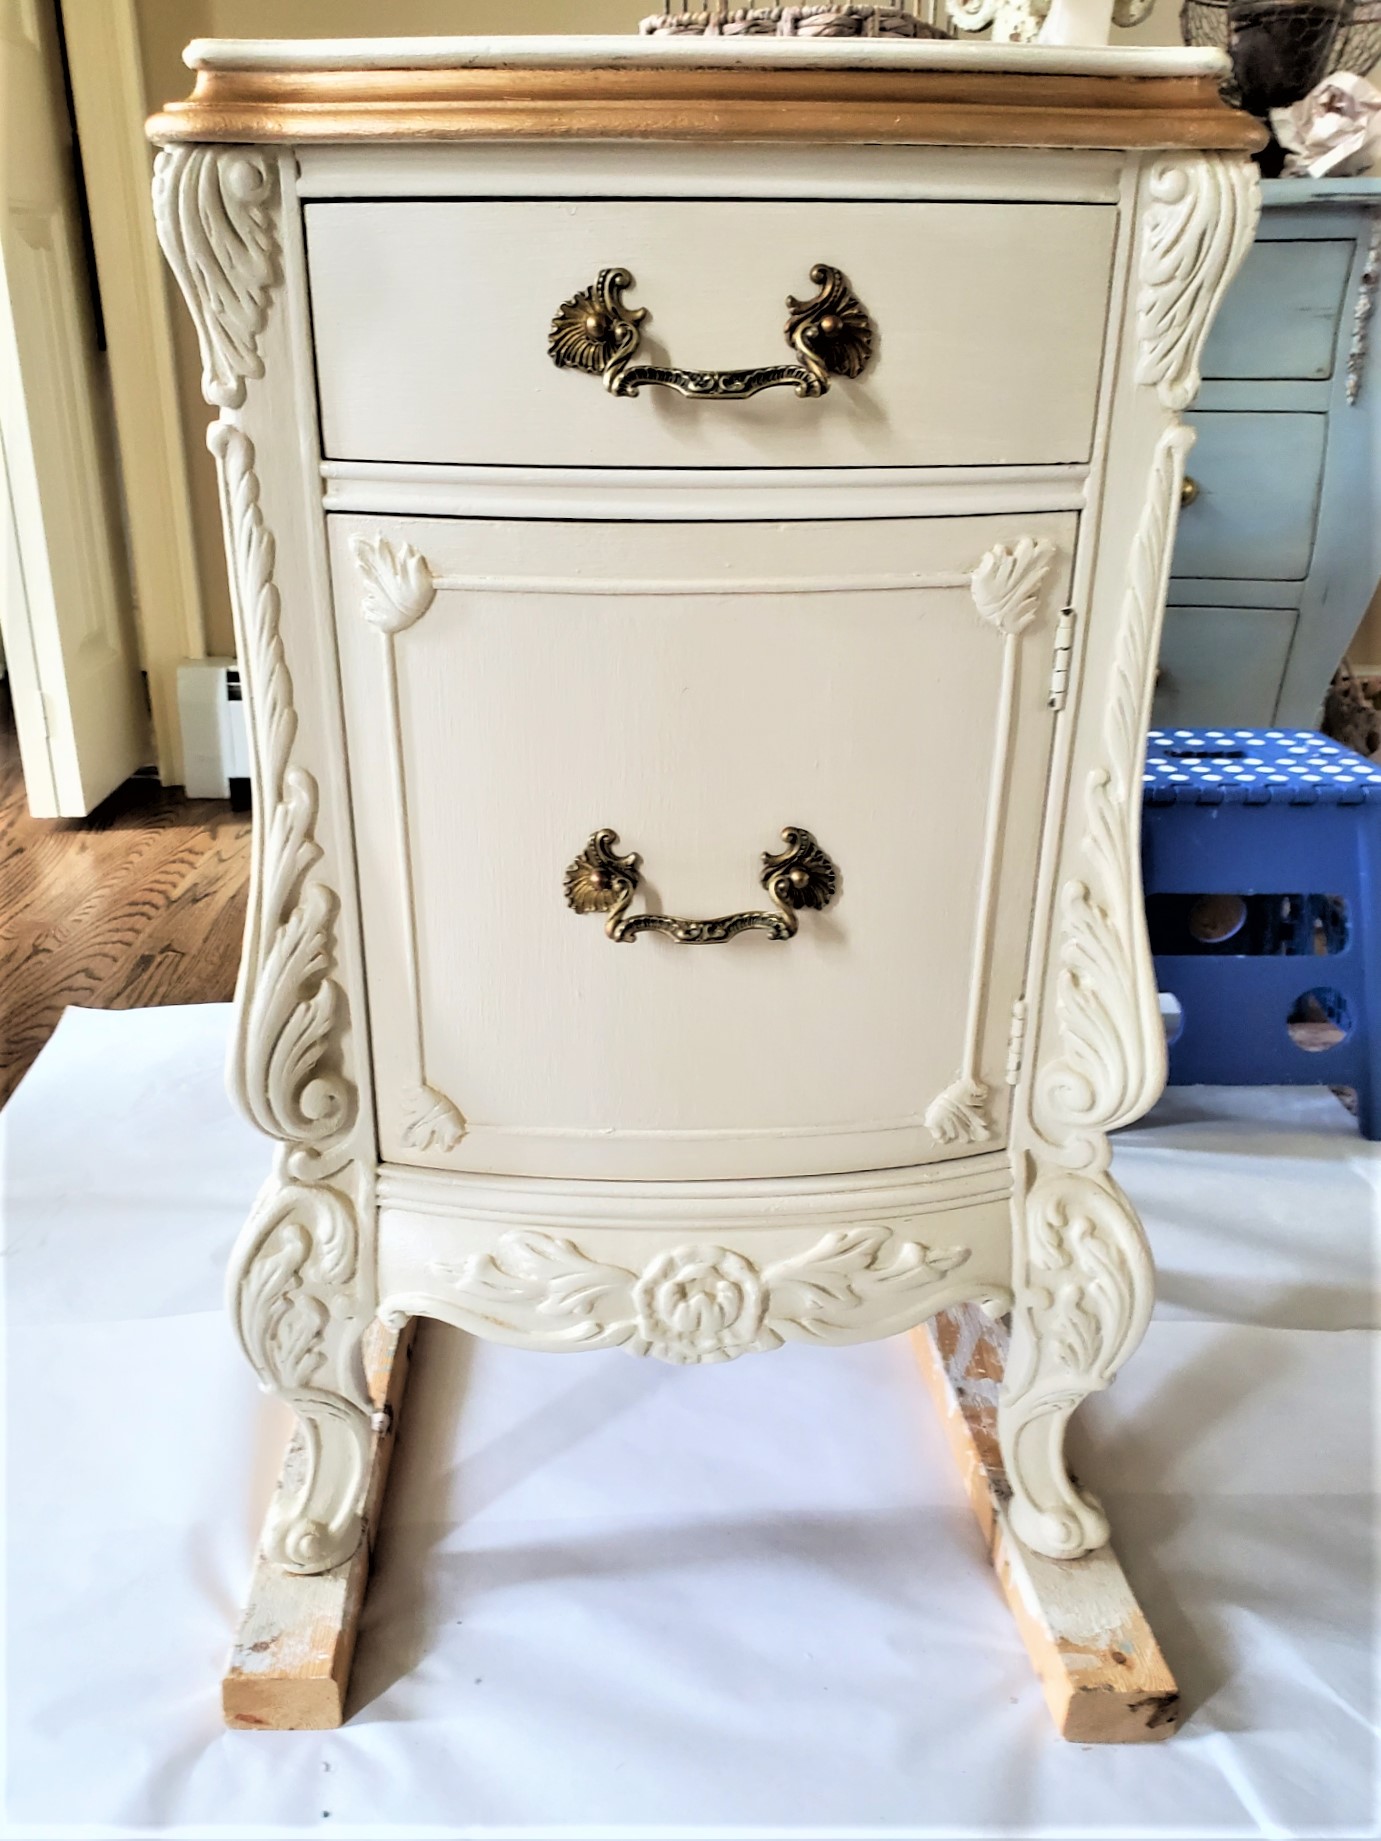
I found these nightstands at a thrift store for a great price. The paint finish wasn’t a favorite and is streaky. Plus, these pieces must have been dark wood. I was able to see the bleed through so I knew immediately knew I was going to repaint them.
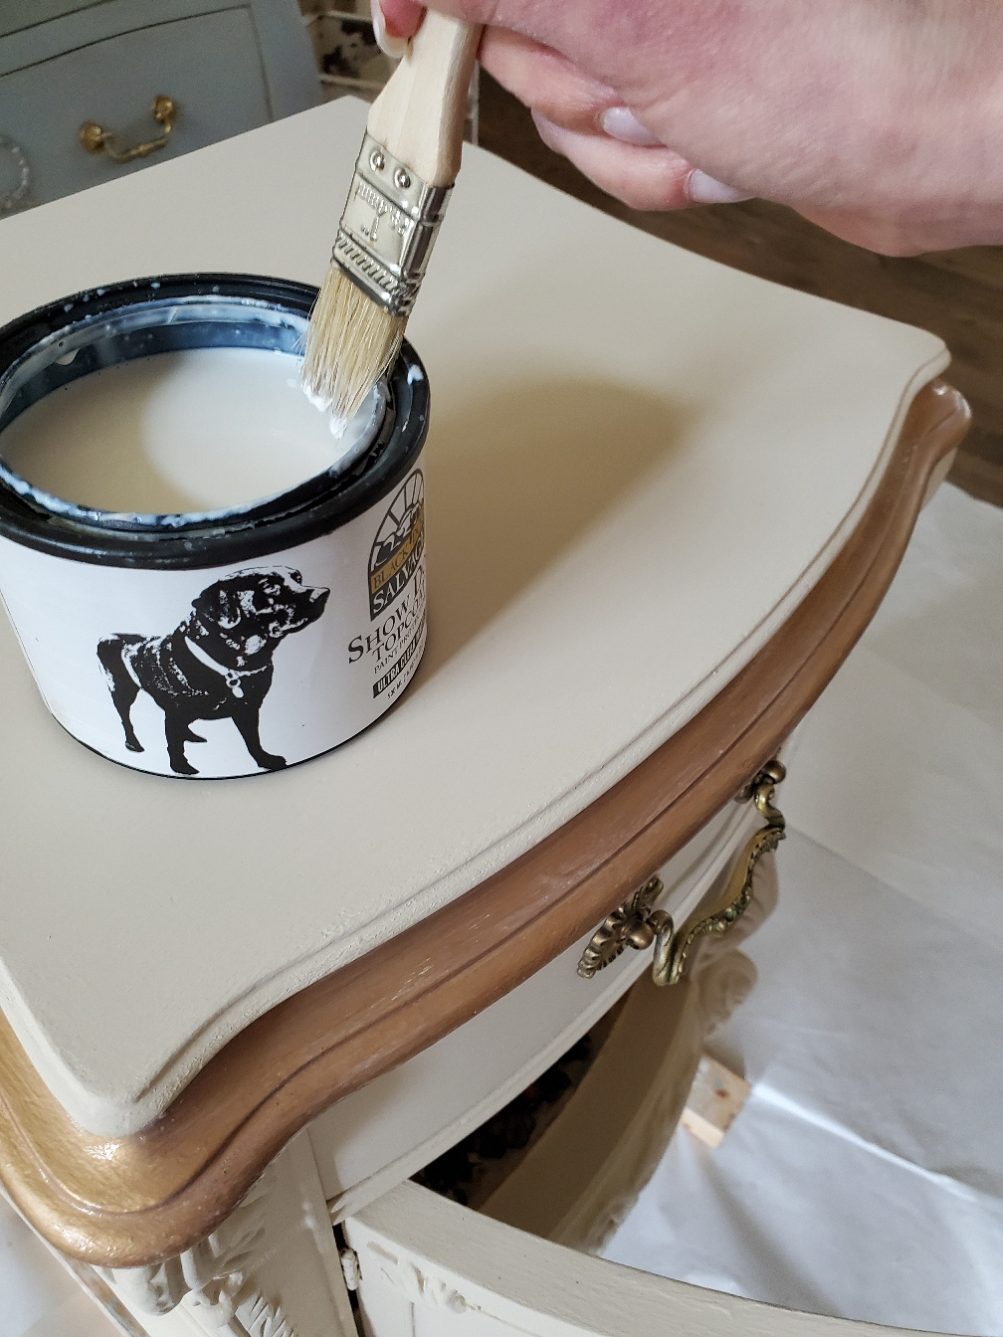
So, when I began to work with Salvage Dog my furniture paint recipe of choice was Dog Bone. I love this color because it works with everything and it’s perfect for our entire home.
Since this piece is painted with latex paint the only thing I needed to do was clean it well with a brush and cloth.
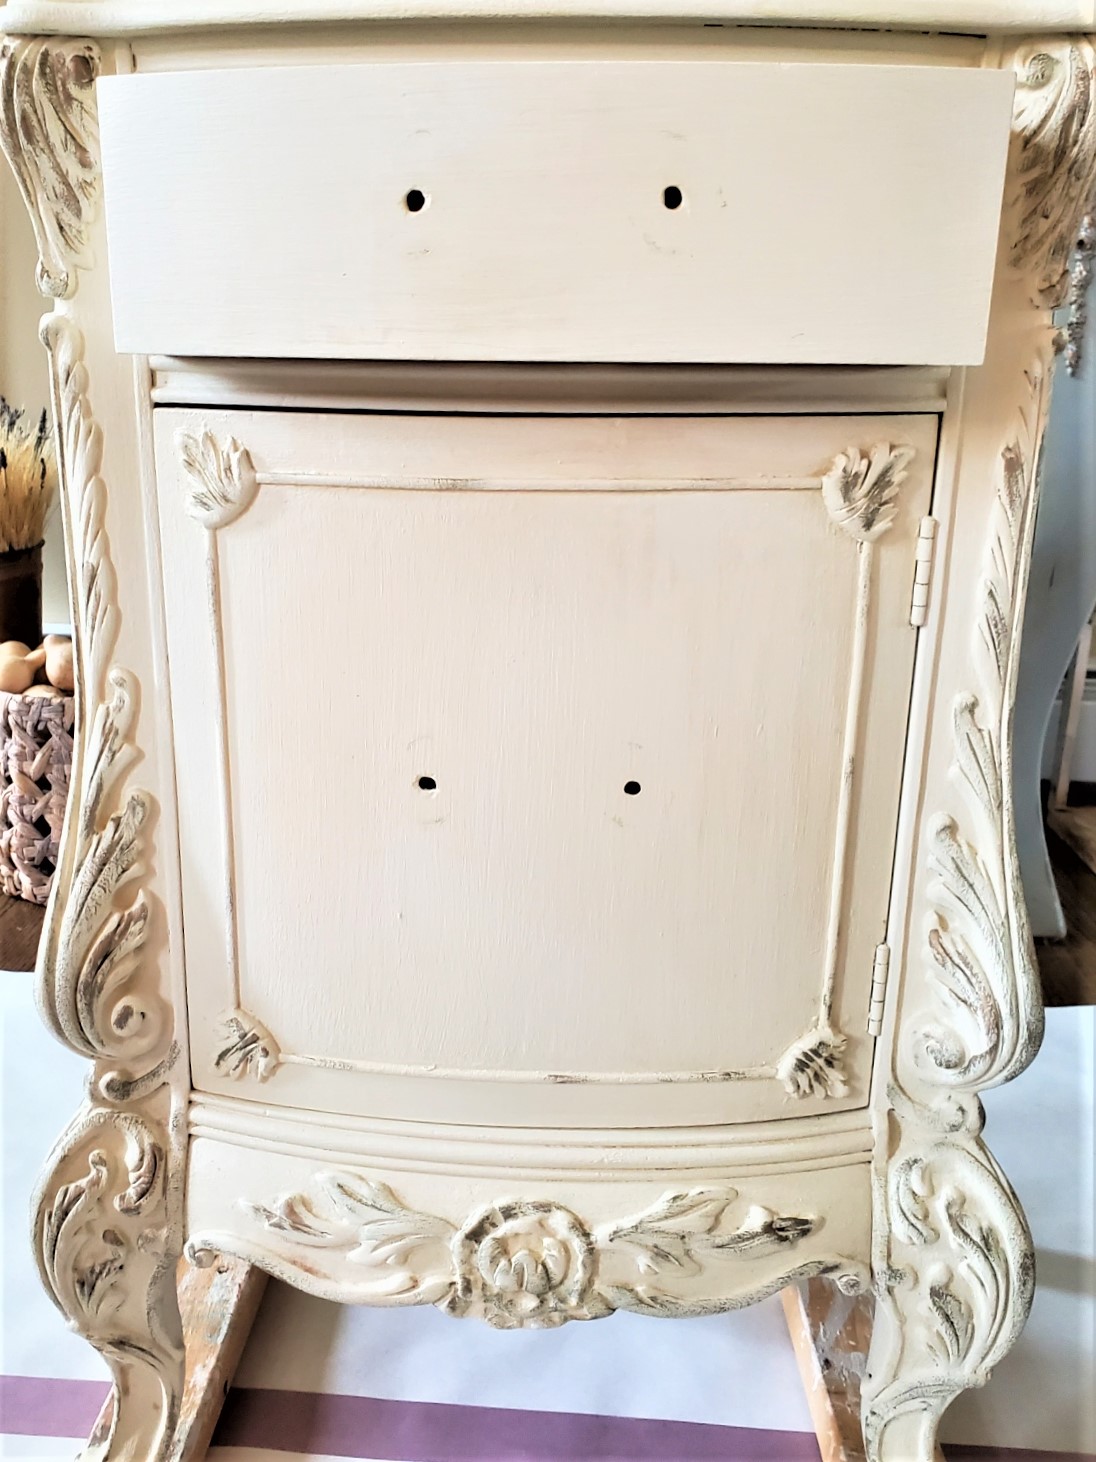
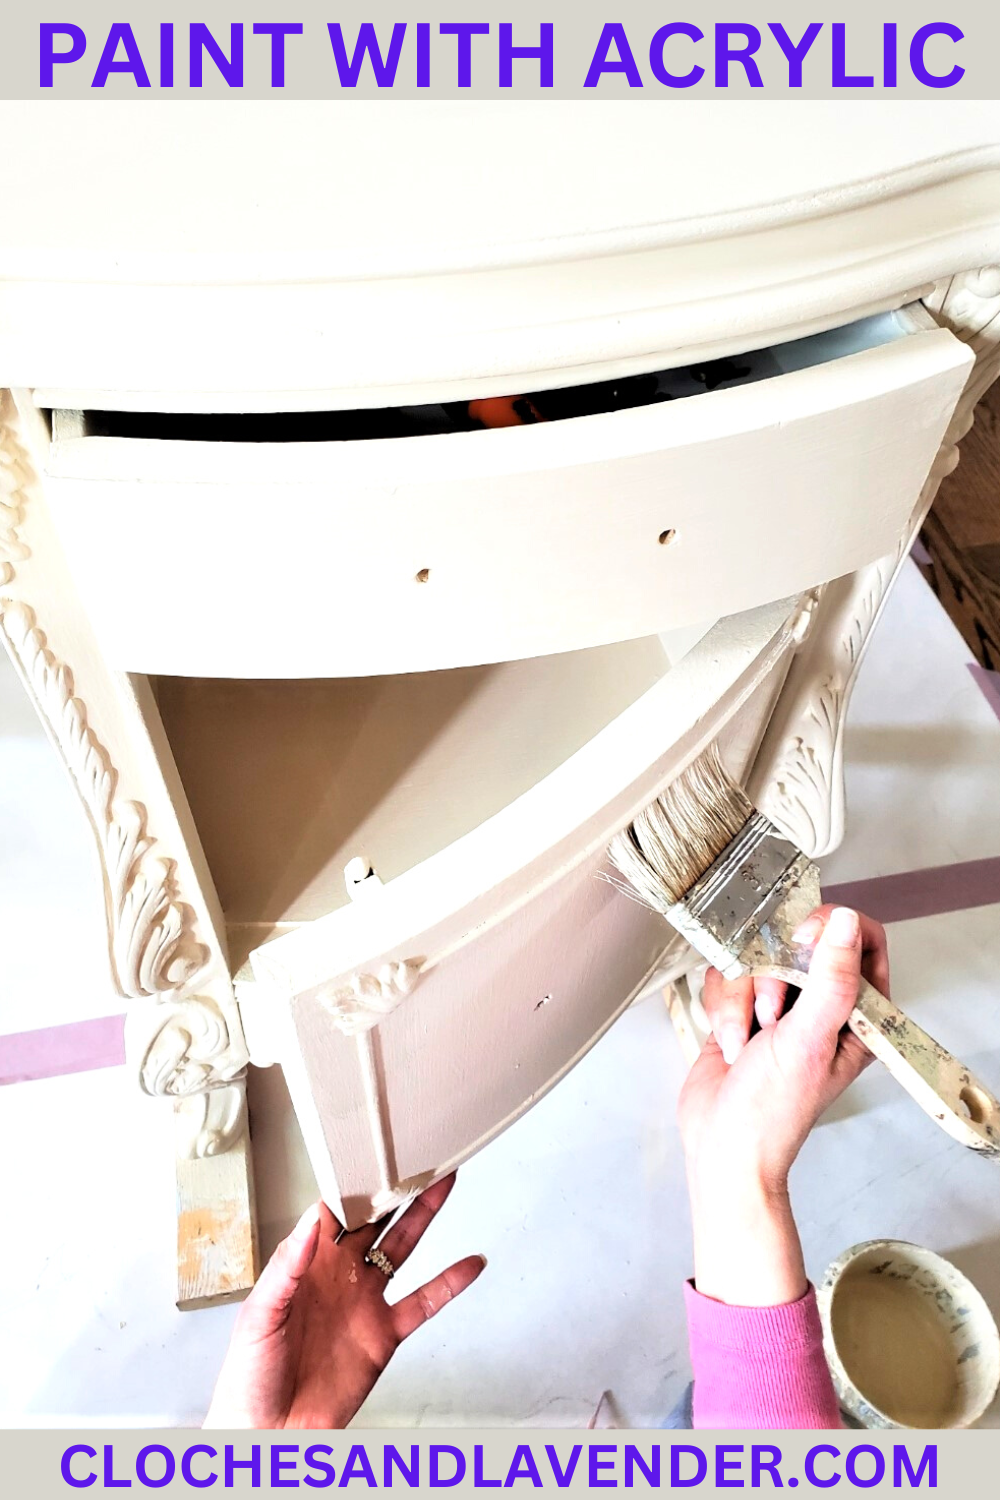
Next, I laid the paper down to cover our hardwood floors. I stirred the paint well, grabbing it from the bottom of the paint can.
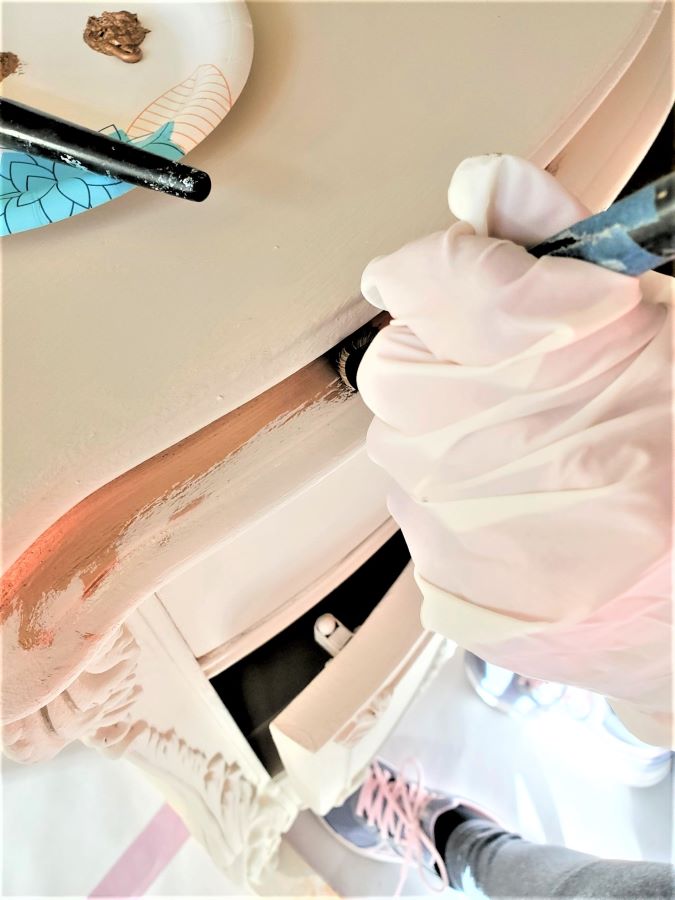
My next step is mixing a bit of distilled water with my paint. Immediately, after adding the distilled water the color gets a bit more fluid.
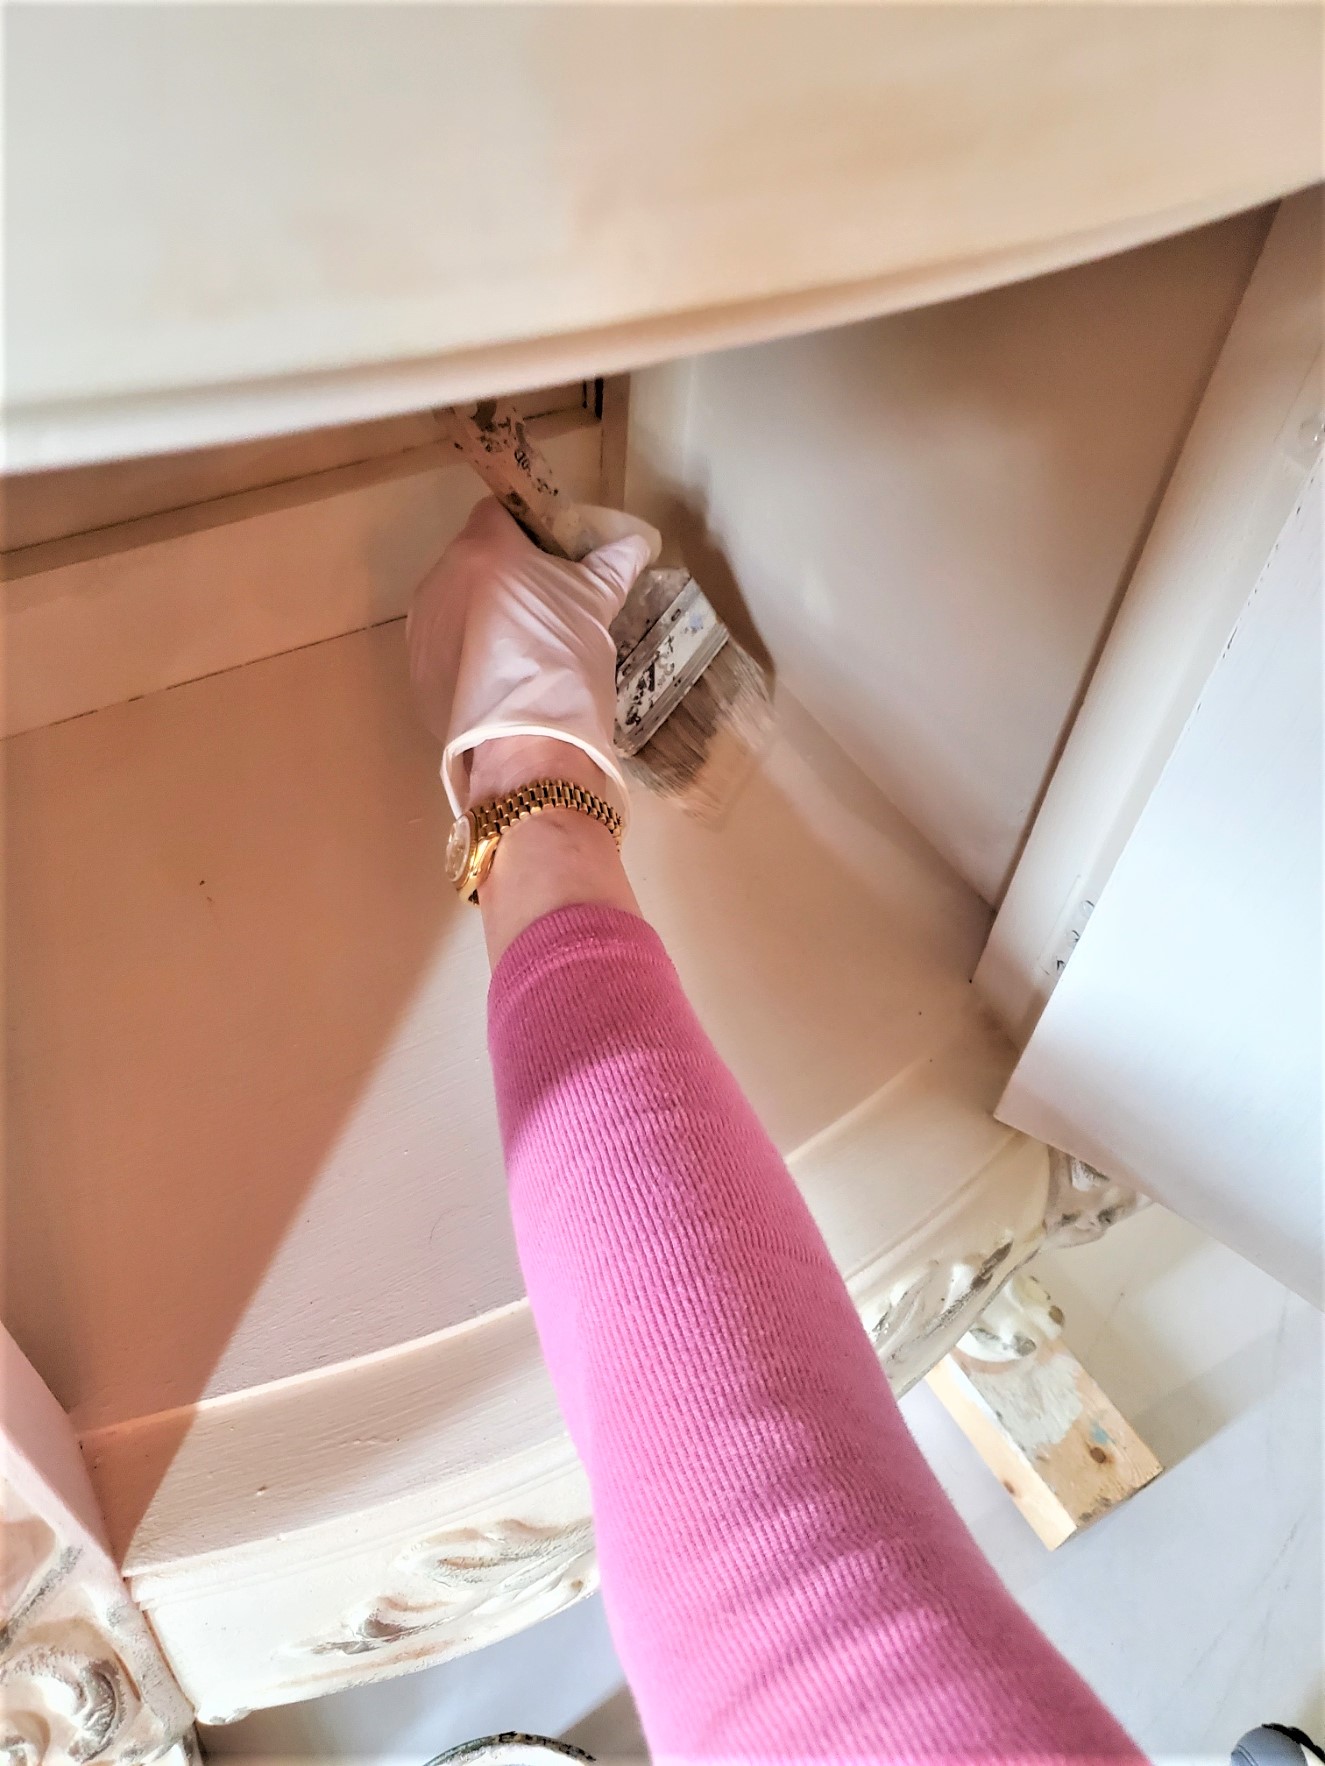
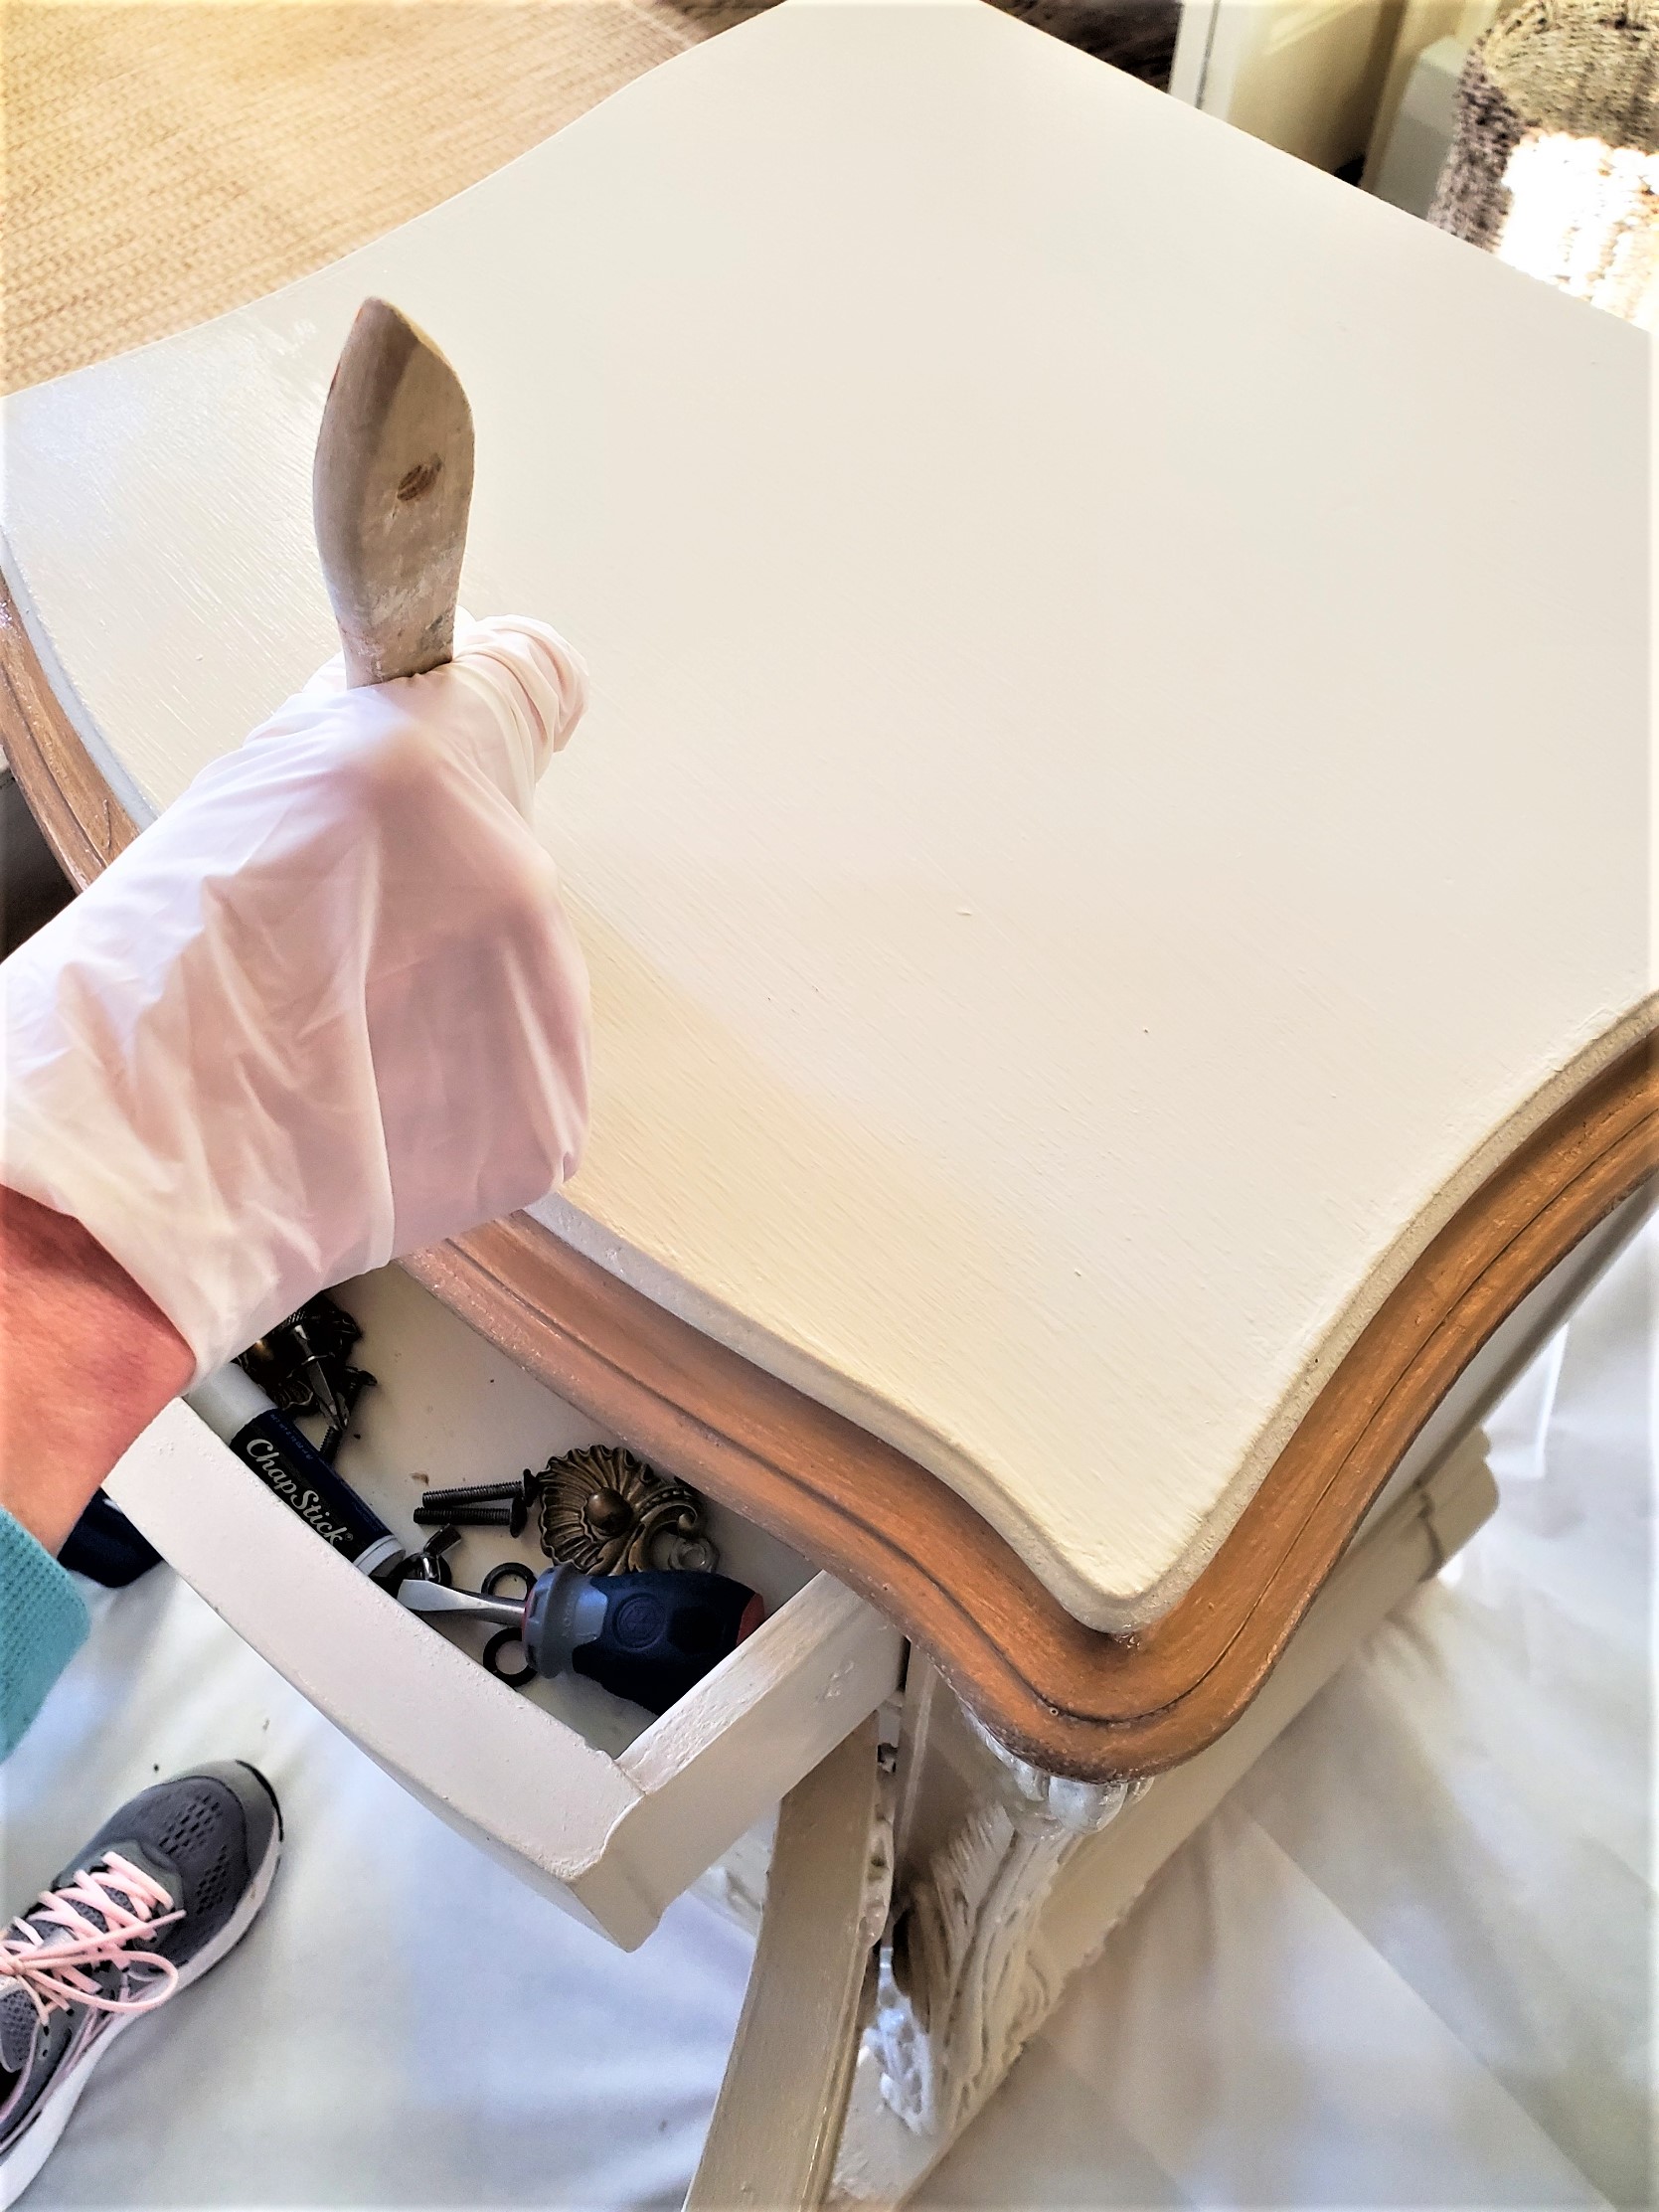
As you can see, I also chose to use one of my chip paint brushes. Adding my first layer of paint went quickly, and also painted the inside.
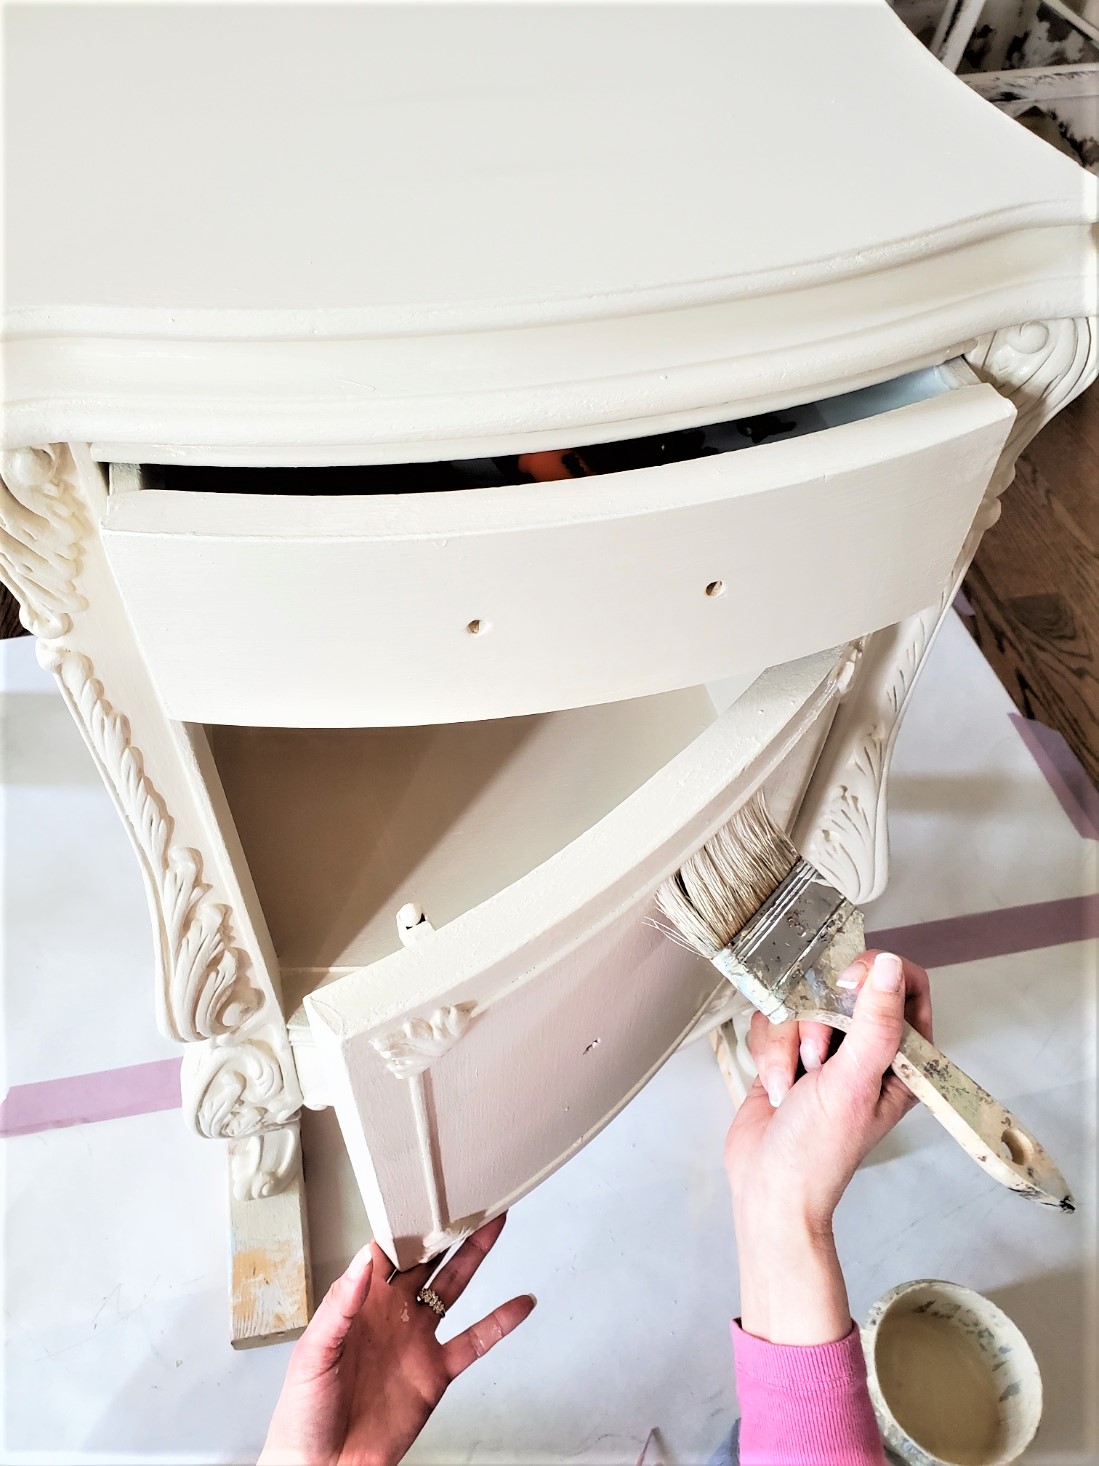
Please ignore the dirty handles and the Chapstick, Oops forgot to take it out, real-life mistakes of a blogger.
In between coats of paint, I let my nightstand dry overnight. The next morning I added my second coat and let it cure again for a few hours.
Adding Gilding To My Furniture Piece
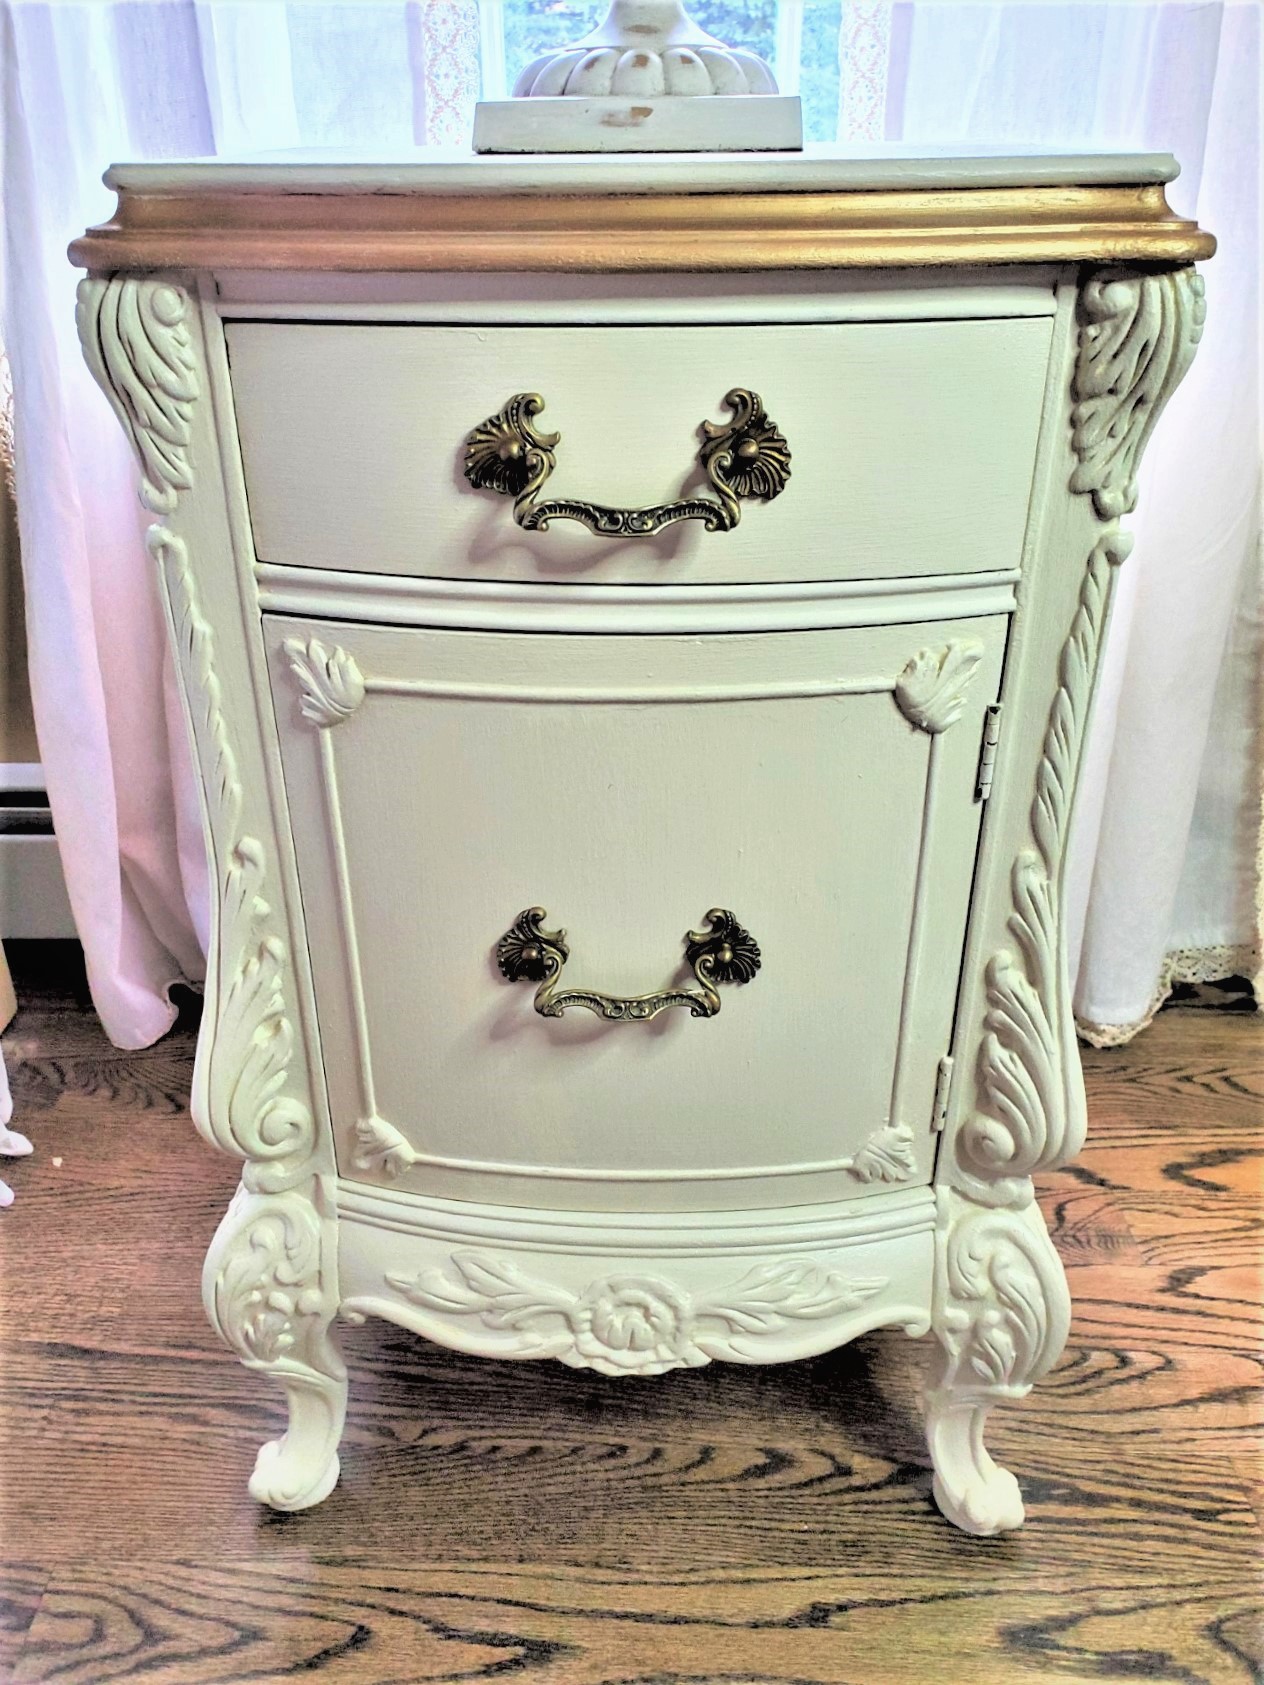
Gilding My Furniture Piece
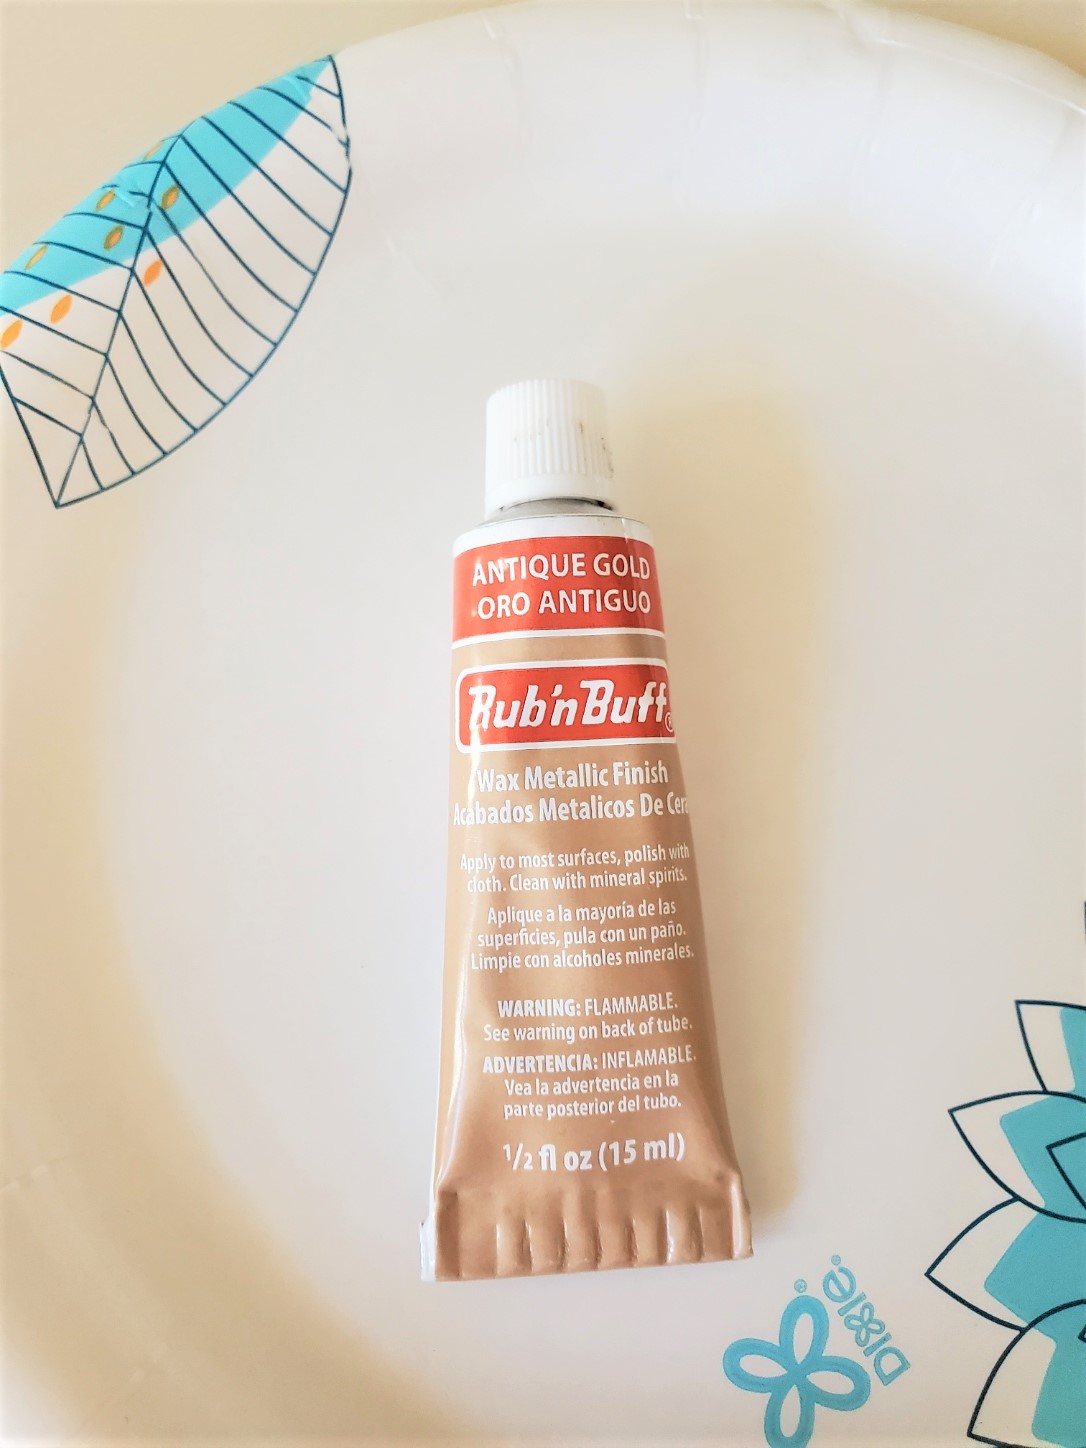
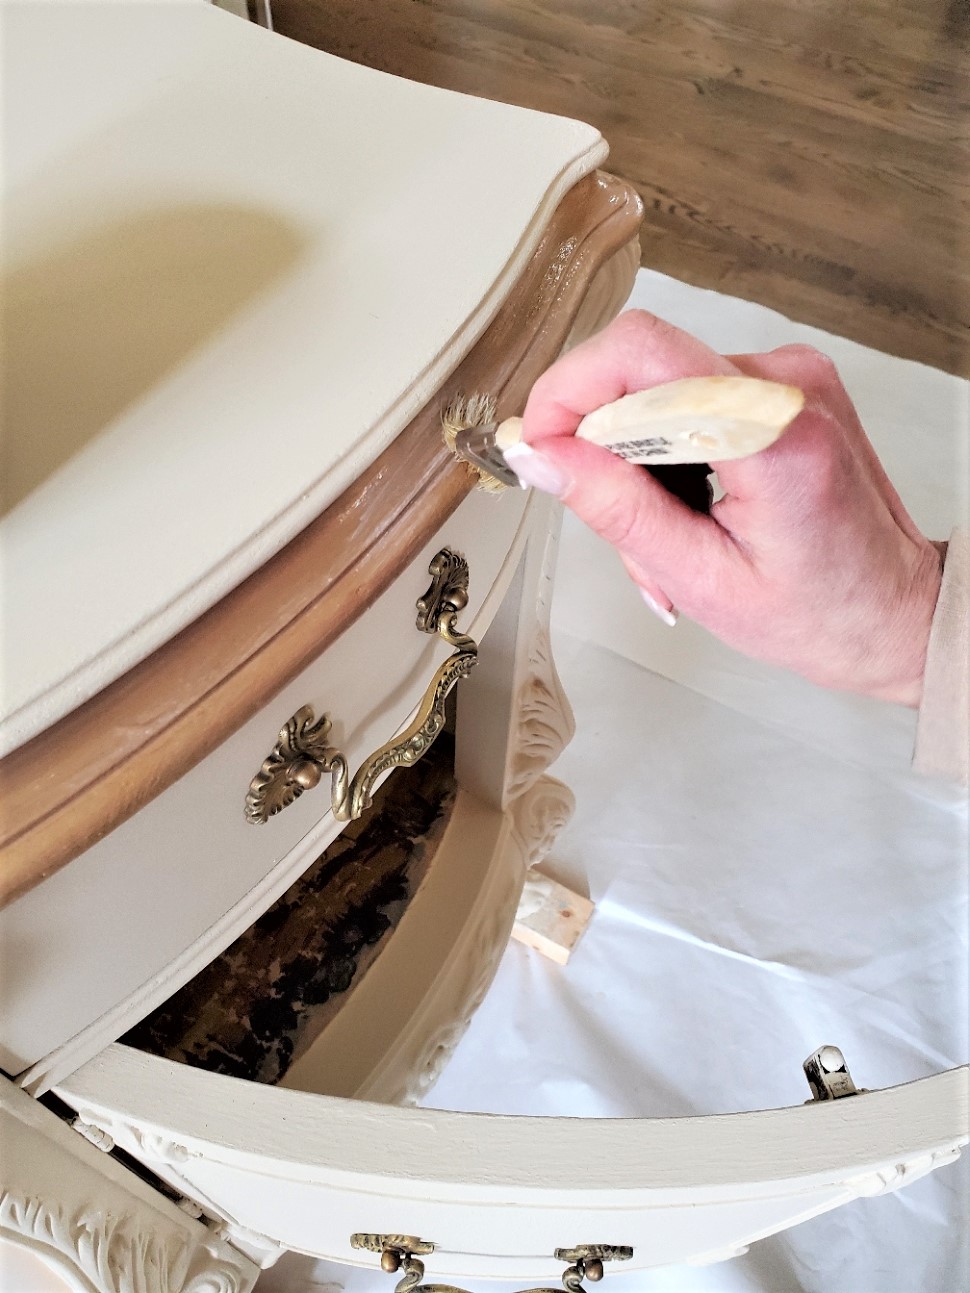
My favorite product to use for a true Antique Gold look is Rub N Buff. This is basically a waxy finish made up of fine metallic powders and pigments in a tube.
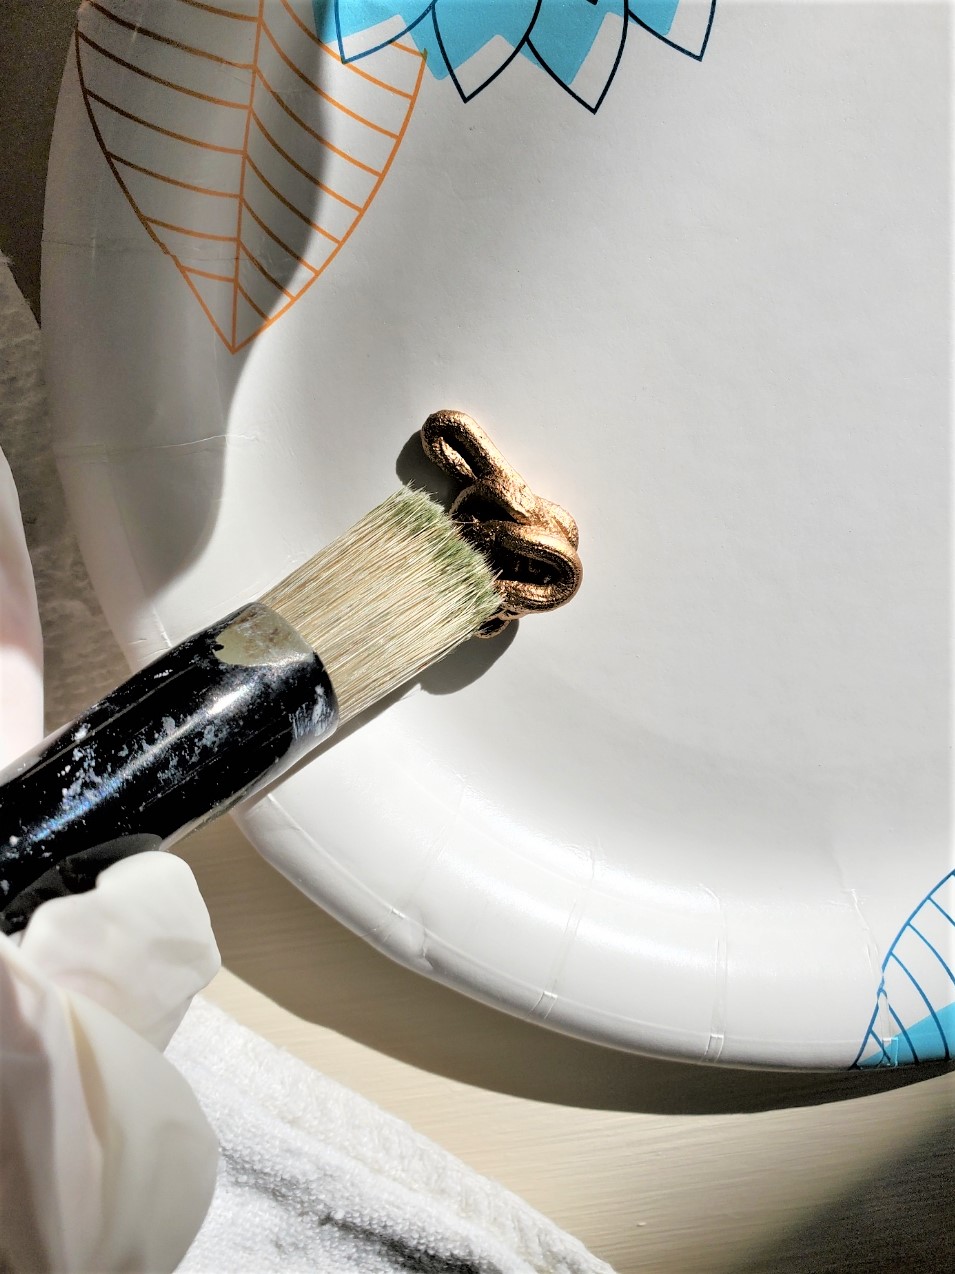
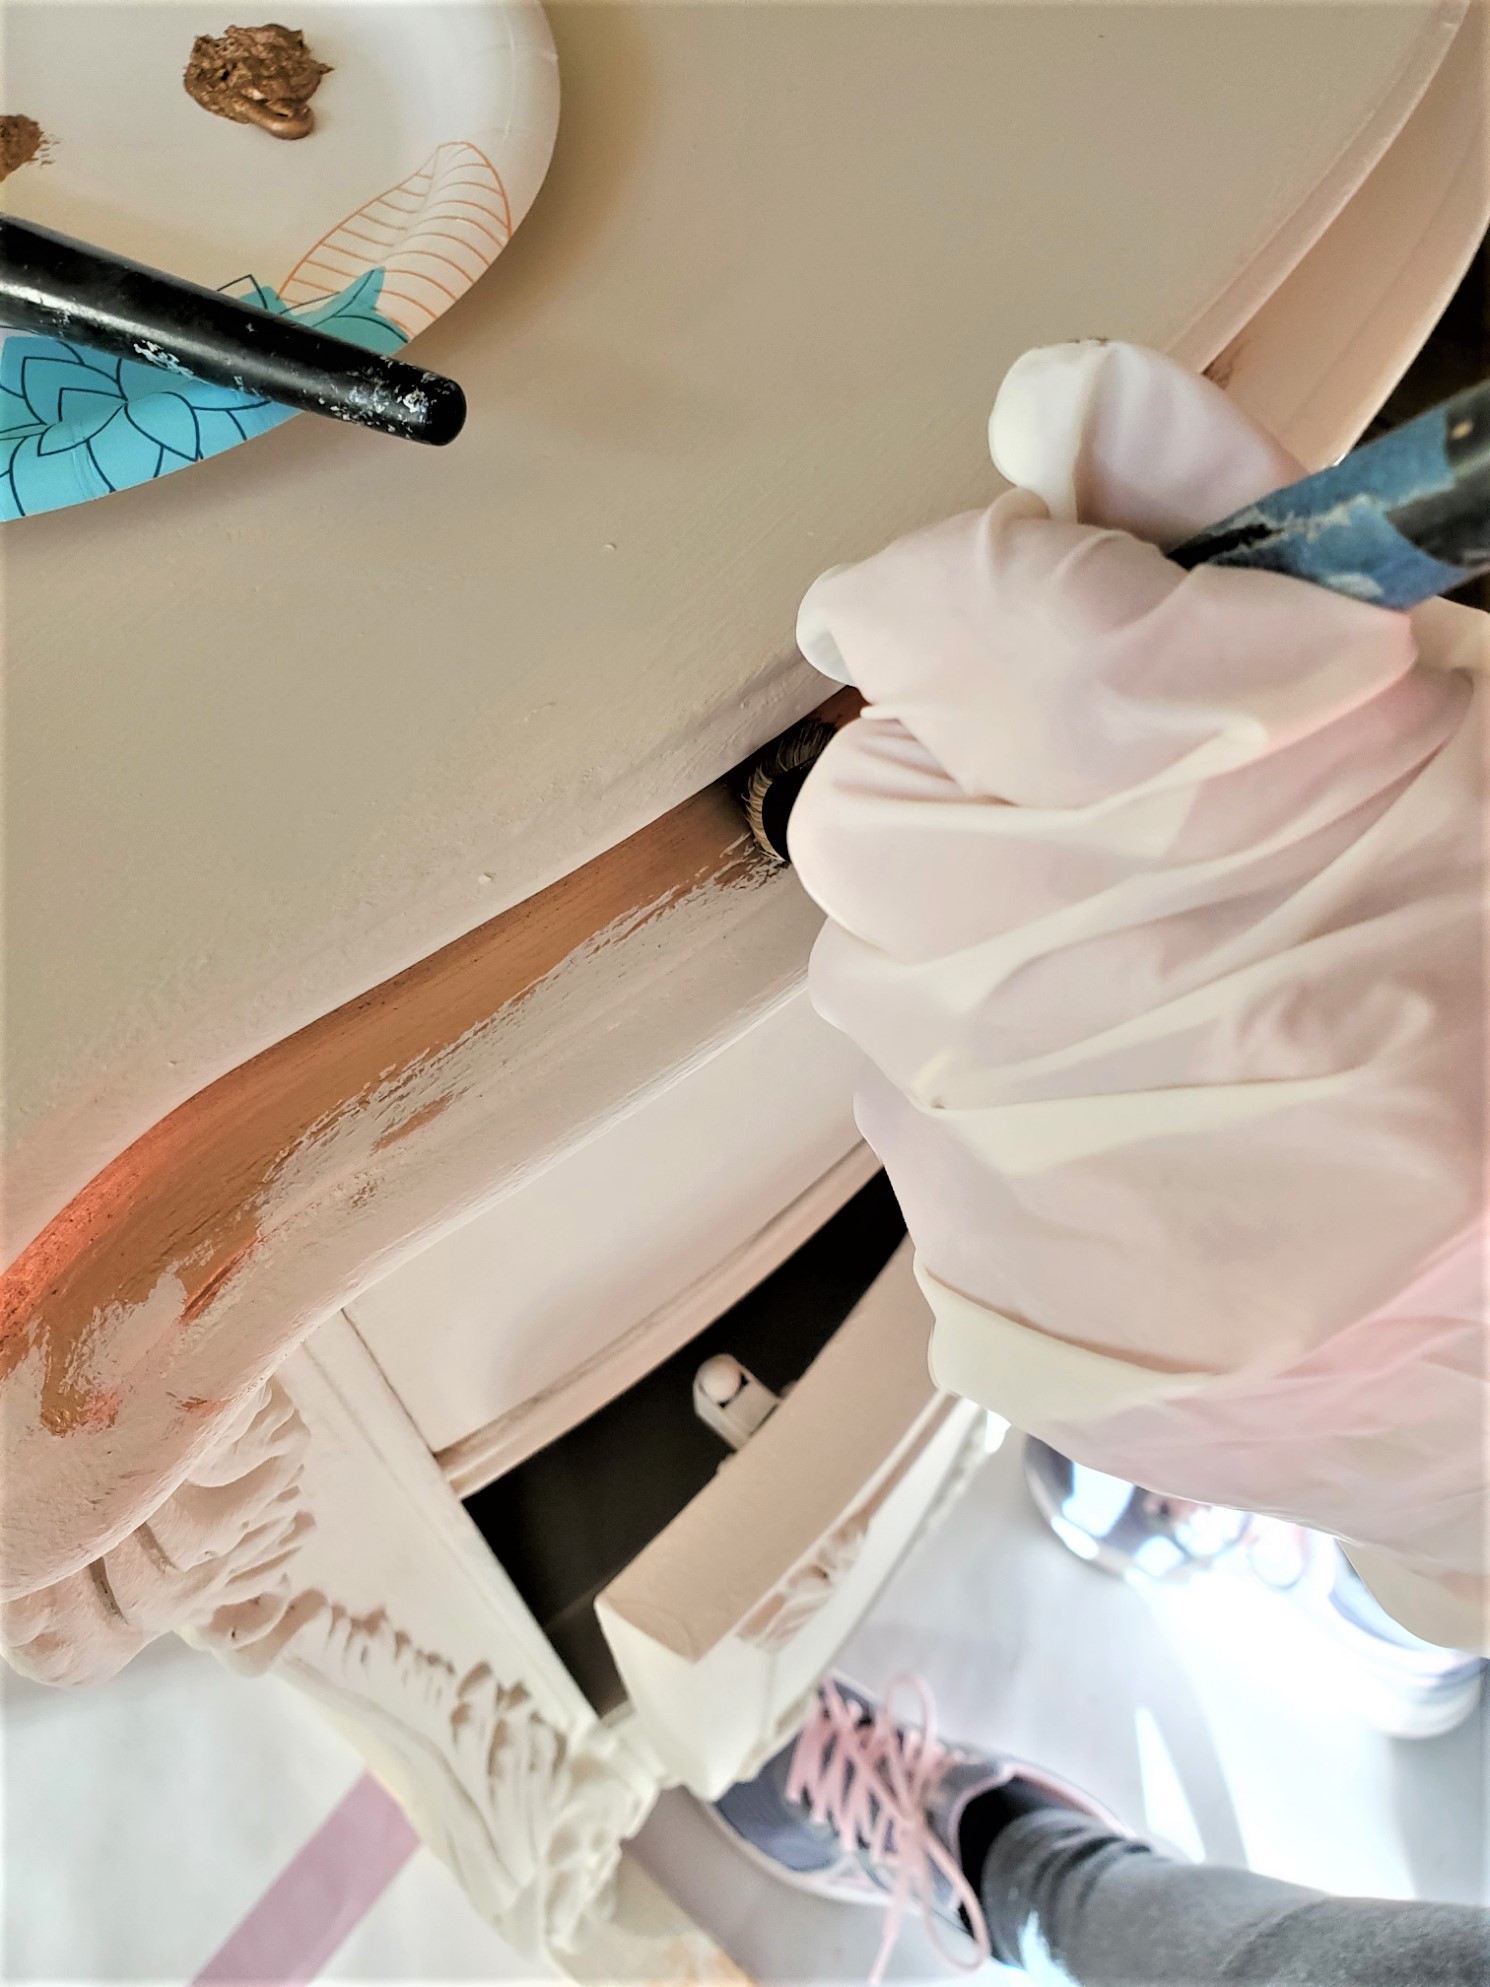
You can find this at a local craft store, Amazon, and even Home Depot. It’s extremely easy to work with and you can use your finger, a rag, or in this case, I’m using a stencil, brush.
This is also a quick and easy process and the best part is very little product goes a long way. After the Rub N Buff was applied I grabbed a lint-free rag and buffed a bit with my finger.
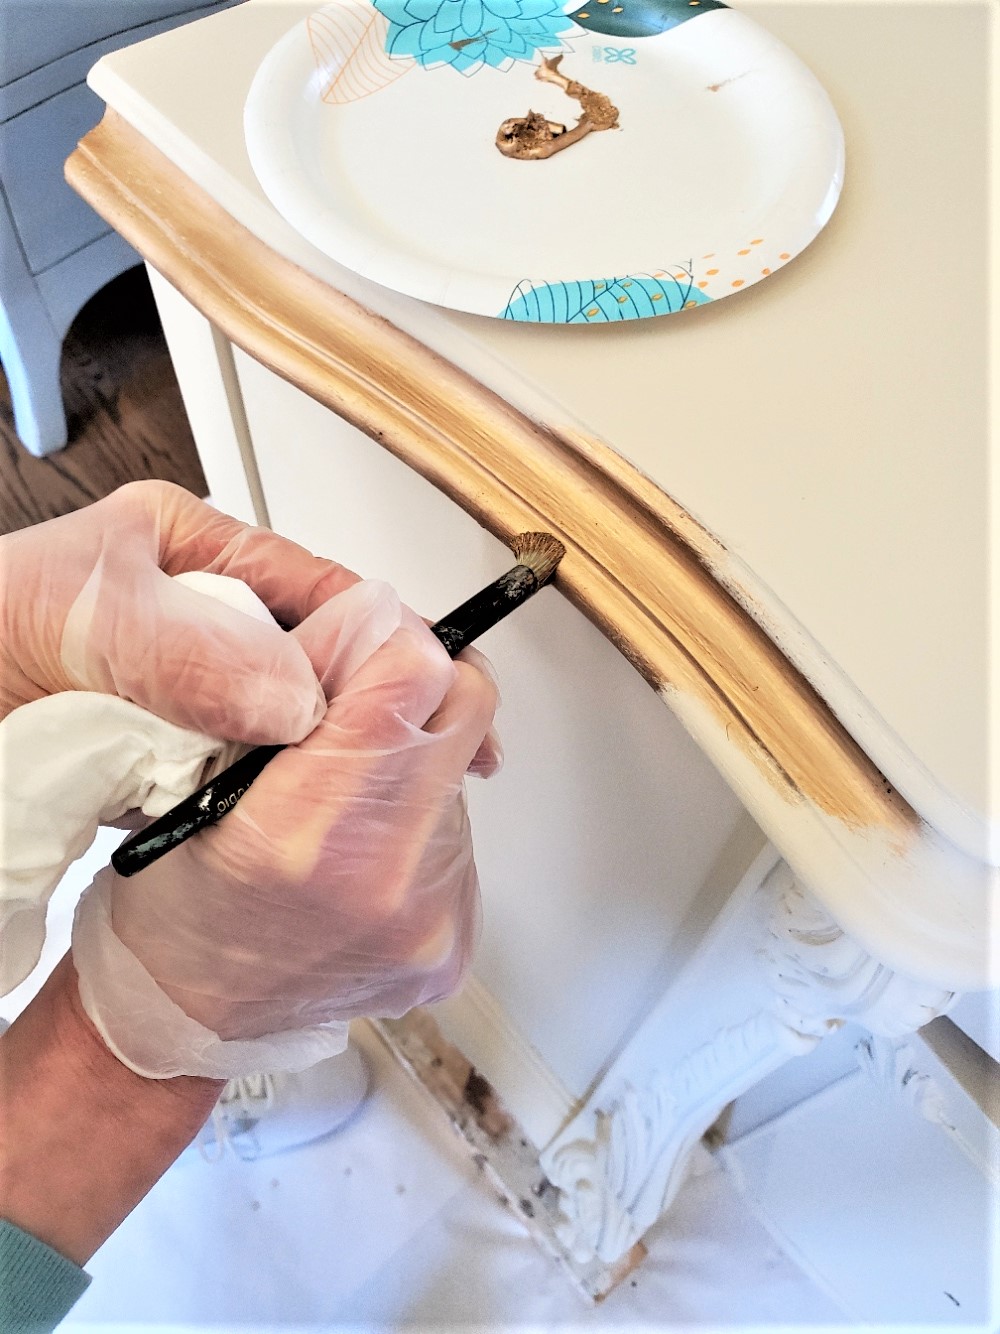
On the second table, I made a mistake and went up too far. No worries, I fixed it with a thin brush and a bit of paint. See even bloggers make mistakes. I like to keep things real with my readers. So, I hope you appreciate the reality.
Adding A Coat Of Sealer
Adding the Sealer
The last thing is to add my coats of sealer. Again, I mixed this thoroughly and added it to a plastic container with a bit of distilled water for a smoother finish. Once again this worked like a dream and I have no brushstrokes.

Adding Fabric Inside And Making A Pattern
The Fabric and Making A Pattern
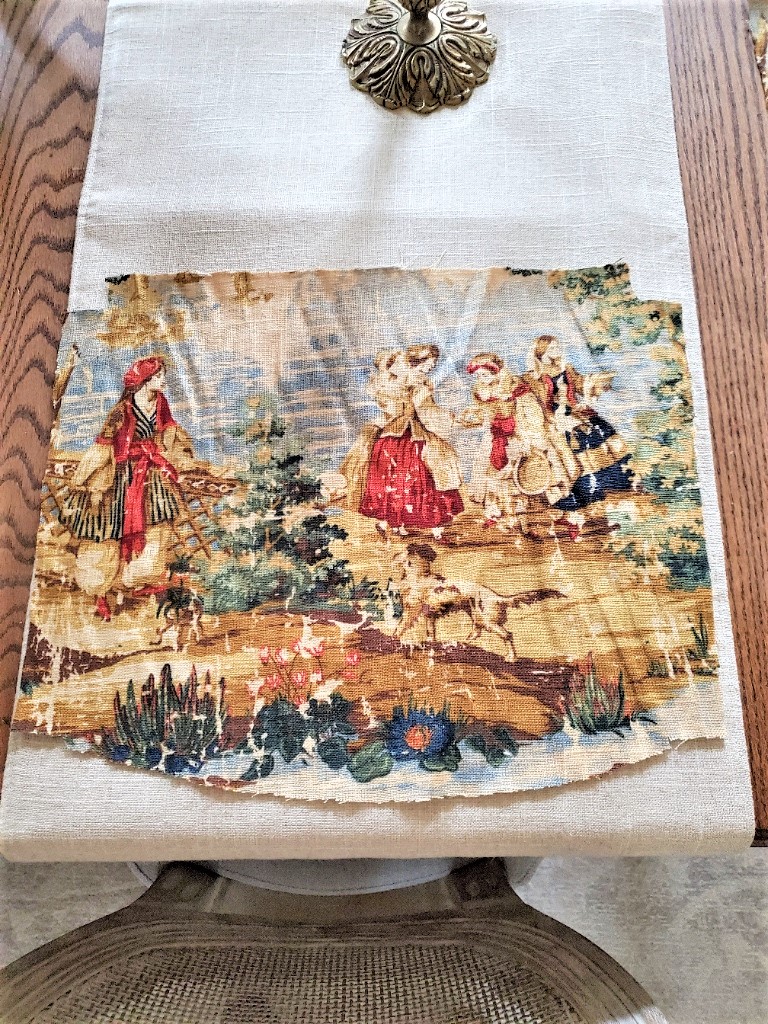
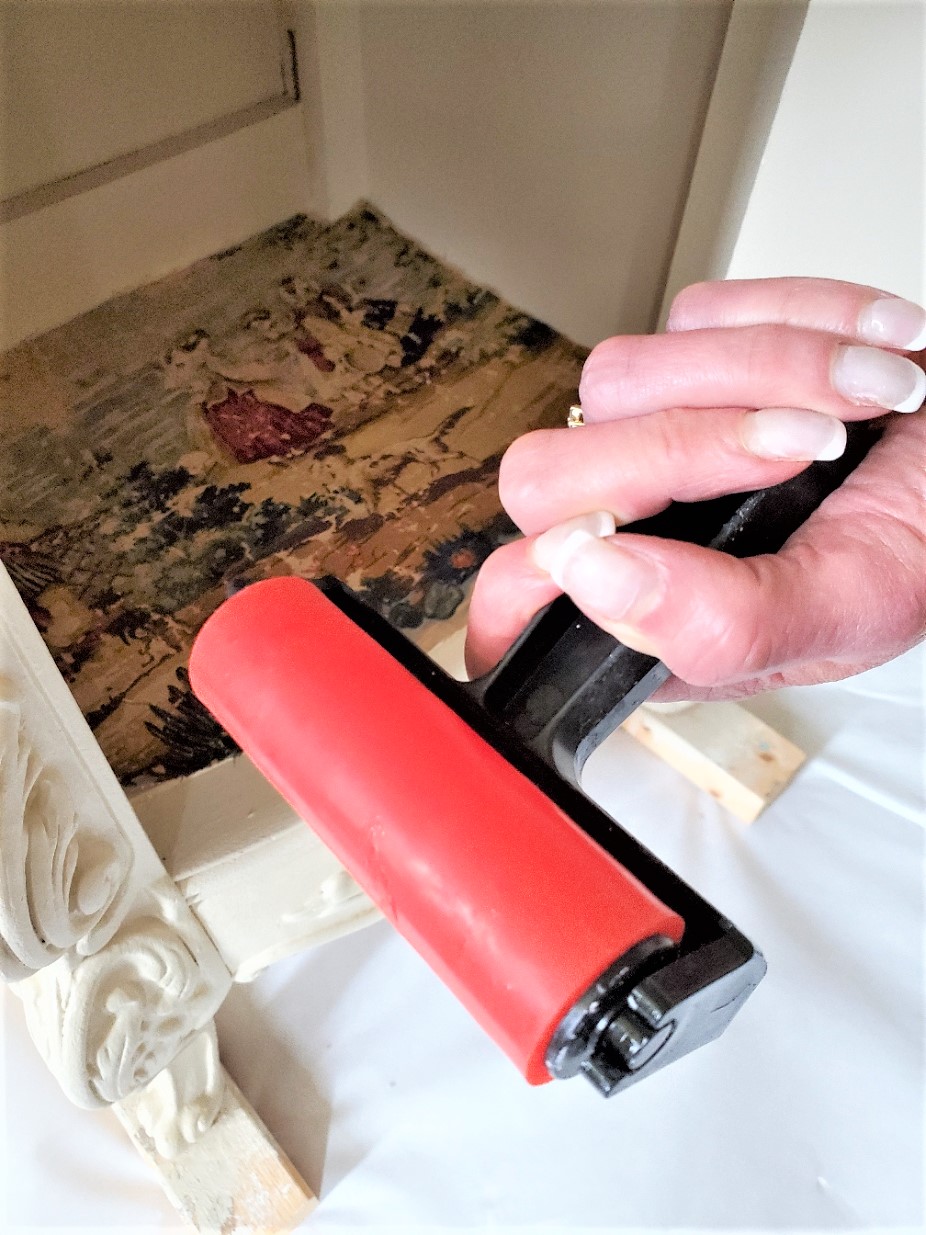
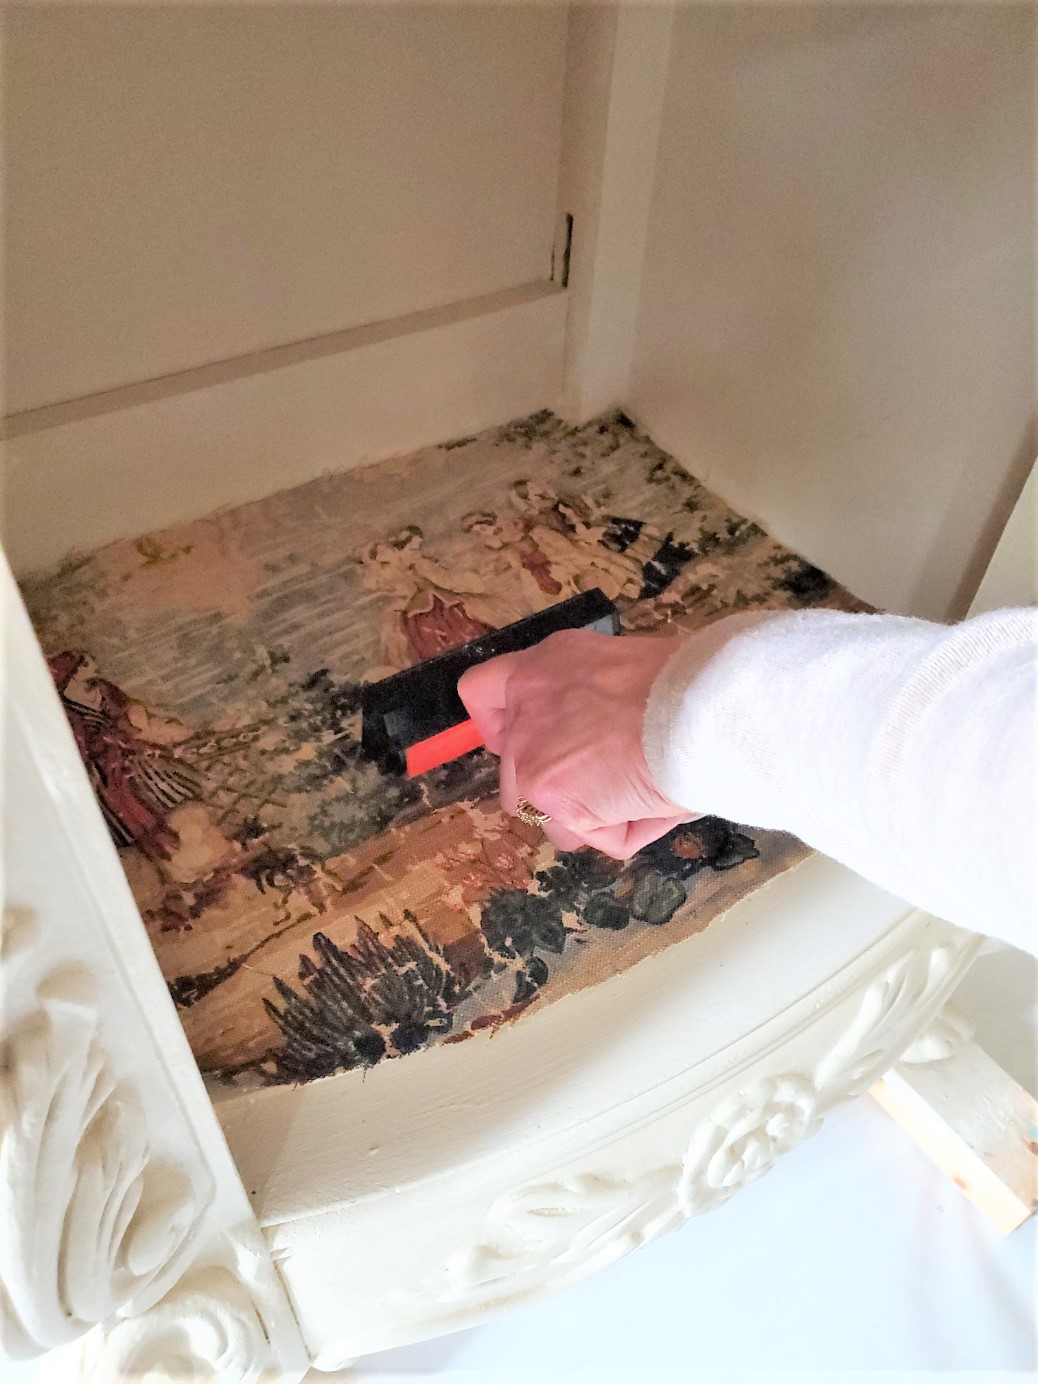
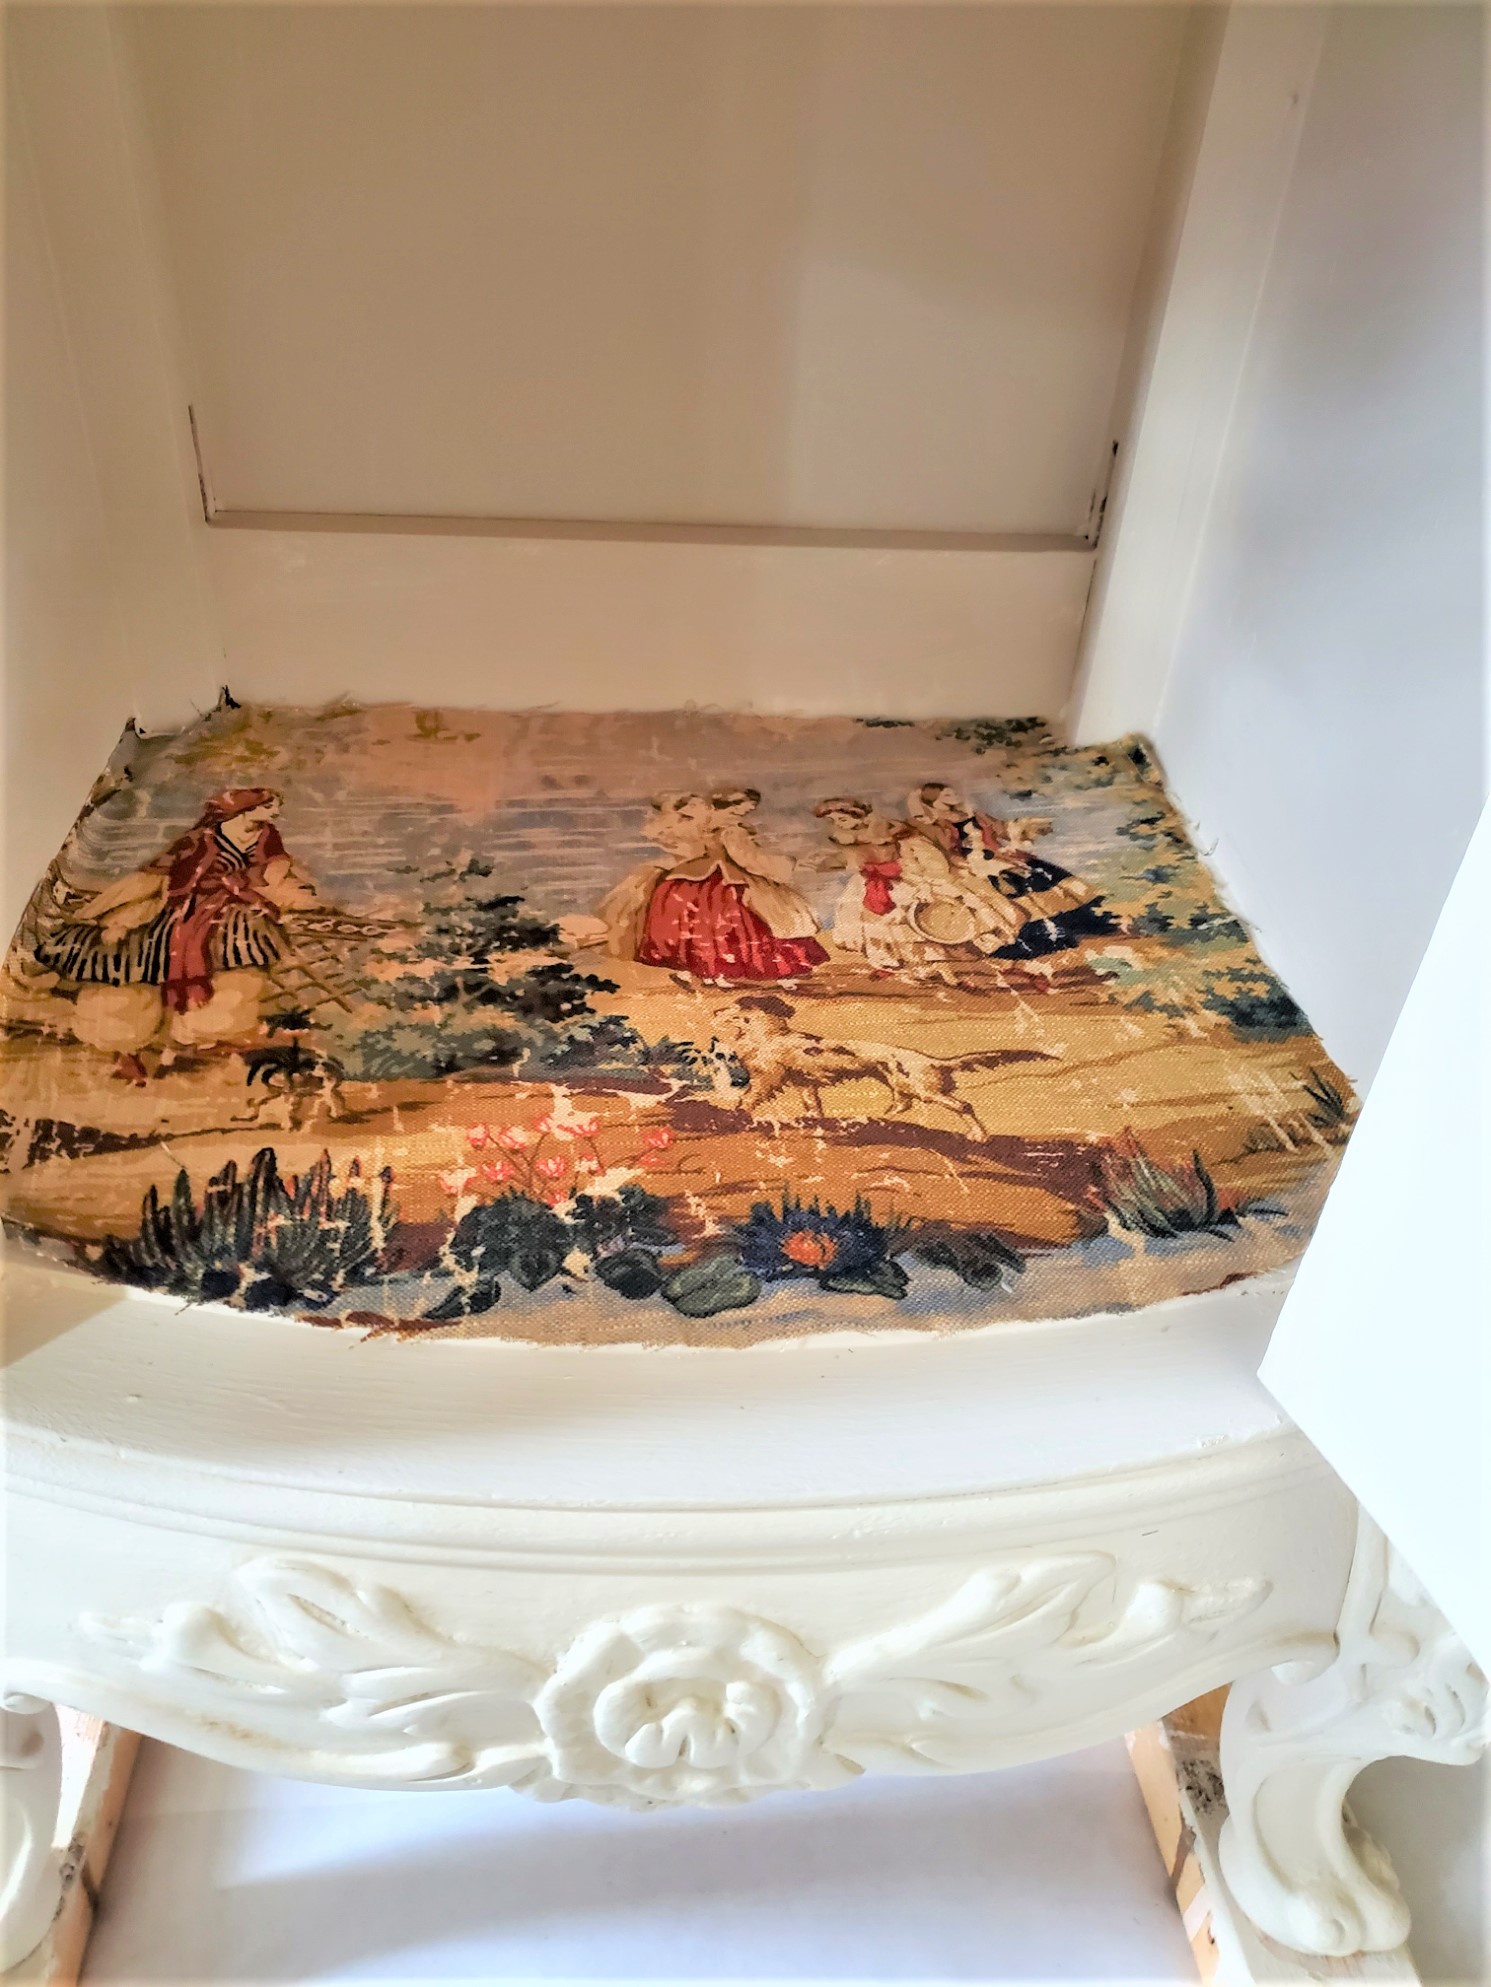
I had leftover Toile fabric from another project and decided to add it to the inside of the bottom of the nightstands. I enjoy opening furniture pieces and seeing the pretty fabric. Are you the same?
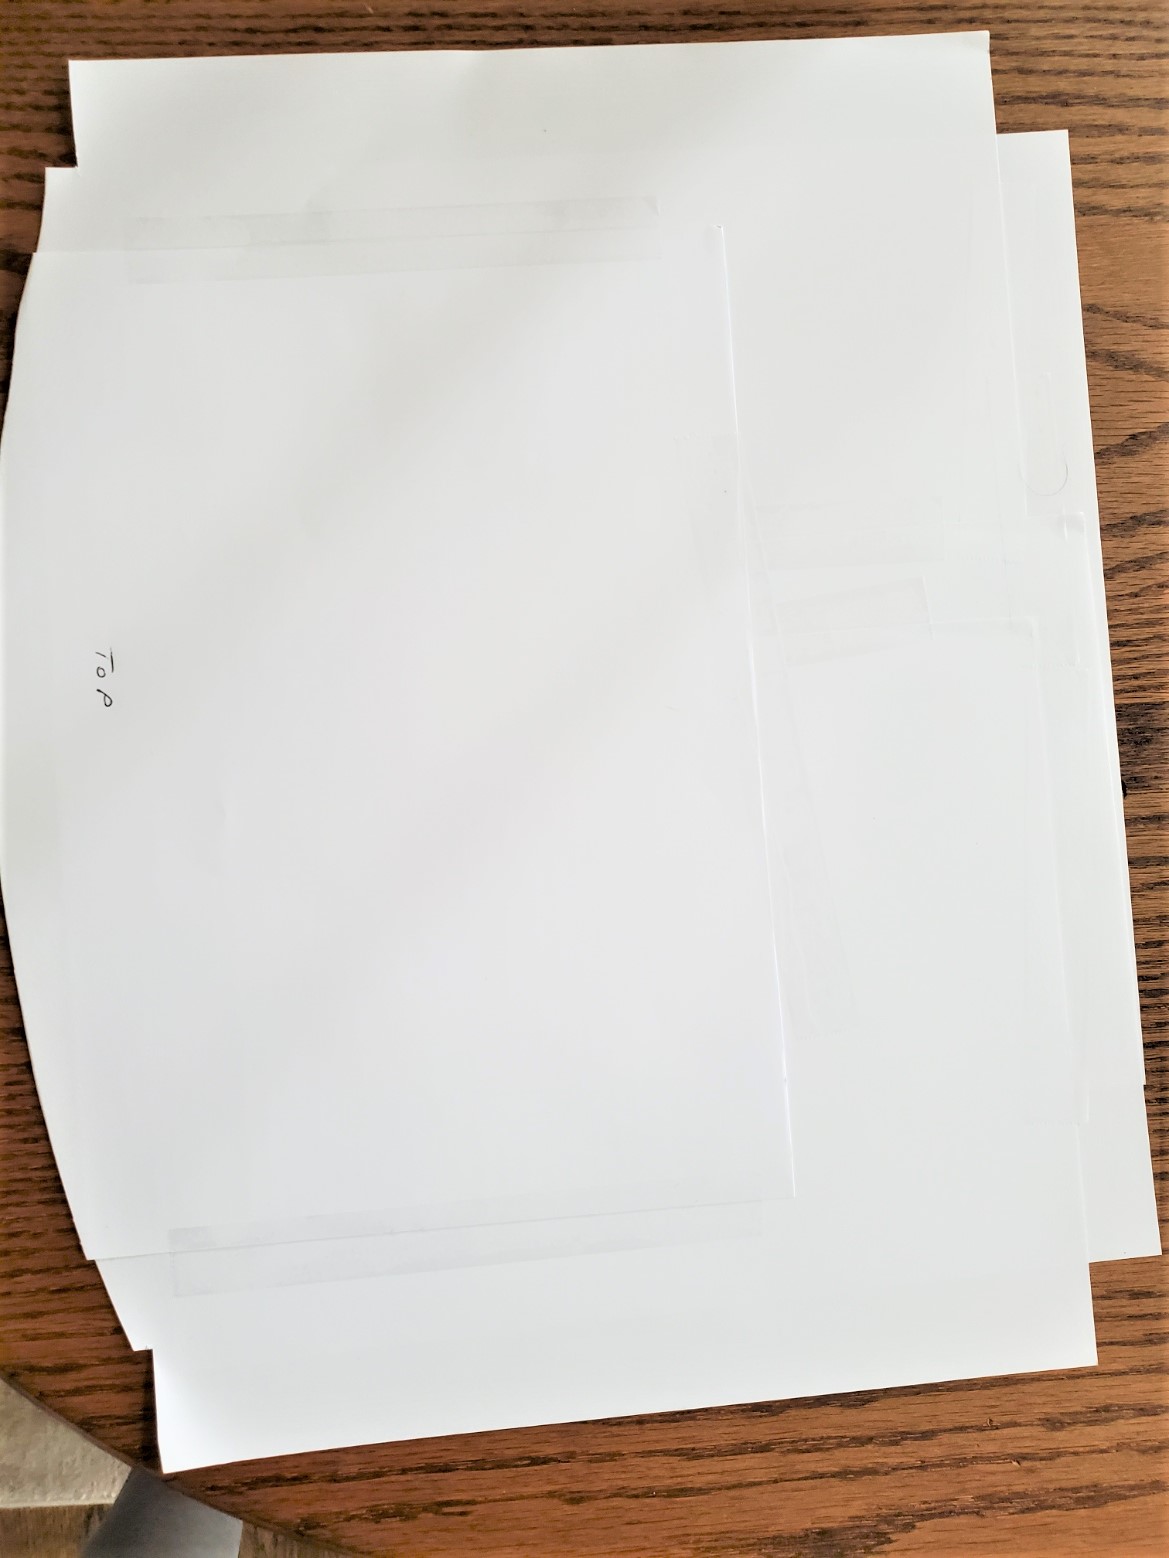
The first step is to make a pattern. This is pretty simple and we used craft paper and traced the shape of the inside of the cabinet. Next, we cut the pattern and traced it on the back of the fabric.
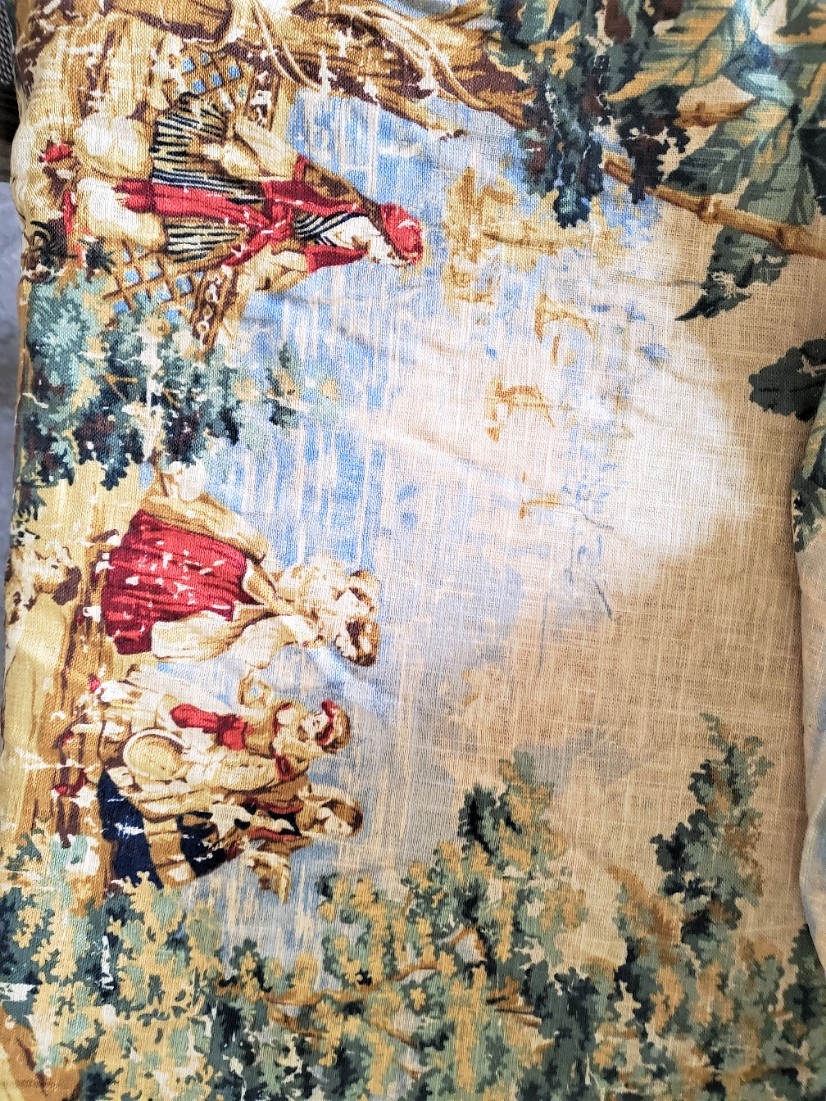
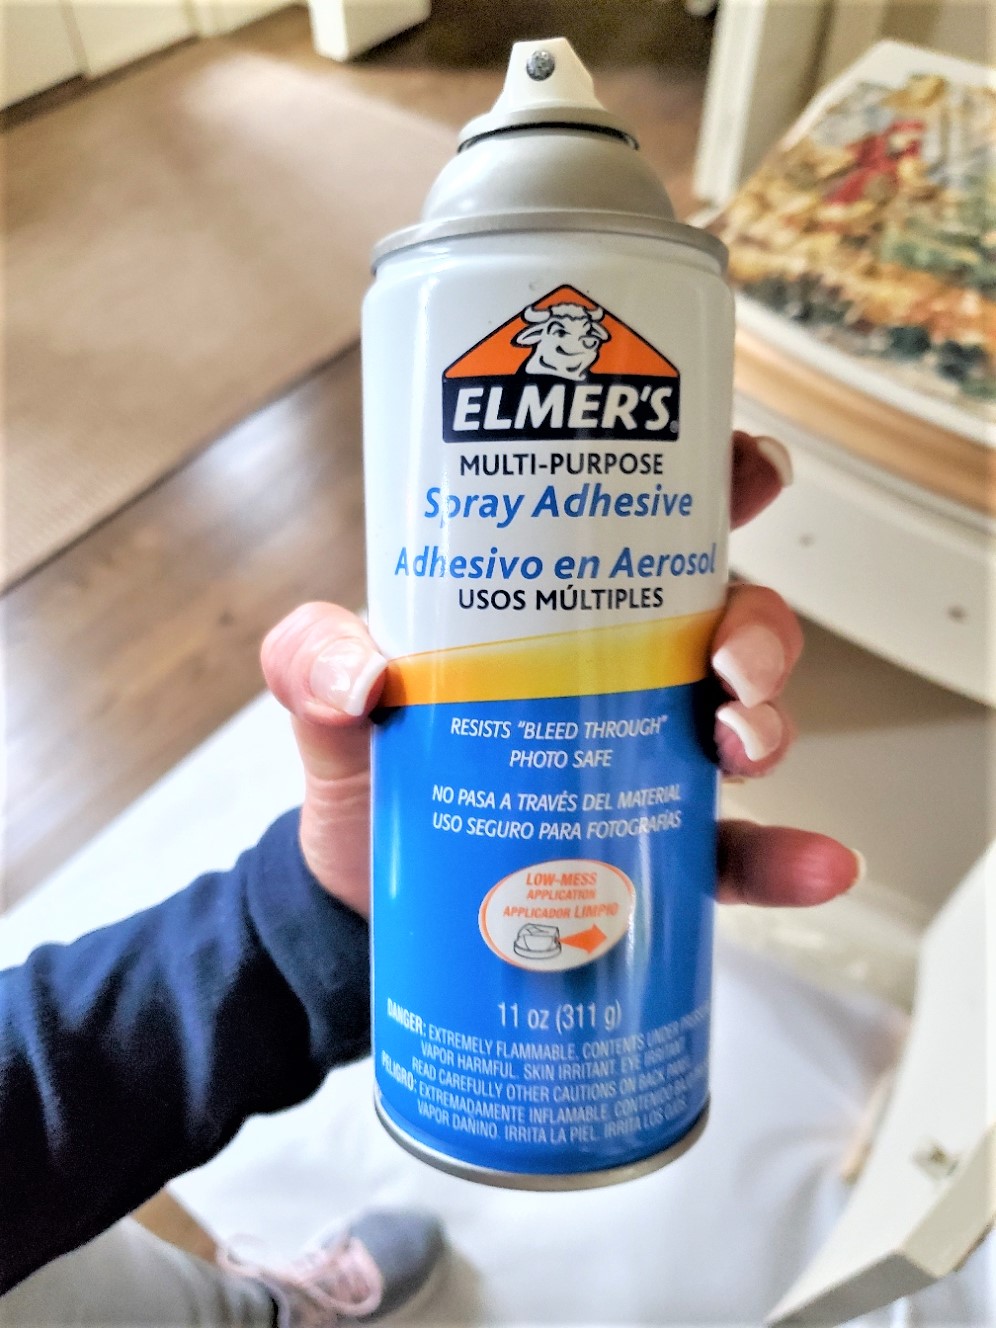
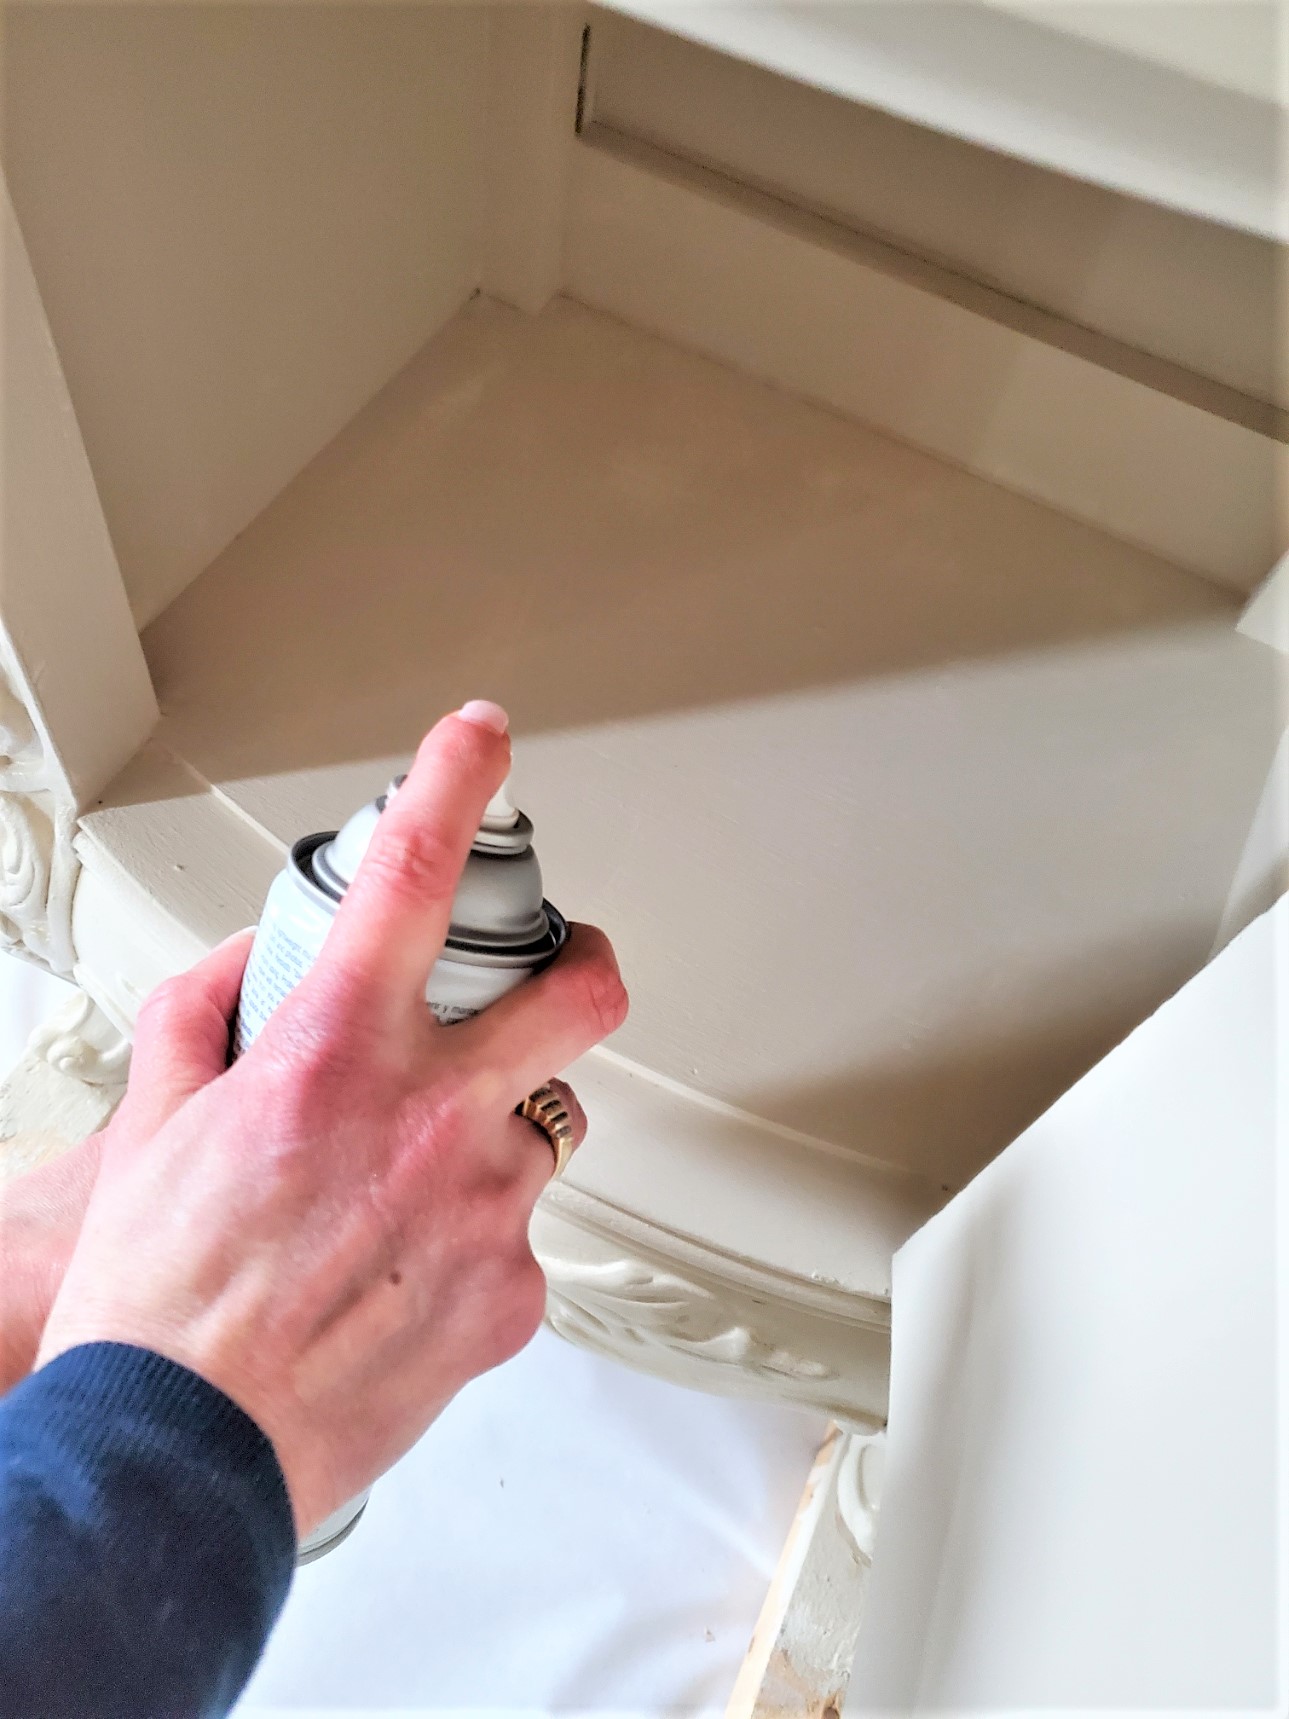
Then I applied a layer of spray adhesive and smoothed the fabric with a decoupage roller and let it dry for a few hours. I truly love how these nightstands look and know Dog Bone will be used for many other projects in our home.
Cleaning the Nightstand Handles
Cleaning the Handles for the Tables
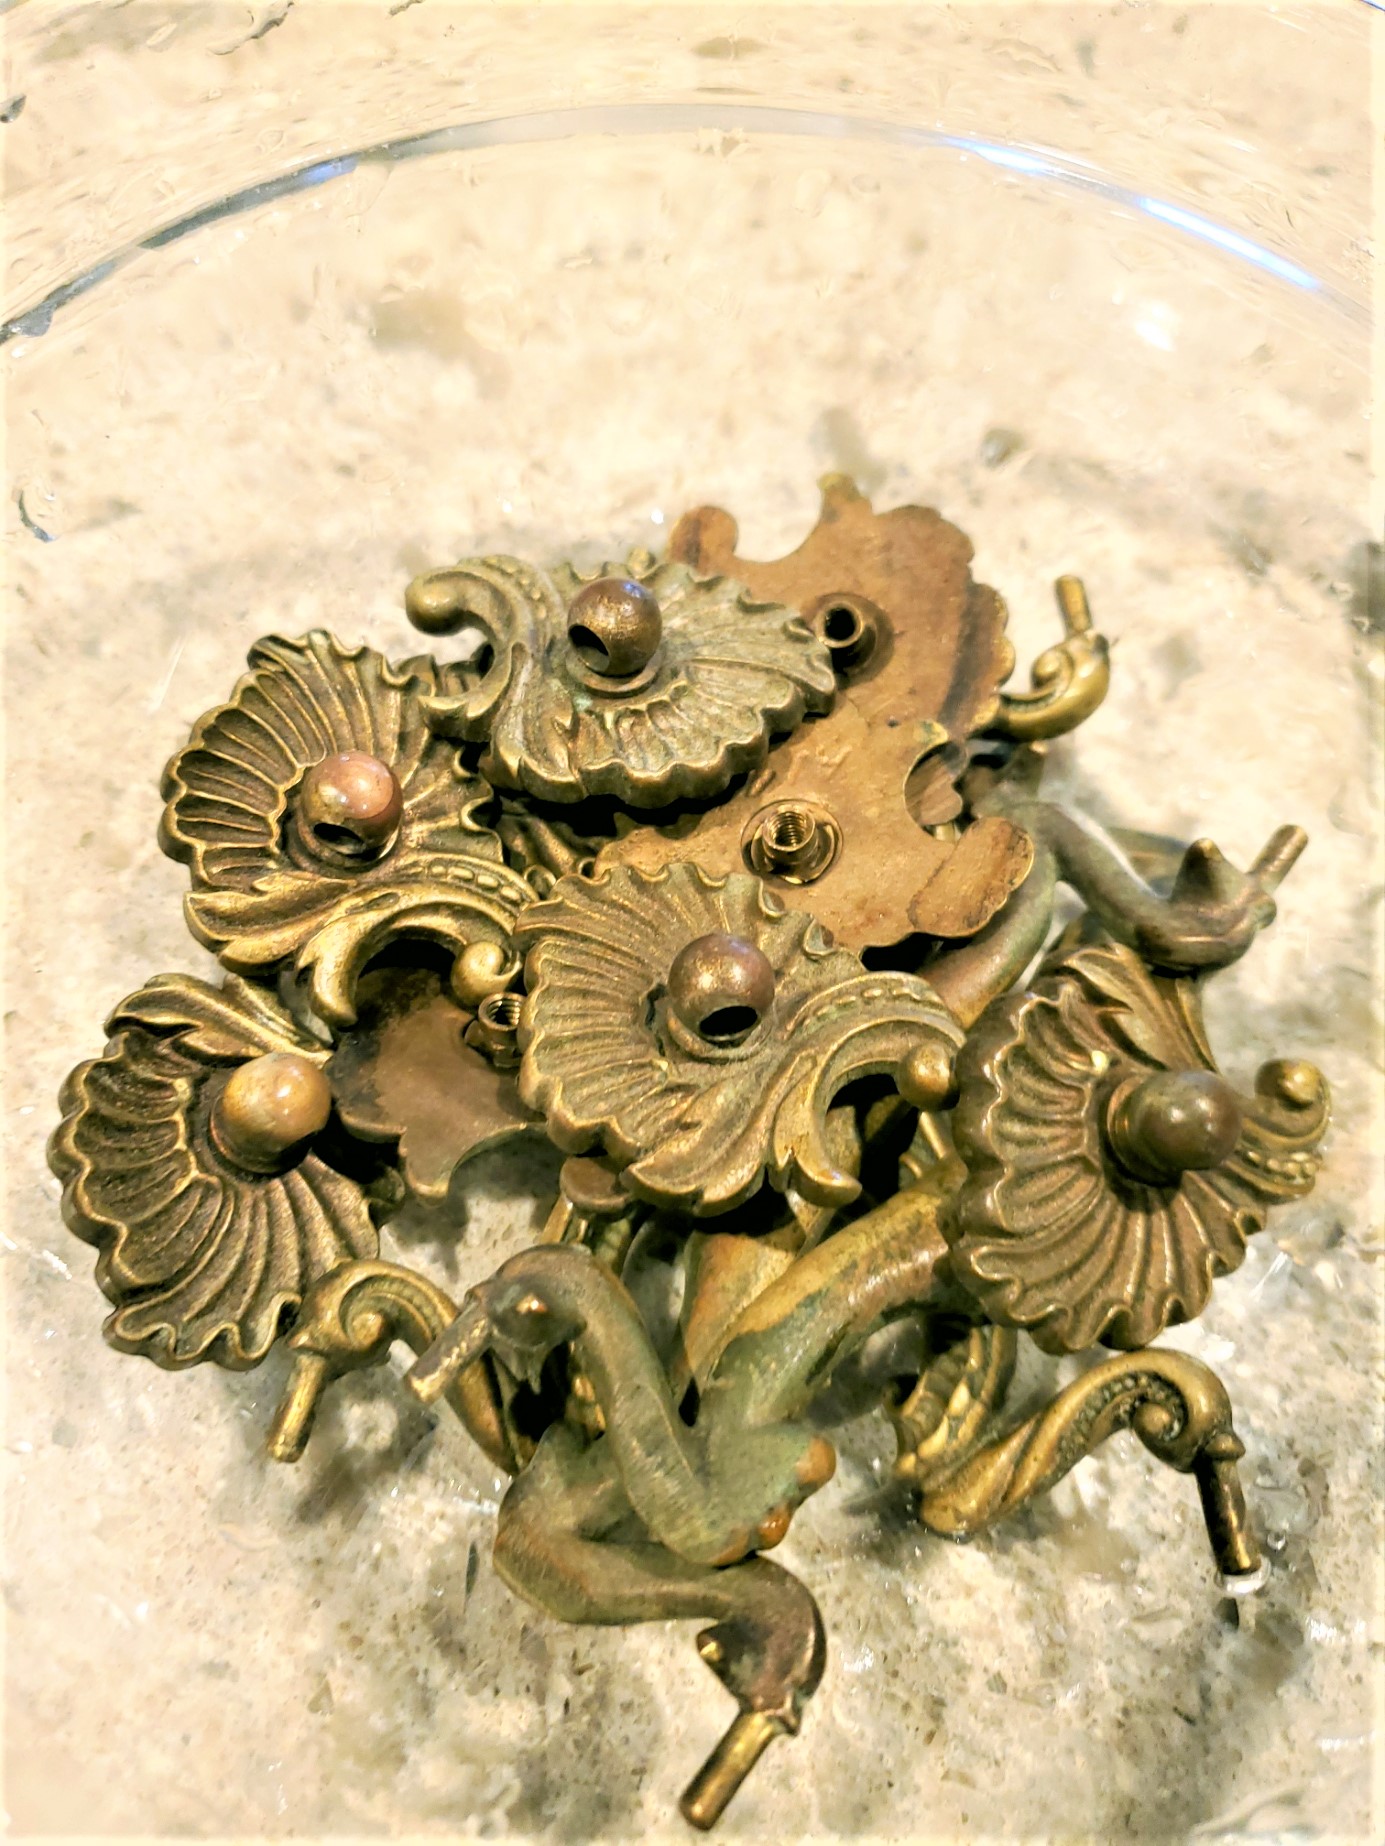
As you can see below the handles for these nightstands are extremely dirty. So, my favorite go-to product for cleaning many things like this in our home is Bar Keepers Friend. I always have extra toothbrushes to clean grout, silver, scissors, and our farmhouse sink.
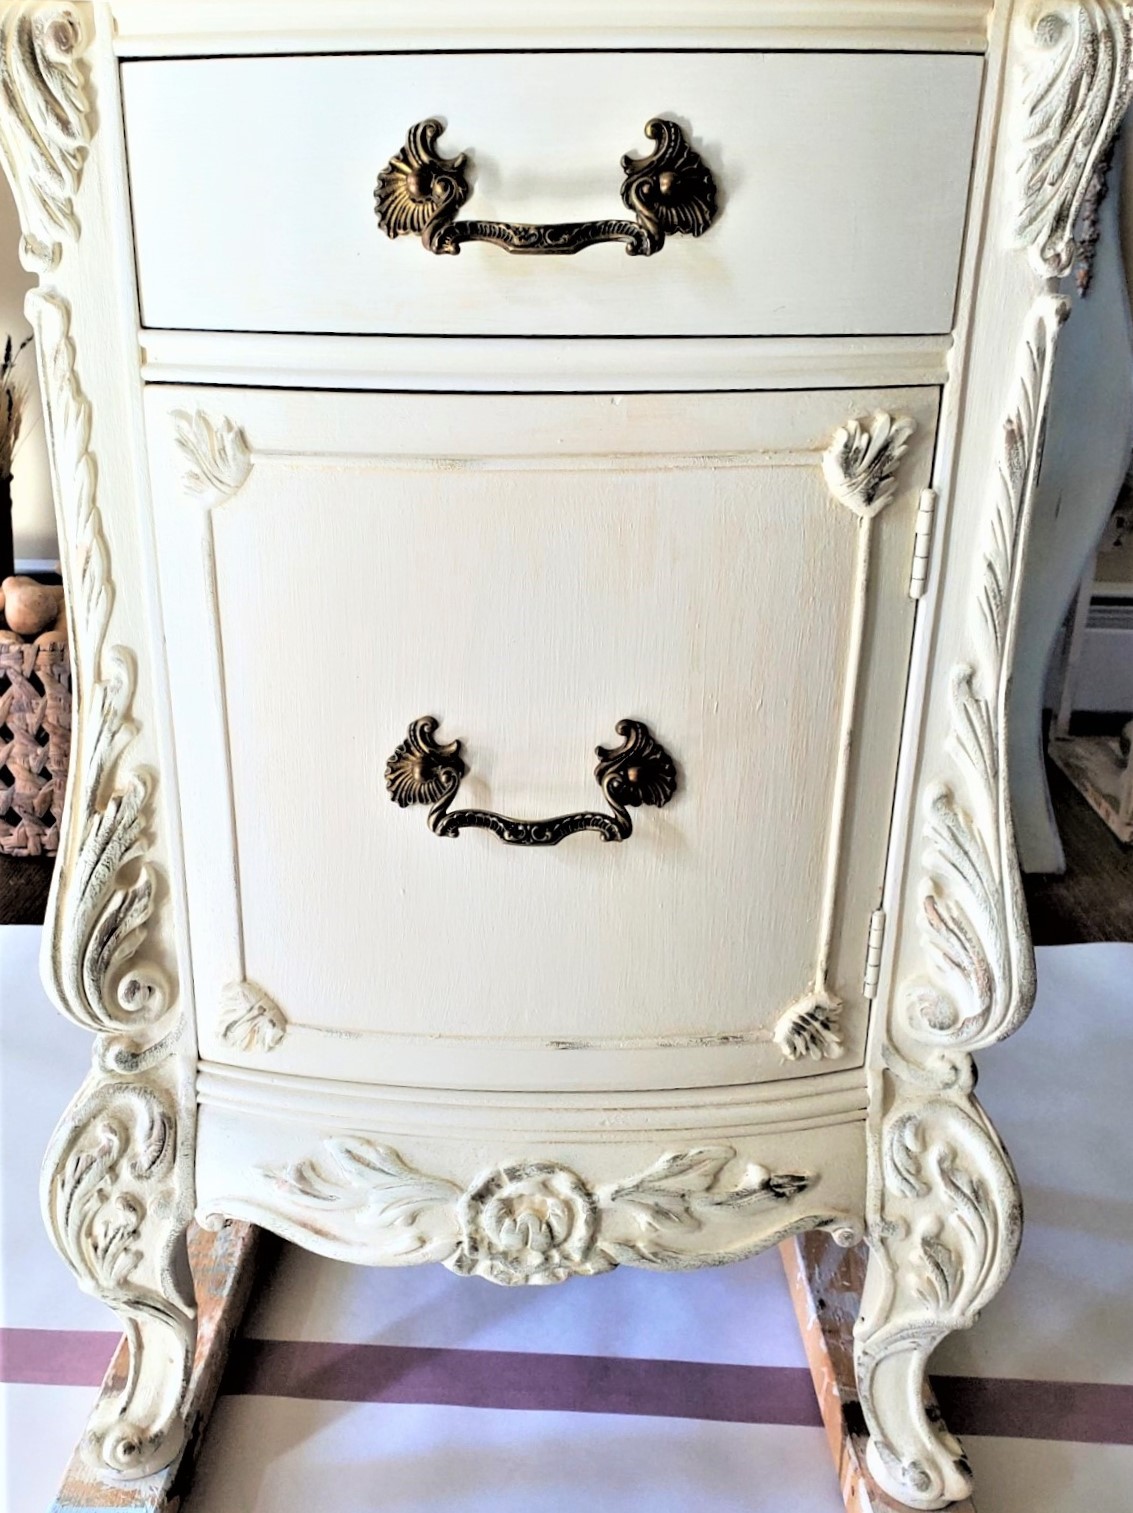
I’m annoyed I didn’t take a picture of me cleaning these but trust me they were filthy. Look at the after pictures of them on our nightstands.

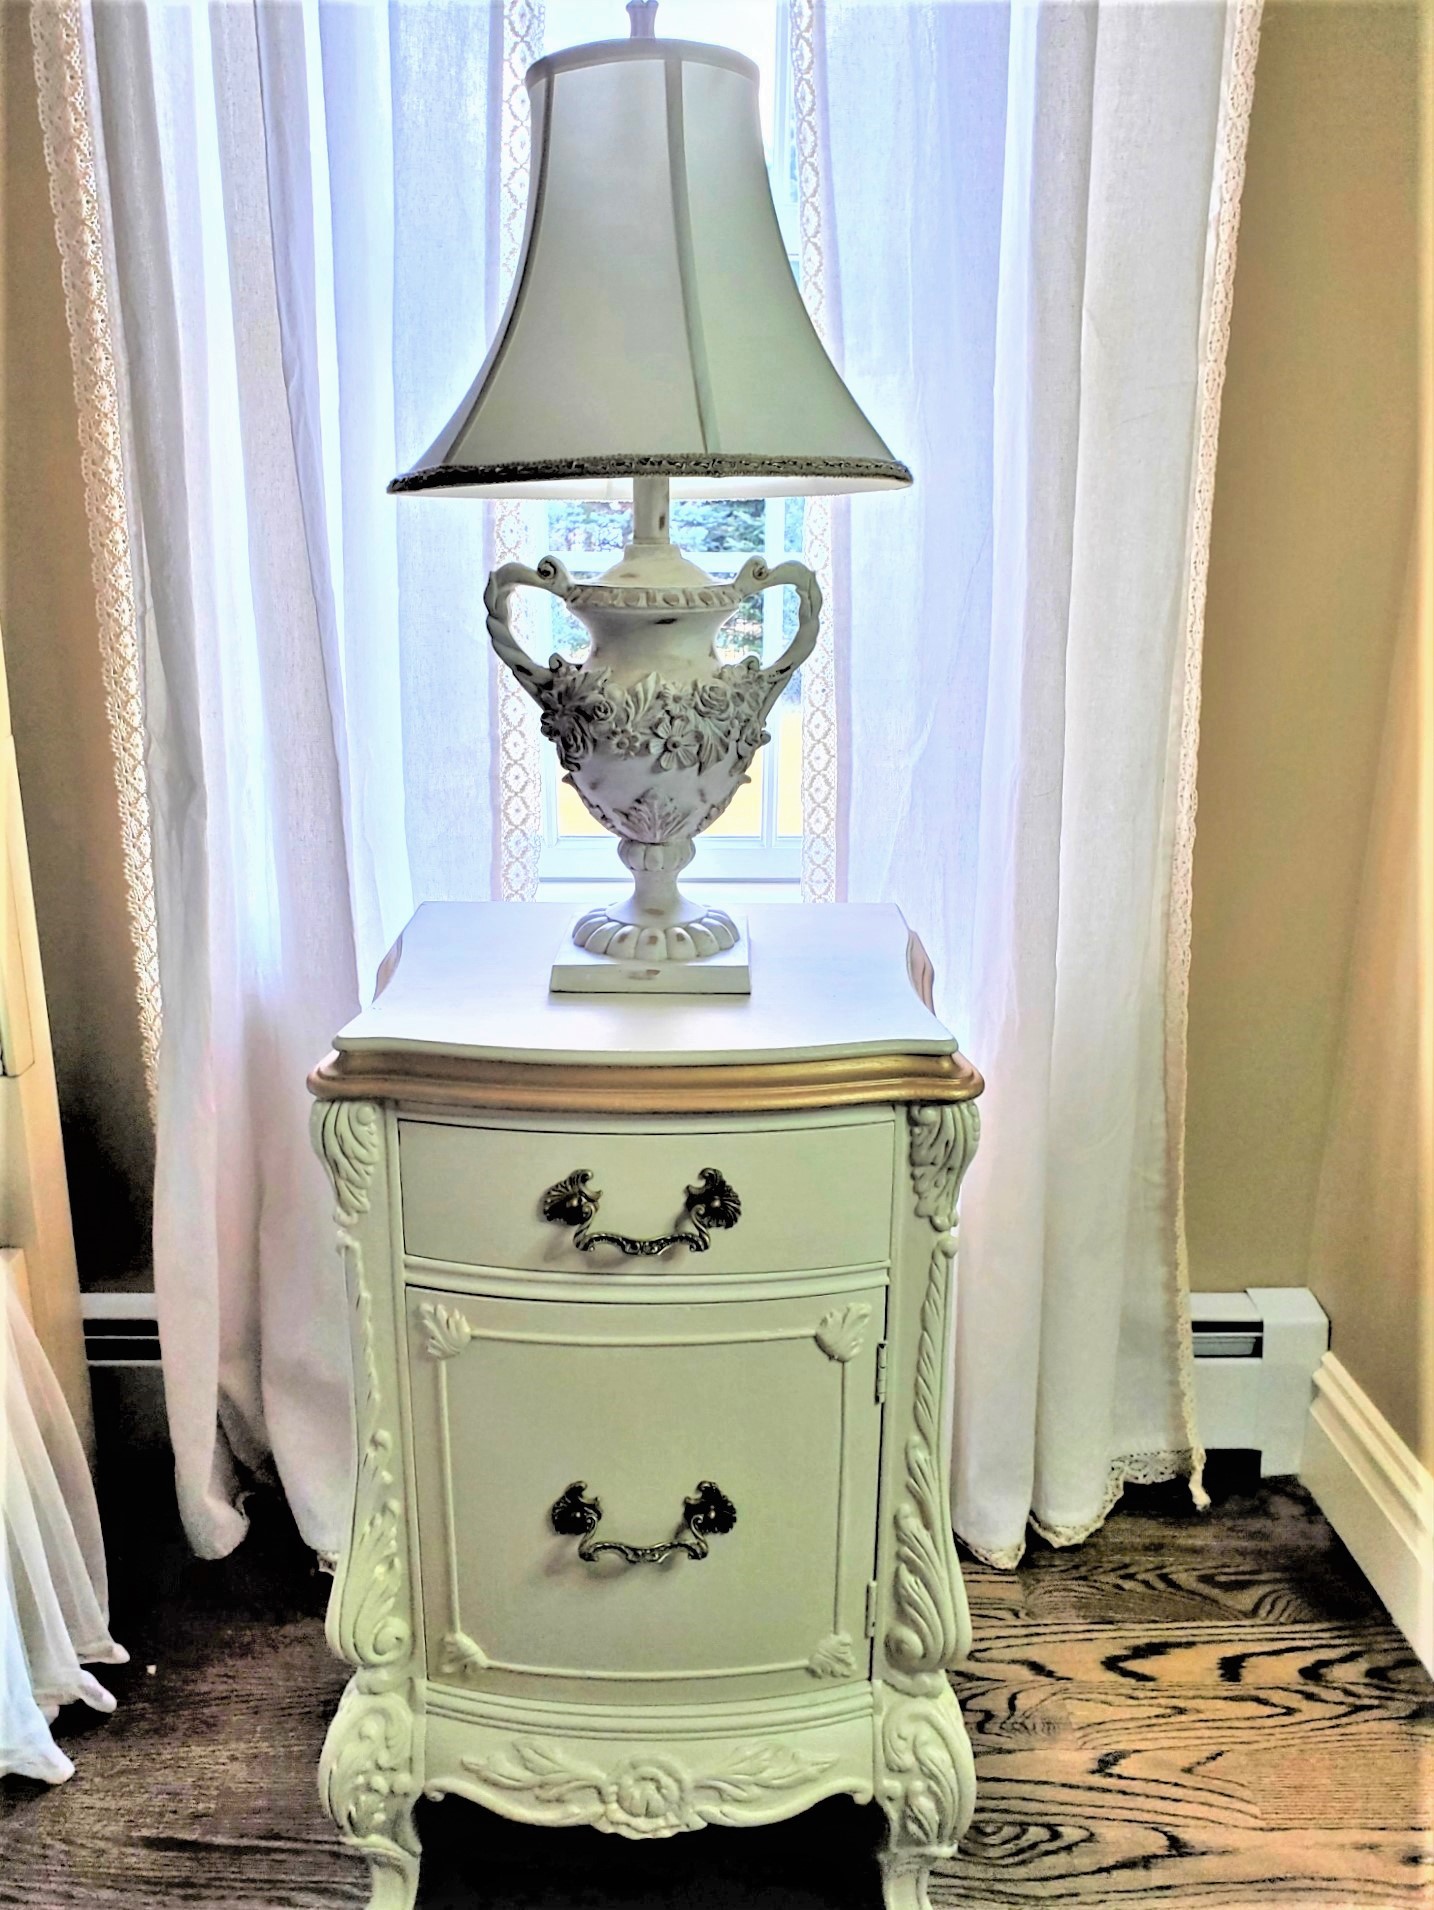
By the way, I love these French lamps. How about you?
I hope you enjoyed learning about how to paint furniture with acrylic paint and I also hope you give Salvage Dog Furniture paint a try and GUESS WHAT?
You can get 20% off when you order through my blog and use the CODE: CL-20
I look forward to sharing my next project with you. If you have any questions feel free to send me an email and I will answer any question you may need to be answered.
FOLLOW US ON: PINTEREST, INSTAGRAM, FACEBOOK, AND YOUTUBE!

POSTS OF INTEREST!


Cindy these re loves came out so beautiful. You really are a furniture whisperer. Have a great day today. So happy to see you feeling better and posting. Hugs. Kris
Thank you so much my friend. You have always been here for me.
I’m so happy with this project!
Wow! I can’t believe you found those amazing tables at a thrift store! Great job transforming them! They look so beautiful now! Adding the fabric is a great touch! So glad you’re feeling better! Pinning now!
Thanks so much Donna!
Stunning! You did an outstanding job on this nightstand. Found it by accident when checking out your sweet little dachshund. Your vet sounds look a really good man, you are very lucky and glad to hear the little critters are doing better.
Thank you so much Barb! Our vet is one in a million! We are veery blessed
I love Black Dog Salvage paint too. It’s really easy to work with.
You know I do too!
This is such a great tutorial and your furniture piece turned out so beautiful! Thanks so much for sharing!
Thanks so much Charity!
Wow, what a refresh! You did a wonderful job.
Thank you very much Rachel!
Welcome back Cindy! Hopw all is well now. I liked your helpful post. I aslo like Black Dog paint.
Thanks so much Linda! It’s great to be back..
I’ve never tried acrylic paint like this on furniture before Cindy but I love the way this came together. Black Dog is new to me as well so I can’t wait to check them out. Hope you’re having the best week. It’s good to see you back to blogging. Hugs, CoCo
I love this paint so much. I’m so happy to be back my friend!
Cindy, these look fabulous! So happy that you are feeling better. Take care.
Thank you Elizabeth!
Love the shape and the hardware! You made these look so elegant.
Thanks so much!!
Cindy, these turned out so pretty! I loved that you were able to reuse the hardware. Job well done!
Thank you so much Libbie. I’m very happy with them!
What a beautiful piece Cindy! I especially love the touch of adding the fabric to the inside. So many details… those are my favorite pieces of furniture. Thank you for all of the tips and how to’s. I have only painted a few pieces myself, I love it when others do though. I am too afraid of messing the pieces up!
Cara thanks so much! Don’t be afraid of messing up. Remember it’s only paint. Practice a technicque on scrap wood if you want to try something new. It works well. If you have any questions send me an email anytime.