
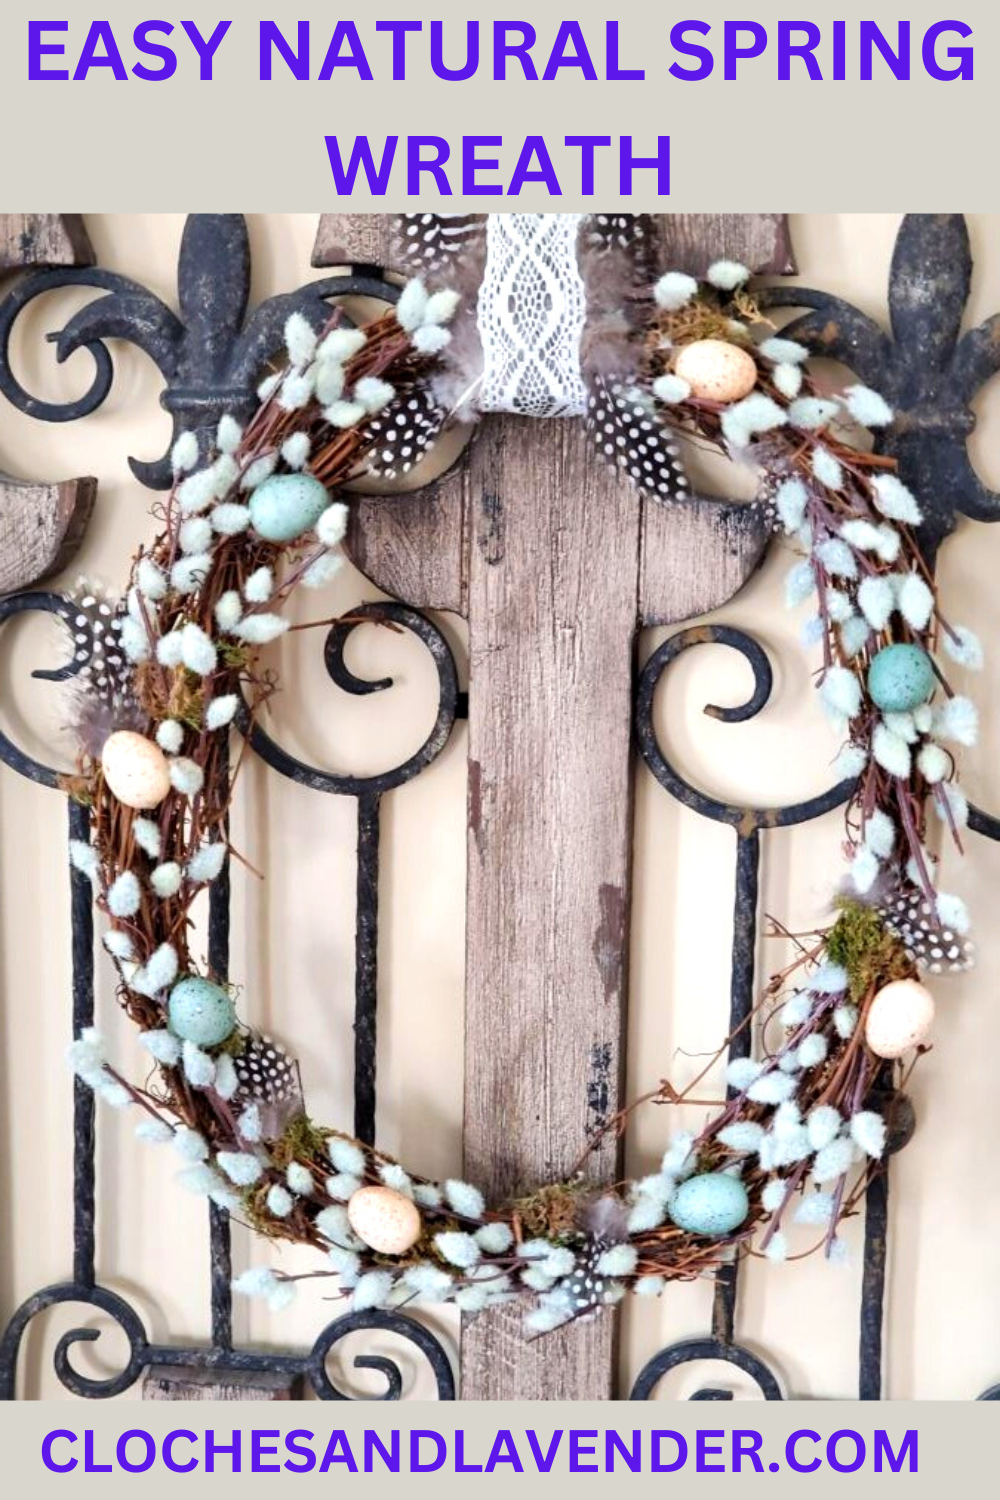
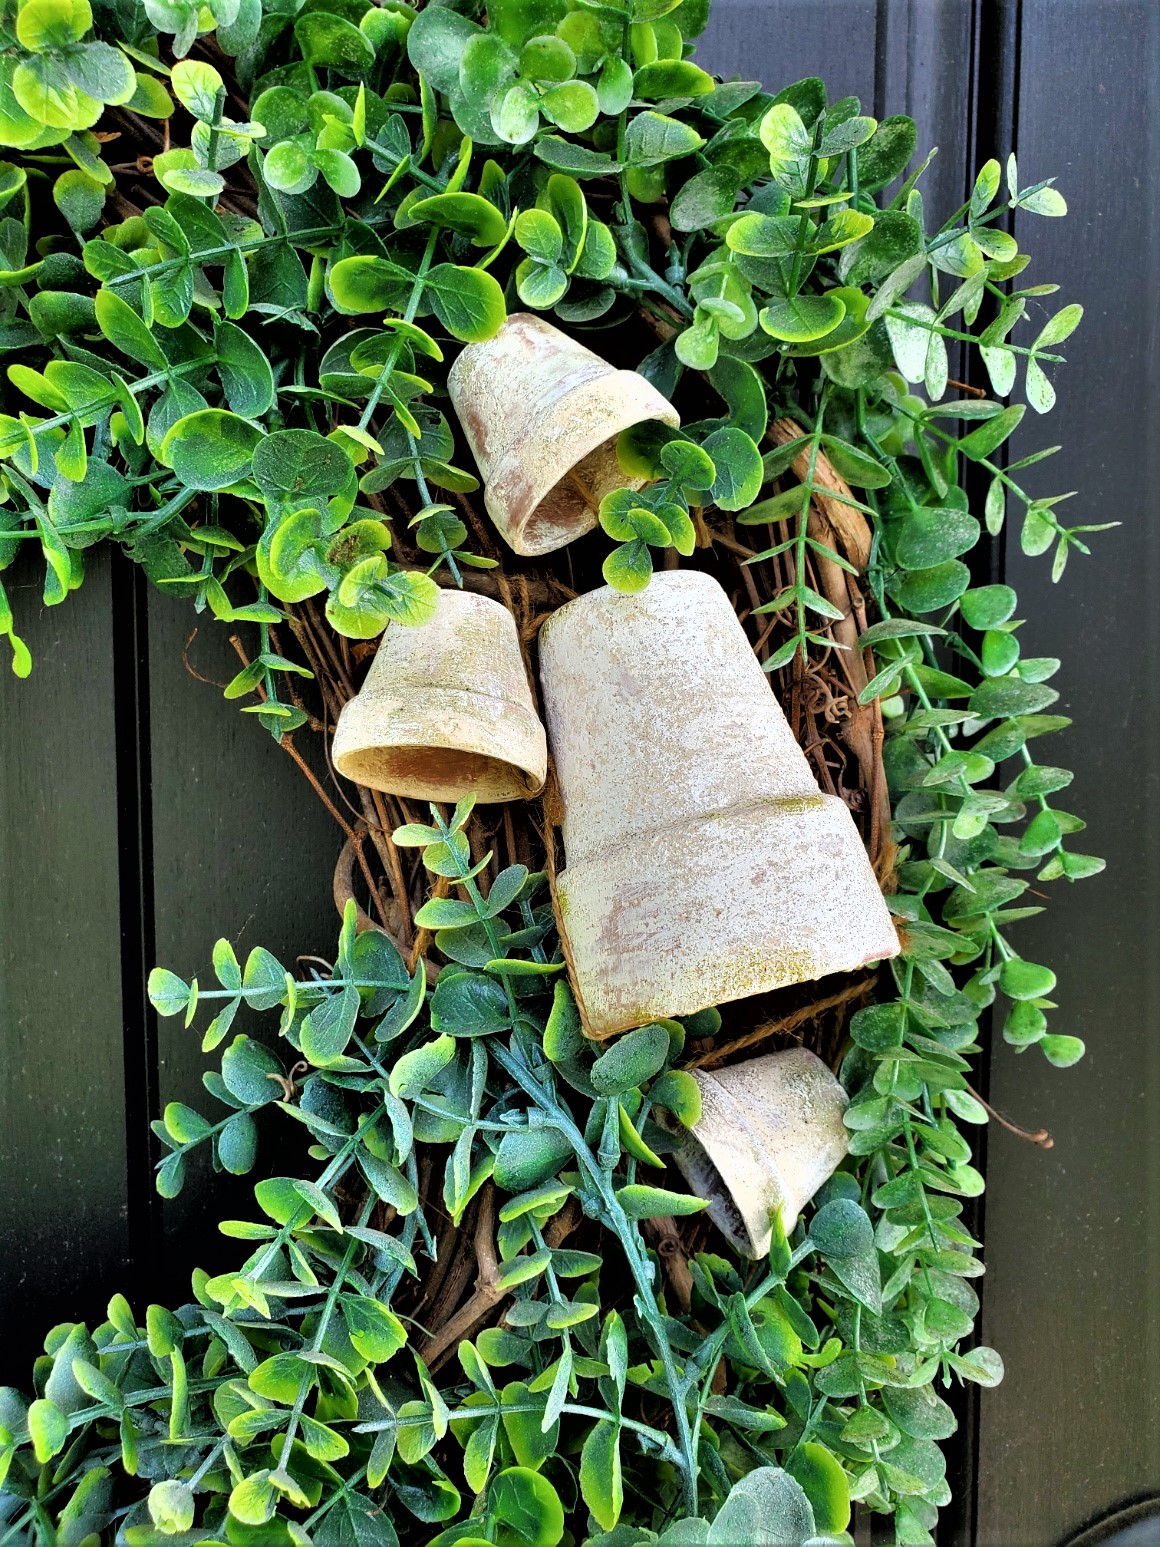
Easy Natural Spring Wreath
Today I will share how to make an easy natural spring wreath. As many know I love making wreaths especially as a new season is on the horizon. This wreath is the perfect way to add natural elements to a front door, outdoor spaces, dining room, or living room for the upcoming spring season. Whether you have been following Cloches & Lavender or are new to our blogging family, adding natural elements to our home is a passion when adding pieces to the home. So, it should be no surprise I made a new spring wreath using natural elements since I adore nature. I have added high-quality materials to spring season wreaths, a summer wreath, fall, and Christmas wreaths, sharing them with my readers.
Table of Contents
- 1 Embark On Wreath Crafting: Unlock Our Step-by-Step Guide
- 2 Top Asked Questions
- 3 Natural Wreath
- 4 Spring Door Wreath
- 5 Supplies for This Artificial Spring Wreath
- 6 Exploring Design Possibilities: Oval Shape Grapevine Garland
- 7 Pussy Willows To My Artificial Wreath
- 8 Feathers And Moss
- 9 Final Addition
- 10 Easy Natural Spring Wreath
- 11 Easy Natural Spring Wreath
Embark On Wreath Crafting: Unlock Our Step-by-Step Guide
- Crafting A Beautiful Wreath: A step-by-step guide on creating an easy natural spring wreath that adds a seasonal charm to your home. Click here and make this wreath today!
- A Natural Spring Wreath: Learn about adding natural elements to make your spring door wreath stand out. Click now and make a beautiful wreath today!
- Perfect Way To Make A Natural Wreath: Floral wreath ideas, from tulips to daffodils, and gather inspiration for your spring season creation. Click here to discover these wreath designs today!
â–º Table of Contents
Top Asked Questions
What is the best size wreath for the front door?
A floral wreath or any wreath looks best when it hangs at eye level on the front door. A standard front door is 36 inches wide. So a 24-26 inch wreath is the correct size.
What can you add to a spring wreath?
When making a spring door wreath green plants are perfect for a natural spring wreath. Purchase high-quality materials when making an artificial wreath for a realistic look. This will gives a floral wreath a realistic look when it’s added to a front door or the home.
- Grapevine
- Greenery stems
- Faux Berries
- Floral picks and Flower Stems – I bought these and they are high-quality!
- Wire cutters
- Hot glue gun and glue sticks – my favorite hot glue gun
- Floral wire – heavy gauge
- 2.5 inches wired ribbon – assorted colors
- EZ bow maker
- Pipe Cleaners
- Zip ties
Natural Wreath
Designing An Artificial Spring Wreath For The Season
Make a beautiful wreath by adding green plants such as succulents. Some of these may be small enough to push through the grapevine wreath. However, wrapping them with floral wire Wrap floral wire through the bottom layer of leaves to create two ends. Slip each end of the floral wire through an opening on the grapevine wreath and twist it tightly to secure it. I recommend attaching flowers this way for a floral wreath. The floral wire will give the plants a secure fit. Mix small flowers or spring season faux berries for the perfect artificial spring wreath.
Pro Tip: I recommend not using a hot glue gun. If the wreath is exposed to direct sun or wind over time the hot glue may soften and result in pieces coming loose, especially a summer wreath. I have learned this from experience. Be sure to take proper care of any beautiful wreath you put the effort into making whether for the front door or to add to any room in the home.
Add Green Plants
- Artificial succulents
- Artificial Ivy
- Faux boxwood stems
Floral Wreath Ideas
Flowers are a perfect way to make a wreath for the spring season. It’s best to invest in high-quality materials when creating a beautiful wreath for the home.
- Tulips- Here’s a beautiful wreath full of tulips and a tutorial from Chatfield Court. And there’s no hot glue gun!
- Daffodils – Country Living Magazine shares a tutorial using a grapevine wreath and real flowers that make my favorite spring fresh flowers for the perfect floral wreath
- Forsythia – These make a stunning spring door wreath. Imagine the yellow against a dark color door. Balsam Hill has a white forsythia wreath that has a realistic look. I didn’t know they came in white, did you?
- Peony
- Hydrangea – This is a beautiful wreath and Happy Happy Nester shares the perfect way to make one there’s nothing like adding natural materials to a floral wreath. This works for outdoor spaces, in a dining room, or the front door.
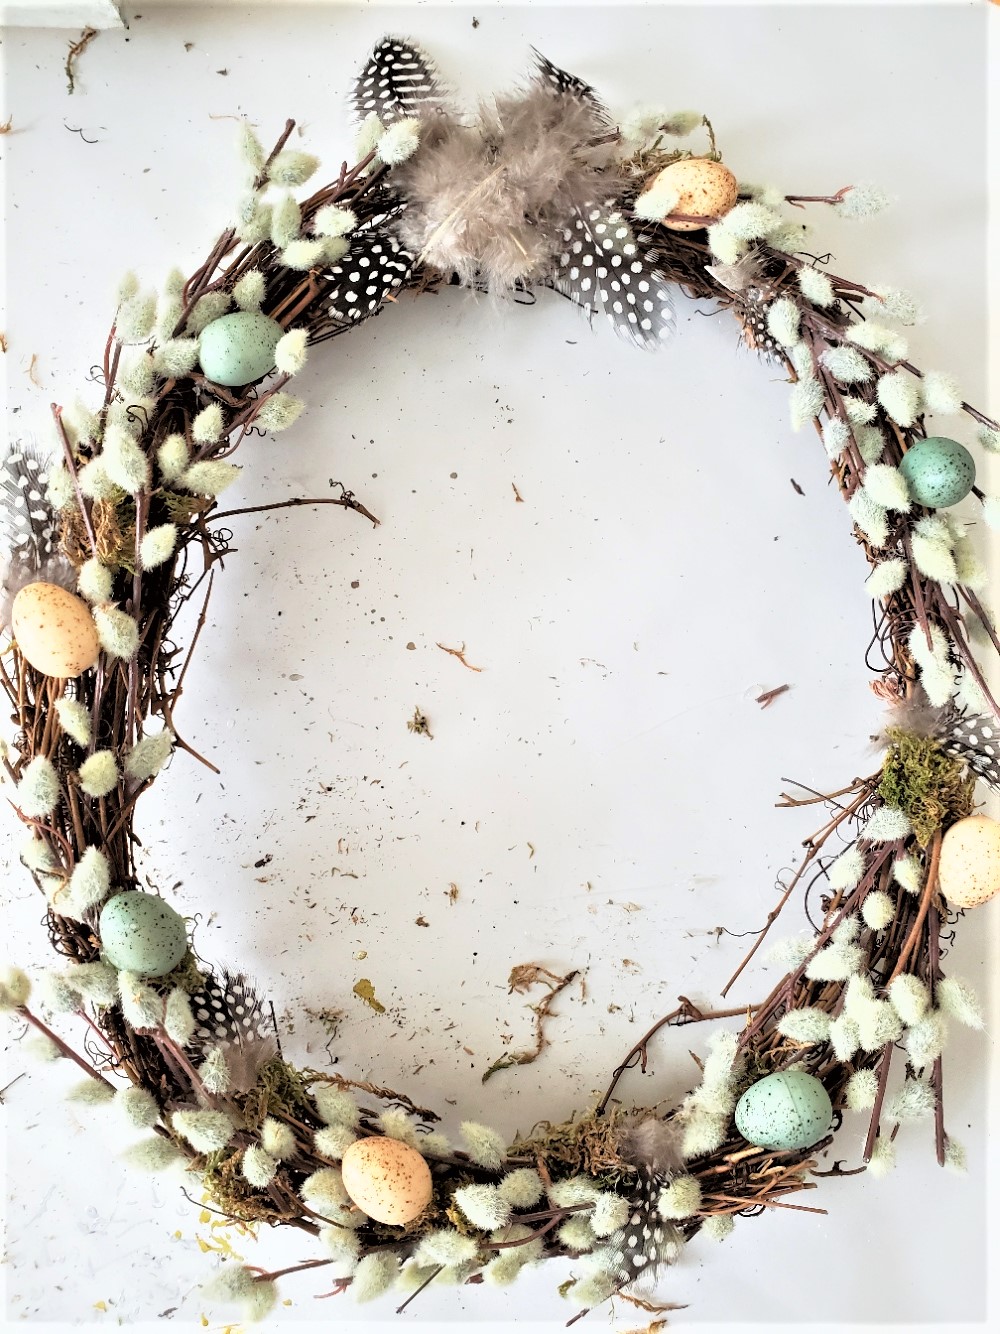
Spring Door Wreath
Beauty With Natural Elements: Embracing The Spring Season
A Perfect Natural Elements For A Natural Wreath
- Pussy willows
- Green Moss and Spanish moss
- Easter eggs
- Feathers
- Bird nests
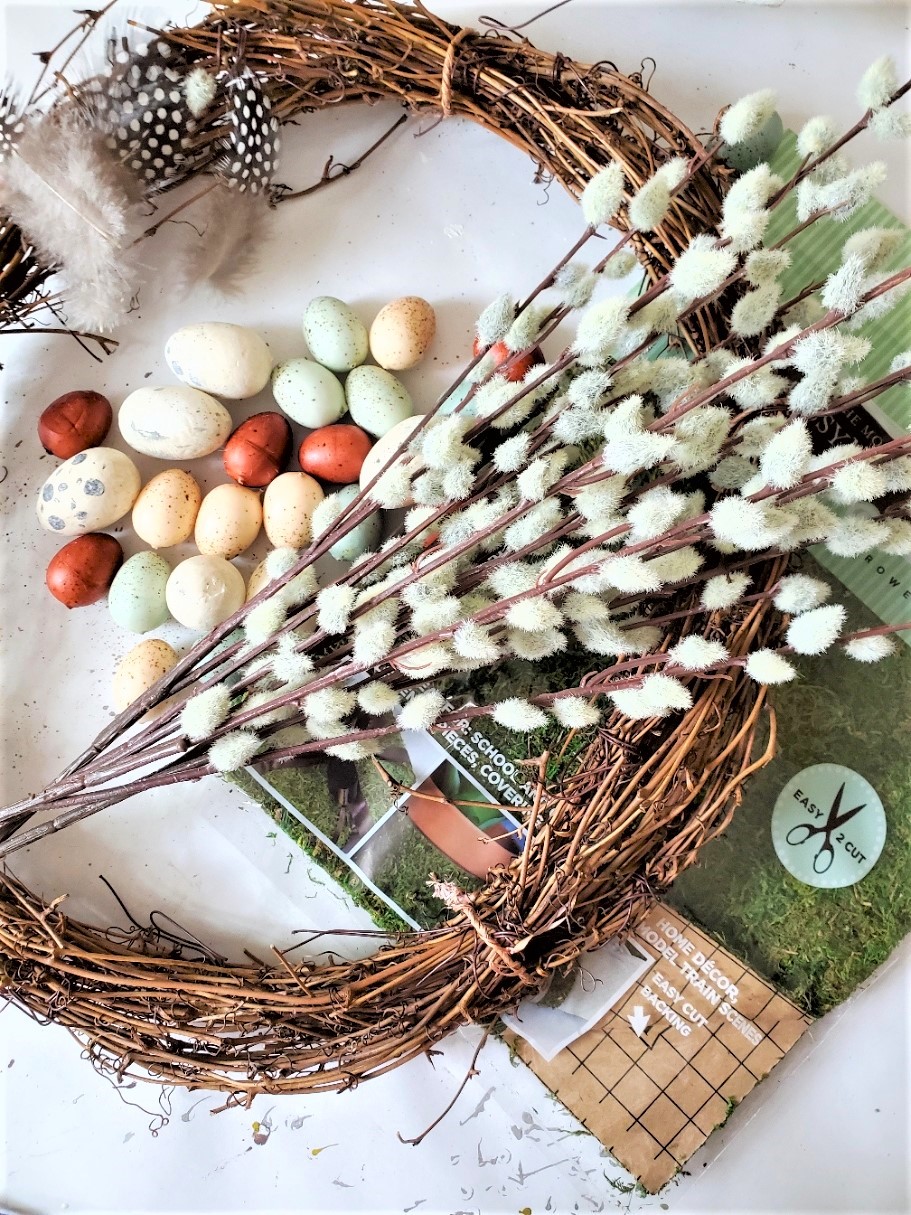
Supplies for This Artificial Spring Wreath
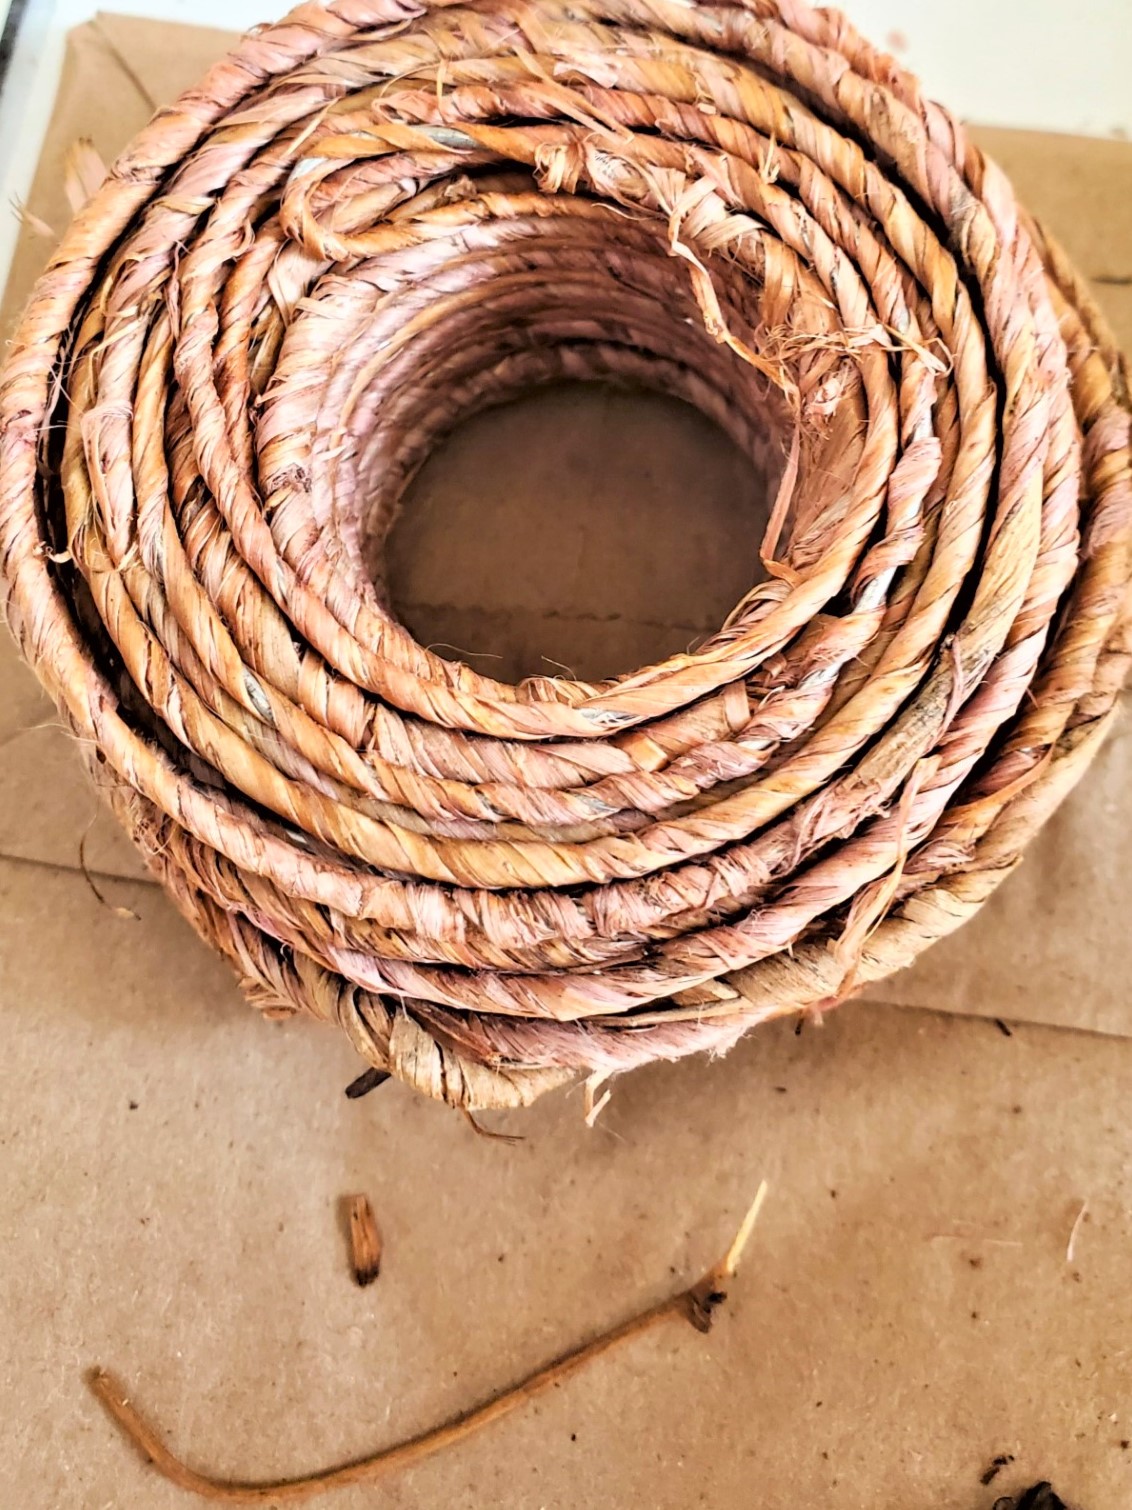
- grapevine garlands or a grapevine wreath
- 2 artificial pussy willows – I have these and they have a VERY realistic look and can be used for outdoor spaces.
- fake small eggs
- natural spotted feathers – this a lovely set piece thing of beauty
- hot glue gun
- heavy gauge floral wire
- wire cutters
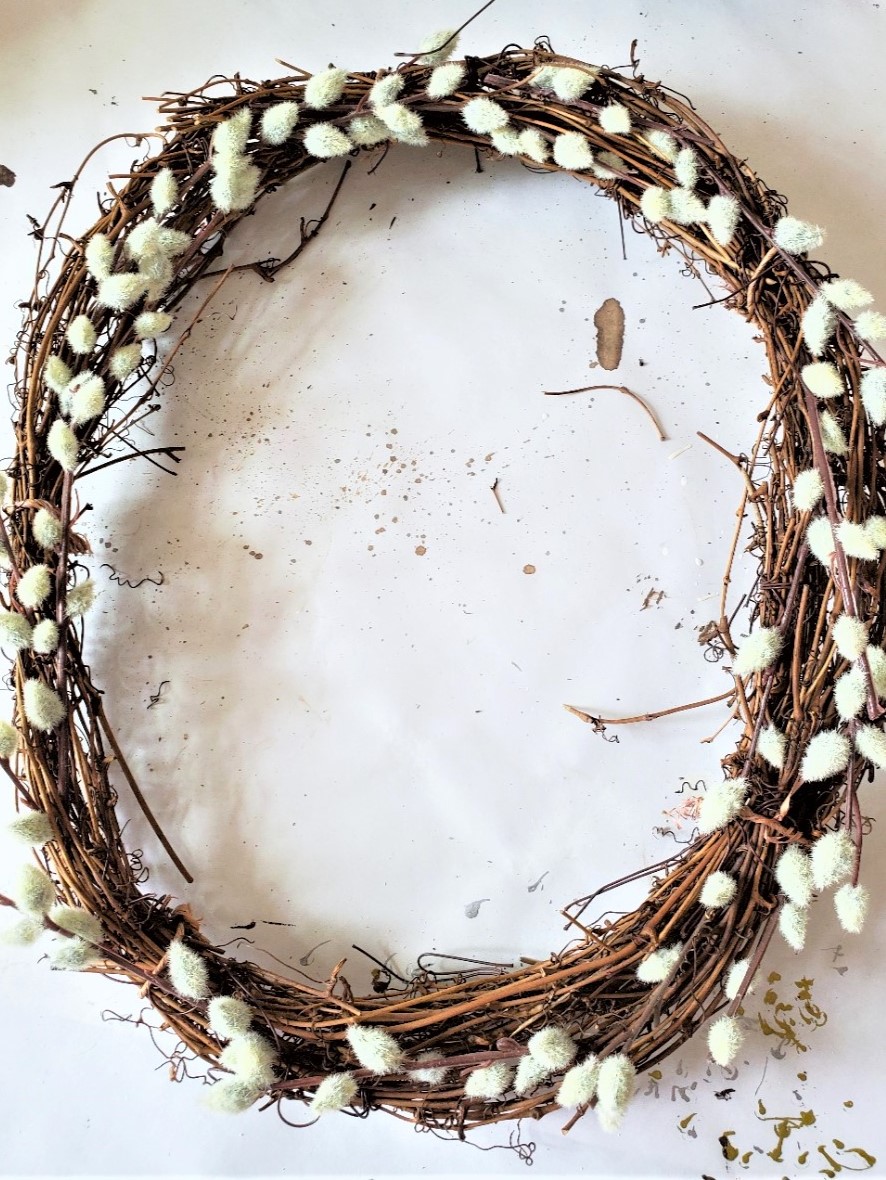
Exploring Design Possibilities: Oval Shape Grapevine Garland
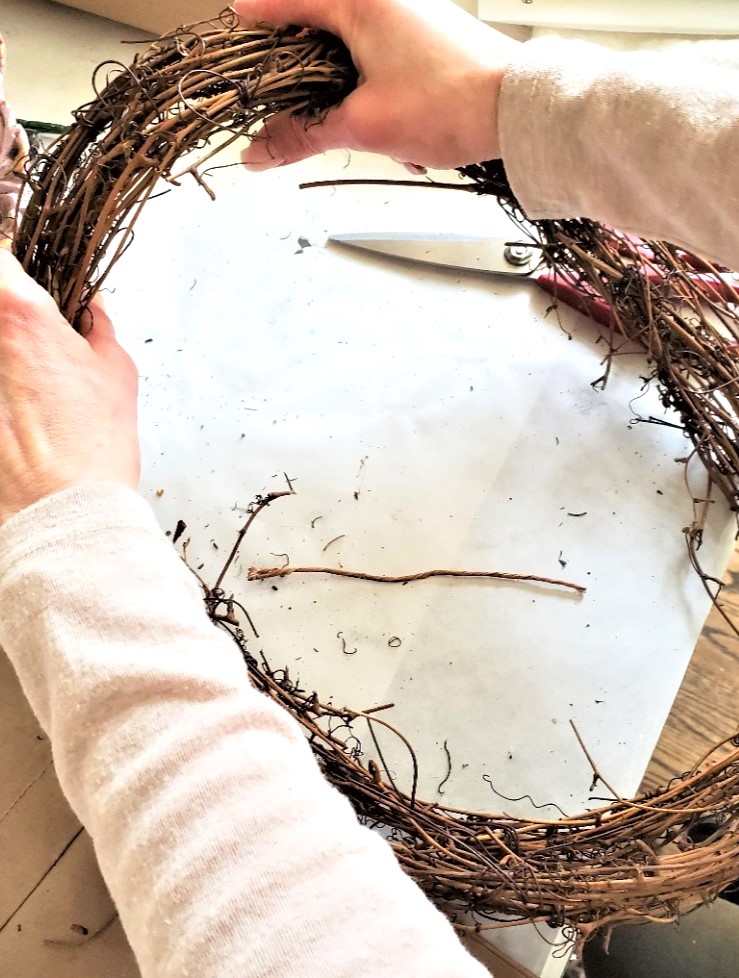
Step 1: Shaping A Grapevine Wreath In Oval Form
First, I tried to wrap the garland around my arm to make my oval shape. I immediately realized my arm width wasn’t big enough. So, my husband wrapped the grapevine around his arm. This gave me a delicate circle of branches for my spring wreath.
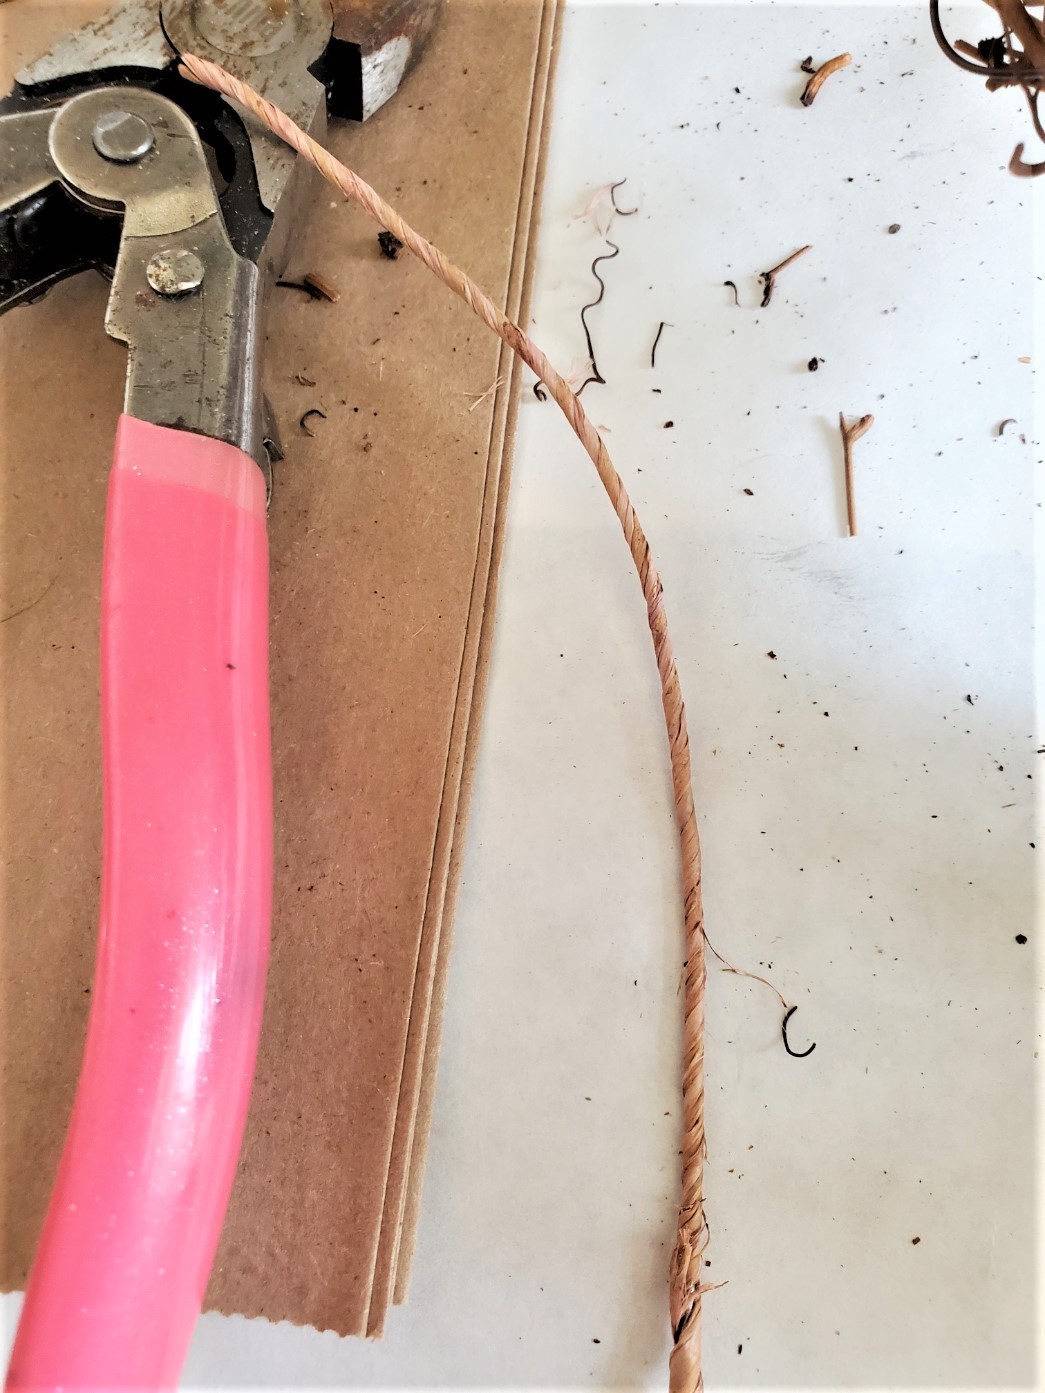
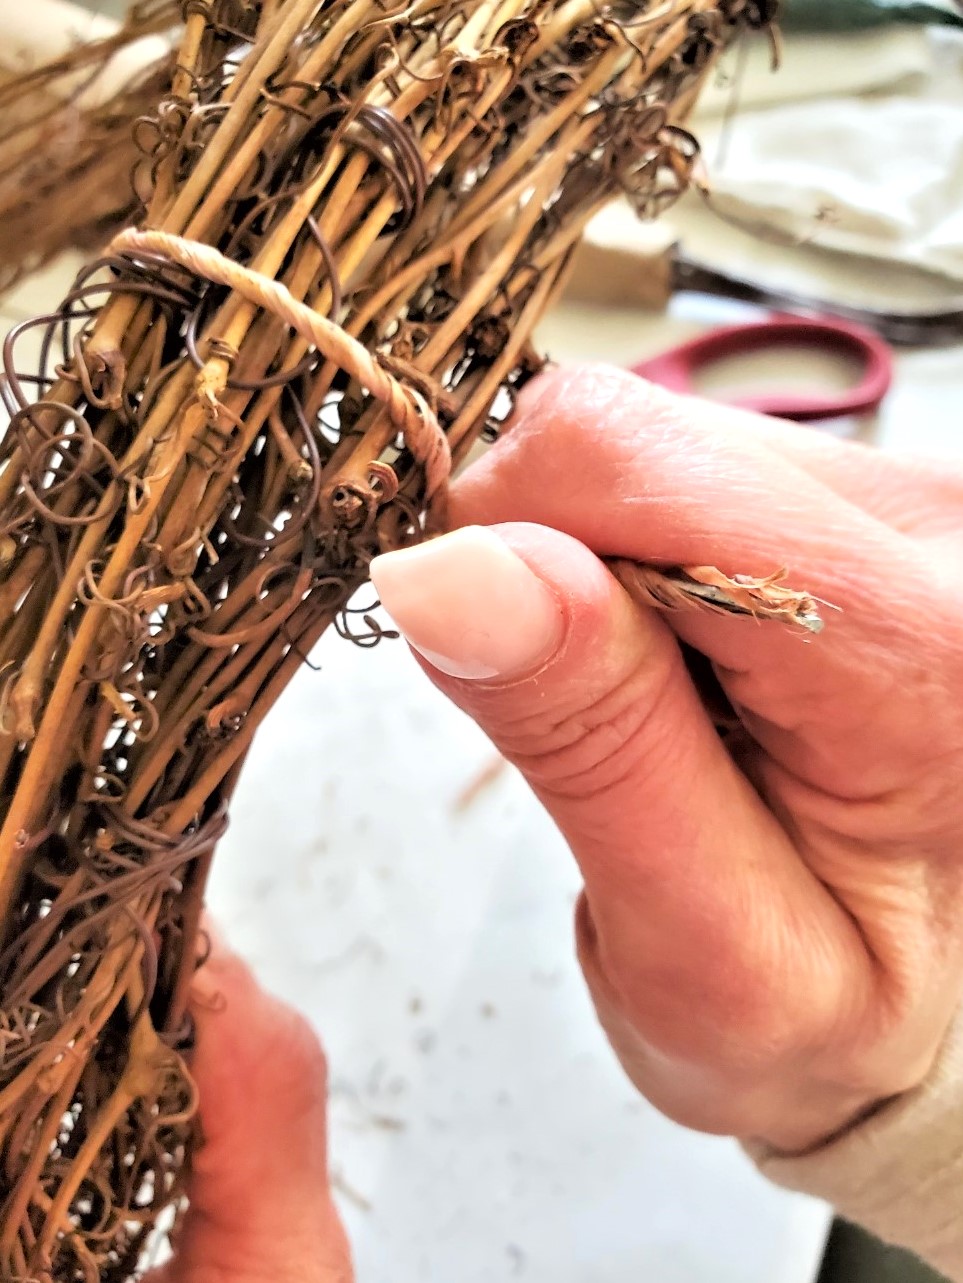
Add the floral wire to the grapevine wreath. This is the perfect way to keep the delicate circle of branches tight for this natural wreath project.

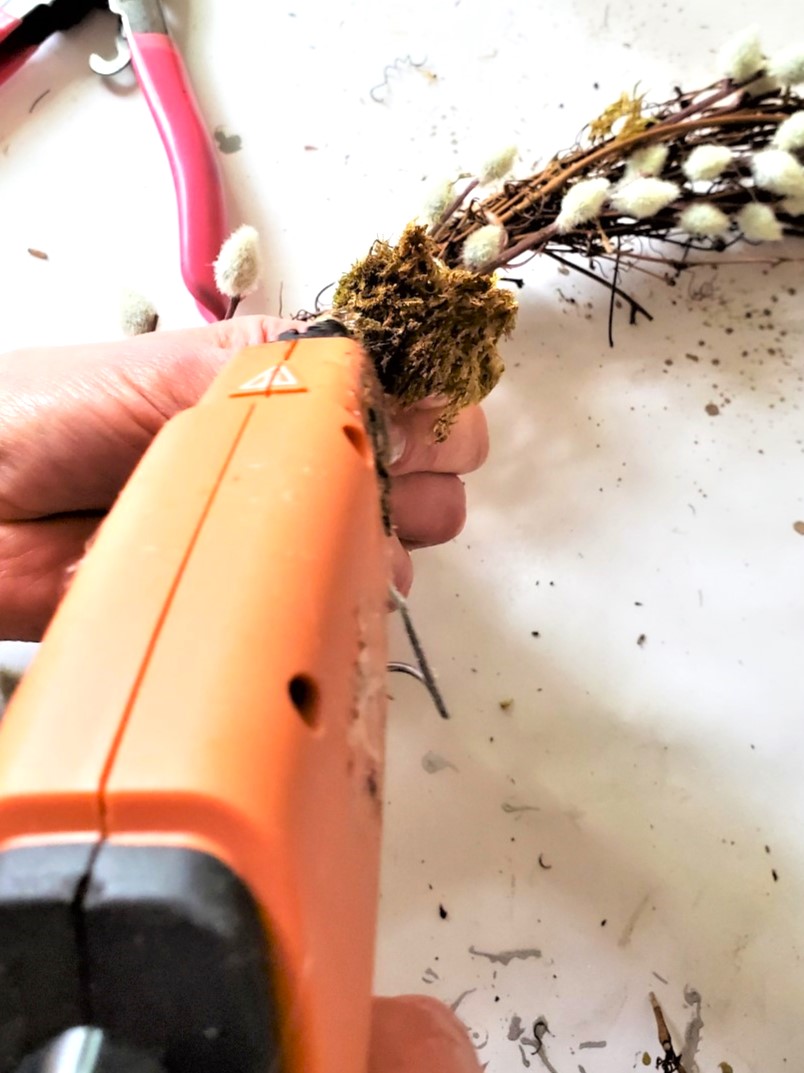
Pussy Willows To My Artificial Wreath
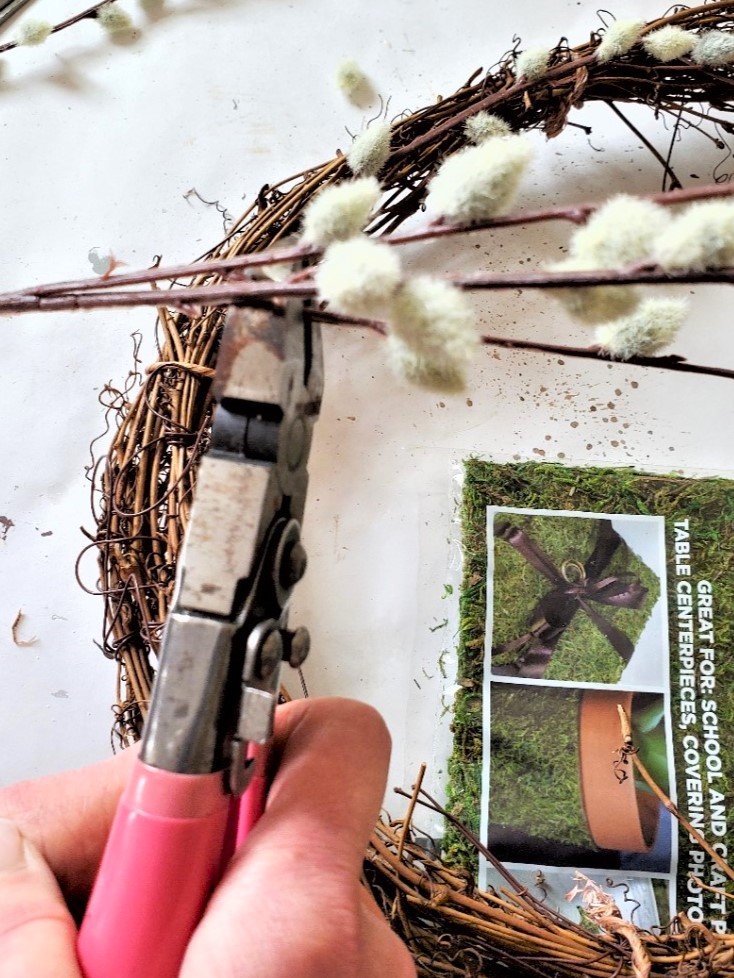
Step 2: Beauty With Pussy Willows Natural Spring Wreath
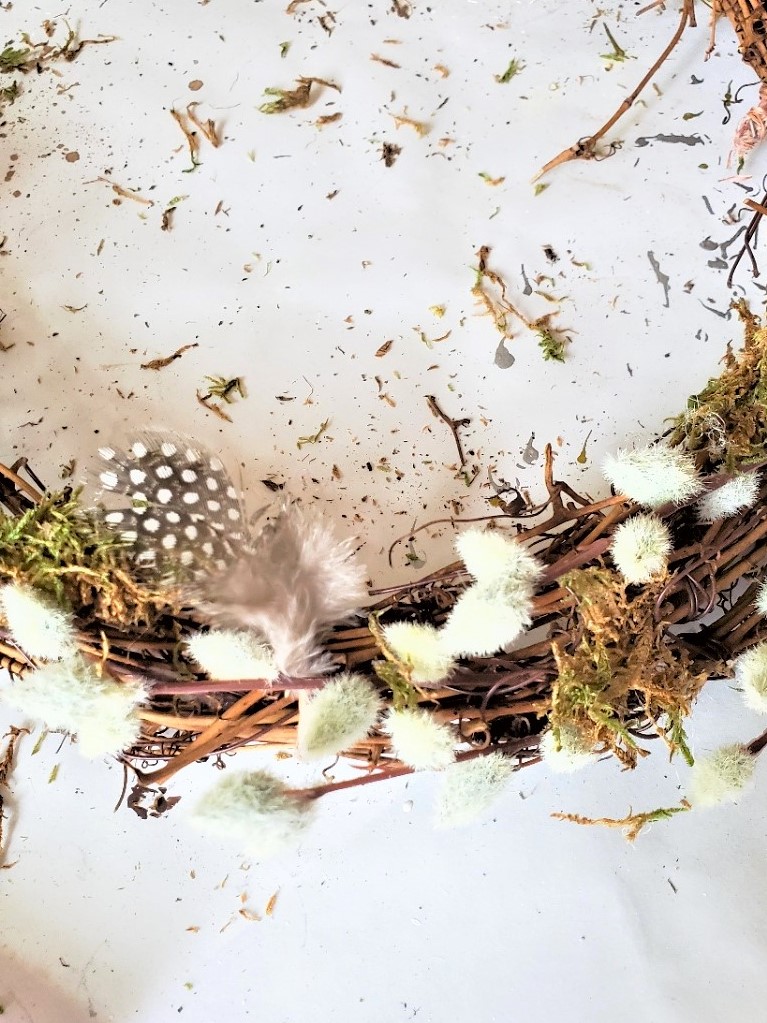
So next, using wiring cutters, cut the pussy willows and add a dot of hot glue so these stay attached to the grapevine wreath. These are weather resistant and perfect for a spring door wreath.
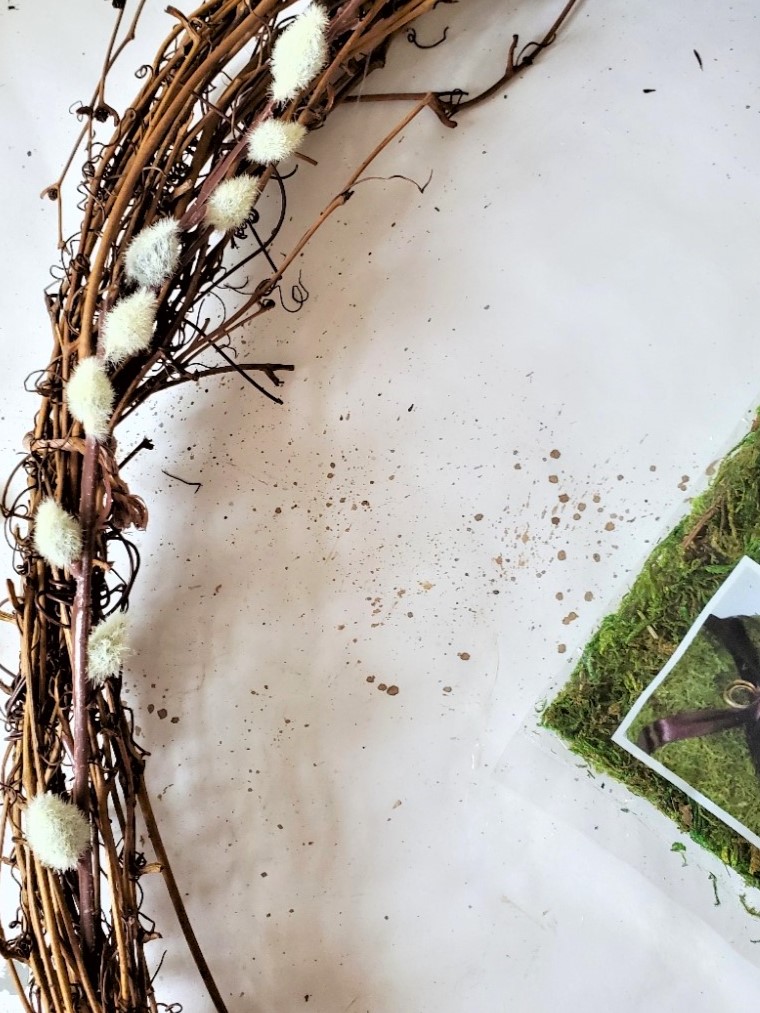
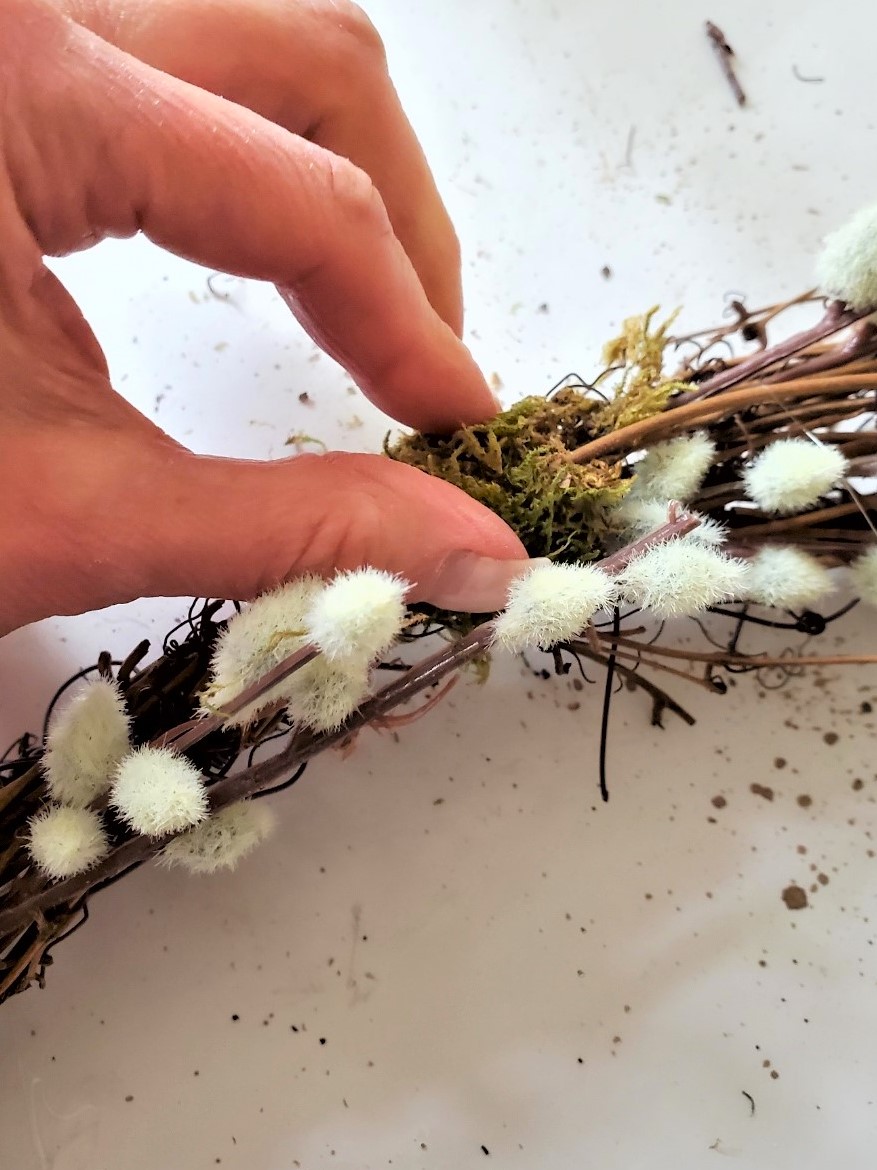
I cut the stems a little bit shorter, I find it easier to add them to the grapevine.
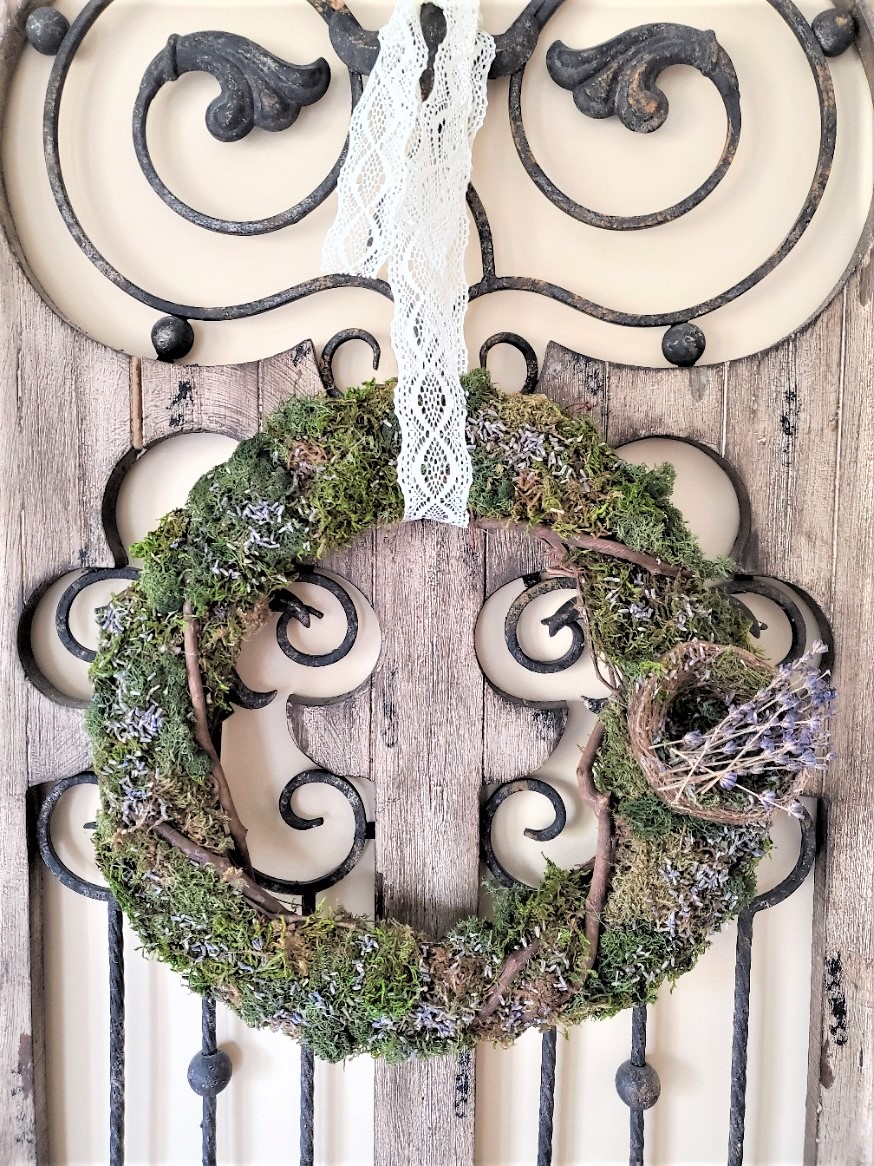
After adding the pussy willows, add moss in spots to add more natural elements for the spring season. Who doesn’t love moss for a natural wreath?
You can see how much I love moss for a new season with this easy topiary in pots I made last year. This is a great project to add to the home, especially during the summer season.
*As an Amazon Associate, Black Dog Salvage Furniture Paint, and other Affiliate links I earn from qualifying purchases* USE CODE: C-L20 and get 20% off!
I earn a small commission on this blog from qualifying purchases through affiliate links. I use affiliate links, which means a small commission is earned if you purchase through the link. The price will be the same whether you use the affiliate links or go directly to the website. All opinions are my own.
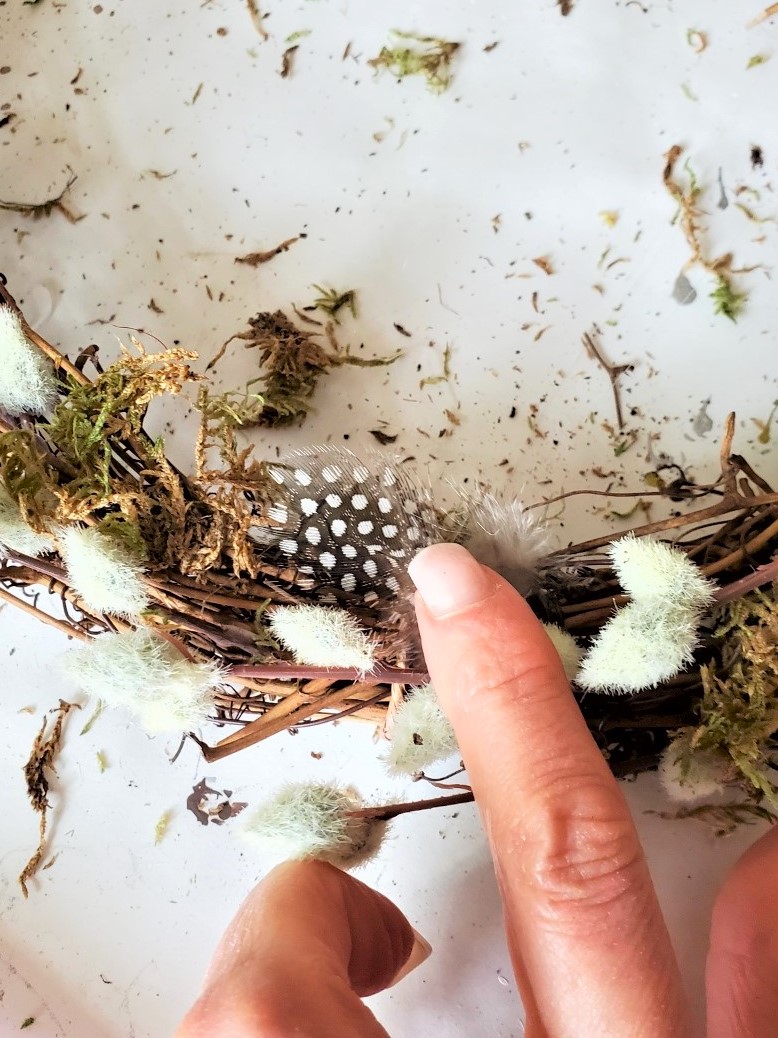
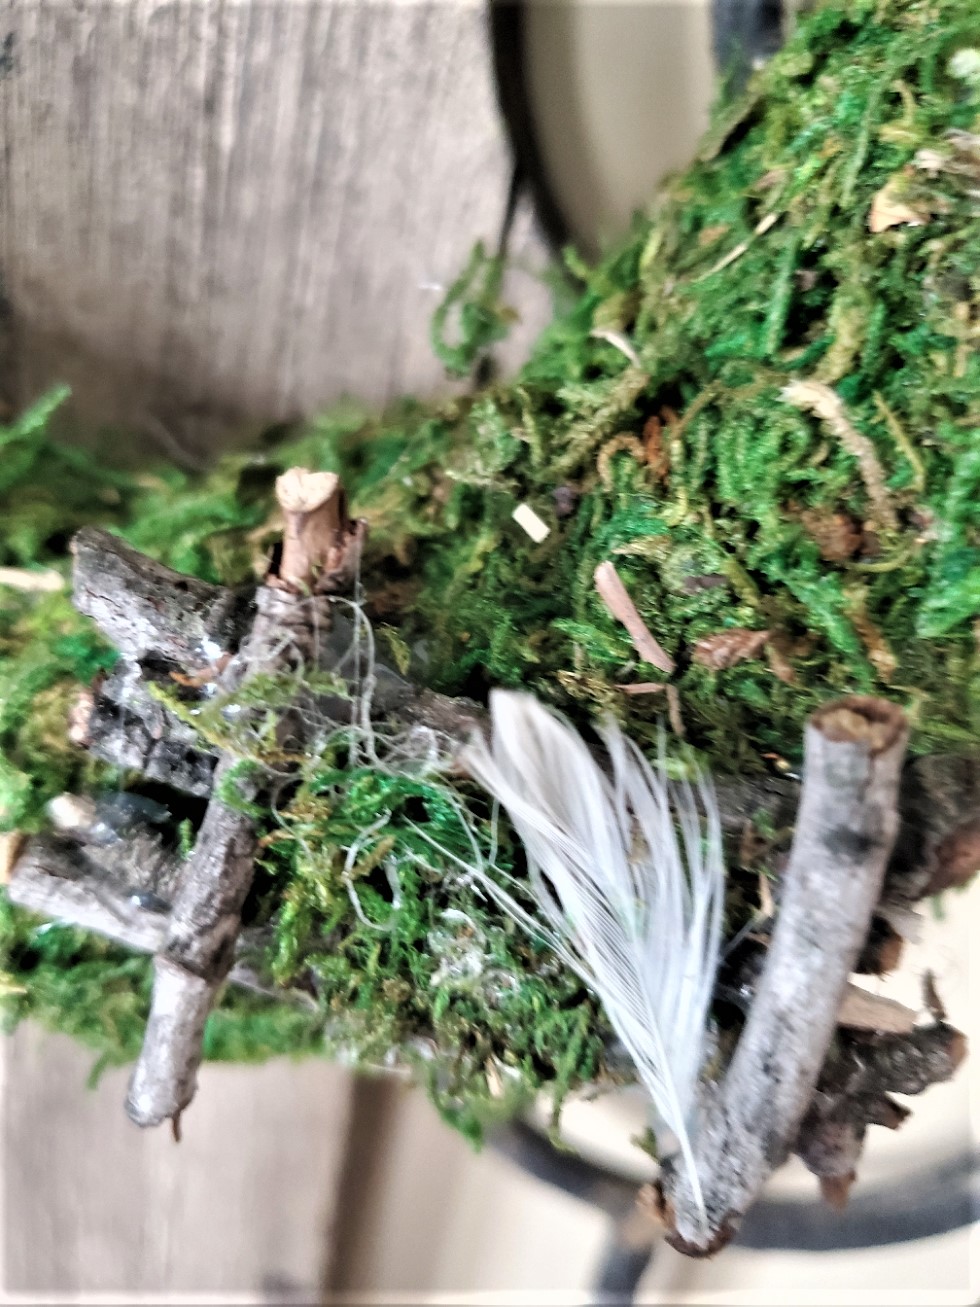
Feathers And Moss
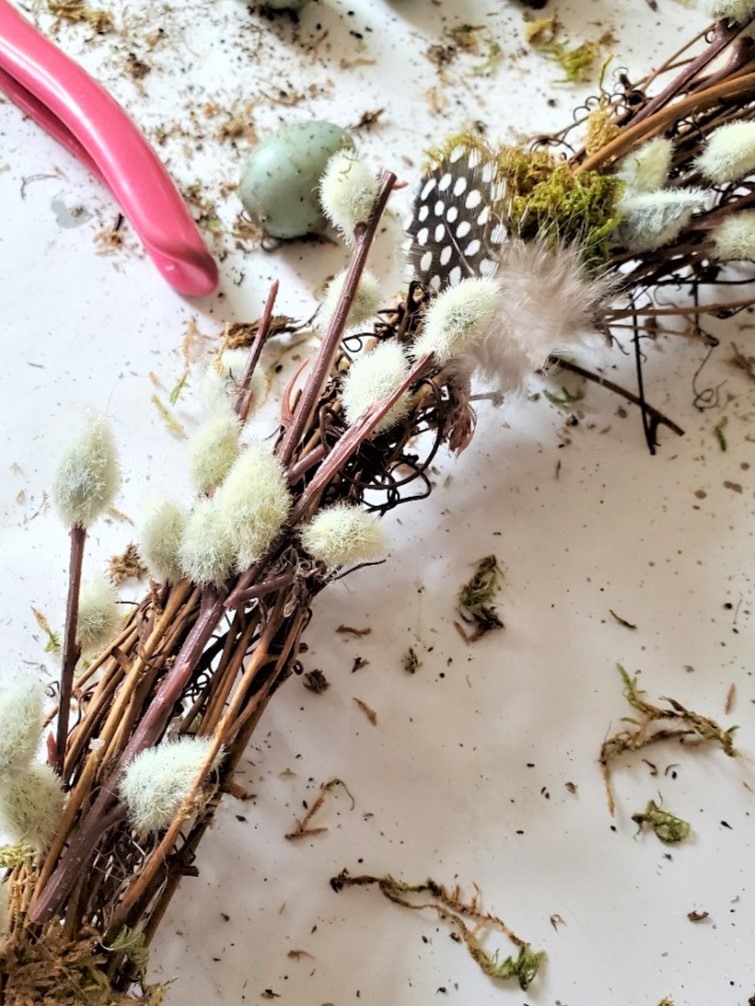
Step 3: Spotted Feathers Natural Elements Spring Door Wreath
Here add this lovely piece set of feathers using a hot glue gun and a little bit of hot glue. Adding a few feathers to the top of the wreath is a perfect way to add texture to the lace ribbon. I enjoy adding elegant touches like lace ribbon to natural elements, especially a natural wreath.
Final Addition
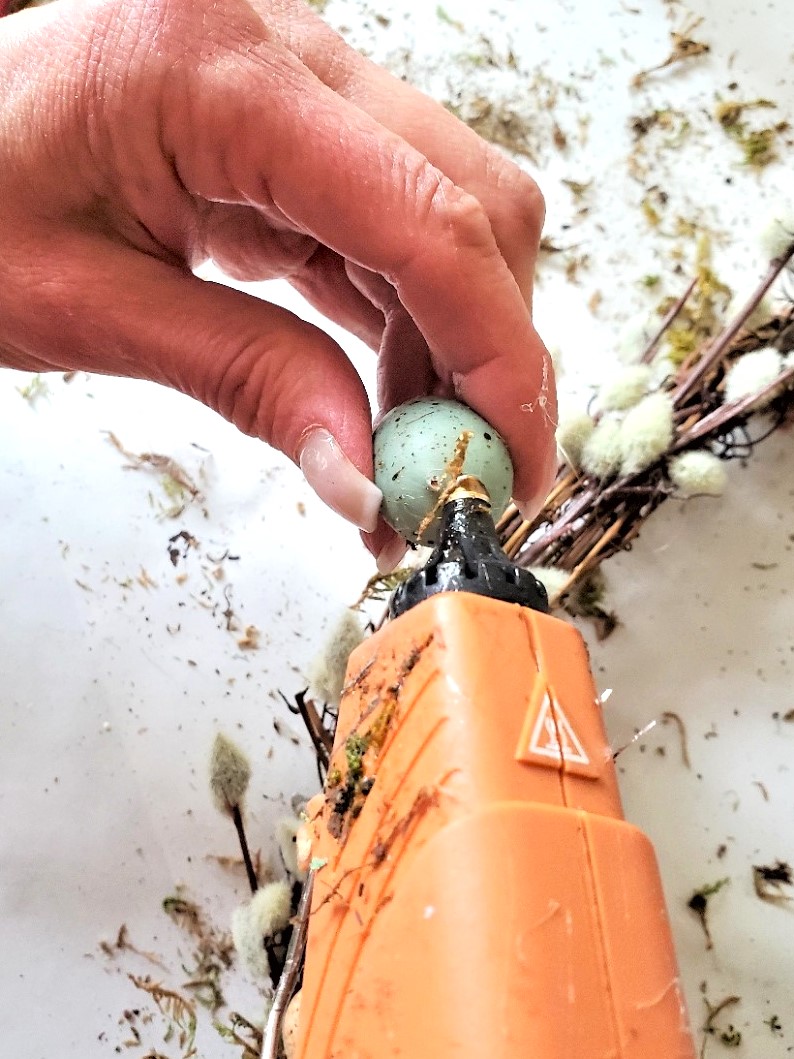
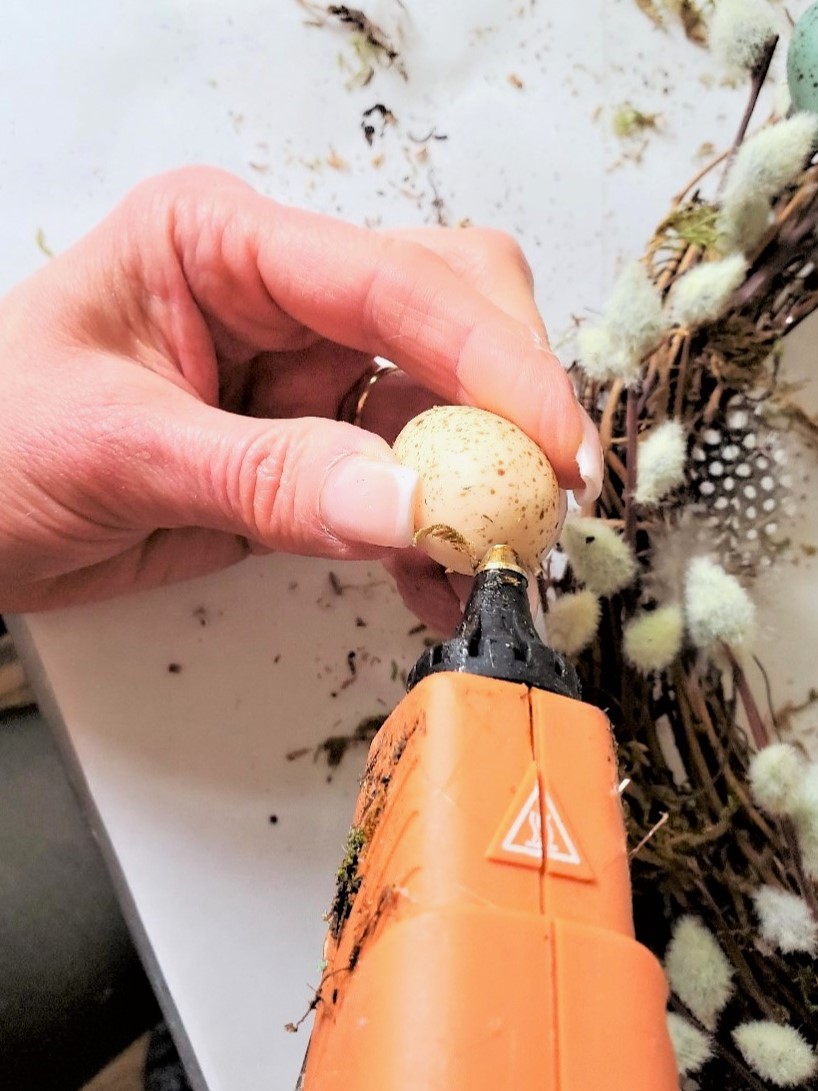
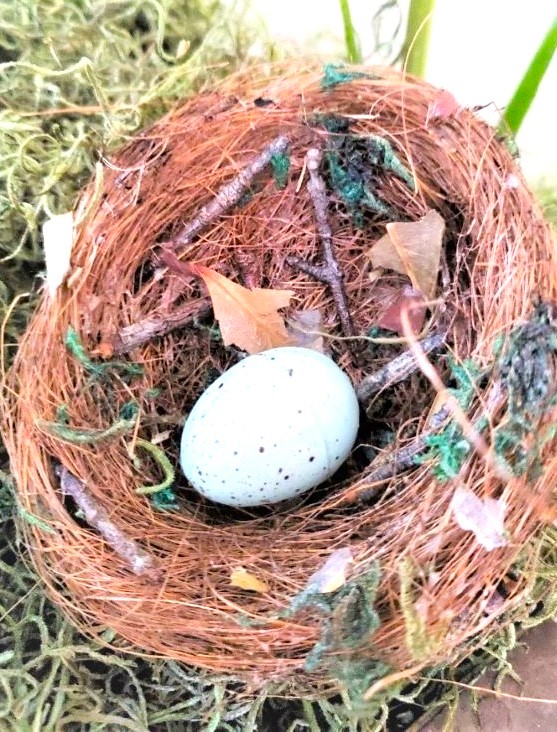
Step 4: Adding Bird Eggs To This Beautiful Wreath
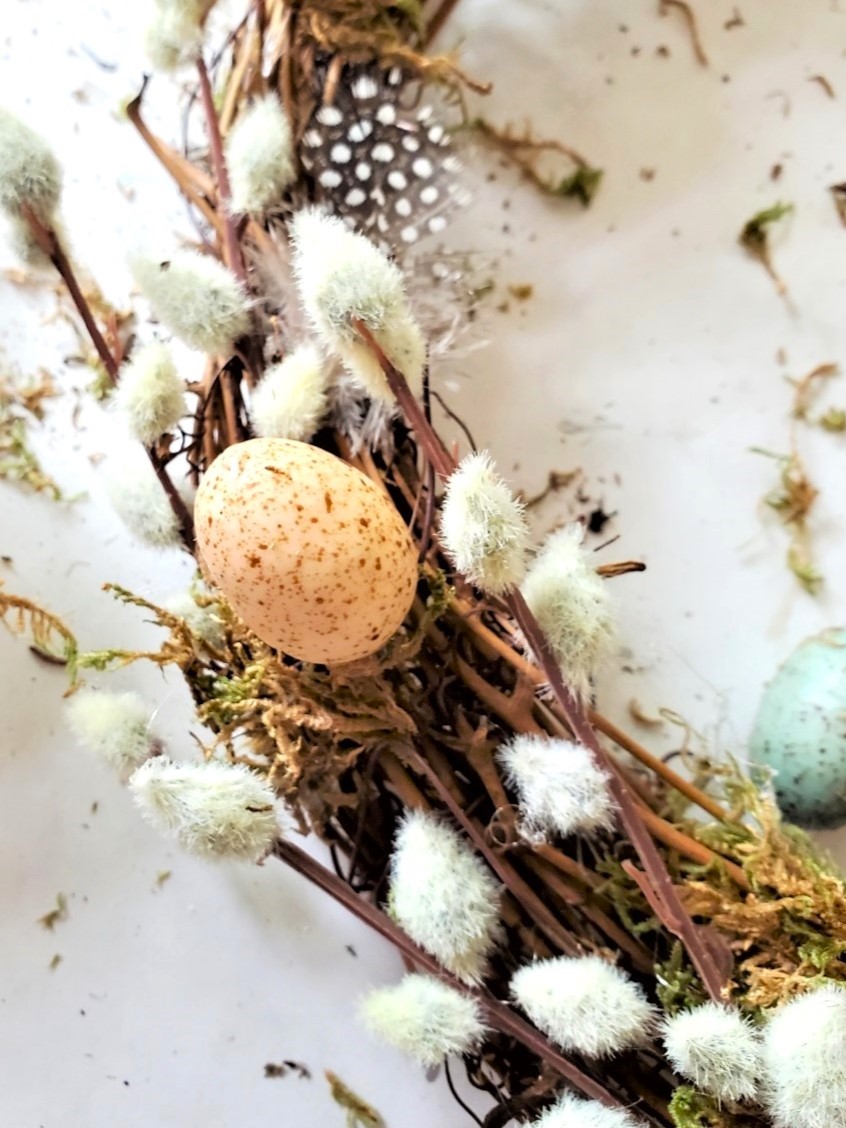
Finally, add small fake eggs in ivory and a robin’s egg blue adding more natural elements to this natural wreath. Again, a little bit of hot glue and you are all set.
Take a step back to make sure the wreath was looking symmetrical. I added more pussy willows, so the wreath was fuller.
It is normal if adjustments need to be made to a wreath. No worries it is easy to add these to the wreath and nothing moved.

I hope you enjoyed seeing how to make a natural spring wreath and make this beautiful wreath to add to your home for the upcoming spring season. My goal is to inspire my readers to make these quick and easy crafts to add to the home.
If you have any questions feel free to reach out via email or social media @clochesandlavender. As always happy crafting!
FOLLOW US ON: FACEBOOK, PINTEREST, INSTAGRAM, X, THREADS, AND TIKTOK

POSTS OF INTEREST:
CLICK ON THE IMAGE OR LINK AND DIRECTLY SHOP

Easy Natural Spring Wreath
Notes
Easy Natural Spring Wreath
Step 1: Shaping A Grapevine Wreath
Wrap the grapevine garland into an oval shape. Add the floral wire to the grapevine wreath. This is the perfect way to keep the delicate circle of branches tight for this natural wreath project. Connect with 22 gauge floral wire.Step 2: Pussy Willows Natural Spring Wreath
So next, using wiring cutters, cut the pussy willows and add a dot of hot glue so these stay attached to the grapevine wreath. These are weather resistant and perfect for a spring door wreath. I cut the stems a little bit shorter, I find it easier to add them to the grapevine. After adding the pussy willows, add moss in spots to add more natural elements for the spring season. Who doesn’t love moss for a natural wreath?Step 3: Spotted Feathers Natural Elements Spring Door Wreath
Here add this lovely piece set of feathers using a hot glue gun and a little bit of hot glue. Adding a few feathers to the top of the wreath is a perfect way to add texture to the lace ribbon. I enjoy adding elegant touches like lace ribbon to natural elements, especially a natural wreath.Step 4: Adding Bird Eggs To This Beautiful Wreath
Finally, add small fake eggs in ivory and a robin’s egg blue adding more natural elements to this natural wreath. Again, a little bit of hot glue and you are all set. Take a step back to make sure the wreath was looking symmetrical. I added more pussy willows, so the wreath was fuller. It is normal if adjustments need to be made to a wreath. No worries it is easy to add these to the wreath and nothing moved.


Cindy I love the wreaths you make. This one is so cute and pretty. Happy Thursday. Have a wonderful rest of the week. Hugs. Kris
I love your wreath. The combination of materials are pretty together. Great job!
Thank you so much Terrie!
Simple and sweet and so spring-y! Love it, Cindy.
Thanks so much Diana. Hope you are well!
Love the oval shape and adorable pussy willows. Oh so sweet little polka dot feathers and eggs. Glad to see you back Cindy. Pinned!
Thanks Debra. It’s been a tough beginning of 2023 for our household.
Just finished sorting my faux flowers and foliage and put aside a bag of flowers I can use for my spring/ Easter wreath. I purchased a plain very pretty fern wreath I will use as a base and add some colored eggs and tulips/lilacs ect to this and hang with a pretty green ribbon on our front door in April to replace the forsythia one I use for March. Such fun to decorate for different seasons without spending a fortune. Love your pussywillow ,egg and feather wreath.
Love saving money too. Your wreath sounds like it’s going to be a beauty.
You always come up with such pretty ideas!
Aww thanks so much! You made my afternoon!
I really enjoy watching what you come up with. I pick up ideas on different ways of doing my own crafts.
Thanks Lorraine. I love it! Either make the same piece or I want to inspire you to create your own.
This is SUCH a beautiful wreath, Cindy! I love pussy willows, especially for Spring. There is just something to fresh and hopeful about them. The ribbon you chose to hang the wreath with is lovely. Pinned!
Thank you so much Rachel. I love mixing rustic and elegant touches!
What a beautiful wreath Cindy. Thank you for sharing the step by step process to create this springy wreath. Love it!
Thanks so much and I love sharing my creations!
No one does nature inspired wreaths like you do Cindy! I love the wreath form you chose, the muted color eggs, the feathers – I just love it all. It’s so pretty! Great job sweet friend, CoCo
I love nature and adding it to a wreath is the best. Thanks so much my friend!
I would’ve never have thought of using an oval shape, but of course, why not. It’s lovely Cindy!
Thank you very much!
It’s just beautiful, Cindy! I love the gentle colors, perfect for spring.
Cindy, I love your natural spring wreath tutorial. You do such beautiful work.
Visiting today from Unlimited Linky #102 #50
Thank you so much!
Cindy, I adore this wreath! The pussy willow and small eggs look wonderful together, and the sweet feathers are the perfect addition! Happy Spring to you!
Thank you so much Donna. I’m very happy with how it looks
Hi Cindy, I have chosen your wreath to be featured tomorrow with Whimsy Home Wednesday Link Party. I loved the colors, textures, and soft elements you used. Thank you so much for sharing your inspiration with us!
Thank you so much!!
Cindy, this is so pretty! I’ll be featuring your post on tomorrow’s Crafty Creators. Thanks for sharing with us! Hope to see you there again!
Niki | Life as a LEO Wife
Niki thanks so much!
Thank you so much for your kind words and feature!