
Flameless Candle DIY
Let’s see how to make a flameless candle DIY for home décor.
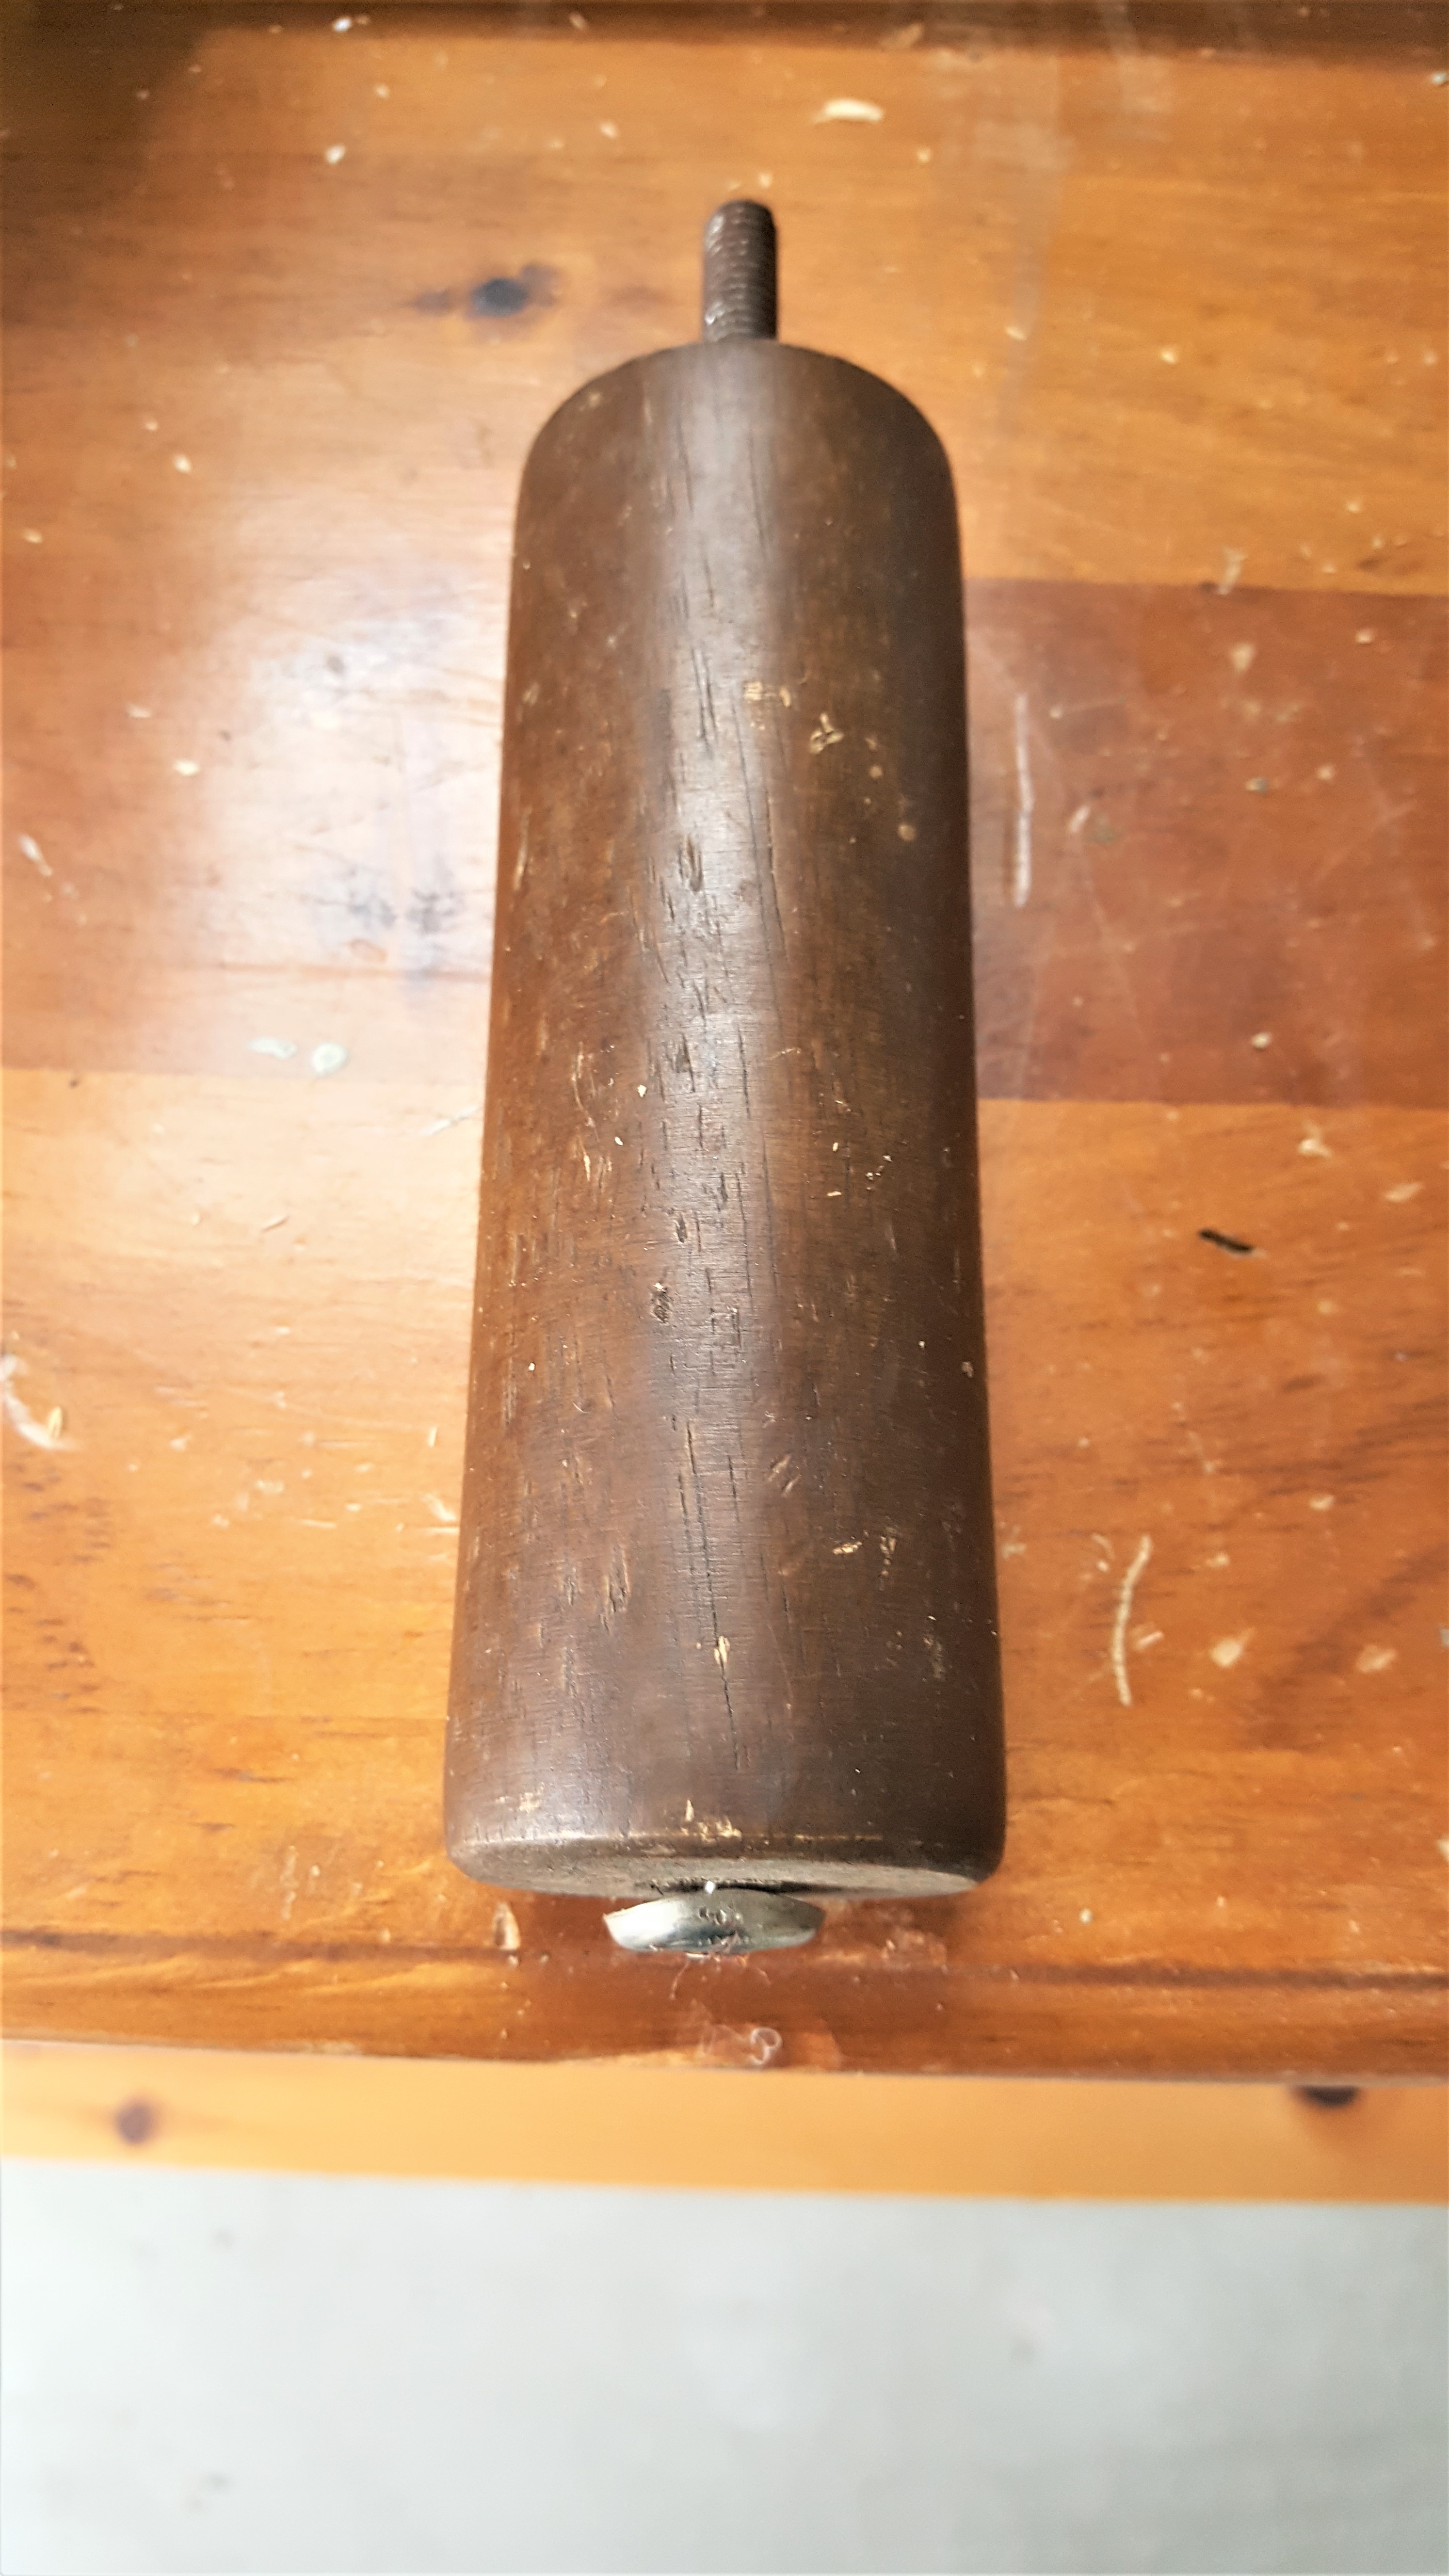
This simple DIY is from an old furniture leg. Yes, I said furniture leg for a flameless candle project.
However, the best part of this craft project is it’s easy. And making your own battery operated candle is budget friendly.
This craft is very easy so do not be intimidated at all. I share a full tutorial, and this is the BEST part!
By the way I am using an old furniture leg. Can you believe?
Coming Up with the Design to Make Rustic Candle
Step 1: The Desining Idea to Make the Project
After seeing the size of the furniture leg, I immediately saw a candle. However, making a flameless candle DIY for my home décor that didn’t light wasn’t going to be good enough.
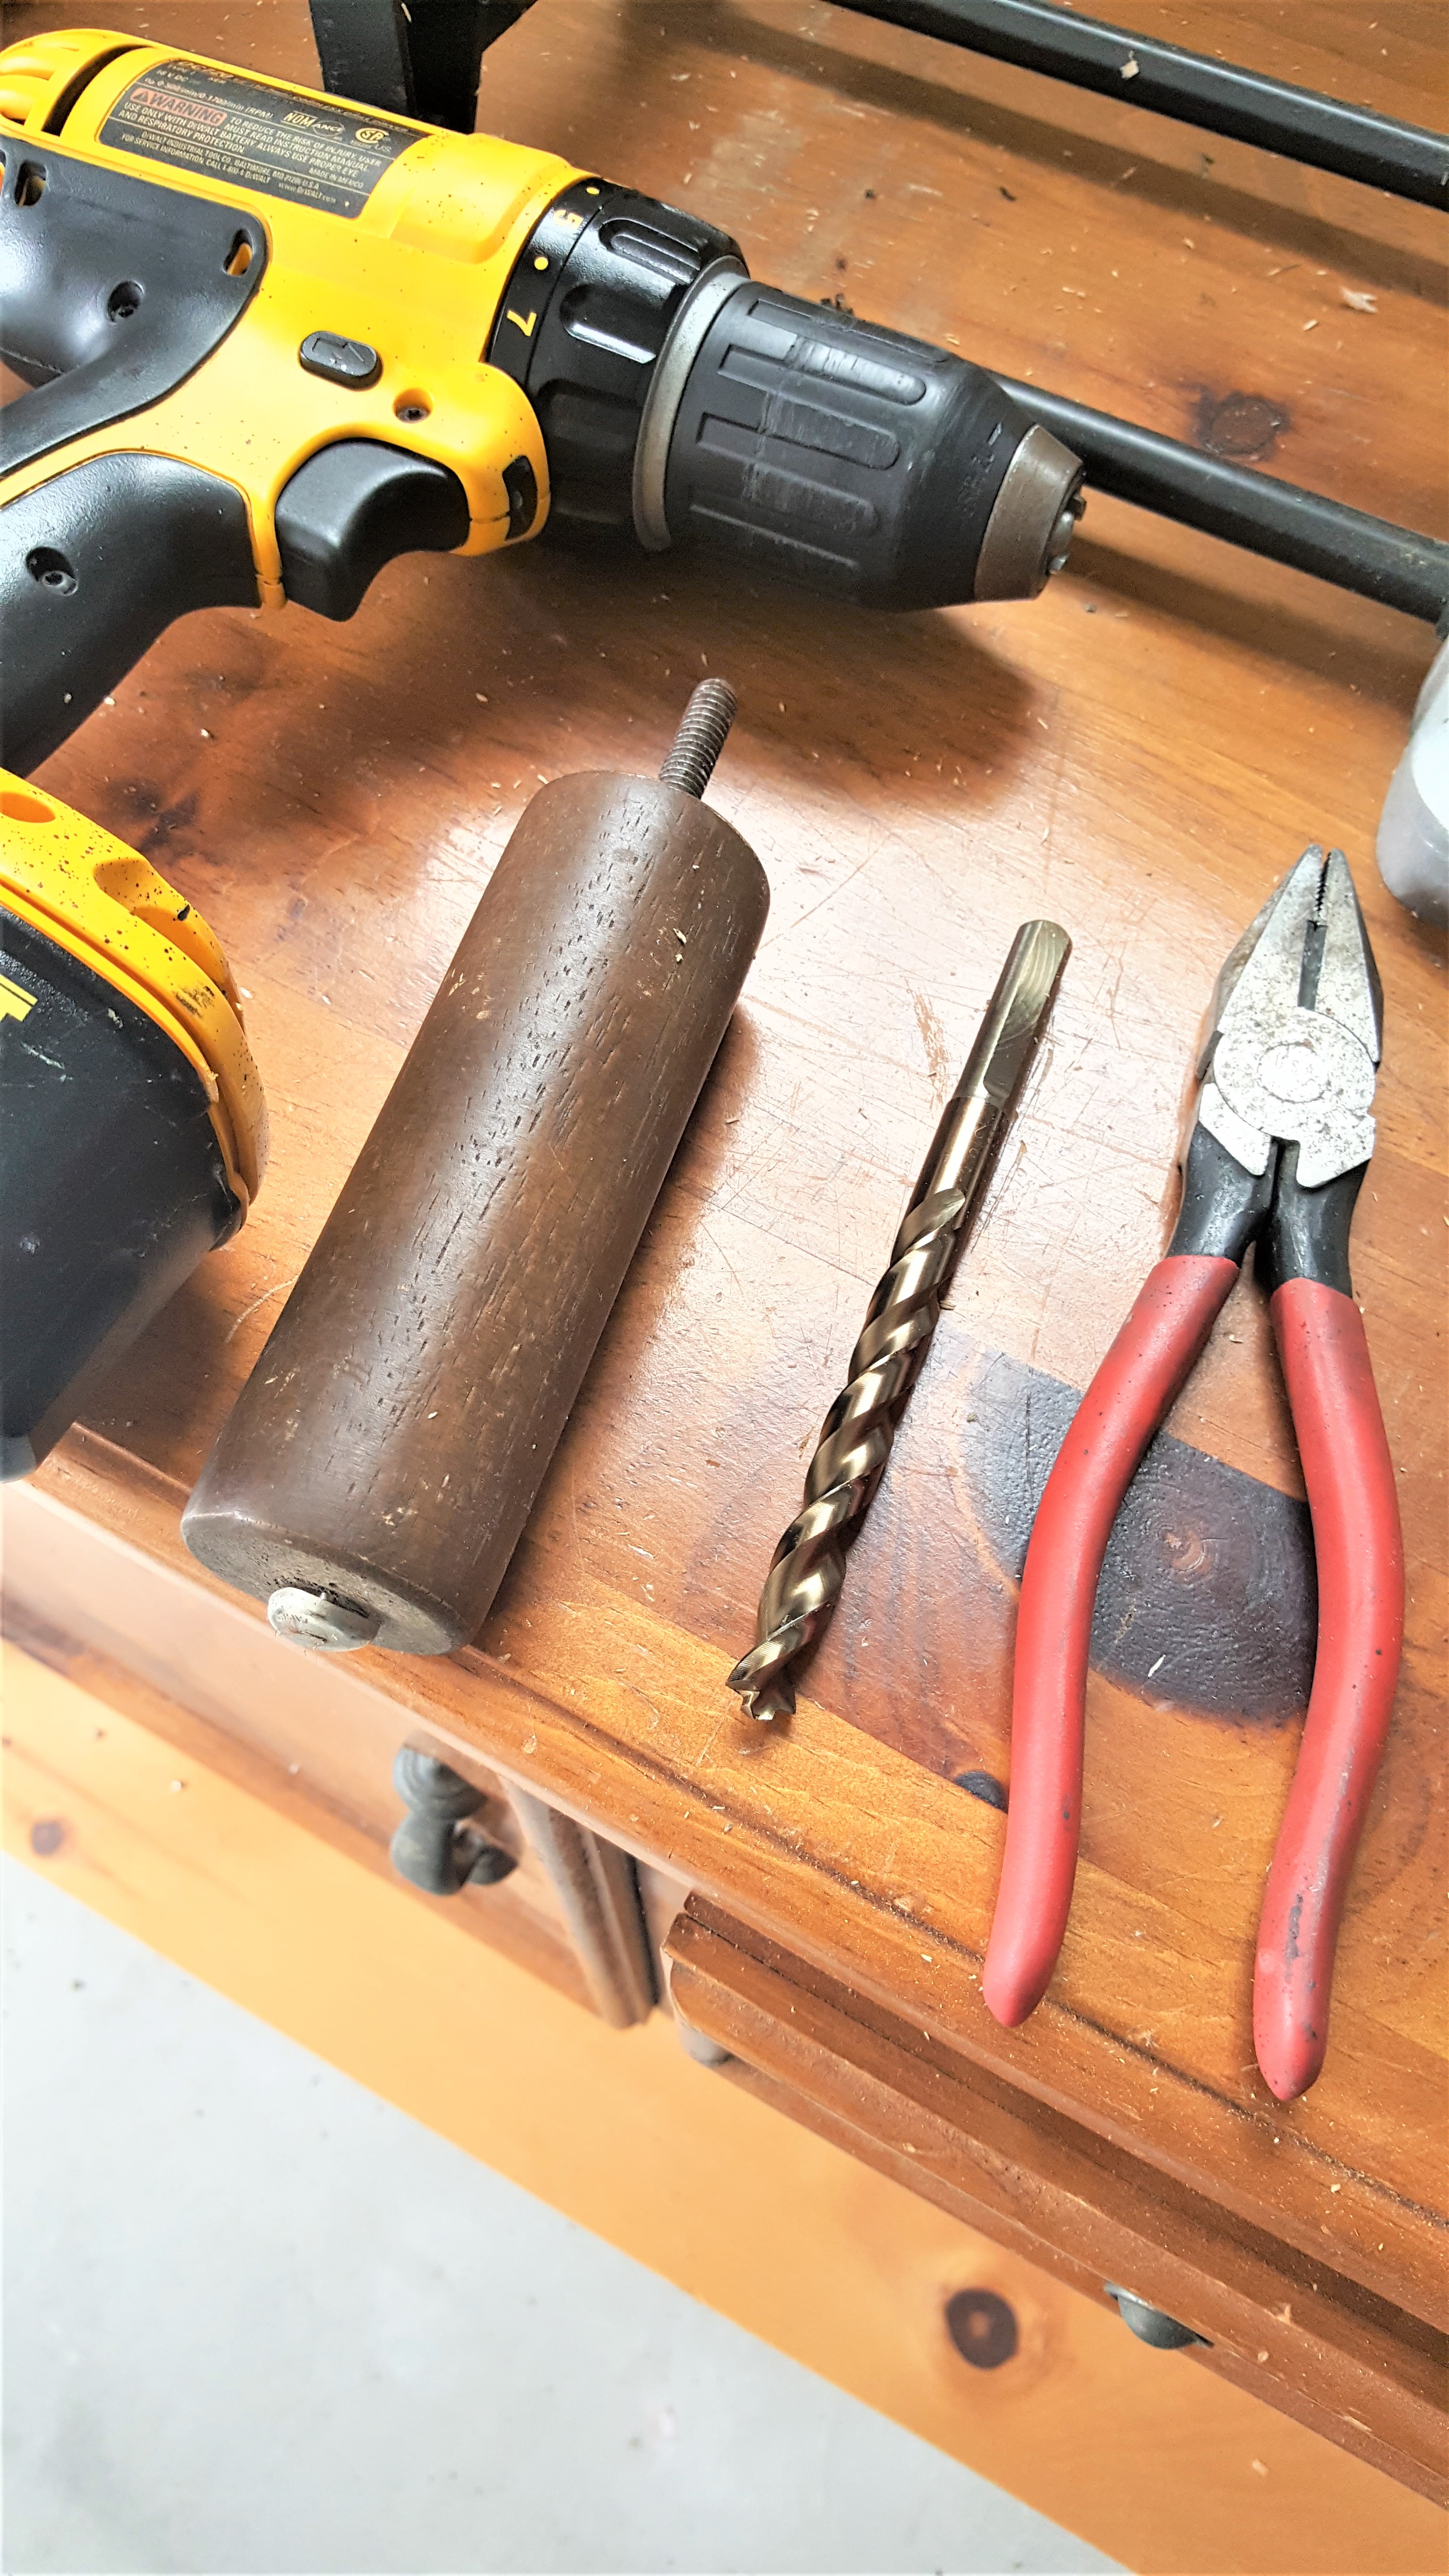
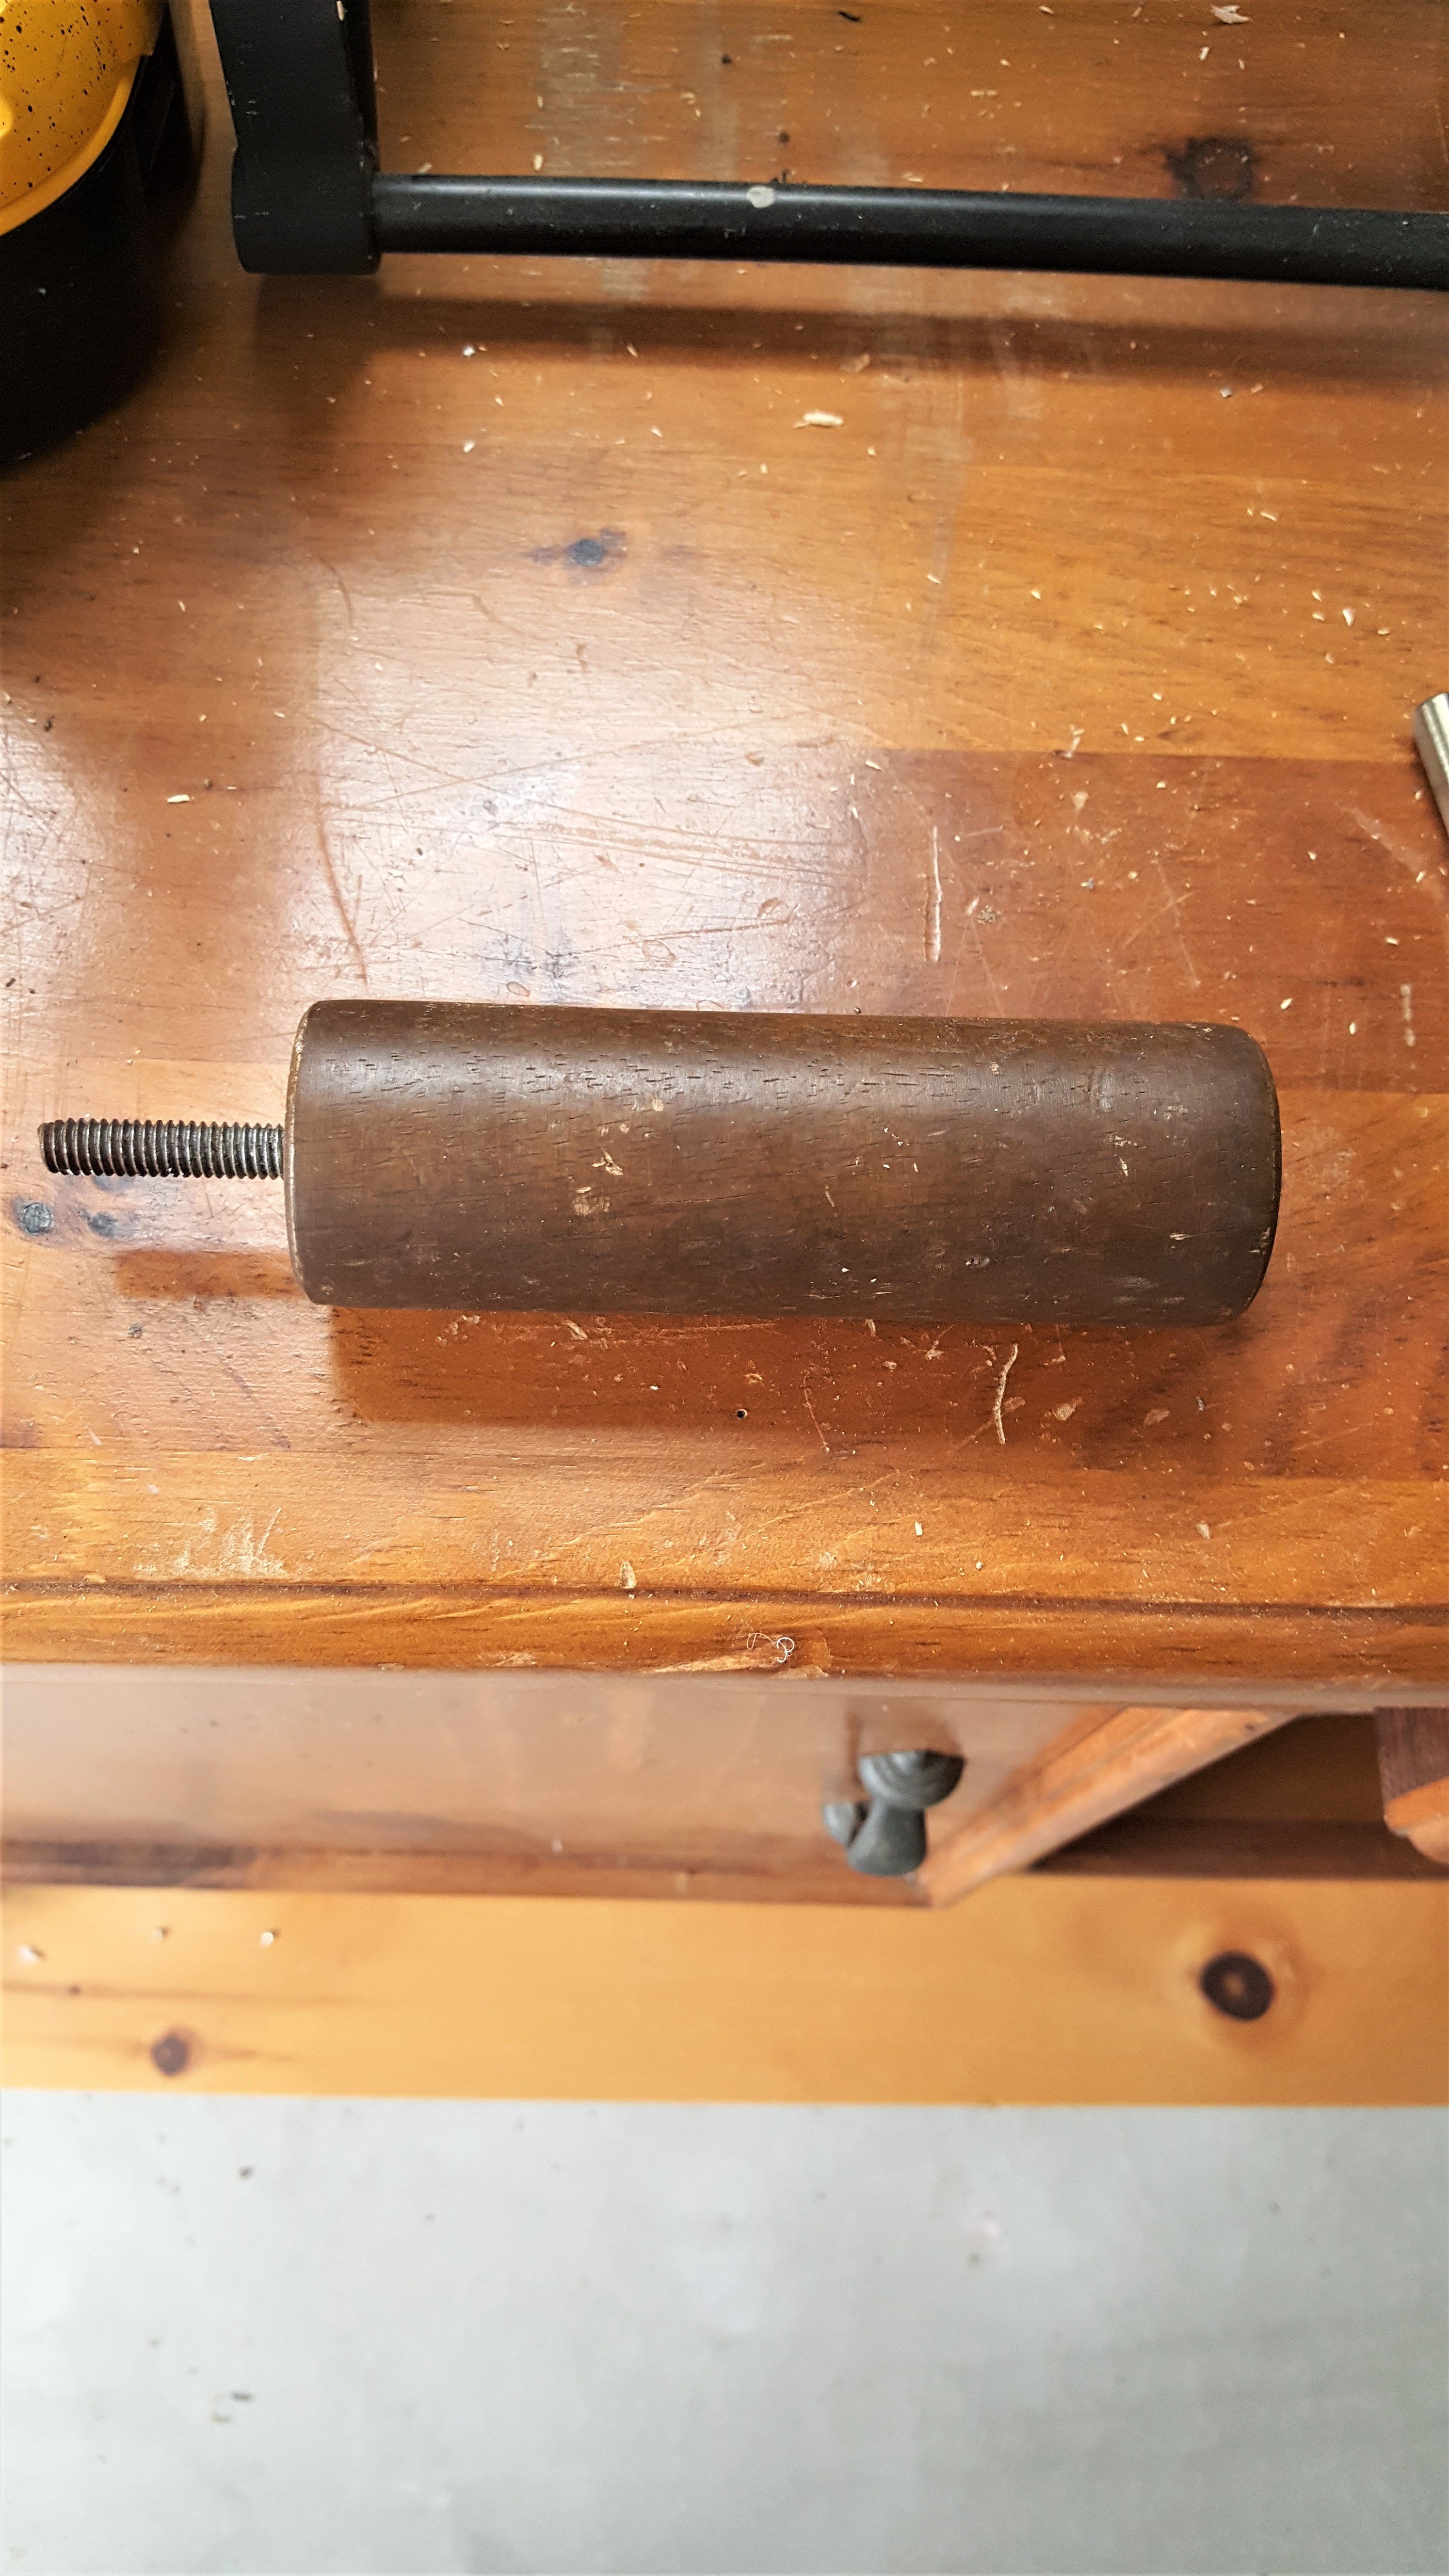
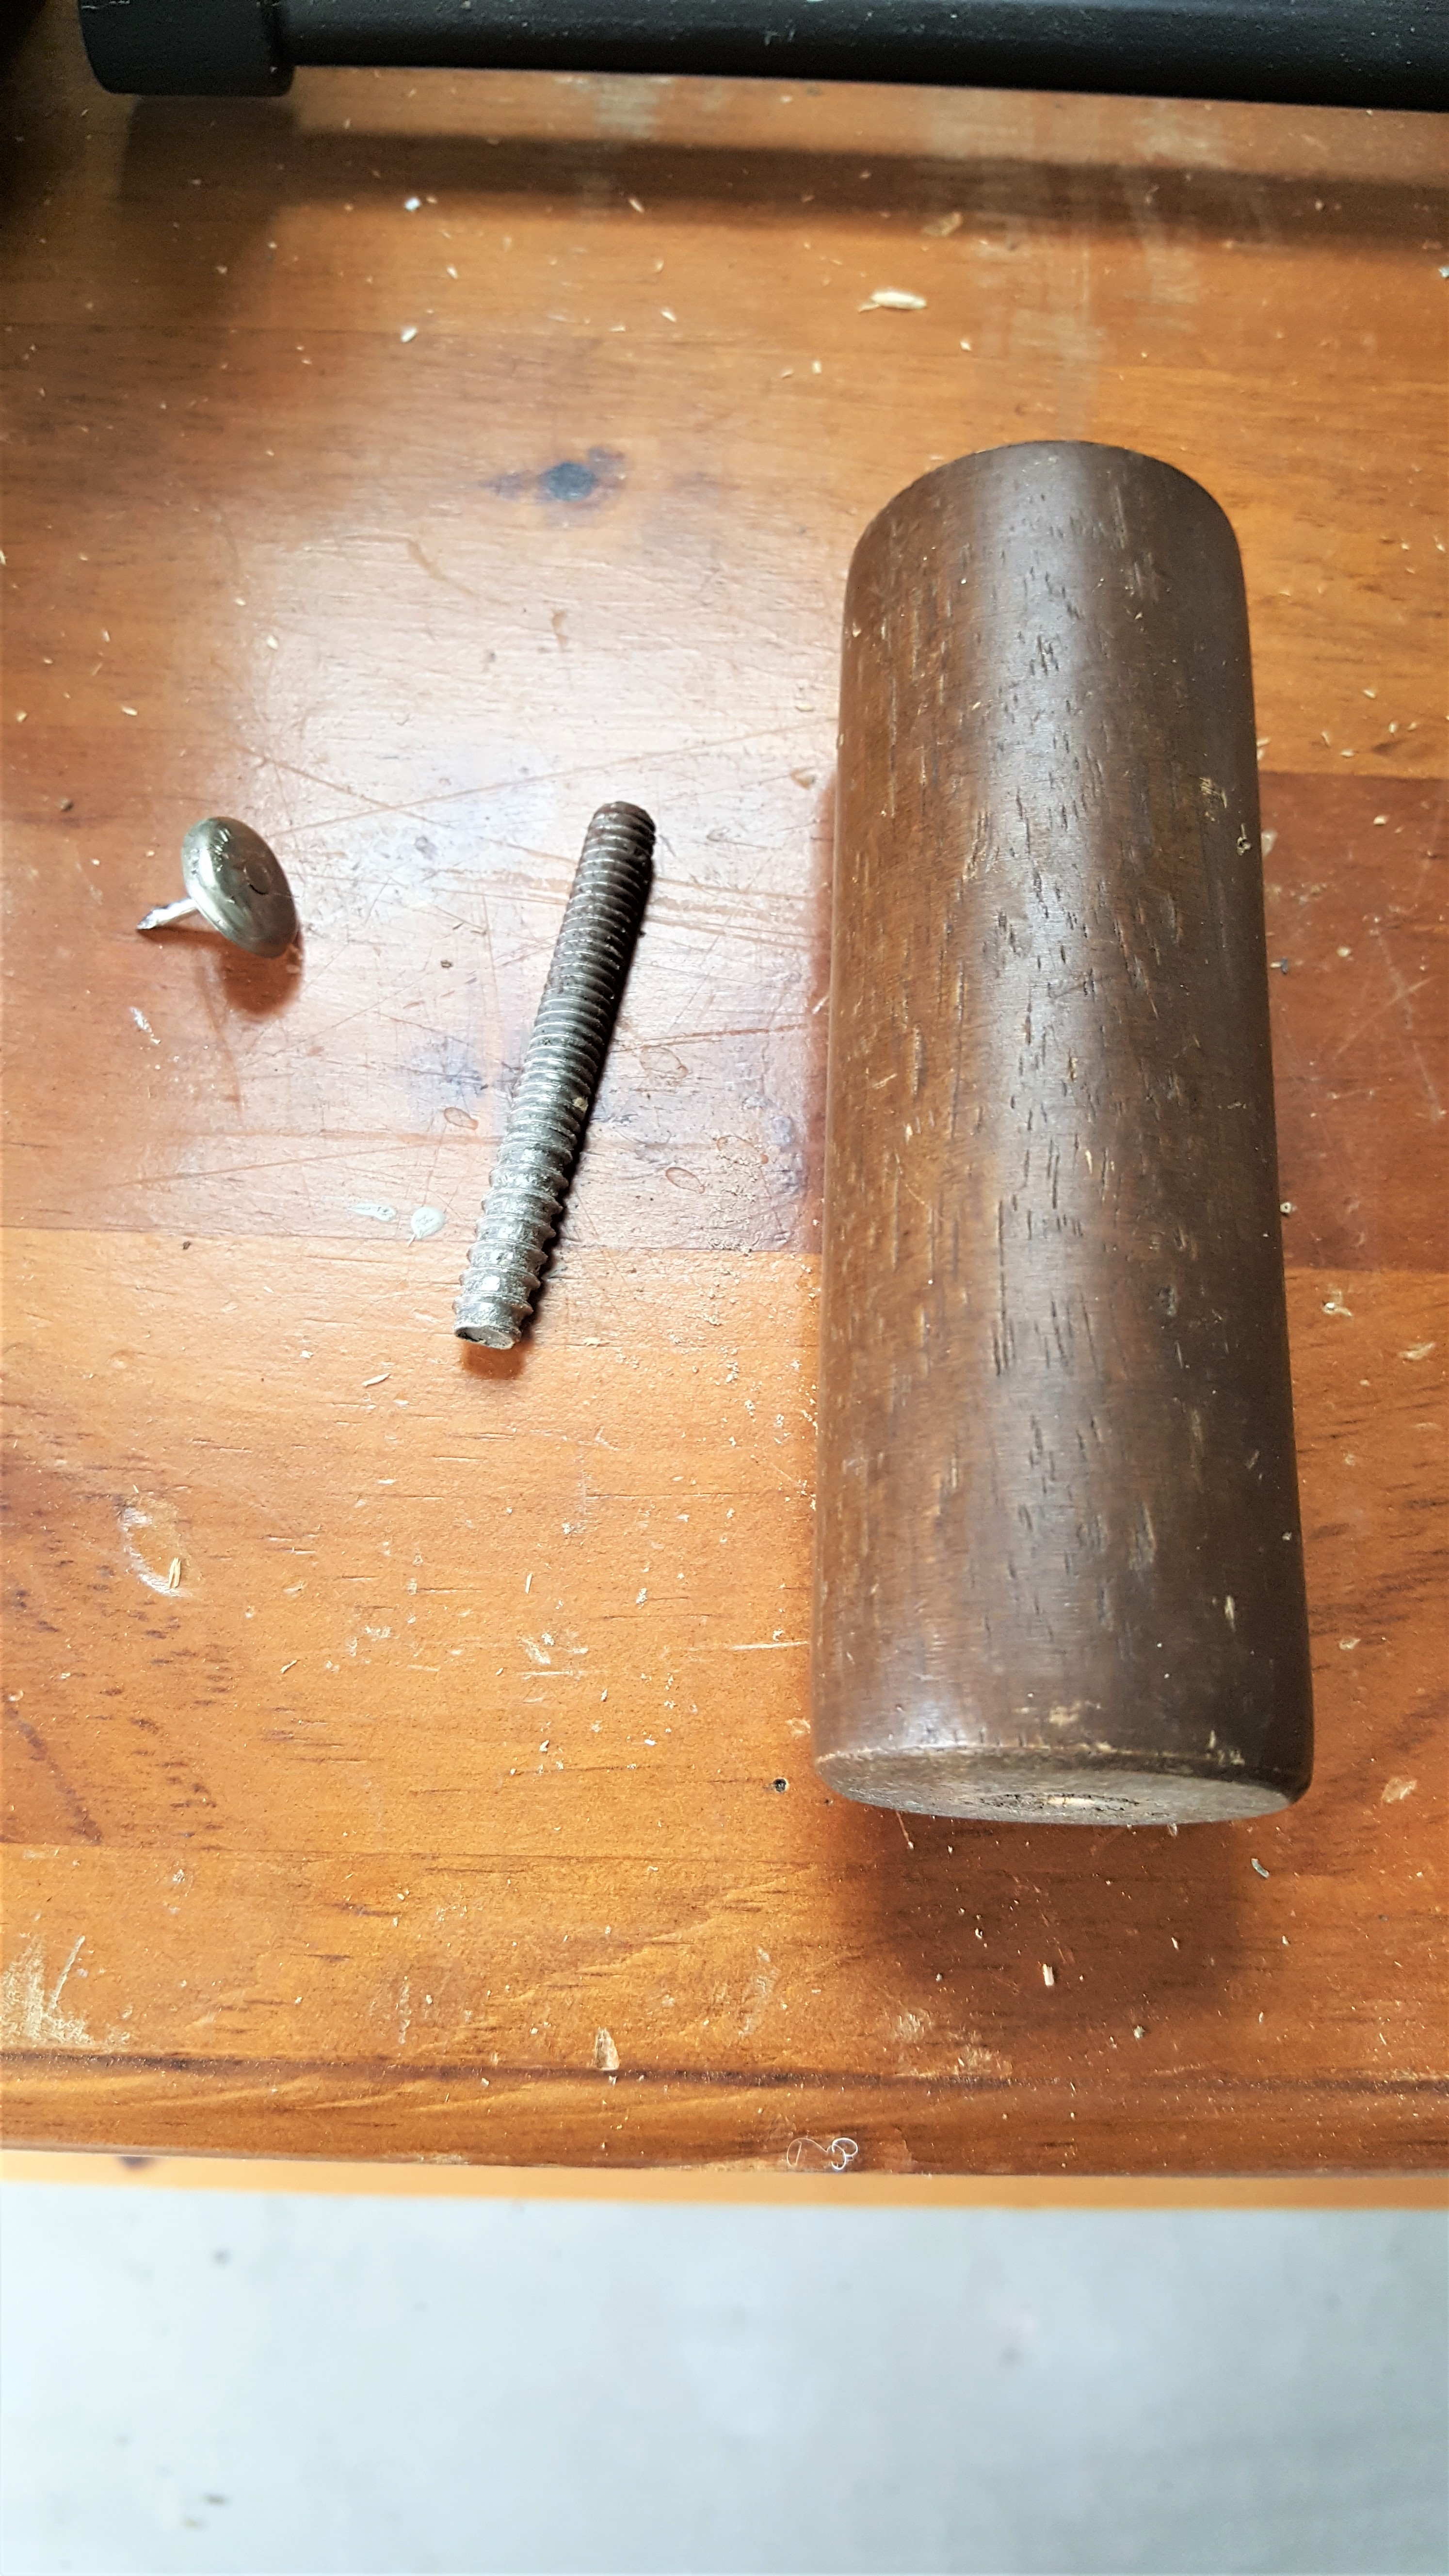
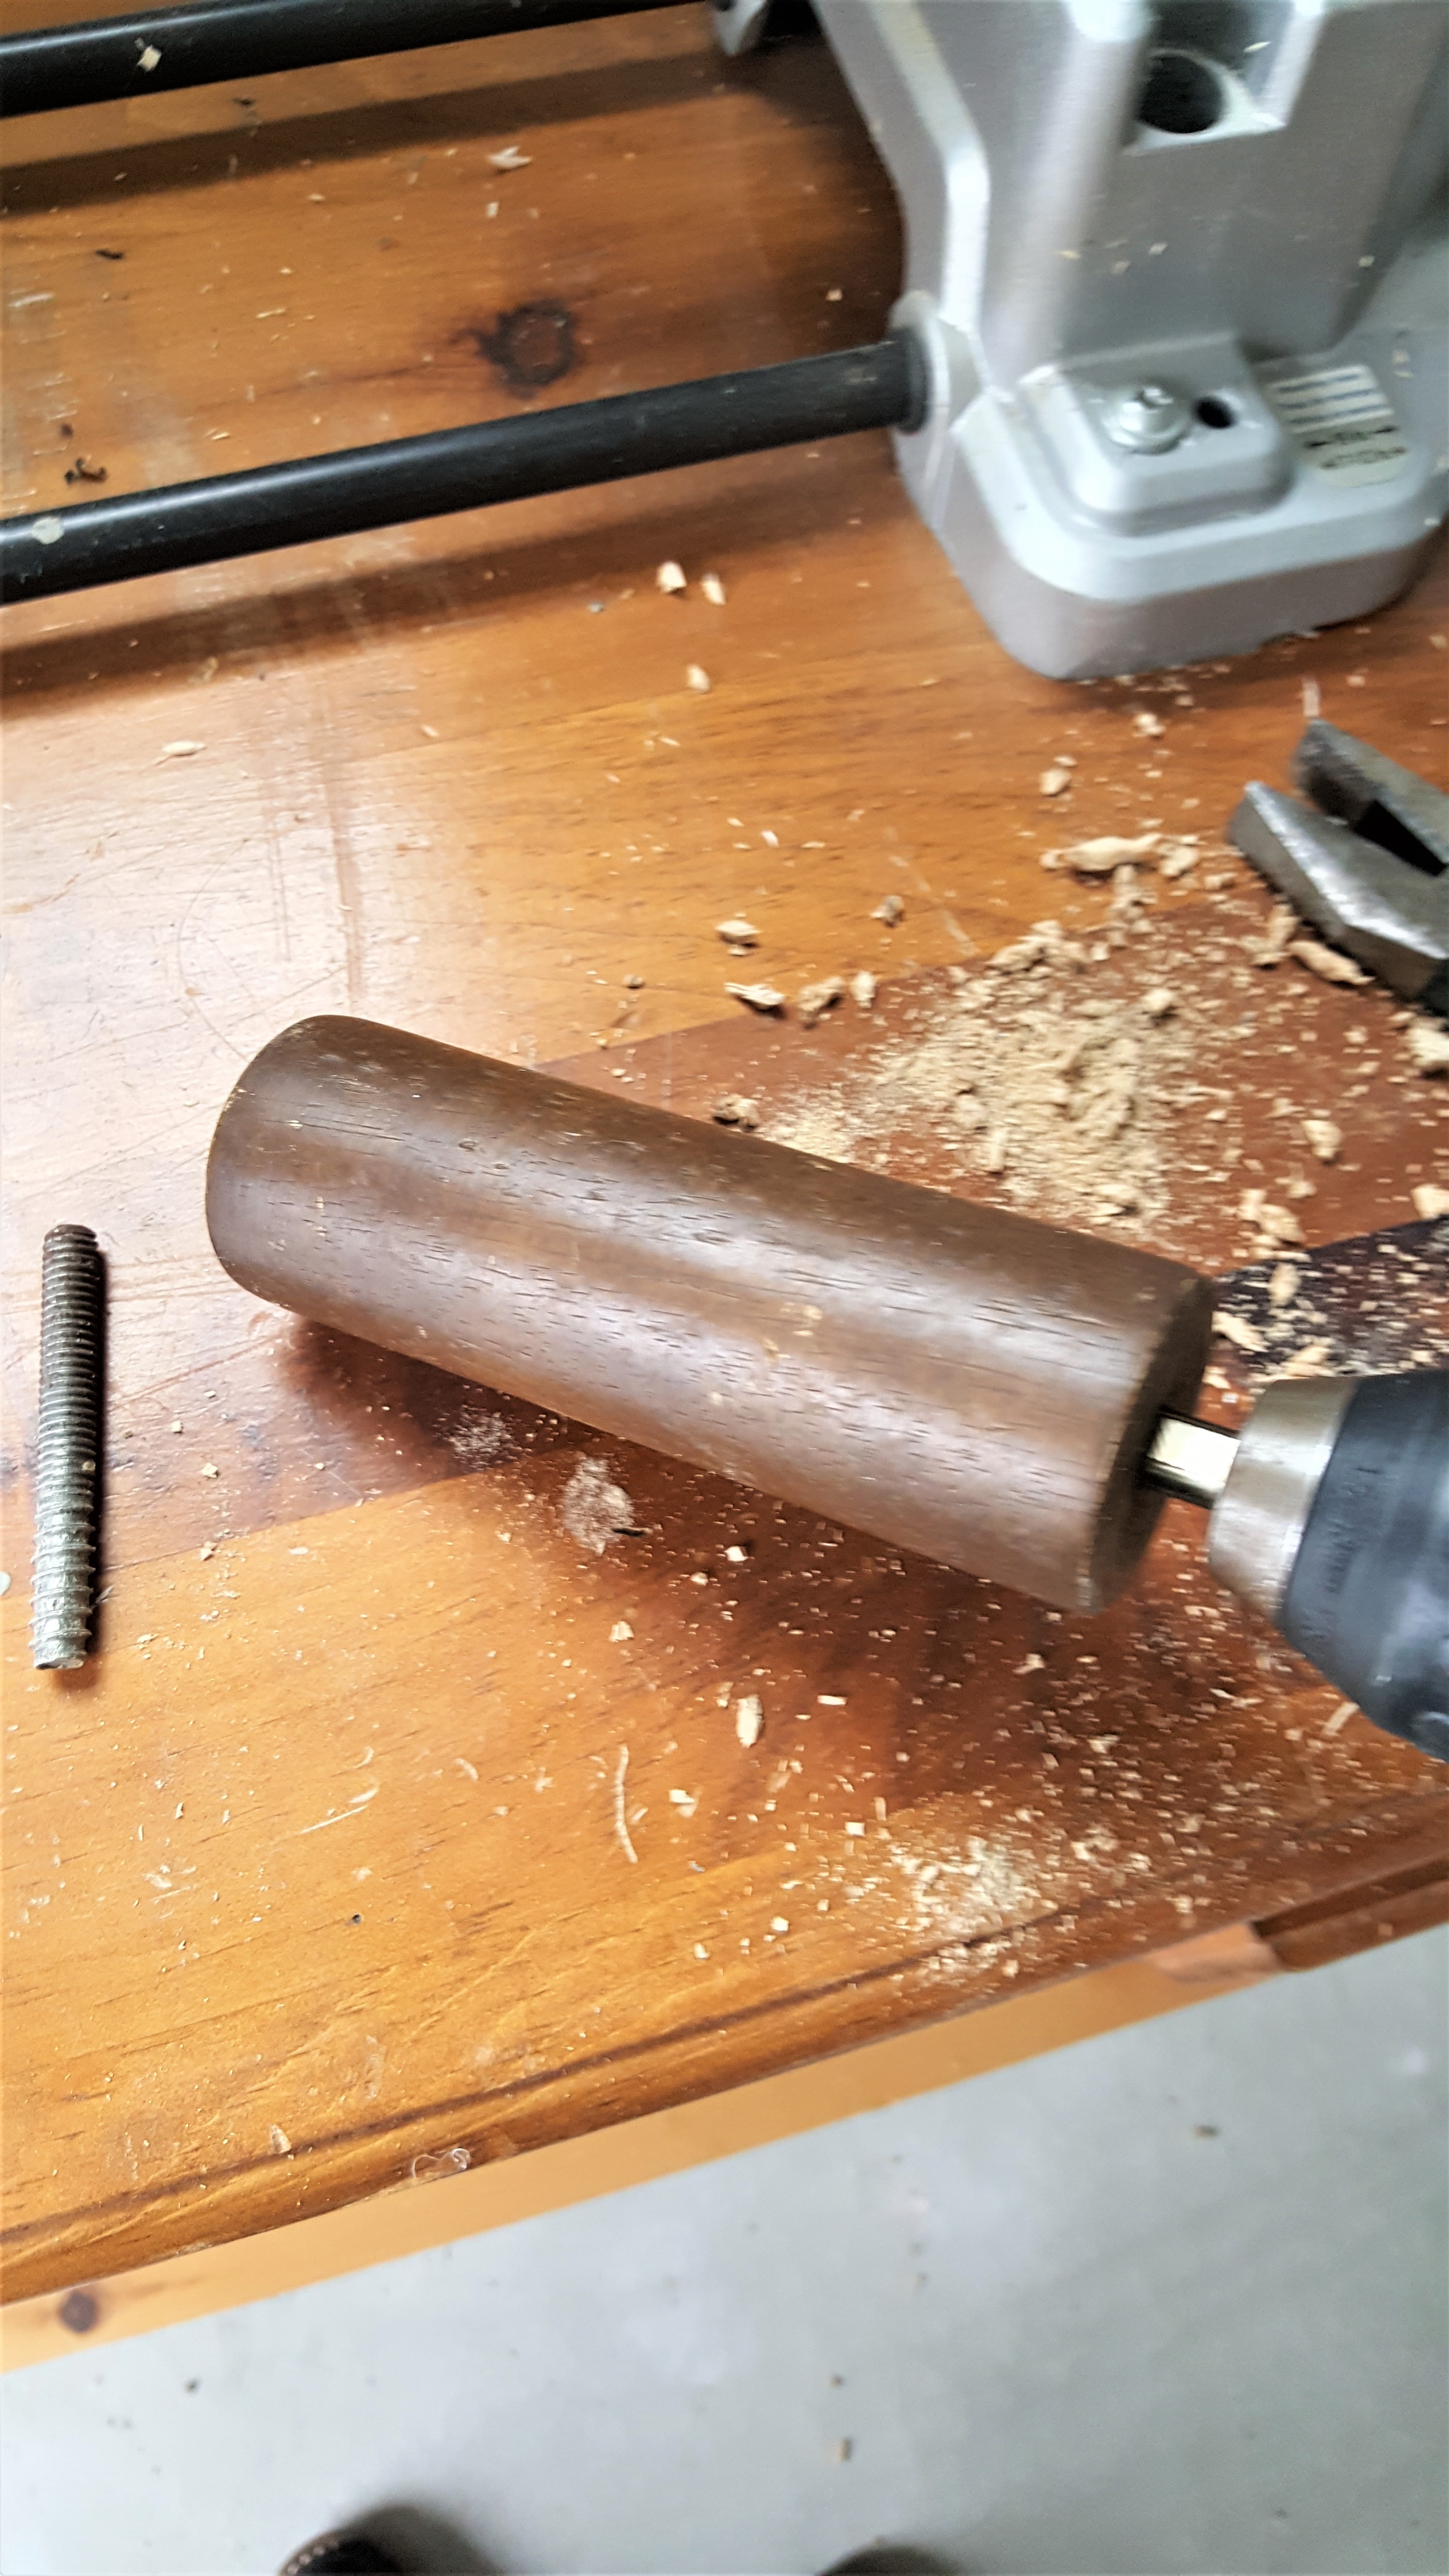
First, we took the long screw out from the center of the wood furniture leg for my flameless rustic DIY. It is an easy process for this battery operated candle project.
After removing the screw and metal cap, using a drill, he drilled straight through to the other side.
***Tip: It may be an issue finding a furniture leg. So, what can you use for this easy to make DIY? Well, here’s the answer. A WOOD CLOSET POLE.
This is inexpenvive and you can find this at ANY homeimprovement store. Therefore, a closet pole is better. Why?
***Because, many sizes for your home cand this simple homemade flameless project can be made! Imagine having different sizes to use in home decorating!!! A LINK will be at the BOTTOM!

Finding a Warm White LED Light for the Flame
Step 2: Adding Light for a Flame
Now, I had to come up with a plan how to make this flameless candle DIY light.
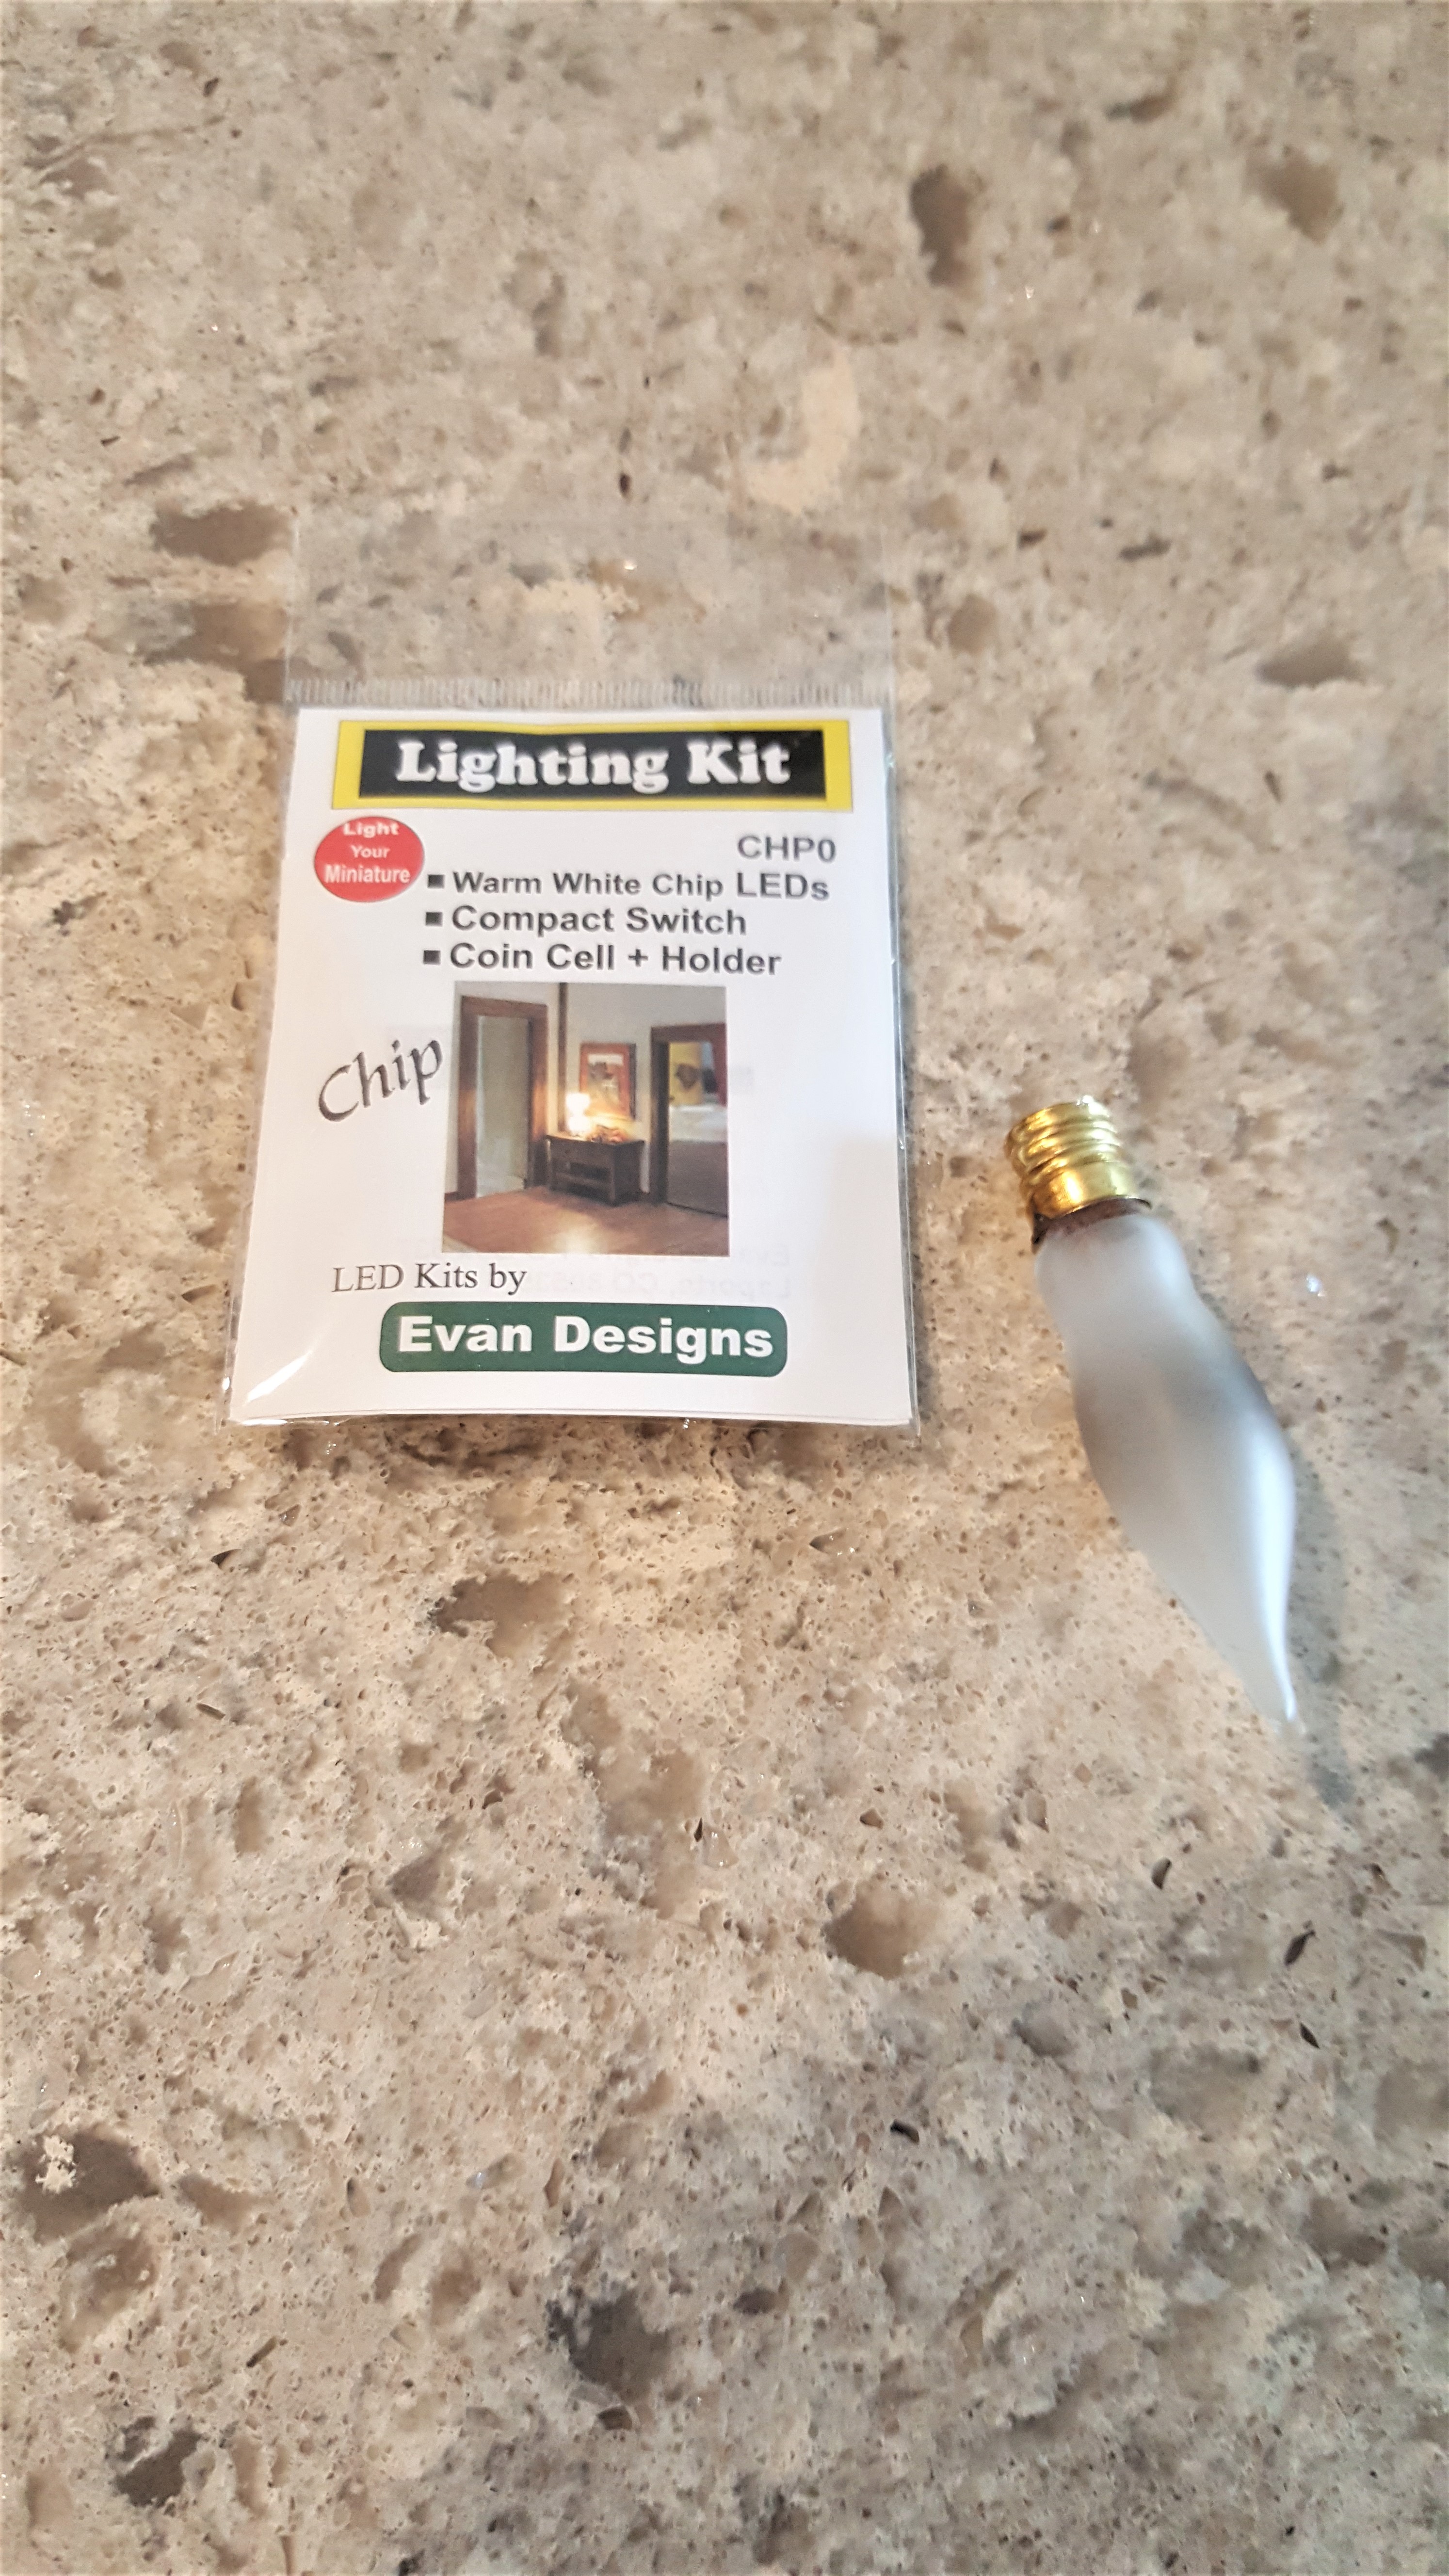
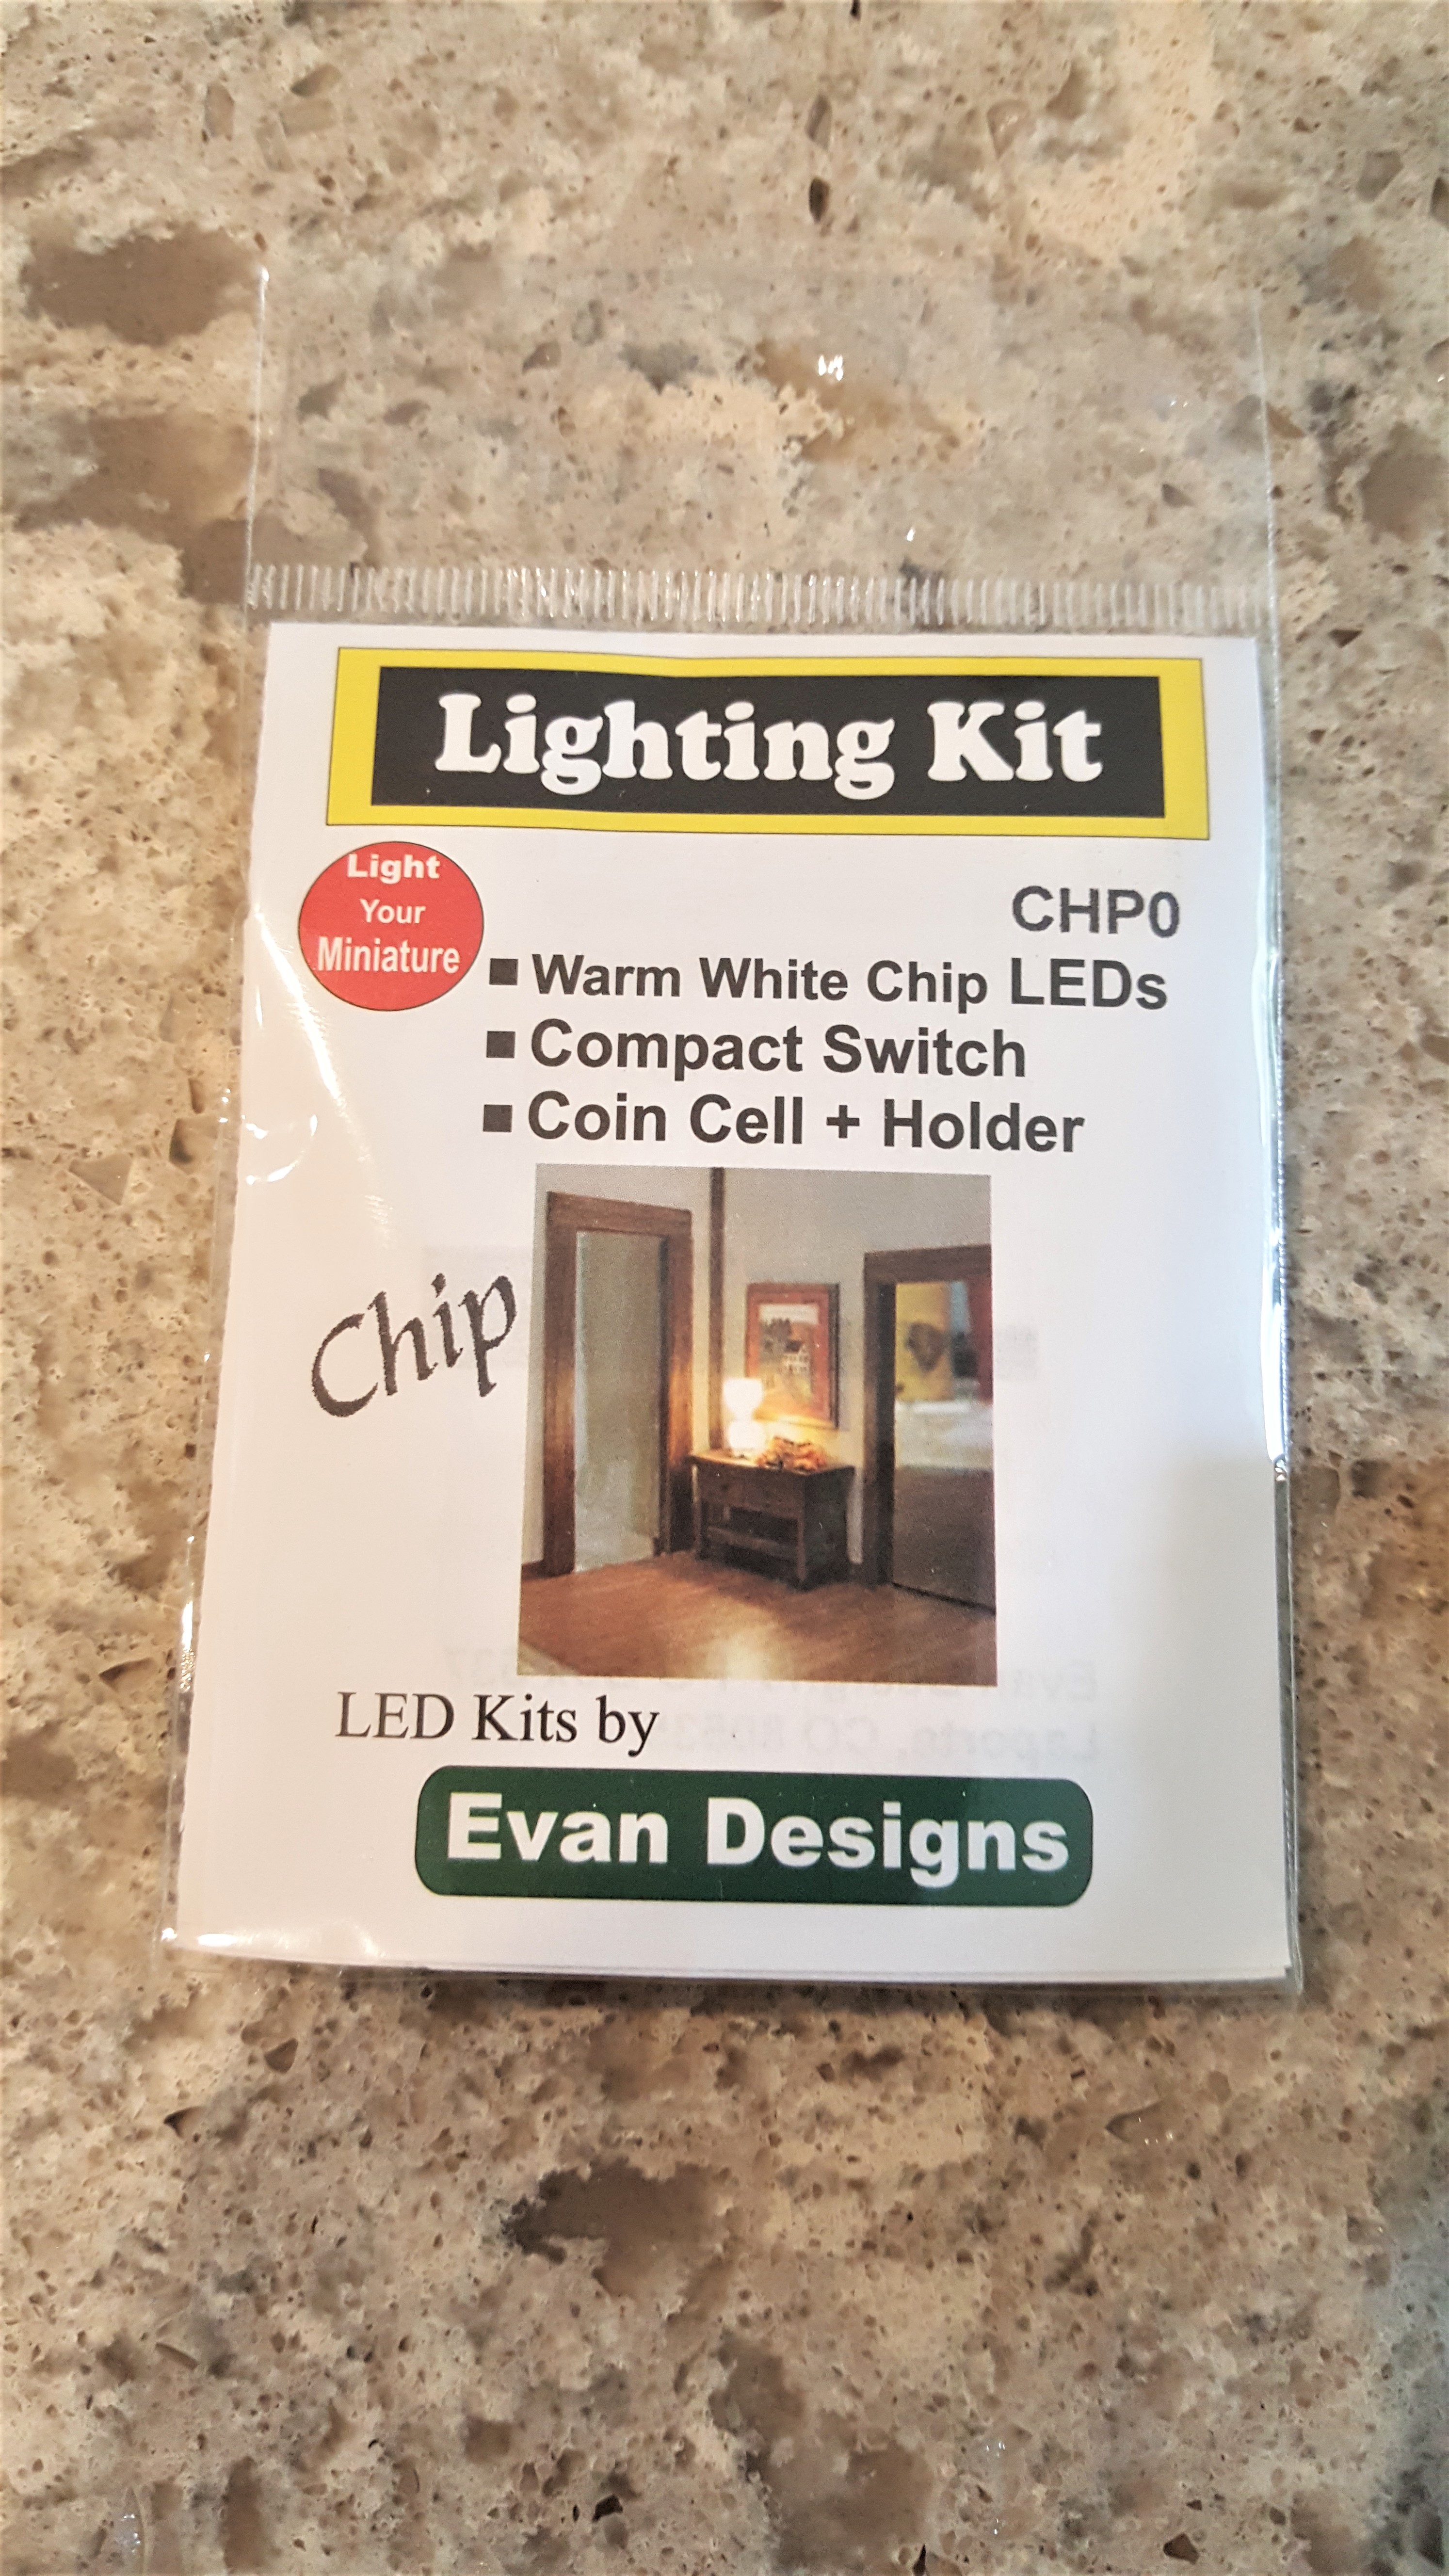
This is when the internet becomes my best source of information for this easy craft idea. As I did some looking, I Googled, LED battery operated light. Jackpot, Evan Designs popped on my screen. This immediately gave me a smile because I was beginning to see my vision come true. Take a look around their site because you may find pieces for a project.
Next, I placed my order for a package of LED lights for my flameless craft candle. Lighting is accomplished.
Putting an Idea Together for a Flame for This Easy DIY
Step 3: Light Using an Old Flame for the Outer Shell
Next, I knew I wouldn’t be happy if I didn’t have a flame for my flameless candle project. So, because, we designed our home with an outlet under every window for window candles all year round I had my solution.
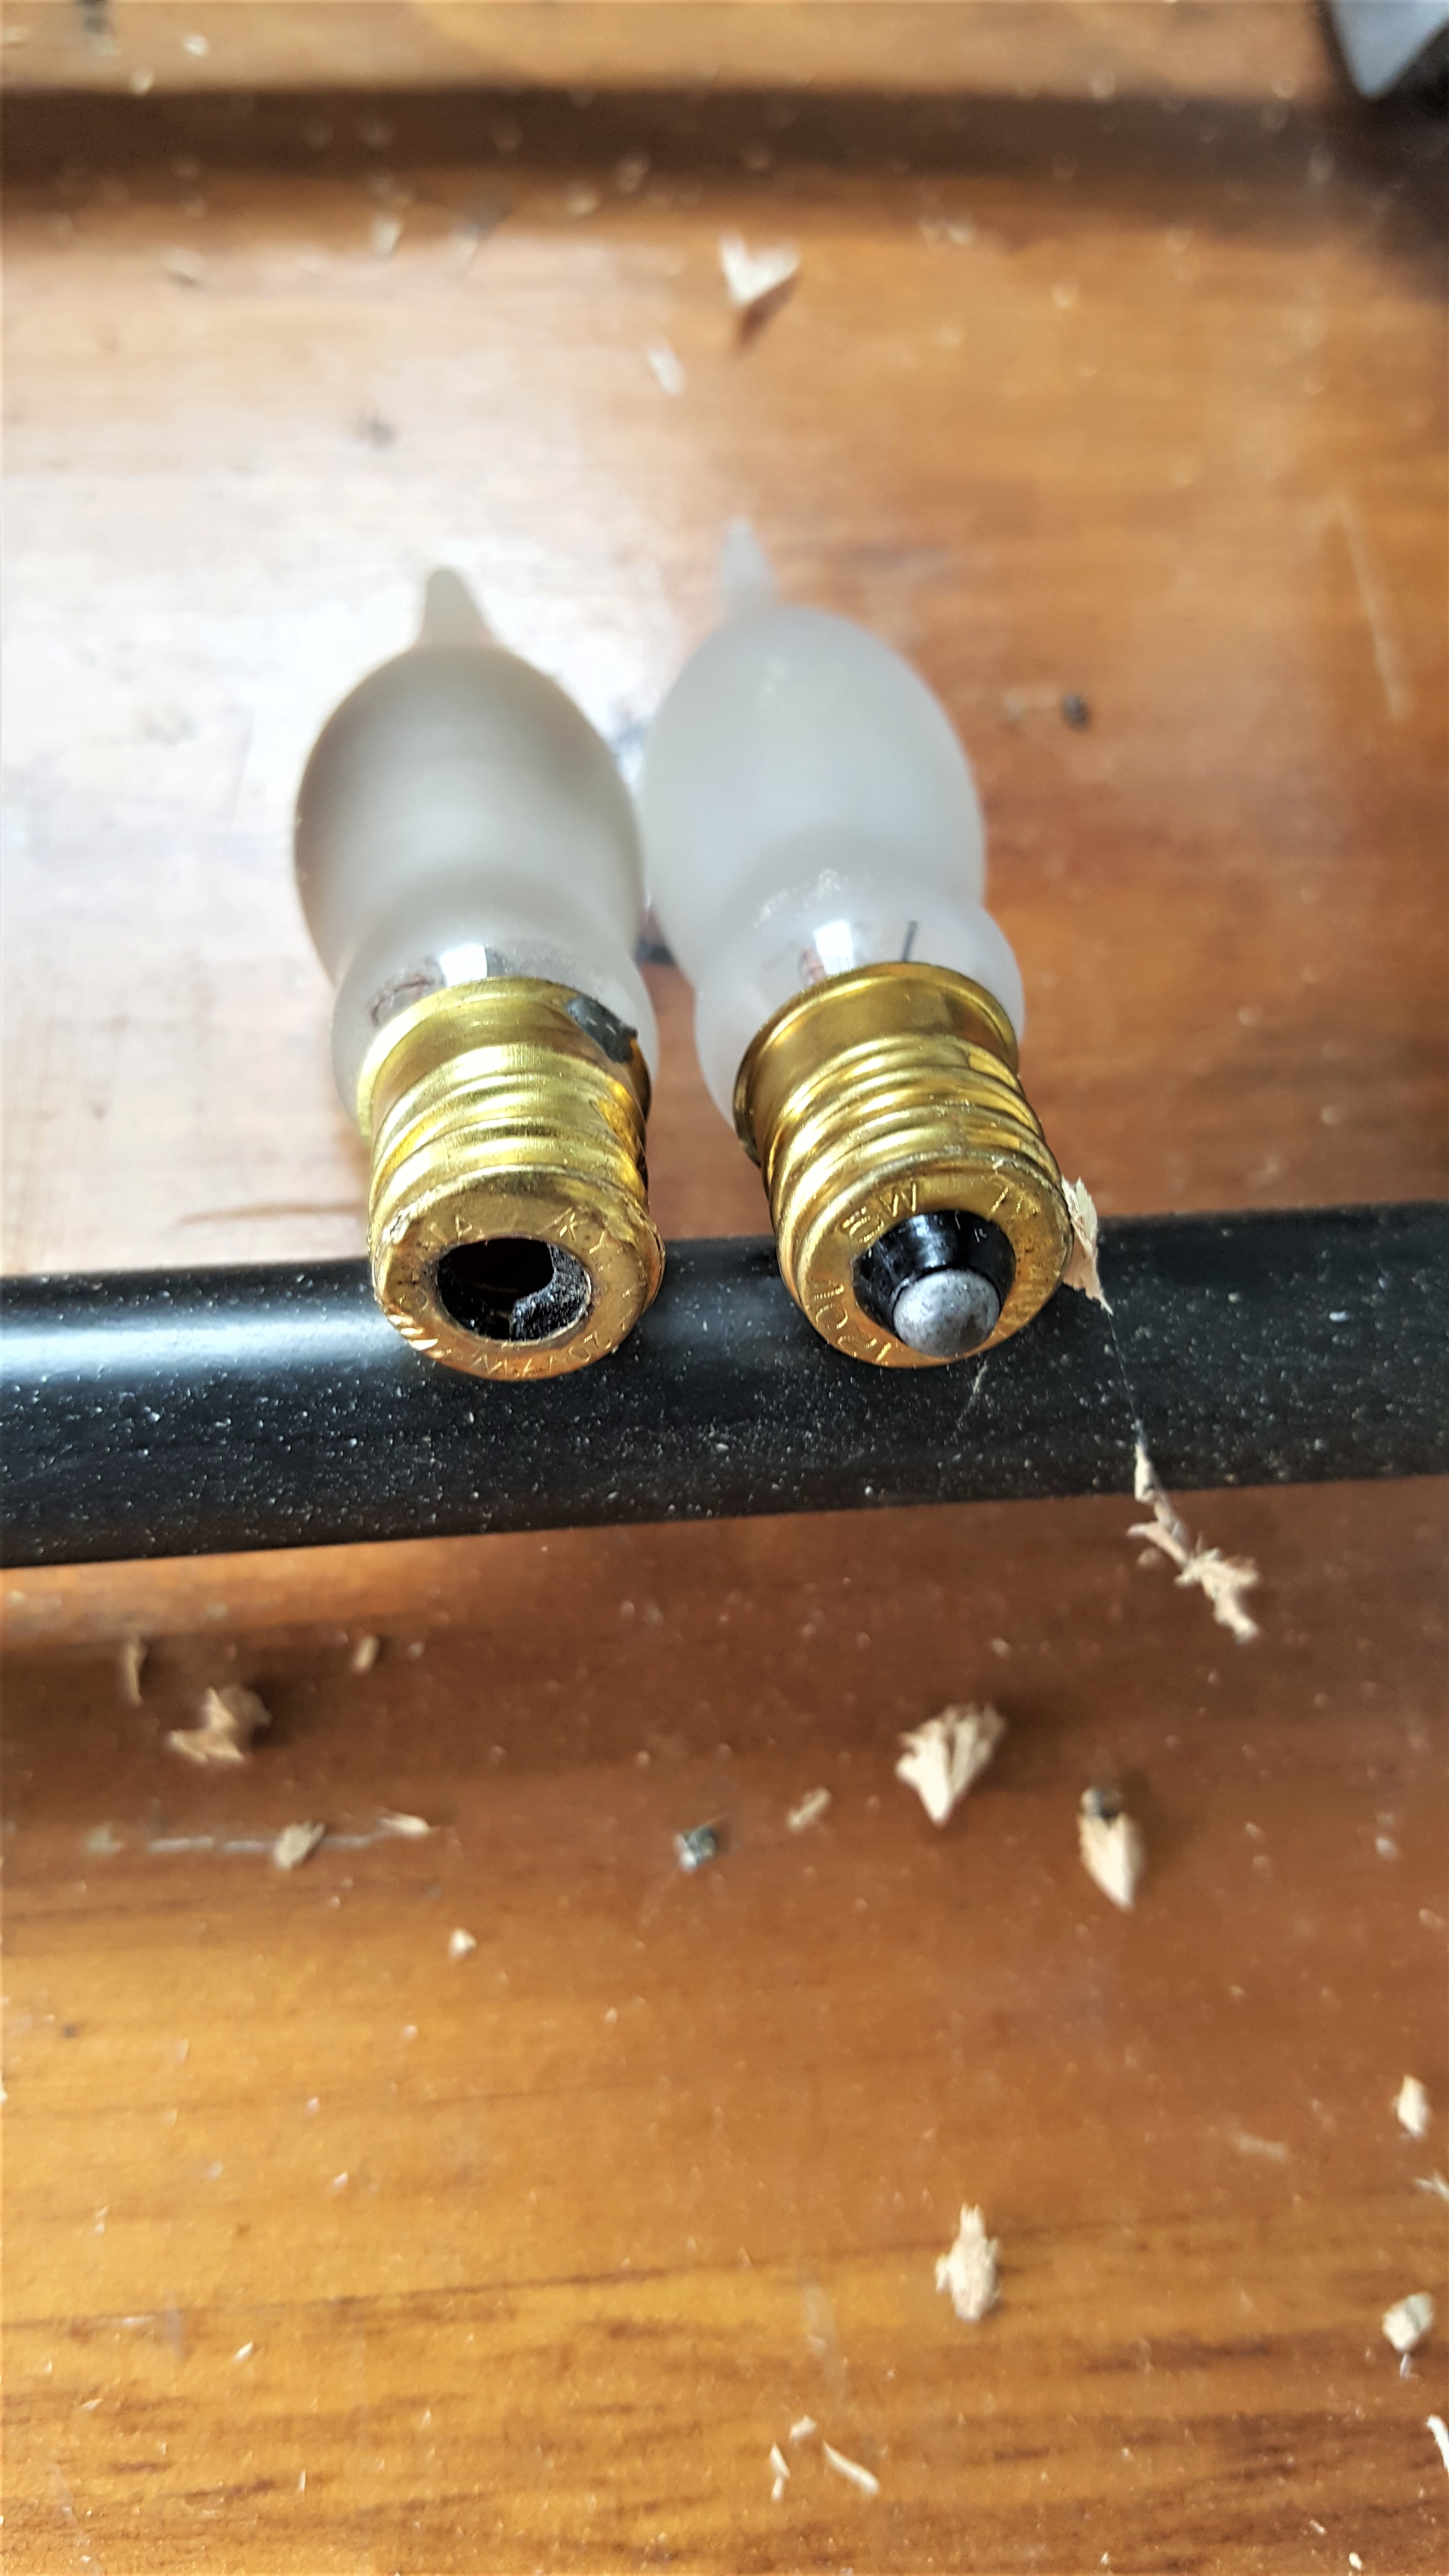
Because we have window candle lights all year round, we have frosted candle flame shape bulbs at all times.
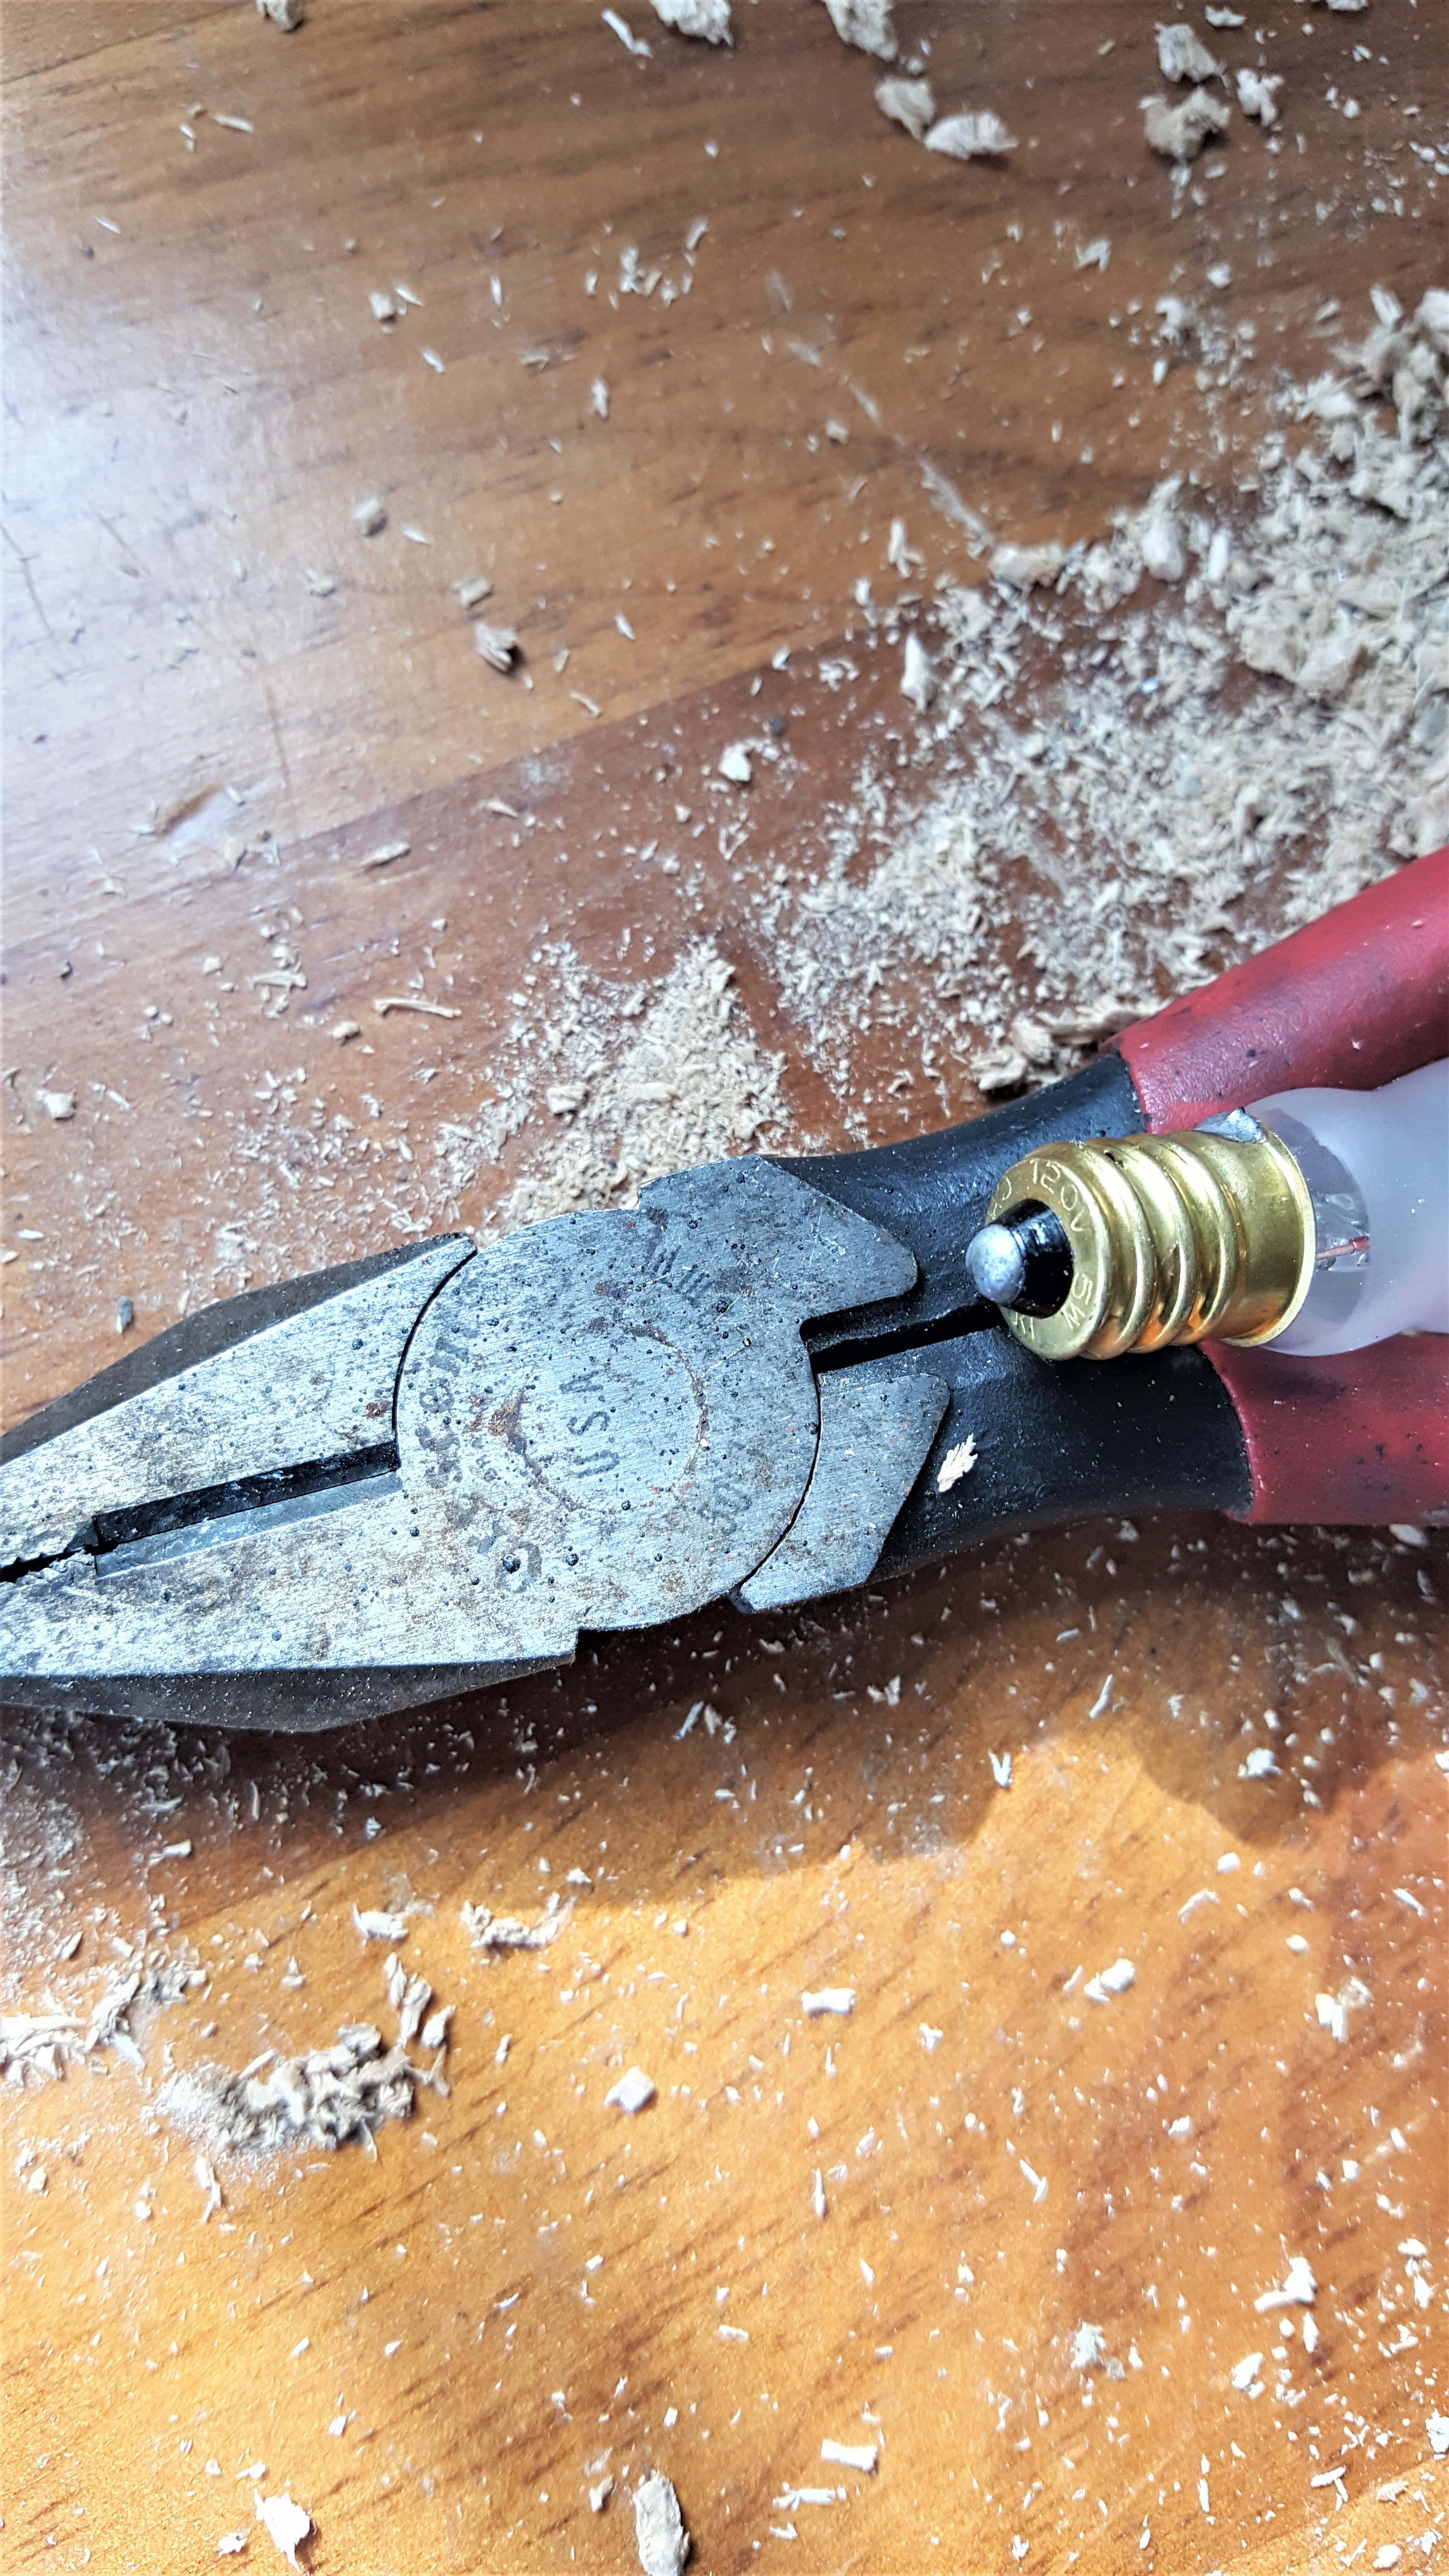
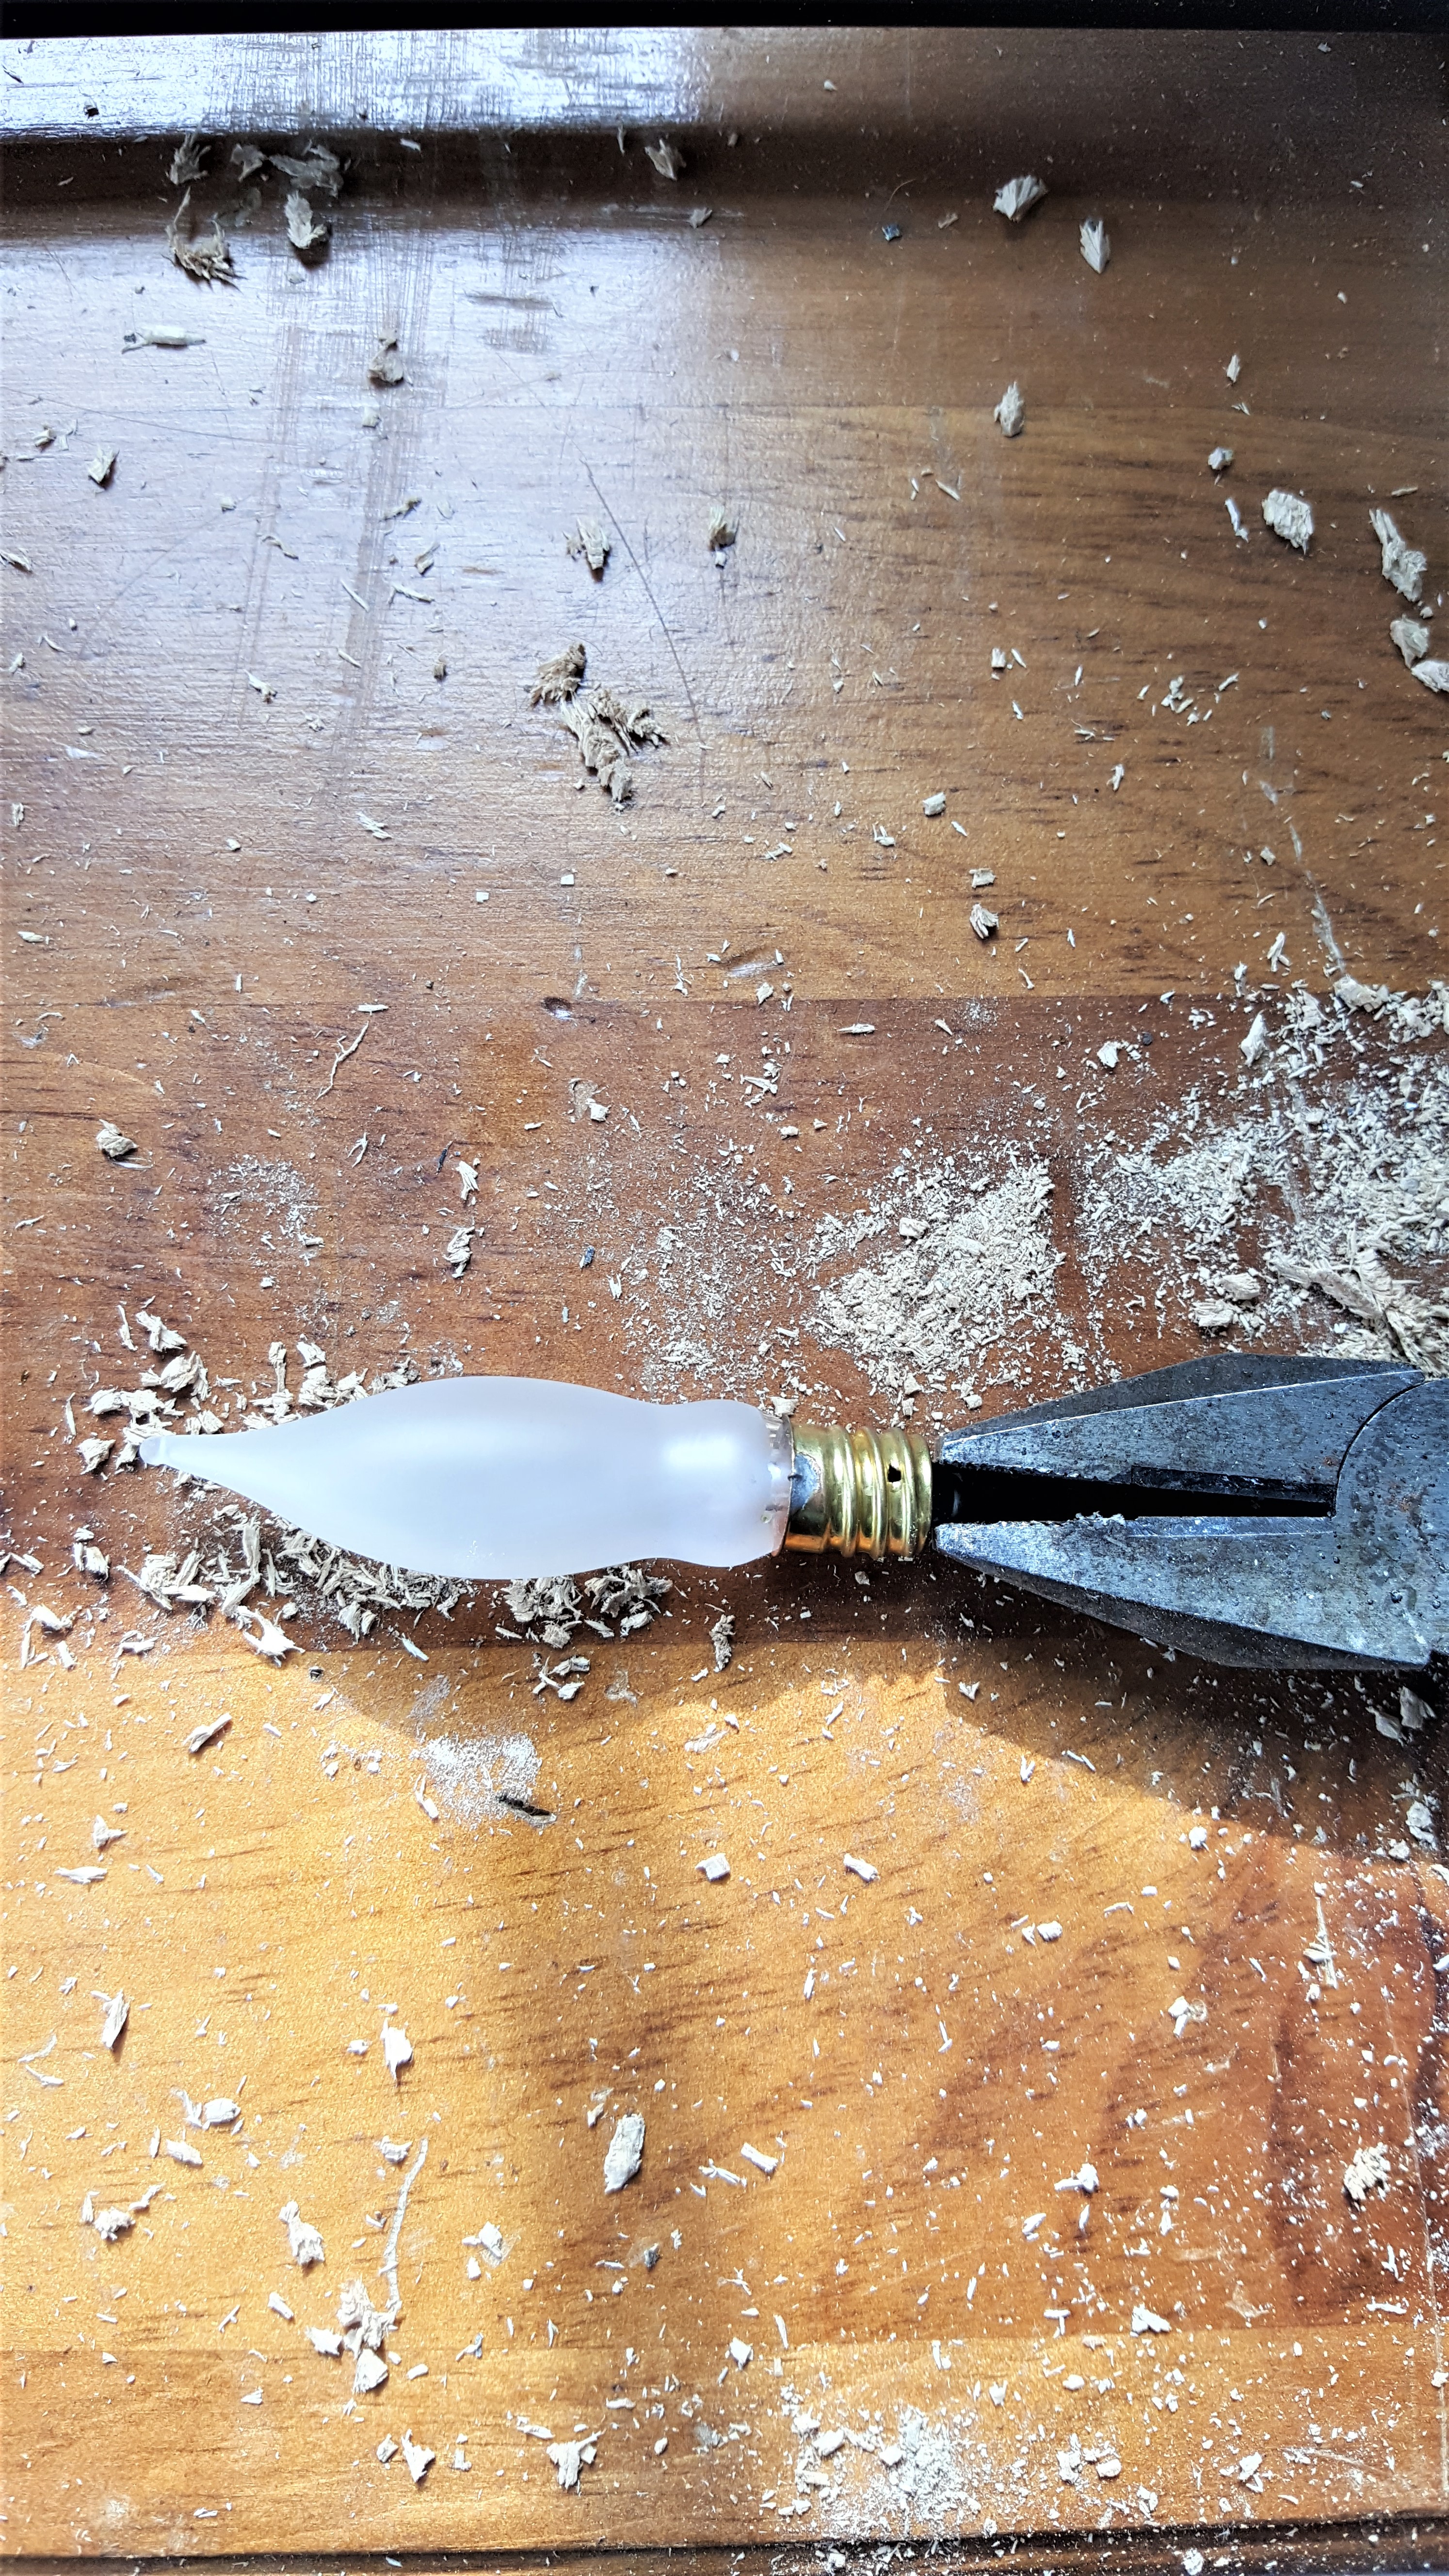
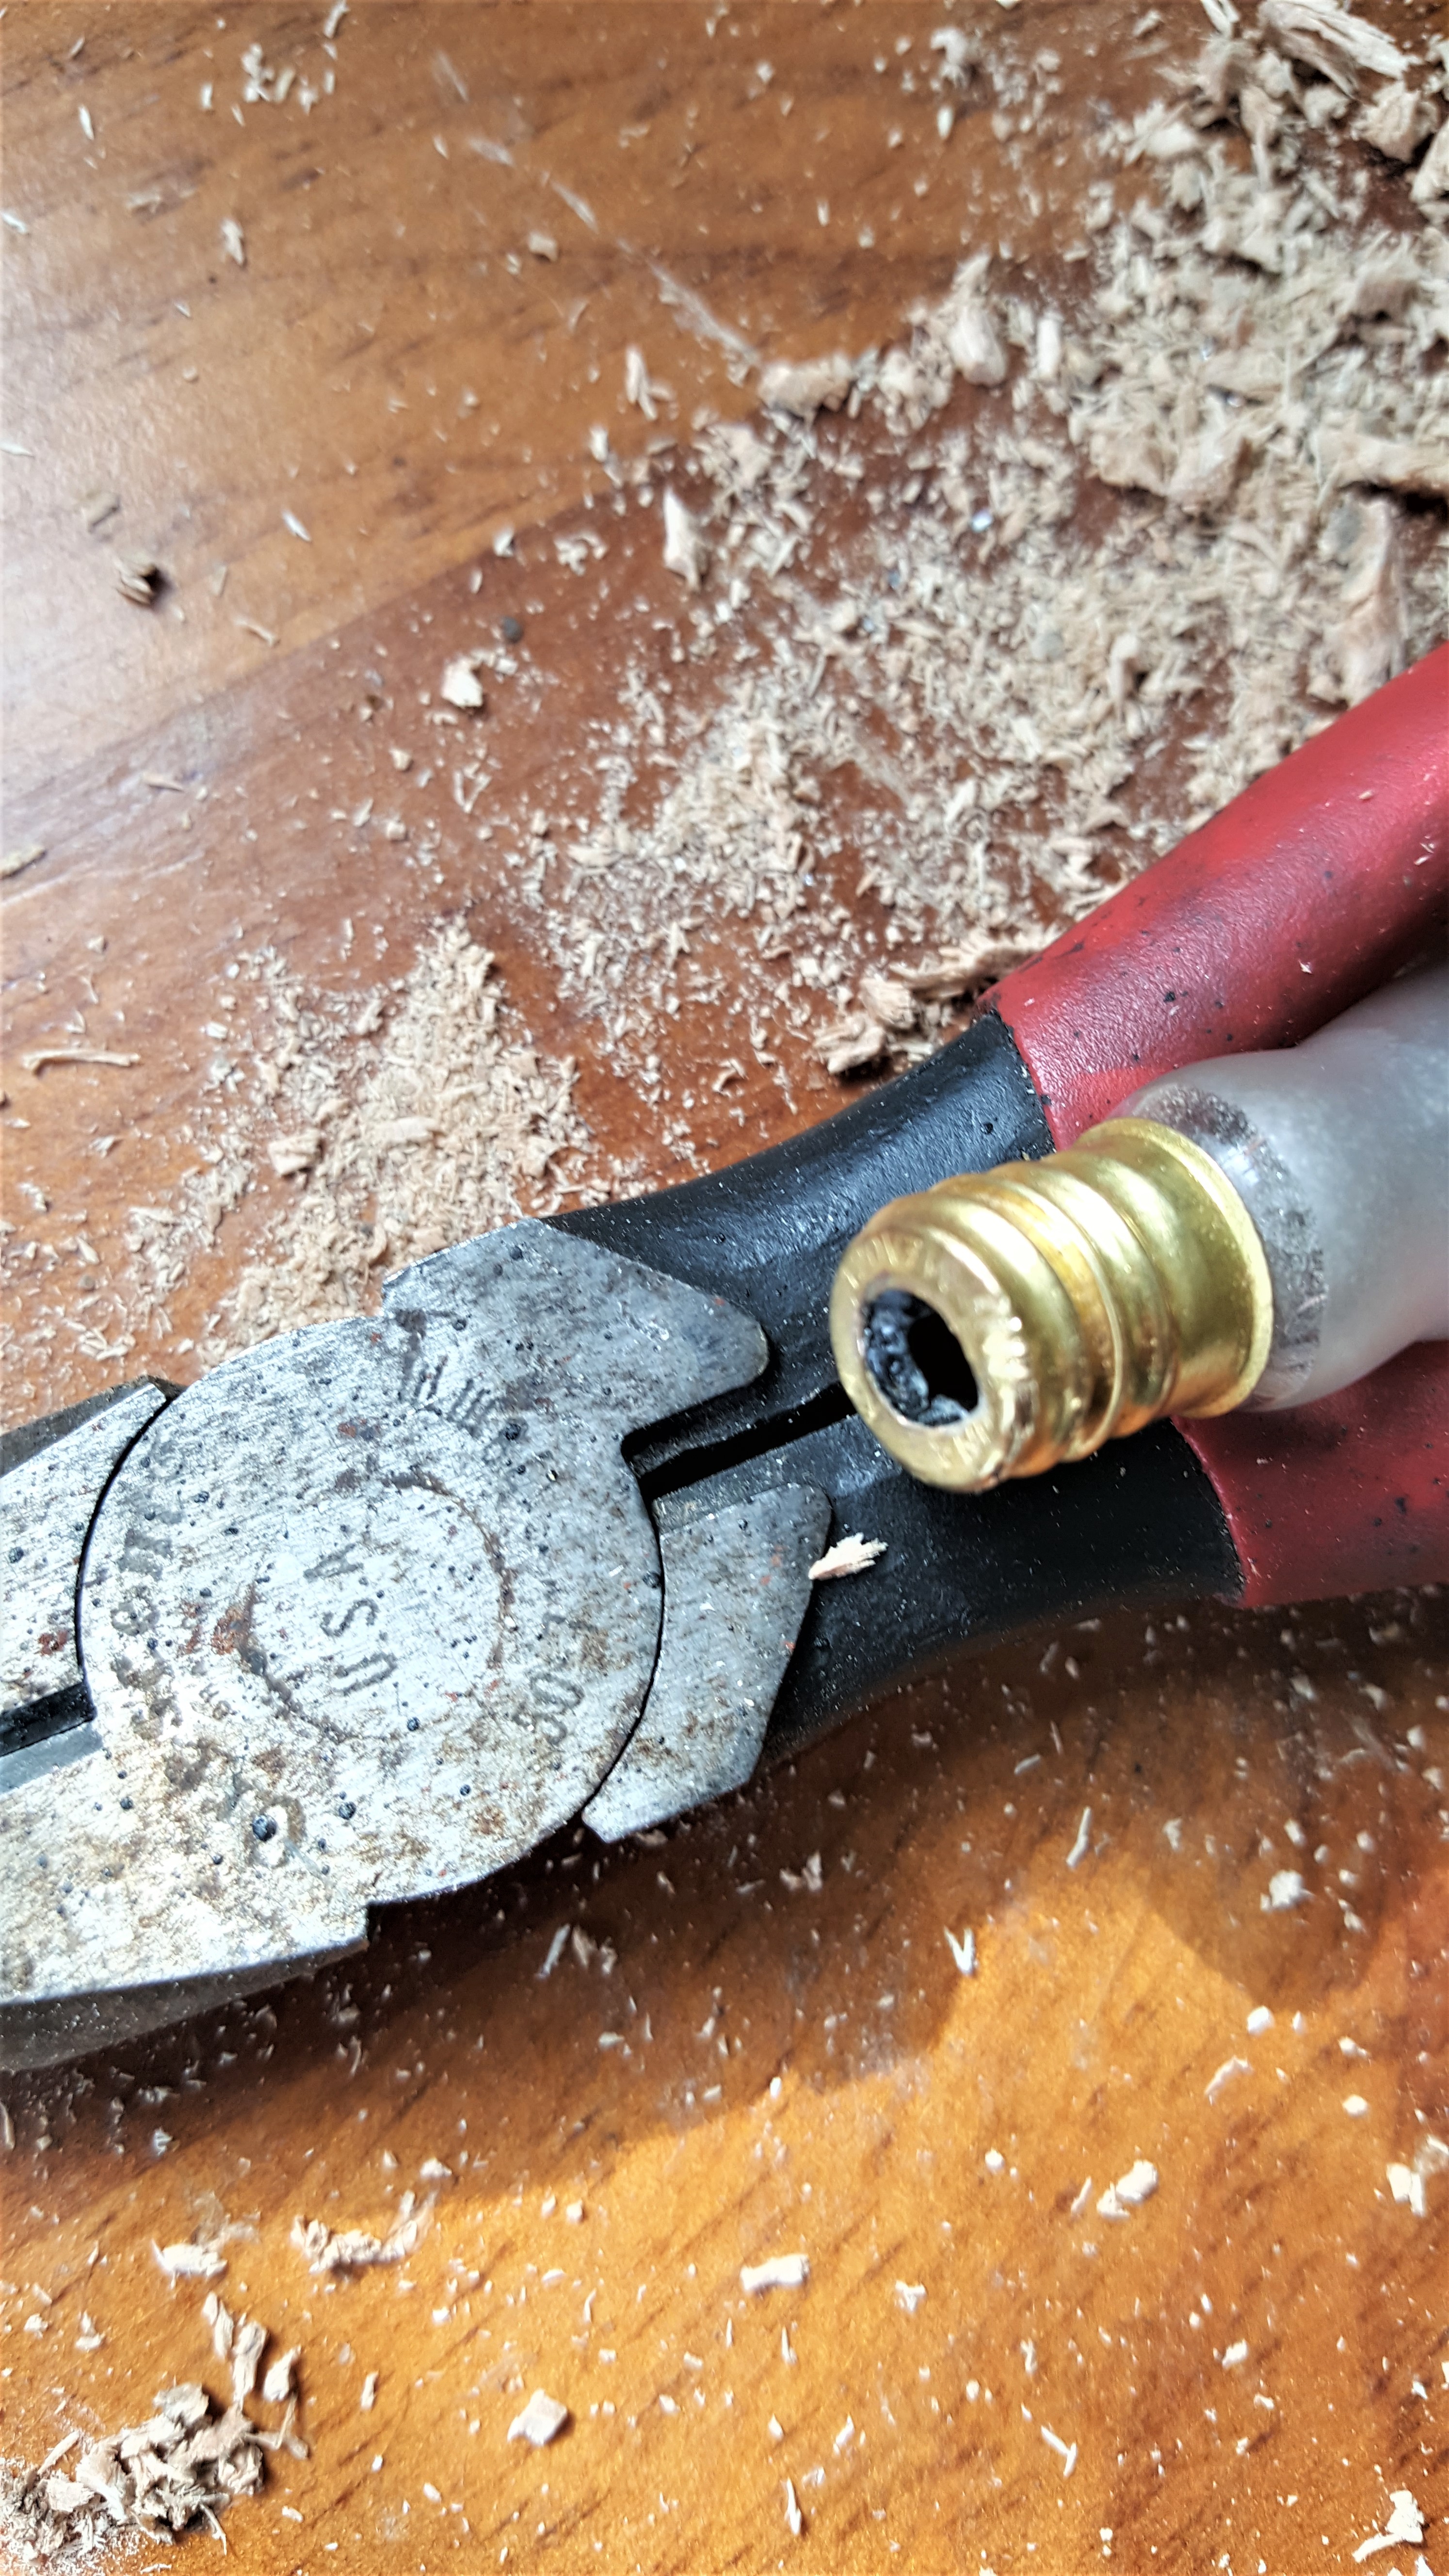
So next, my husband took an old bulb out to the garage and snapped the bottom piece off to leave me an opening for the battery operated candle.
Exactly what I need to add a flame to my flameless décor DIY project. I’m over the moon happy at this point. My plan is really coming together because I now have my flame for my simple rustic candle.
Incidentally, if this project is inspiring you, then you may enjoy this Christmas sign project and this beautiful easy Christmas wreath project.
Painting My Candle DIY
Step 4: Adding Old White Paint
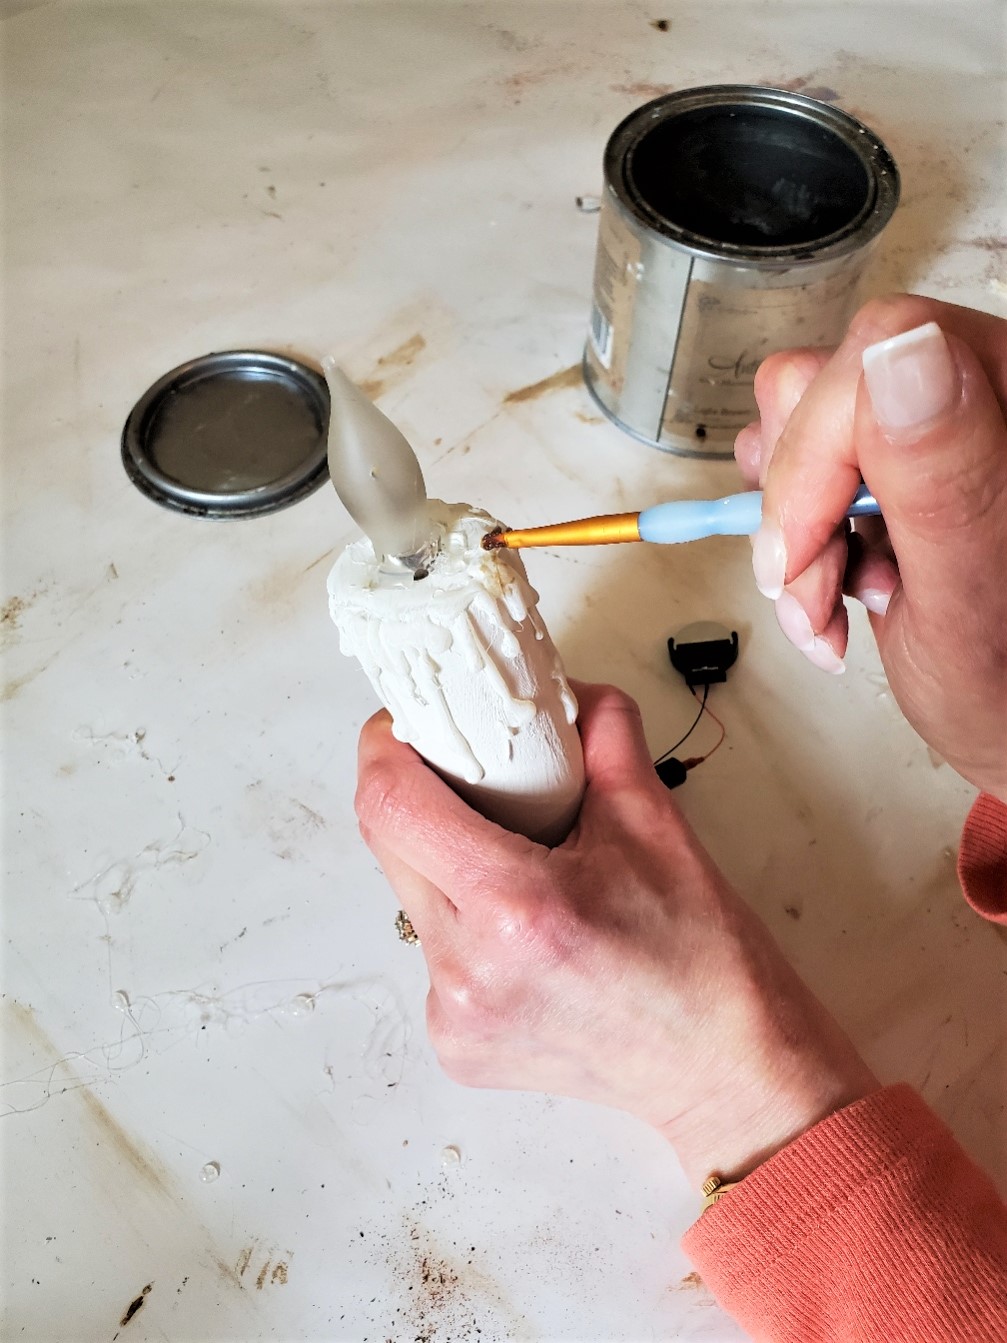
Painting and adding character to the flameless candle base for my simple DIY is next. Using Old White chalk paint, I painted three light coats on the wood base. I used an artist’s brush for this step. When painting with chalk paint using a good quality brush, painting in the same direction and using light coats is the best way to avoid streaks on craft projects.
It’s particularly important not to be impatient in between coats because the end result will not be smooth.

Adding Character to My Candle Project with a Hot Glue Gun
Step 5: Adding Hot Glue for Wax Drips
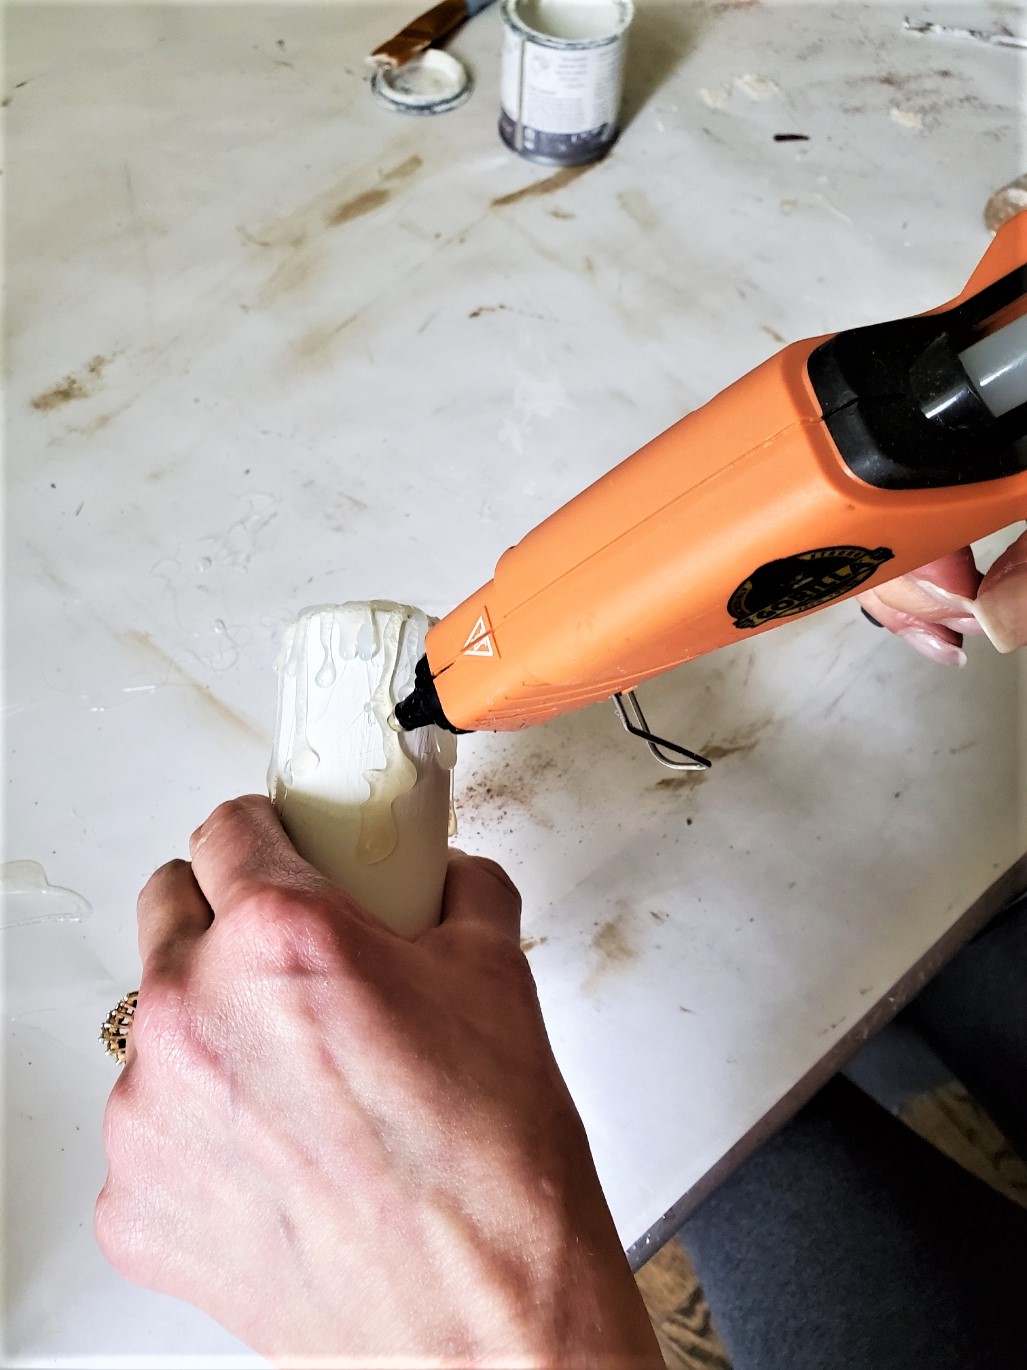
Next, adding more character to my battery operated DIY craft project, I used a hot glue to add drips resembling wax.
Because I wanted fake wax drips my hot glue gun seemed to be the best answer this step for my easy craft.
Here, I began adding drips of glue gun starting at the top of my painted candle base.
I glide the point of the glue gun downward to the length of the drip desired. During this step remember when adding drips, it’s best to work on a section and layer at a time. Because drips on a real candle are not all the same, I made some drips longer and shorter. This makes the drips on my DIY candle look more realistic.
Also keep in mind, when burning a real candle, the top tends to get a buildup of wax. On the top of my DIY candle base, I added thin layers at a time of hot glue to get a realistic and rustic look. I did this in small circular layers. Hot glue dries rather quickly so this truly didn’t take long.
After the wax drips are added to my DIY candle project, I lightly painted them one coat of Old White paint.
Adding Light Brown Wax to Drips on My DIY Craft
Step 6: Light Brown Wax for Soot
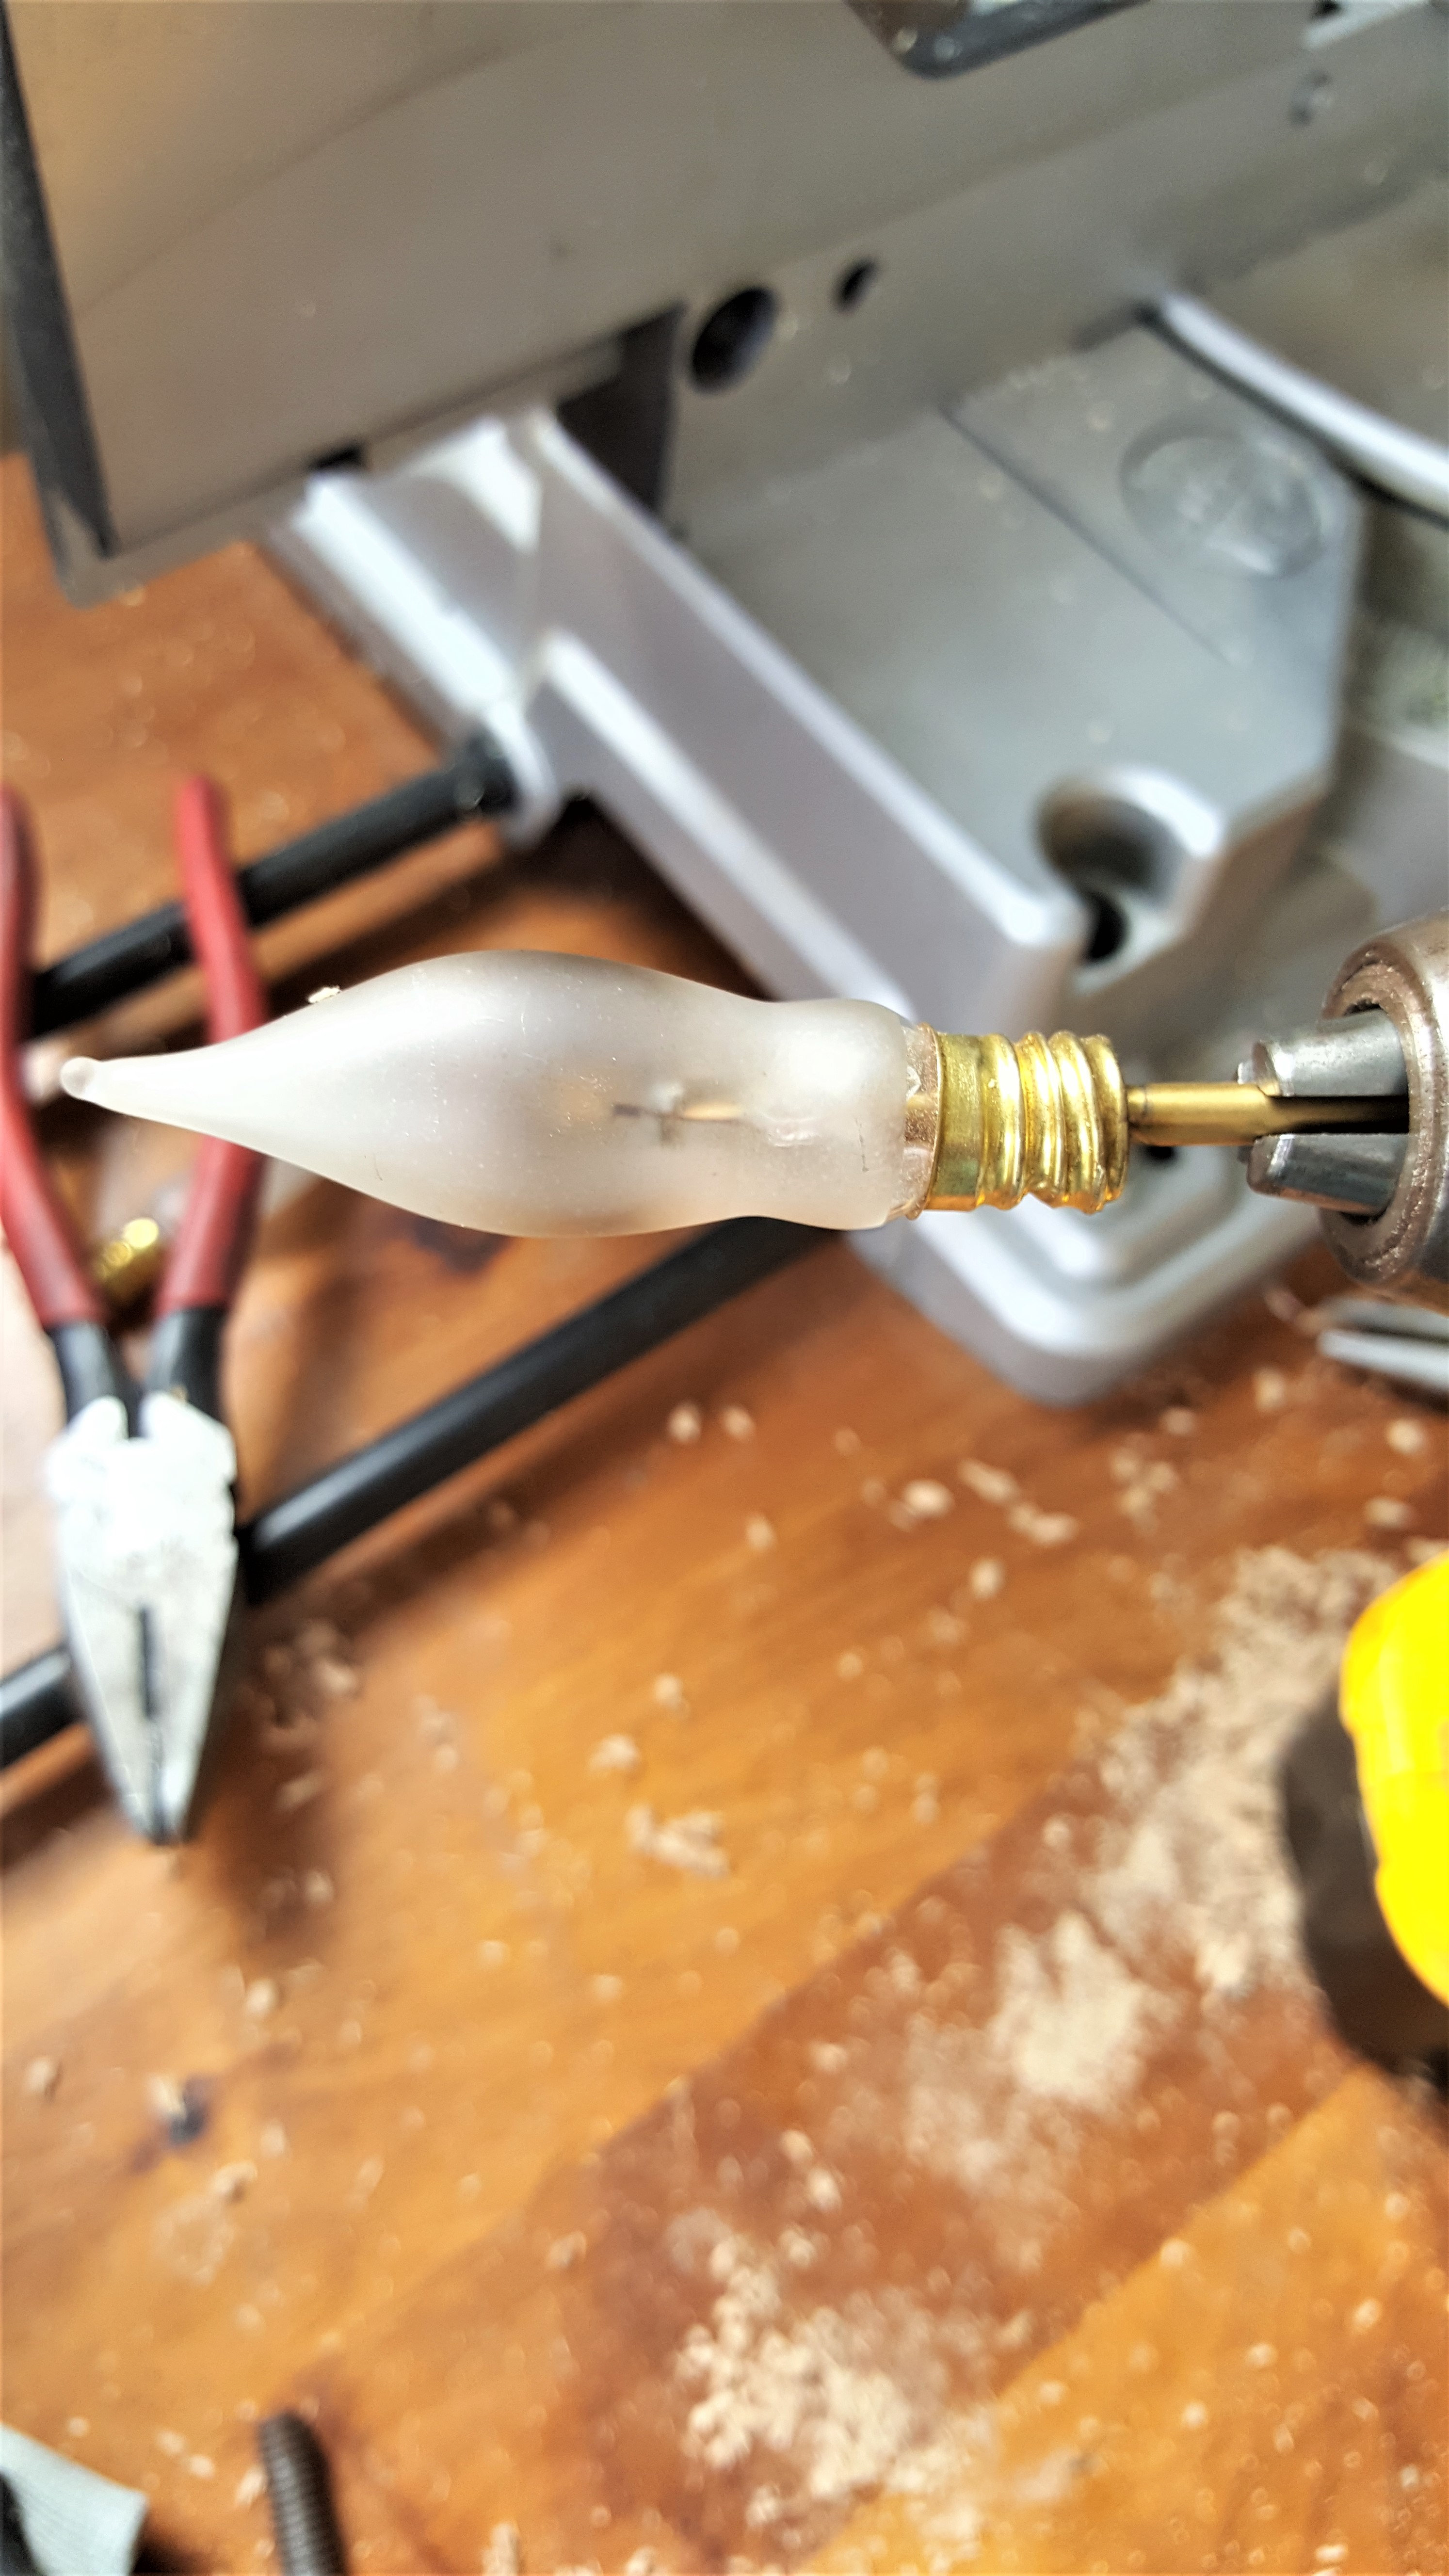
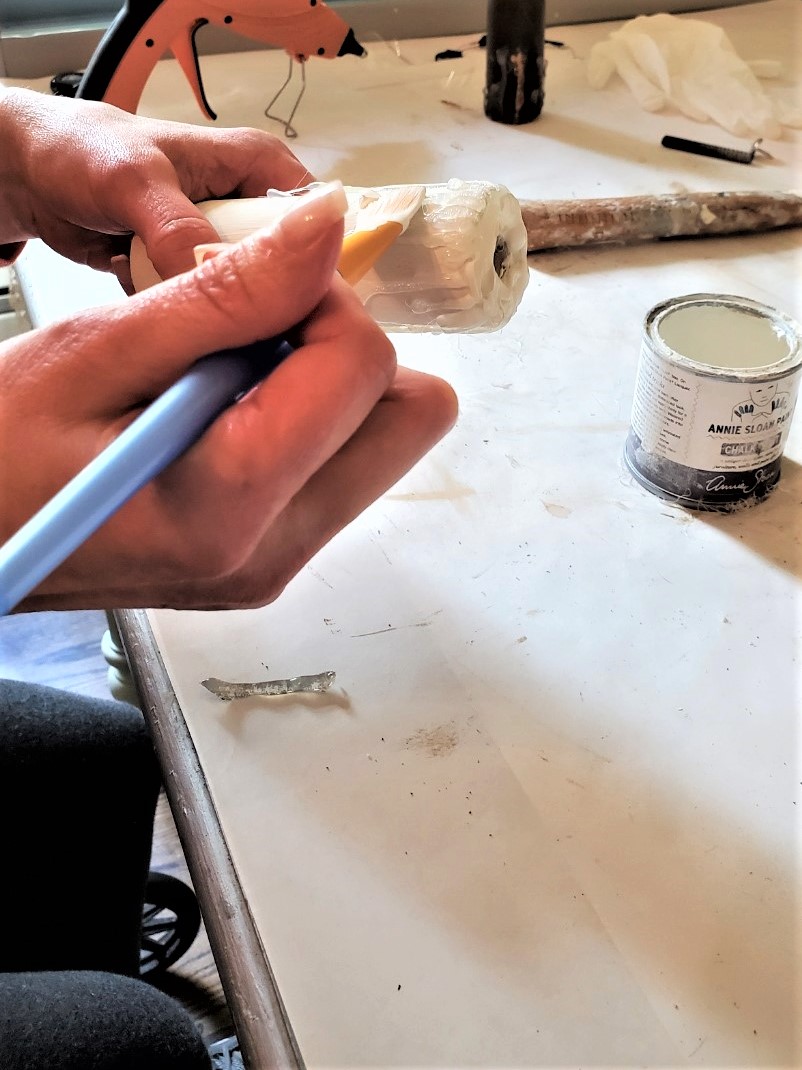
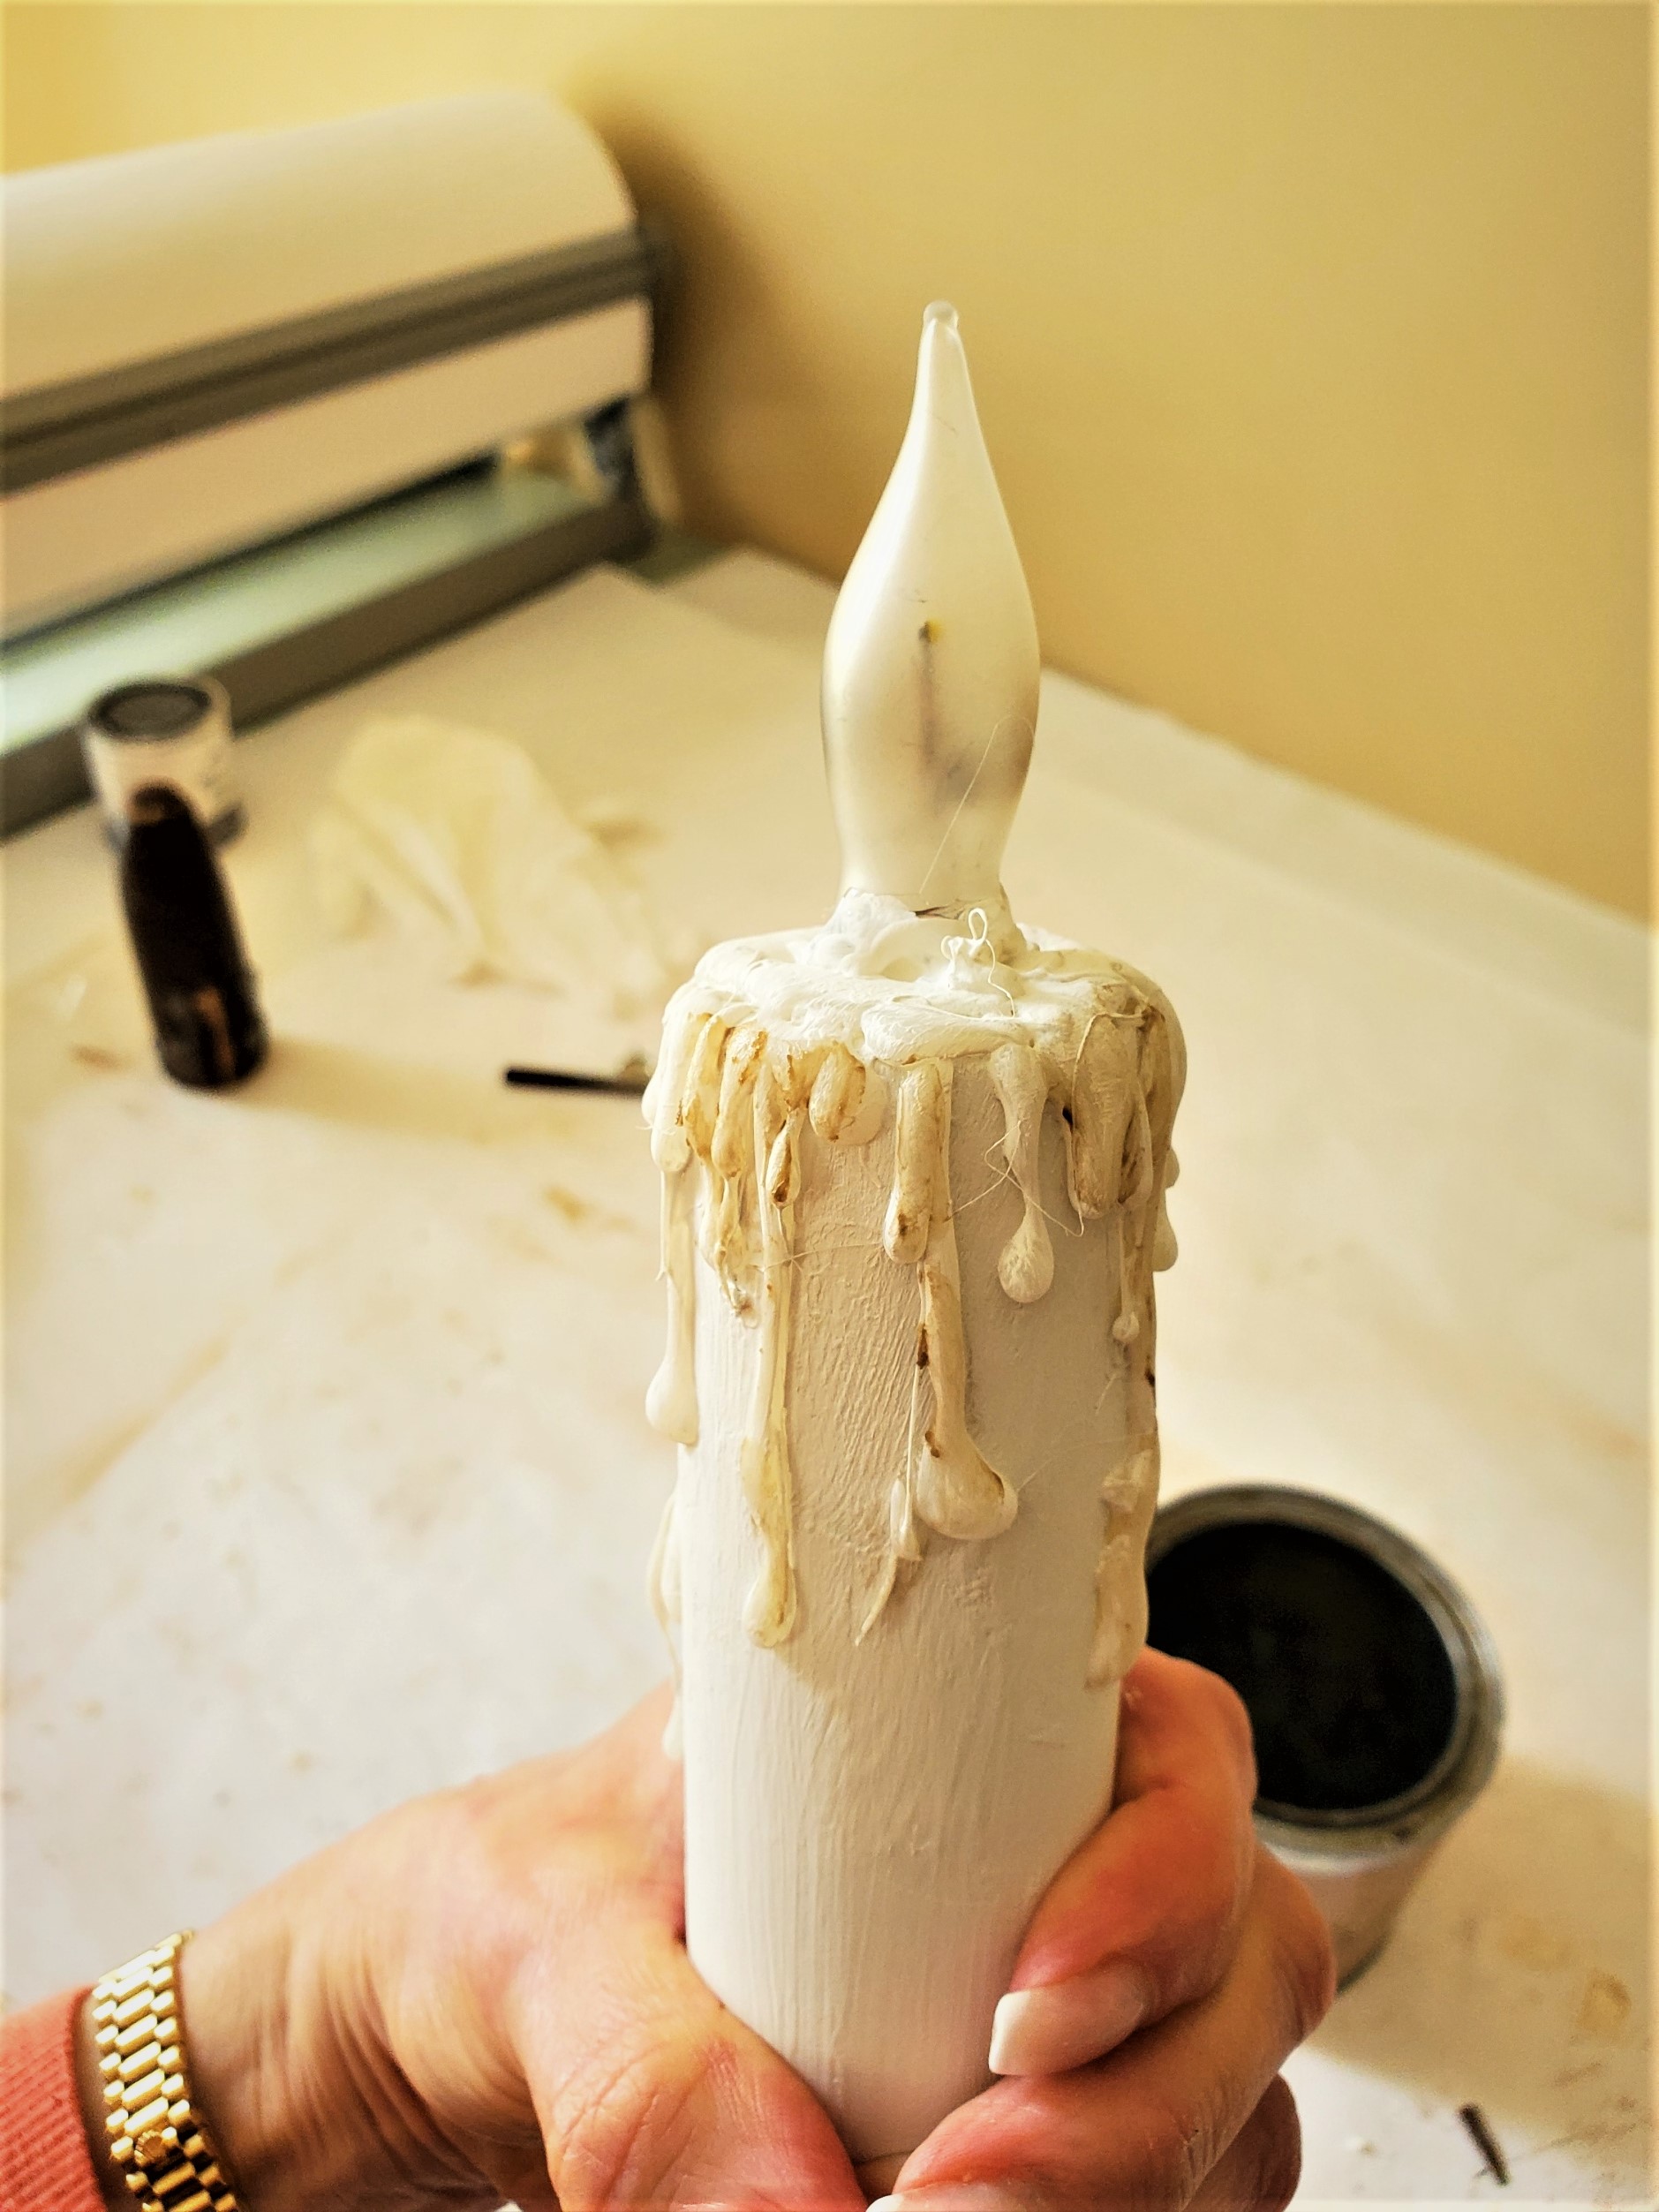
Next, using a thin artists brush I begin adding thin layers of light brown wax to my flameless candle to resemble soot. After reaching the desired look, using a lint free rag, I lightly rubbed the wax into the drips.

Notice the flame bulb is temporarily in the candle. Doing this gave me the ability to know where to add wax to my candle.
Assembling the Décor Project
Step 7: Put the Idea Together
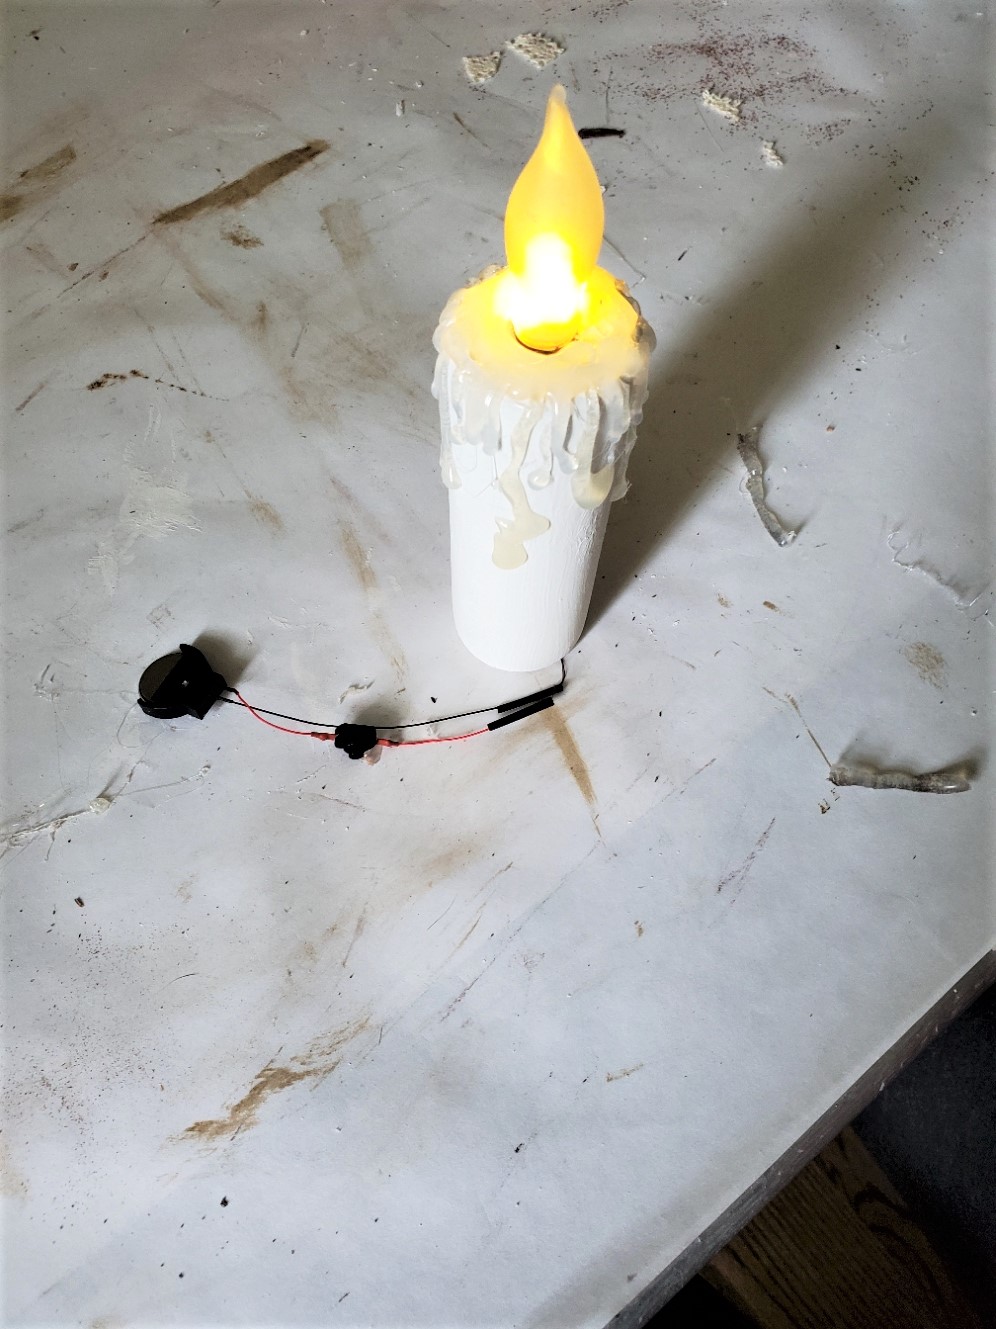
Now that we have the flame, assembling the battery operated rustic Christmas DIY begins.
Next, we slip the wire up the furniture leg and carefully pull the bulb out the other side.
To prevent the wire from slipping out the bottom we simply added a small piece of duct tape to secure to the bottom of my easy battery operated DIY candle project.
Adding the Empty Flame Bulb to the Top of My DIY
Step 8: Placing the Flame Bulb on Top
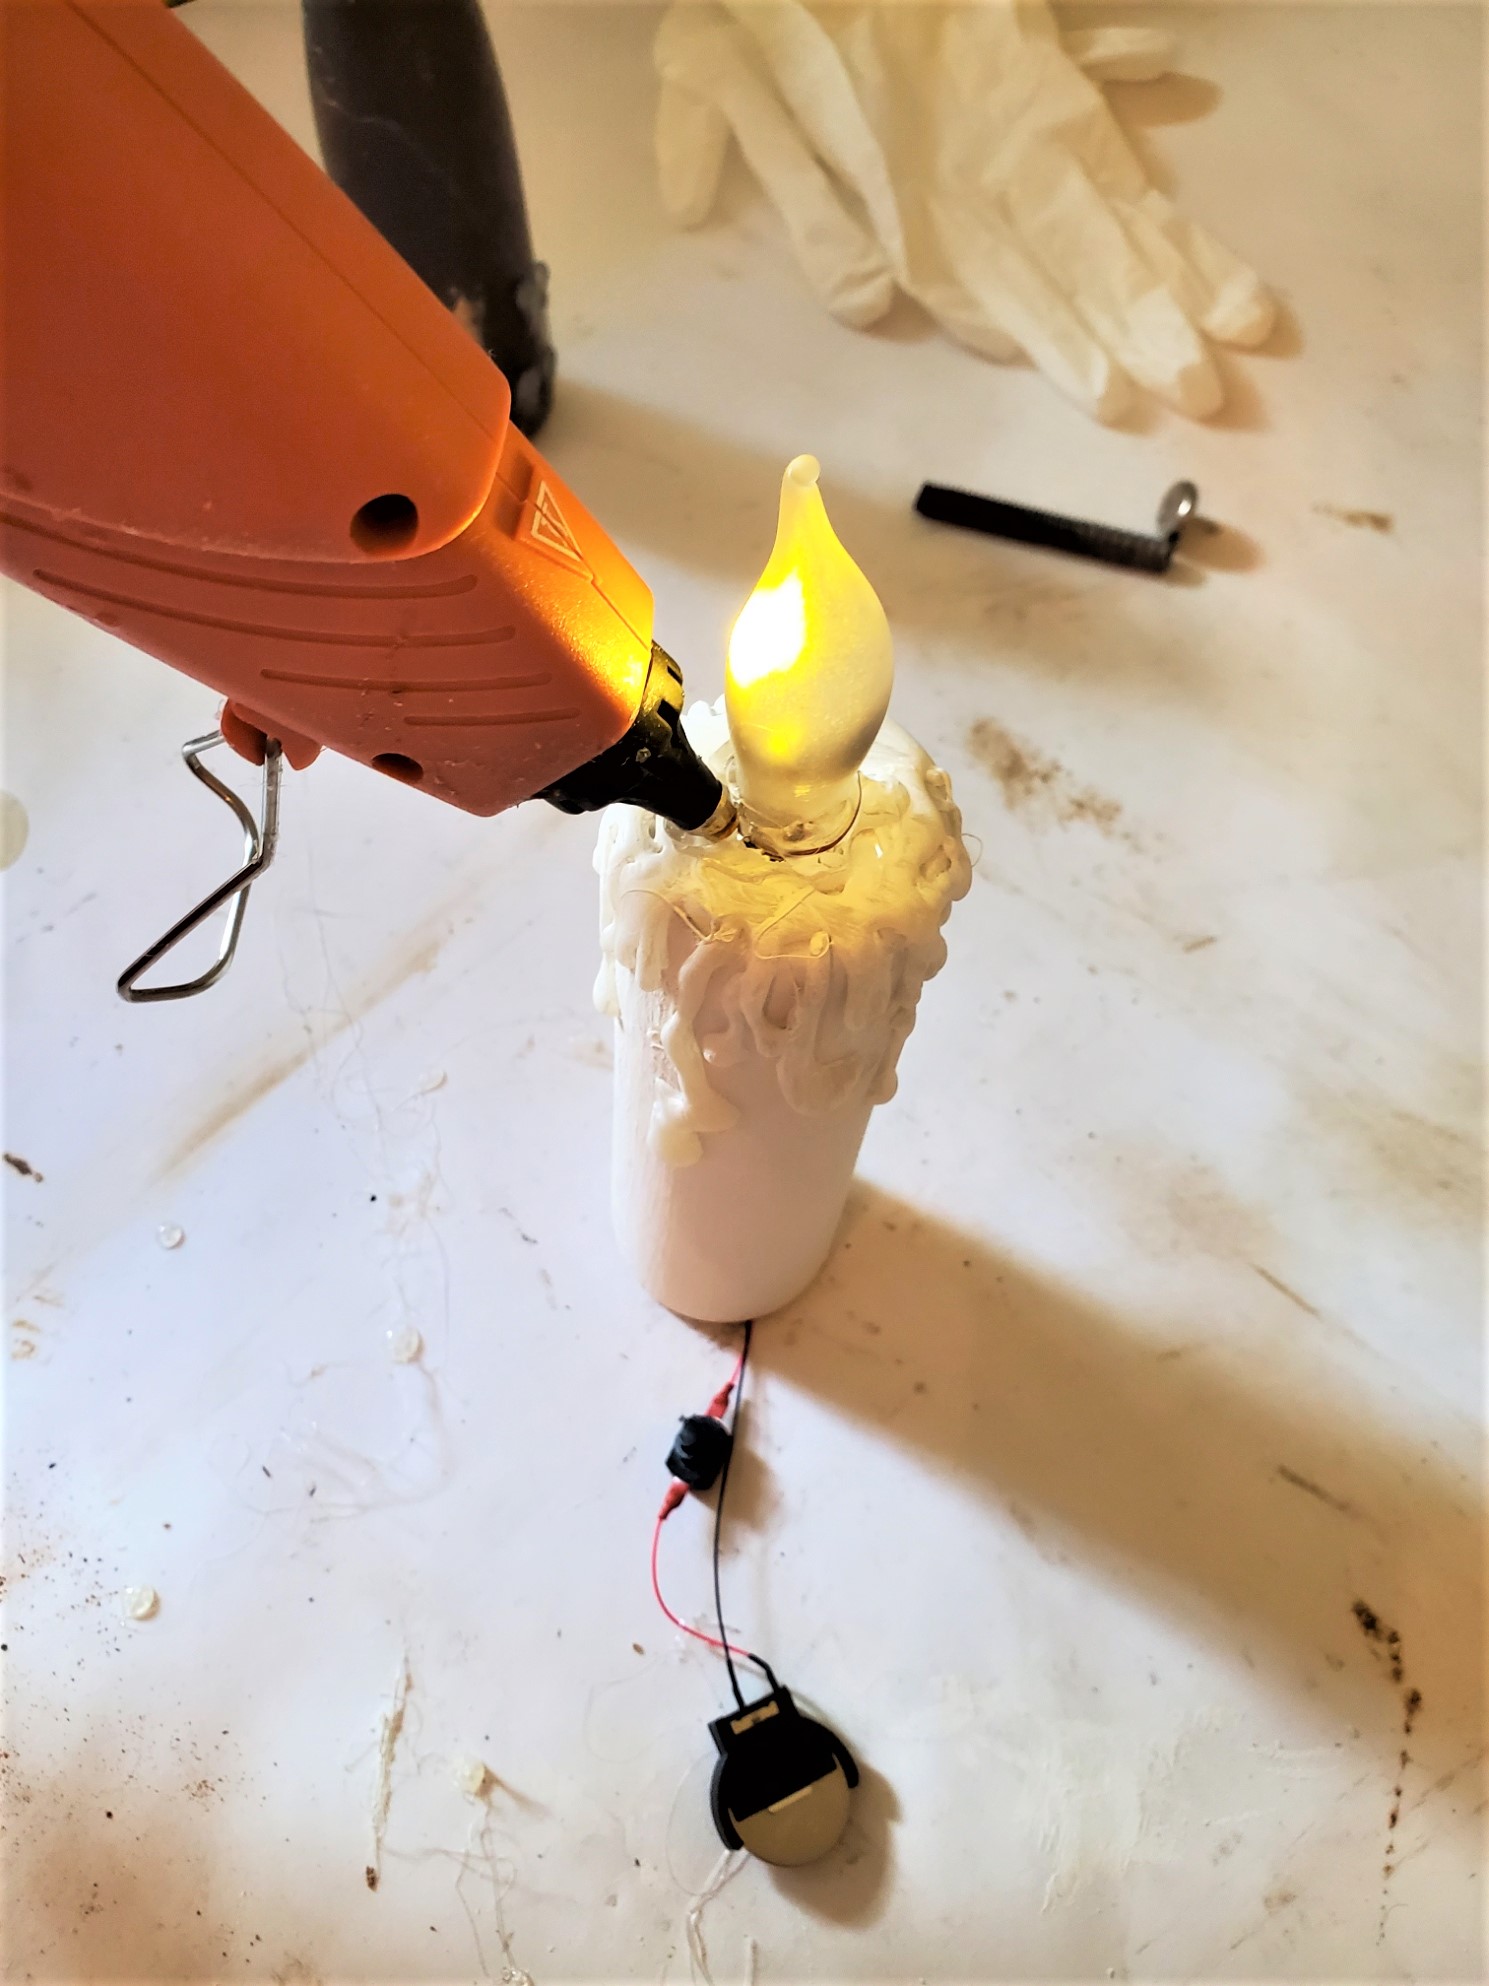
Now, we place the empty flame bulb over the LED light. We pushed it into to the opening from the drill to secure the flame for my candle.
After this, I added a bead of hot glue to secure the bulb to my DIY.
LINK TO INEXPENSIVE WOOD CLOSET POLE AT HOME IMPROVEMENTS STORE
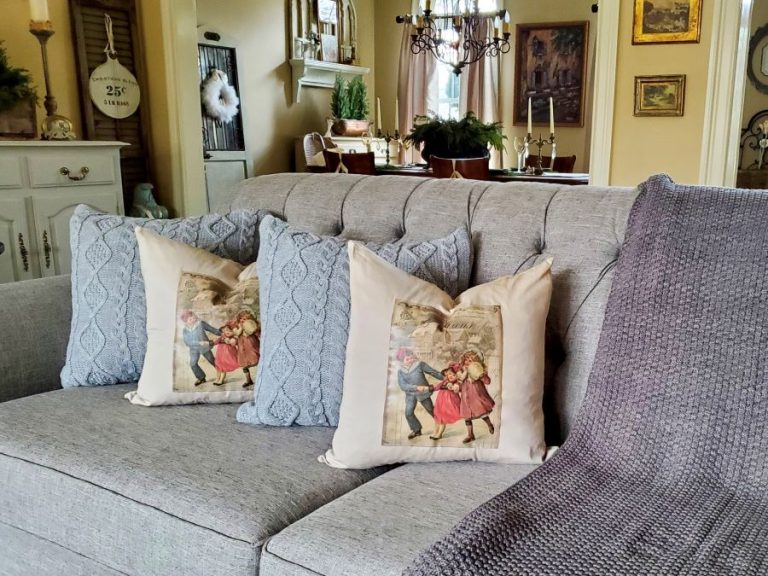
[show_lookbook_widget id=”527589″]Lastly, here’s my flameless candle DIY on display.

Sitting on antique dishes surrounded by small white tipped pinecones and various vintage pieces I own and love.
I’m over the moon happy with this easy candle DIY project. It’s easier than I ever thought.
Stay tuned I have another shorter furniture leg. A flameless votive candle may be made in the near future.
So, the next time you see couch legs grab some and make this rustic Christmas candle.
By the way, don’t have furniture legs. A wood closet pole from any home improvement store will work. These are inexpensive and allows for different sizes of battery operate candles for home decor.
Do you think you will try how to make flameless candle DIY? I’d love to read your thoughts about this fun project! Happy crafting!

How To Make Flameless Candle DIY
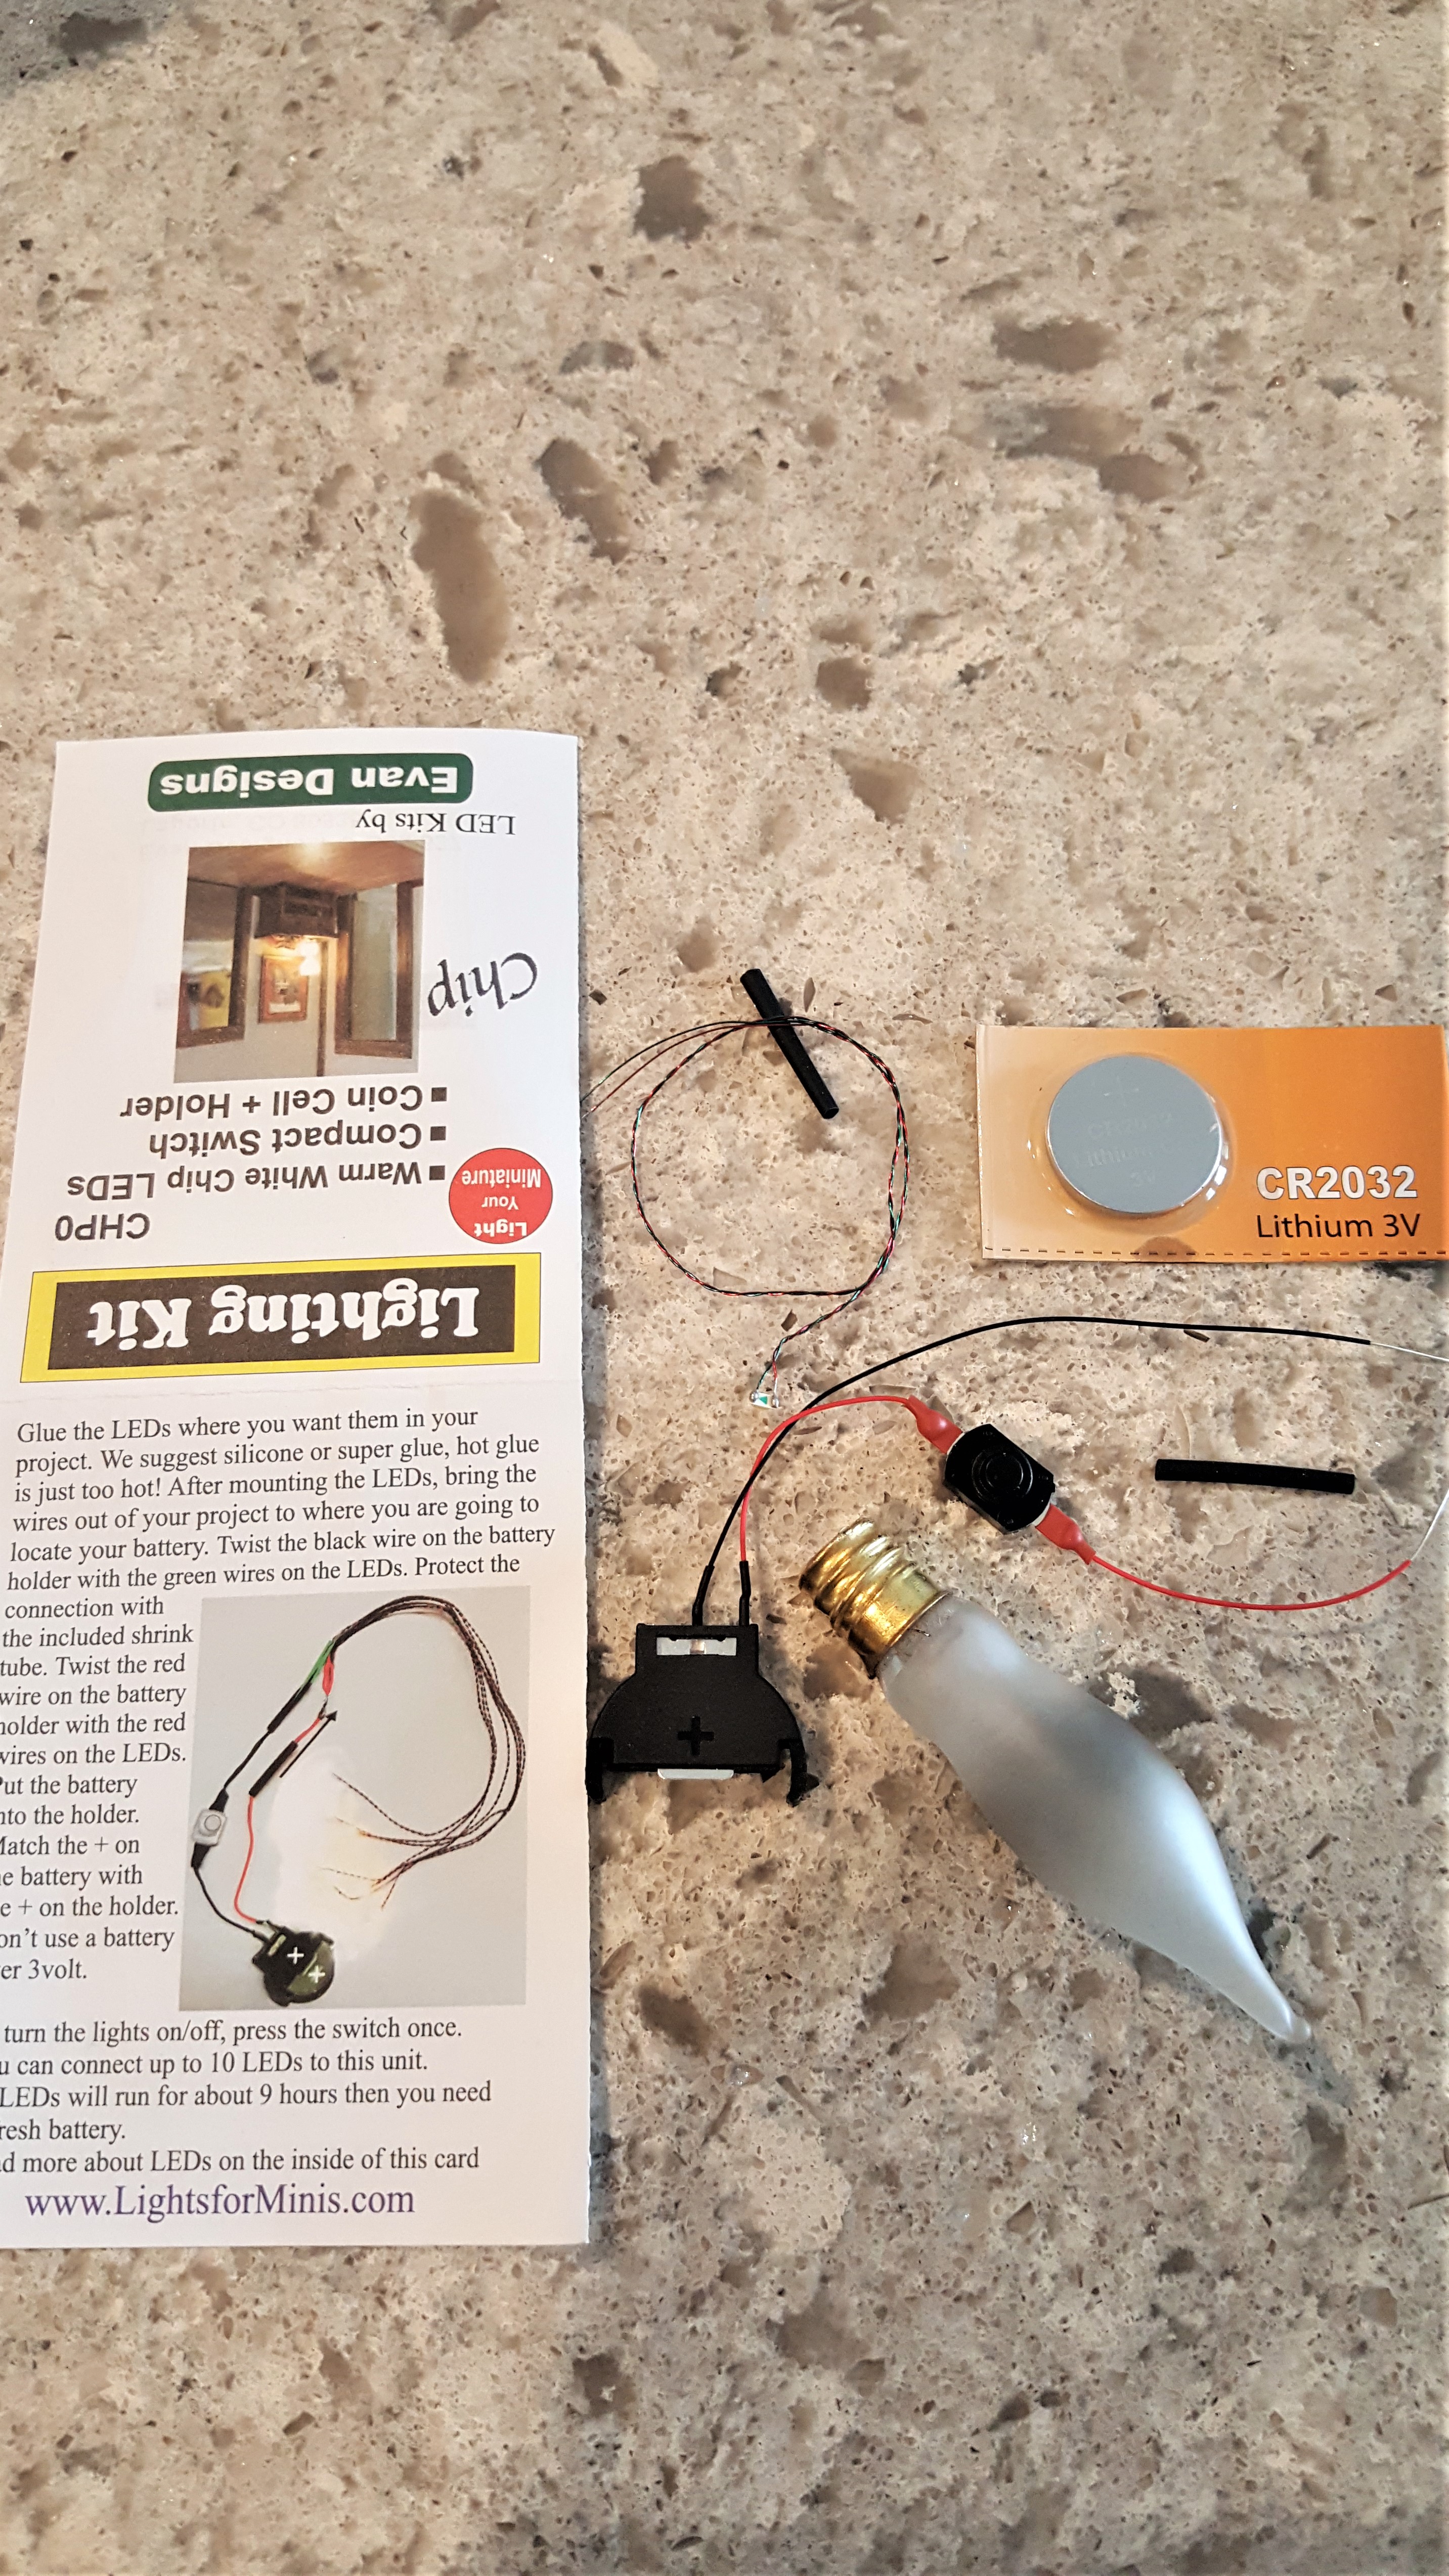
Equipment
- drill, old flame lightbulb, glue gun, glue sticks, good craft paint brush, LED battery operated craft lights link in post
Notes
- wood closet pole from any home improvement store
- white chalk or craft paint
- good quality craft paint brush
- LED battery operated craft lights – link is available in post
- hot glue gun and glue sticks
PIN THIS EASY BATTERY OPERATED CANDLE TO REMEMBER IT!


Cindy, I do believe you are the most creative person I know! Your rustic Christmas candle turned out perfect. Your entire vignette is beautiful! I hope you have a wonderful week sweet friend!
LOVE this, Cindy! At first I thought this was one of those vintage plastic candles. (I have one) But this is so much prettier being wood. Great idea, especially the wax on the sides. Pinned!
What a cool challenge! Love your final product – so clever!
This is so cool Cindy. Wow what a great vision you had for a chair leg. Beautiful. xoxo
Impressive Cindy. I would of never thought about creating this. Love your creativity!
This furniture leg makeover is amazing!!!
Hugs,
Kippi
Thank you Kippi
What a GREAT idea!!!
Thank you!
That is so awesome Cindy!
Thank you so much Sara
Looks great! I love the dry wax trick. I thought it was a real candle!!
I love it! Thanks friend
I love this project so much, Cindy! You are going to really enjoy using this for Christmas and winter.
Thanks Paula!
This is great. So many creative ideas – and who knew? A furniture leg to start?
Thanks so much Rosemary
This looks amazing, Cindy! I love how you made the wax drippings with hot glue…it looks so realistic. Now you can enjoy the look of a lit candle without worrying about it being a fire hazard. Pinned!
I’m so happy with how it looks.
Oh wow, that is brilliant Cindy . What a great idea!!
Something Ill definitely try out..
Love it..
Teresa
Thanks so much! The house is moving along well
This turned out perfect! You always blow me away with your talent.
I love it, Cindy. As always you are so creative. xo Laura
Wow! I love this candle, it turned out amazing. Thanks for sharing.
Thank you so much!
DYING OVER THIS RIGHT NOW, Cindy! You are the most creative person I’ve ever met. I cannot get over this post. It doesn’t even look like a table leg at all. I don’t know when your best selling craft book is coming out but count me first in line. Yet another post of yours I’m loving and pinning! Hugs, CoCo