Easter Egg and Bunny Crafts
Today I’m sharing Easter egg and bunny crafts that are easy to make and add tons of charm for spring. Would you like to see how simple these rabbit craft and egg projects are? Well, let me show you how easy they are to create.
If you haven’t seen my first spring ideas look HERE this link takes you to an easy Easter craft. Also, being pretty and easy, it would make a wonderful gift.
Items Needed:
- 8.5 x 11 sheet of paper
- printer
- graphic image
- water safe Mod Podge
- sponge brush or foam brush
- scissors
- water
Table of Contents
Paper Egg for and Adding Paint
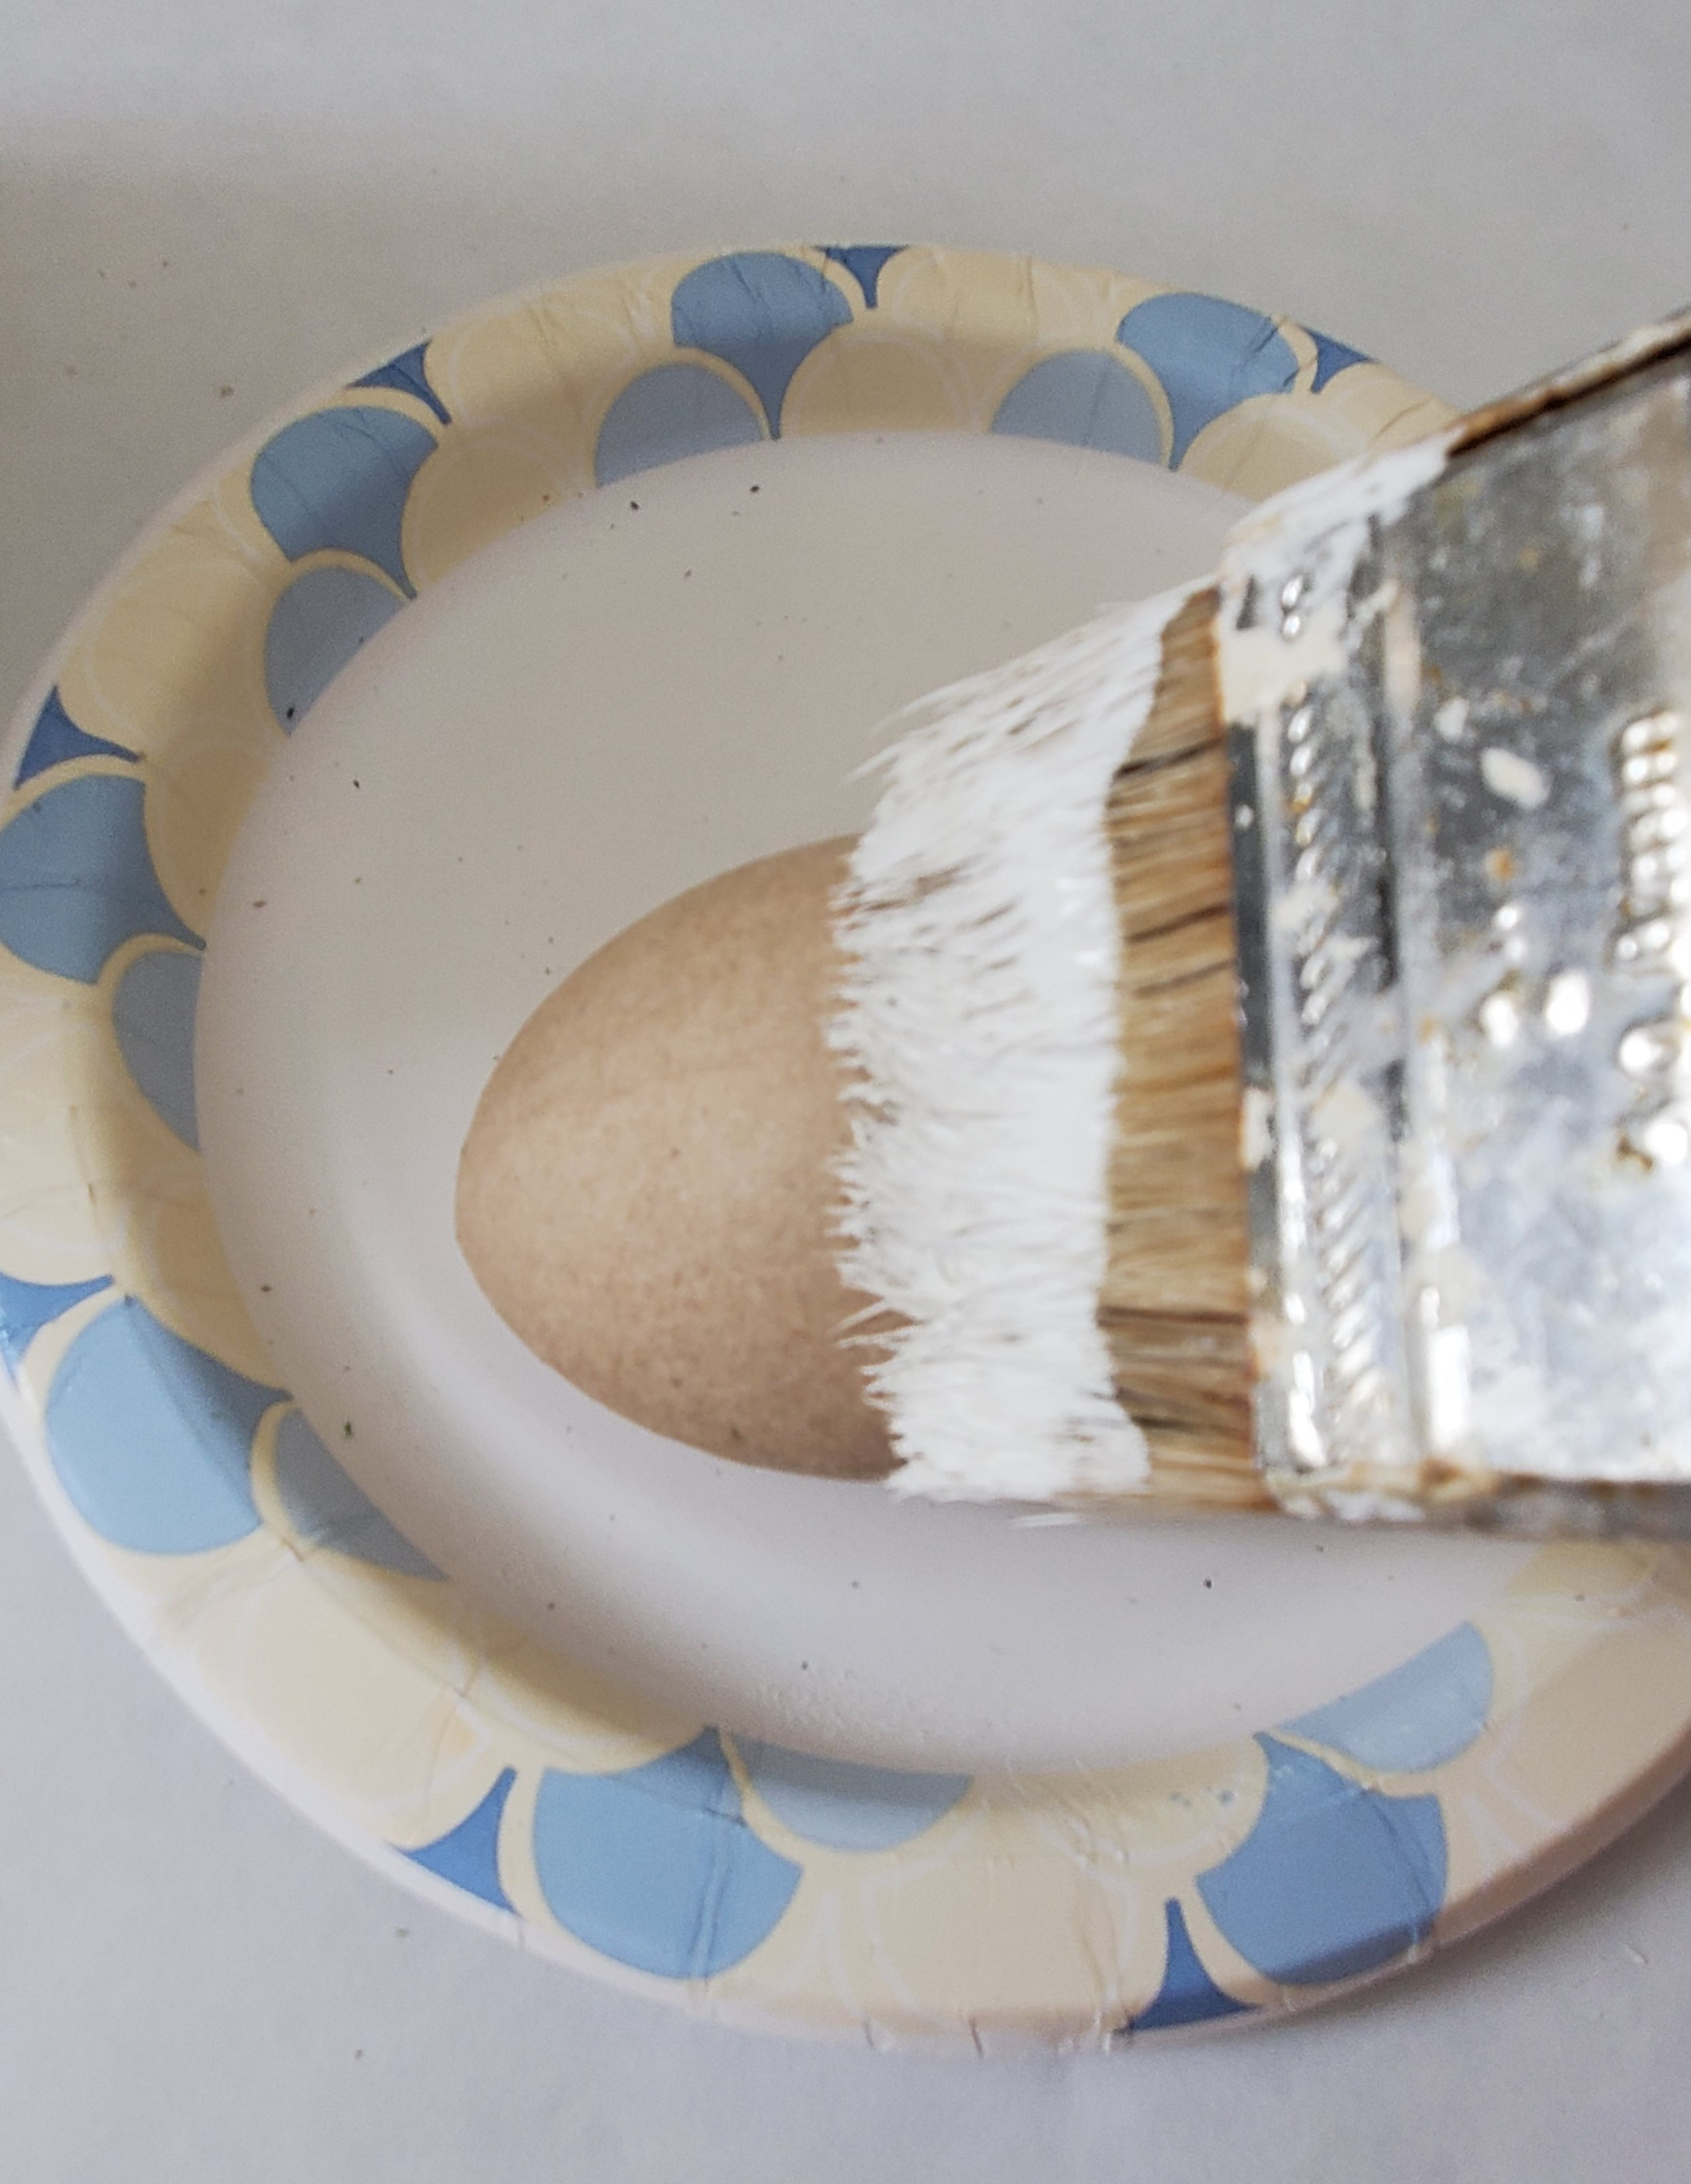
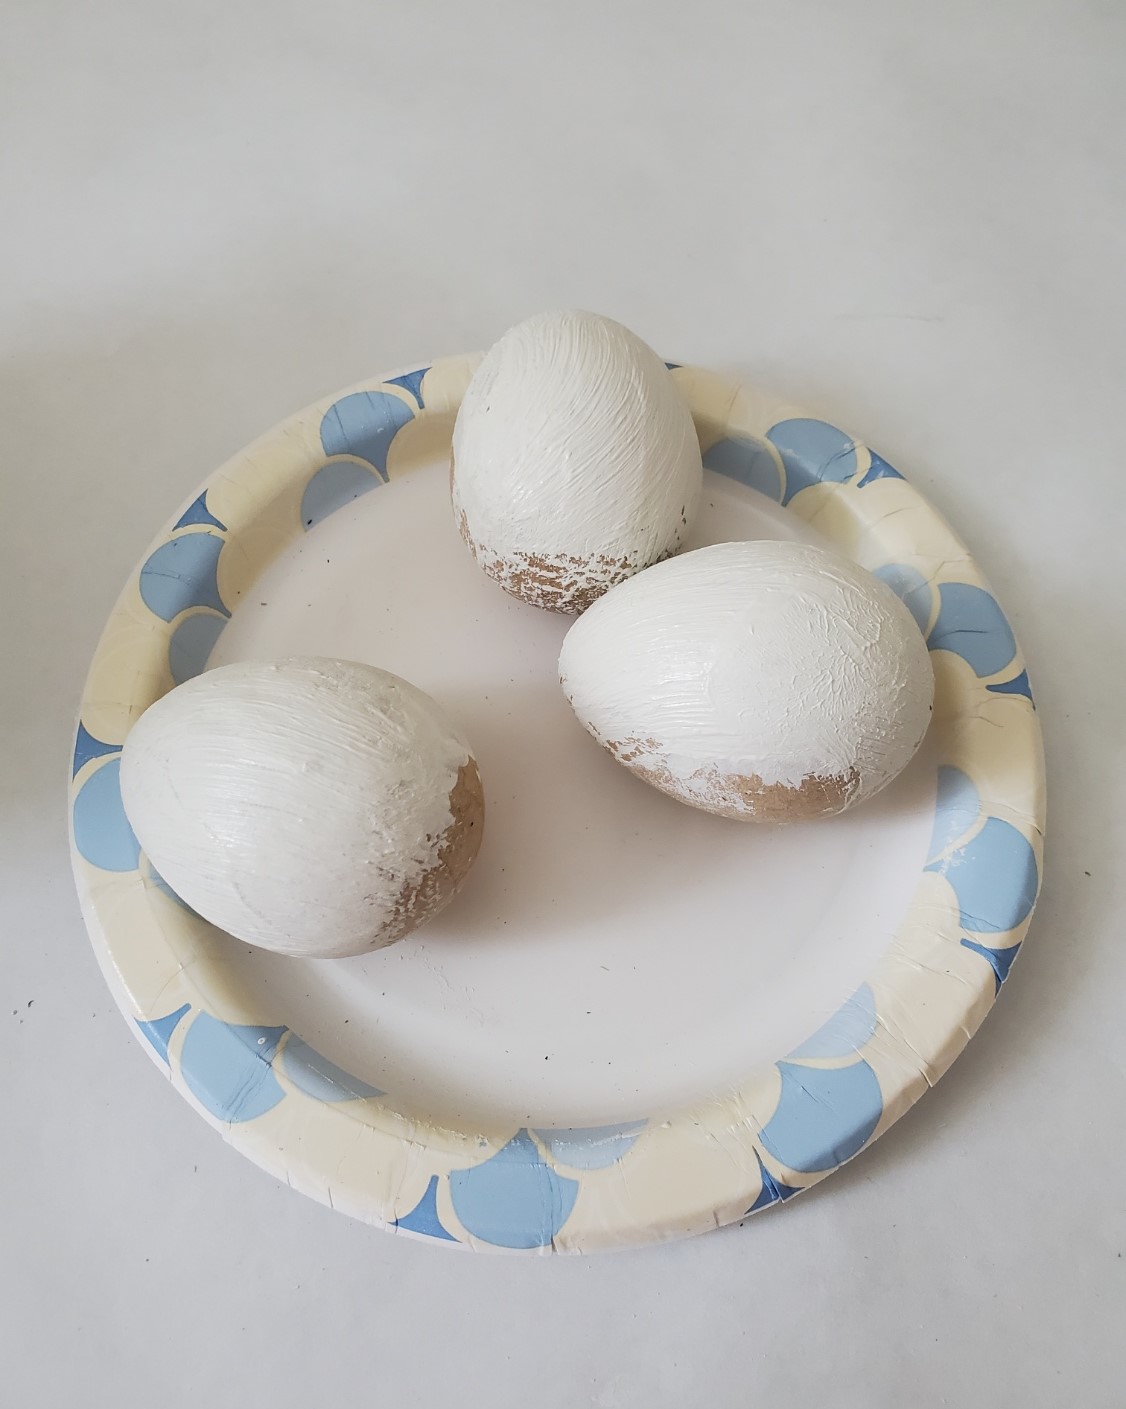
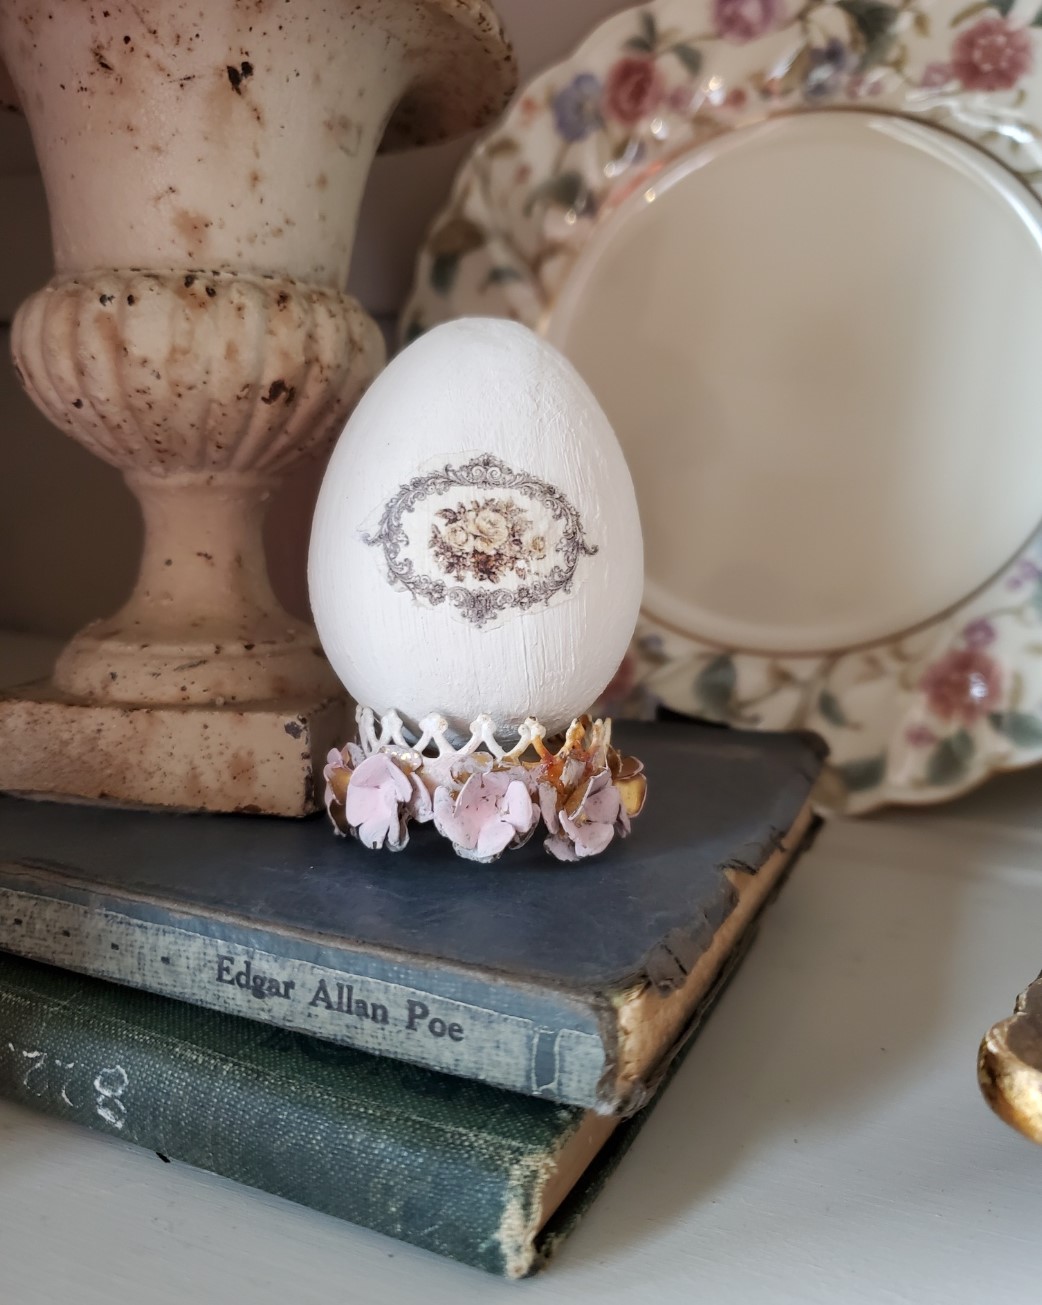
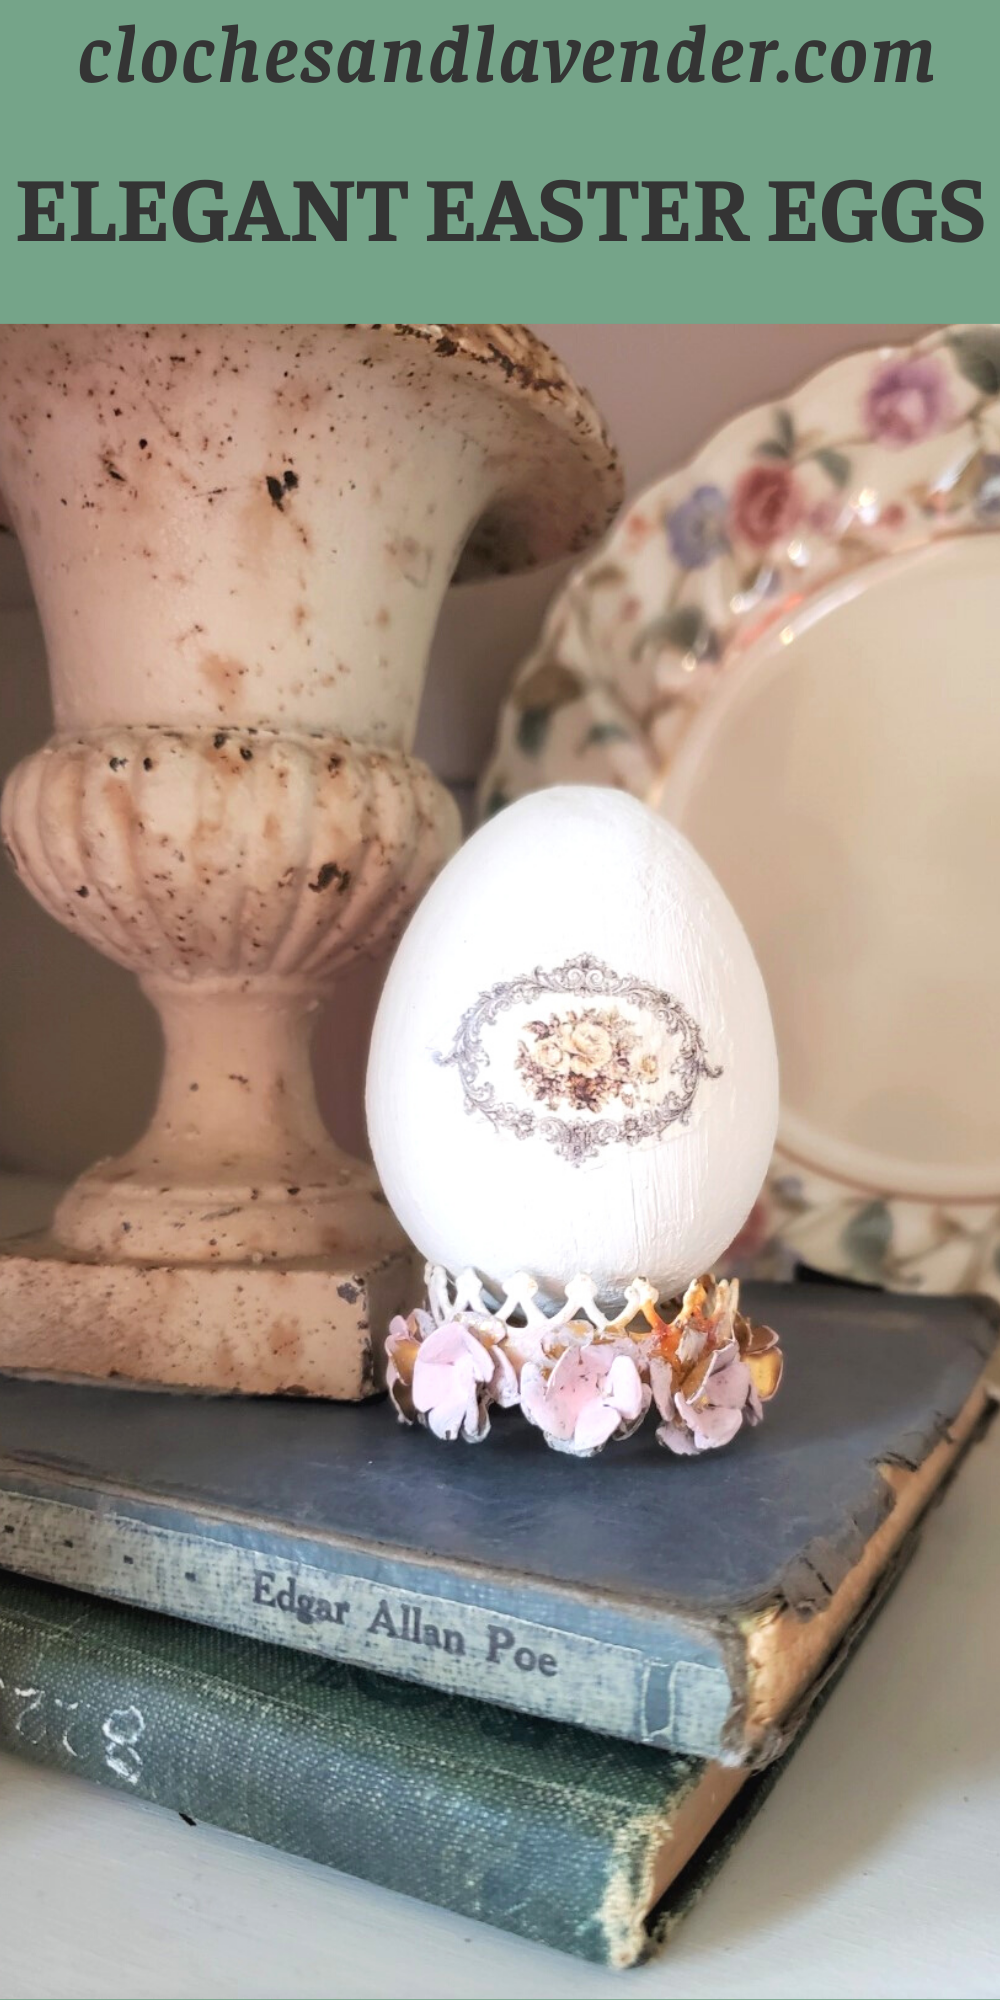
I bought paper eggs in an assortment pack from Factory Direct Crafts. To begin, paint the eggs with two coats of white acrylic paint drying in between each coat. I painted my eggs ASCP Old white chalk paint because I have this in my craft room.
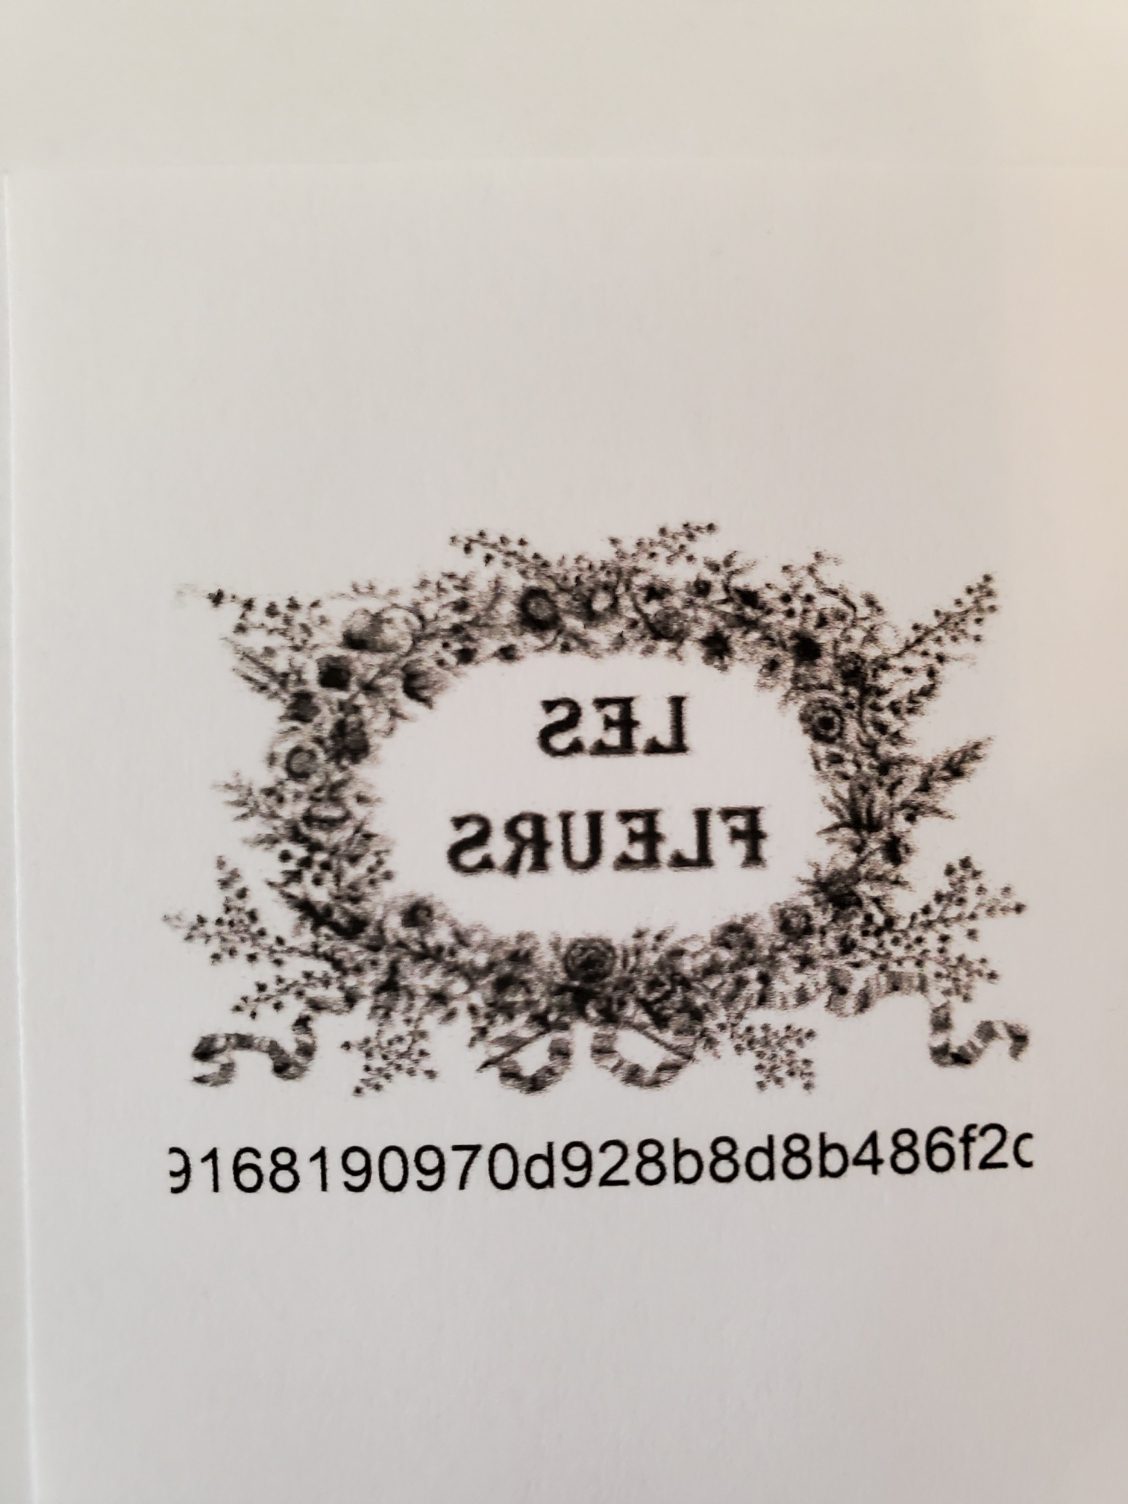
Next, find images and reverse the image. By the way, these can also be bought in graphic downloads on Etsy and are inexpensive. You can also look at Graphic’s Fairy for free images.
Here is a shop where I have bought graphics, French Paper Moon. She has great images and sends them to you in reverse too.
This step is important because I am sharing how to apply a reverse transfer. Incidentally, I like using reverse transfers over decoupage at times. Why? Because it is gives these eggs a cleaner look. Also reverse transferring also gives this easy craft project the look of being professionally imprinted.

Applying Reverse Transfer
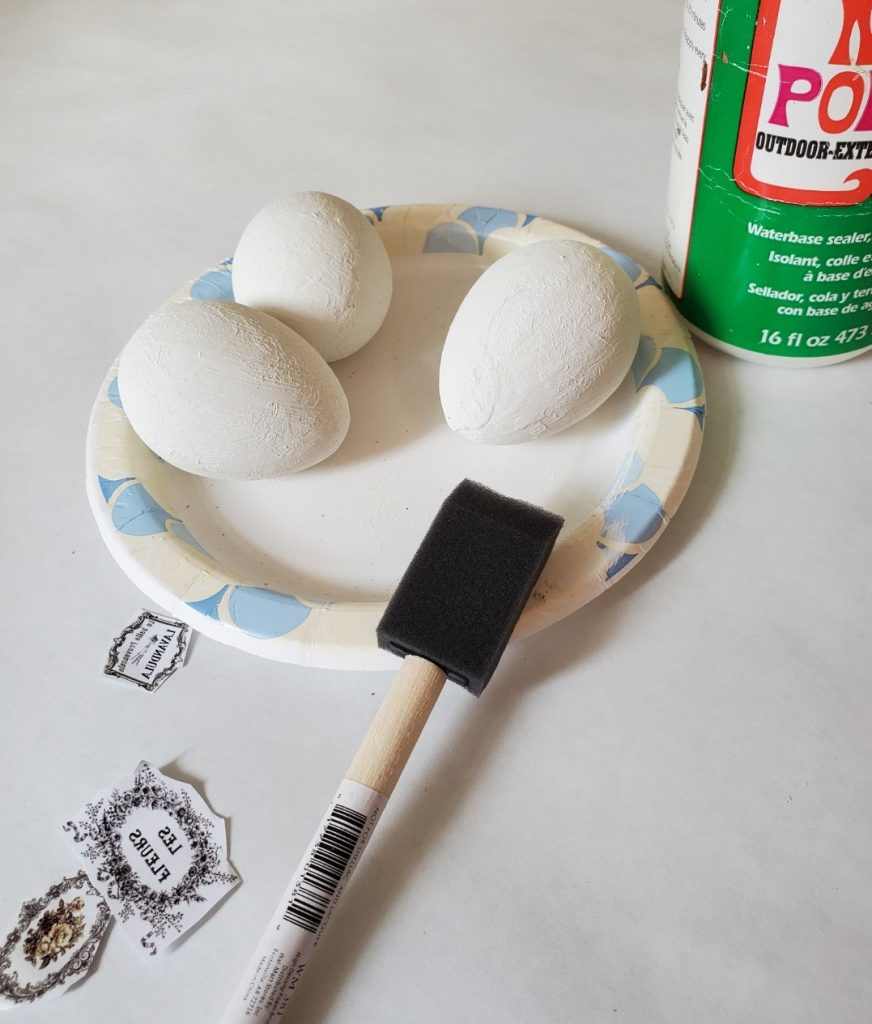
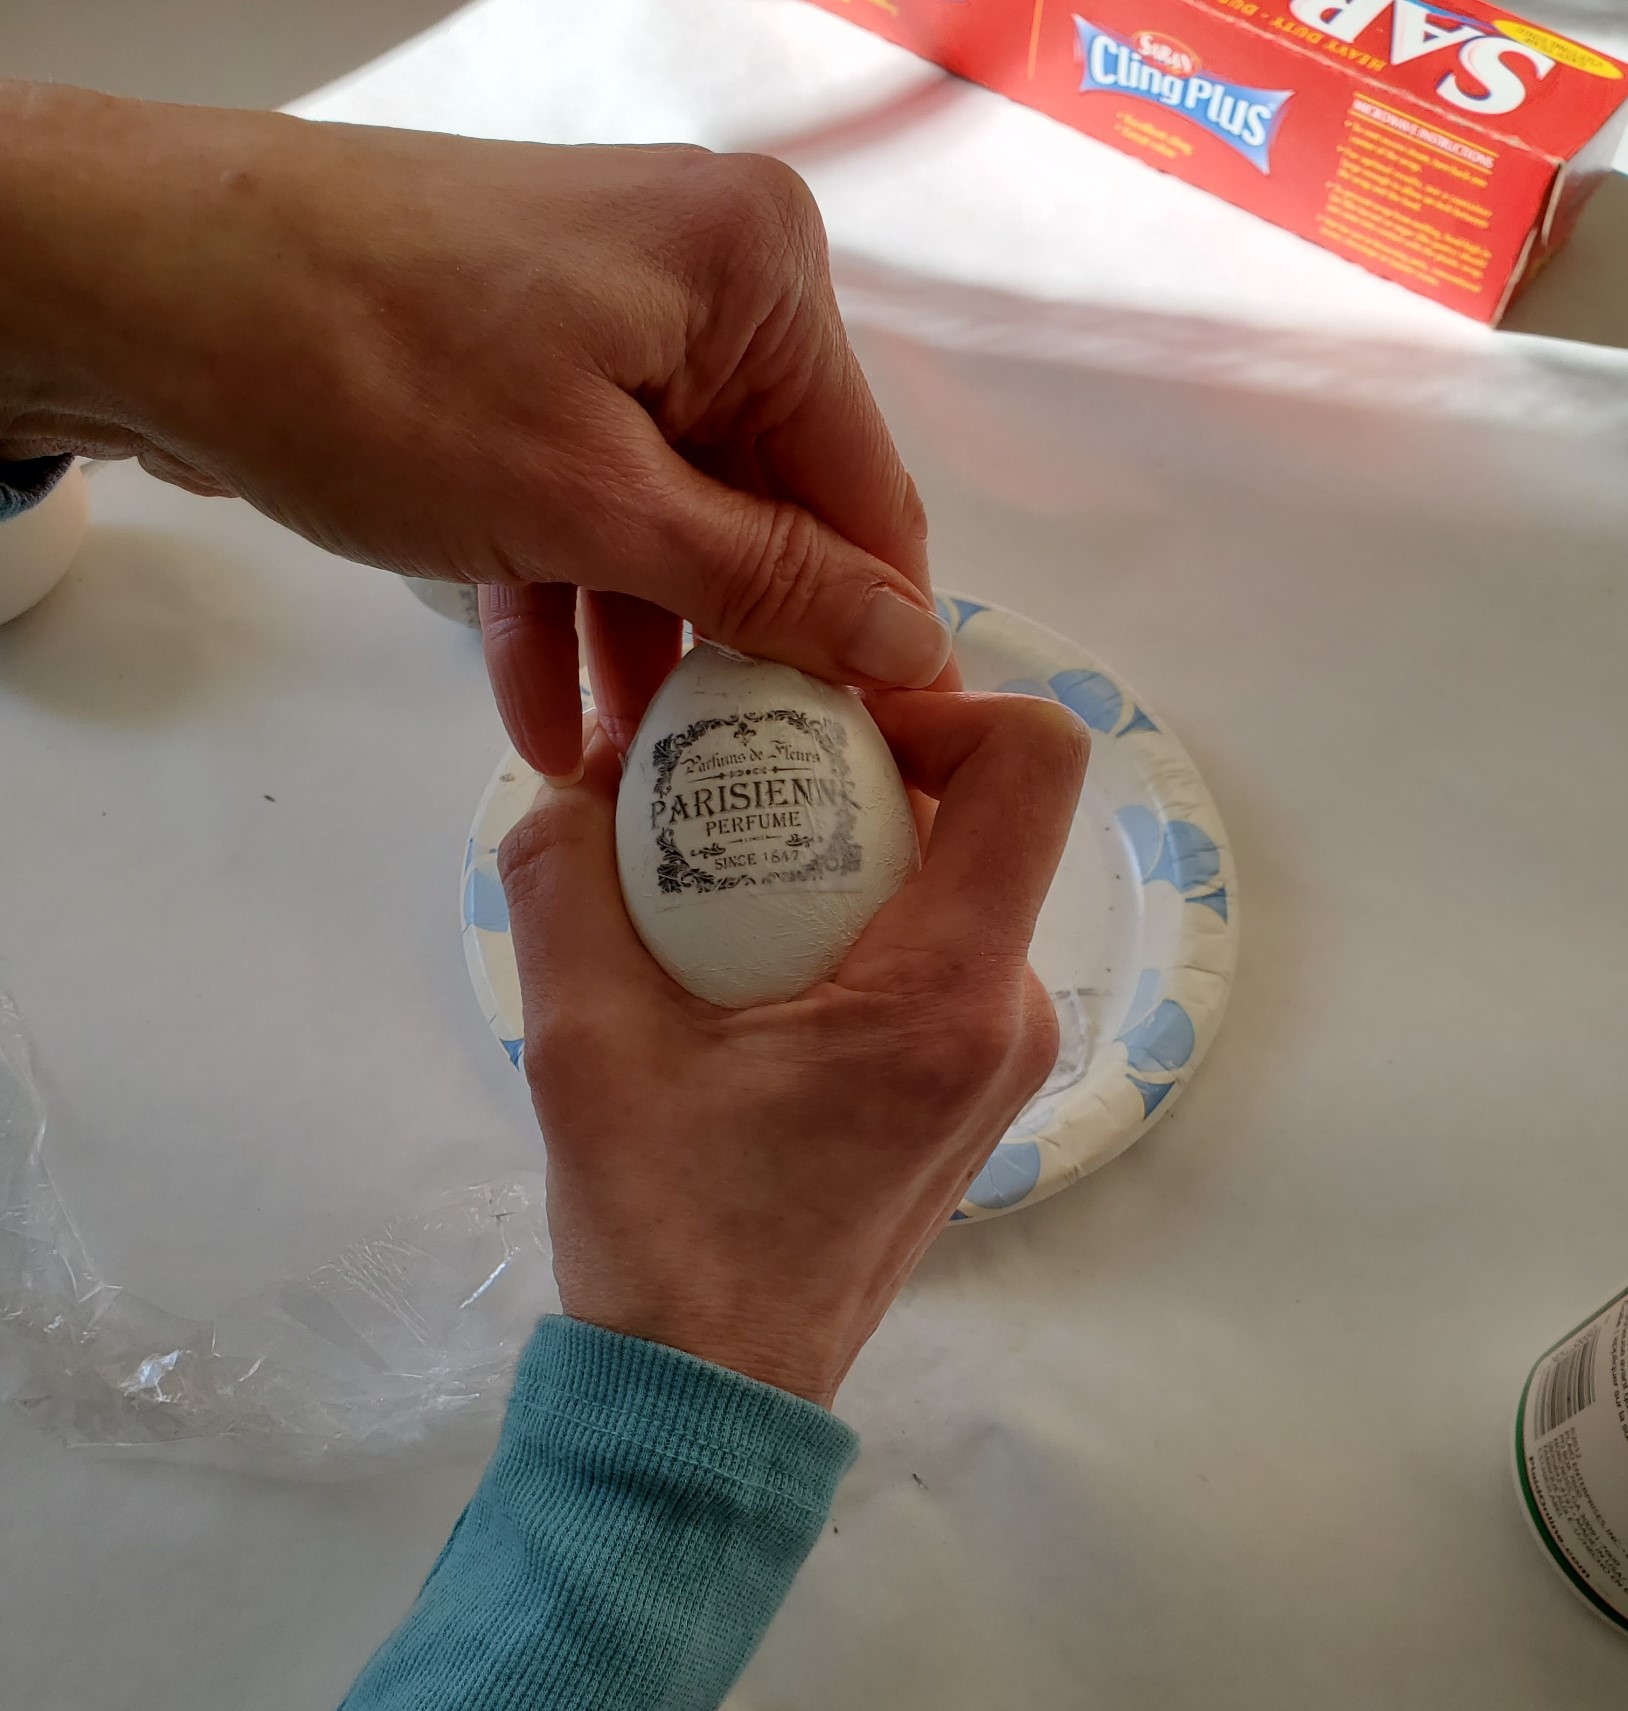
After printing the image on computer paper, cut around the graphic as close as possible.
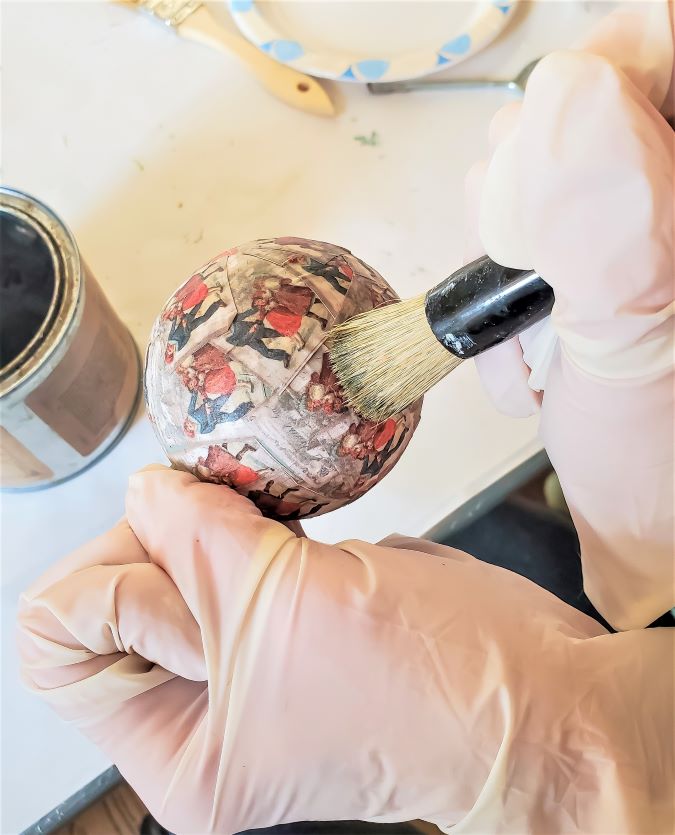
Now, using your sponge brush apply a coat of outdoor Mod Podge to the ink side of the graphic. Next place your graphic onto your egg project and press lightly.
If you need a tip to prevent your images from wrinkling, check this post for a foolproof tip. The picture also gives an idea of the trick.
Next, let your image dry for 24 hours. As much as you may be tempted to skip the waiting, this step is important therefore, do not cheat. It’s particularly important because this allows the ink from your image to stick to the project.

Removing the Paper to Reveal the Reverse Transfer Image
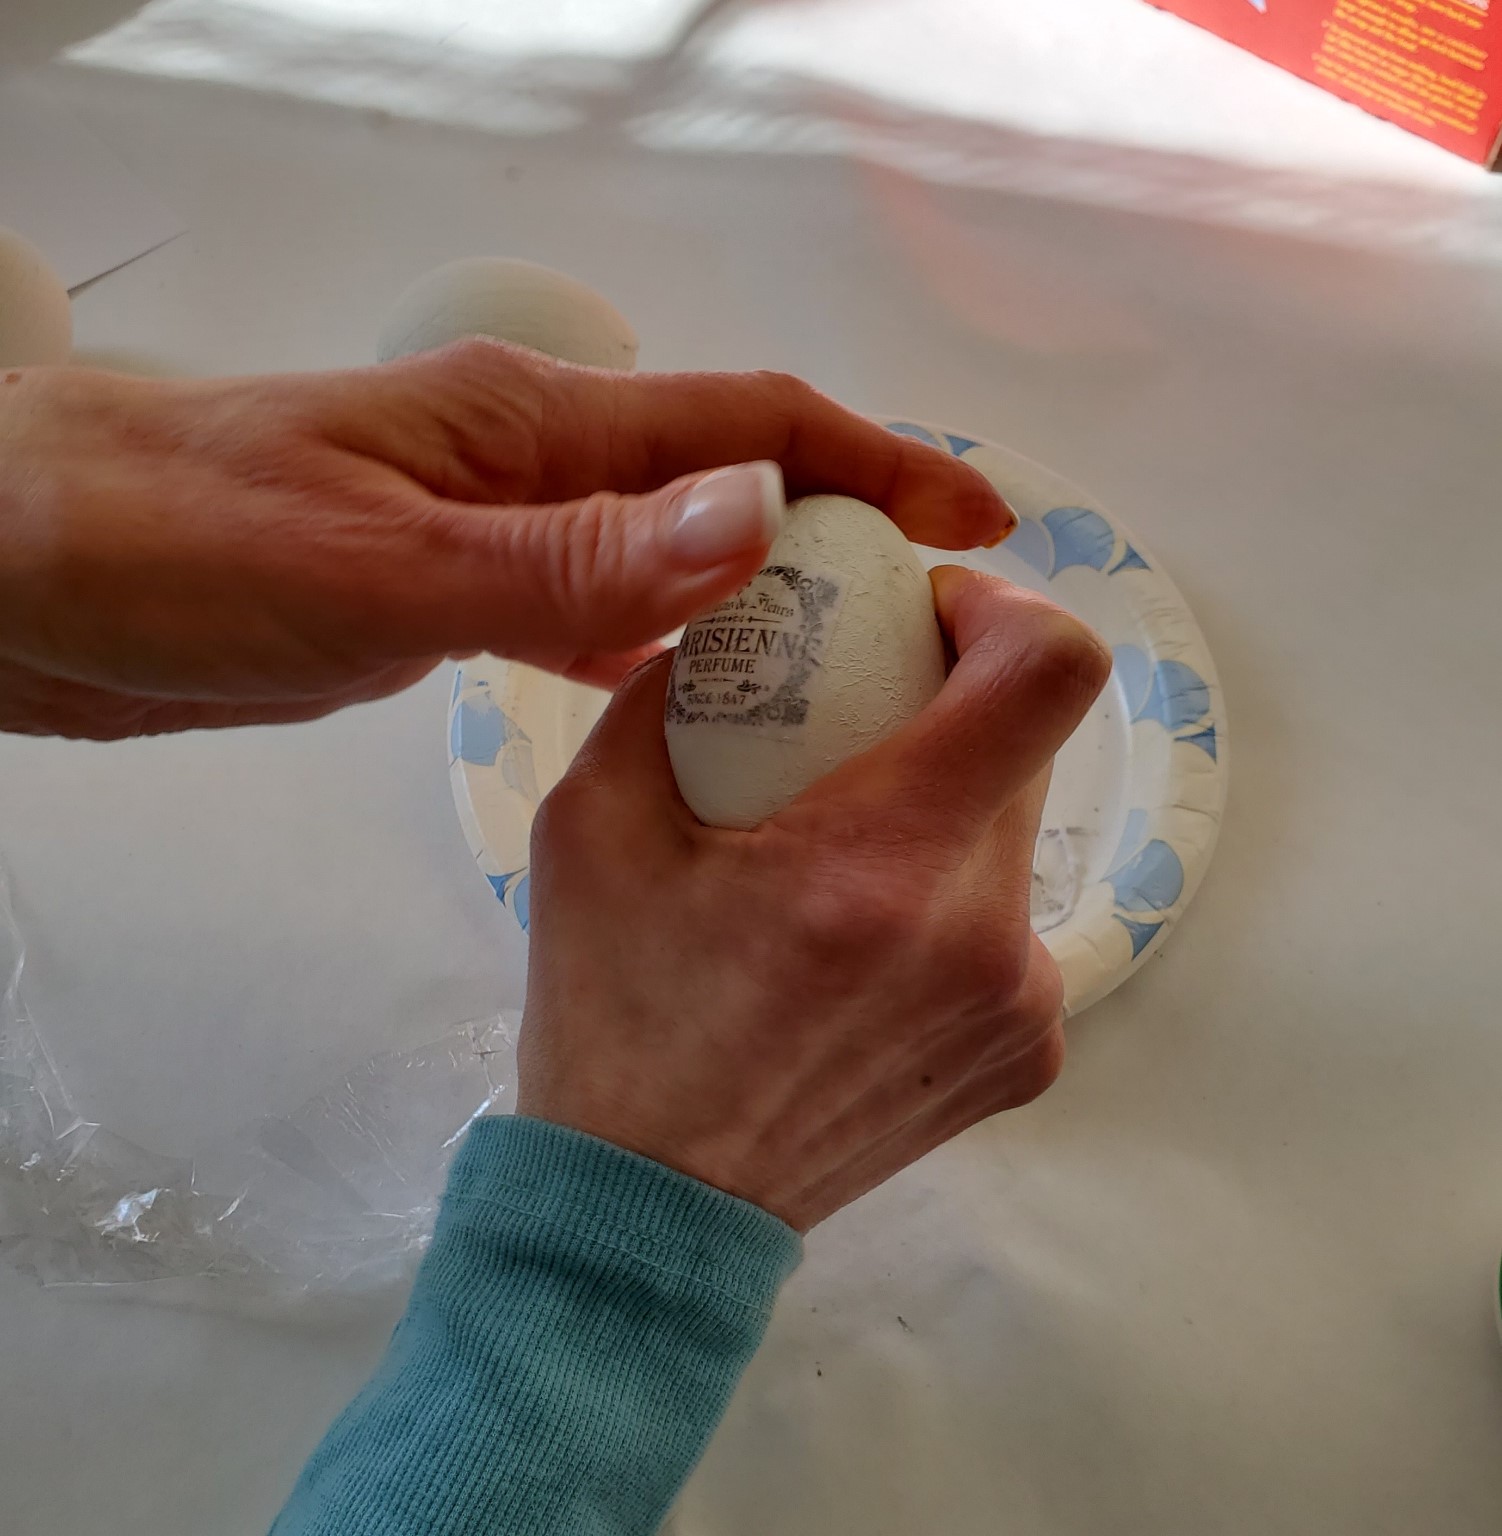
Finally, after 24 hours, add a small amount of water to the image of the craft. You will also notice ink becoming prevalent on your white egg. After the water sits for a few seconds, carefully roll the paper off the image using your fingertip or the side of your finger. Roll until no more paper comes off and let the egg dry for a few minutes.
In this photo, you will notice the right edge of the graphic my egg craft still has the top layer of paper. The left side is the ink transferred to the egg piece.
You can see the rolled paper pieces on the plate beneath my hand as I am ready to rub the right side of the graphic on my egg craft.
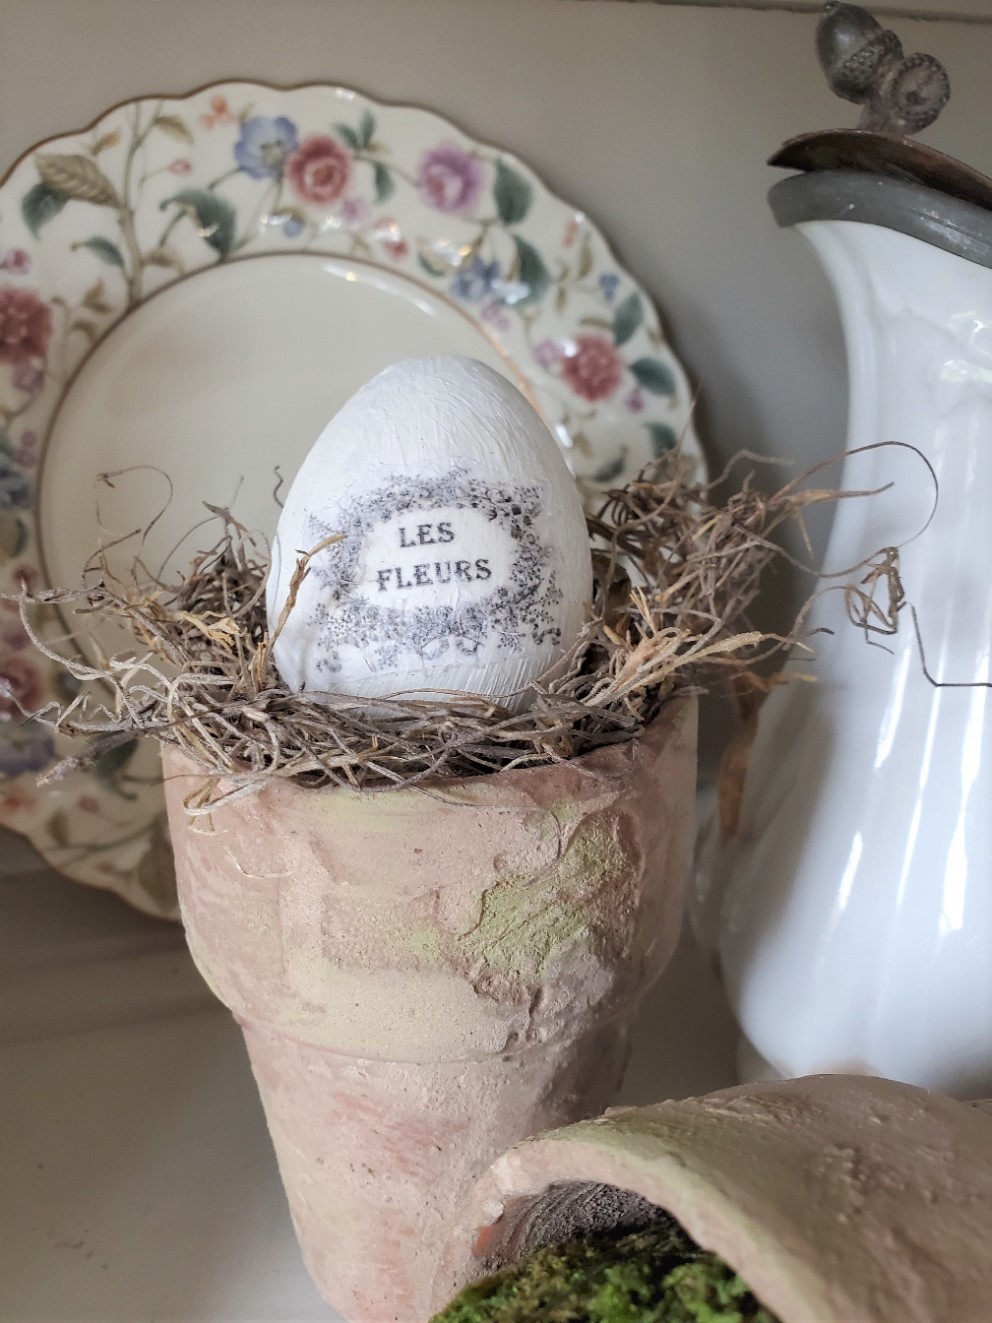
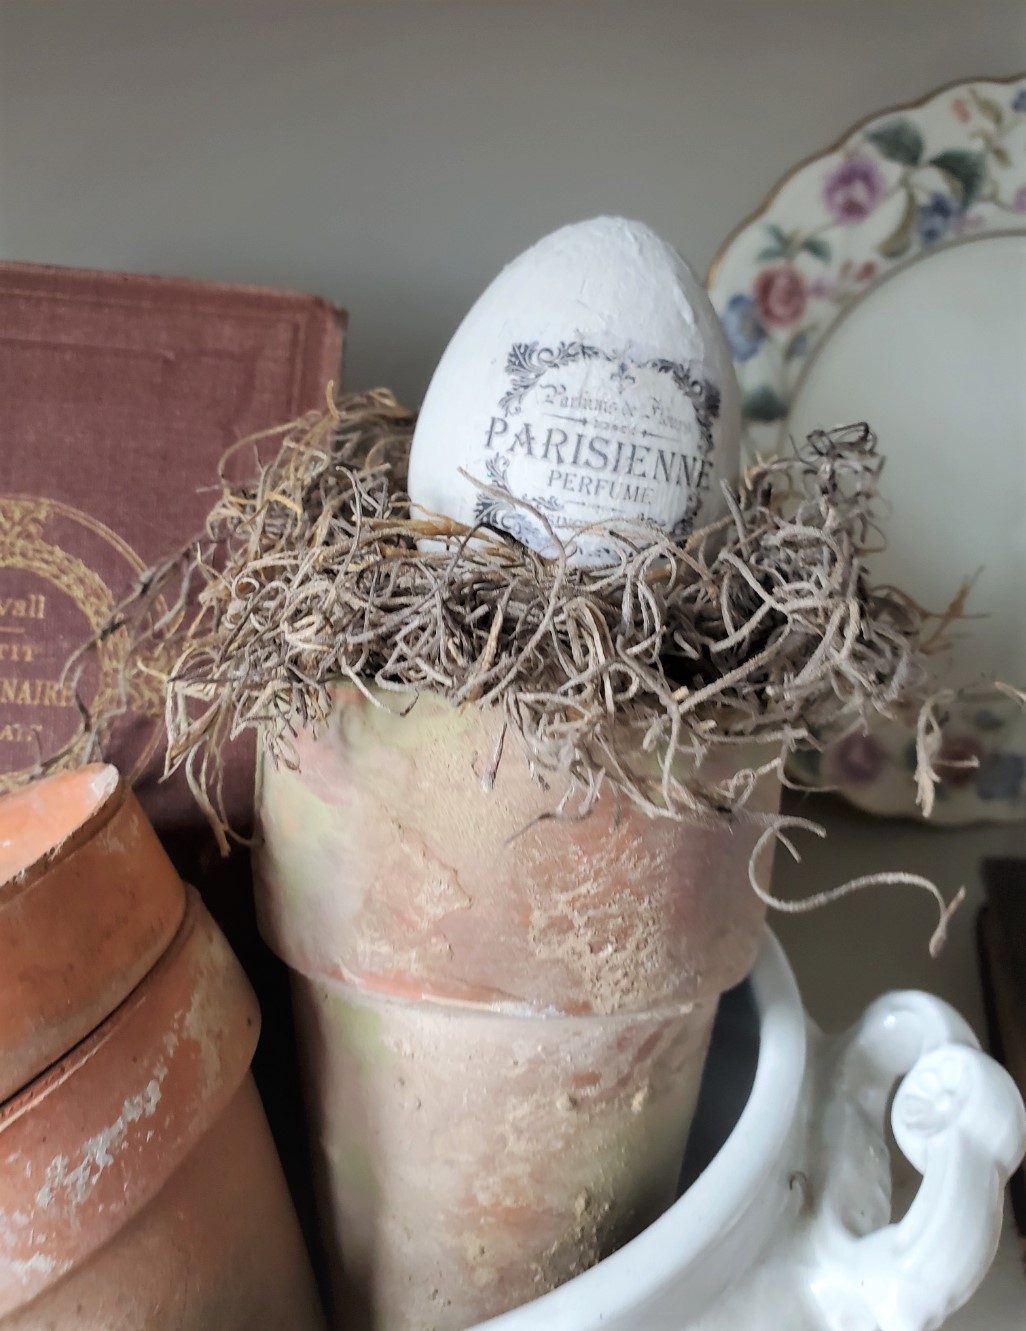
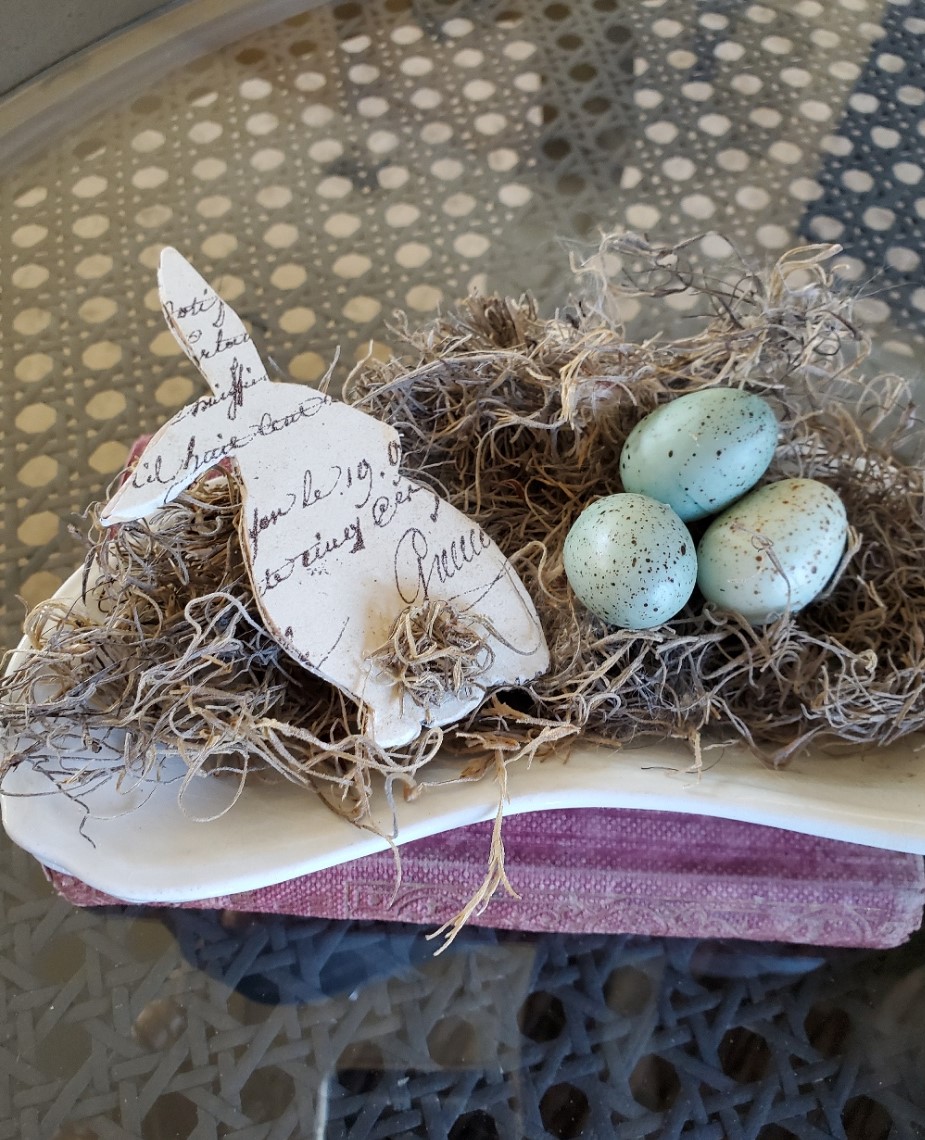
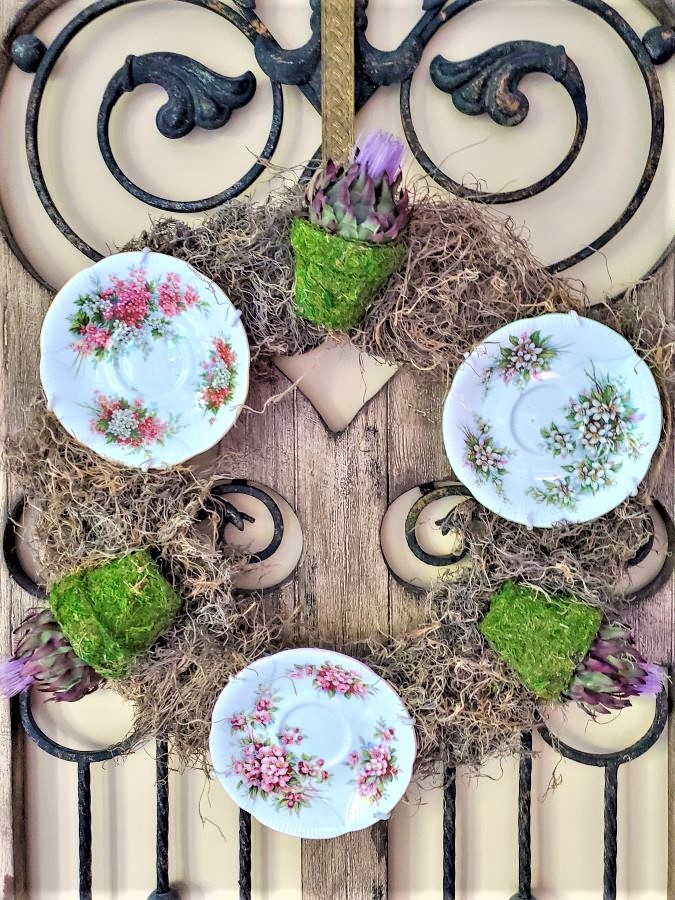
These spring egg crafts are pretty added to flower pots with Spanish moss for texture. I will share how I apply an aging technique to the flower pots, so stay tuned.
The small crown holding the egg adds whimsy and elegance to old books.
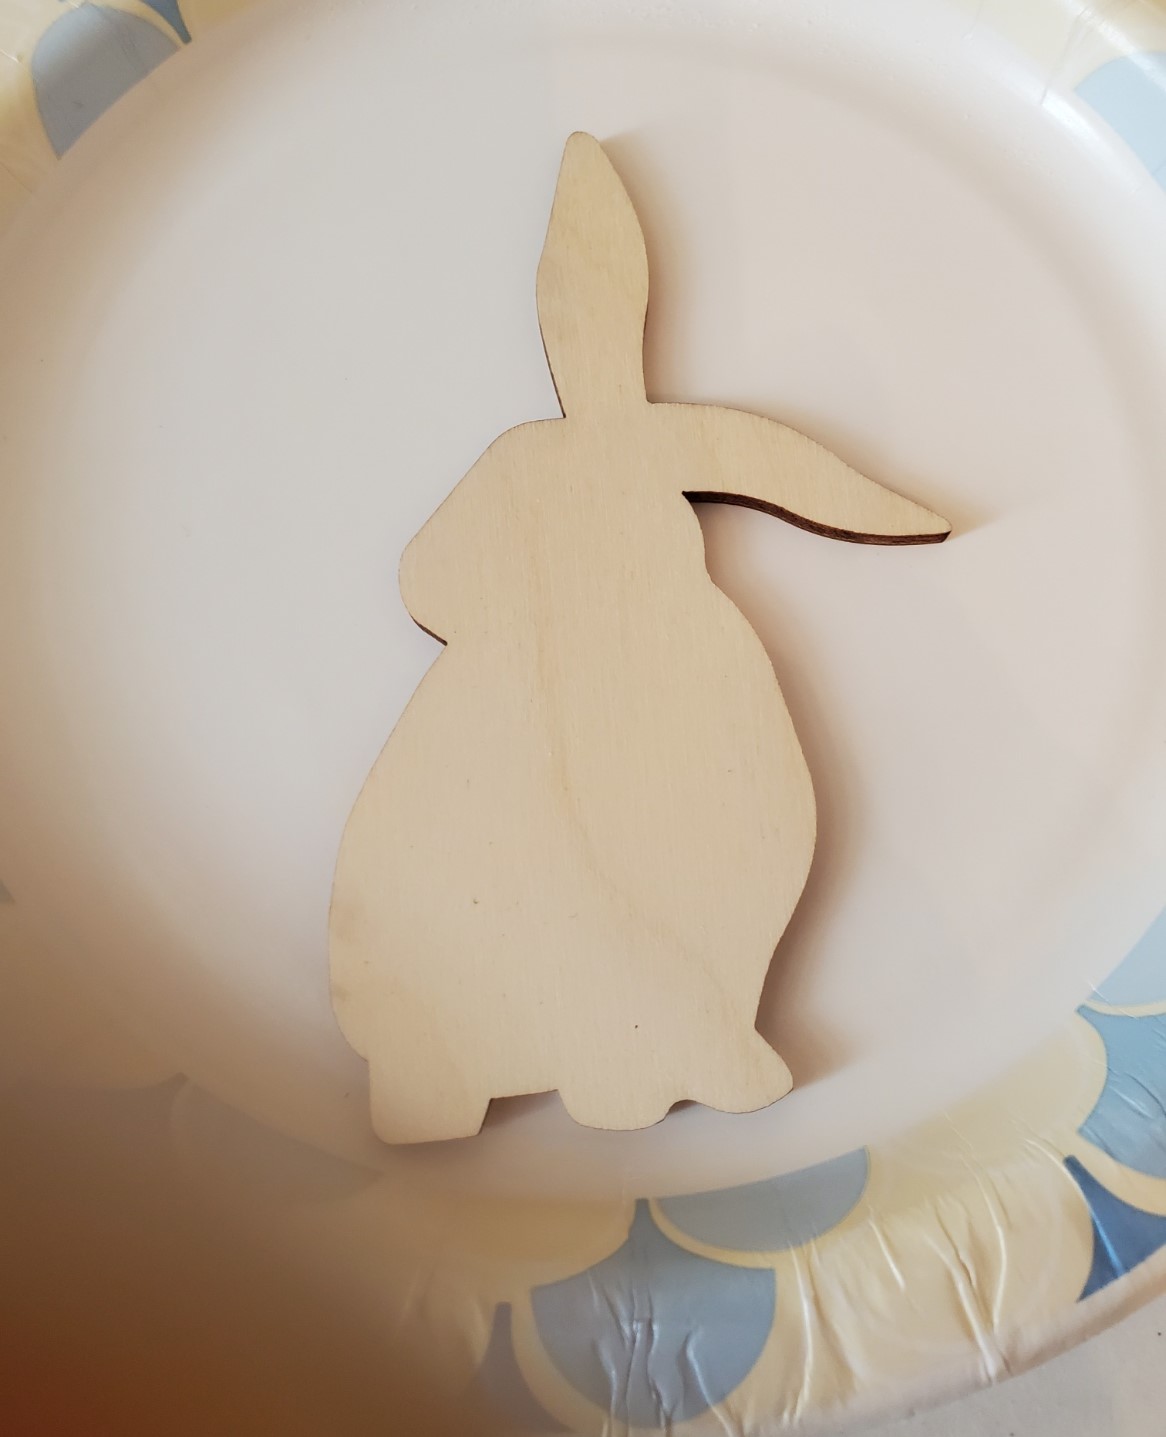
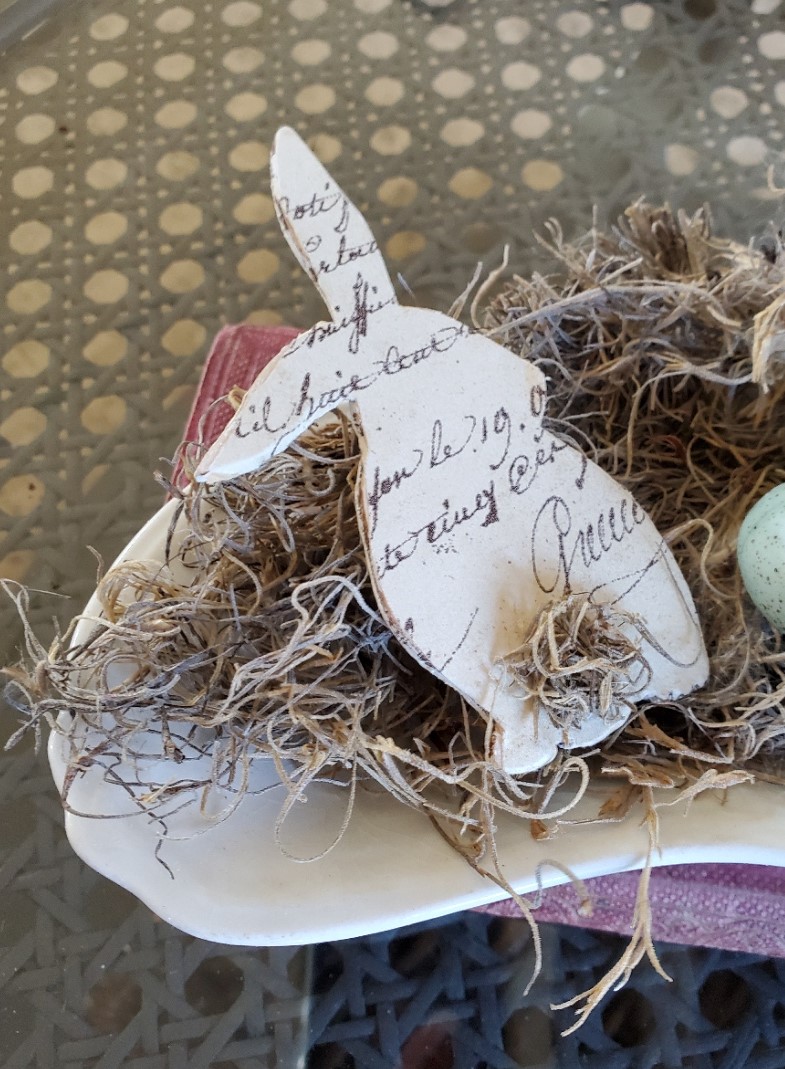
Bunny Craft Using a Wood Shape
This bunny craft is so easy I almost didn’t share it, but I think it’s cute so why not share? I bought this bunny cut-out from Amazon.
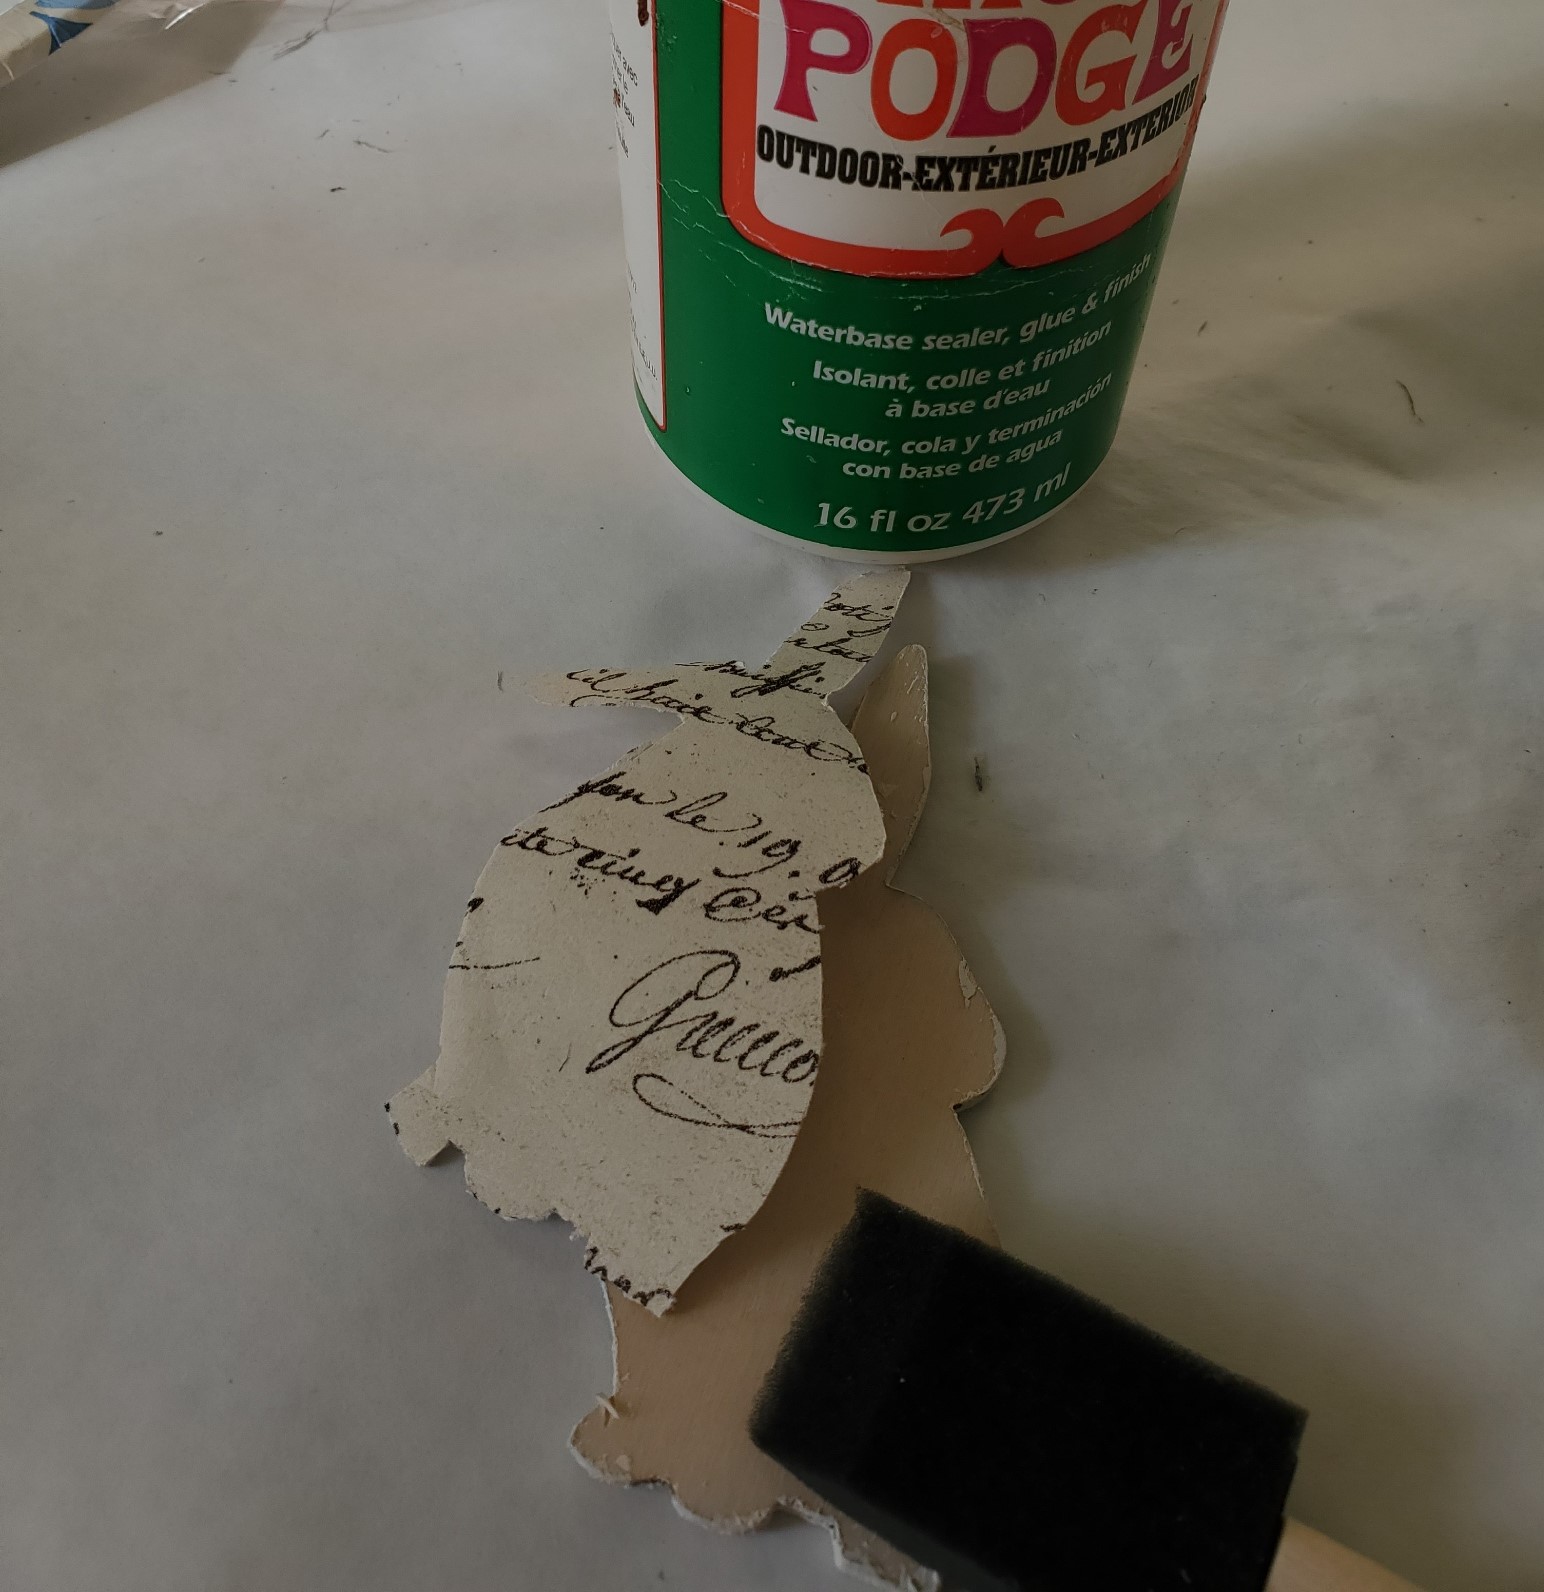
After receiving this cute bunny, I paint the edges white. Using French script wrapping paper trace the rabbit and cut it out.
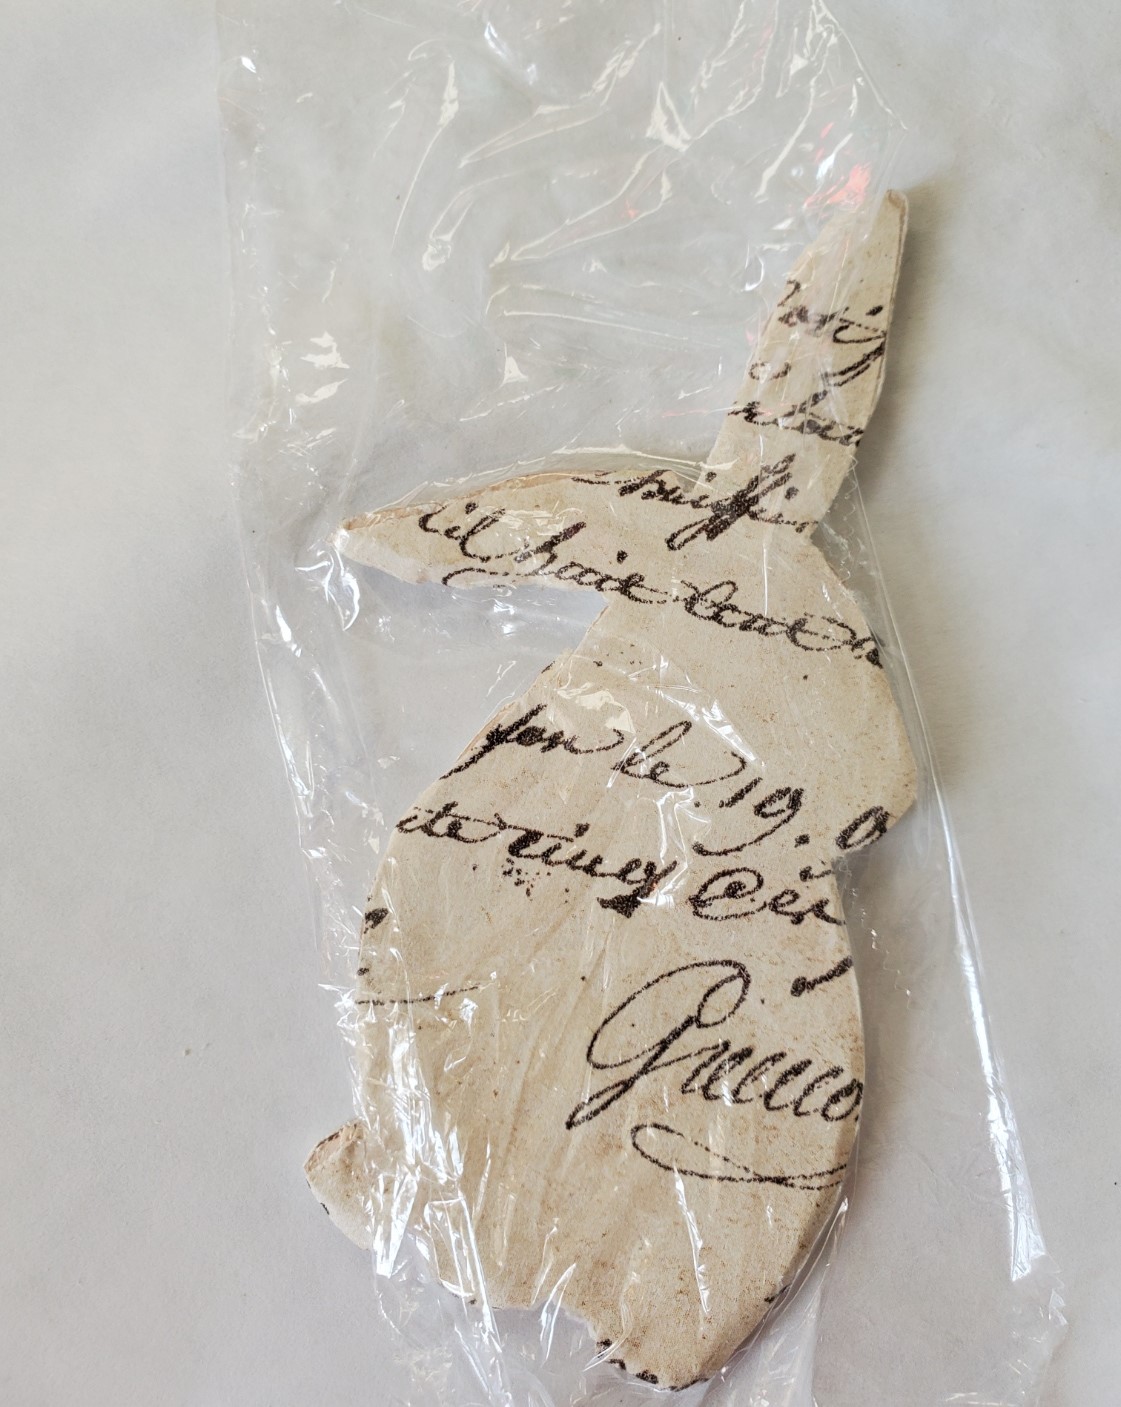
Now, using a sponge brush I apply Mod Podge to the paper and add to the bunny.
Next, using Spanish moss and my hot glue gun, I add a tail with my hot glue gun to the bottom of the rabbit. I have a bunny ready to add to my spring/Easter decor.
I hope you enjoyed these Easter egg and bunny crafts. They are easy and fun to make to add to the home for spring. I also like these egg ideas because they can be left out in decor because they are just not for Easter they work through the spring.
Do you think you may make these easy spring projects for your home? I’d enjoy reading about your thoughts.

Oh my gosh so cute. I love the pots too with your sweet eggs. Have a good day. xoxo
You are doing a great job on the Easter decorations. The eggs ad bunnies look so pretty Cindy. Happy Spring!
These are so adorable, especially the cute bunny, I loved the rustic look. 🙂
Thank you so much!
These are both so cute! I love the bunny’s moss tail. Great idea!!
I don’t know which craft is sweeter, but together they are just perfect! I’ve never tried a reverse transfer. It’s been on my list, but now I may really do it. Thanks for the tips! Happy Spring!
Such pretty eggs and the bunny is adorable. I have never tried it, but they look awesome.
LOVE that technique Cindy – your eggs and bunny are beautiful! I’m definitely going to give that a try to be ready for next year! Happy Spring!
Fun crafts. Happy Easter!
This is all too cute.. I cant wait until I finally move into my new build and have the space to use some of your inspired projects.
I love them all.. Well done.
Teresa
Thanks so much Teresa. I can’t wait to see your building process.
These are both so cute, Cindy, I seriously don’t know which one to pin first! Love these easy to follow instructions and your creativity. They’re both so inspiring. Loviing and pinning as always, CoCo