
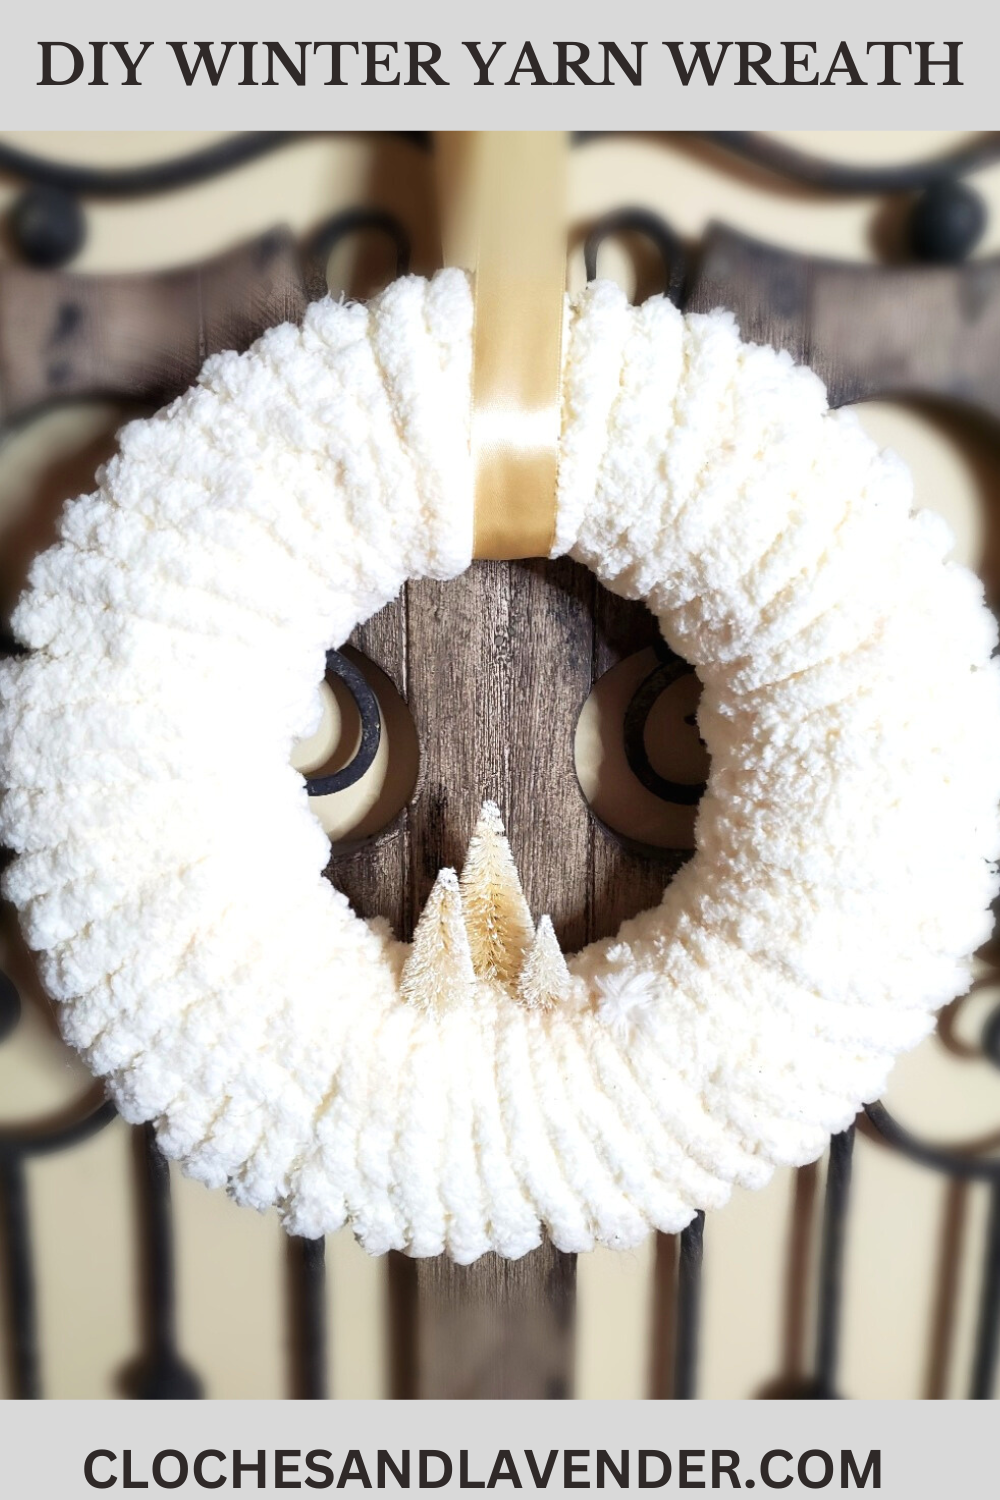
DIY Chunky Winter Yarn Wreath
My first easy project of 2024 is a winter wonderland!
As the winter chill settles in and the Christmas wreath and the Christmas decorations are taken down, there is nothing like updating a front door or living space with warm and inviting winter decor. Let’s add charm for the winter months with an easy DIY chunky winter yarn wreath.
I love wintery months and think I may be one of the few who cheers when October arrives and is a bit sad when March ends. Shocking I know, I can hear you thinking is this girl crazy? I don’t have to be concerned about traveling to work when it is a winter wonderland outside. I am fortunate to be able to enjoy this world we call blogging. But I have been there, sitting in bumper-to-bumper traffic trying to get home from work. Yes, I have taken part in the three-hour drive home in major snow storms, yet I still enjoy the winter months. For me, it’s my favorite time of year because it’s a slower time and we sit, talk, and linger around the dinner table with our favorite comfort food. Or snuggle next to the fire while enjoying a cup of cocoa with marshmallows or coffee.
Jump to DIYâ–º Table of Contents
Table of Contents
- 1 Chunky Yarn Wreath
- 2 Make This Easy Project Idea Today!
- 3 Most Asked Questions:
- 4 Supplies List:
- 5 Step 1: Paint Wreath Frame
- 6 Step 2: Add The Yarn To Create A Chunky Yarn Wreath
- 7 Step 3: Add Bottle Brush Trees
- 8 Step 4: Hang Your Wreath For The Wintery Months
- 9 Fun Ways To Make A Winter Wreath
- 10 Luxe Fur Wreath
- 11 Conclusion:
- 12 Other DIY Projects of Interest:
- 13 Click Image To Shop!
- 14 DIY Chunky Winter Yarn Wreath
- 15 DIY Winter Wreath
Chunky Yarn Wreath
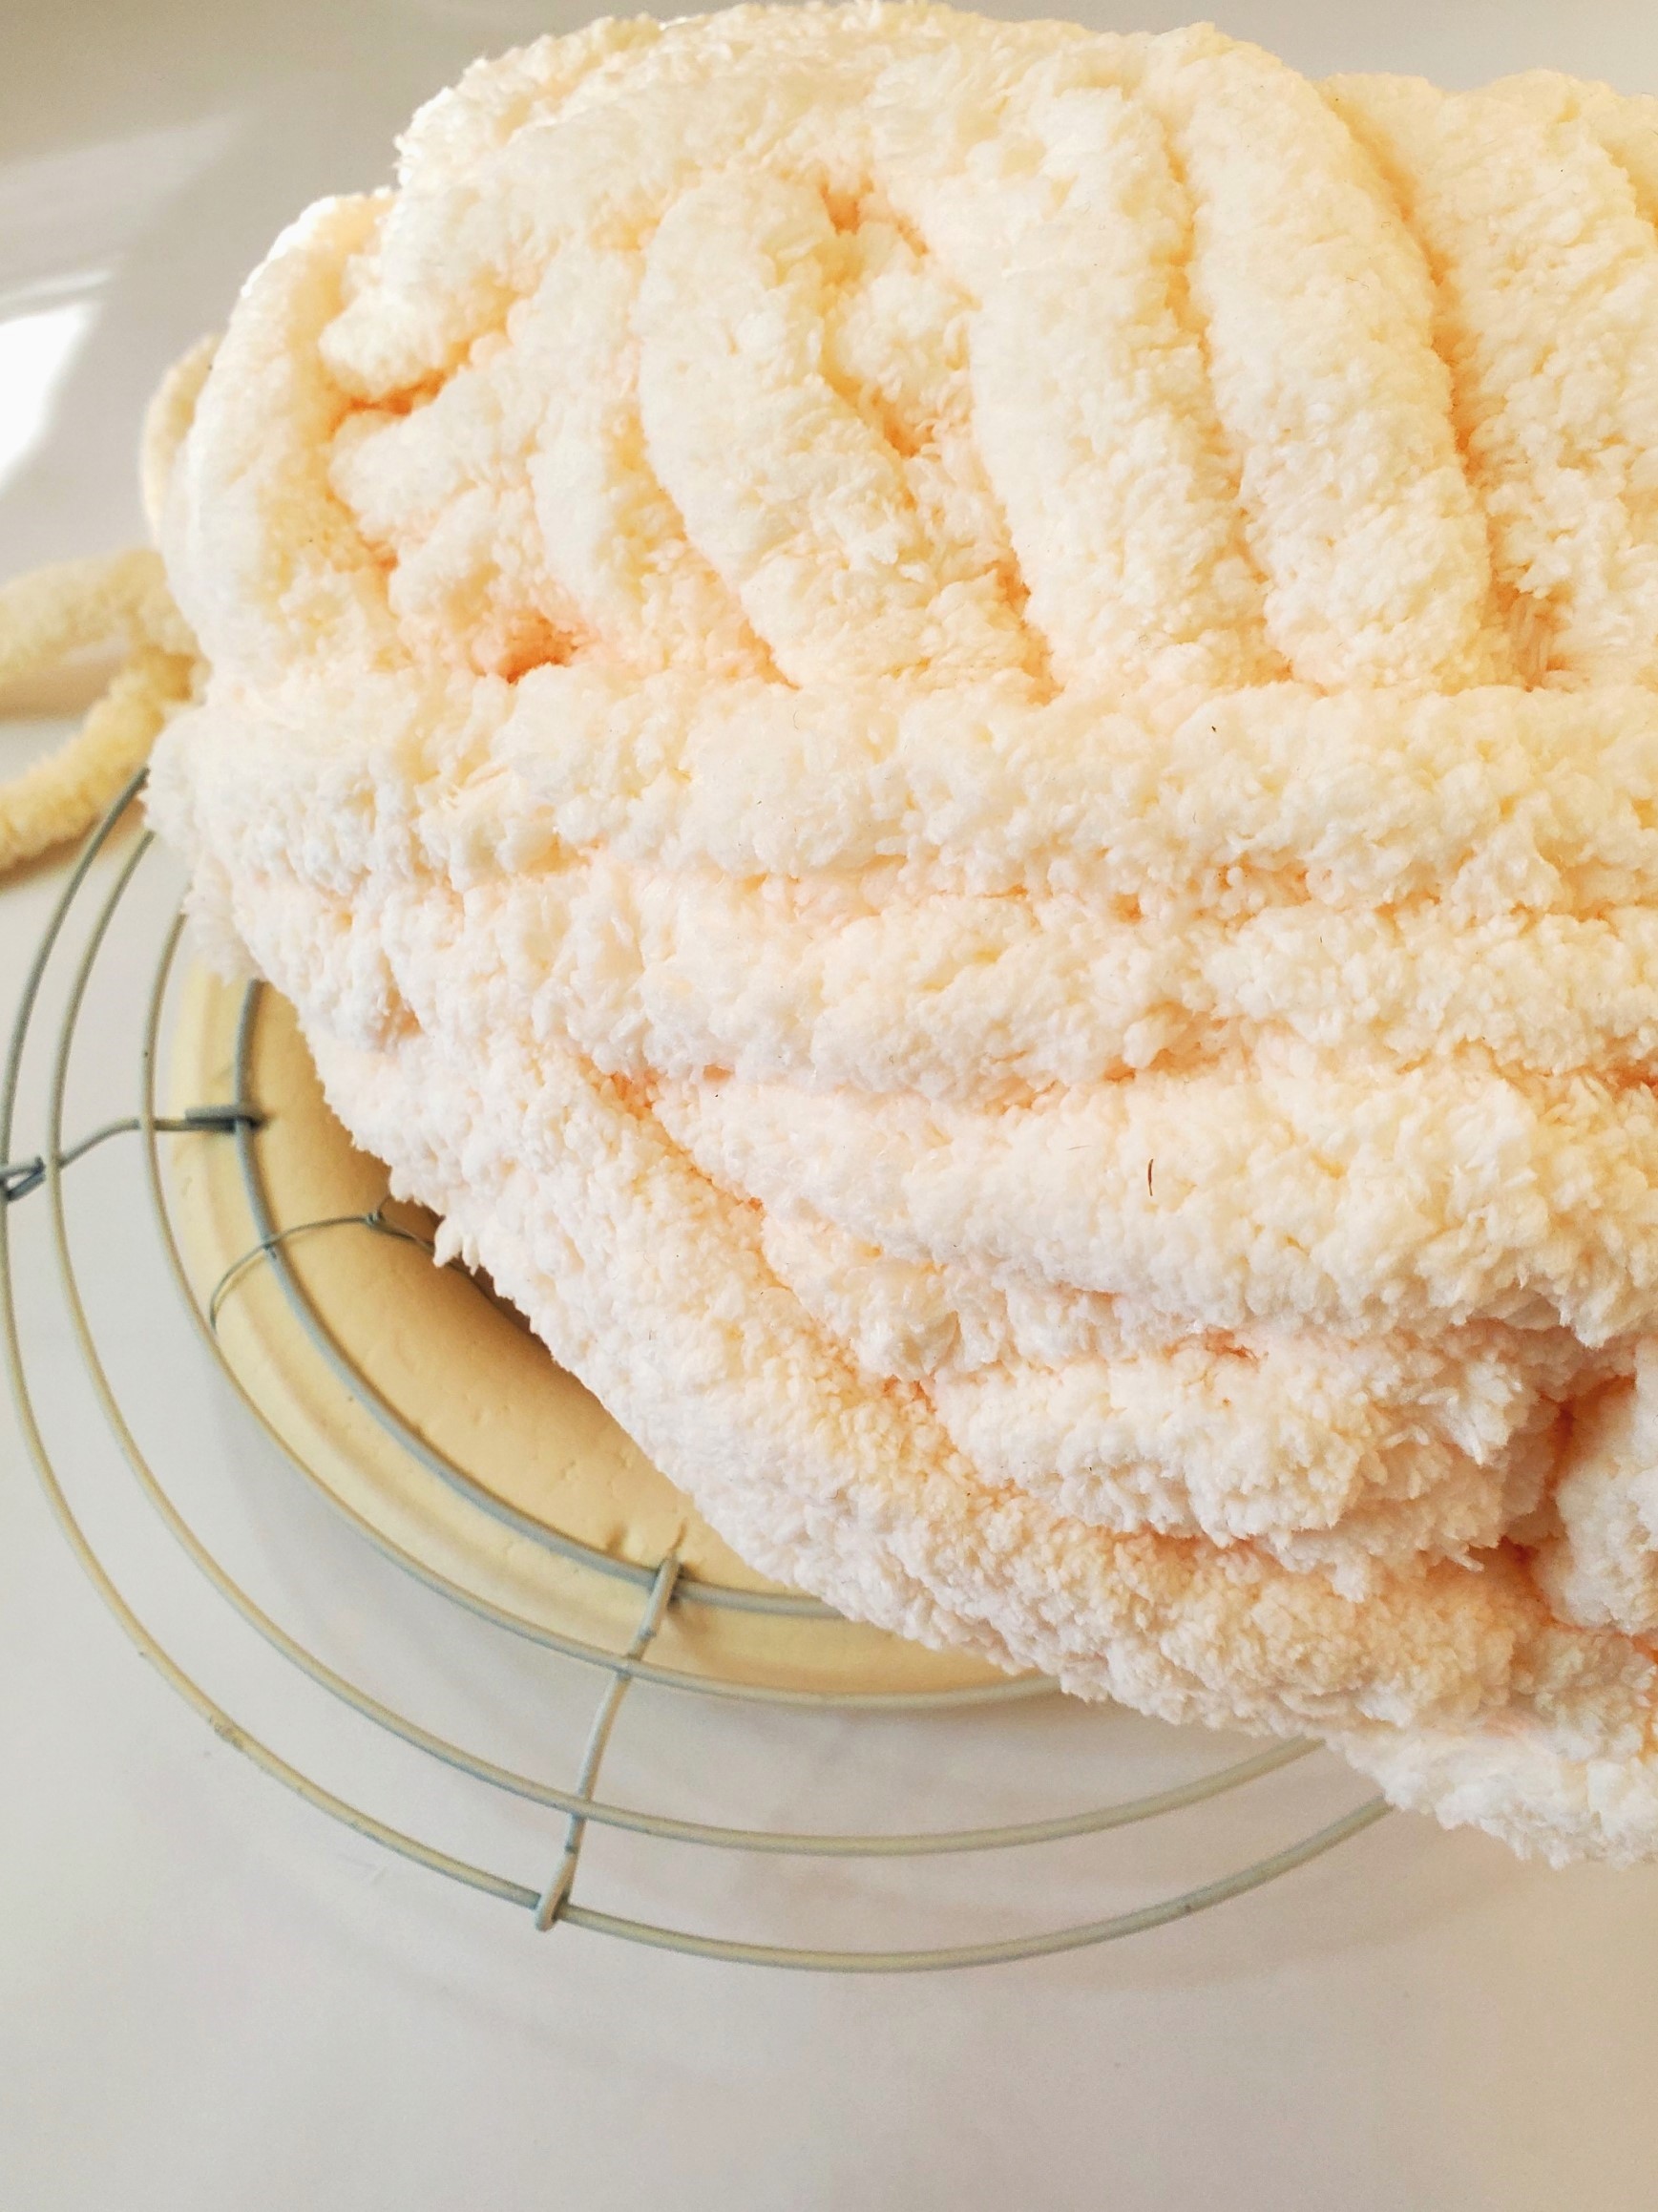
Last year during a trip to JoAnn craft store, I purchased a skein of yarn, Bernat blanket yarn, a pretty winter white color yarn. I remembered I had a foam wreath base in my craft closet, and this color yarn was just right to make a beautiful wreath to add to a spot in our winter decor.
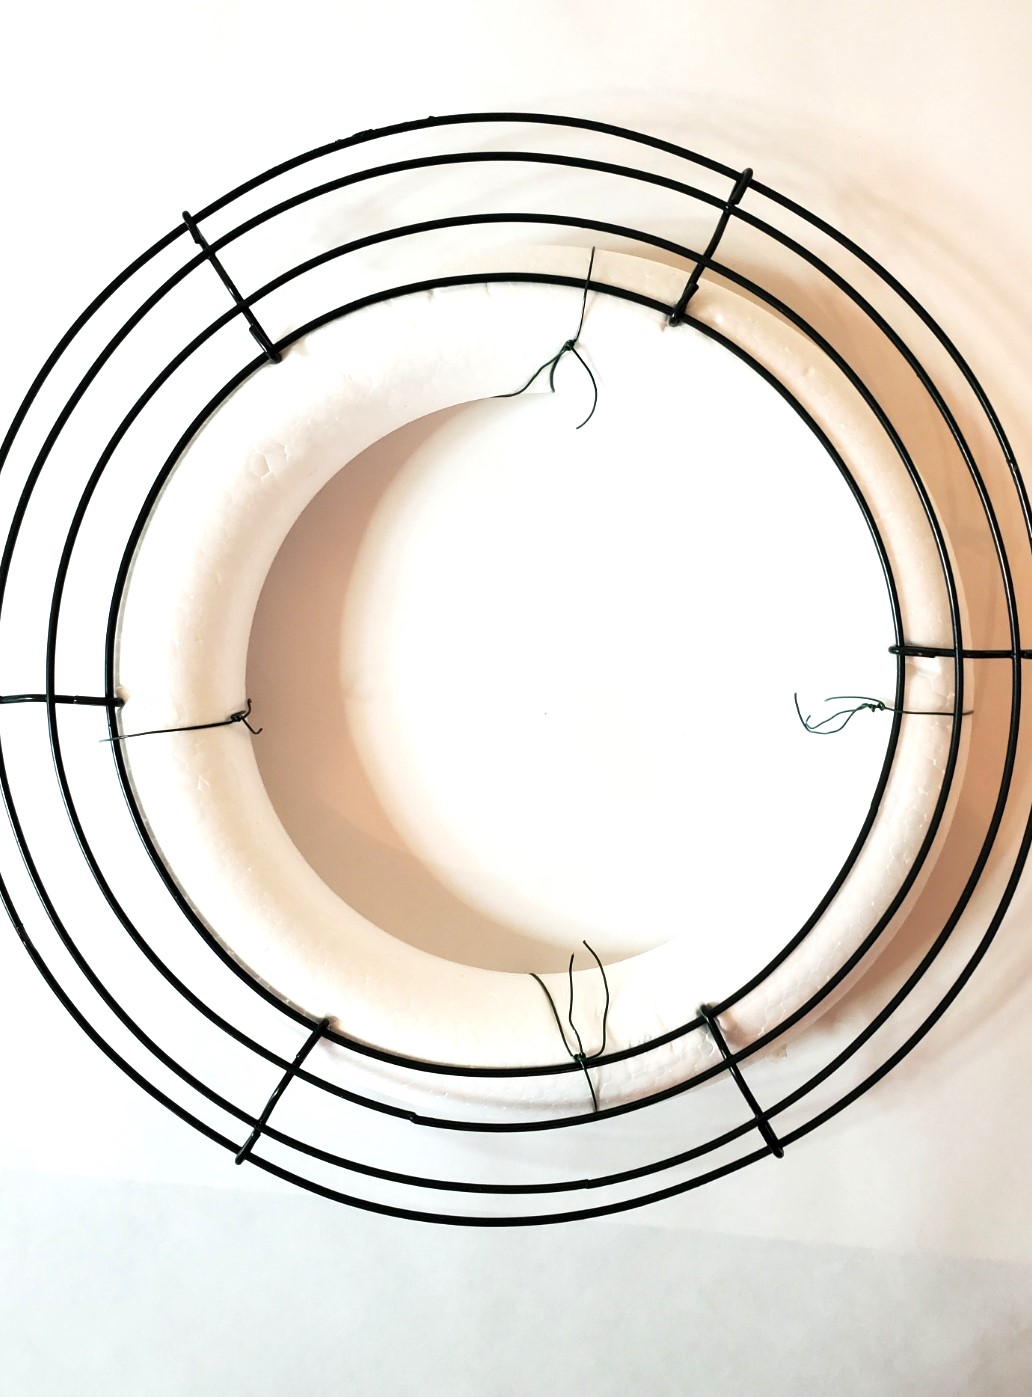
Unfortunately, when returning home my foam wreath base was smaller than I remembered. Fortunately, I had a 12″ wire wreath frame to make the correct size. This is one of the reasons I keep different-sized wreath forms in my craft room. Such as wire wreath frames, grapevine, and usually a straw wreath form. These are easy to find at any craft store or Dollar store.
Make This Easy Project Idea Today!
- Start crafting your winter wonderland! Dive into our DIY Chunky Winter Wreath tutorial and add warmth to your winter decor. Get creative now!
- Feeling crafty? Learn how to make a stunning DIY Winter Wreath to elevate your winter decor. Click here for the step-by-step guide!
- Ready to infuse your winter decor with charm? Follow our easy DIY Chunky Winter Yarn Wreath tutorial. Click now and create your beautiful wreath!
Most Asked Questions:
What materials do I need to make a DIY winter wreath?
- To craft a yarn wreath for the winter months, you will need a foam wreath base, wire wreath frame, or a straw wreath form.
- Chunky color yarn of your choice.
- Scissors, a hot glue gun (optional), floral pin (optional).
- Embellishments such as pine cones or small bottle brush trees.
How do I choose the correct yarn for my winter wreath?
- Think of the color yarn and texture of yarn you want for your DIY winter wreath.
- A winter white wreath, blues, and grays are popular choices.
- Use different yarns, such as white loop yarn, known as hook yarn, or textured yarn, to make a beautiful wreath to hang on your front door.
Pro Tip: Make sure the color yarn works with your winter decor.
What are creative ways to decorate a yarn wreath?
- Christmas trees
- Pine cones
- Snowflakes
Pro Tip: Add miniature ornaments and other Christmas decorations and use this as a Christmas wreath on your front door.
Use your hot glue gun and add a dot of hot glue to attach Christmas trees and pine cones. Also, you can attach Christmas decorations such as ornaments, jingle bells, and snowflakes.
So, let’s dive into this beautiful chunky yarn wreath that will become one of your favorite winter wreaths to hang in your for the new year.
Supplies List:
- white foam wreath form
- hot glue gun
- wire cutters or scissors
- skein of yarn
- small bottle brush trees
Step 1: Paint Wreath Frame
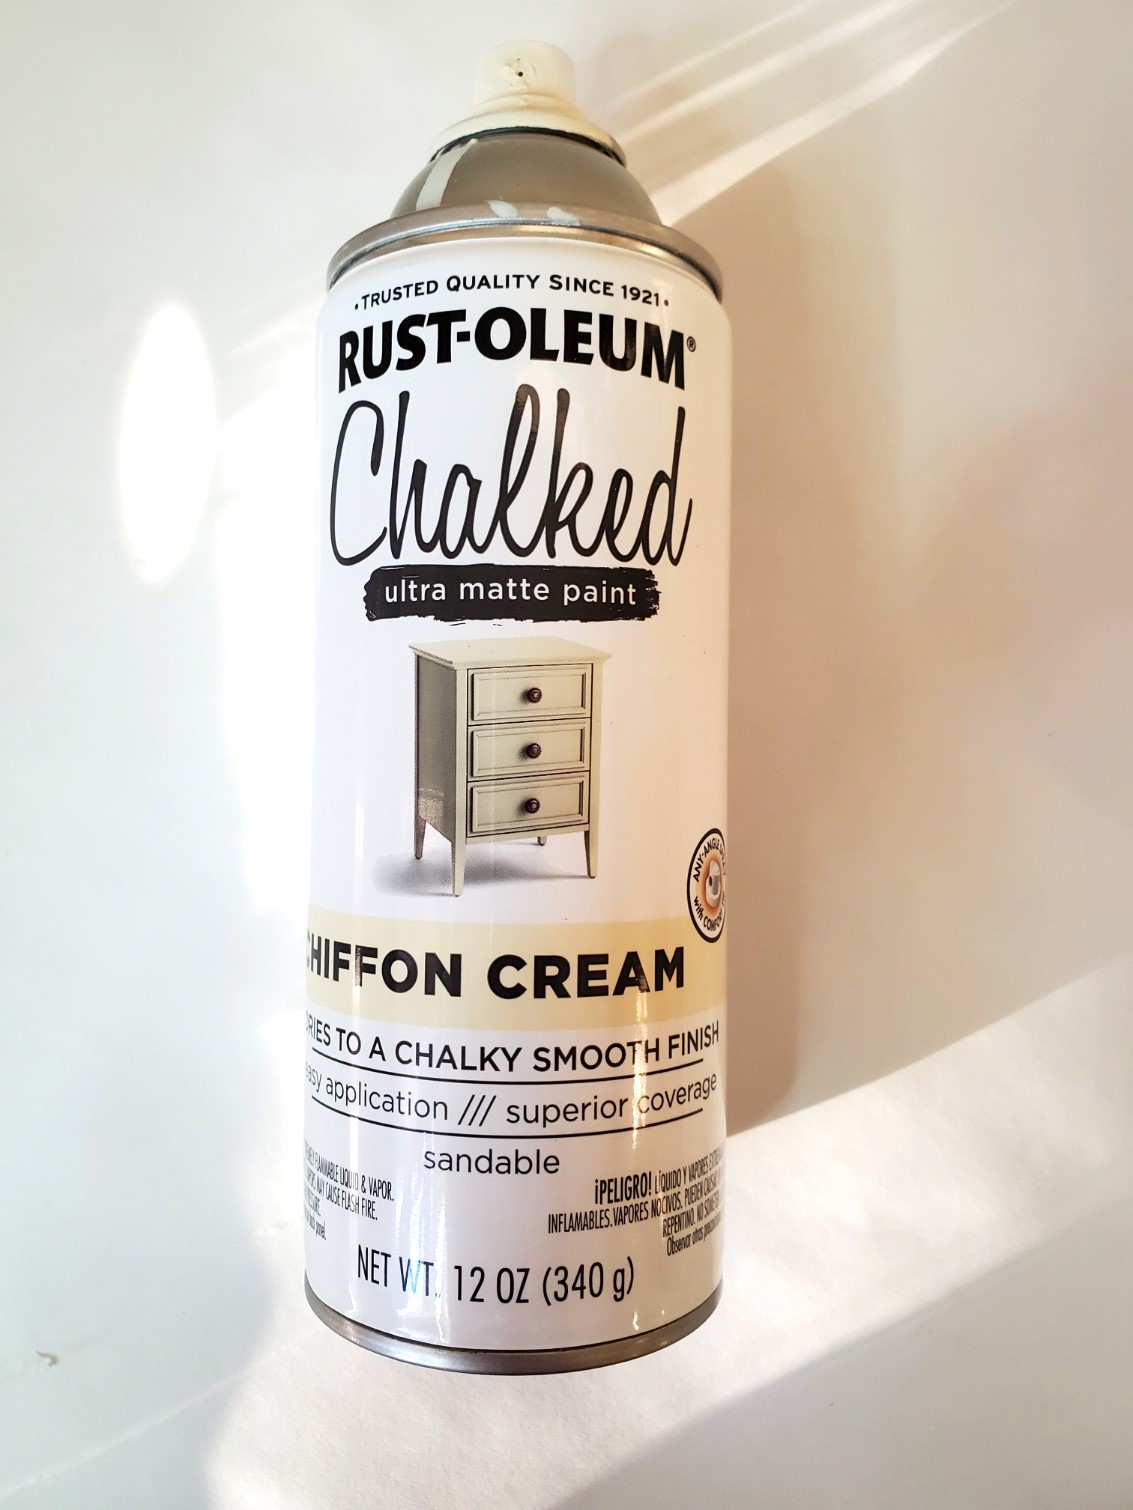
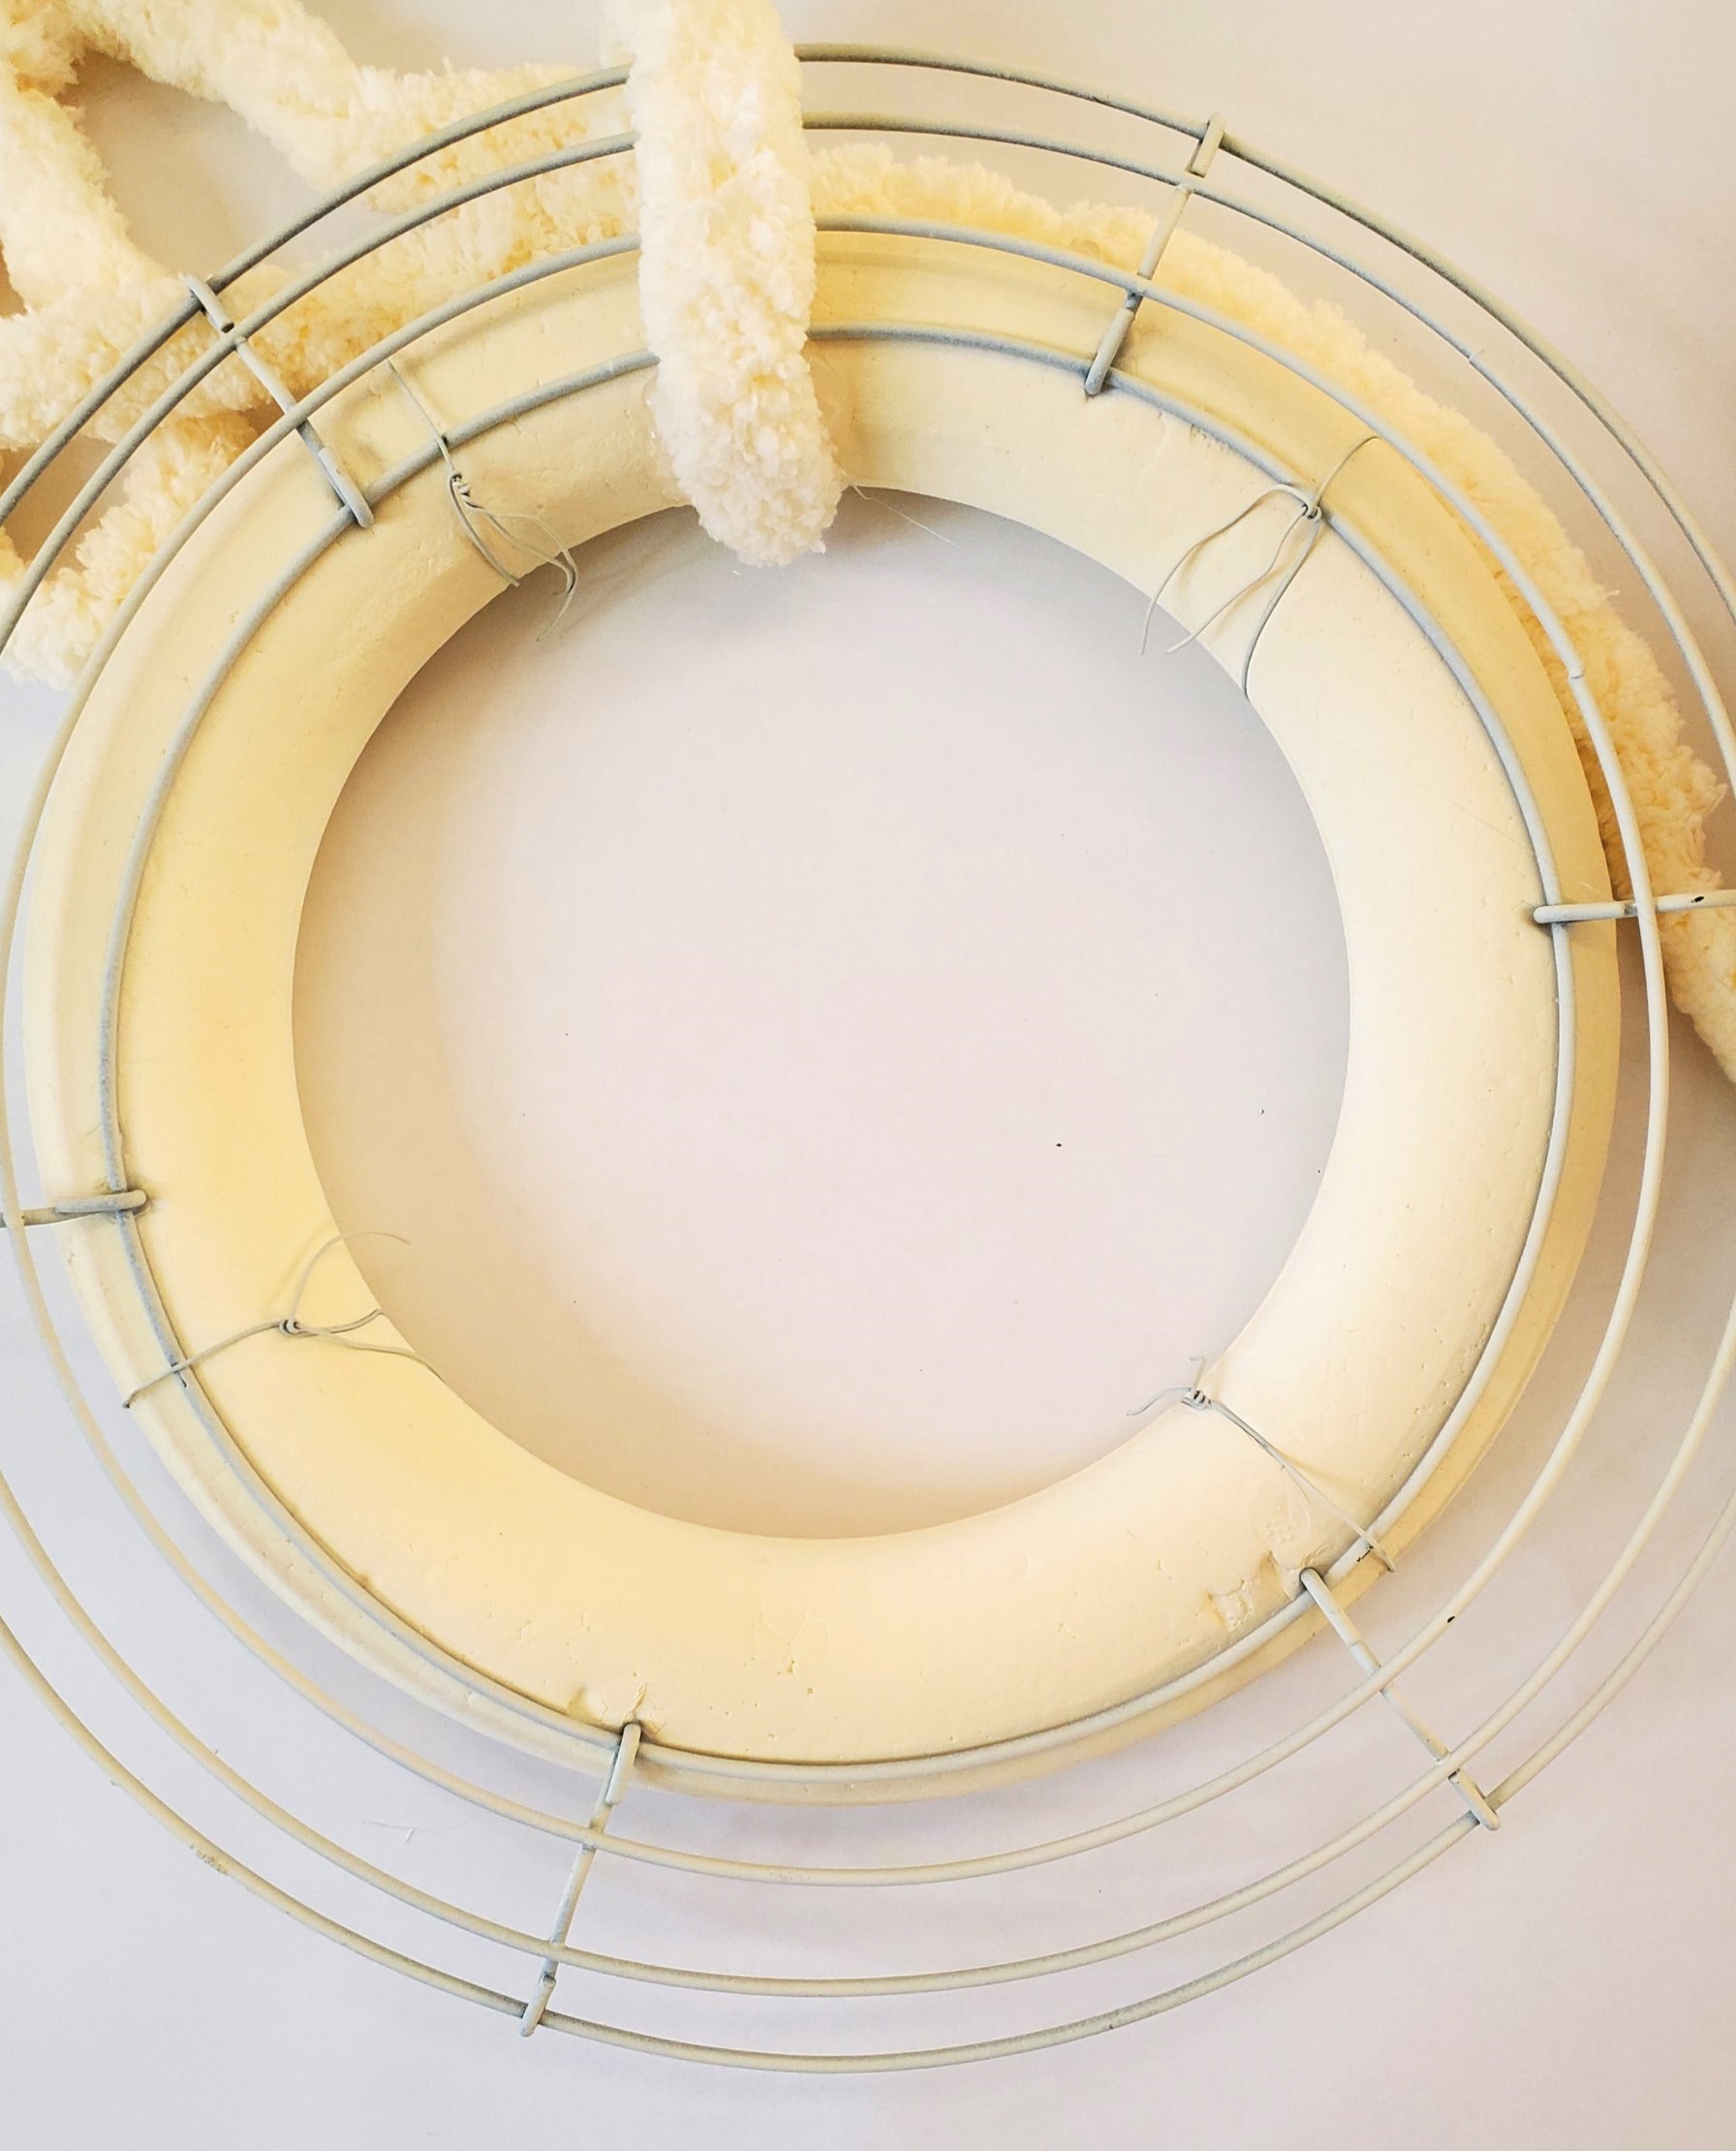
I attached the foam wreath base to the wire wreath frame using floral wire to add a bit more bulk for my DIY winter wreath. Next, because wire wreath frames typically come in green, I sprayed mine with Chiffon cream chalky paint and let dry.
Pro Tip: If you use this method to make this easy project, trim the floral wire. Push the edges into the white foam wreath. This prevents the end of the yarn from getting snagged.
Pro Tip: As I have mentioned above, I shop for my home first, so I decided to use this method. This saved money and I didn’t have to make a trip to the Dollar Store.
Pro Tip: When using a foam wreath base, it is best to set your hot glue gun at a low temperature. This will prevent the hot glue from breaking down the Styrofoam and allow this beautiful wreath to be used in your winter decor for years to come.
Step 2: Add The Yarn To Create A Chunky Yarn Wreath
When adding the chunky yarn, this can be done in two ways.
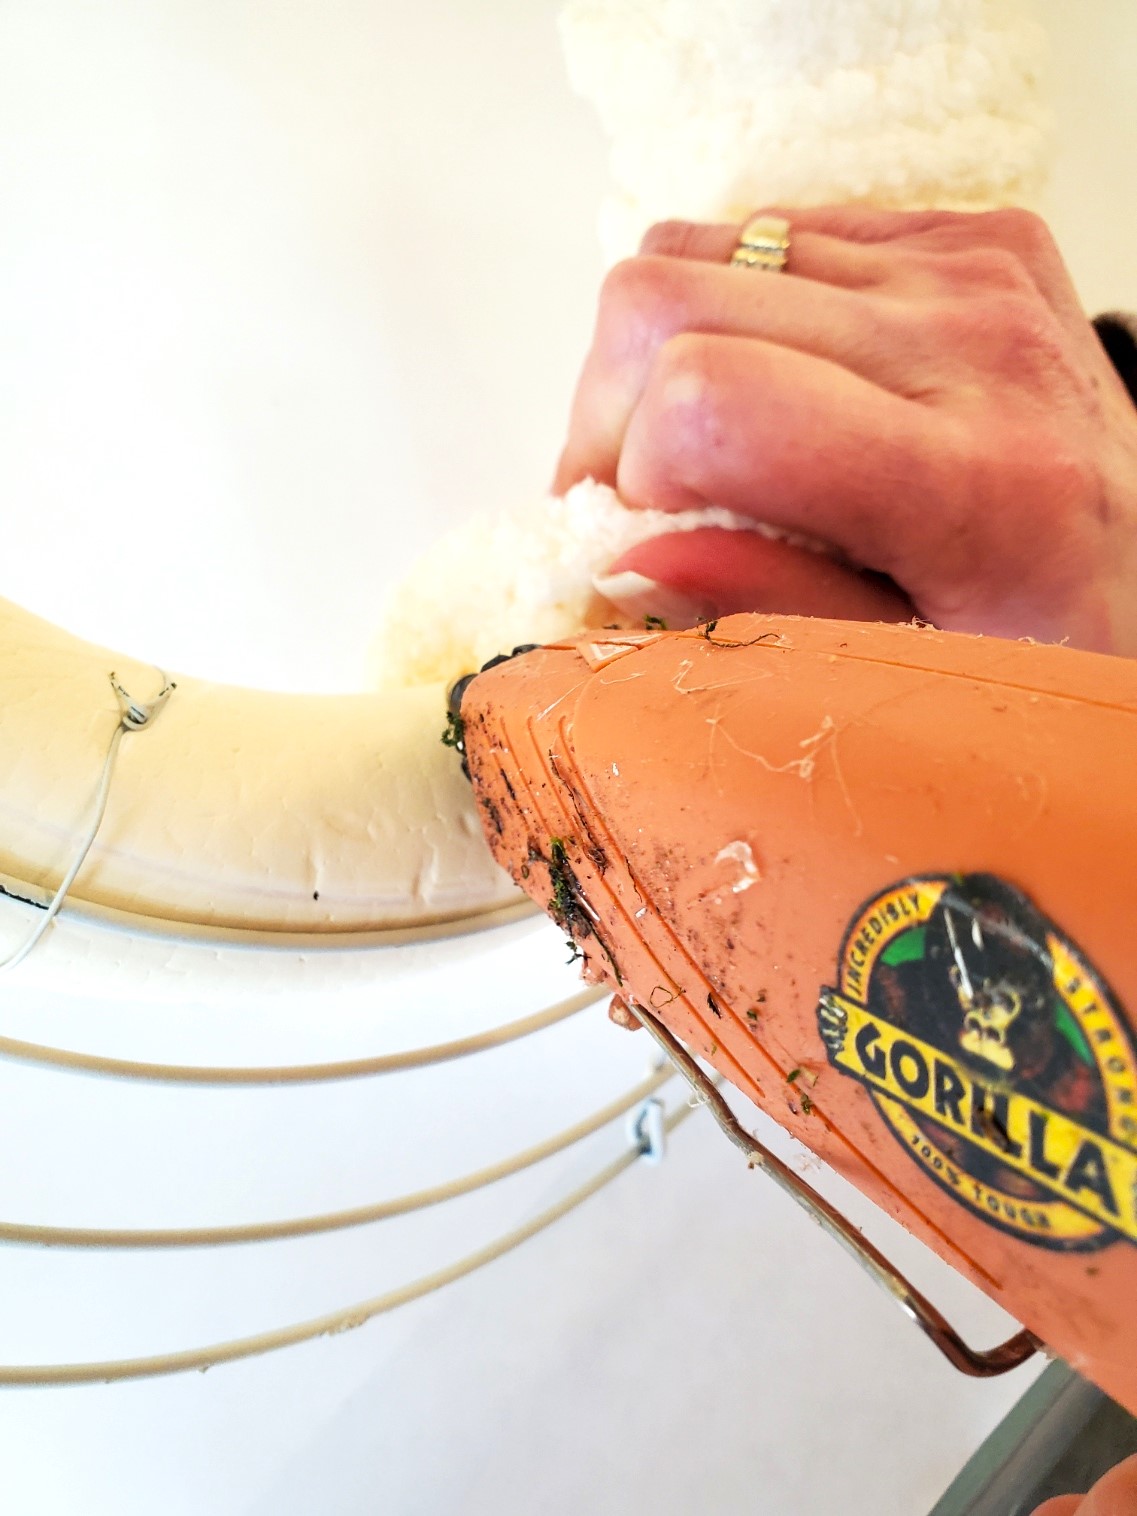
- Cut a long length of the yarn and wrap the wreath add a dot of hot glue to the back of the wreath frame. Hold to set and continue wrapping the entire wreath form.
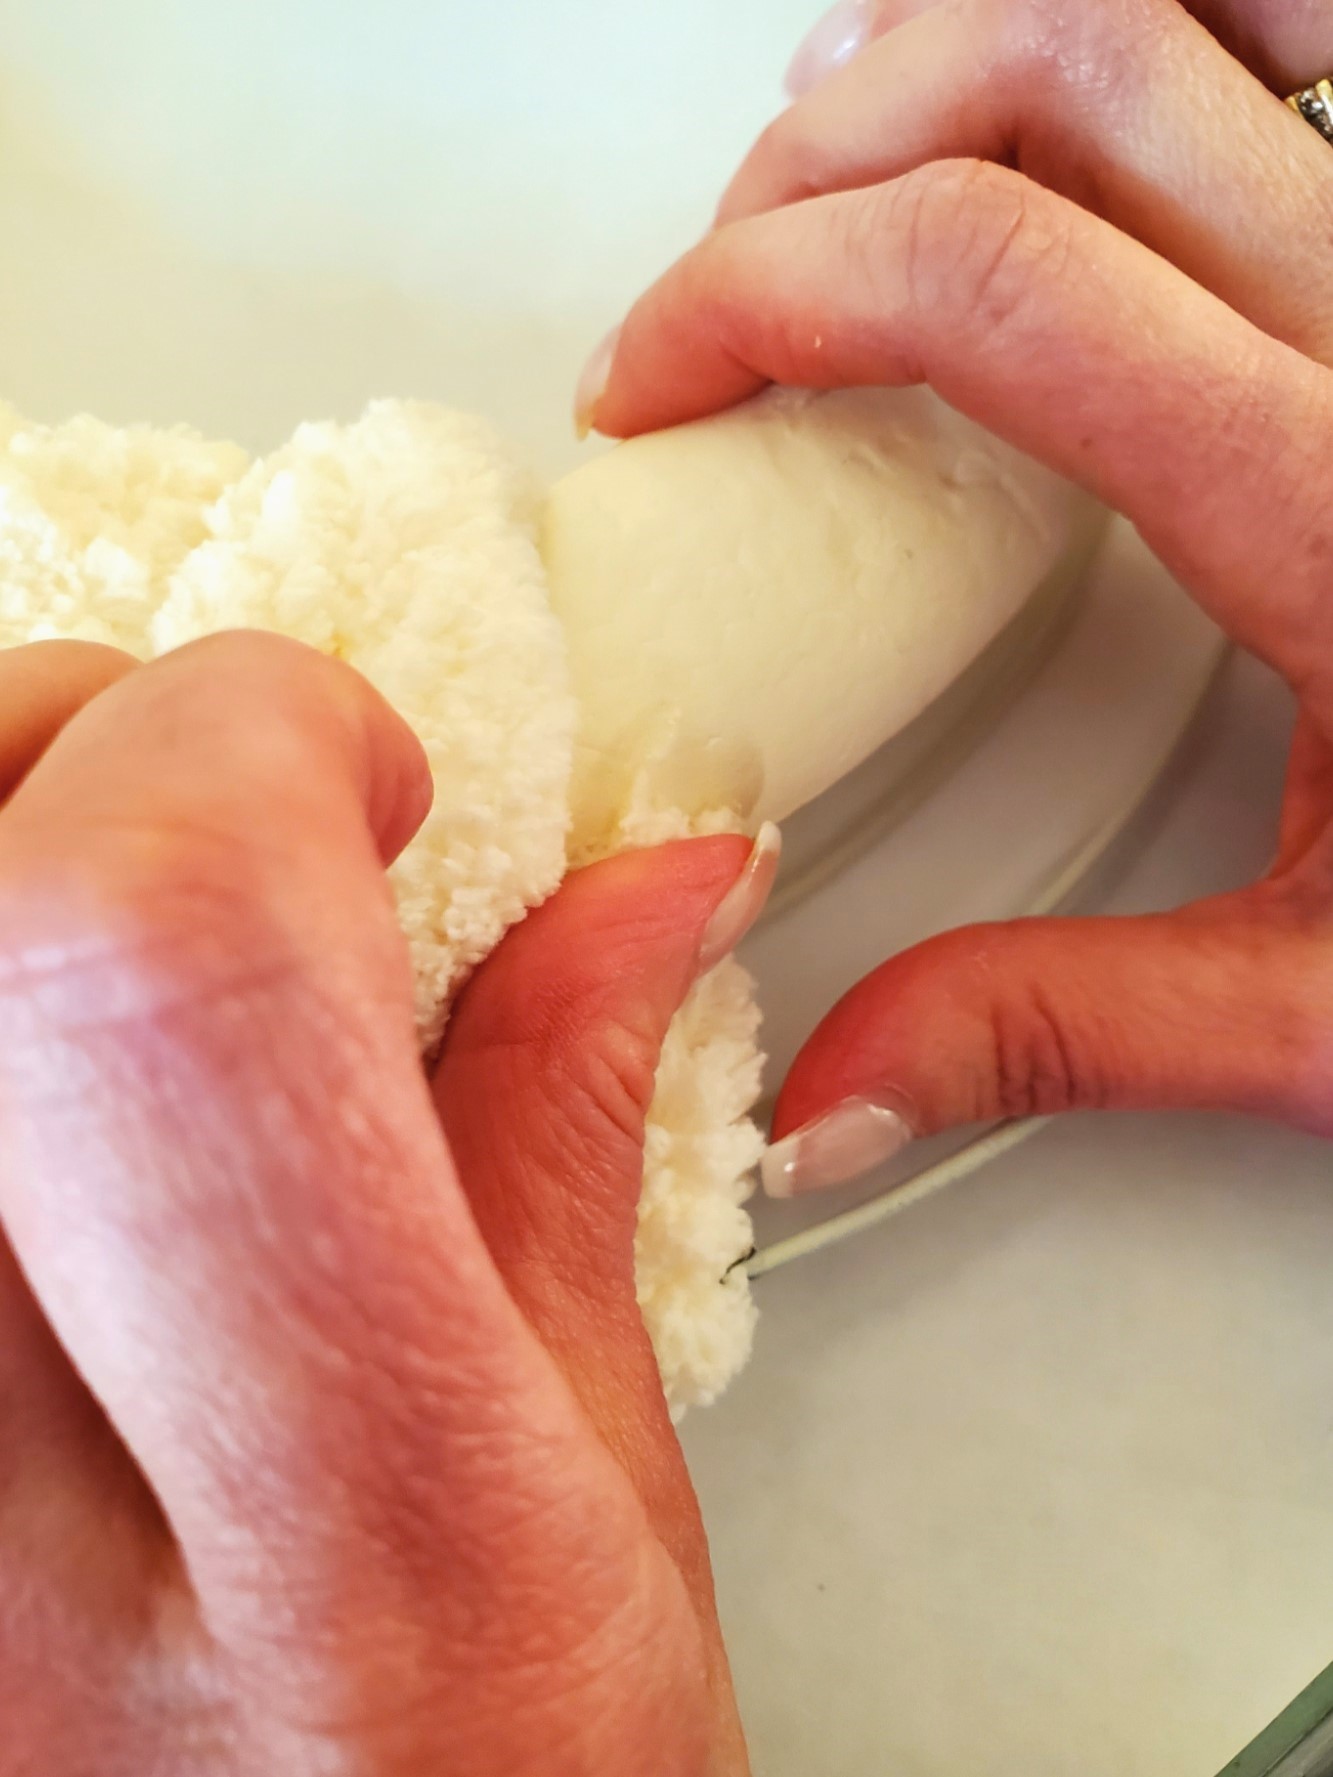
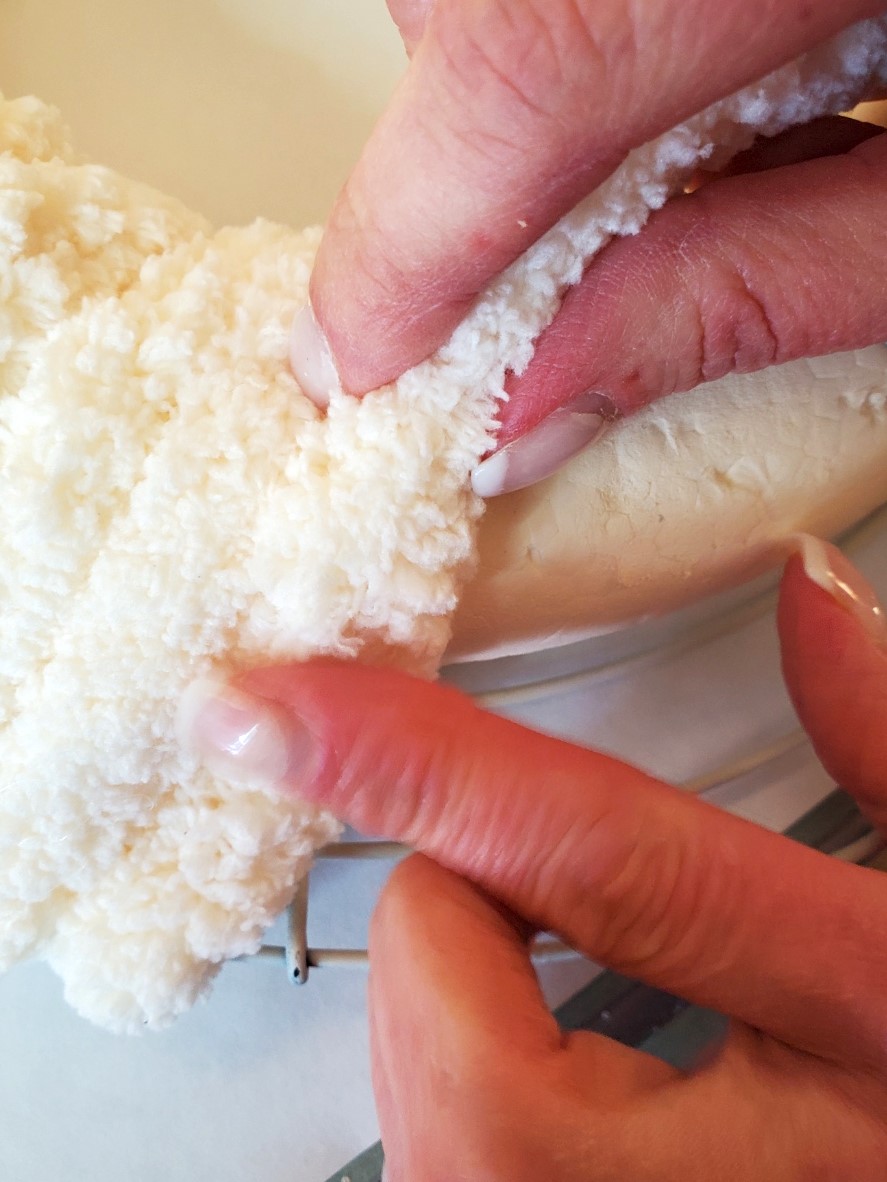
- Wrap the wreath with the yarn and pull the yarn ball through the center of the wreath form. This technique works best if you are using just a foam wreath base when creating this easy project.
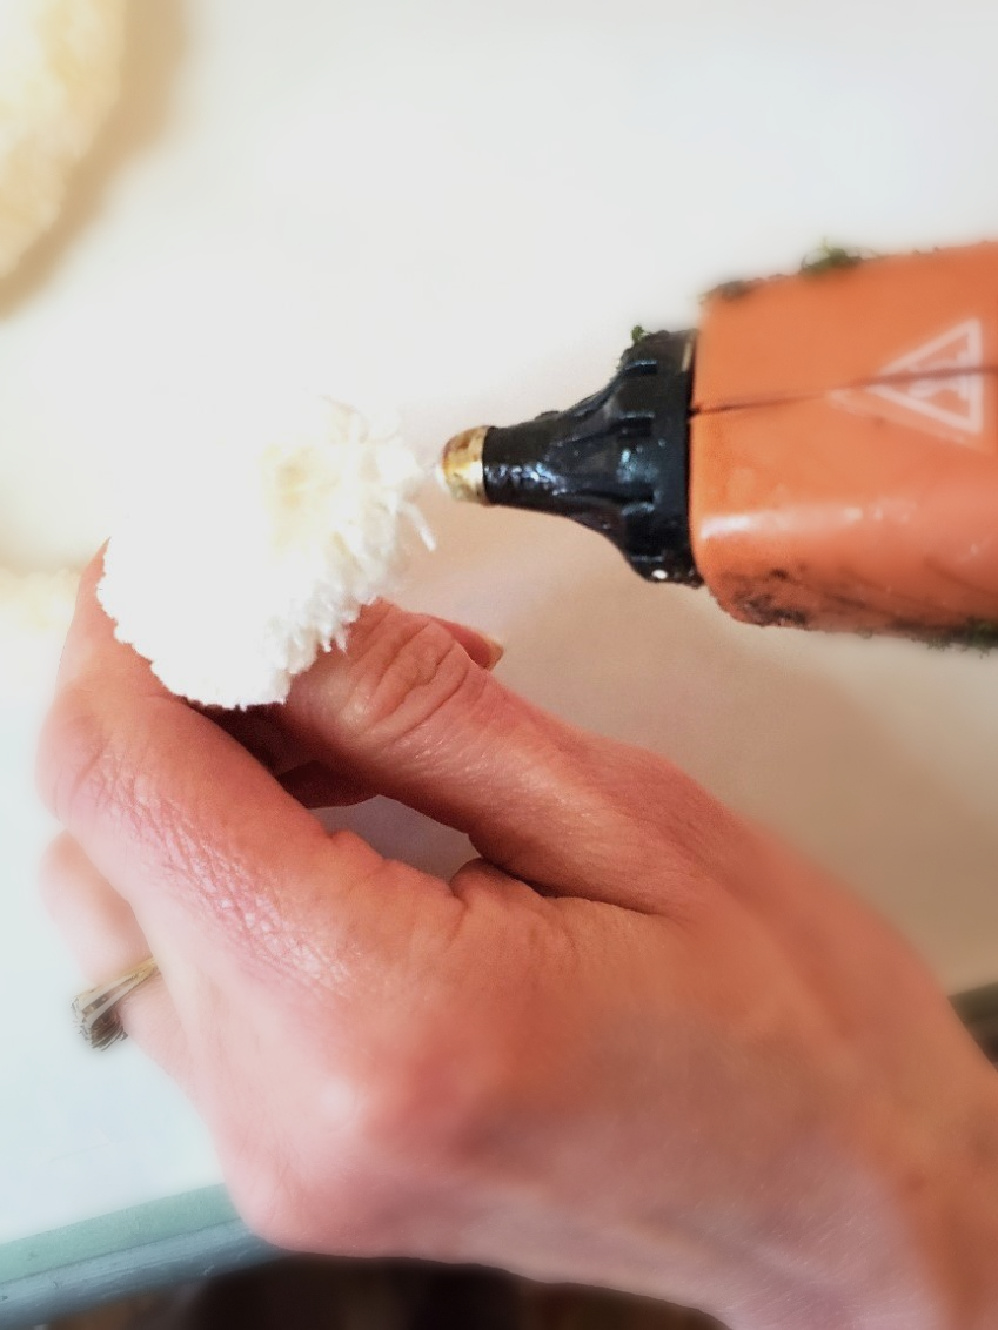
Add a dot of hot glue to the end of the yarn and add the yarn to the back of the wreath form.
Hold to set. When wrapping the wreath with the ball of yarn, keep the yarn tight and close together. Cover the entire wreath form add a dot of hot glue to the end of your yarn and hold to set.
For this chunky yarn wreath, I used less than 1/4 of a skein of yarn. This is great because this gives me different ways to think about adding this to our Christmas decorations for next year.
**When using a hot glue gun, keep it out of reach of children to avoid burns. Also, make sure children and pets can’t get tangled in the cord of the hot glue gun.**
Pro Tip: If you don’t want to use a hot glue gun to hold the yarn, a floral pin can be used to hold your yarn onto your wreath form. This process will take longer but I wanted to share another option to complete this easy project.

Pro Tip: After cutting the yarn for your DIY winter wreath add a dot of hot glue to the end of the yarn. The glue will prevent a bit of fraying.
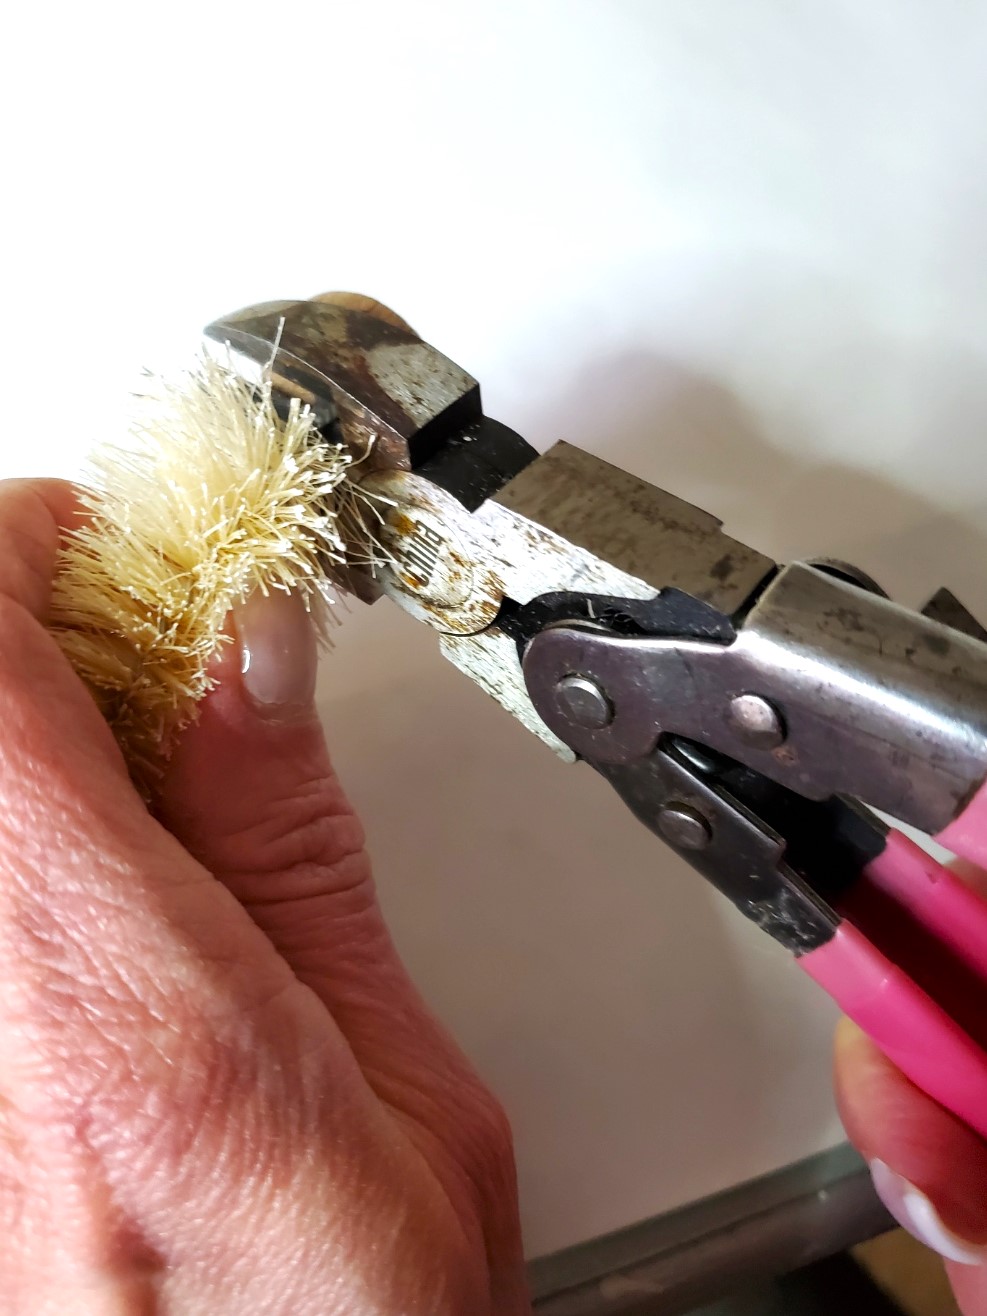
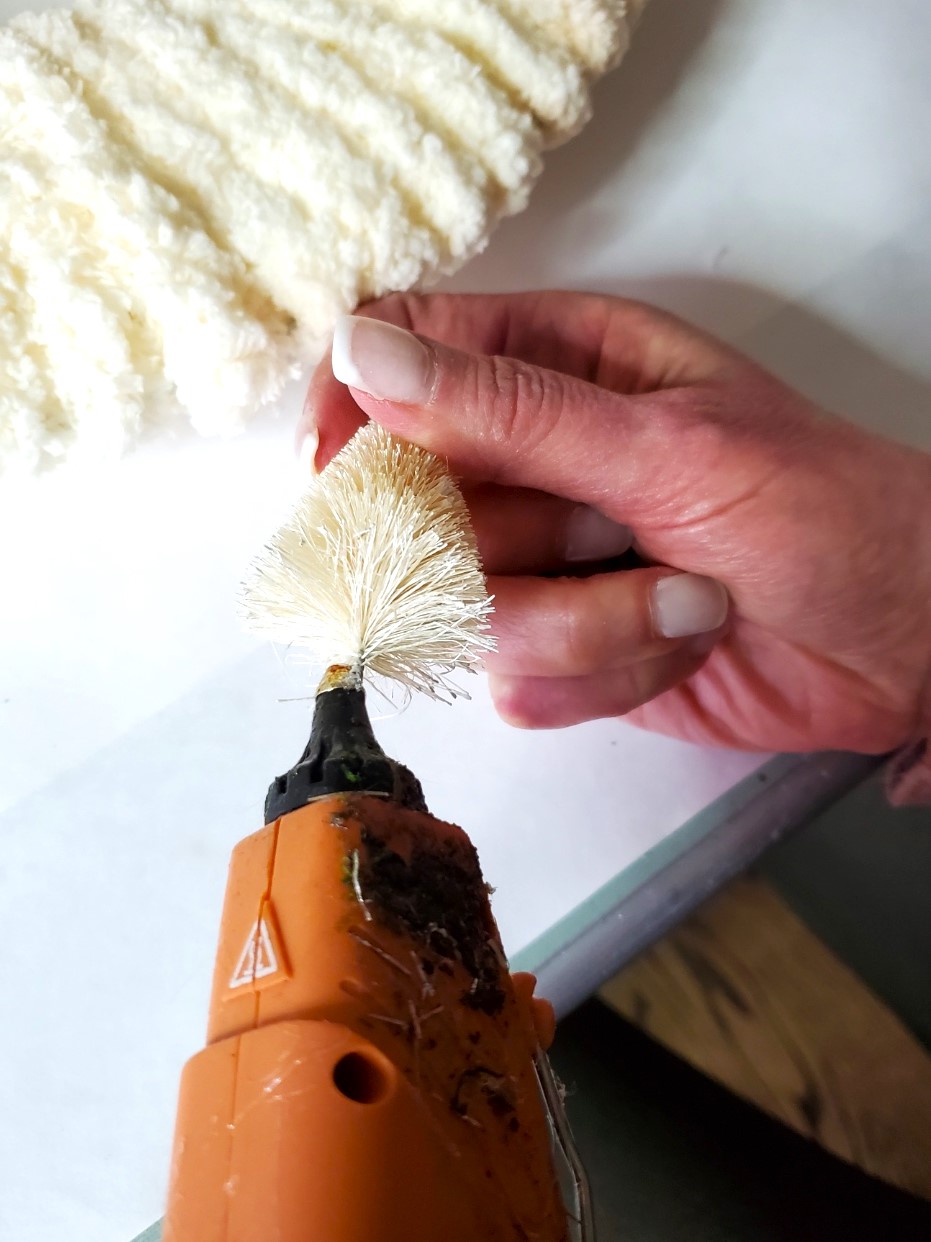
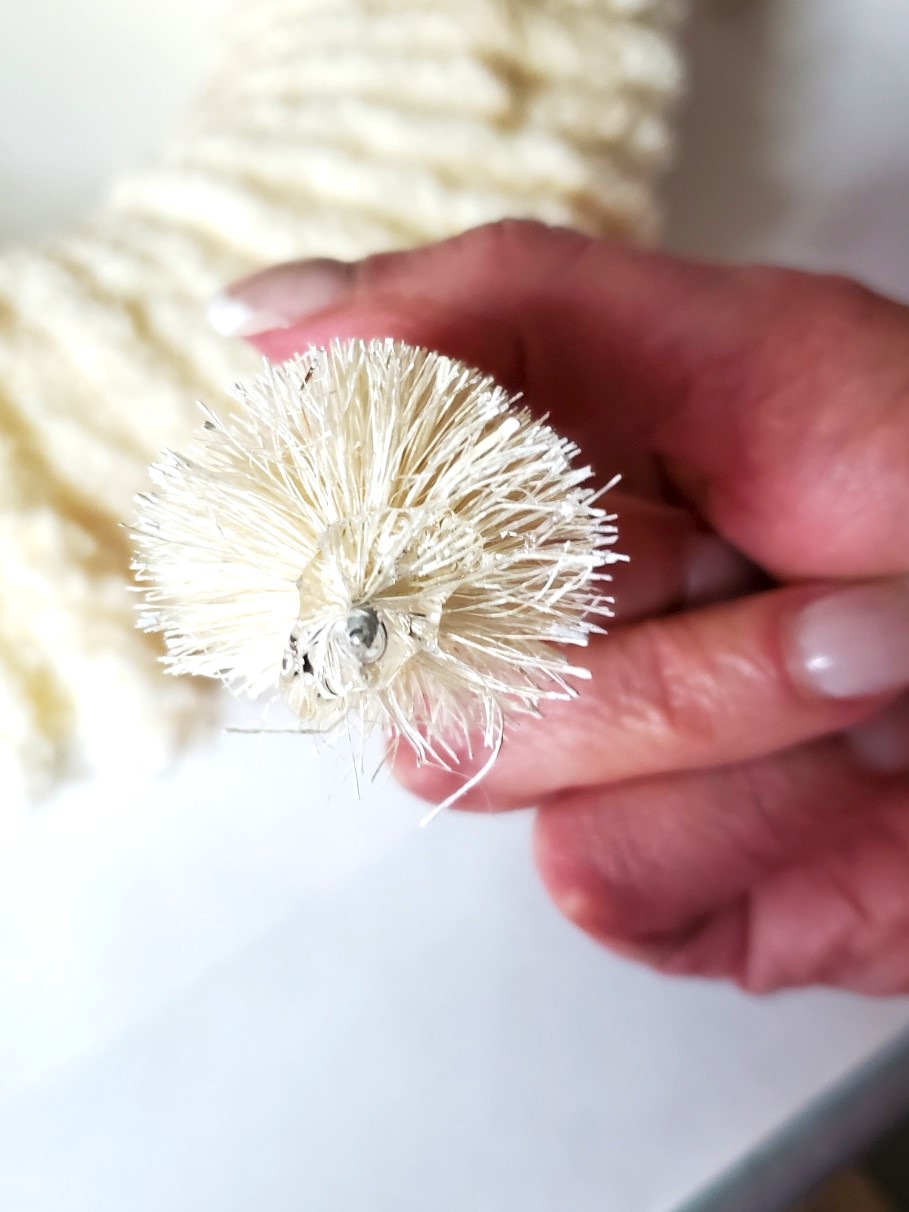
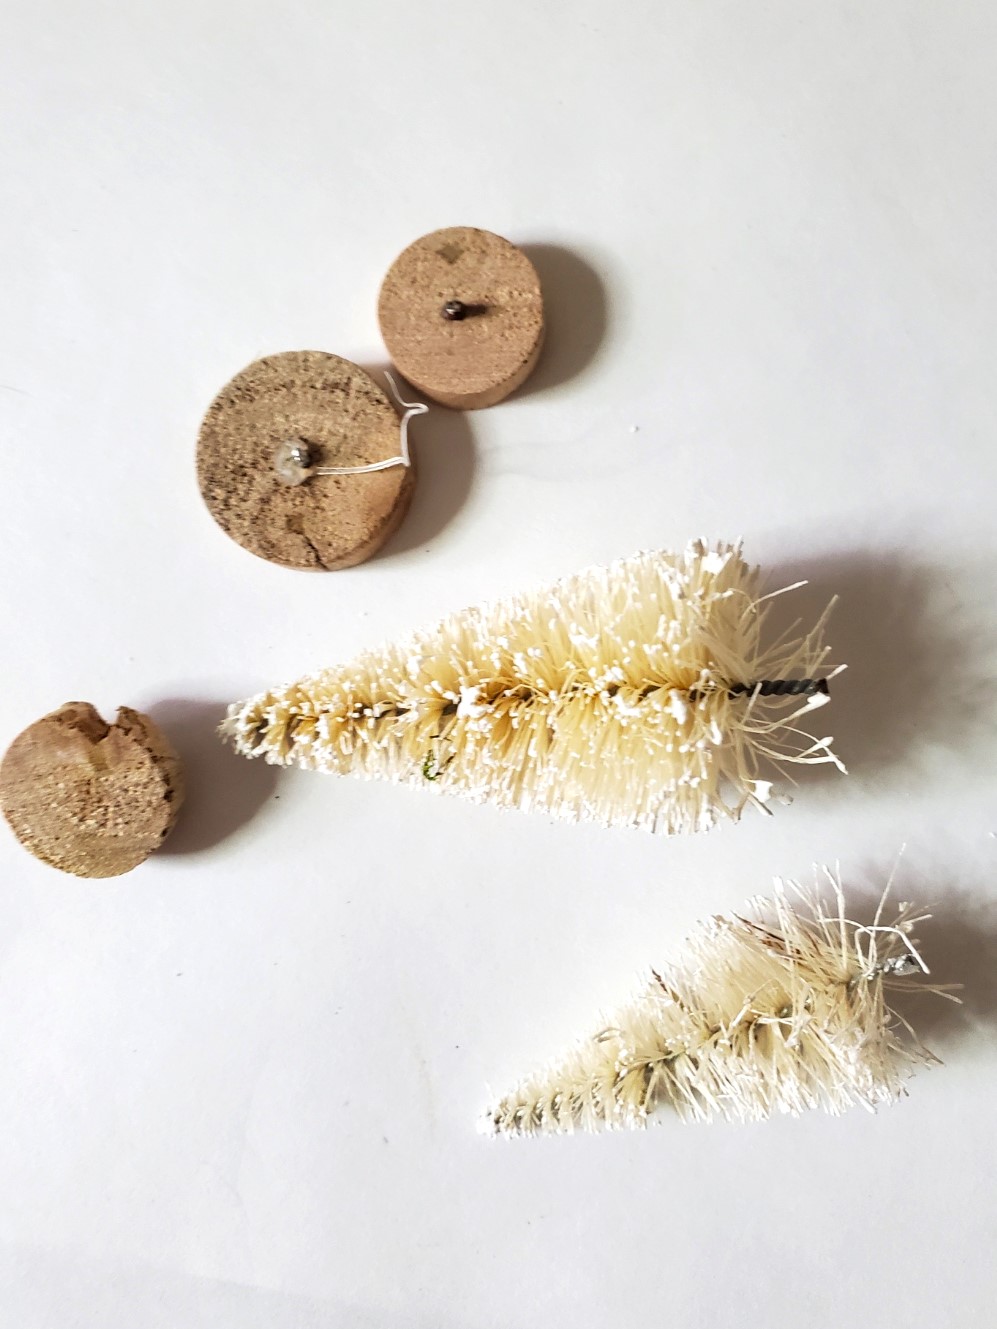
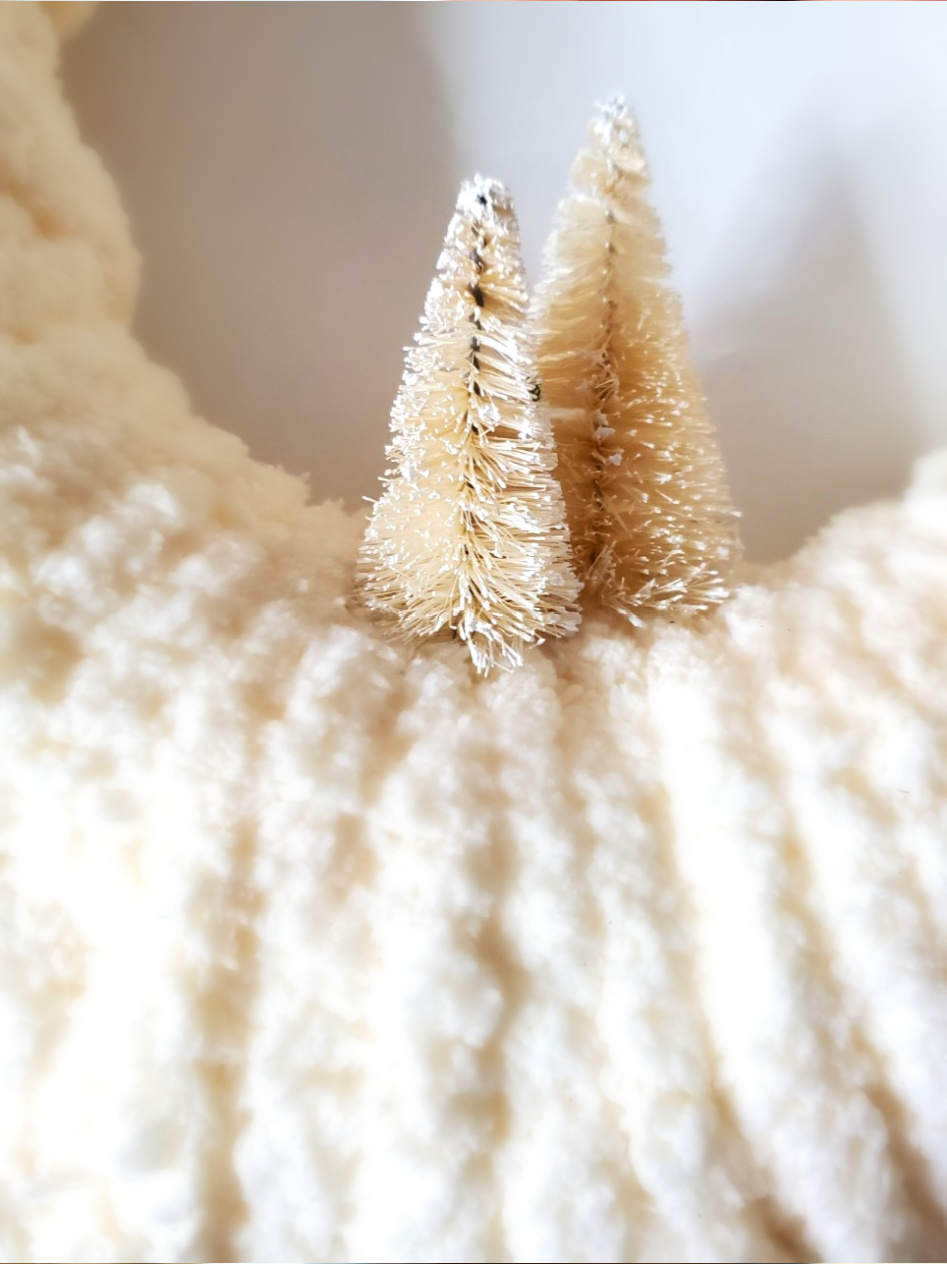
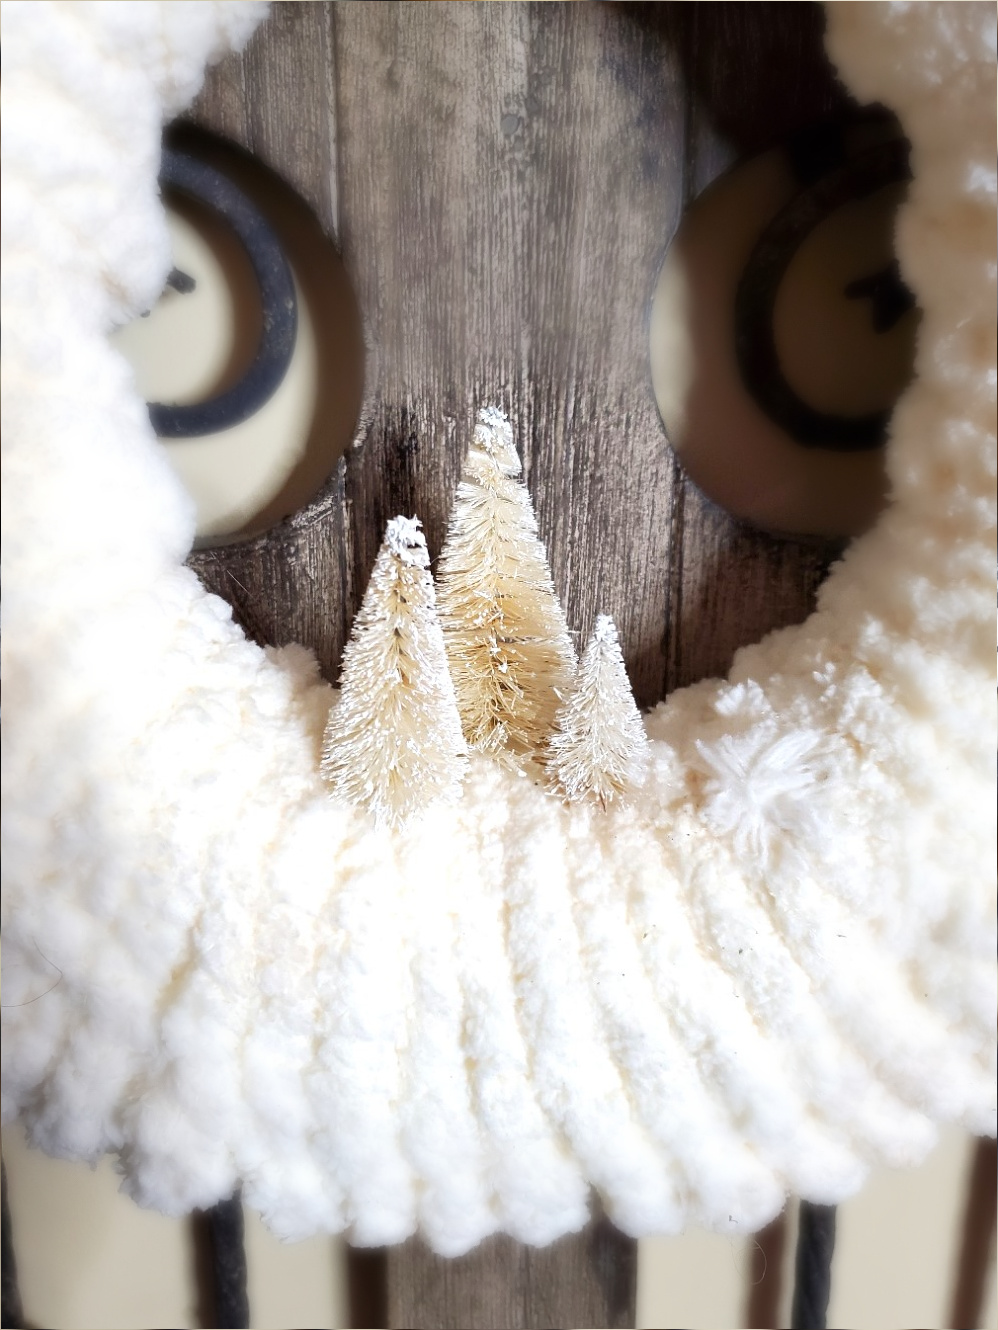
Step 3: Add Bottle Brush Trees
Before adding the bottle brush trees to the chunky yarn wreath, I used wire cutters to cut the wood bases from the bottom of the bottle brush trees. Use your hot glue gun and add a large amount of hot glue to the wire base and the bottom of each tree. Place the tree onto the yarn and hold to set. Continue adding the bottle brush trees. With the ivory color yarn and the bottle brush trees, this wreath truly looks like a winter wonderland and is perfect for the wintery months.
If you would like to find a great selection of other color bottle brush trees that will also make this a beautiful wreath, click the affiliate links below.
I also took the time to look and I found adorable small Christmas decorations that have a vintage look that will make this the perfect Christmas wreath. Please take a look at what I searched just for you! I think these are great choices and fun ways to enhance this easy project. I enjoy sharing fun ways to make DIY projects enjoyable for my readers. I’m convinced, this white wreath is going to become one of your favorite winter wreaths to start the new year.
Pro Tip: These additional Christmas decorations can be added to the wreath with hot glue or a floral pin.
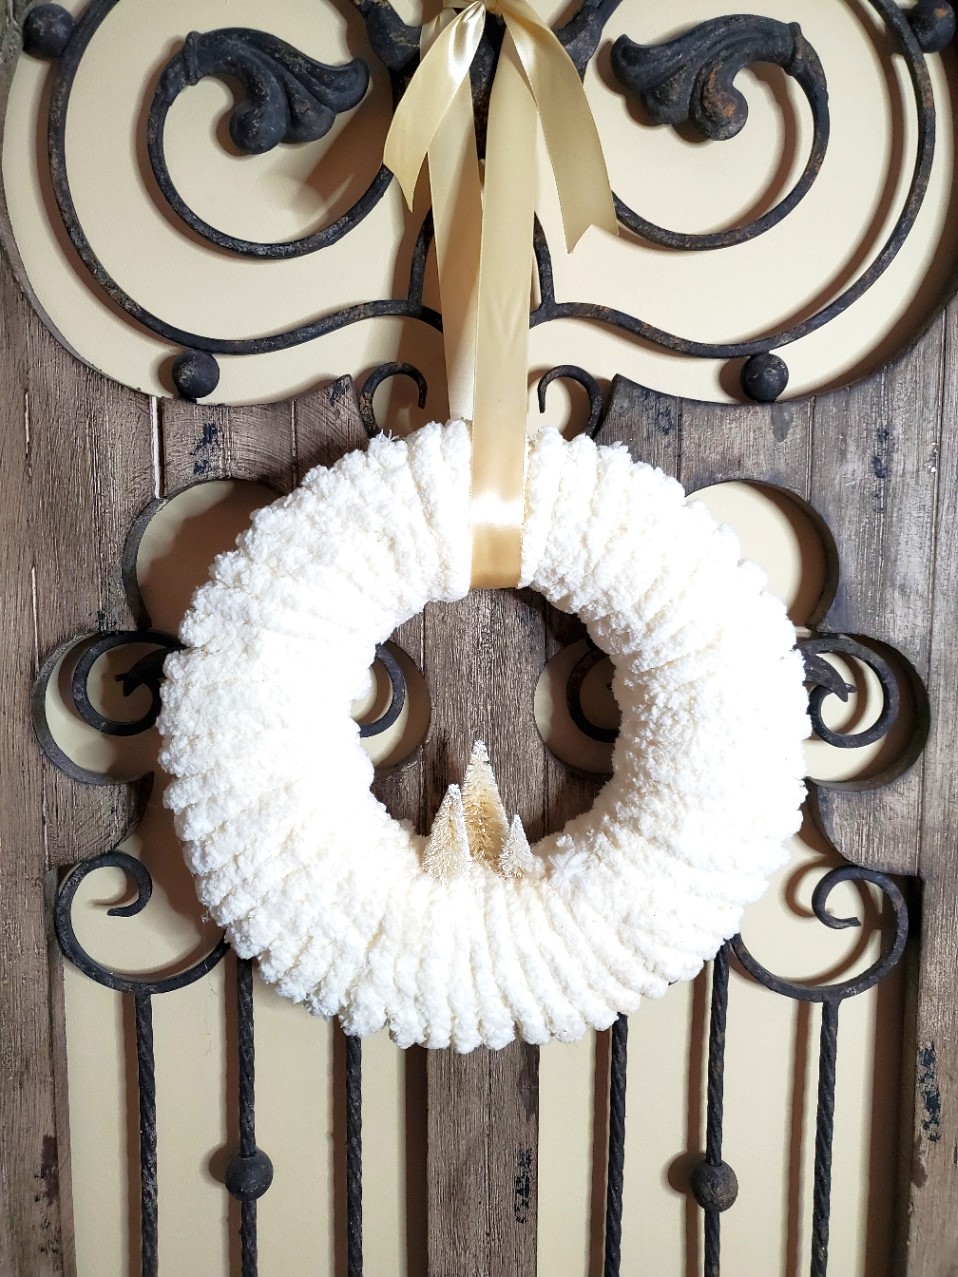
Step 4: Hang Your Wreath For The Wintery Months
Choose a ribbon of your choice and hang your beautiful wreath to add a bit of charm to your winter decor. This chunky yarn wreath will also be perfect to use as a Christmas wreath or would make a perfect gift idea for next Christmas to hang on the front door or in your home.

*As an Amazon Associate, Black Dog Salvage Furniture Paint and other Affiliate links I earn from qualifying purchases*
I earn a small commission from qualifying purchases through affiliate links. There’s no extra charge to you. All opinions are my own.
Fun Ways To Make A Winter Wreath
“‹Here are winter yarn wreath pictures and tutorials for other DIY projects to make a winter wreath to add to your front door or winter decor.
- Loop Yarn Wreath: A loop yarn wreath is another great way to make a DIY winter wreath and Navage Patch shares a great tutorial. This loop yarn wreath looks like a winter wonderland. They also share a YouTube video.
- Yarn Pom Wreaths: I found a great tutorial for you to make yarn pom wreaths at Girl Just DIY. Here you will learn details on how to make pom poms and to use a pom pom maker. Plus she shares how to attach pom poms using a floral pin or a sewing pin. No hot glue gun is necessary. They also share pom poms in a variety of color yarn.
- Finger Knitting: This was my original plan for my DIY winter wreath but as I mentioned in my salt dough wreath blog post, I have MS, and my motor skills aren’t always the best so before I began struggling to complete this finger knitting I used my approach. Mary from Home Is Where the Boat Is shares a great tutorial and her wreath is perfect for the wintery months.
Luxe Fur Wreath
- Luxe Fur: Here’s a luxe fur wreath I found too. This is an option to help support small businesses. I enjoy supporting small businesses, especially Etsy shops. So, if you don’t want to make a chunky yarn wreath or a luxe fur wreath, this is a great option to purchase one to hang on your front door or add to your winter decor.
These posts share great winter yarn wreath pictures and some have videos to make this easy project fun for you to create. They are all perfect as a Christmas wreath or a winter wreath and will be perfect to add to any winter decor.
Conclusion:
Crafting the DIY Chunky Winter Yarn Wreath is not just about creating a beautiful winter decor piece; it will infuse your living space or front door with warmth and charm during the wintery months. As the winter months settle in, this white wreath becomes more than an addition to your home for the new year, it captures the season. The easy steps in our tutorial make this an easy project for crafters of all levels. Click through our tutorial and transform simple craft supplies into a beautiful wreath that looks like a winter wonderland to add joy to your home in the heart of the blustery and cold winter months.
FOLLOW US ON: FACEBOOK, INSTAGRAM, PINTEREST, THREADS, X AND TIKTOK

Other DIY Projects of Interest:

Click Image To Shop!
DIY Chunky Winter Yarn Wreath
Notes
DIY Winter Wreath
Step 1: Paint Wreath Frame
I attached the foam wreath base to the wire wreath frame using floral wire to add a bit more bulk for my DIY winter wreath. Next, because wire wreath frames typically come in green, I sprayed mine with Chiffon cream chalky paint and let dry.Step 2: Add Your Color Yarn
When adding the chunky yarn, this can be done in two ways.-
- Cut a long length of the yarn and wrap the wreath add a dot of hot glue to the back of the wreath. Hold to set and continue wrapping the wreath.
-
- Wrap the wreath with the yarn and pull the yarn ball through the center of the wreath form. This technique works best if you are using just a foam wreath base.
Step 3: Add Bottle Brush Trees
Before adding the bottle brush trees I used wire cutters to cut the wood bases from the bottom of the trees. Use your hot glue gun and add a large amount of hot glue to the wire base and the bottom of each tree. Place the tree onto the yarn and hold to set. Continue adding the bottle brush trees. With the ivory color yarn and the bottle brush trees, this wreath truly looks like a winter wonderland and is perfect for the wintery months.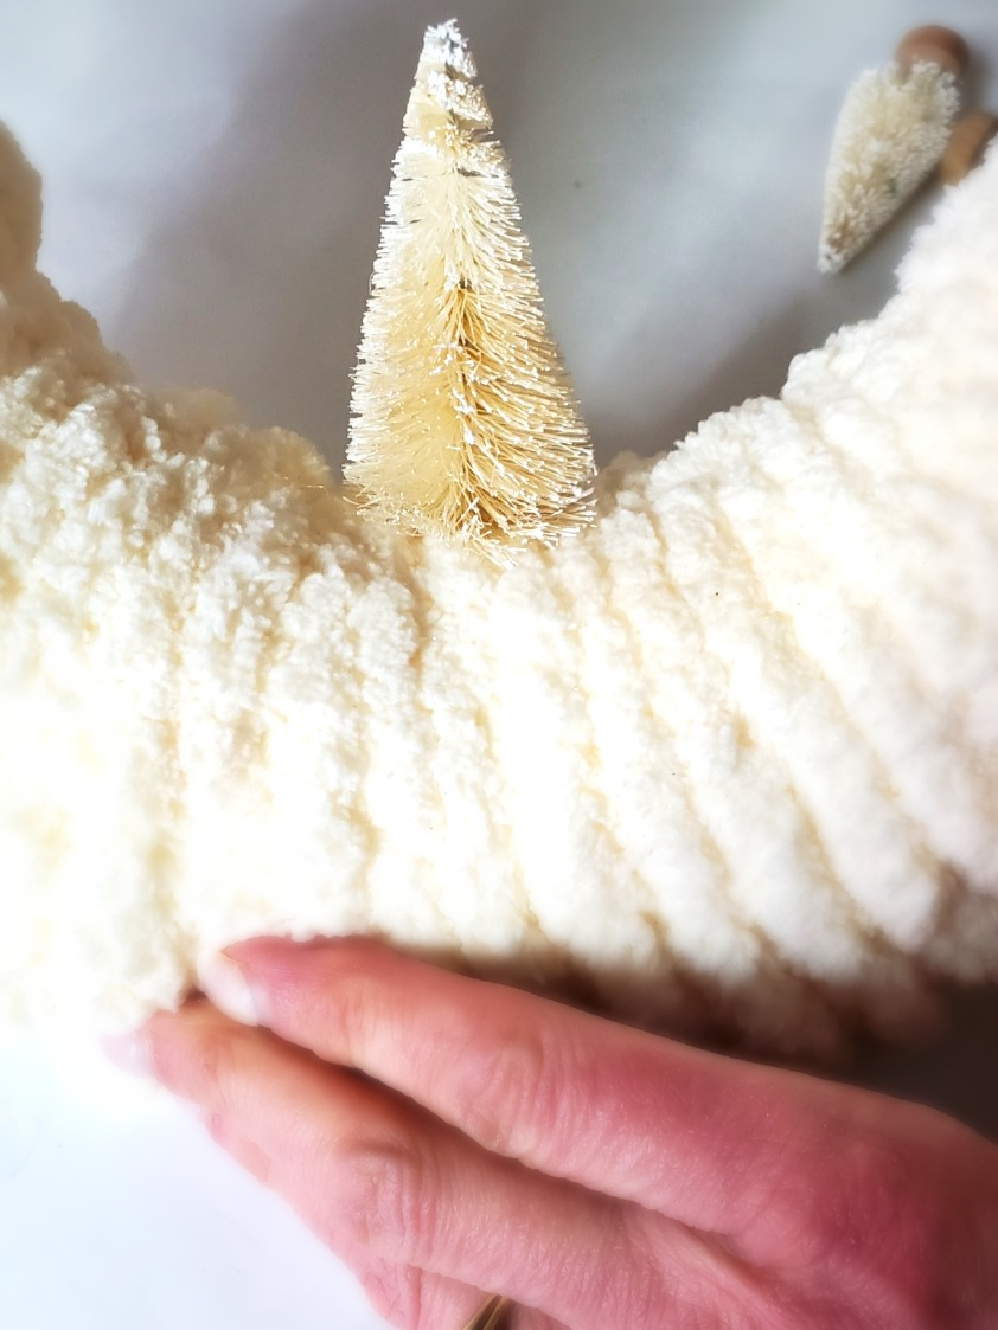
Step 4: Hang Your DIY Winter Wreath
Choose a ribbon of your choice and hang your beautiful wreath to add a bit of charm to your winter decor. This wreath will also be perfect to use as a Christmas wreath or would make a perfect gift idea for next Christmas.


Beautiful winter wreath. Have a great new week. Hugs. Kris
Thanks so much Kris.
I love this wreath!!
Thanks so much Lorraine!
This wreath is so beautiful Cindy! I love the yarn you chose, it adds such a pretty texture. And the snowy trees are perfect for this time of year too. It feels like a celebration of the best parts of winter. Loving and pinning as always sweet friend, CoCo
Again I really wanted to make this wreath by finger knitting.
I tried once and it was not happening. I was getting frustrated so I made this wreath super simple and I love how it turned out.
It’s very sweet, Cindy and perfect for this chilly time of year!
Thank you Kim. I’m tired of rain .
You make it look so easy! Great idea and result.
This is such an easy wreath to make!
Cute! It reminds me of the one I made in November. The bottle brush trees allow you to keep it up after the holidays and into the rest of winter.
YES! I enjoy sharing wreath projects that work for more than one season
I love how pretty white your wreath is! Love the fluffiness. <3 Very cute with the little snow-covered trees.
Thank you Barbara.
Hi Cindy! I adore your Winter wreath and love how easy it was to make! I’ll be sharing it in my weekly newsletter this Saturday! Take care, Donna
WOW this is so gorgeous. Saw your post at A Morning Cup of Joe.
My entries this week are numbered #45+46
Hope you will join SSPS https://esmesalon.com/tag/seniorsalonpitstop/