
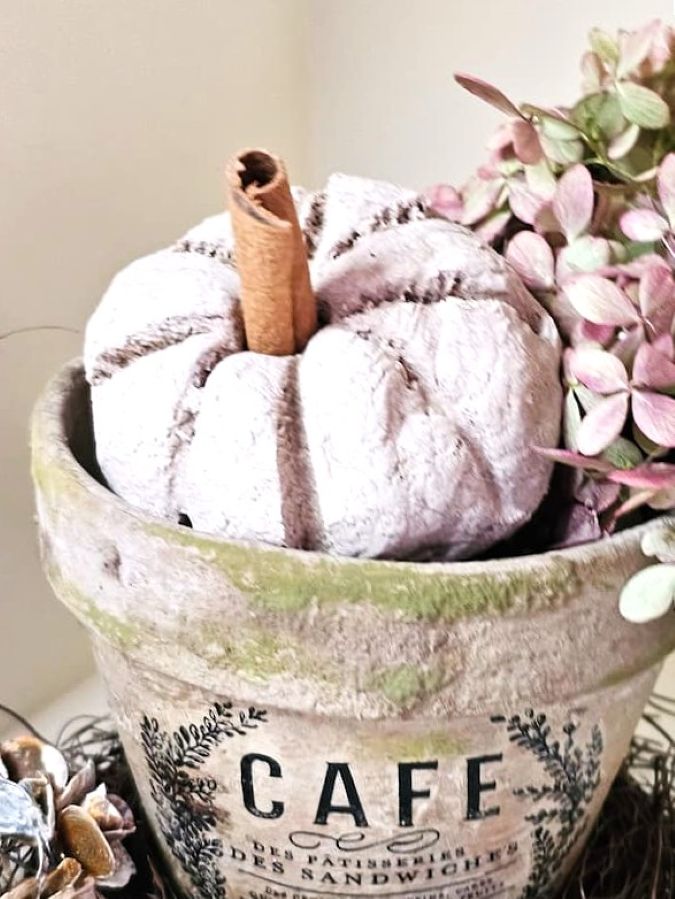
Easy DIY Salt Dough Pumpkins for Fall Decor
Easy DIY salt dough pumpkins for fall decor are one of my favorite ways to welcome the season. This easy fall craft uses an original salt dough recipe, simple ingredients, and basic pantry staples to create salt dough creations with rustic cinnamon stick stems. The great thing about this project is that it’s the perfect activity for the whole family. I’ve had so much fun creating with salt dough over the last couple of years, and I can’t get enough!
As an Amazon Associate and through other affiliate links, I earn a small commission from qualifying purchases made through affiliate links. The price is the same whether you use the affiliate links or the website. All opinions are my own. (Check our privacy and full disclosure policy.)
Jump to DIY and RecipeEasy DIY Salt Dough Pumpkins for Fall Decor
Today, I’m sharing my favorite recipe for easy DIY salt dough pumpkins. Warm spices like cinnamon, cloves, ginger, and nutmeg fill your home with the scent of fall while these rustic pumpkins bake. They’re perfect for decorating, handmade gifts, or charming fall table place settings with personalized gift tags.
Ingredients for Pumpkin Salt Dough
- 4 cups all-purpose flour
- 4 cups of table salt
- 4 cups of warm water
- 4 tsp. Ground ginger
- 4 tsp. Ground cinnamon
- 4 tsp. Ground clove
- 4 tsp. Nutmeg
- Essential oils – optional – I used this HERE
Equipment:
- Cookie sheet or baking sheet – these are in my kitchen
- Parchment paper – these are in my kitchen
- String – kitchen twine is a great choice
- Toothpick or wooden skewer
- Large spoon
- Large bowl
- Matte Mod Podge – (optional) – HERE
- Foam brush or paint brush – my favorite – HERE
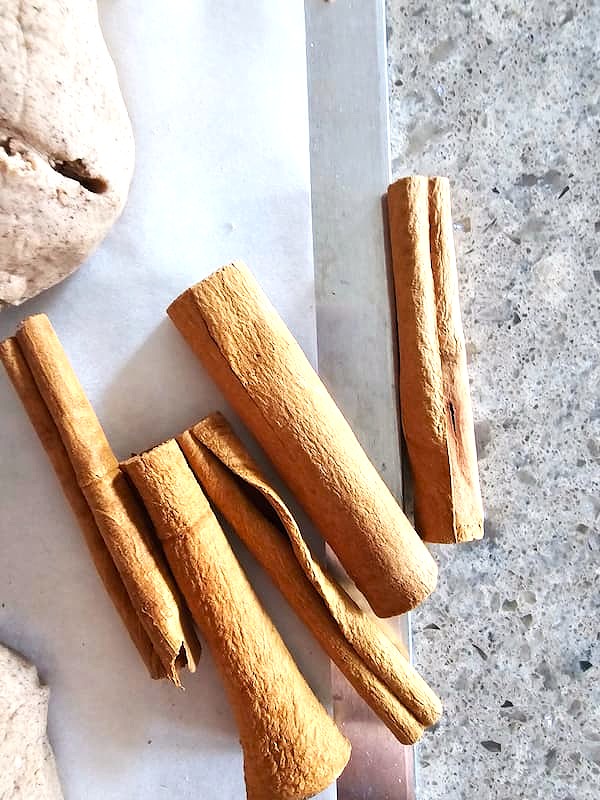
- Cinnamon sticks or small sticks – pumpkin stem
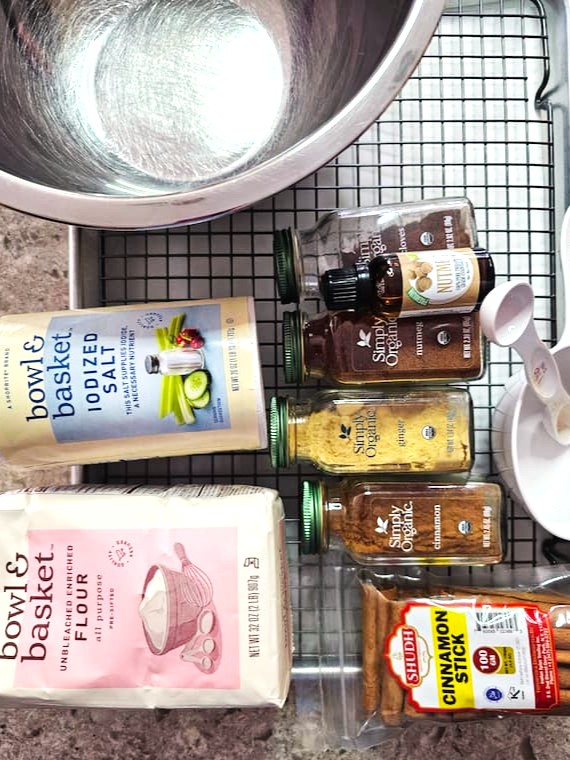
Step 1: Mix the Dry Ingredients for Salt Dough Pumpkins
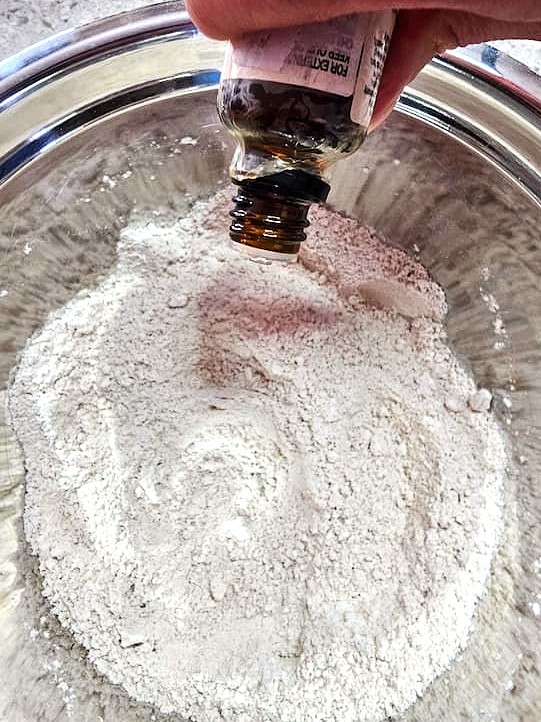
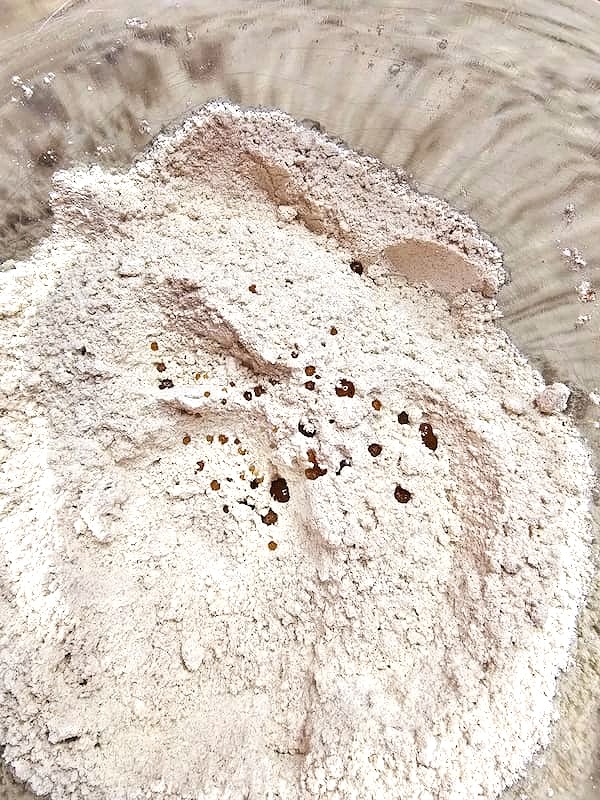
Place 4 cups of all-purpose flour, 4 cups of table salt, ground cinnamon, clove, ginger, and nutmeg into a large bowl. If you’re using essential oils, add about 10 drops into the dry ingredients. Stir everything until the flour mixture is well combined.
Cindy’s Note: For this project, I recommend adding essential oils to the warm water. For these salt dough pumpkins, I mixed the oils directly into the flour before mixing the cup of salt, flour, and spices. This helps distribute the fragrance evenly throughout the dough. This ensures every pumpkin has the scent of fall.
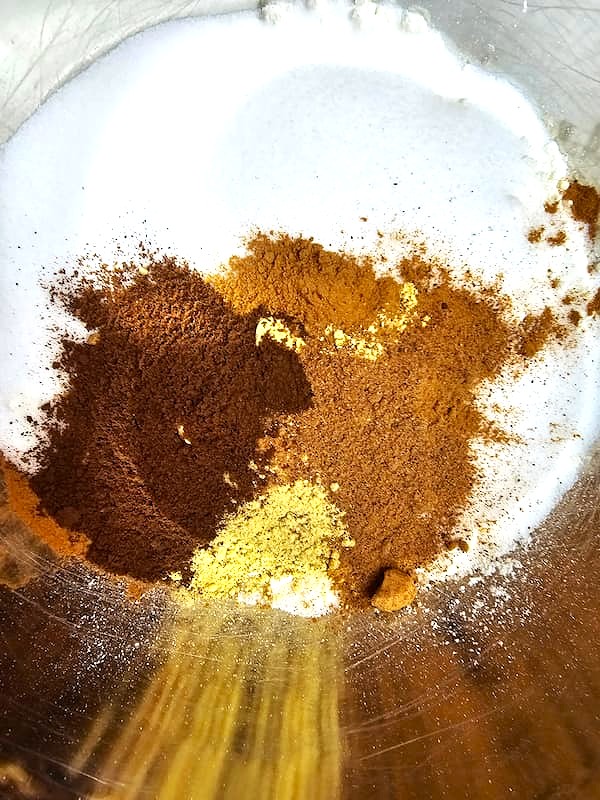
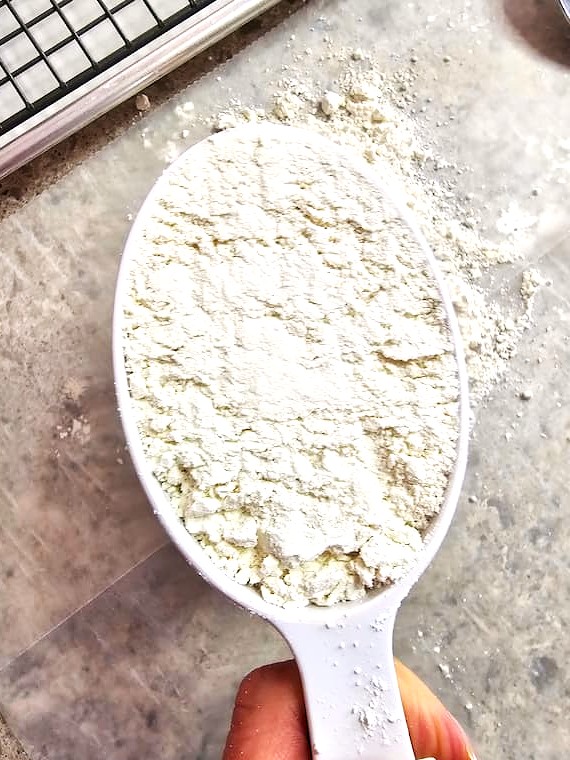
Step 2: Slowly Add Warm Water to Your Salt Dough
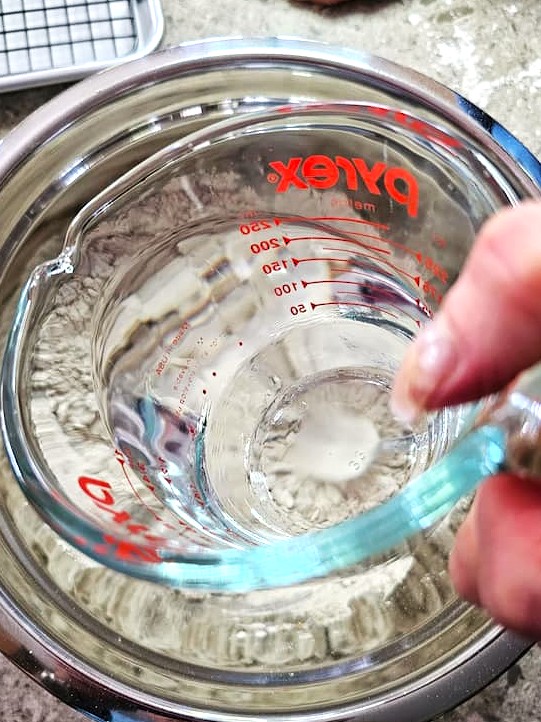
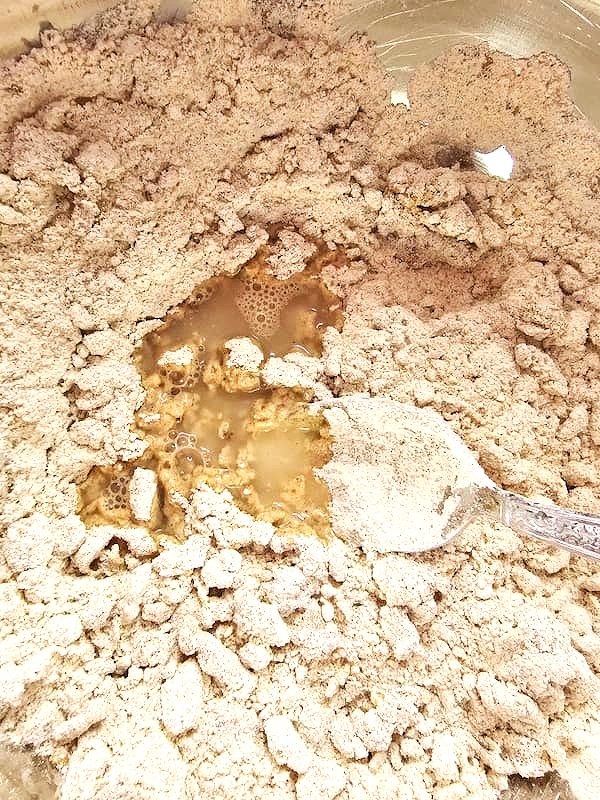
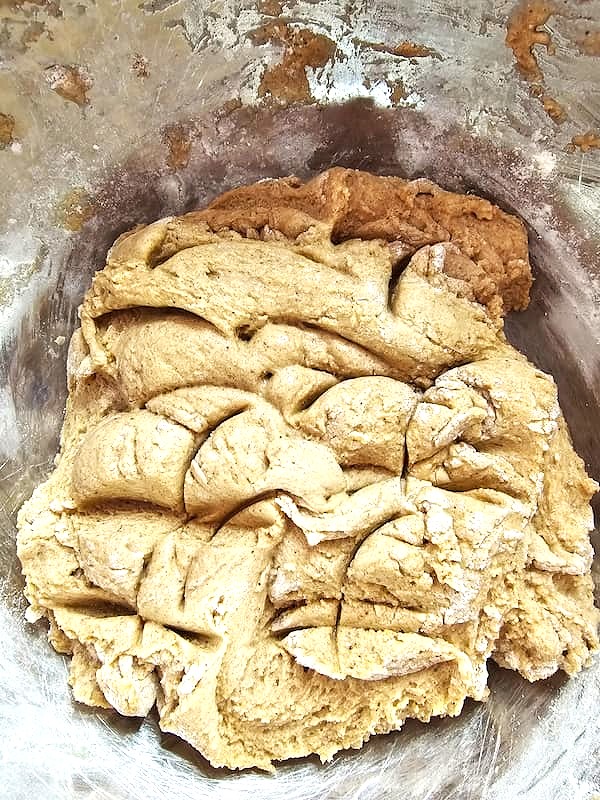
Slowly pour in warm water while stirring. This helps the salt dissolve. Continue stirring until the mixture forms a dough ball. The dough should have the consistency of play dough.
Cindy’s Food Coloring Tip: If you’d like to add color, mix food coloring into the warm water before combining it with the dry ingredients. It may make the dough a little sticky, so you might need to add a little more flour. I personally skip the food coloring. If I want color paint the pumpkins afterward with acrylic paints.
Step 3: Knead the Dough for Perfect Salt Dough Creations
Knead the dough by hand for about 5 minutes. Since these are pumpkins, I didn’t want my salt dough pieces to be perfectly smooth; I love a rustic, natural look. While kneading, preheat your oven to 200 degrees. The best way to prevent cracking any salt dough recipe is to dry it at a low temperature slowly.
Cindy’s Tip: Normally, I knead my dough for 10 minutes to get smooth results, especially when making homemade ornaments for Christmas time. It’s a great way to create a smooth finish. At the end of this post, I’ll share links to more of my favorite salt dough pieces.
Step 4: Shape and Form Your Pumpkins
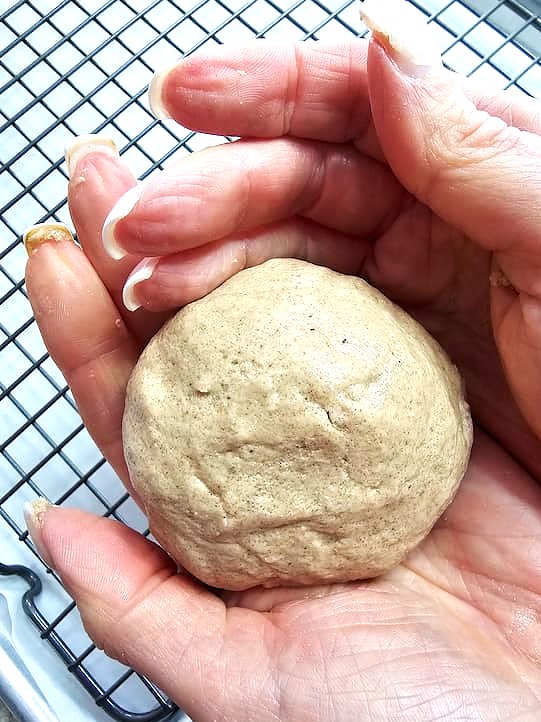
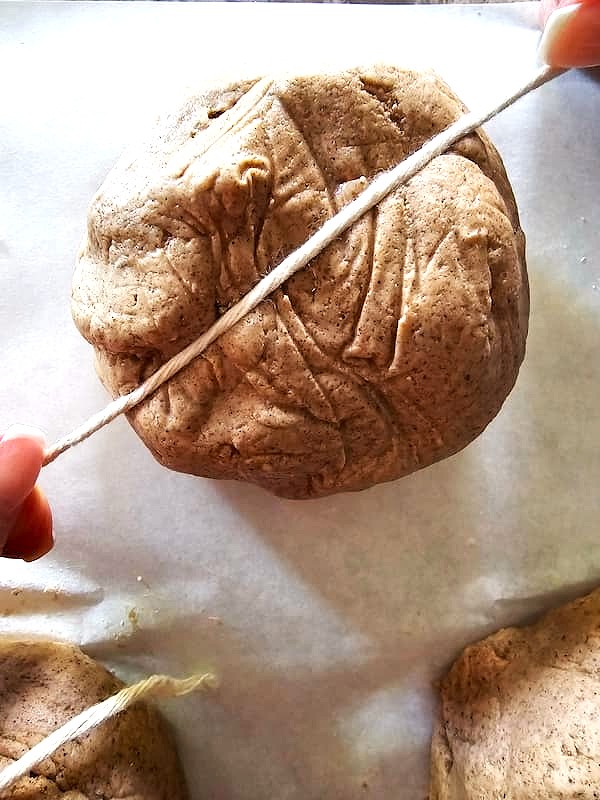
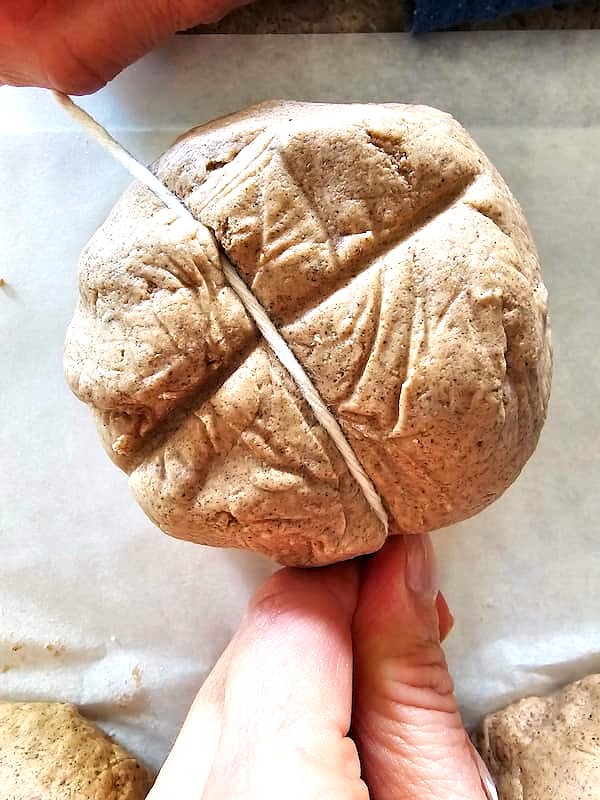
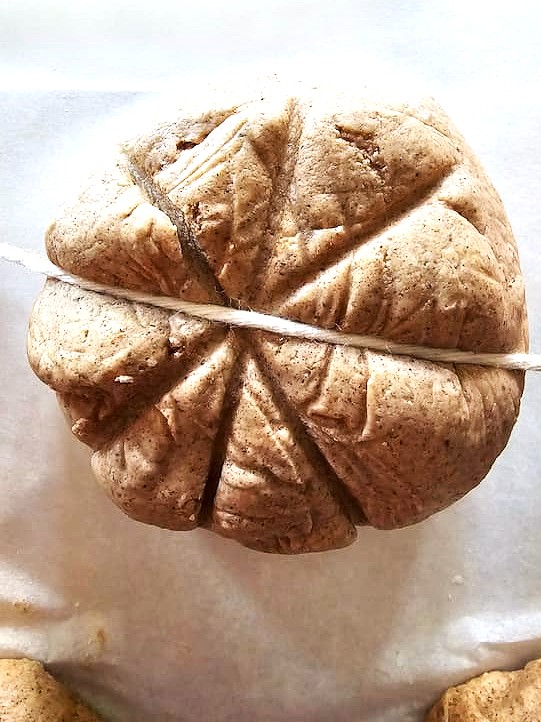
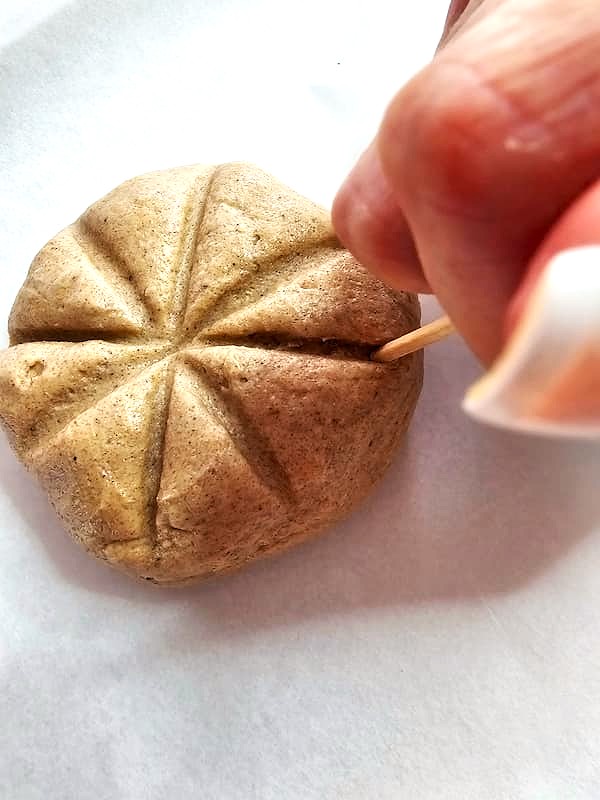
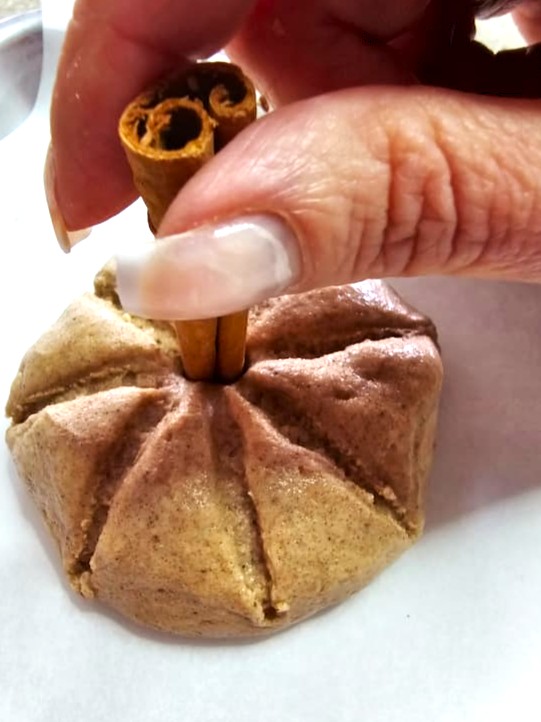
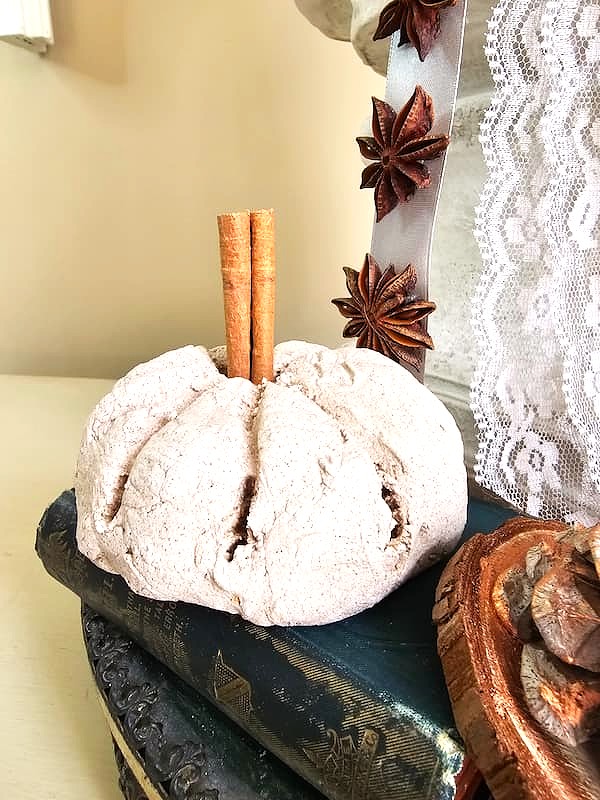
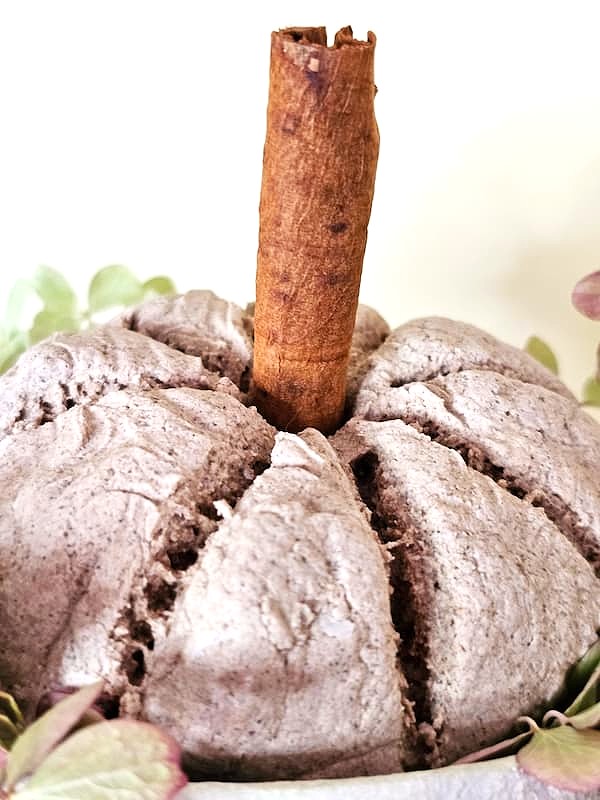
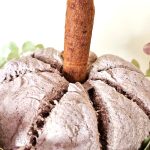
Roll the dough into small balls, about the size of a large meatball, and shape them into pumpkins. To create the classic pumpkin creases, I used both a piece of string and a toothpick. Pull the string lightly around the pumpkin. Be careful not to tighten it too much, or it will flatten the dough. Use the side of a toothpick to deepen the creases all the way to the bottom. Finish each pumpkin with a cinnamon stick on the top of the pumpkin to create a realistic stem.
Important: See the note below if you prefer using small sticks instead of cinnamon sticks for a pumpkin stem.
Cindy’s Tip: If you’d rather use small sticks for the stem, make a small hole at the top of the pumpkin before baking. Once the pumpkins have cooled, secure the stick with a small amount of hot glue.
Step 5: The Drying Process
Place the pumpkins on a cookie sheet and bake at 200 degrees. Since they’re thicker than traditional salt dough pieces, they’ll need extra time to harden completely.
- Bake for 3 hours on the cookie sheet.
- Transfer pumpkins to a wire rack and bake for 1 more hour at 200 degrees.
- Let them cool completely
The total drying process takes about 4 hours. When finished, the pumpkins should feel completely hard with no soft spots.
Step 6: Seal with Mod Podge
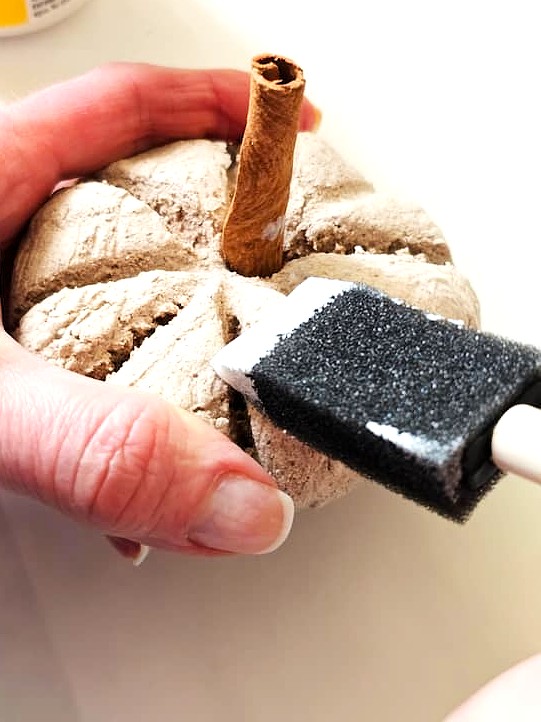
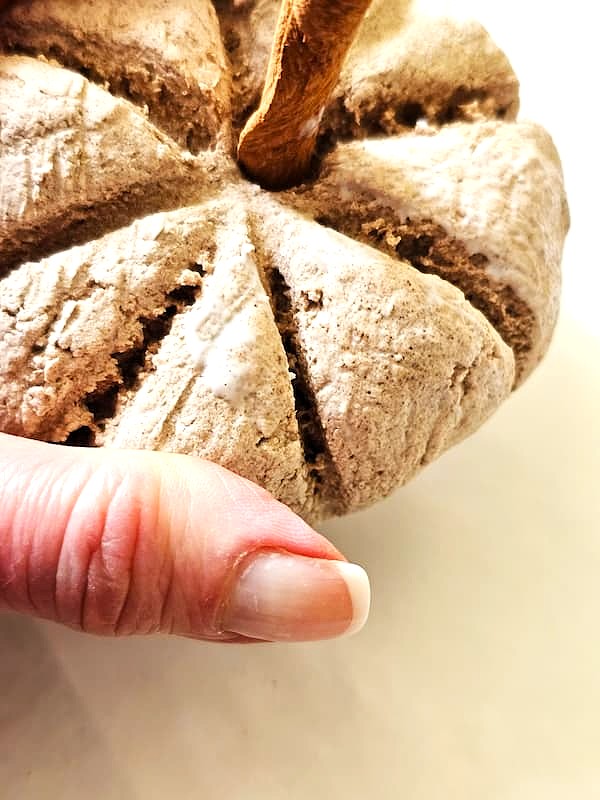
Once the pumpkins have cooled, brush on a thin coat of Mod Podge or matte polyurethane spray. This protects them from moisture so they’ll last a long time. I have used mine season after season.
Cindy’s Tip: Sealing is optional, but I always recommend it. A coat of Mod Podge has kept my salt dough creations looking great for years.
What is Salt Dough?
Salt dough is an easy crafting dough made with all-purpose flour, table salt, and warm water. Once baked at a low temperature, it dries hard, making it perfect for homemade ornaments, gift tags, and seasonal decorations like these pumpkins. For the best results, seal your finished project with Mod Podge and store in a cool, dark place so you can enjoy it for years.
Why You’ll Love This Easy Fun Project
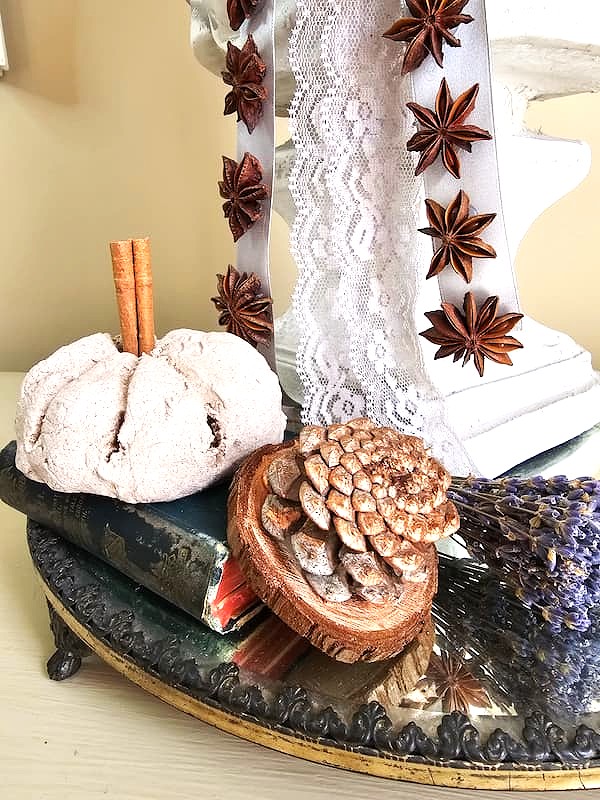
This fun project checks each box. It uses simple pantry supplies and an original salt dough recipe; you’ll create charming pumpkins with rustic cinnamon stick stems. With little to no additional cost, it’s the perfect activity for the whole family. Whether you display them on your mantel, use them as favors, or add them to your Thanksgiving table, these handmade pumpkins bring charm to your home.
Cindy’s Best Tips for Salt Dough Handmade Pumpkins
After making salt dough pieces for several years, I’ve learned a few tricks that help these pumpkins turn out perfect every time.
- Don’t rush the drying process. Baking at a low temperature helps the pumpkins dry evenly and reduces the chance of cracking.
- Leave your pumpkins their natural color for a rustic look. The cinnamon, cloves, ginger, and nutmeg give this cinnamon salt dough recipe color without needing paint.
- I always seal my pumpkins with a thin coat of Mod Podge. They’ve lasted years and still look beautiful each holiday season.
- Cinnamon sticks make the most realistic pumpkin stems, but small sticks from the yard work just as well if you prefer a different look.
- Store your pumpkins in a cool, dry place after the season ends so you can enjoy them year after year.
More Ideas for Salt Dough
If you enjoy making these pumpkins, don’t stop here! Salt dough is one of my favorite materials because it’s inexpensive, easy to make, and perfect for decorating throughout the year.
Try my pumpkin pie spice salt dough recipe for another cozy fall project, or make cinnamon salt dough ornaments with wooden molds for the holiday season. These handmade ornaments make thoughtful gifts and are perfect for decorating your Christmas tree.
Why You’ll Love These Easy Handmade Pumpkins
- Made with simple ingredients you probably have at home.
- A budget-friendly craft with little to no additional cost.
- The perfect activity for the whole family to enjoy together.
- Have your house smell like the scent of ground cinnamon, cloves, ginger, and nutmeg while they bake.
- Customize them with gift tags, acrylic craft paint, or glitter glue pens to match your decorating style.
- Beautiful on the mantle, as Thanksgiving place settings, or in flower pots and baskets.
- Looking for inspiration? Try my pumpkin pie spice salt dough recipe or my homemade salt dough ornaments with wooden molds, perfect for decorating a Christmas tree.
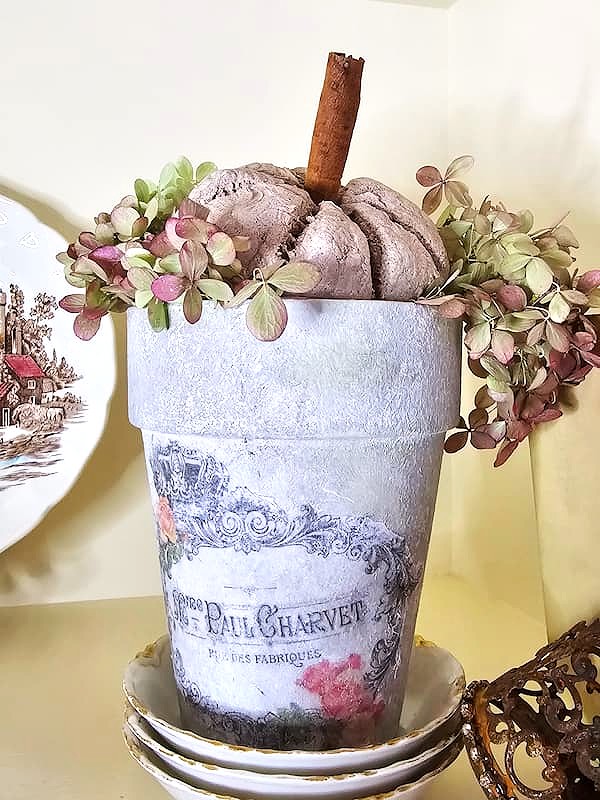
Flower Pots for All Year Long – DIY
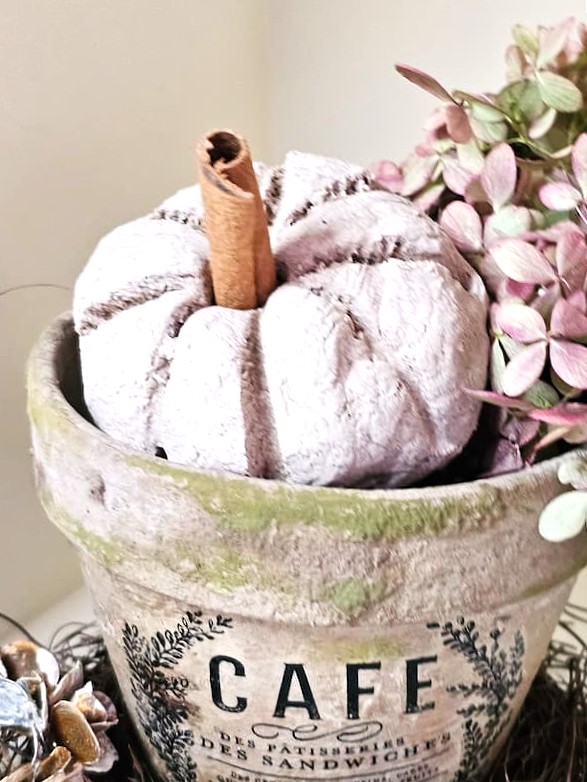
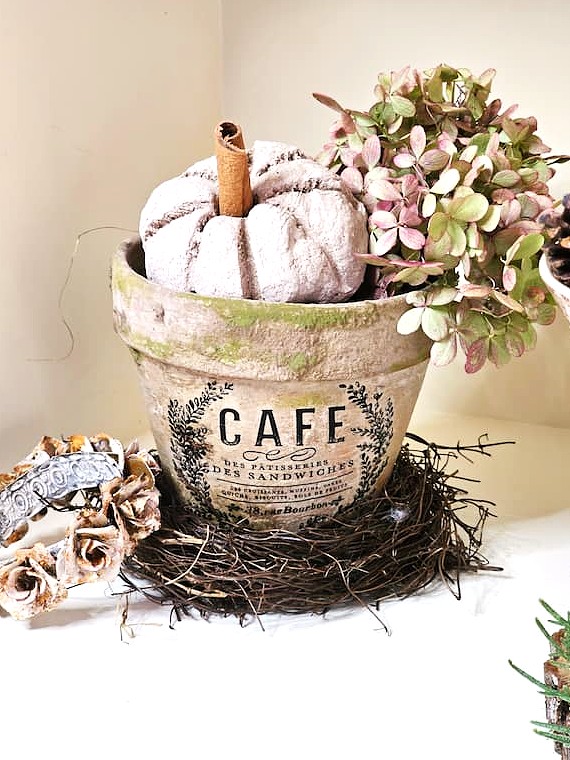
See This Post – Make Lime Flower Pots!
Easy Salt Dough Pumpkins for Fall
These pumpkins are a fun project that makes a great favors. Add gift tags and place one at each place setting for Thanksgiving, Friendsgiving, or any cozy fall dinner. Whether you display them on your mantel or as a table centerpiece, or give them to friends, these handmade pumpkins add rustic charm and personality to your seasonal decorating.
Making easy DIY salt dough pumpkins for fall decor is a fun craft and a simple way to add handmade charm into your home. Using an easy recipe with cozy spices, you can roll, shape, and create salt dough creations that look just like real pumpkins. From mixing up the dough with simple ingredients to adding a cinnamon stick for the pumpkin stem, this easy fall craft project proves that beautiful DIY decor doesn’t have to be complicated. I hope these pumpkins become a favorite part of your fall decorating for years. Happy crafting!

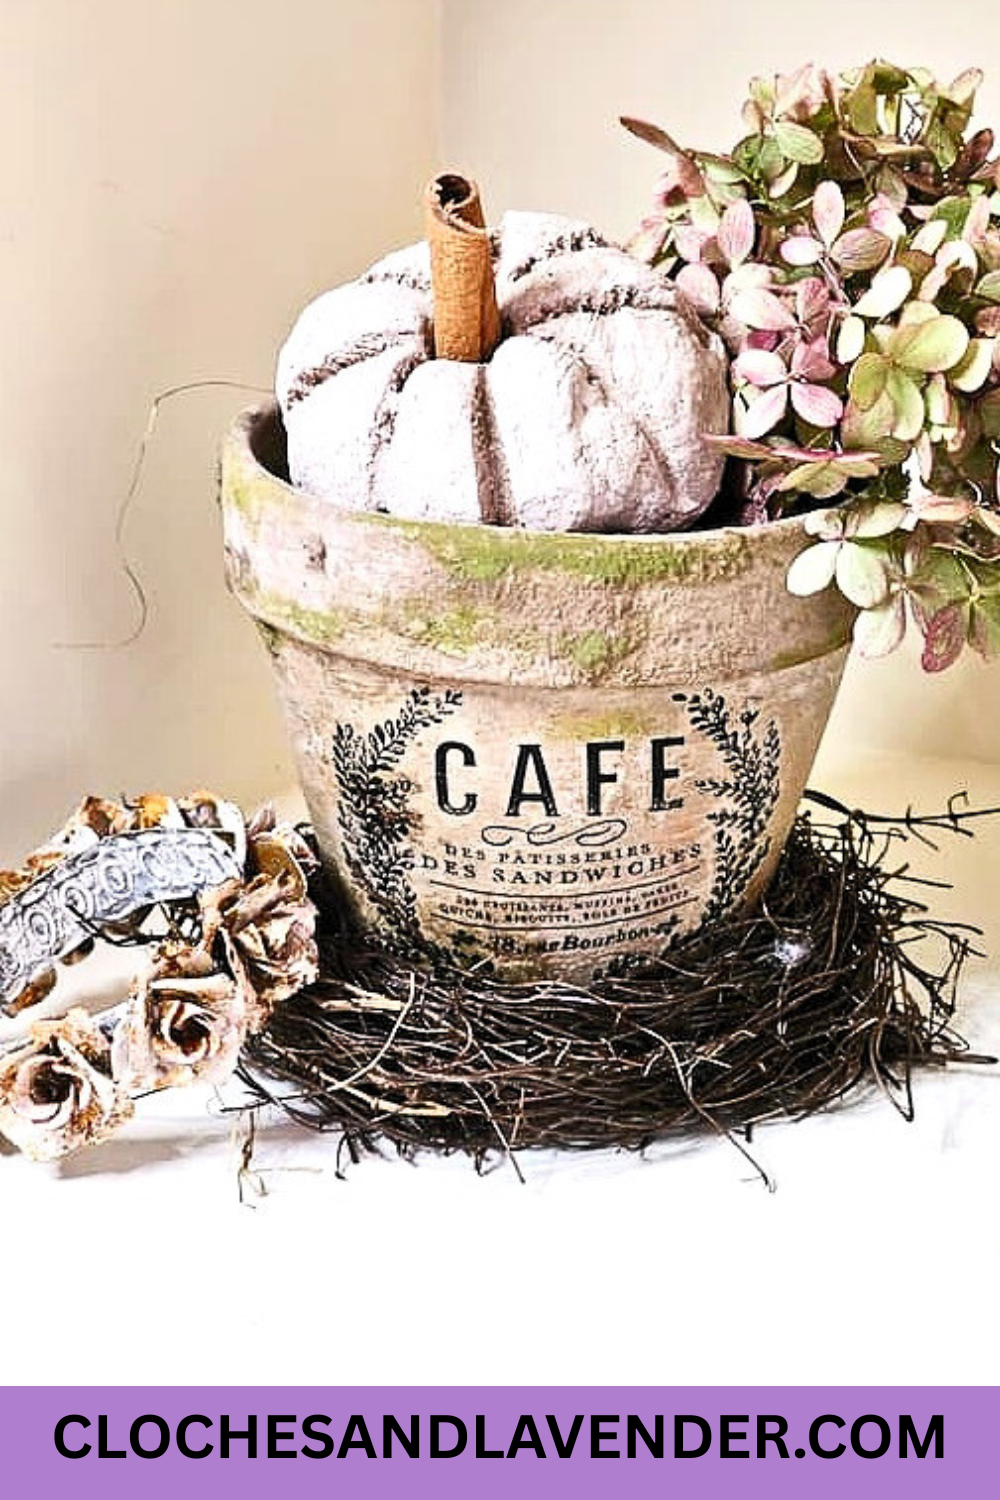
More Fun Craft Projects with Salt Dough. Click Image or Purple Link:
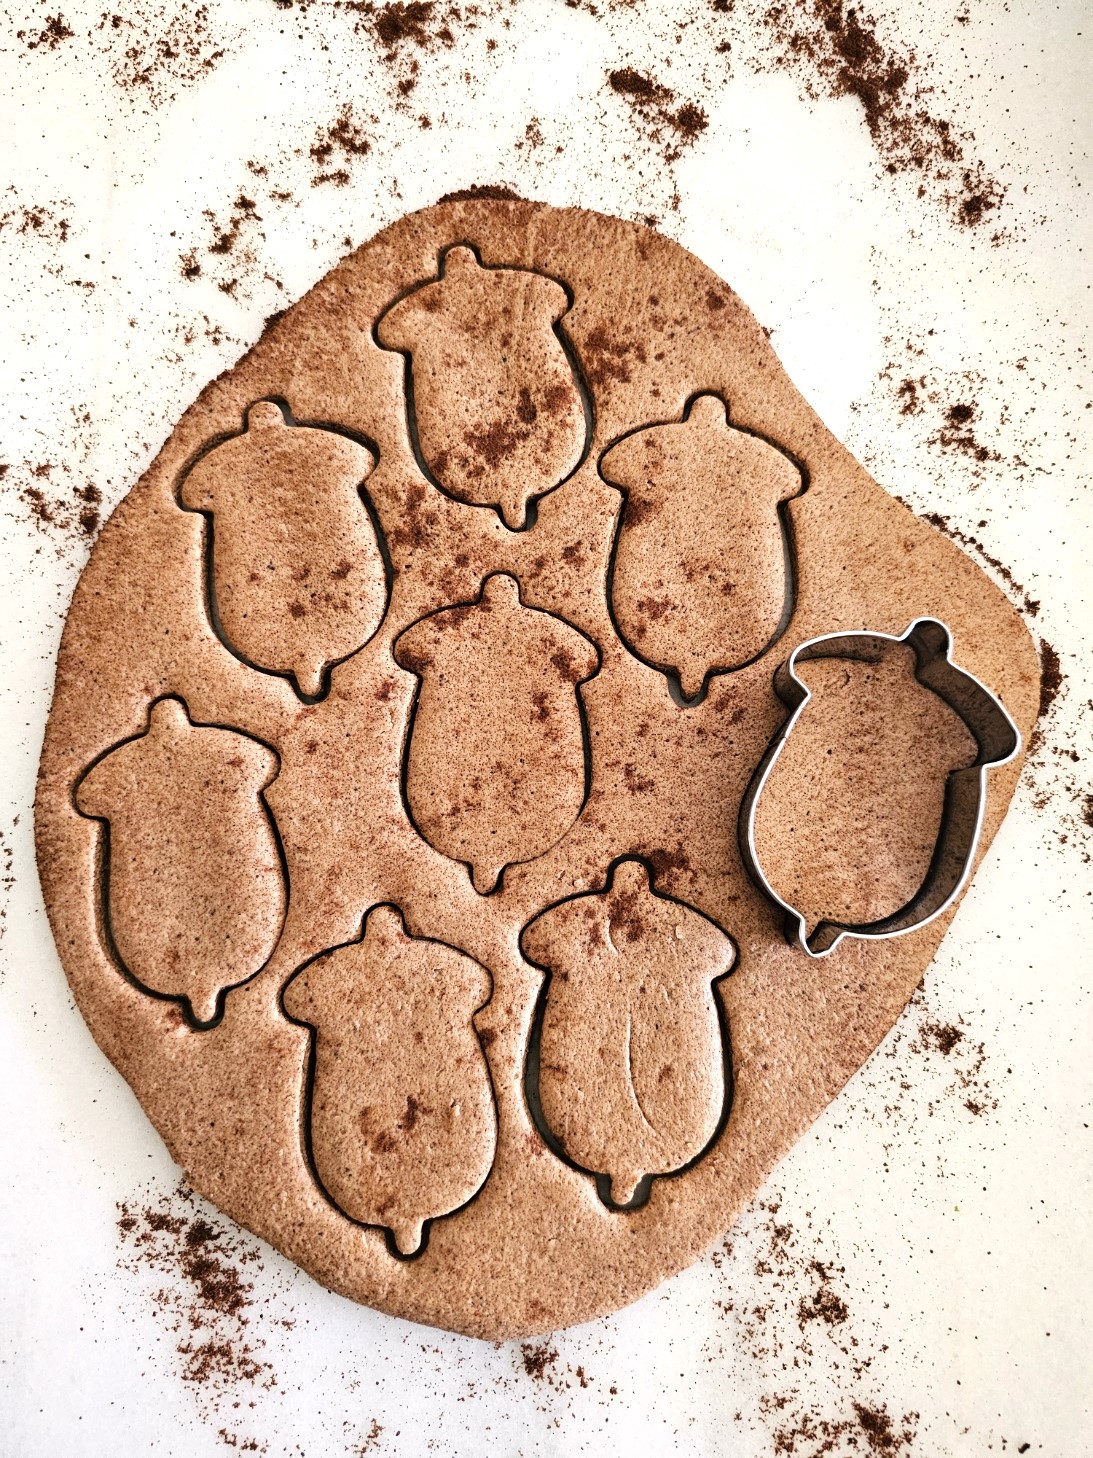
Pumpkin Pie Spice Salt Dough Recipe
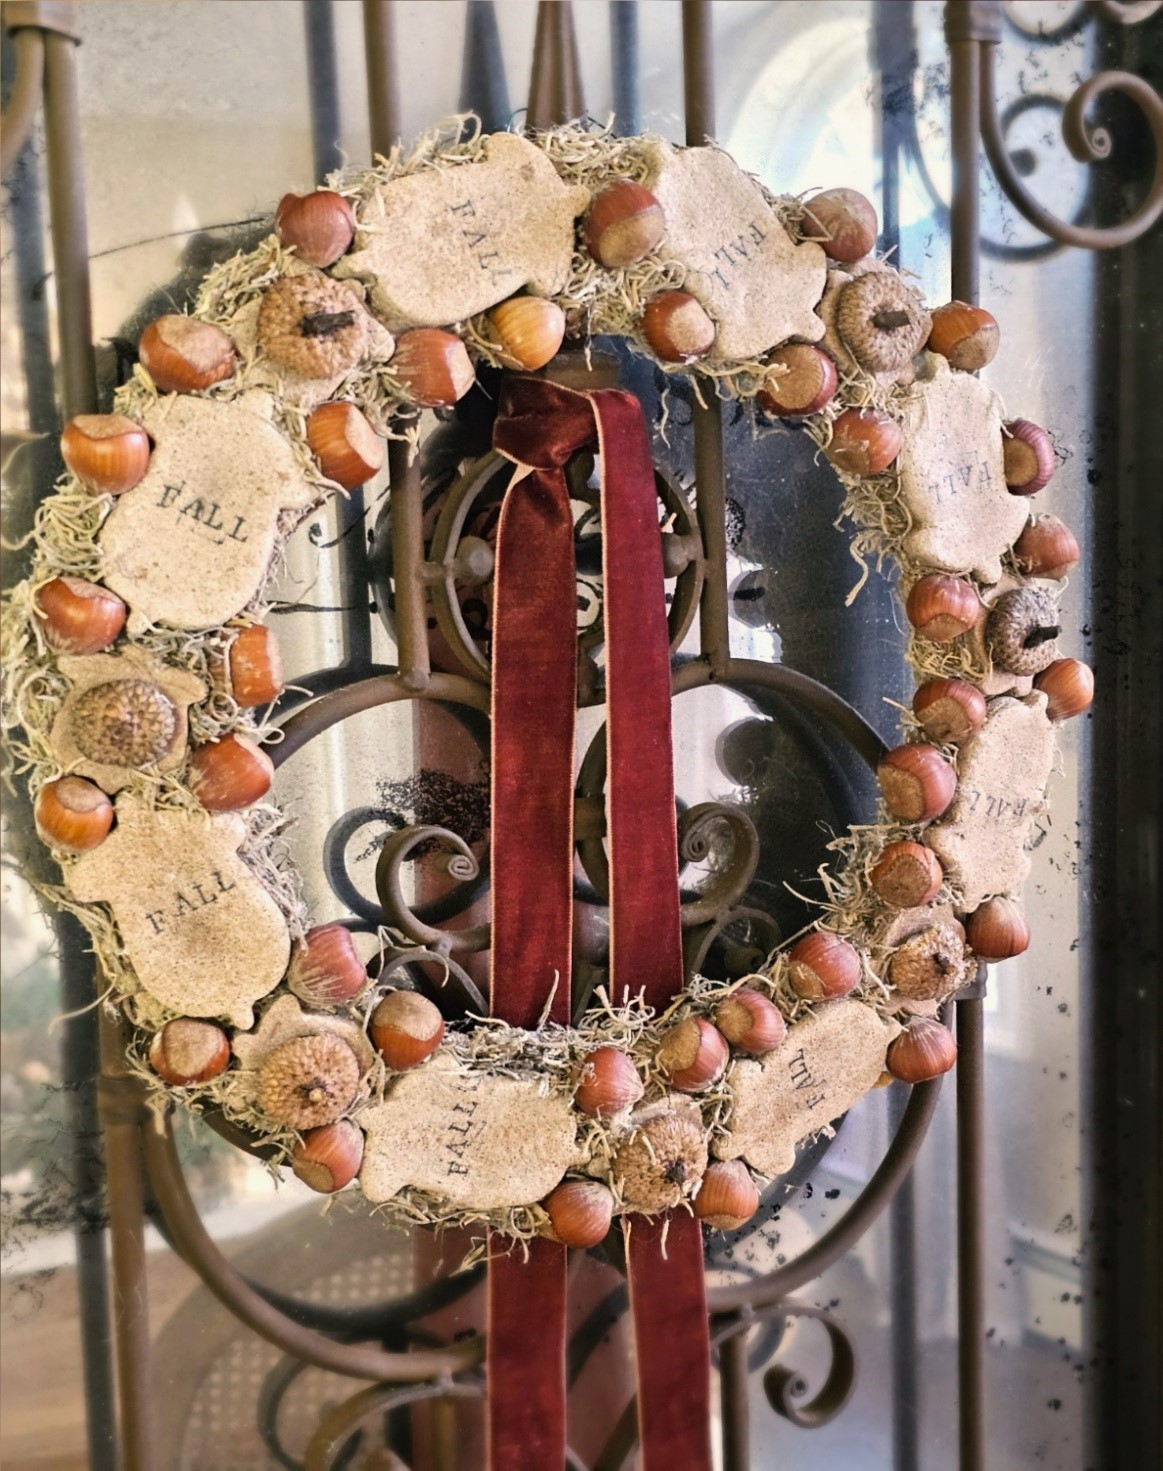
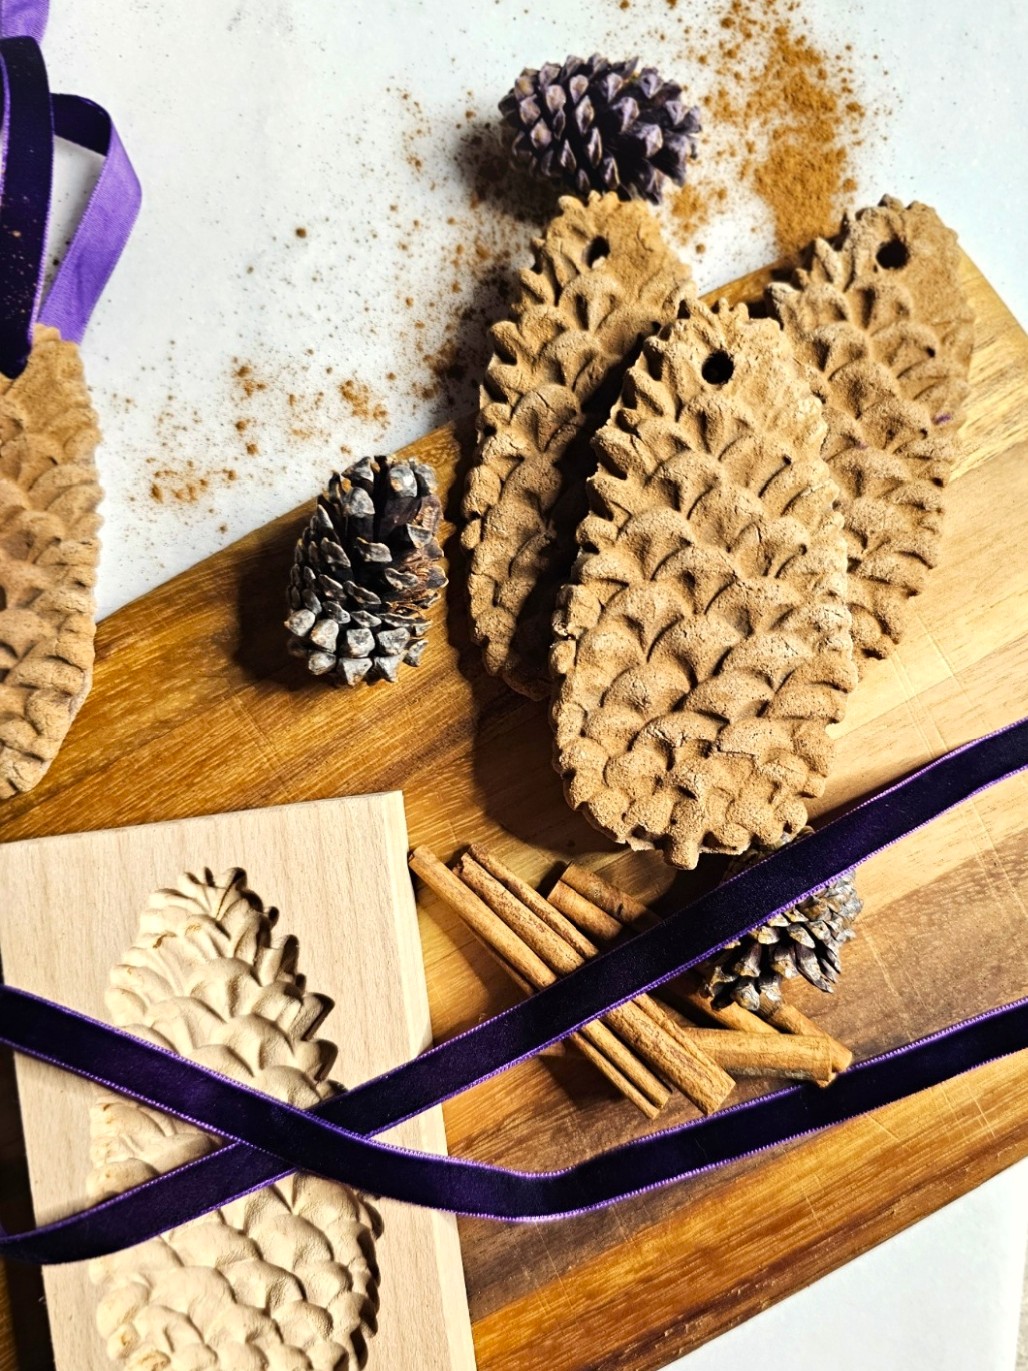
Cinnamon Salt Dough Ornaments – With Wooden Molds
Easy DIY Salt Dough Pumpkins for Fall Decor
Notes
DIY Salt Dough Pumpkins
Ingredients:
- 4 cups all-purpose flour
- 4 cups of table salt
- 4 cups of warm water
- 4 tsp. Ground ginger
- 4 tsp. Ground cinnamon
- 4 tsp. Ground clove
- 4 tsp. Nutmeg
- Essential oils – optional – I used this HERE
Equipment:
- Cookie sheet or baking sheet – these are in my kitchen
- Parchment paper – these are in my kitchen
- String – kitchen twine is a great choice
- Toothpick or wooden skewer
- Large spoon
- Large bowl
- Matte Mod Podge – (optional) – HERE
- Foam brush or paint brush – my favorite – HERE
- Cinnamon sticks or small sticks – pumpkin stem
Step 1: Mix the Dry Ingredients
Place 4 cups of all-purpose flour, 4 cups of table salt, ground cinnamon, clove, ginger, and nutmeg into a large bowl. If you’re using essential oils, add about 10 drops into the dry ingredients. Stir everything until the flour mixture is well combined. Cindy’s Note: For this project, I recommend adding essential oils to the warm water. For these salt dough pumpkins, I mixed the oils directly into the flour before mixing the cup of salt, flour, and spices. This helps distribute the fragrance evenly throughout the dough. This ensures every pumpkin has the scent of fall.
Step 2: Slowly Add Warm Water
Slowly pour in warm water while stirring. This helps the salt dissolve. Continue stirring until the mixture forms a dough ball. The dough should have the consistency of play dough. Cindy’s Food Coloring Tip: If you’d like to add color, mix food coloring into the warm water before combining it with the dry ingredients. It may make the dough a little sticky, so you might need to add a little more flour. I personally skip the food coloring. If I want color paint the pumpkins afterward with acrylic paints.
Step 3: Knead the Dough
Knead the dough by hand for about 5 minutes. Since these are pumpkins, I didn’t want my salt dough pieces to be perfectly smooth; I love a rustic, natural look. While kneading, preheat your oven to 200 degrees. The best way to prevent cracking any salt dough recipe is to dry it at a low temperature slowly. Cindy’s Tip: Normally, I knead my dough for 10 minutes to get smooth results, especially when making homemade ornaments for Christmas time. It’s a great way to create a smooth finish. At the end of this post, I’ll share links to more of my favorite salt dough pieces.
Step 4: Shape and Form Your Pumpkins
Roll the dough into small balls, about the size of a large meatball, and shape them into pumpkins. To create the classic pumpkin creases, I used both a piece of string and a toothpick. Pull the string lightly around the pumpkin. Be careful not to tighten it too much, or it will flatten the dough. Use the side of a toothpick to deepen the creases all the way to the bottom. Finish each pumpkin with a cinnamon stick on the top of the pumpkin to create a realistic stem. Important: See the note below if you prefer using small sticks instead of cinnamon sticks for a pumpkin stem. Cindy’s Tip: If you’d rather use small sticks for the stem, make a small hole at the top of the pumpkin before baking. Once the pumpkins have cooled, secure the stick with a small amount of hot glue.
Step 5: The Drying Process
Place the pumpkins on a cookie sheet and bake at 200 degrees. Since they’re thicker than traditional salt dough pieces, they’ll need extra time to harden completely.- Bake for 3 hours on the cookie sheet.
- Transfer pumpkins to a wire rack and bake for 1 more hour at 200 degrees.
- Let them cool completely
Step 6: Seal with Mod Podge
Once the pumpkins have cooled, brush on a thin coat of Mod Podge or matte polyurethane spray. This protects them from moisture so they’ll last a long time. I have used mine season after season. Cindy’s Tip: Sealing is optional, but I always recommend it. A coat of Mod Podge has kept my salt dough creations looking great for years.
Happy Crafting!

I love these Cindy. I like your tips especially painting them afterwards instead of using food coloring. I love them in your French pot. Happy week. Hugs. Kris @junkchiccottage
These turned out so cute, Cindy! I adore making pumpkins and have never tried salt dough, so I’m pinning this now!
Thank you Donna. These are sao fun, easy, and smell AMAZING!