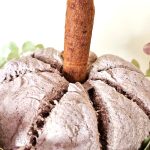
Easy DIY Salt Dough Pumpkins for Fall Decor
Easy DIY salt dough pumpkins for fall decor are one of my favorite ways to welcome the season.
Yield: 5 pumpkins
Cost: $8.00
Notes
DIY Salt Dough Pumpkins
Ingredients:
- 4 cups all-purpose flour
- 4 cups of table salt
- 4 cups of warm water
- 4 tsp. Ground ginger
- 4 tsp. Ground cinnamon
- 4 tsp. Ground clove
- 4 tsp. Nutmeg
- Essential oils - optional - I used this HERE
Equipment:
- Cookie sheet or baking sheet - these are in my kitchen
- Parchment paper - these are in my kitchen
- String - kitchen twine is a great choice
- Toothpick or wooden skewer
- Large spoon
- Large bowl
- Matte Mod Podge - (optional) - HERE
- Foam brush or paint brush - my favorite - HERE
- Cinnamon sticks or small sticks – pumpkin stem
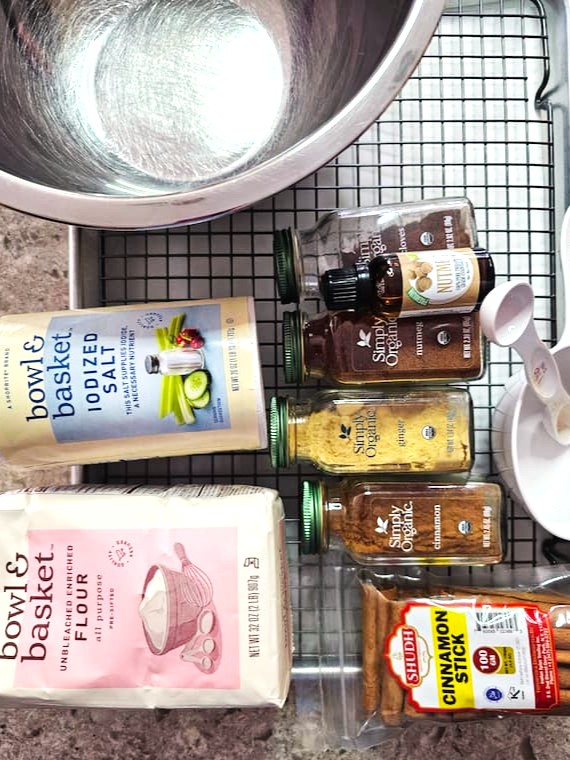
Step 1: Mix the Dry Ingredients
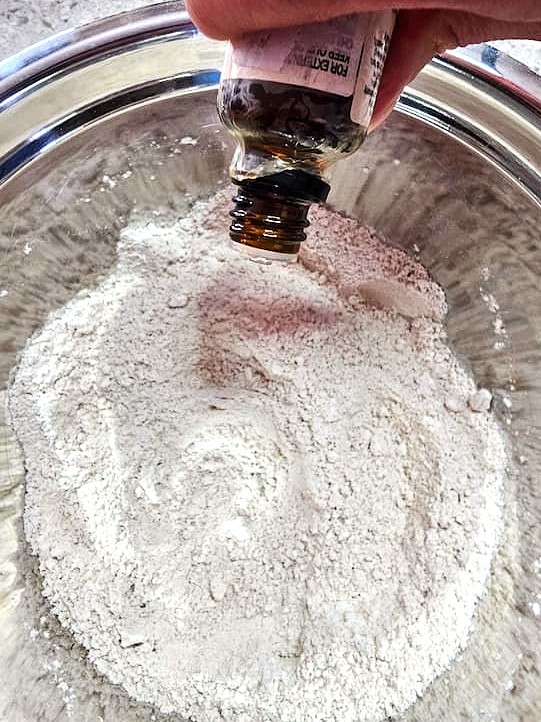
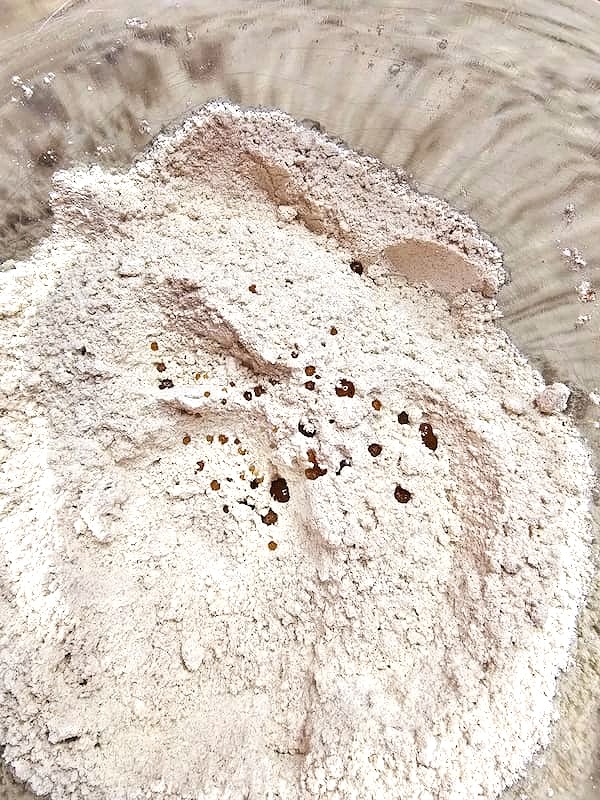
Place 4 cups of all-purpose flour, 4 cups of table salt, ground cinnamon, clove, ginger, and nutmeg into a large bowl. If you’re using essential oils, add about 10 drops into the dry ingredients. Stir everything until the flour mixture is well combined. Cindy's Note: For this project, I recommend adding essential oils to the warm water. For these salt dough pumpkins, I mixed the oils directly into the flour before mixing the cup of salt, flour, and spices. This helps distribute the fragrance evenly throughout the dough. This ensures every pumpkin has the scent of fall.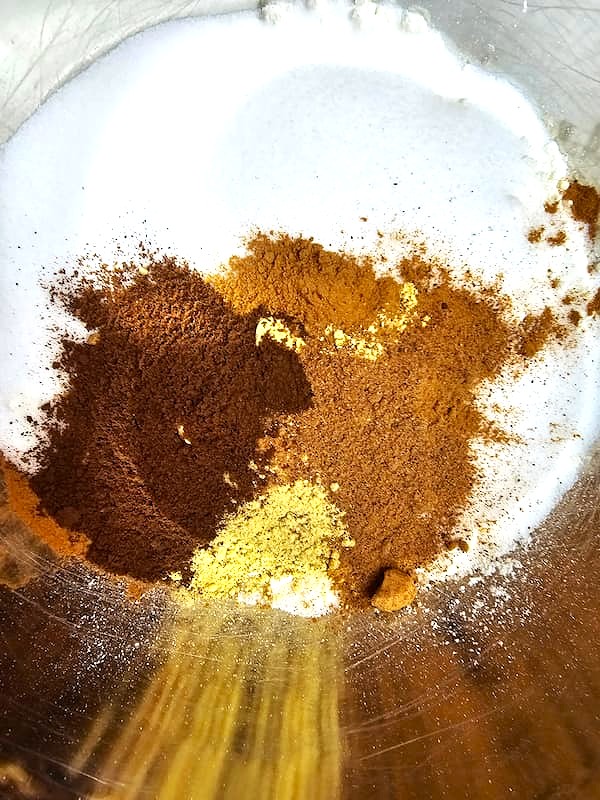
Step 2: Slowly Add Warm Water
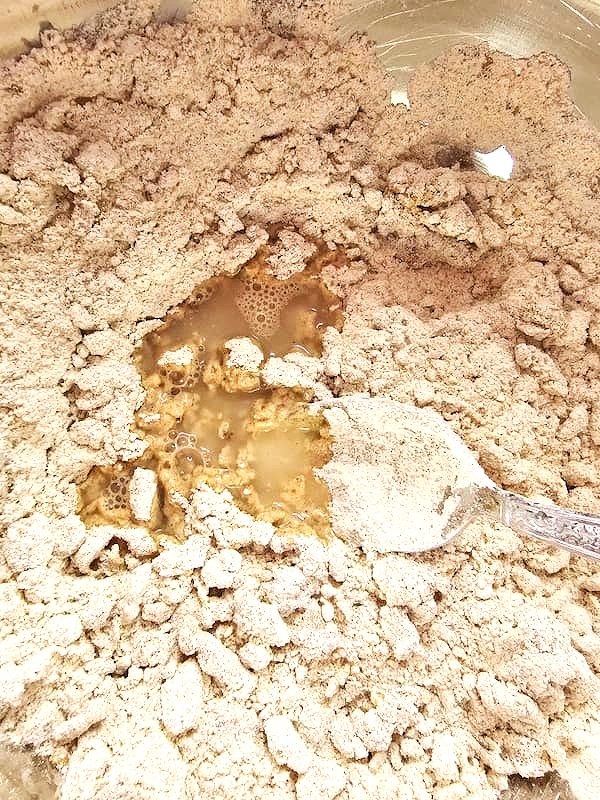
Slowly pour in warm water while stirring. This helps the salt dissolve. Continue stirring until the mixture forms a dough ball. The dough should have the consistency of play dough. Cindy’s Food Coloring Tip: If you’d like to add color, mix food coloring into the warm water before combining it with the dry ingredients. It may make the dough a little sticky, so you might need to add a little more flour. I personally skip the food coloring. If I want color paint the pumpkins afterward with acrylic paints.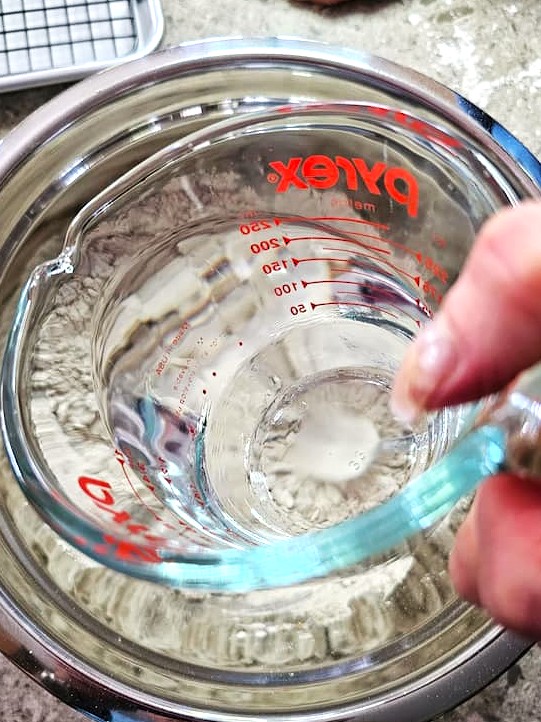
Step 3: Knead the Dough
Knead the dough by hand for about 5 minutes. Since these are pumpkins, I didn’t want my salt dough pieces to be perfectly smooth; I love a rustic, natural look. While kneading, preheat your oven to 200 degrees. The best way to prevent cracking any salt dough recipe is to dry it at a low temperature slowly. Cindy’s Tip: Normally, I knead my dough for 10 minutes to get smooth results, especially when making homemade ornaments for Christmas time. It’s a great way to create a smooth finish. At the end of this post, I’ll share links to more of my favorite salt dough pieces.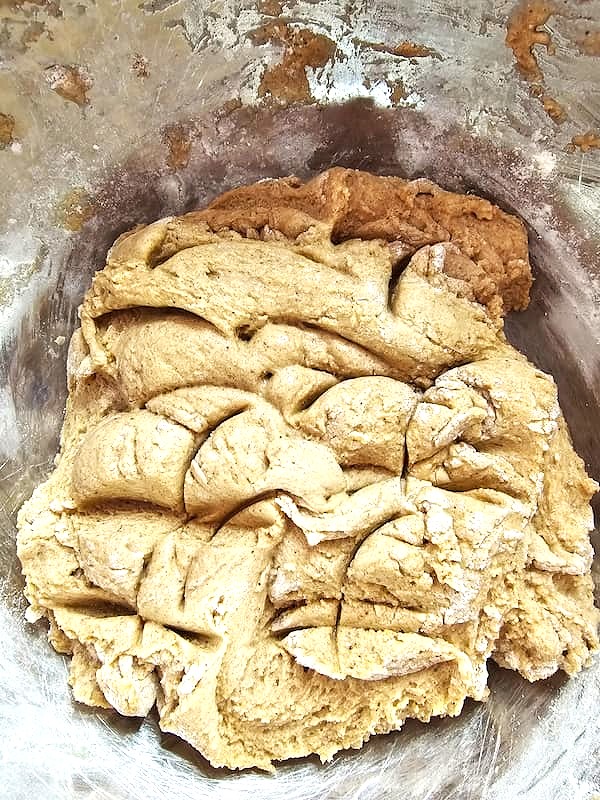
Step 4: Shape and Form Your Pumpkins
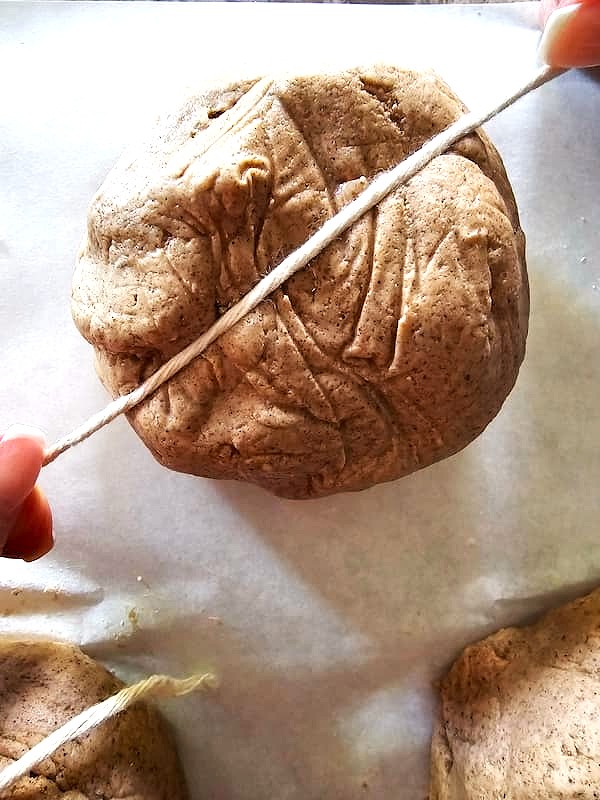
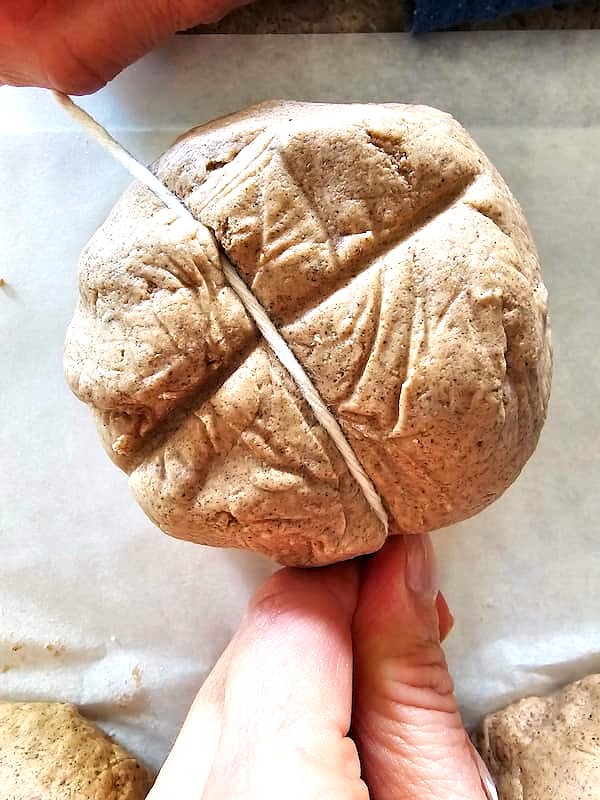
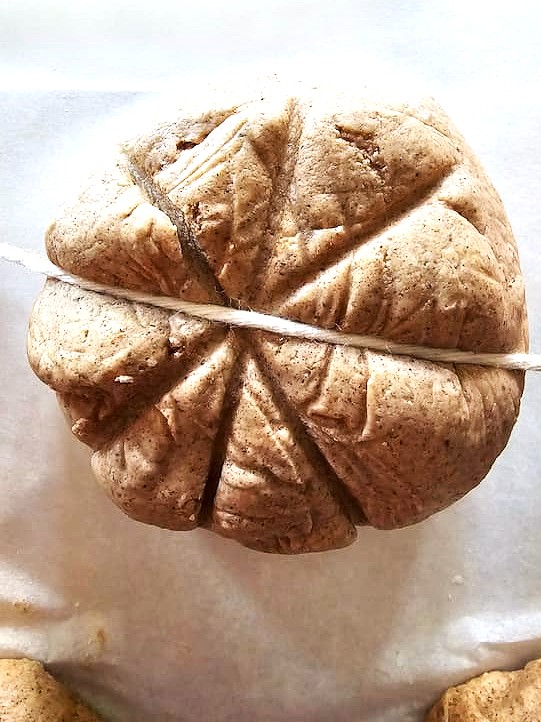
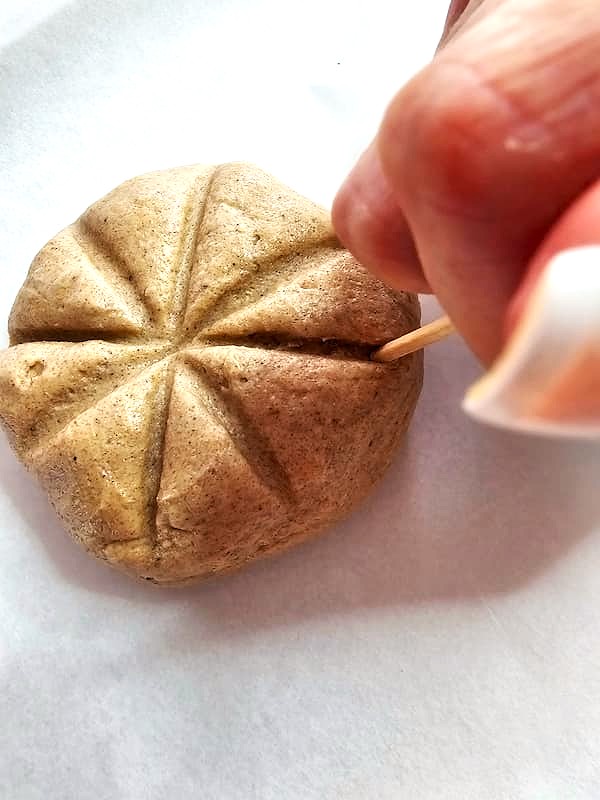
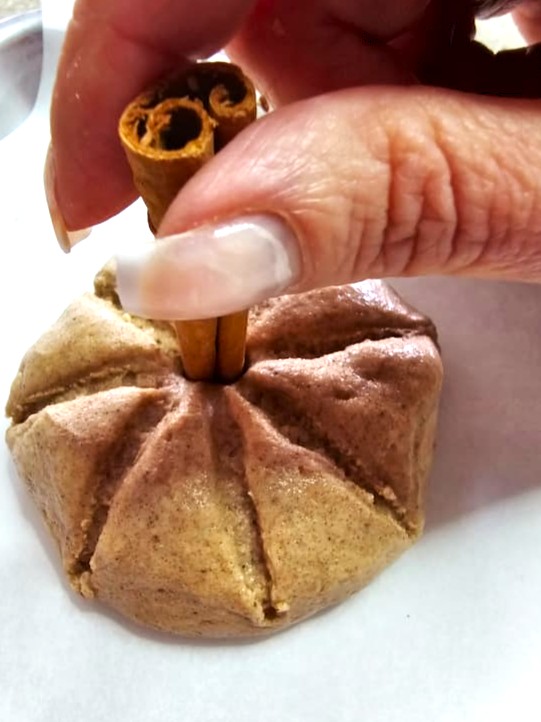
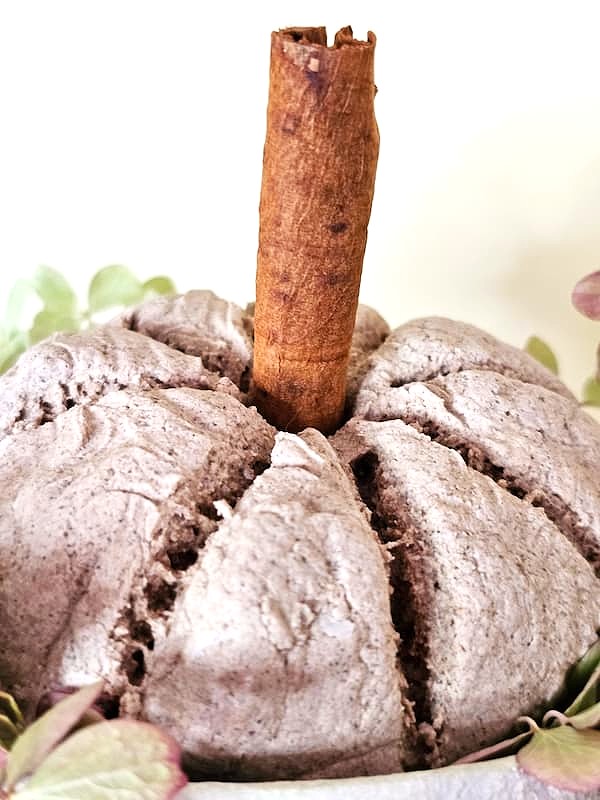
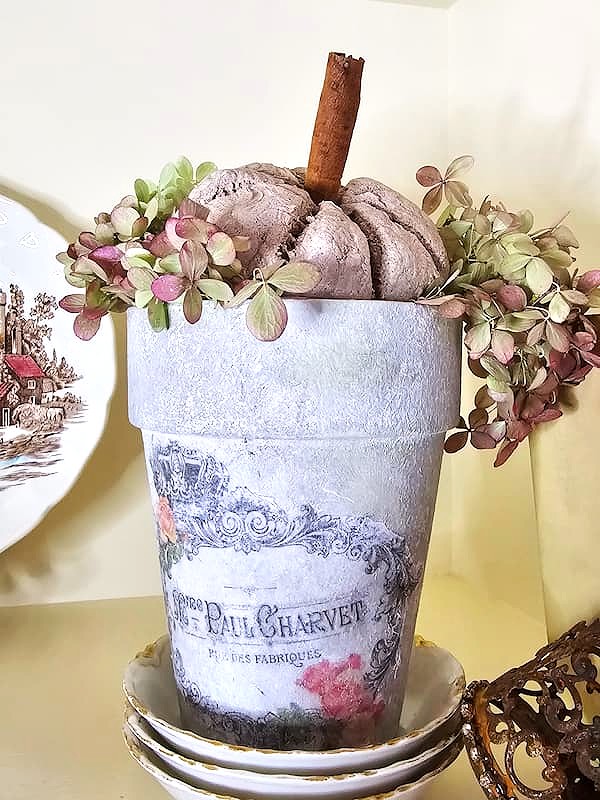
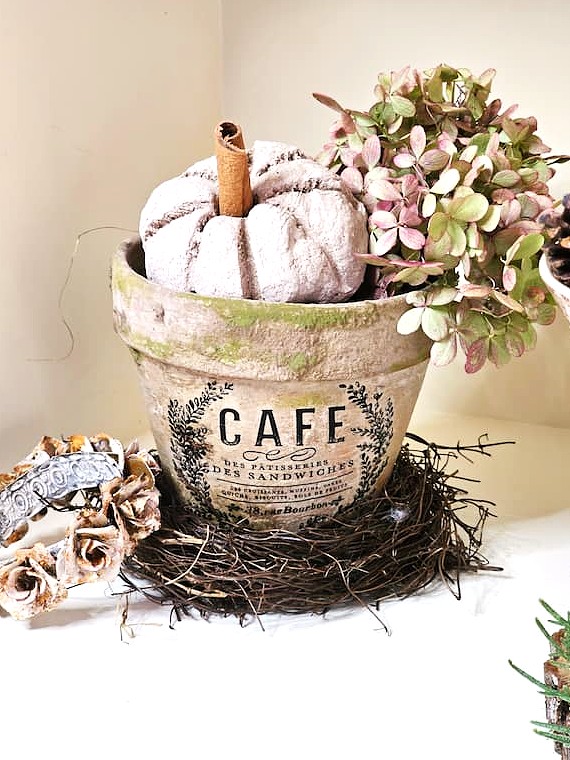
Roll the dough into small balls, about the size of a large meatball, and shape them into pumpkins. To create the classic pumpkin creases, I used both a piece of string and a toothpick. Pull the string lightly around the pumpkin. Be careful not to tighten it too much, or it will flatten the dough. Use the side of a toothpick to deepen the creases all the way to the bottom. Finish each pumpkin with a cinnamon stick on the top of the pumpkin to create a realistic stem. Important: See the note below if you prefer using small sticks instead of cinnamon sticks for a pumpkin stem. Cindy’s Tip: If you’d rather use small sticks for the stem, make a small hole at the top of the pumpkin before baking. Once the pumpkins have cooled, secure the stick with a small amount of hot glue.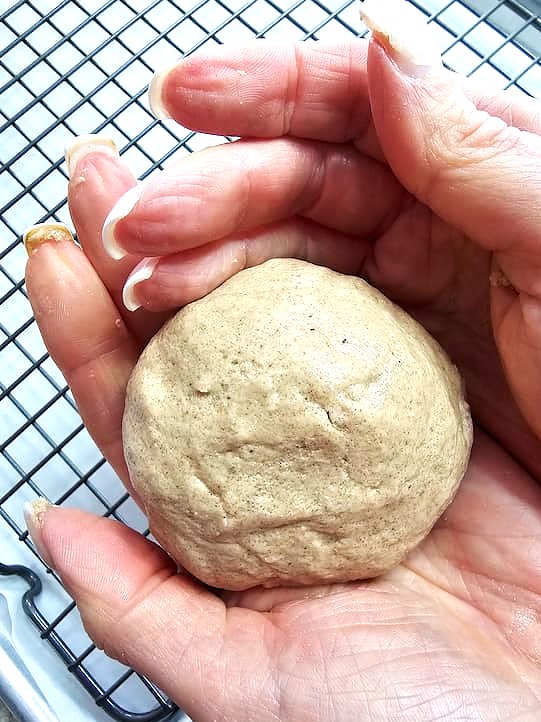
Step 5: The Drying Process
Place the pumpkins on a cookie sheet and bake at 200 degrees. Since they're thicker than traditional salt dough pieces, they’ll need extra time to harden completely.- Bake for 3 hours on the cookie sheet.
- Transfer pumpkins to a wire rack and bake for 1 more hour at 200 degrees.
- Let them cool completely
Step 6: Seal with Mod Podge
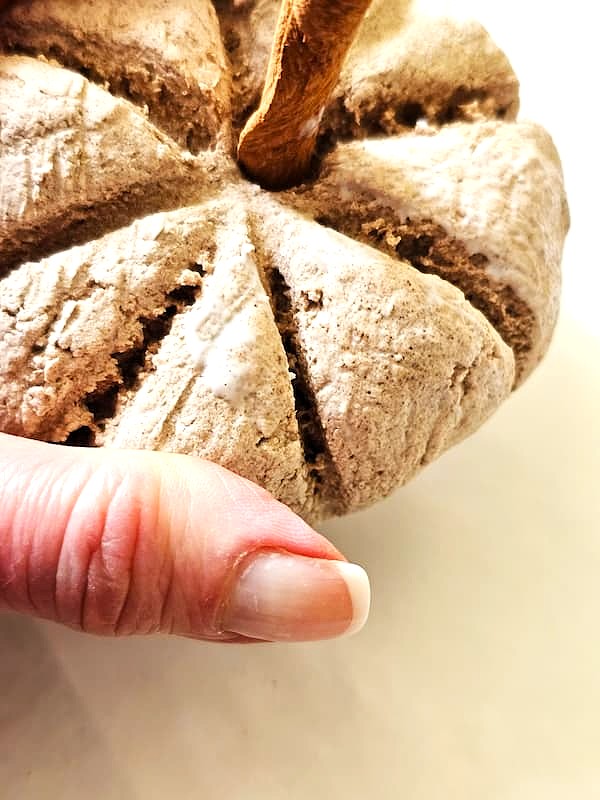
Once the pumpkins have cooled, brush on a thin coat of Mod Podge or matte polyurethane spray. This protects them from moisture so they'll last a long time. I have used mine season after season. Cindy’s Tip: Sealing is optional, but I always recommend it. A coat of Mod Podge has kept my salt dough creations looking great for years.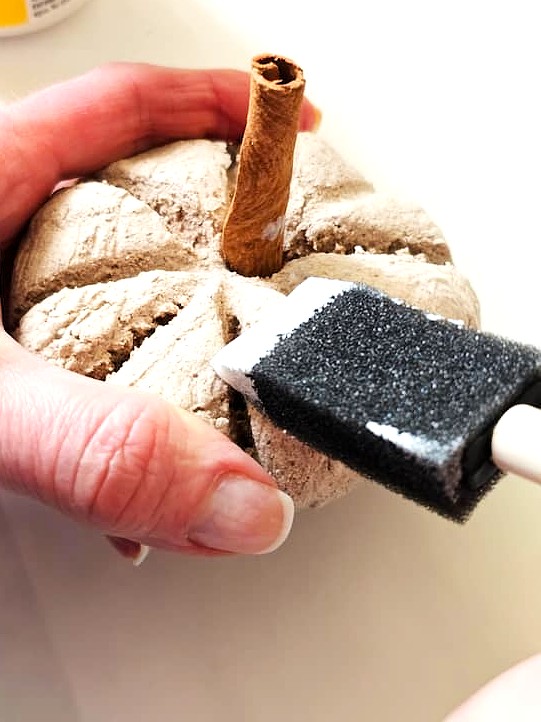
 Happy Crafting!