
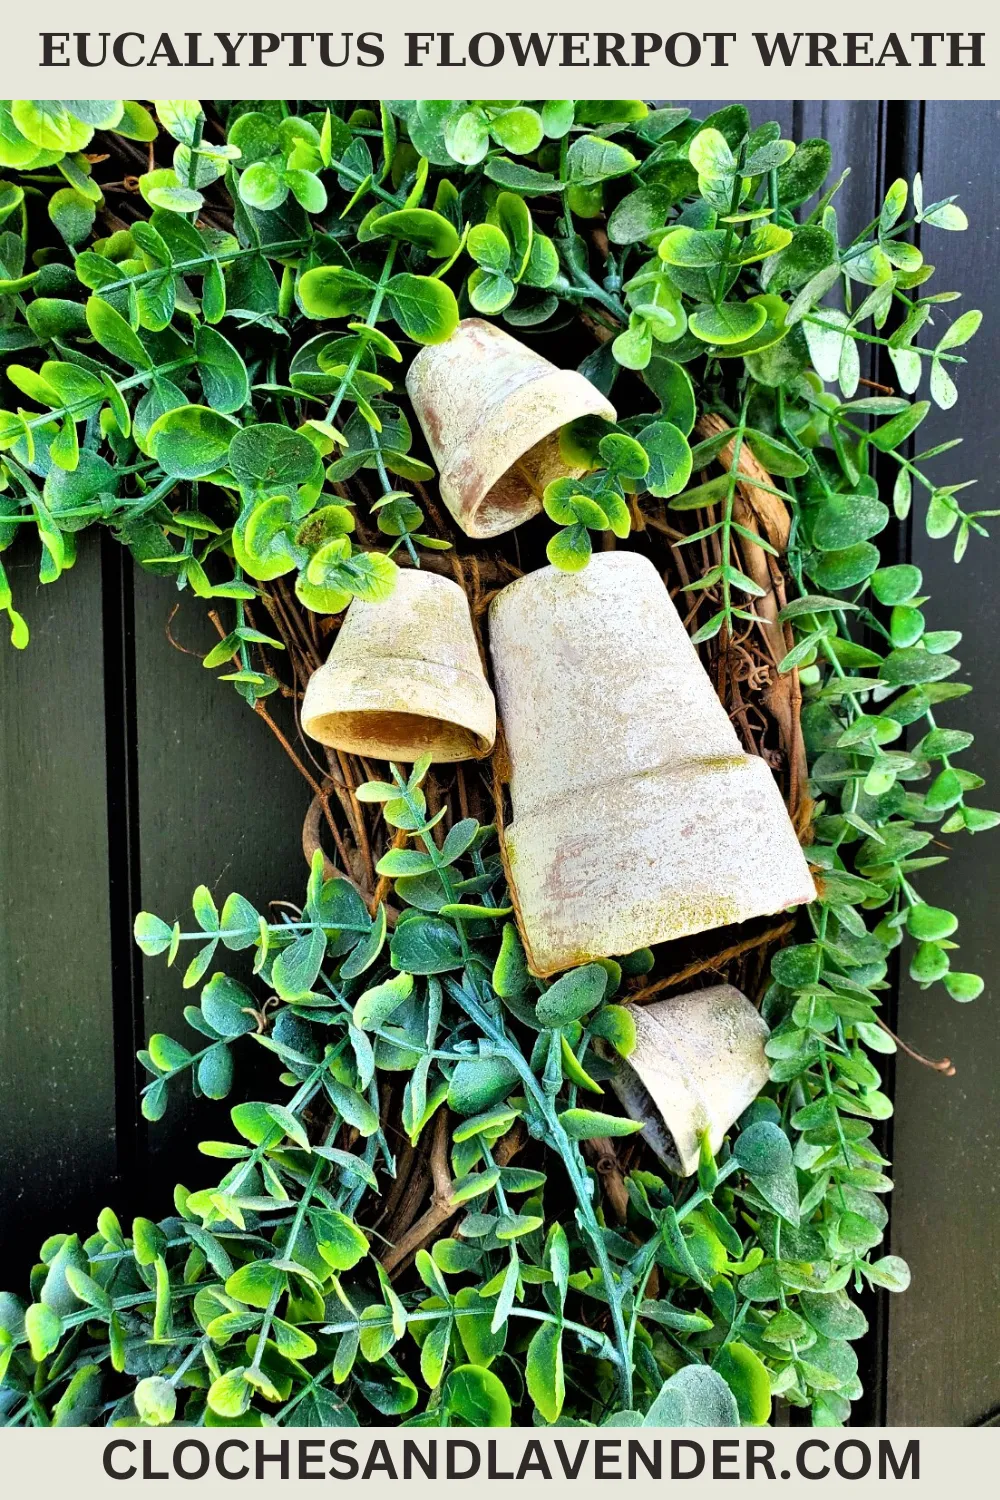
Easy Eucalyptus Flowerpot Wreath
Elevate your front door or porch with this beautiful wreath. Let’s begin making an easy eucalyptus flowerpot wreath. The best part is the versatility of this wreath. It easily transitions into the summer season and to a fall wreath with just a few tweaks to the flower pots or the eucalyptus garland. The good news is at the end of this blog post, we’ll share the details of how to transform this DIY wreath for the seasons.
Are you ready to unleash your creativity? I’m excited about this fun idea to craft this easy flower pot wreath with eucalyptus!
Jump to DIY PrintableTable of Contents
- 1 Easy Eucalyptus Flowerpot Wreath
- 2 Seasonal Crafting With Our Easy Eucalyptus Wreath — Creativity Starts Here!
- 3 An Easy Eucalyptus Flower Pot Wreath With Garland
- 3.1 Step 1: DIY Wreath Craft Stores Essentials: Purchasing Grapevine Blanks
- 3.2 Step 2: Connecting The Grapevine Wreaths with Zip Ties for Your Eucalyptus Flower Pot Wreath
- 3.3 Step 3: Enhance Your Wreath: Jute-Tied Pots
- 3.4 Step 4: Adding Charm With Mini Pots And Natural Elements For A Stunning Wreath
- 3.5 Step 5: Cut Garland, Add Floral Wire, And Transform A Grapevine Wreath
- 3.6 DIY Wreath For The Seasons
- 3.7 Spring Season Delight: Enhancing Your Wreath Easter Eggs
- 3.8 Seasonal Transition: Crafting A Vibrant Summer Wreath
- 3.9 Transitions for Fall
- 3.10 Lemons for the Summer Season and Pumpkins for a Fall Wreath
- 4 Creating A Spring Wreath With Versatility:
- 5 SIMILAR PROJECTS!
- 6 Eucalyptus Flowerpot Wreath
- 7 Eucalyptus Flowerpot Wreath
Easy Eucalyptus Flowerpot Wreath
Blossoming Creativity: Crafting The Perfect Eucalyptus Wreath
Now, let’s walk through the easy steps together as I guide you in creating this eucalyptus wreath. Who wouldn’t enjoy doing a new project for a wreath that transitions through the summer season and into a fall wreath? I intend to share a new project for a wreath that is versatile for a door or home decor for multiple seasons.
This project is extra special because it includes garlands, flower pots, and no hot glue gun!
Seasonal Crafting With Our Easy Eucalyptus Wreath — Creativity Starts Here!
- Get Crafty for Every Season: Try creating this easy eucalyptus wreath and adapt it to different seasons. Feel free to reach out through our designated channels or use our hashtag @clochesandlavender. We’re eager to see your unique twists and how you’ve customized this eucalyptus wreath to suit your style.
- Share Your Creations: If you’ve followed the tutorial and crafted your eucalyptus flowerpot wreath, share your creation with us! Tag us on social media or use our designated hashtag. We’d love to see your unique twists and how you’ve tailored the eucalyptus wreath to match your style.
- Explore More DIY Ideas: Delve into our blog for more exciting DIY projects and home decor ideas. From seasonal wreaths to easy craft projects, and new projects waiting for you. Stay tuned for inspiration and keep infusing your home with creativity and charm.
Supplies List:
- ‹30″ and 18″ grapevine wreath base
- Eucalyptus garland
- “‹Flower pots 5 larger and 9 mini
- Florist wire – HERE
- Zip ties
- Jute – HERE
- White acrylic paint – (optional)
- “‹Wire cutters
- Scissors
- Paint brush – (optional)
An Easy Eucalyptus Flower Pot Wreath With Garland
Step 1: DIY Wreath Craft Stores Essentials: Purchasing Grapevine Blanks
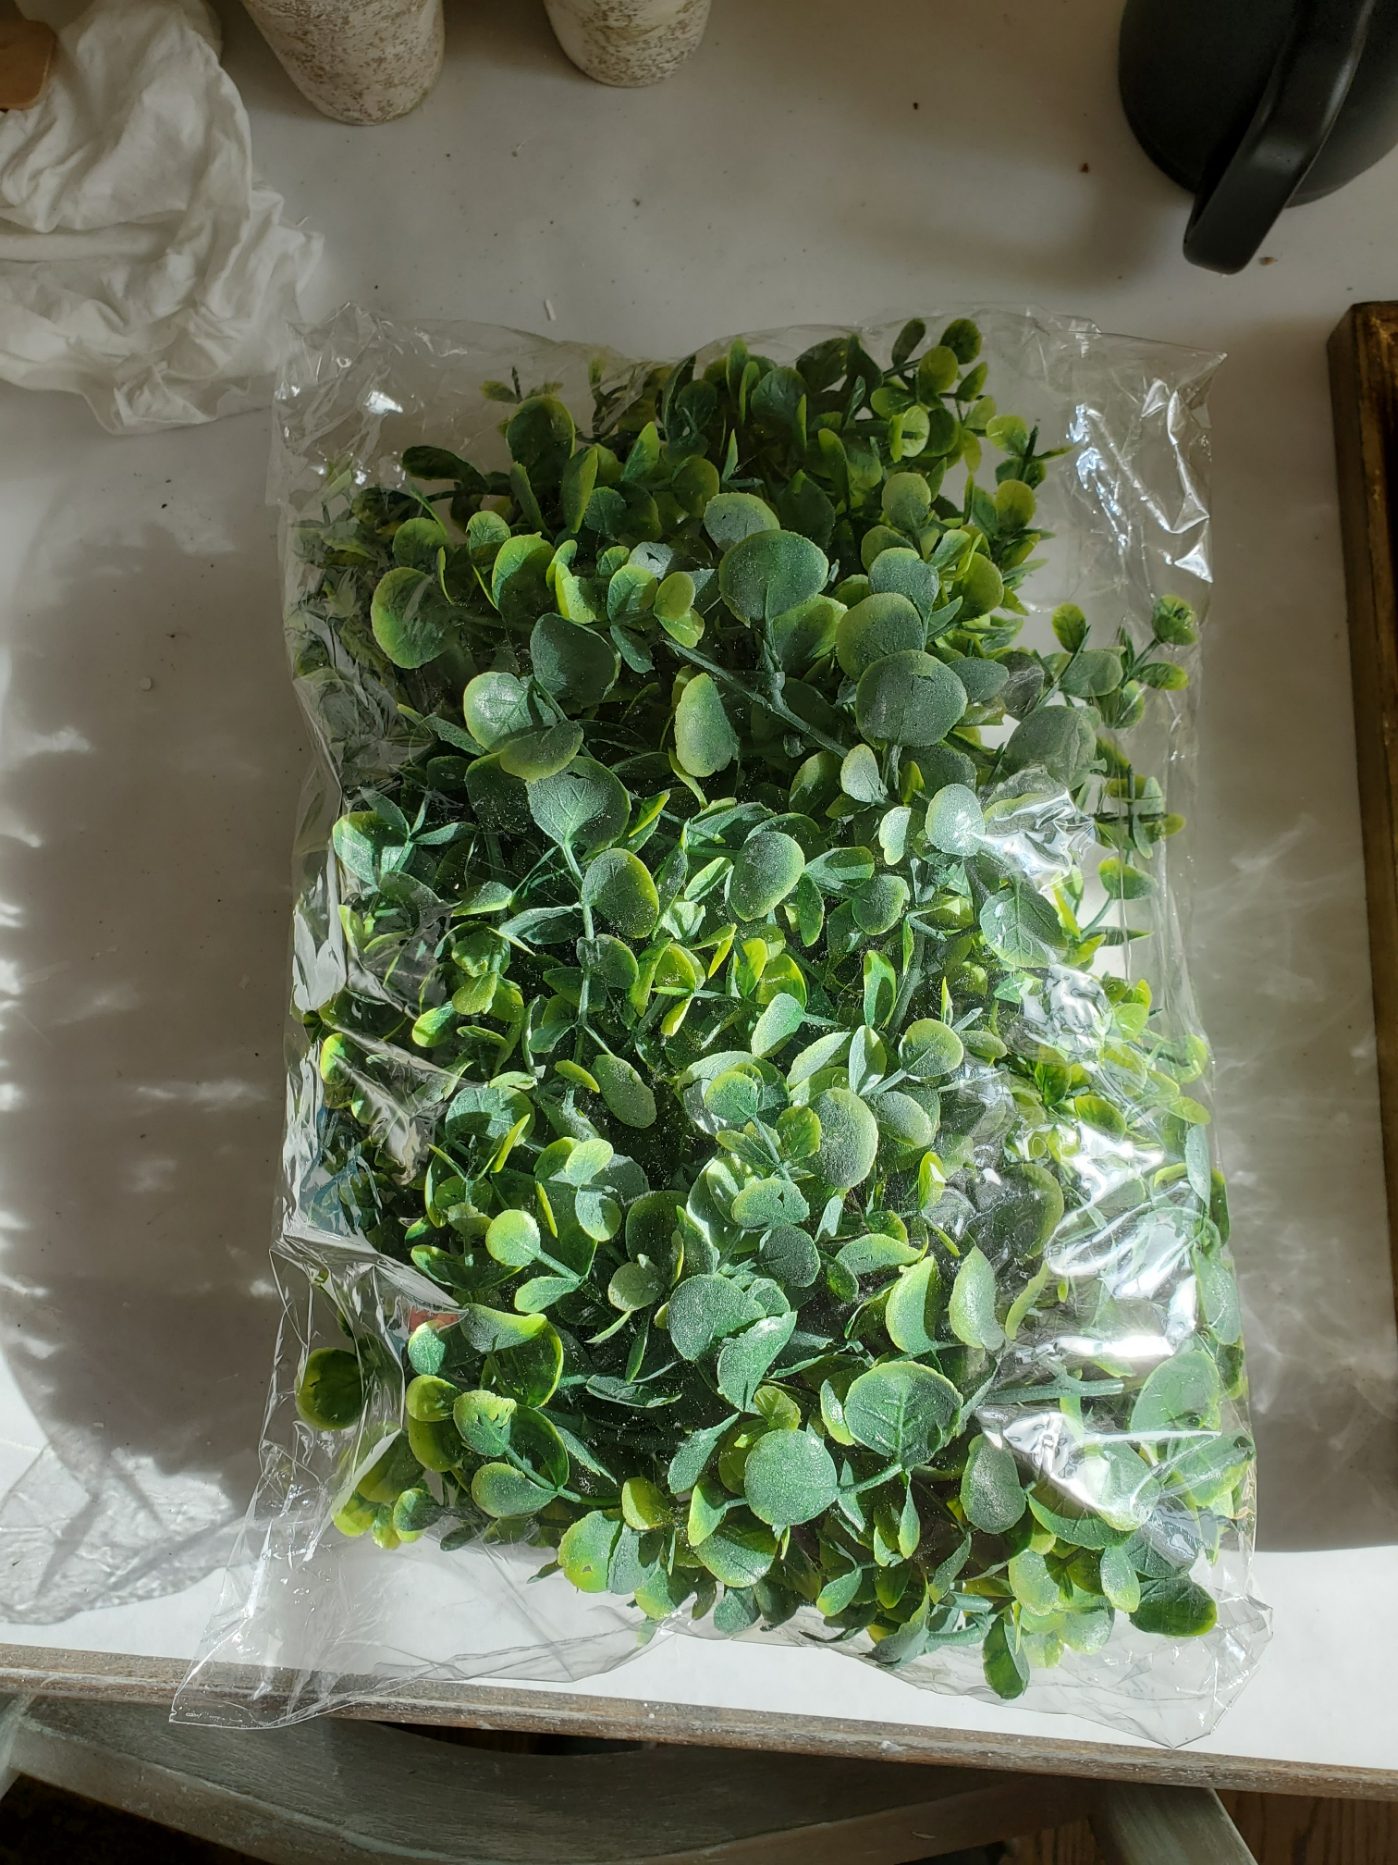
I found this two-pack eucalyptus garland for $14.99 on Amazon. The good news is, that if you have Prime, it ships free. Silver dollar eucalyptus works well, I use these garlands for my decor. You may wonder about the quality of a product at this price. They are high quality and hold up in natural elements, so no worries.
I highly recommend getting this garland. The price made me a bit skeptical before ordering the garland. This wreath will be on the front door, I needed weather-safe eucalyptus. It needs to withstand the natural elements such as rain and direct sunlight, so I decided to give this a shot.
And let me tell you, I love it! I’m picky about artificial plants. Not a big fan, but when I find ones I like, I’ll shout it from the rooftop. This is a high quality product, so go ahead and get it for this DIY wreath or to add to your home!
As an Amazon Associate and through other affiliate links, I earn a small commission from qualifying purchases through affiliate links. The price will be the same whether you use the affiliate links or go directly to the website. All opinions are my own. (Check our full disclosure and privacy policy)

Step 2: Connecting The Grapevine Wreaths with Zip Ties for Your Eucalyptus Flower Pot Wreath
Upon receiving the eucalyptus garland, I came up with my plan to create my spring wreath.
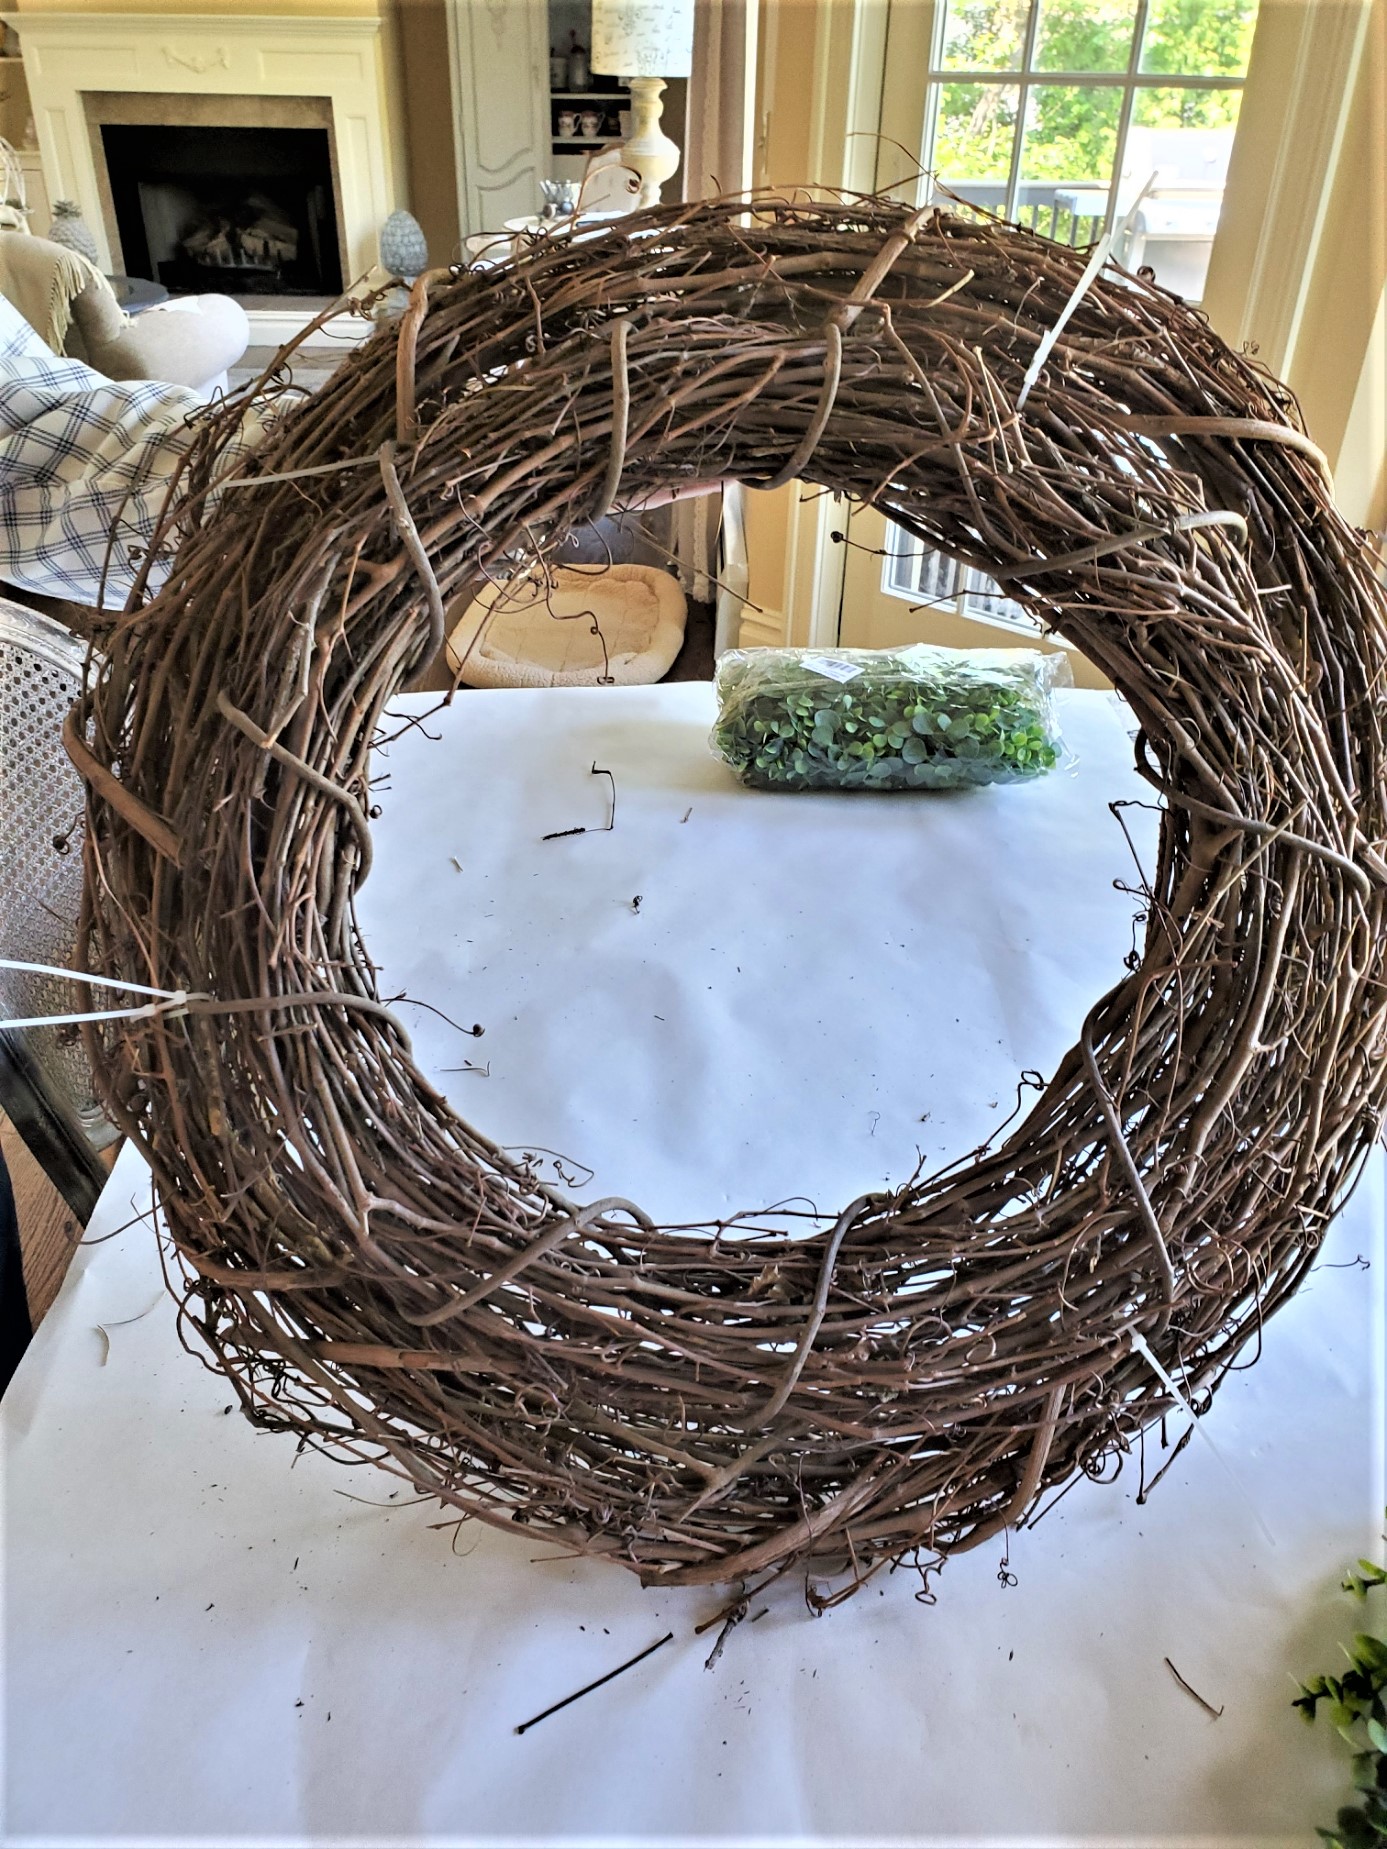
Before beginning a new project, I always check my supplies to see what wreath forms I have on hand. The best thing, I was happy to discover 30″ and 18″ grapevine wreath blanks.
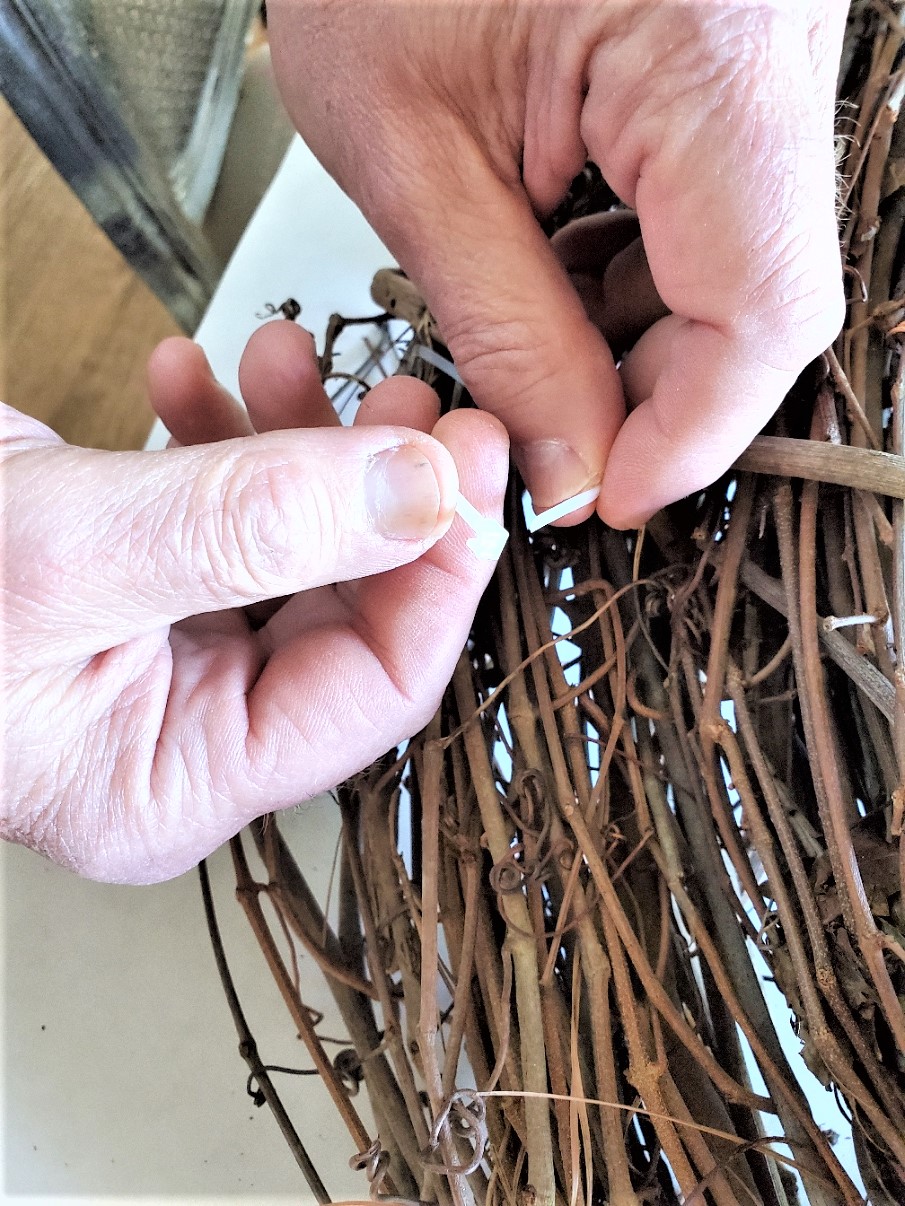
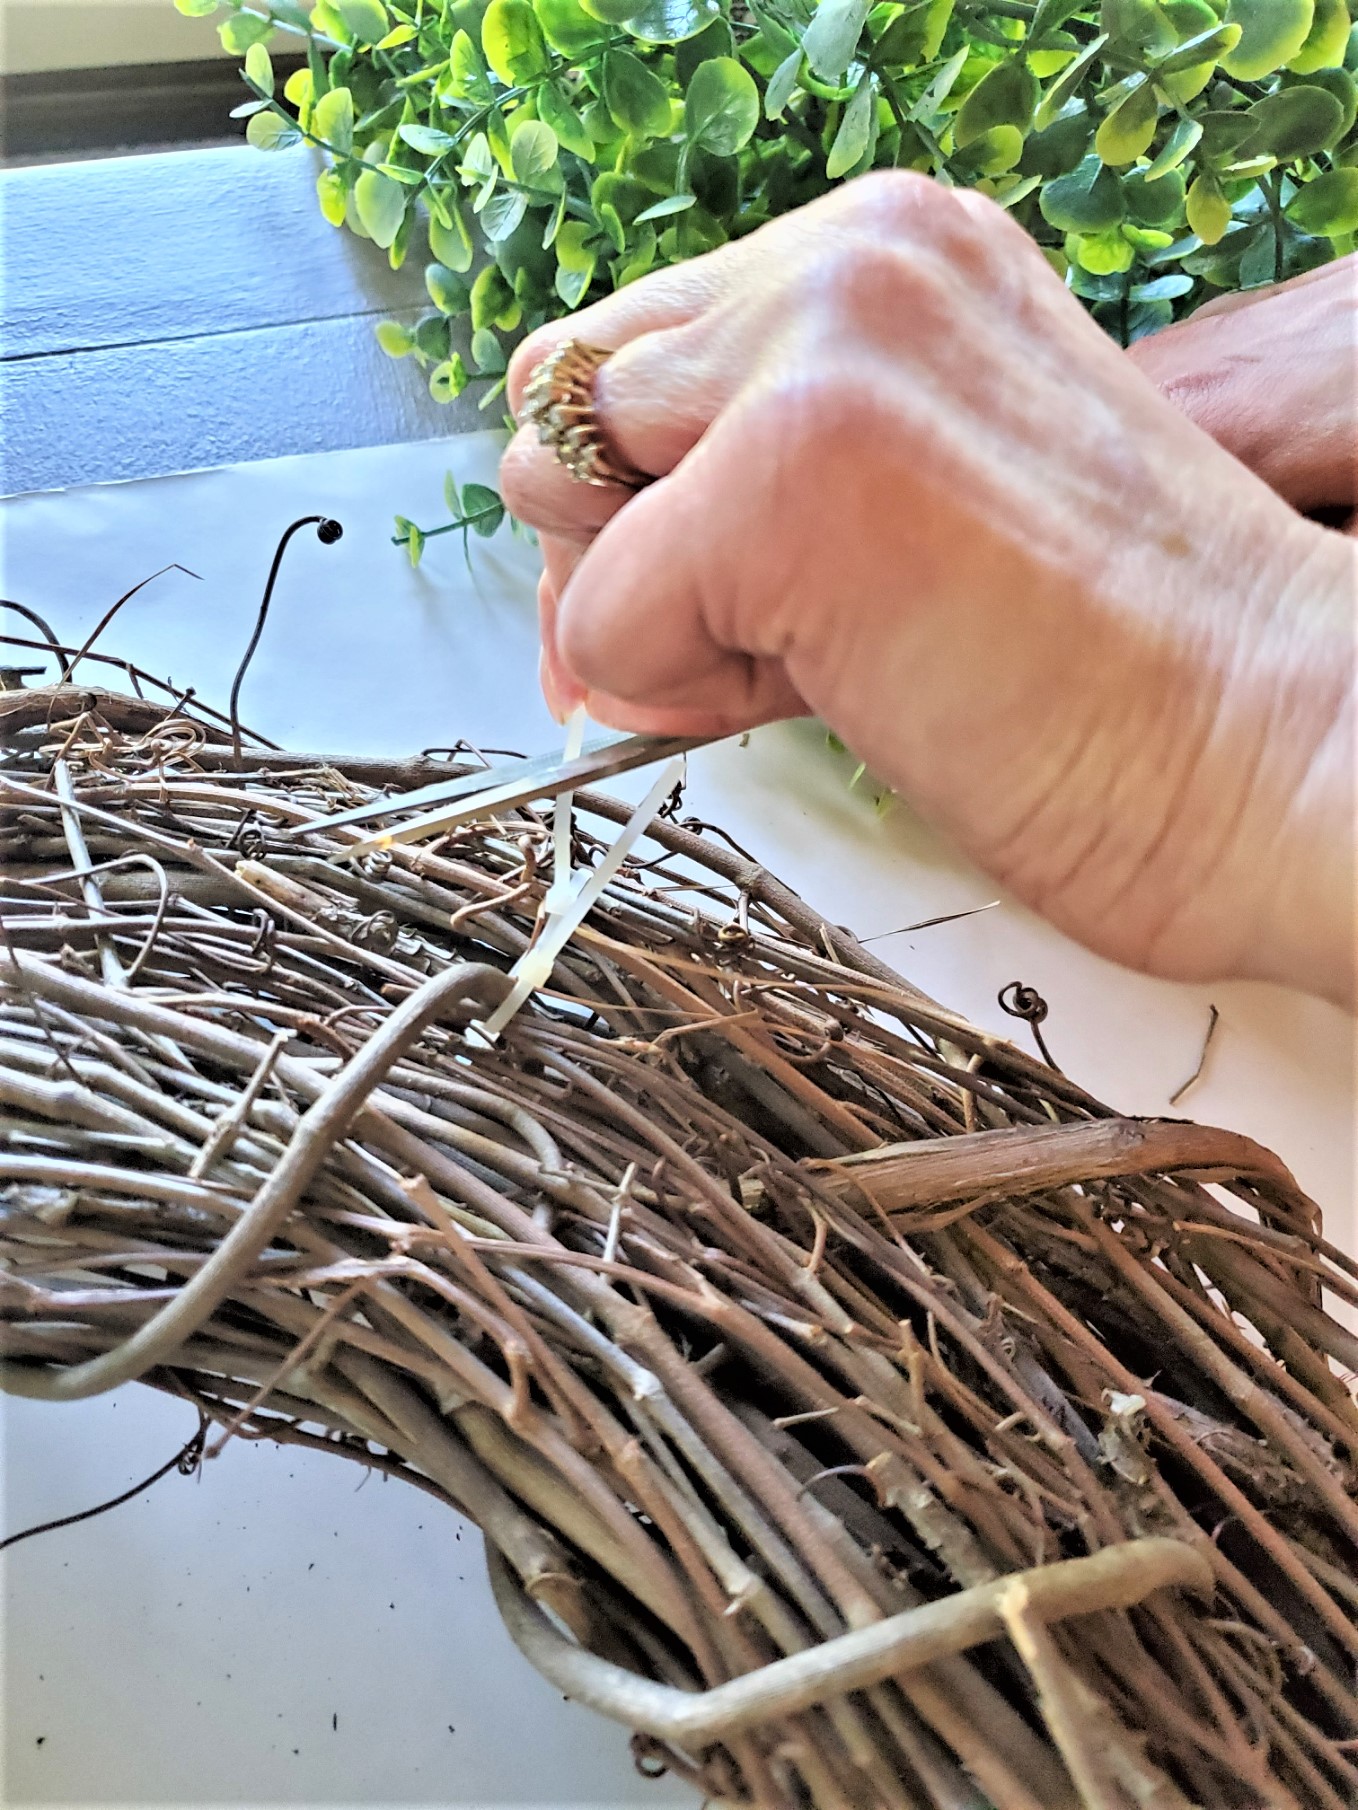
Let’s start by connecting the grapevine wreaths. Zip ties are the best thing for connecting the wreaths and provide a tight fit. You can locate these on Amazon. Connecting the grapevine enlarges this wreath, it also ensures it stands out on the front door or spring decorated porch.
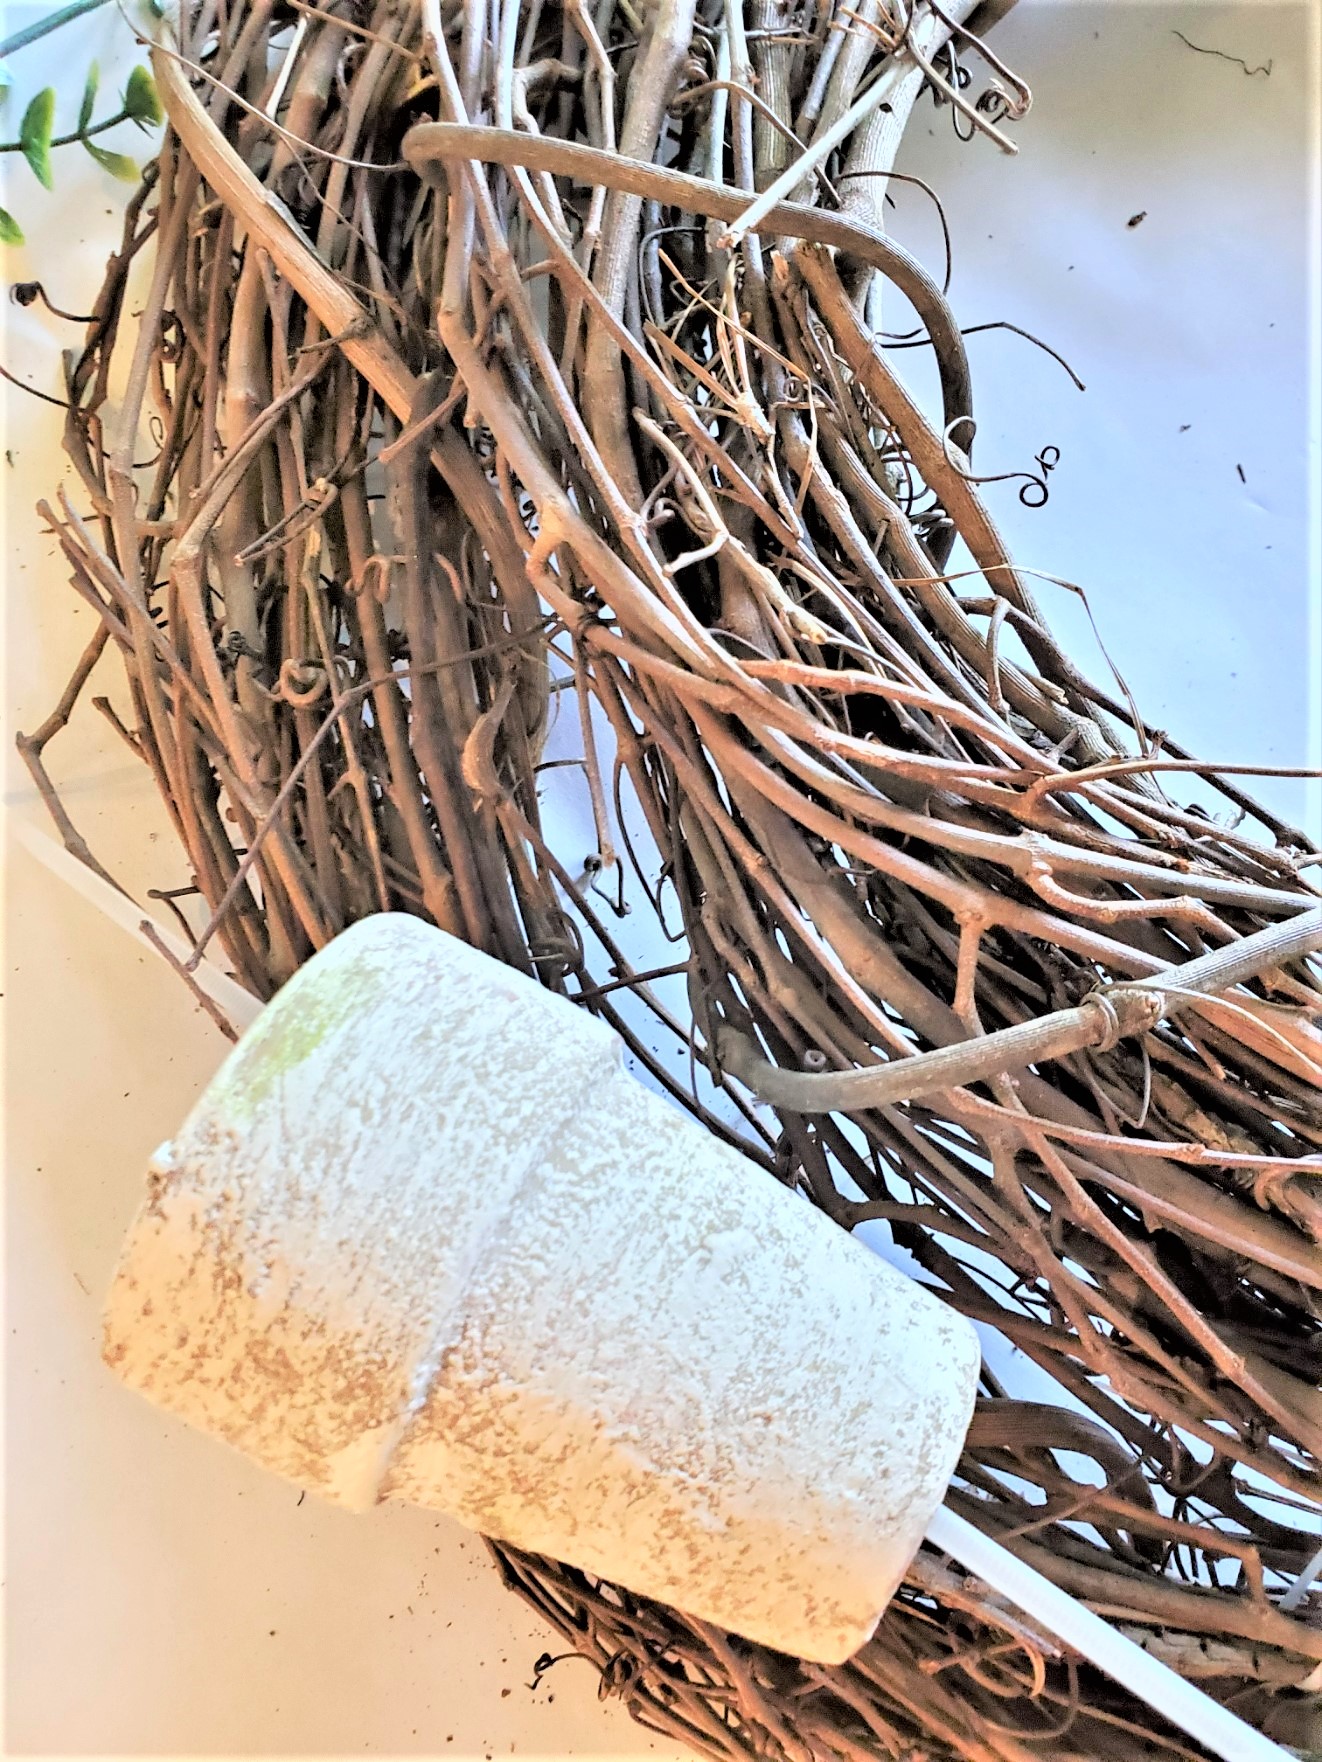
Step 3: Enhance Your Wreath: Jute-Tied Pots
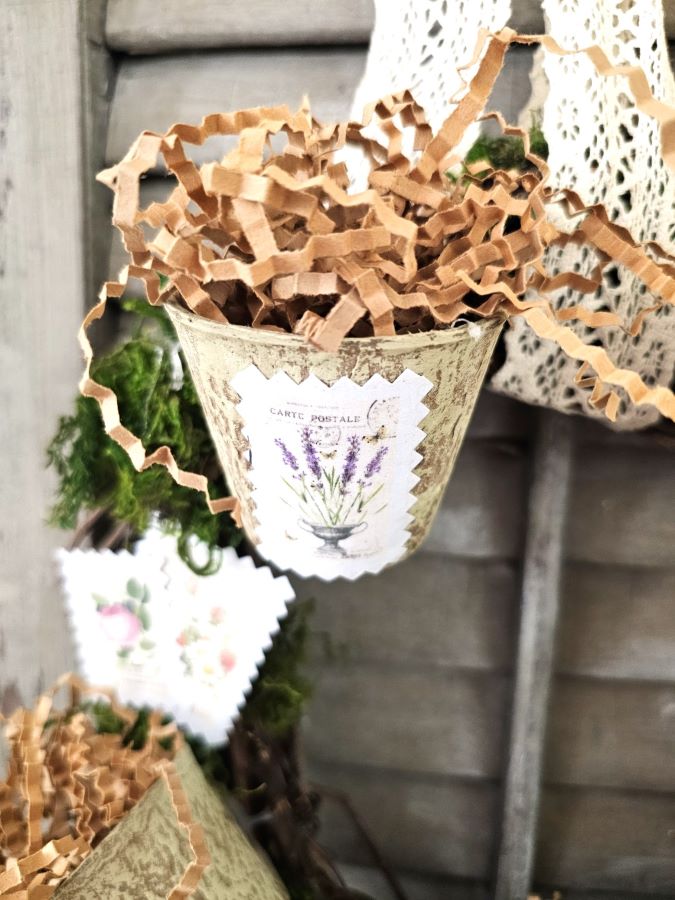
Next, begin incorporating the pots. The best part is, that I provide a guide on aging flowerpots using lime. You will appreciate the easy steps outlined in this post. These are ideal for enhancing home decor throughout the spring season, summer, and into fall.. These are ideal for enhancing home decor throughout the spring season, summer, and into fall.
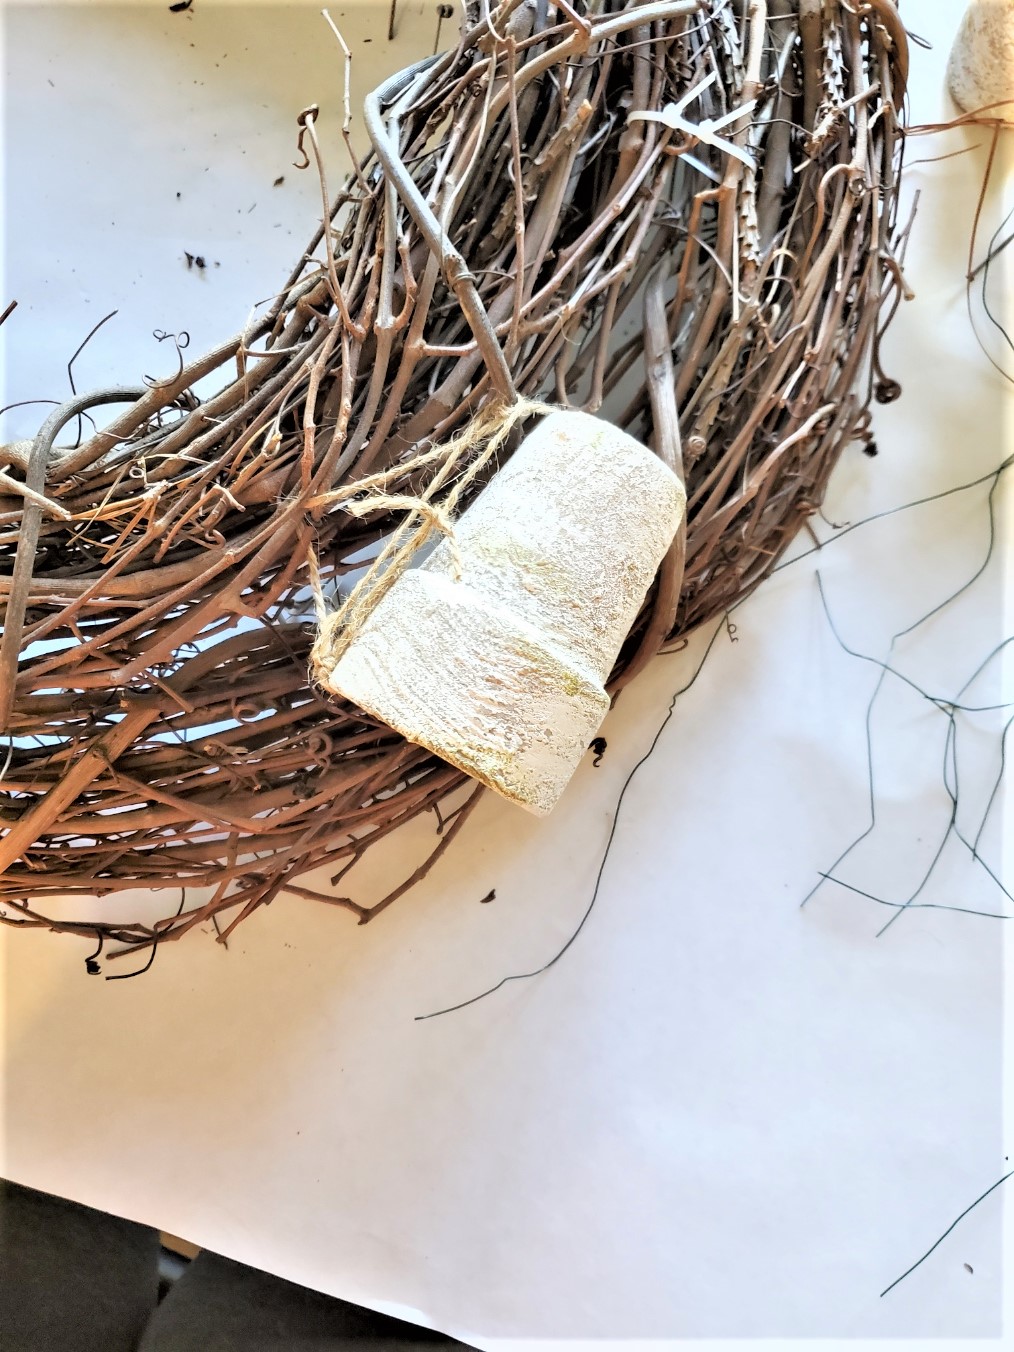
Start incorporating the larger flowerpots into the eucalyptus wreath. I recommend using jute to connect the pots, available at any craft store. Thread the jute through the bottom of each pot, locate an opening in the grapevine, and connect each jute’s end tightly, securing it with a knot. This ensures a snug fit and prevents the pots from shifting on your wreath.
For this new project, I apply white acrylic paint to my lime-aged flowerpots by brushing it on and immediately rubbing the paint off with a rag. This technique allows the lime’s texture to be visible on the pots while protecting them from natural elements during the spring and summer.
Once the paint is rubbed off, I add a little bit of green acrylic paint. This adds a mossy appearance and an aged look to the flower pots, enhancing the charm of the eucalyptus wreath.
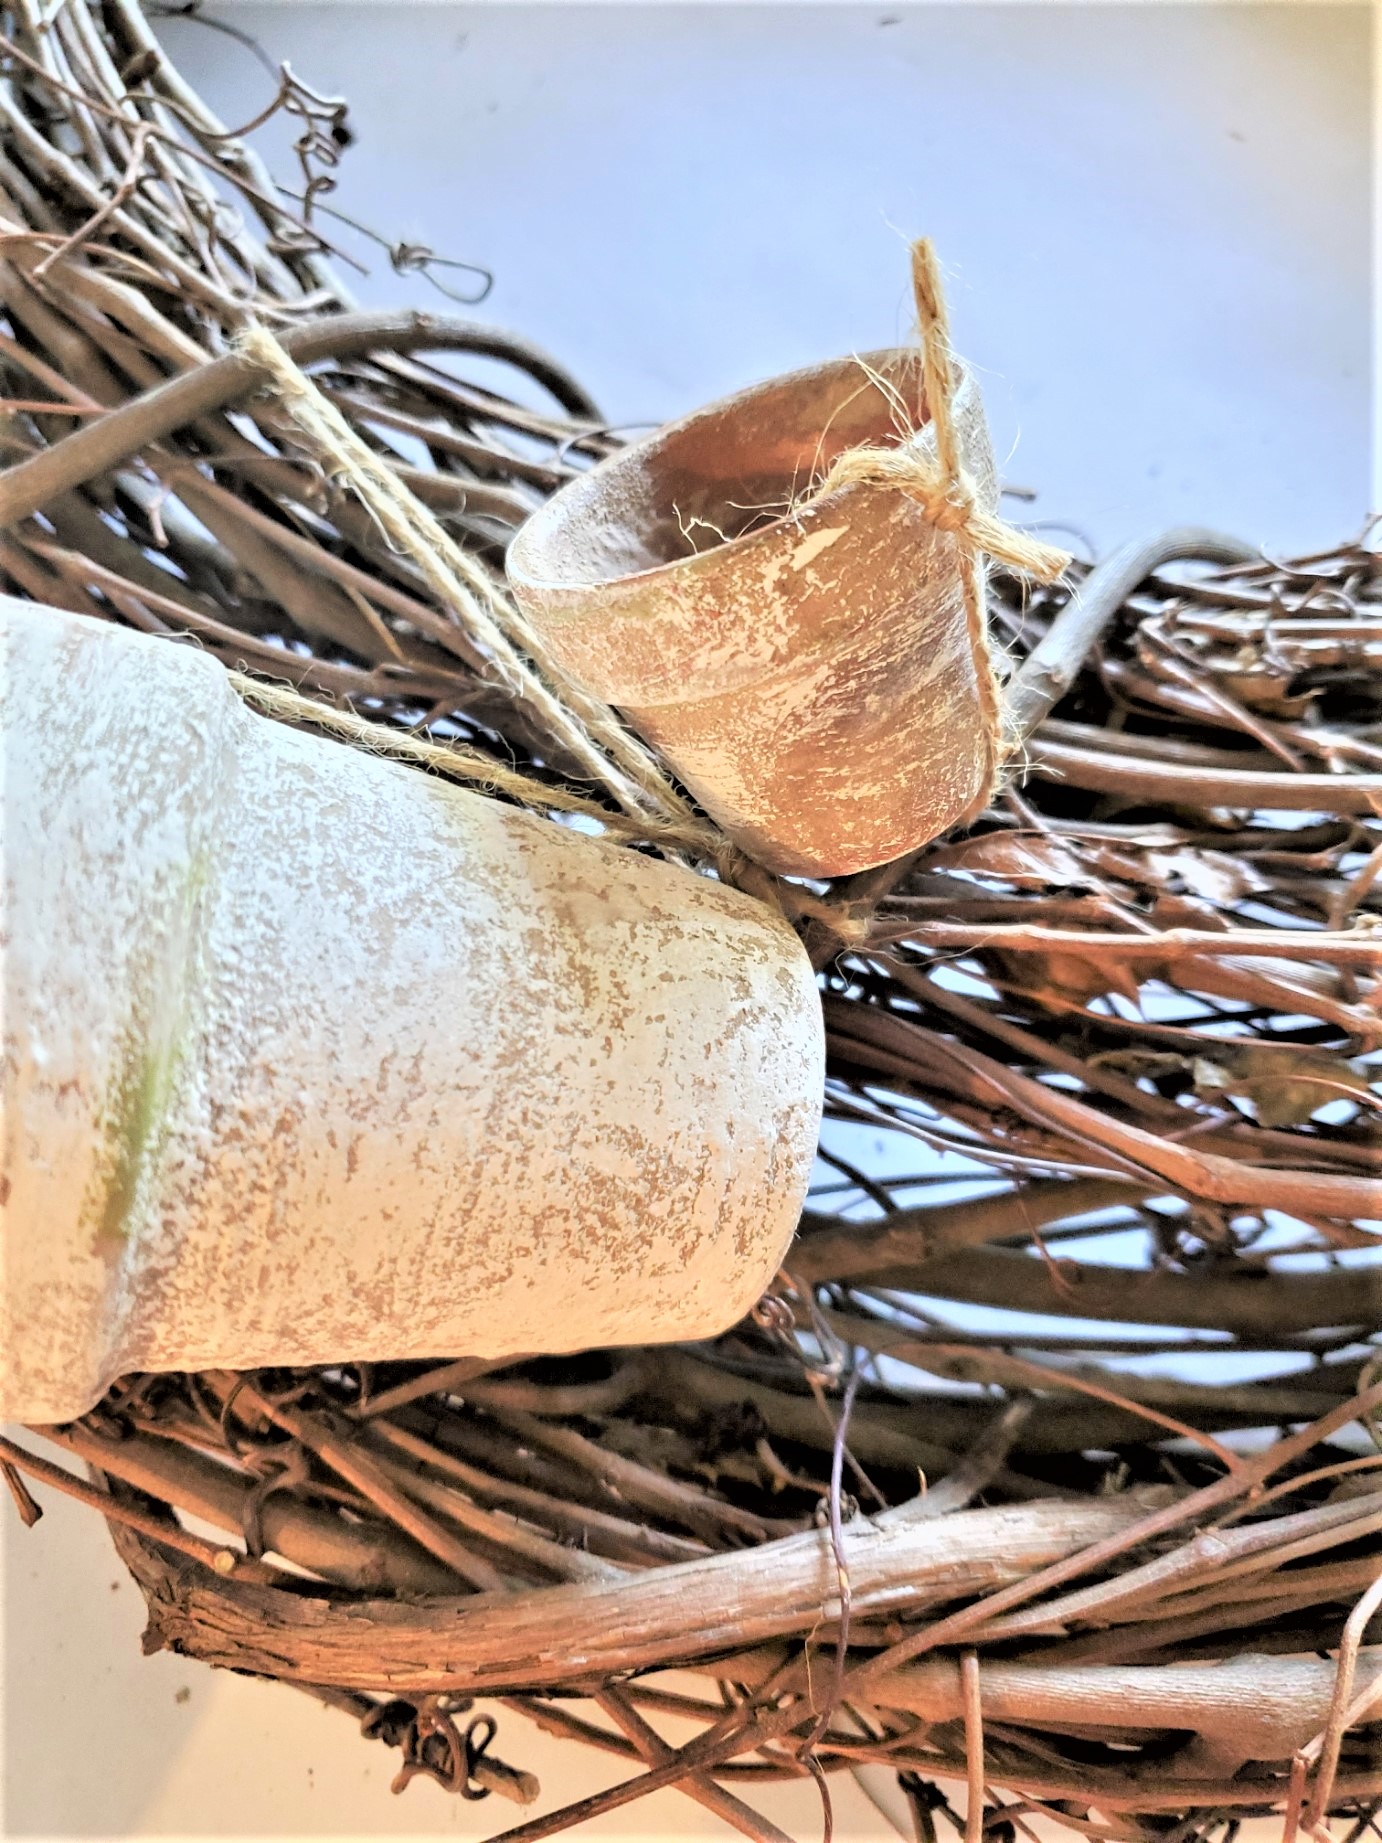
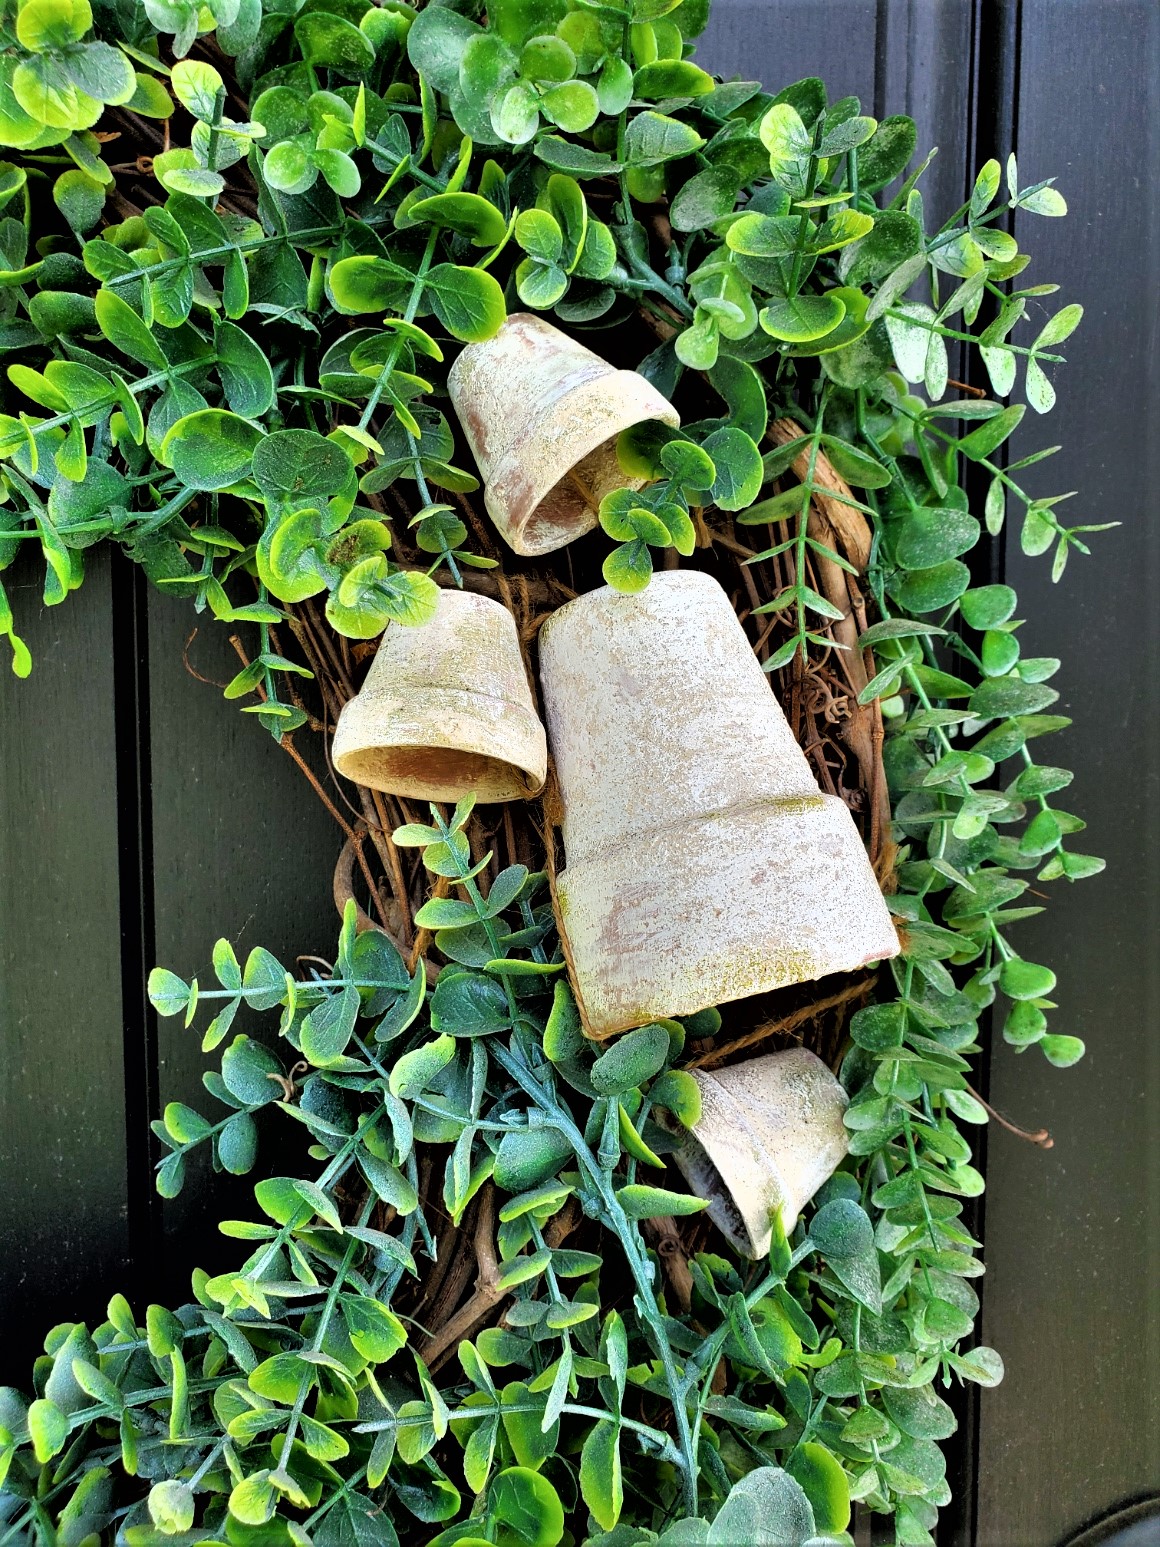
Step 4: Adding Charm With Mini Pots And Natural Elements For A Stunning Wreath
Next, add the small pots using the same method as the jute. Two small pots were added, fitting well into the odd number theory regularly used in home decor.
The best thing about this eucalyptus wreath is no hot glue or hot glue gun. This allows you the option to disassemble the eucalyptus and use the pieces from this DIY wreath in different ways in your decor.
Pro Tip: If you decide to disassemble this eucalyptus wreath, the best thing is, that the cut eucalyptus and flower pots are perfect to enhance a flower arrangement. Add them into a crate, old toolbox, soup tureen bottom, or a basket on a dining table or coffee table. The eucalyptus is perfect to add to the floral arrangements you may already have in your home decor.

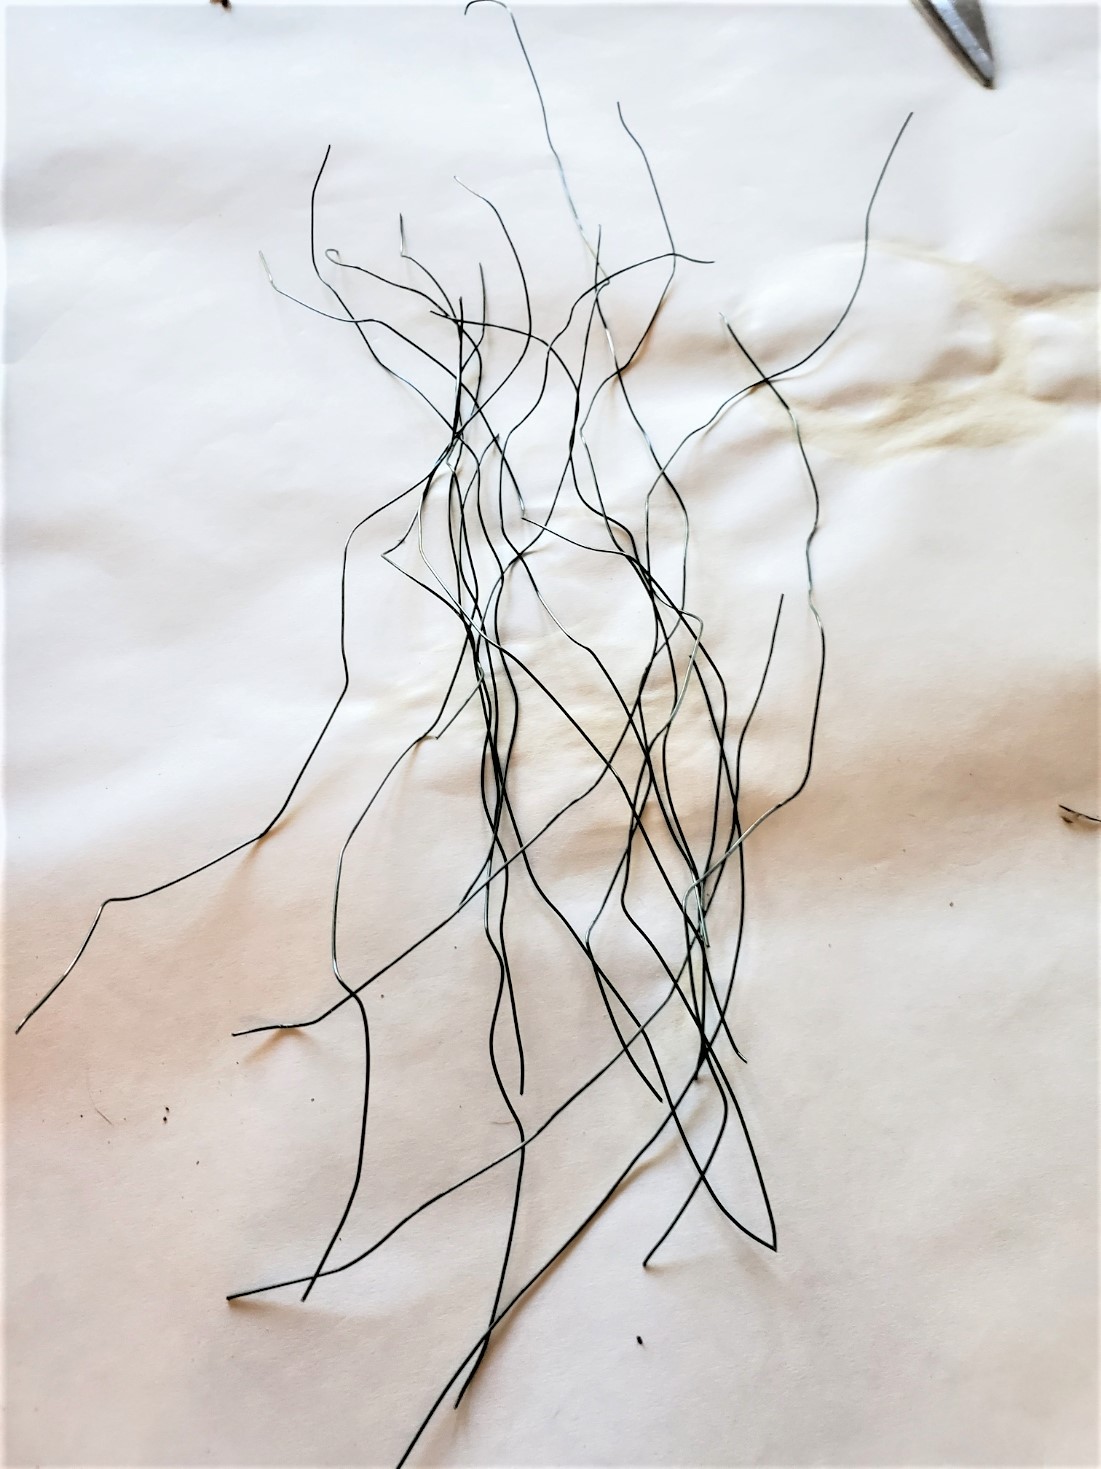
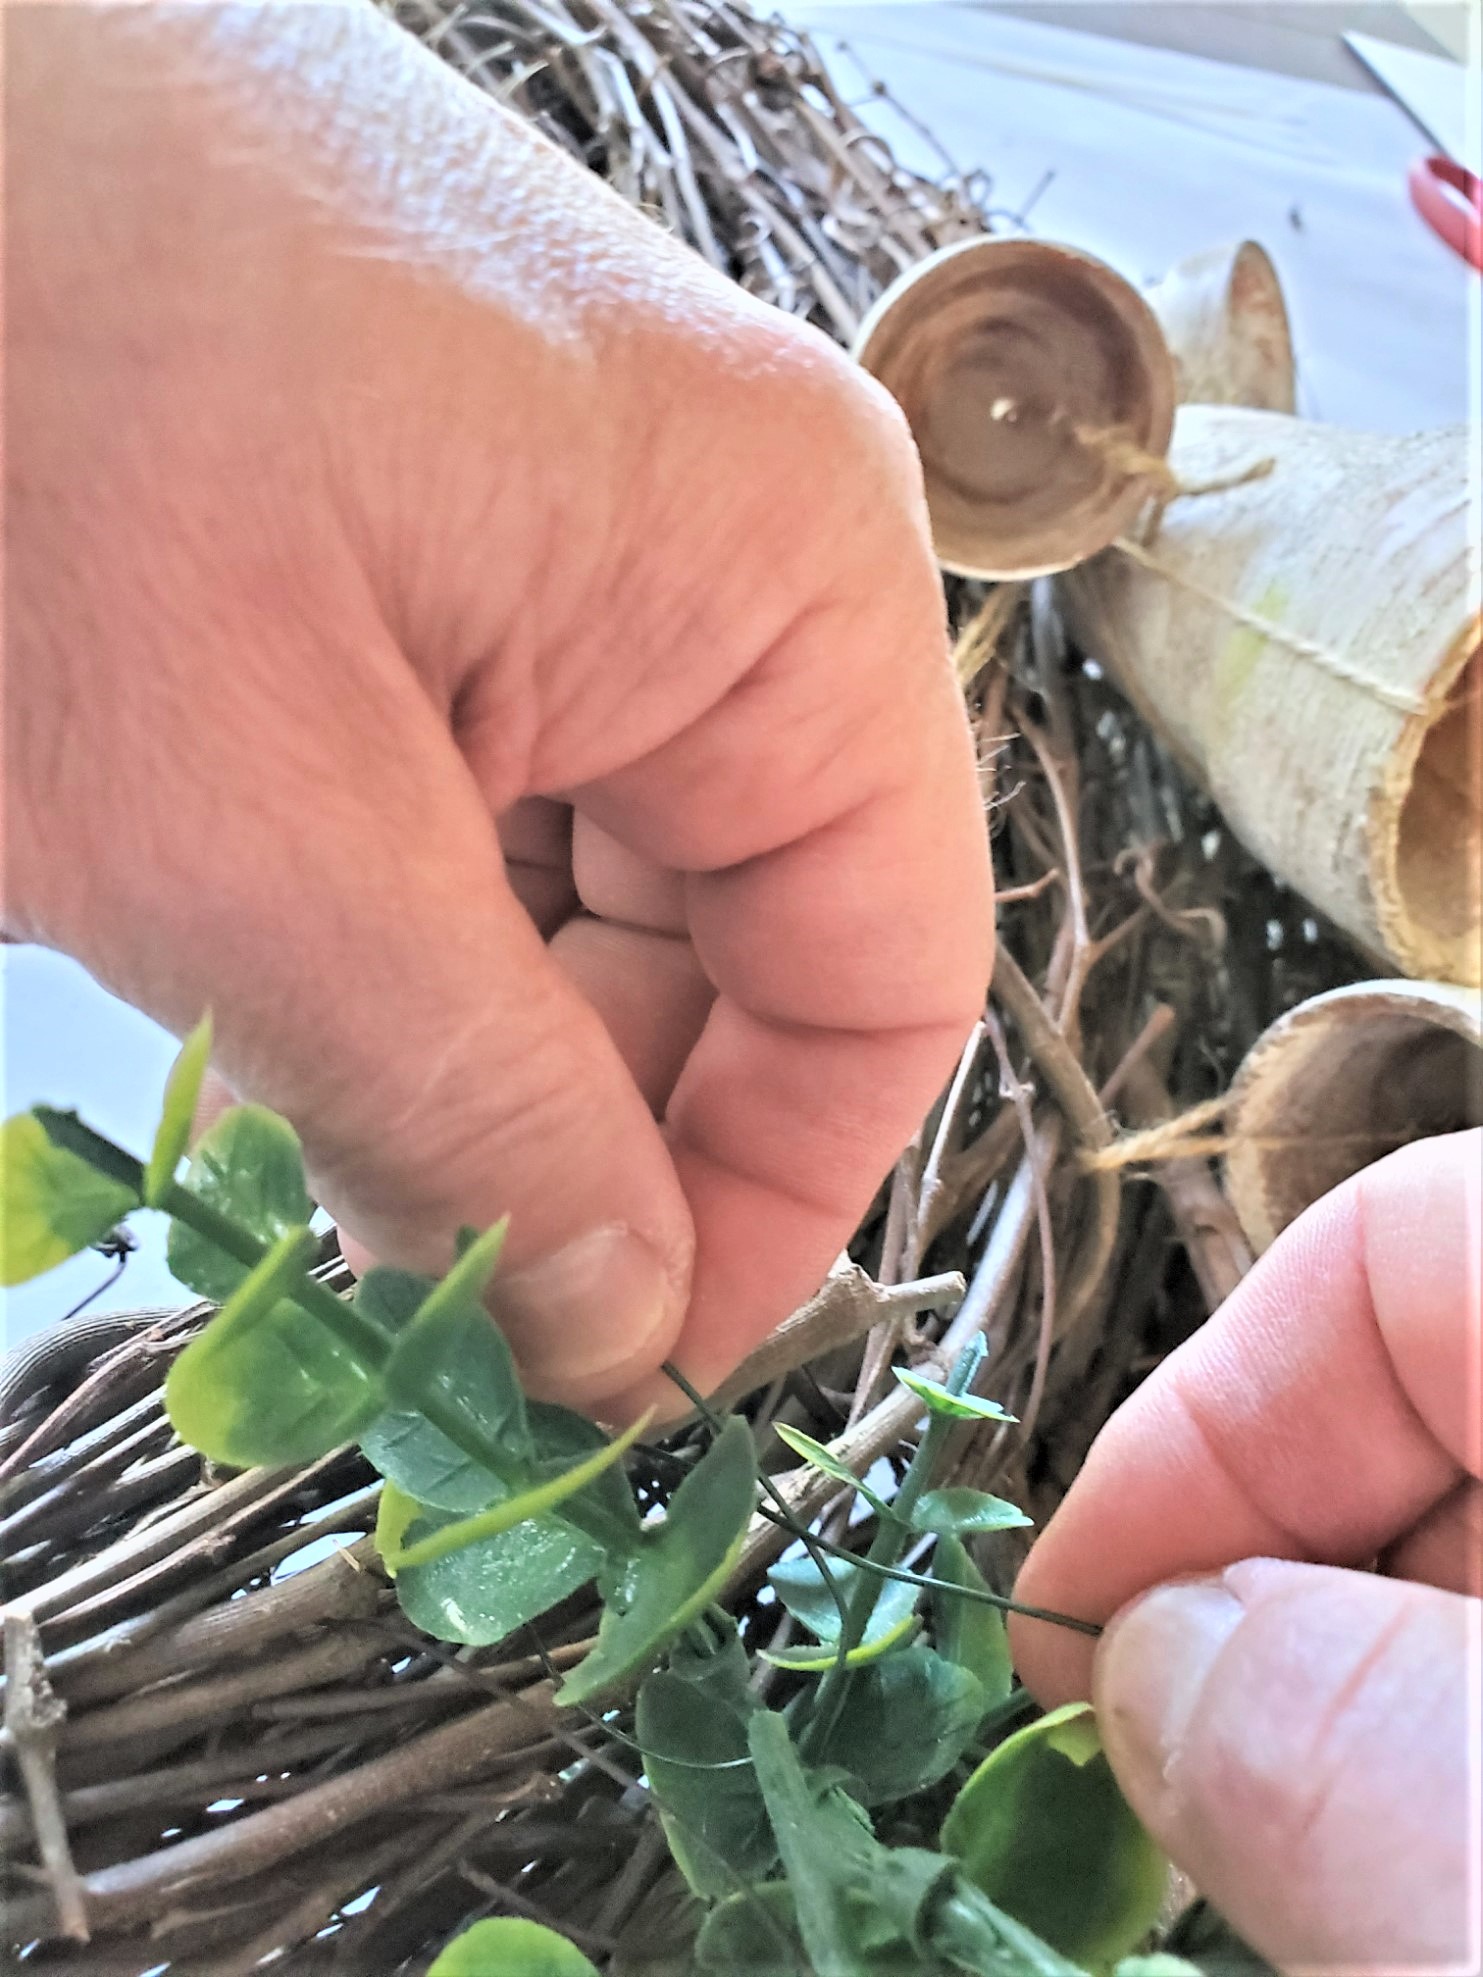
Step 5: Cut Garland, Add Floral Wire, And Transform A Grapevine Wreath
Cut the eucalyptus garland into four pieces and attach one section at a time. Use a 22-gauge florist wire to secure the garland in place. Find an opening on the grapevine and thread wire through the grapevine, twisting it tightly. Repeat this process with the additional garland until the wreath is covered to your liking.
In the last step, while adding the garland, take a step back to assess the wreath after incorporating the first garland. This is important to ensure your wreath is symmetrical. Continue this process until the garland on the wreath achieves the desired fullness.
I enjoy the rustic texture and natural feel of grapevine, so I made sure to leave some of it exposed. Feel free to completely cover the wreath frame for your door or add it to your home decor.
DIY Wreath For The Seasons
- Spring Season: To make this spring wreath, heat your hot glue gun at a low temperature and add a dot of hot glue. Attach a small piece of floral foam with a dot of hot glue, and push the stem of white peonies or any other floral stems into the foam. This is perfect for creating a perfect wreath for your home or front porch.
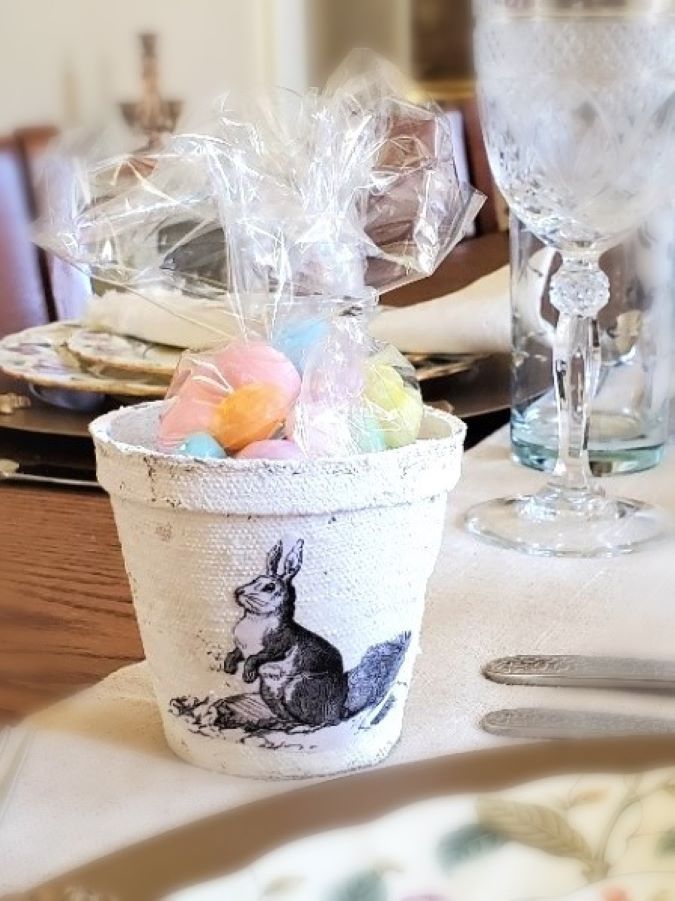
- Easter Eggs: This is a good time to check the craft store or grocery store for plastic Easter eggs or eggs of your choice. Add the Easter eggs to the flower pots or the eucalyptus wreath. Use a small drill bit and drill. Drill small holes on each side of the Easter eggs, slip the florist wire through the small holes, and twist tightly around the grapevine wreath frame. This will be a beautiful wreath for Easter celebrations hanging on your door or front porch.
- White Peonies: Take out the pots and secure the wire around the stems of white peonies. Wind the wire around each stem to create two ends. Thread the floral wire through the eucalyptus garland and tightly twist the floral wire around the wreath form to secure it. This makes a beautiful spring wreath to hang on your front door.
Spring Season Delight: Enhancing Your Wreath Easter Eggs
Pro Tip: If you remove the flower pots to add Easter Eggs use a drill and a small drill bit. Drill small holes on each side of the Easter eggs, slip the florist wire through the small holes, and twist tightly around the grapevine wreath. This will be a beautiful wreath for your Easter celebration on the front door or front porch.
Seasonal Transition: Crafting A Vibrant Summer Wreath
- Summer Season Lemon Wreath: Visit your craft store and purchase faux lemons to create a lemon wreath which is the epitome of the summer season. Use a small drill bit to make small holes on each side of a fake lemon. Add these to a lemon wreath to brighten your door or front porch for the summer. Lavender floral stems also create a beautiful wreath for summer. Wrap the floral stems with floral wire or waterproof floral tape and add the stems to the floral foam in the pots. The combination of purple with the green of the eucalyptus garland is stunning.
Transitions for Fall
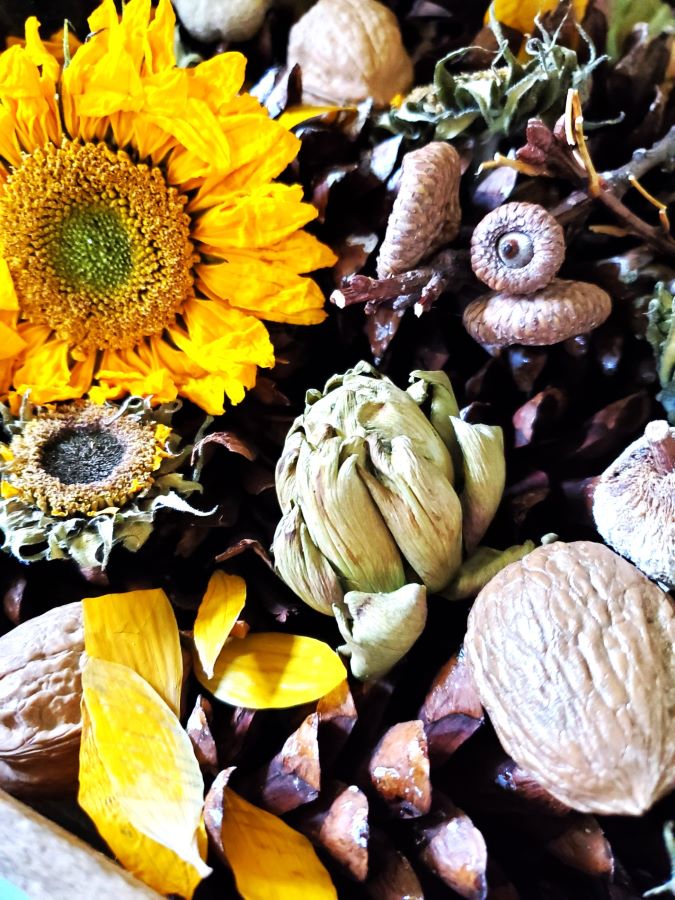
- Fall Wreath: In late summer, visit craft stores or thrift stores to find different shades in rich colors for floral stems and fall foliage. Craft stores are likely adding pumpkins in different shades at this time. I found these pumpkins on Amazon and painted them to complement our fall season home decor. The best part is that these pumpkins are the perfect size to add to the wreath. Use a small drill bit and drill. Drill small holes on each side of the lemon. Slip the wire through the small holes attach them with florist wire and twist tightly around the wreath frame. The best part is these pumpkins are the perfect size to enhance a fall wreath for your front door. Add a set of black lanterns, a bale of hay, a plaid throw, mums, and throw pillows on a bench or porch swing, and you’ll have a beautiful fall front porch.
Lemons for the Summer Season and Pumpkins for a Fall Wreath
Pro Tip: Drill small holes on each side of the lemon or pumpkins. Slip the florist wire through the small holes attach them with florist wire and twist tightly around the wreath frame. When adding lemons, use floral wire instead of hot glue. If the wreath is exposed to the sun, the hot glue on the lemons may soften due to the heat and eventually fall off.
Creating A Spring Wreath With Versatility:
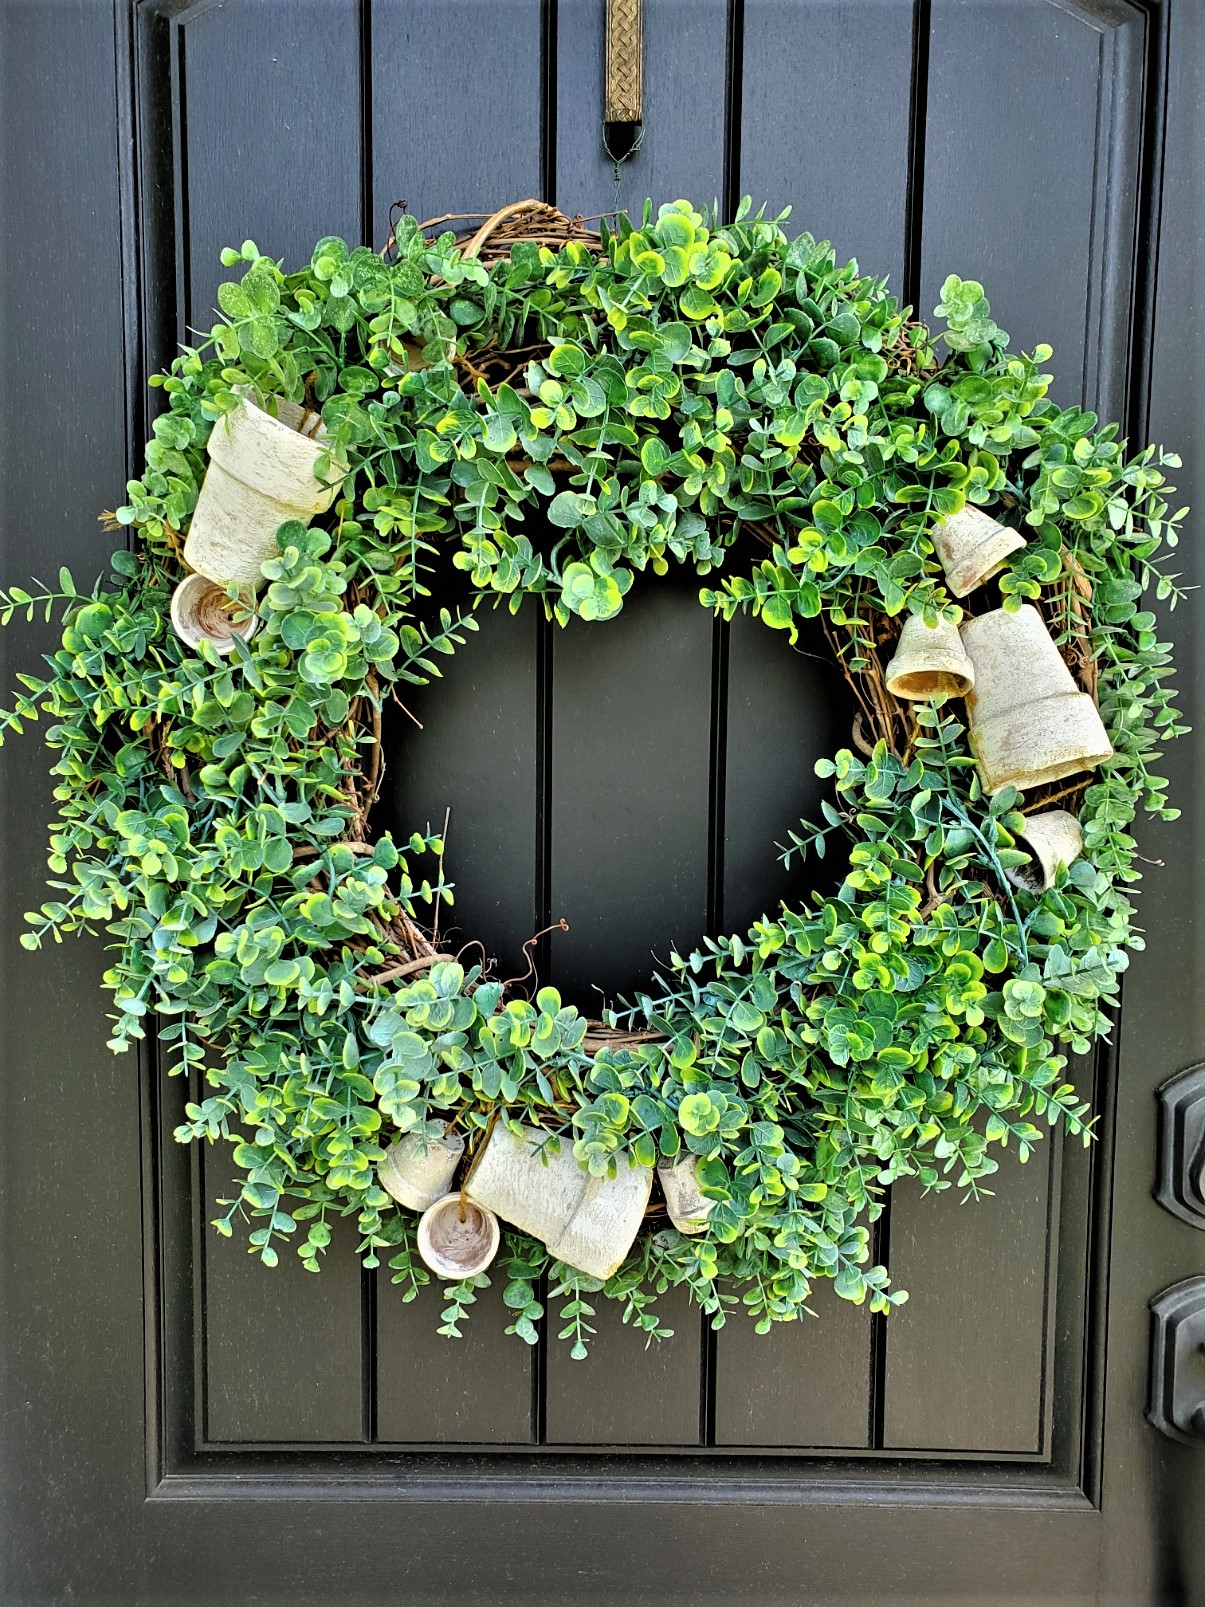
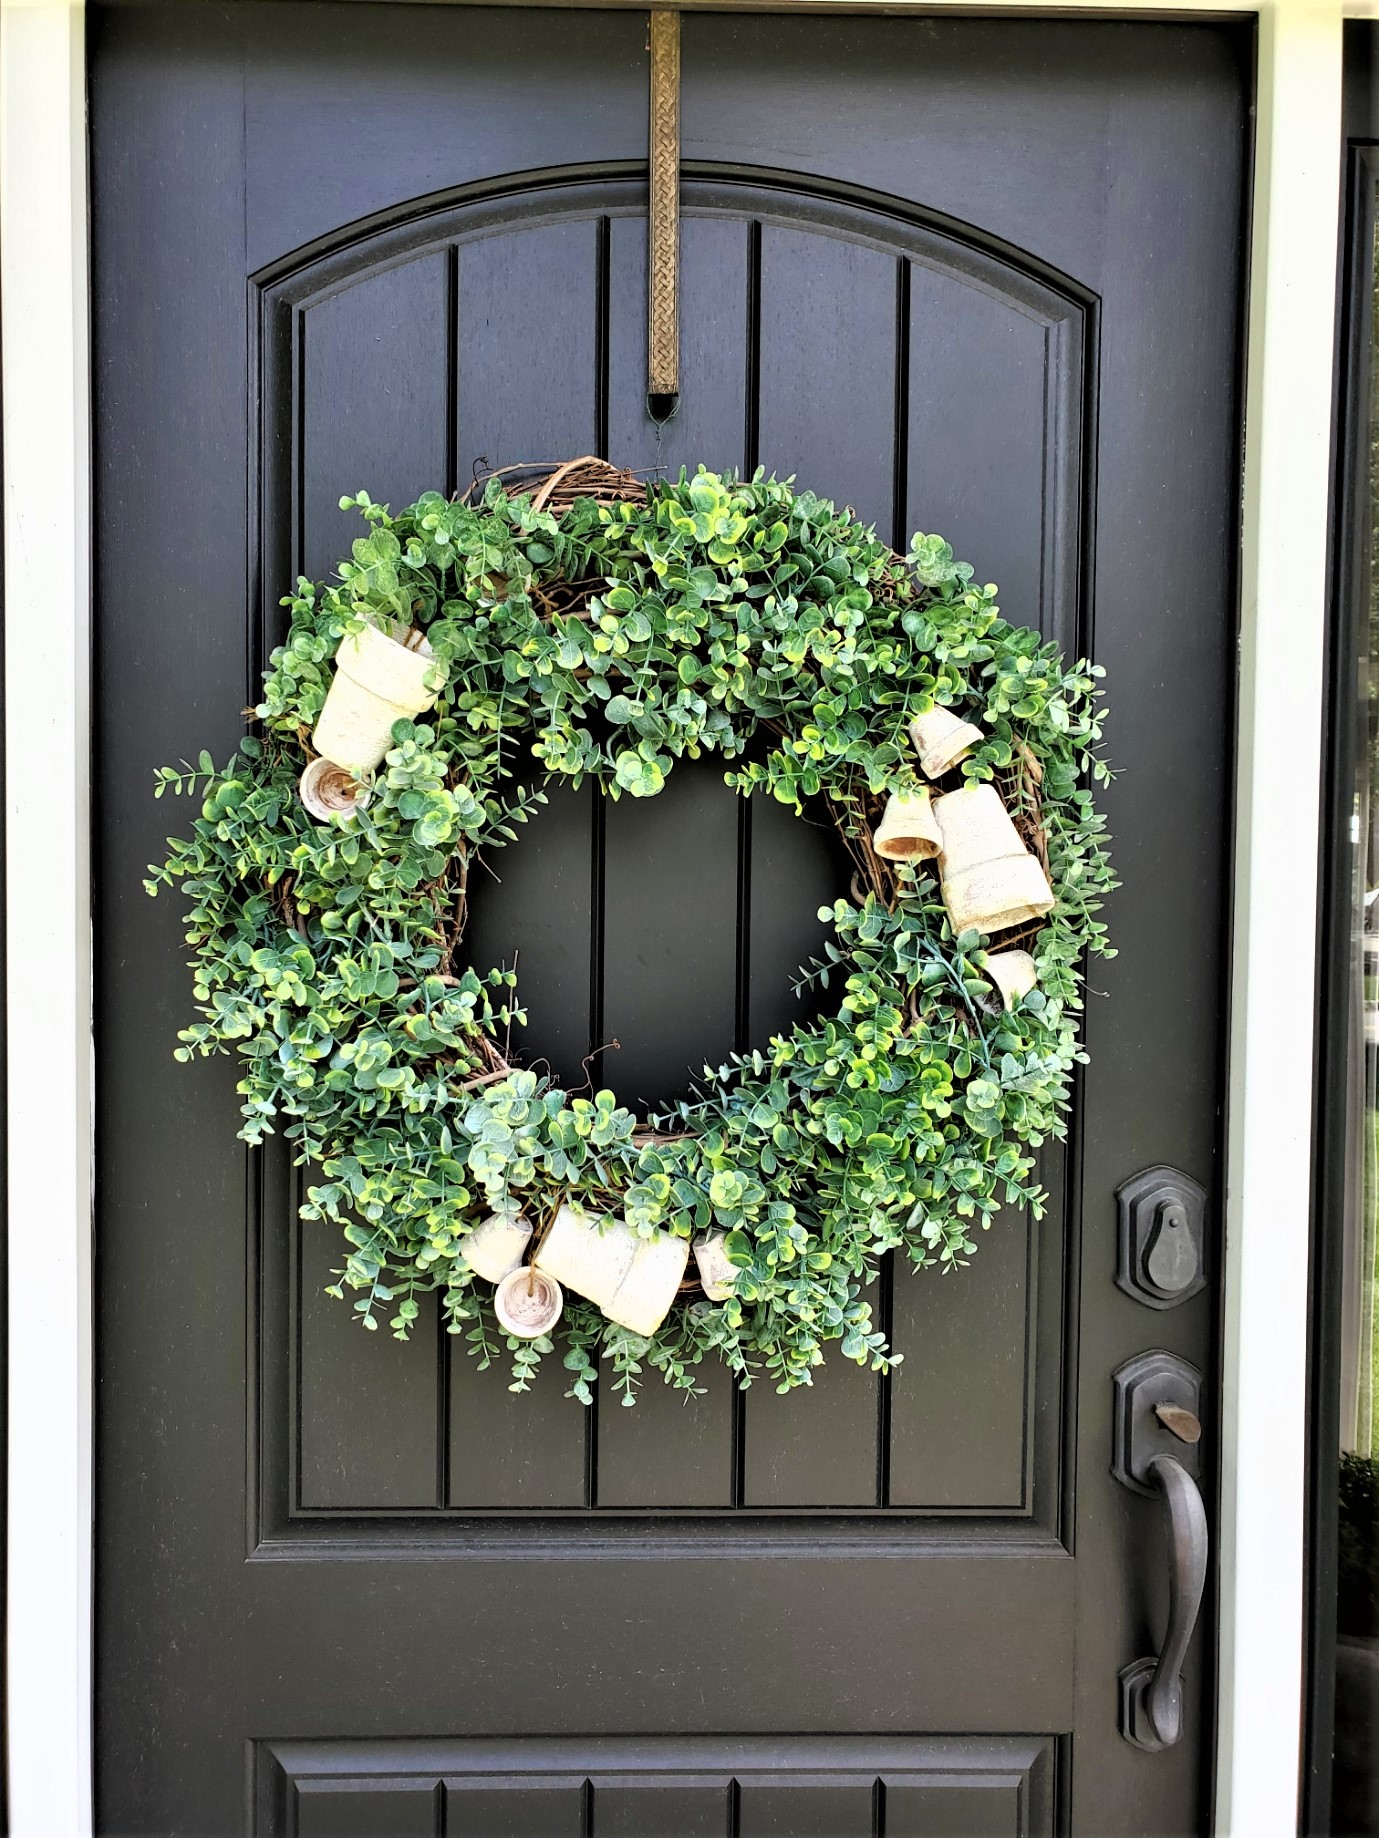
This easy eucalyptus flowerpot wreath has been fun to create and I love how striking it is hanging on our black front door. When the spring season and summer arrive our flowers compliment this wreath.
Crafting this easy eucalyptus flowerpot wreath has been fun. I hope you enjoyed the process. Elevating your front door or front porch with this beautiful wreath adds a touch of charm to your spring or seasonal decor. This wreath shines through, from a spring wreath to the summer. It evolves into a fall wreath with a few adjustments to the flower pots and garland. Not needing a hot glue gun for this project adds flexibility. You can disassemble and repurpose the wreath pieces for a flower arrangement on a dining or coffee table. Remember to step back as you add each element to be sure the wreath is symmetrical. Whether you cover the wreath or leave some grapevine exposed, the result is perfect for your home. Get creative, embrace the changing seasons, and enjoy the beauty of your DIY eucalyptus wreath all year round!
FOLLOW US ON: FACEBOOK, PINTEREST, INSTAGRAM, X, THREADS, and TIKTOK.

SIMILAR PROJECTS!

Eucalyptus Flowerpot Wreath
Notes
Eucalyptus Flowerpot Wreath
Supplies List:
- “‹30″ and 18” grapevine wreath base
- Eucalyptus garland
- “‹Flower pots 5 larger and 9 mini
- Florist wire
- Zip ties
- Jute
- White acrylic paint – (optional)
- “‹Wire cutters
- Scissors
- Paint brush – (optional)
Step 1: Purchasing Grapevine Wreath Blanks
I found this two-pack eucalyptus garland for $14.99 on Amazon. The good news is, if you have Prime, it ships free. Silver dollar eucalyptus works well too. NOTE: Check the links above in my blog post for these supplies. These are affiliate links. I make a small commission. If you purchase these through the blog the price is the same if you purchase them on your own at the same place.Step 3: Jute-Tied Flower Pots
begin incorporating the flower pots. The best part is, that I provide a guide on aging flowerpots using lime. You will appreciate the easy steps outlined in this post. These are ideal for enhancing home decor throughout the spring season, summer, and into fall. Start incorporating the larger flowerpots into the eucalyptus wreath. I recommend using jute to connect the pots, which are readily available at any craft store. Thread the jute through the bottom of each pot, locate an opening in the grapevine wreath frame, and connect each jute’s end tightly, securing it with a knot. This ensures a snug fit and prevents the pots from shifting on your wreath. For this new project, I apply white acrylic paint to my lime-aged flowerpots by brushing it on, followed by immediately rubbing the paint off with a rag. This technique allows the lime’s texture to be visible on the pots while protecting them from natural elements during the spring and summer season. Once the paint is rubbed off, I add a little bit of green acrylic paint. This adds a mossy appearance and an aged look to the flower pots, enhancing the charm of the eucalyptus wreath.Step 4: Flower Pots For A Beautiful Wreath
Add the small flower pots using the same method with jute. Two small pots were added, fitting well into the odd number theory regularly used in home decor.
Step 5: Cut Garland, Add Florist Wire
Cut the eucalyptus garland into four pieces and attach one section at a time. Use a 22-gauge florist wire to secure the garland in place. Find an opening on the grapevine wreath and thread your florist wire through it, twisting it tightly. Repeat this process with the additional garland until the wreath is covered to your liking.
In the last step, take a step back to assess the wreath after incorporating the first garland. This is important to ensure your spring wreath is symmetrical. Continue this process until the garland on the wreath achieves the desired fullness.

You always make the best wreaths! This one is perfect for Spring! Pinning now! Thanks for the inspiration!
You always come up with the most amazing wreaths, Cindy! I love how you doubled up on this one and added extra patina to the pots. It’s perfect for people who have big doors and has me all kinds of ready for spring! Hugs, CoCo