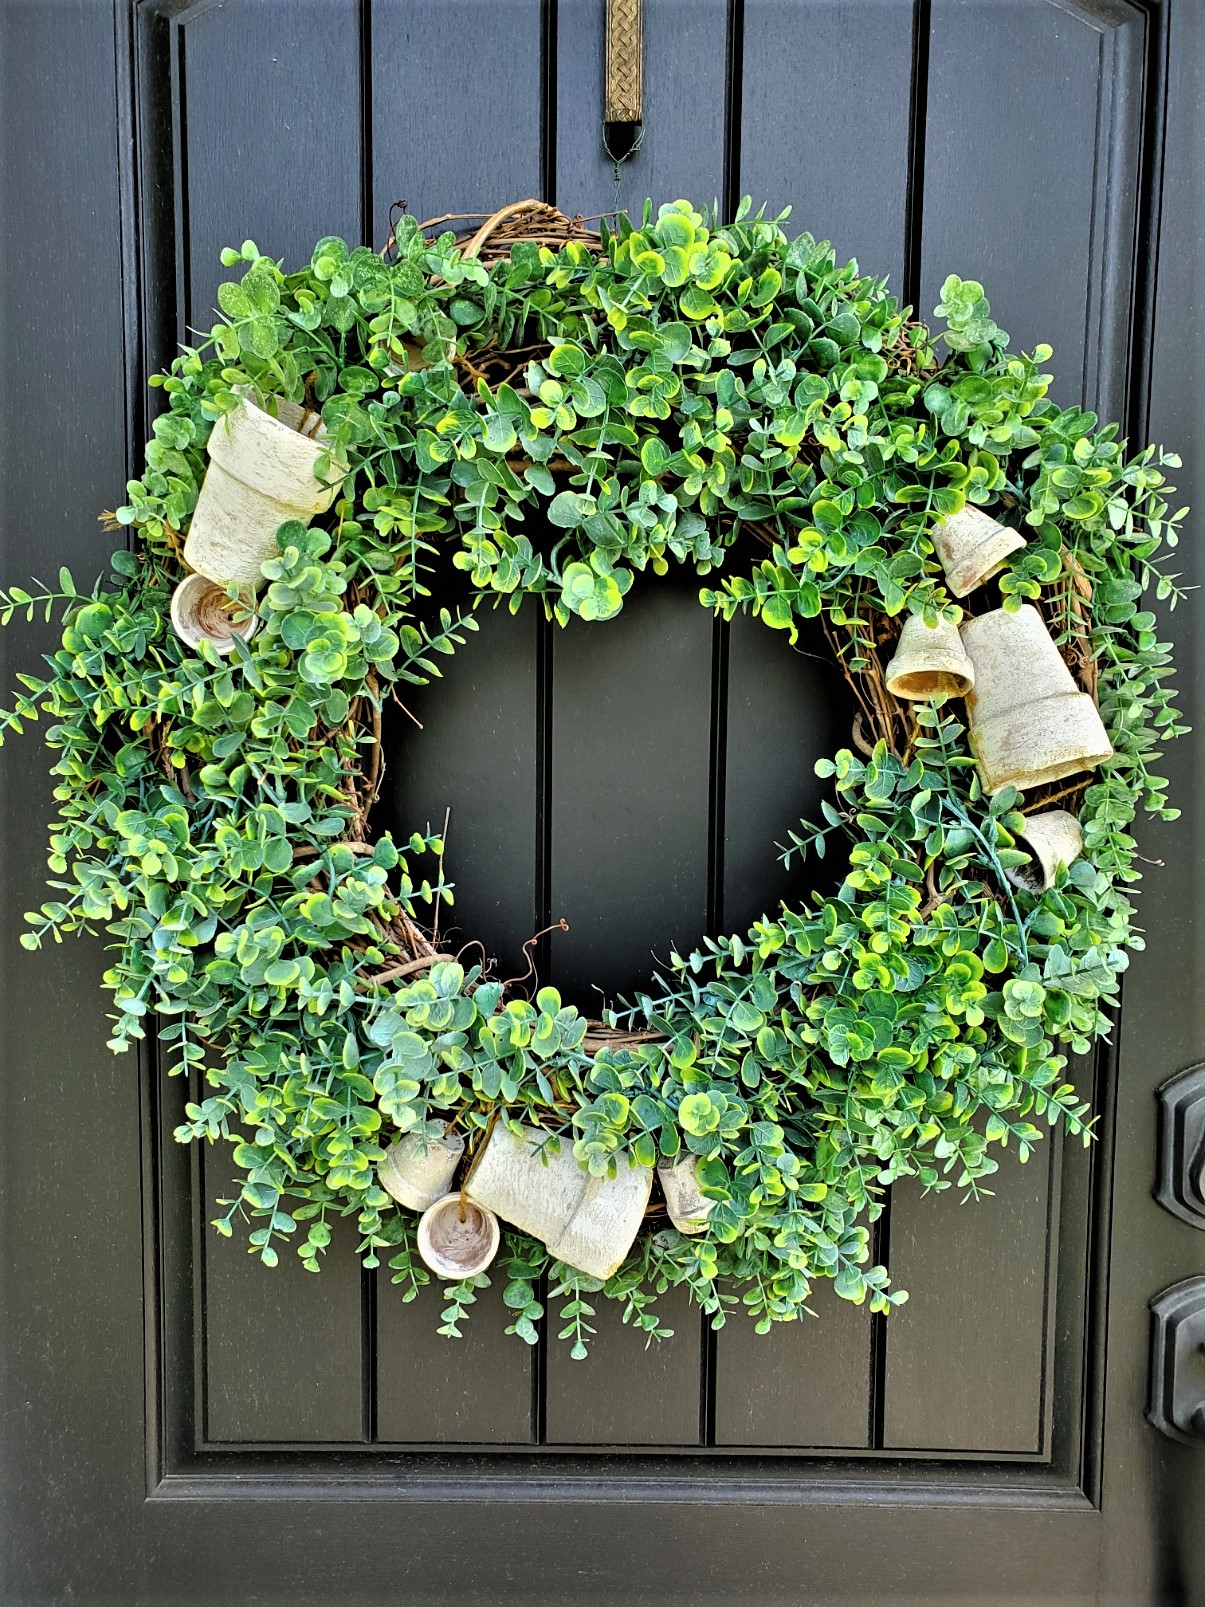
Eucalyptus Flowerpot Wreath
Let's make an easy eucalyptus flowerpot wreath. Elevate your front door or spring front porch with this beautiful wreath;
Yield: 1 wreath
Cost: $20
Notes
Eucalyptus Flowerpot Wreath
Supplies List:
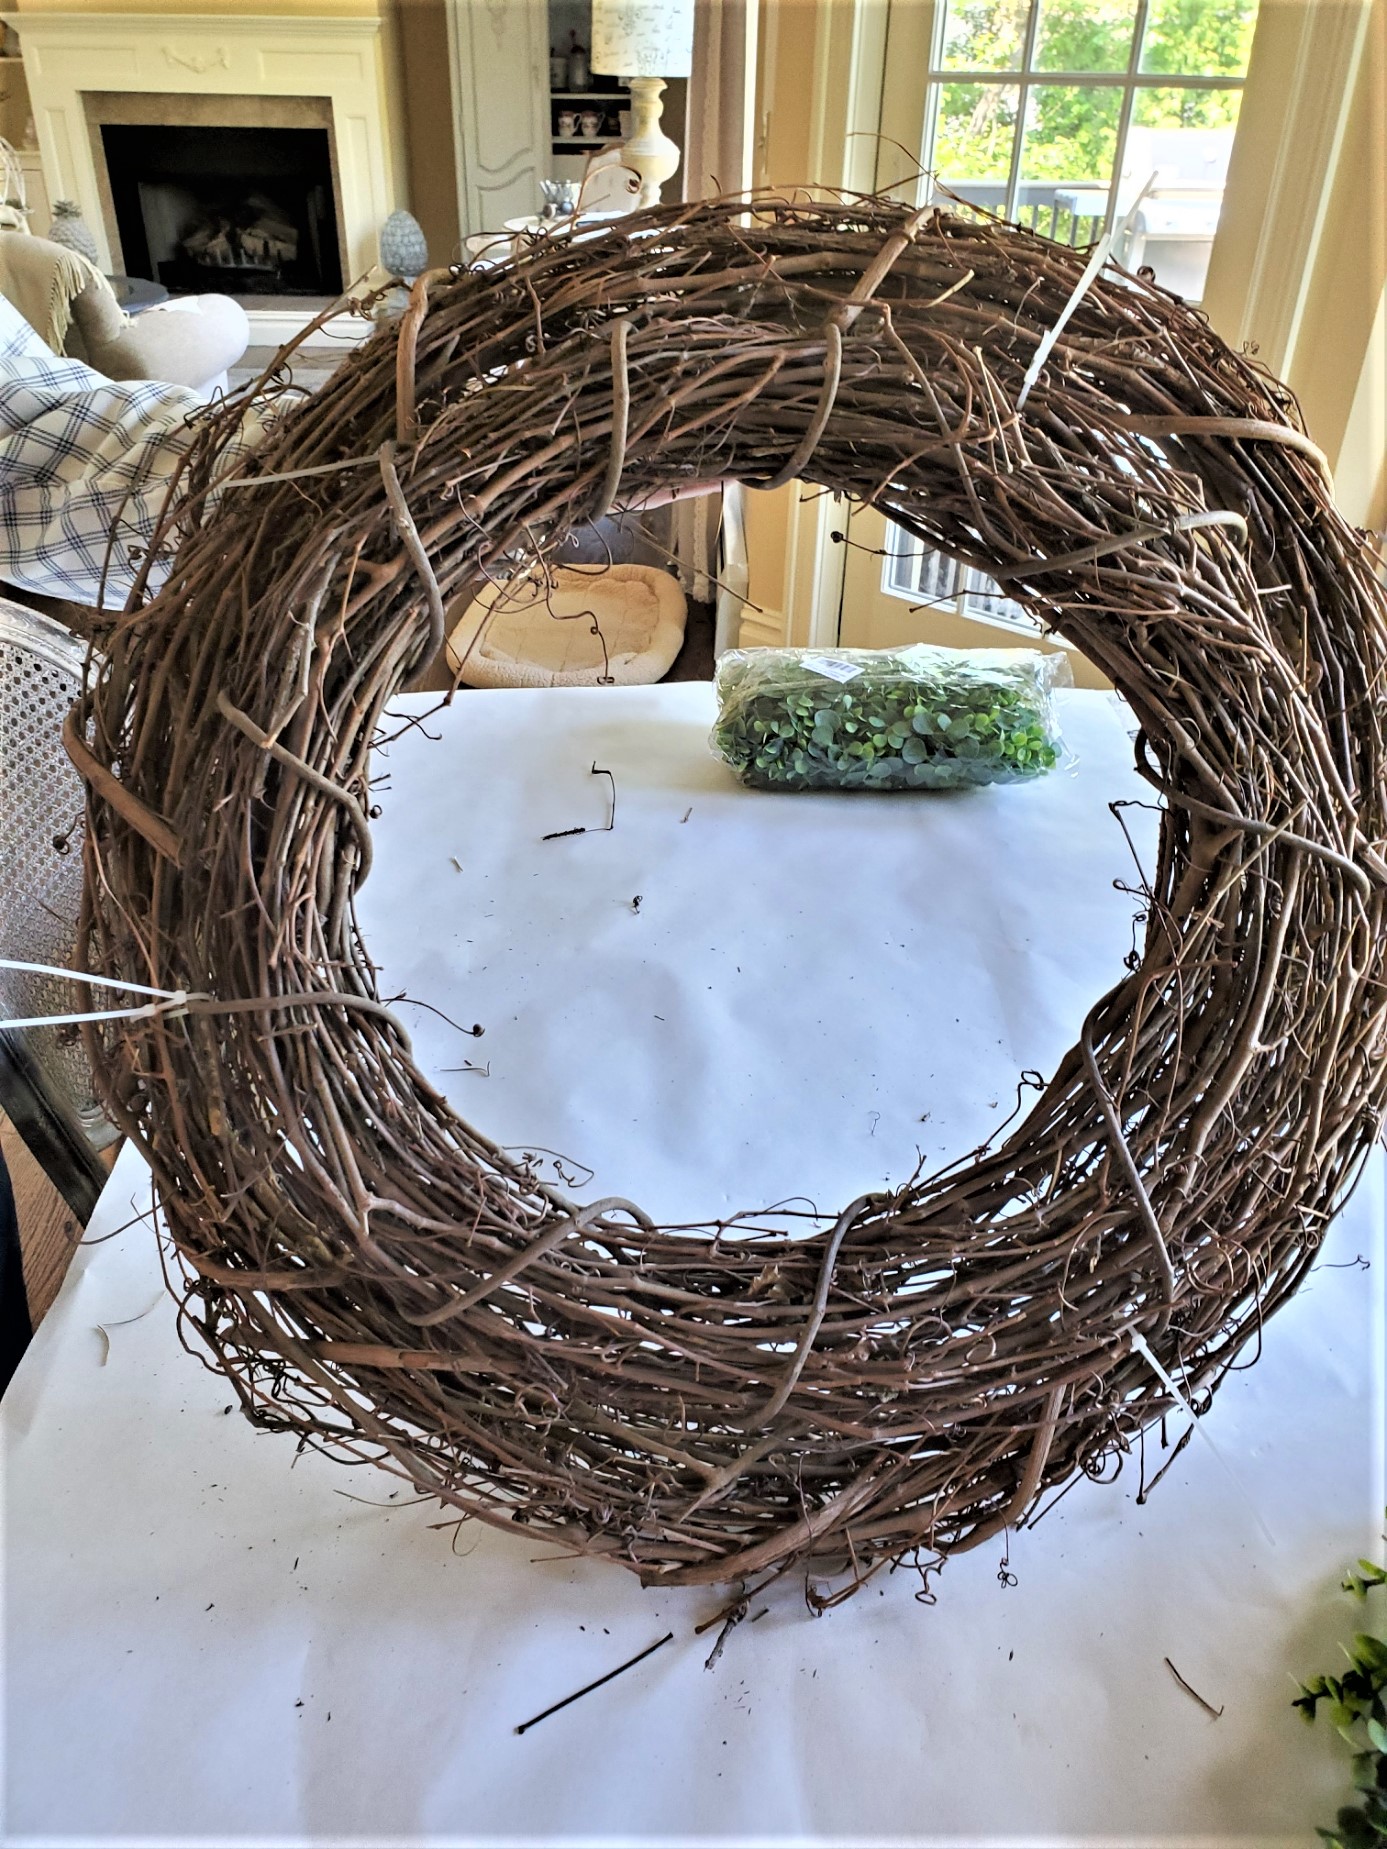
- "‹30" and 18" grapevine wreath base
- Eucalyptus garland
- "‹Flower pots 5 larger and 9 mini
- Florist wire
- Zip ties
- Jute
- White acrylic paint - (optional)
- "‹Wire cutters
- Scissors
- Paint brush - (optional)
Step 1: Purchasing Grapevine Wreath Blanks
I found this two-pack eucalyptus garland for $14.99 on Amazon. The good news is, if you have Prime, it ships free. Silver dollar eucalyptus works well too. NOTE: Check the links above in my blog post for these supplies. These are affiliate links. I make a small commission. If you purchase these through the blog the price is the same if you purchase them on your own at the same place.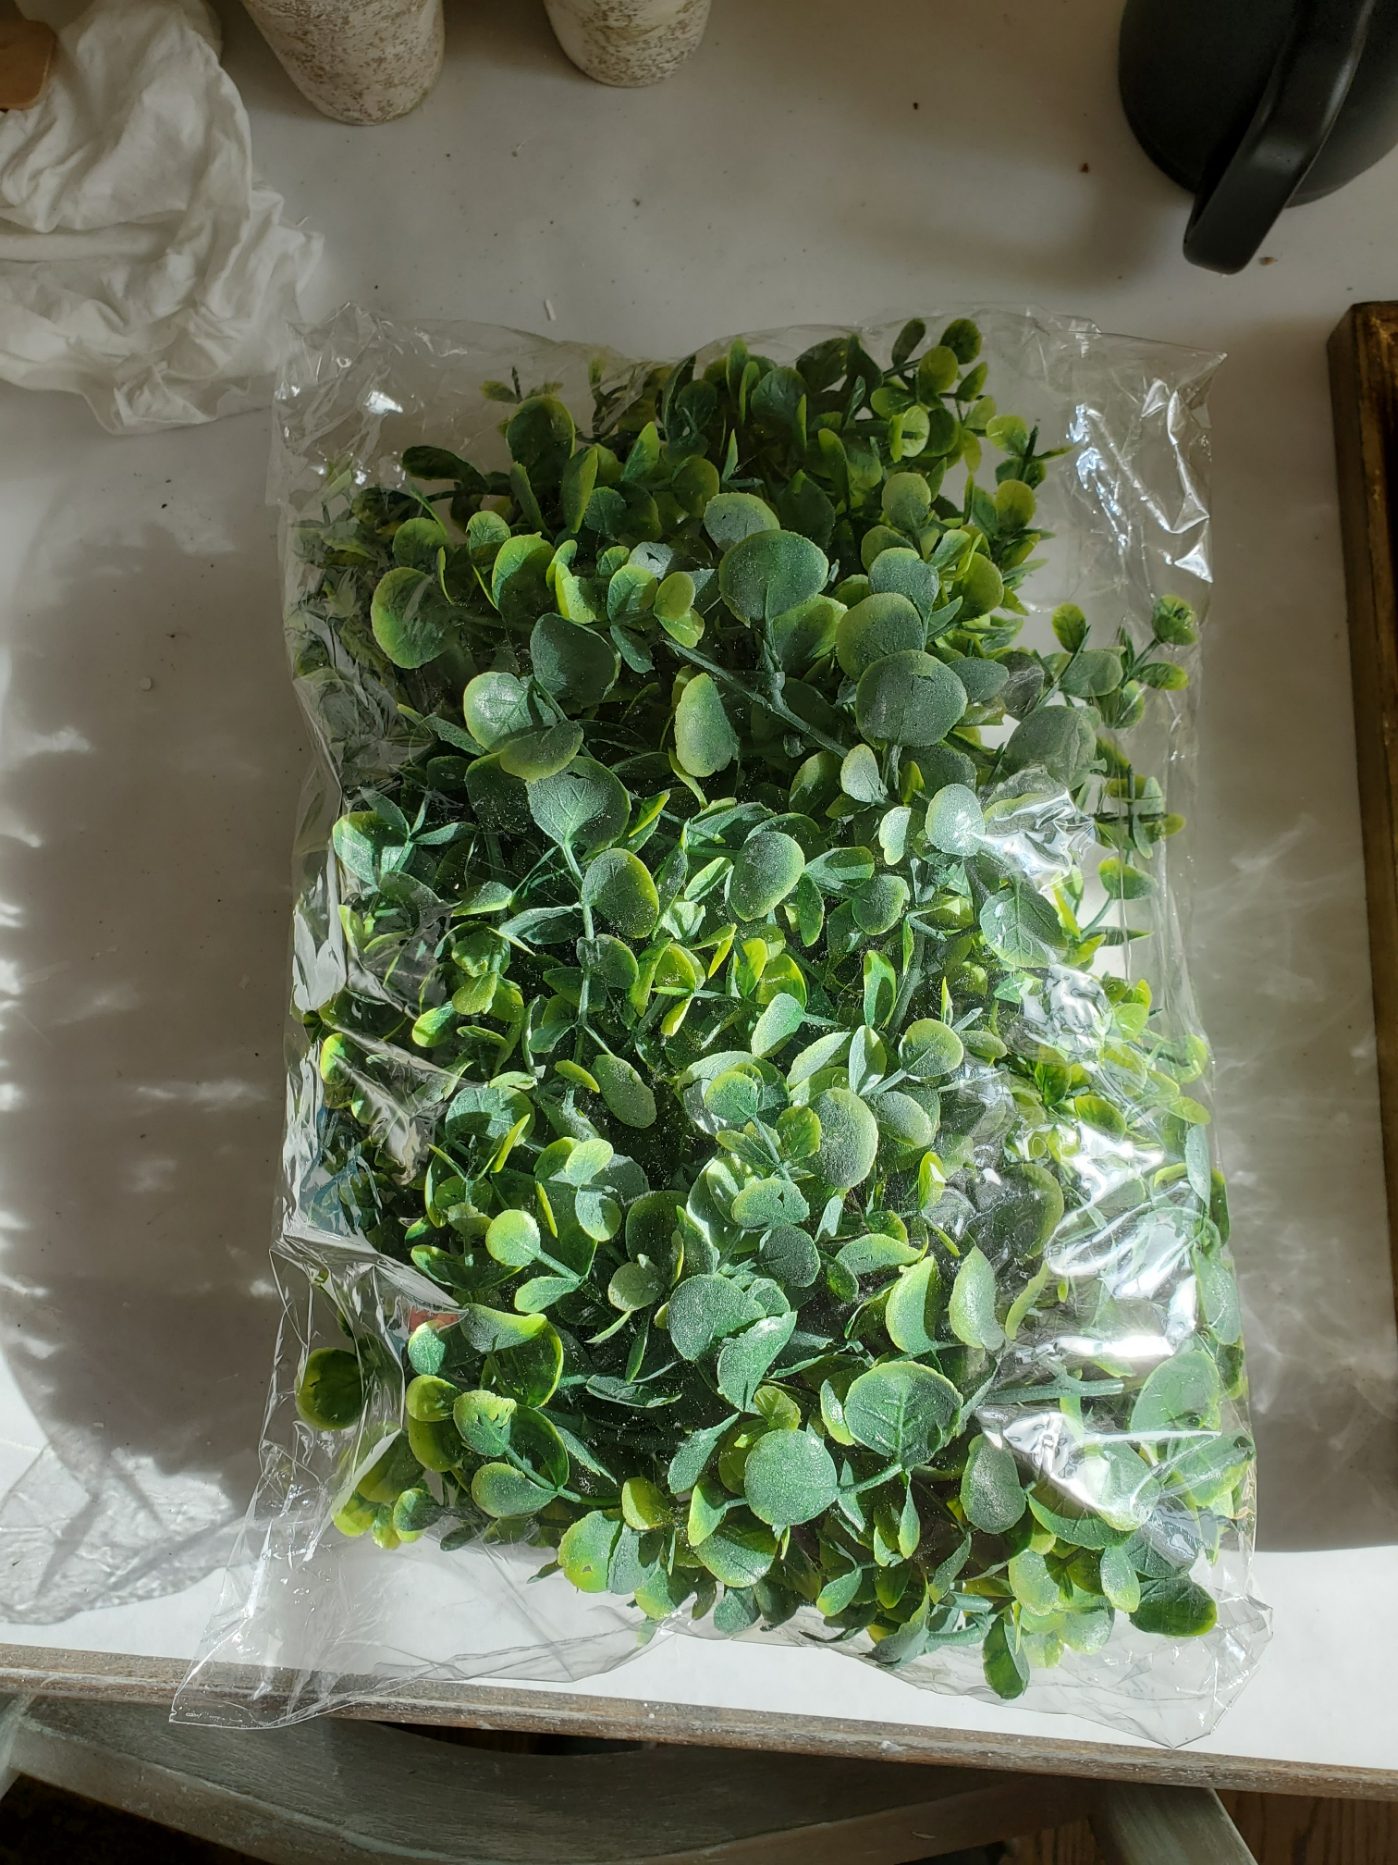
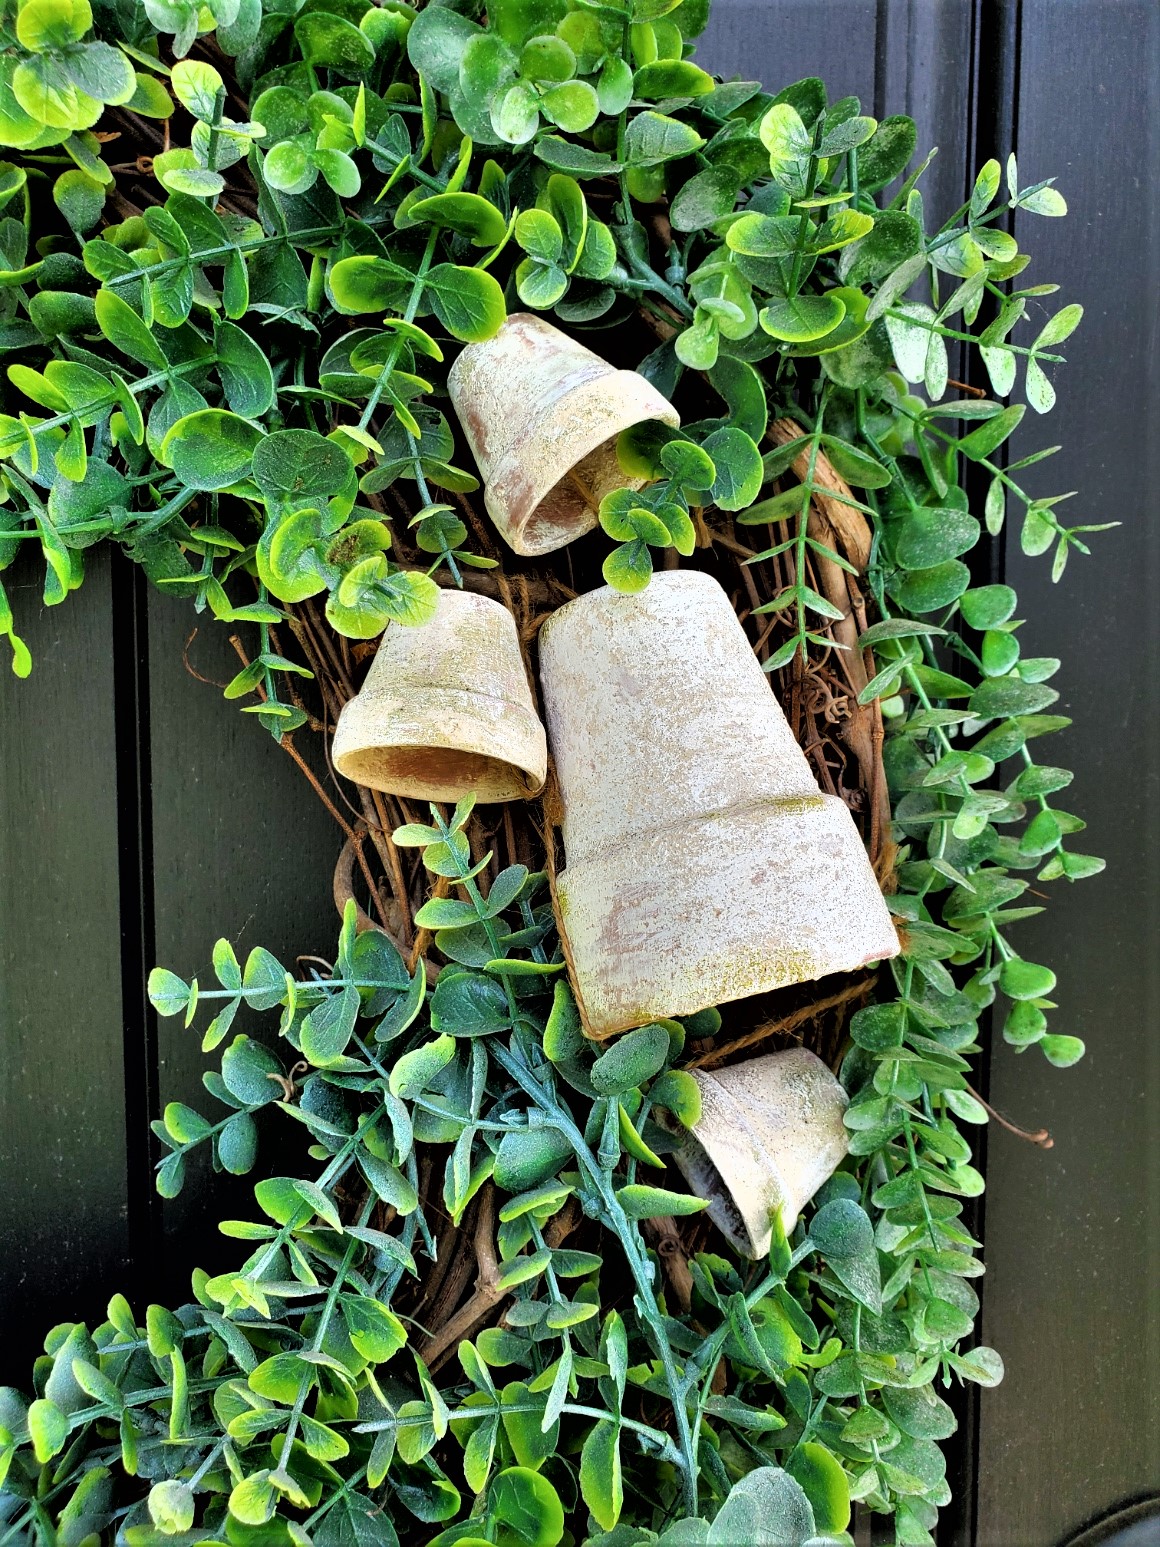
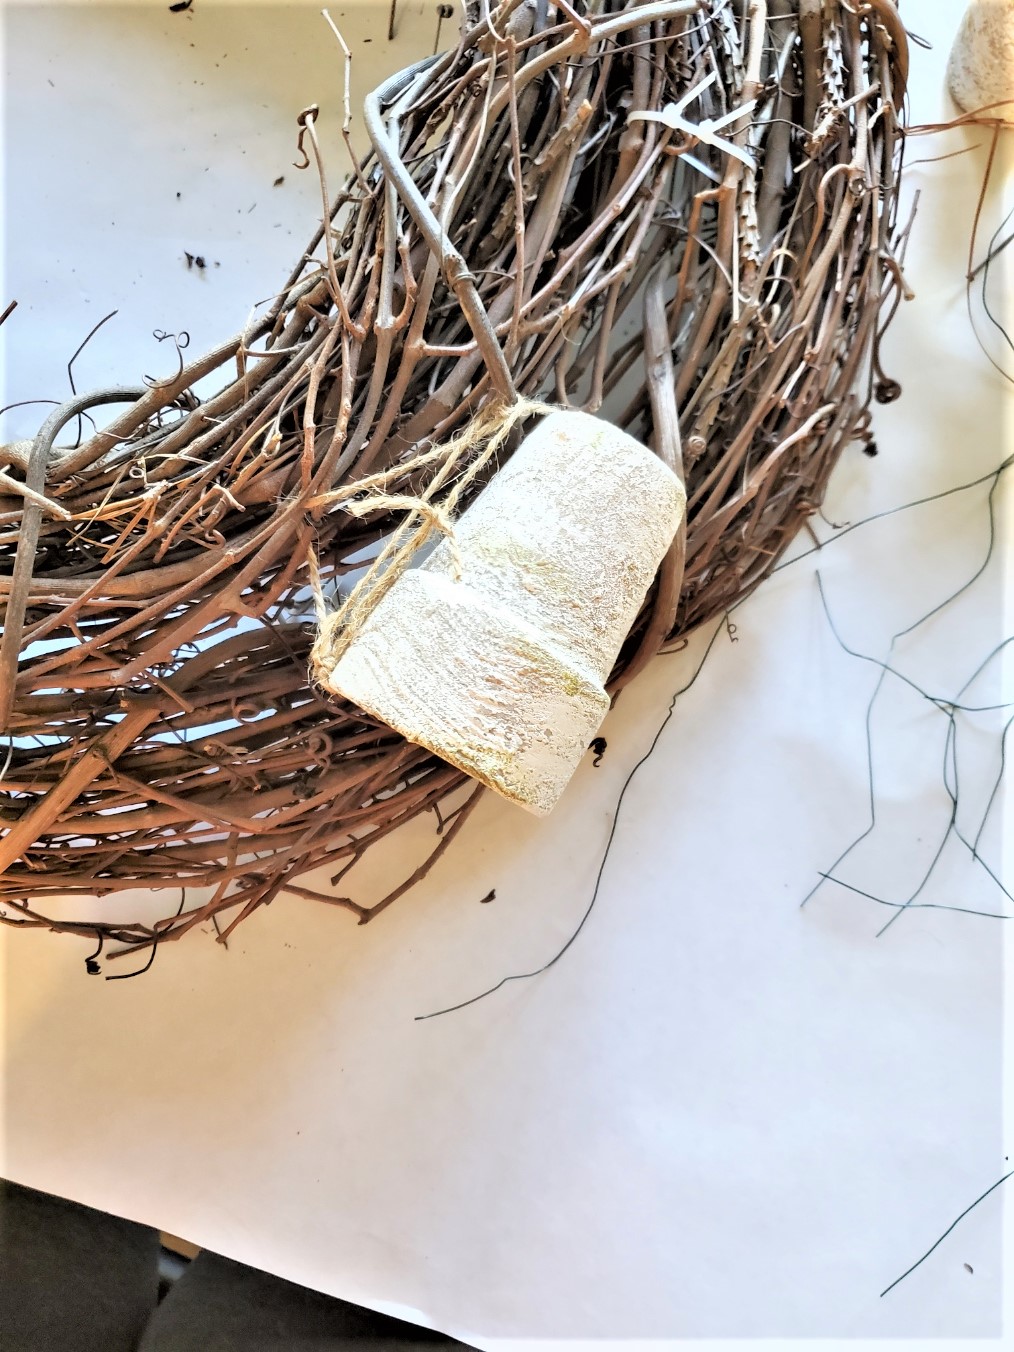
Step 3: Jute-Tied Flower Pots
begin incorporating the flower pots. The best part is, that I provide a guide on aging flowerpots using lime. You will appreciate the easy steps outlined in this post. These are ideal for enhancing home decor throughout the spring season, summer, and into fall. Start incorporating the larger flowerpots into the eucalyptus wreath. I recommend using jute to connect the pots, which are readily available at any craft store. Thread the jute through the bottom of each pot, locate an opening in the grapevine wreath frame, and connect each jute's end tightly, securing it with a knot. This ensures a snug fit and prevents the pots from shifting on your wreath. For this new project, I apply white acrylic paint to my lime-aged flowerpots by brushing it on, followed by immediately rubbing the paint off with a rag. This technique allows the lime's texture to be visible on the pots while protecting them from natural elements during the spring and summer season. Once the paint is rubbed off, I add a little bit of green acrylic paint. This adds a mossy appearance and an aged look to the flower pots, enhancing the charm of the eucalyptus wreath.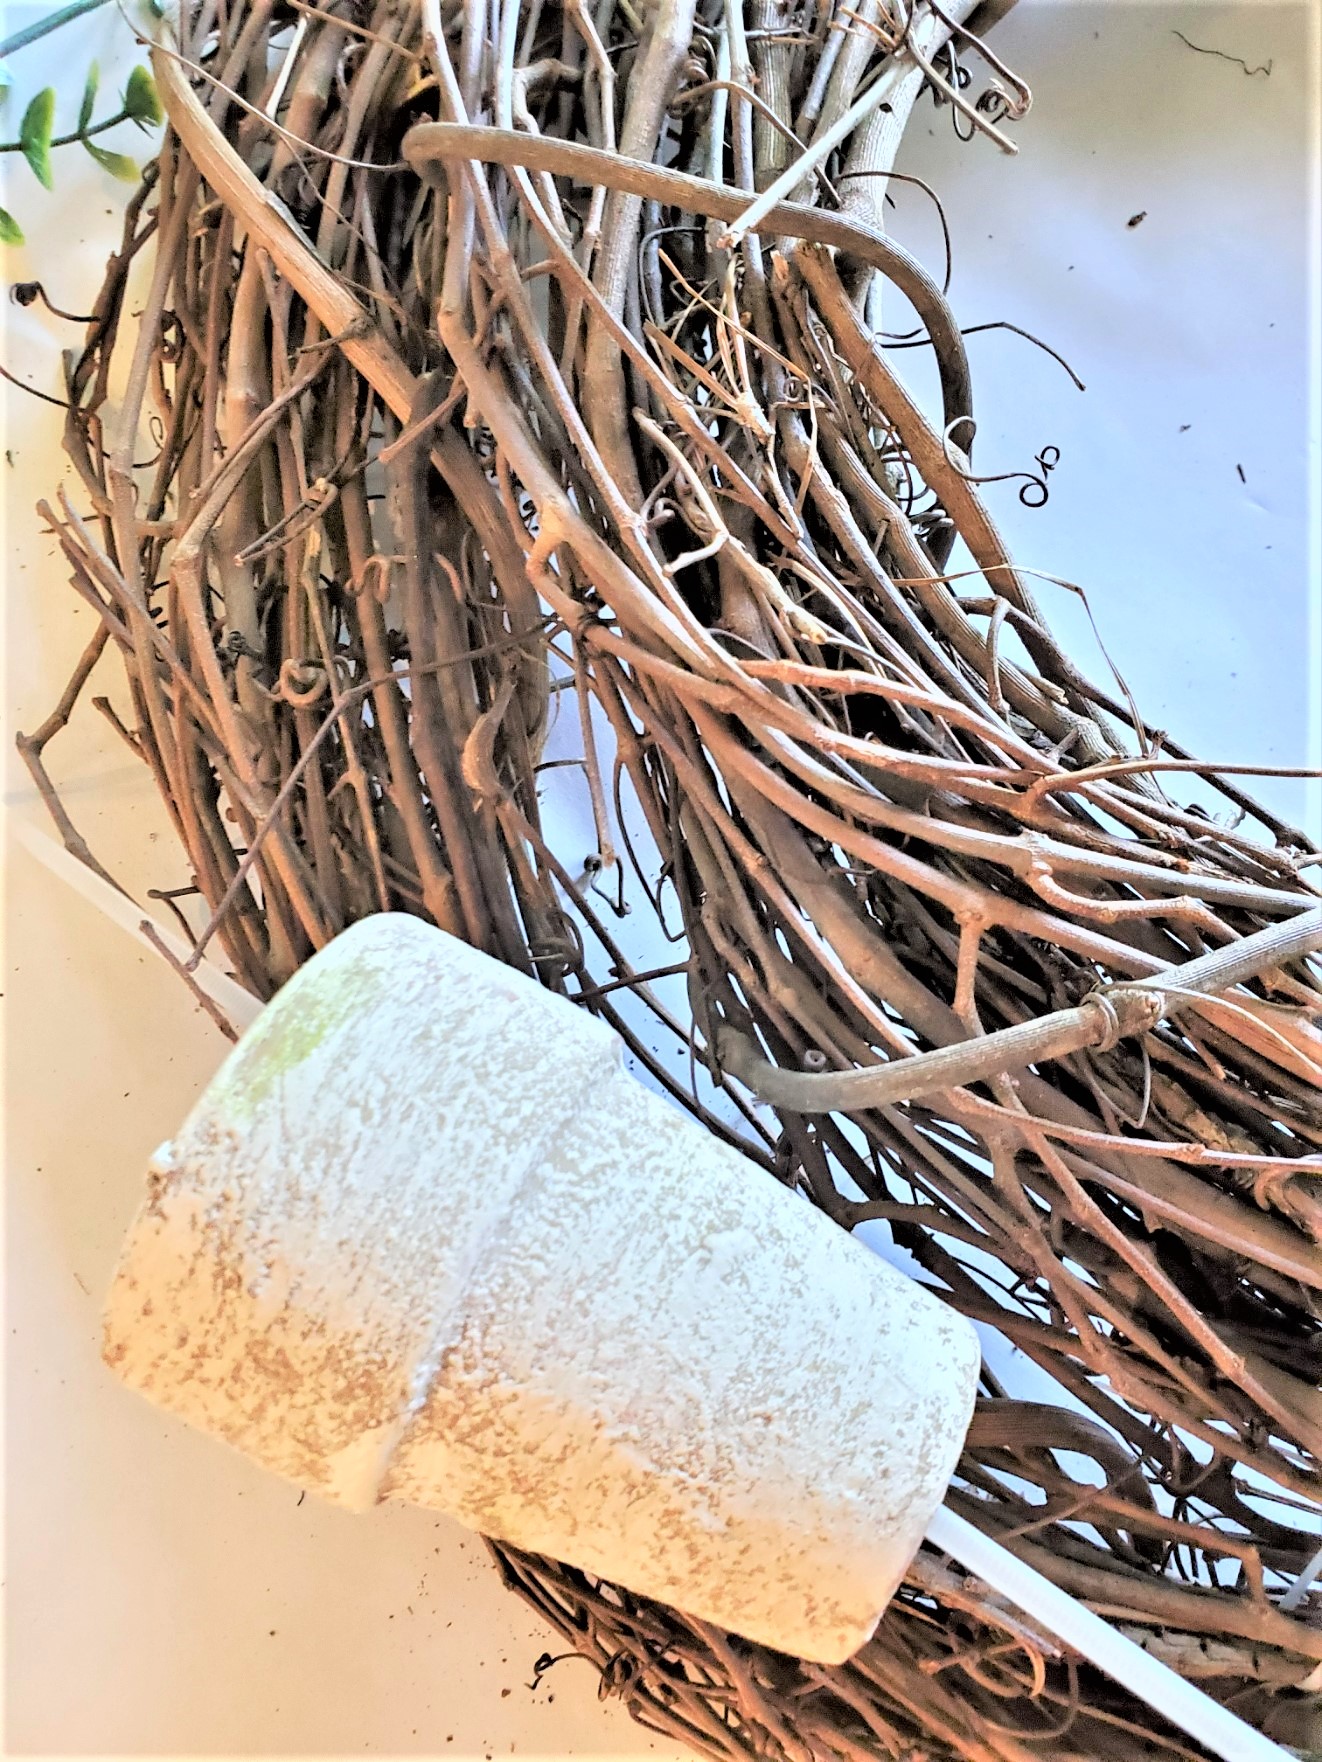
Step 4: Flower Pots For A Beautiful Wreath
Add the small flower pots using the same method with jute. Two small pots were added, fitting well into the odd number theory regularly used in home decor.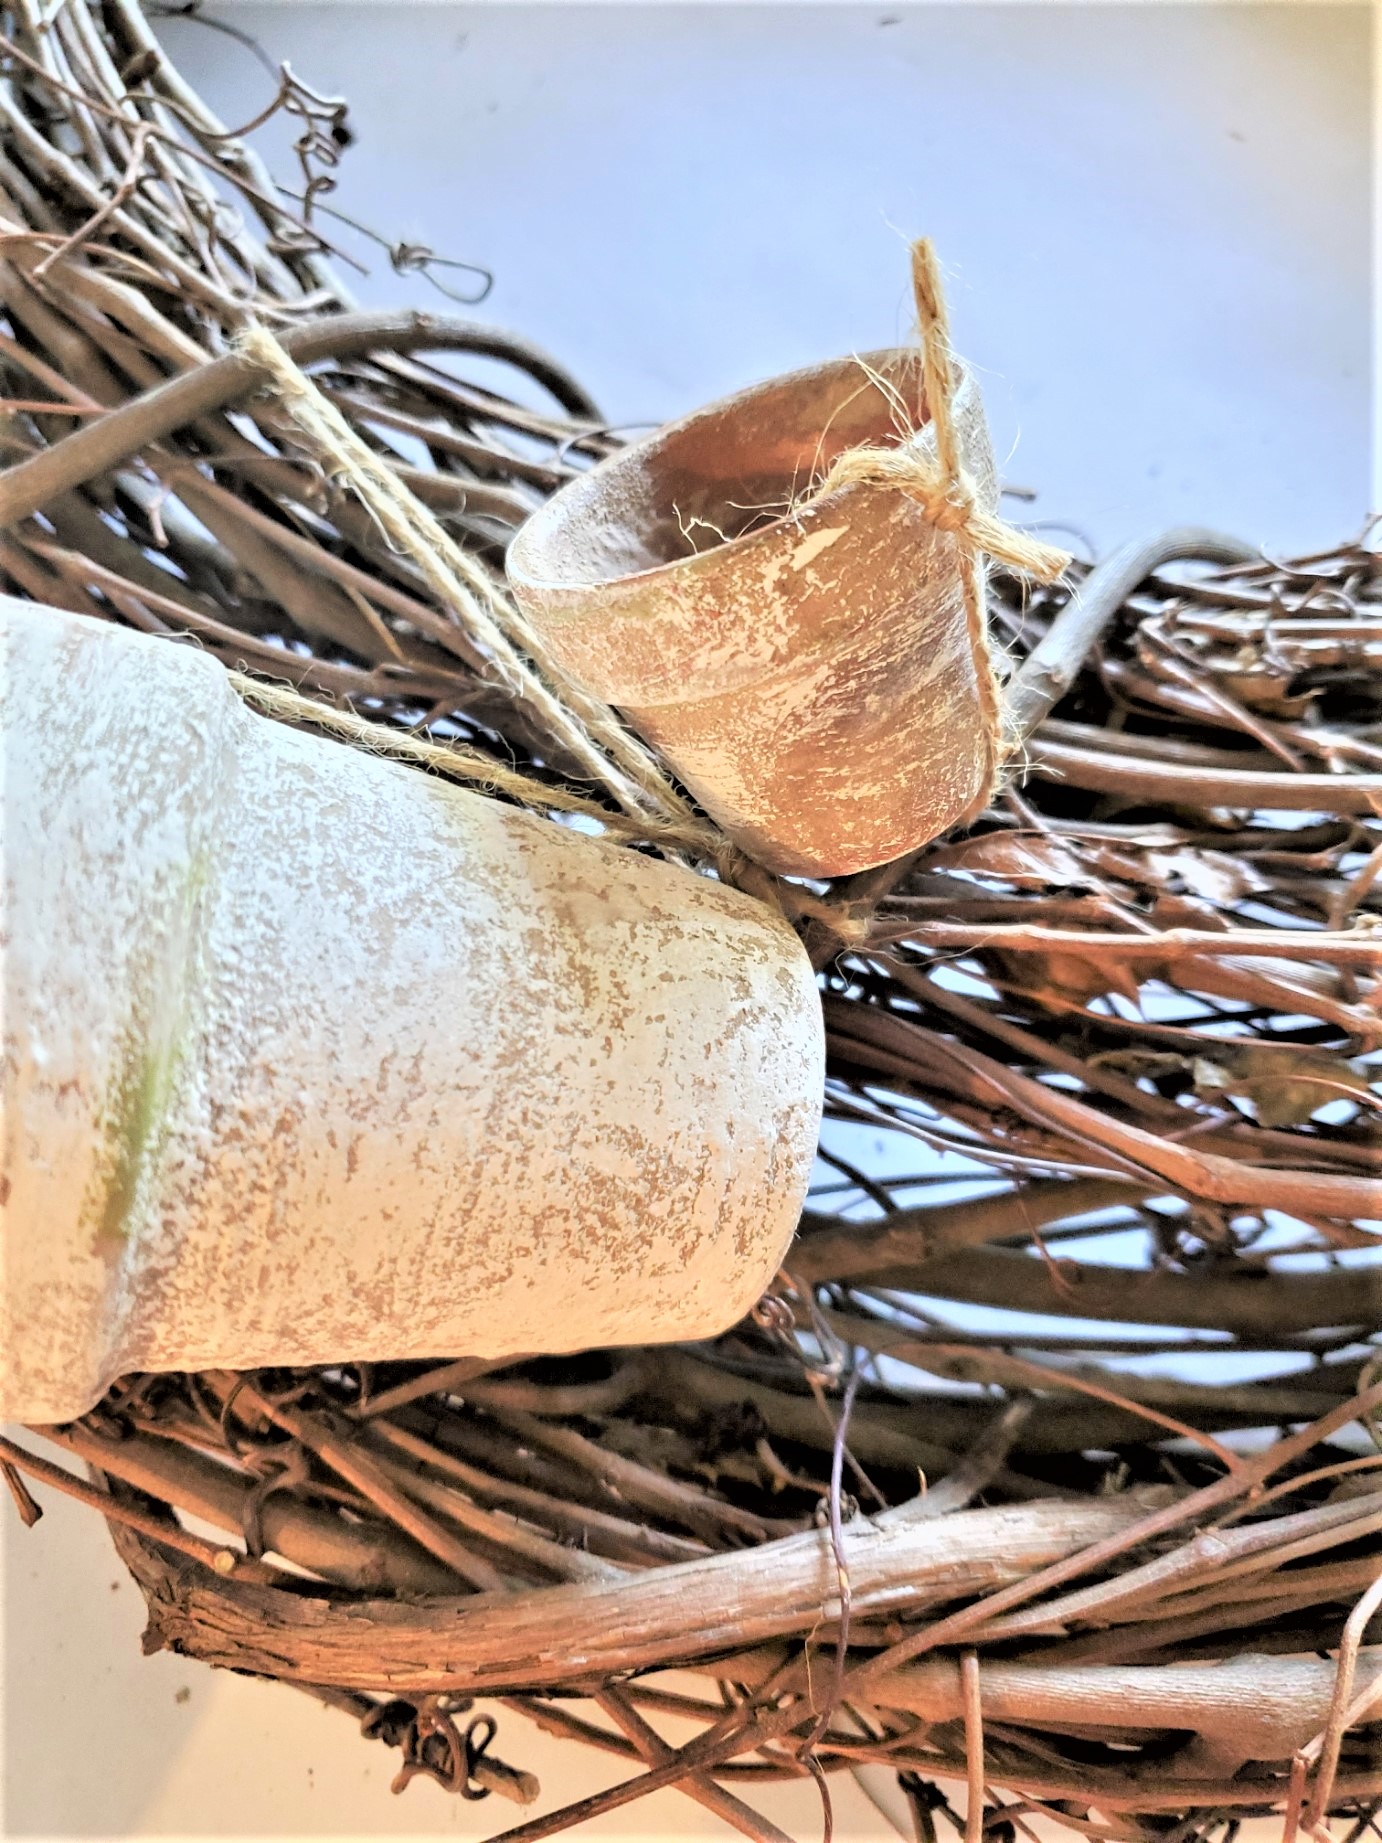

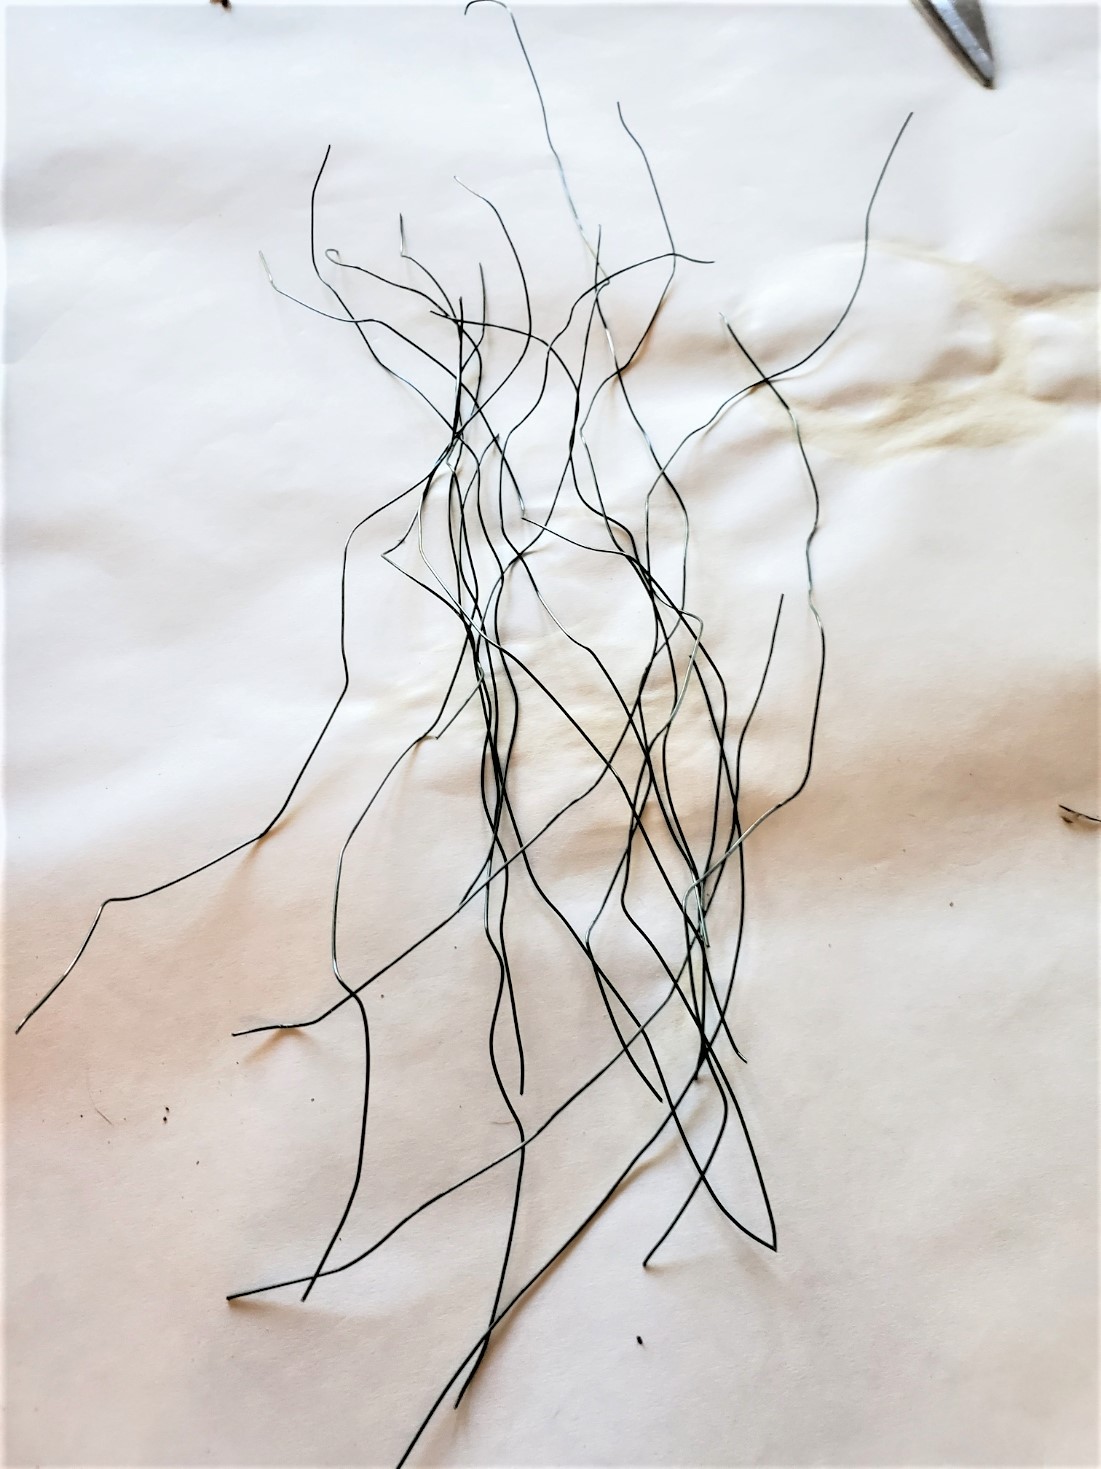
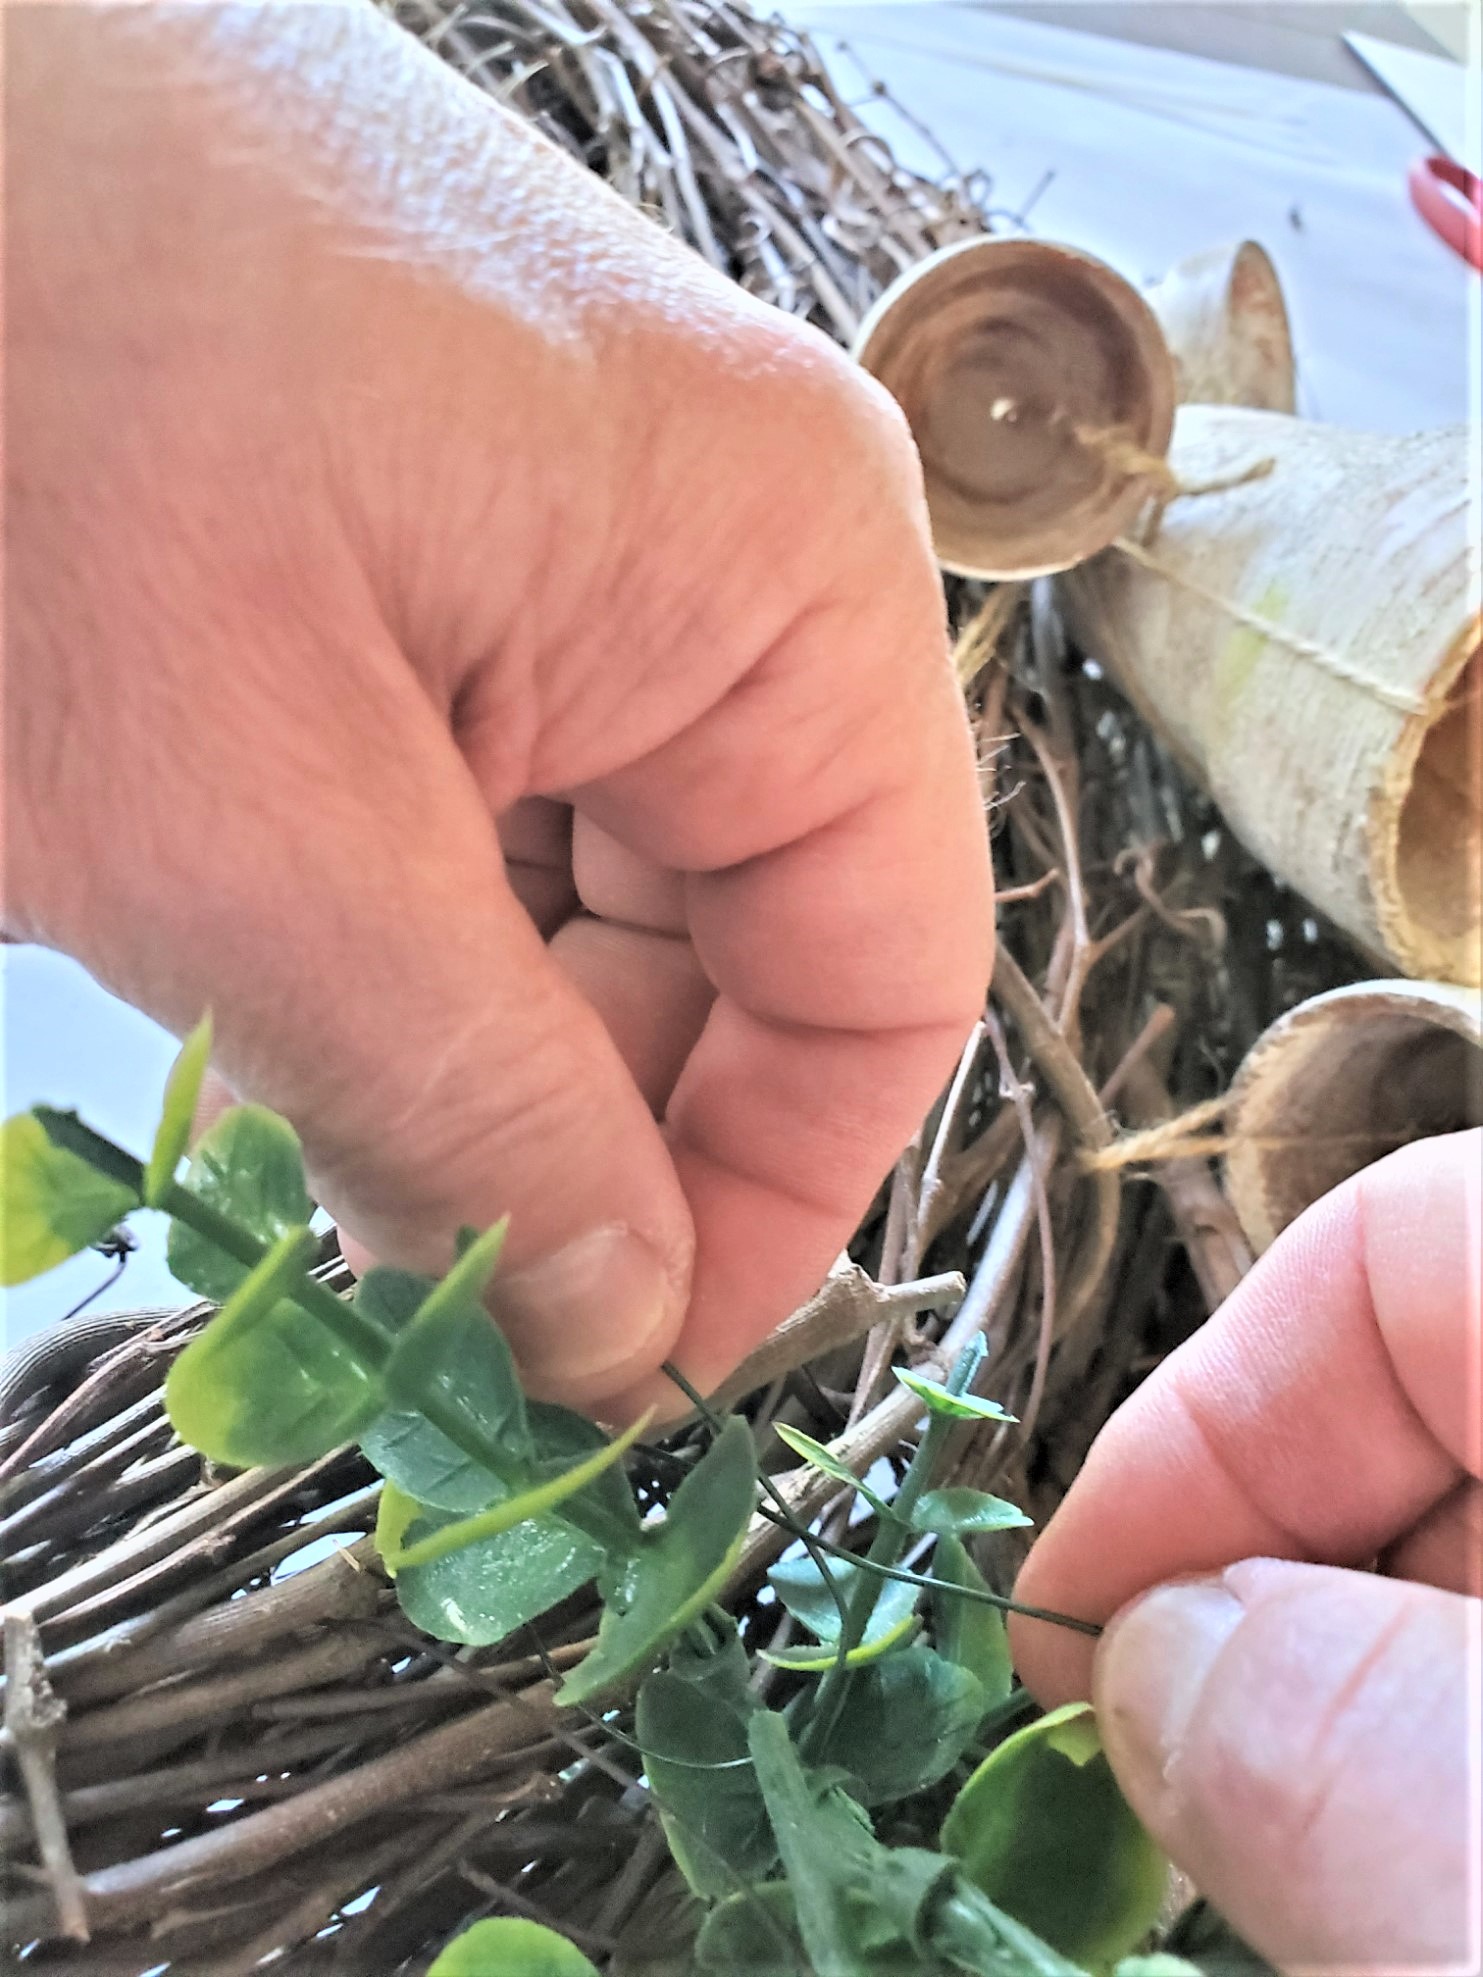
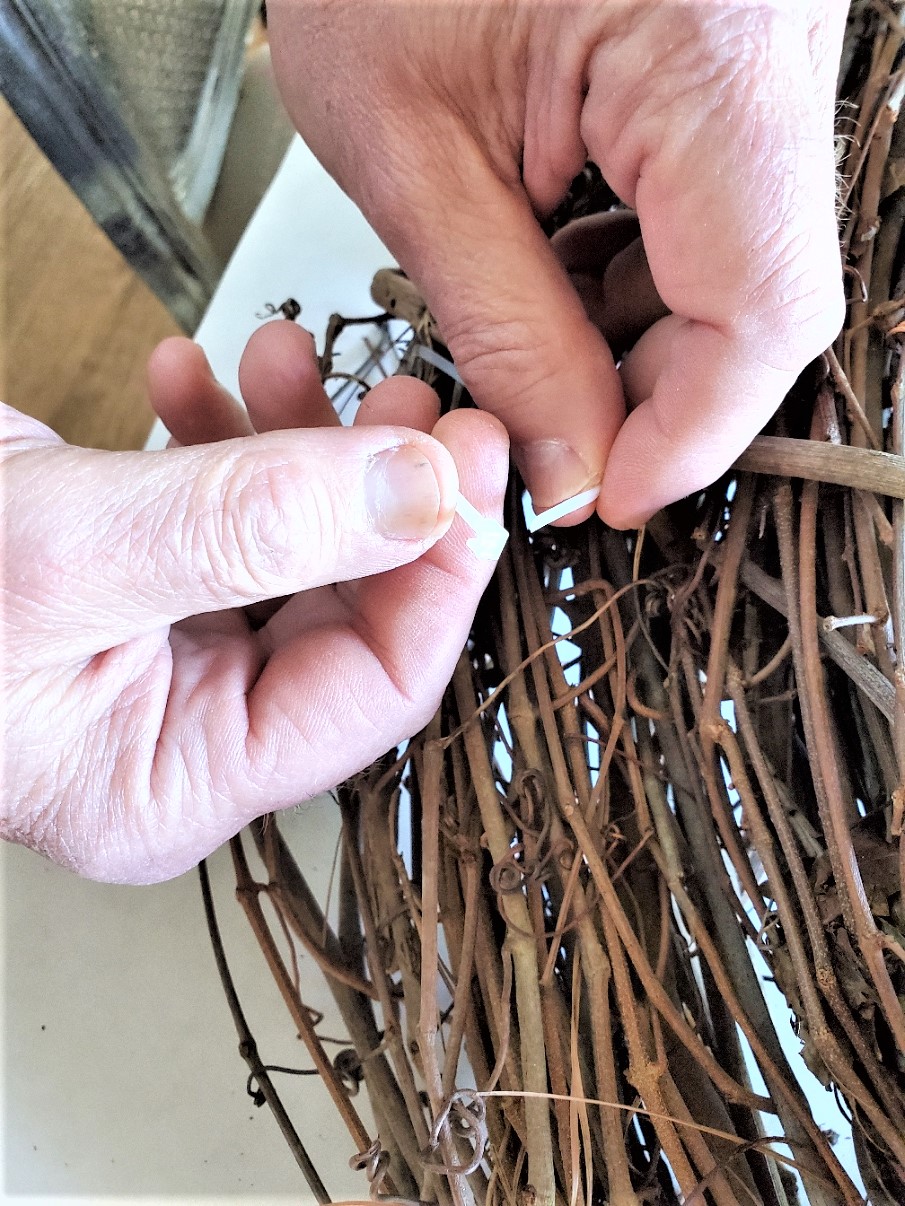
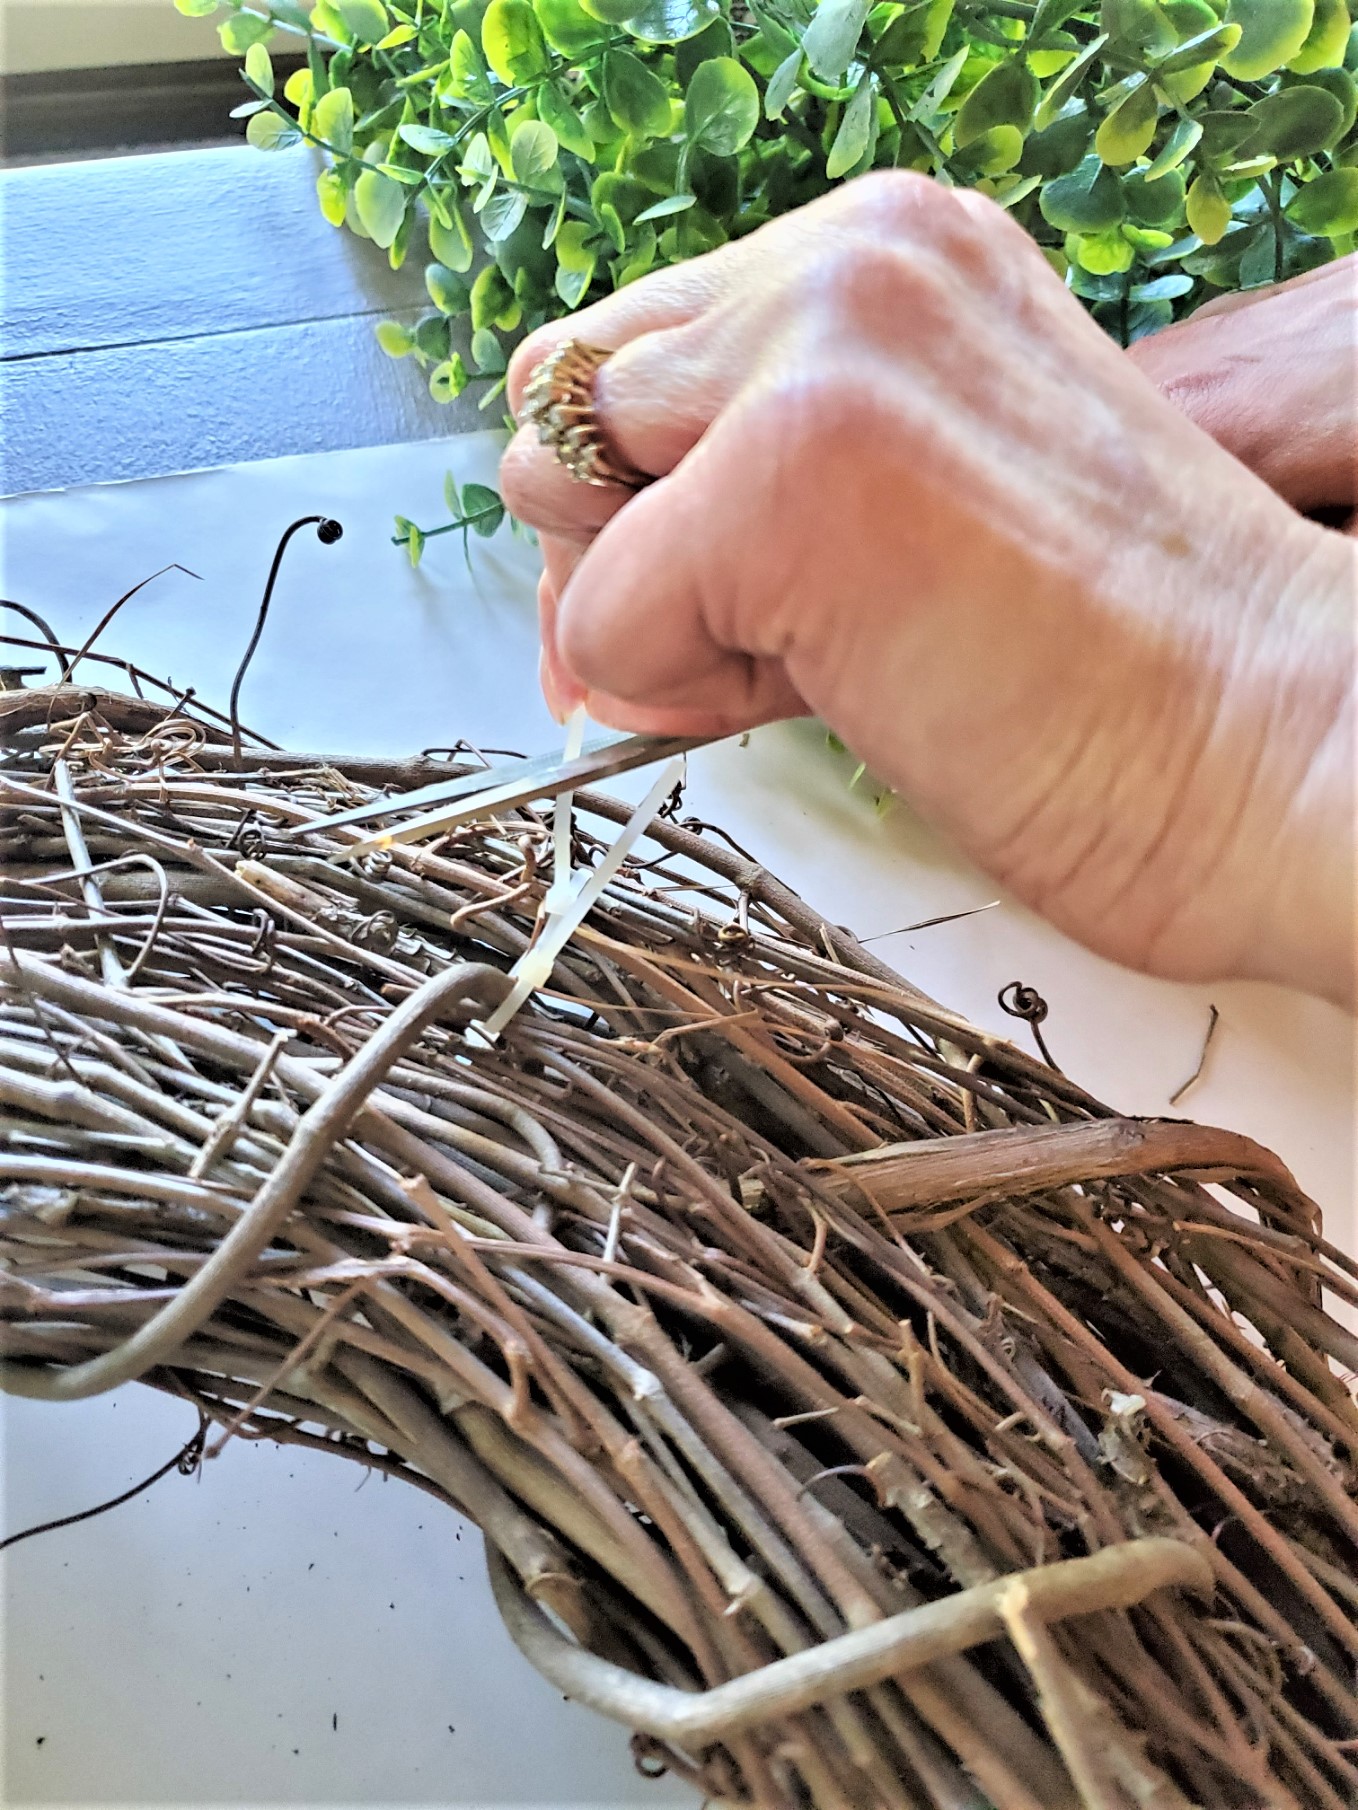
Step 5: Cut Garland, Add Florist Wire
Cut the eucalyptus garland into four pieces and attach one section at a time. Use a 22-gauge florist wire to secure the garland in place. Find an opening on the grapevine wreath and thread your florist wire through it, twisting it tightly. Repeat this process with the additional garland until the wreath is covered to your liking.
In the last step, take a step back to assess the wreath after incorporating the first garland. This is important to ensure your spring wreath is symmetrical. Continue this process until the garland on the wreath achieves the desired fullness.