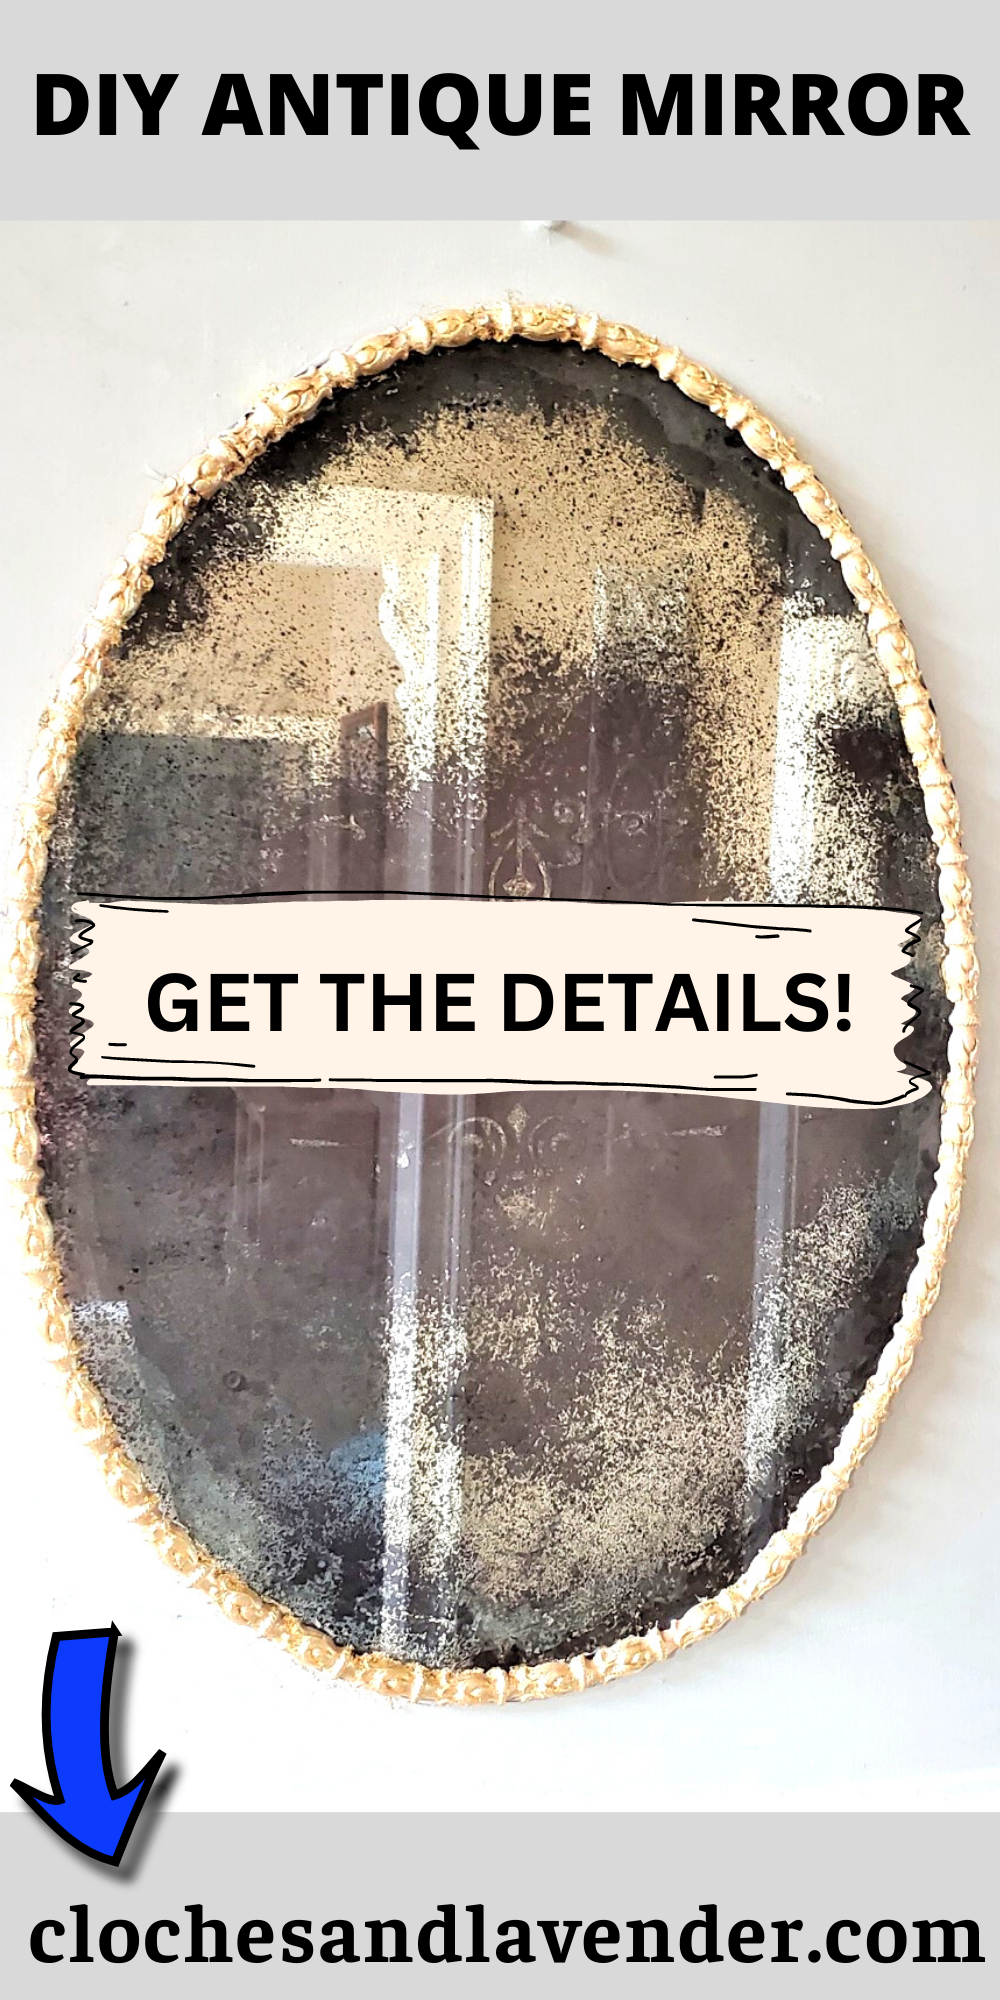
Easy DIY Antique Mirror Tutorial: Video
Today I’m sharing a great and easy DIY antique mirror tutorial: video and it is a pretty accent to any home.
So, if you are looking to add a touch of vintage charm to your home decor?. You’re in luck!
In this tutorial, I’ll be sharing an easy DIY antique mirror tutorial that is sure to add a pretty accent to any room.
With just a few simple steps, you can transform an ordinary mirror into a beautiful antique piece that will make a statement in your home. And the best part? It’s a quick and budget-friendly project that you can start right now.
So, let’s get started!
Table Of Contents
Do You Use Chemicals To Antique Look Mirror?
Are Chemicals Needed For Thee Antiquing Process?
While some antique mirror tutorials may recommend using chemicals such as muriatic acid to achieve an aged effect on a mirror, it is essential to note that chemicals are not always necessary for this type of project.
Additionally, working with strong chemicals such as acids can be dangerous and is not always recommended, especially for those who may not have experience handling such substances.
*As an Amazon Associate and other Affiliate programs I earn from qualifying purchases*
As an Amazon Associate and other Affiliate, I earn from qualifying purchases. If you purchase something through any link, I may receive a small commission with no extra charge to you. All opinions are my own
Plain Glass Antiqued Mirrors
Plain Glass Antiqued Mirror
Yes, plain glass can be used for this antique mirror DIY project.
Also, you can easily grab a piece of glass from your local hardware store, Home Depot, or even use glass from picture frames. Since the glass will be treated with various solutions during the antiquing process, it is important to make sure that the glass is clean and free of any debris or residue before beginning this mirror project.
How To Add An Antique Look To Plain Glass
Step 1: Remove Glass From The Frame
We learned an important lesson on our first attempt at antiquing a mirror.
Scraping too much of the reflective backing off the mirror can be a common mistake and can affect the outcome of the antiquing process.
We were able to find a different technique that worked and the best part is that the antiquing process can still be easy and achievable.
Supply List:
- black paint
- dry paper towel
- white vinegar 50% with 50% part water
- looking glass spray paint
- empty spray bottle
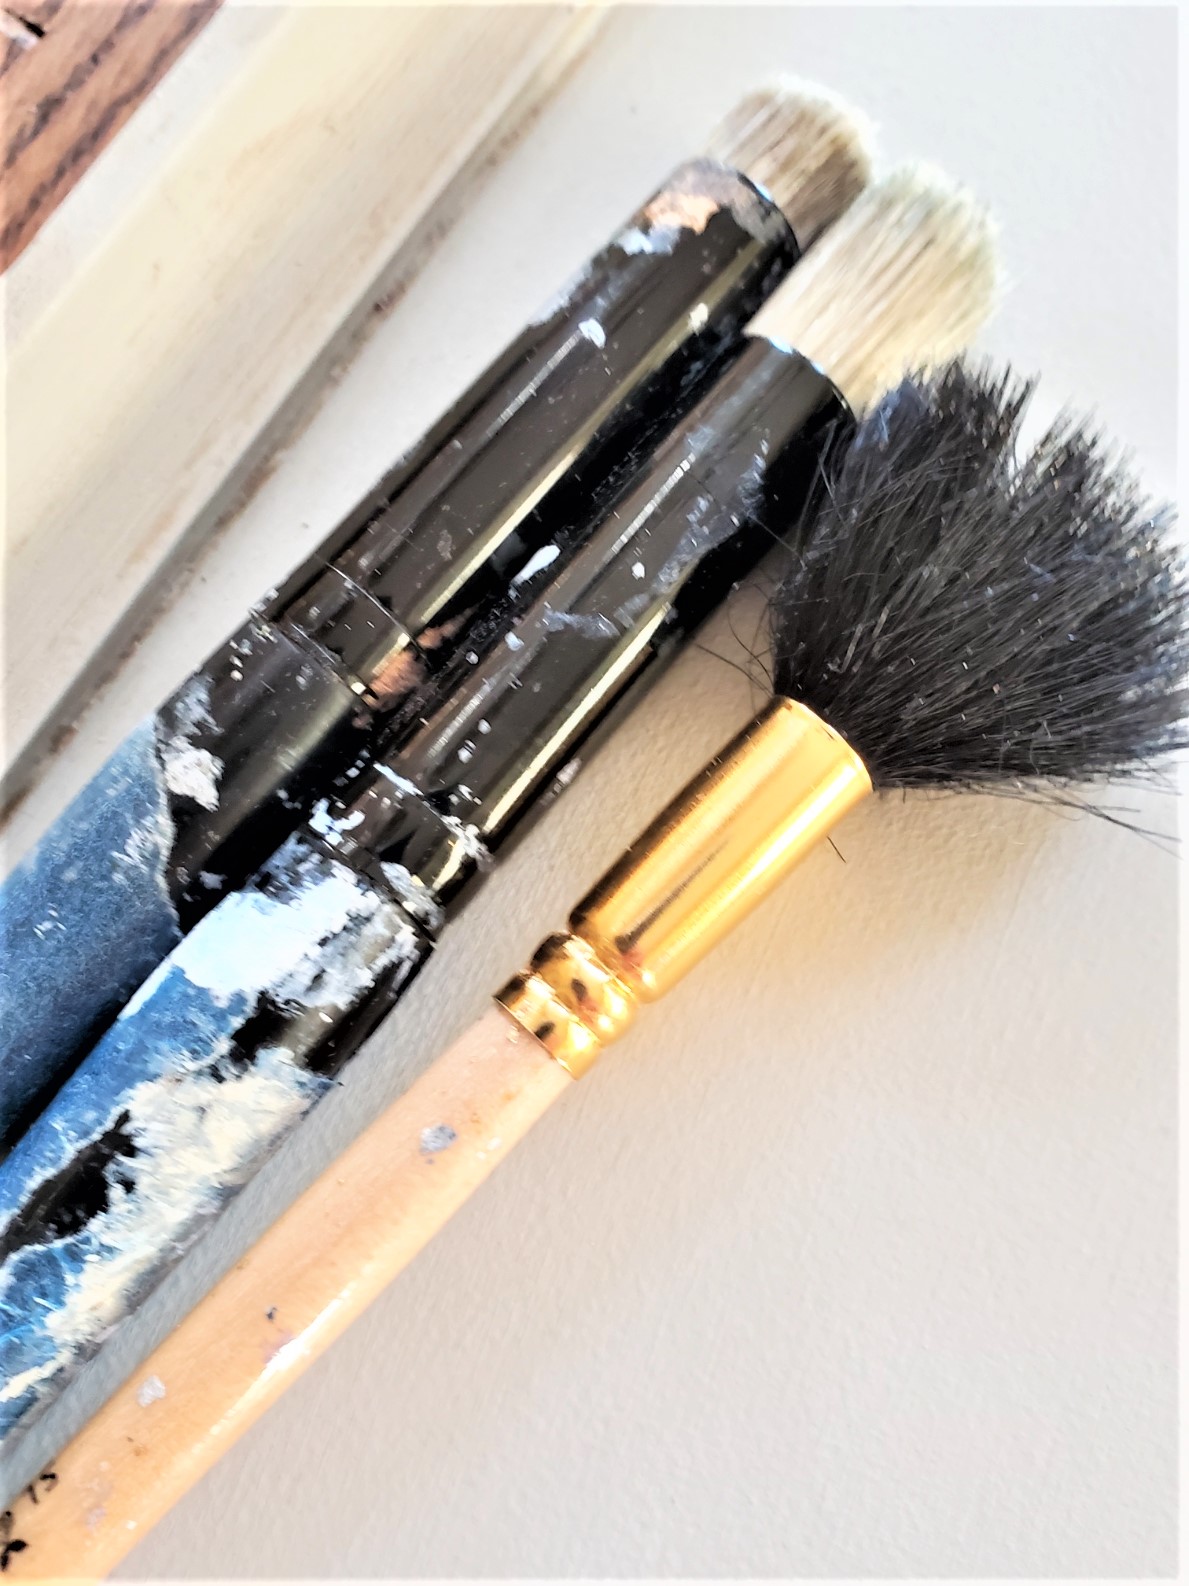
- stencil brush
- black craft paint
- work area
Step 2: Spray Glass With White Vinegar Mixture
When starting the antiquing process on plain glass, one of the first steps is to spray a mixture of white vinegar and water onto the glass and then dab it with a paper towel or soft cloth.
This will create a spotty finish with small and larger droplets, which can add to the antique glass look. It’s important to concentrate on the outer corners and outer edges the most. These areas would naturally experience the most wear and tear over time and therefore are more likely to have an aged appearance.
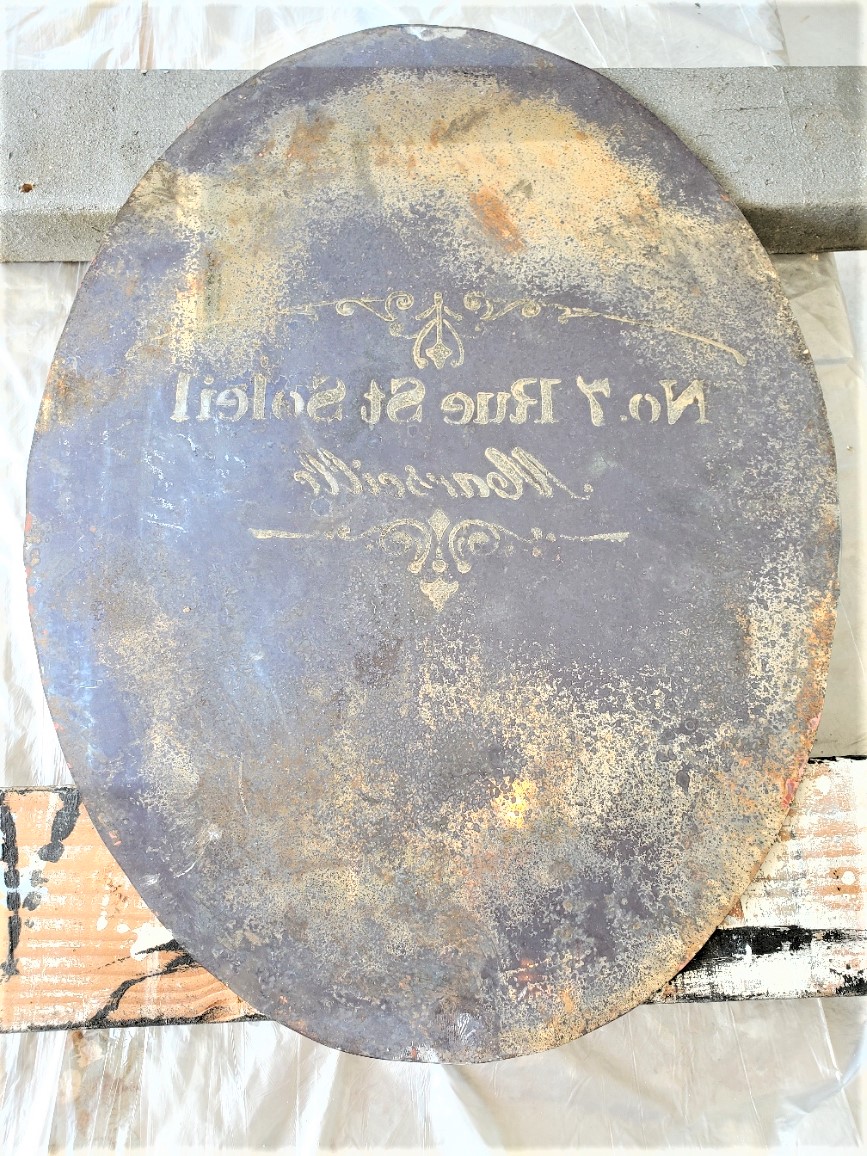
Step 3: Stenciling And Spray Mirror Paint
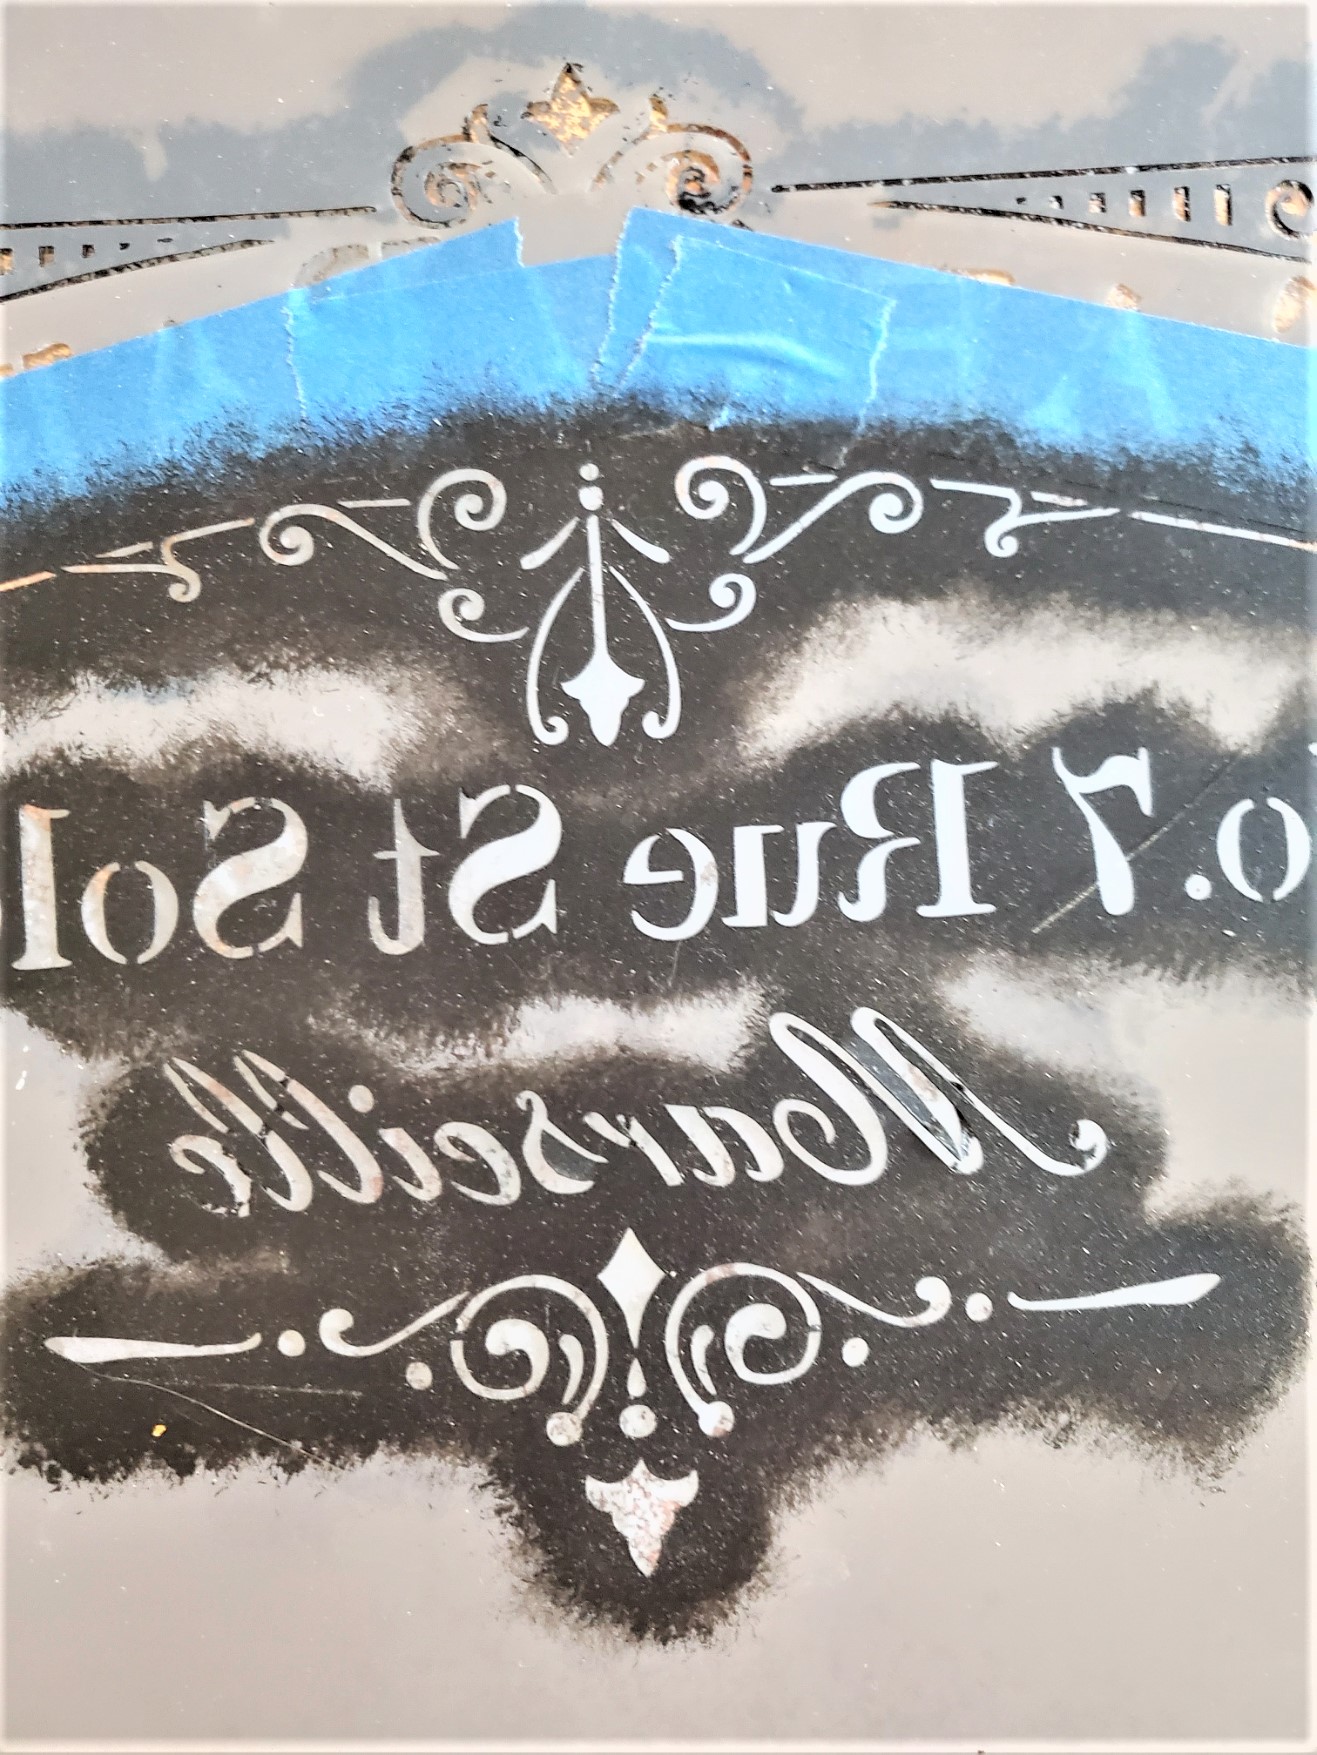
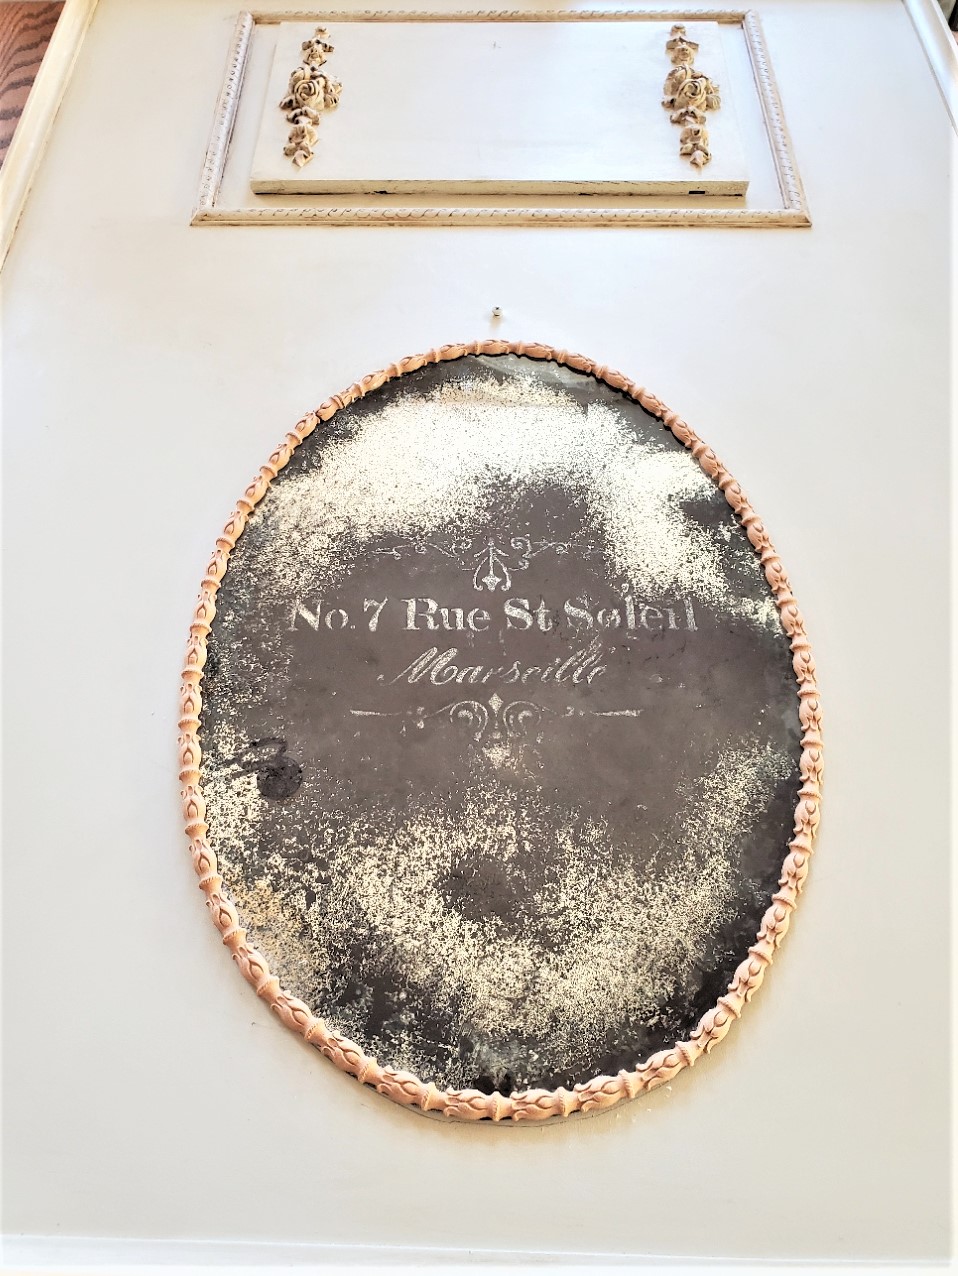
In the next step of the antique mirror project, a stencil is placed on the glass in reverse to ensure that the words will be in the right direction on the front side of the mirror once it’s added back to the door. Black craft paint is then used for the stencil and it’s important to allow the paint to dry well to avoid a messy end result.
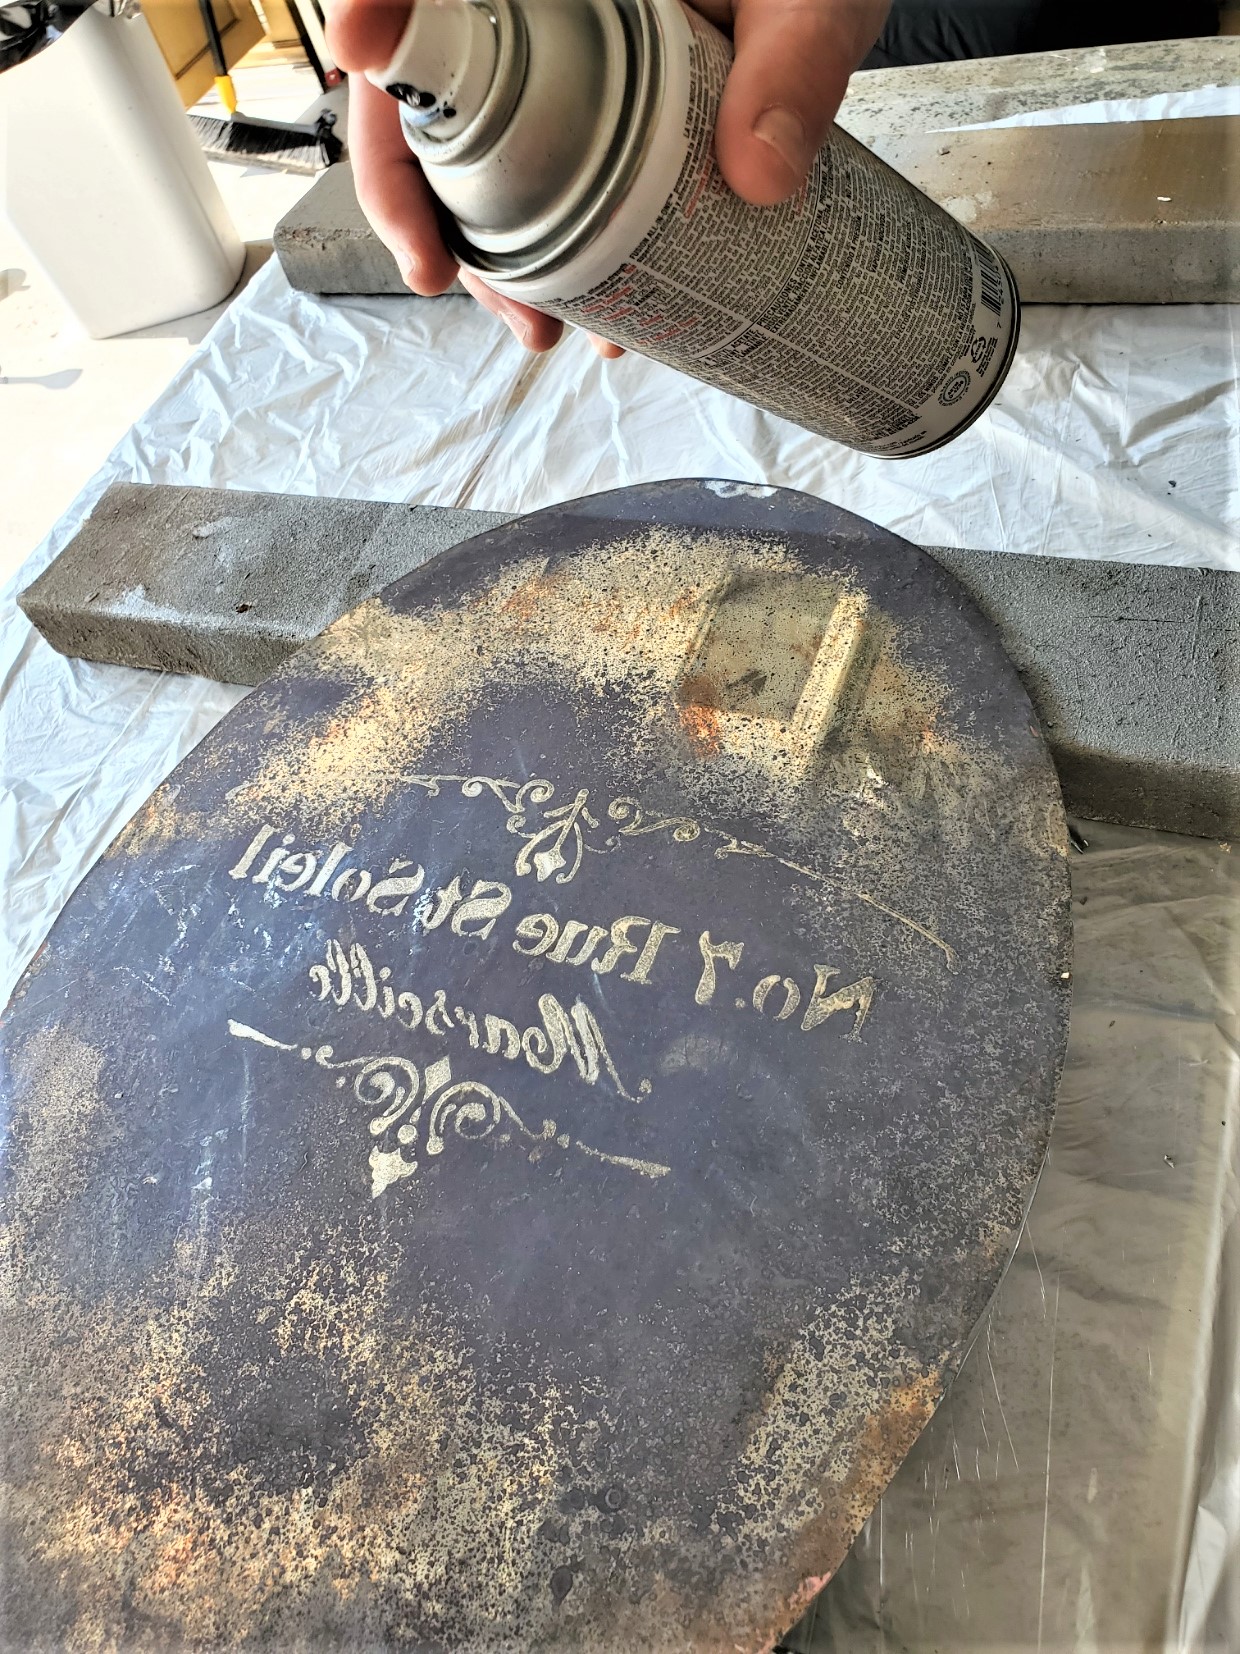
After the stencil has dried, Krylon-looking glass spray paint is used to achieve the reflective surface of the mirror. Working in a well ventilated area is important as this paint has a strong odor and safety should always come first.
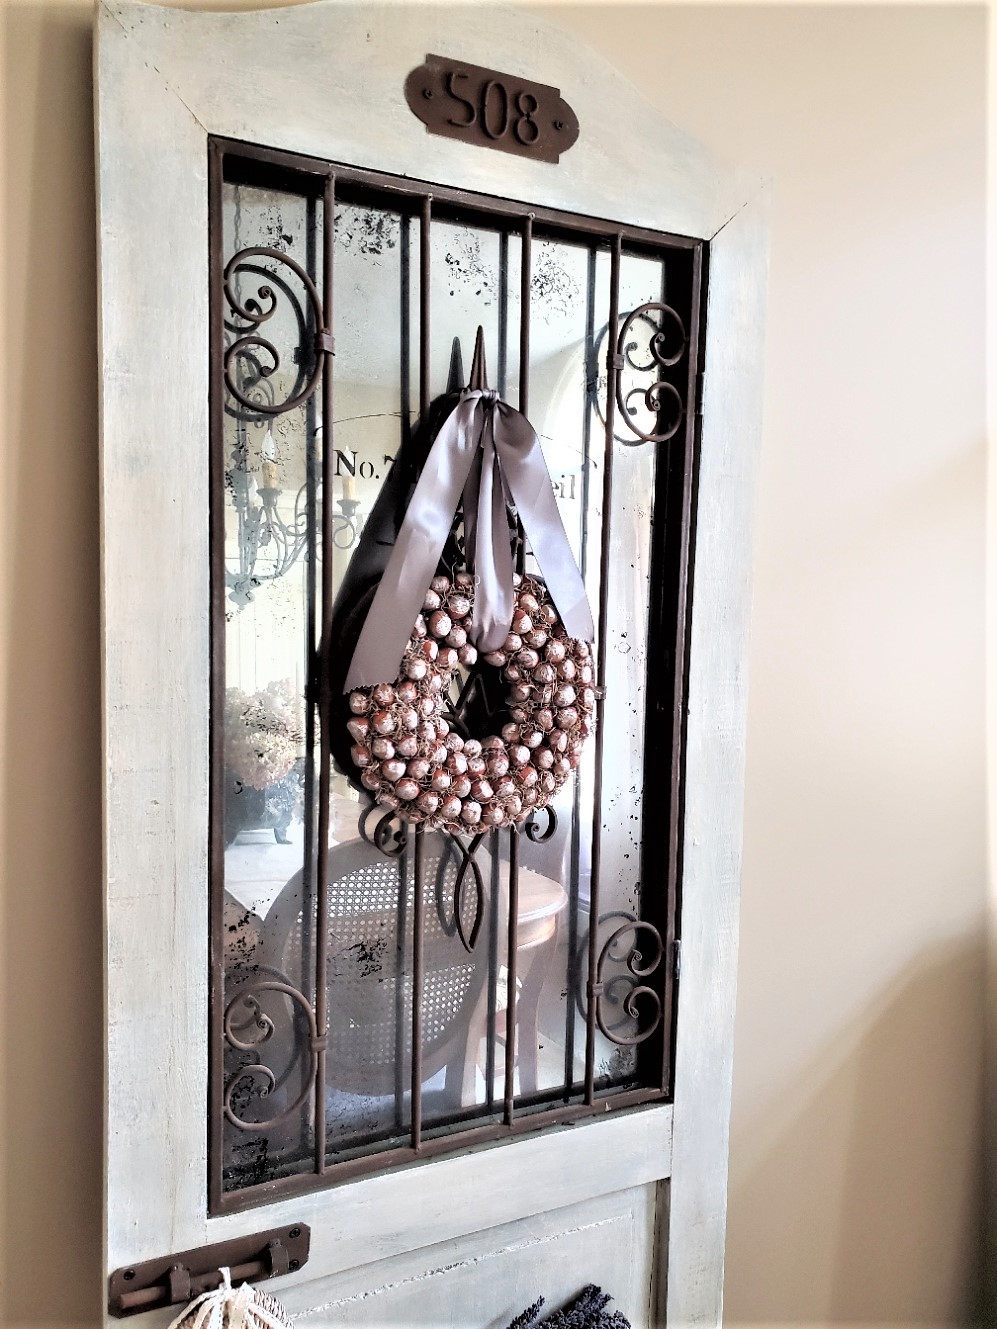
For the final step, the entire back of the glass is sprayed with black paint to achieve the finished antique mirror look. This look is perfect for hanging different wreaths on the metal scrollwork and really adds to the overall aesthetic of the project.
Supply List:
- Citrus Strip varnish and paint stripper
- black spray paint
- plastic scraper
- spray bleach, we used 50% water and 50% bleach in a small spray bottle
- paper towel or lint free cloth
- chip brush
- stencil – optional
- stencil brush optional
- champagne craft paint
- WoodUbend molding – optional See Tip Below
- WoodUbend glue – optional See Tip Below
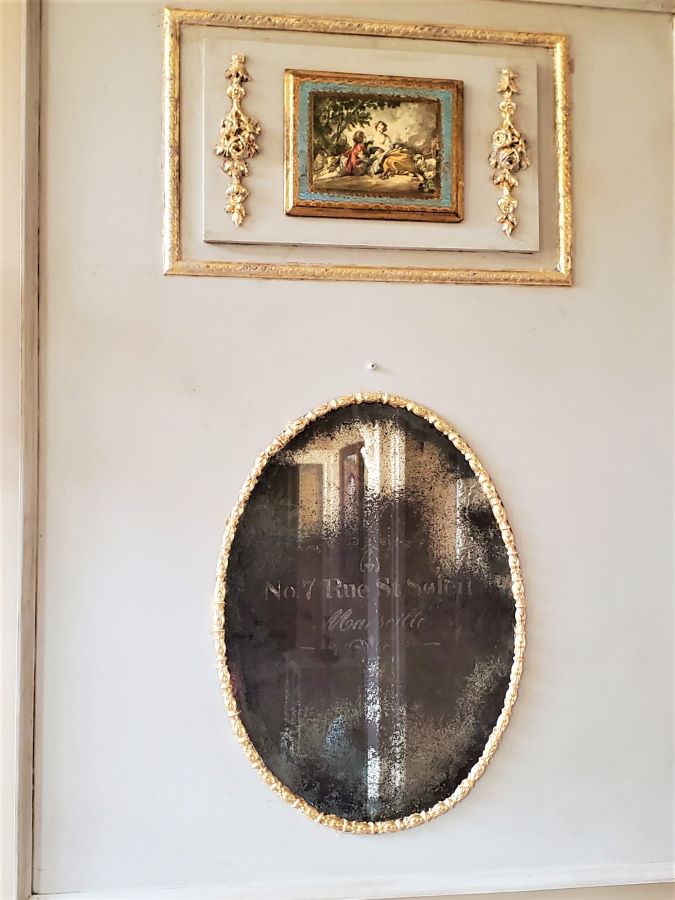
DIY Antique Mirror Tutorial
Adding An Antique Look
The mirror for this easy DIY I found at a thrift store for just $10, is perfect for this project. Even though the frame may not have been my favorite, it’s great that I was able to see the potential in the mirror and have been saving it for this DIY project.
In the upcoming tutorial, you’ll be able to learn how to create an antique mirror finish in an easy and achievable way.
By following the steps outlined in the tutorial, you’ll be able to transform a mirror into a beautiful and unique piece that can be a stunning addition to any room in your home. Be sure to check our YouTube channel for the video tutorial.
The mirror for this easy DIY I found at a thrift store for just $10, is perfect for this project. Even though the frame may not have been my favorite, it’s great that I was able to see the potential in the mirror and have been saving it for this DIY project.
In the upcoming tutorial, you’ll be able to learn how to create an antique mirror finish in an easy and achievable way.
By following the steps outlined in the tutorial, you’ll be able to transform a mirror into a beautiful and unique piece that can be a stunning addition to any room in your home.
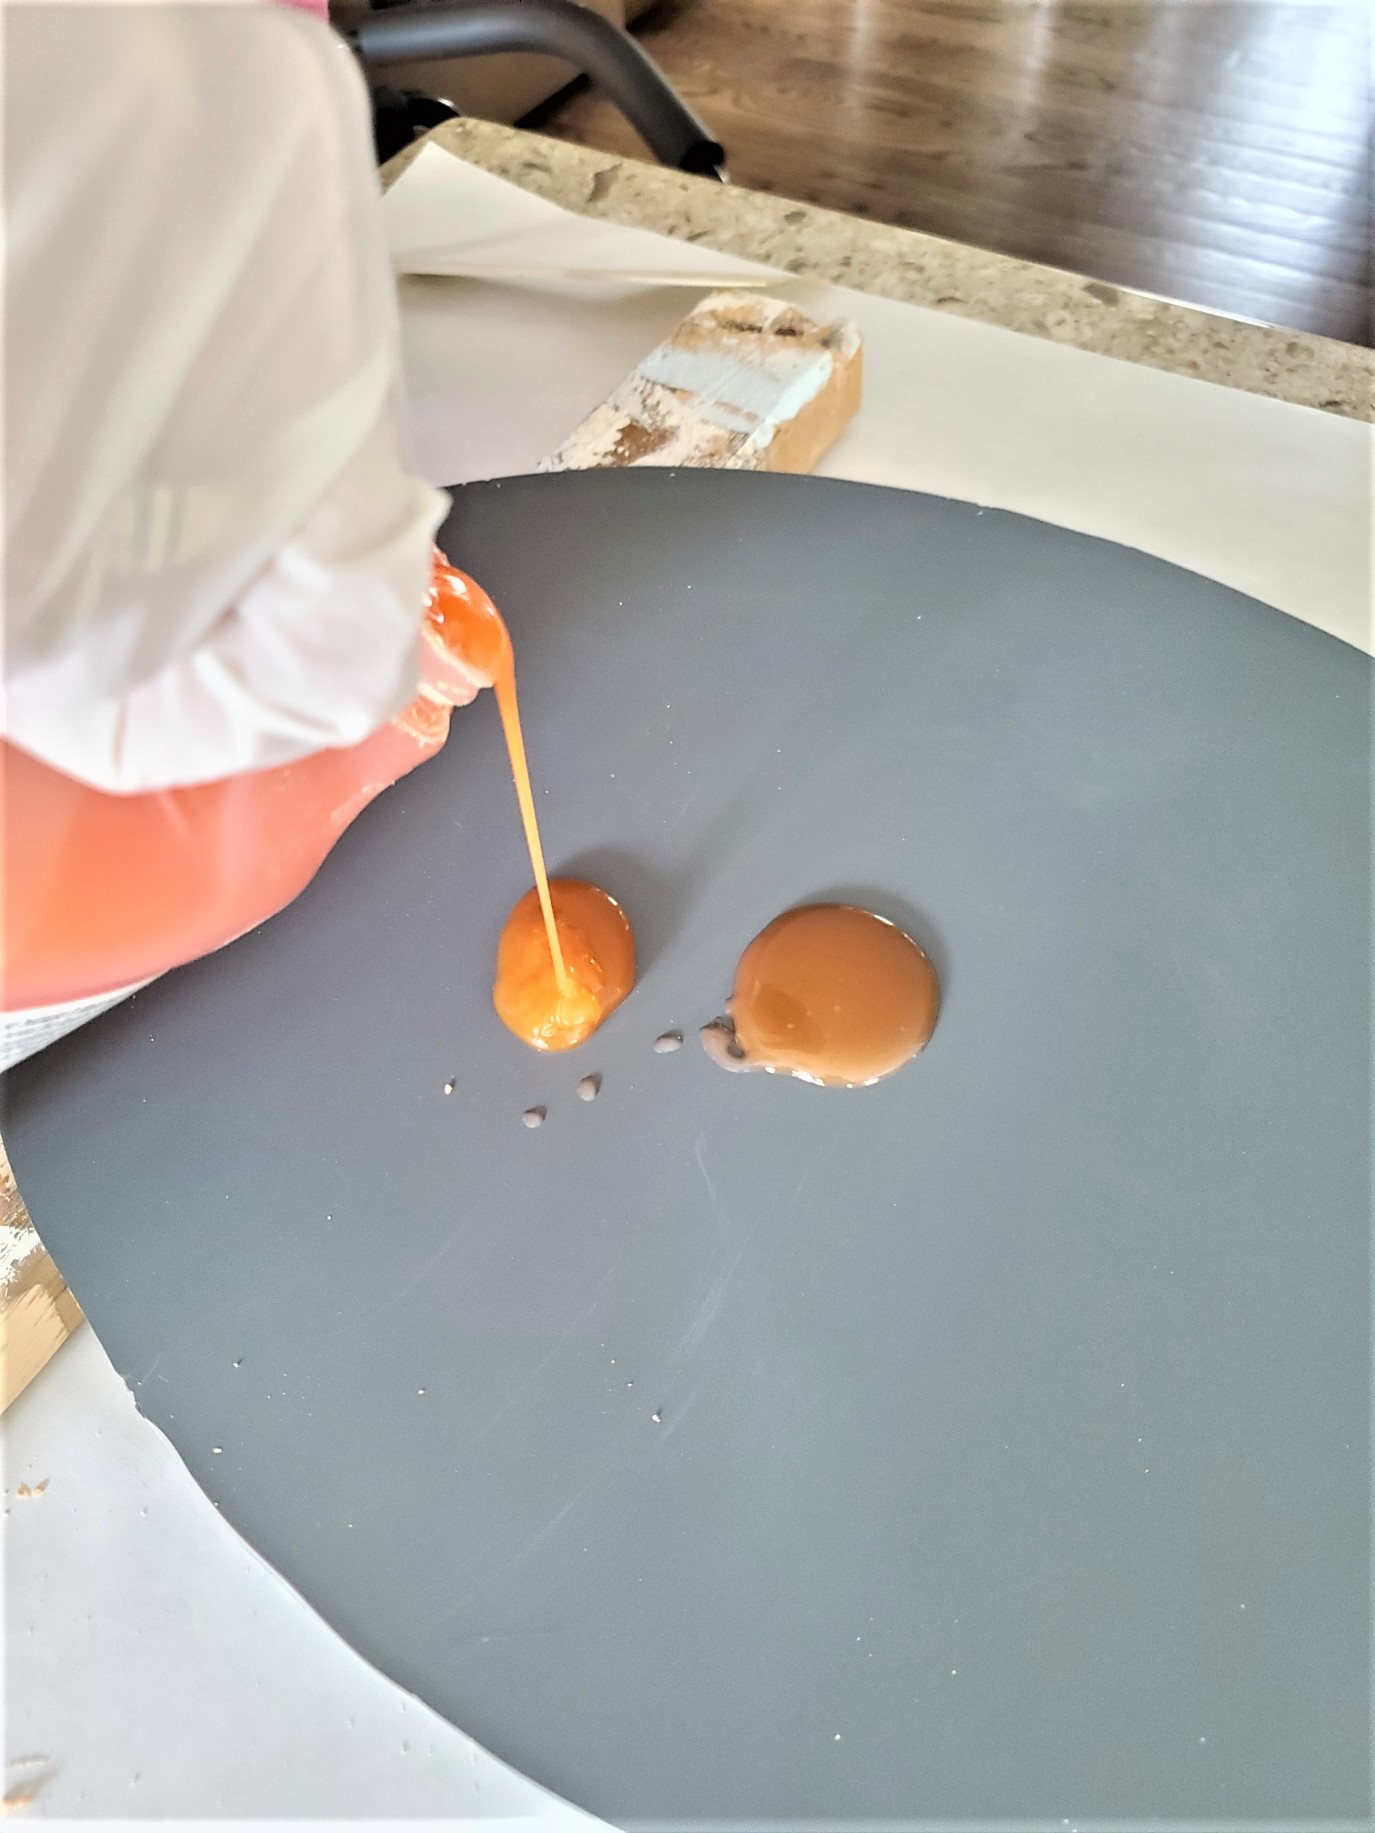
Step 1: Citrus Strip
To begin the antique mirror process, a heavy coat of Citrus strip should be spread on the entire back of the mirror and left to dry for 45 minutes. It’s great to know that this product doesn’t have a strong, unpleasant odor like some other chemicals used for similar projects.
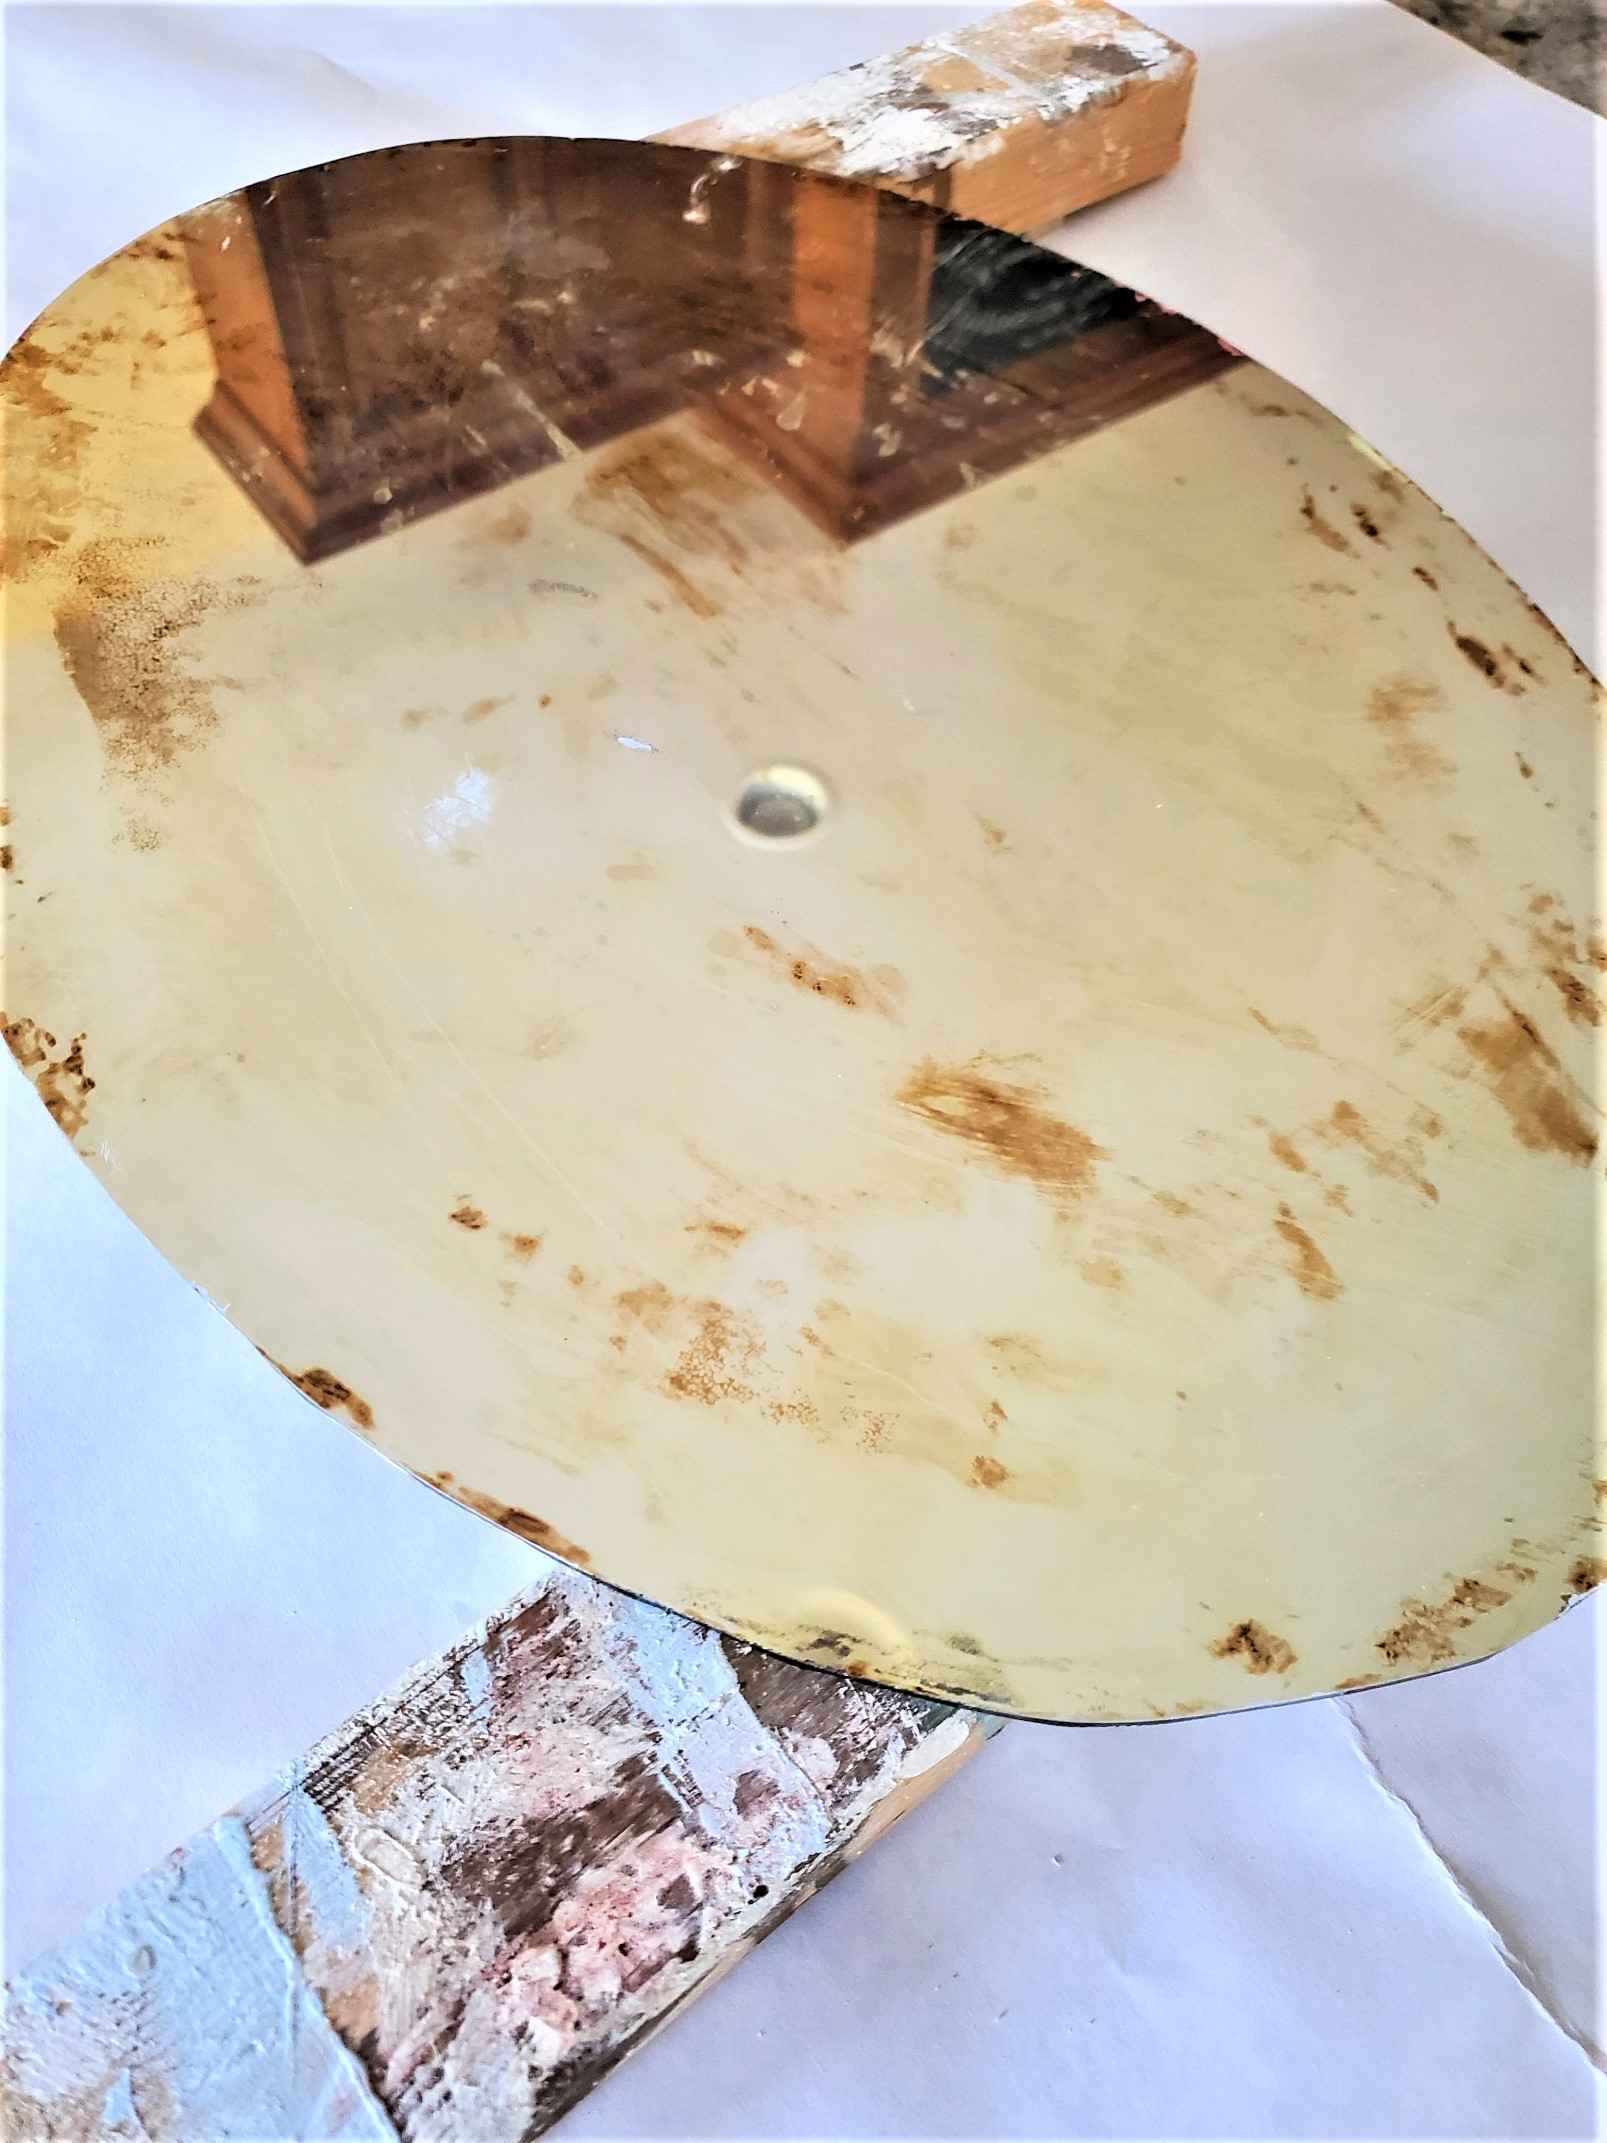
Even though our mirror had two coats of backing, it was still relatively quick to strip. After letting the Citrus strip dry, the next step is to carefully scrape off the backing using a plastic putty knife.
It’s important to use plastic to avoid scratching the mirror and creating visible marks on the front side. This step can be a lot of fun as it’s exciting to see the backing slide off and reveal the clear glass underneath.
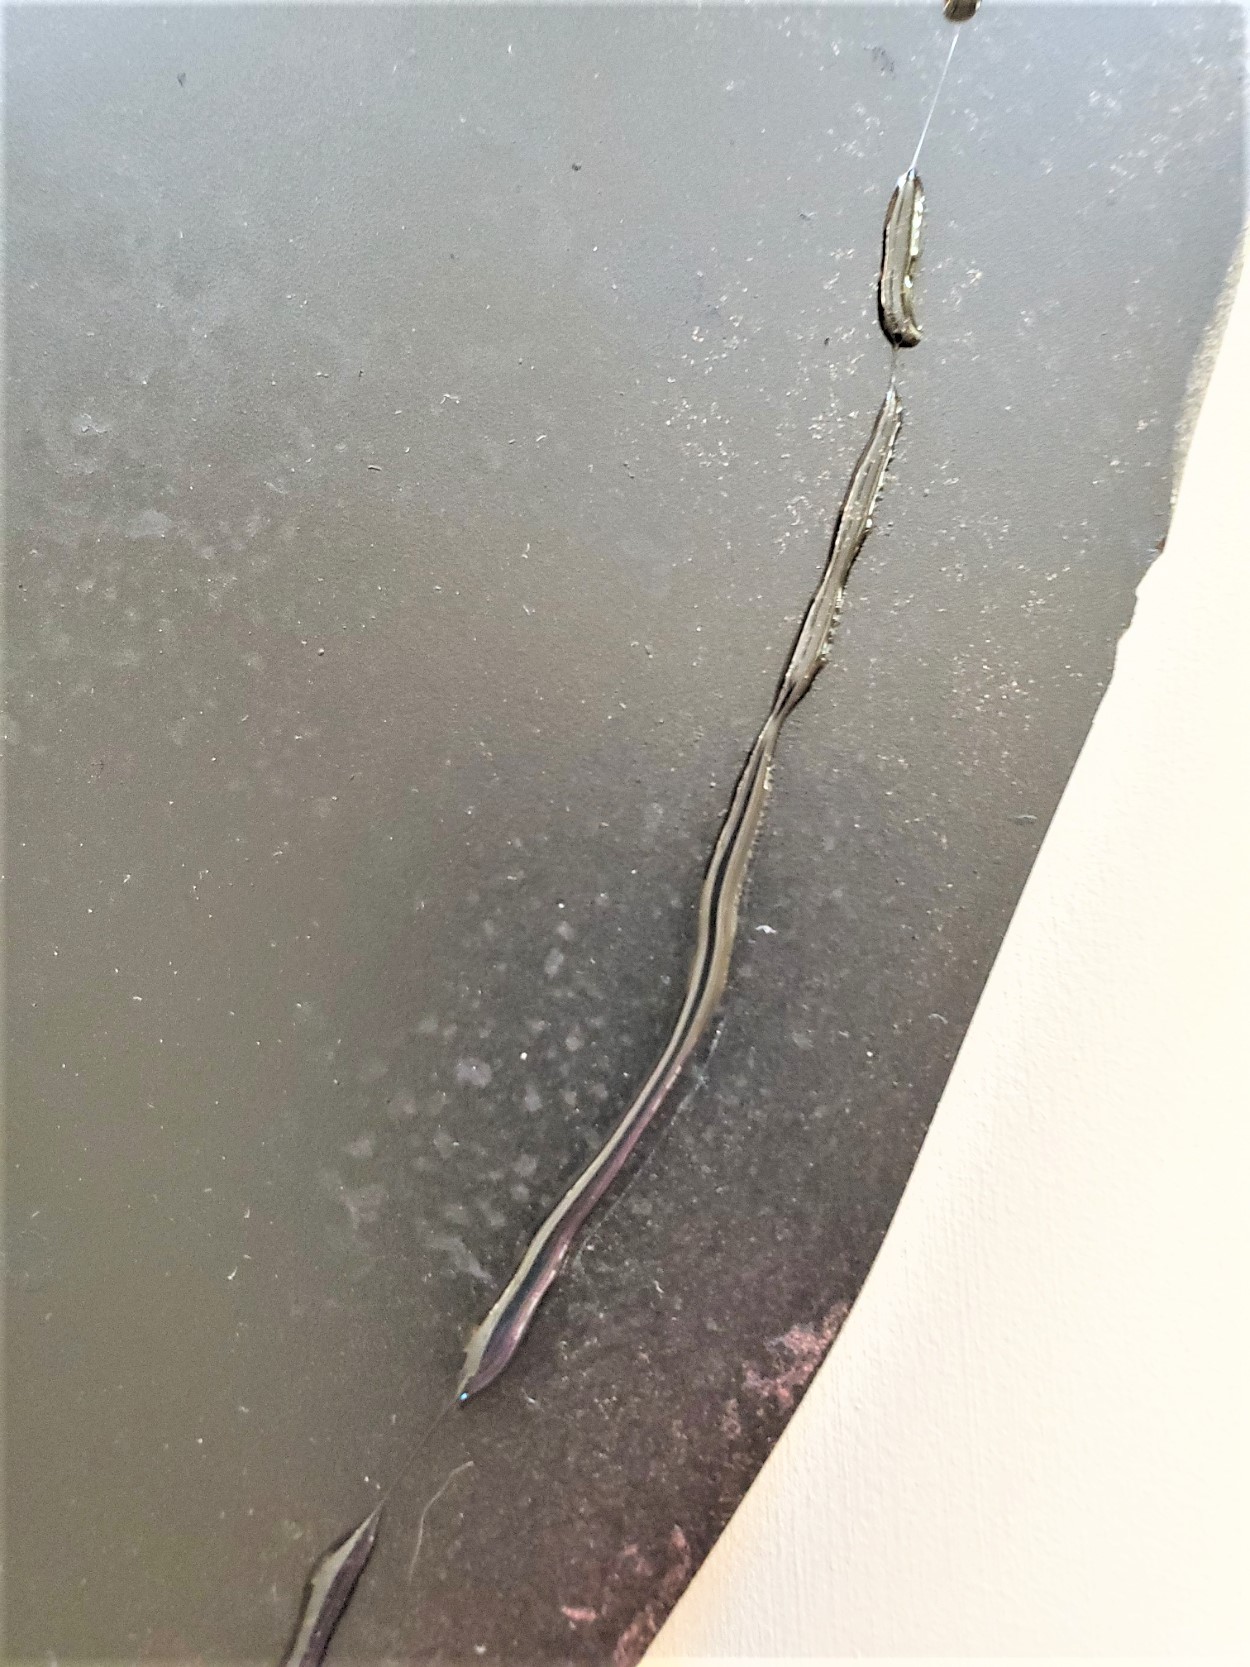
Step 2: Bleach And Water Solution
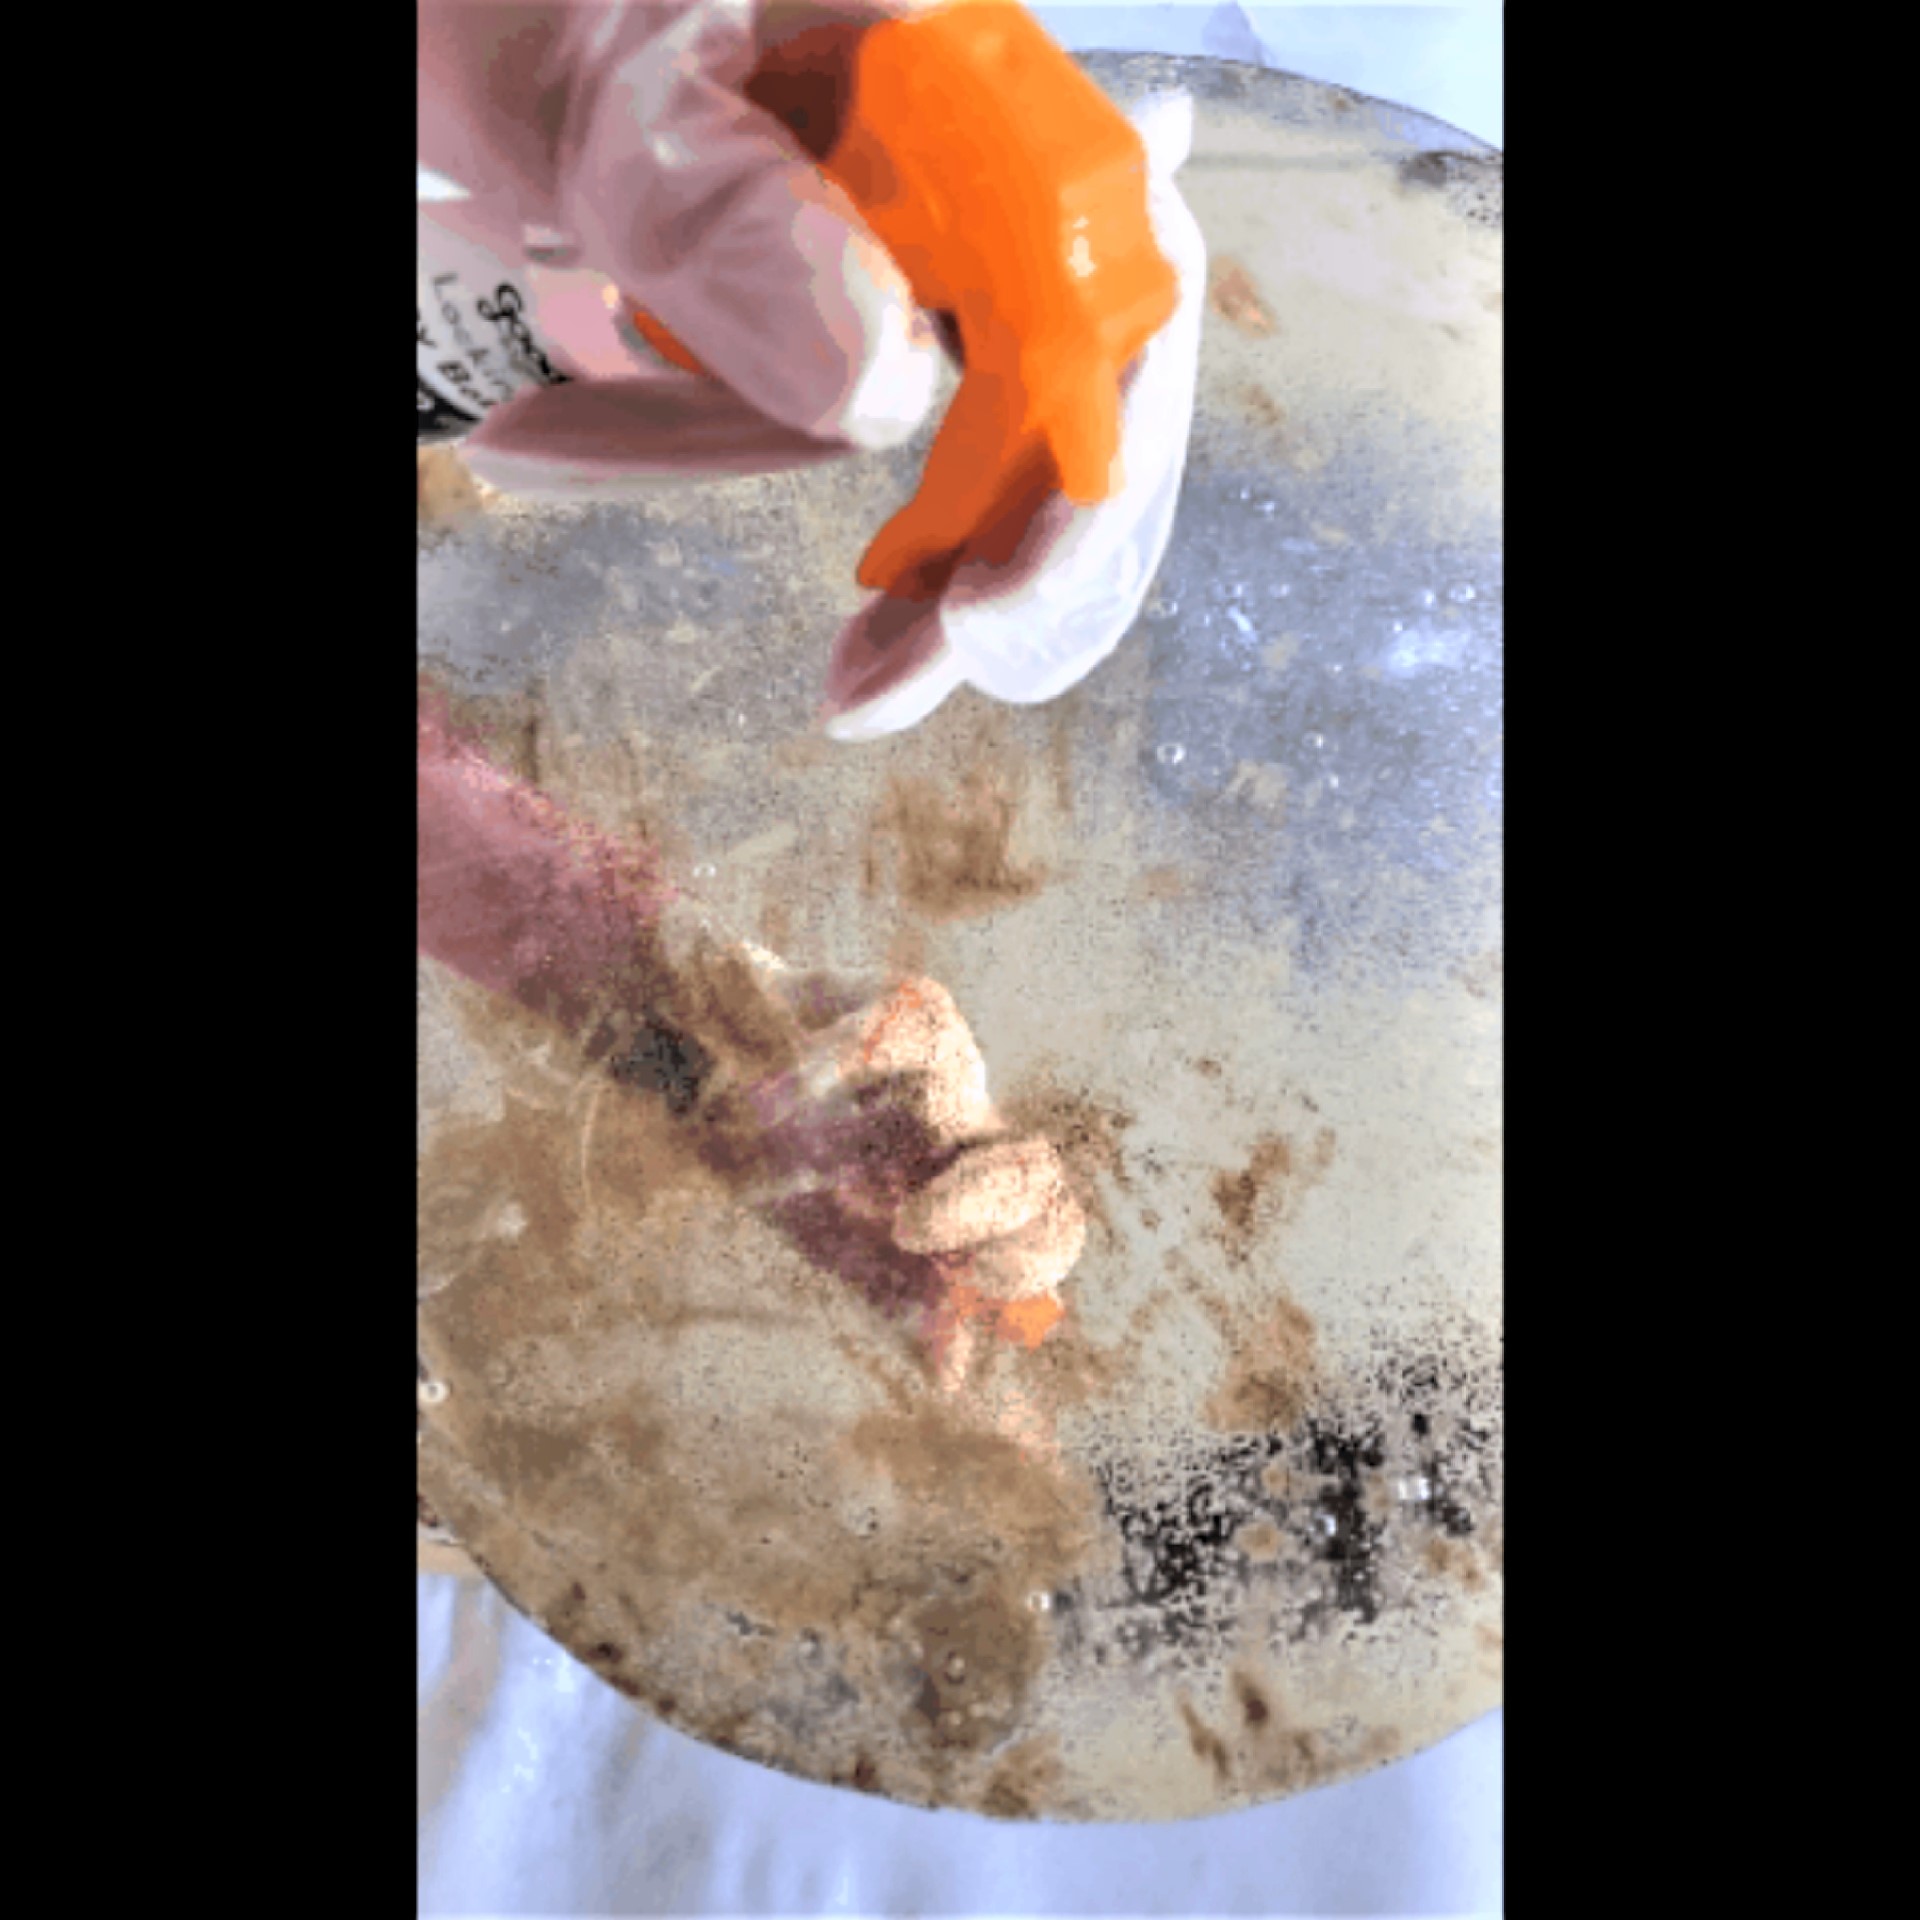
Using the water and bleach solution is the next step in achieving the antique mirror look. This solution is applied to specific areas of the mirror, with a focus on the outer edges and larger portions in the center. The center area is where the stencil will be added.
After spraying the solution, it’s important to carefully blot the excess to prevent it from spreading and getting all over. Since the odor from the solution isn’t too strong, we did this step on your kitchen counter. It’s clear to see that the antique mirror effect is starting to emerge.
This step of using the water and bleach solution is crucial in achieving the desired antique mirror look. The solution is applied strategically to certain areas of the mirror to create an aged effect. Typically, the focus is on the outer edges and larger portions in the center to give the mirror a more vintage feel.
Once this step is completed, it’s clear to see that the antique mirror effect is starting to emerge. The water and bleach solution has the power to change the appearance of the mirror, making it look older and more rustic. With this simple step, you can transform any plain mirror into a beautiful antique piece.
We did this because again I’m adding a French stencil to the center. I apologize for this photo. I forgot to stop recording for YouTube and take a picture.
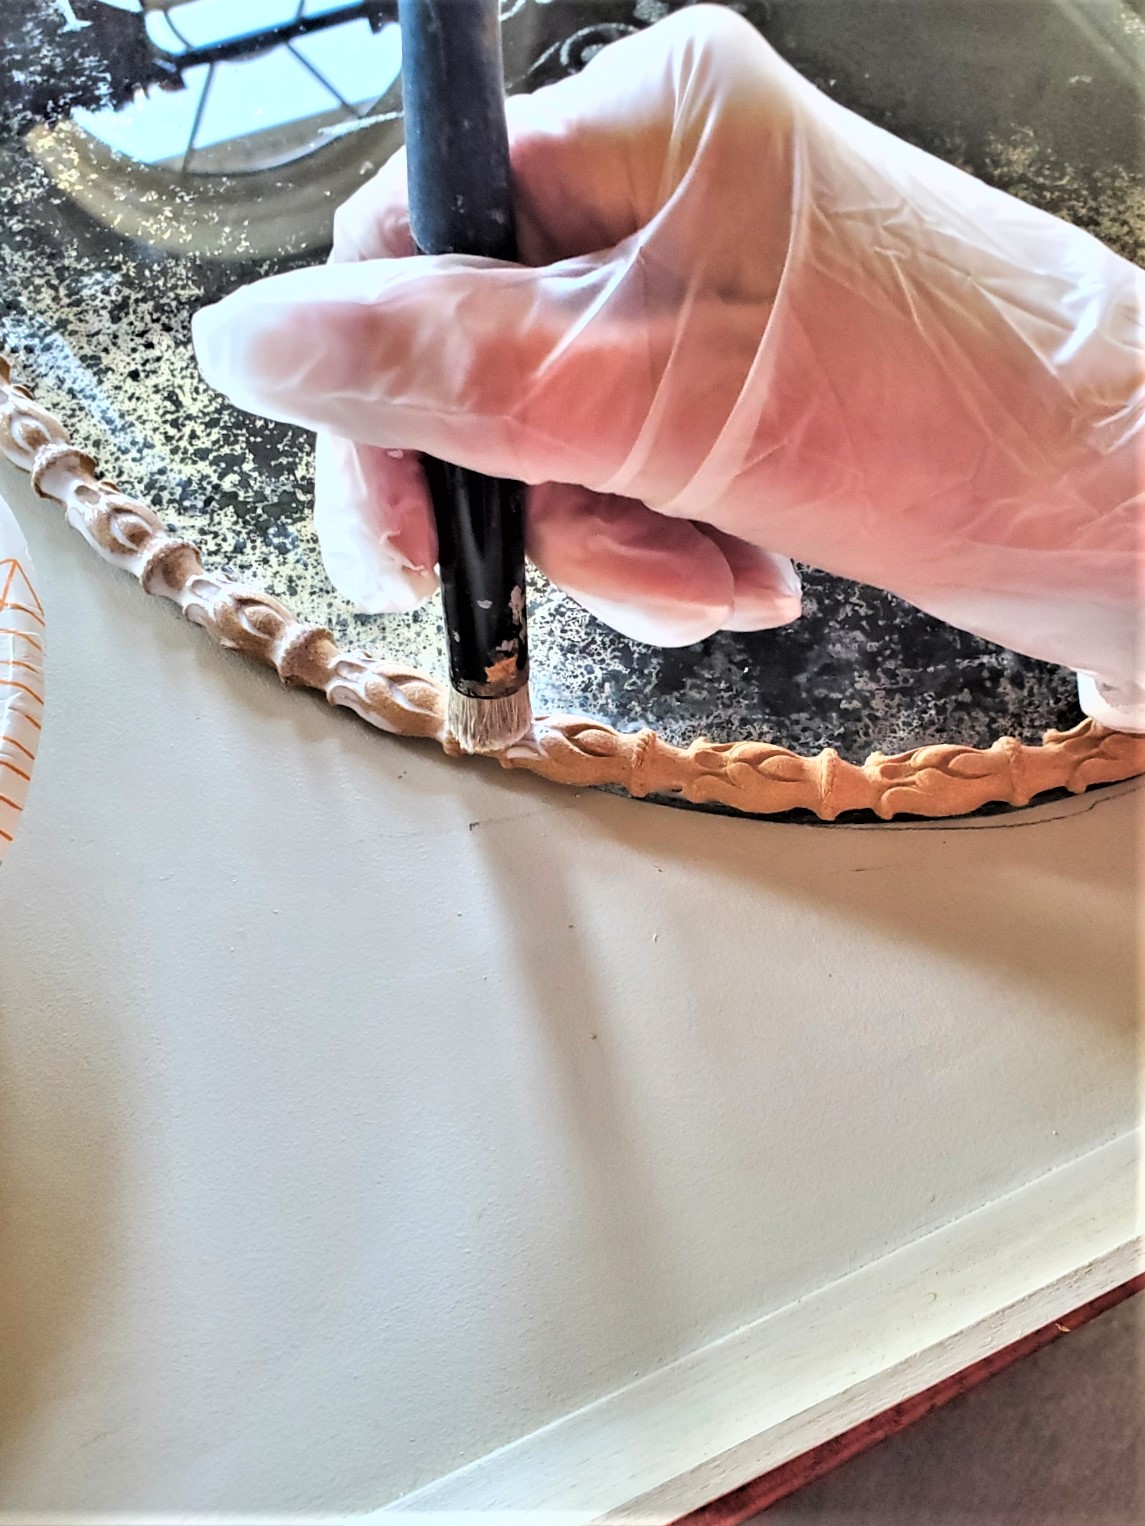
Step 3: Stenciling
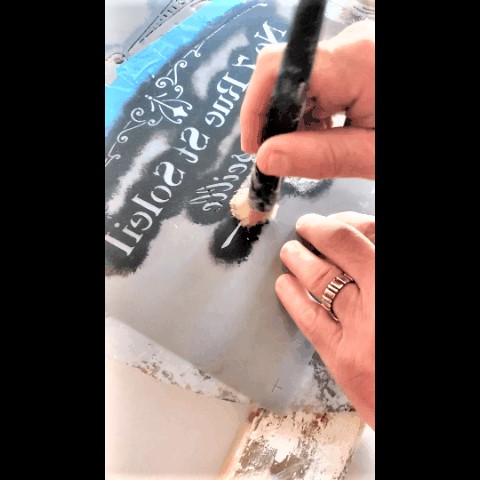
Adding a stencil to the antique mirror is a great way to add some extra detail and personality to the piece. For this step, I used champagne craft paint and a stencil brush. The key to successful stenciling is to use a light touch with the brush, ensuring that the paint doesn’t bleed under the stencil.
I carefully applied the paint using the stencil brush and allowed it to dry completely before moving on to the next step. This ensured that the paint didn’t smudge or smear, which could ruin the antique effect I was trying to achieve.
Once the stencil was dry, I was able to step back and admire the beautiful detail it added to the mirror. The champagne color perfectly complemented the gold trim and created a cohesive, elegant look. Overall, I was thrilled with how the stenciling turned out and it was a fun and easy way to personalize the mirror.
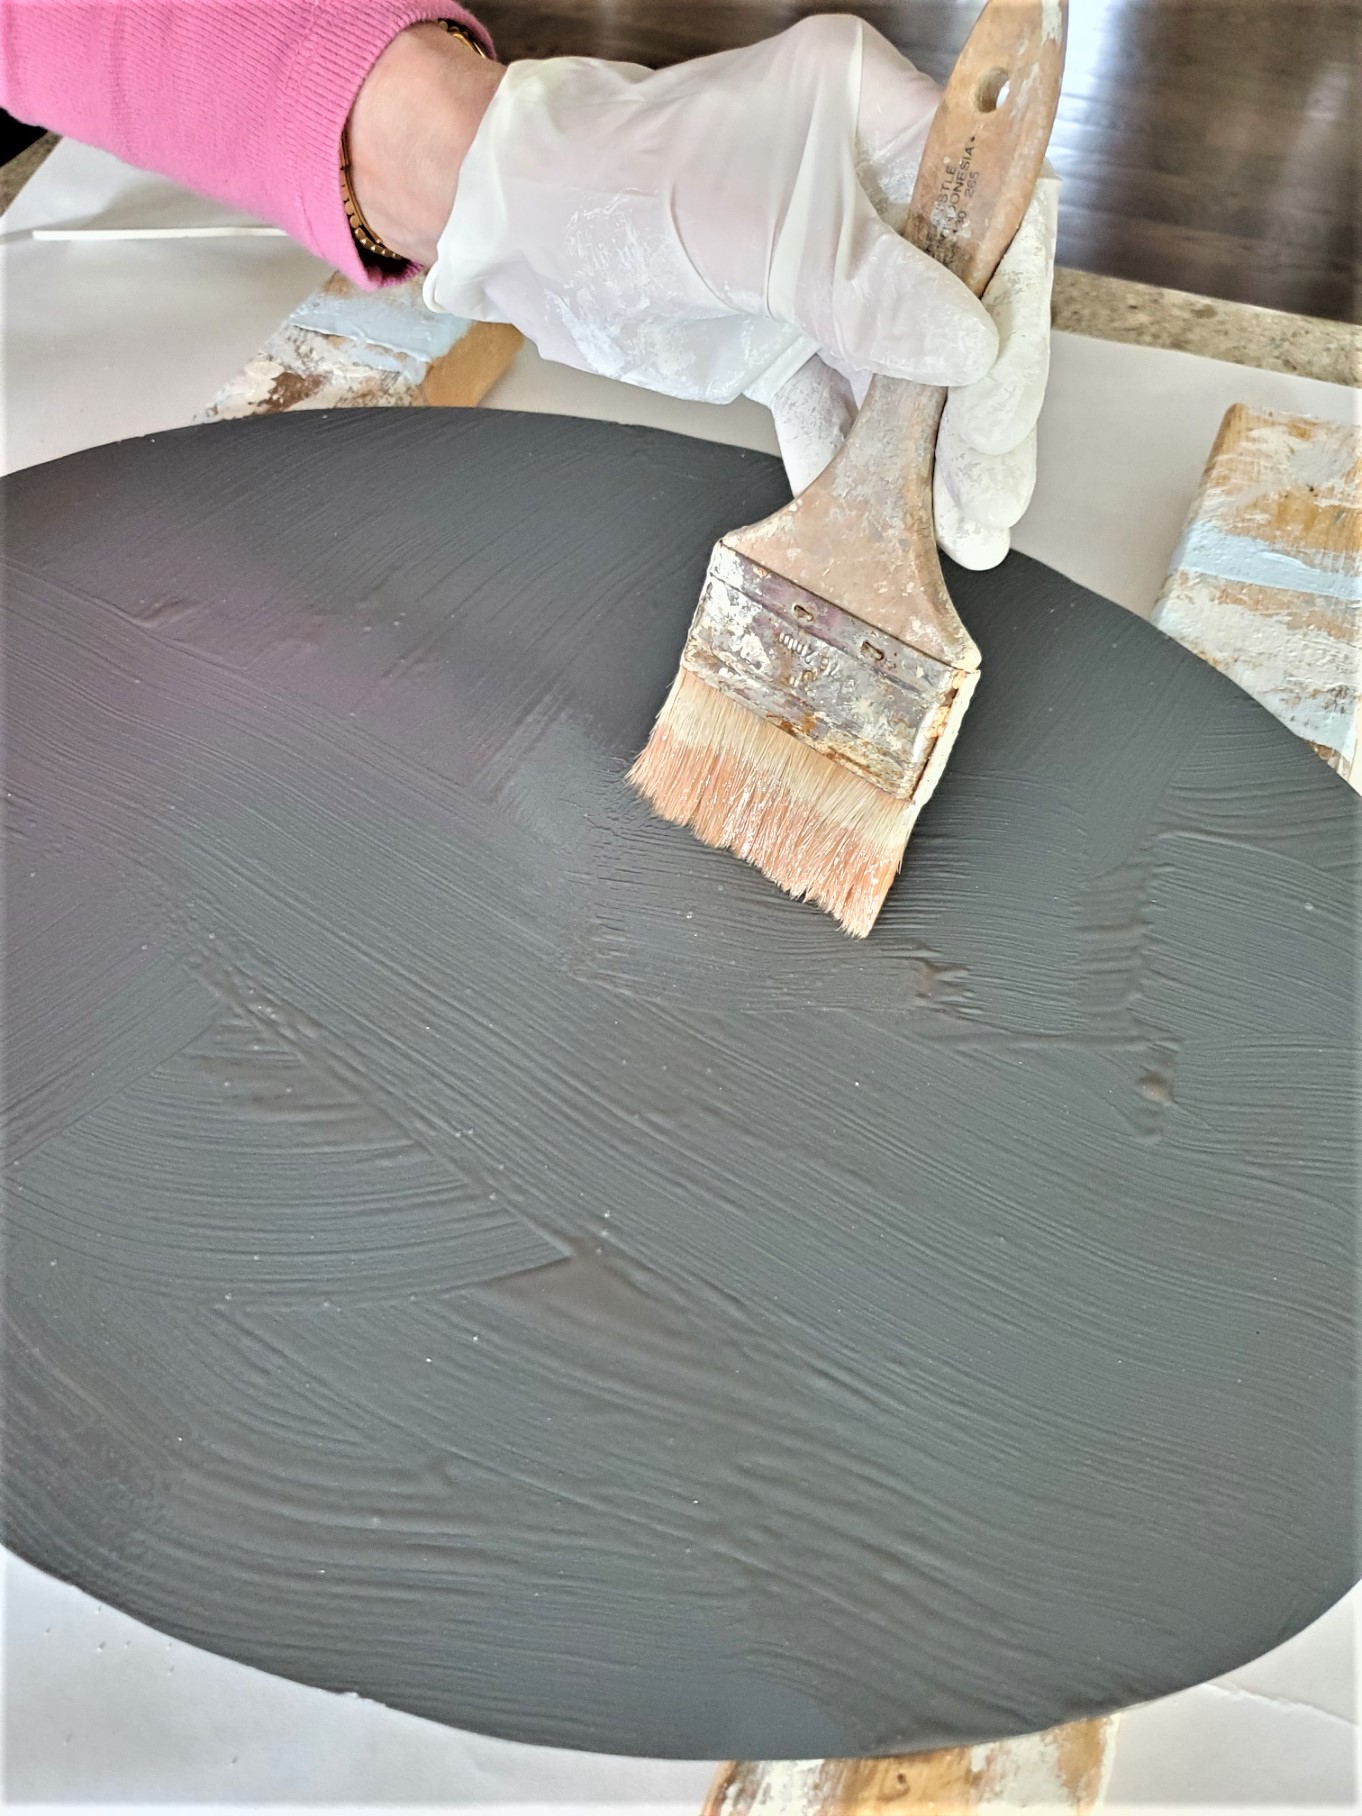
Step 4: Final Step
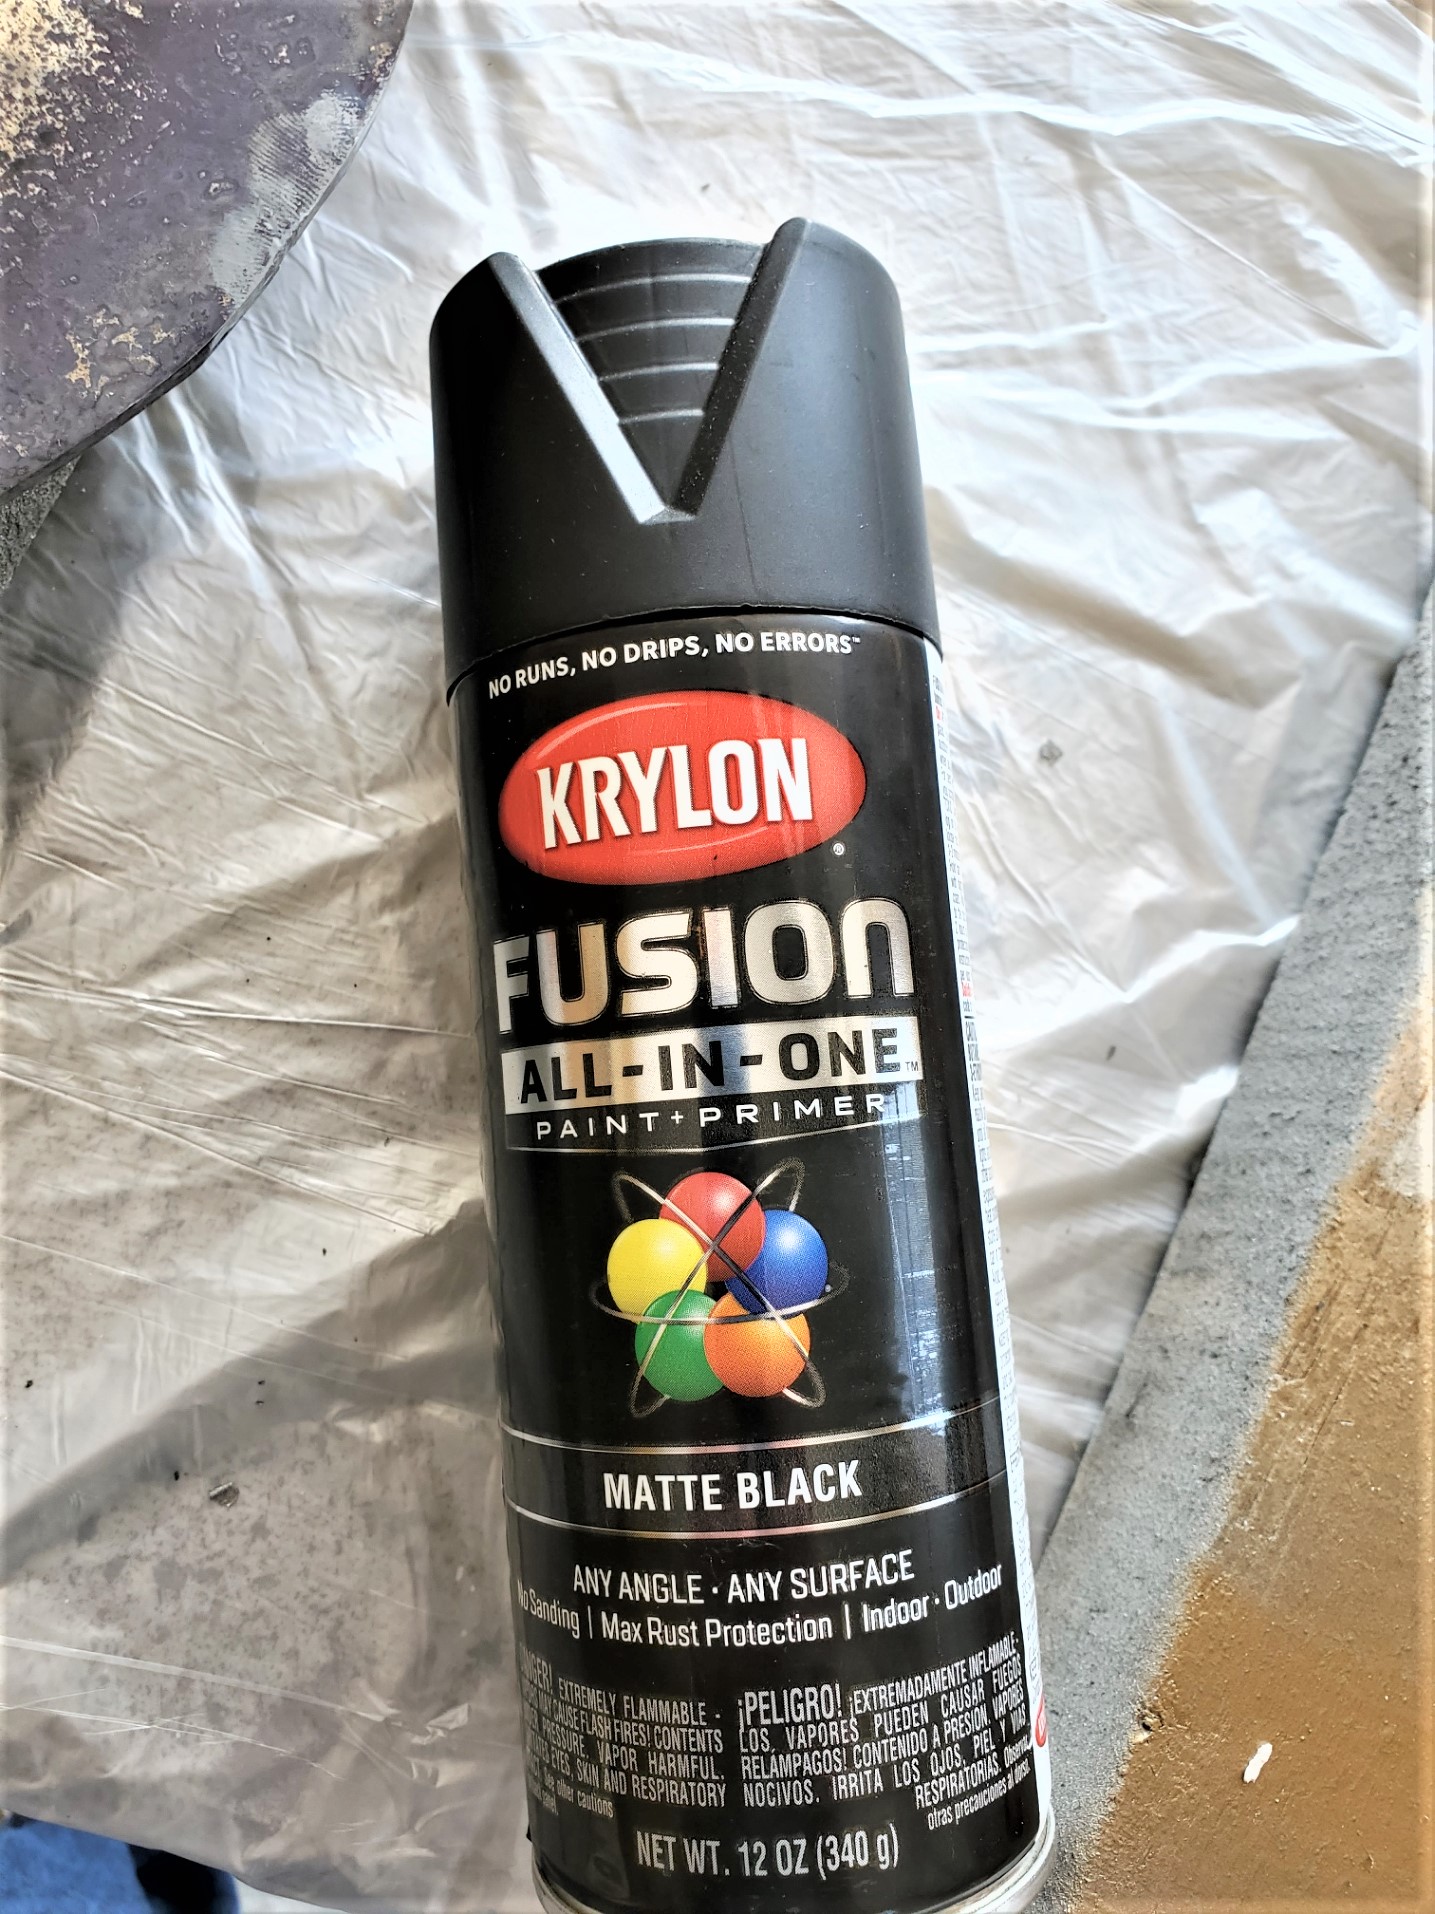
The last step in the DIY antique mirror tutorial involves spraying the mirror with Krylon Fusion matte black. This step is crucial as it adds depth and dimension to the mirror’s appearance.
Next, cover your work table or surface with a drop cloth to protect it from any overspray. Shake the can of Krylon Fusion matte black thoroughly before spraying the mirror. Begin by holding the can approximately 6-8 inches away from the mirror’s surface and apply a light, even coat.
Once you’ve finished spraying the mirror, allow it to dry completely. Then, carefully flip the mirror over onto a wood base or other protective surface to prevent any damage to the mirror’s surface.
Adding the Finished Project to Wood
Adding the Finished Piece to Wood
After all the hard work put into creating this beautiful piece, it’s important to take your time to ensure it’s securely attached to the wood base.
To begin, we traced the outer edge of the mirror with a pencil on the wood base. This step is crucial as it helps to ensure that the mirror will be centered and level once it’s attached.
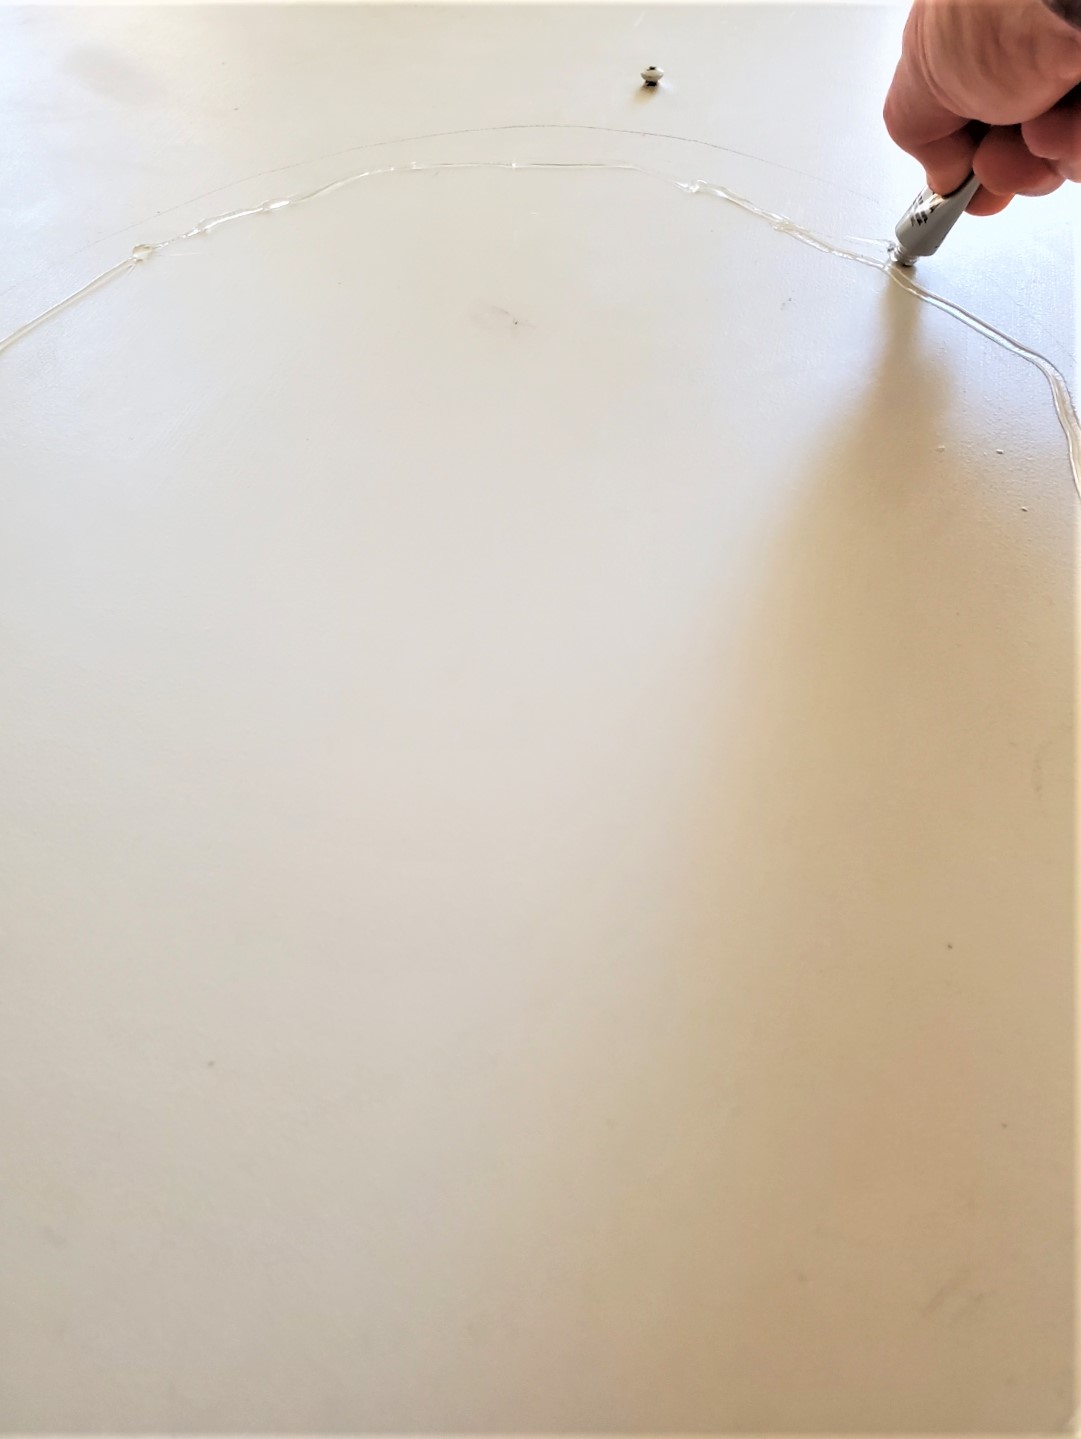
Before adding adhesive to the back of the antique mirror we carefully traced the outer edge of the mirror with a pencil.
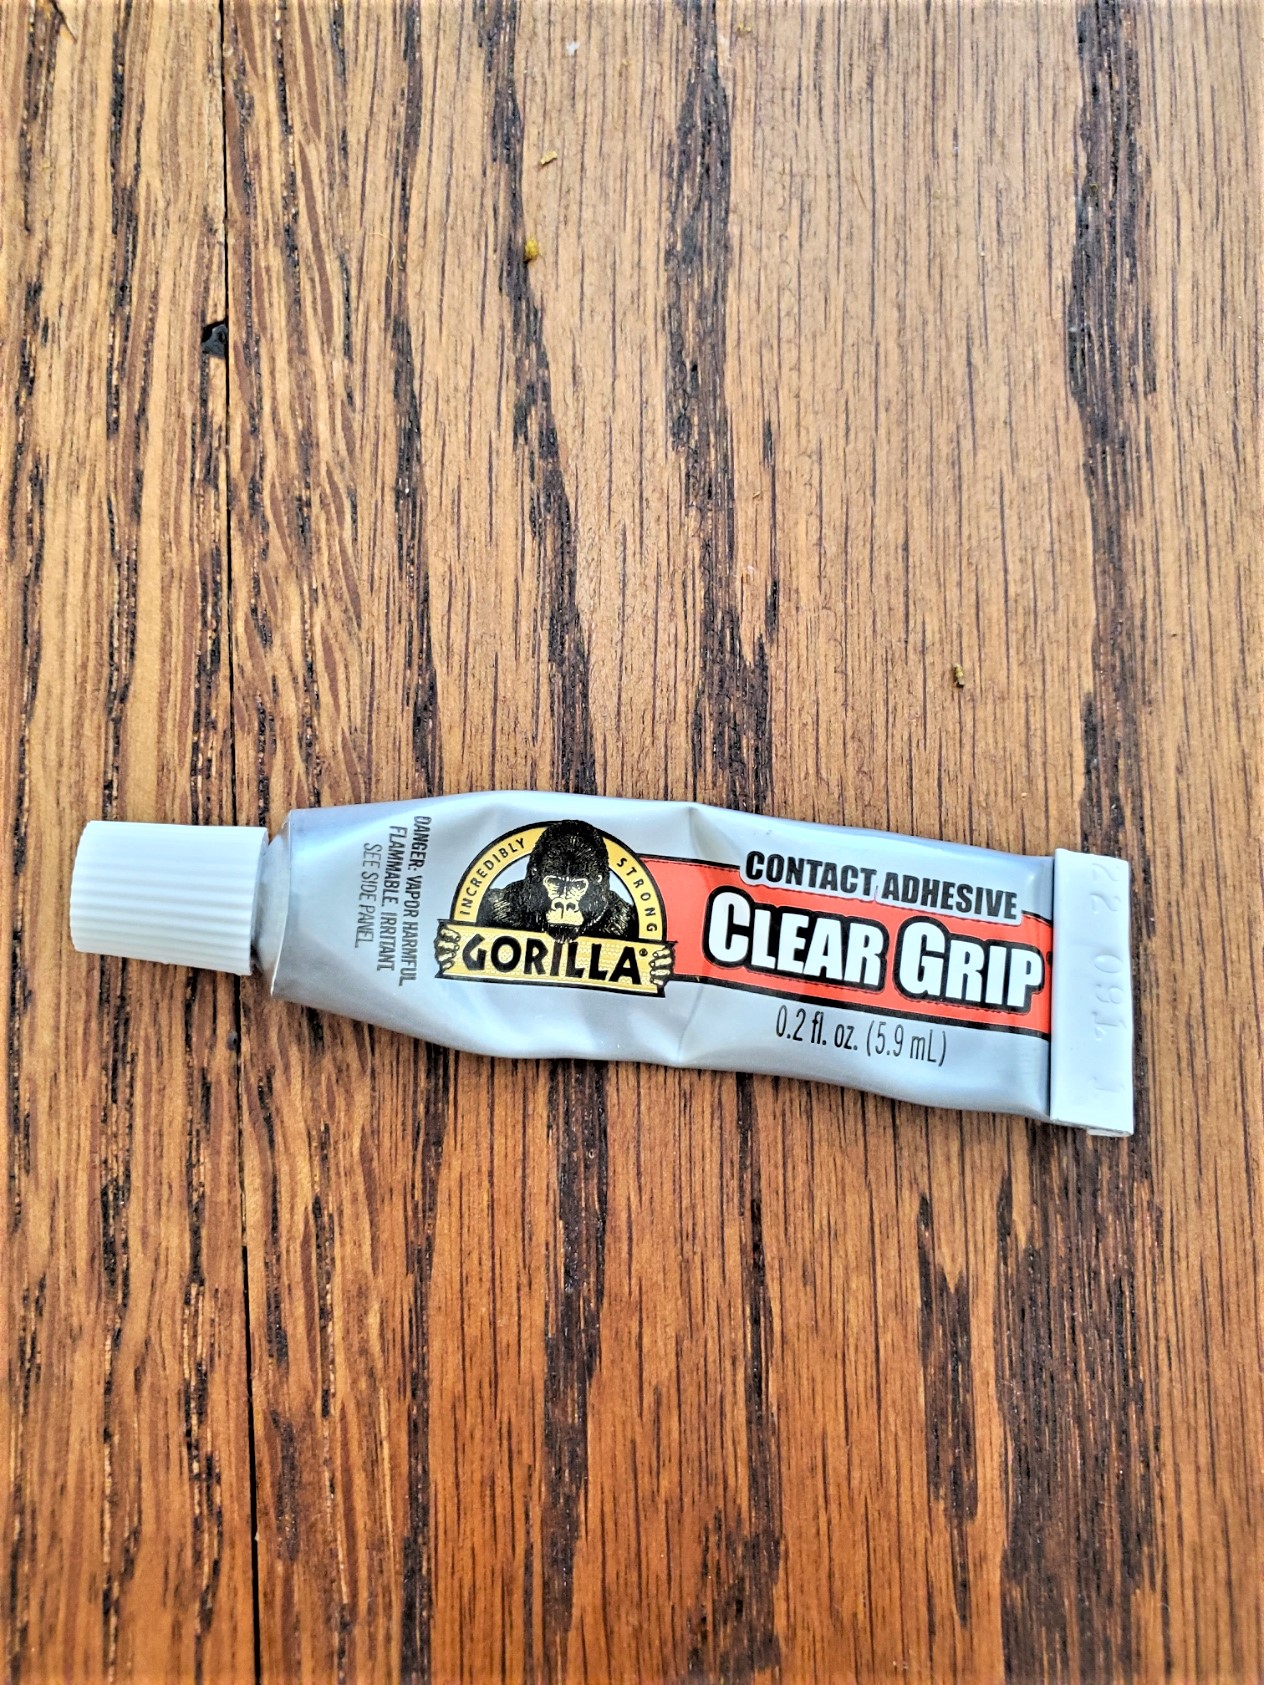
Next, we carefully applied Gorilla contact adhesive clear grip to both the wood base and the back of the mirror. My husband then carefully flipped the mirror over and pressed it lightly onto the glued areas to have them connect. Liquid nails works well too.
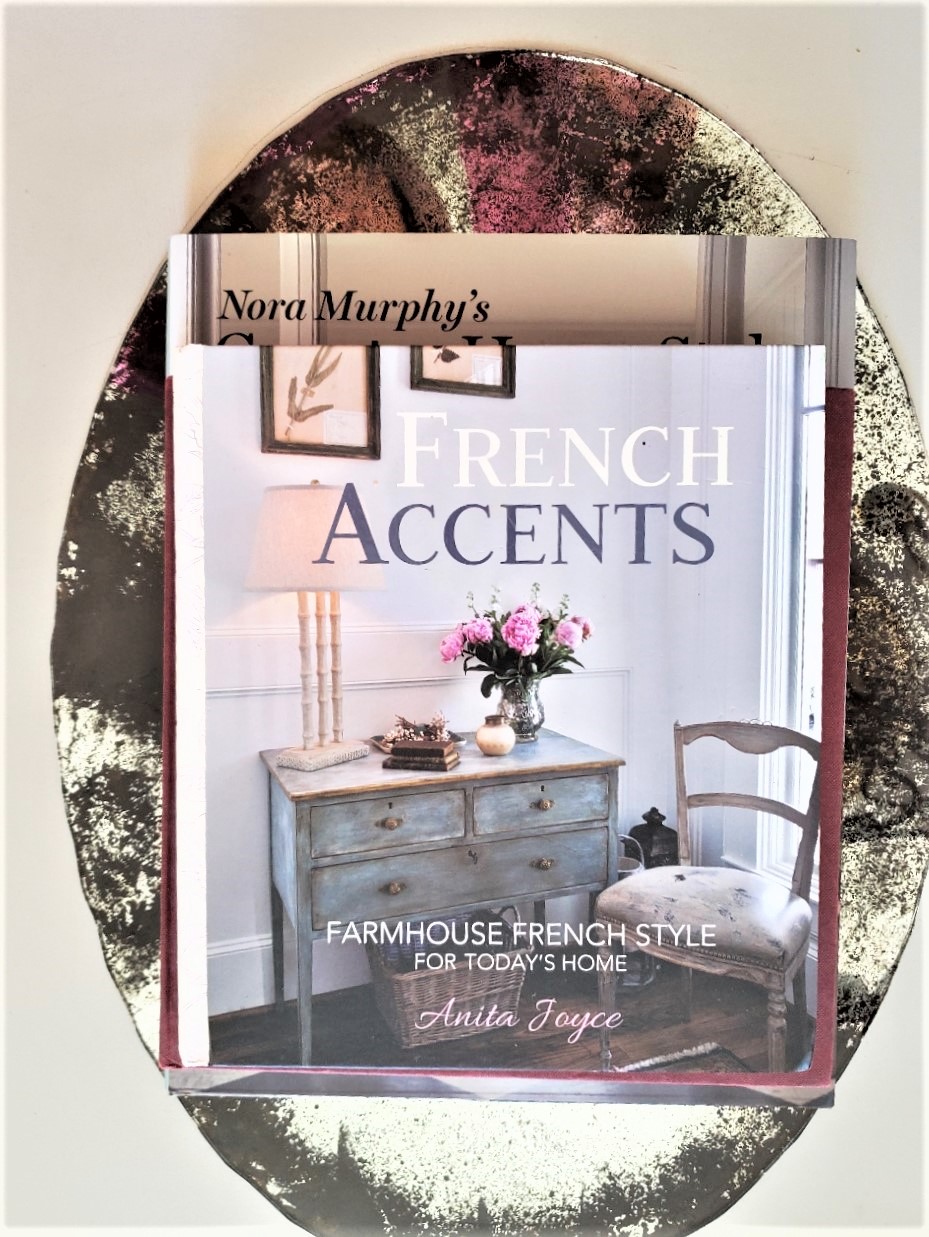
We then placed a couple of my decorating books on top of the mirror for 24 hours to allow the glue to set properly.
Adding More Character to the Project With Trim
More Character to the Project With Trim
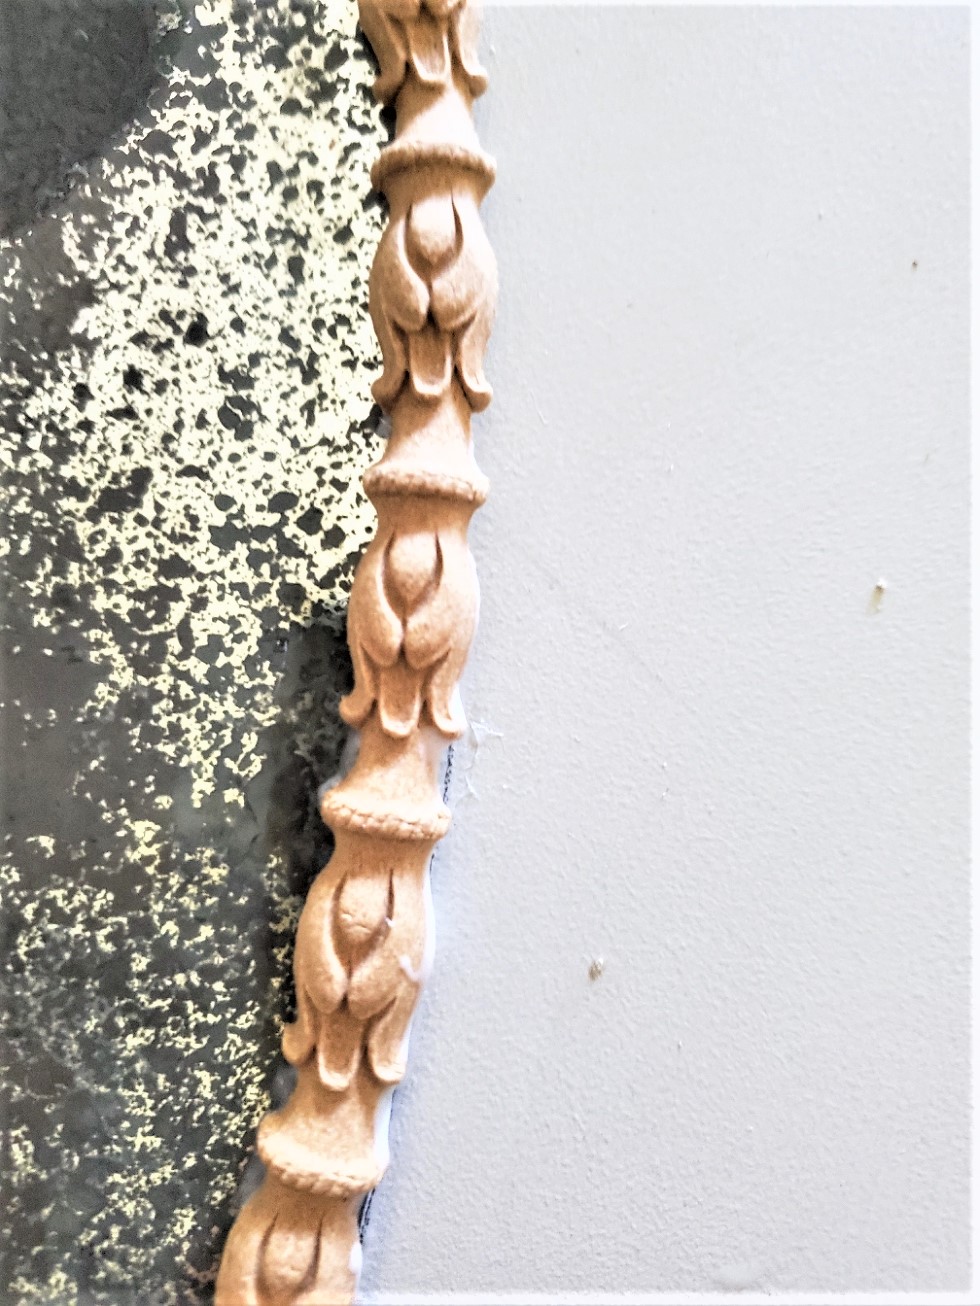
WoodUbend is a great product to use when adding more character to an antique mirror project. This product is a decorative wooden molding that can be sanded, stained, drilled, distressed, and painted just like wood.
The difference is that when heated, it can bend and stretch, and even be sliced with a craft knife. Moreover, WoodUbend can be adhered to just about anything using good quality wood glue.
Heating Wood Trim
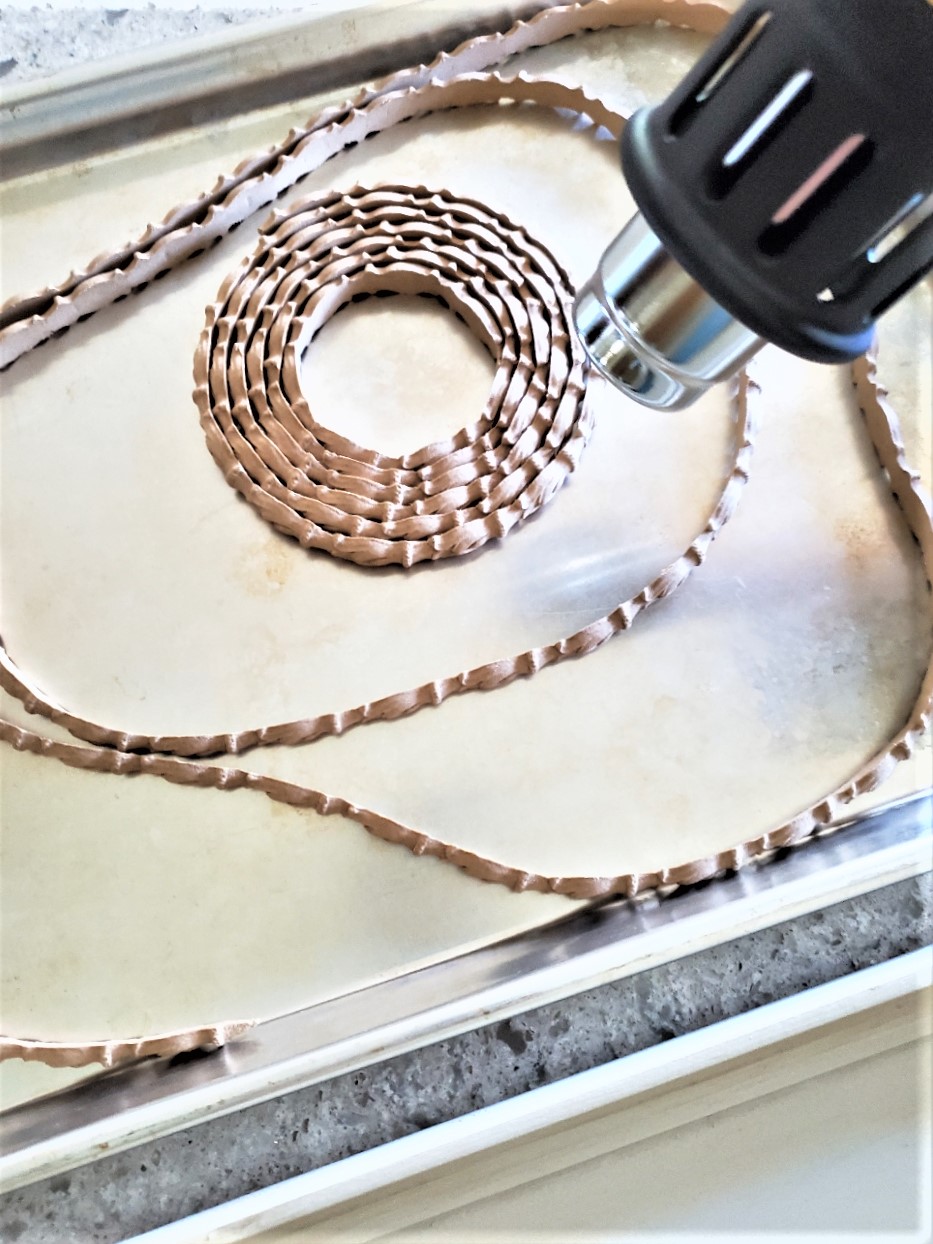
Heat Trim With Heat Gun
To heat the wood moldings, there are several ways you can do it. The fastest way is to use a heat gun and keep it moving in a circular motion. Alternatively, you can use a hair dryer, but it will take a little longer. It’s important to keep moving your heat source in a circular motion and not touch the molding so that it doesn’t burn.
Before working with the heat gun, it’s important to practice a bit to get a feel for the heat it puts out. You don’t want to burn the molding or damage your mirror project. Once you’re ready, heat the molding on a metal baking pan until it becomes flexible. Then, add glue to the top of your mirror, and immediately wrap the WoodUbend trim around it. Apply light pressure with your fingertips to ensure the trim is securely in place.
If you don’t want to use WoodUbend, you can always look for a square mirror and buy moldings at Home Depot or your local hardware store. This will give you more options to customize your project and add your own unique touch to it.
Now let’s see how I added even more character to my antique mirror by adding trim and making a beautiful frame.

Adding a Touch of Elegance to the Trim
A Bit of Elegance is Added to the Trim With Gold Leaf
What Supplies Are Needed For Gold Leafing?
Supply List:
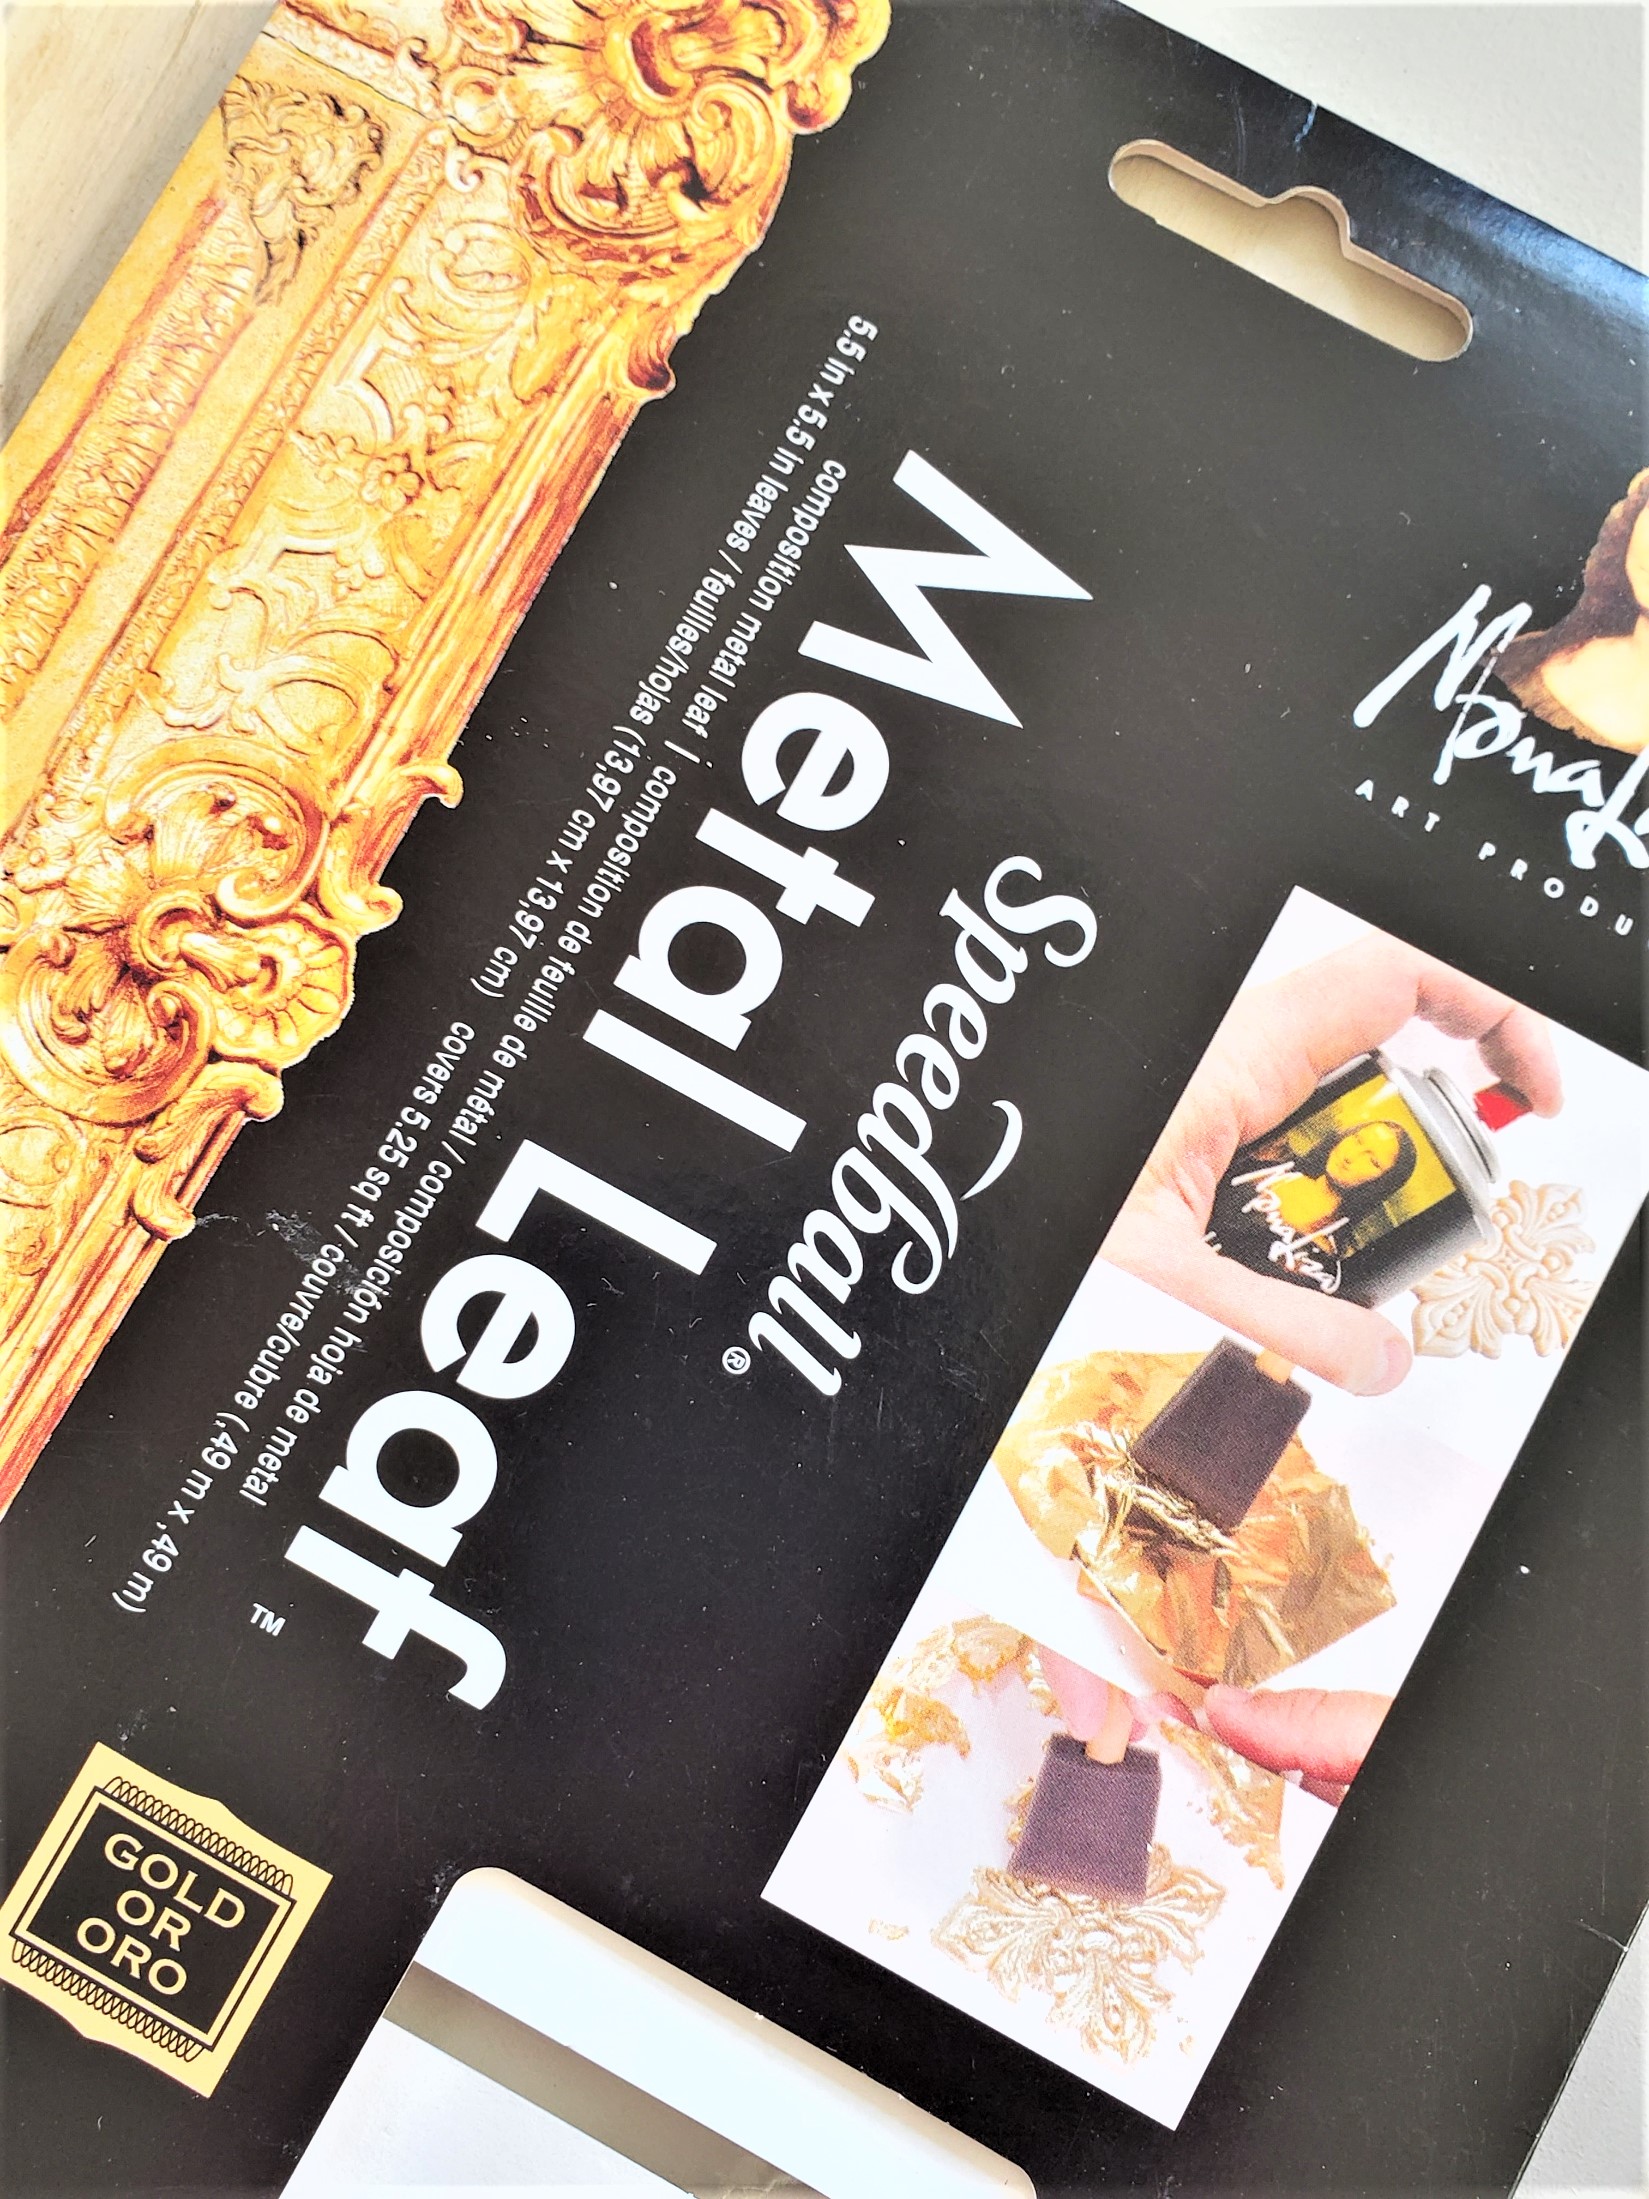
- Speedball Mona Lisa composition of metal gold
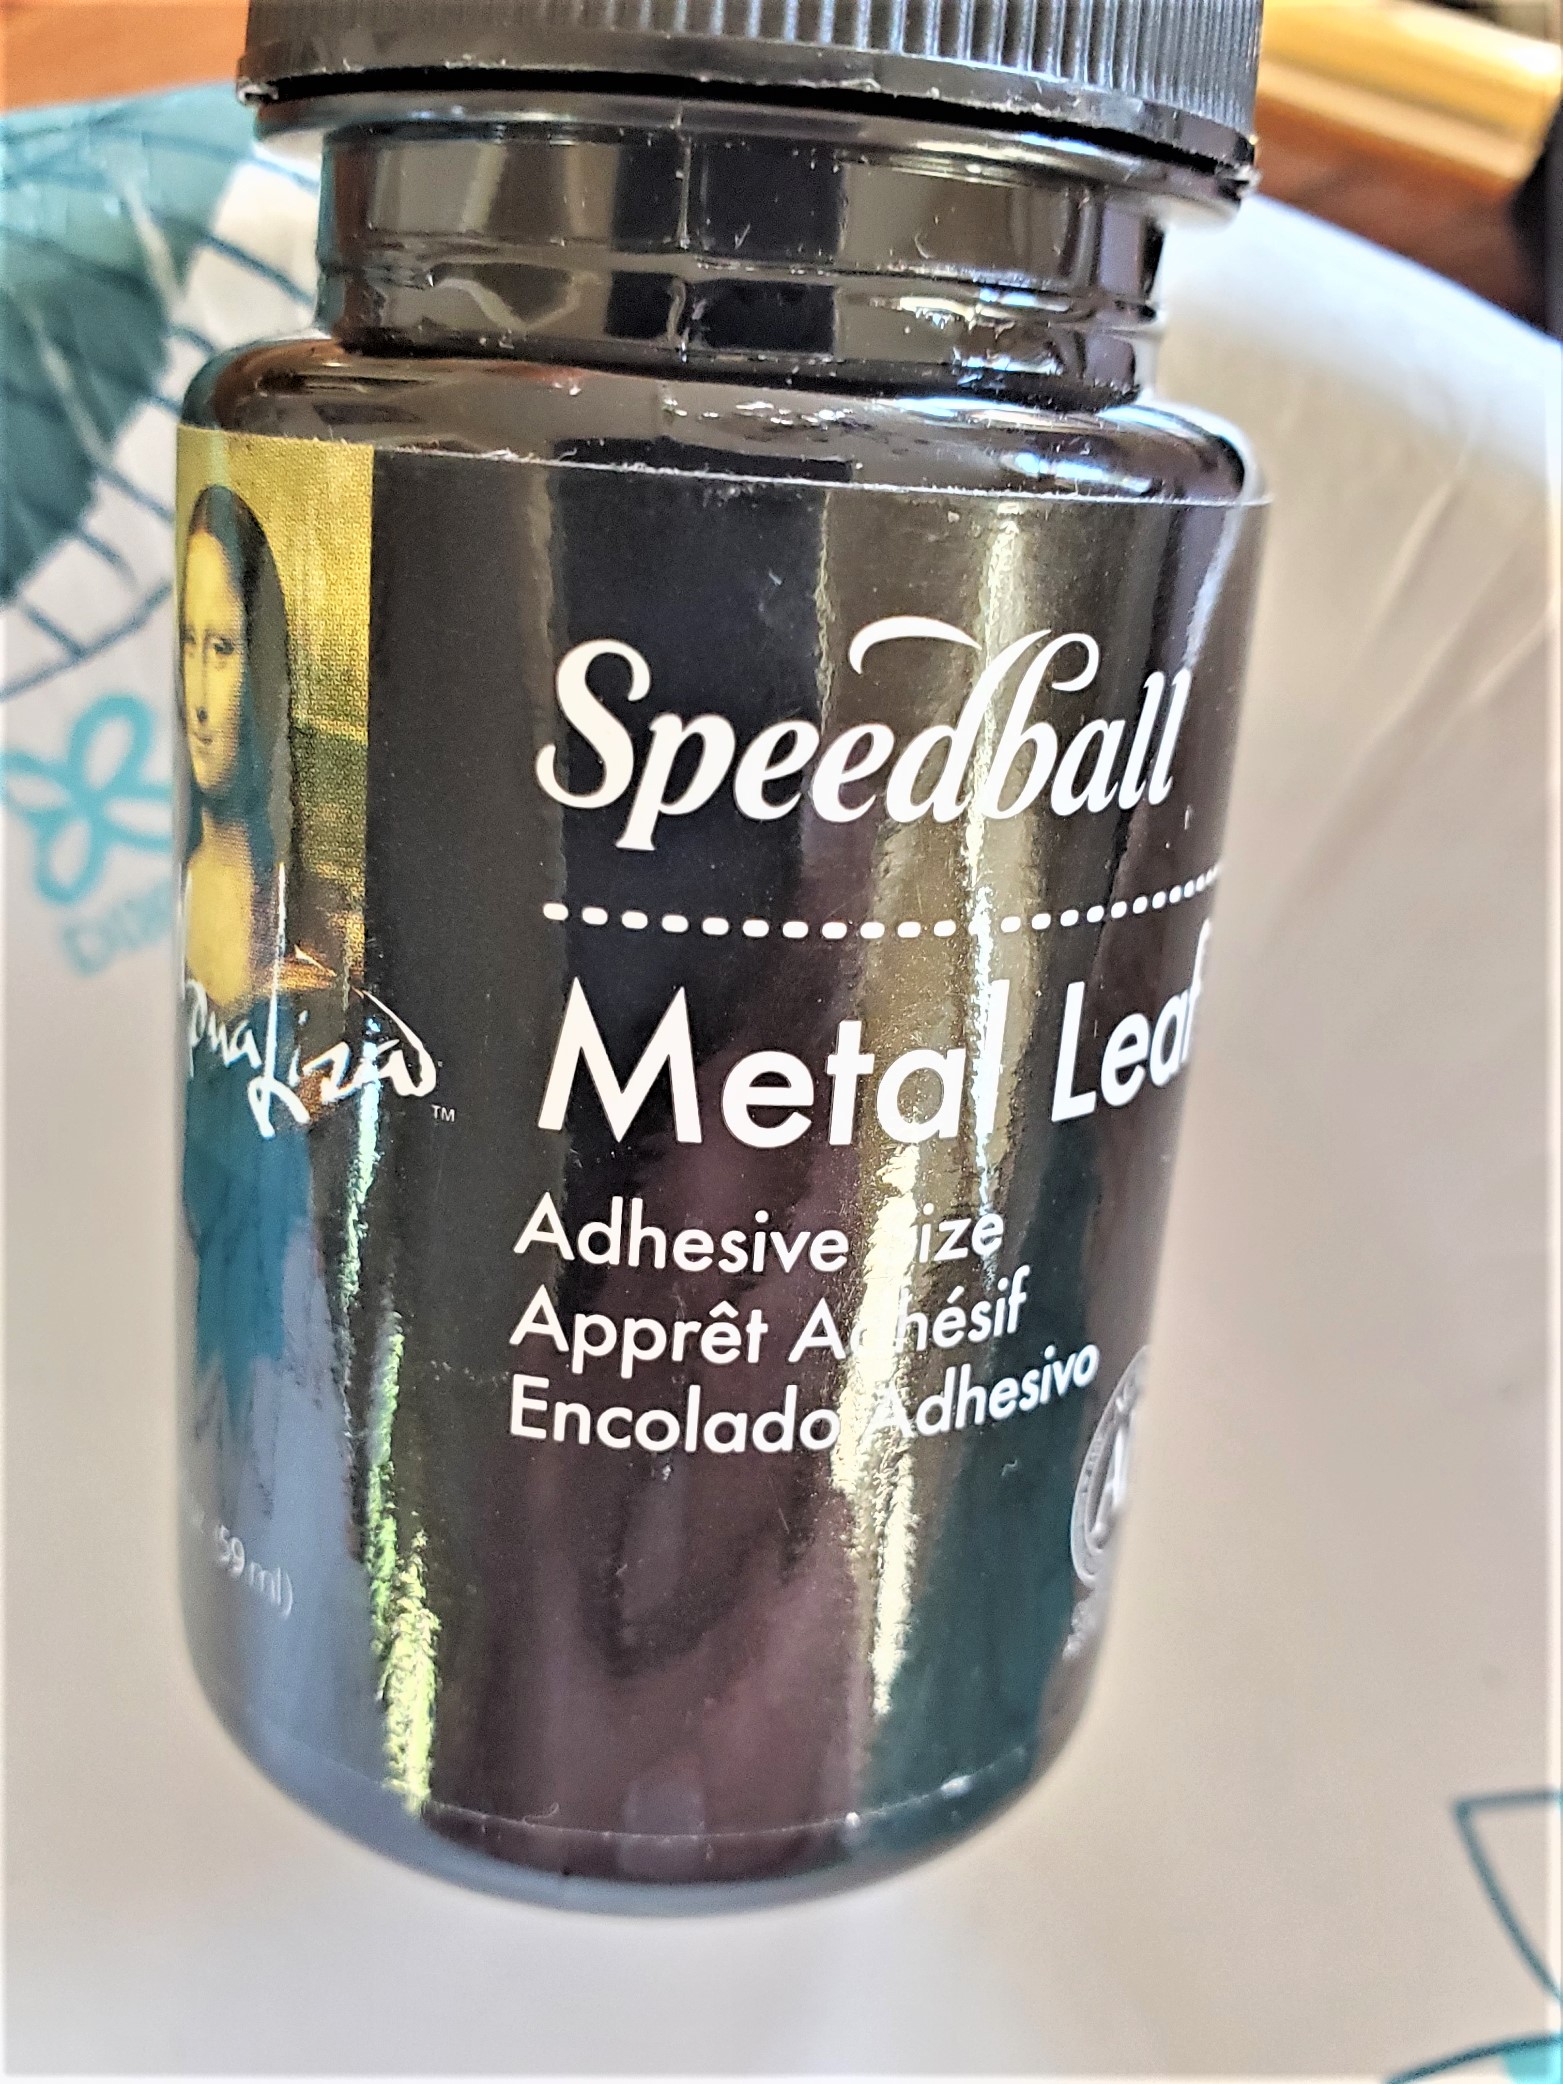
- Speedball Mona Lisa leaf adhesive
- Gilding brush gold duster
- Rubber gloves
Wear Thin Rubber Gloves
Why Wear Rubber Gloves?
When working with gold leafing wear rubber gloves to avoid the gold leafing sheets from sticking to hands and fingers. The adhesive is extremely sticky.
What To Do If The First Round Of Leafing Doesn’t Stick?
No worries, if the first round of the gold leaf sheets doesn’t stick, add more adhesive and more pieces of gold leaf. Do this until complete coverage is finished.
What Can Be Used Instead Of Gold Leaf?
Rub N Buff is a great product made up of waxes, fine metallic powders, and different pigments. It’s easy to apply. Apply it with your finger or a soft rag and buff well. It also comes in a multitude of colors.
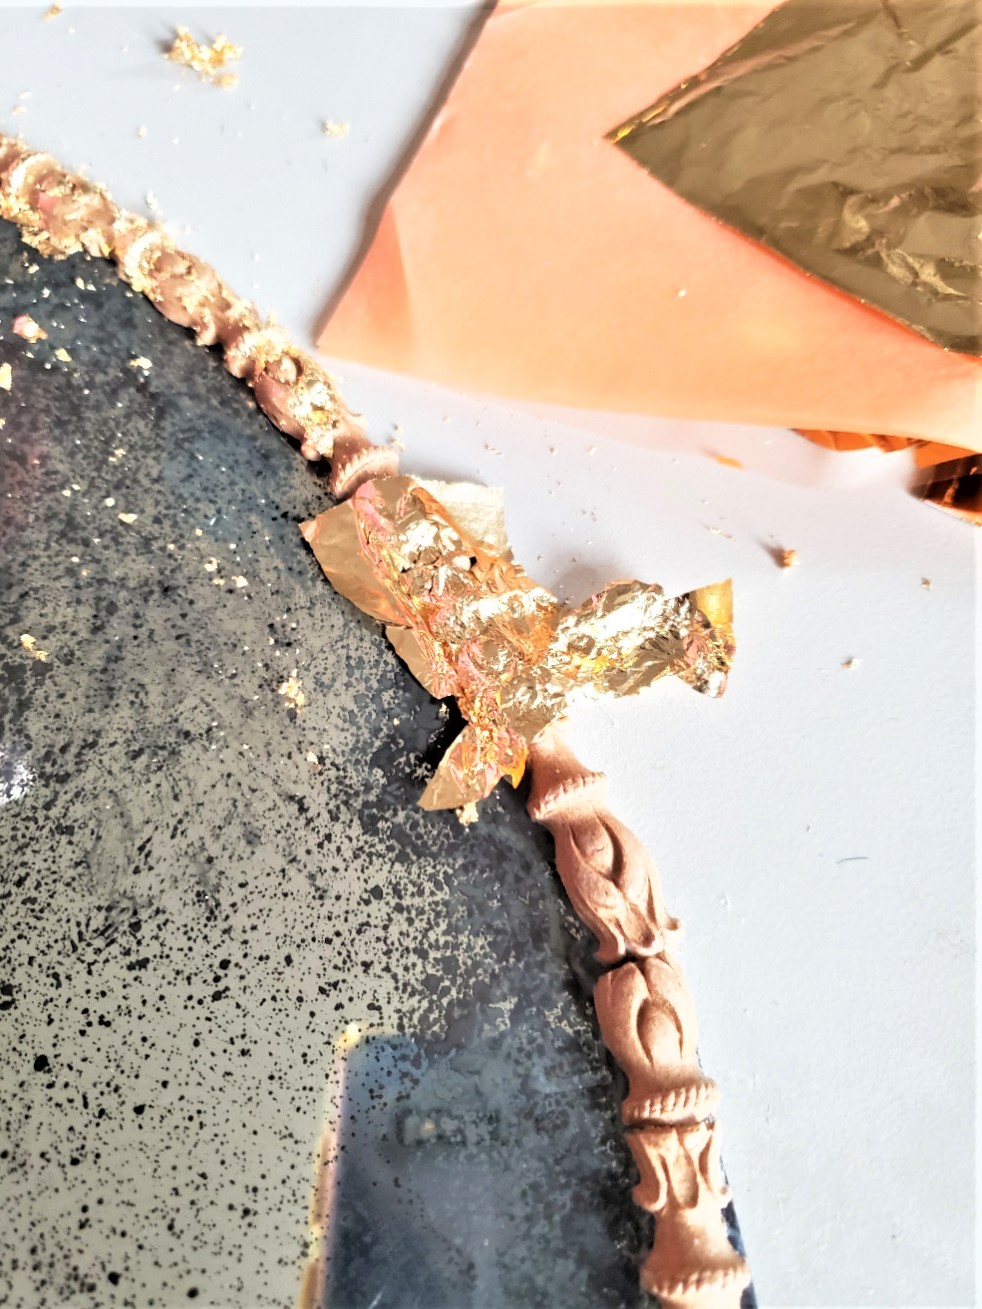
Add Gold Leaf Adhesive And Leaf Sheets
Add Adhesive And Gold Leaf
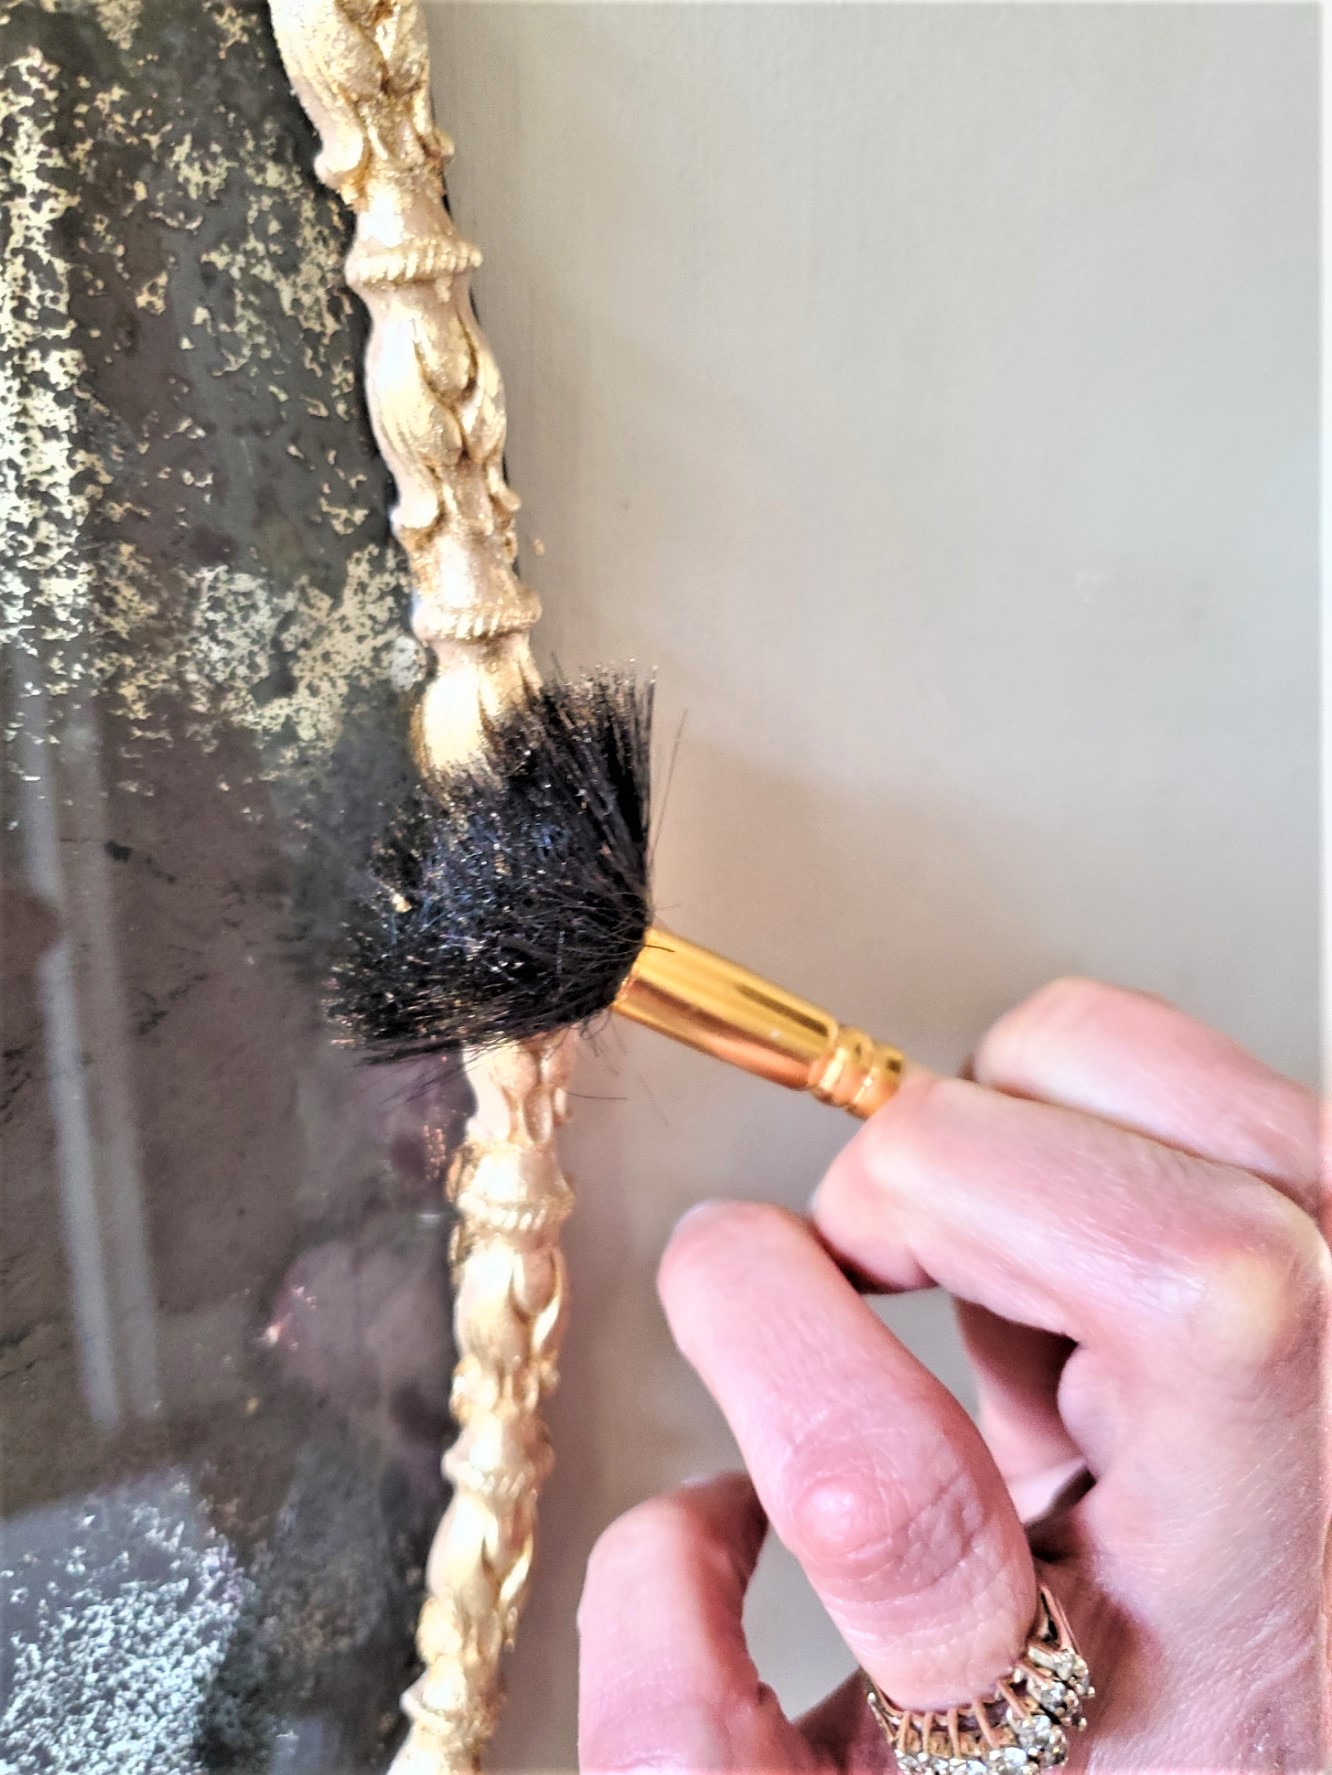
The next day, I took the mirror to the next level by adding a touch of French elegance through gold leafing. To do this, I applied adhesive to the trim and added the gold leafing sheets. Let them dry for 45 minutes before starting the actual process.
I worked in small sections at a time, carefully placing the gold leaf onto the adhesive and pressing it down gently. Once I had covered the desired areas, I used a soft brush to remove any excess gold leaf and created a smooth, even finish.
Add Gold Leaf
Adding Gold Leaf
- After each application of gold leafing sheets, I brushed off the excess leaf.
- If the first round of leafing sheets doesn’t stick, there’s no need to worry. More adhesive can be applied and left to dry again.
- I continued adding more of the leafing sheets to finish covering the frame of the mirror.
- I also added a touch of gold leaf to the appliques on the top of the frame, as well as a small piece of wood molding.
- Working with a brand-new product, WoodUbend, was a great experience, and I look forward to using it again on future projects.
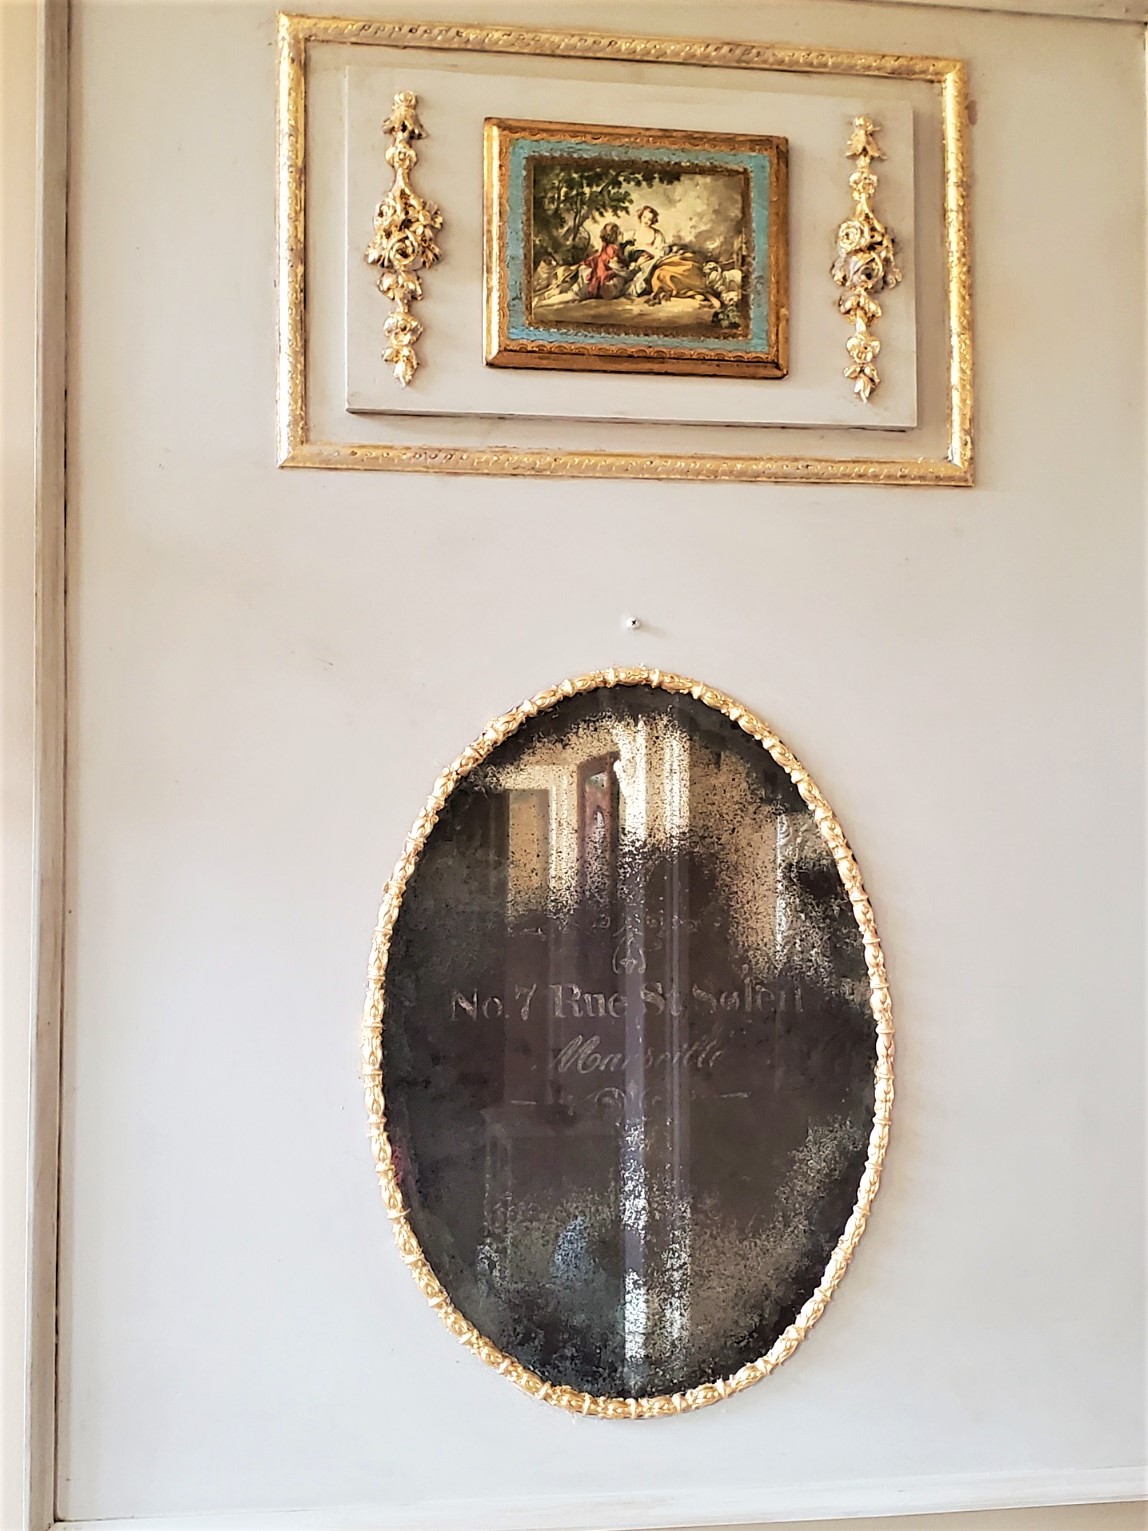
- The gold trim, combined with the champagne color stencil, makes this mirror look even more beautiful.
- Additionally, the screw visible in the photo is for all the seasonal wreaths that I make to hang.
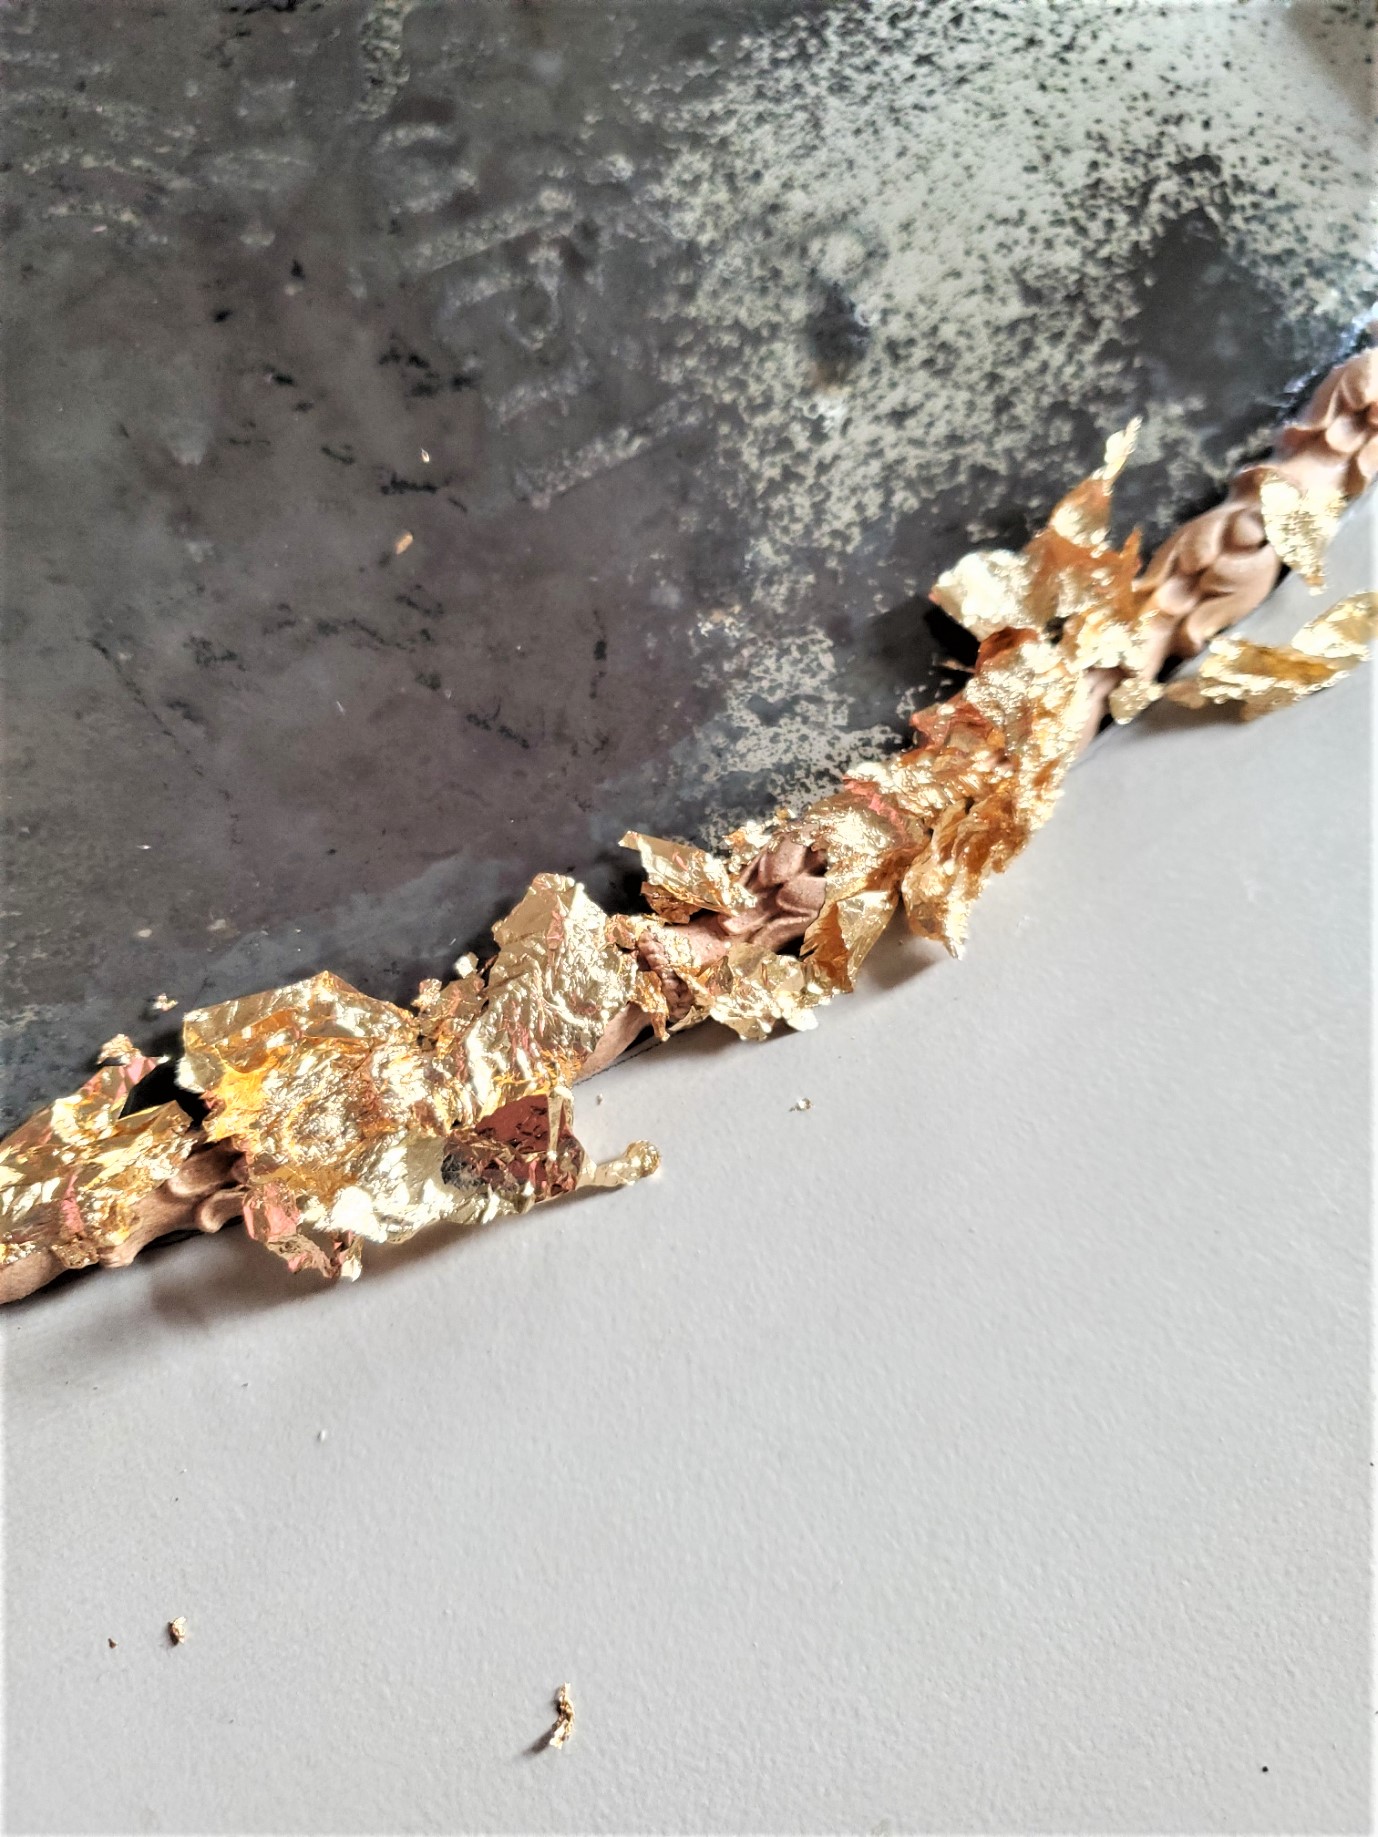
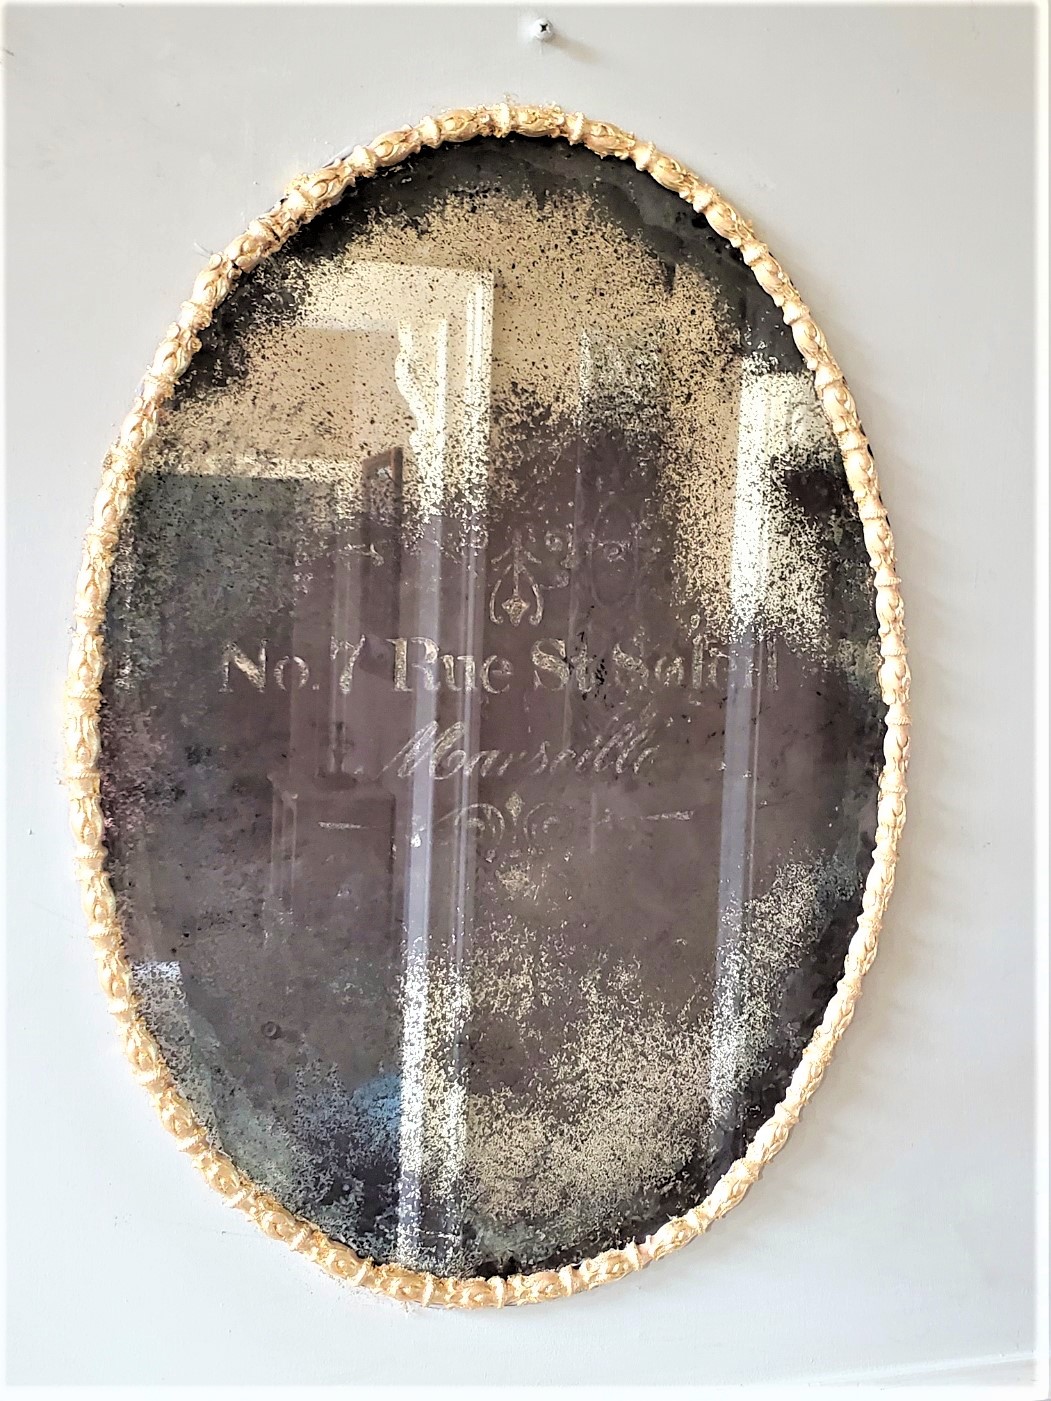
The result is stunning – the gold leaf added a beautiful, luxurious touch to the already gorgeous antique mirror.
I hope you enjoyed learning the steps to make this easy DIY antique mirror tutorial and video. I’d love to hear your thoughts in the comments.

CLICK IMAGES OR LINKS!


DIY AND CRAFT POSTS!
So elegant!! Great job.
Cindy this looks beautiful!
I have always wanted to try this, Cindy. Thanks so much for the easy to follow instructions. I love the way yours turned out. Hugs, CoCo
Wow, Cindy! The mirror is fabulous! Great job!
This is absolutely beautiful. I really want to try this one day but likewise was nervous about using chemicals. Also, kudos for being able to photograph it. I always struggle taking pictures of mirrors with details on them.
Hi Cindy! You know I love all things antique and French! Your mirror turned out lovely! I have never used the WoodUbend moldings but now, I can’t wait to try them out! Thanks for the great tutorial! Pinning now!