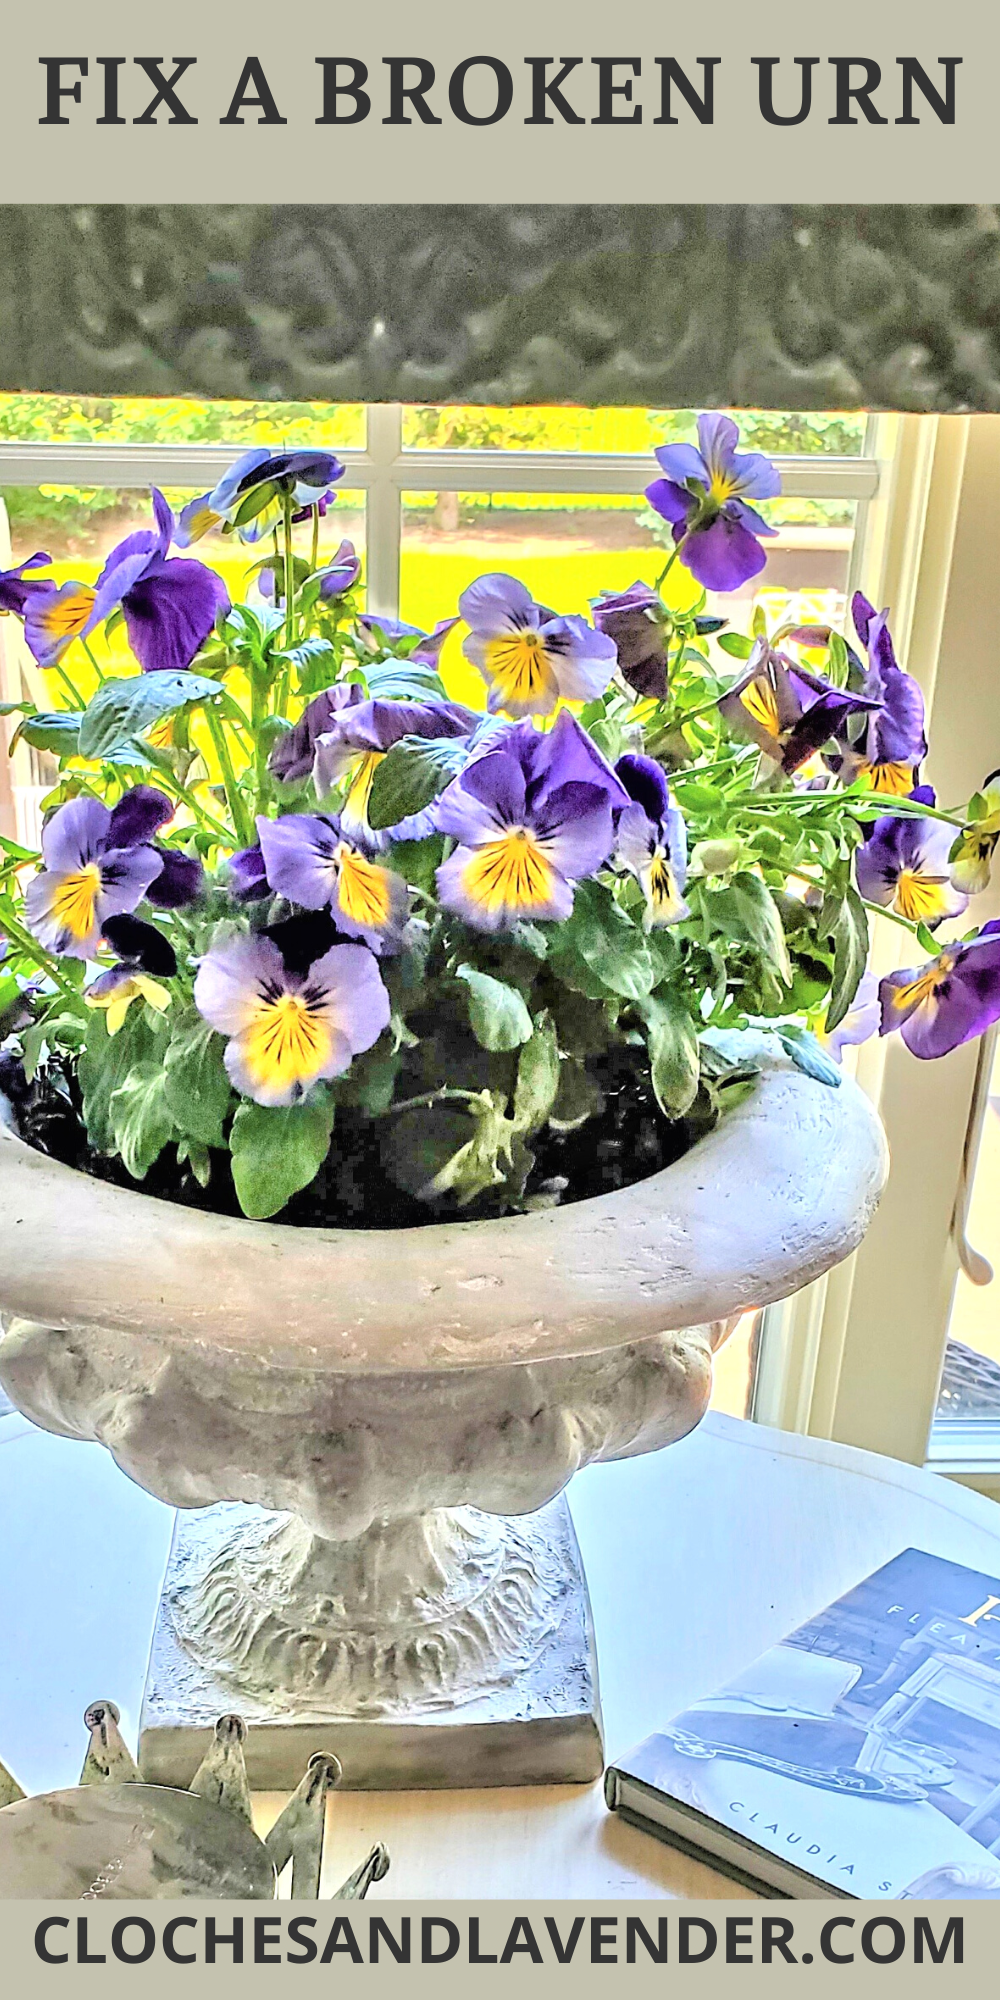
Easy Tips To Repair A Resin Broken Urn
Today, I’m sharing easy tips to repair a resin broken urn. Just because a piece has a broken surface, don’t throw it in the trash. I will share easy steps to fix the broken edge of a fiberglass planter.
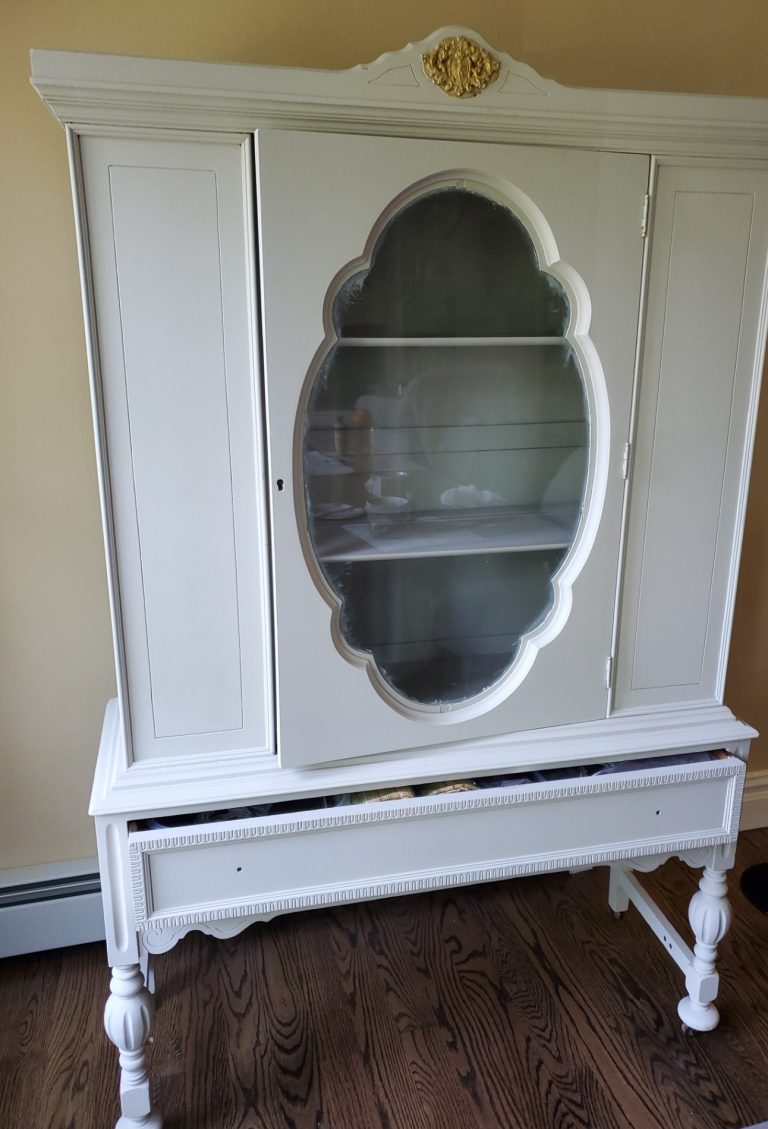
I love to recycle and give old pieces a new look. As an example, this cabinet needed some love and gave it a beautiful new look. You will be amazed when you see the before and after!
Also, this is one of my favorite features of upcycling with paint to date. It is a stunning piece so I hope you take a look
I have to tell you I’m thrilled I made the fix because this urn is very well made.
Now let’s see my easy tips to repair fiberglass planters.
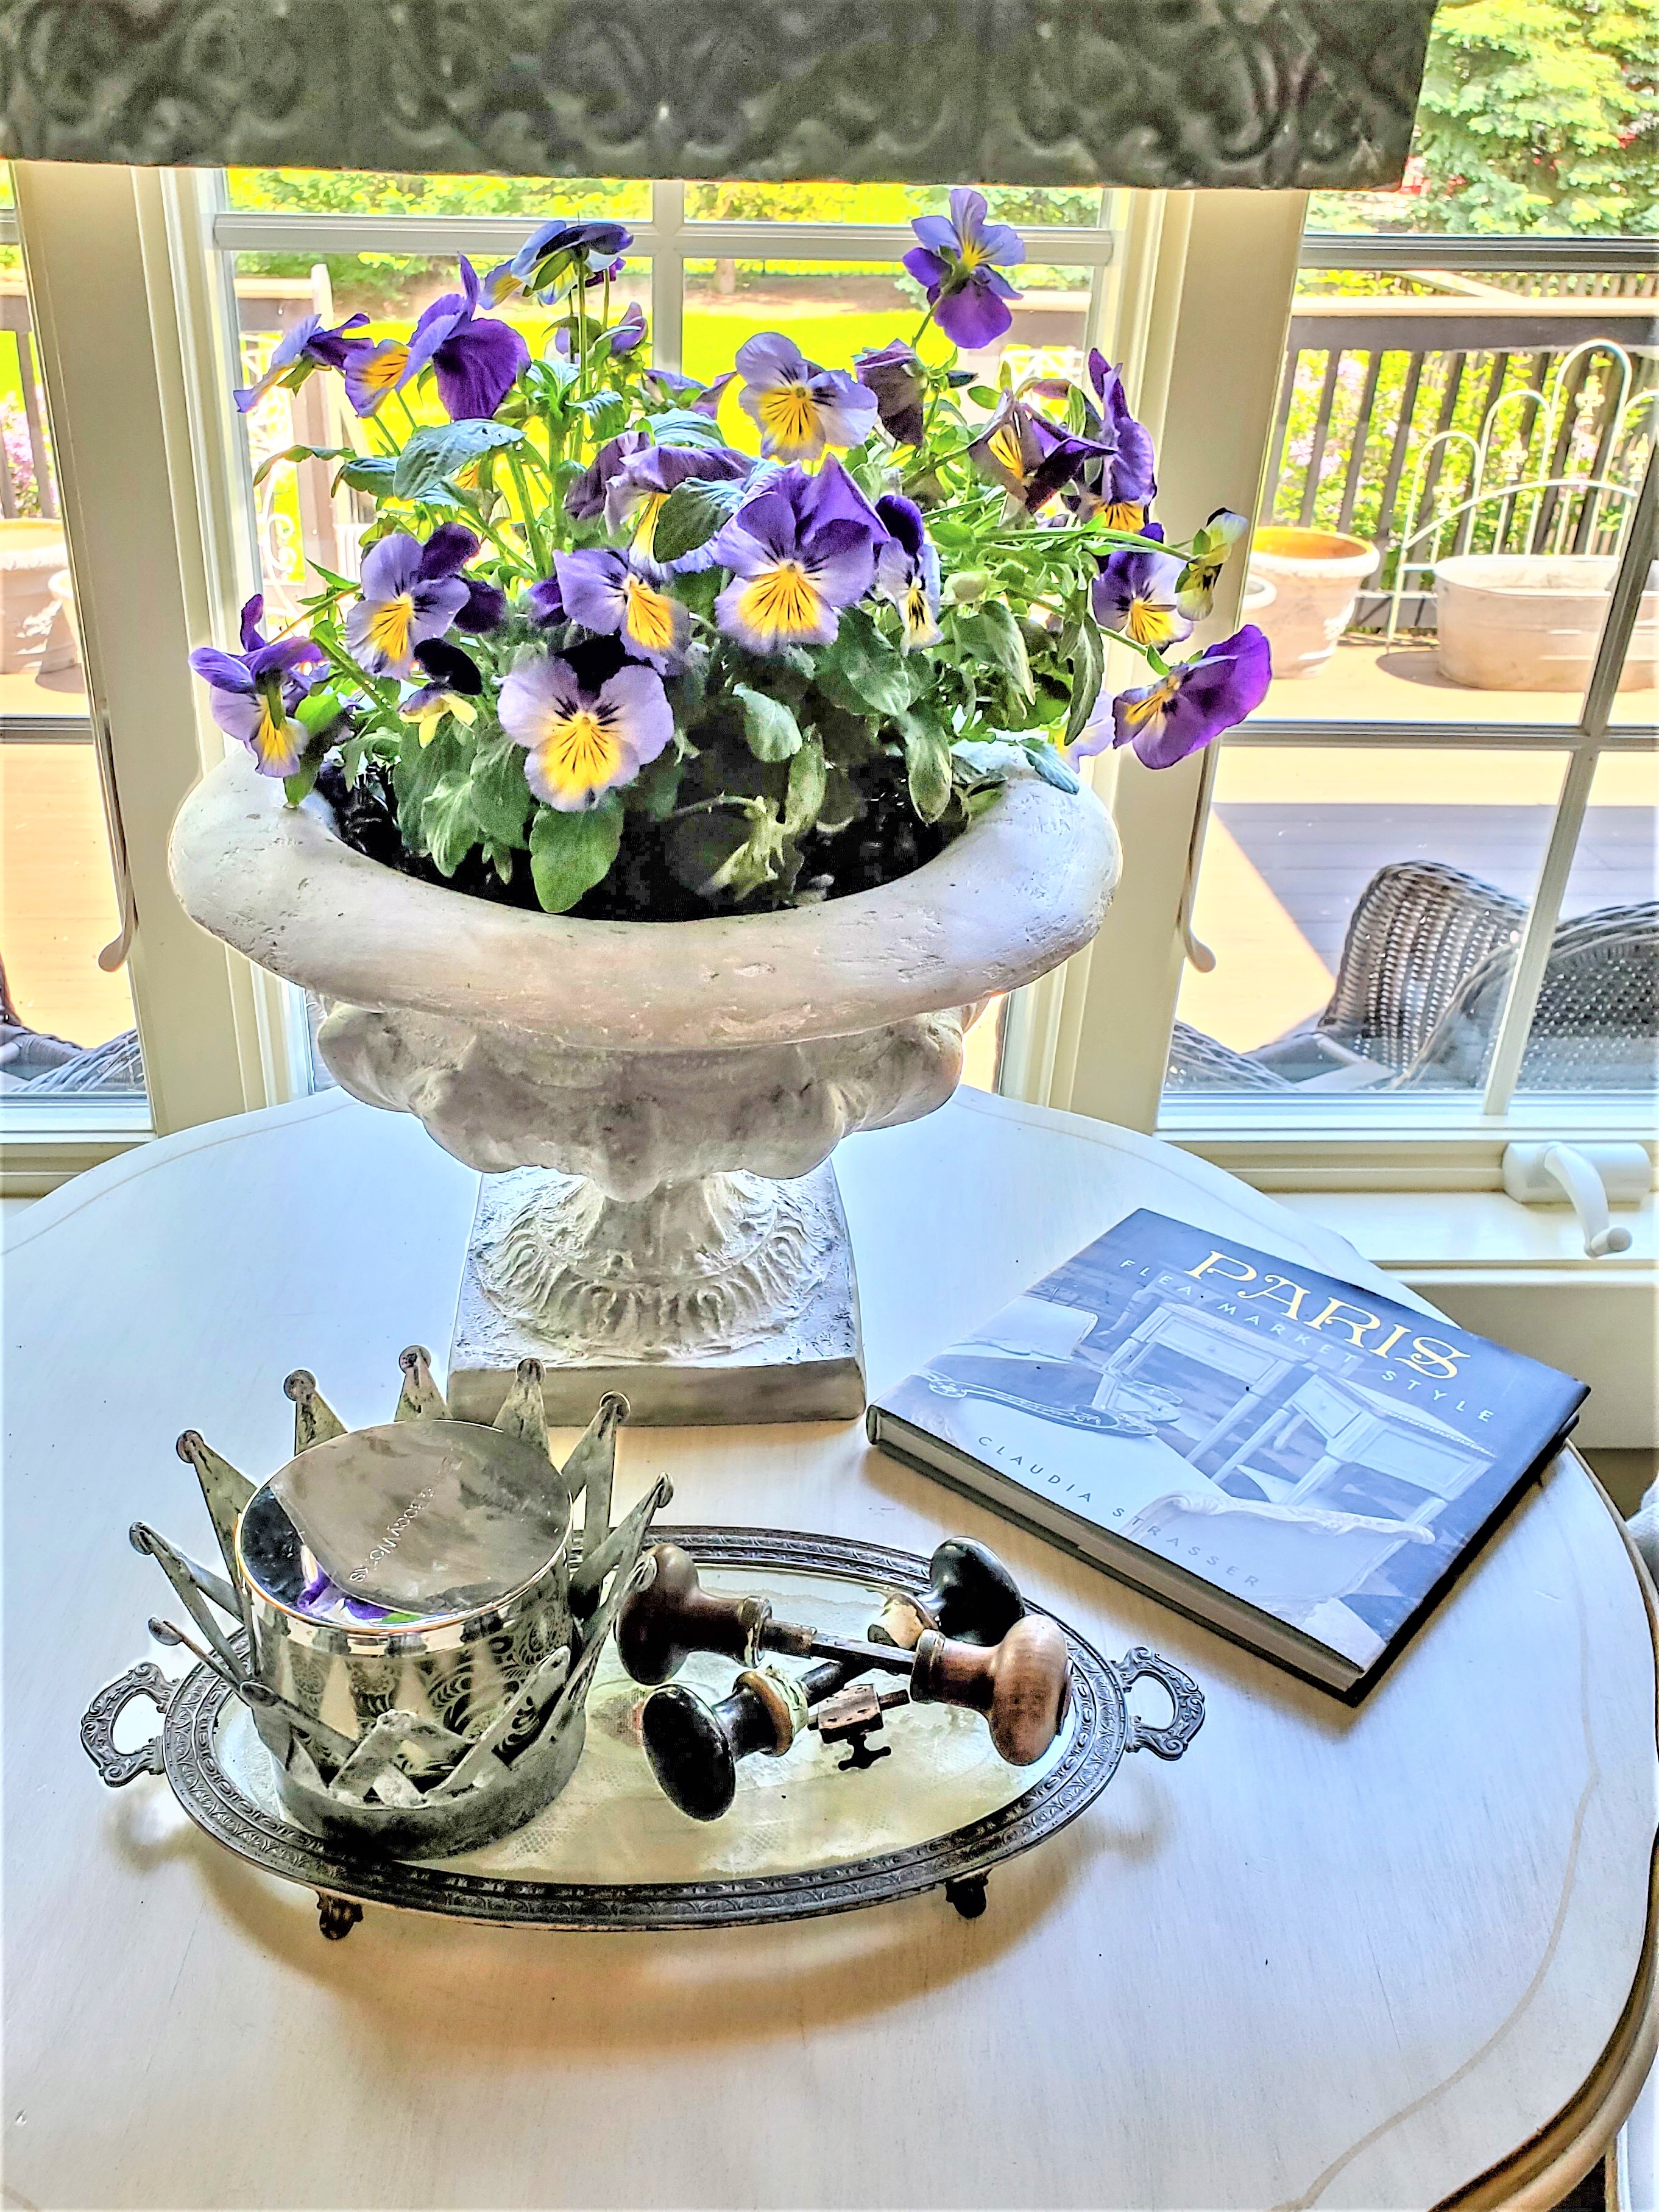
I found this urn thrifting some time ago, and it is a good quality urn. I have used it in our home before and I was tired of hiding the broken side. So, it was time to fix it.
Table of Contents
Why Repair A Broken Resin Urn?
Repairing a broken resin urn can be a way to restore its aesthetic and sentimental value. Urns are often used as containers. Also, repairing a broken urn can be a cost-effective alternative to purchasing a new one, especially if the urn has significant sentimental value.
There may also be practical reasons for repairing a resin urn.
Ultimately, the decision to repair a broken resin urn depends on the individual’s personal preferences and the significance of the urn. If the urn holds sentimental value or is an important part of a collection, then repairing it may be a worthwhile investment.
Supplies List:
- spackle tape
- joint compound
- chip brush
- fine grit sandpaper or sanding sponge
- French Linen paint
- White wax
- lint-free rag
- plastic bag
- soil
- real plant
Easy How-To Tips To Repair A Resin Urn Planter
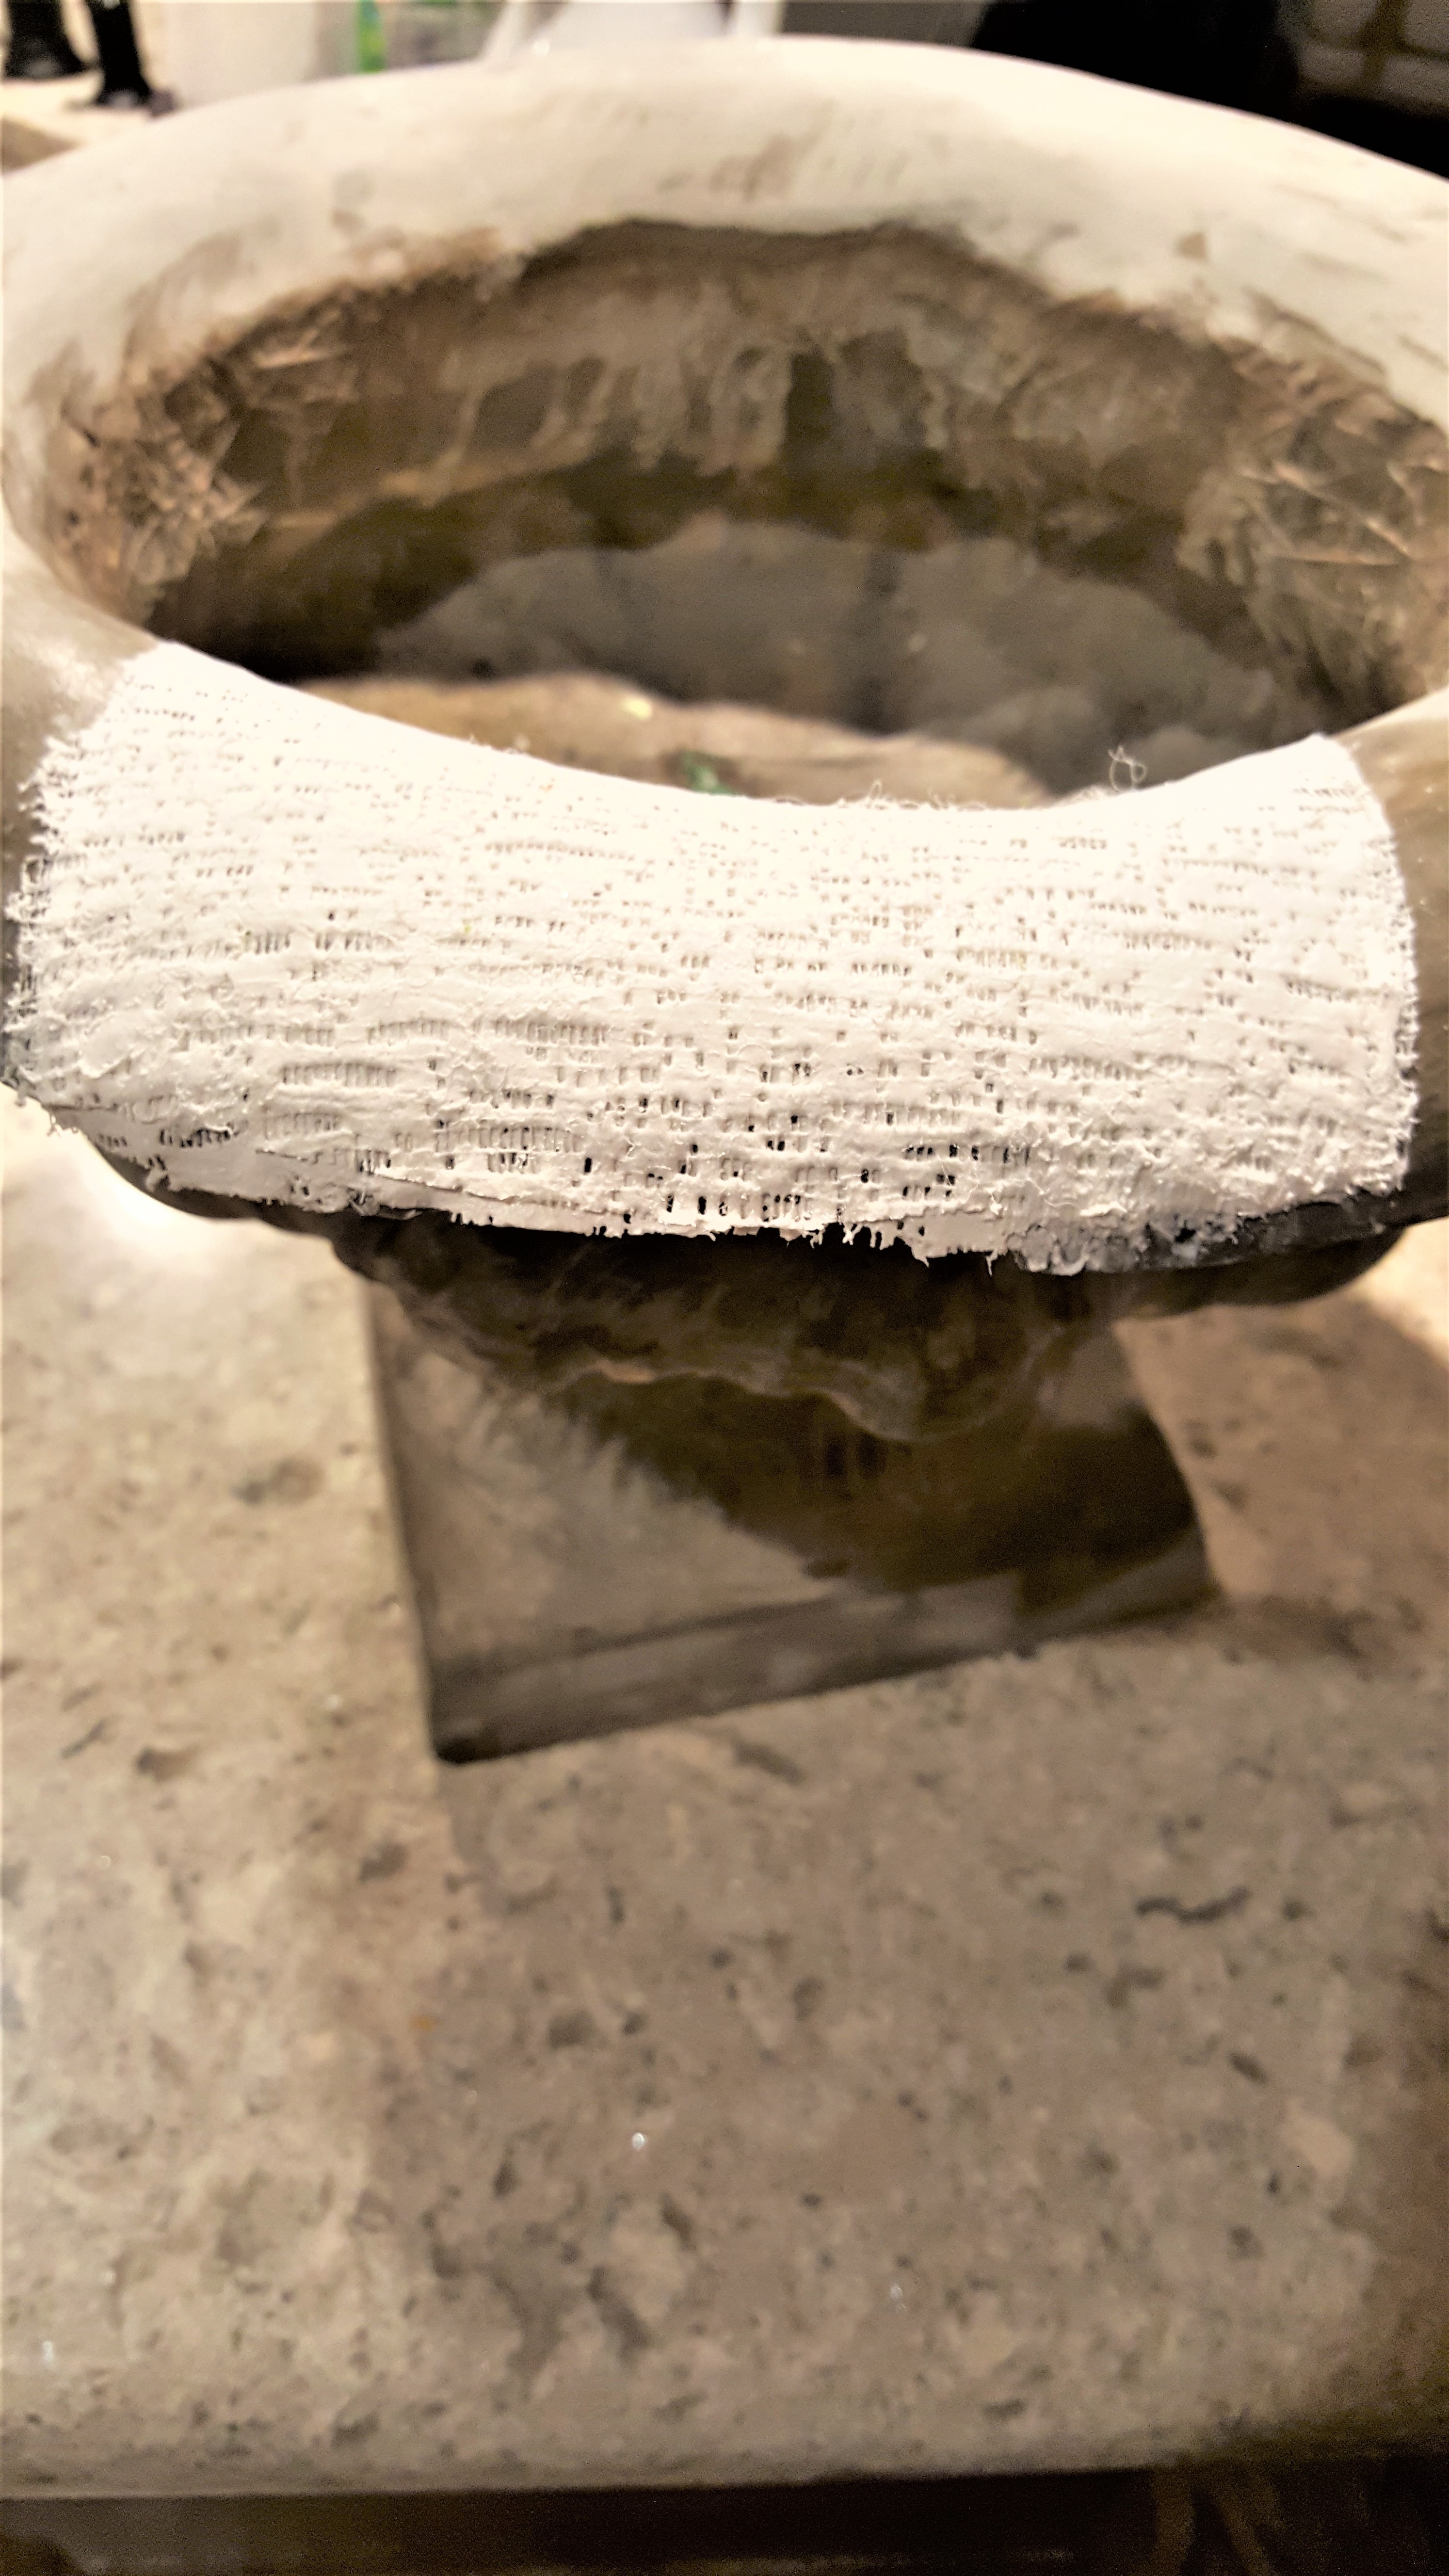
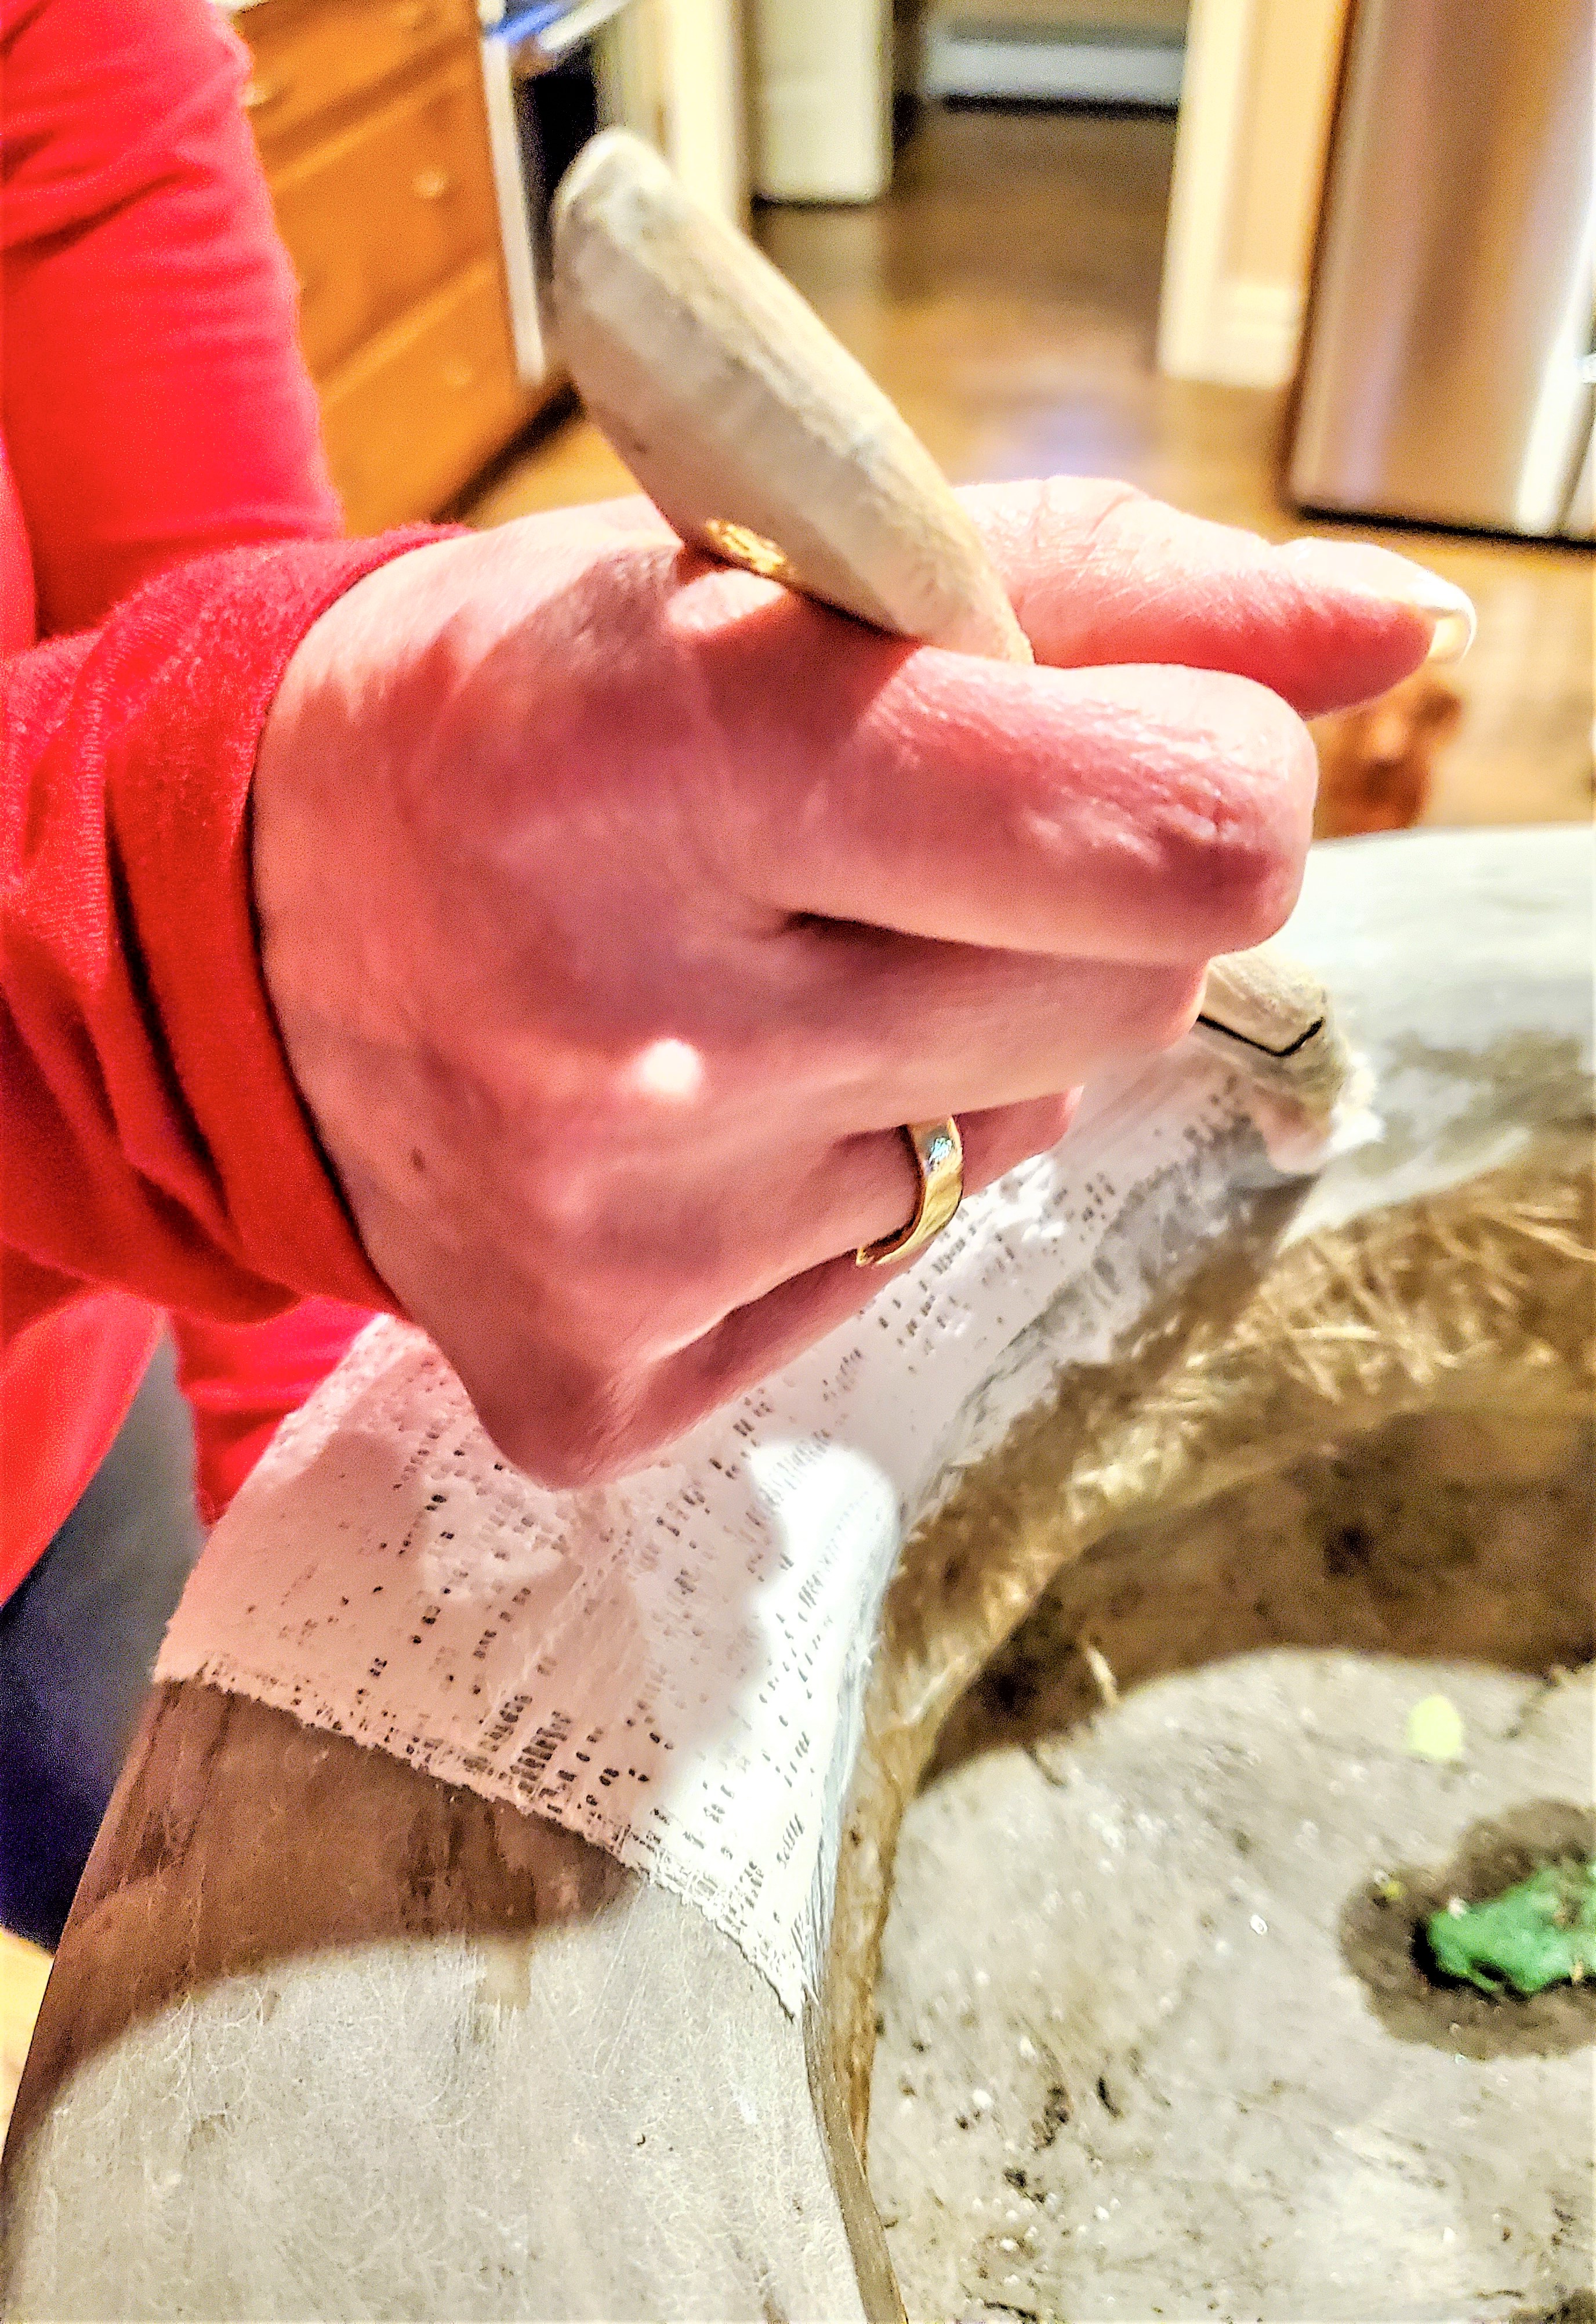
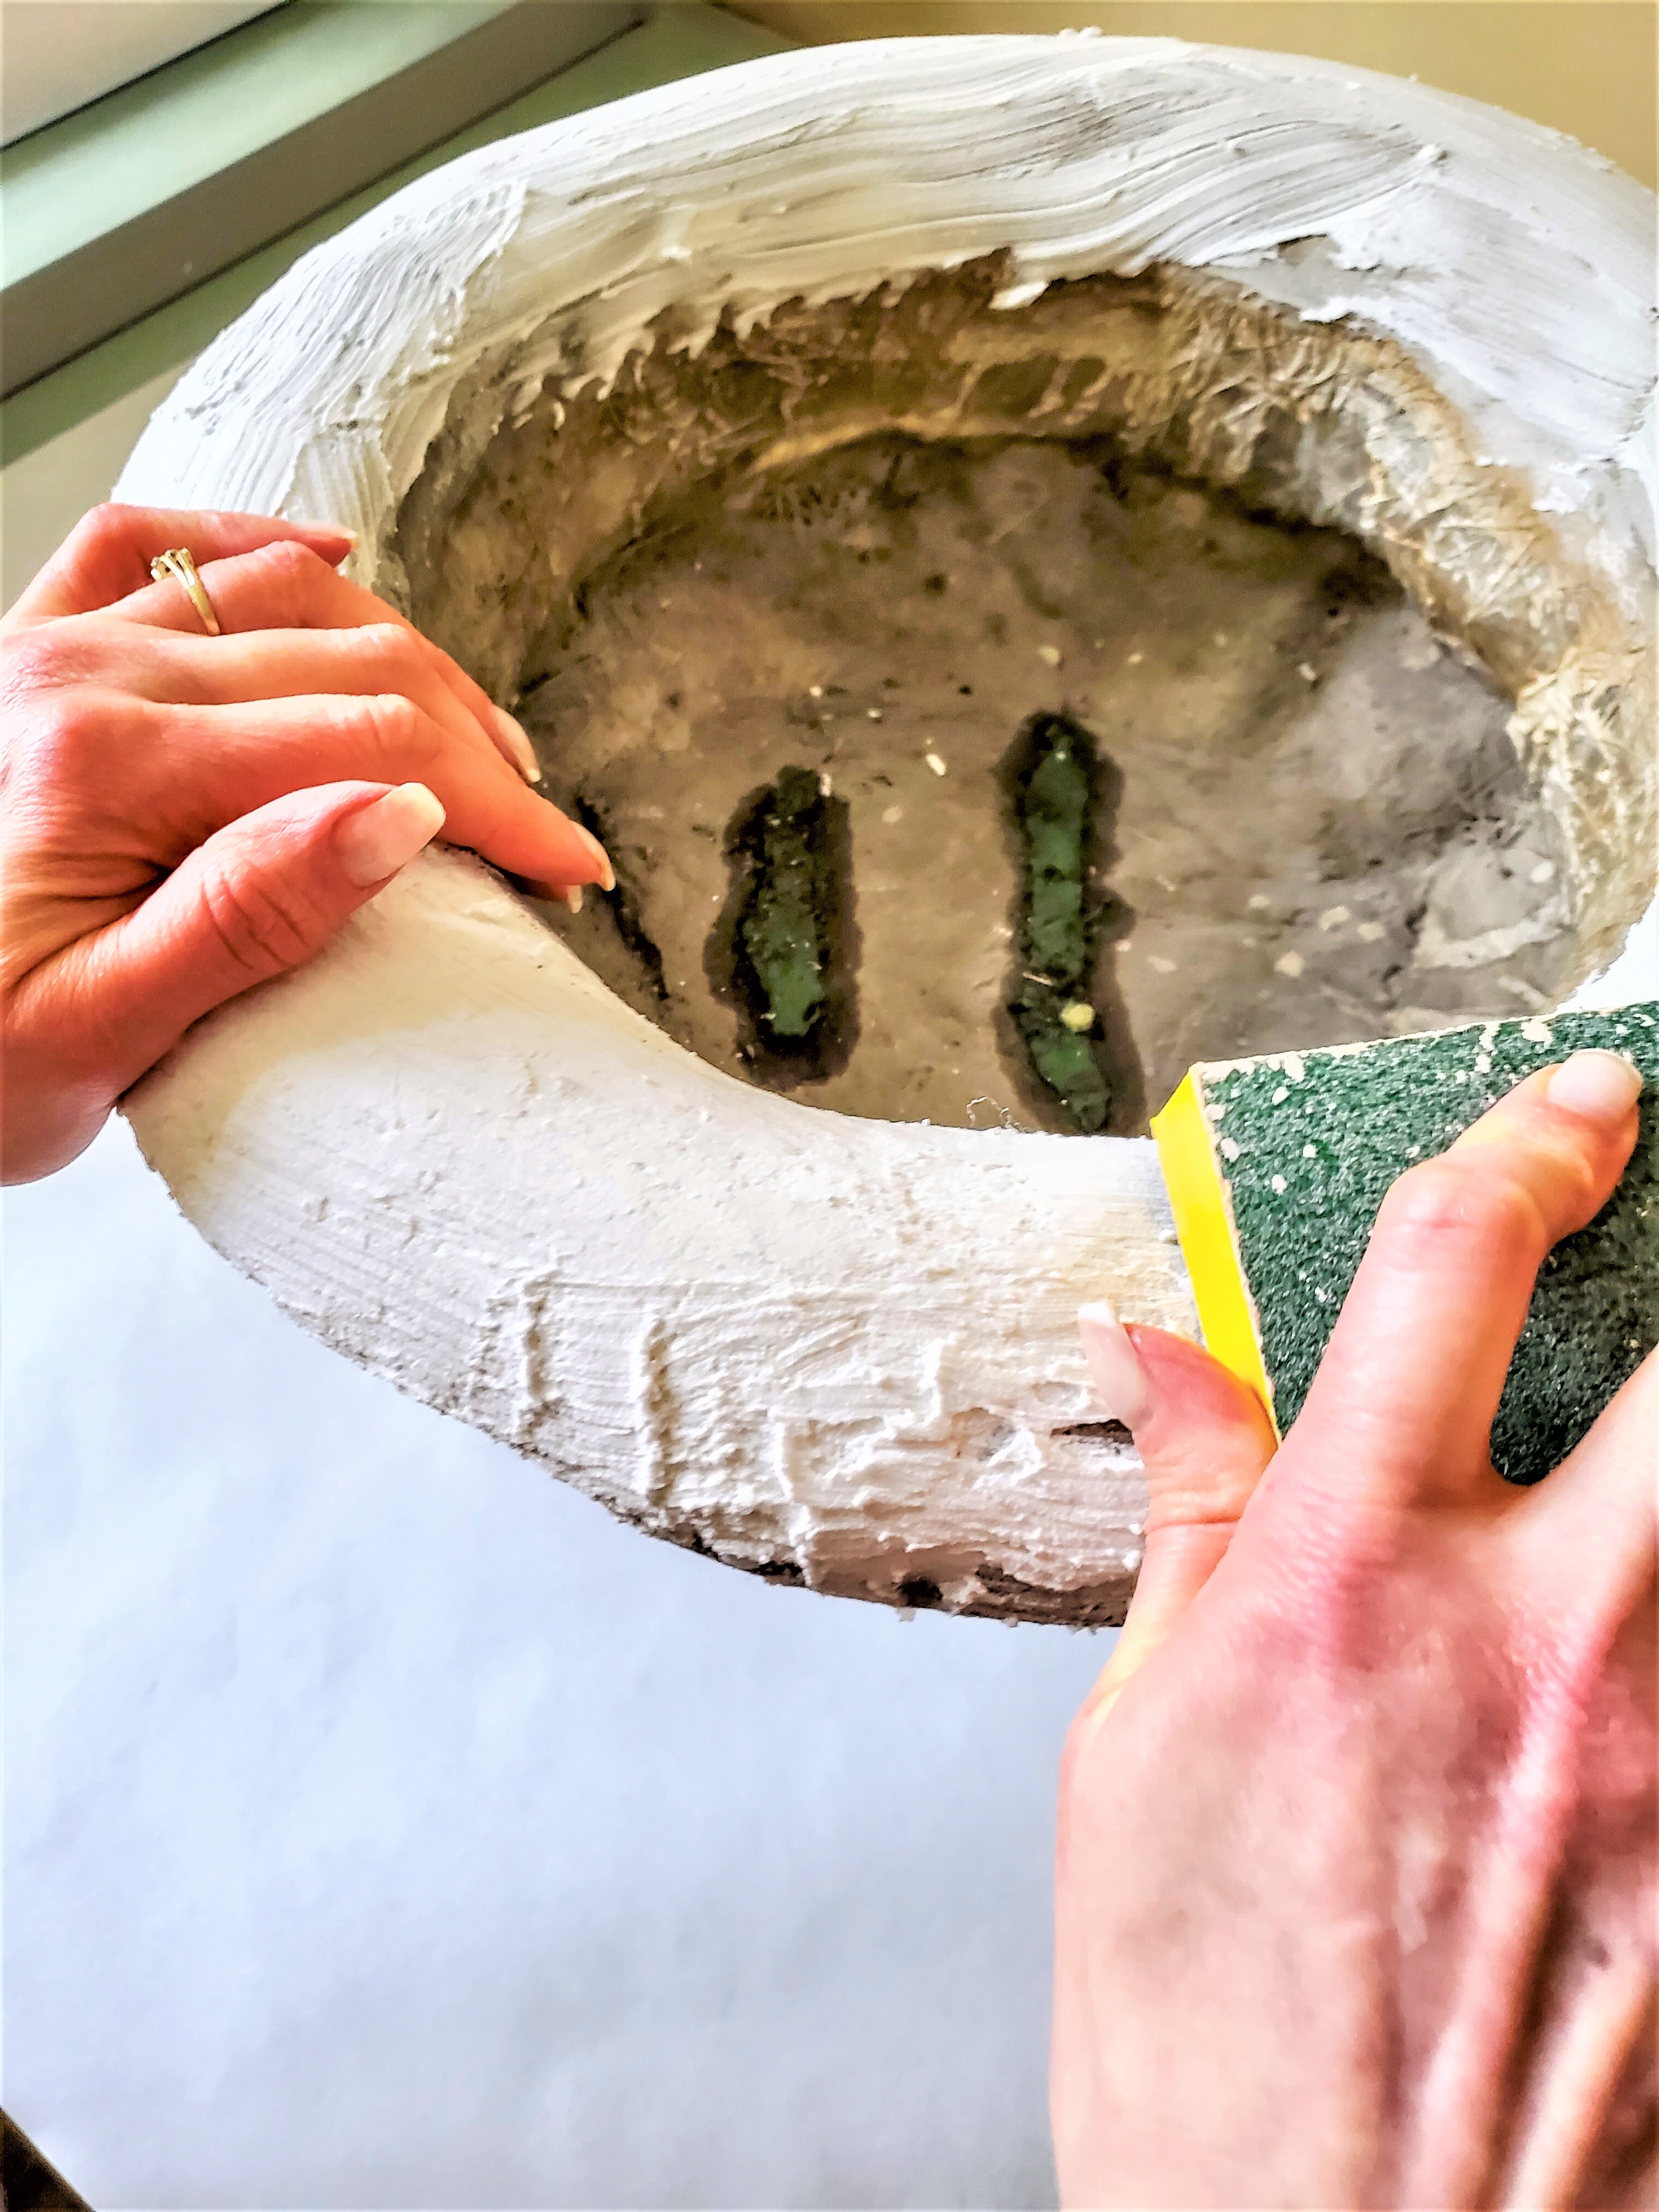
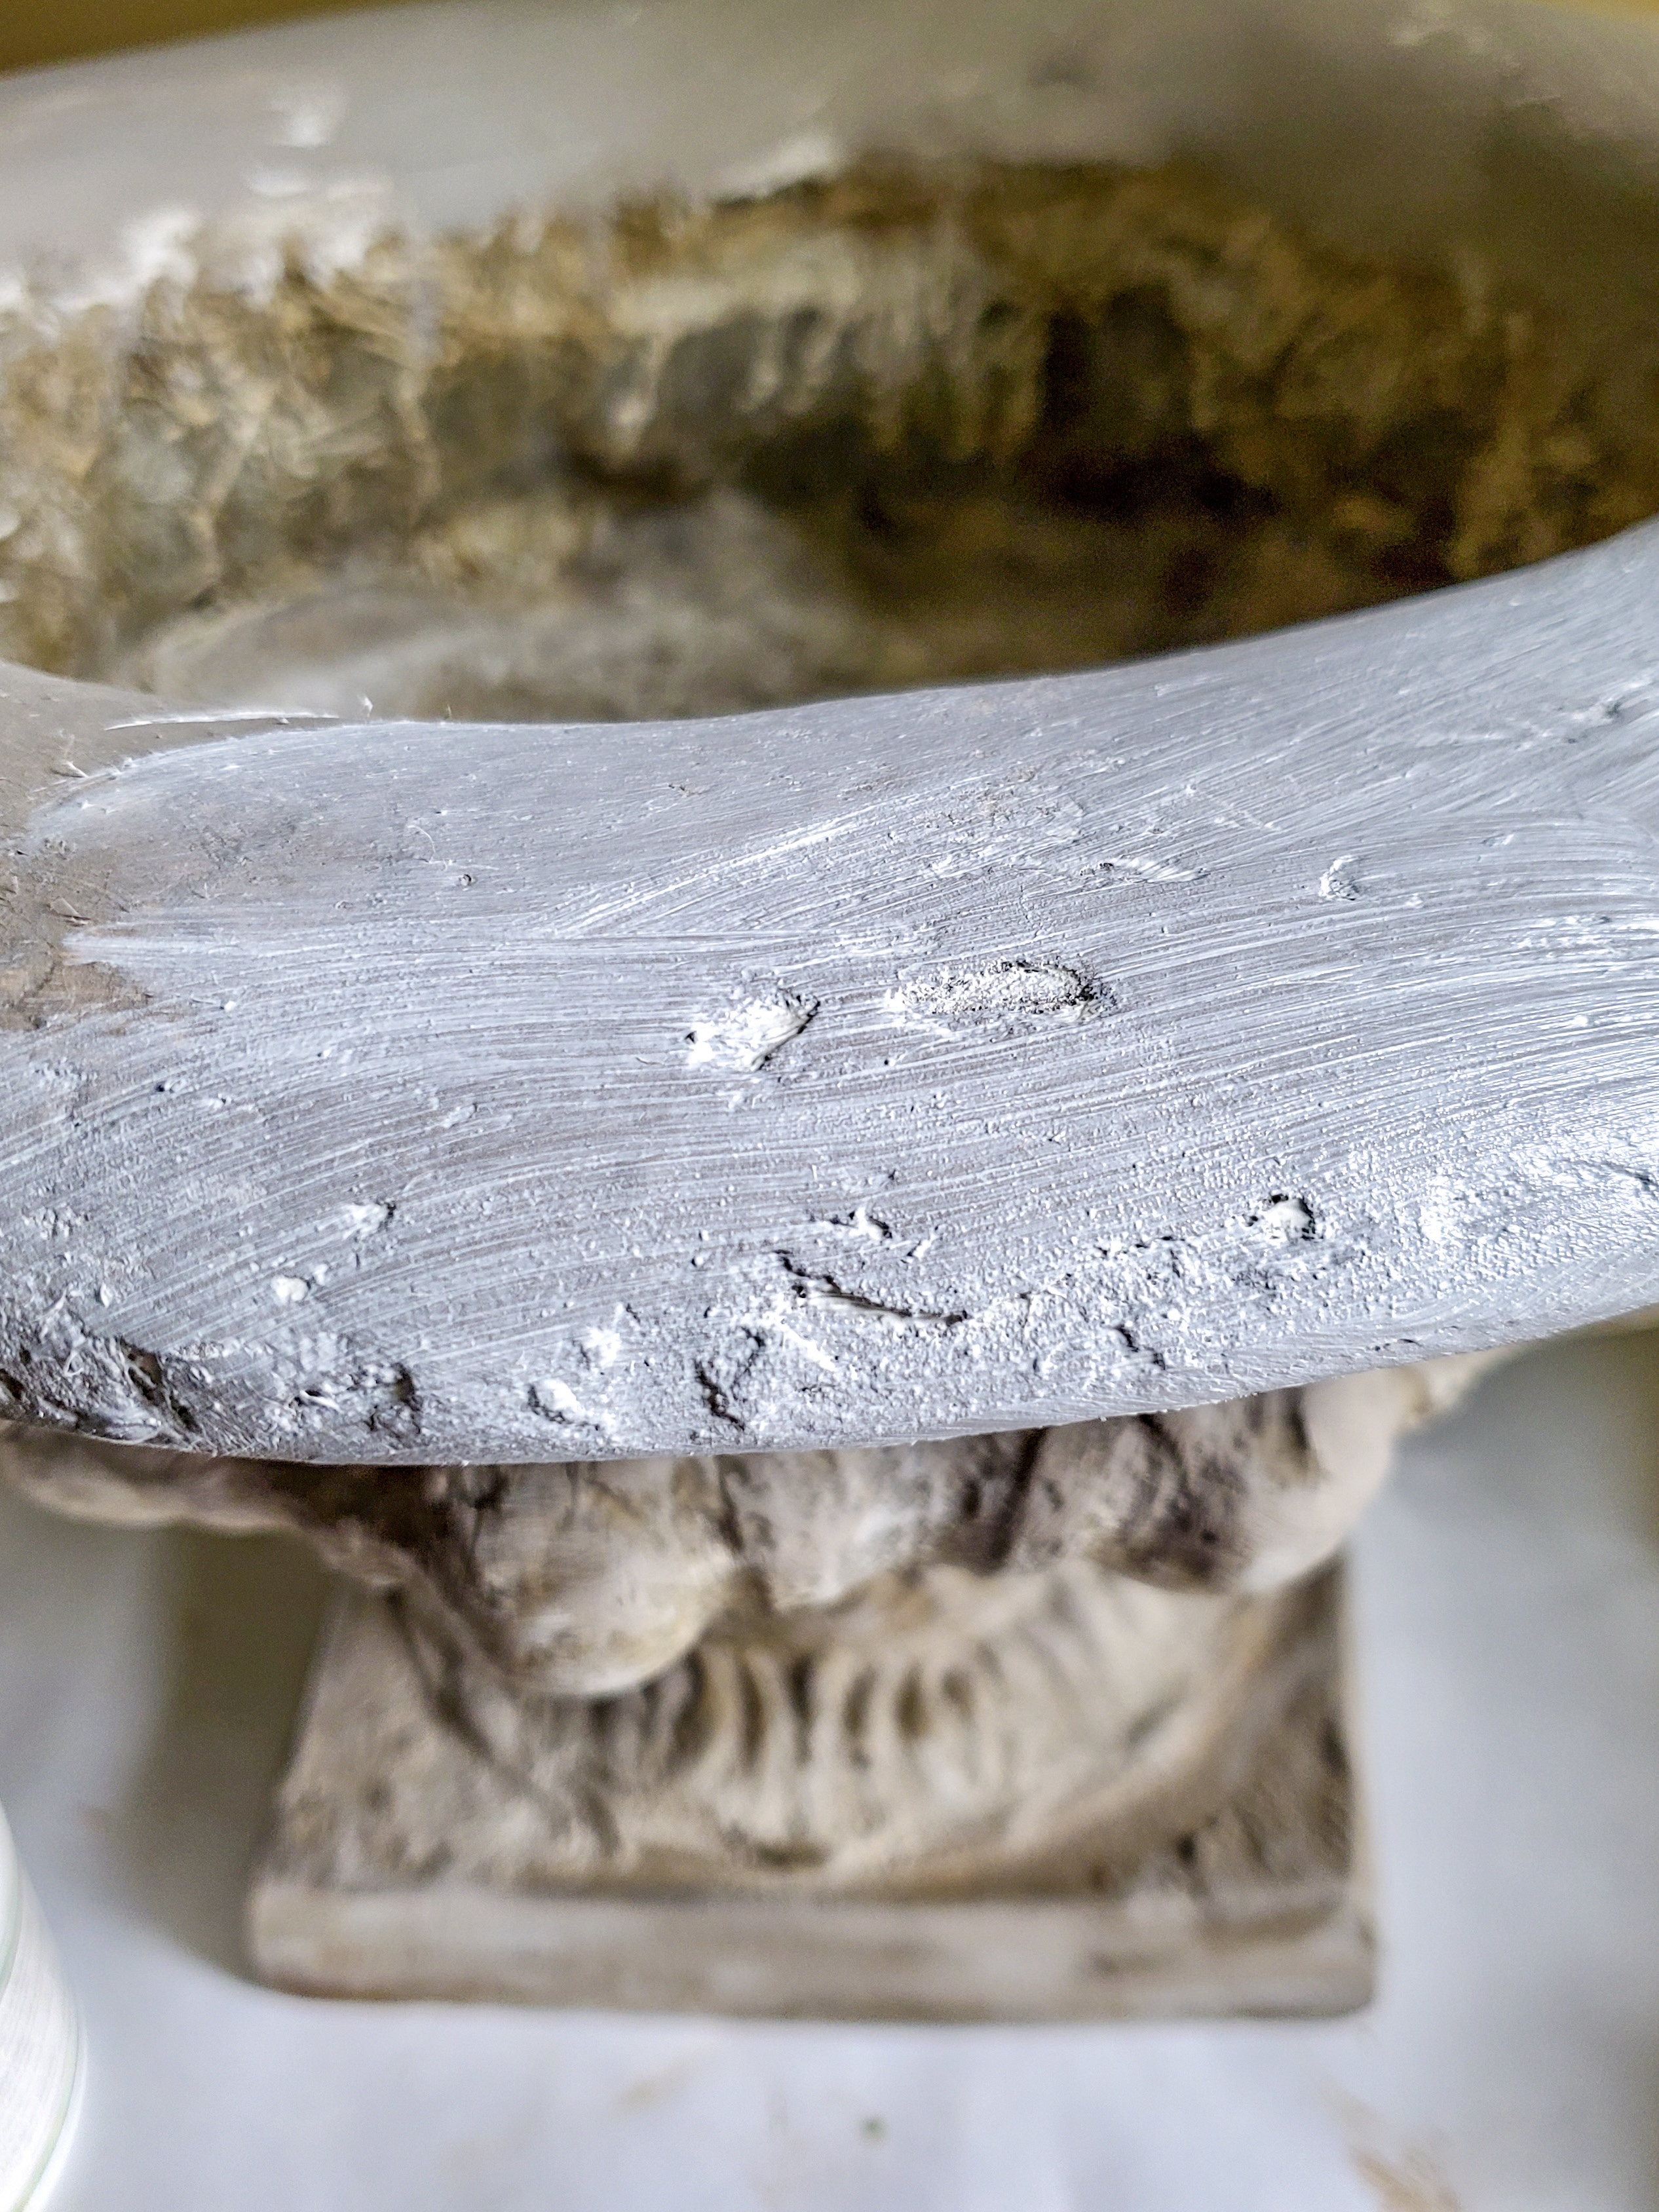
Step 1: Add Drywall Tape to the Edge to Begin Repairs
First thing, add a piece of spackle tape to this classic urn.
After the tape, using a chip brush I add joint compound. Using a chip brush seemed to be the best way to apply the joint compound.
Now let the joint compound dry. using a sanding sponge I sand this area smoothly. Doing this is a great way to give resin urns a seamless repair.
As an Amazon Associate and other Affiliate programs I earn from qualifying purchases
As an Amazon Associate and other Affiliate, I earn from qualifying purchases. If you purchase something through any link, I may receive a small commission with no extra charge to you. All opinions are my own
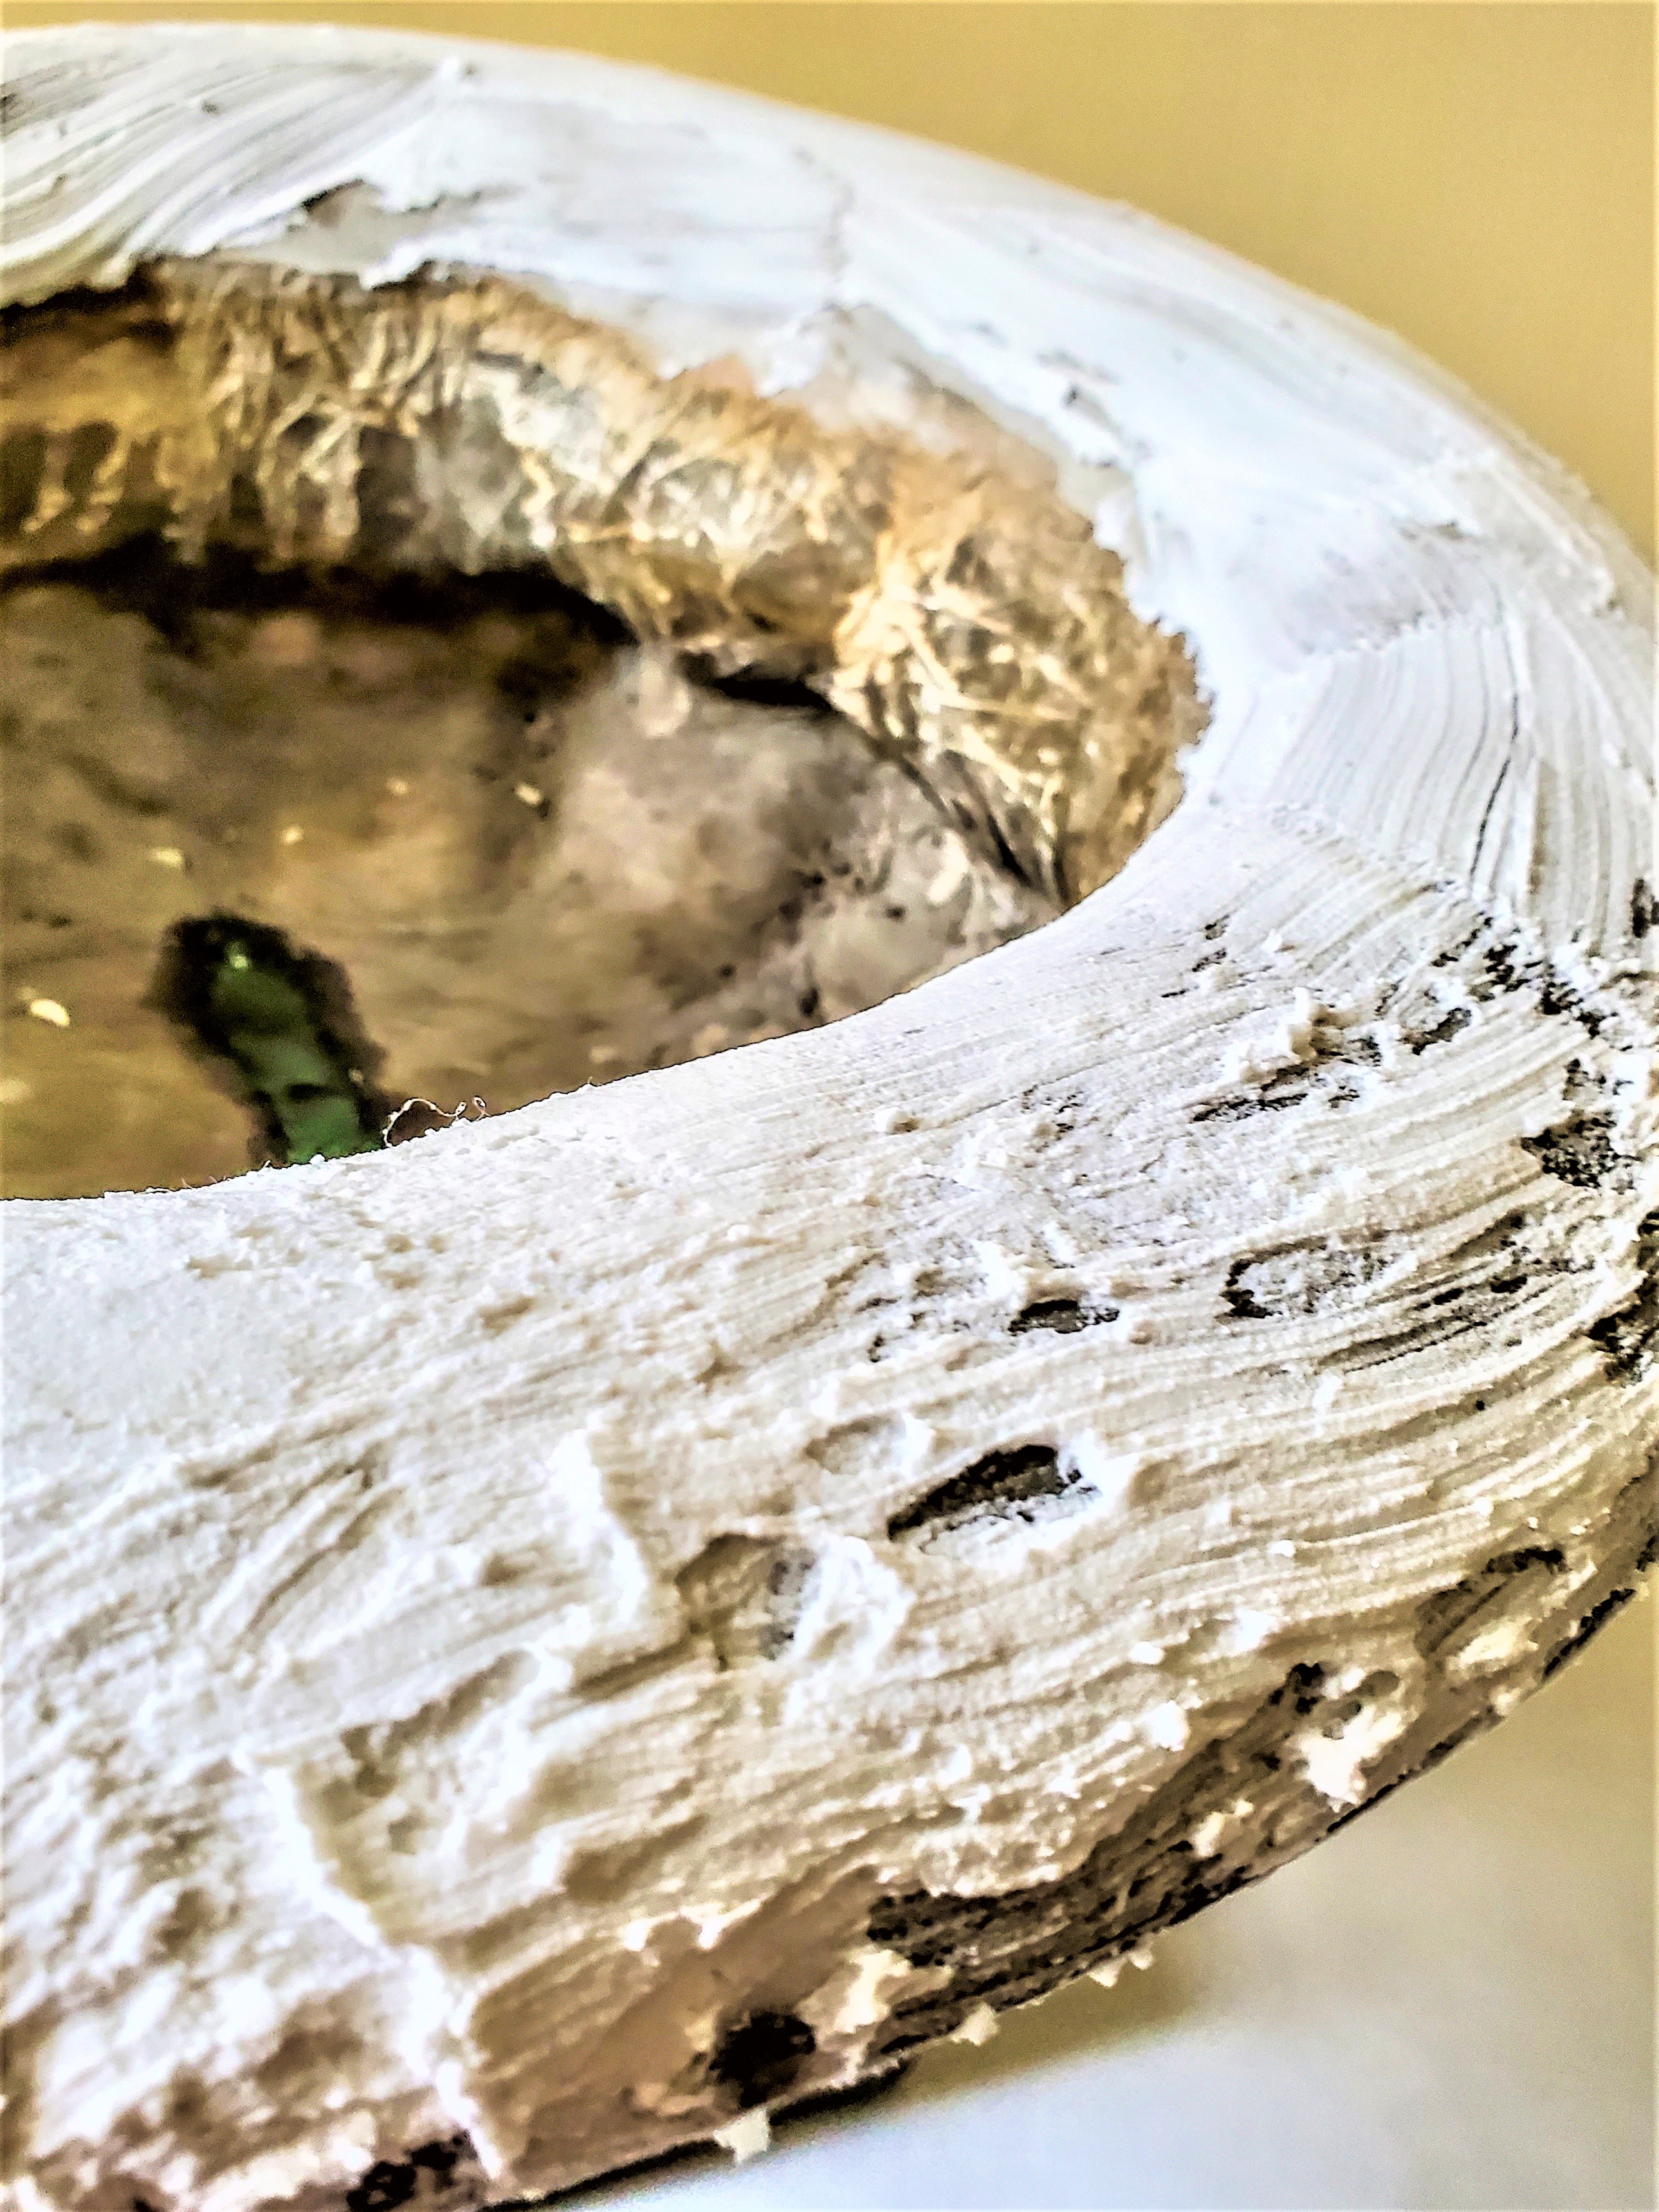
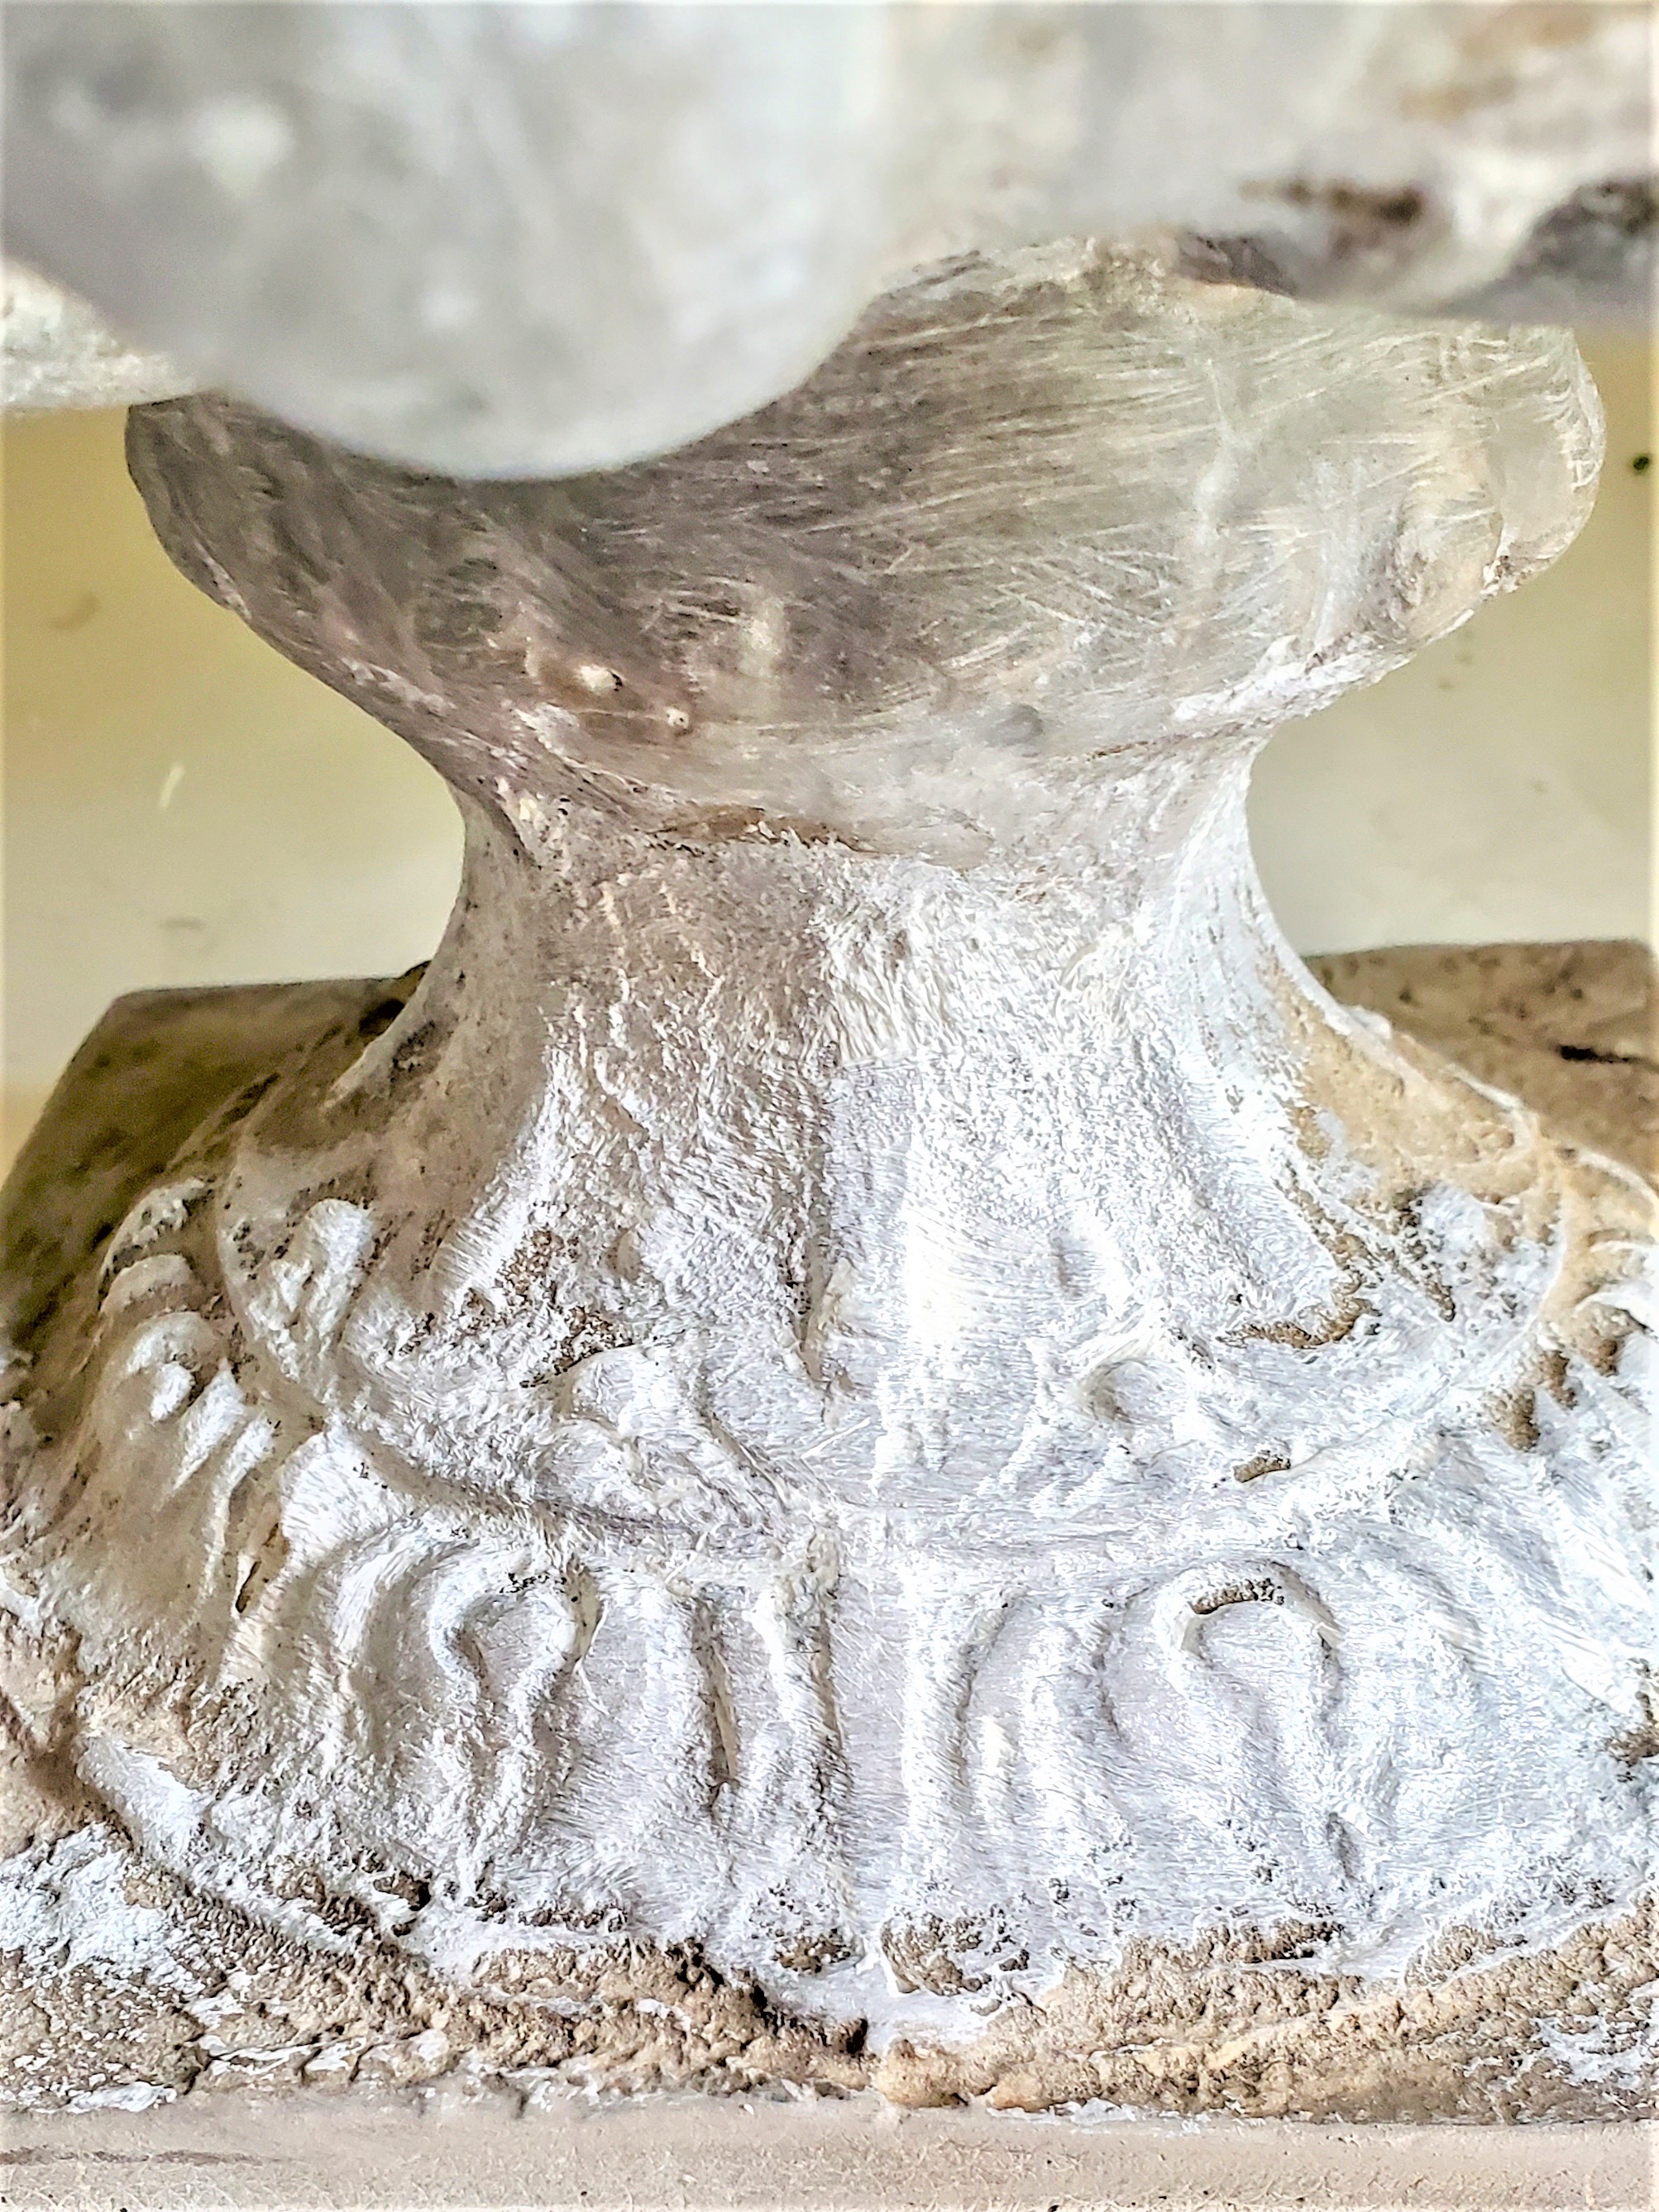
Painting The Piece To Keep The Look Of Stone
Step 2: Painting For a New Look
The next step, paint the joint compound, here I use Annie Sloan Chalk Paint in French Linen to blend with the color of this piece. I also add some in-spots on the rest of my resin urn project. Let the paint dry.
By the way, you can buy ASCP French Linen here. If you would like a less expensive chalk paint for a repair this is a good option.
Add White Wax
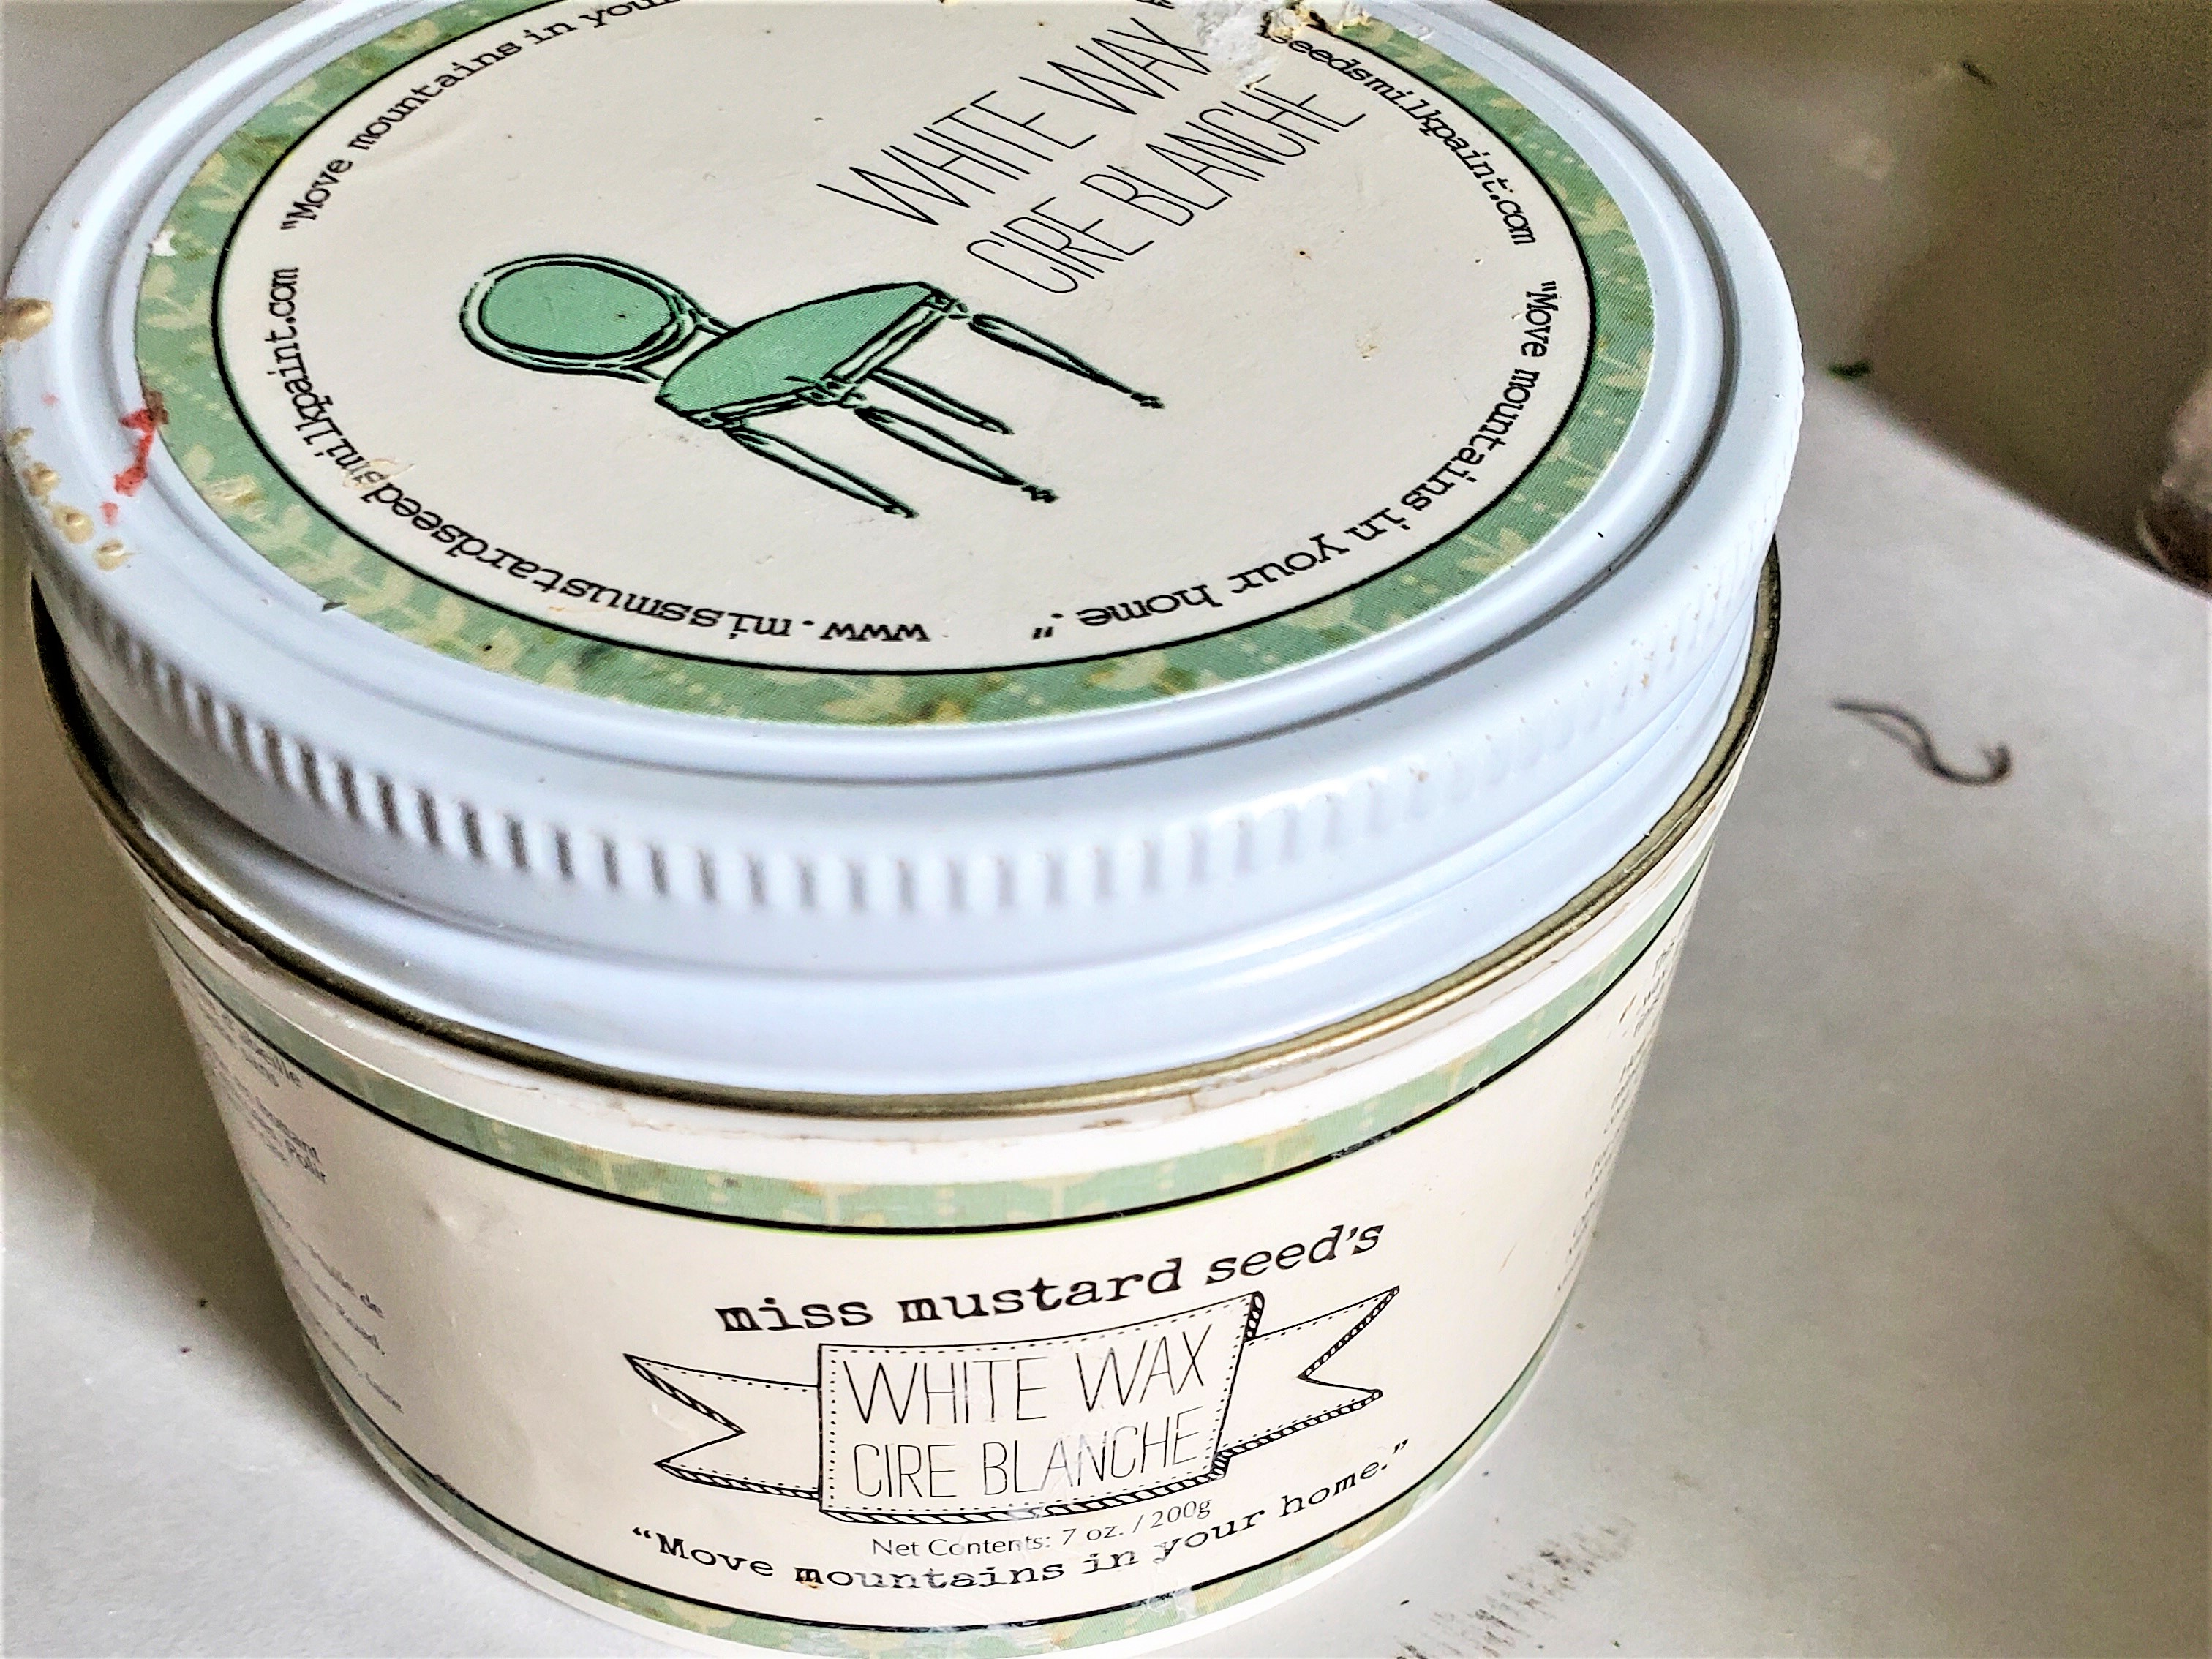
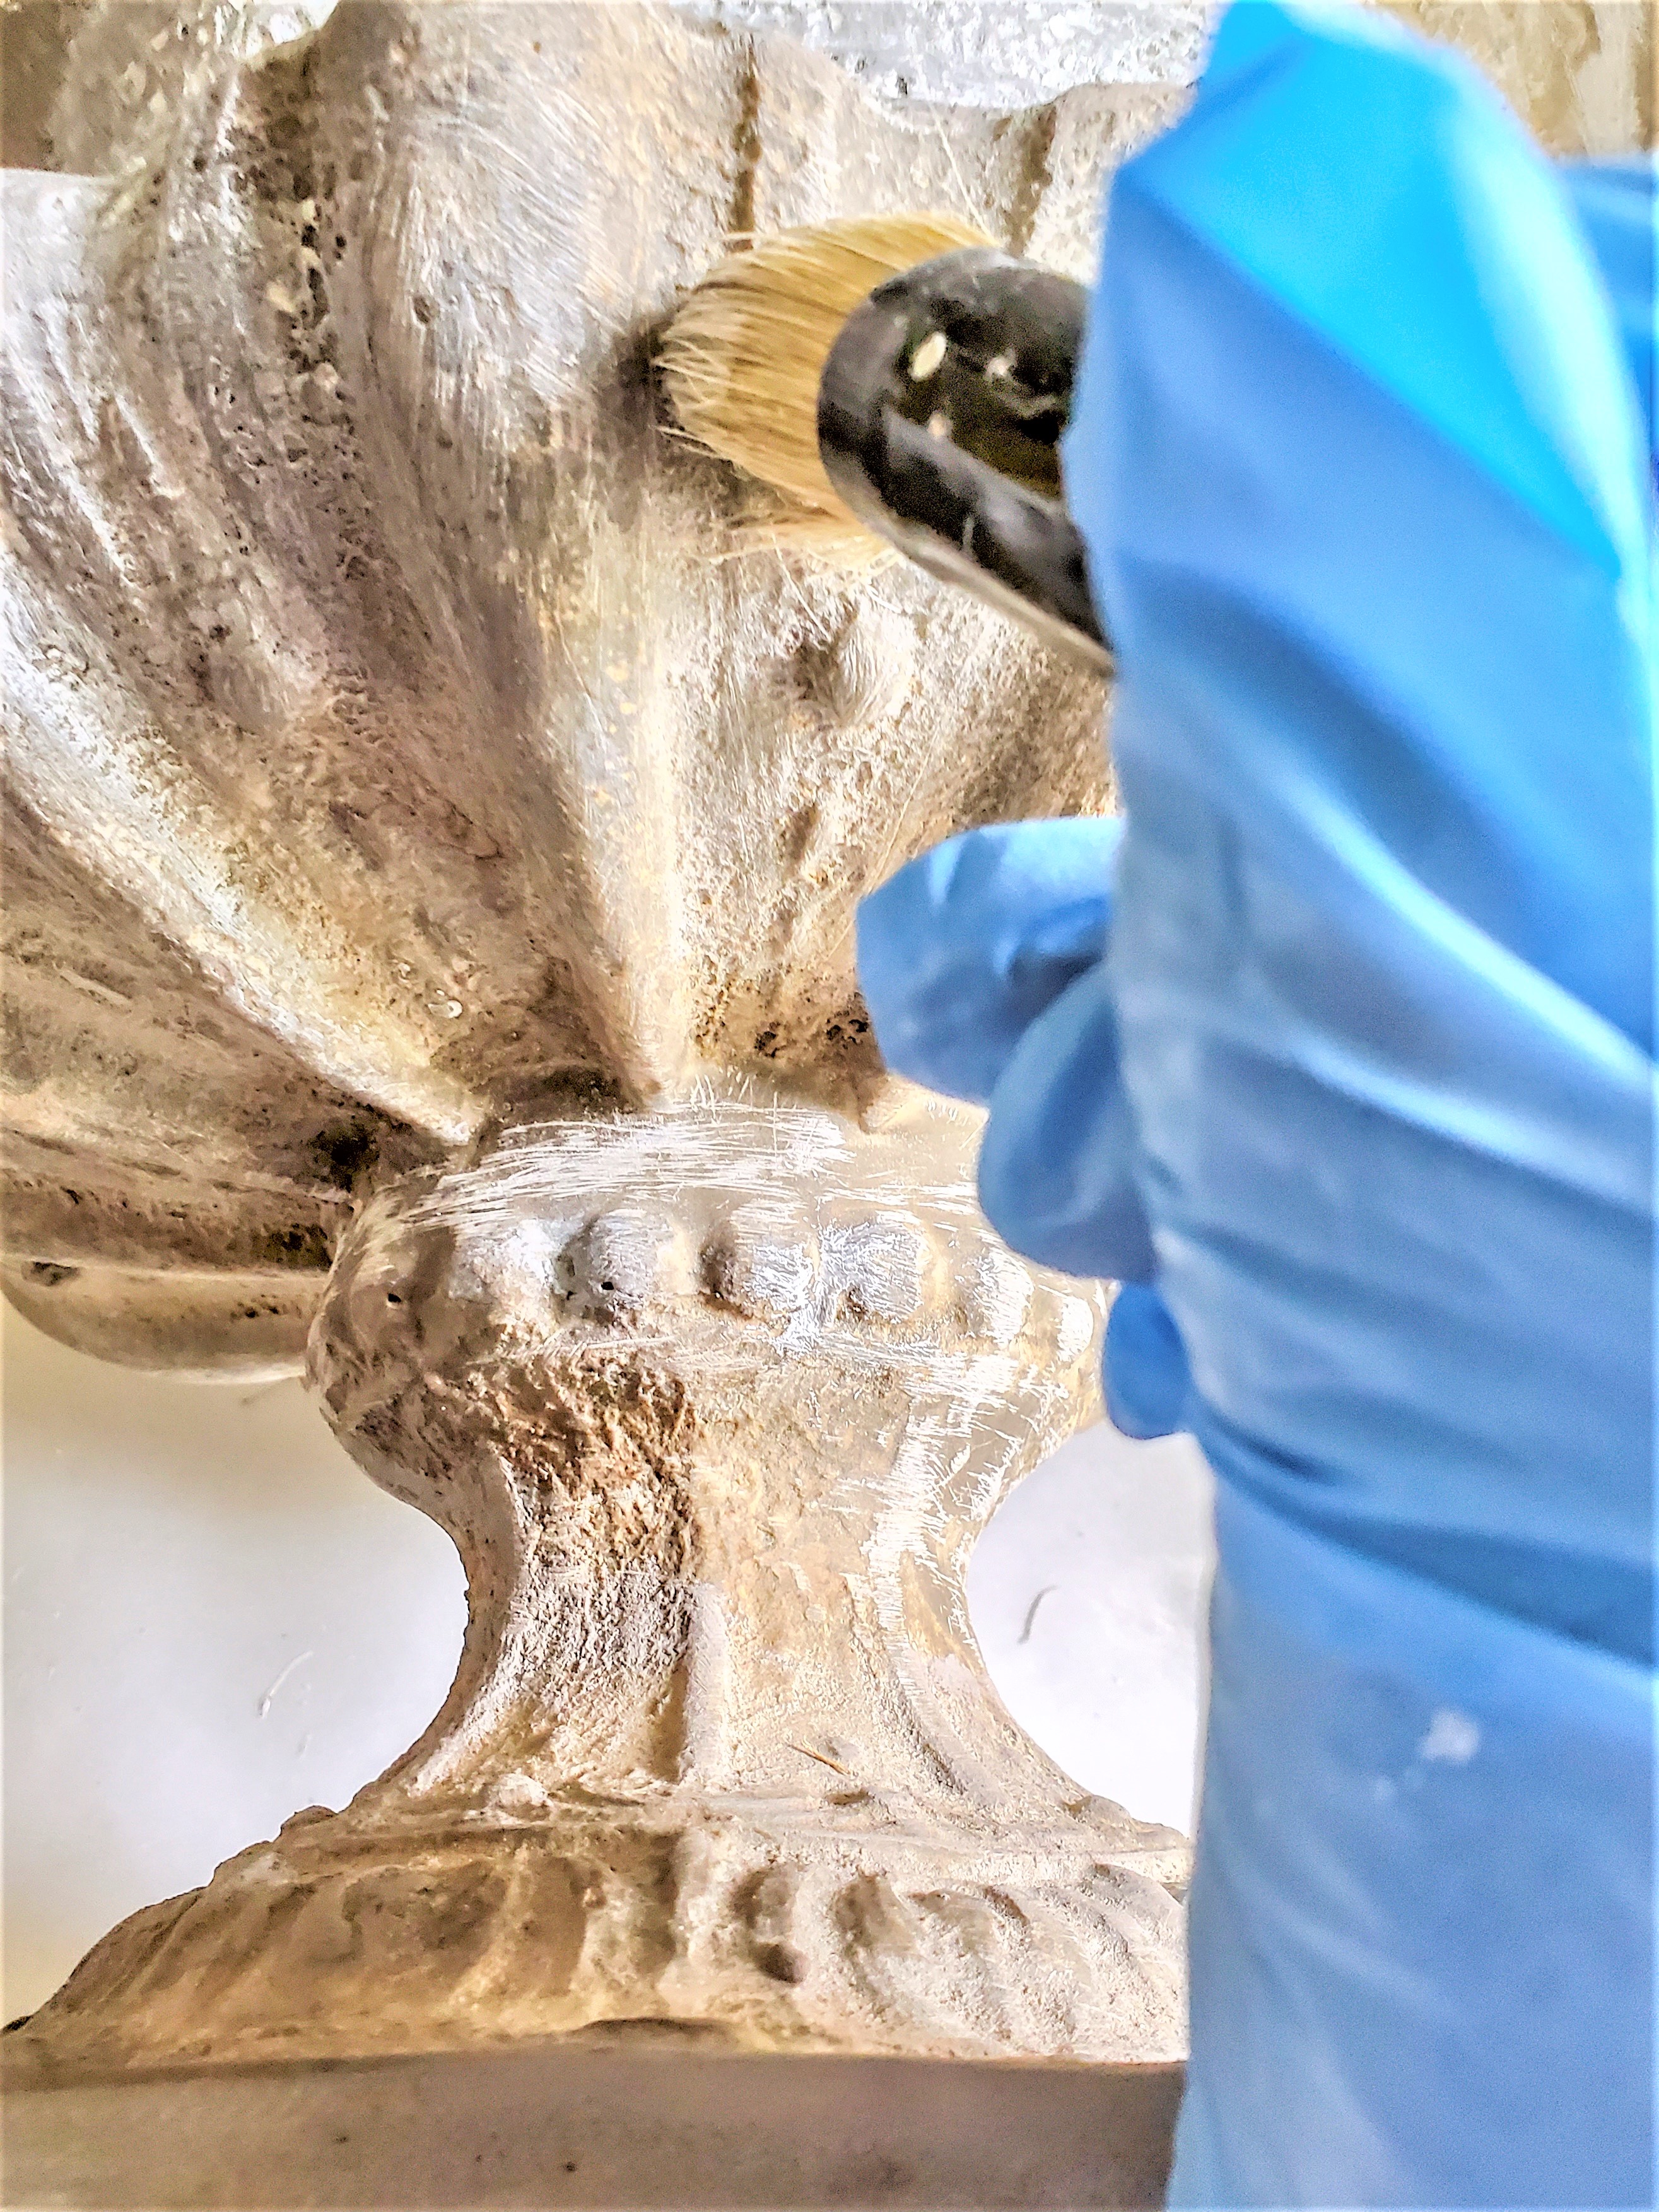
Step 3: Add White Wax
After the paint dries, I apply Miss Mustard Seed white wax because this is a wonderful way to continue the concrete look. As an alternative that works well and I have used this product so I can highly recommend it for this urn.
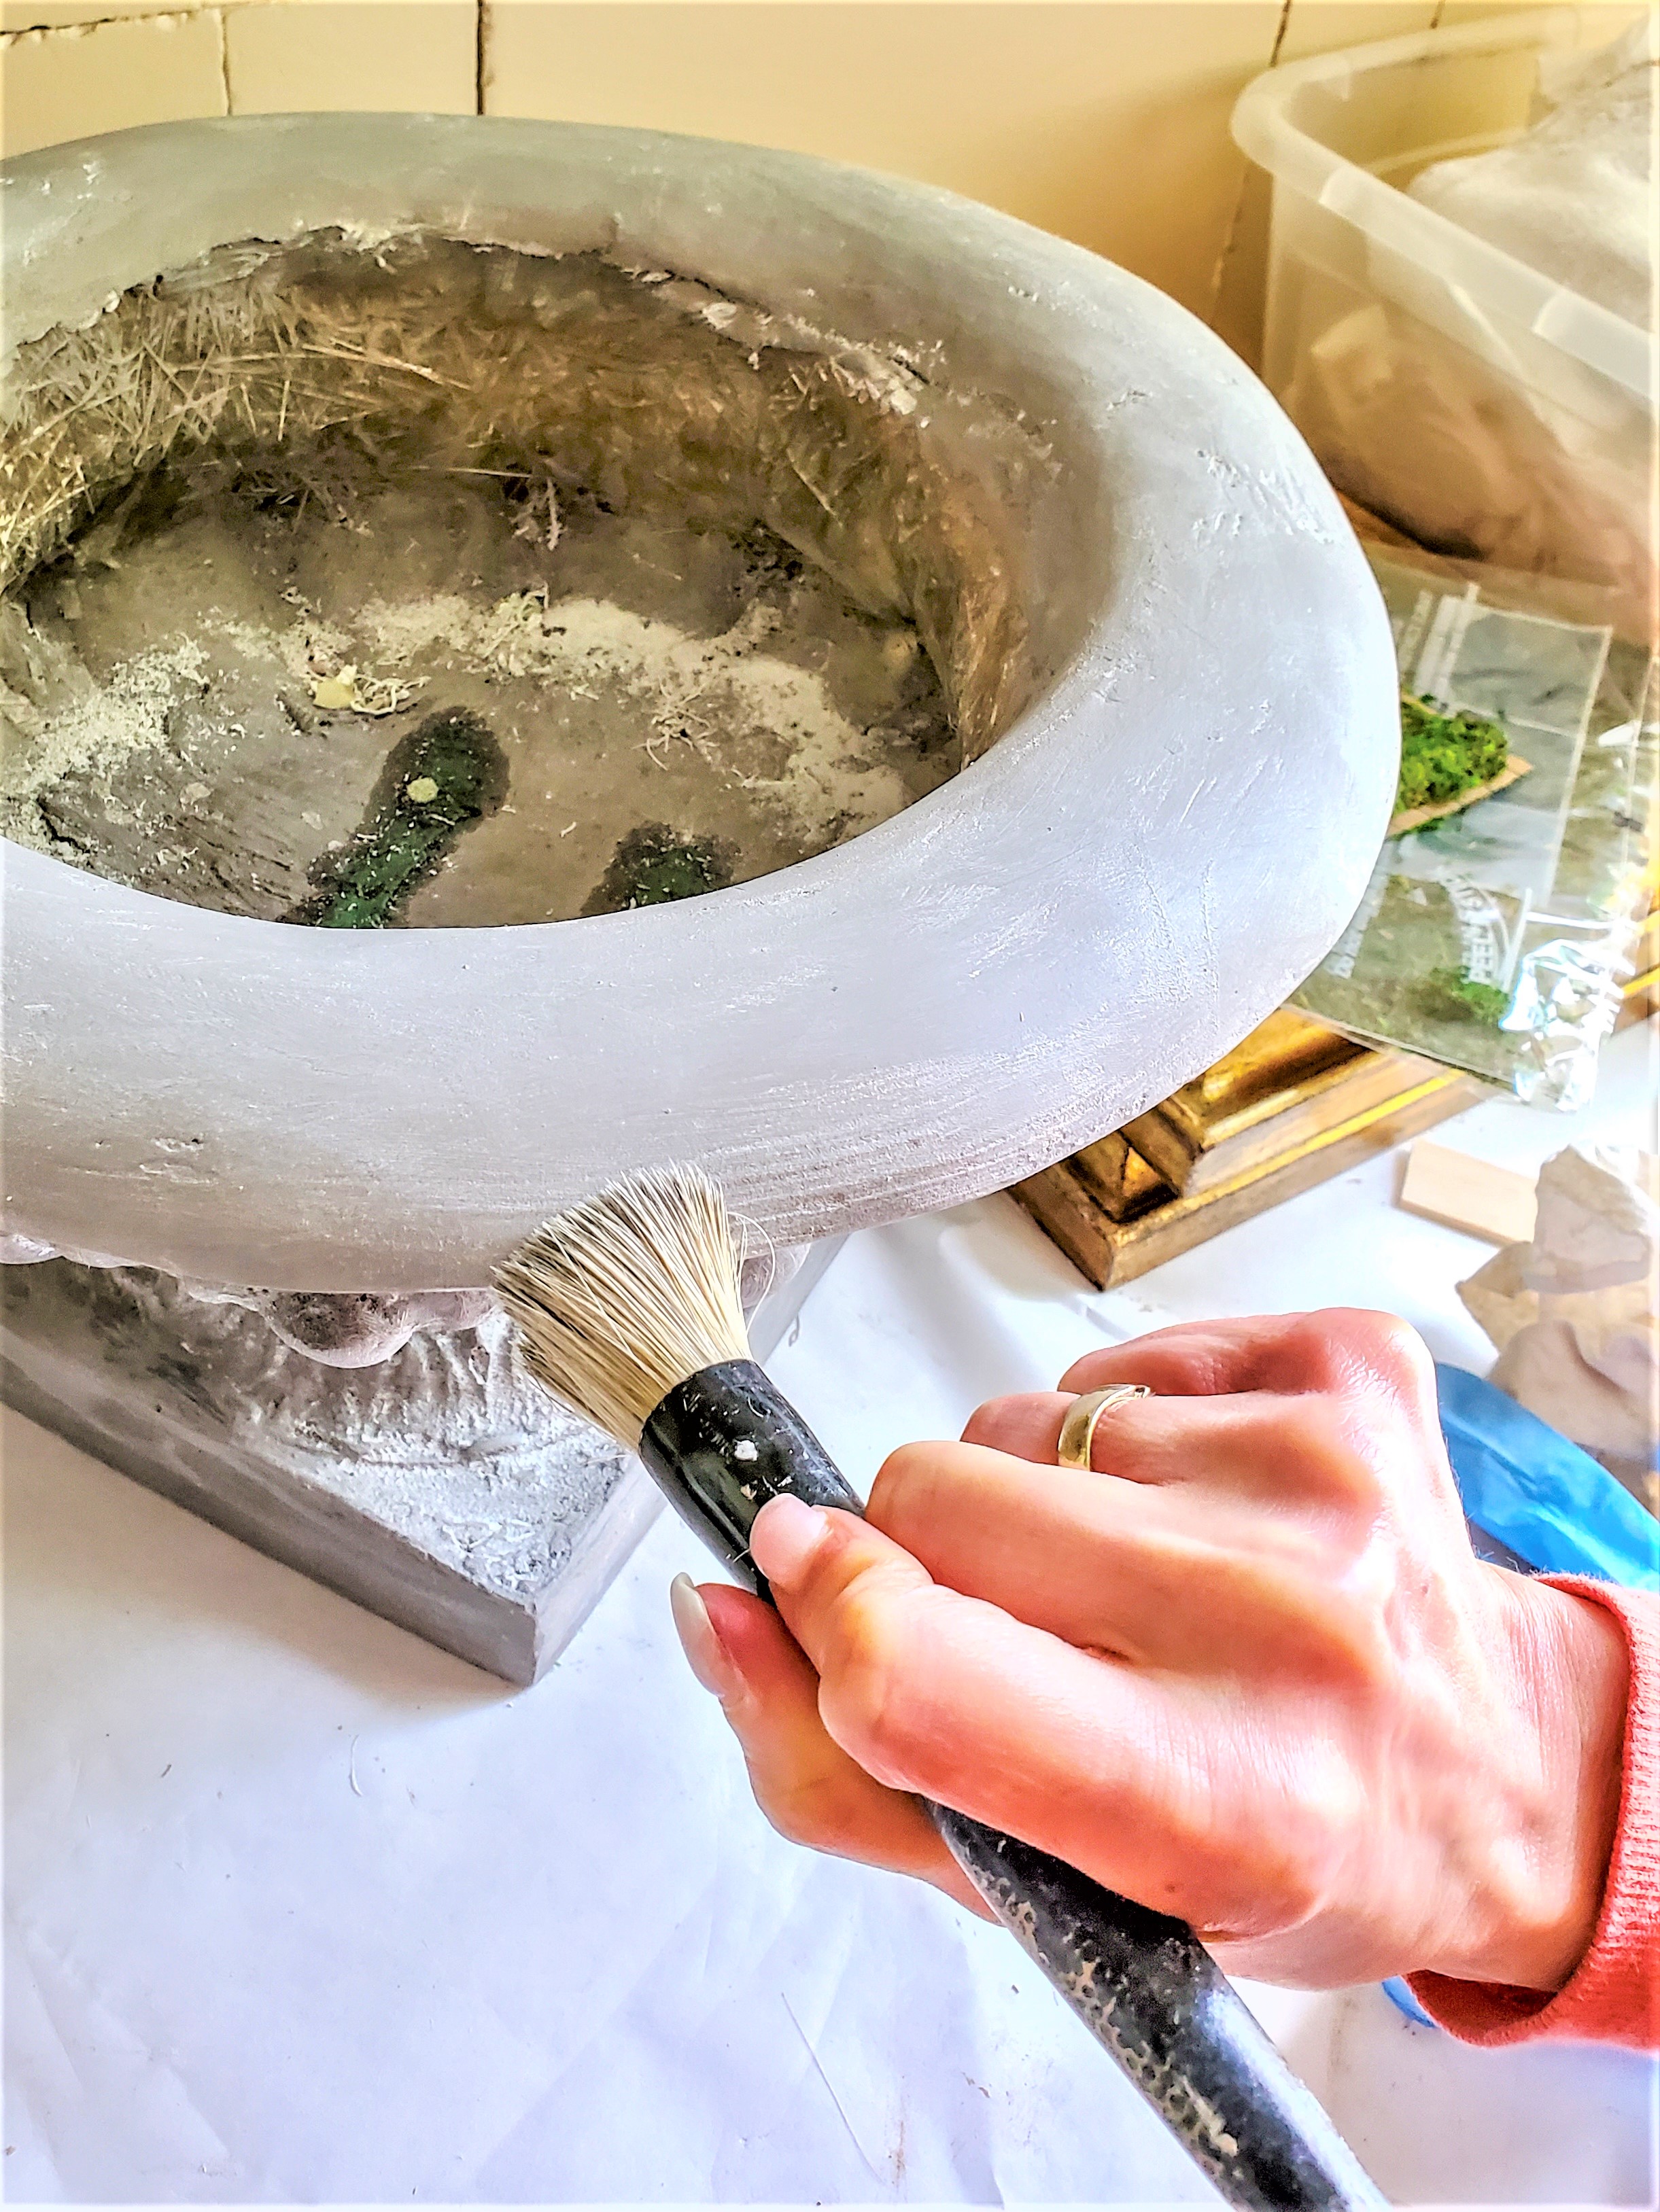
When working with wax it’s important to work in small sections at a time. This keeps the wax fluid and it is easier to buff. It’s also best to buff wax immediately after application to avoid it from becoming sticky.
Speaking of buffing wax, it’s important to always use a lint-free rag and not paper towels. If you use a paper towel it will leave a lot of lint on your urn.
Last Add A Protective Coating
Step 4: Add Protection To The Resin Planter
So, if water will be touching this resin planter applying a clear matte finish of Mod Podge spray matte spray from Michaels is my go-to. I especially like this spray because it’s not only matte, but it also protects from UV light so there’s never yellowing. I have used these many time for outdoor use on planters and it has always worked well.

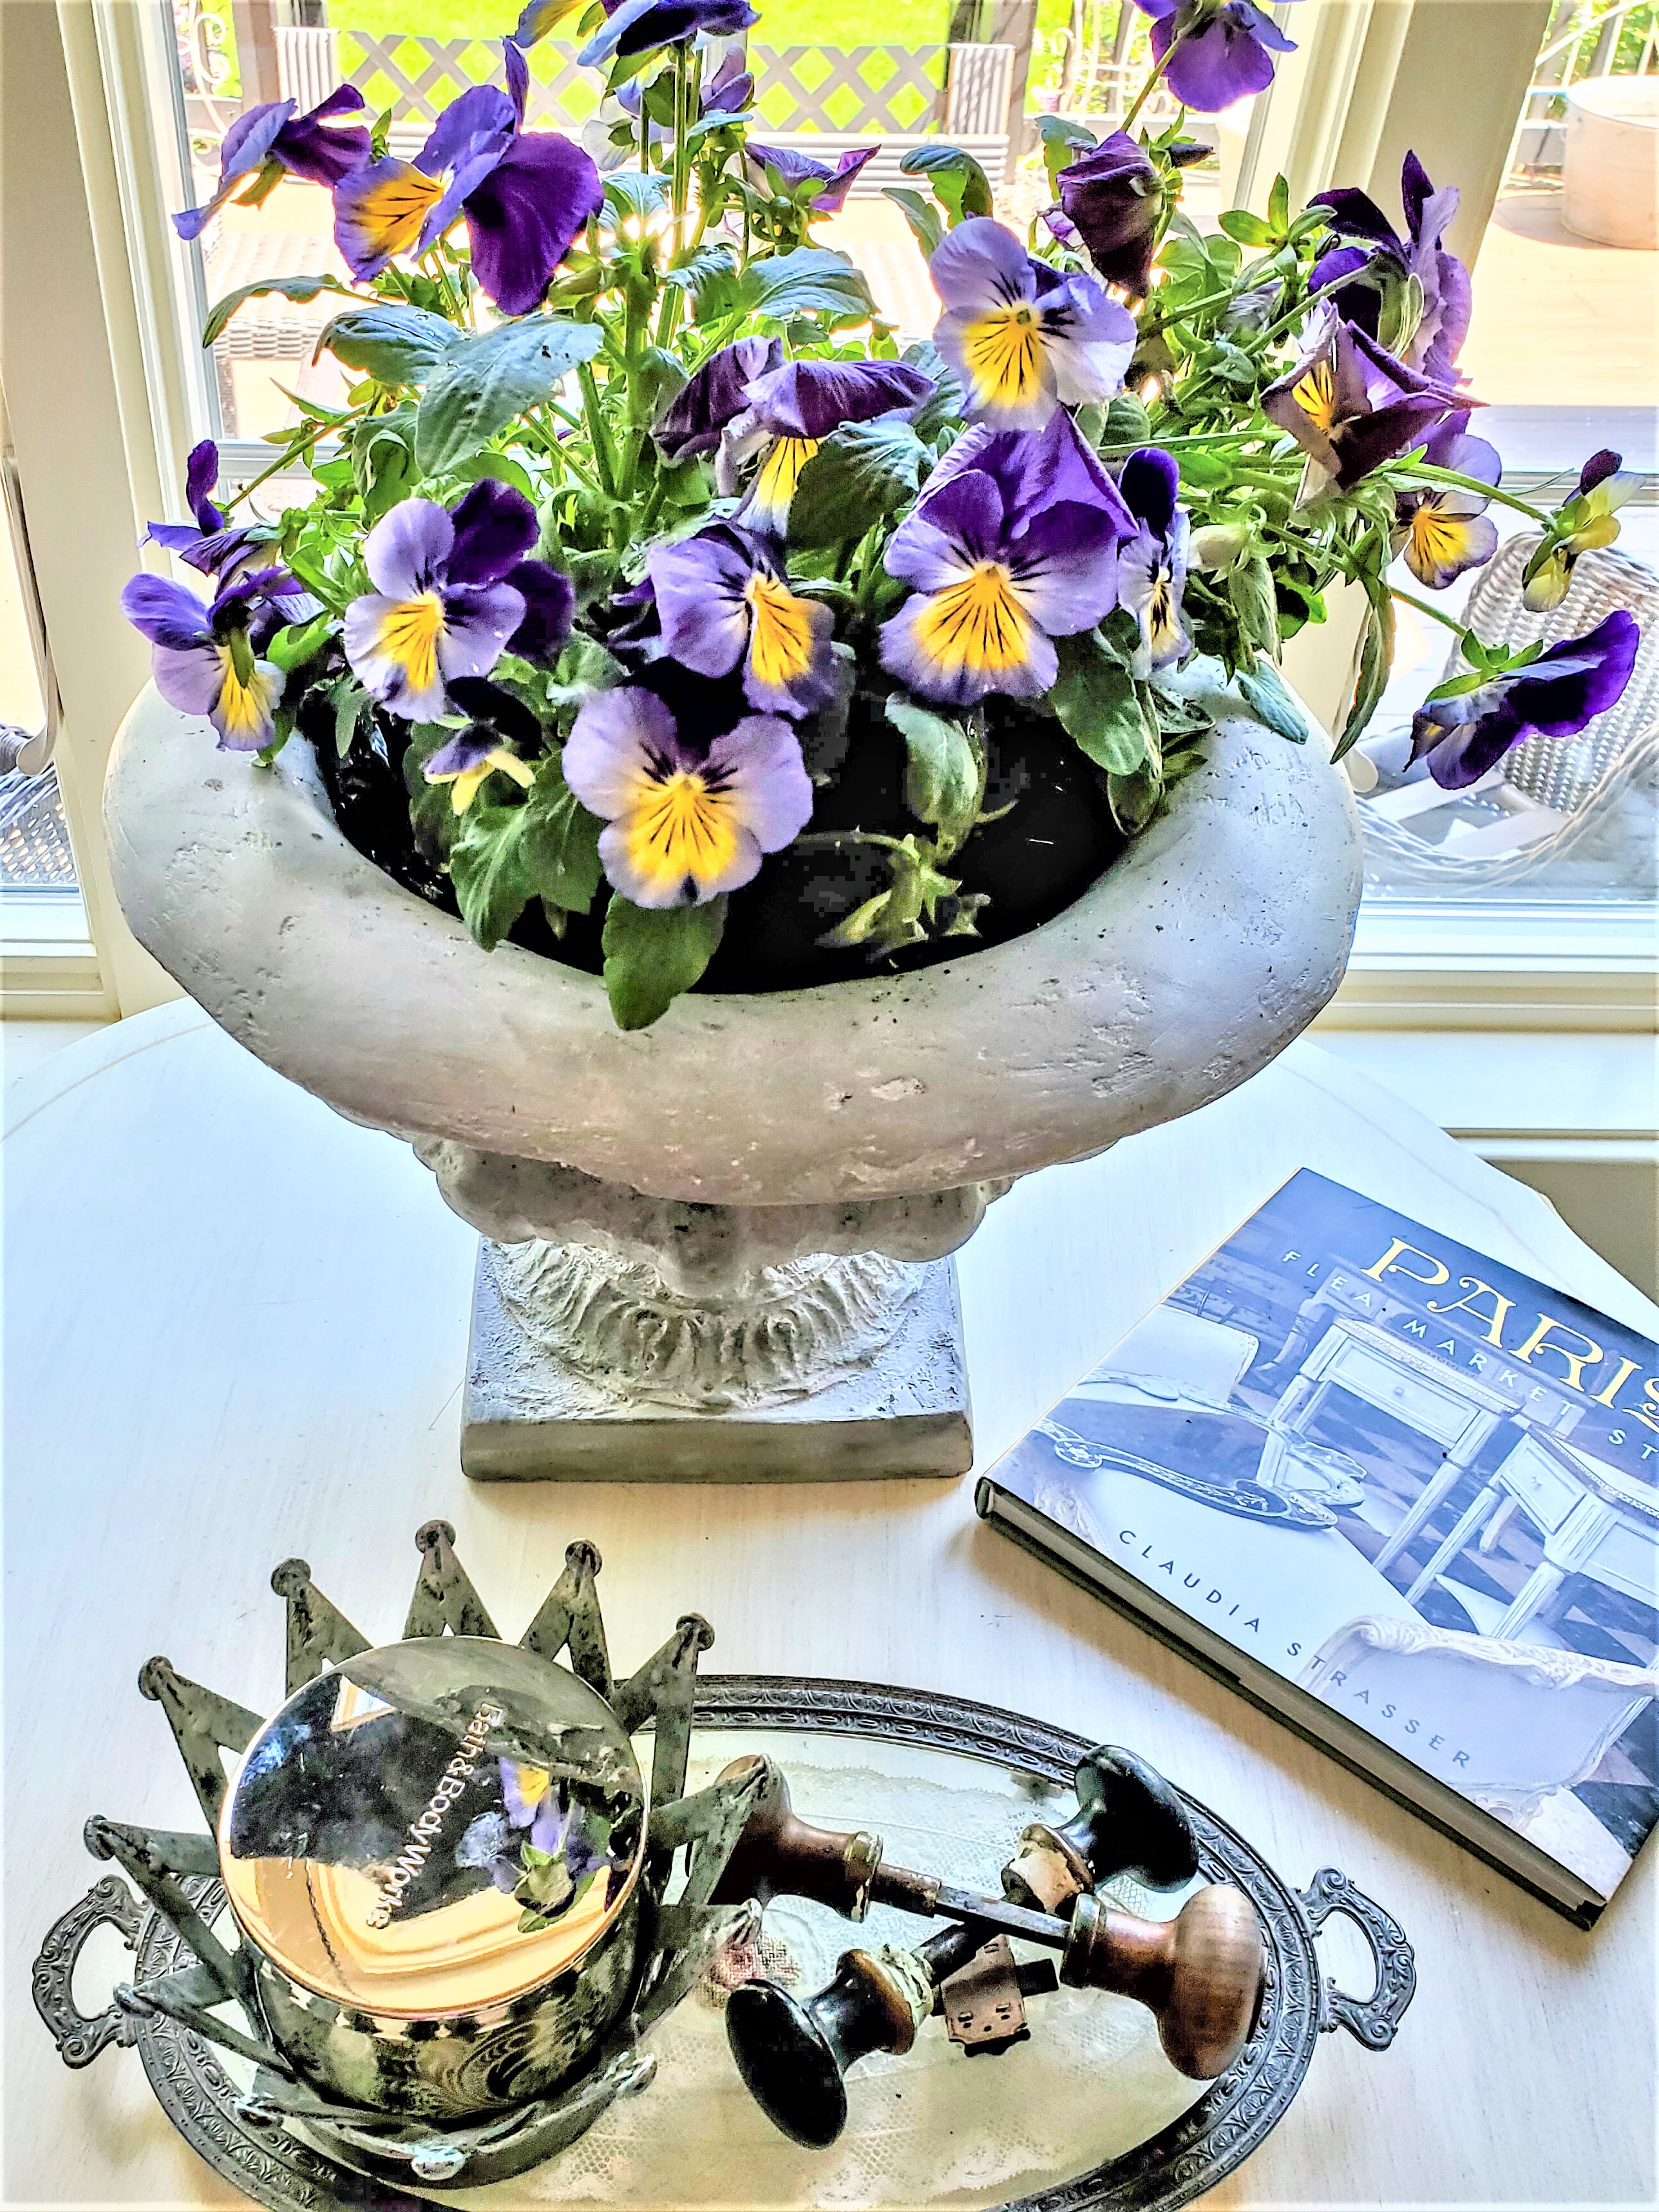
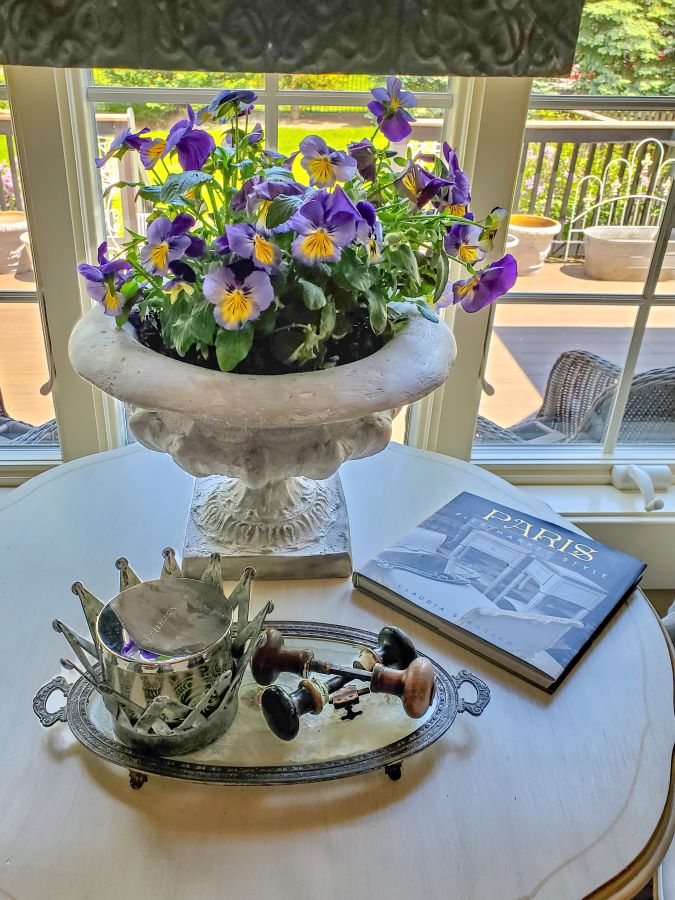
Adding Violas Is A Favorite Of Mine
Step 5: Adding A Viola To My Or Plant
As you can see, I did add a Pansy to the fixed urn.
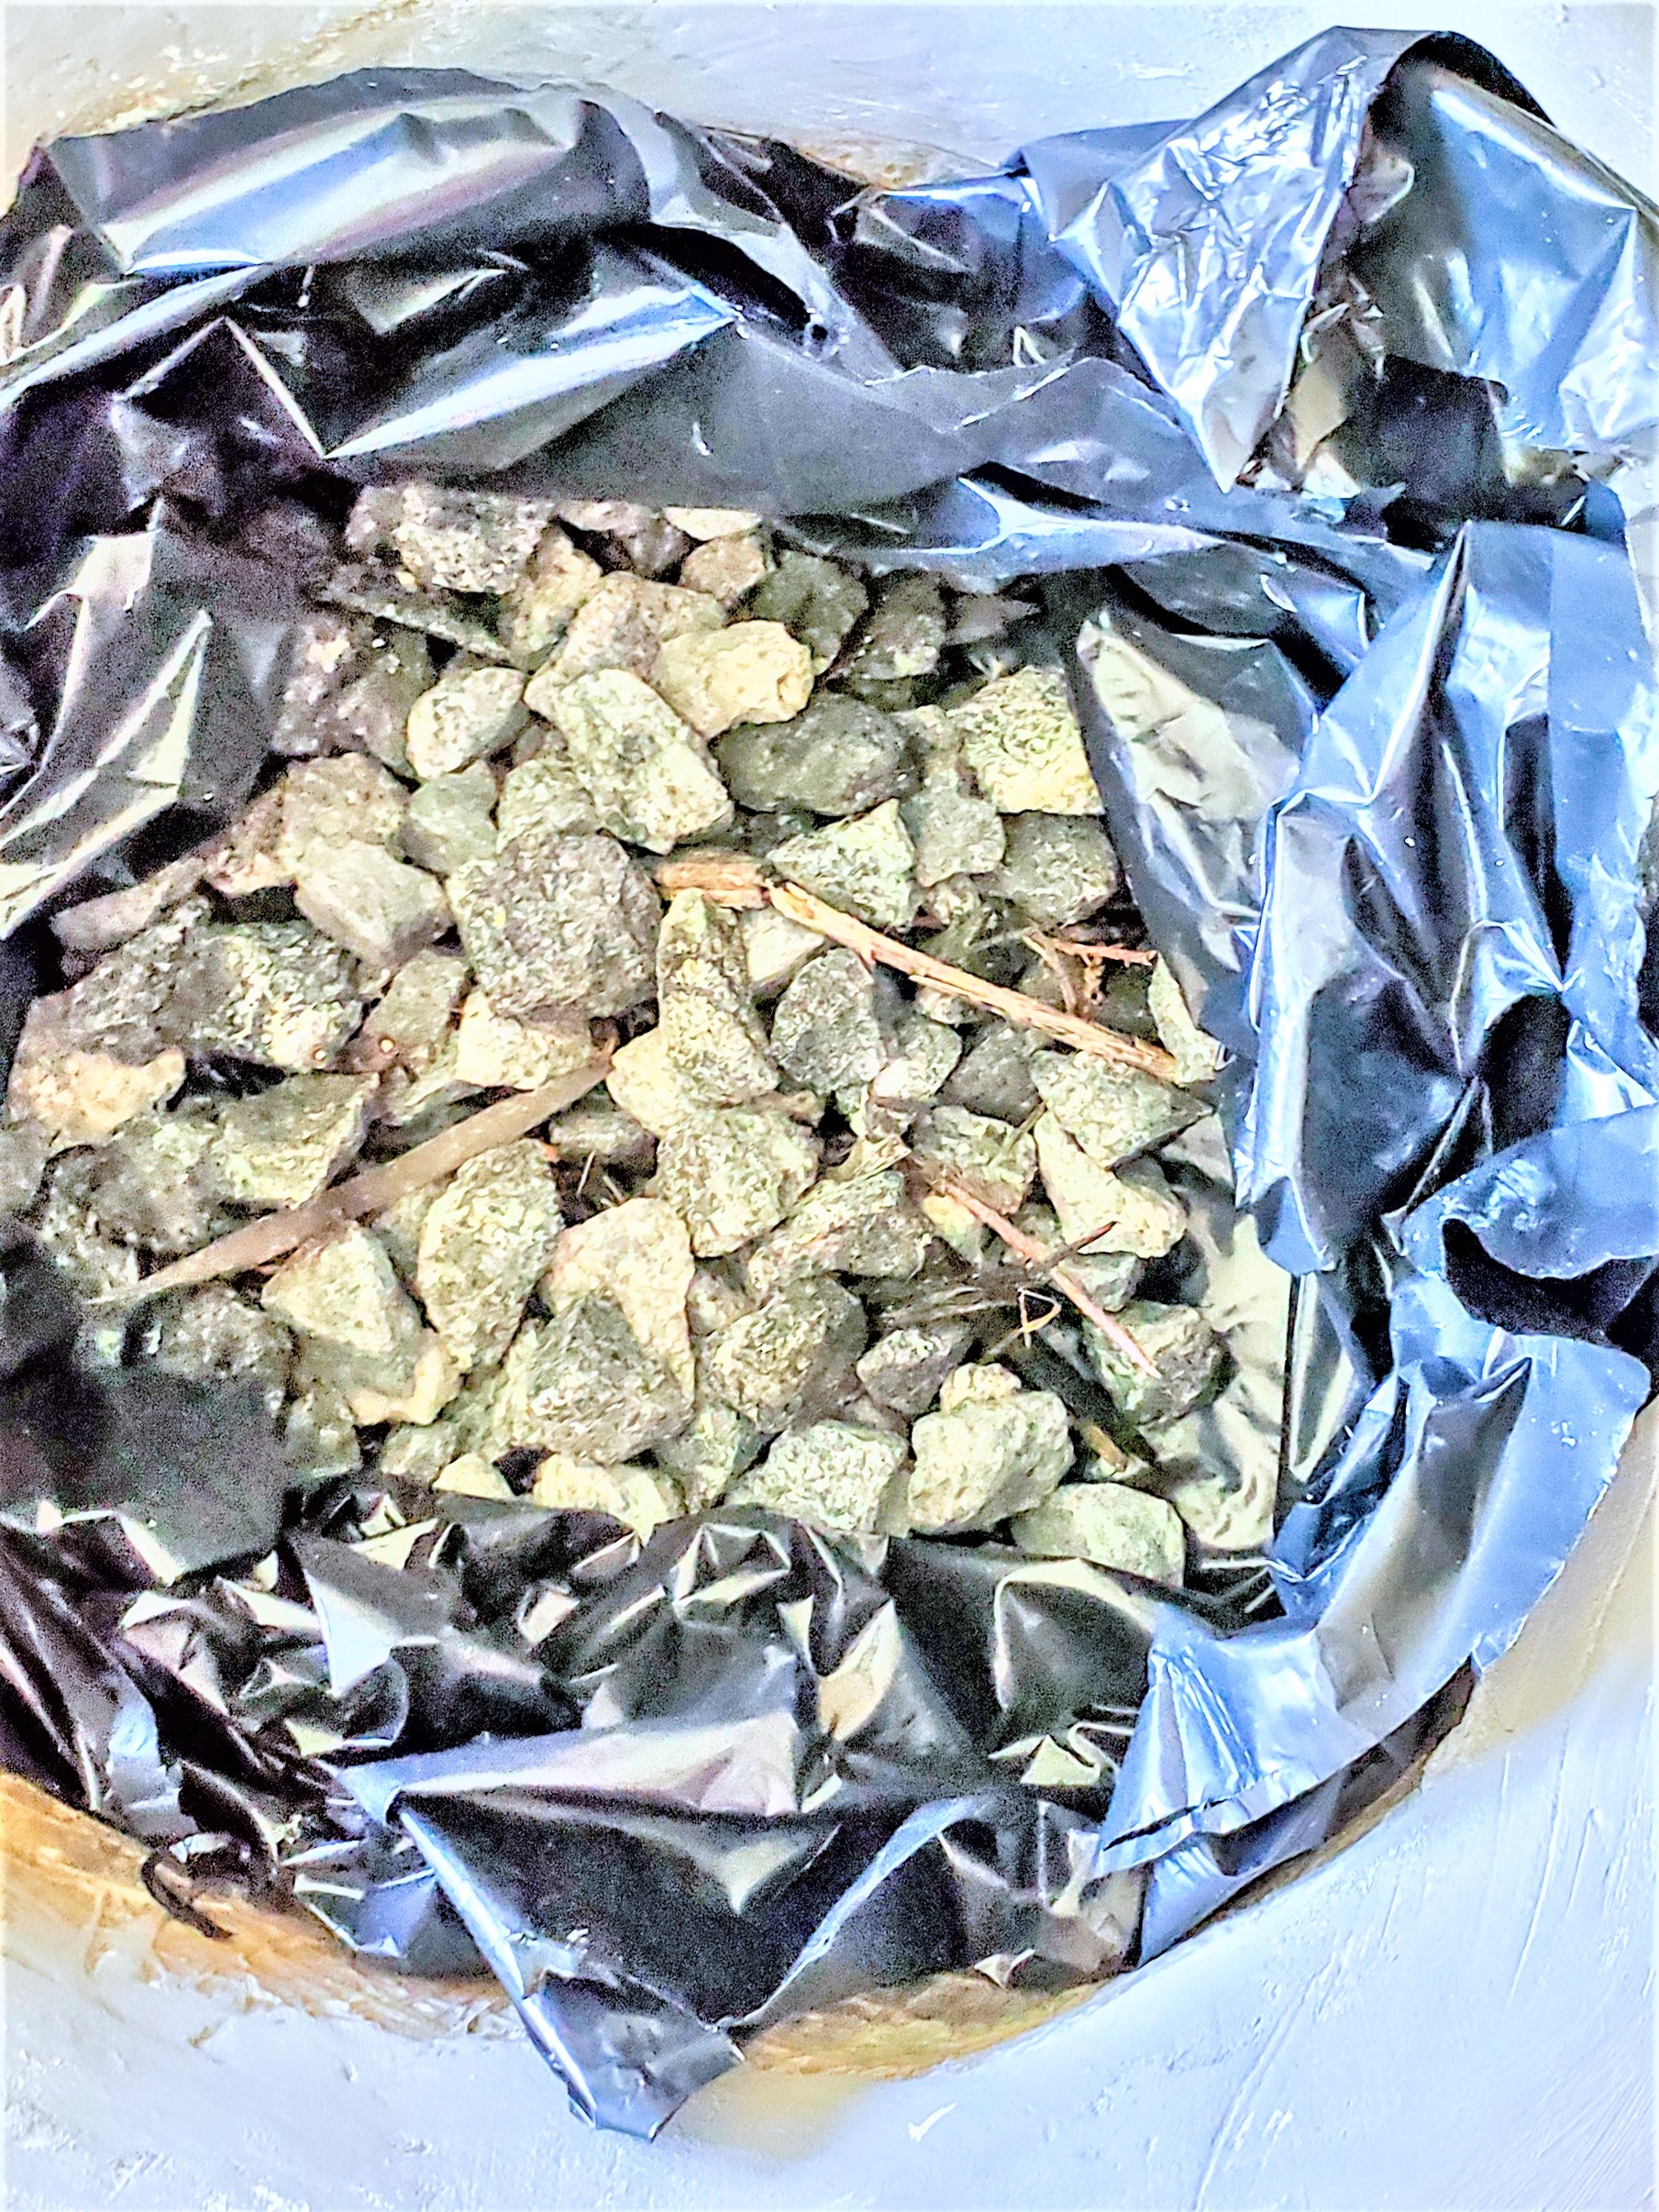
Finally, because this planter has no drainage holes, a large plastic bag and a layer of rocks are added to prevent plant roots from getting root rot from watering
So, what do you think about easy tips to repair a resin broken urn? Don’t you think it’s worth the minimal time it takes to make a piece new again?


Amazing tutorial Cindy! So many of these don’t make it through our harsh winters so this is a post I’ll likely refer to often 🙂
Very pretty, Cindy! I have been scoping out planters like this and concrete or resin they are pricey. I’ve seen some that are broken for lower prices at thrift stores, but always turned away. Now I might go get one and fix it myself! Thanks!
I paid $10 and now that it’s fixed I’m thrilled. You’re right this shape is very pricey no matter what they’re made of too
Fixing the urn was a good idea. The price tag for new ones gives me sticker shock! Now I know that If I can find a thrifted one that is broken it can be fixed to look new!
Aren’t the prices of this shape ridiculous
Great tutorial for repairing broken urns. I love urns with a pedestal, so it makes sense to fix a broken one. They can be pricey to purchase. The flowers look lovely in the makeover urn. Happy weekend.
Thanks so much Linda and these are expensive
This post is right on time, Cindy! I have a couple of outdoor urns showing wear and tear. I figure they must be nearly thirty years old and have a few cracks here and there. I hate to get rid of them. When we moved from our old home, I gave them to one of my best friends, and after we settled in, I asked for them back! The nerve of me! But she put them in her garage and wasn’t using them! I already have some spackle tape and joint compound and know now how to fix them! Thanks so much!
Use good polyurethane if using outdoors which I’m sure you know.
We have pots 20 years and I updated them with chalk paint and brand new. They’re expensive now a days
Oh my gosh Cindy this is soooo cool you could fix this great urn and how pretty it is now. Genius girl. What a great re love and keeping this alive. Happy Saturday. xoxo
Thanks so much! $10 thrifted piece would be 75 now in a store or more
Very clever idea and one I will not forget. I’m all about saving things from not ending up in the landfill. Great save!
You’re in the right place!! Me too!
Wow! I had no idea you could fix that. Great tutorial!
Tania
Thanks so much Tania!
Great way to fix resin, Cindy. You’d never know it was broken at one time!
You do it like magic. Mine would never come out like yours!
Great tutorial and very handy. I have two small puppies that destroy all mine and I have never thought of repairing them. I will be in the future, pinning for later.
So happy this is of help!
Good for you for repairing this urn instead of throwing it out like most people would have done. The end result looks great!
I upcycle and recycle everything!
How amazing! It looks gorgeous! You just solved a problem I have with a piece!
Thanks so much Leslie! Hope you have a great Sunday
This turned out beautifully! And I happen to have a chipped urn I need to repair so thanks!!!
Thanks, hope this helps
Wow, you did a great job. You could never even tell that it was ever broken.
Thank you so much!
Cindy, your urn turned out beautiful! You would never have known it had been broken. I have a cement angel with a broken wing that I haven’t had the heart to throw away. I am going to try your technique to see if I can make her new again. Thanks so much for the wonderful instructions. Wishing you a happy week ahead, sweet friend!
Oh I hope it works. Fingers crossed 🤞
That is amazing, Cindy! This urn is gorgeous. I love the way you saved it and gave it a new lease on life. I know you’ll be able to use this beautiful piece for years to come. Hugs, CoCo
Great tutorial, Cindy. It looks beautiful. xo Laura
Thanks Laura
It looks so good, love the flowers in it too!
What an amazing tutorial! It really turned out just beautiful! In love!
Thank you so much!
This is a great idea. I have two resin pots that are chipped all the way around the sides and I was going to throw them out. Thank you!
Looks good as new! Thanks for sharing.
Thanks
I would have never thought of repairing that urn this way!! Thanks for the tutorial – I am pinning because I am sure I will use this post in the future!! Thanks!
Thank you Cindy a great compliment!
Thanks so much!
Good for you, Cindy. Now your urn can shine out in the middle of the room. xo Laura
Thanks Laura. I wish I fixed it sooner
One I had saw it’s last day so I tossed it out. Now I wished I hadn’t. Thanks for the tip and the how to. Going to pin this for my two I just purchased so I can fix when they get damaged.
Thank you Terrie. It’s a seamless repair
I had no idea it would be so easy to fix a broken urn like this Cindy! You definitely gave it fresh life. I love how it came together. Hugs, CoCo
That’s such a pretty urn, Cindy! I’m so glad you fixed it instead of tossing it out! Thanks for the tutorial! I’m pinning it now so I’ll have it when I need it someday!
It took me forever to decide to fix it and I’m thrilled I did it.
Loved reading this thankk you
Thank you Mallory!
what happens if the bowl — not the rim — is leaking and needs to be waterproofed? I’ve never heard of spackle tape, but I’m going to find out!