
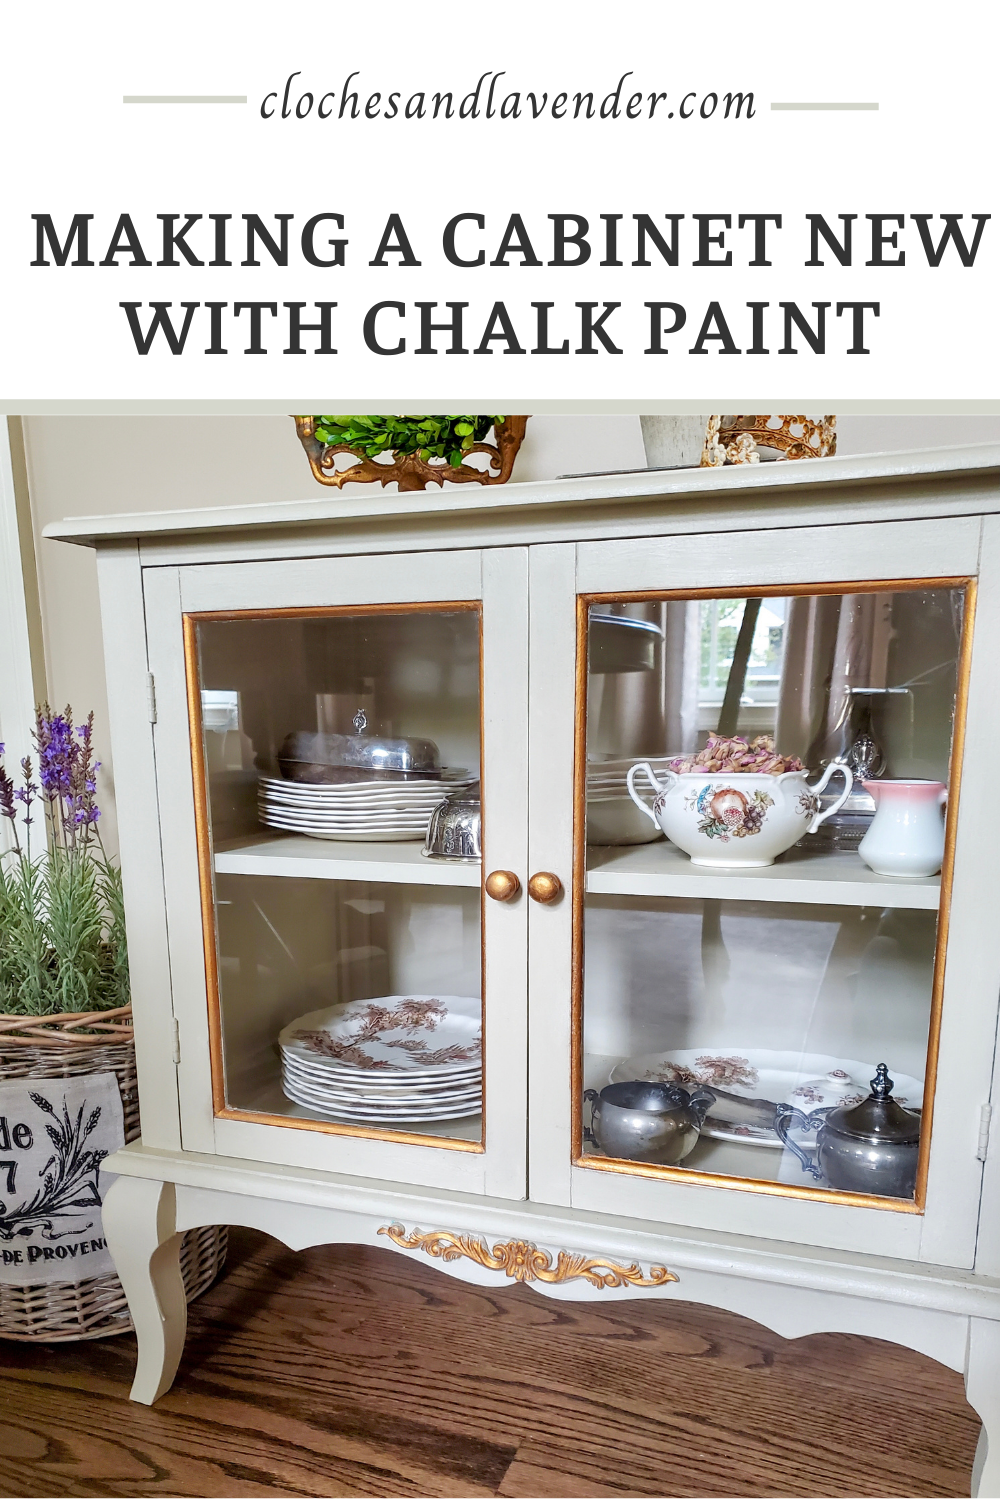
Making A Cabinet New with Chalk Paint
Today I’m sharing making a cabinet new again with chalk paint. Because I enjoy recycling and upcycling furniture, I gave this twenty-year-old cabinet a new look. By the way, this cabinet is not anything fancy, however, I love the details and curved legs. I’m all about the details when it comes to décor pieces and this cabinet has them. I knew I was able to make this cabinet a beautiful piece to add to our dining room.
Do you have pieces in your home you would like to make new again? I often decide making pieces that no longer match my décor new with chalk paint. Paint is a magical tool to use to make pieces work with your home and décor. Also, it helps with our budgets.
I find painting pieces also a relaxing hobby as well as rewarding. Chalk paint isn’t cheap however, it goes a long way and not needing to prime saves time and makes the process of making a cabinet or accessories new again fun.
So, let me share this project of making a piece new again and I hope it encourages you to do the same with something in your home.
First, I did clean the cabinet well to remove any dust particles.
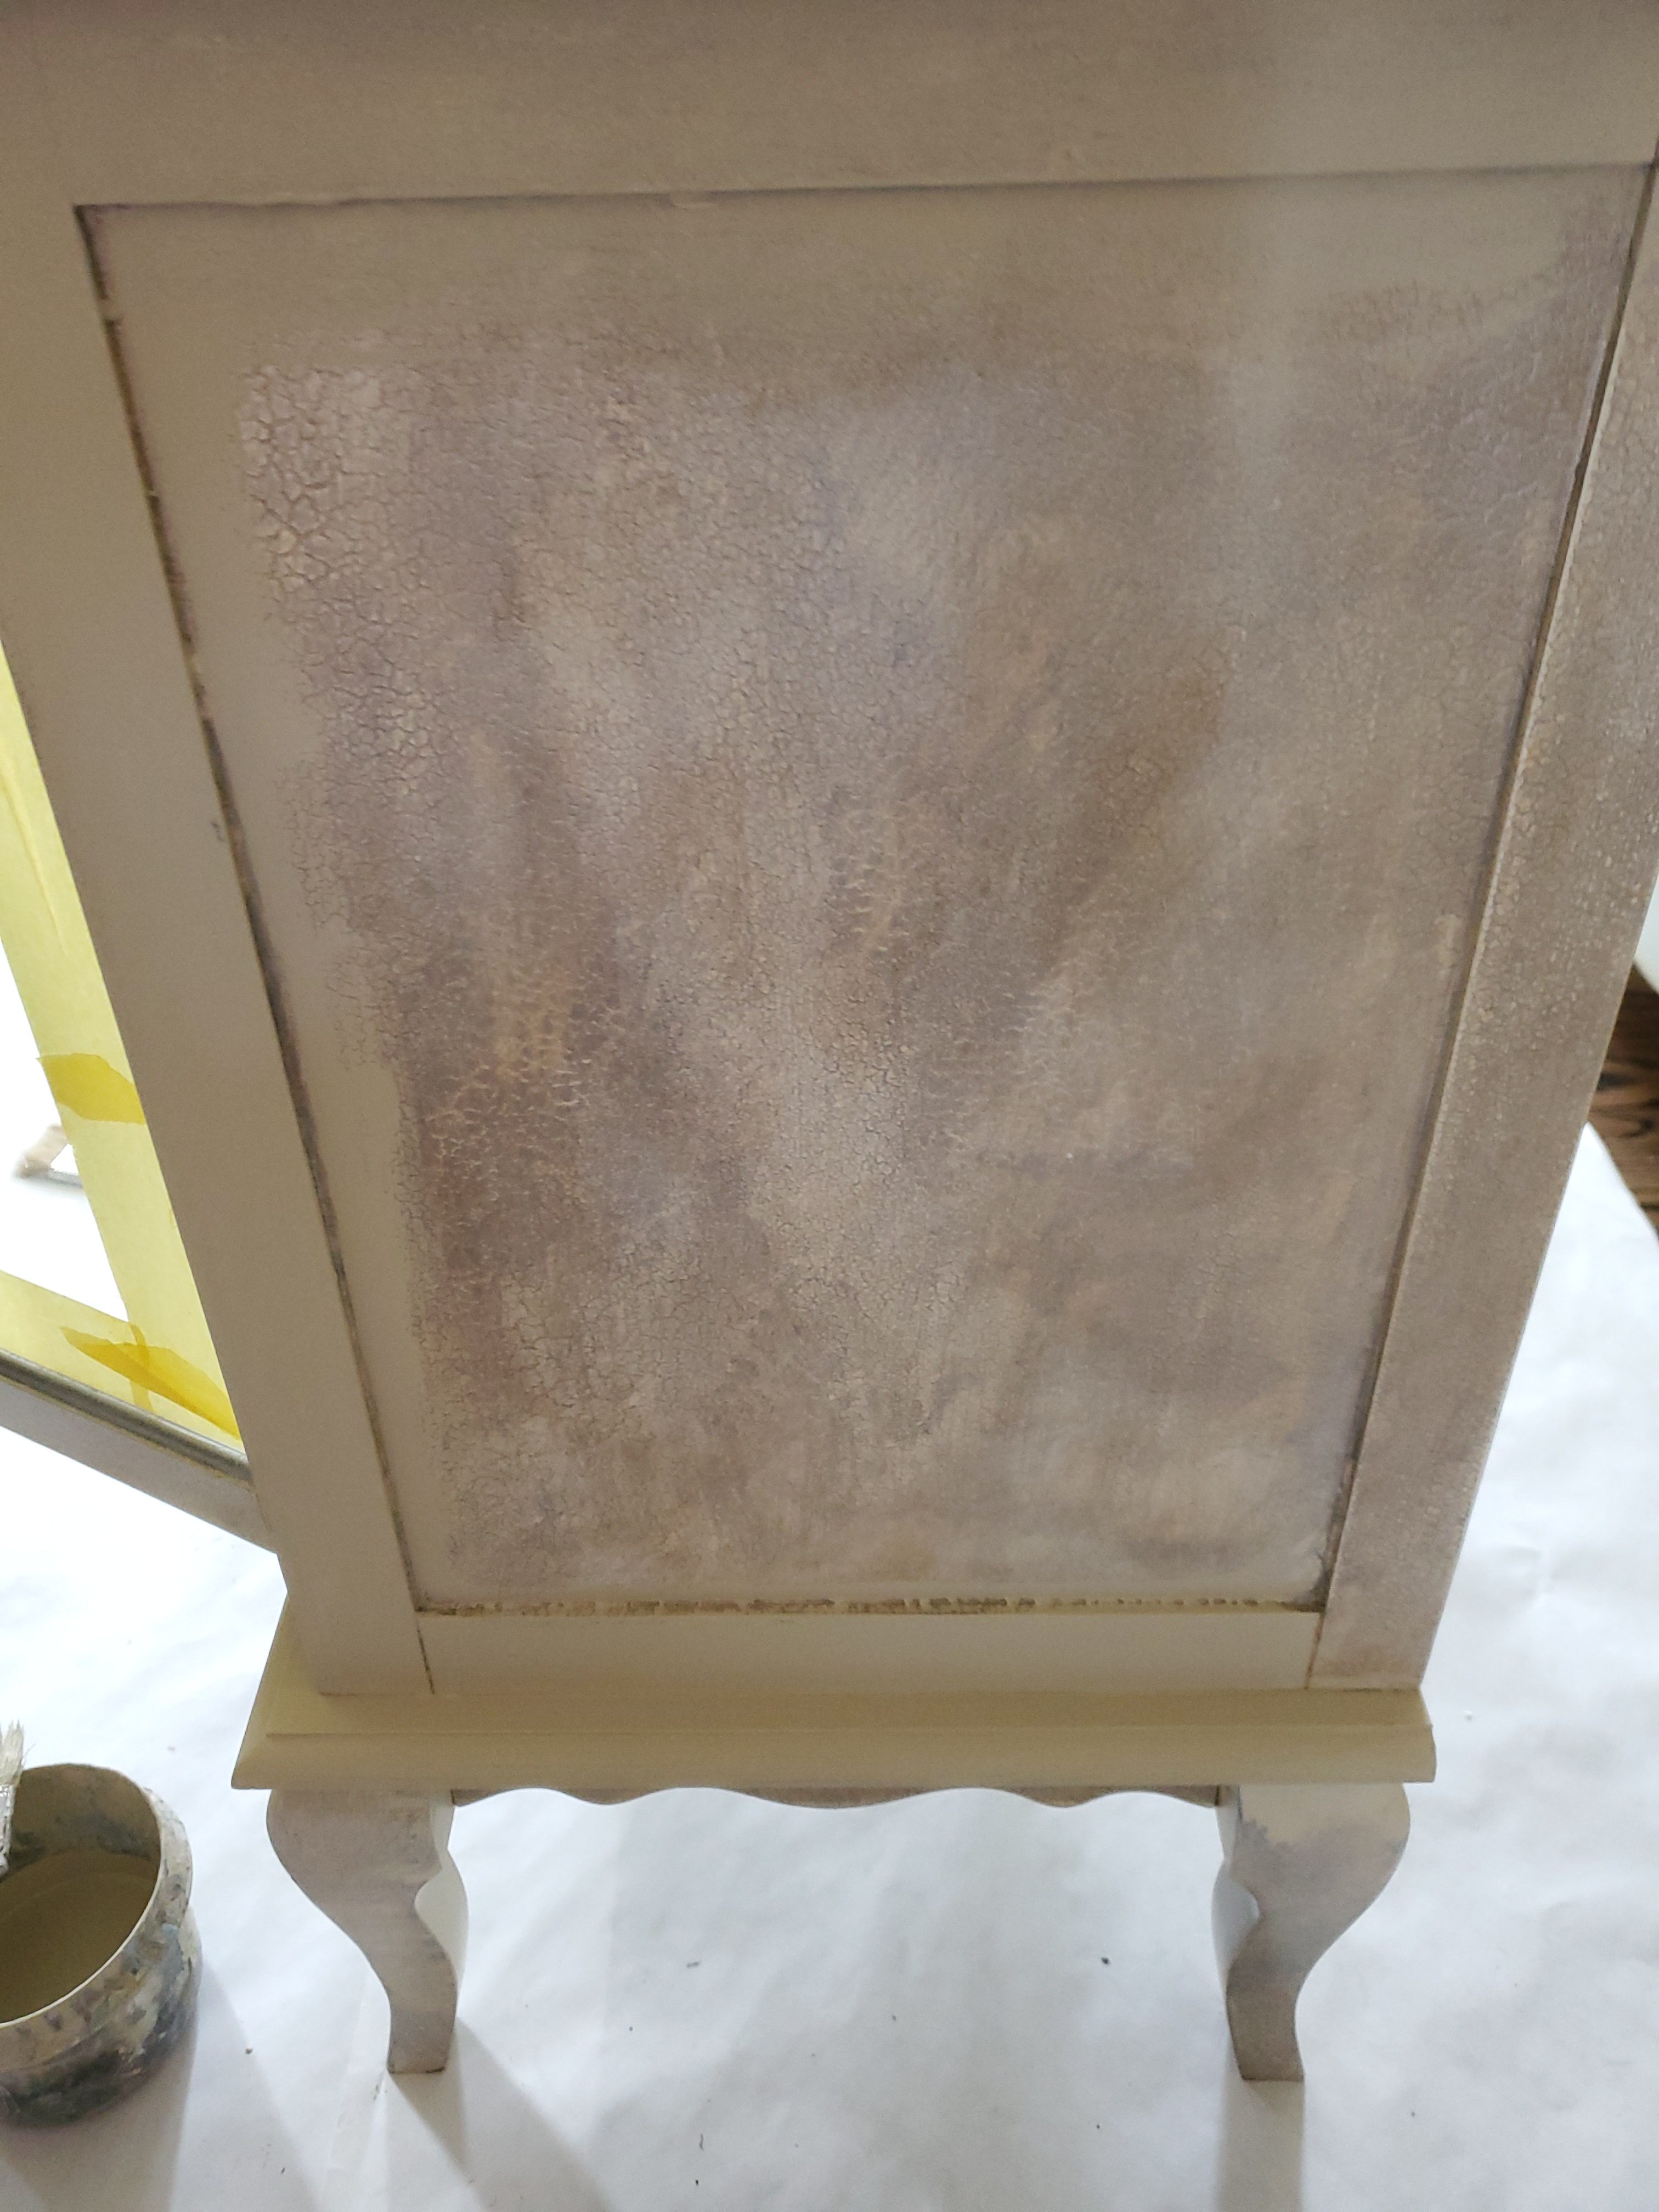
Table of Contents
Next Step for to Upcycling Furniture
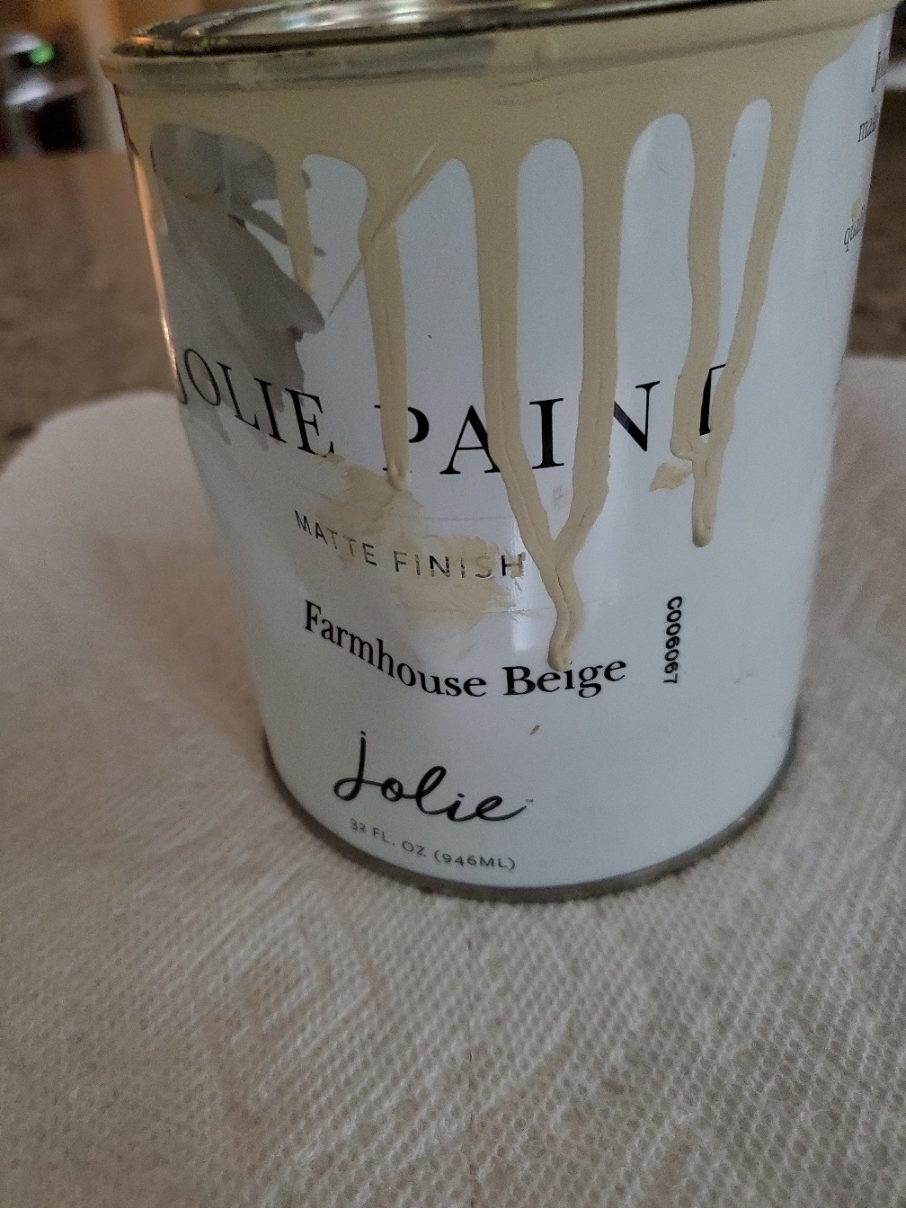
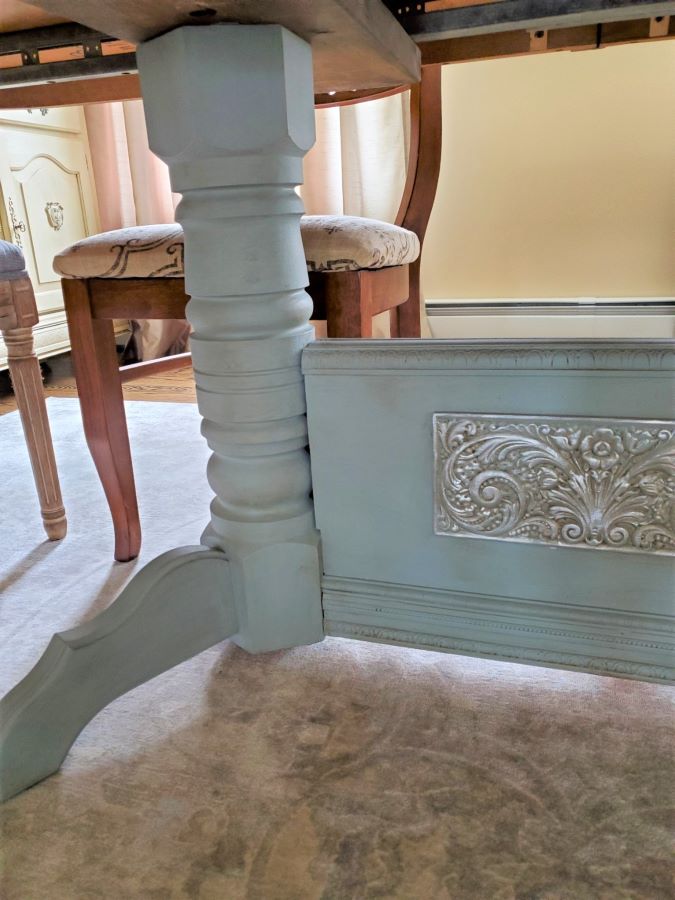
By the way, I did choose Jolie in Farmhouse Beige to paint this cabinet. It works especially well with the color scheme in our dining room. For the most part, I paint pieces using ASCP or Jolie depending on if I have paint in my craft room. If you would like to make a cabinet new with chalk paint and choose ASCP, the color Country Grey is very similar.
I also recommend using these brushes that are specifically made for chalk paint. Yes, they are an investment, however, they work, and they last. They will not only help with the application but will help to avoid streaking.
I can’t stress enough how beginning a project with the correct tools is important. If we are making a cabinet or, any piece new with chalk paint it’s worth the extra effort to begin the process correctly.
Also, if you visit this post and this post you will see an example of other pieces, I make new with chalk paint. Also, take time to look through Cloches & Lavender to see other paint projects and techniques. As I mention above, I recycle and upcycle pieces I already have, often because painting old pieces gives them new life again for the home.
After applying two coats of Farmhouse Beige paint I let my cabinet cure overnight. I namely do this to because I like to make sure my chalk paint is set well.
Next Bringing Out the Details
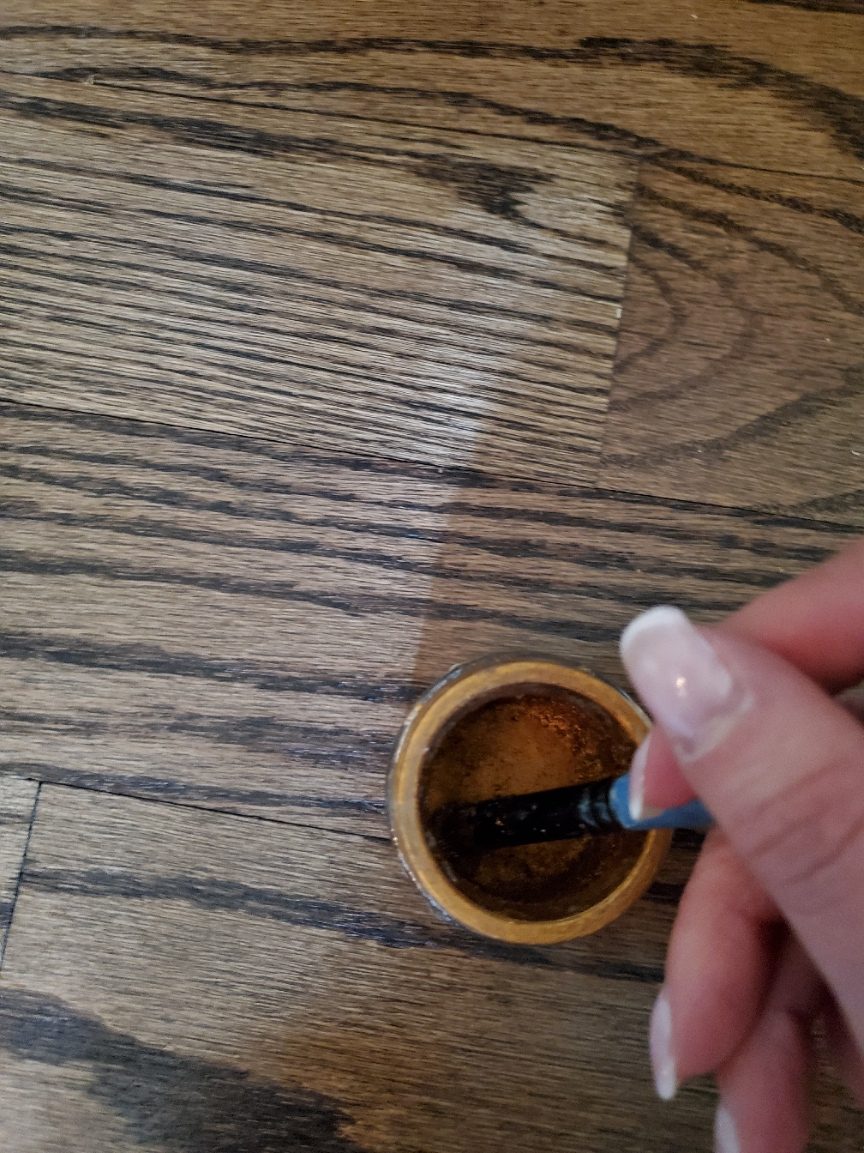
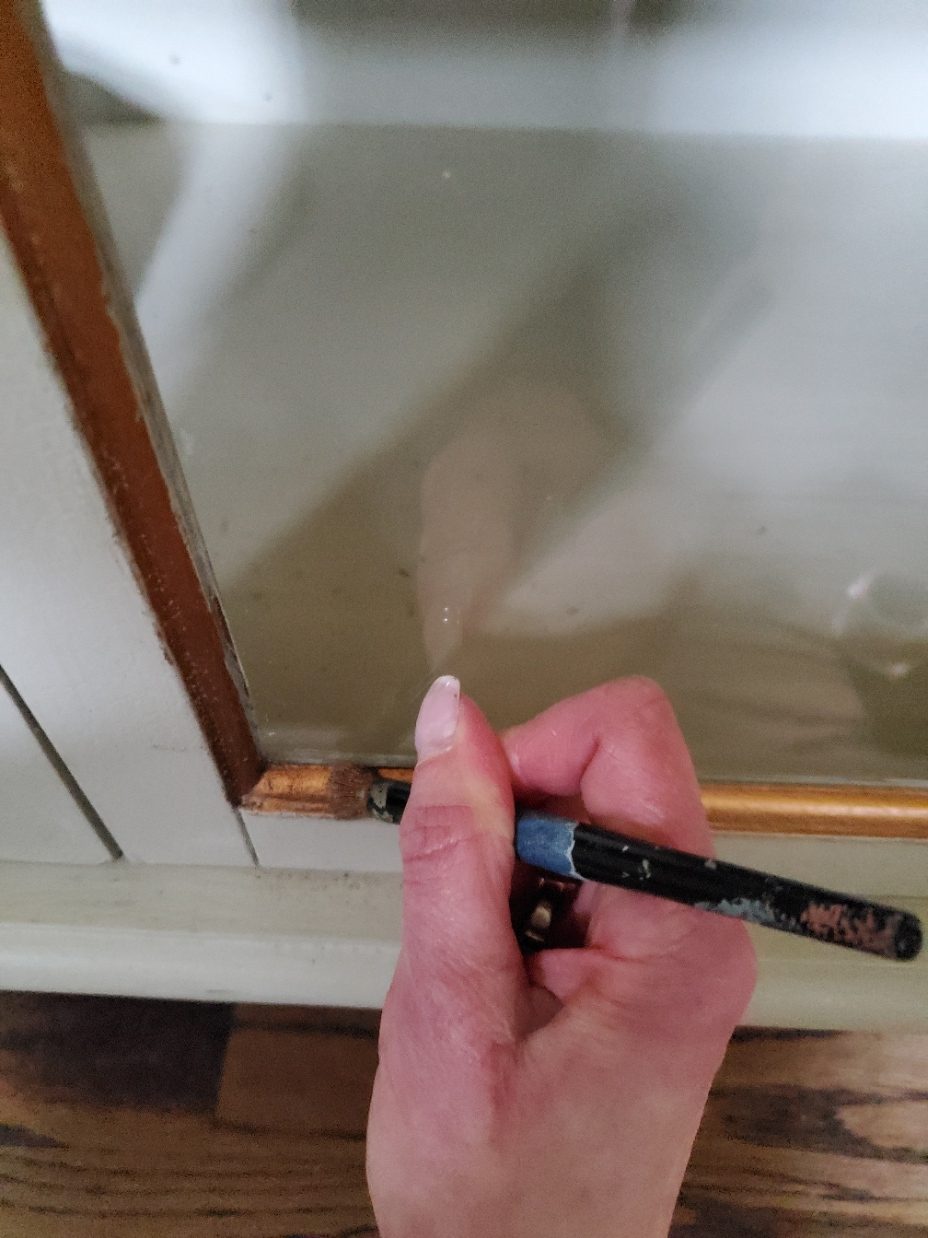
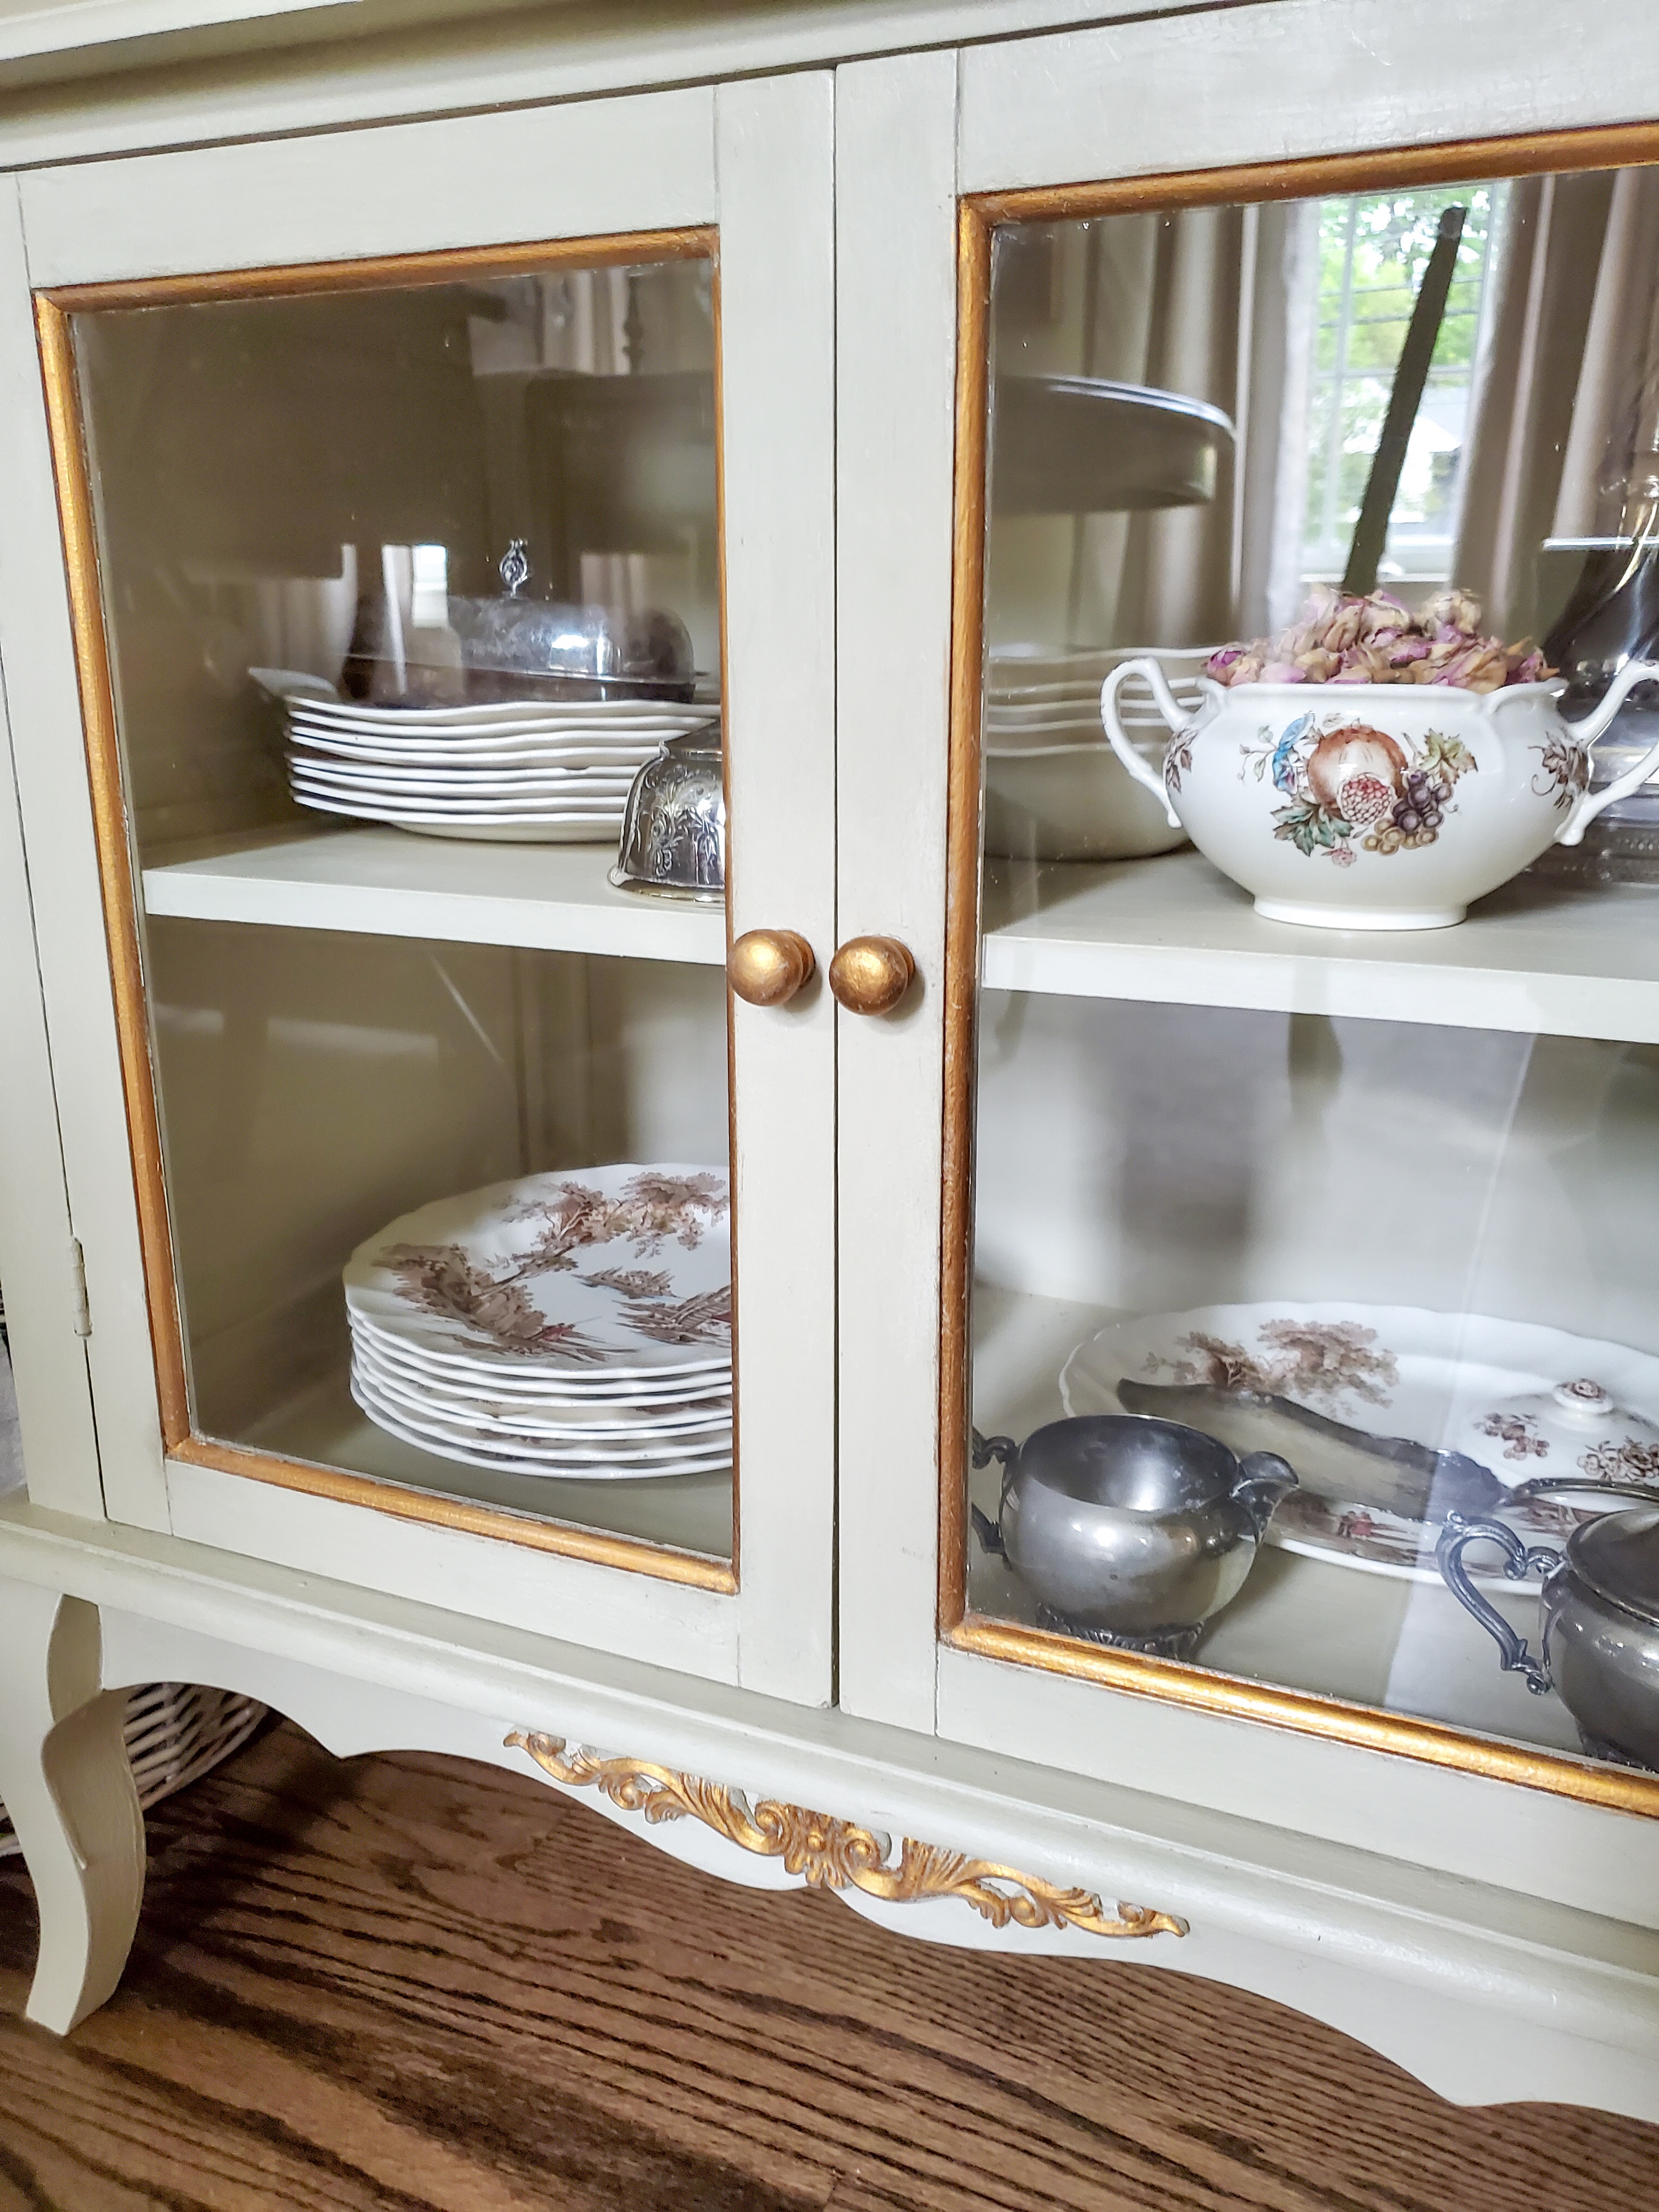
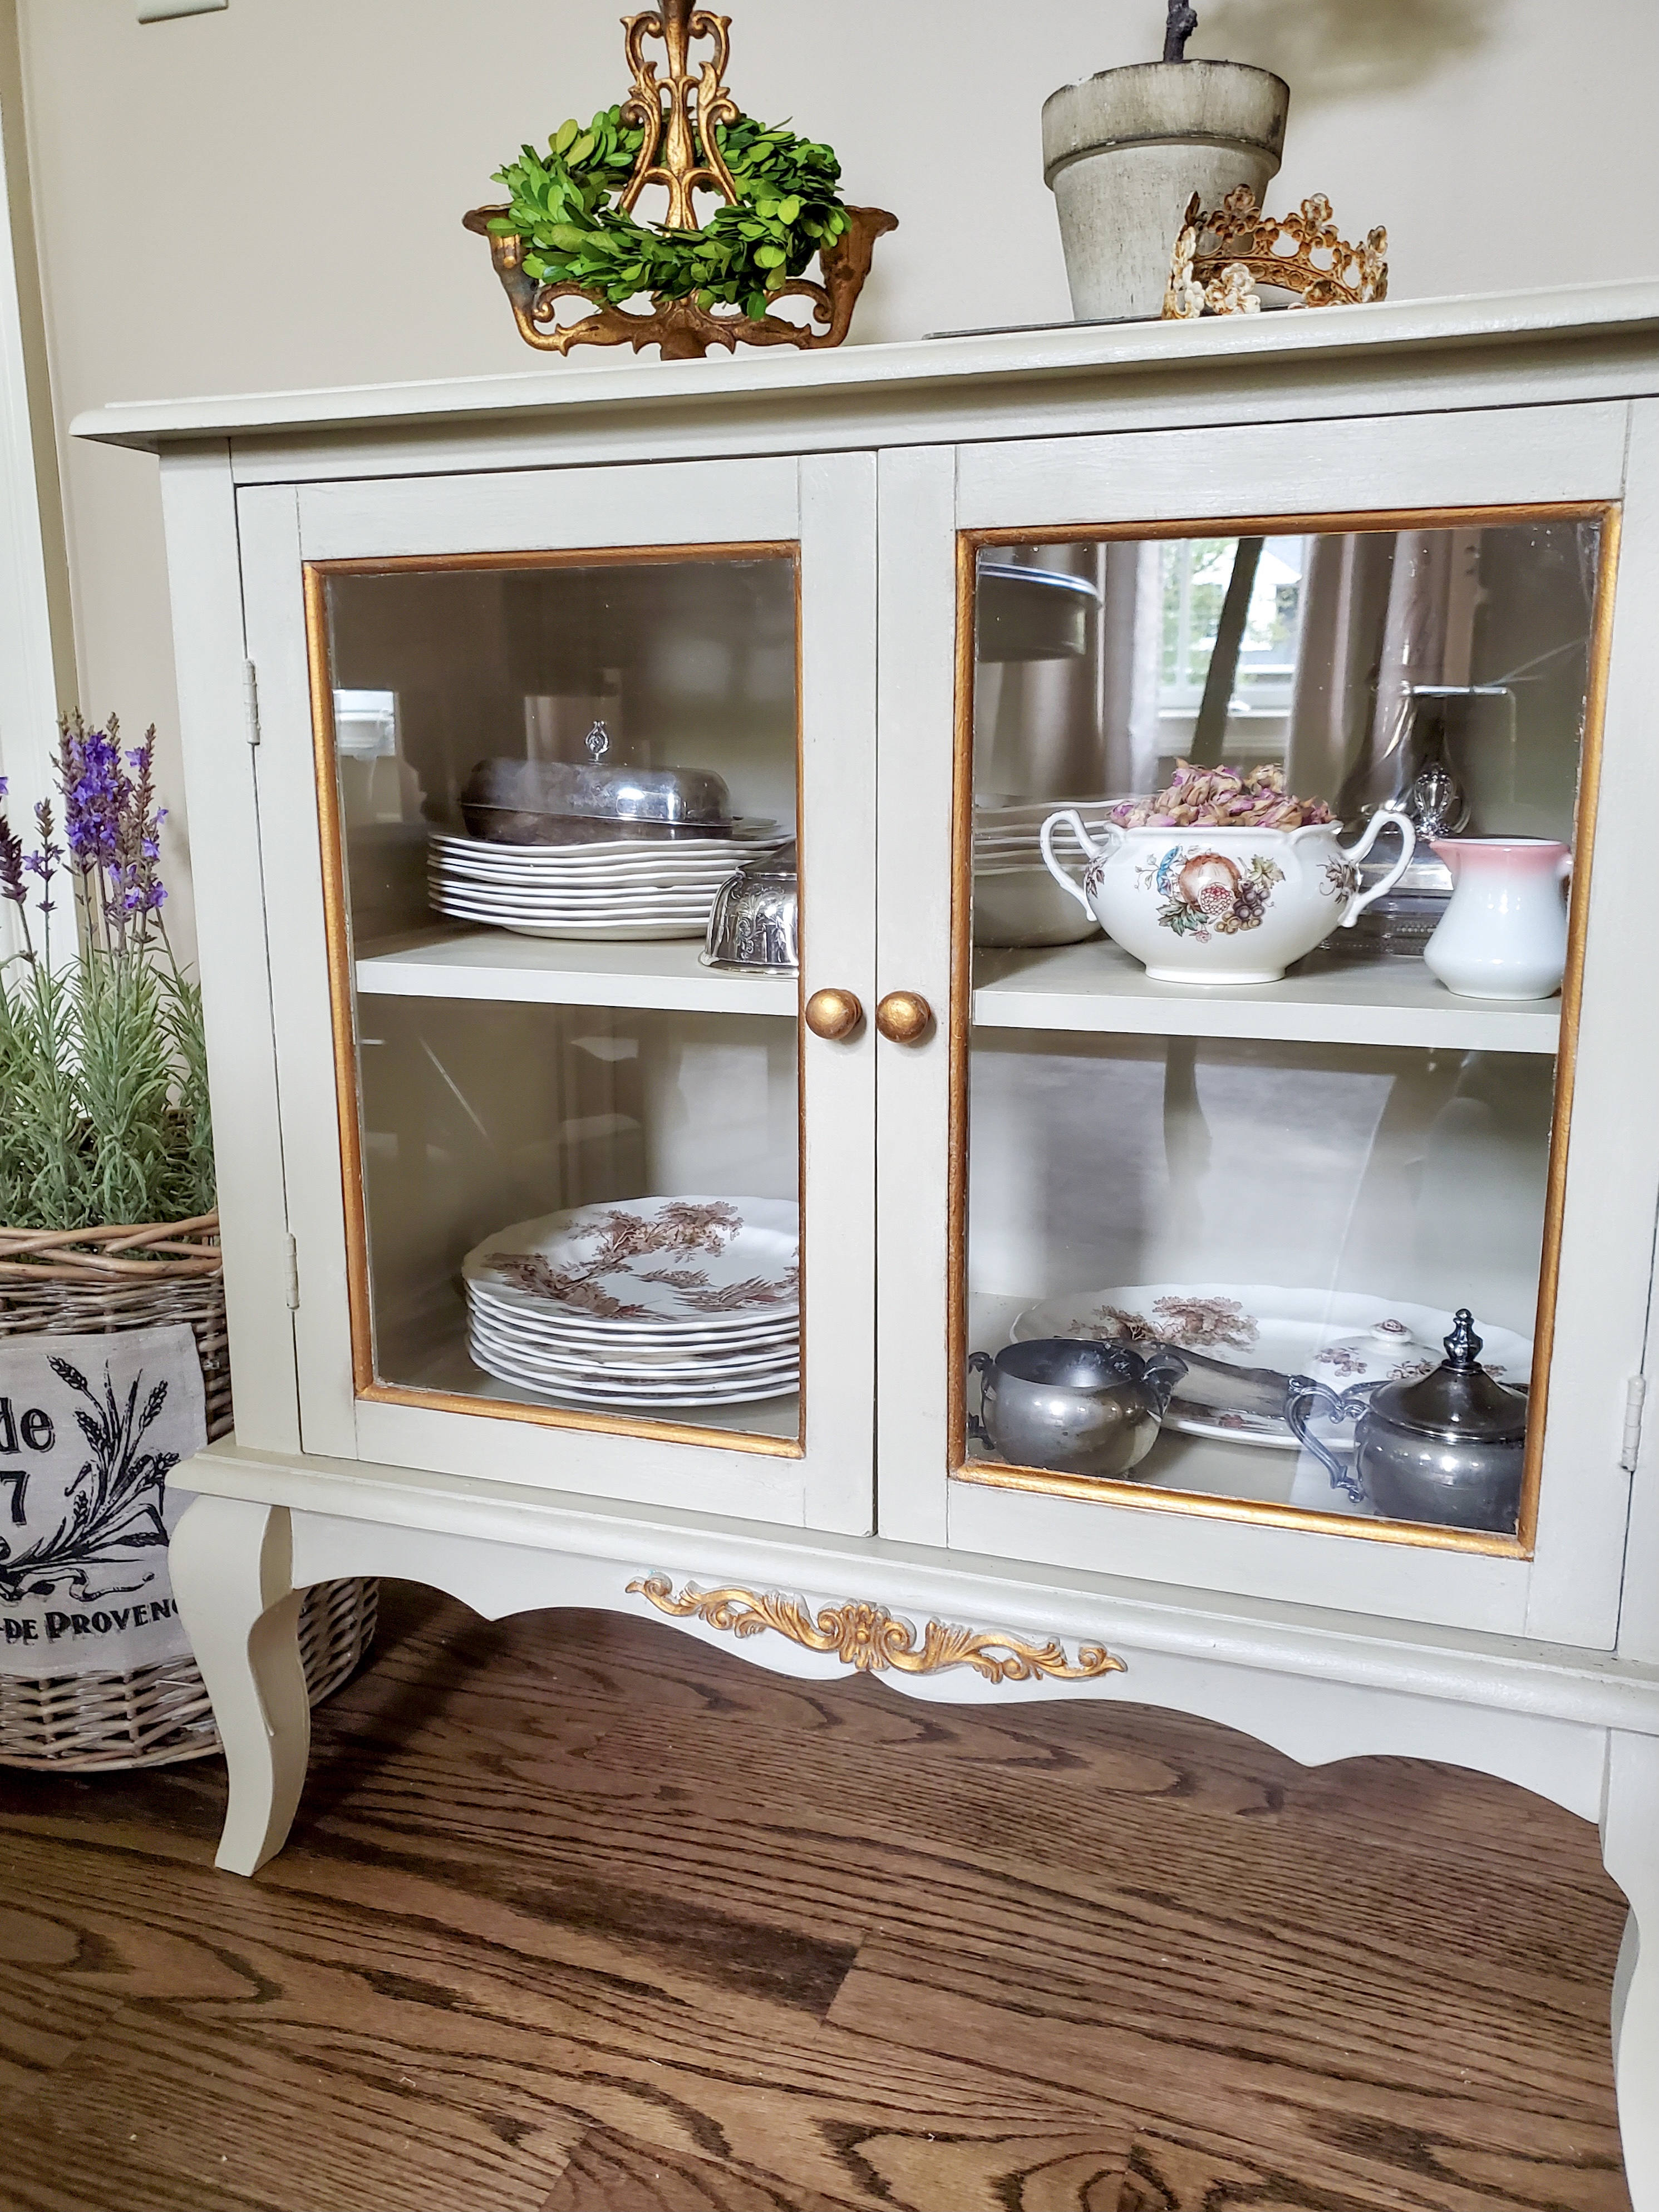
My next step is to bring out the details on this piece. I do love adding gilding on pieces I make new again in my home. It’s my love of French décor that I enjoy adding to our spaces.
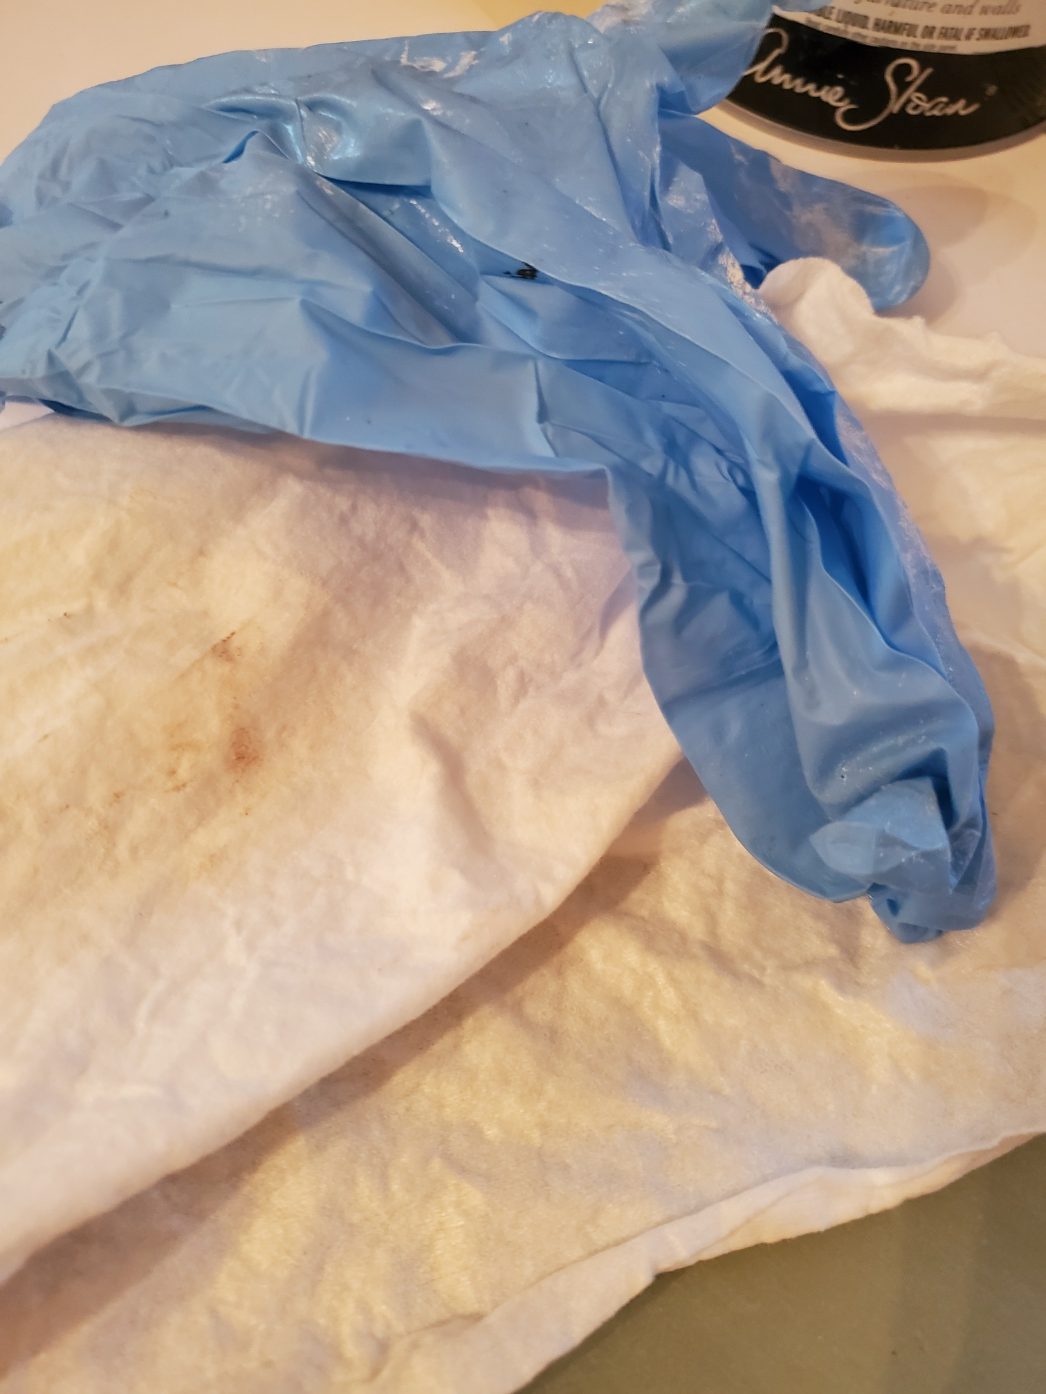
When applying gilding wax for the most part, I use stencil brushes. I find stencil brushes give me a more precise application especially in areas with small detailing. After applying my coat of gilding wax, using a lint free rag I buff the wax thoroughly. Besides being lint free and soft, these are economical too.
Next, I apply a coat of ASCP Clear wax to making a cabinet new with chalk paint and buff well. I add the clear wax to the Farmhouse Beige specifically. I have also learned over time applying clear wax with a lightly damp household sponge works well. When I first heard of this technique, I was a bit nervous however, since trying it I use this process on larger pieces of furniture.
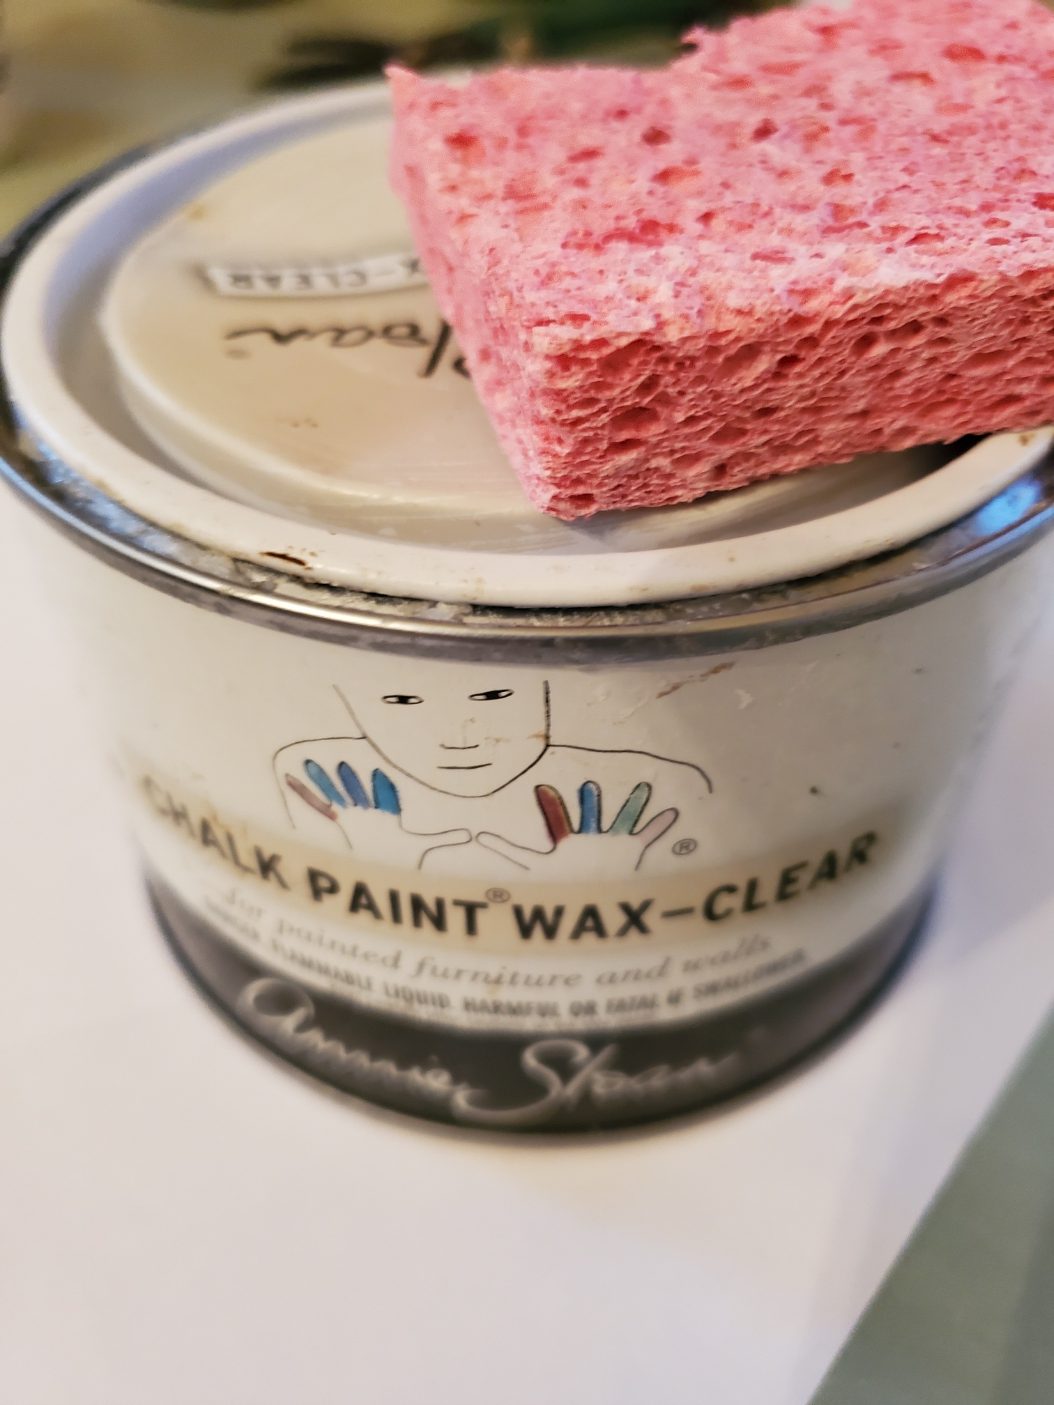
As a rule, when applying wax, it is best to apply this is small sections and in a circular motion to avoid streaking.
It’s also important to buff the wax especially well because the wax will remain tacky. Also, when adding wax, buffing is what brings out the chalk paint and it should be buffed to have a sheen. When buffing the clear wax make sure to use a lint free cloth,
Final Step for Upcycling
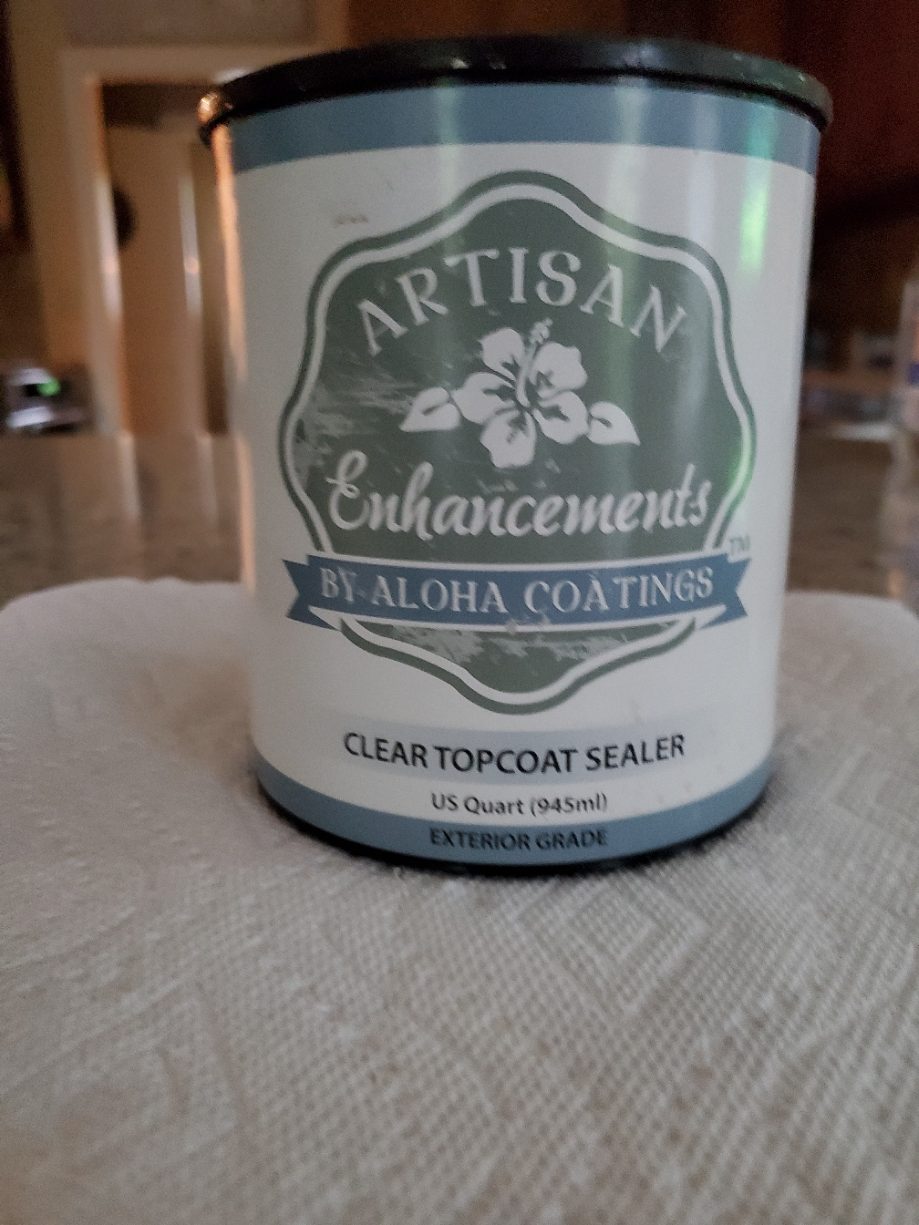
Because I dust my furniture with a damp microfiber cloth, I always add a coat of polyurethane or Artisan Enhancements topcoats. I do this because after taking the time making my cabinet new, I want to preserve the look and water will wash the wax away. If you prefer not applying a topcoat it’s fine, I want to make you aware that water and waxed furniture don’t mix, and you will have to apply a layer of wax.
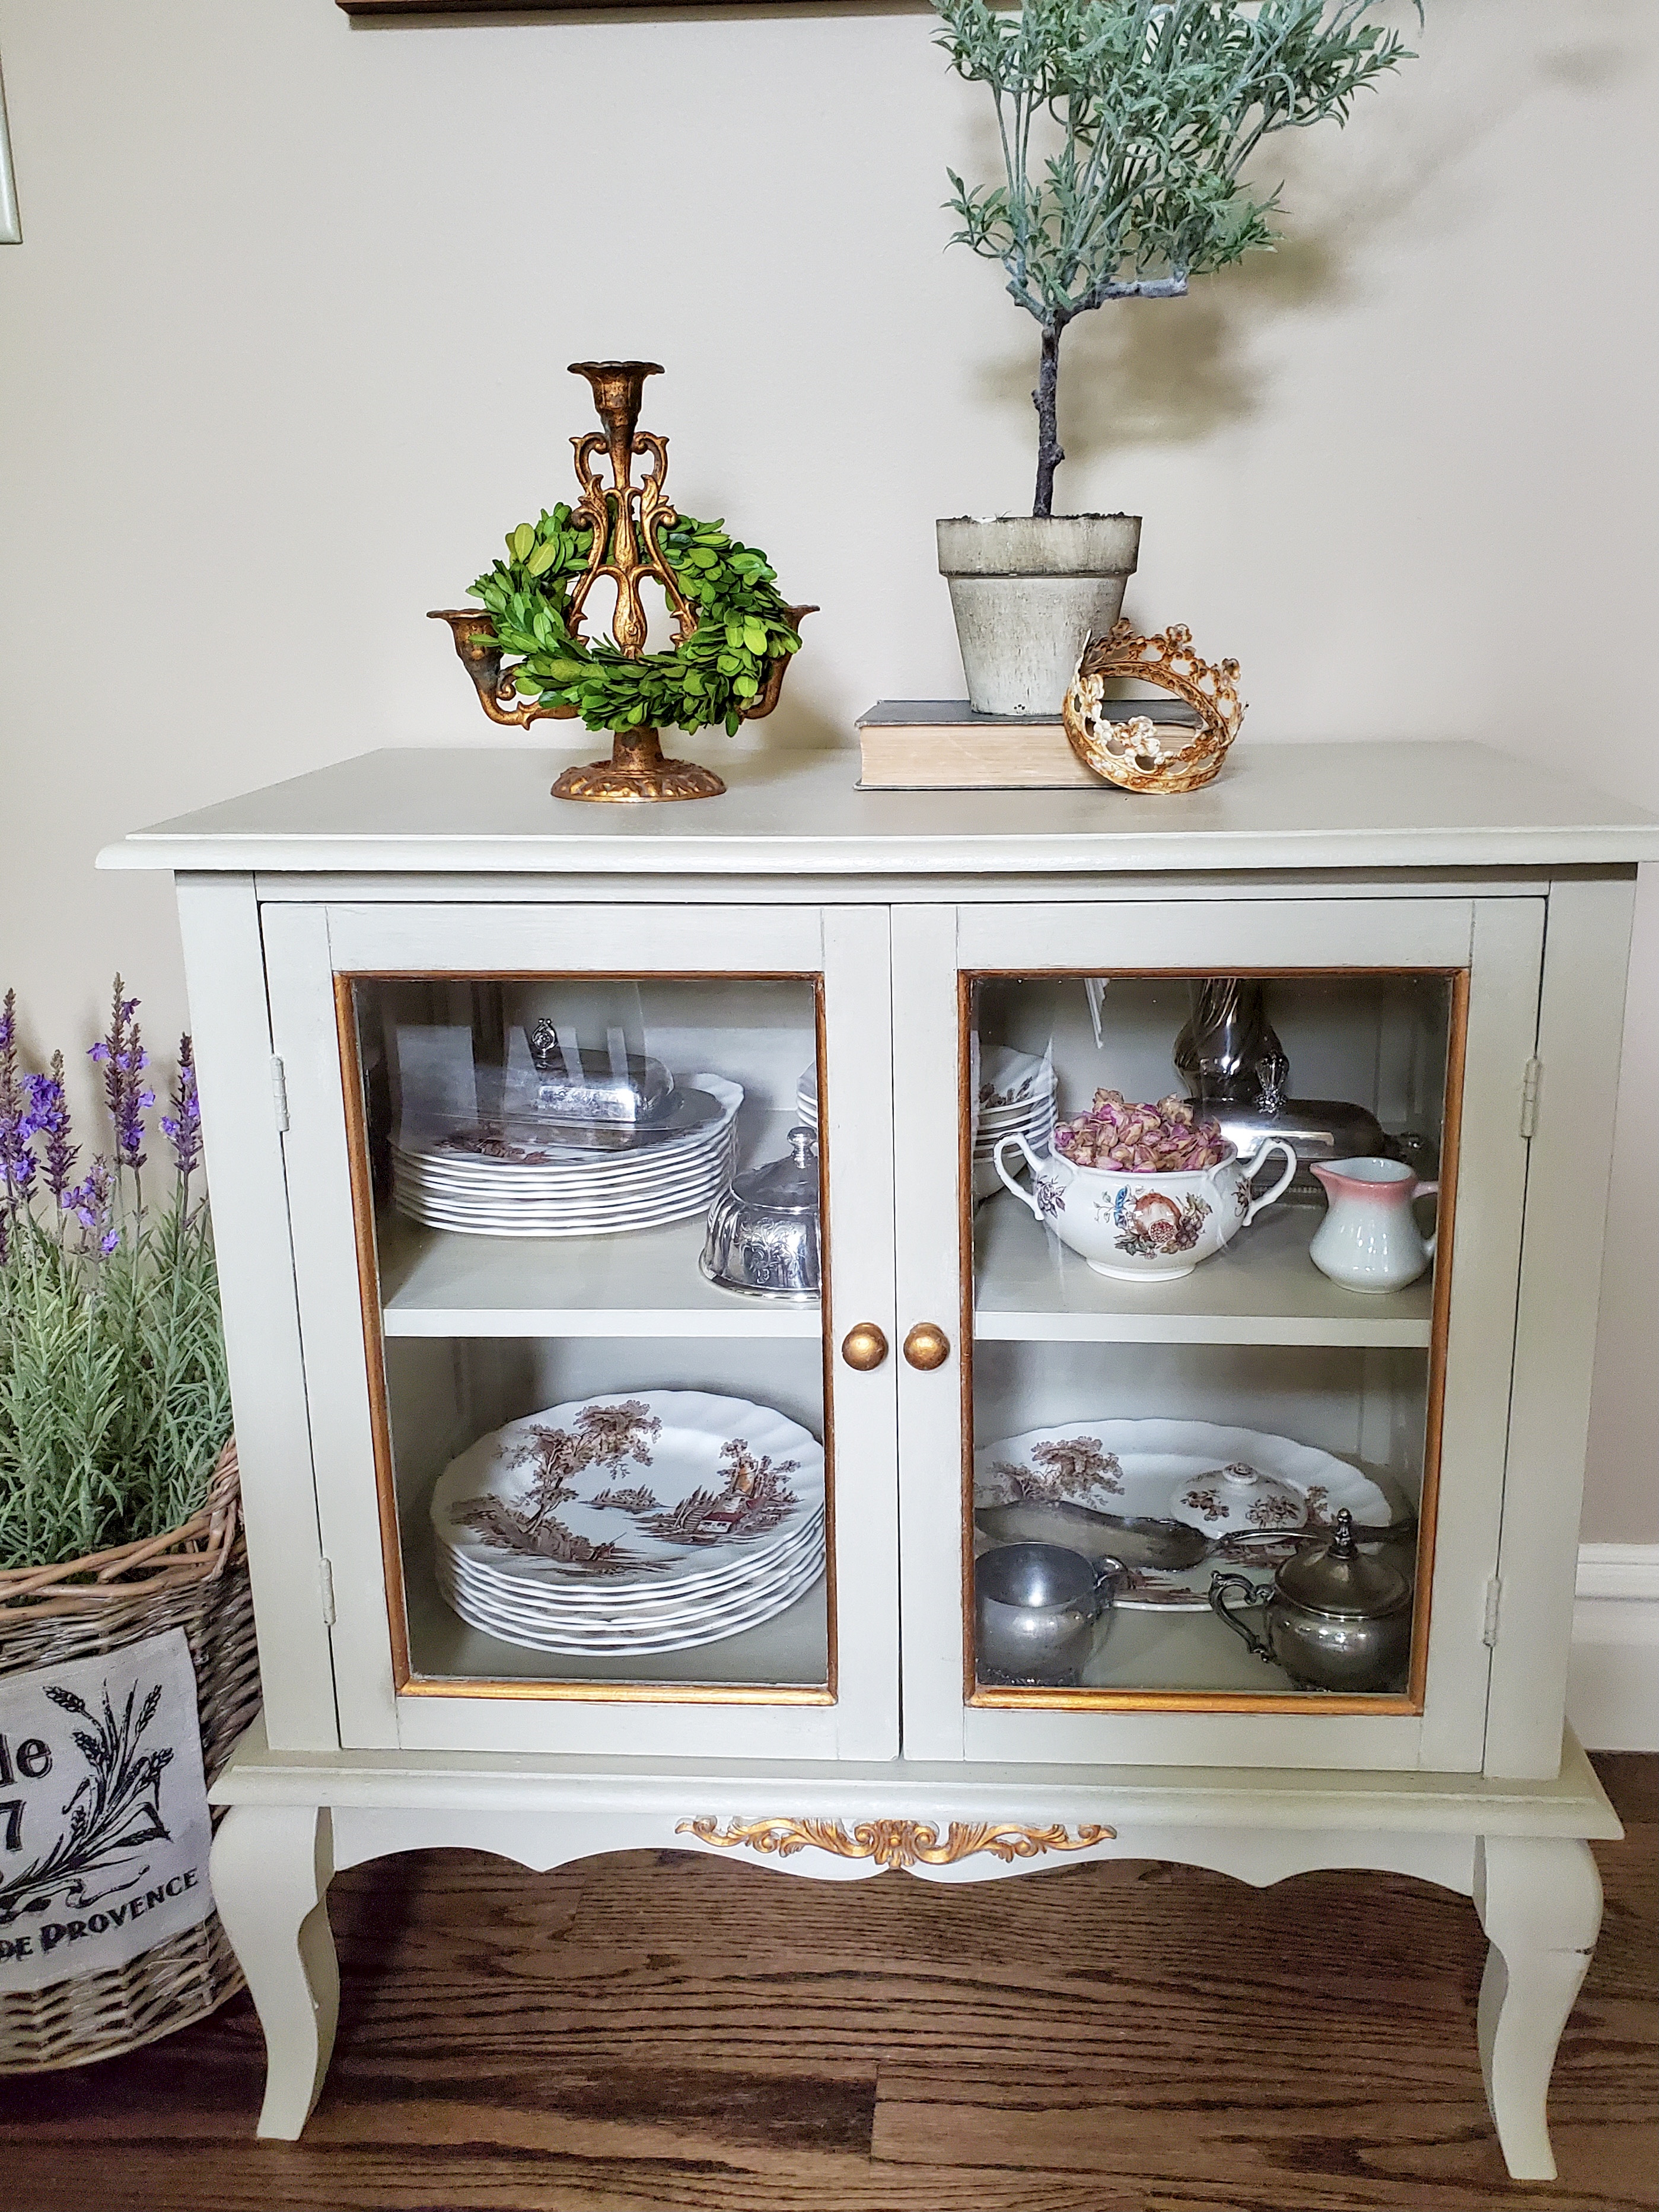
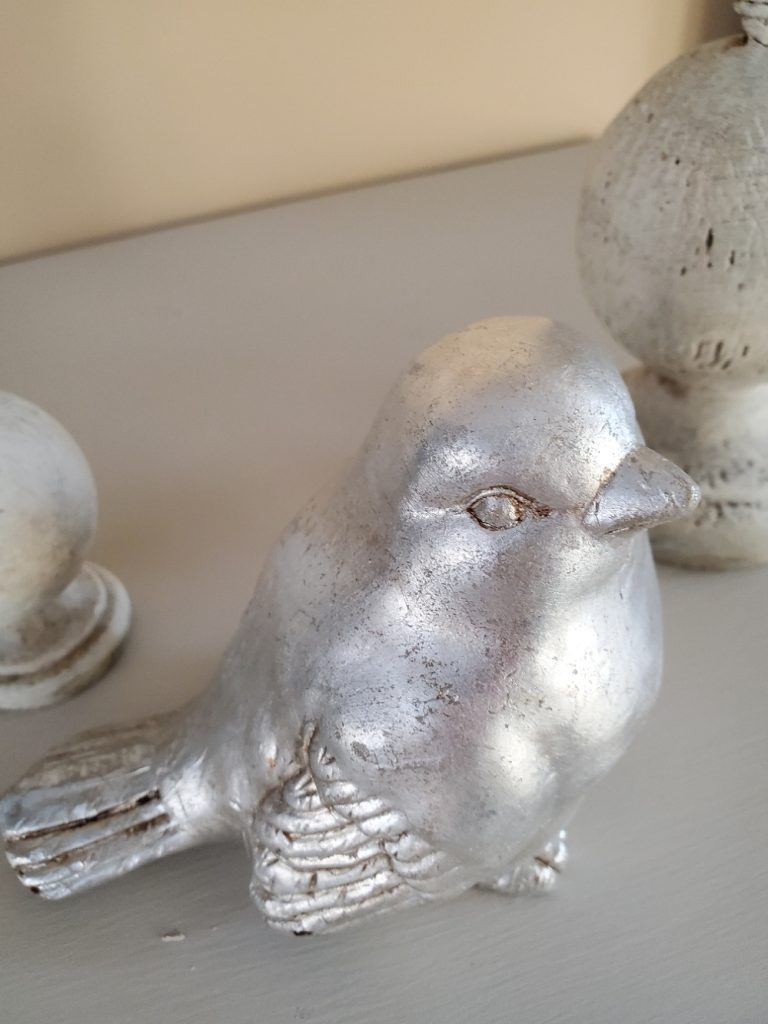
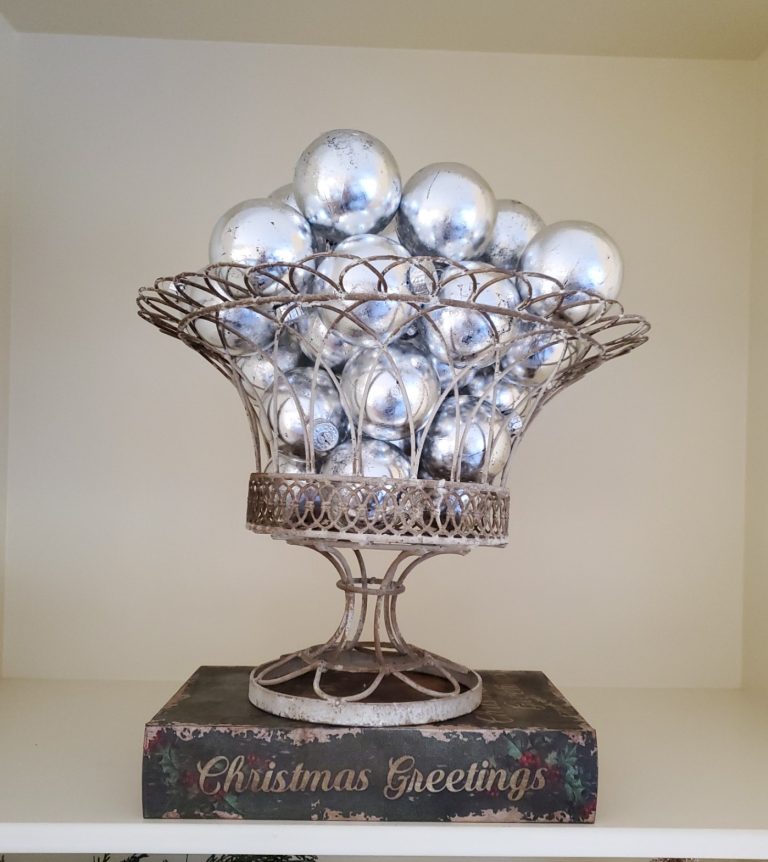
After my piece of furniture is new with chalk paint the fun part of adding treasures takes place. I chose to fill this with transferware dishes I thrifted some time ago. Also, pieces of silver from my grandmother and a friend add some elegance.

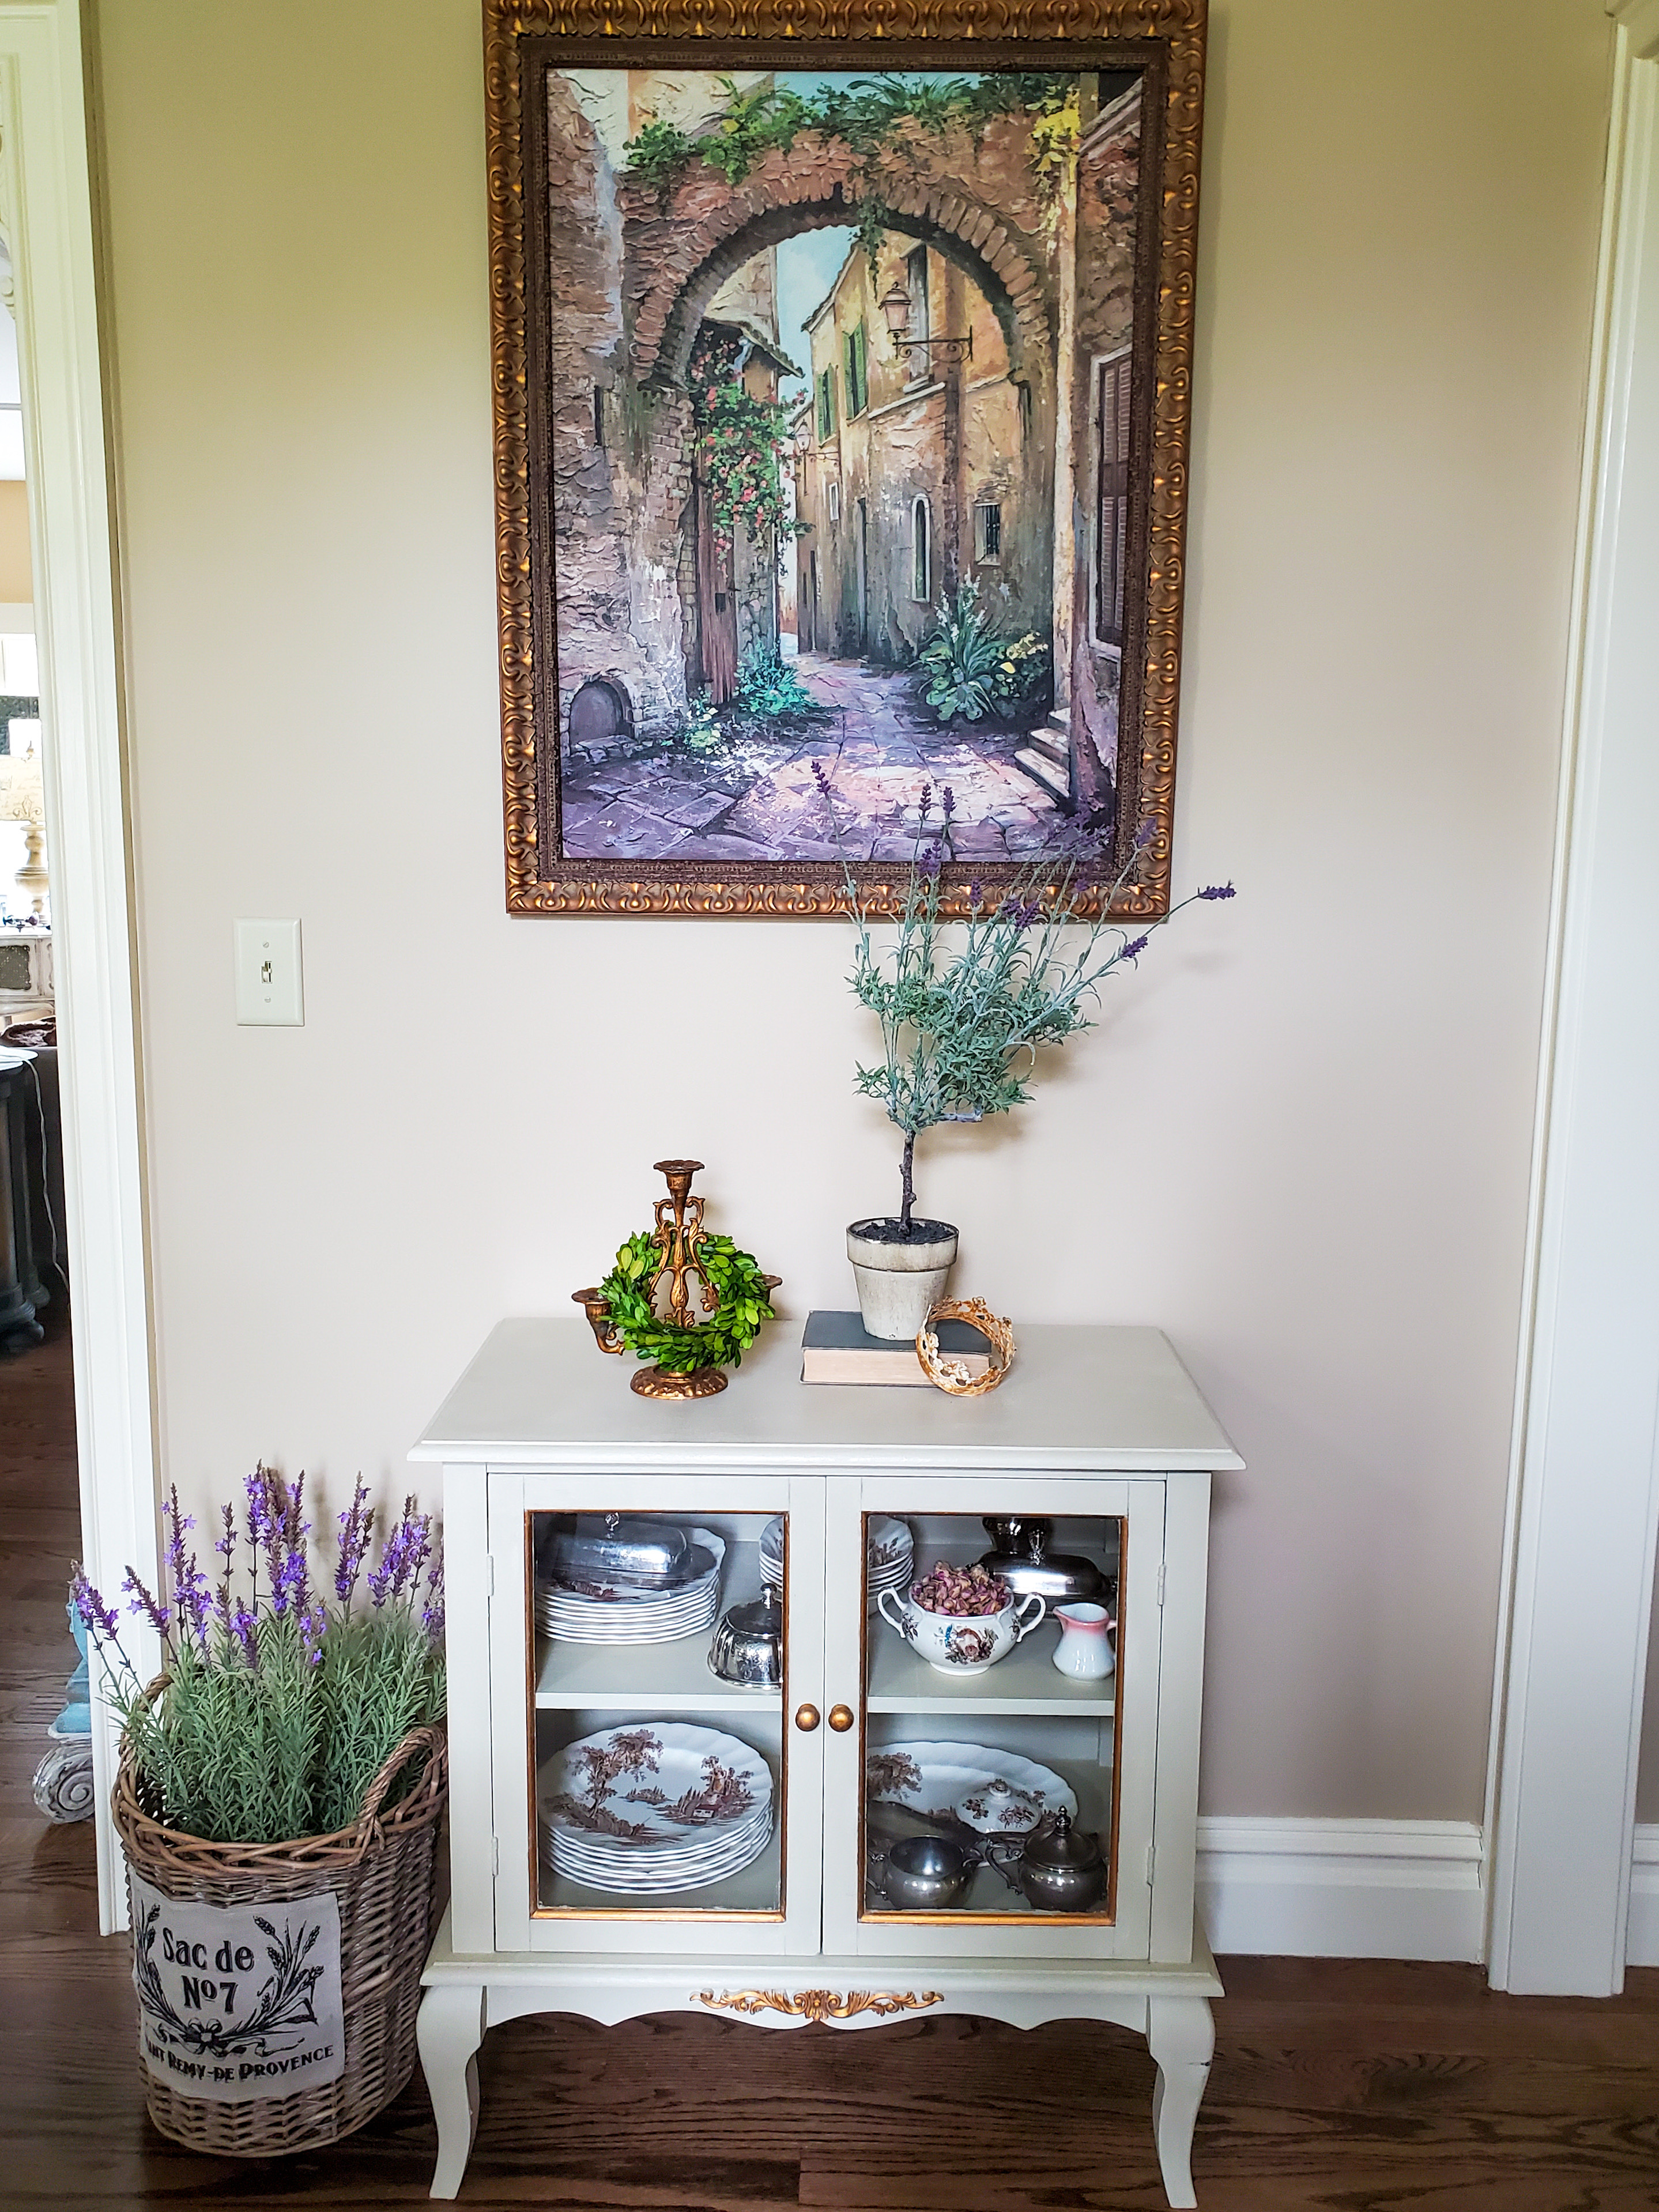
The lavender plant on the cabinet is a piece I did add DIY Fake Dirt I made and minutes to make. I have used this technique before, and it ives a fake plant real appearance. You won’t believe the main ingredient!
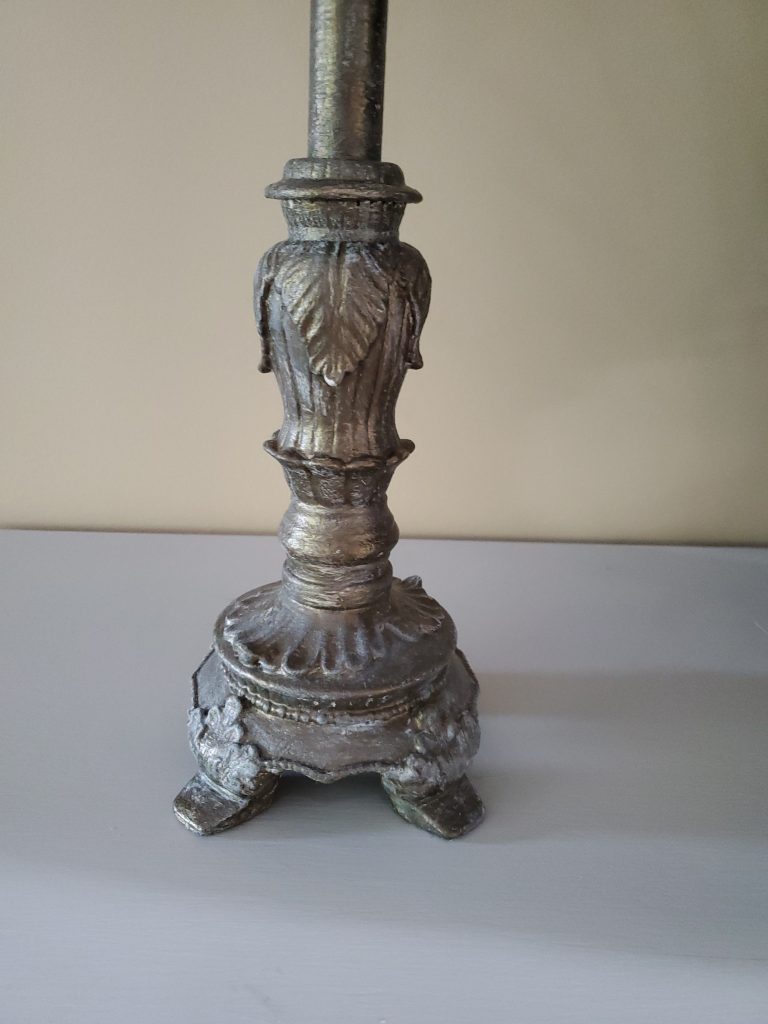
Also, I am a fan of Florentine and did add my candleholder I purchased from this favorite Etsy shop. As a rule, I try to shop small businesses when possible. Give her shop a visit just to see her beautiful pieces. Every French home needs Boxwood wreaths, right?
Being a fan of lavender and texture this additional plant is right at home next to this cabinet and adds a another layer.
I hope you enjoyed reading this post on making a cabinet new with chalk paint. Don’t forget to sign up for my monthly newsletter too!
PIN THIS TO REMEMBER THIS TECHNIQUE AND PAINTING PROCESS

It’s beautiful Cindy – I love it!
Thanks so much!
It turned out great! I recently discovered Jolie, because I couldn’t get Annie Sloan here. I am in the process of painting a couple of pieces of furniture.
I love Jolie too. It’s great to have an option. Can’t wait to see your pieces.
I LOVE your gorgeous chalk painted cabinet!!!! I think enhancing the details with the gilding wax really makes it look unique. Great job:)
Thank you so much Maria!
You did an incredible job on this cabinet. It looks beautiful.
Your cabinet turned out so pretty Cindy. I love all the touches. You have it decorated it so stylish!
That’s just beautiful, Cindy. The paint is wonderful and the styling is fabulous. Pinned!
You’re always supportive!
This is gorgeous! Love the gold trim.
Thank you very much!
This looks like a brand new peice, CIndy! I love the color you chose and how you gave the edges and accents bit of gilding too. I’ve never tried the damp sponge technique before so I’m super excited to try it. This piece looks amazing! Hugs, CoCo
Try it because it’s much faster! Thank you for always being supportive
I love chalk paint! This looks amazing
Thanks so much!
This is a wonderful makeover. I really love the gold accents.
Thank you!
I love the legs of this cabinet! Great transformation!
Thanks so much!
Such a great transformation! I love the paint color, I am about to paint my cabinet, so this post comes at the right time!
It’s beautiful, Cindy. You do such amazing work. xo Laura
Thank you sweet Laura!
What a beautiful makeover! Love the touches of gold!
It turned out beautifully. Love the gold accents.
Thank you Jennifer!
so pretty, I love the antique gold trim and embellishment! Pinned!
Cindy your cabinet is just beautiful!!! I love the French accents and all of your details! Pinned!
Your cabinet turned out just beautiful. I love how you transformed it. Gorgeous!
Cindy, what a beautiful job you did!
Thanks so much! I love painting
This is beautiful, Cindy. I am featuring you this evening at Party In Your PJ’s!
Thank you so much!
Gorgeous. I love the gold accents.
I have my first chalk paint project ready to start. I loved your tutorial!
Thanks so much! I can’t wait to see your post pop into my inbox.
I know you’ll do a great job!
Cindy, I love the makeover of your cabinet. It looks so elegant. I have never tried chalk paint. wonderful tutorial. I happy to feature your pretty cabinet makeover on Sunday at Love Your Creativity.
Thank you so much Linda!!