Chalk Paint on Pumpkins Is a Sustainable Choice
Now is the best time to visit thrift stores and look for items you can use for fall crafts. Today, I’m sharing the painting process for chalk paint on pumpkins is a sustainable choice, including how I use real stems to give pumpkins a real look.
Wouldn’t it be fantastic to purchase plastic pumpkins from the Dollar Store or a local craft store and make them look like the real thing? Let me guide you through different painting techniques I use to create realistic-looking pumpkins that you can enjoy for a long time with this DIY project.
Jump to DIY PrintableSupply List: Chalk Paint on Pumpkins Is a Sustainable Choice
- Artificial pumpkins of your choice
- Hot glue gun
- FolkArt mint green chalk paint – this is no longer available. (HERE’S A GREAT OPTION)
- Deeper orange color paint – (HERE)
- White acrylic craft paint or Annie Sloan Chalk Paint in Old White
- Burnt umber or Raw umber pure pigment craft paint
- Chip brush
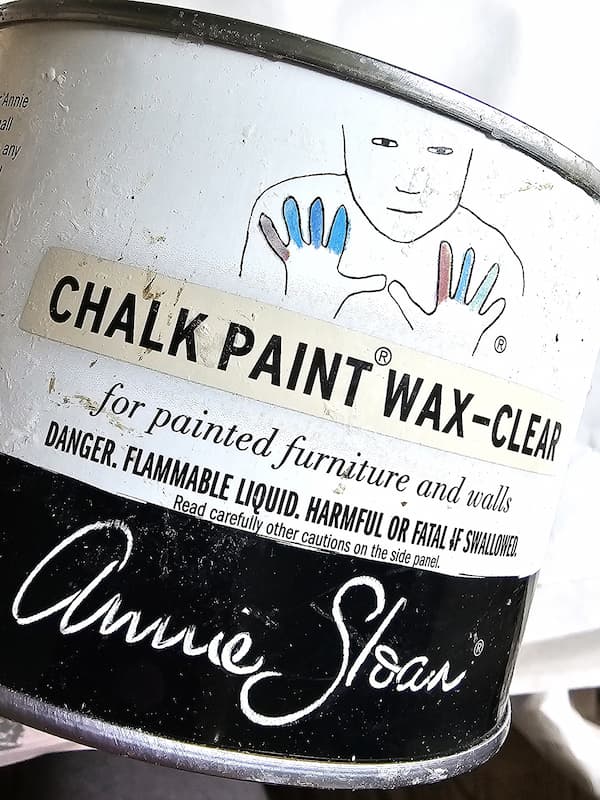
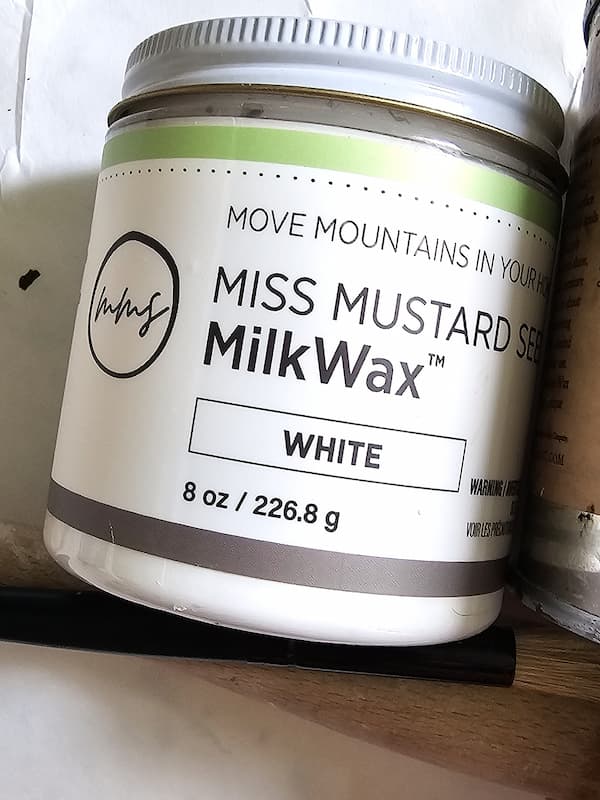
- White wax – (HERE) This is my favorite
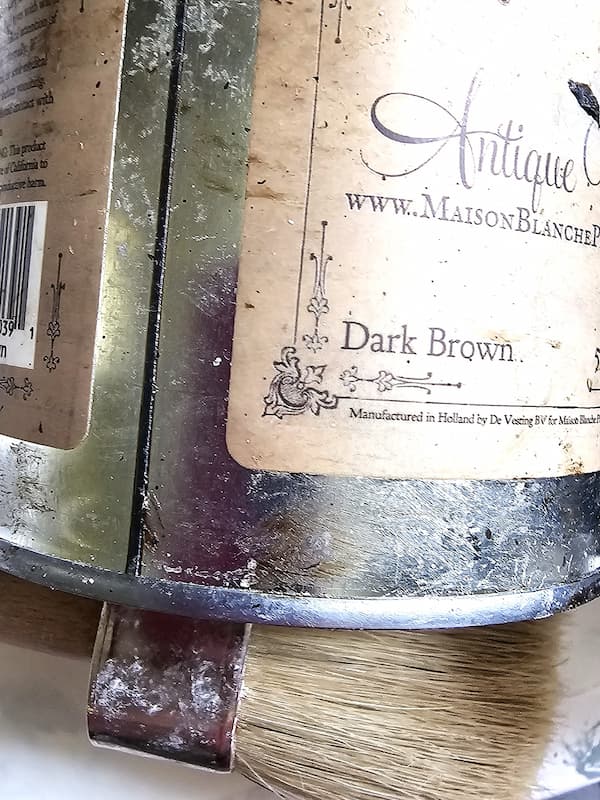
- Dark and clear wax or raw umber and burnt umber craft paint
- Paper plate
- Paint stick for mixing
- Stencil brush
- Wax brush – (HERE) – I love these
- OXO Goodgrips Lazy Susan – optional – I use this when working all the time
- Minwax Helmsman Spray – optional; see my tip purchase (HERE)
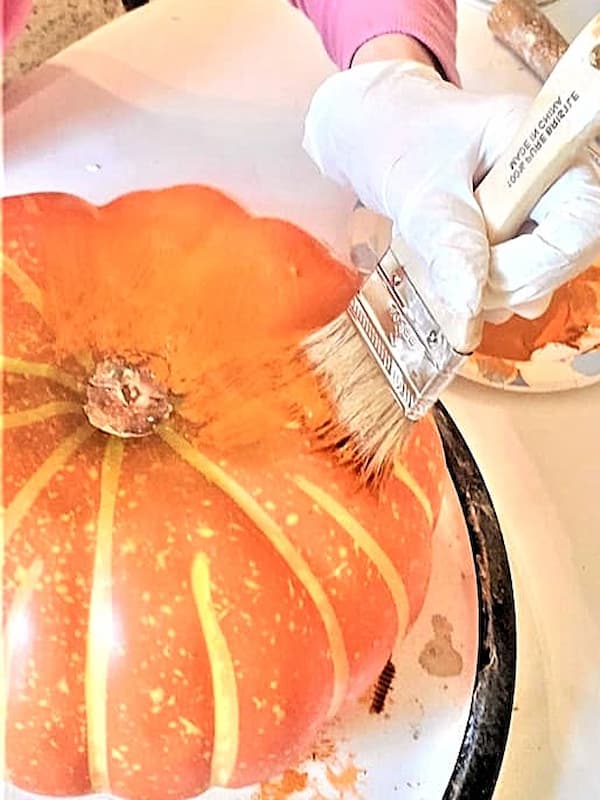
Step 1: Add the Deeper Orange Base Color
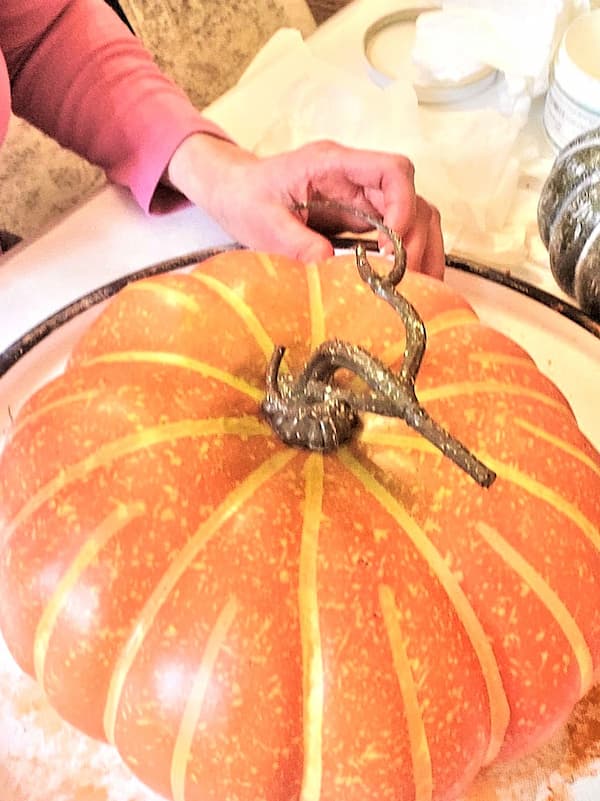
The first step before painting pumpkins is to clean them with a damp cloth. Starting with a clean surface helps the paint adhere properly. Before painting, remove the plastic stem.
I purchased these pumpkins last year for $8 at my local craft store. This is the best part about shopping craft stores atm the right time. The shelves had just been restocked, and I found the perfect pumpkins for my fall crafts.
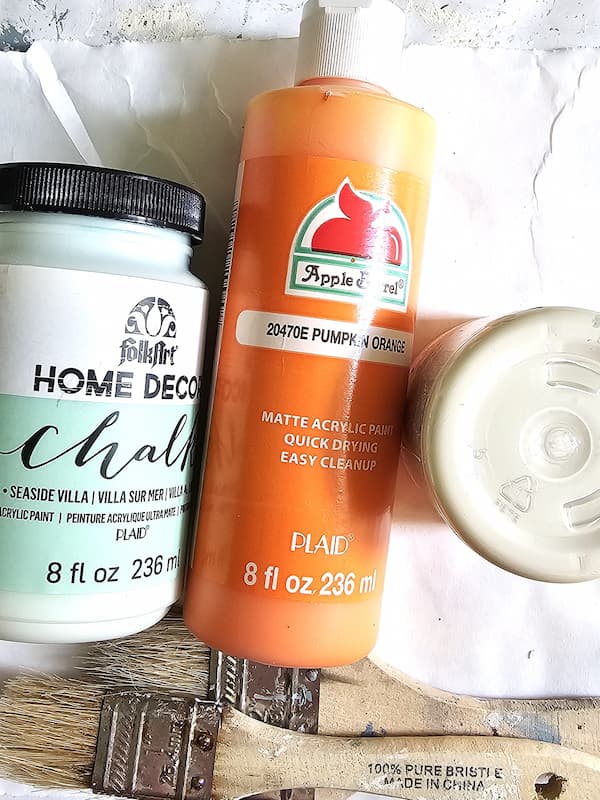
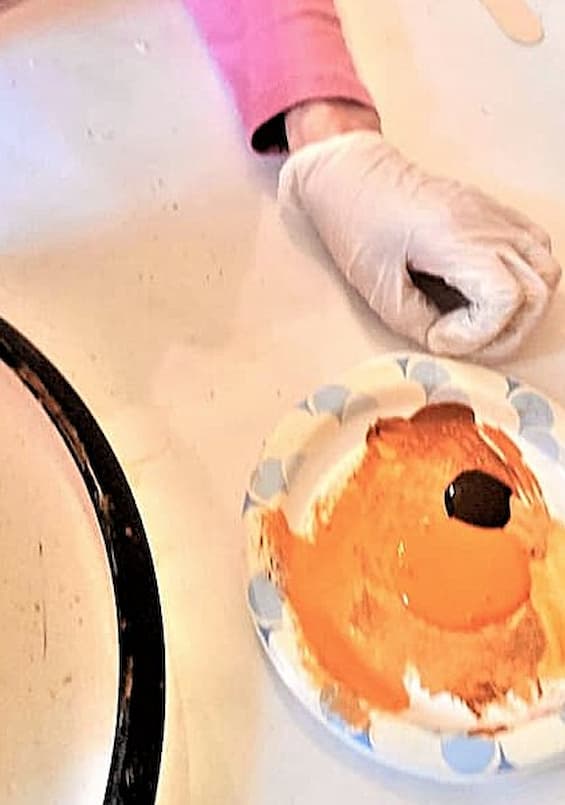
Add a bit of raw umber pure pigment craft paint to the orange paint and mix well. This creates a deeper orange color for the DIY project.
Paint half of the faux pumpkin, allowing it to dry between coats of paint. This base color will help create a realistic look.
Step 2: Add a Lighter Coat of Paint
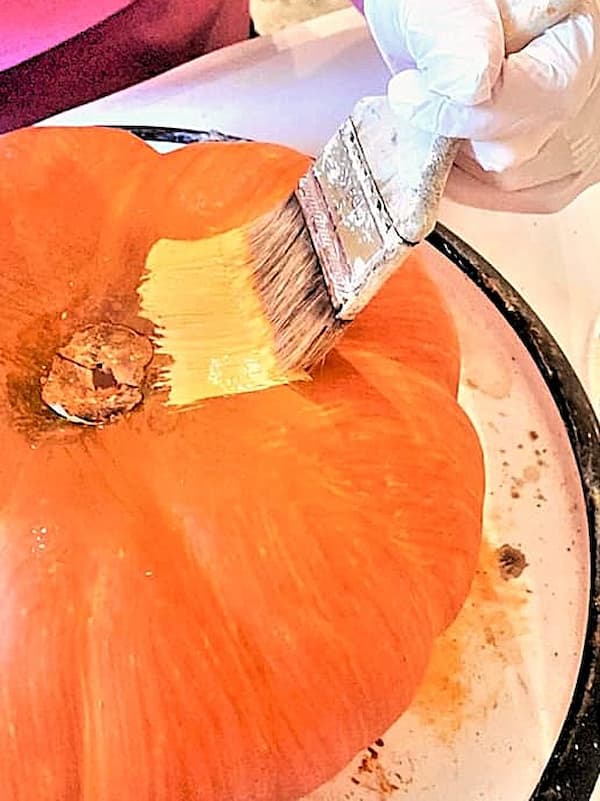
For the next step, add white craft paint or white chalk paint over the orange base color. This lighter layer helps give the chalk paint pumpkins a more realistic look.
Chiffon cream and linen white are also great paint colors to use. Home Depot offers similar colors in their chalk decorative paint, such as Tin White or Farmhouse white. If you prefer different color pumpkins, choose shades that work with your fall color scheme.
Paint over the orange base, working on half of the pumpkin at a time. Keeping the paint slightly damp gives you enough time to use the stippling technique. This adds the natural texture you see on real pumpkins.
Cindy’s Tip: A real pumpkin has texture, and that’s what we are trying to recreate. The stippling is what helps give these pumpkins the real look.
Step 3: Add Pumpkin Texture With Stippling
Pouncing and stippling can be hard on brushes, which is why I recommend inexpensive chip brushes. They can take a bit of abuse without worrying about ruining a good brush.
Let the pumpkin dry completely. Once dry, repeat the same process over the entire pumpkin. Don’t worry if some of the deeper orange color shows through as you work. Seeing different colors is part of what gives these pumpkins the varied, natural look of pumpkins.
Cindy’s Stippling Tip: Use the tips of the bristles on a chip brush to lightly stipple or pounce the paint onto the pumpkin. This creates the natural texture we’re looking for when painting pumpkins.
Step 4: Soften the Look With White Wax
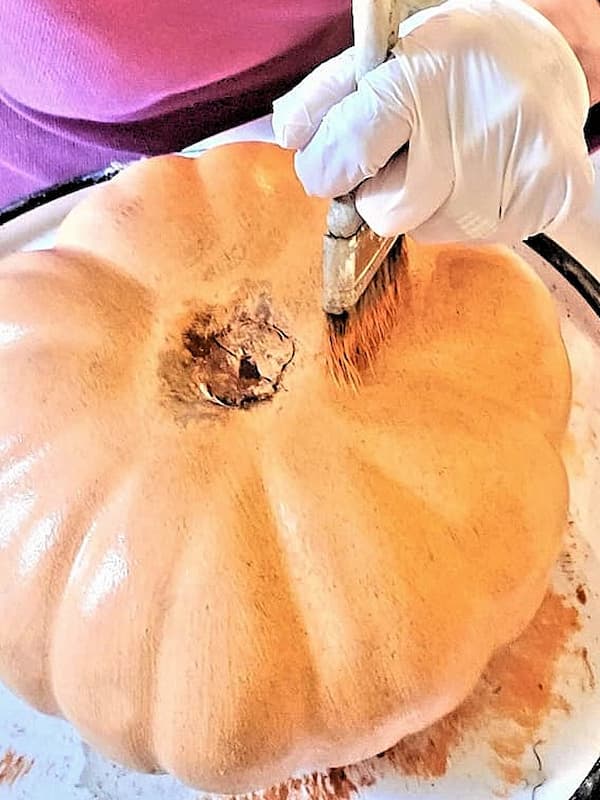
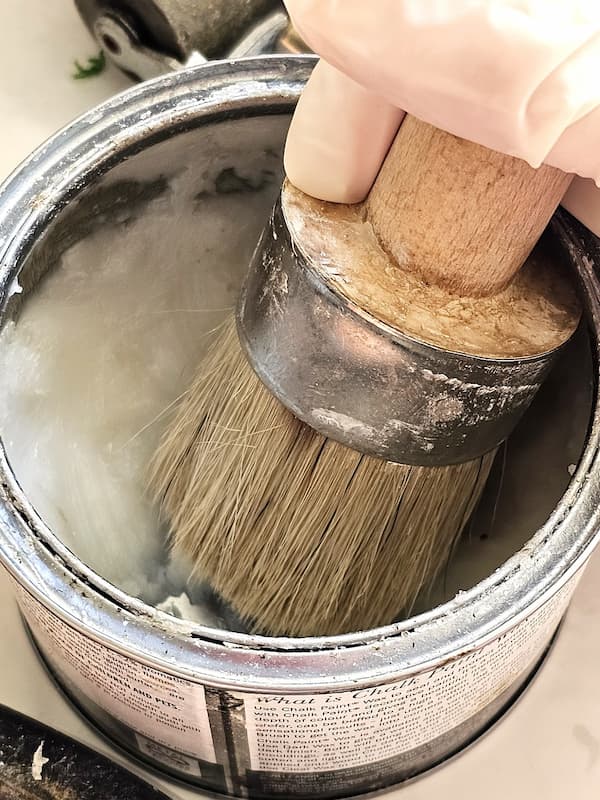
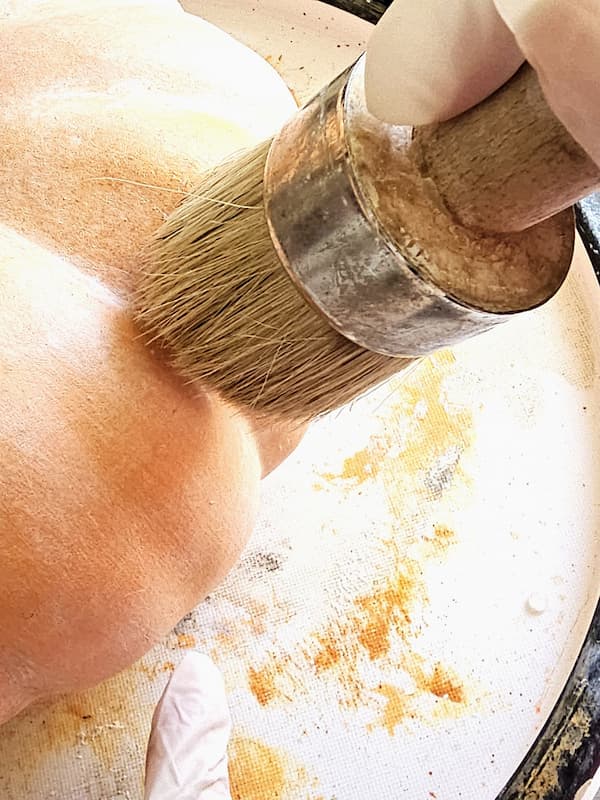
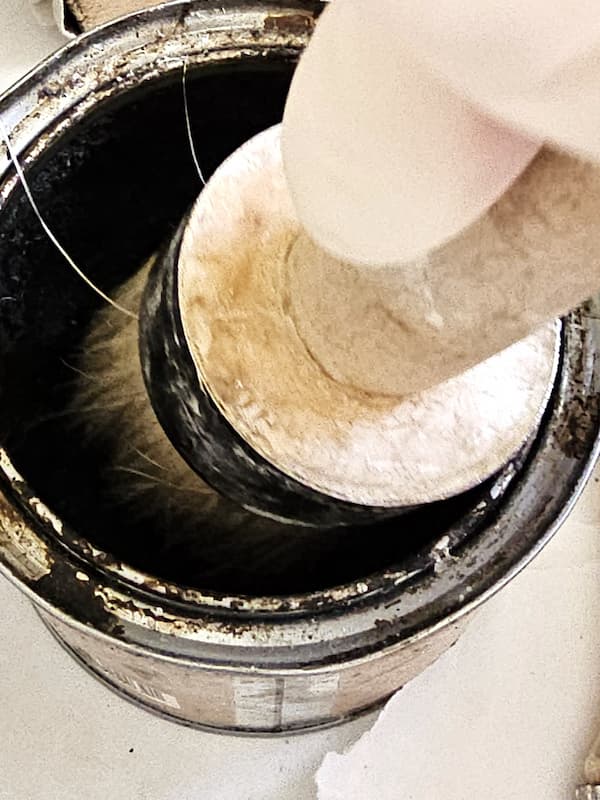
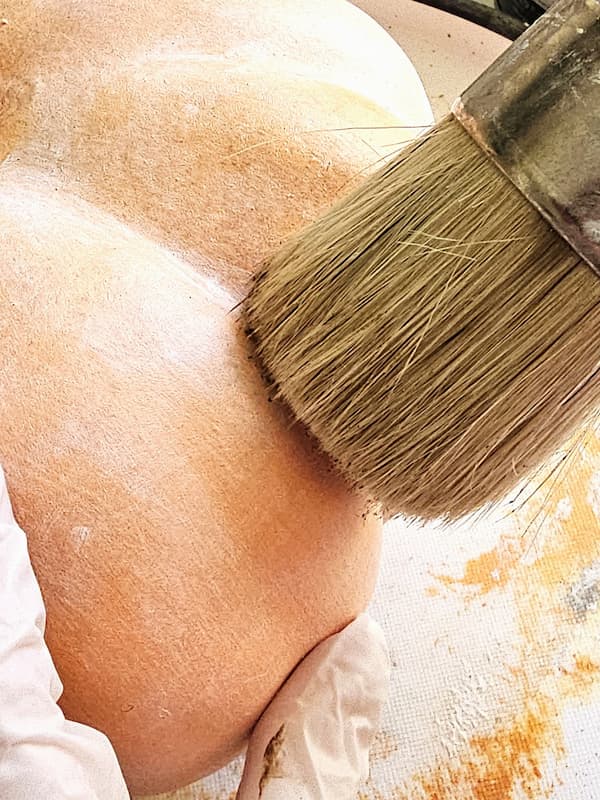
Add the white wax a little bit at a time, working in small sections. Use a wax brush to work the wax in well into the paint.
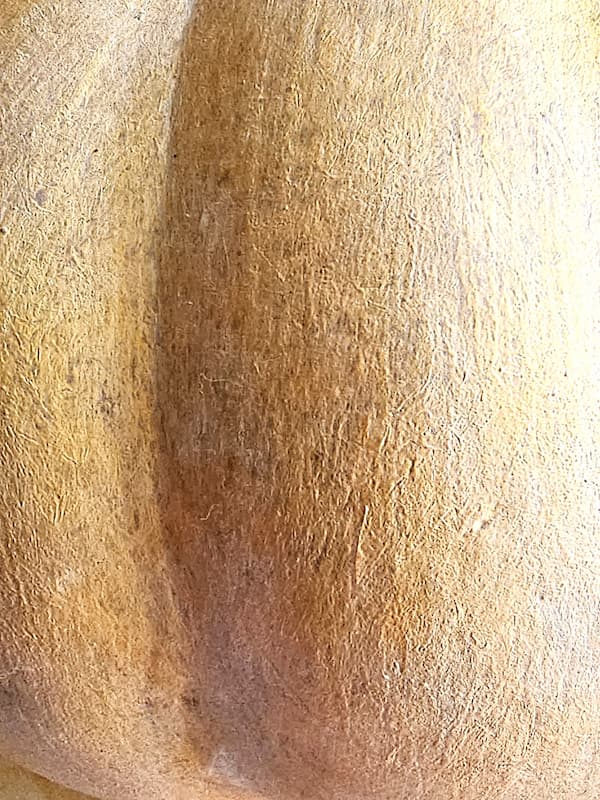
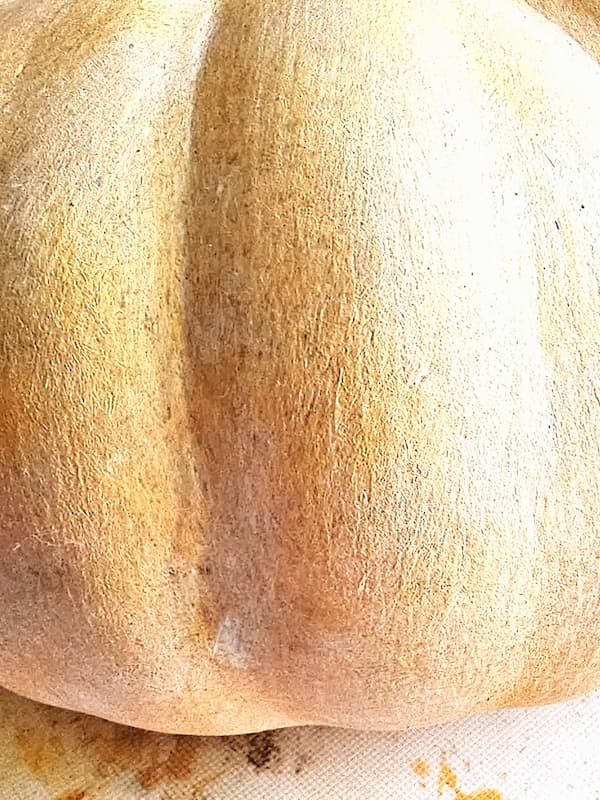
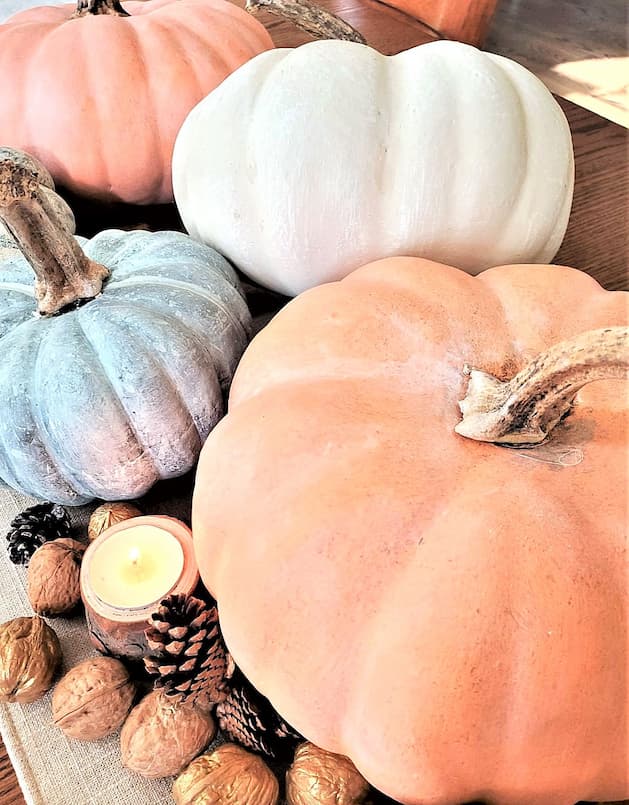
This is when the painted pumpkin really begins to come to life. The white wax softens the orange color and gives the pumpkin the soft, muted finish found on heirloom gourds.
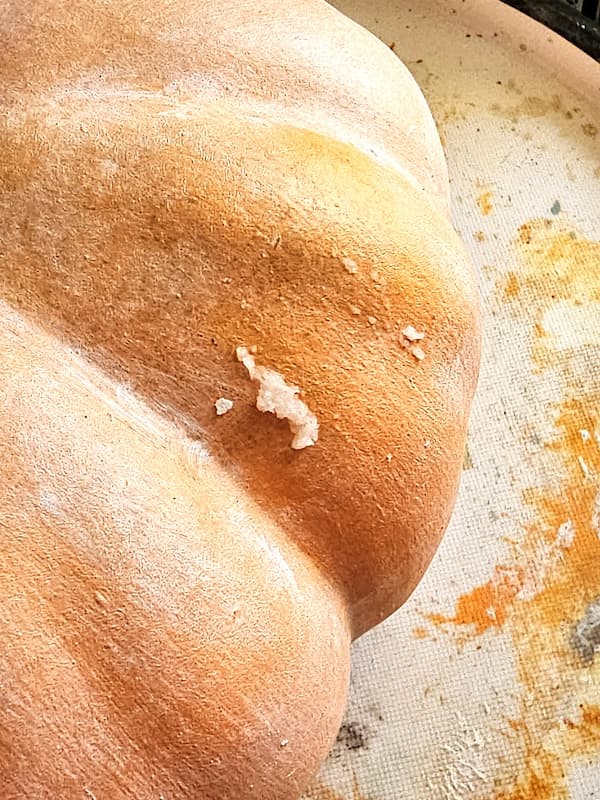
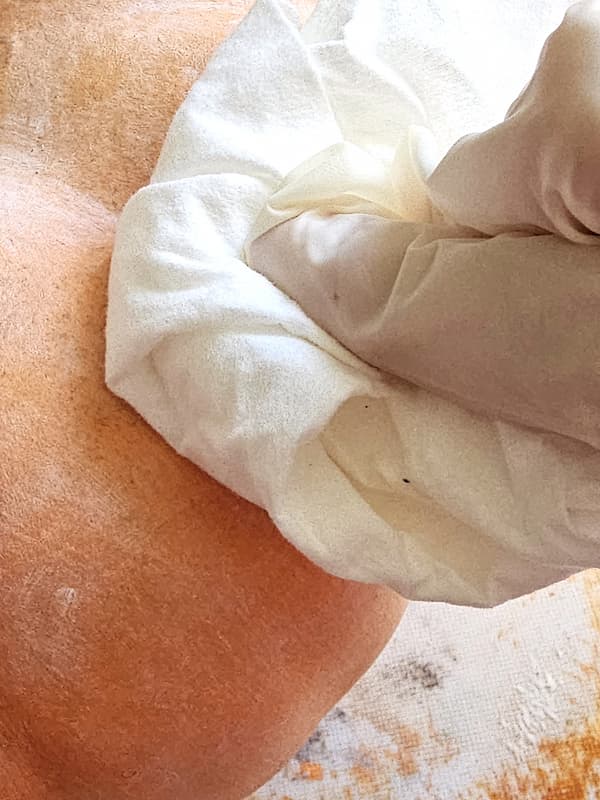
After applying wax in a small section, lightly buff it with a lint-free rag. Continue working in small sections until the entire pumpkin is covered.
The white wax is what helps create that soft, realistic look you see on heirloom gourds at pumpkin farms. This is one of my favorite parts of the painting process because the transformation is amazing!2
Cindy’s Waxing Tip: Buffing wax is an important step. Be sure to buff the wax into the pumpkin with a lint-free rag to remove the excess wax. If you skip this process, the wax will remain sticky. I know this from painting furniture and other projects with wax over the years.
Step 5: Add Detail With Dark Wax
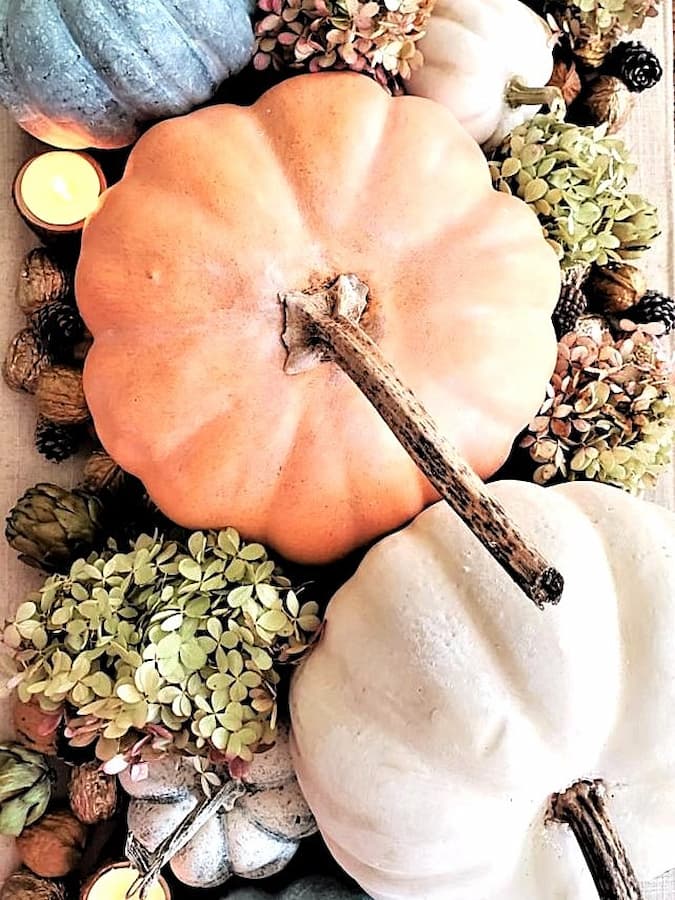
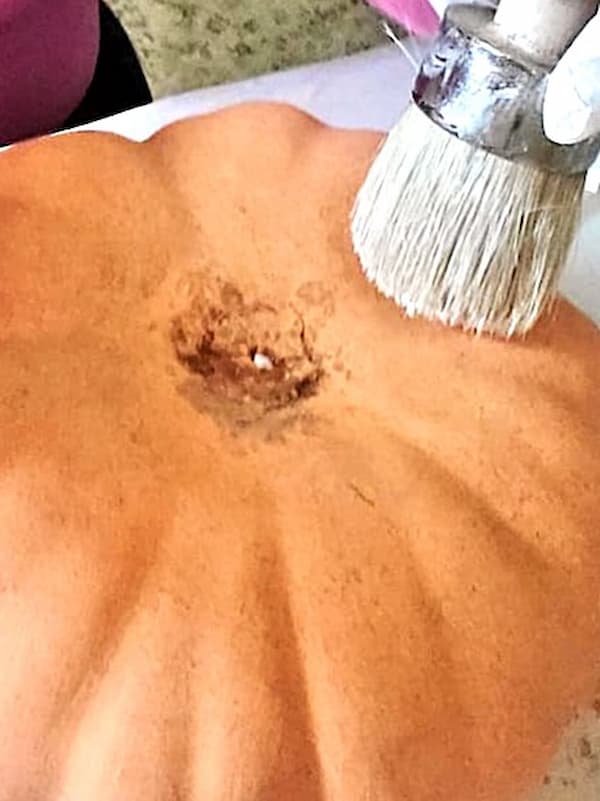
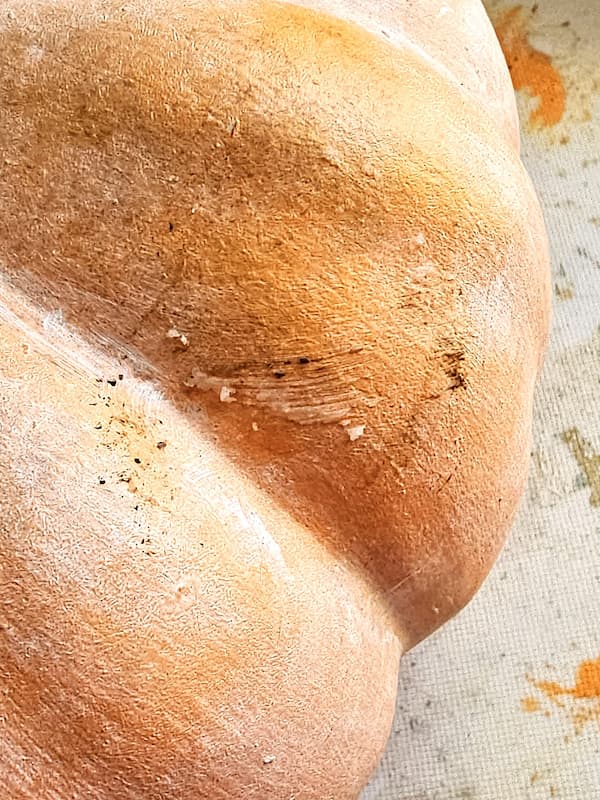
Adding a bit of clear and dark wax around the real stems and in the creases adds depth to the light orange, heirloom-looking green gourds, and white pumpkins. The wax helps each color have a more realistic look.
The stems of the pumpkins help complete the look when transforming fake pumpkins from the Dollar Store or Hobby Lobby into something that looks like the real thing.
Cindy’s Tip: When adding the waxes, I apply a light coat of clear wax first. This keeps the dark wax from becoming too heavy. Dark wax tends to absorb into paint quickly, so the clear wax gives you more control and allows the waxes to blend.
For detail work, I always use a smaller wax brush or soft stencil brush. Apply the wax in small sections, then rub it into the paint with a lint-free cloth. The waxing process doesn’t take a long time, but working in small sections helps you control the finish.
If you don’t want to use wax, dip the tip of a small chip brush into a combination of raw umber pure pigment craft paint. Wipe the excess onto a paper towel, then use a light stippling motion around the stem. You can also use a dry brush with raw umber paint in the creases of the pumpkin.
Step 6: Add Real Pumpkin Stems
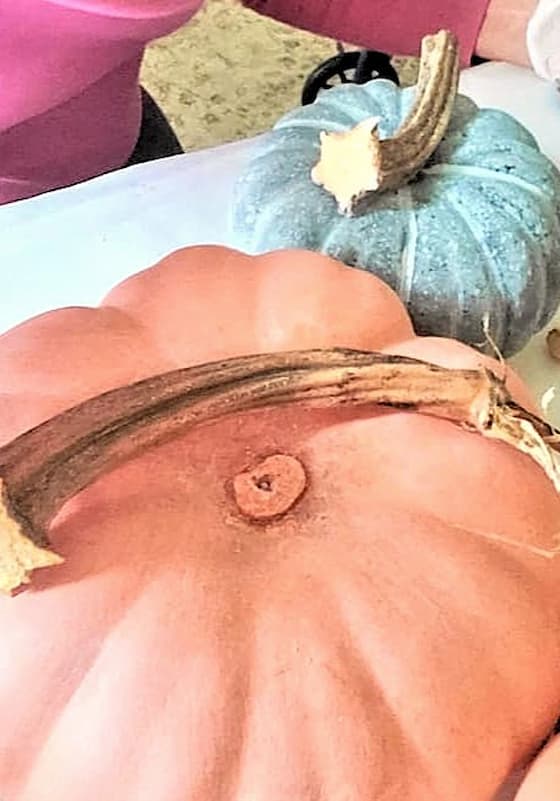
Adding dried real stems from my collection is the fun part. They add a realistic look to this easy craft and immediately make the fake pumpkins look like the real thing.
When our family and friends came to our home last year, they thought the pumpkins were real. It’s the simple things that can have a big impact.
I save stems from my pumpkins every fall and have quite the collection of stems now. I love being able to reuse them year after year instead of throwing them away.
Small Pumpkins
I also wanted to create a few smaller pumpkins in softer colors. These are an easy craft and give your seasonal decor a little variety.
Step 1: Paint and Dry Brush the Small Pumpkins
This faux pumpkin already had a great base color, so creating the soft green pumpkin look of something we might find at a pumpkin farm was easy.
These painting techniques are simple and don’t take a long time. Start by wiping the pumpkin with a damp cloth, so you have a clean surface.
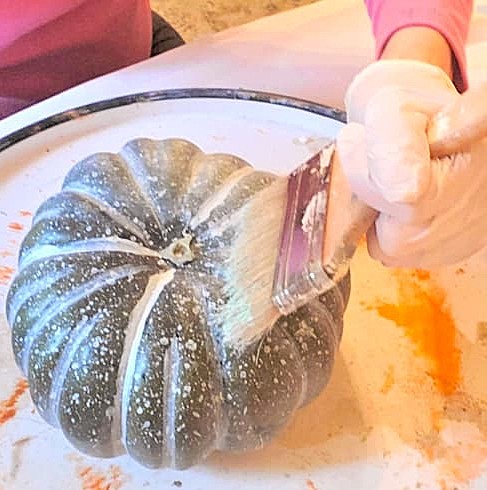
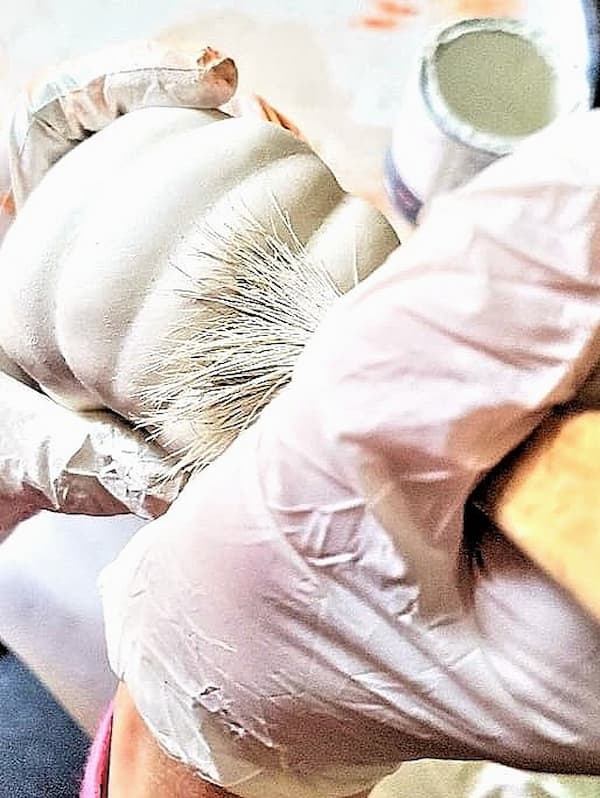
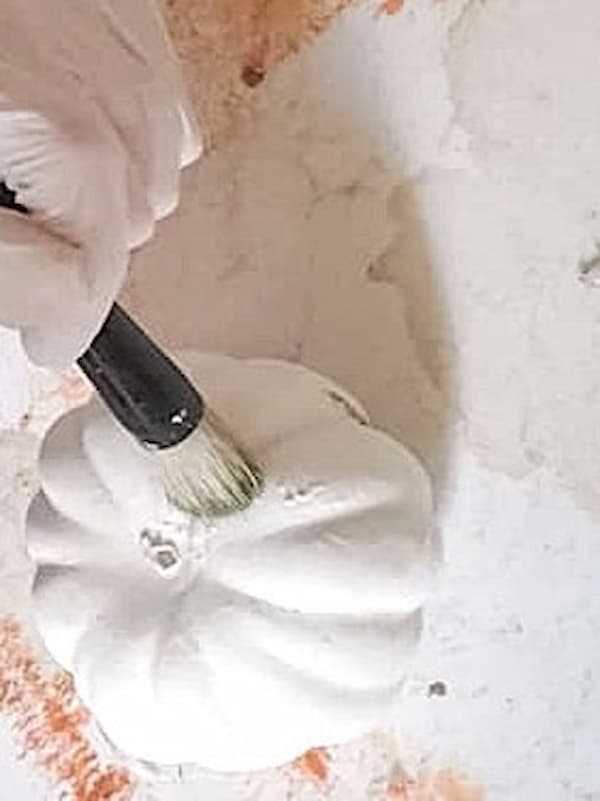
Use FolkArt green chalk paint and a chip brush, and use a dry brush technique to paint the entire pumpkin. The dry brush technique adds dimension and texture to smaller pumpkins.
Cindy’s Dry Brushing Tip: Dip the tip of your brush into the paint. Wipe the excess paint onto a paper towel, paper plate, or rag. You want very little paint on your brush when dry brushing. I share in-depth details in this blog post on how to dry brush.
The dry brush technique can be hard on brushes, so I recommend inexpensive chip brushes. They take a bit of abuse without worrying about ruining a good brush. I also shared a step-by-step tutorial showing this painting technique on planters. (HERE)
One of my favorite parts of the painting process is mixing different colors of paint. Because I already had a good base color, the dry brushing went quickly.
Step 2: Dry Brush the White Pumpkin
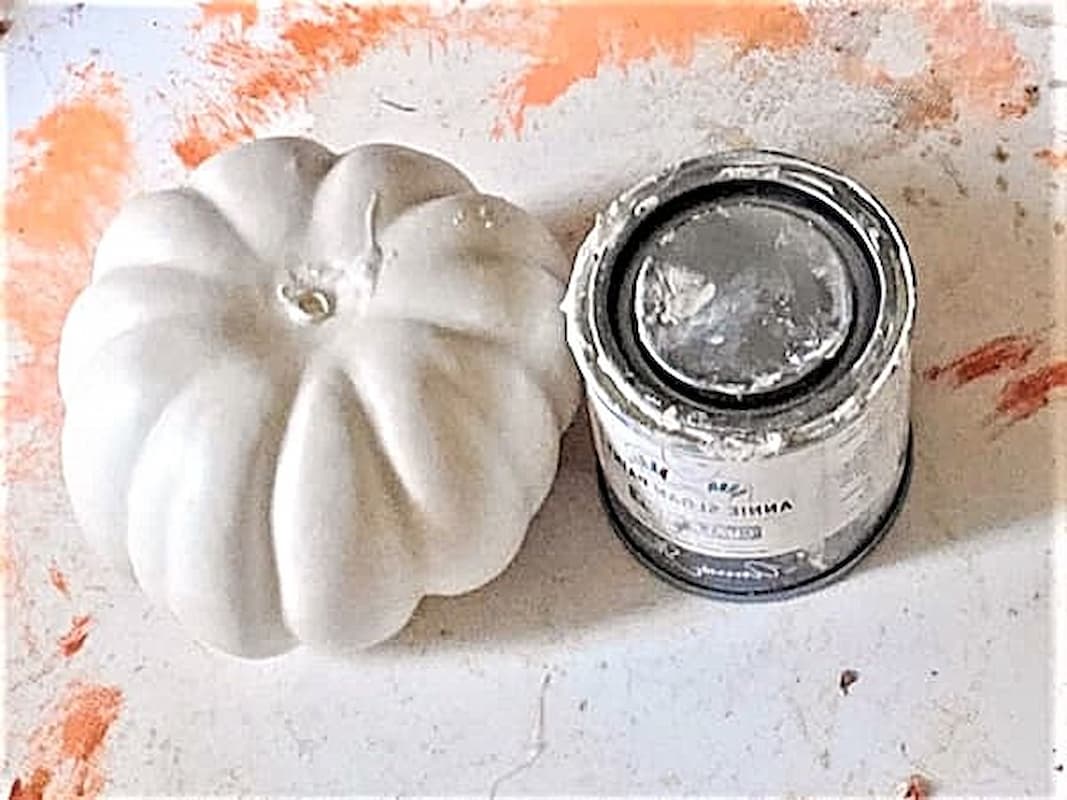
Next, paint the small pumpkins white. You can find these white pumpkins on Amazon, Hobby Lobby, Dollar Tree, or the Dollar Store.
For these pumpkins, I used Annie Sloan Old White chalk paint. This paint has a beautiful matte finish; white chalk paint works especially well for this technique.
If you are wondering why I chose to paint the white pumpkin white, this is why. Remember, we want these pumpkins to look as though they came from a pumpkin patch. Adding white paint adds another layer of texture and helps create a more natural look. I’m all about adding texture when painting, and this simple step helps pumpkins look more like the real thing.
Step 3: Add Real Stems to the Small Pumpkin
Adding a real dried stem is the finishing touch that gives these pumpkins a more real look.
For smaller or Styrofoam pumpkins, I use a slightly different method for attaching the stems.
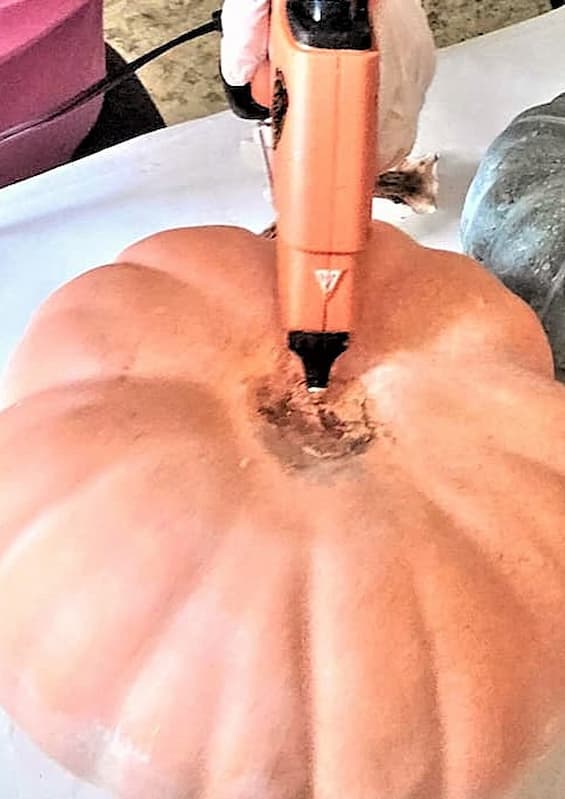
Heat your glue gun on a low setting. This is important because high-heat glue can cause Styrofoam pumpkins to break down.
Add a small amount of glue to the bottom of the stem. Place it on top of the pumpkin and hold it until the glue sets.
Cindy’s Pumpkin Tip: No real stems? No problem. Dry brush the plastic stem with a bit of raw umber pure pigment craft paint. For a different look, you can also wrap the stem with jute or twine.
If you purchase small white pumpkins for outdoor decorating, save the stems. Use them for future projects or decorating.
Cindy’s Tip: Because this DIY uses dark wax and clear wax, I recommend keeping the chalk paint pumpkins indoors. If you want to use them outside, spray them with several coats of matte polyurethane to help protect the finish.
Collection of Stems
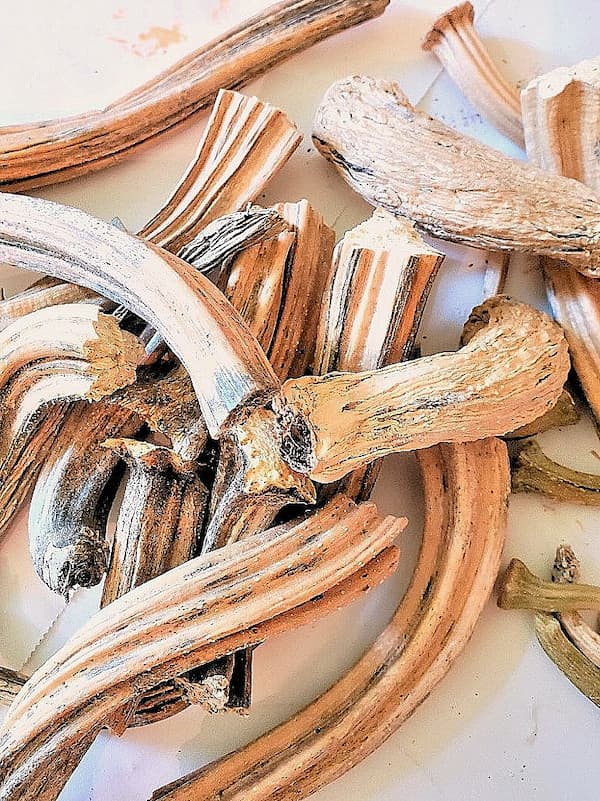
Here’s one of the reasons I love using natural elements and my collection of stems. It’s well established, as you can see, and I add to it every year. Pumpkin stems don’t only have to be used to make pumpkins look real.
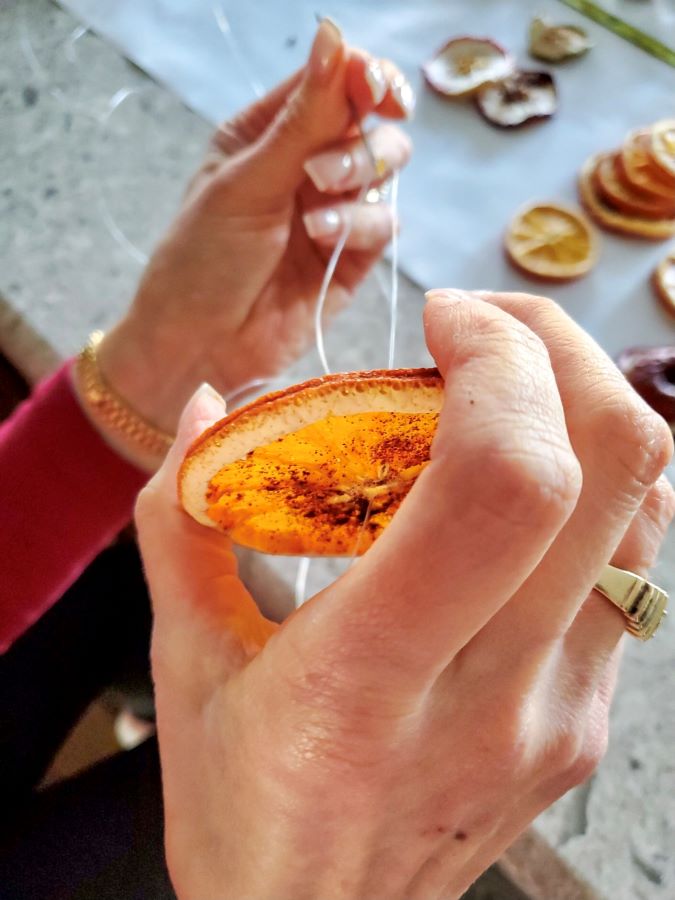
Cindy’s Tip: Add stems of the pumpkins to a bowl, dish, or tray with acorns, pinecones, star anise, and dried orange slices. It’s an easy way to create seasonal decor with a rustic fall look.
It’s a good idea to store your collection of stems in a brown paper bag in a dry, dark, well-ventilated place, such as a closet or cabinet.
I also share an easy tutorial for dried orange slices and whole oranges. They make an easy DIY project for adding to fall decor and can be enjoyed through the winter. (HERE)
Add Other Natural Touches
Adding natural elements is a good idea for bringing a warm, collected look to your home decor and fall decor. Fill glass jars, vases, crates, baskets, and dough bowls with a mix of natural touches such as:
- Real Pumpkin Stems
- Leaves
- Indian corn (Flint corn) – (HERE)
- Corn husks – (HERE)
- Acorns
- Pine cones
- Nuts
- Branches – (HERE)
- Birch logs
- Candles
- Dried artichokes – (HERE)
- Dried Hydrangeas – (HERE)
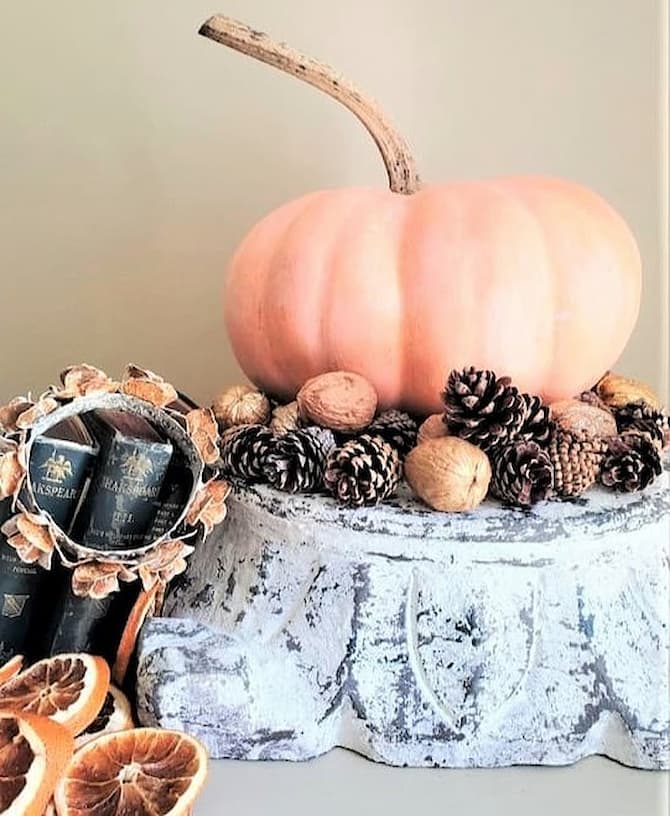
Use these natural pieces in centerpieces on a dining room table or living room coffee table. They also look pretty tucked around yolur painted pumpkins for a simple, natural fall decor display.
More Painting Ideas
I use chalk paint for many projects, including these pumpkin painting ideas. Annie Sloan Chalk Paint and acrylic craft paint both offer many paint colors, and I like having different colors when working on seasonal projects.
The best part about painting yojur own pumpkins is choosing the finish, color, and texture. You can create pumpkin designs that fit your home decor instead of being limited to what you find in stores.
For a neutral theme, I tend to use softer colors and let the natural elements take center stage. A fall color scheme with cream, muted orange, green, and brown works with natural materials I already have at home.
Can I Use Acrylic Paint on Faux Pumpkins?
Yes, you can use acrylic paint on artificial pumpkins. Acrylic paint sticks well to shiny plastic pumpkins, but first wipe the entire pumpkin with a damp cloth.
Before starting any craft project, always begin with a clean surface. Once the pumpkin is dry, use acrylic paint in the exact colors you want.
Can I Use Spray Paint on Plastic Pumpkins?
Absolutely! Spray paint can be a convenient and efficient way to give Styrofoam pumpkins a fresh, colorful look. I recommend a matte look rather than a glossy finish if you want your pumpkins to resemble those found in nature.
- Texture: If you want a textured look, add wax or use a light dry brush technique. You can also stipple with raw umber and burn umber acrylic craft paint. Dry brushing works with many kinds of paint and is an easy process.
- Preparation: For plastic pumpkins, start by laying down a drop cloth or newspaper in a well-ventilated area. Clean the pumpkins with a damp cloth and allow them to dry.
- First Coat: Apply the first coat of your desired color. A light neutral color like Linen White or Chiffon Cream works well as the base for the layers of paint added to artificial pumpkins.
- Add Details: For detail work, use a bit of raw umber or burnt umber craft paint to create shadows and contours around the edges and creases. This gives the pumpkins a more natural look and gives you more control over the details.
Where is the Best Place to Buy Faux Pumpkins?
You can find pupkin in many places, including:
- Dollar Tree
- Home Depot
- Hobby Lobby
- Local craft stores
- Thrift stores
I especially like thrift stores because you can find older pieces that can be given a completely new look with paint. Shopping for fake pumpkins at the Dollar Store, Dollar Tree, and craft stores can also be a good idea when you want several pumpkins without spending a lot.
When is the Best Time to Buy Faux Pumpkins?
I find the best time to purchase fake pumpkins is late summer, when the shelves are being stocked for fall decor.
Another good idea is to shop toward the end of the fall season. Prices can be very inexpensive at the end of the season, especially for a larger size pumpkins.
If you see mini pumpkins, grab them. These little pumpkins are easy to use for decor ideas in any living space.
Shopping at the end of the season is also a great time to look for artificial pumpkins at clearance prices.
Decorating With Painted Pumpkins
Painted pumpkins are easy to use throughout your home decor. Add them to a dining room table, living room coffee table, bookshelf, pedestal, crafts, or basket.
These simple combinations make beautiful decor ideas and can carry your seasonal decor into the holiday season.
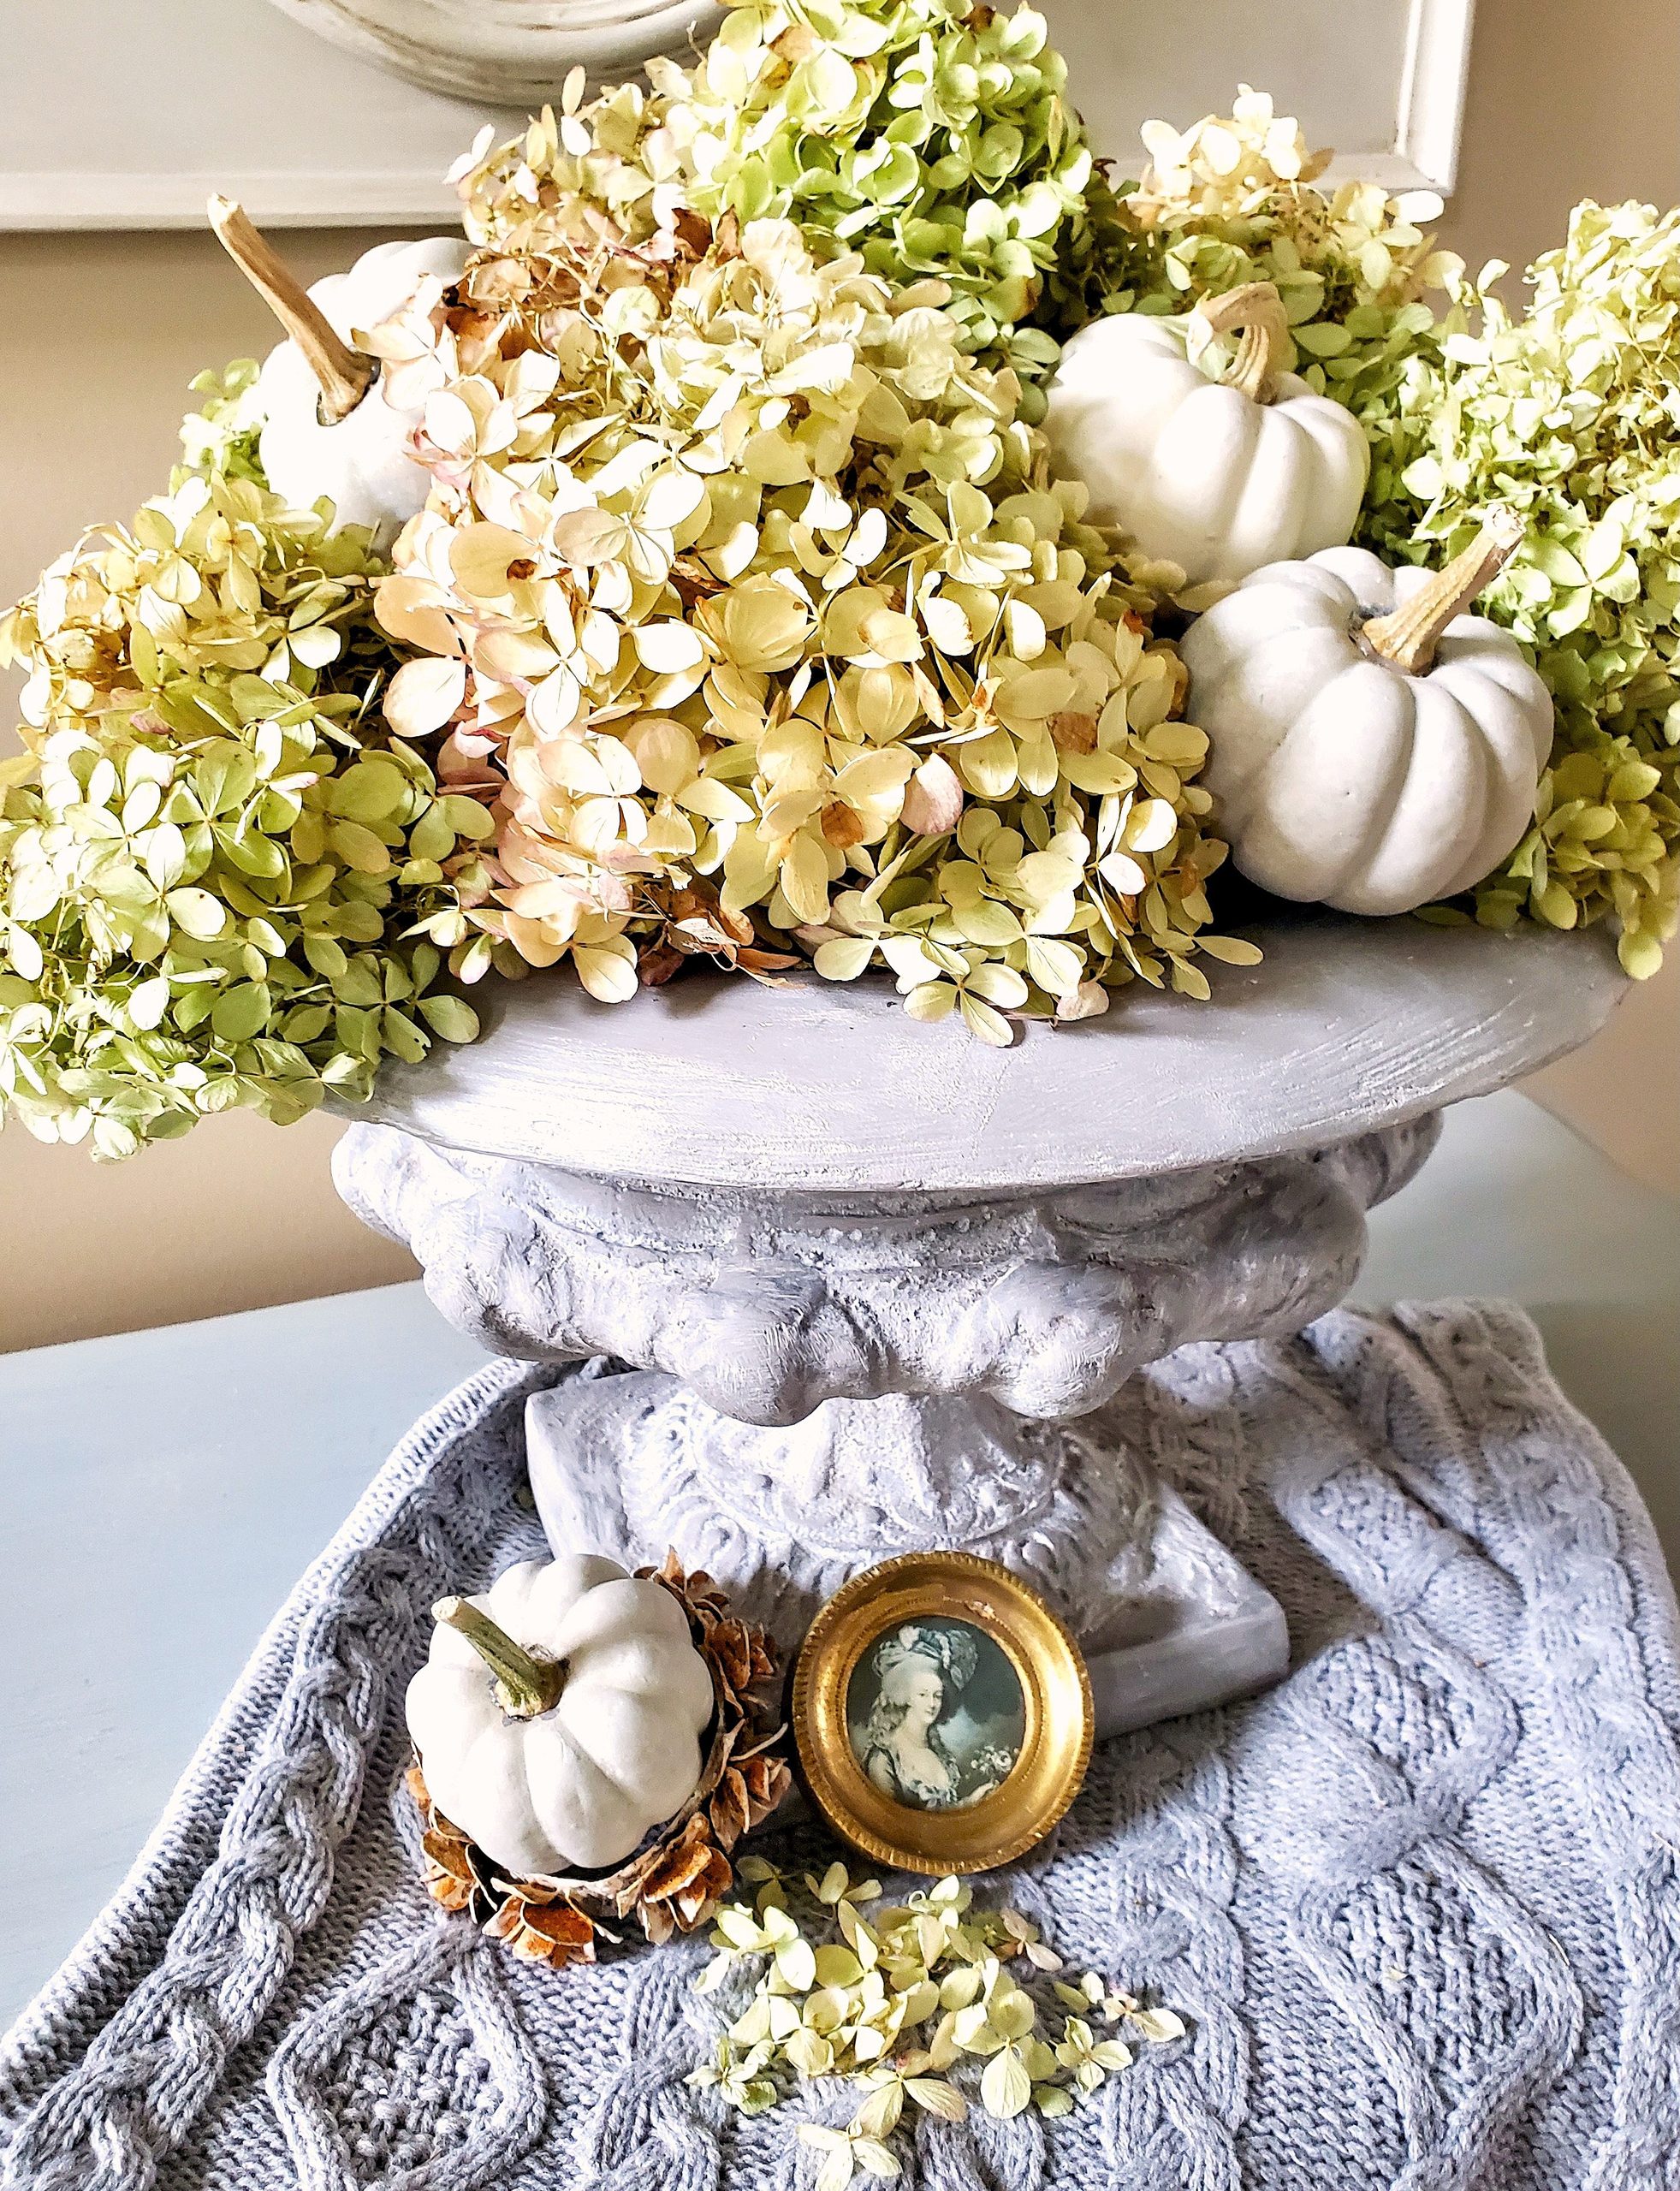
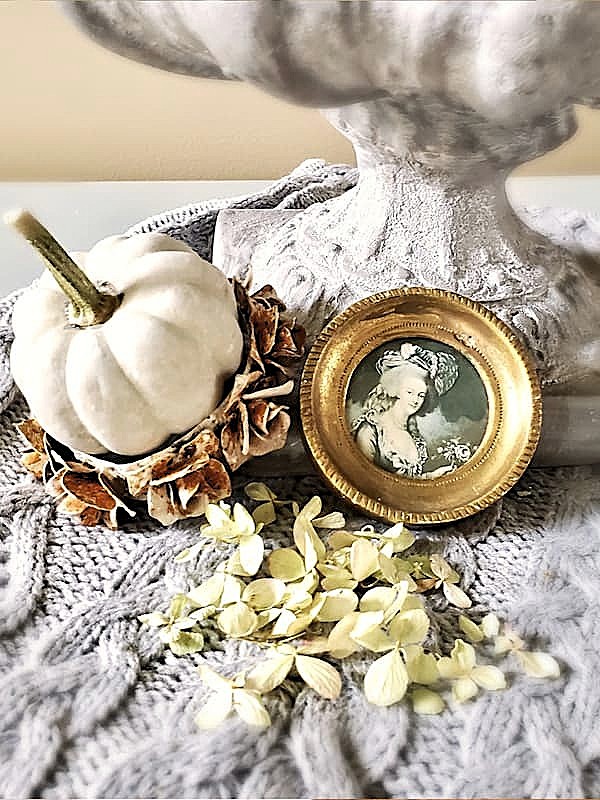
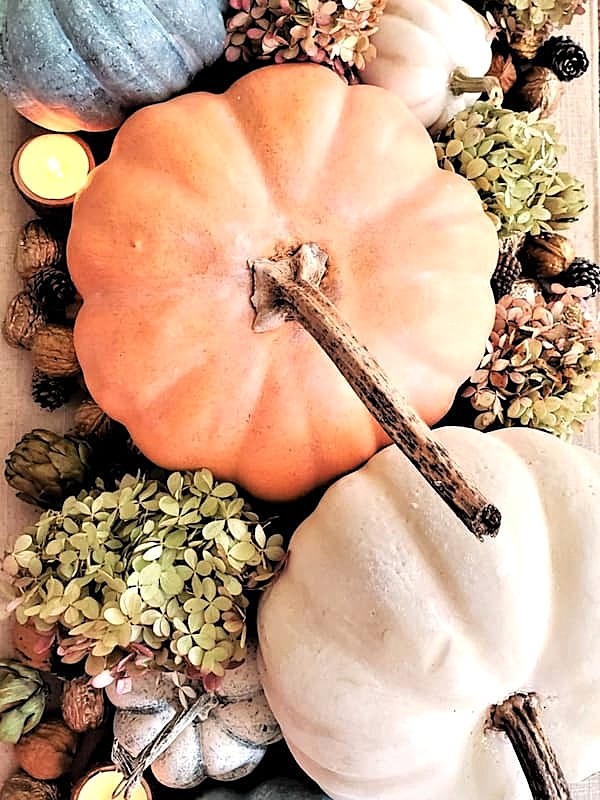
I hope this post has inspired you to give your old faux pumpkins a new look. Chalk paint on pumpkins is a sustainable choice when you want to reuse seasonal decor instead of buying new pumpkins. With a little paint, some real pumpkin stems, and a few natural touches, you can create pumpkins that look surprisingly close to the real thing.

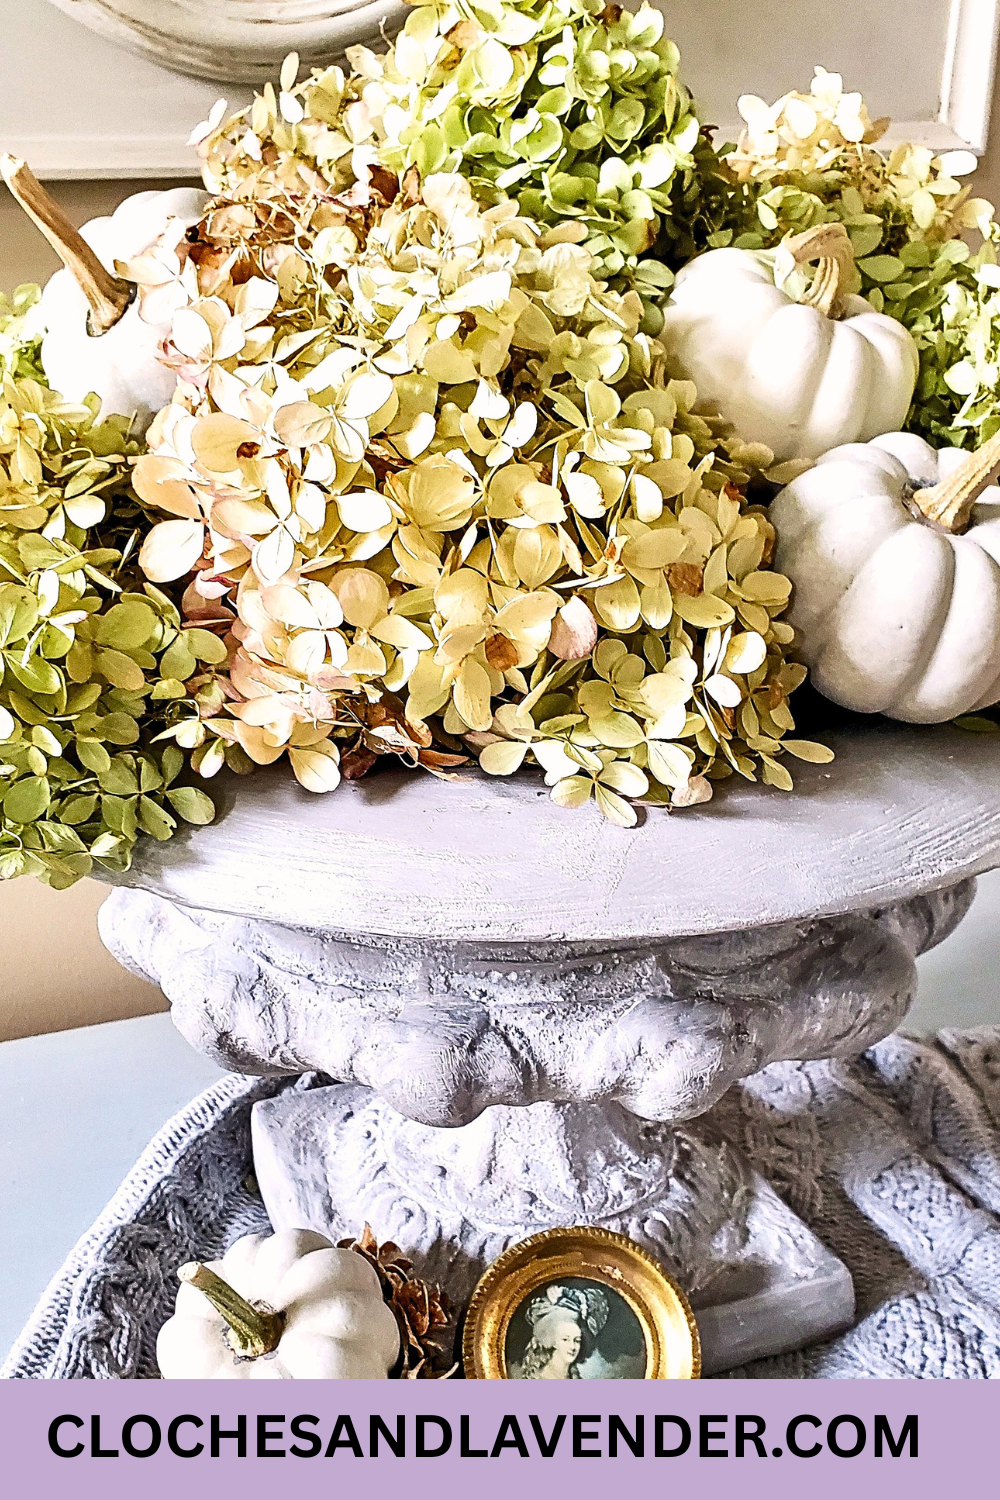
Other Easy Craft Projects
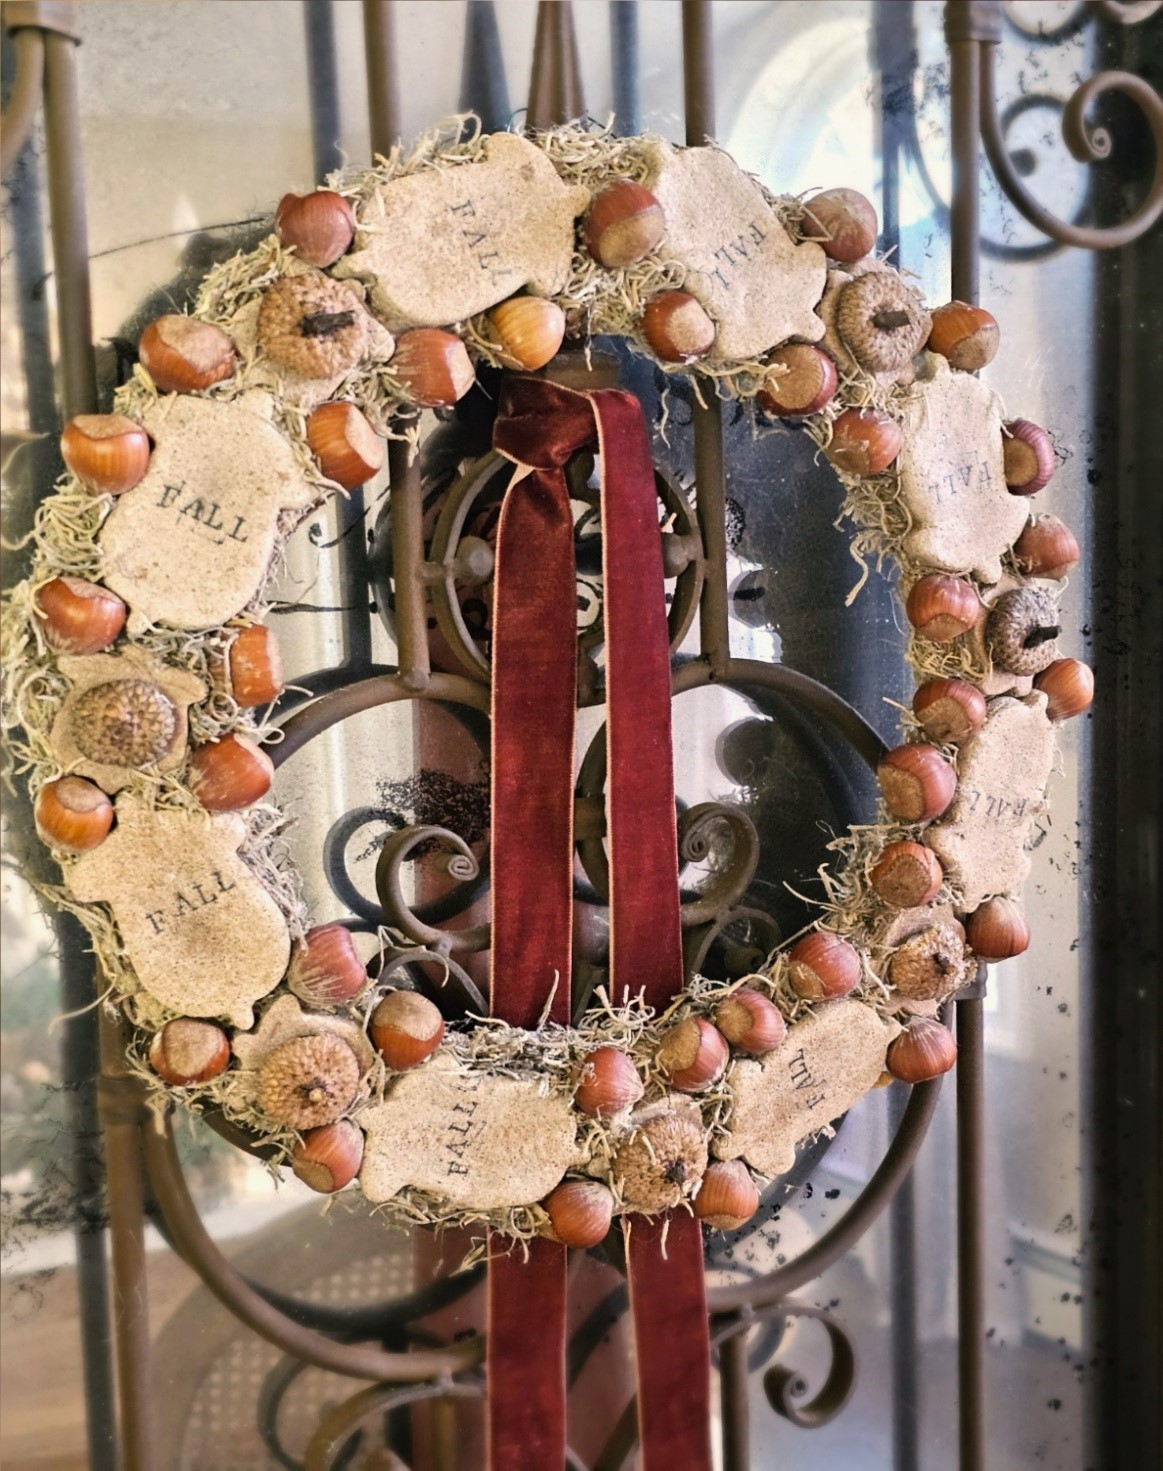
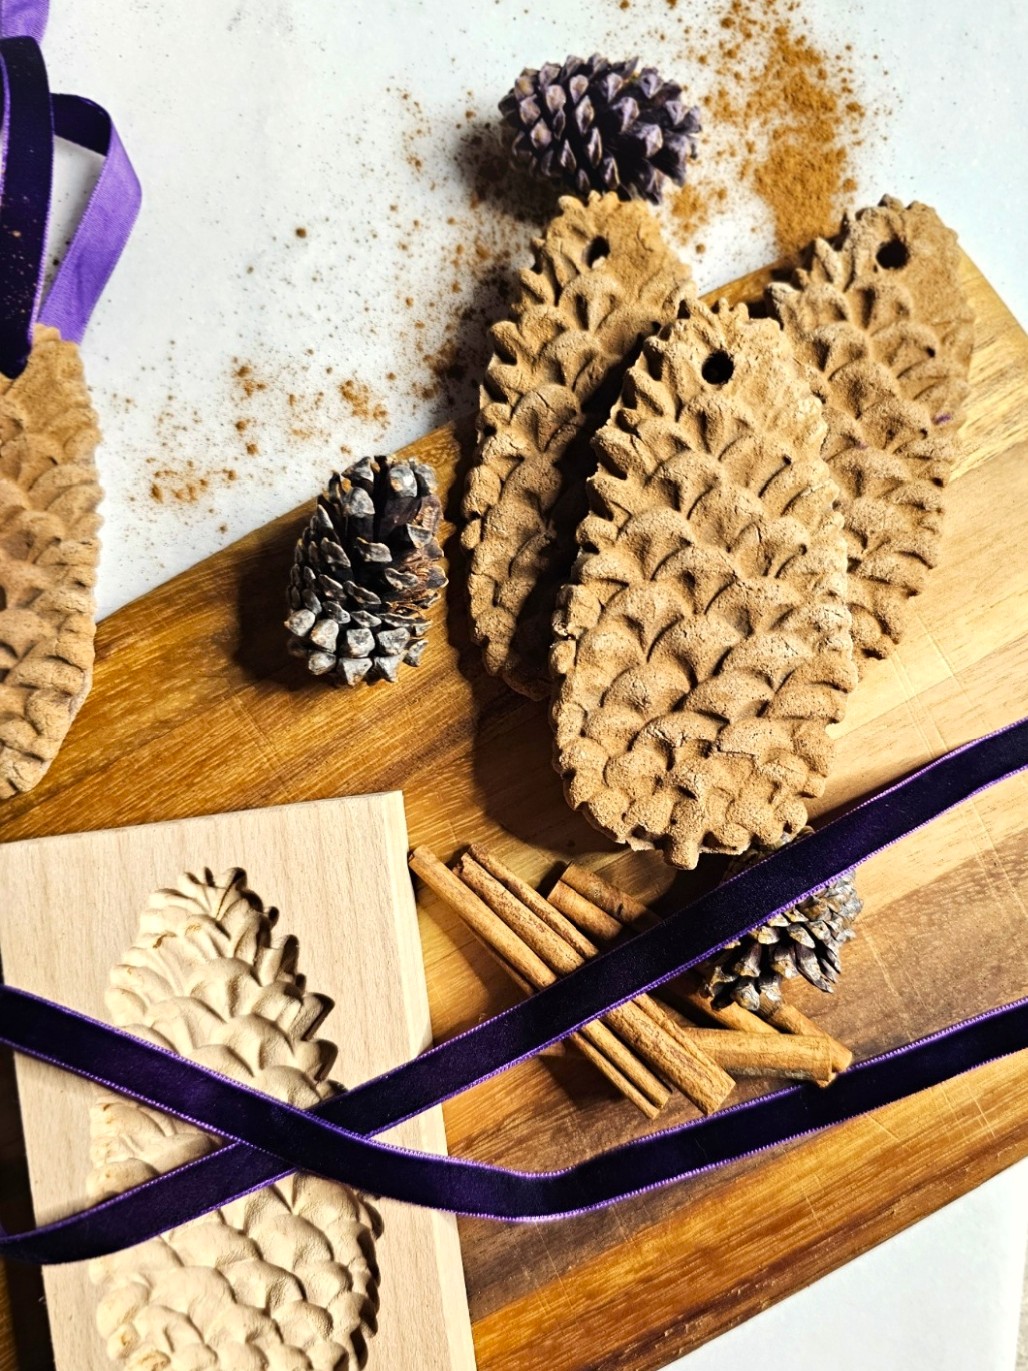
Salt Dough Ornaments – Tutorial
Shop the Post
Chalk Paint on Pumpkins is a Sustainable Choice
Notes
CHALK PAINT ON PUMPKINS
Supplies List:
- Pumpkins of your choice
- Hot glue gun
- FolkArt mint green chalk paint – this is no longer available. (HERE’S A GREAT OPTION)
- Deeper orange color paint – (HERE)
- White acrylic craft paint or Annie Sloan Chalk Paint in Old White
- Burnt umber or Raw umber pure pigment craft paint
- Chip brush
- White wax – (HERE) This is my favorite
- Dark and clear wax or raw umber and burnt umber craft paint
- Paper plate
- Paint stick for mixing
- Stencil brush
- Wax brush – (HERE) – I love these
- OXO Goodgrips Lazy Susan – optional – I use this when working all the time
- Minwax Helmsman Spray – optional; see my tip purchase (HERE)
Step 1: Add the Deeper Orange Color
The first step before painting pumpkins is to clean them with a damp cloth. Starting with a clean surface helps the paint adhere properly. Before painting, remove the plastic stem. I purchased these pumpkins last year for $8 at my local craft store. This is the best part about shopping craft stores atm the right time. The shelves had just been restocked, and I found the perfect pumpkins for my fall crafts. Add a bit of raw umber pure pigment craft paint to the orange paint and mix well. This creates a deeper orange color for the DIY project. Paint half of the faux pumpkin, allowing it to dry between coats of paint. This base color will help create a realistic look.
Step 2: Add a Lighter Coat of Paint
For the next step, add white craft paint or white chalk paint over the orange base color. This lighter layer helps give the chalk paint pumpkins a more realistic look. Chiffon cream and linen white are also great paint colors to use. Home Depot offers similar colors in their chalk decorative paint such as Tin White or Farmhouse white. If you prefer different color pumpkins, choose shades that work with your fall color scheme. Paint over the orange base, working on half of the pumpkin at a time. Keeping the paint slightly damp gives you enough time to use the stippling technique. This adds the natural texture you see on real pumpkins. Cindy’s Tip: A real pumpkin has texture, and that’s what we are trying to recreate. The stippling is what helps give these pumpkins the real look.
Step 3: Add Pumpkin Texture With Stippling
Pouncing and stippling can be hard on brushes, which is why I recommend inexpensive chip brushes. They can take a bit of abuse without worrying about ruining a good brush. Let the pumpkin dry completely. Once dry, repeat the same process over the entire pumpkin. Don’t worry if some of the deeper orange color shows through as you work. Seeing different colors is part of what gives these pumpkins the varied, natural look of pumpkins. Cindy’s Stippling Tip: Use the tips of the bristles on a chip brush to lightly stipple or pounce the paint onto the pumpkin. This creates the natural texture we’re looking for when painting pumpkins.
Step 4: Soften the Look With White Wax
Add the white wax a little bit at a time, working in small sections. Use a wax brush to work the wax in well into the paint. This is when the painted pumpkin really begins to come to life. The white wax softens the orange color and gives the pumpkin the soft, muted finish found on heirloom gourds. After applying wax in a small section, lightly buff it with a lint-free rag. Continue working in small sections until the entire pumpkin is covered. The white wax is what helps create that soft, realistic look you see on heirloom gourds at pumpkin farms. This is one of my favorite parts of the painting process because the transformation is amazing!2 Cindy’s Waxing Tip: Buffing wax is an important step. Be sure to buff the wax into the pumpkin with a lint-free rag to remove the excess wax. If you skip this process, the wax will remain sticky. I know this from painting furniture and other projects with wax over the years.
Step 5: Add Detail With Dark Color Wax
Adding a bit of clear and dark color wax around the real stems and in the creases adds depth to the light orange, heirloom-looking green gourds, and white pumpkins. The wax helps each color have a more realistic look. The stems of the pumpkins help complete the look when transforming fake pumpkins from the Dollar Store or Hobby Lobby into something that looks like the real thing. Cindy’s Tip: When adding the waxes, I apply a light coat of clear wax first. This keeps the dark color wax from becoming too heavy. Dark color wax tends to absorb into paint quickly, so waxing clear gives you more control and allows the waxes to blend. For detail work, I always use a smaller wax brush or soft stencil brush. Apply the wax in small sections, then rub it into the paint with a lint-free cloth. The waxing process doesn’t take a long time, but working in small sections helps you control the finish. If you don’t want to use wax, dip the tip of a small chip brush into a combination of raw umber pure pigment craft paint. Wipe the excess onto a paper towel, then use a light stippling motion around the stem. You can also use a dry brush with raw umber paint in the creases of the pumpkin.
Step 6: Adding Stems of the Pumpkins
Adding dried real stems from my collection is the fun part. They add a realistic look to this easy craft and immediately make the fake pumpkins look like the real thing. When our family and friends came to our home last year, they thought the pumpkins were real. It’s the simple things that can have a big impact. I save stems from my pumpkins every fall and have quite the collection of stems now. I love being able to reuse them year after year instead of throwing them away.
Smaller Pumpkins
I also wanted to create a few smaller pumpkins in softer colors. These are an easy craft and give your seasonal decor a little variety.Step 1: Paint and Dry Brush the Smaller Pumpkins
This faux pumpkin already had a great base color, so creating the soft green pumpkin look of something we might find at a pumpkin farm was easy. These painting techniques are simple and don’t take a long time. Start by wiping the pumpkin with a damp cloth, so you have a clean surface. Use FolkArt green chalk paint and a chip brush, and use a dry brush technique to paint the entire pumpkin. The dry brush technique adds dimension and texture to smaller pumpkins.
Step 3: Add the Stems of the Pumpkins
Adding the stems of the pumpkins is the finishing touch that gives these pumpkins a more real look. For smaller or Styrofoam pumpkins, I use a slightly different method for attaching the stems. Heat your glue gun on a low setting. This is important because high-heat glue can cause Styrofoam pumpkins to break down. Add a small amount of glue to the bottom of the stem. Place it on top of the pumpkin and hold it until the glue sets. Cindy’s Pumpkin Tip: No real stems? No problem. Dry brush the plastic stem with a bit of raw umber pure pigment craft paint. For a different look, you can also wrap the stem with jute or twine. If you purchase small white pumpkins for outdoor decorating, save the stems. Use them for future projects or decorating. Cindy’s Tip: Because this DIY uses dark wax and clear wax, I recommend keeping the chalk paint pumpkins indoors. If you want to use them outside, spray them with several coats of matte polyurethane to help protect the finish. Cindy’s Dry Brushing Tip: Dip the tip of your brush into the paint. Wipe the excess paint onto a paper towel, paper plate, or rag. You want very little paint on your brush when dry brushing. I share in-depth details in this blog post on how to dry brush. The dry brush technique can be hard on brushes, so I recommend inexpensive chip brushes. They take a bit of abuse without worrying about ruining a good brush. I also shared a step-by-step tutorial showing this painting technique on planters. (HERE) One of my favorite parts of the painting process is mixing different colors of paint. Because I already had a good base color, the dry brushing went quickly.

Oh wow! So pretty. I will have to give this method a try! Great job.
You’re a paint Queen.
These are so beautiful, what a great idea! Thank you for the inspo!
Thank you!
Cindy, these are so beautiful! You have inspired me to try this. I love the vignettes you created with your pumpkins. That brown transferware piece is gorgeous! Happy Wednesday!
It’s simple and makes a big difference. They look real up close too
Great inspiration and how amazing t transform those faux pumpkins into beautiful real looking ones. Love the pumpkin in your cement bowl. Very pretty. xoxo Kris
Thanks sweet Kris!
Cindy you have the painter’s touch. Your pumpkin looks amazing and so pretty how you have it styled. Great tutorial!! Happy Fall!
Thanks so much sweet friend! Love this group
Your pumpkins are so pretty, Cindy! You really do have your painting techniques down pat! Love how you displayed them too!
Always great having you visit
Great methods for painting pumpkins, Cindy. Love the green lines down the seams for a realistic look.
I love painting so much! Thank you
Oh wow! Cindy, these came out absolutely beautiful!!! Love them!
Thanks Jodi!
This is such a pretty pumpkin!!
Thanks my friend
Your pumpkins are beautiful and I love the way you styled them – so lovely and French feeling! Thanks for the great tutorials and inspiration!
Thanks Barbara, I love painting and all things French. I found the movie you mentioned. We may watch it tonight!
Hi Cindy, your pumpkins look fabulous. The urn looks so pretty. Love how you shared the paint tutorial.
Your painted pumpkins look so pretty among your vintage treasures!
Love the way you layered these pumpkins to make them look real Cindy! They’re so pretty. I don’t know why I never think about buying pumpkins at the end of the season but you’re right it’s such a great time to buy them at budget friendly prices. Thanks for the great tip! Hugs, CoCo
These are so pretty! And I love the way you styled them.
They’re both so pretty!! I just love how real the second one looks!
Thanks Michelle
I love how you did this Cindy! And I love how you styled them! Thank you for sharing at Charming Homes and Gardens.
Such beautiful ideas!! Thanks for sharing the inspiration at Charming Homes & Gardens!
These pumpkins are so beautiful! I love how you save the stems from the year before, so smart!
It’s a slight obsession
Wow! These pumpkins really do look real! I can’t believe you used chalk paint to make these pumpkins – gorgeous! Love your Fall tablescape too!
Thanks so much Jayne!
What a beautiful transformation, Cindy! Your pumpkins really do look like the real things. I love saving my stems each year for crafts like this. It really makes a big difference!
Thanks Crissy. I love the stems on pumpkins. It’s how I decide to buy them
Your painted pumpkins turned out better than the real thing. Thank you for the borderline genius tips and tricks to getting the perfect painted pumpkins.
Happy Fall,
Kippi
Thanks Kippi
What a beautiful way to create a real pumpkin. The tutorial was just perfect with all the details. Your table looks stunning and ready for all the Fall holidays.
Thanks Meegan
Your pumpkins came out beautiful. Thanks for sharing!
Cindy, your pumpkins look so real, especially by using the natural stems. I love the blue ones! Thanks for demonstrating your stippling technique, too. It was fun pumpkin crafting with you!
I can’t believe how real these look. You did a great job.
Thanks so much Janet
Love how your pumpkins turned out Cindy! Pinned for later.
Thanks Libbie. I appreciate the Pins
Cindy, I sure do like the softer colors! Well done.
Thanks so much!
Great tutorial, Cindy! You made these faux pumpkins look very realistic.
Thanks Paula. I love painting!!
These are so cute! Thank you for sharing your talents!
Very cute! I am going to dig out my chalk paint and try this!
The colors you chose are so pretty! The centerpiece turned out great!
These turned out beautiful. I love the colors you used and that they are real stems. I have been saving my stems too my problem is remembering where I put them.
Your pumpkins look fabulous. Love the different colors. I have never used chalk paint. Thanks for sharing at Love Your Creativity. Happy week ahead.
This is AMAZING!!! Absolutely beautiful friend!!! My favorite is the way you added the old pumpkin stem!!! BRILLIANT!!! XoXo Aliya
I love this project! Such a great idea. Your centerpiece turned out beautiful!
Thank you Kim!
Cindy, they look so real after you added the pumpkin stems. I am definitely going to save my pumpkin stems this year for projects for 2022!
These look great, Cindy. xo Laura
Love these painted pumpkins so much, Cindy! I have “make terracotta inspired pumpkins” on my to do list so this will provide the perfect inspiration. Love how these came together and I’m pinning right now! Big hugs, CoCo
This is such an excellent tutorial! Over the years some of my white and cream pumpkins have yellowed. They could do with a makeover. Thank you for the inspiration!
What a great post and tutorial. Congratulations, you are being featured on Thursday Favorite Things. I hope you stop by. https://www.eclecticredbarn.com/2021/09/thursday-favorite-things-party_01514785151.html
Hugs,
Bev
Thank you so much!
Love the process you used to create these lovely chalk-painted gourds, Cindy! I’m delighted to be featuring you at Tuesday Turn About tomorrow! Pinned!
Thank you so much Julie. I love how real they look. Save pumpkin stems
thank you so much