
Make Easy Christmas Balls
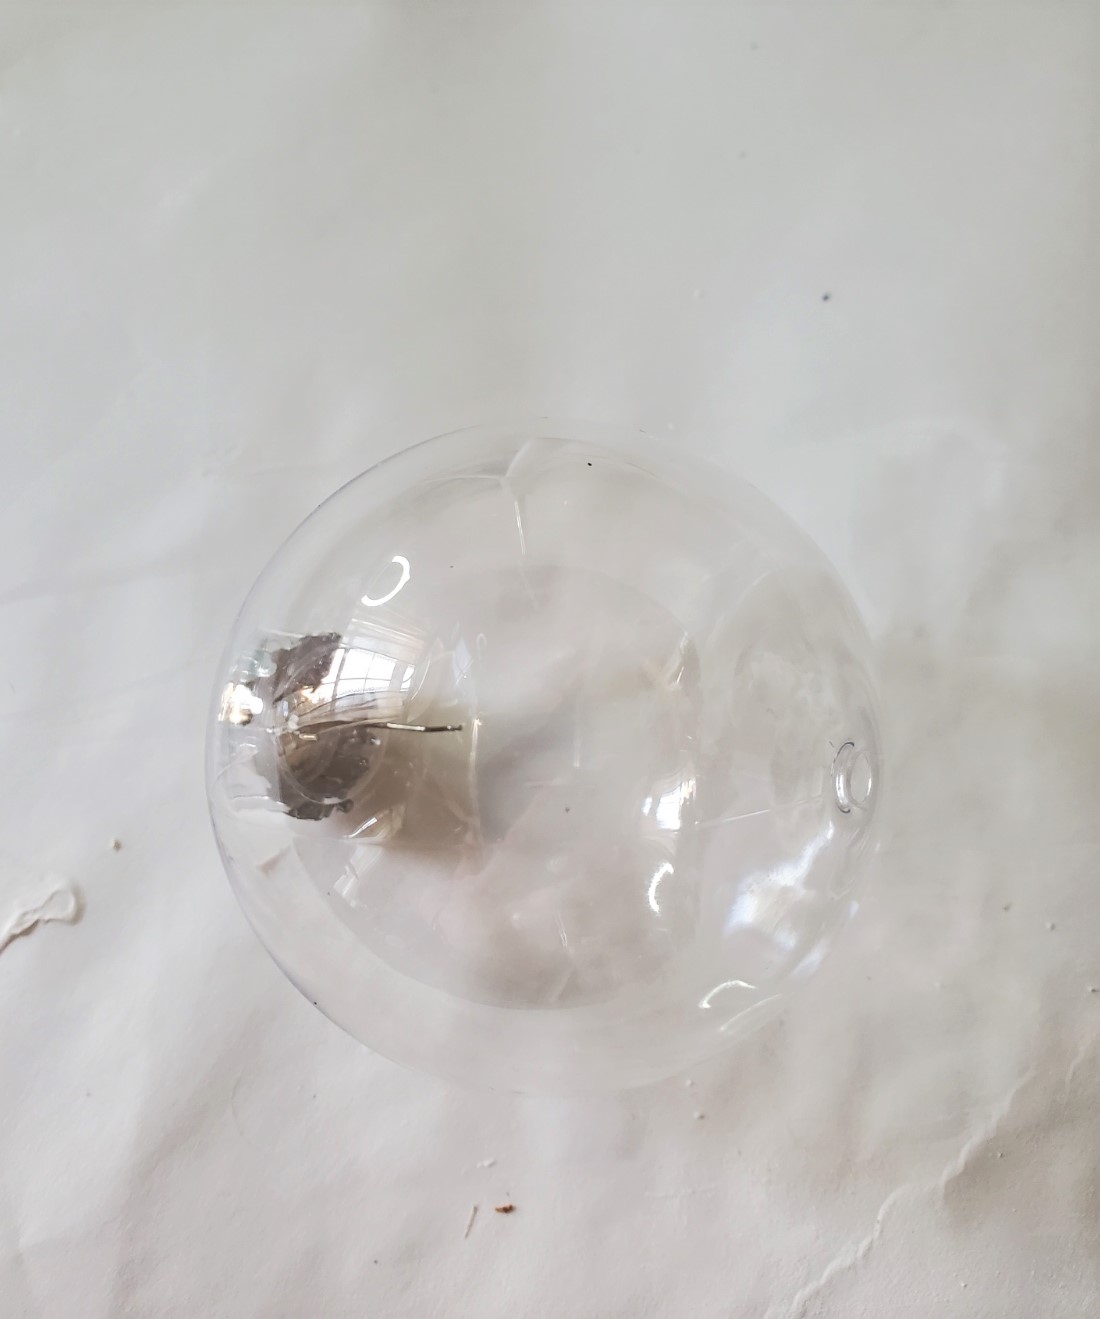
Let’s see how to make easy Christmas balls. These ornaments are made from clear plastic.
I did find these at Michaels. These can be difficult to buy because clear plastic balls are selling rapidly so buy these early.
By the way, this is another easy and fun Christmas craft.
Table of Contents
Begin this Project by Cleaning and Painting These Simple Christmas Ornaments
Step 1: Clean These Ornaments Well
First, clean the plastic ornaments with an alcohol so any residue is removed. Let dry.
Step 2: Paint a Base Coat on the Balls – Color of Your Choice
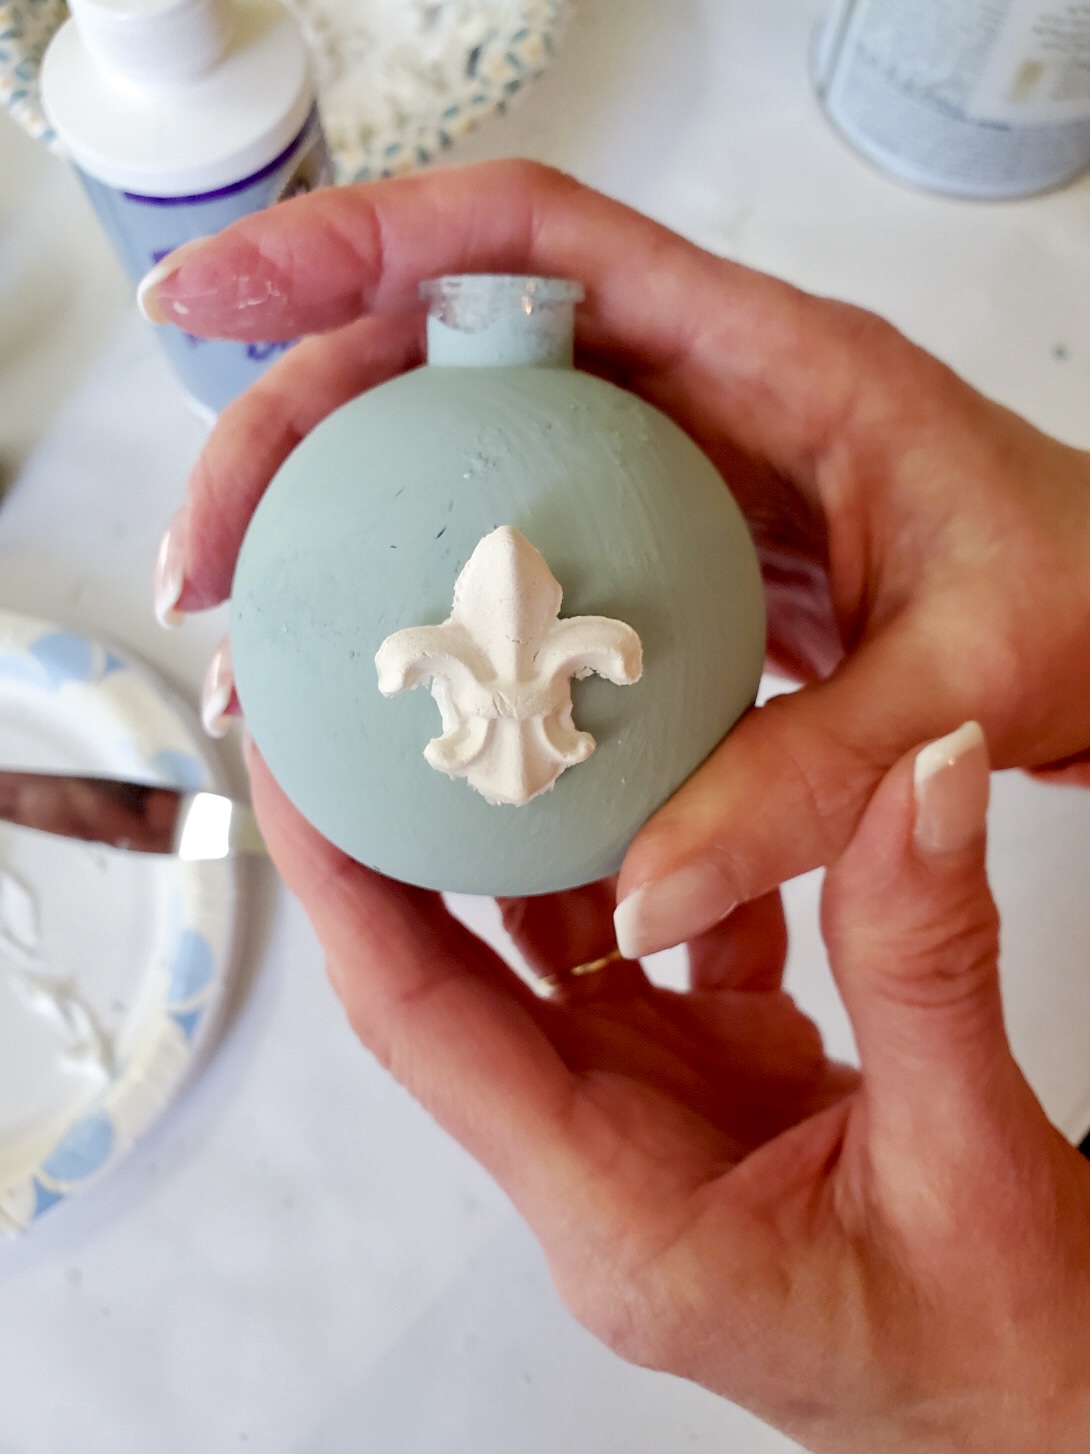
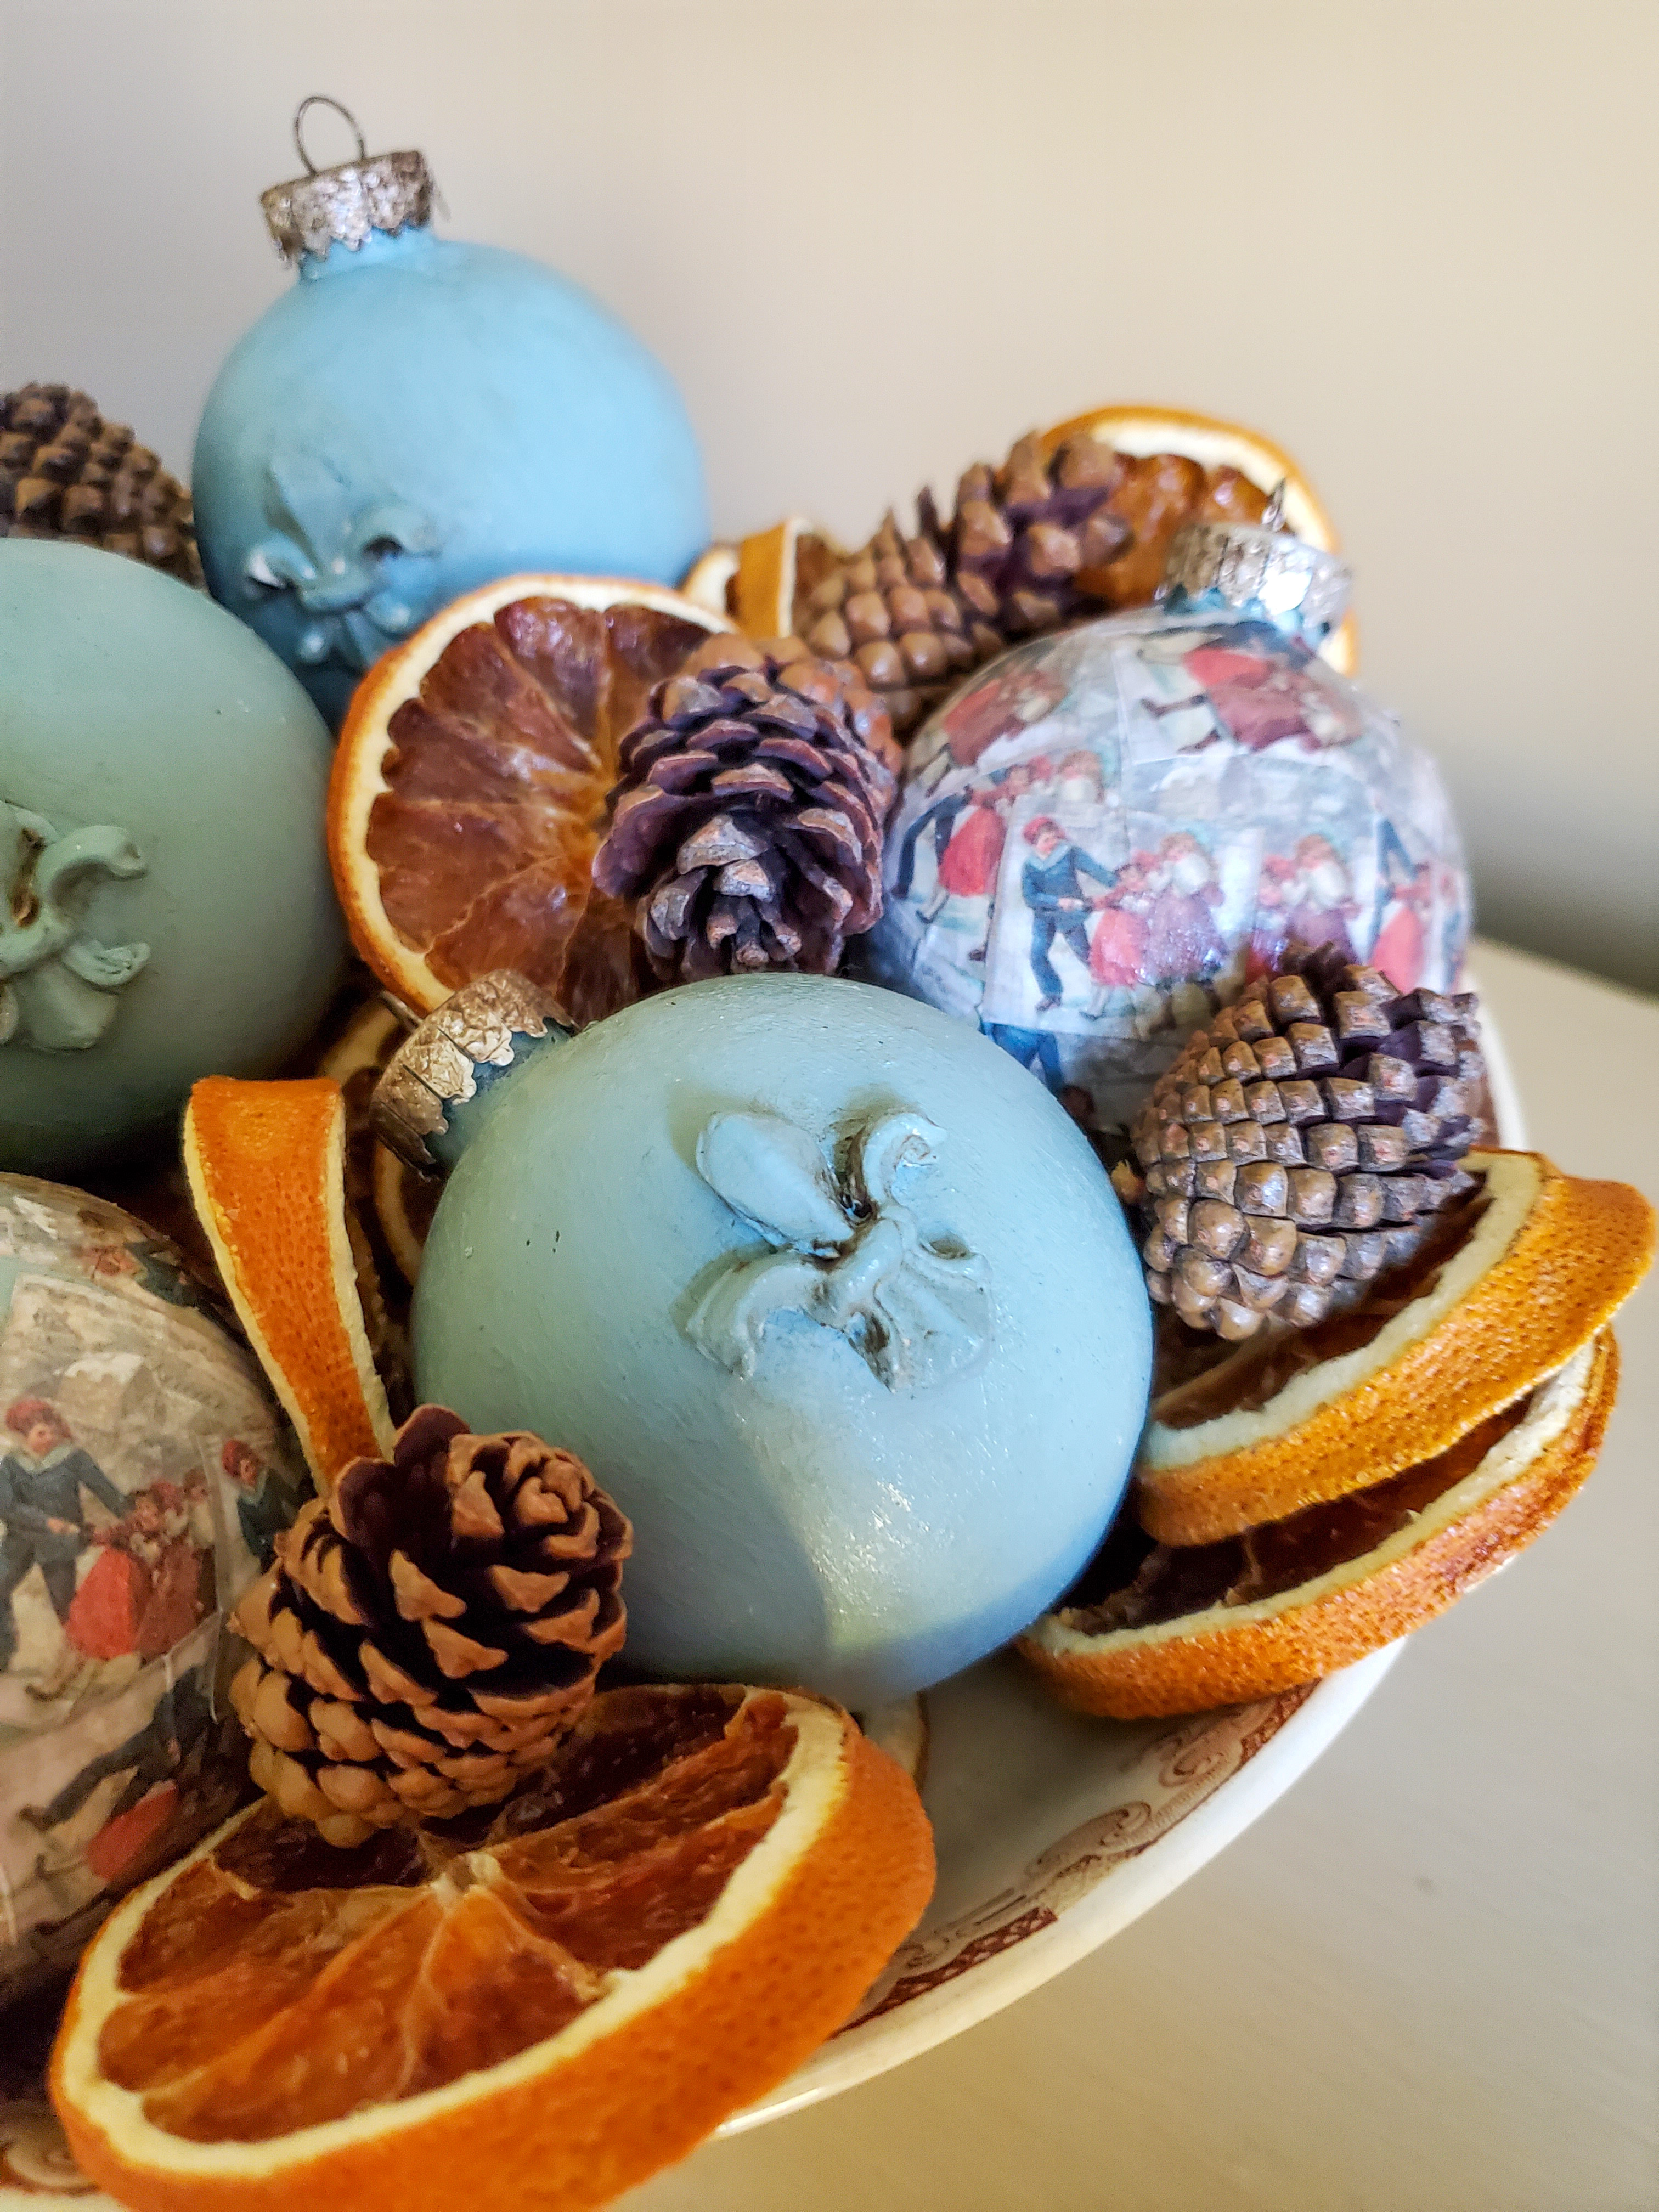
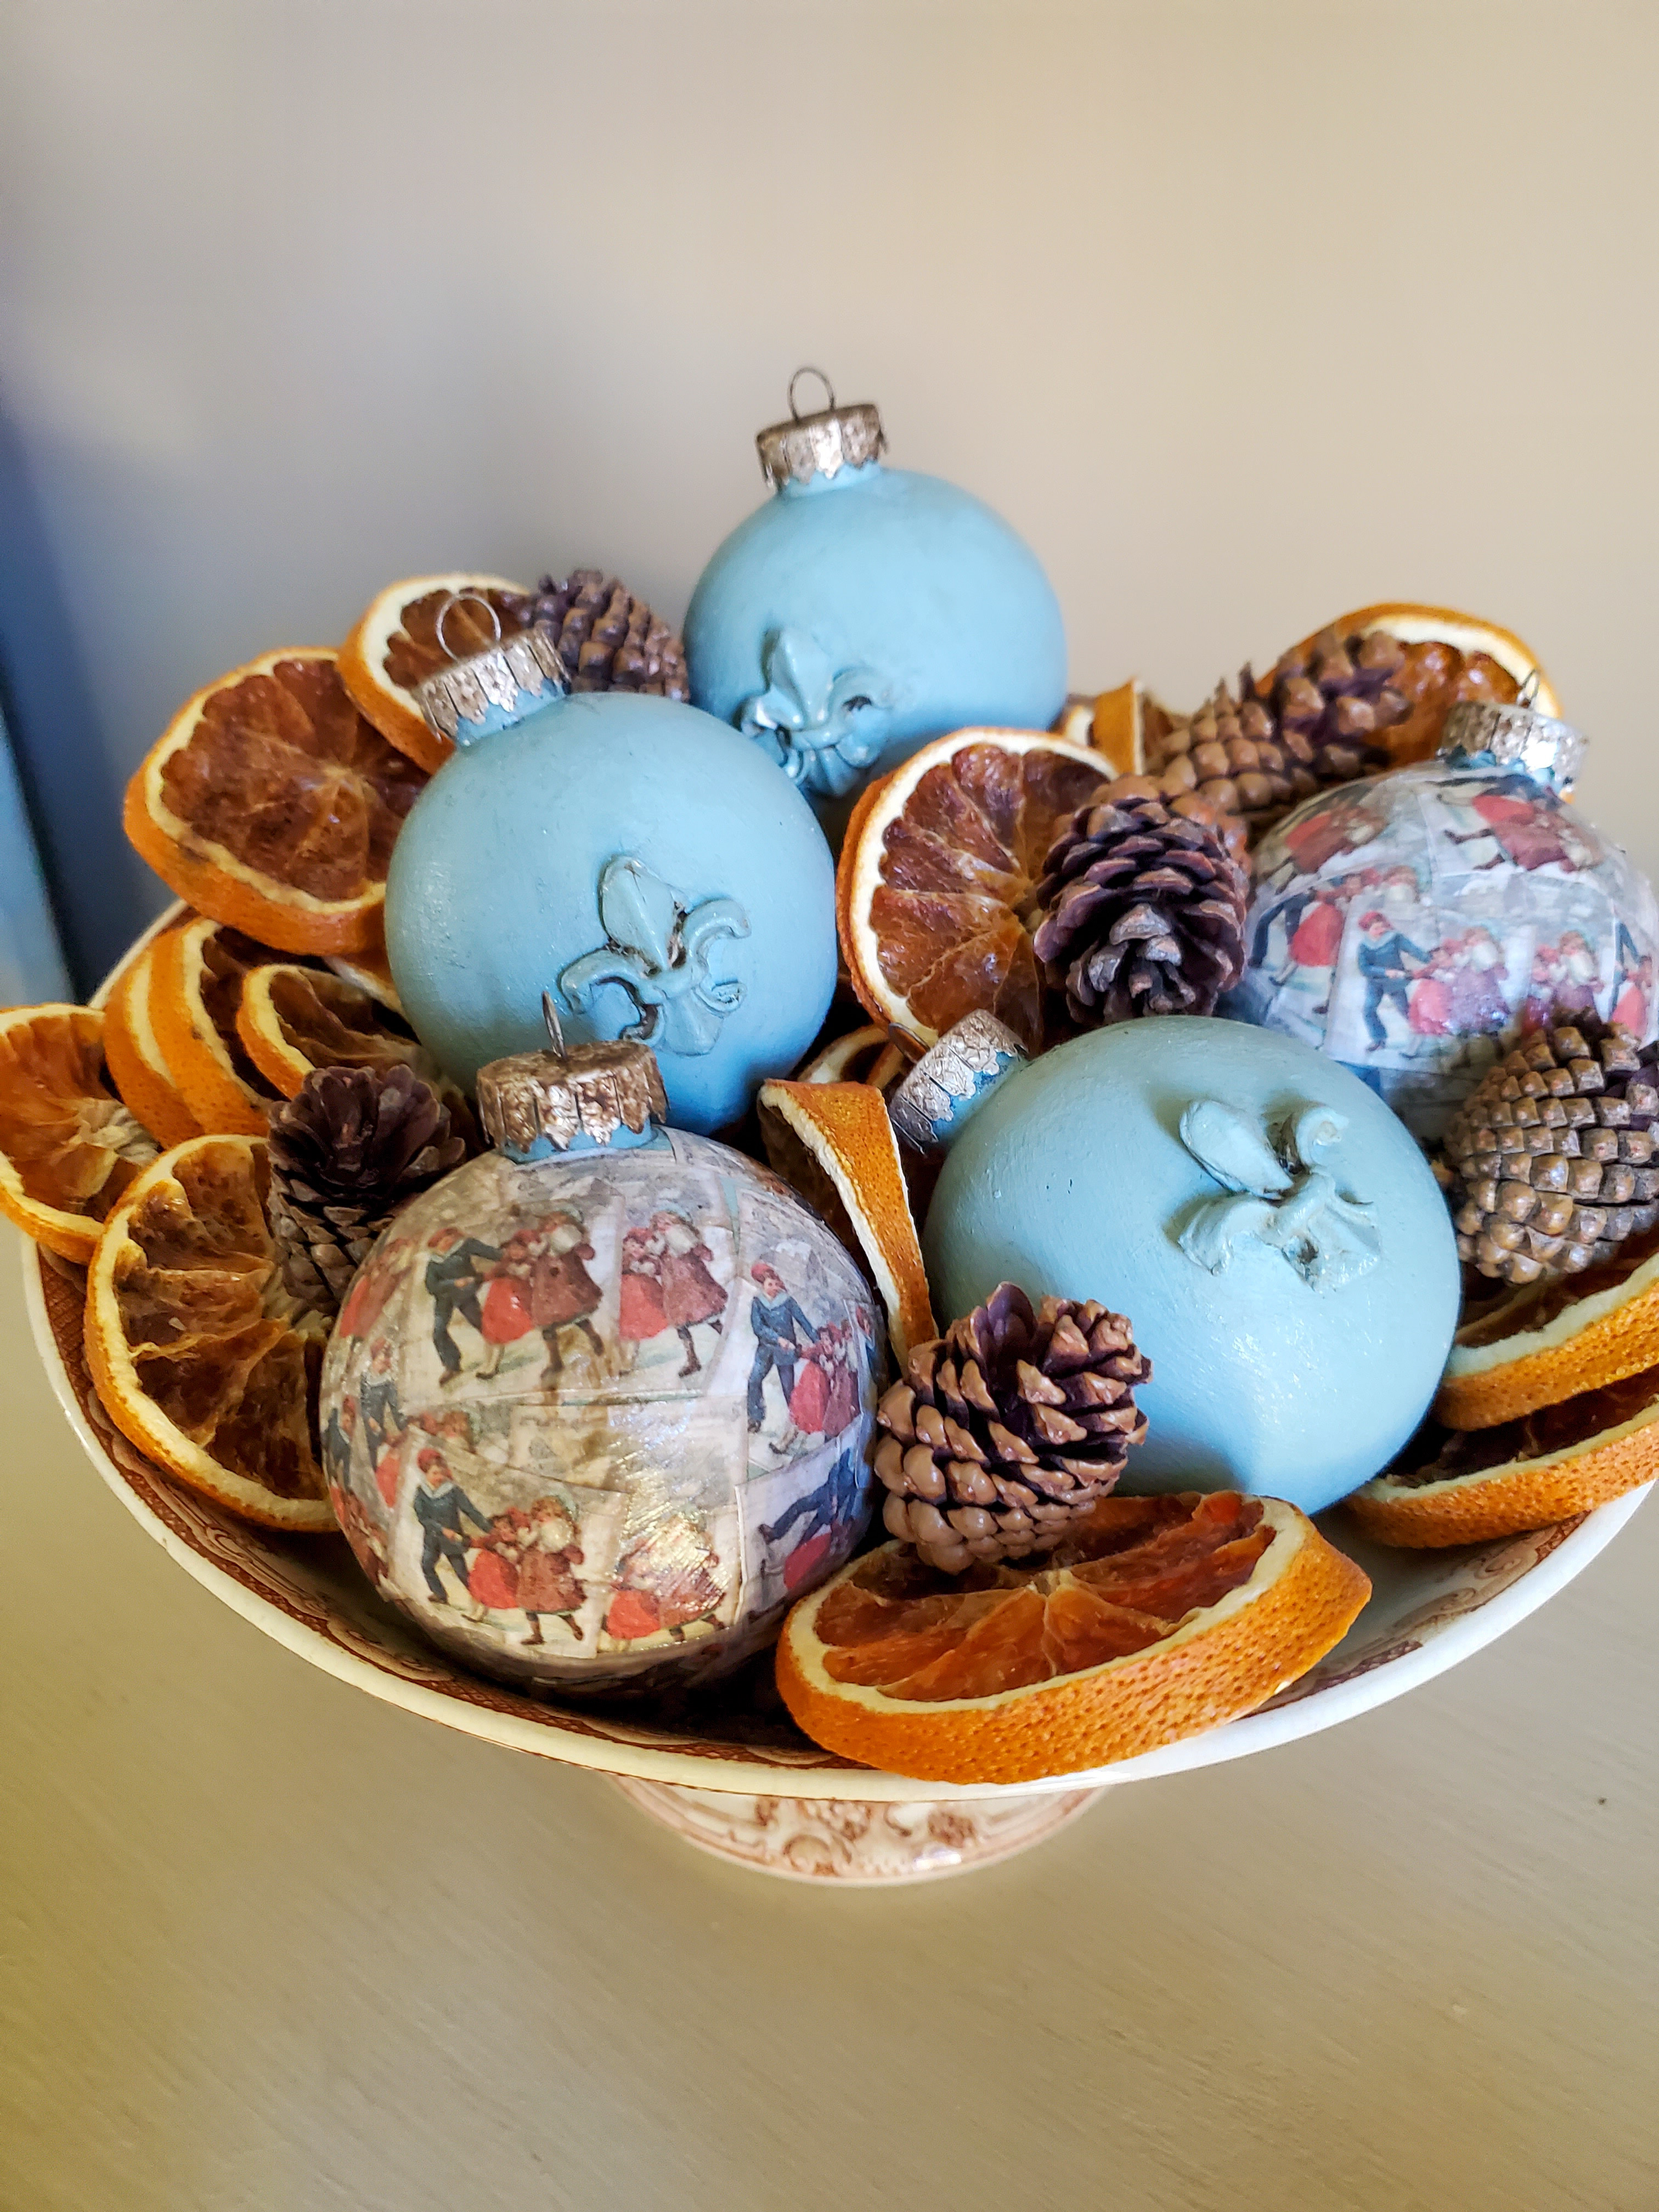
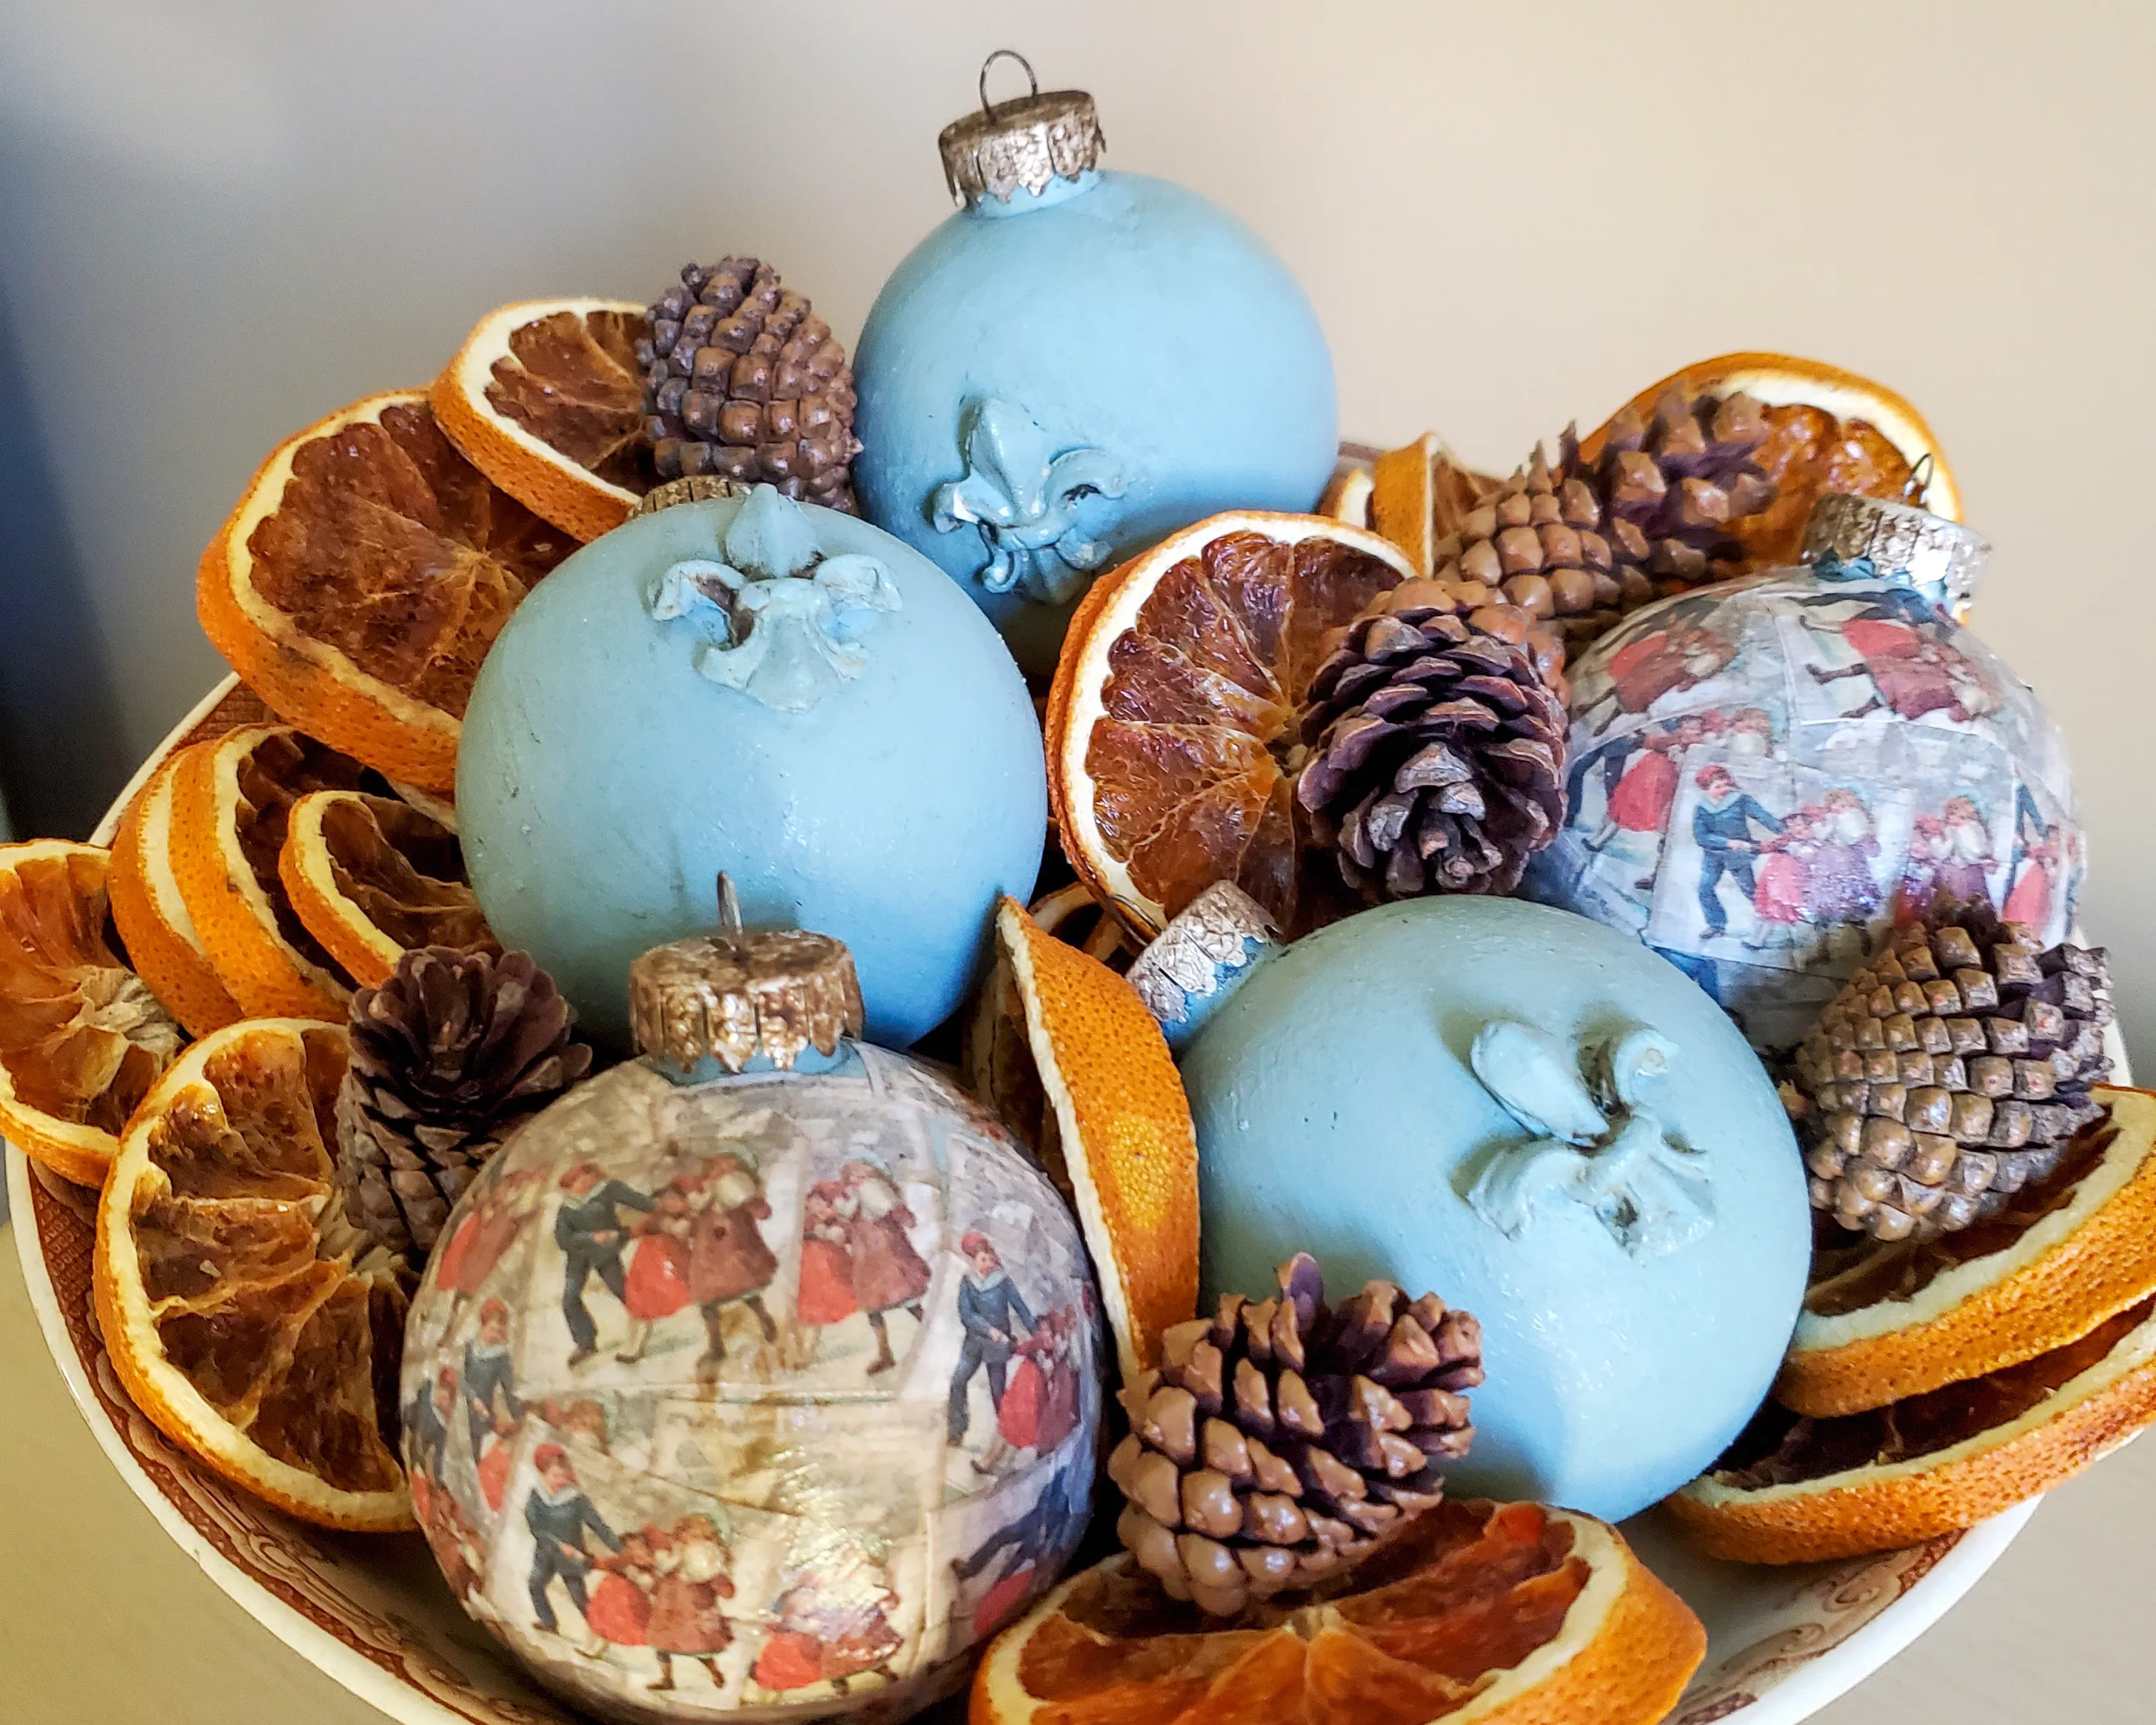
Second, paint the ornaments three coats of French blue color paint. Let them dry in between each coat. It can be chalk paint or craft paint. However, if you want the color of my Christmas balls this is the color of mine.
Making And Adding IOD Molds to Add a Decoration to the Ornaments
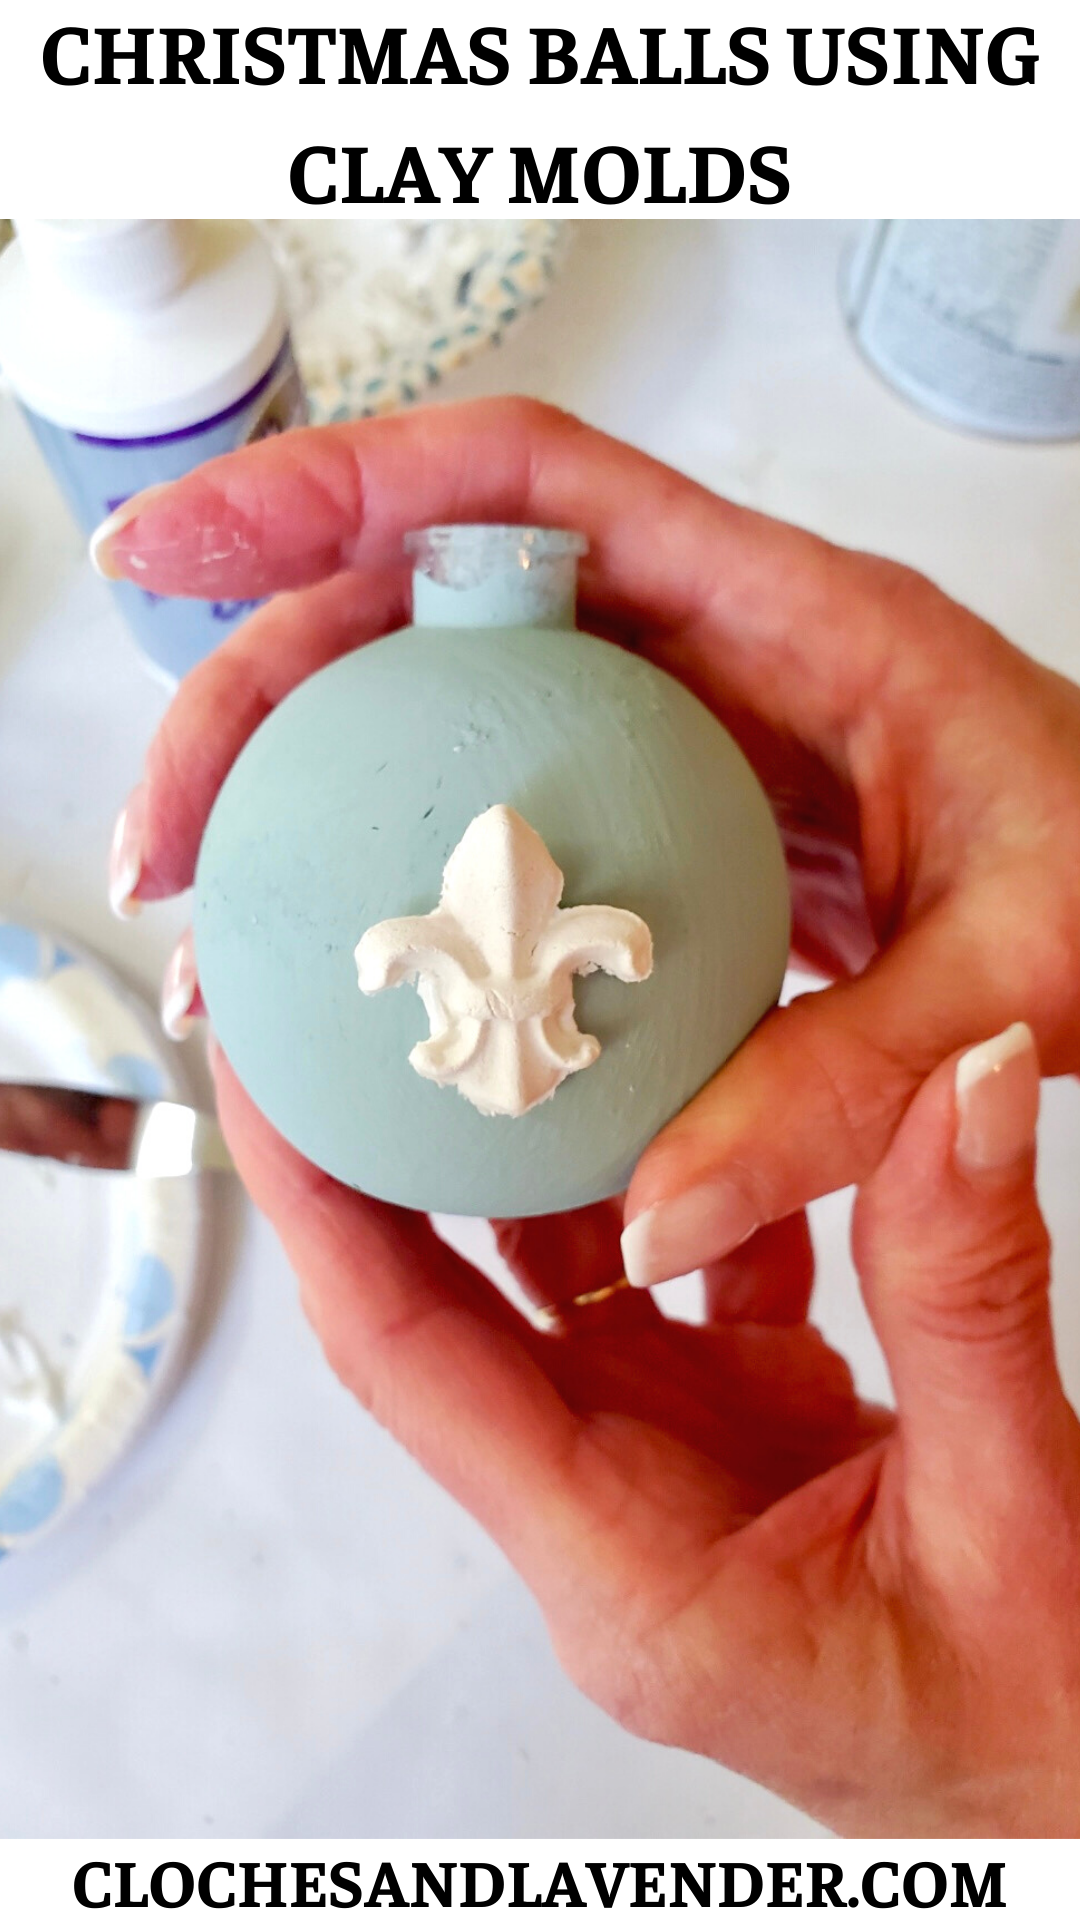
Step 3: Glue Appliques
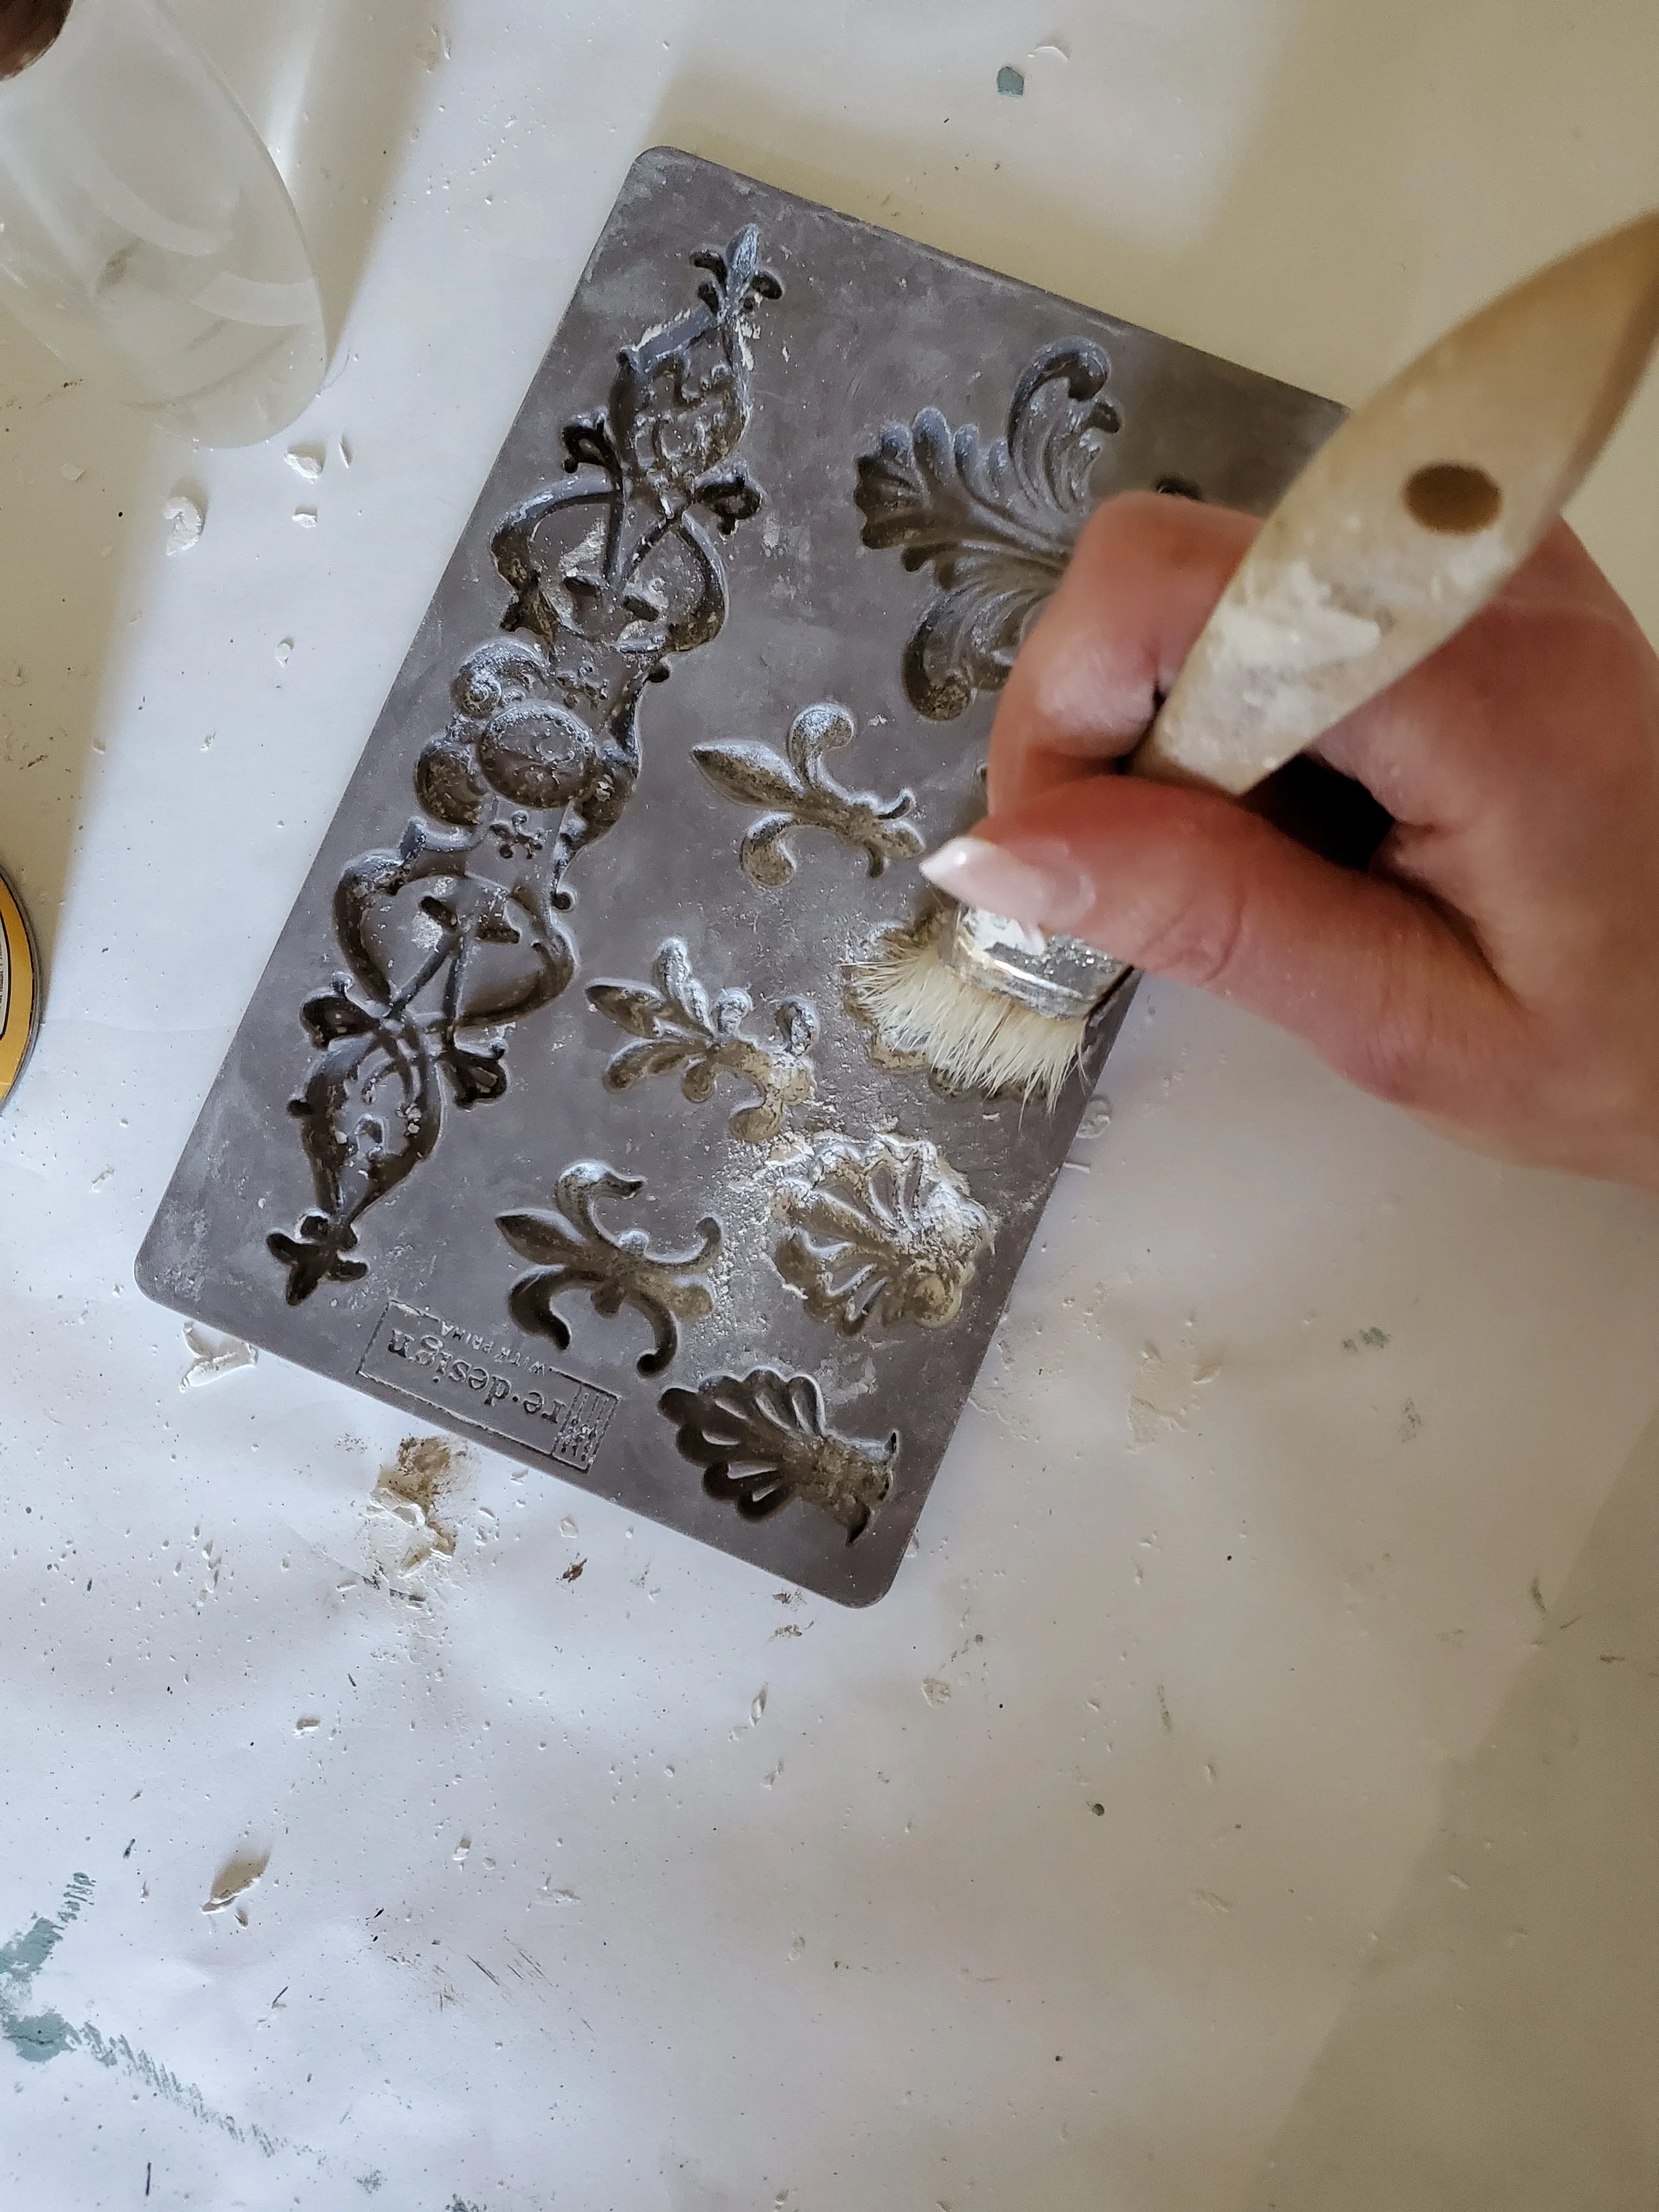
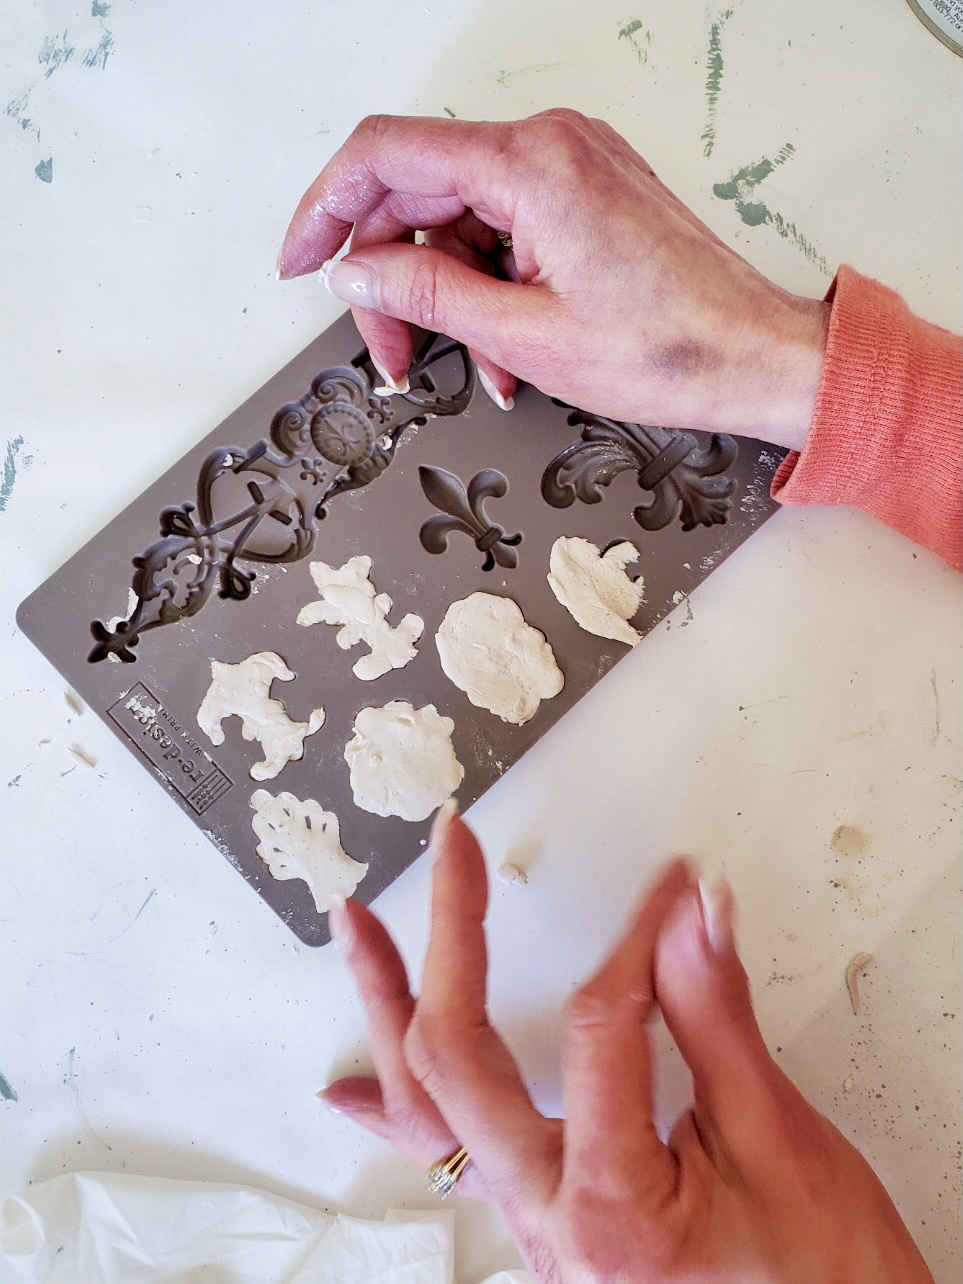
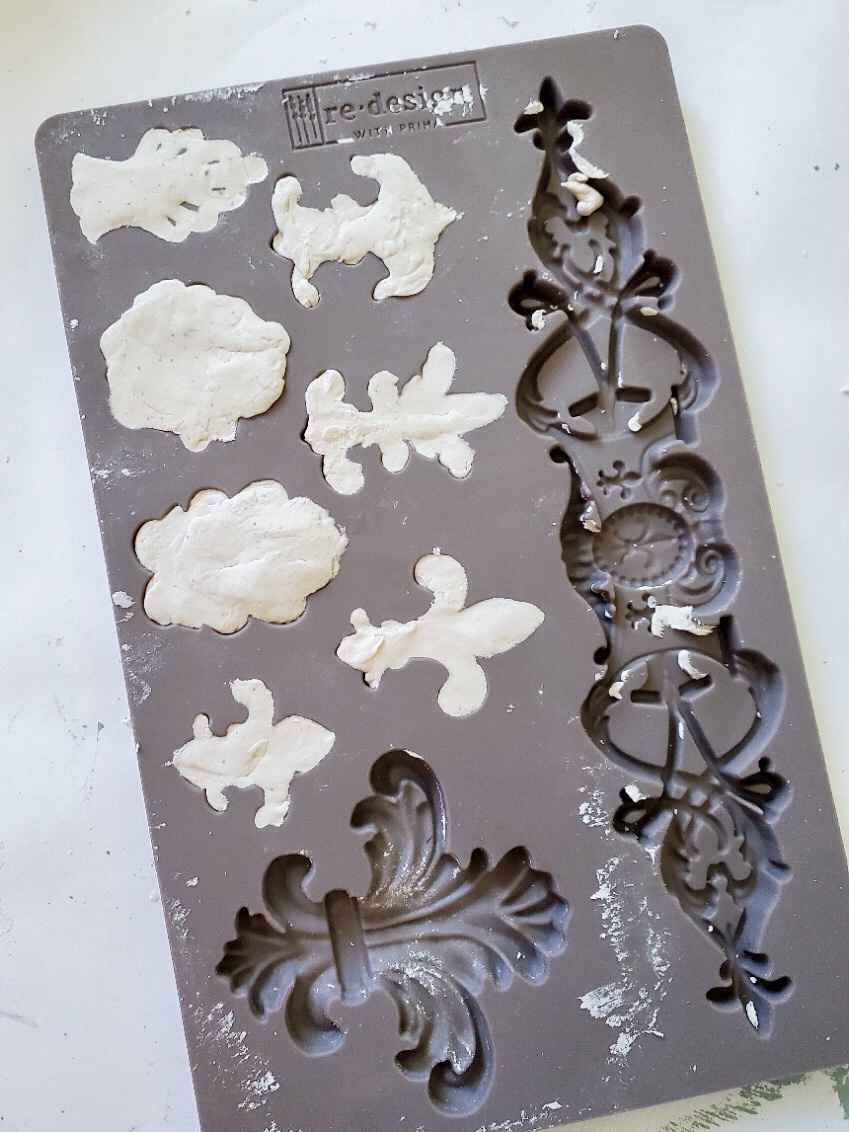
Now I begin making my IOD Molds. Have you ever heard or used IOD Molds? I’d love to read in the comments if you have. These add so much character to these otherwise plain Christmas balls.
I did learn a few tricks and tips while using these for the first time.
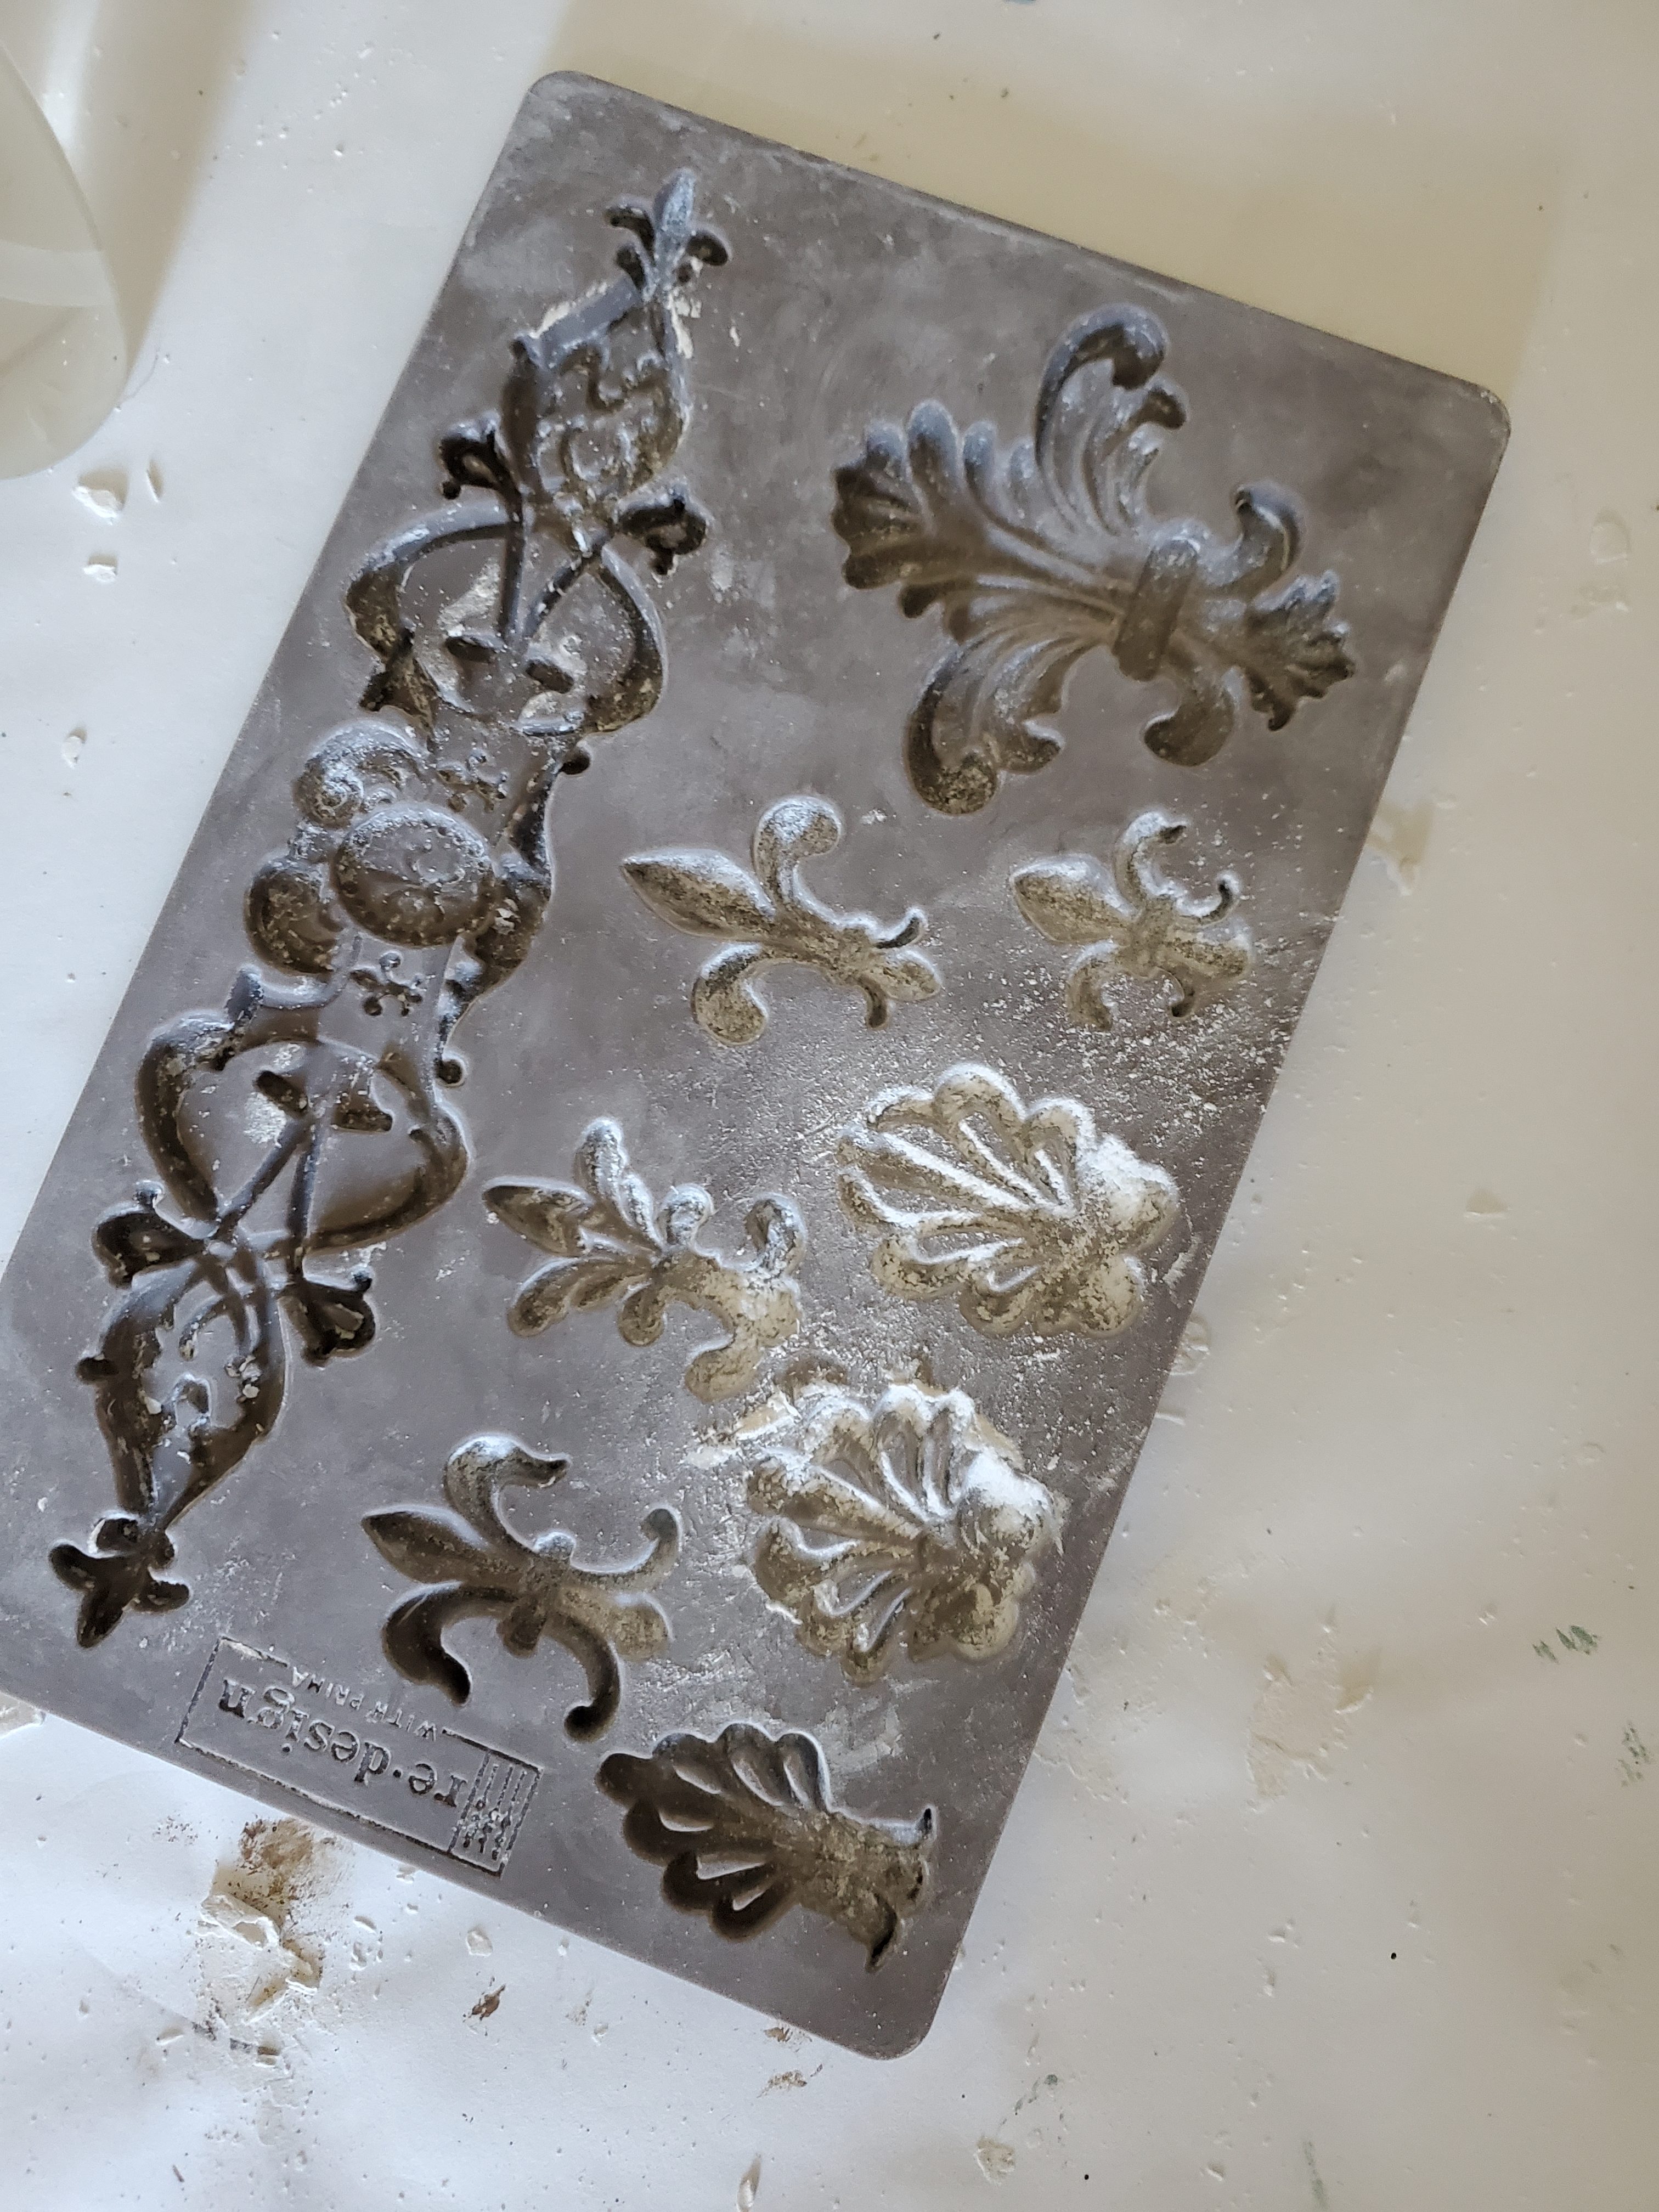
Here Are Tips and Tricks I learned Using IOD Molds
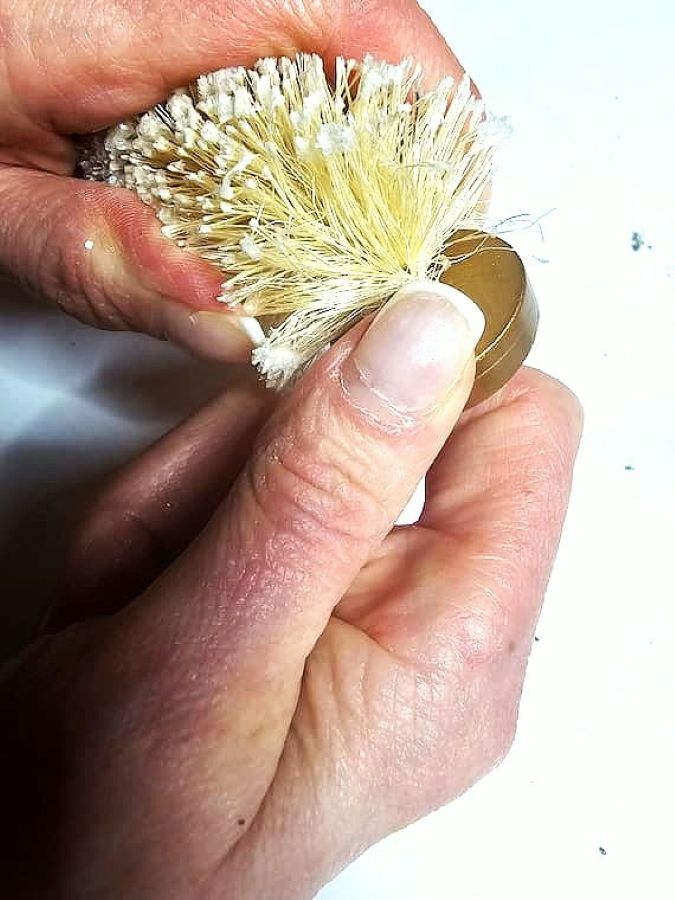
- using a small chip brush add corn starch to the inside of the molds and spill the excess out
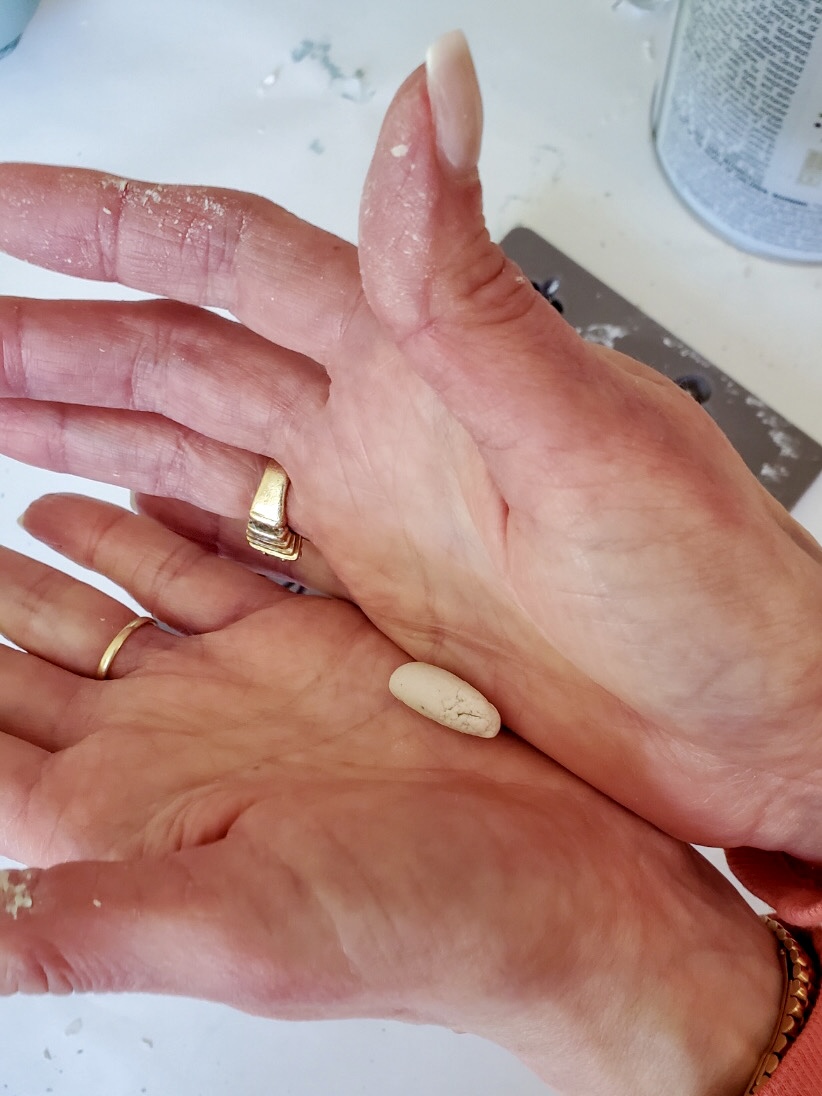
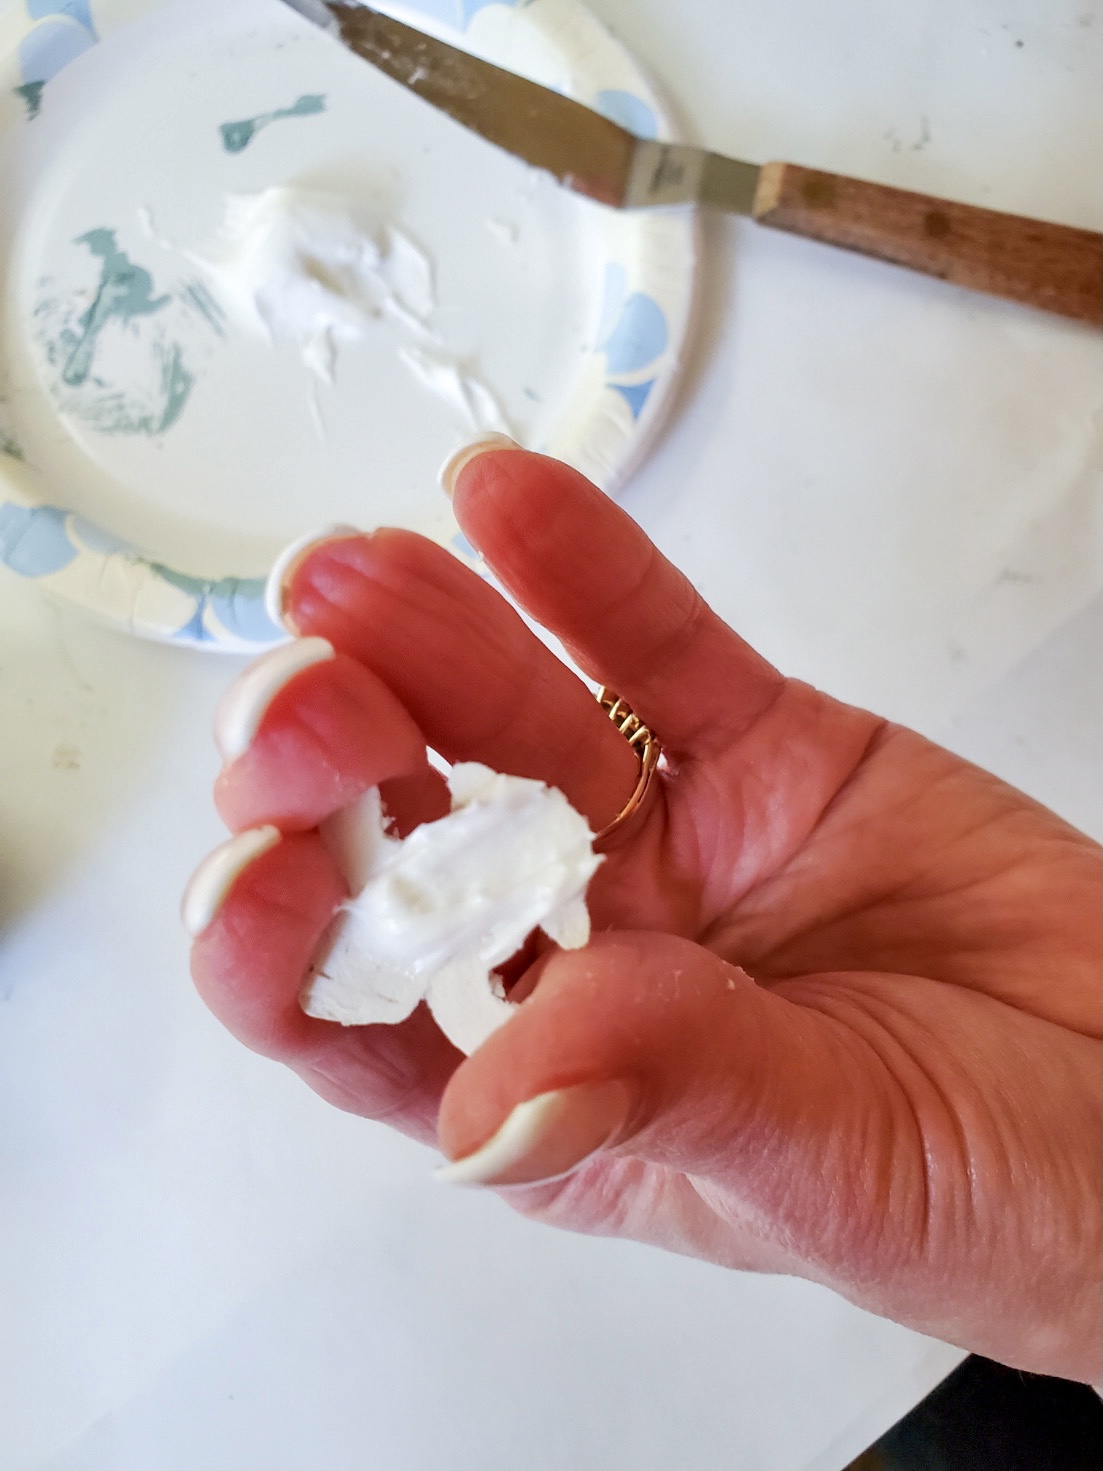
- roll the clay in a ball in your hands instead of a log as shown in the picture above
- only let the small molds dry for a couple of hours before removing
- glue gently before completely dry to the Christmas ornaments
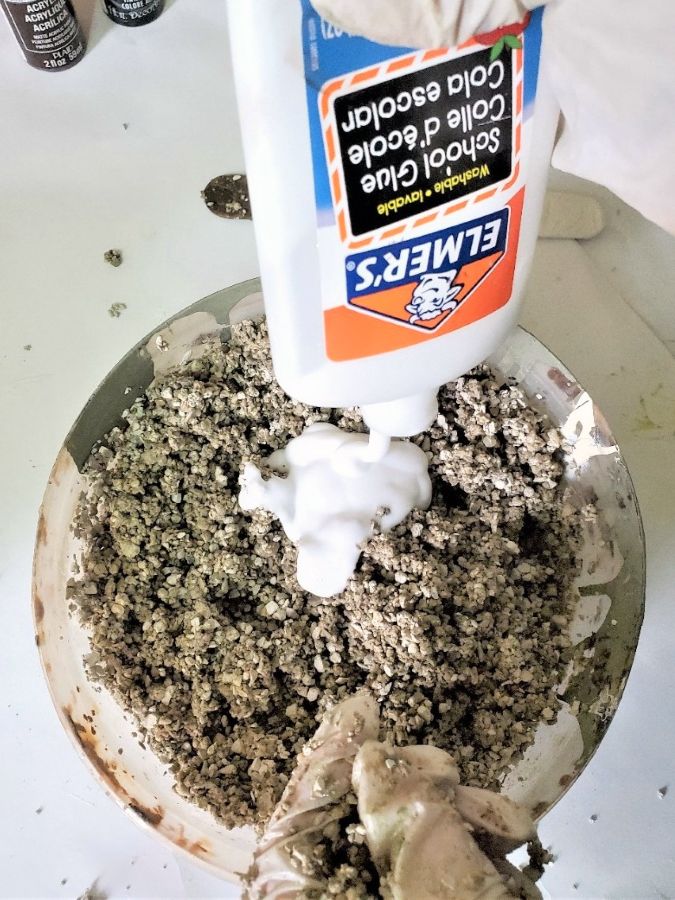
After removing the molds, I add Aleene’s glue to the back. I make sure I add it and cover the piece well. Next, I add it to the Christmas balls and let it dry for a few hours.
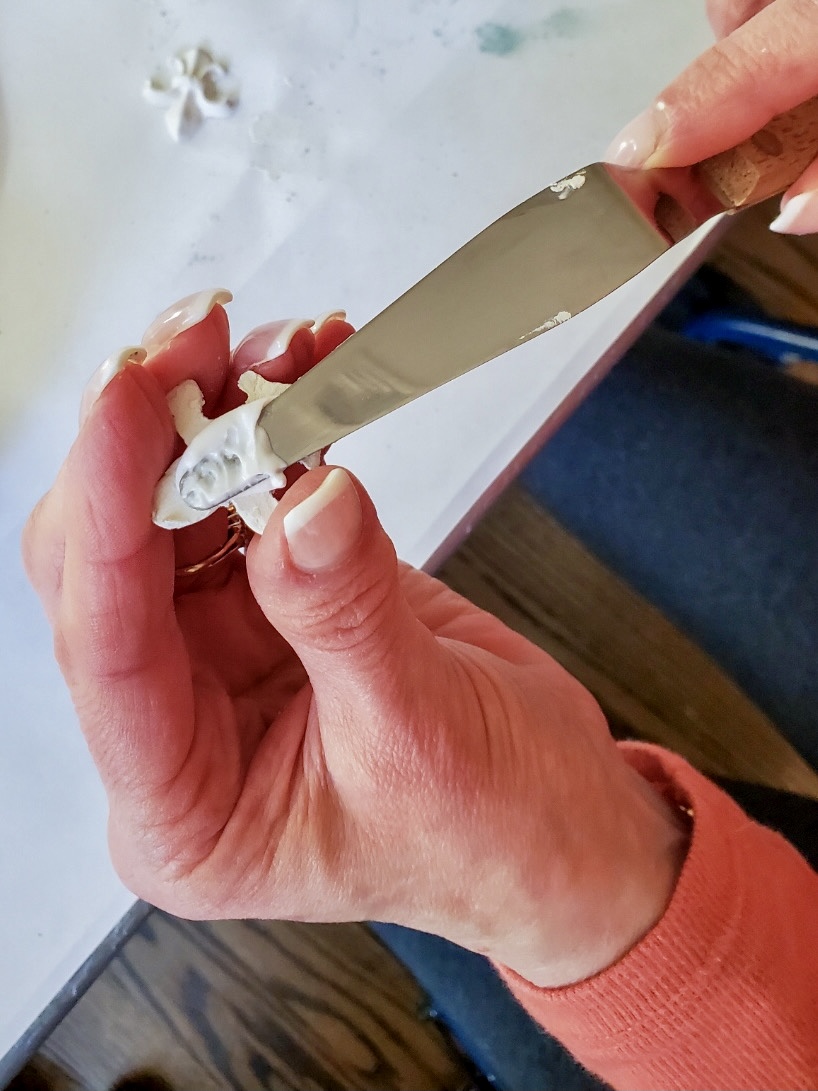
Because I wanted to make sure I got the glue in the corners I used an old icing tool.
Adding Dark Brown Wax to the Christmas Ornaments to Add Character
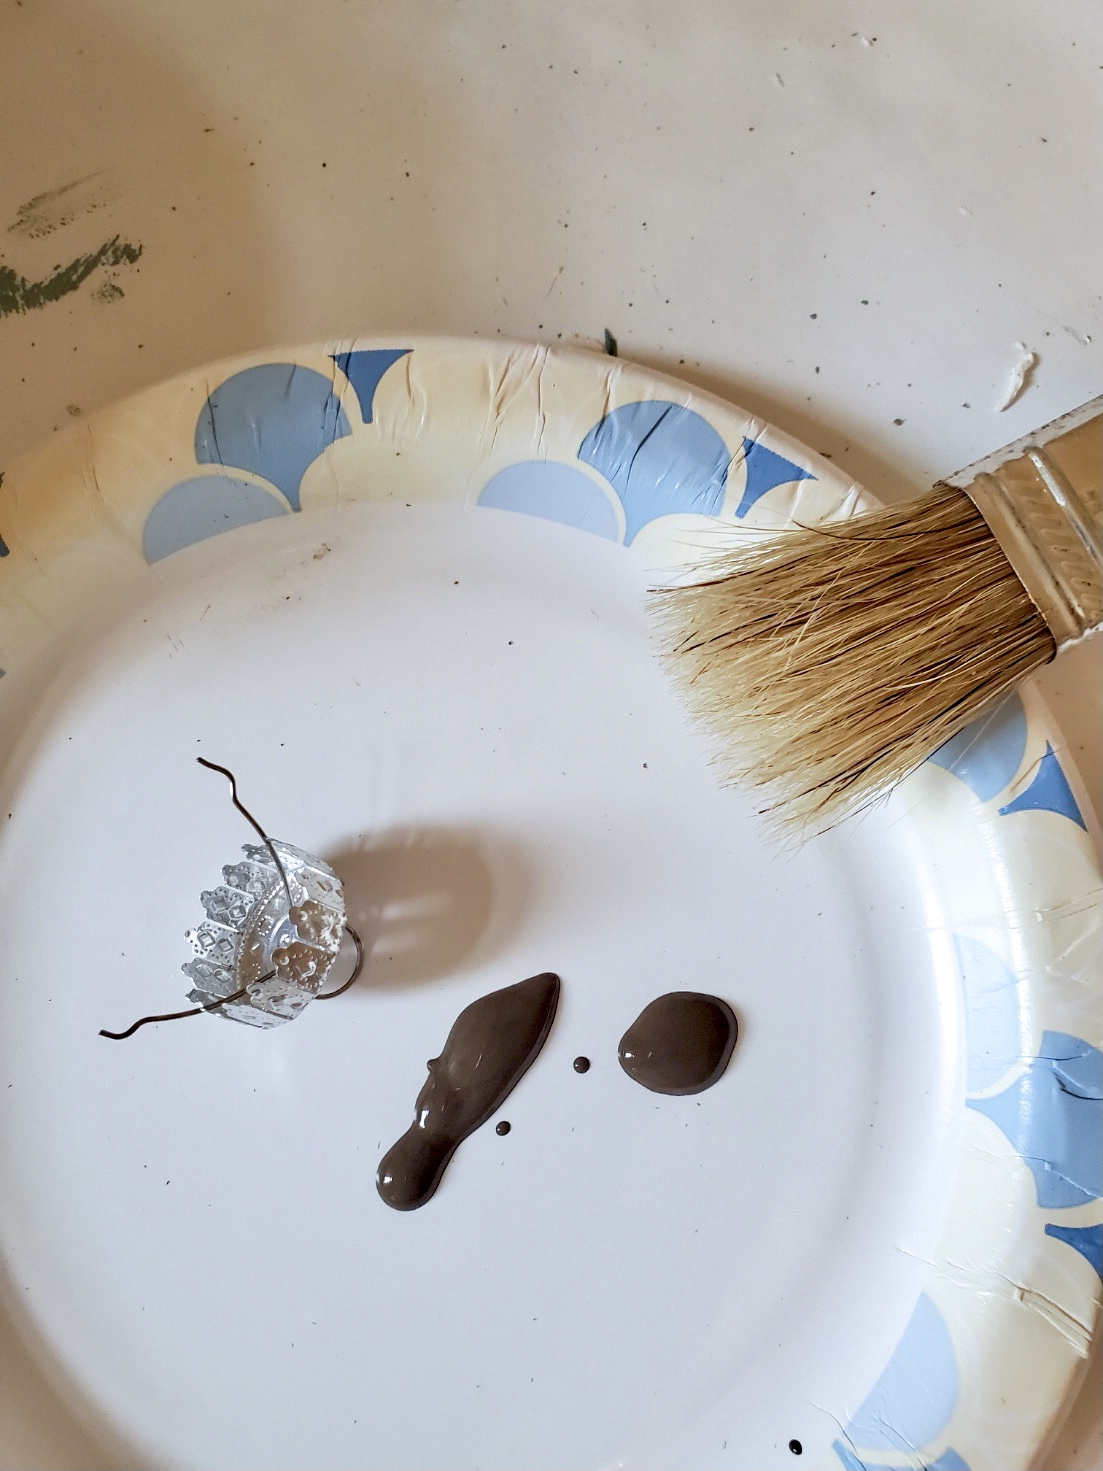
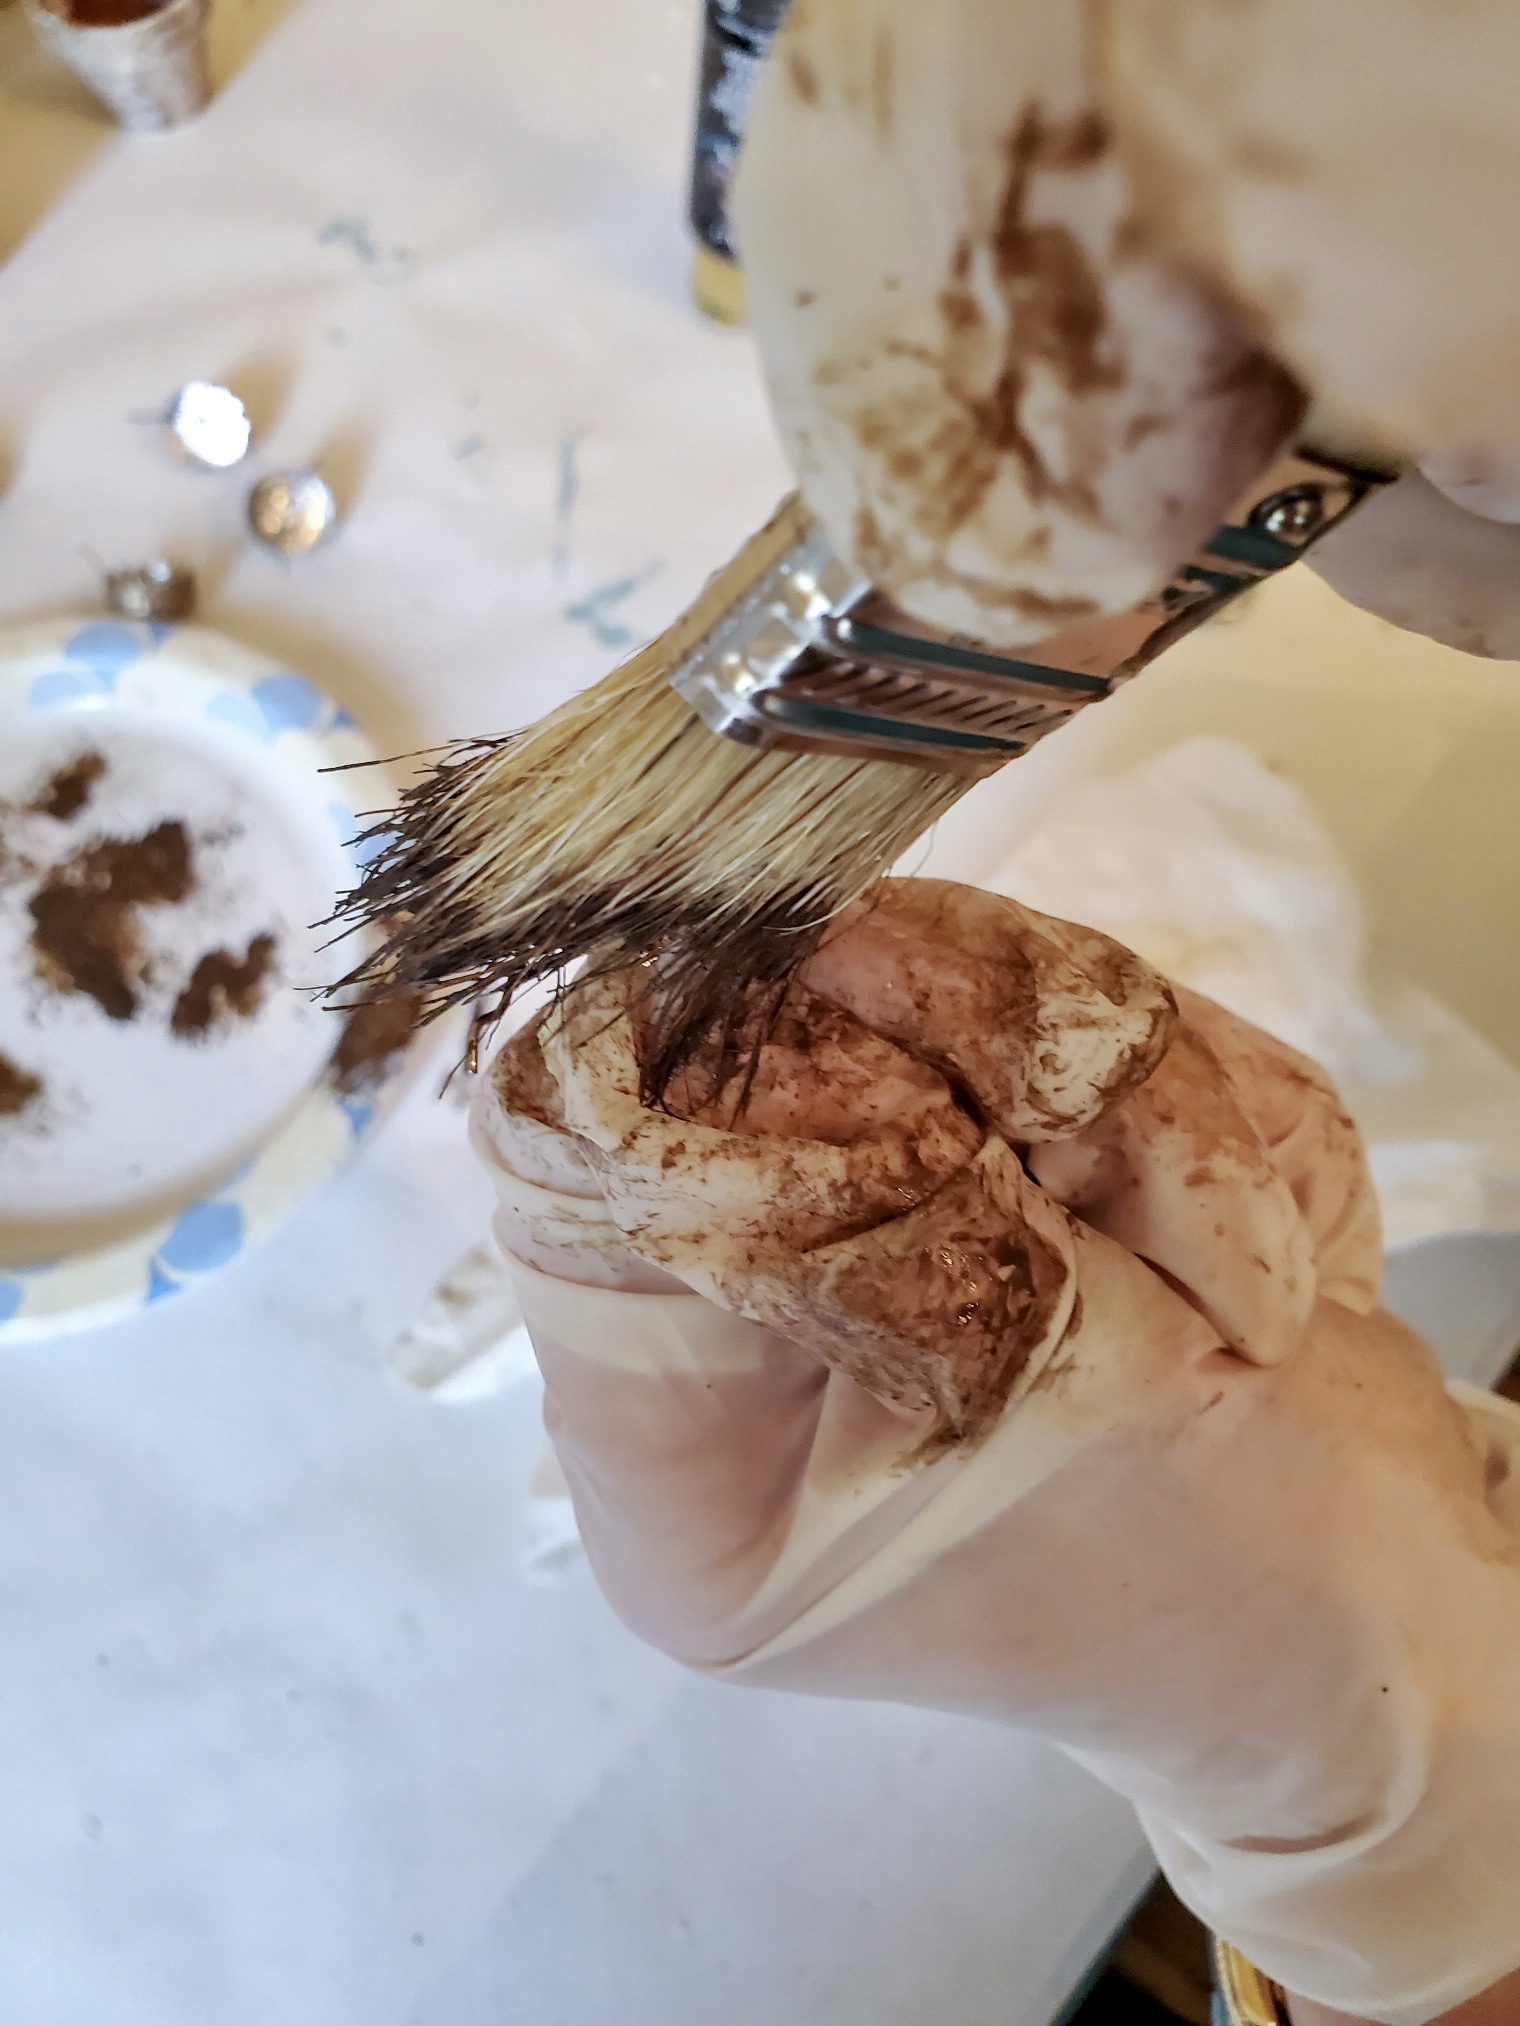
Step 4: Add Dark Wax
Here using a stencil brush, I add a bit of dark brown wax and buff in the wax. Buffing the wax is important otherwise the wax becomes sticky. If you don’t have brown wax brown craft paint mixed with a bit of water will work to add age to the ornaments.

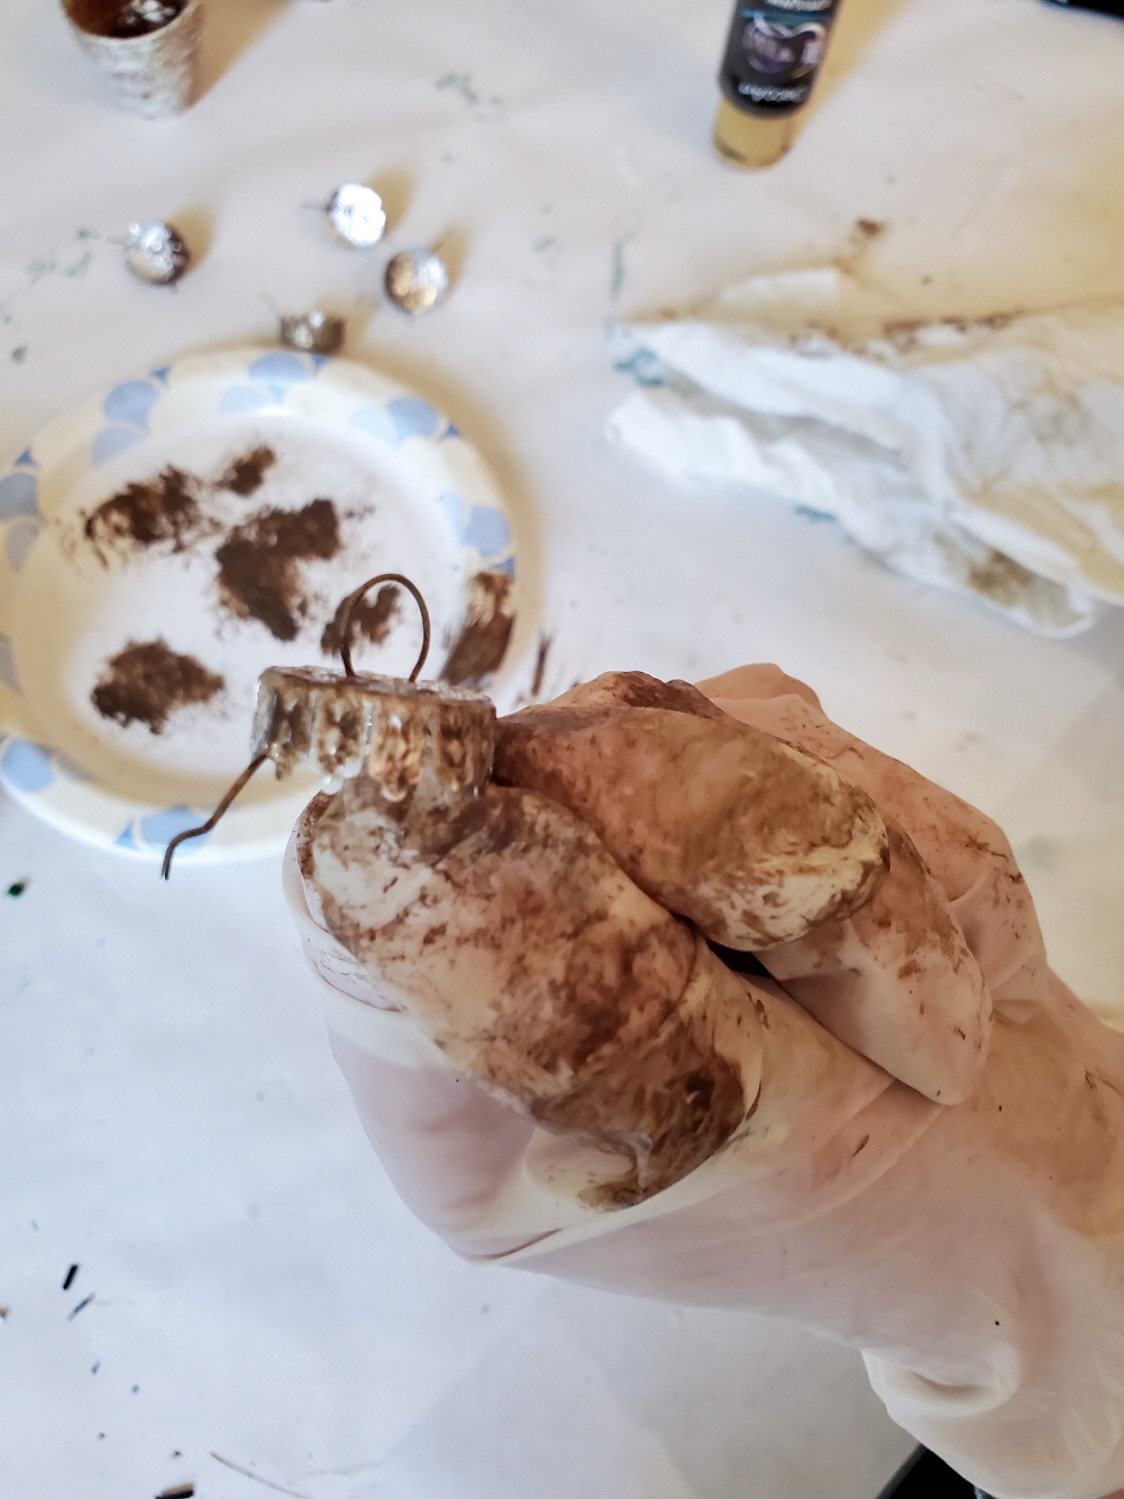
Add an Old Look to the Metal Tops
Step 5: Add Raw Umber for Age on the Tops
Lastly, I add age to the Christmas ball tops with raw umber craft paint. For this step using a small brush load it with a minimal amount of paint. Next on a paper towel offload any excess paint.
Now brush the metal ornament top with the paint. This will dry quickly.
Step 6 – optional
Because these are Christmas balls, I didn’t a topcoat to protect from dusting. I dust with a dry microfiber cloth. However, if you dust with water or a cleaner, I highly recommend adding two coats of polyurethane for protection. Because if anything wet hits the wax it will come of the Christmas balls you worked hard to make.
Incidentally, after the holiday season I look forward to making more IOD molds. I plan on adding them to a mirror and who knows what else. They are fun and easy to make now that I have gotten the hang of the process.
So, I would love for you to follow Cloches & Lavender so you never miss a craft, recipe or decorating inspiration.
By the way, if you are interested in any of the products, I used to make these ornaments, simply click on a picture below. It will take you directly to the product. I also keep budget in mind and shop for the best prices for my followers.
I hope you enjoyed this post for how to make easy Christmas balls. I’d love to read your thought in the comments. Interacting with my followers is important to me. Also, have you or will you ever work with IOD Molds? Shoot me a note and let me know!

These are really beautiful. You are so creative. Wishing you and John and Peanut and Reeses a beautiful Thanksgiving. xoxo Kris
Thanks Kris! Happy Thanksgiving to you, Terry and Buddy! Have a fantastic day with the family!!
These French blue Christmas ornaments are just gorgeous! I’m always amazed at your beautiful projects and creativity!
You’re so creative, Cindy. These are lovely. I wish you and yours a Happy Thanksgiving!
Cindy, your Christmas ornaments are really nice!!! I love the white look when you were beginning ~ it had a Wedgwood look to it! Thanks for the fun idea! I do have some molds but have yet to use them.
Beautiful, Cindy, as always!
Thank you
I have a bunch of those plastic ornaments and had no idea what to do with them. Now you have given them a purpose. Great idea Cindy!
Have fun and thank you