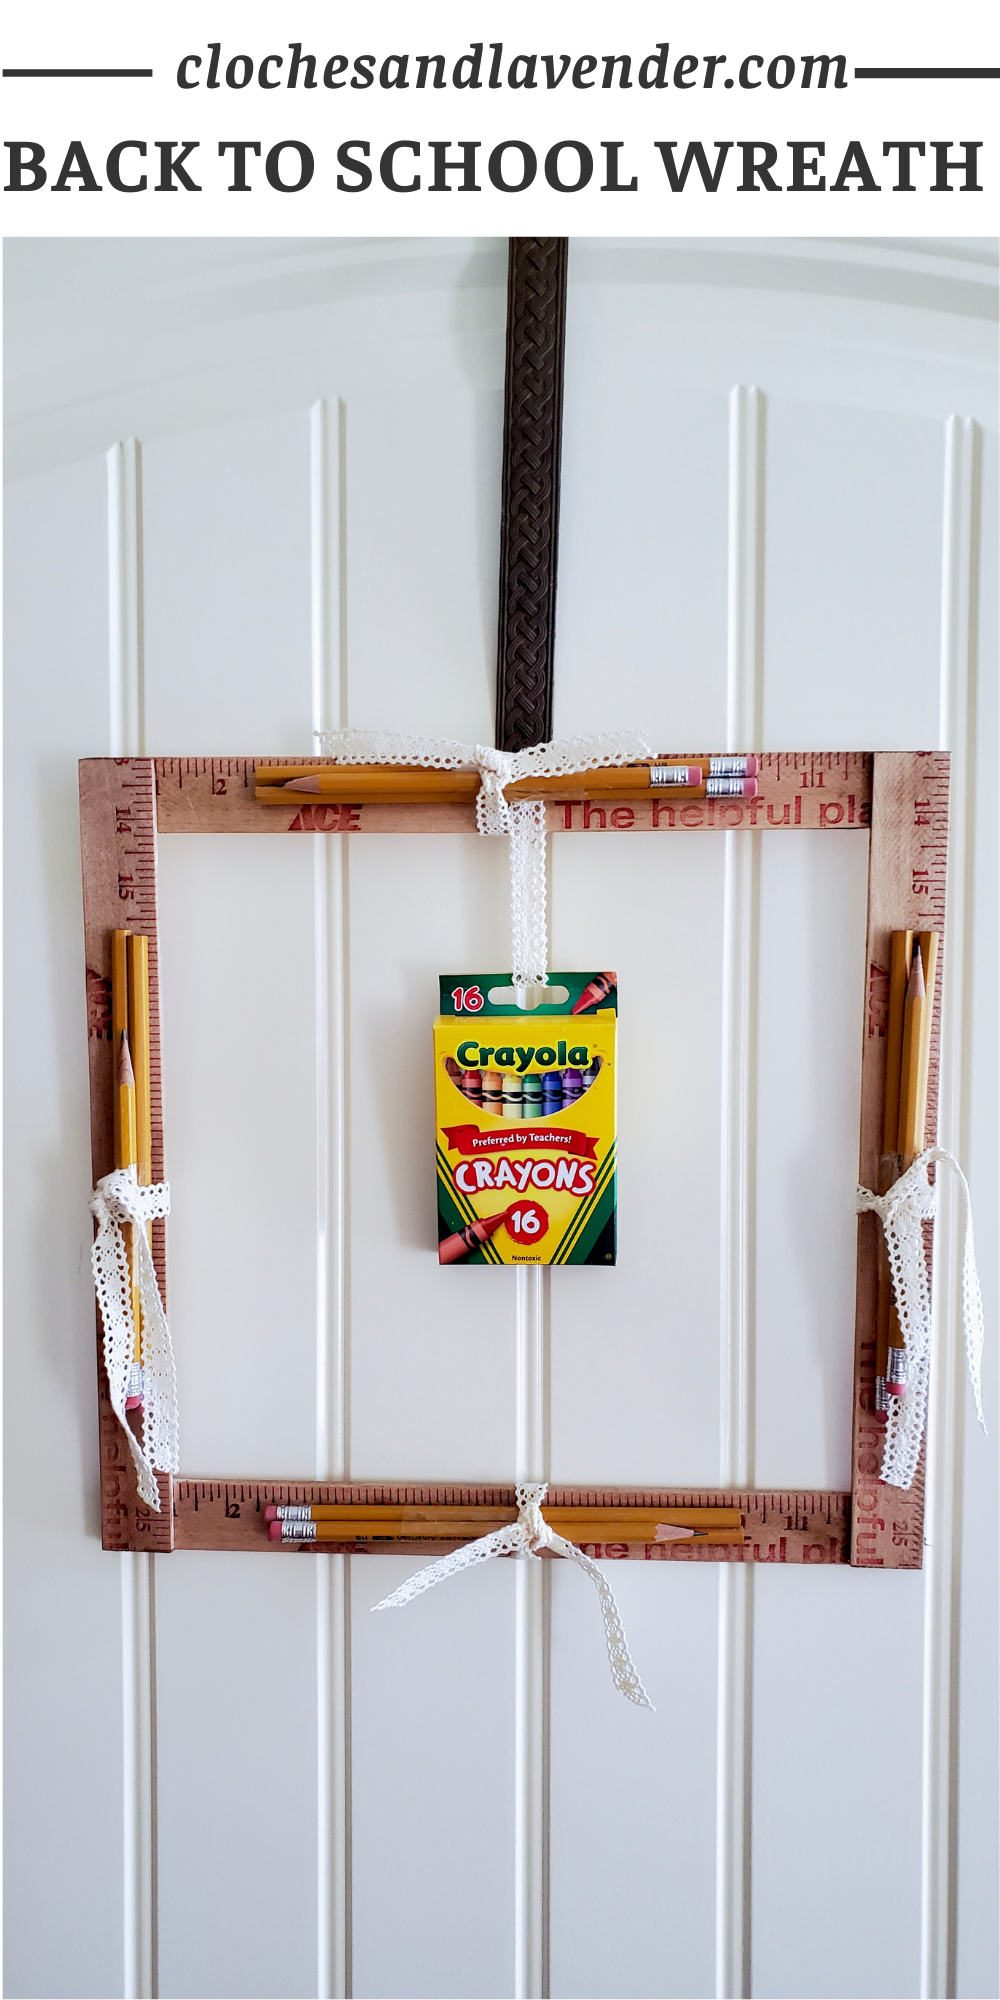
Make A Back To School Wreath
Let’s take a look at how to make a back to school wreath.
Because of the theme I made a wreath to symbolize items that remind us of back to school days.
Rulers, pencils and crayons especially remind me of school days gone by.
As you read this post, the pencils illustrated here changed with my wreath design a bit.
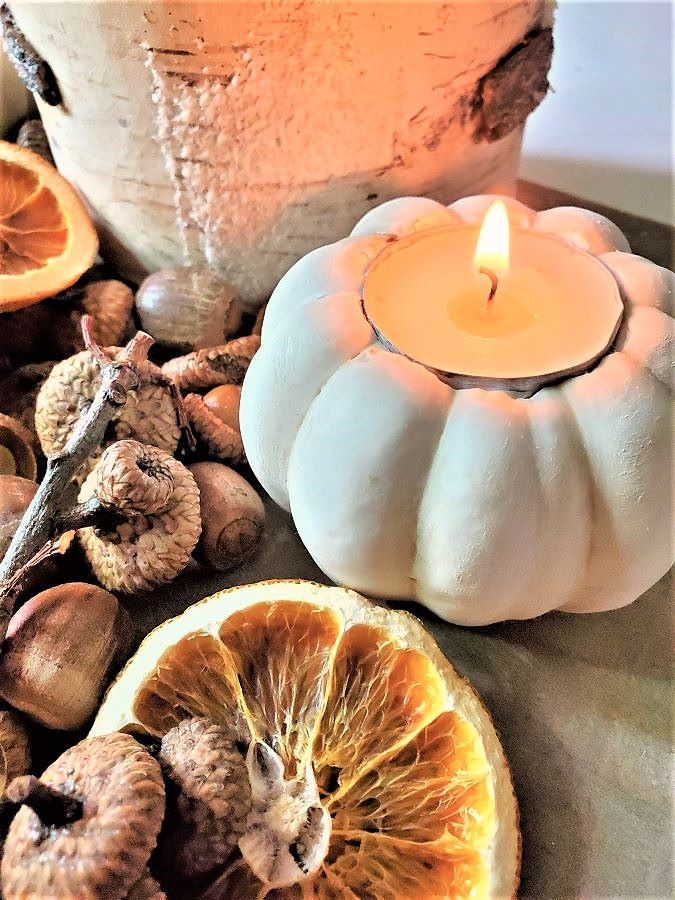
I enjoy making wreaths for all the seasons, here’s one I recently shared for the upcoming fall season. This is also a pretty craft for Christmas too.
These pieces remind me of school so much. This project is especially budget friendly.
By the way, this back to school wreath can be made in 10 minutes.
Table of Contents
- 1 Sanding the Rulers to Make them Look Old for the School Idea
- 2 Cut the Wood Pieces to Size to Make a Square Form for the Returning to School Wreath Design
- 3 Heating the Glue Gun and Gluing the Pieces Together to Make them Form
- 4 Adding Dark Wax for an Old Look
- 5 Adding Extra Dark Wax in Spots
- 6 Add Pencils to the Square
- 7 Stacking Pencils in Threes for this Project Idea
- 8 Gluing the Pencils and Adding Them to This Piece
- 9 Hanging the Colorful Crayons to the Center
- 10 Adding Ribbon To Hang on a Door
- 11 Pin It To Remeber It For Inspiration!
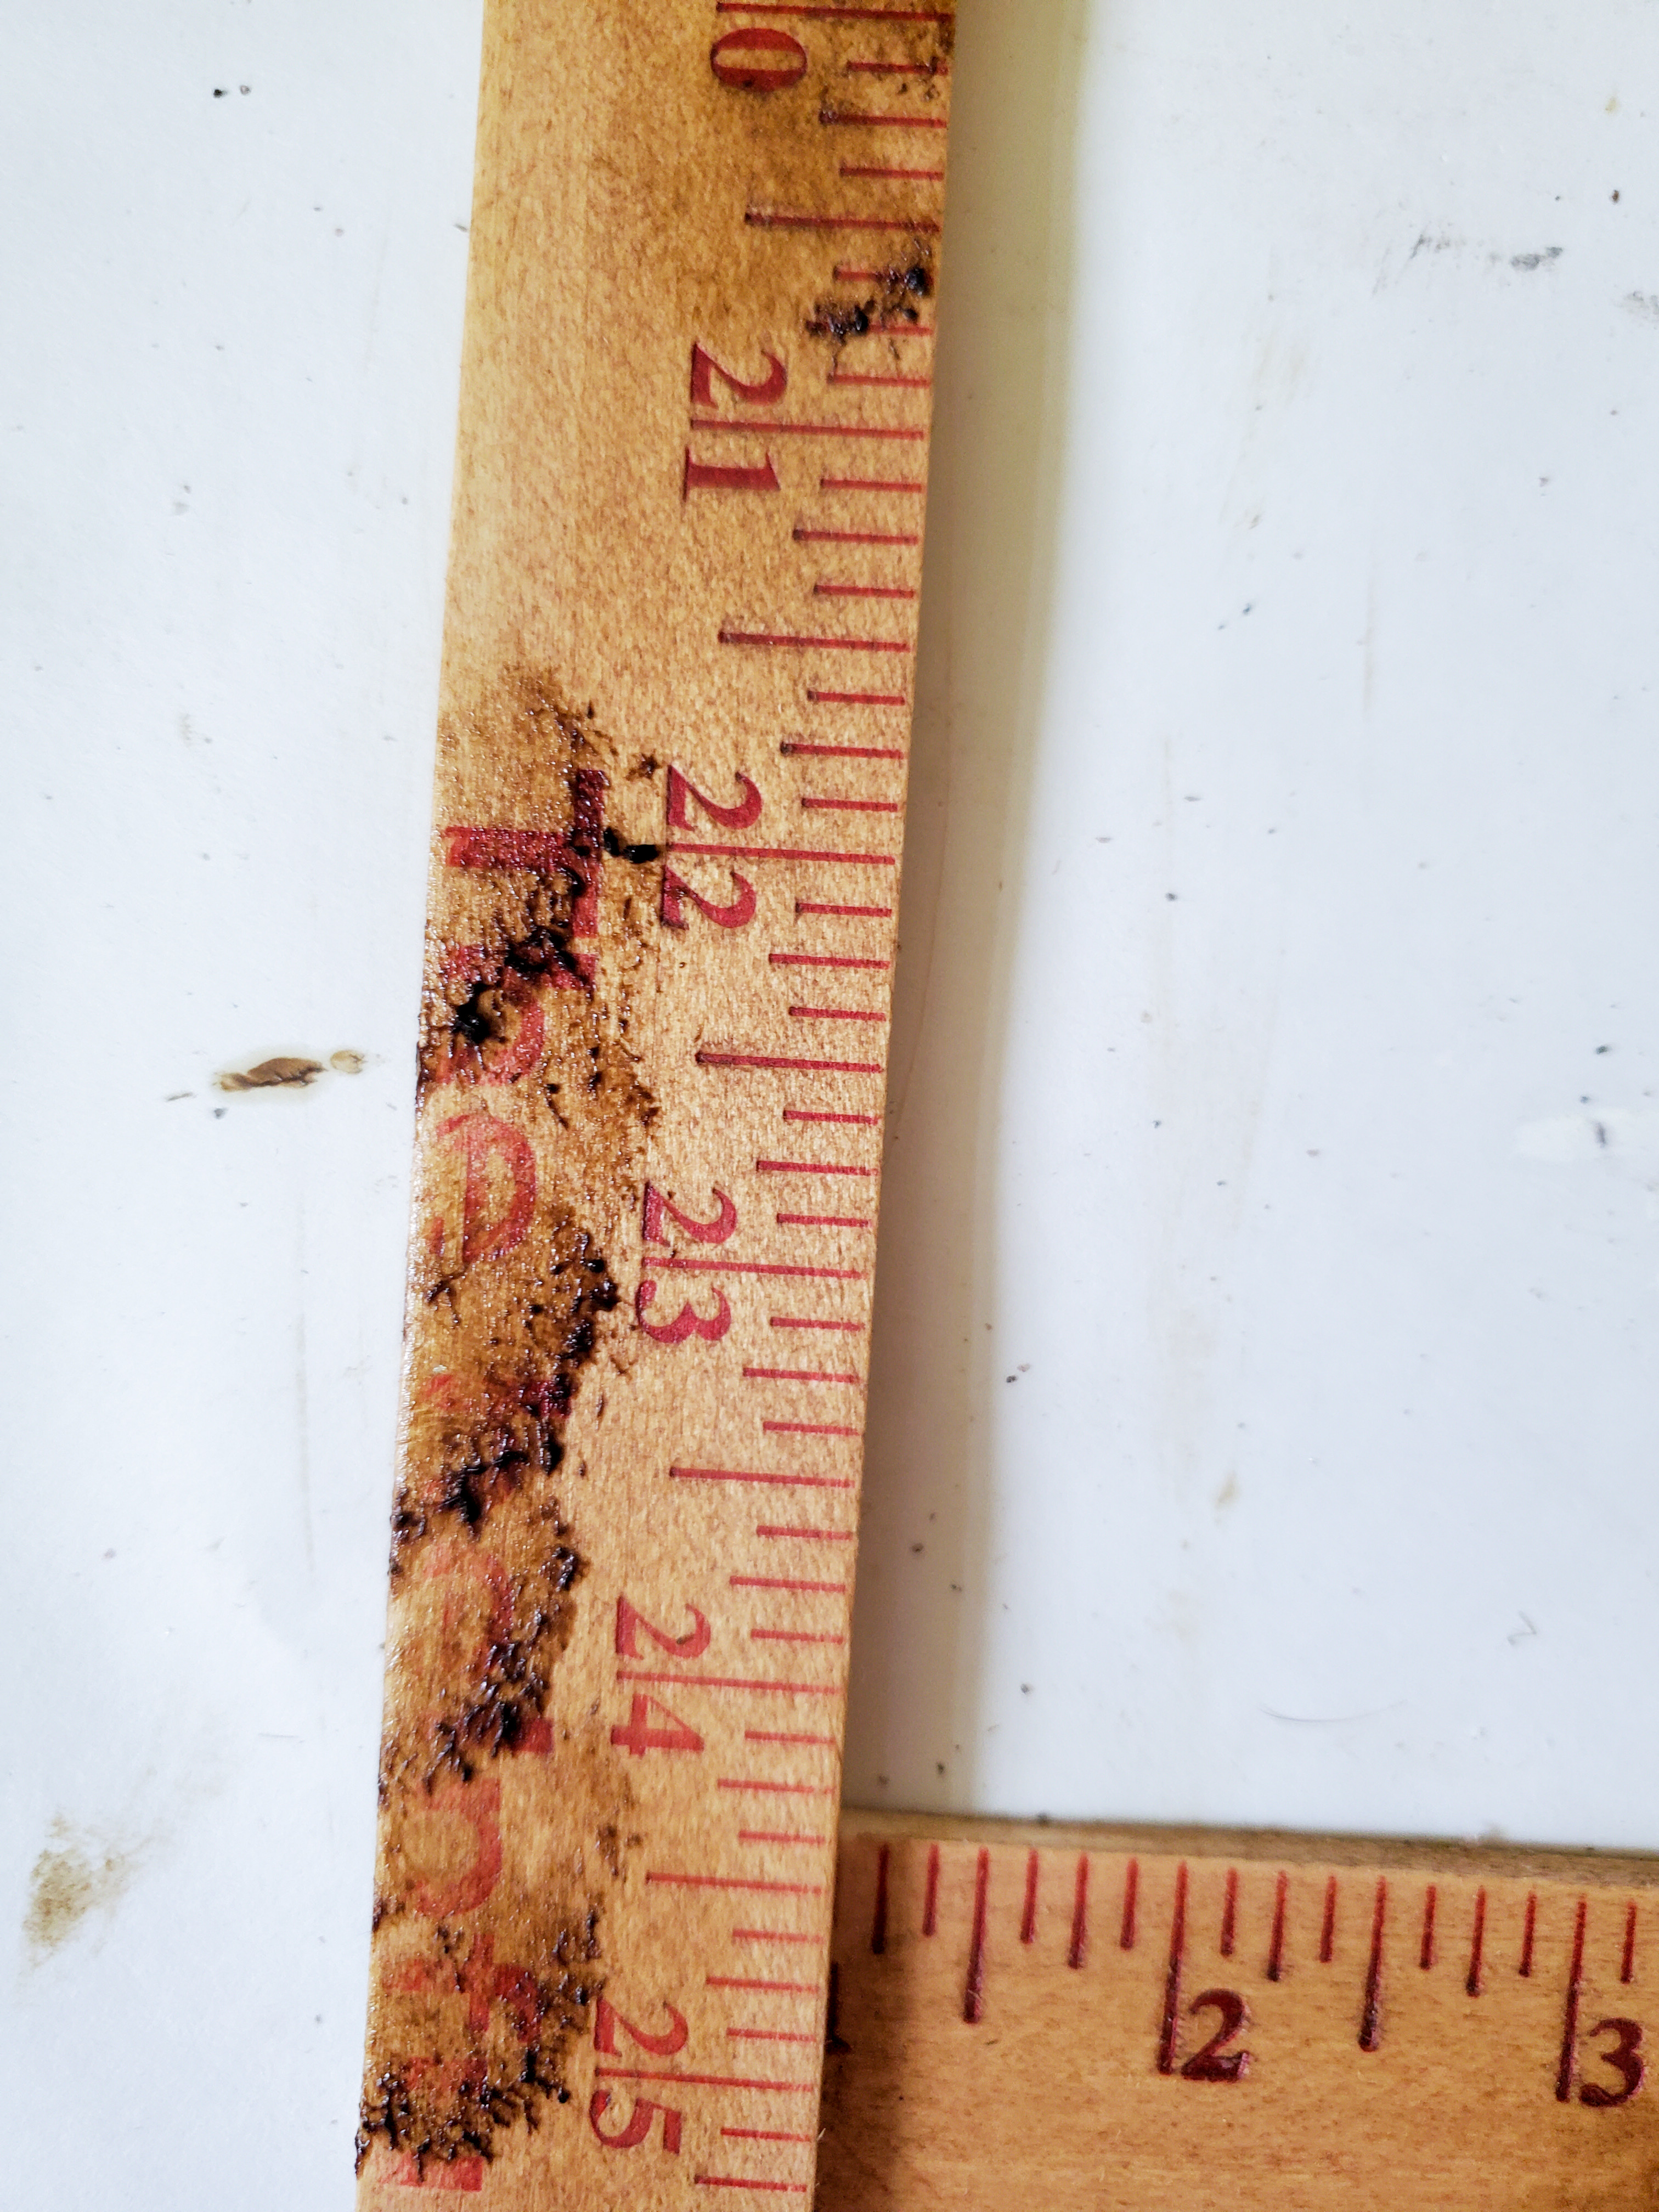
Sanding the Rulers to Make them Look Old for the School Idea
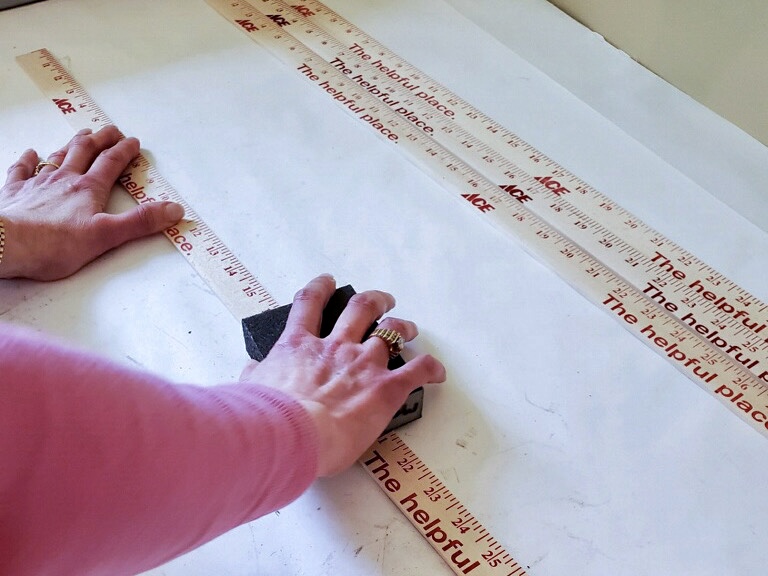
Step 1: Sanding to Add Age
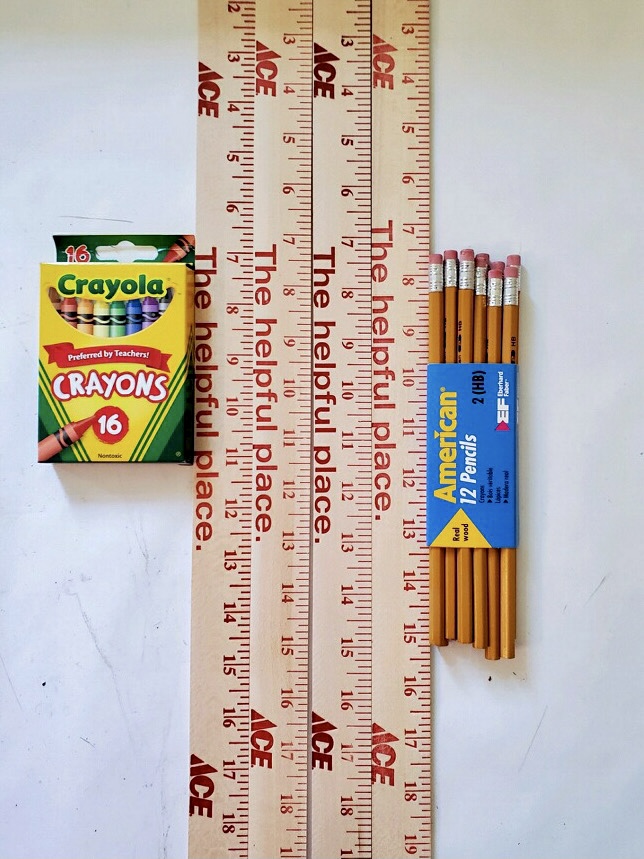
To begin, purchase two wooden yard sticks are from the local home improvement store for $1.49.
Before beginning the wreath, using a coarse sanding sponge I sand the yard sticks. Sanding the yard sticks is a great way to add character to this easy wreath.
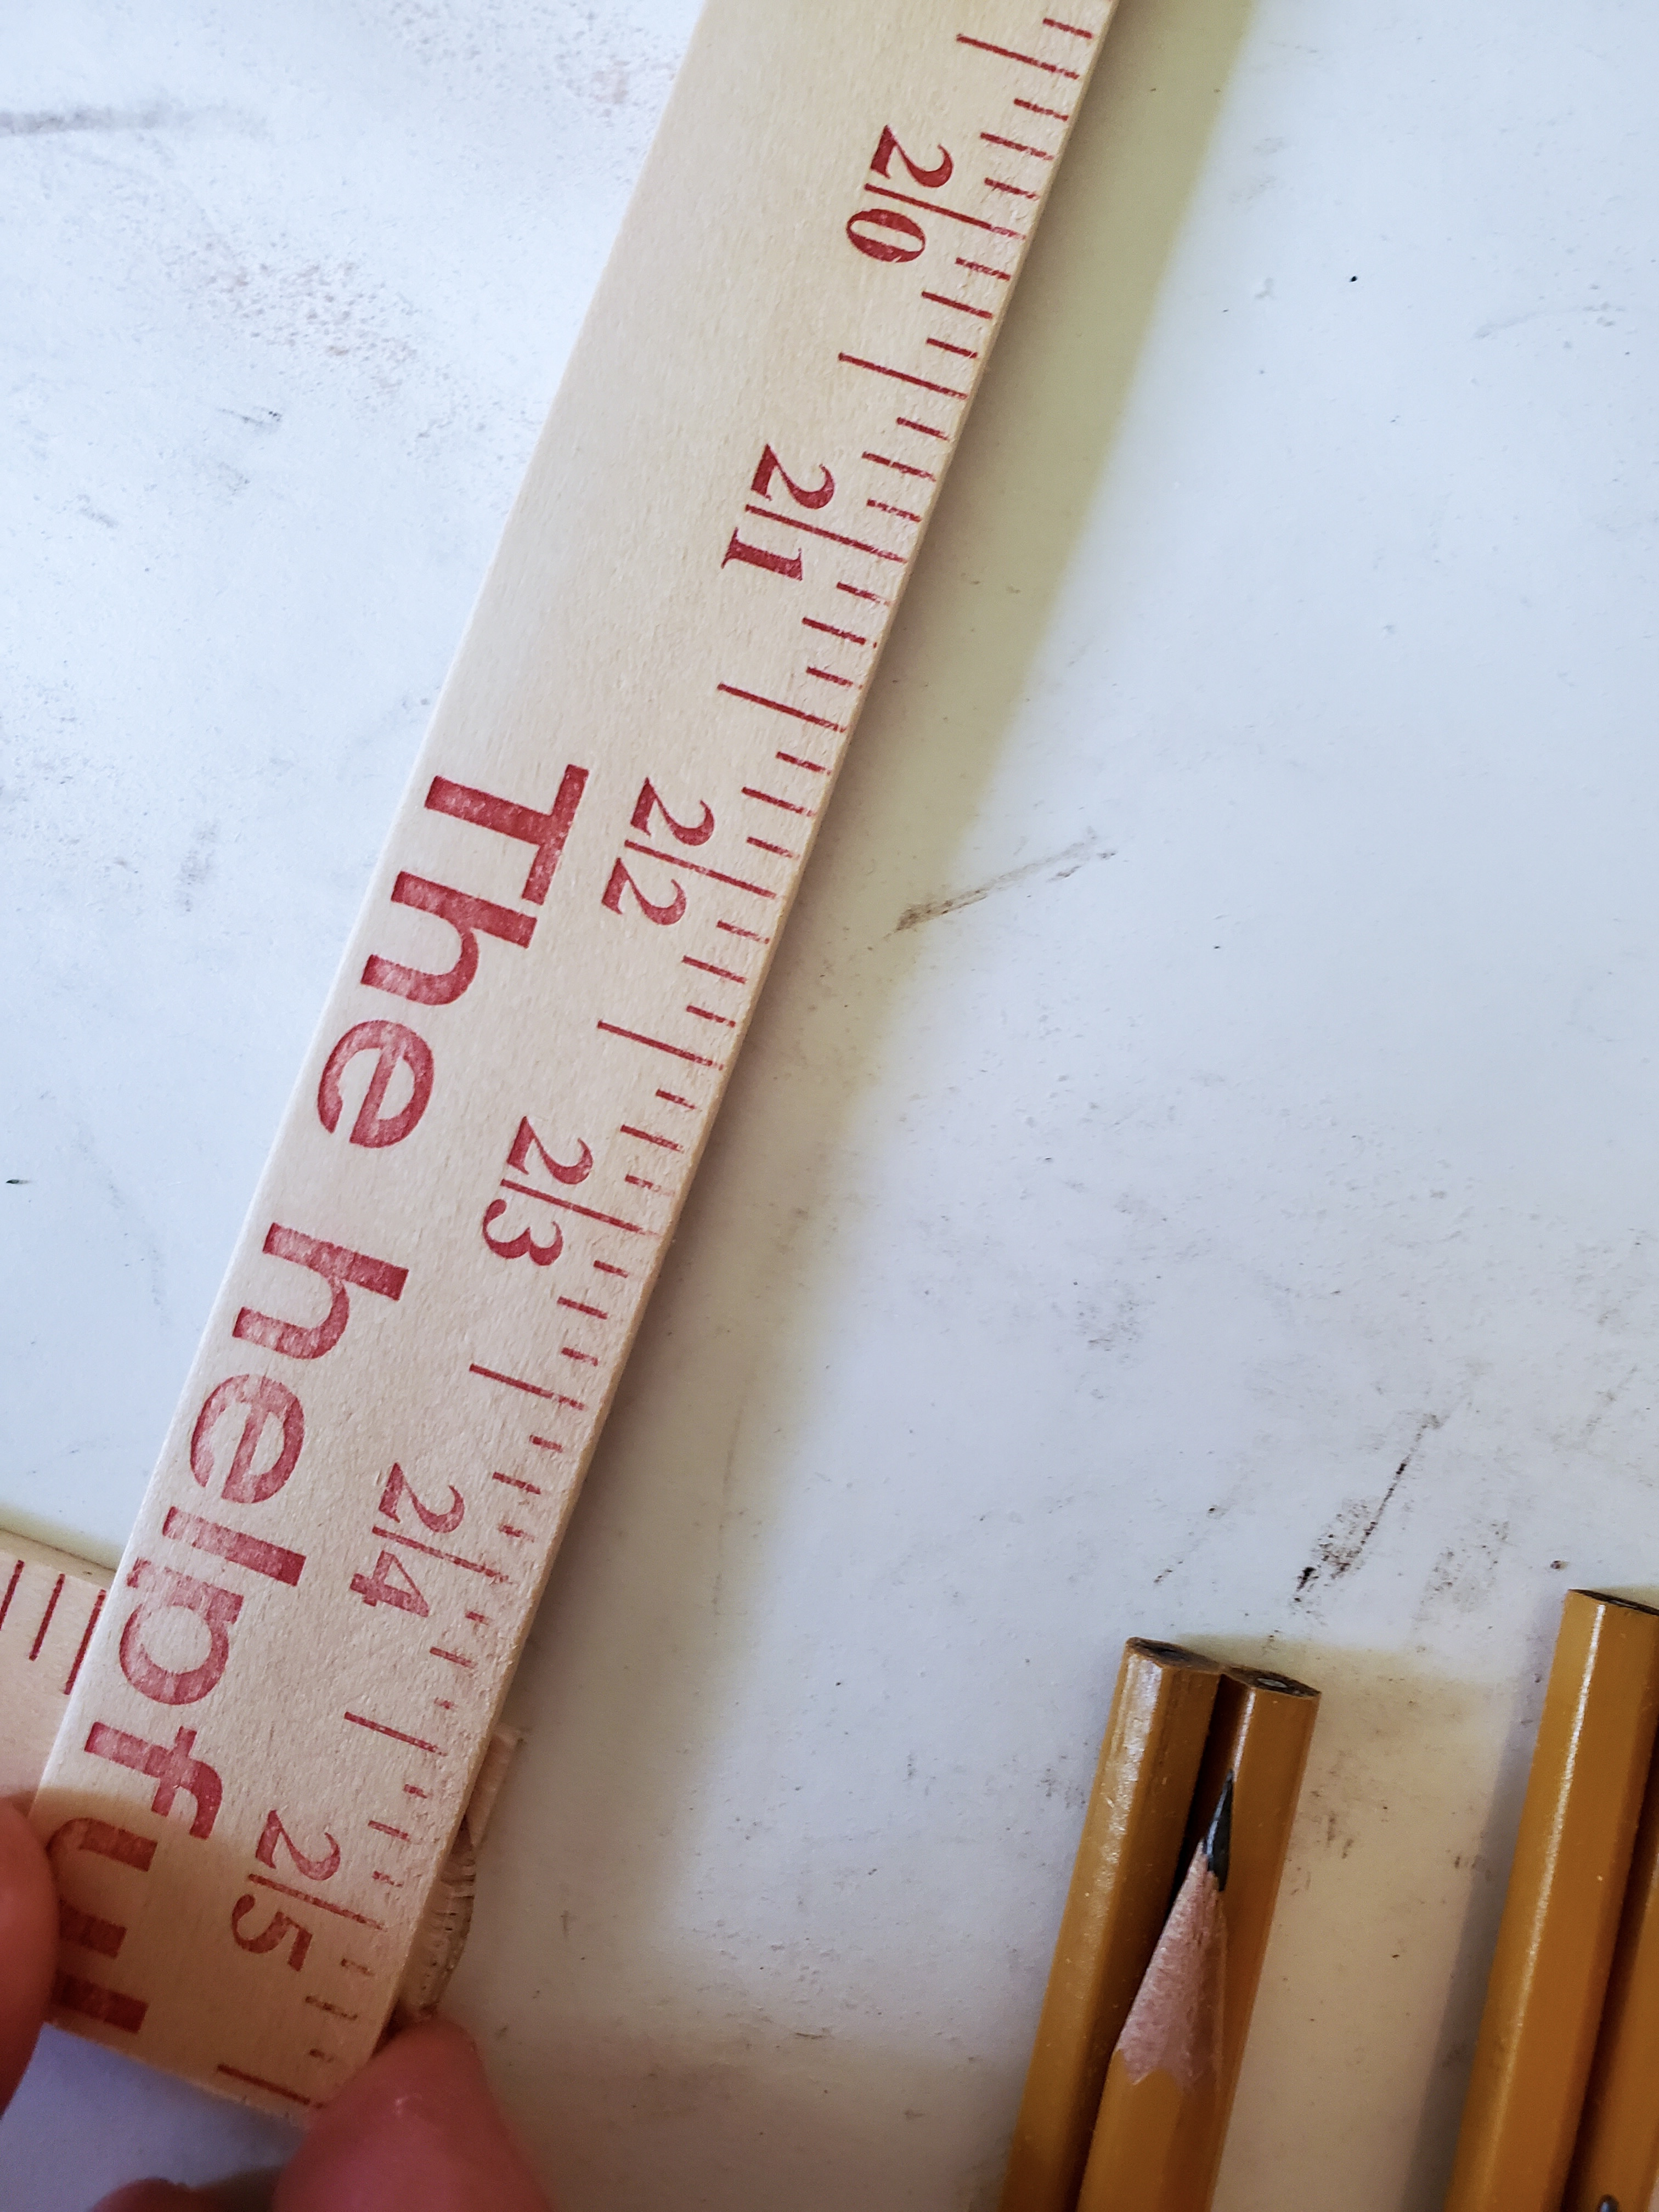
Cut the Wood Pieces to Size to Make a Square Form for the Returning to School Wreath Design
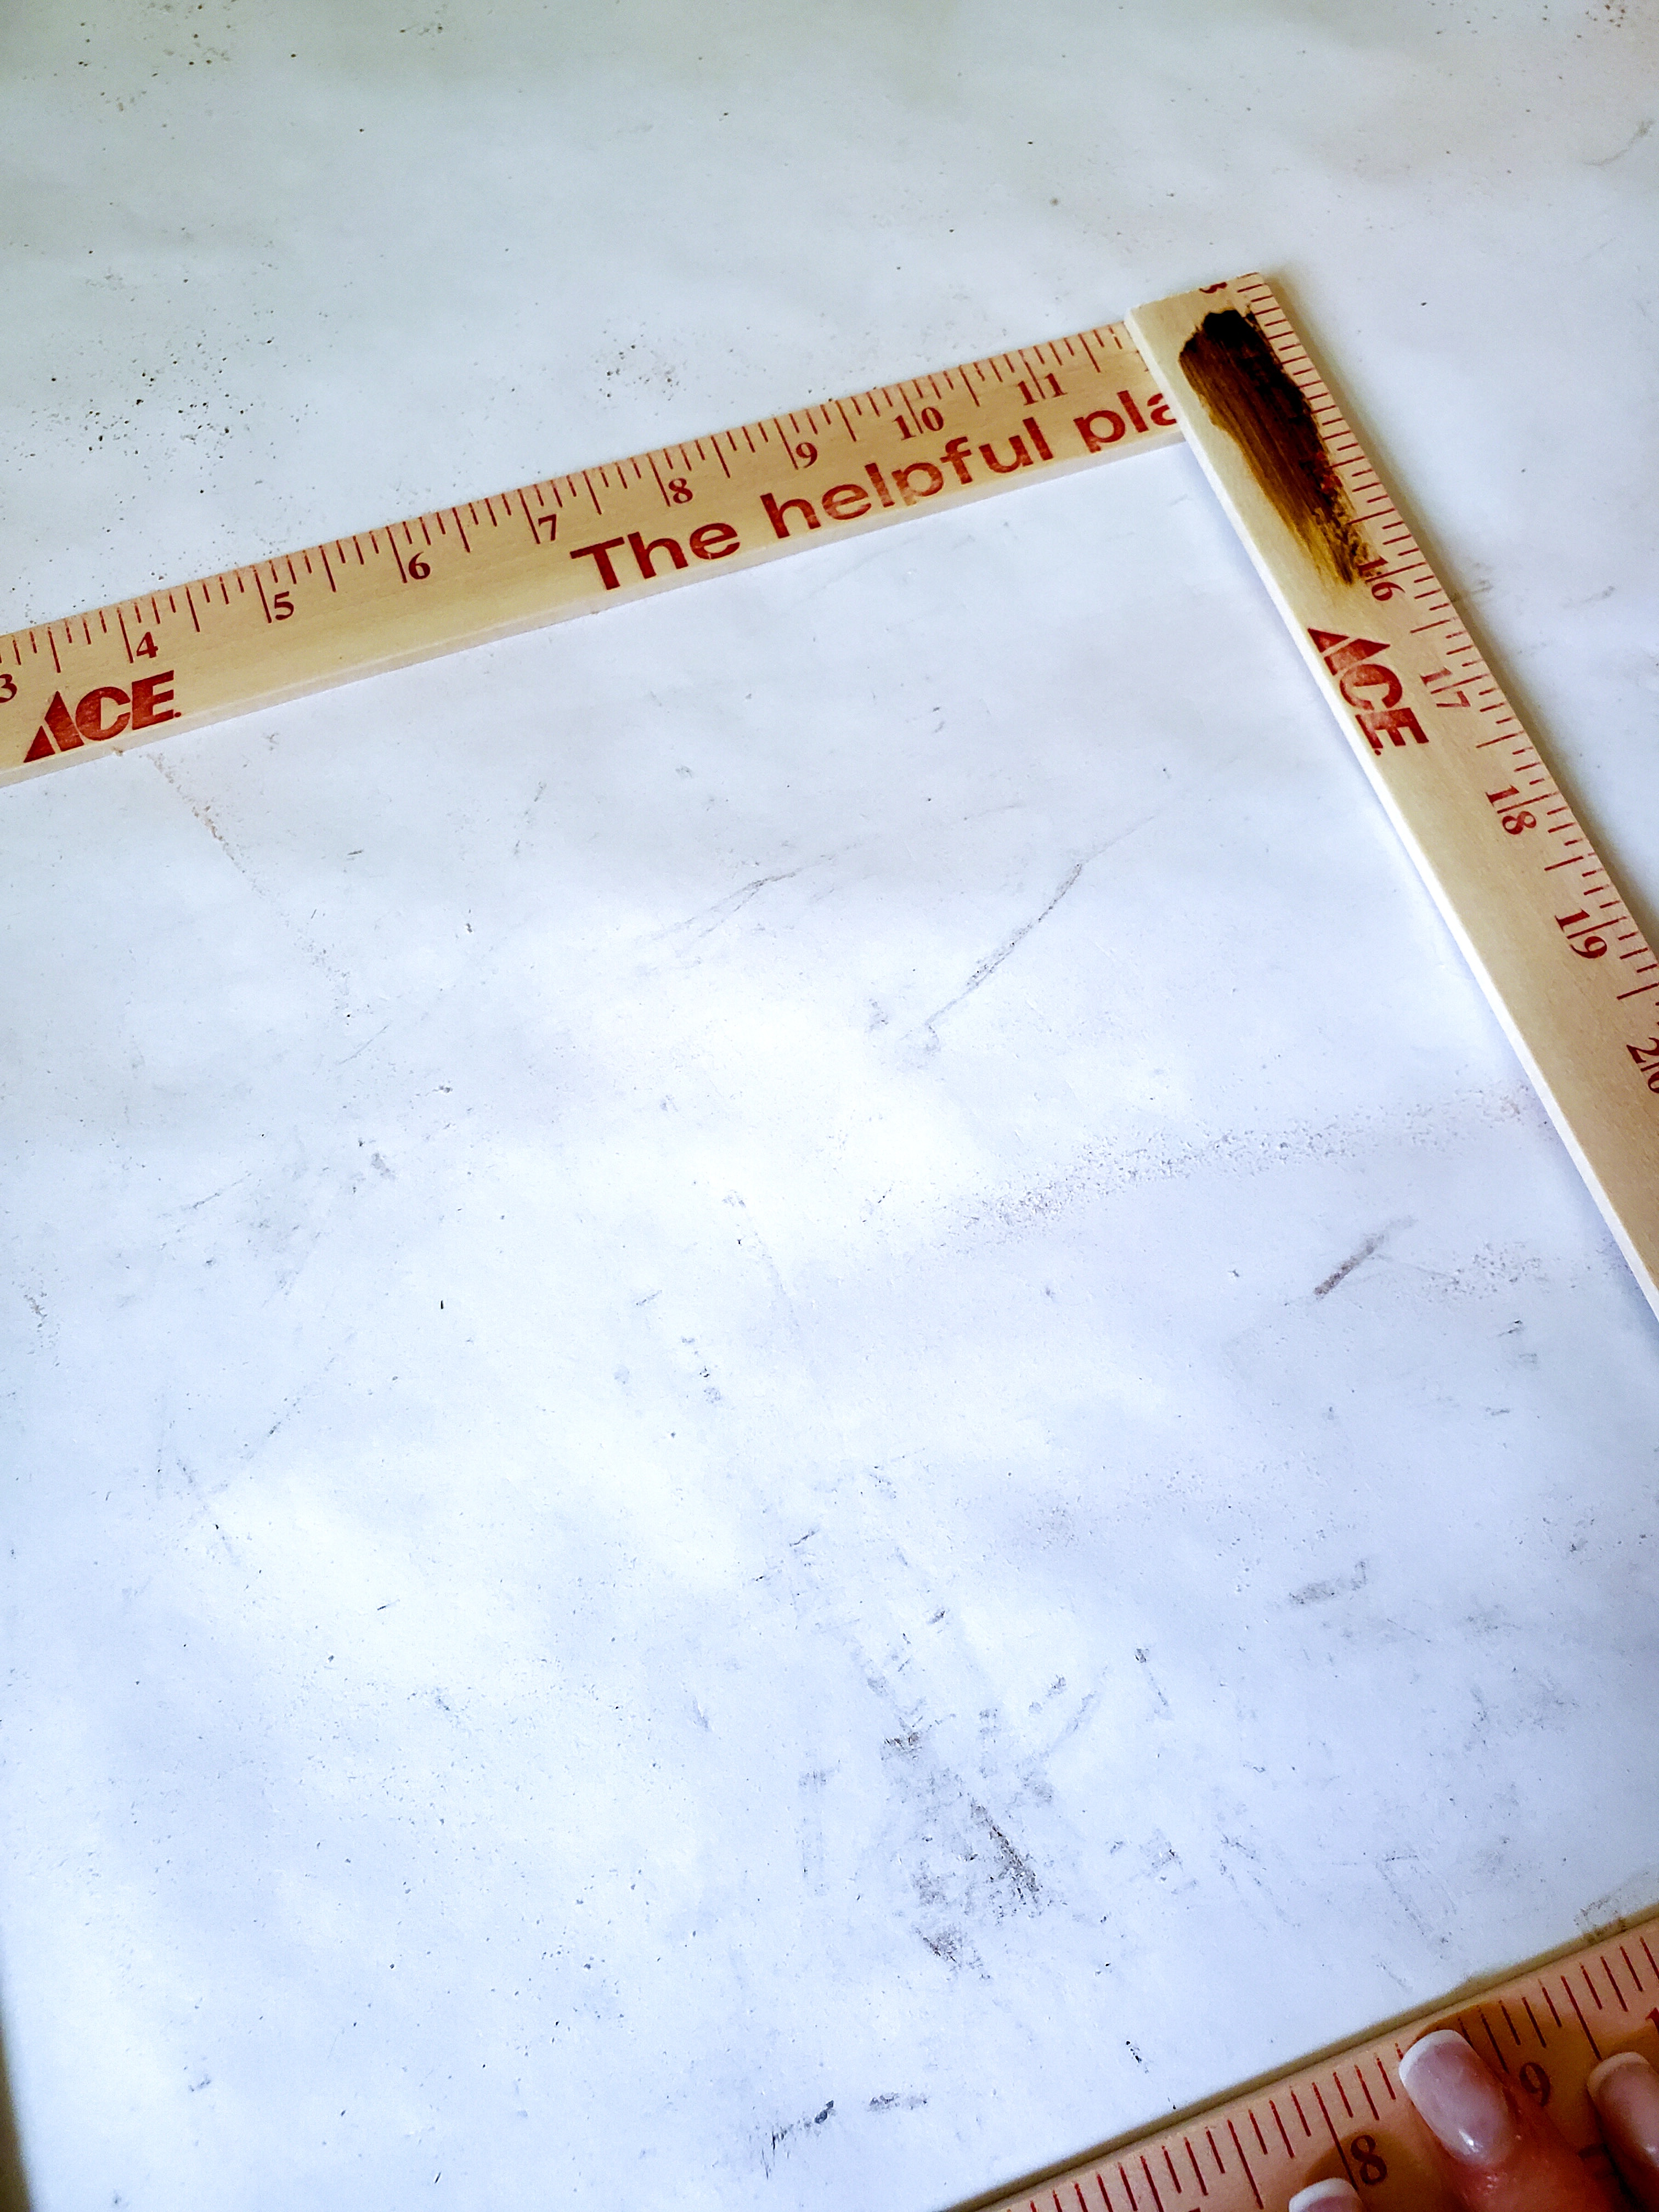
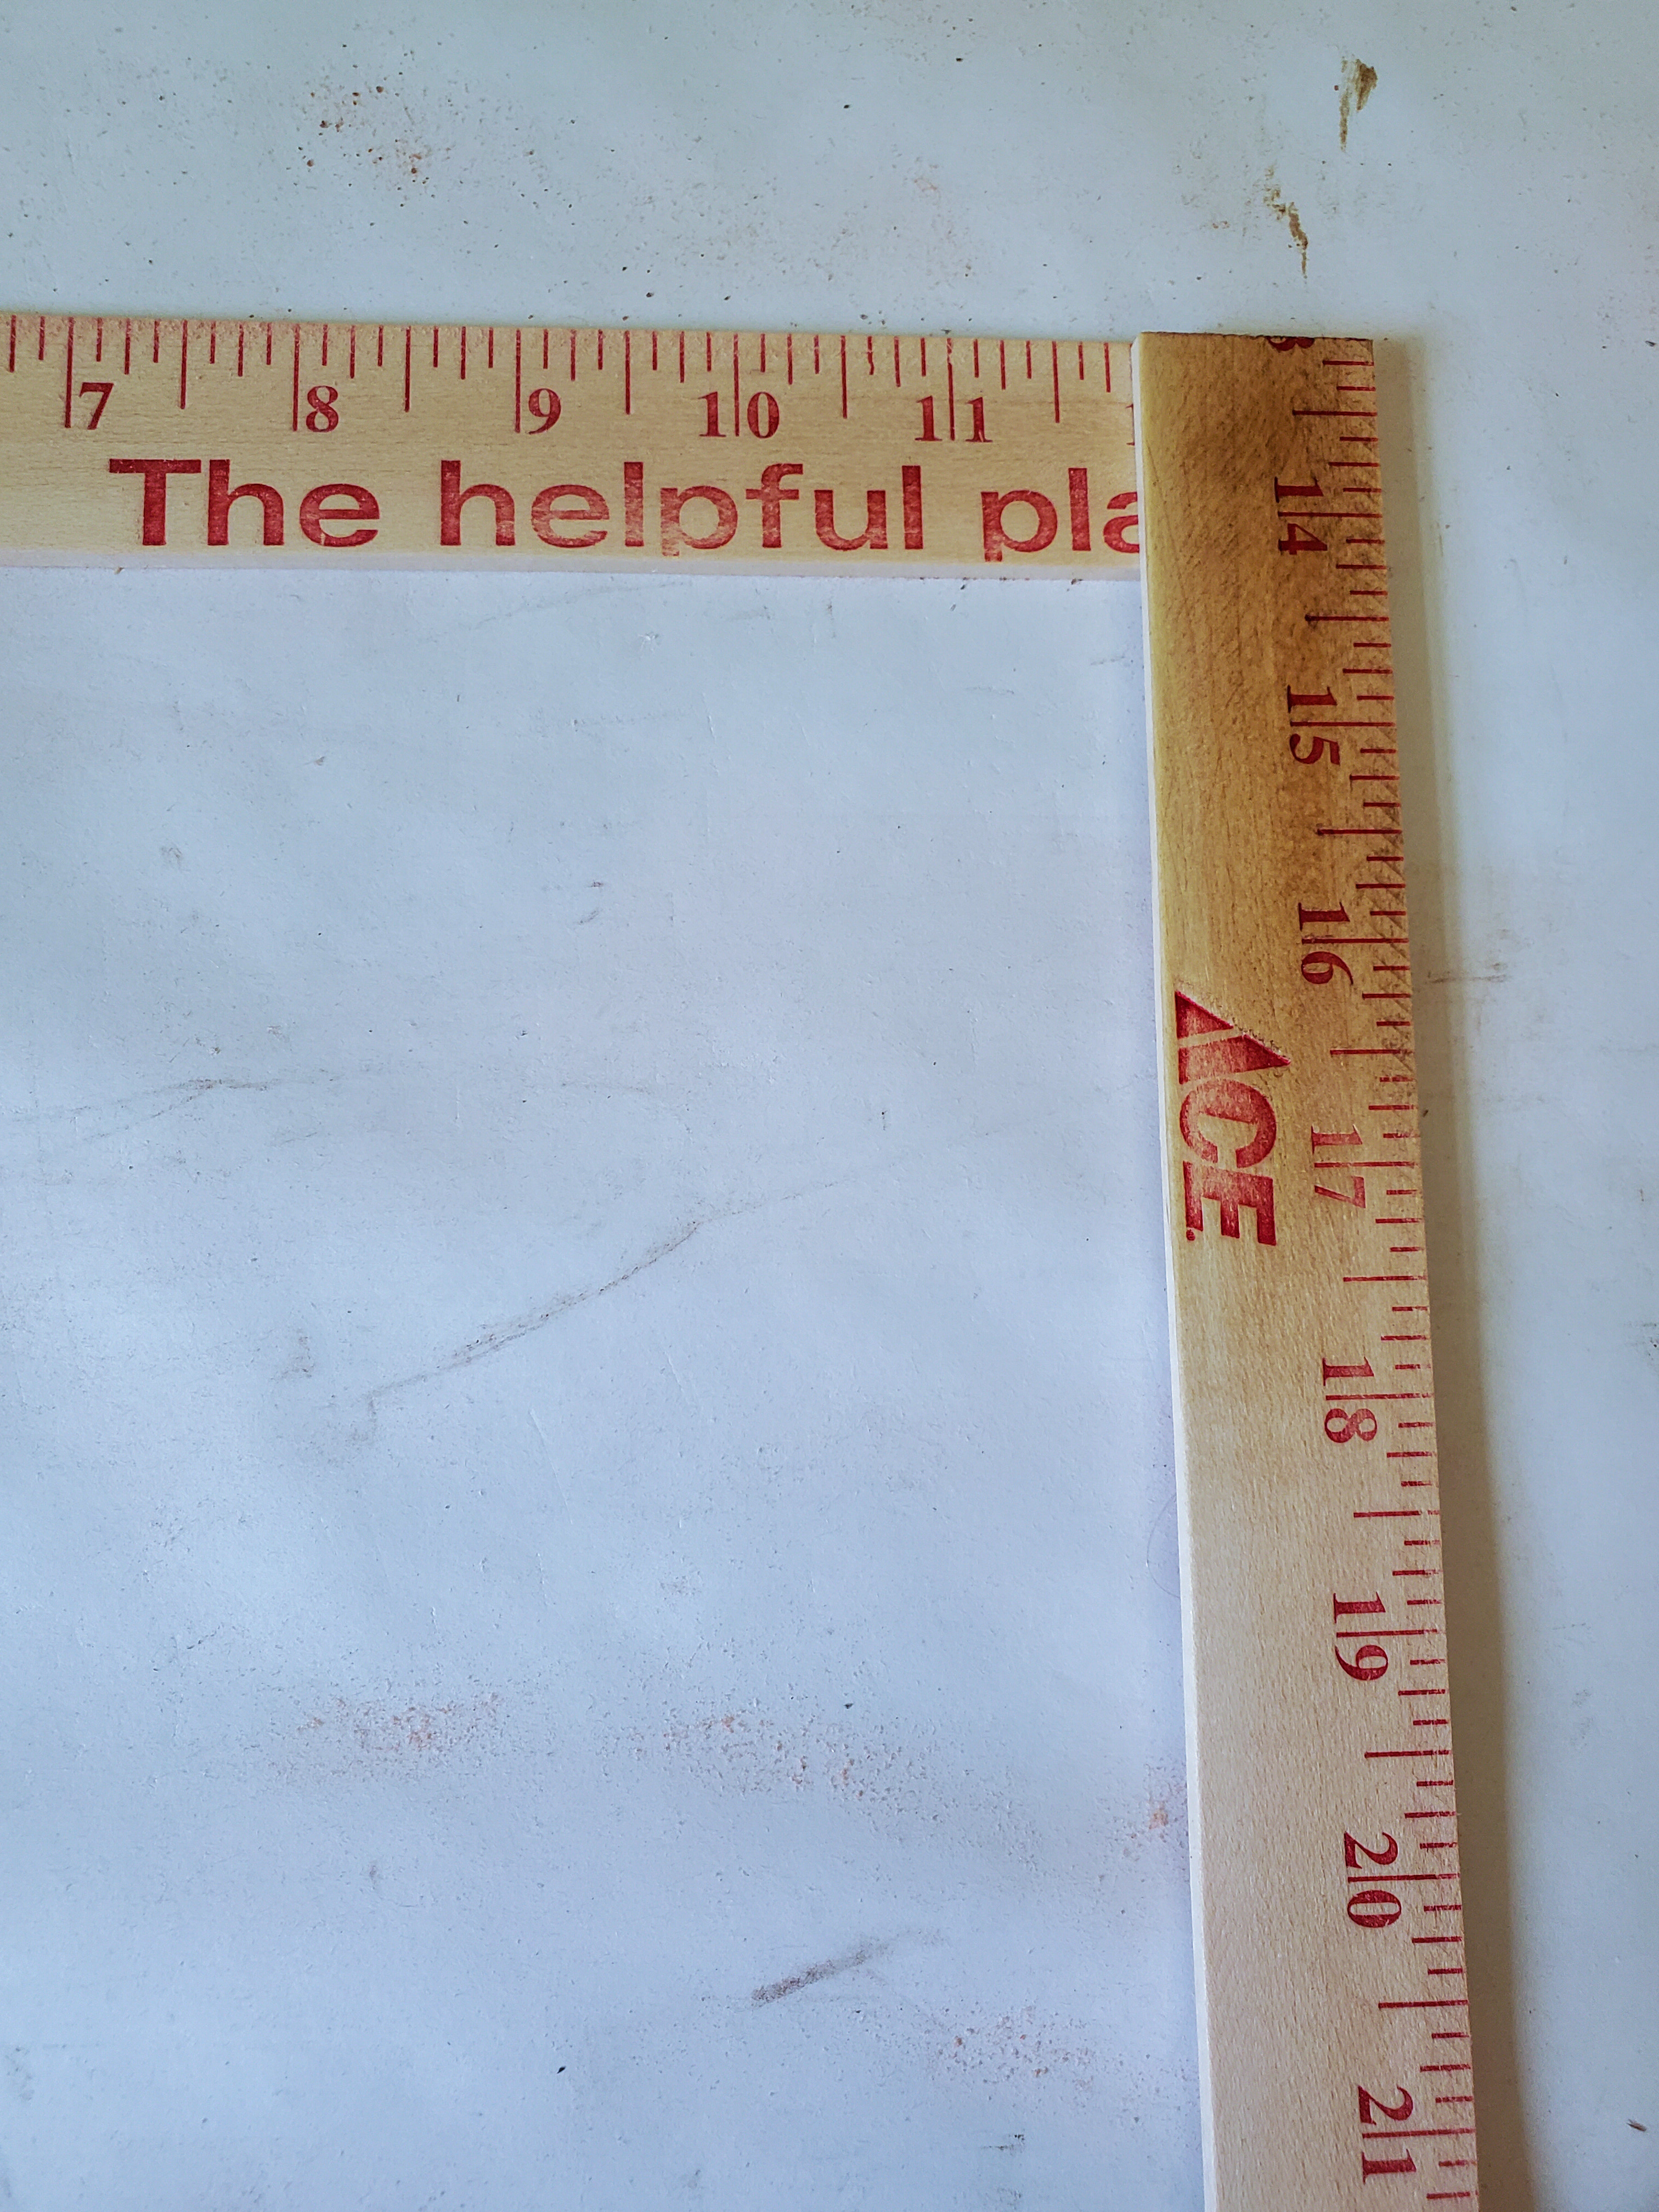
Step 2: Cut the Sticks to Make a Square
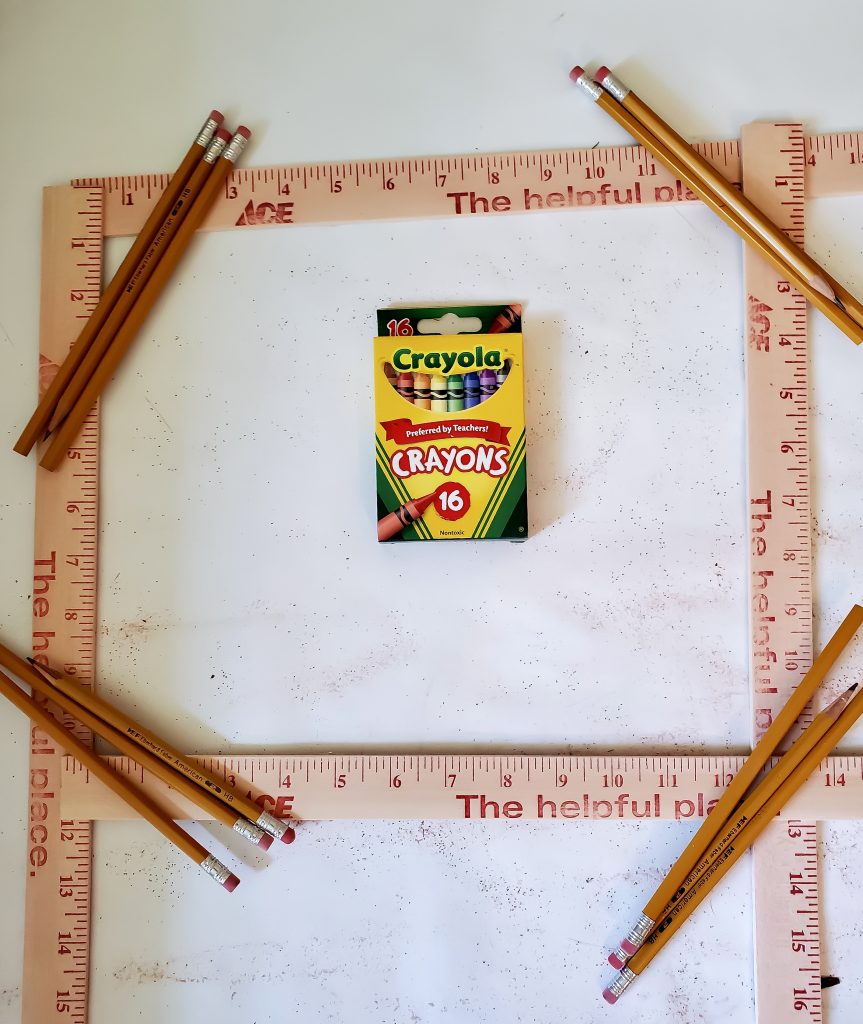
Next cut the yard sticks 13 inches.
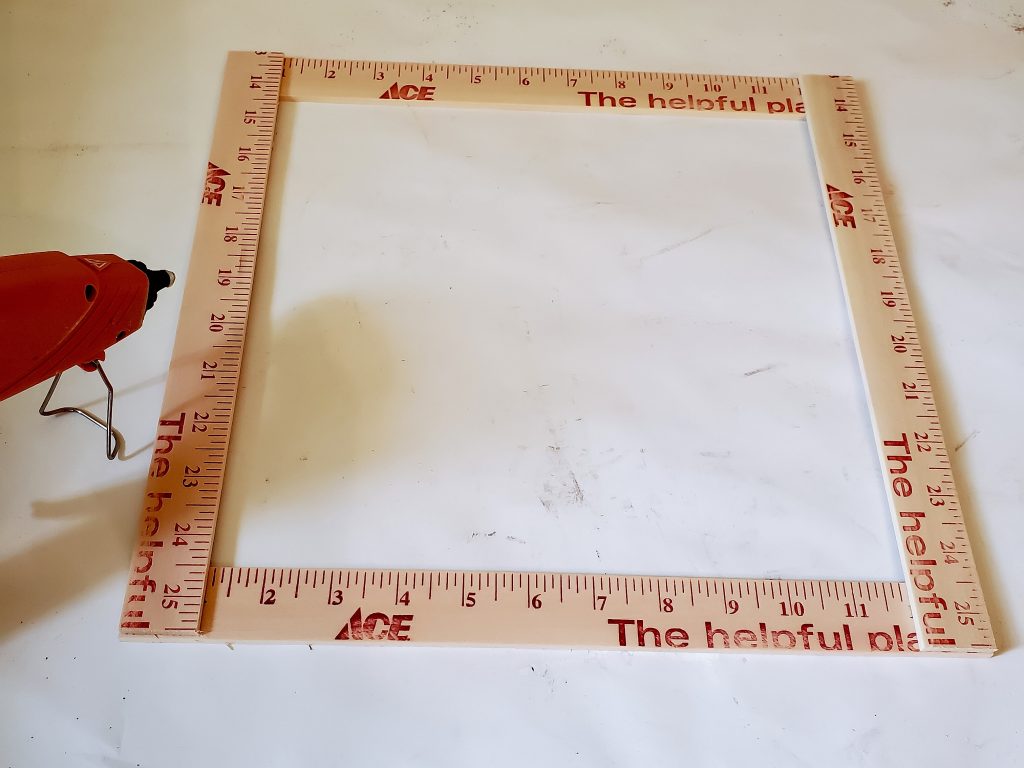
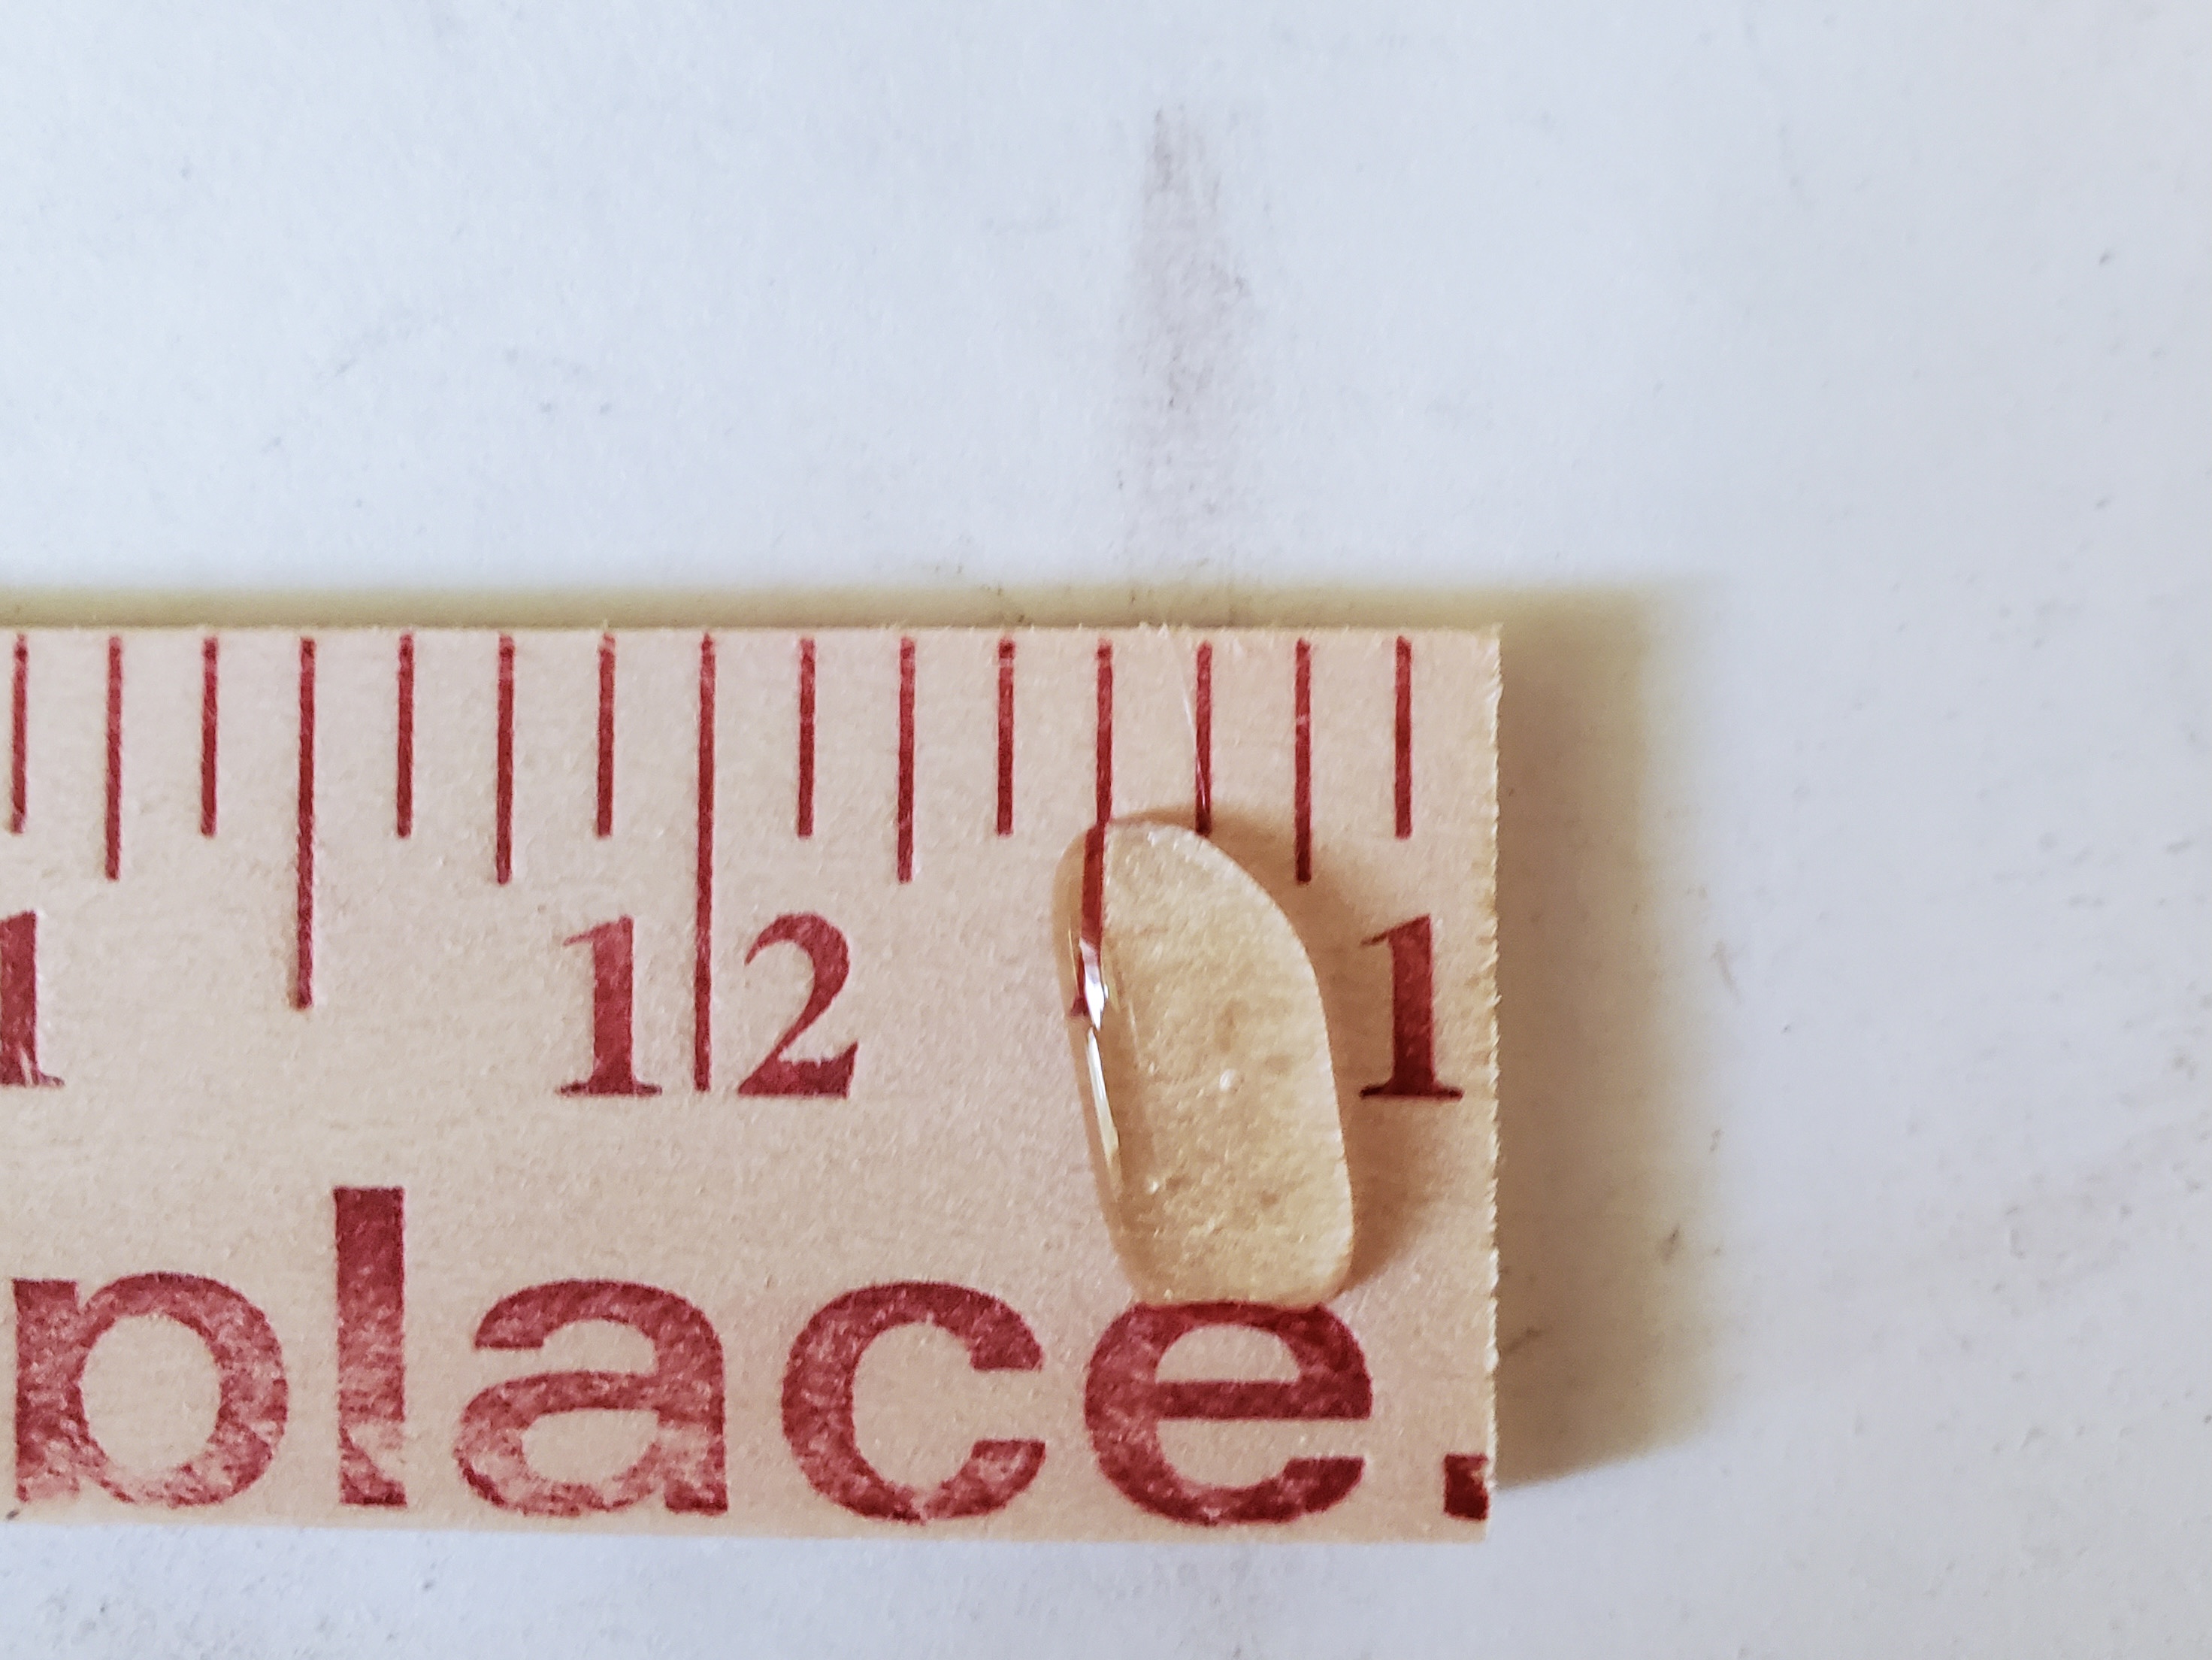
Heating the Glue Gun and Gluing the Pieces Together to Make them Form
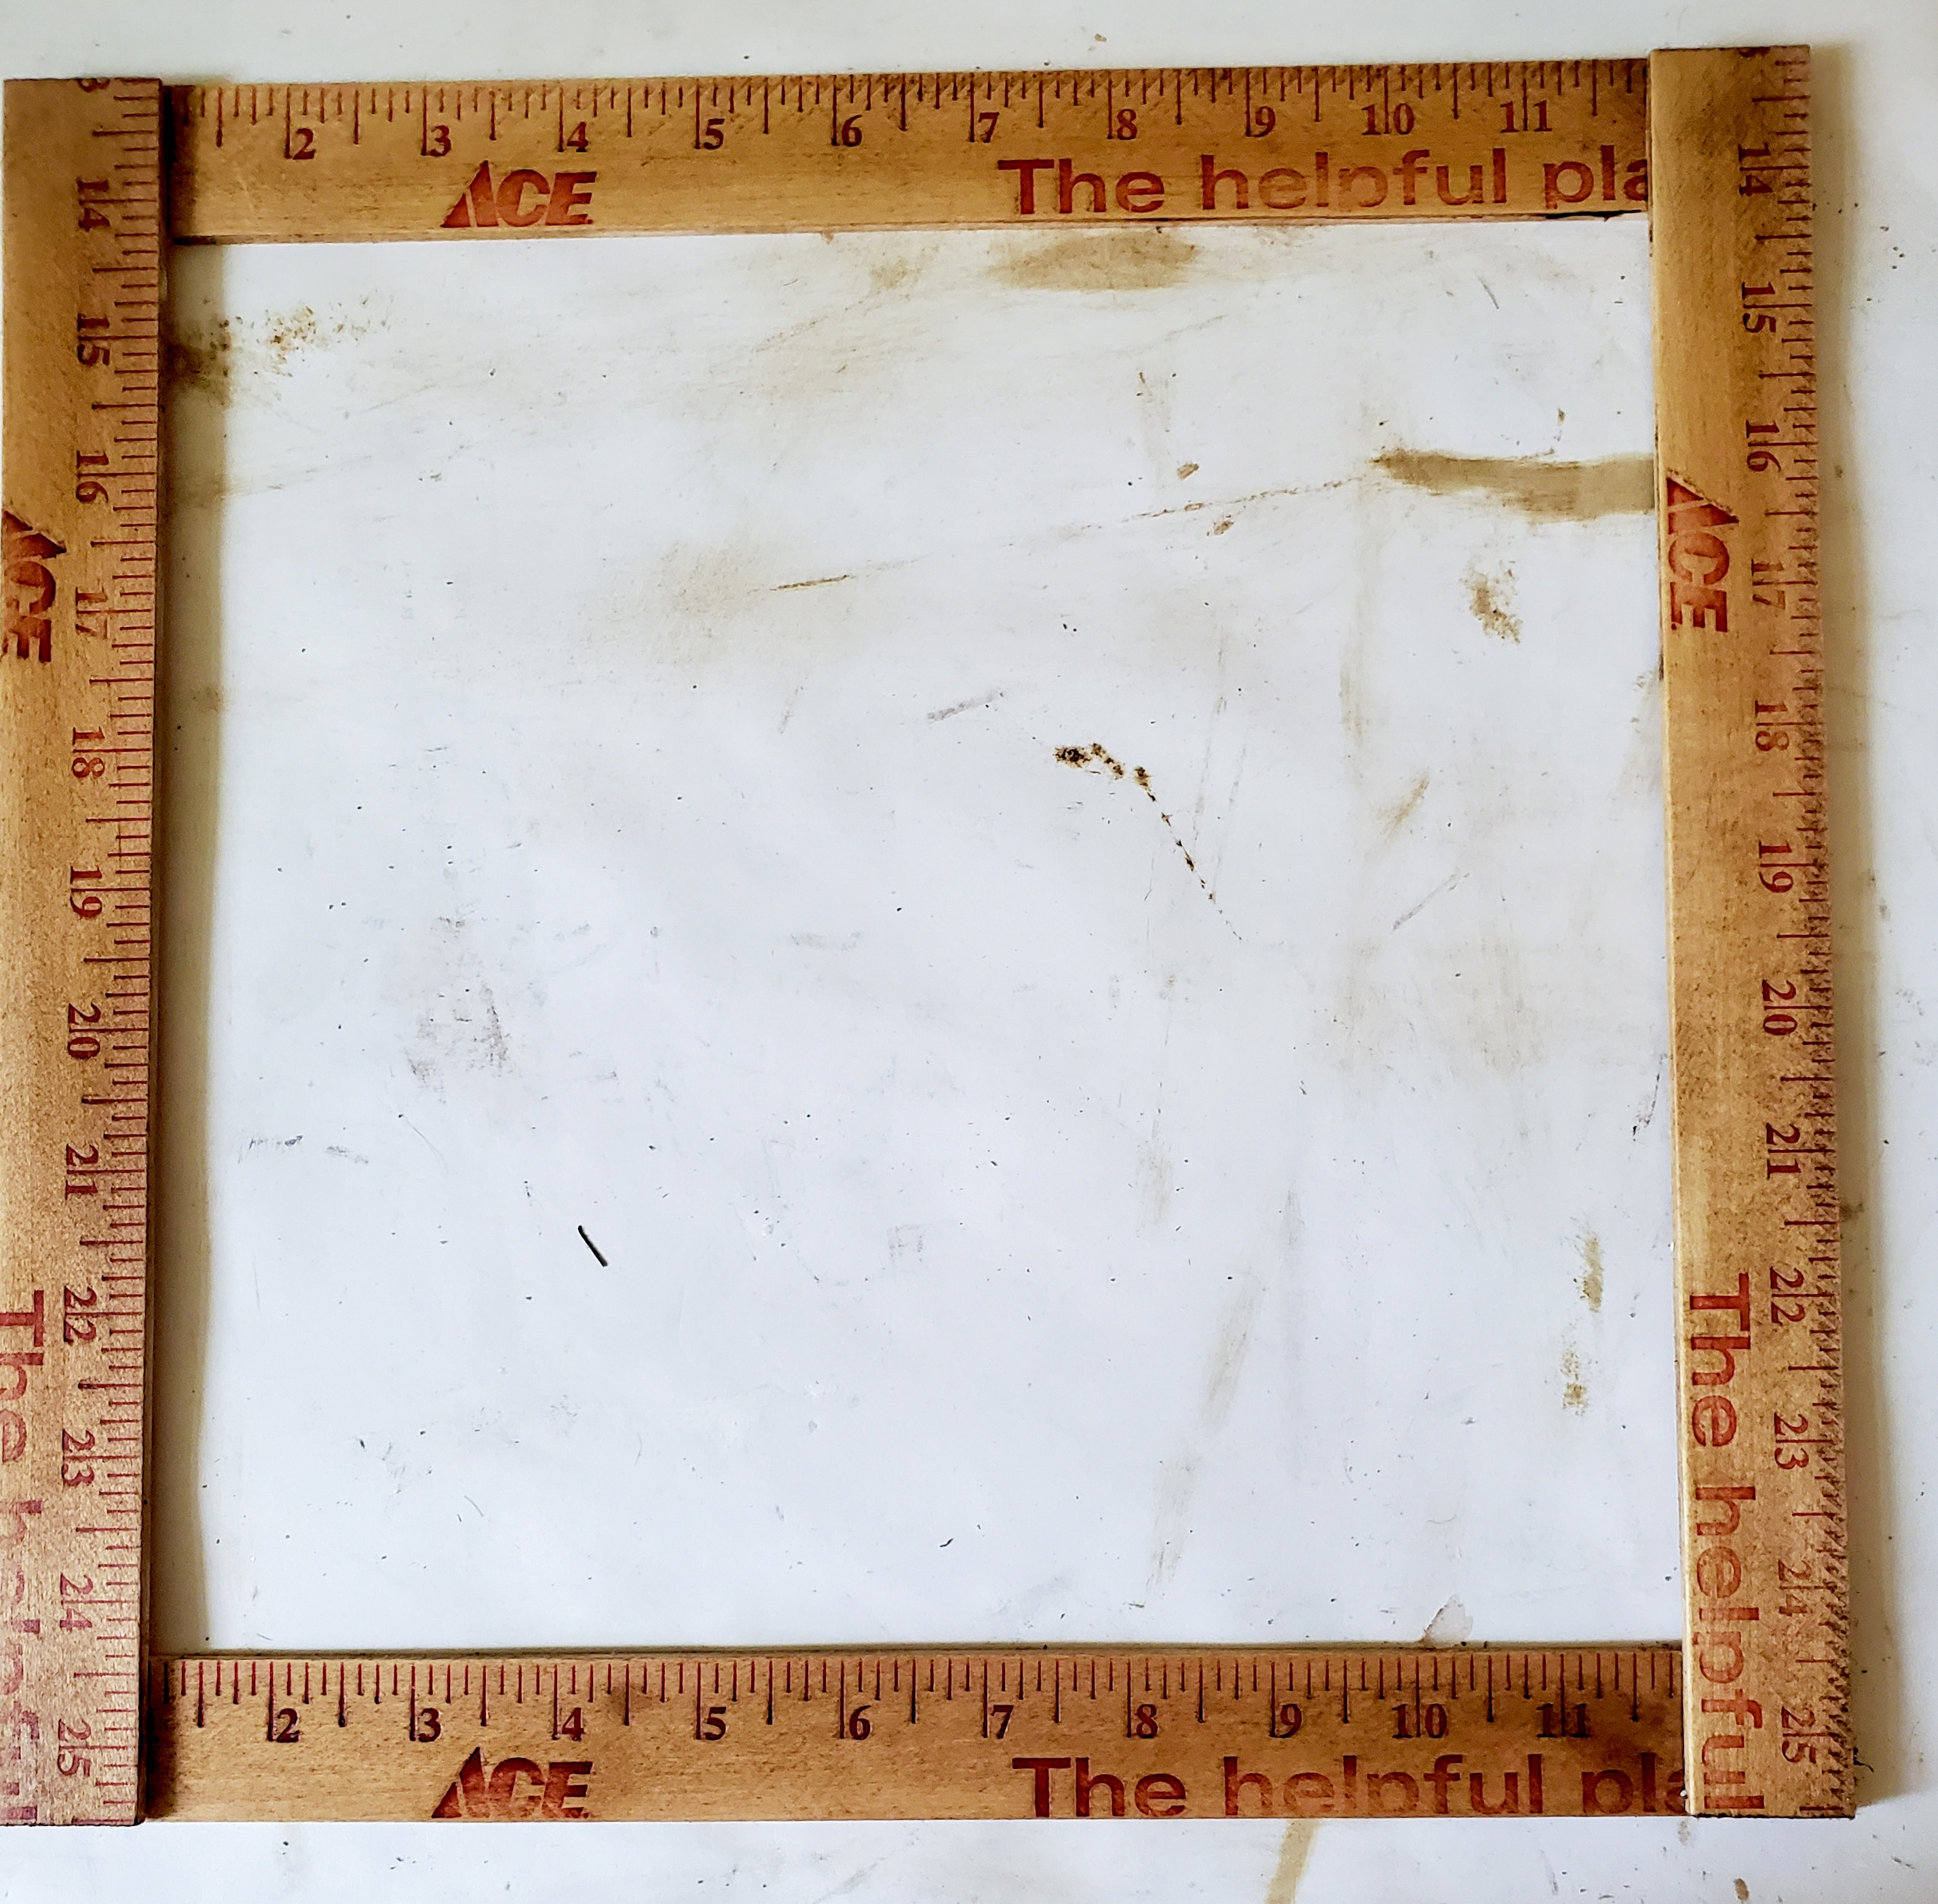
Step 3: Add Hot Glue to Make a Square
Meanwhile, my glue gun is plugged in and heating to glue the base of my school wreath together. Once hot, a dot of glue is you need to add in two corners of the cut yard sticks. Press them lightly to set. Next, do the same steps to the other cut pieces of yard sticks to form a square.
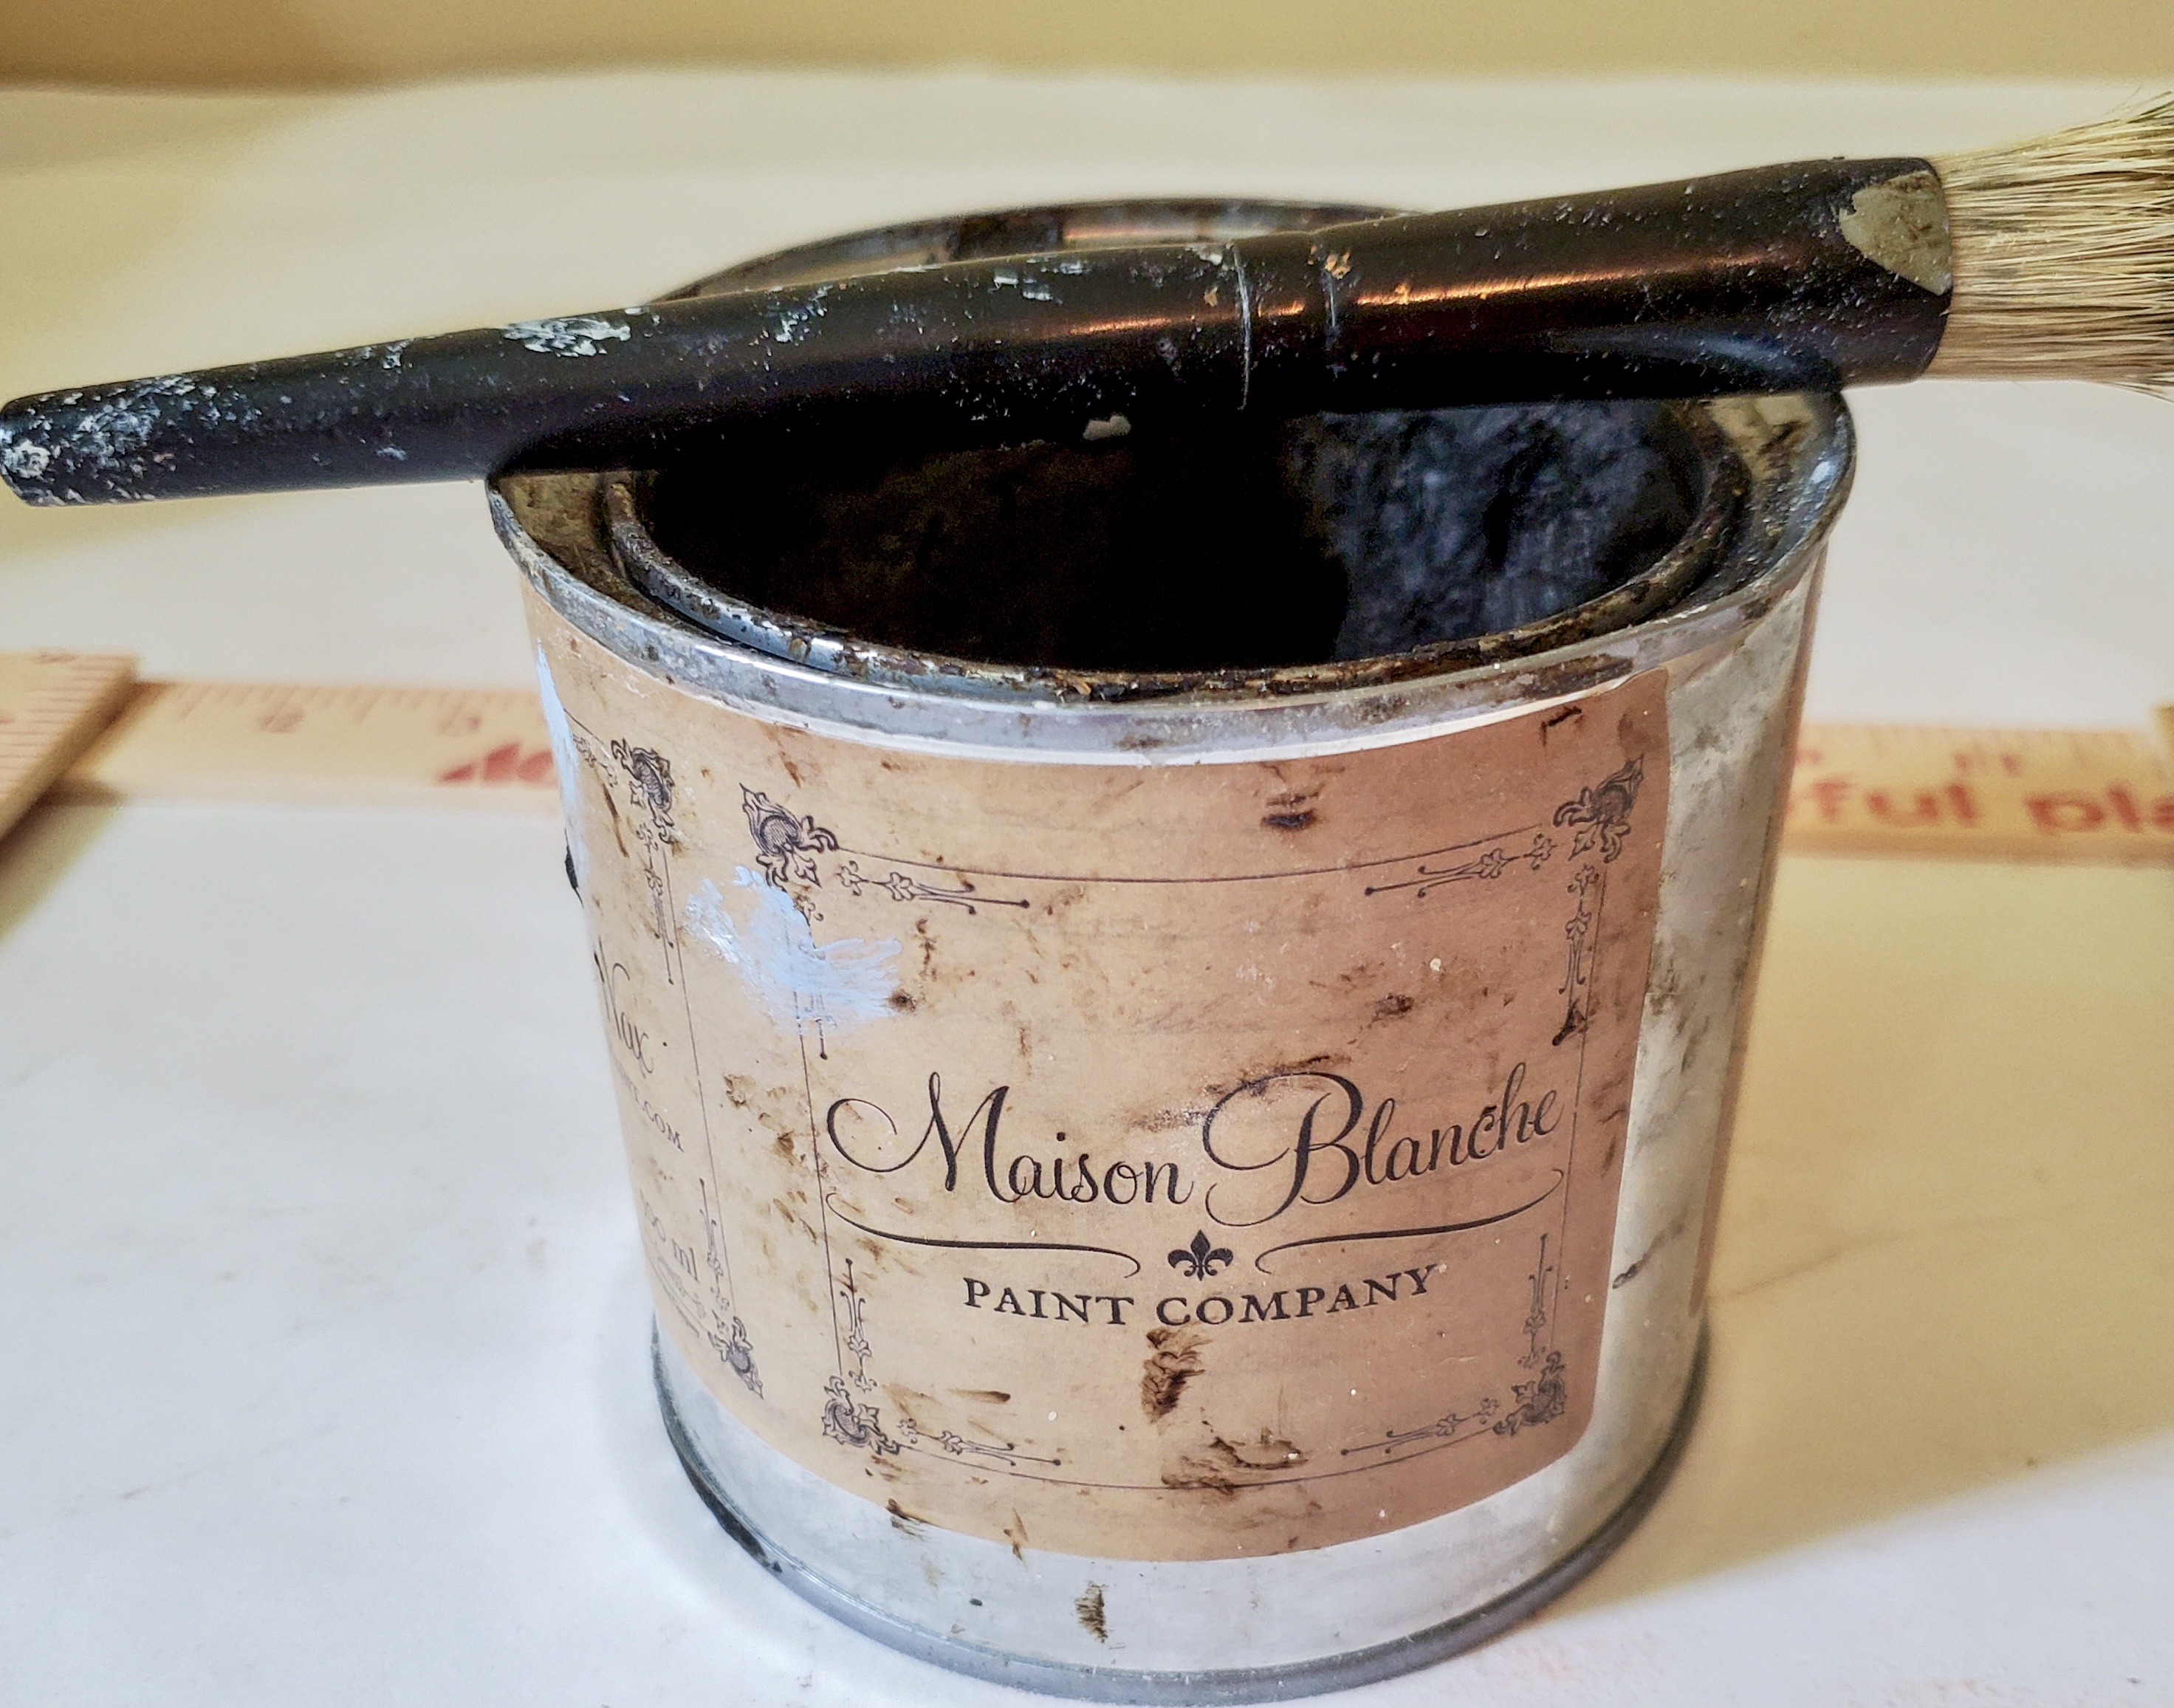
Adding Dark Wax for an Old Look
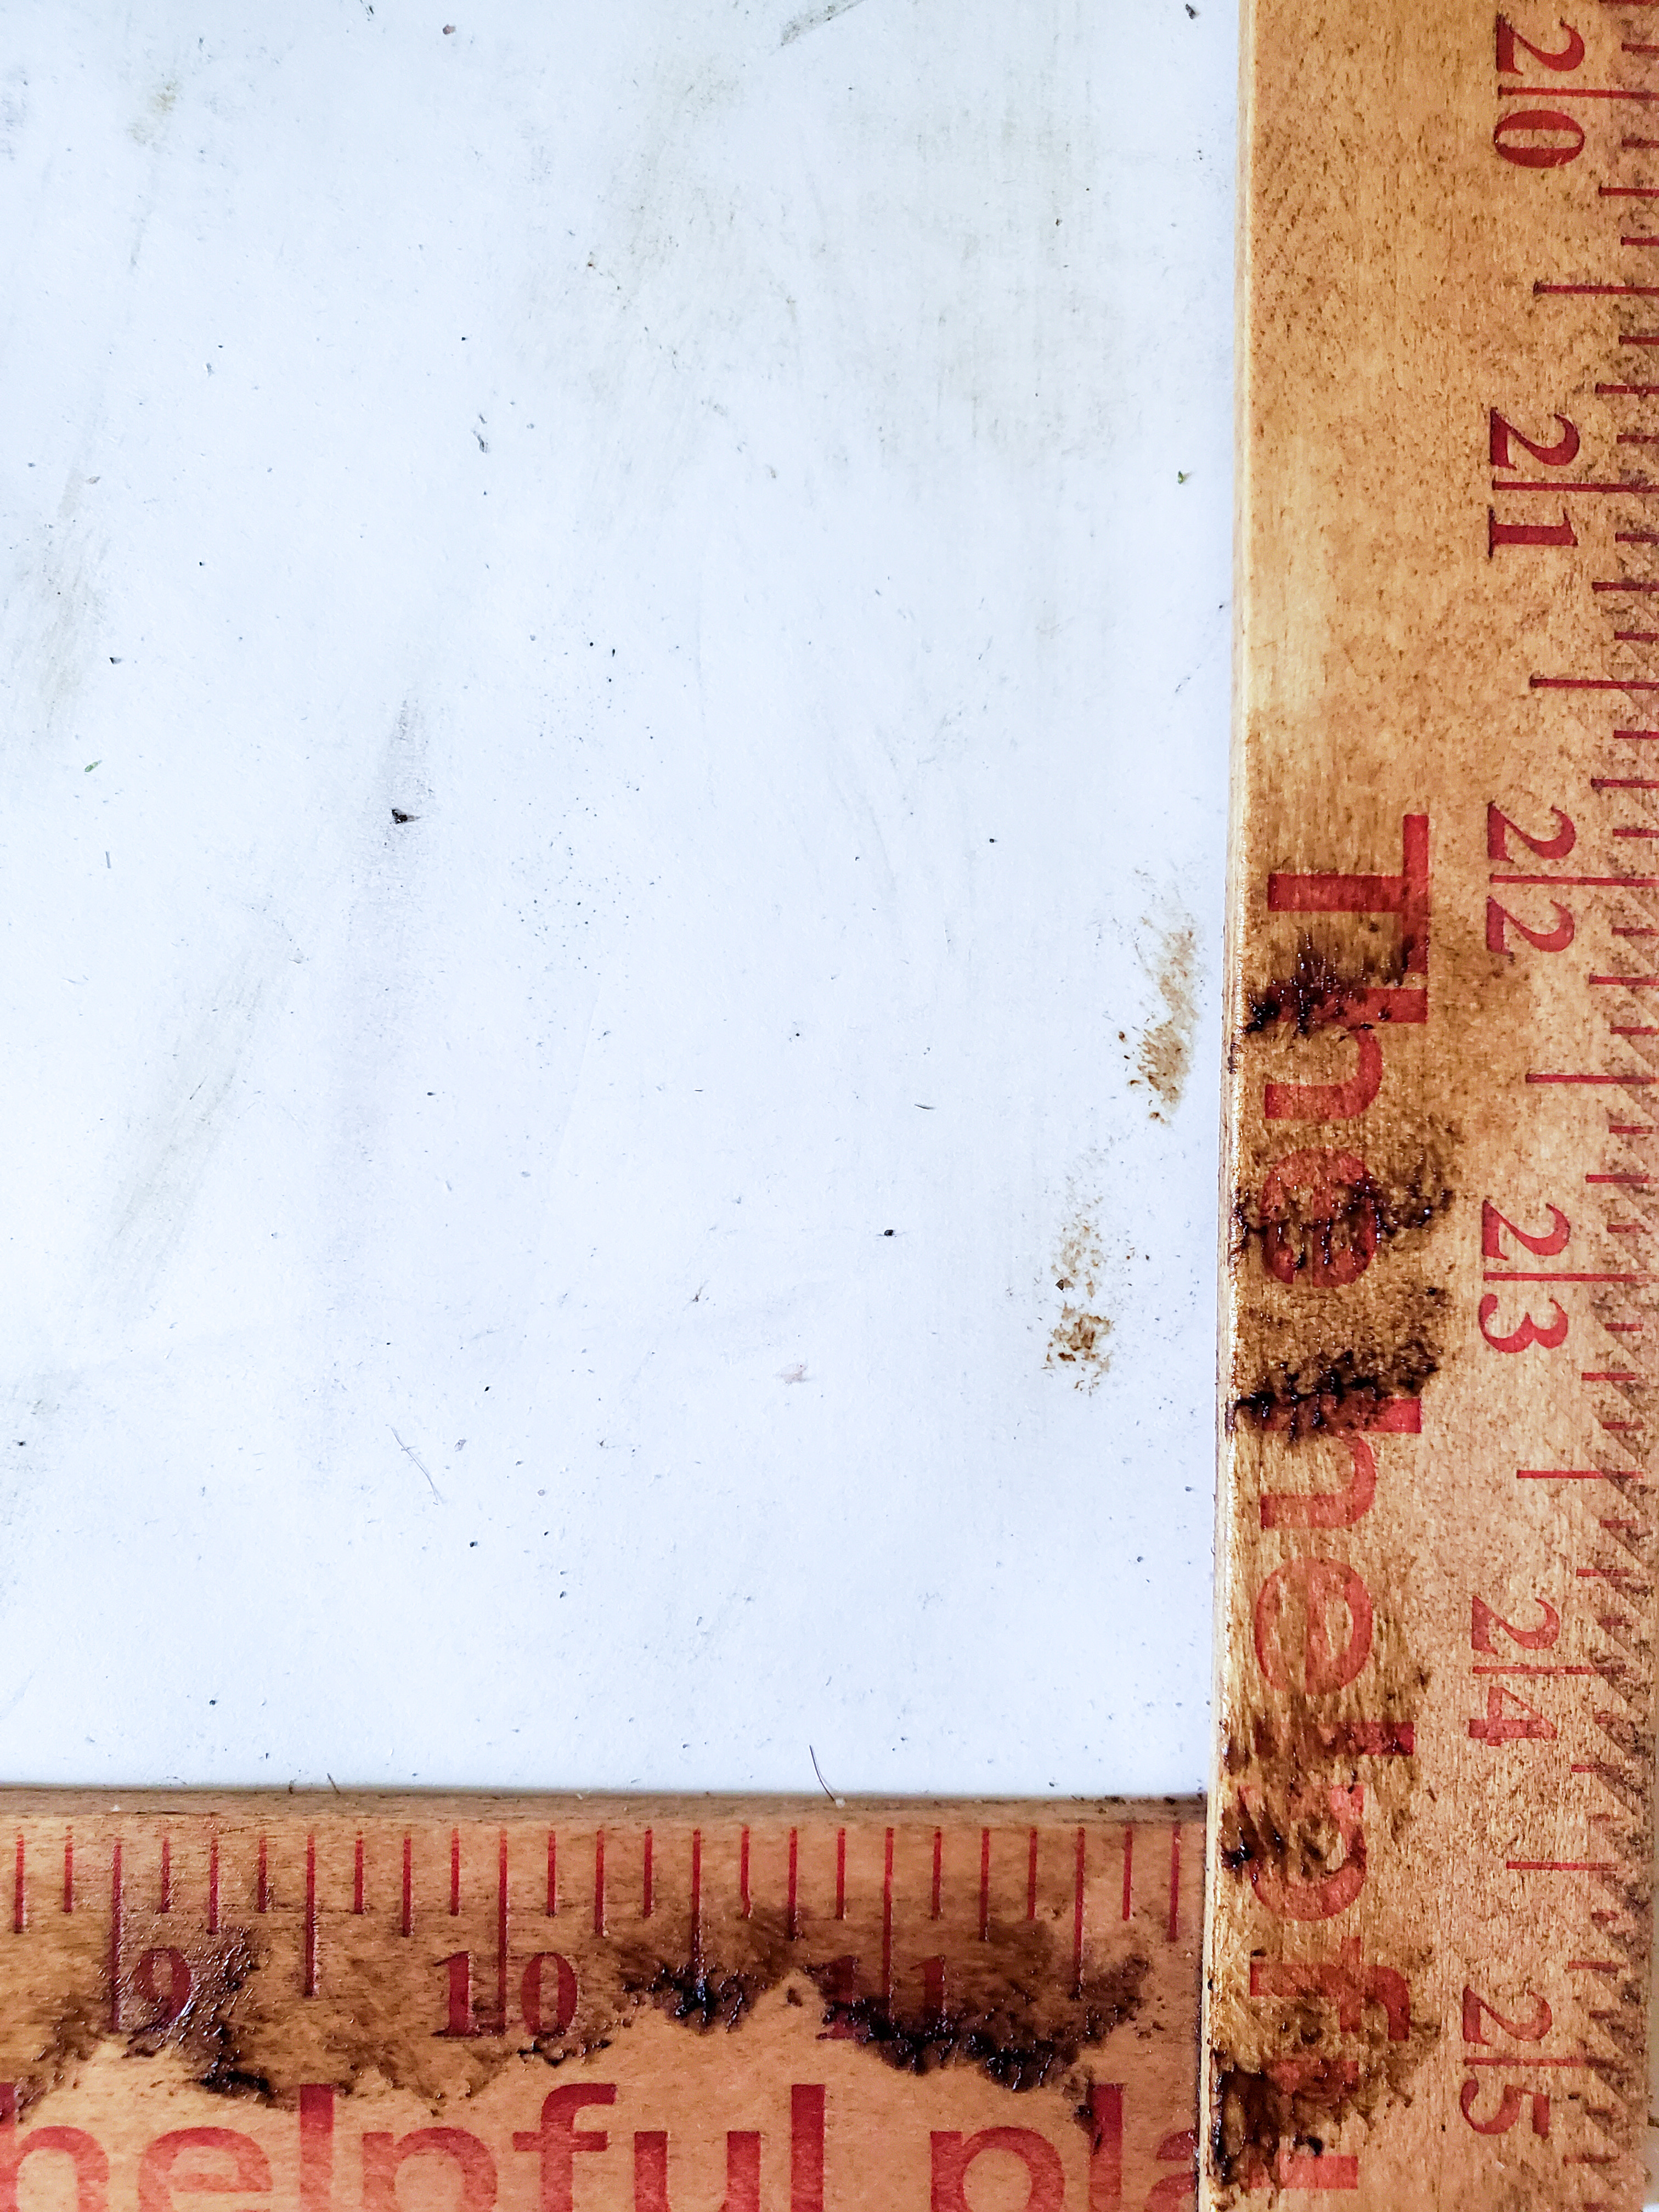
Step 4: Use Wax to Add an Worn Look
After forming the square, apply a light coat of dark wax. This is a great way tyo add character to this fast wreath project.
Adding Extra Dark Wax in Spots
Step 5: Extra Bits of Wax in Areas
After I am finished rubbing in the dark wax. I like to add an extra amount here and there. I do this because when pieces age naturally the pieces generally don’t age the same allover. Doing this extra step truly add the aged look I’m wanting for this craft.
However, if you don’t have wax, to keep this on budget old-fashioned shoe polish in the can with the twisted metal tab works. Also, raw umber craft paint mixed with a tiny bit of water will work as well.
Add Pencils to the Square
Step 6: Place the Pencils on Top
Adding the pencils keeps with the theme of my back to school wreath.
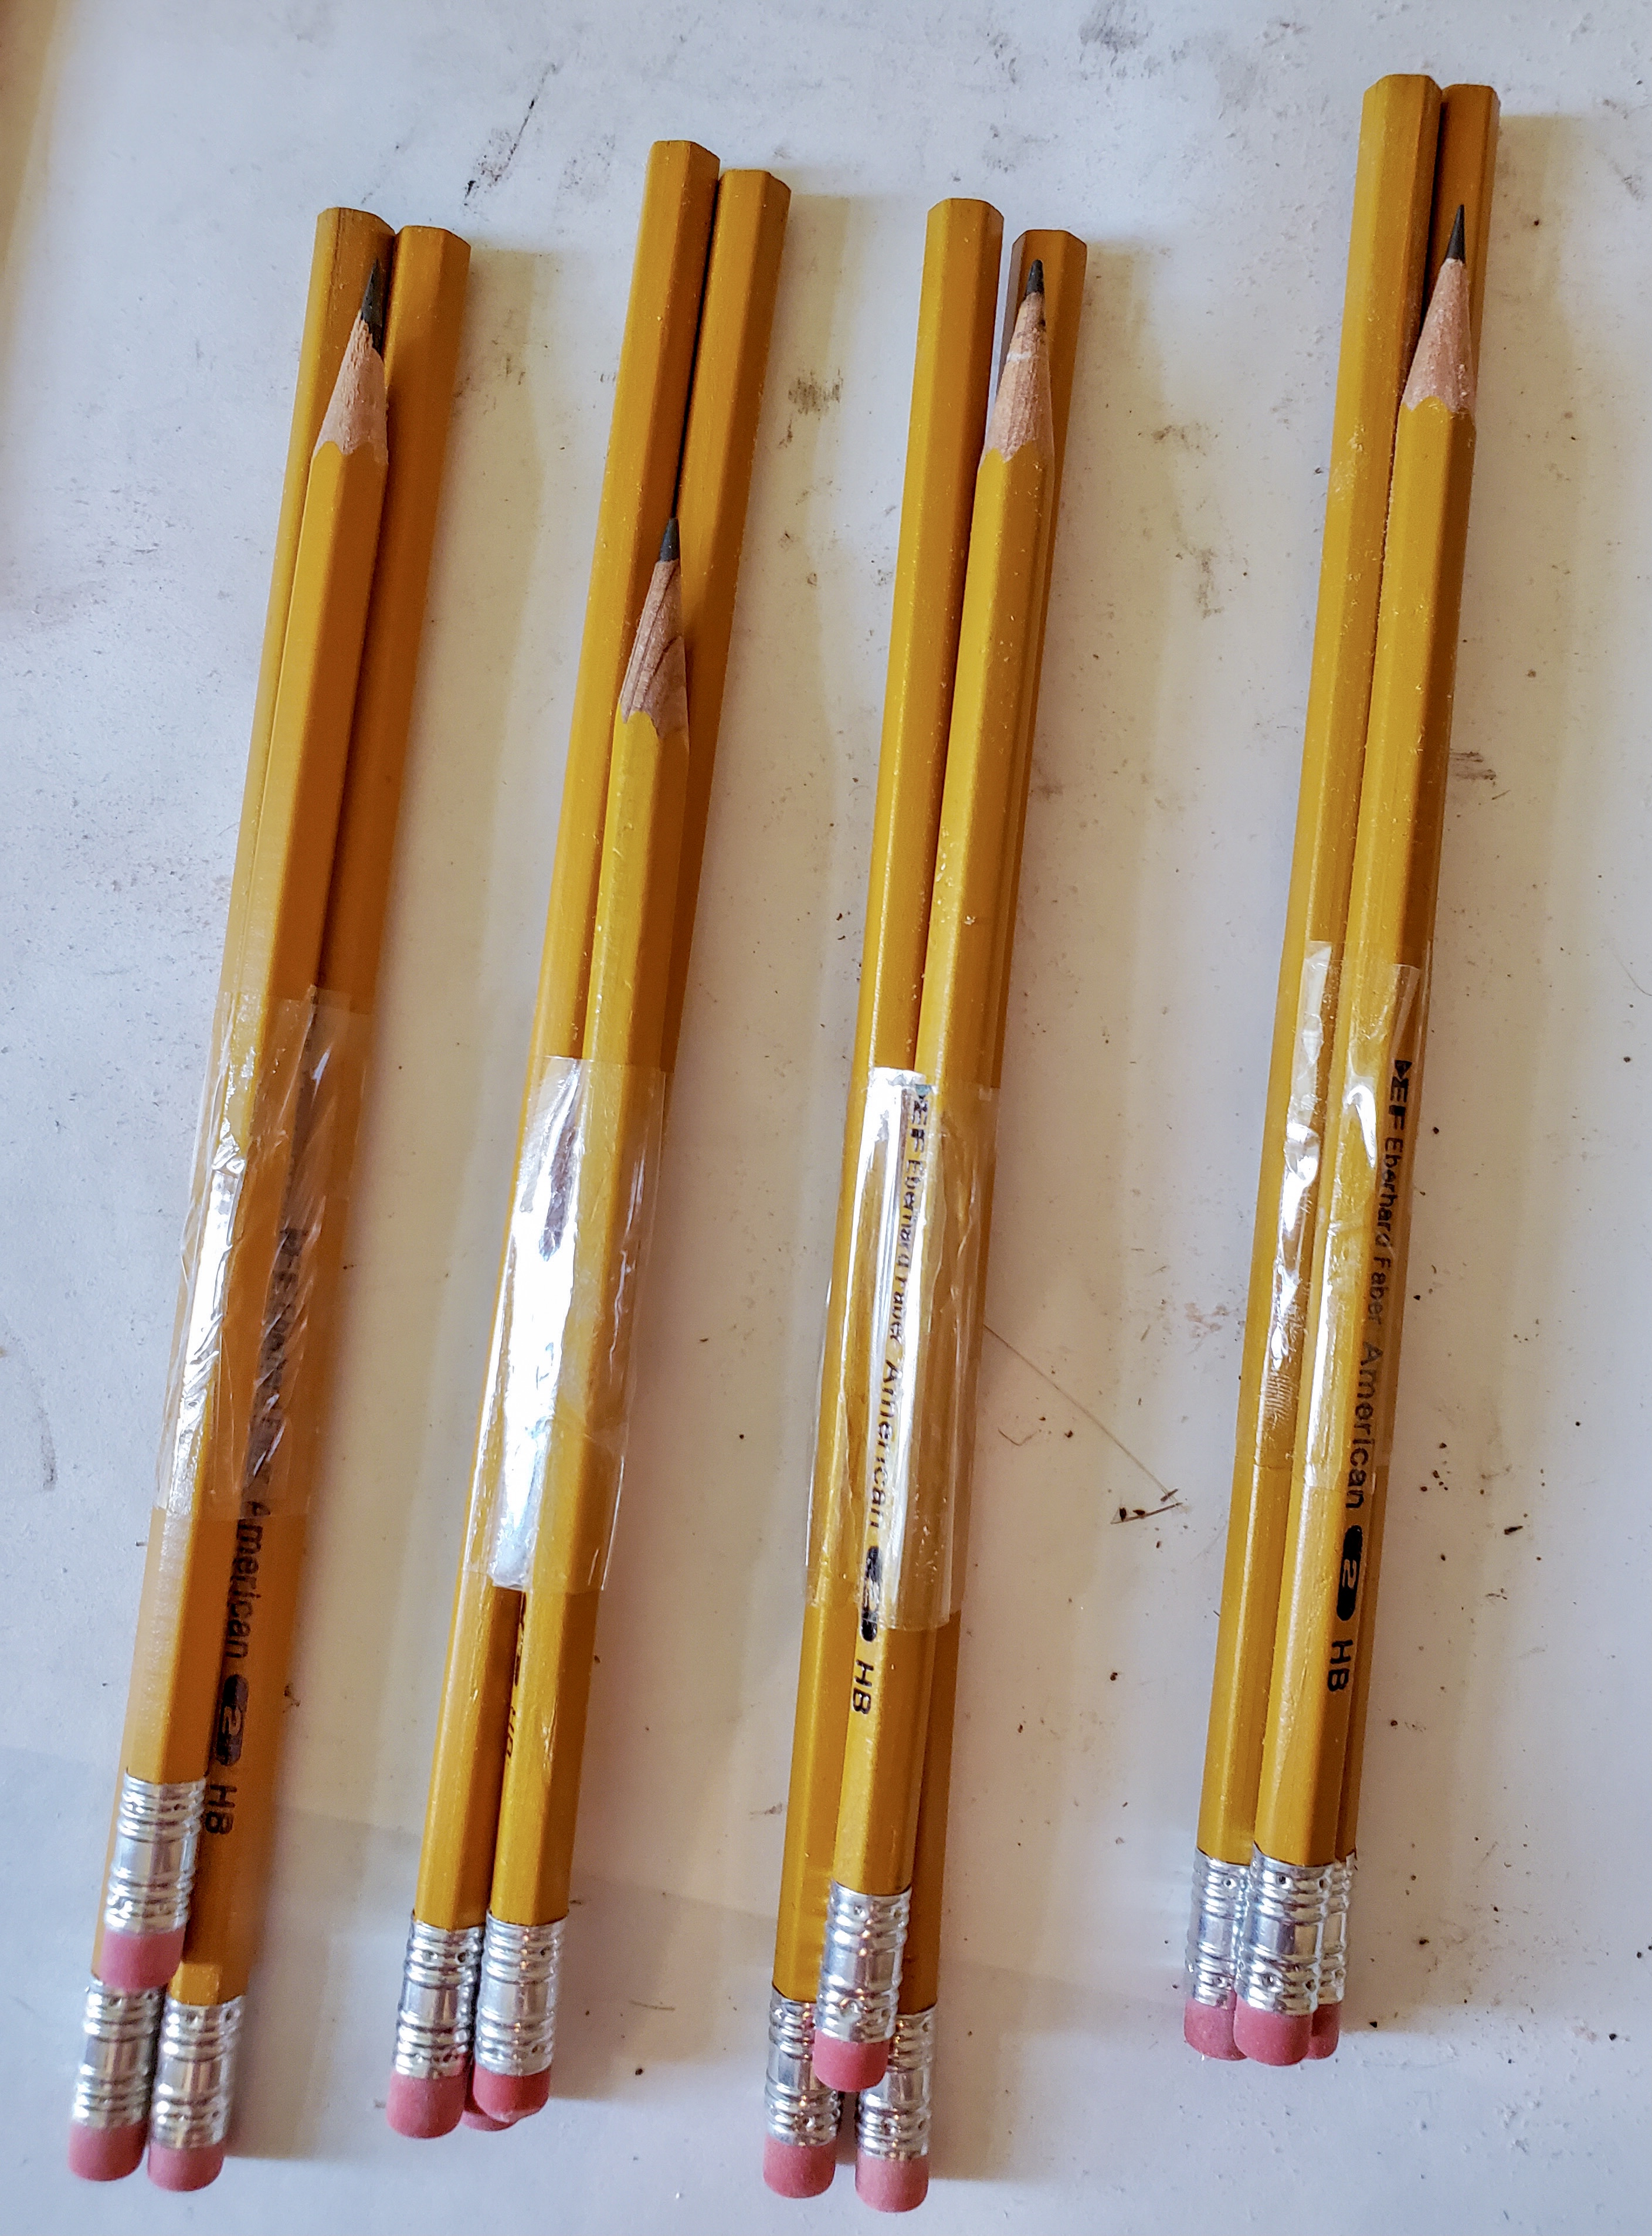
Stacking Pencils in Threes for this Project Idea
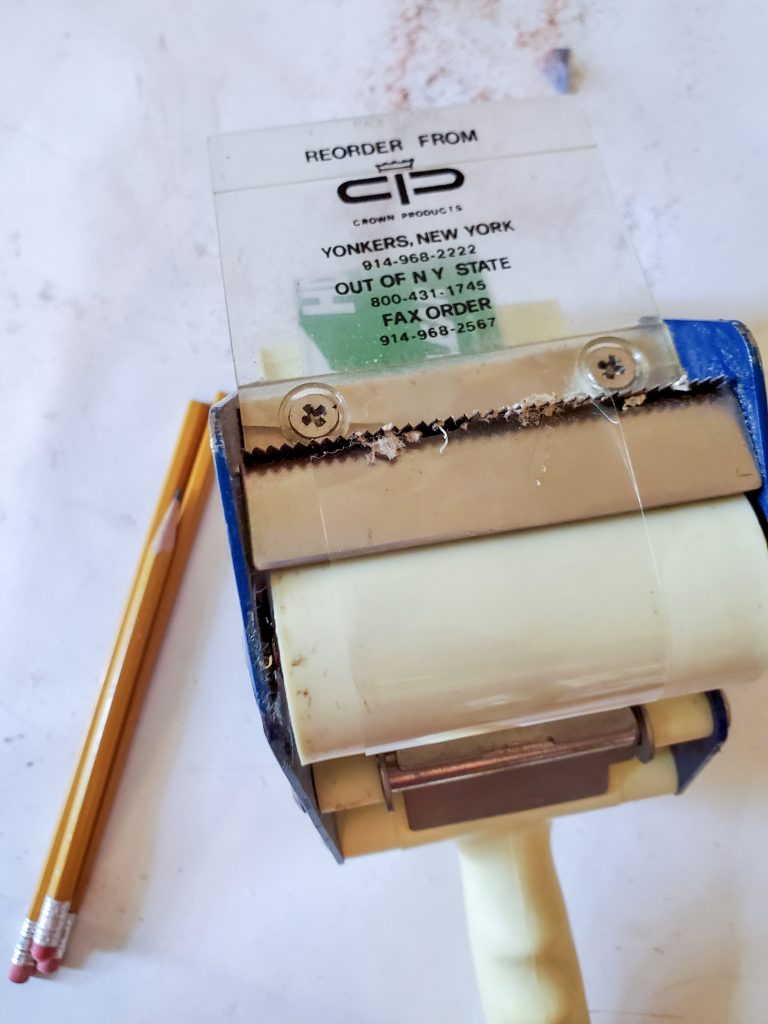
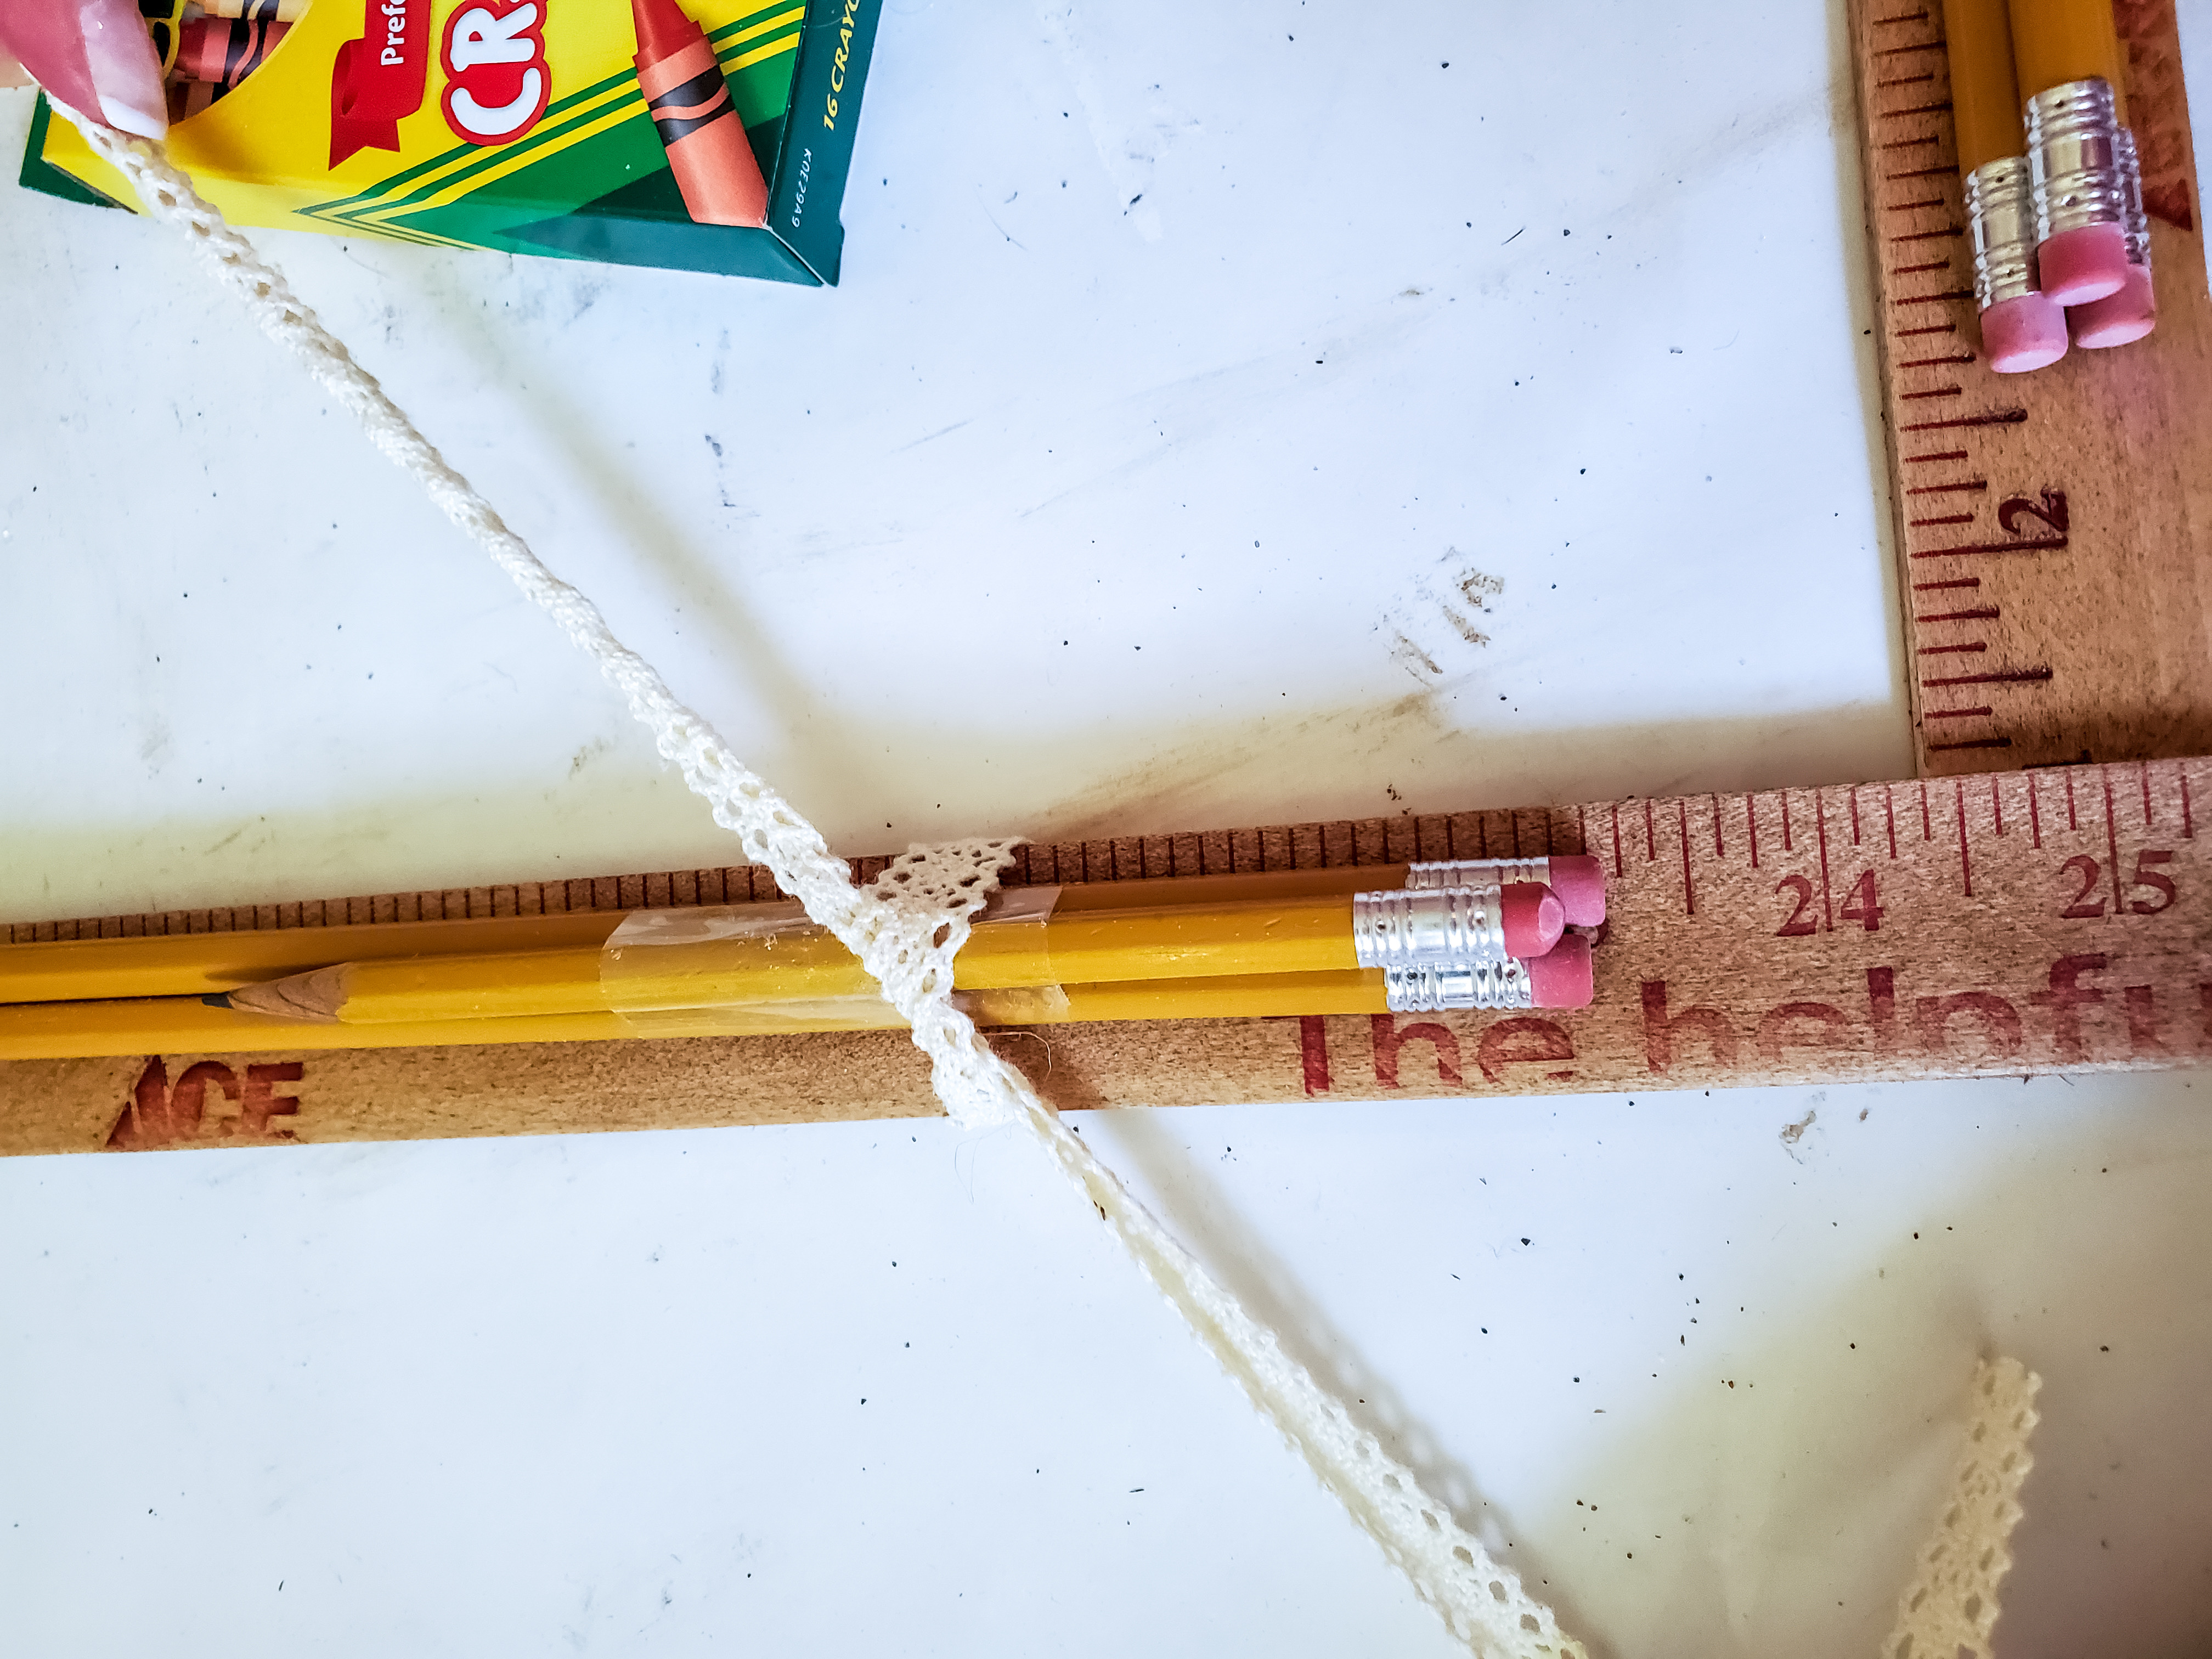
Step 7: Tape the Pencils in Threes
So next, using clear packing tape I group the pencils into four sets of three and connect these together.
Because I have a slight pencil obsession, I am using unused and used pencils. Besides, I think mixing them adds a bit more interest to this learning wreath, don’t you agree?
After you have your pencils in threes take a piece of packing tape and wrap the pencils.
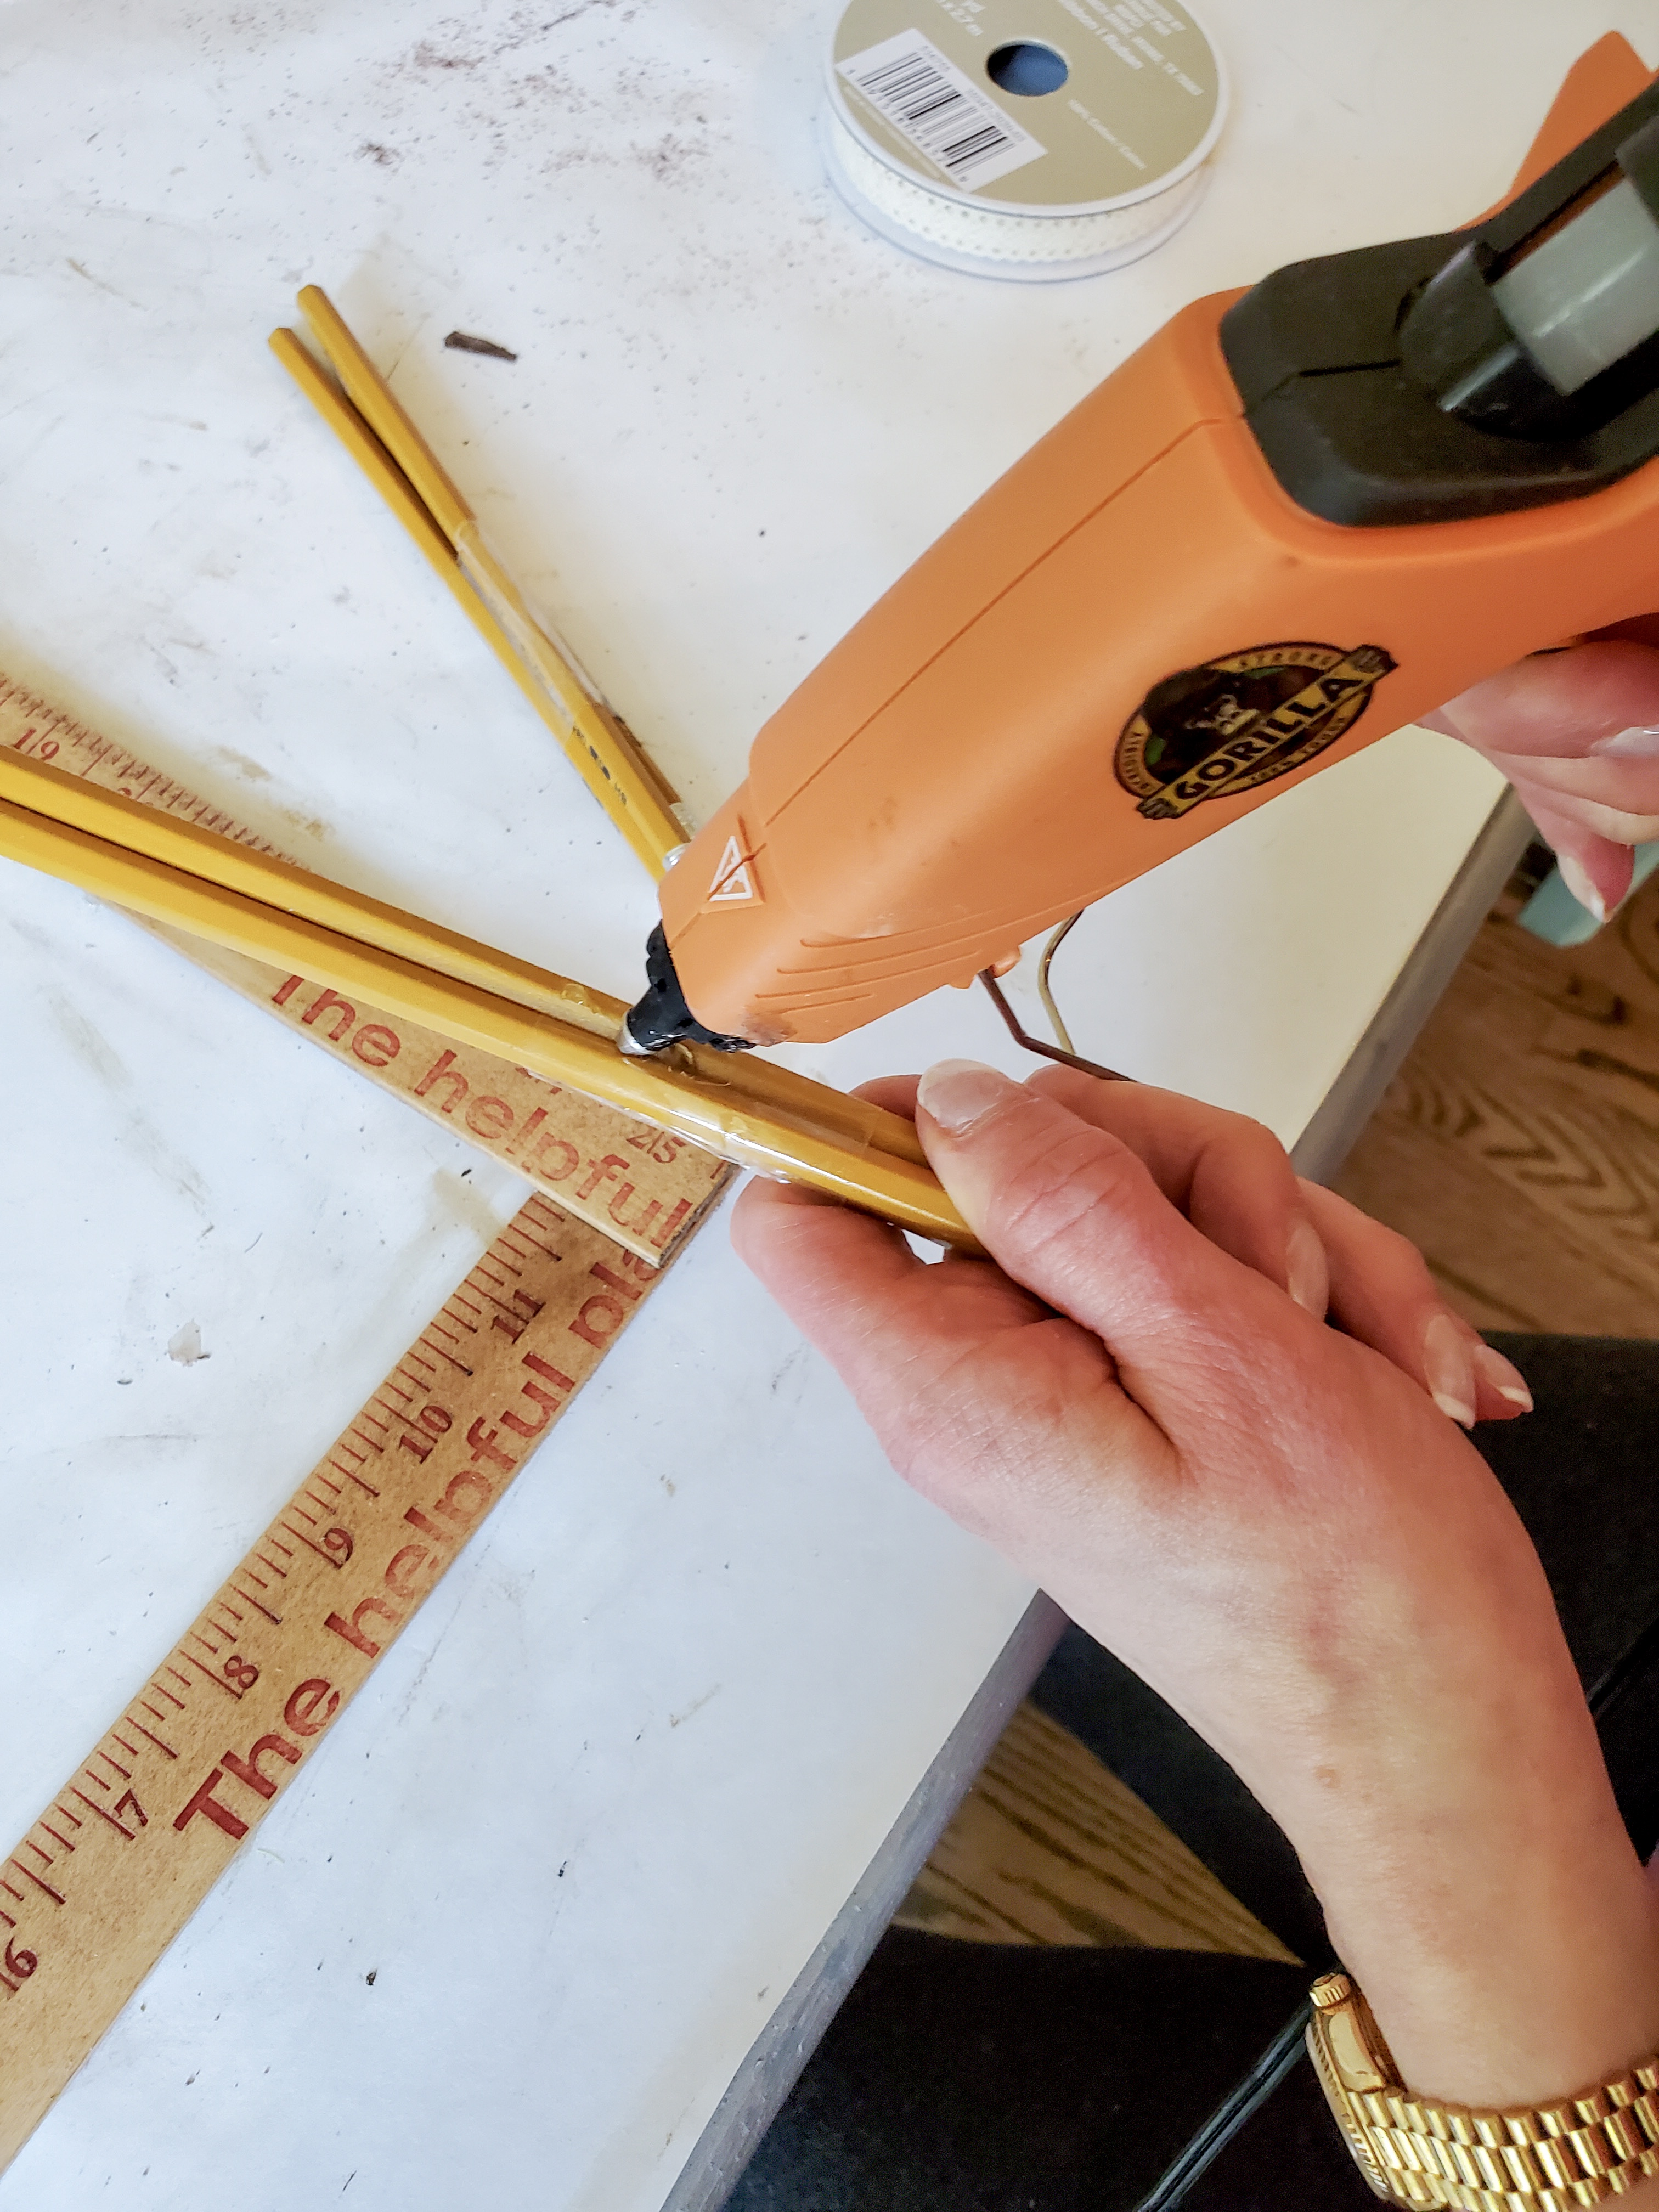
Gluing the Pencils and Adding Them to This Piece
Step 8: Adhere the Pencils to the Wood
Next, using the hot glue again, add glue to the back and secure the pencils to the wreath.
Hanging the Colorful Crayons to the Center
Step 9: Dangle Crayond grom the Middle
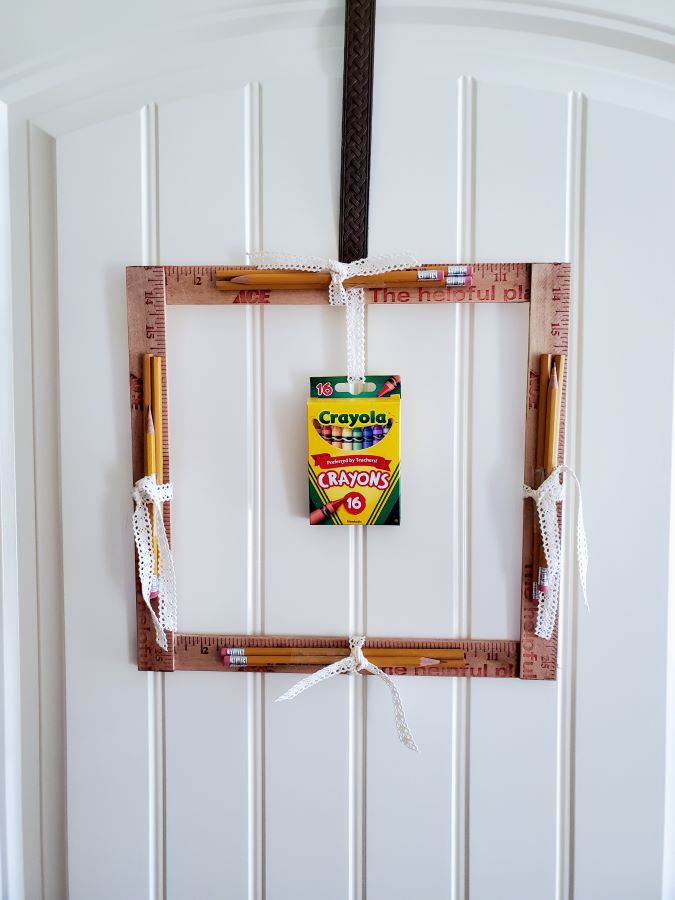
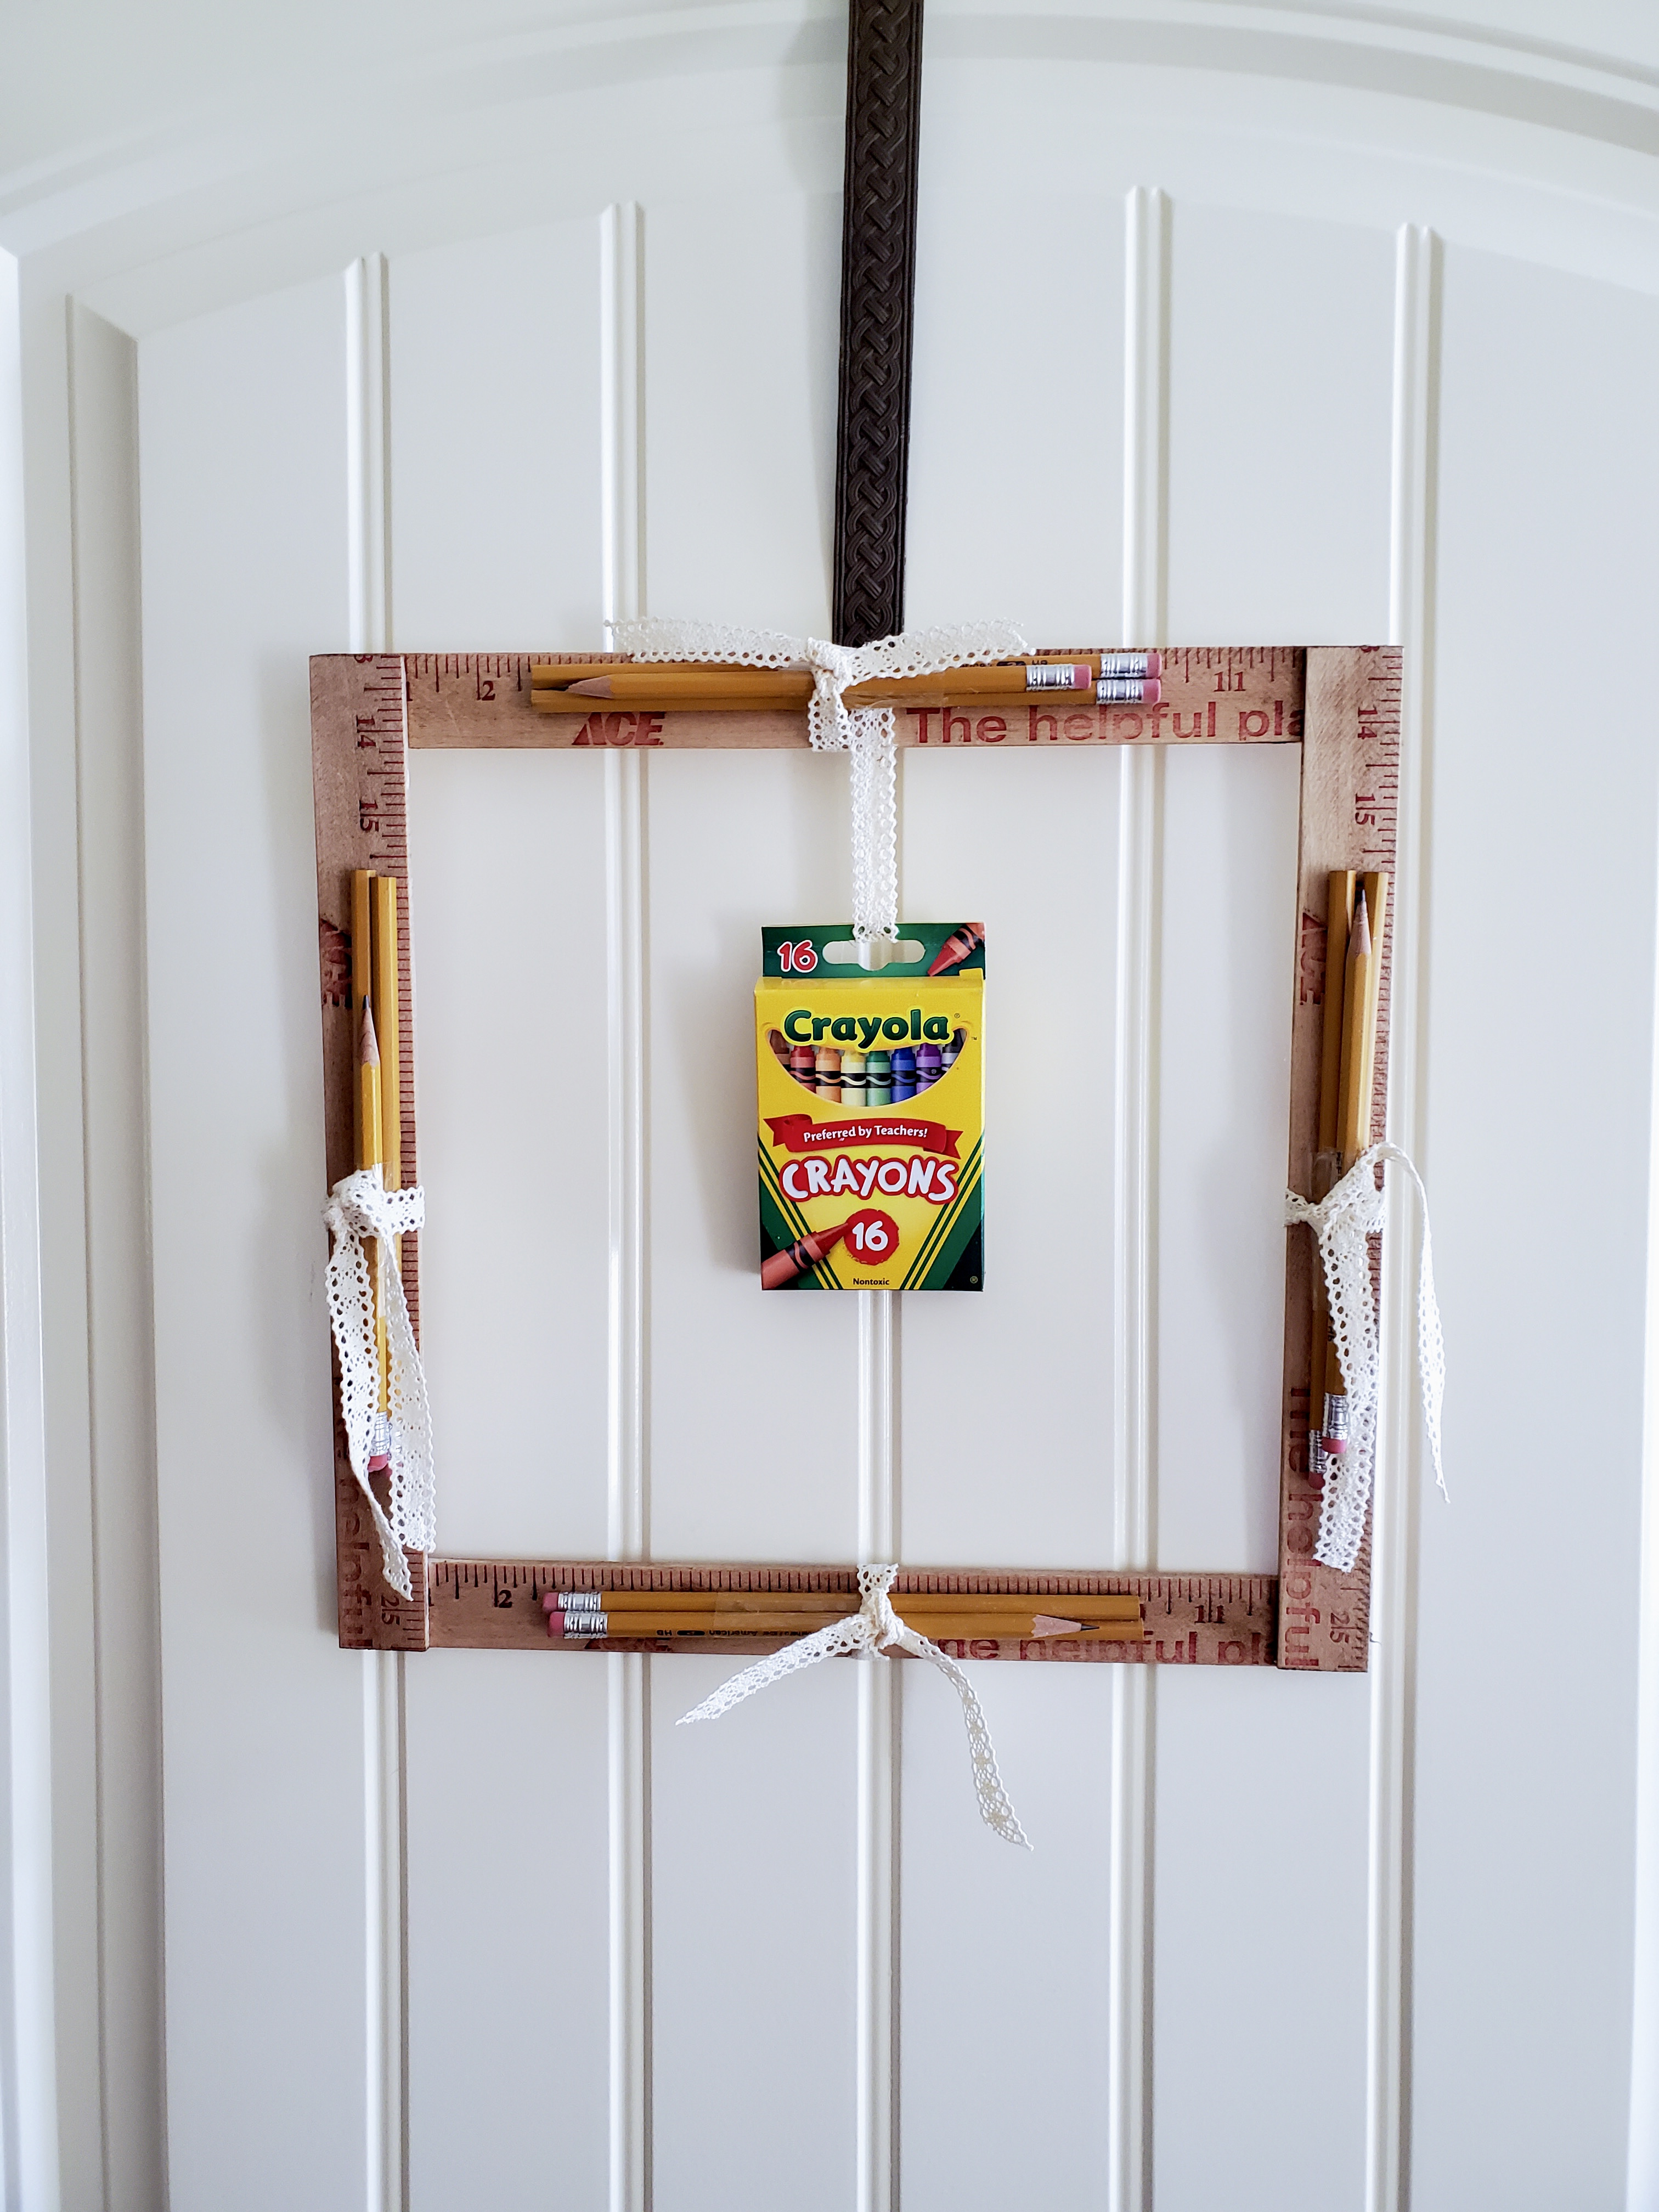
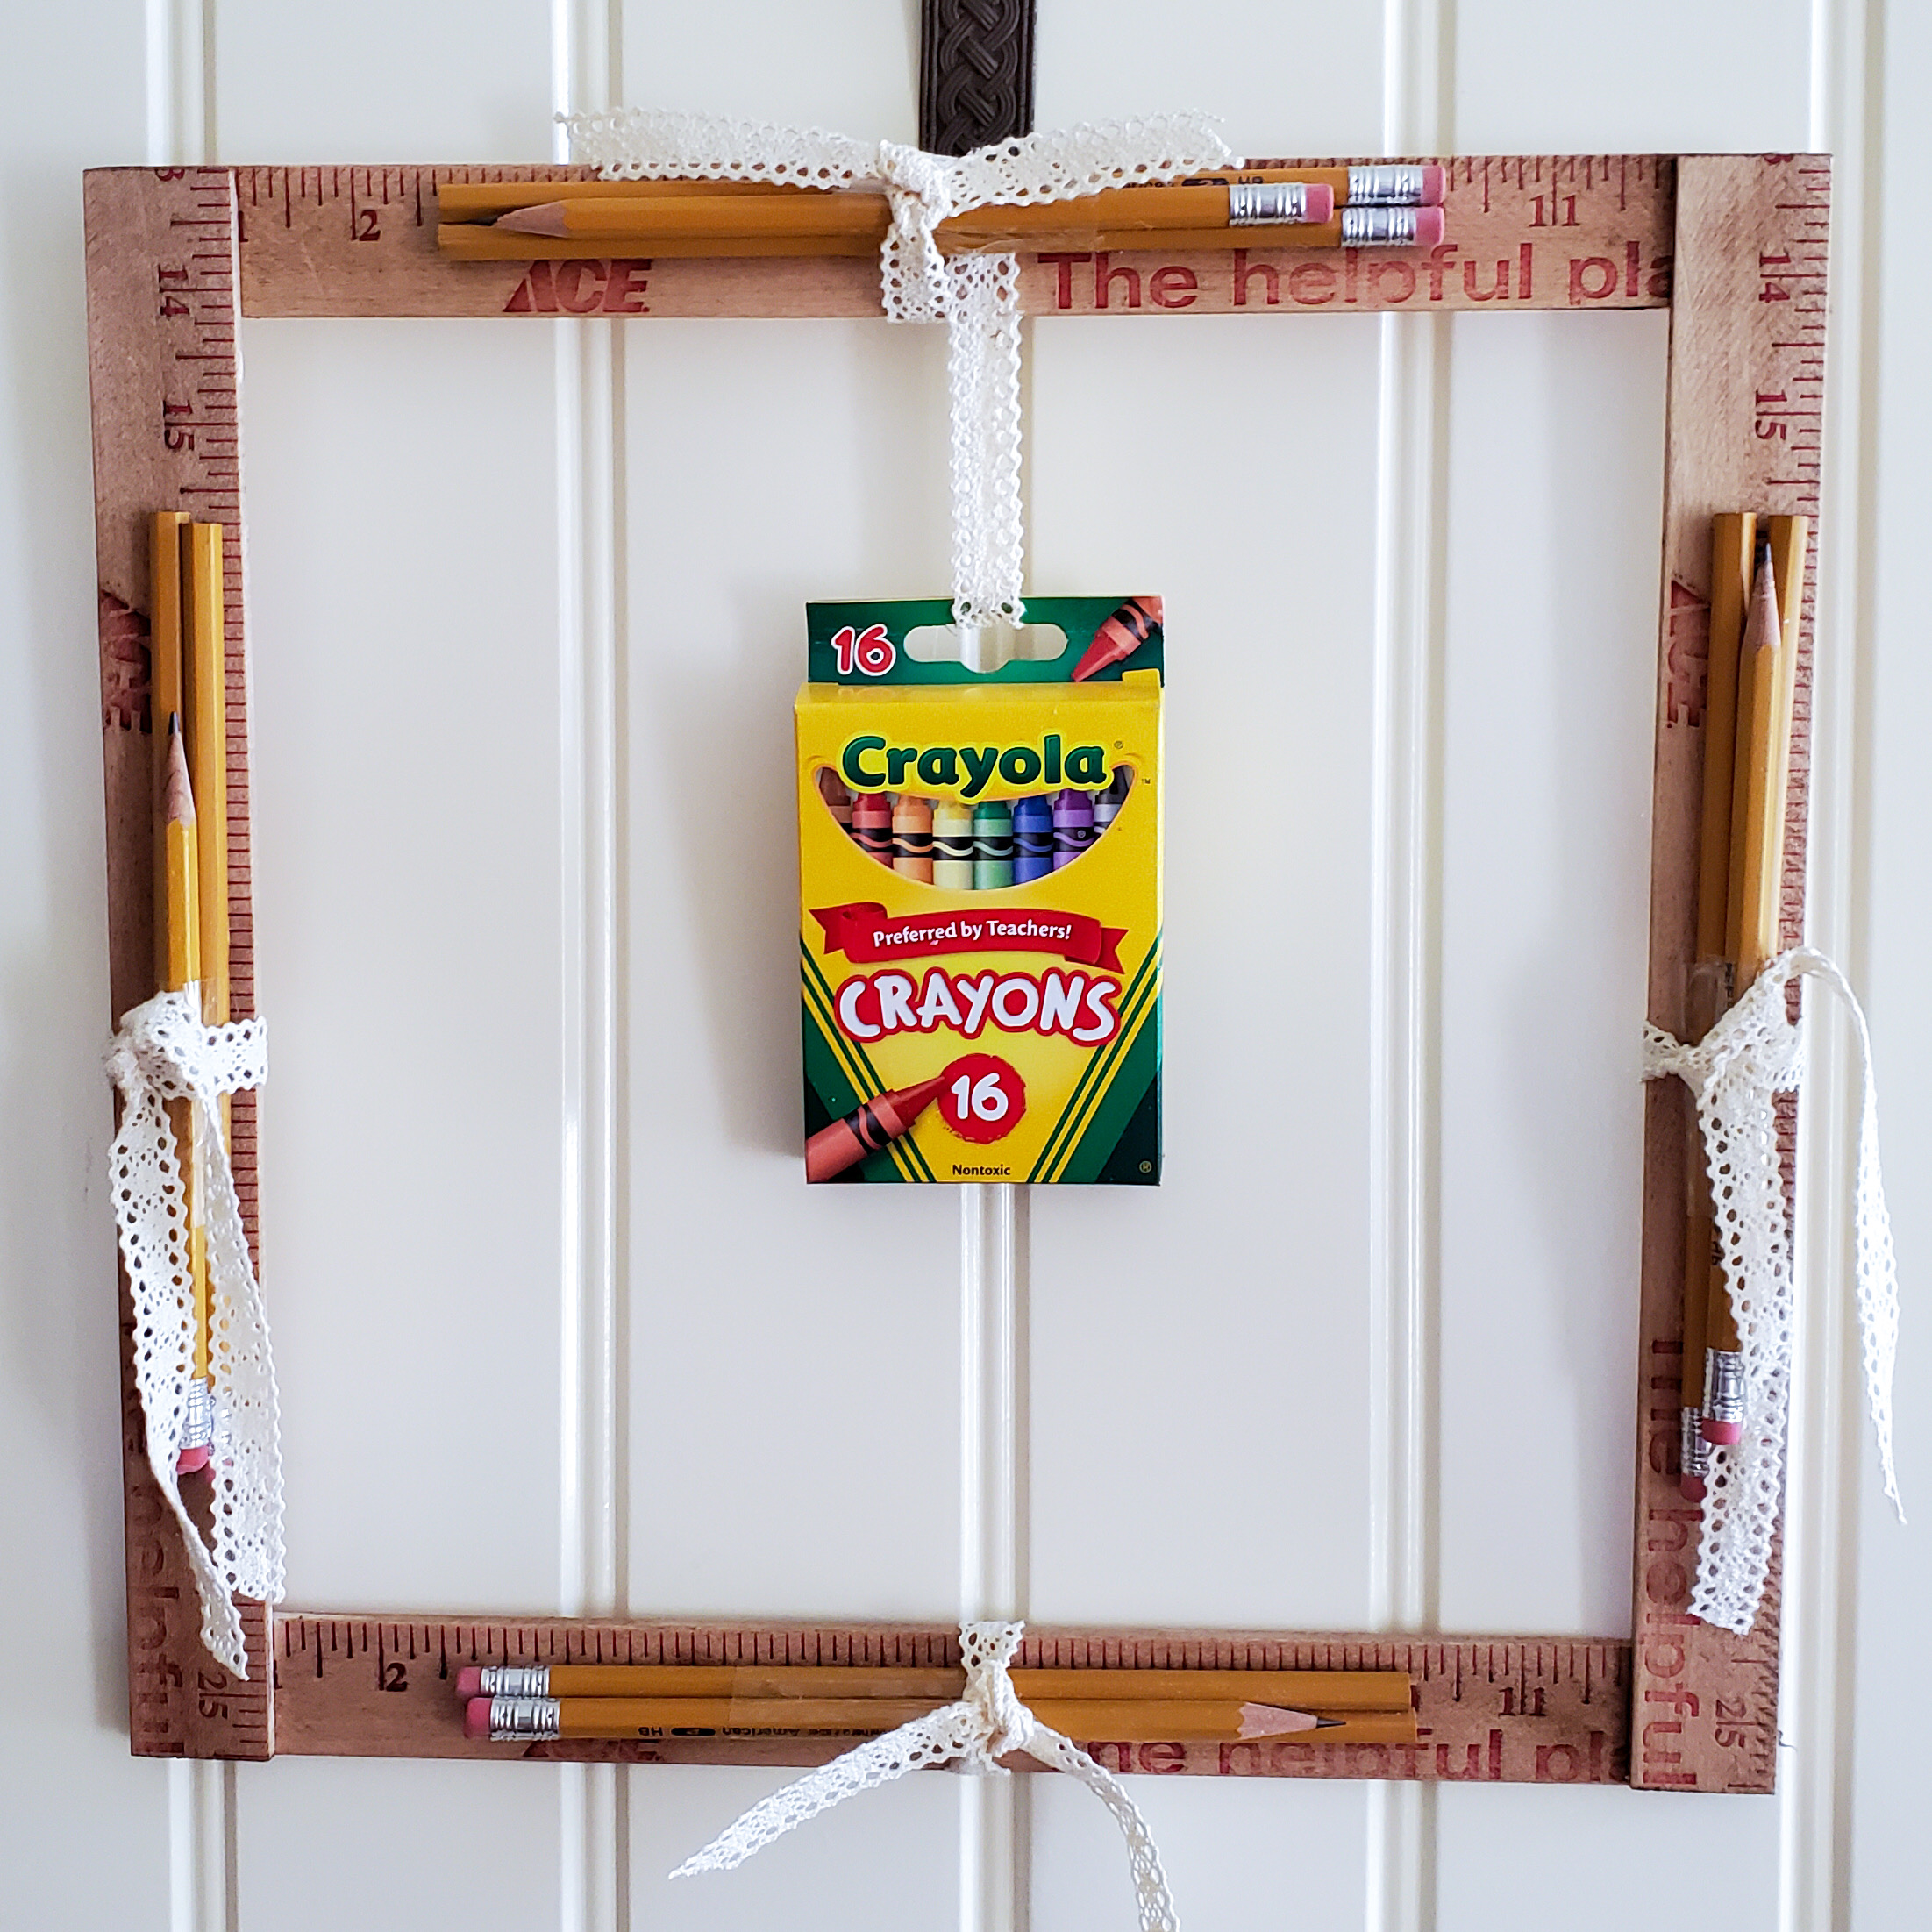
Because this is a back to school wreath, crayons are a must. Nothing says learning more then seeing these colorful pieces. So hanging these in the center adds memories to this project.

When adding these to the wreath, I slid the ribbon through the cutout where the crayons hang from in the store. Next, glue the piece of ribbon to the yard stick of the school wreath to hang. Glue the ribbon to the back as well.
Adding Ribbon To Hang on a Door
Step 10: Add Ribbon of Your Choice to Hang
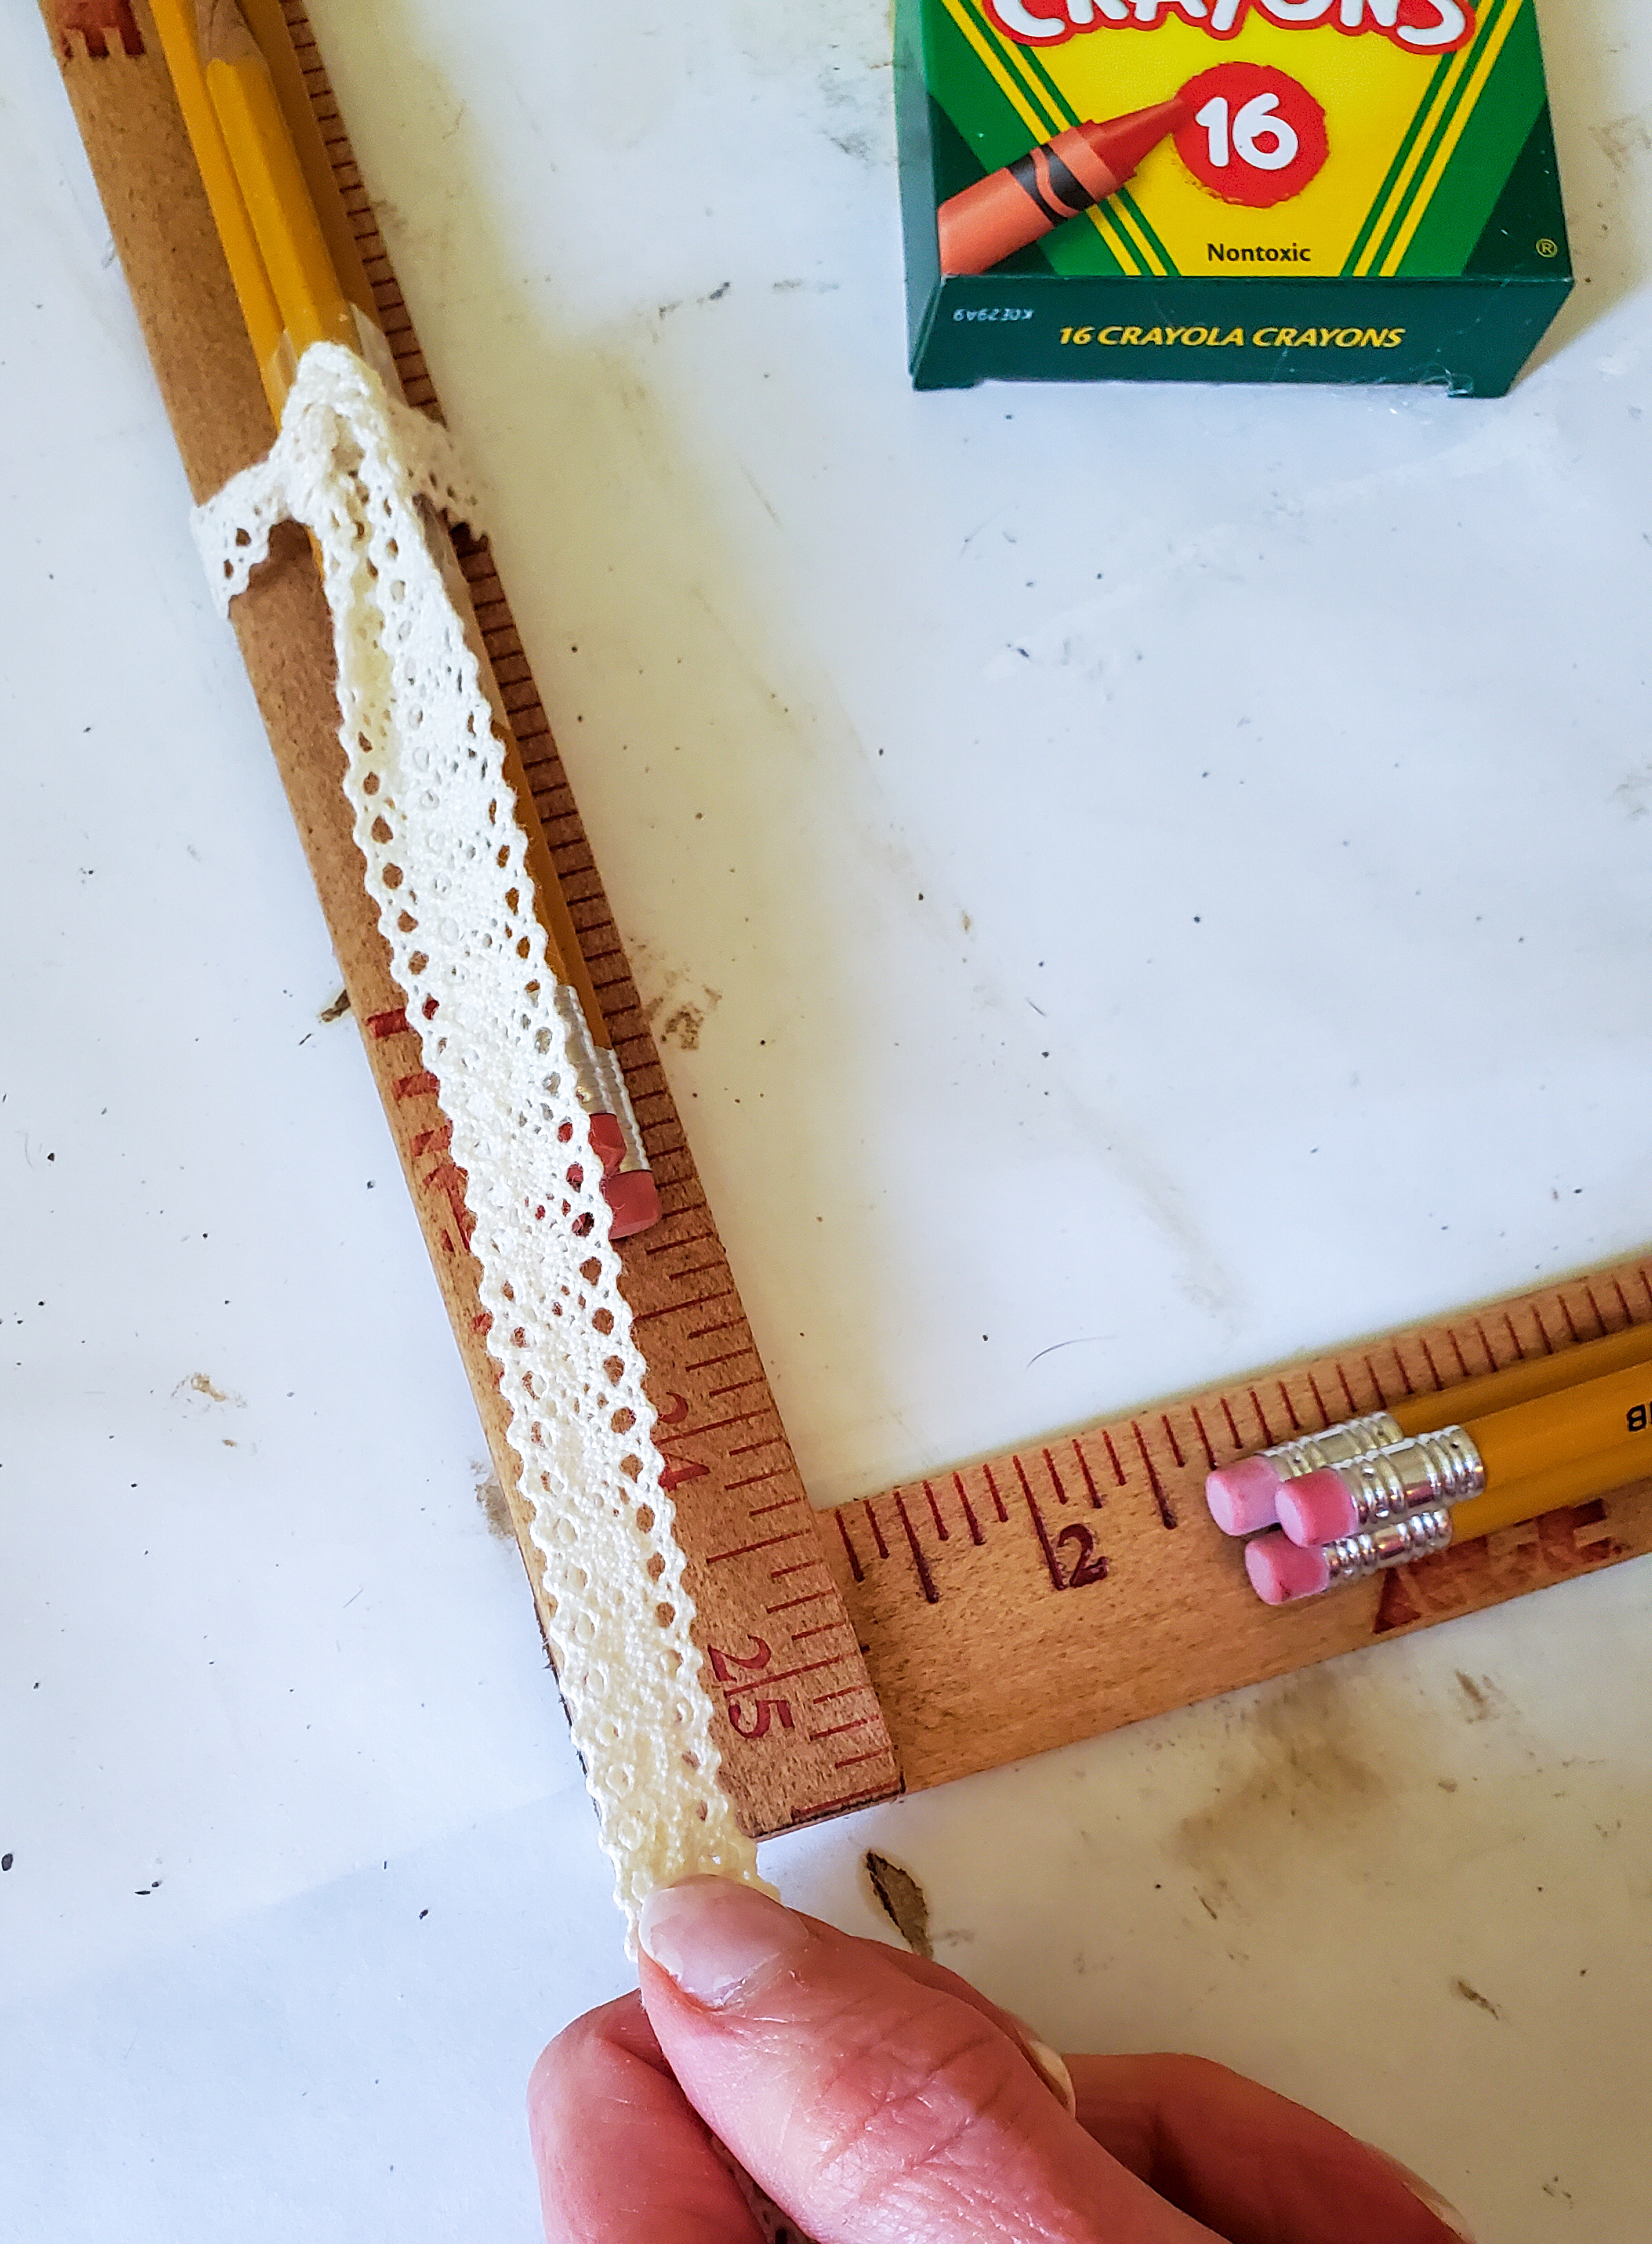
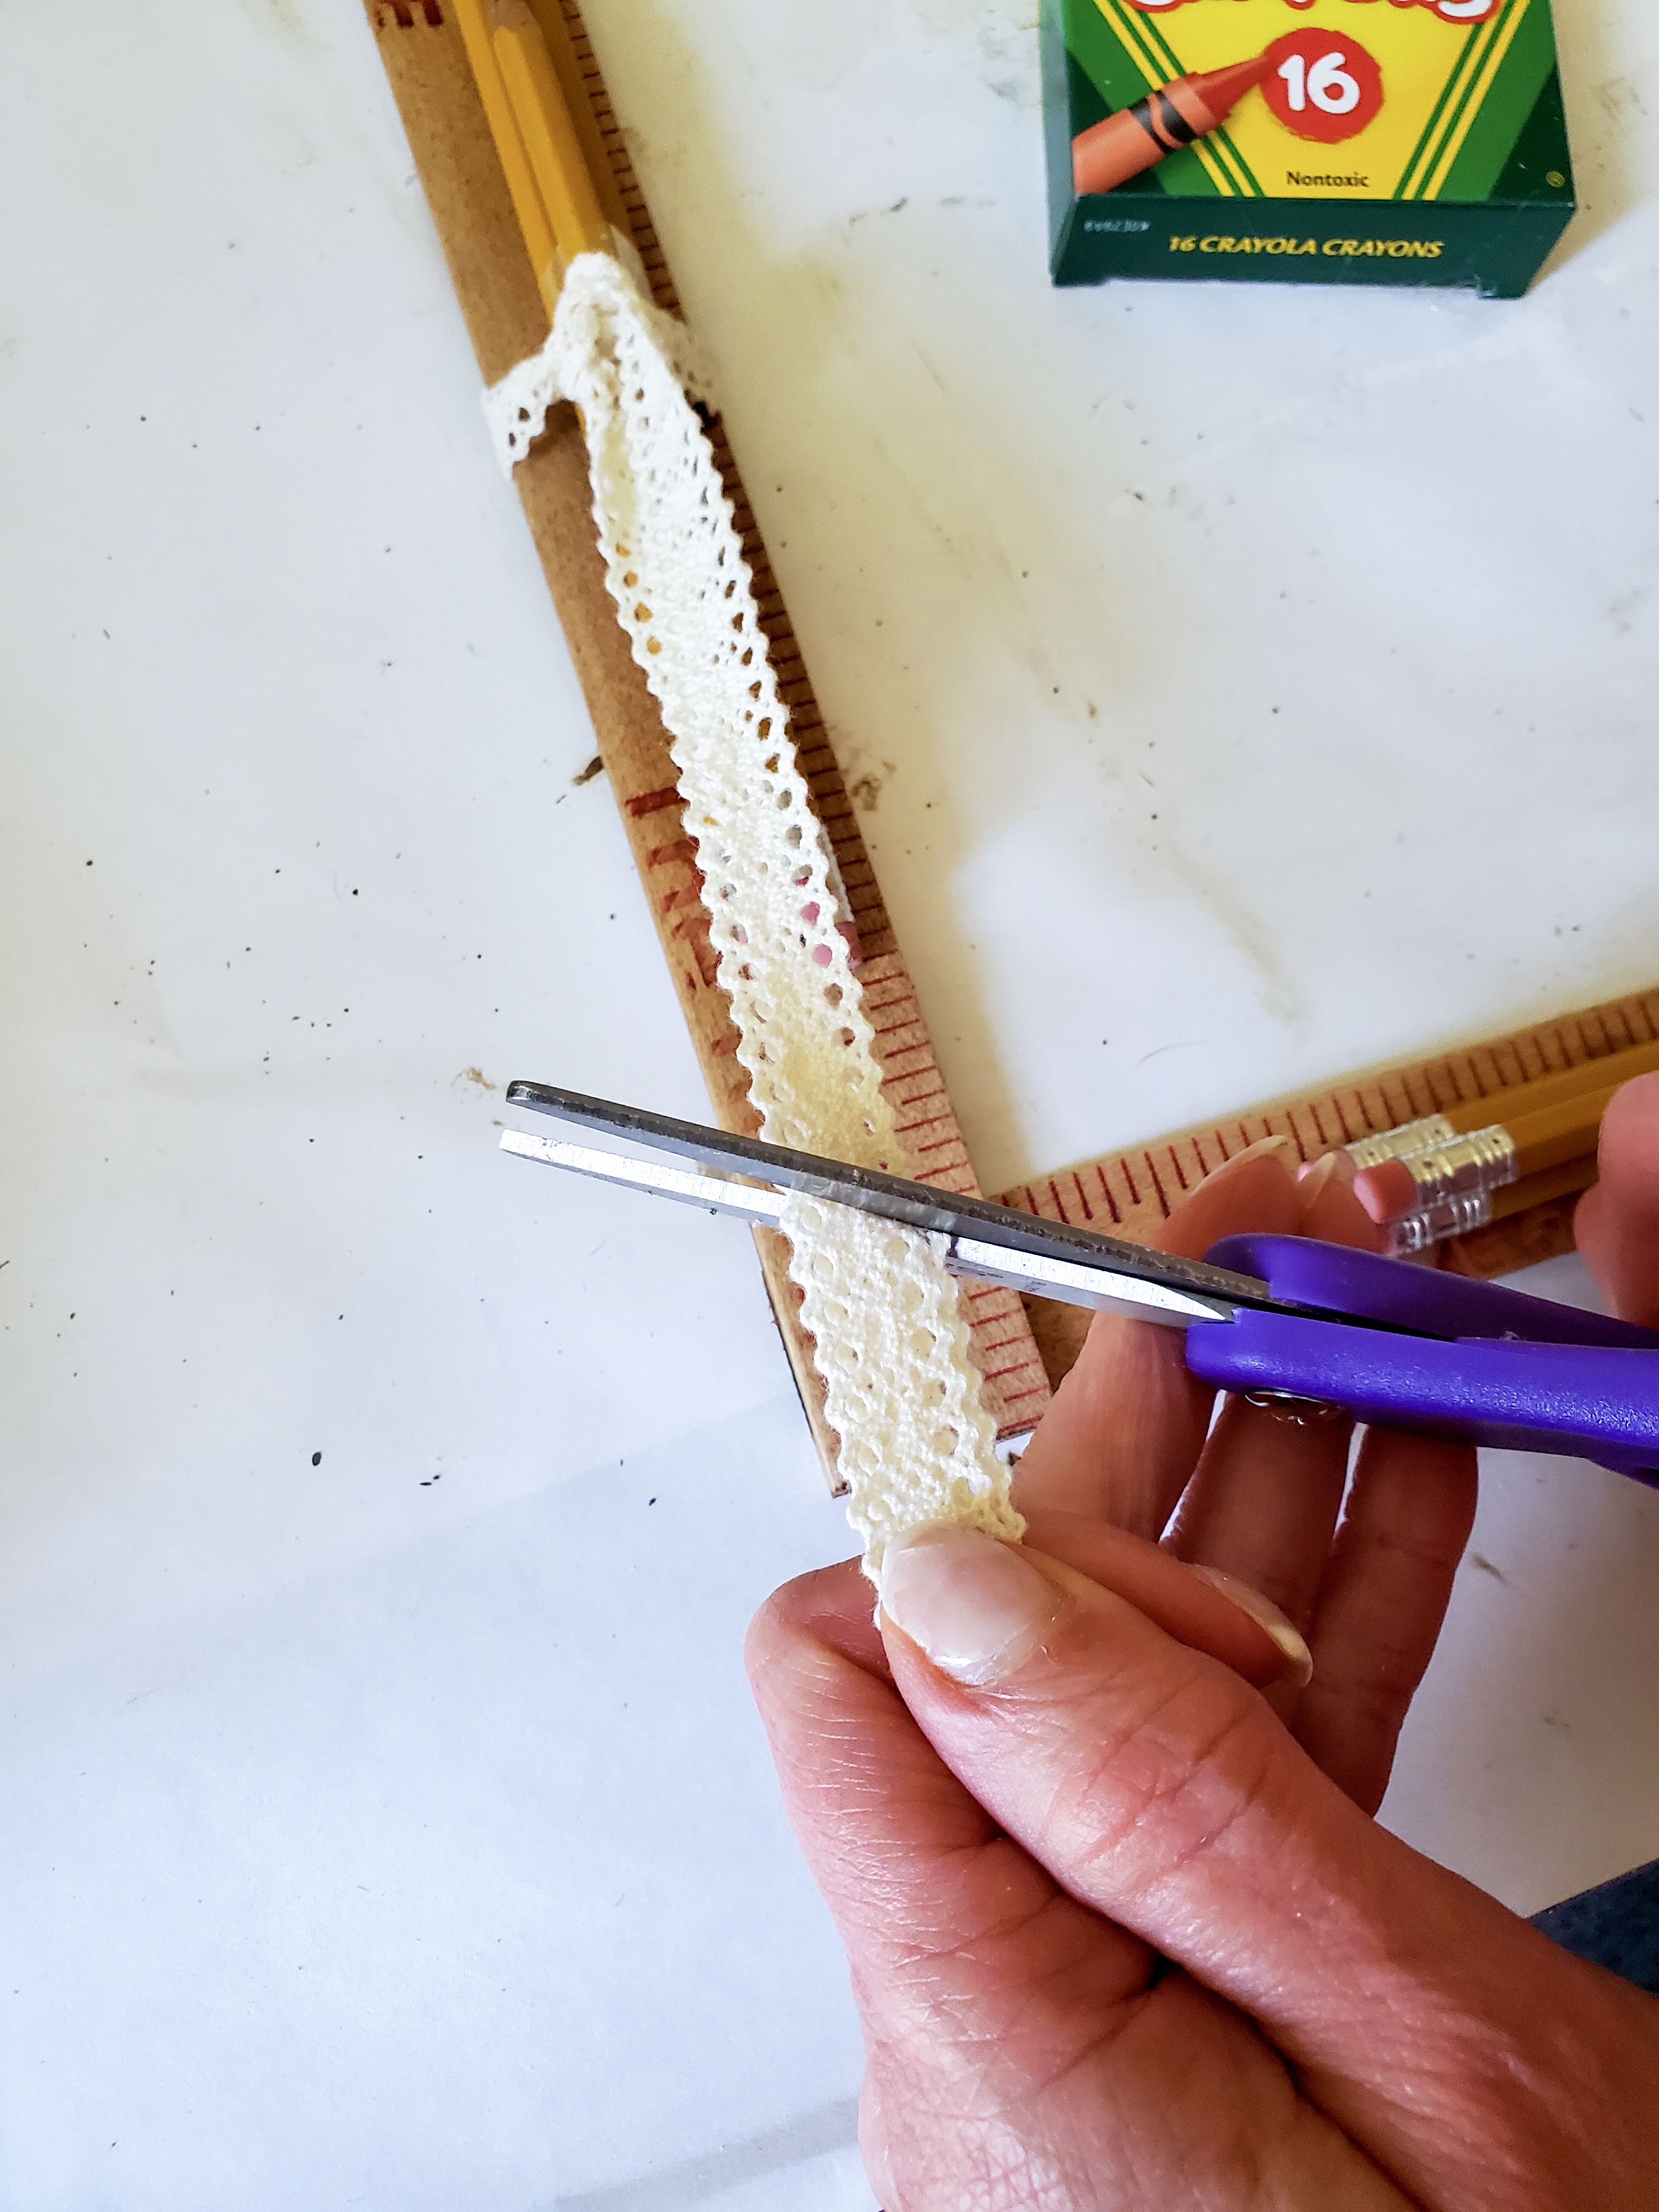
Lastly, using the same ribbon, I made a loop around each set of pencils and tied a knot. This adds a pretty touch to this simple wreath idea.
And here is a cute very inexpensive back to school wreath.
Additionally, this would also be a cute idea to make for child just starting school. They can use the pencils for their math, writing and spelling homework. The yard sticks will help them learn how to measure and read a ruler.

Pin It To Remeber It For Inspiration!


Cindy this is a super cute wreath! I love how you used all things back to school. And I had forgotten about using shoe polish for wax. Thanks for the great reminder!
Just adorable, Cindy!
Thank you Amy
Cindy, your back to school wreath is absolutely precious! You always come up with the best ideas! I can’t believe it’s almost time for school to start. Summer has flown by in a blink! Happy Tuesday, sweet friend!
Thank you sweet Shannon. Time sure flies
What a creative way to make a wreath. Love this Cindy!!
This is so cute, Cindy! If I was still teaching, I would make one for my classroom door.
My mom was a teacher and would have liked this too
Cute for classroom or homeshool room!
Thank you
This is adorable Cindy. On a teacher’s door would be so cute. I also thought this would be cute in a families home and put some hooks on it for backpacks when the kiddos come home. Super cute. You are so crafty. Have a good day. xoxo
Such a cute idea, Cindy. School days, school days….. xo Laura
Cindy, you come up with the best ideas for seasonal wreaths!! This is cute and not expensive to make at all. It’d be fun to make for my teacher. 🙂
Thanks for another fun wreath idea,
Hugs,
Barb 🙂
This is adorable! Tis the season!!
What an adorable back-to-school wreath! The box of crayons hanging from the center was a very cute choice for a focal point.
This is so cute and festive for the season, Cindy! I love it. It’s so hard to believe summer is almost over. I’m definitely ready for Fall but I know the littles are going to miss the lazy days on the beach. Hugs, CoCo
Time flies by. Summer has been crazy hot, humid with rain here.
We are ready for fall.
Thanks so much for sharing my back to school wreath
Thanks so much for sharing my back to school wreath
This is such a cute idea. My daughter is a teacher I am so making her one. Thank you.
This Back to School wreath is so sweet! This is something that I would love to make for my classroom. Pinned!
Took 10 minutes and the supplies $4
Thank you so much for sharing my back to school wreath!
What a cute wreath! It’s so creative!