Dining Room Table Update Eco-Friendly
Let’s see a dining room table update a dining room table is eco-friendly with one of our tutorials. This project is a great way to keep pieces of furniture out of landfills so it’s eco-friendly and budget-friendly.
Why Update Furniture With Paint?
Updating furniture with paint is a great way to give new life to old, worn, or outdated pieces. There are several benefits to updating furniture with paint:
- Cost-effective: Buying new furniture can be expensive, but painting old furniture is a cost-effective way to update your decor without breaking the bank.
- Customization: Painting furniture allows you to customize it to fit your style and taste. You can choose any color, finish, or design that you like, giving you the flexibility to create a one-of-a-kind piece that perfectly matches your space.
- Eco-friendly: By updating old furniture with paint, you’re reducing waste and promoting sustainability. Rather than throwing out old furniture and buying new, you can give it a new life and keep it out of the landfill.
- Easy to do: Painting furniture is a relatively easy DIY project that can be done with minimal tools and materials. With a little bit of time and effort, you can transform a drab piece of furniture into a beautiful and unique focal point in your home.
Overall, updating furniture with paint is a practical and enjoyable way to breathe new life into old pieces while also adding a personal touch to your home decor.
Can I Paint My Table Without Sanding?
One question many may have is can I paint a table without sanding to update the piece? The answer is yes, milk paint is an option as well as chalk paint.
Sanding isn’t necessary if the furniture is in good condition and isn’t peeling or chipping. However, be sure to wipe any dust and debris from the furniture before painting.
Here Are Four Ways Of Painting Furniture Without Sanding
4 Ways for Painting Furniture Without Sanding
- Black Dog Salvage Furniture Paint: This paint is made in the USA, covers a multitude of surfaces, and is a water-based acrylic paint
- Mineral Paint: with mineral paint, you don’t need to prime beforehand. However, it needs to be cleaned well before updating.
- Chalk Paint: Chalk paint is a great way to paint any furniture to change its look.
- Milk Paint: is also a great idea to update furniture pieces by mixing with a bonding agent
- Bonding Primer: The best primers will often say no sanding is necessary and will adhere to almost any shiny surface. Such as glass, metal, tile, etc. Primers like Kilz and Zinsser are especially good for bonding to begin your furniture painting.
Painting With Mineral Paint
To begin with, this is my first time using Dixie Belle chalk mineral paint I truly have fallen in love. Can you fall in love with a product? Well, I have truly fallen for this paint!
I have been using other chalk paint for years. I have many cans in my craft/office space as proof. In fact, shelves are full. However, trying this product has been on my radar for quite some time and I am here to tell you it’s amazing.
Why Work With This Product
Also, this mineral paint glides on like silk, excuse the pun. To say I am beyond impressed is an understatement.
As an avid painter, I was drawn to Dixie Belle not only for their incredible paint, but also for their wide range of brushes, waxes, glazes, and more. And when I saw that they offered gilding wax in so many beautiful colors, I couldn’t resist purchasing one for my latest painting project.
Products Needed:
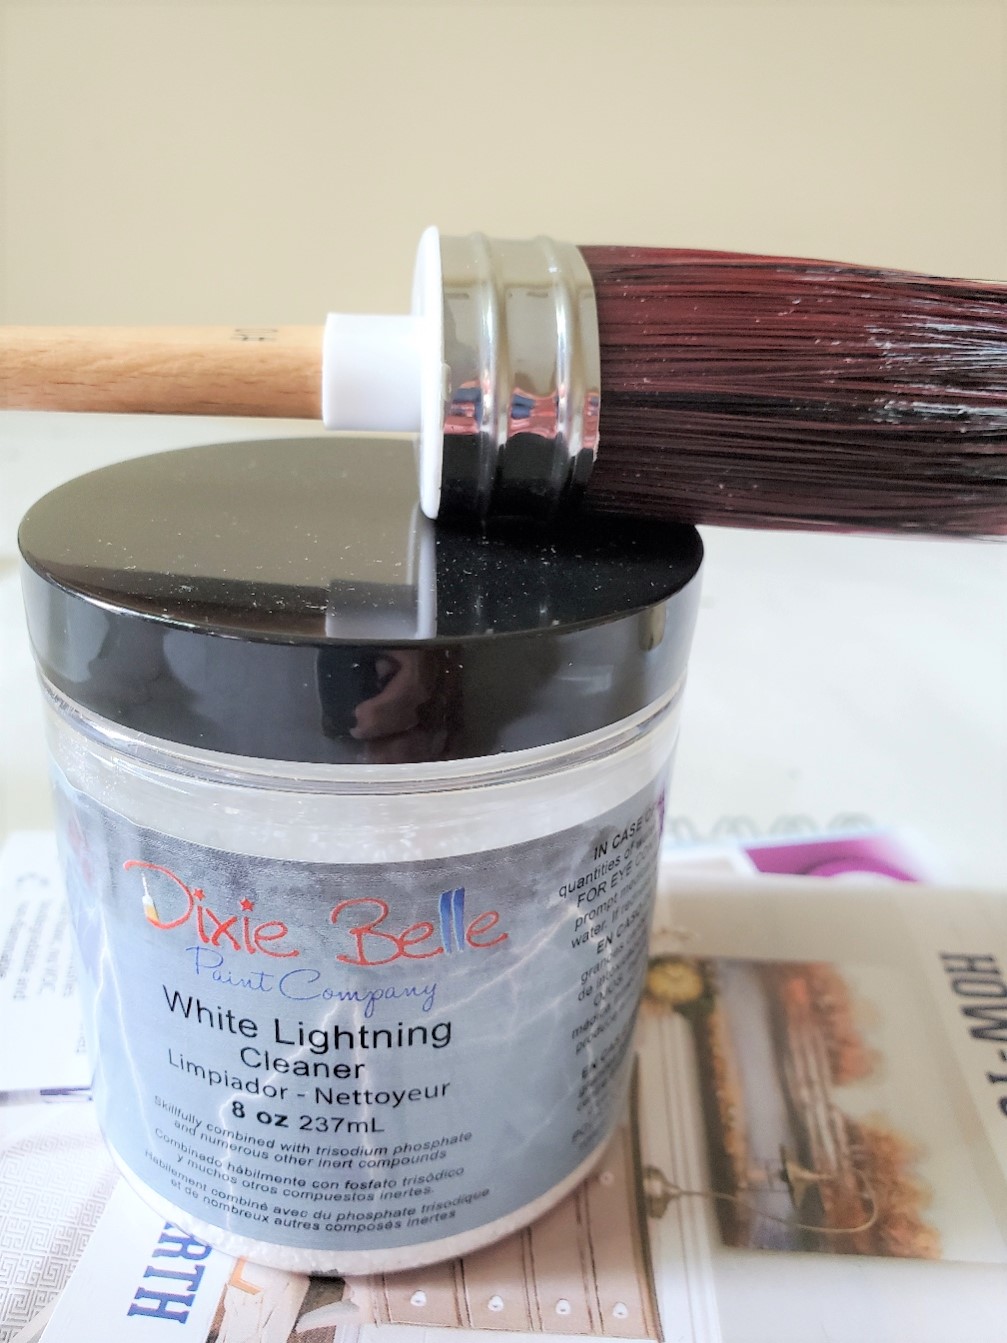
- White Lightening from Dixie Belle
- Dixie Belle Boss
- Chalk Mineral paint color of your choice from Dixie Belle
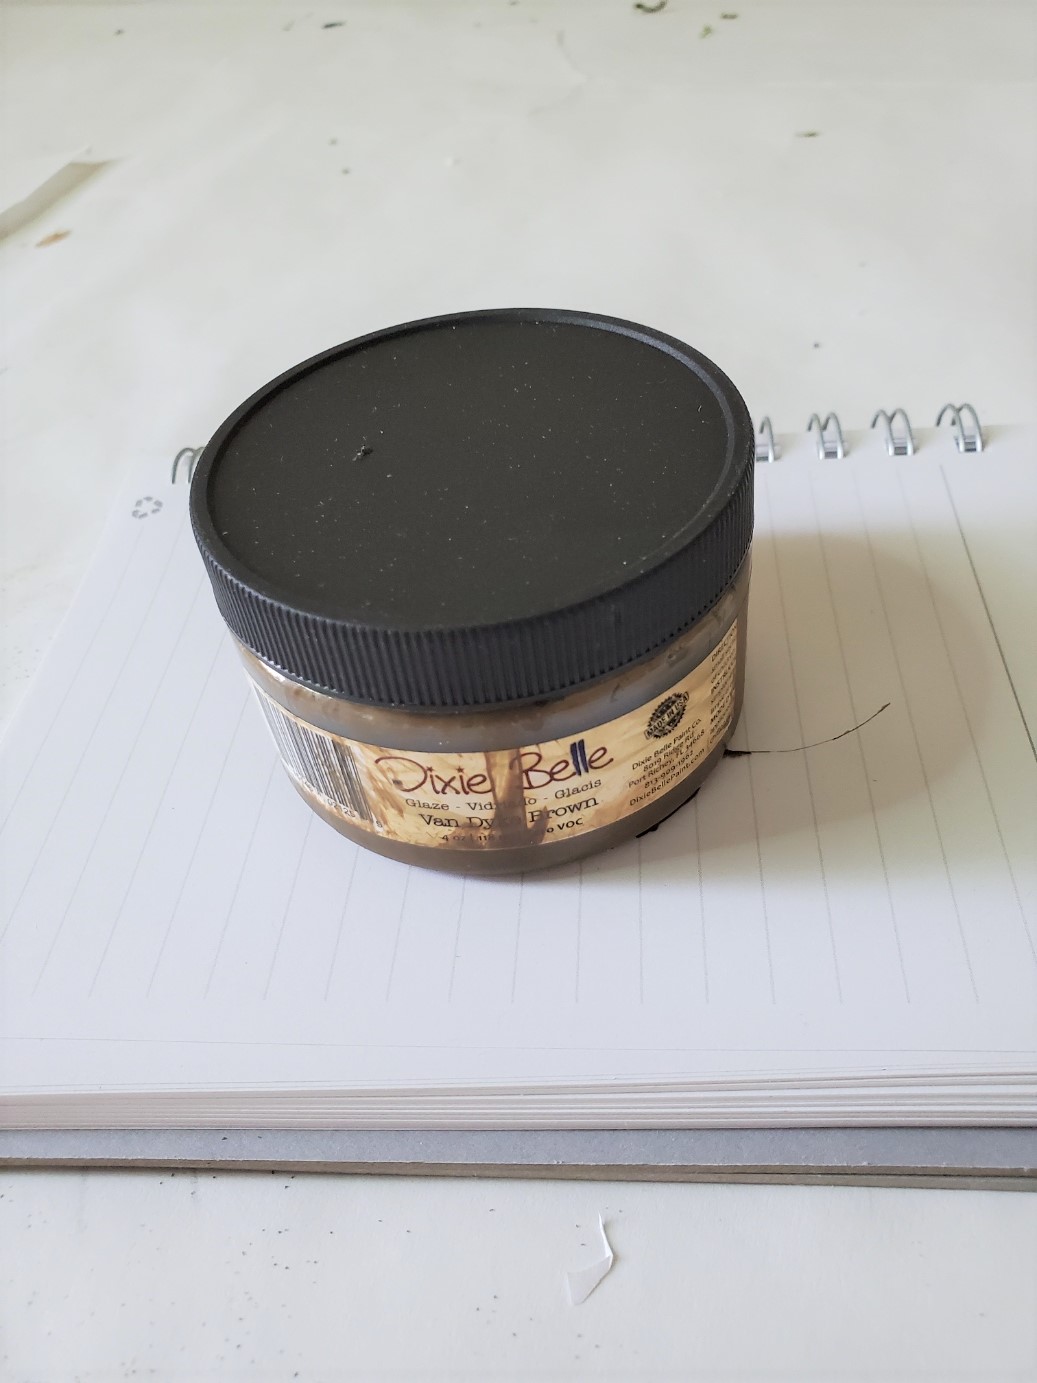
- Dixie Belle Glaze Van Dyke brown
- Rags
- Chip brush
- Dixie Belle synthetic paint brush
- Bucket
- Water
- Continuous Mist Bottle
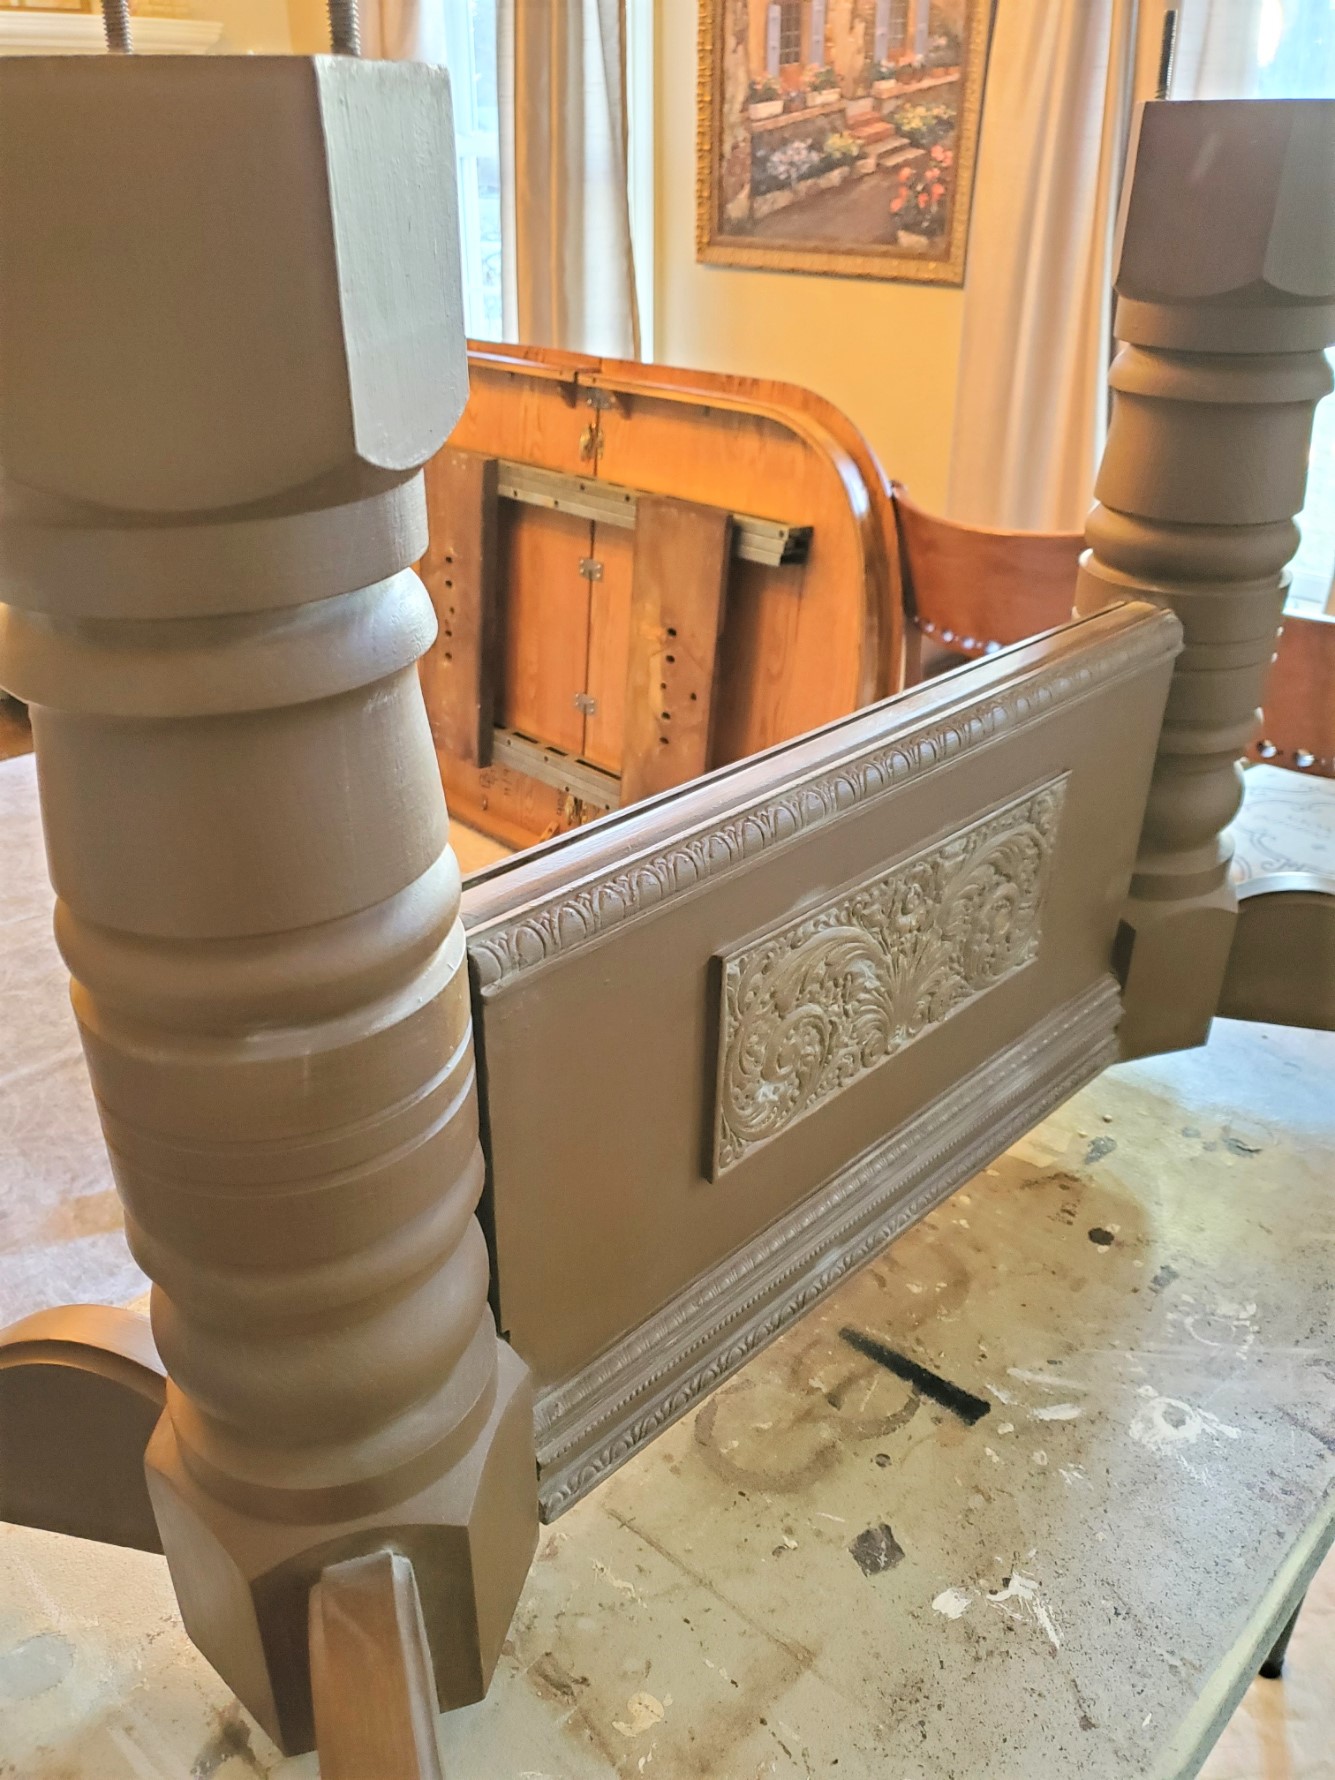
Cleaning The Table Base
Step 1: A Perfect Finish: Clean the Table Base
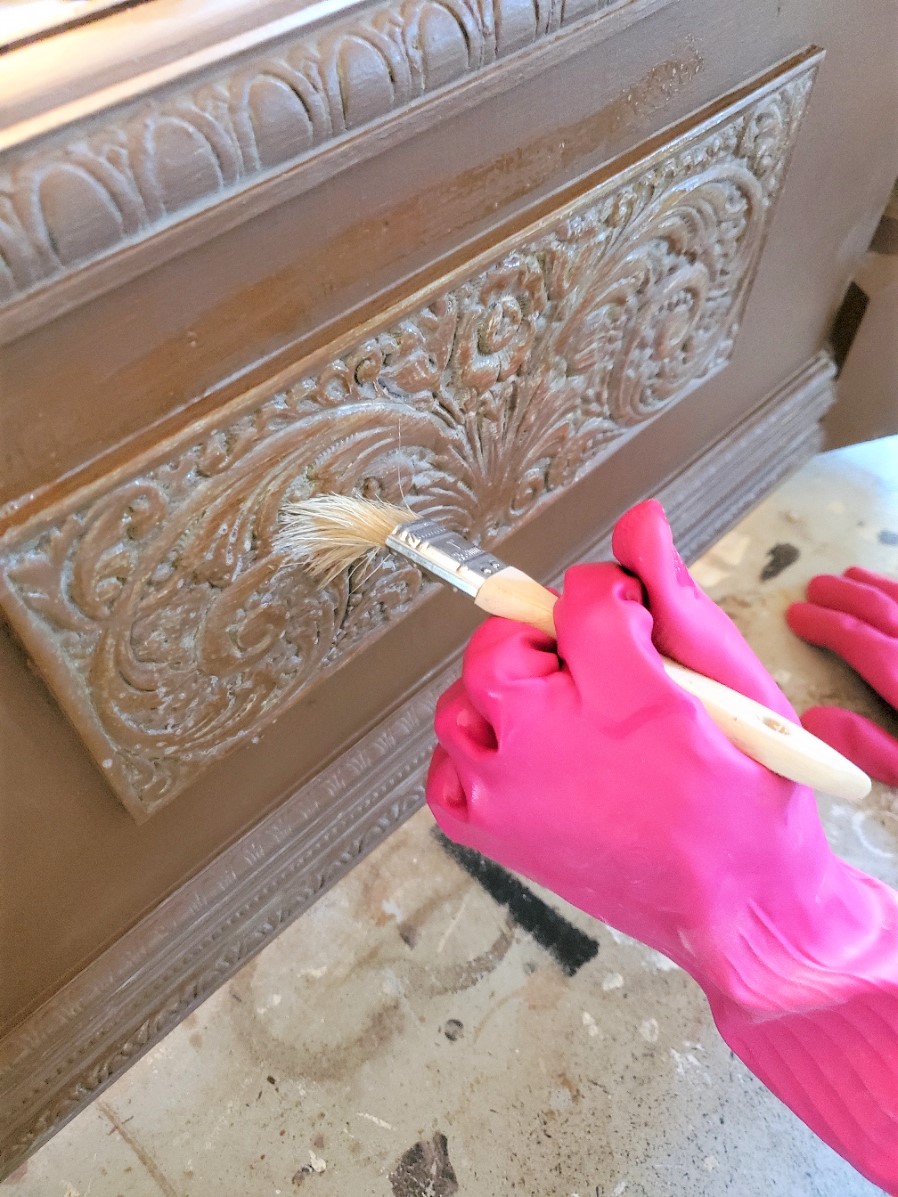
First thing, it’s especially important to clean the piece well. For this process using the product White Lightening is your best choice before applying the paint. White Lightening will degrease and remove all debris from your furniture.
Applying this to the table base is particularly important to remove any residue from the waxes I applied. This is very easy to apply with a chip brush and make sure this product gets in all the grooves. It’s also important to wear gloves during this process.
After applying, grab a bucket of warm water and wipe well with a rag to remove any residue to get ready to apply paint. Also, it’s important to let the piece of furniture dry. I did this step twice to make sure everything was removed.
Adding Boss To The Table Base Before Painting
Step 2: Stop Bleed Through from Dark Paint
Next, I used the product Boss to block bleed-through because my furniture piece is painted a dark brown. This product also blocks odors and stains. I applied two coats allowing too dry in between each coat.
This product is also easy to apply and work with for a painting project. It’s amazing how well this works and because I took the time to use Boss, I am truly amazed at how little paint was used for my furniture paint project.
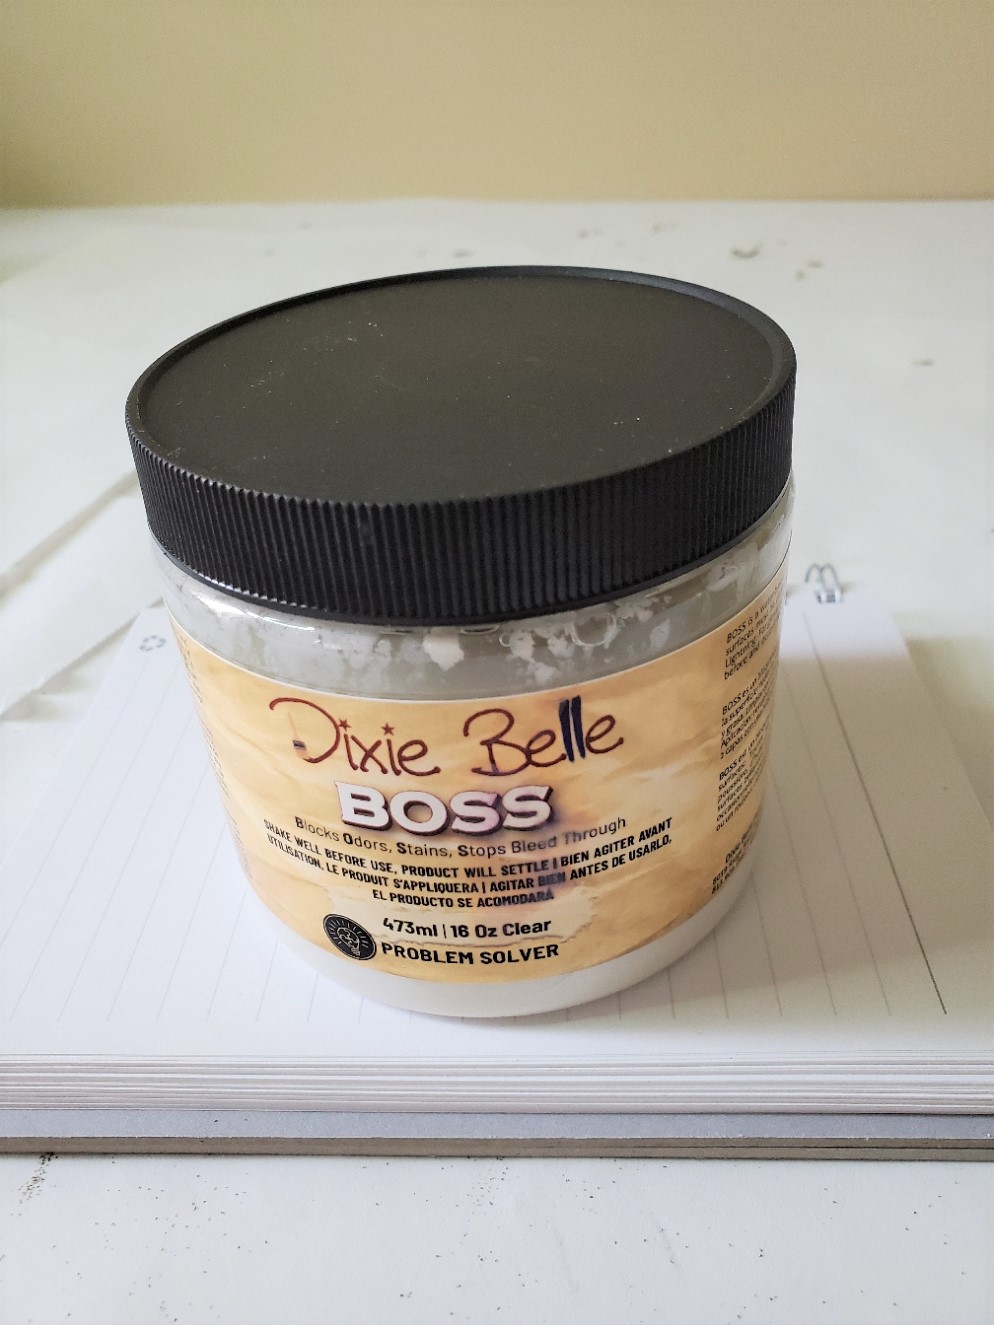
Generally, I’m scent-sensitive, and the smell of this product didn’t bother me at all. In the end, the smell is not bad at all.
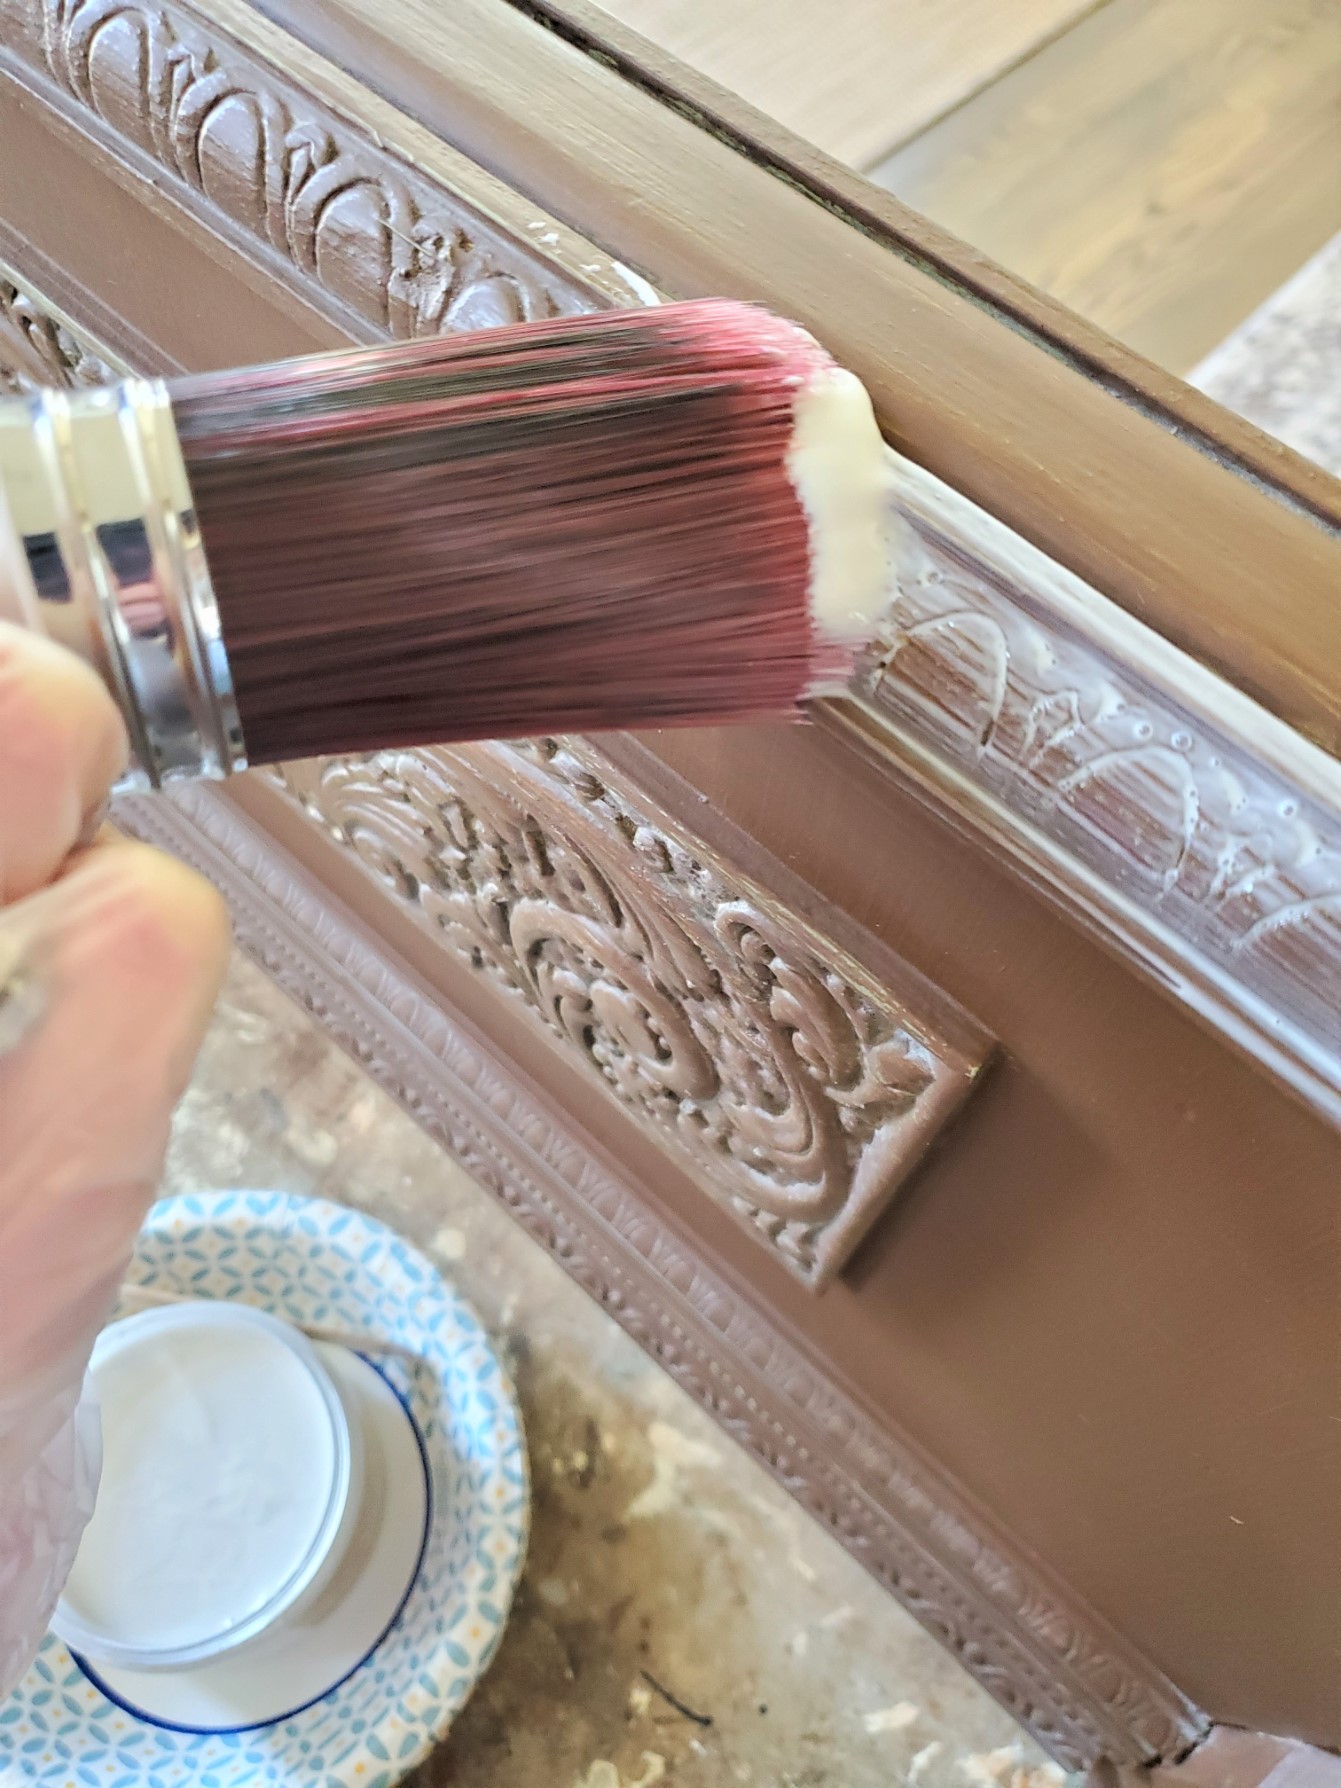
Paint Application
Get A Smooth Finish: Furniture Project
Now I began applying my paint to my table to add a new look. Dixie Belle also sells great synthetic brushes to apply their product.
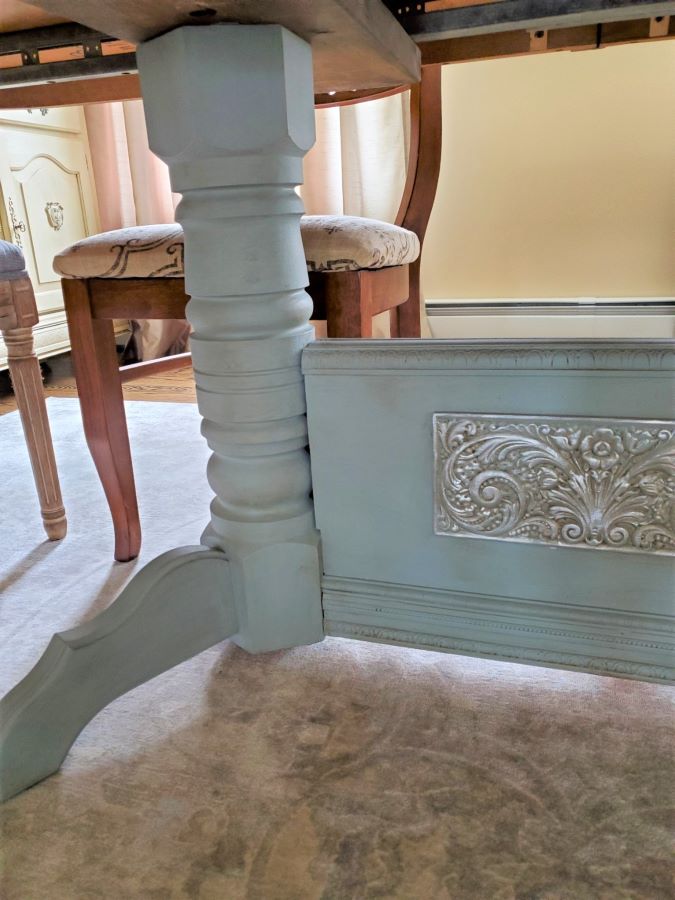
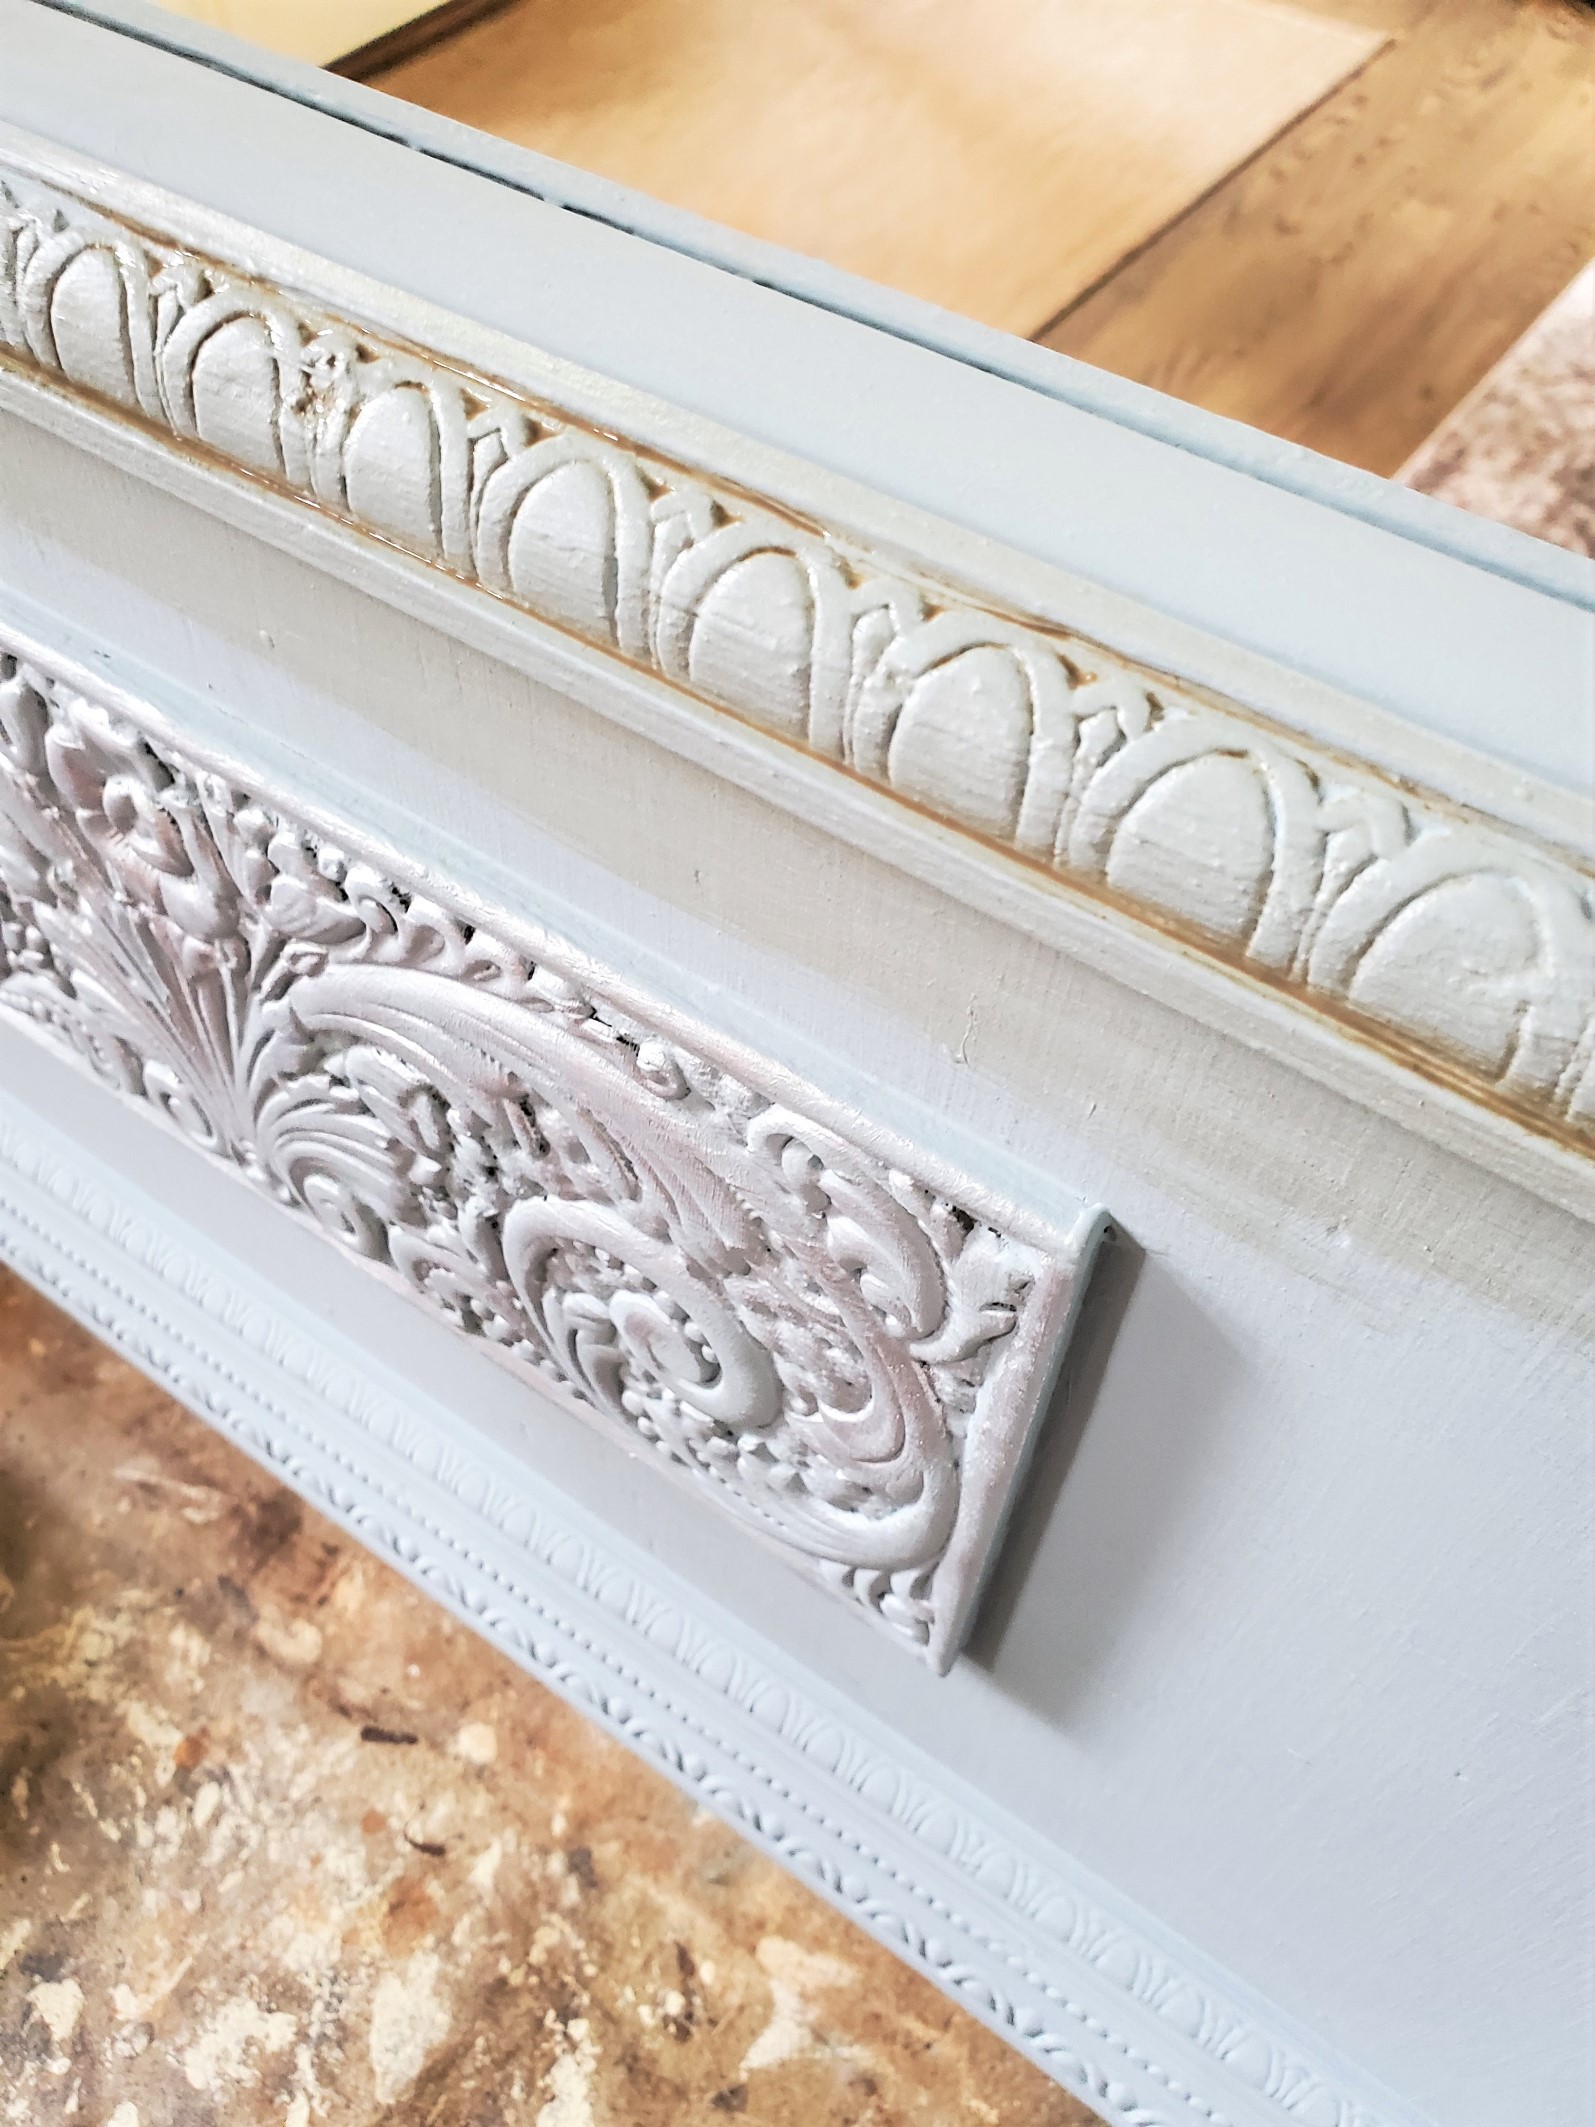
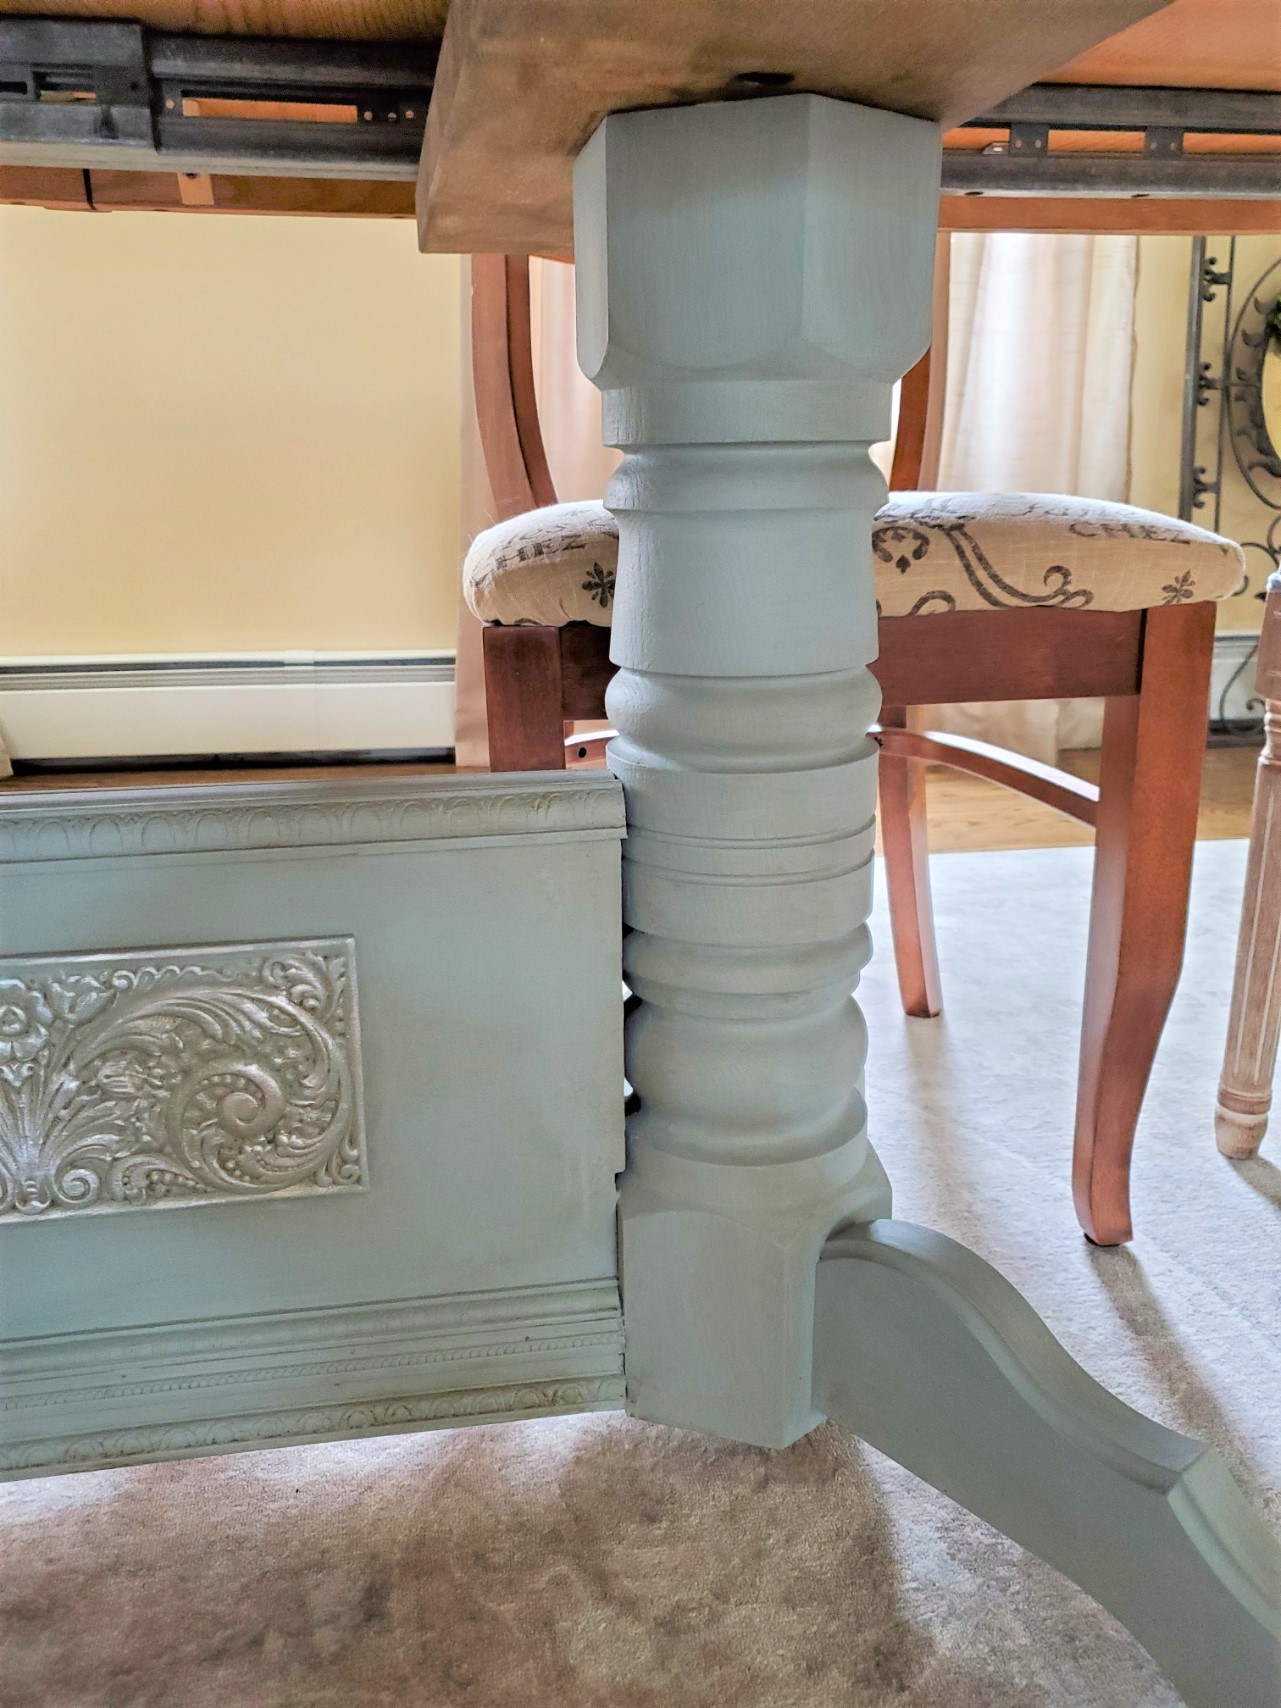
For my paint choice, I’m using Savannah Mist. This color is light blue with gray undertones. It’s a beautiful soft color and I can see myself using this again.
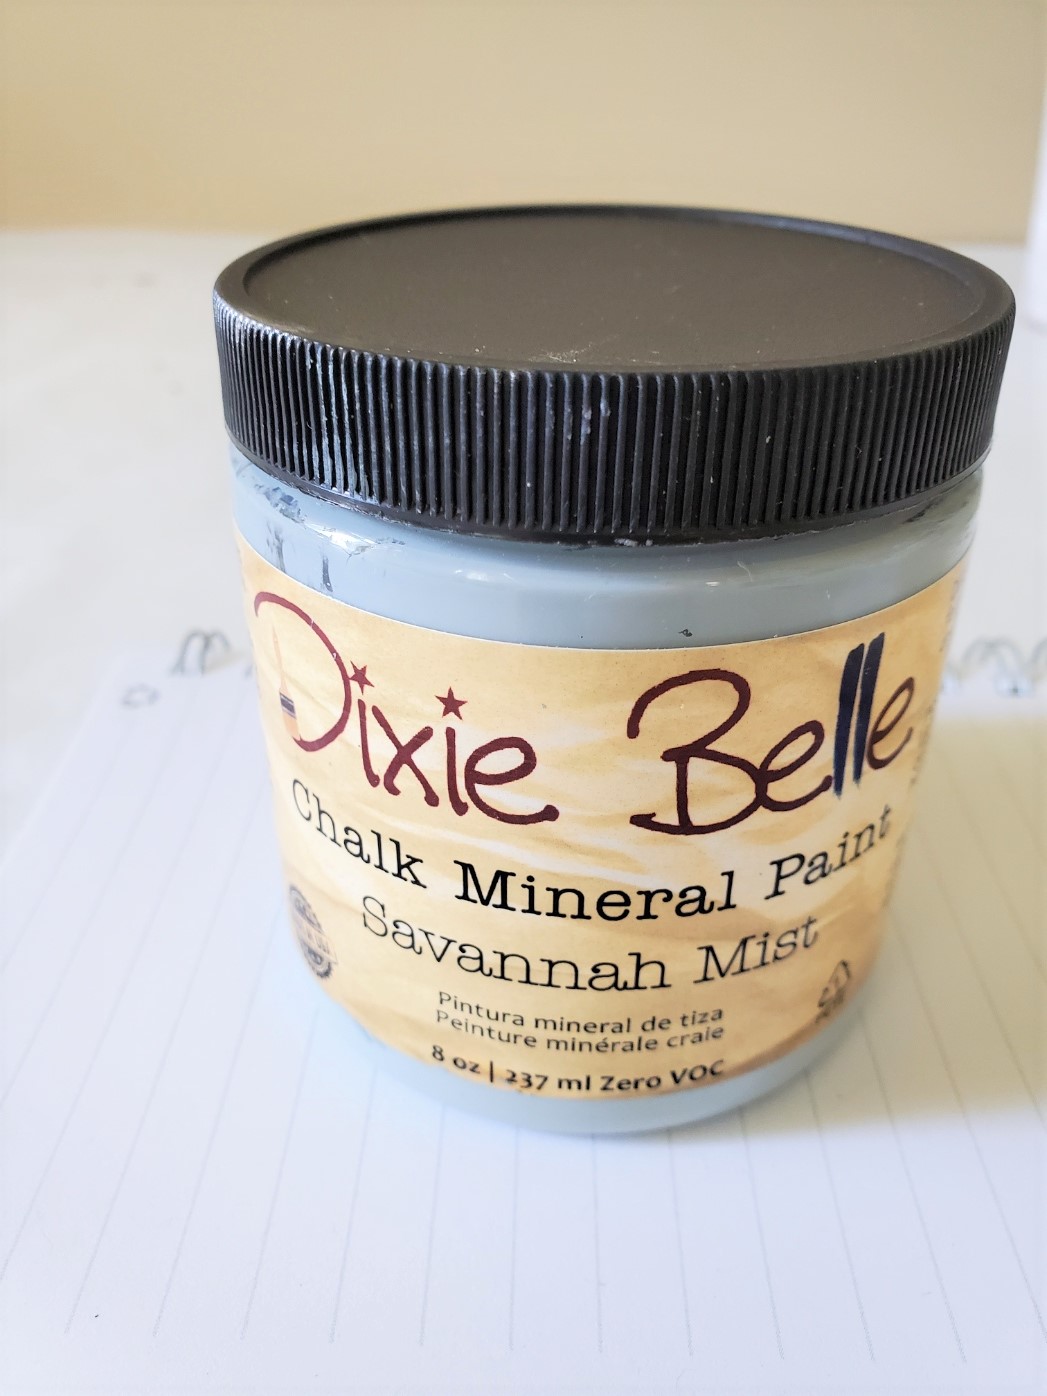
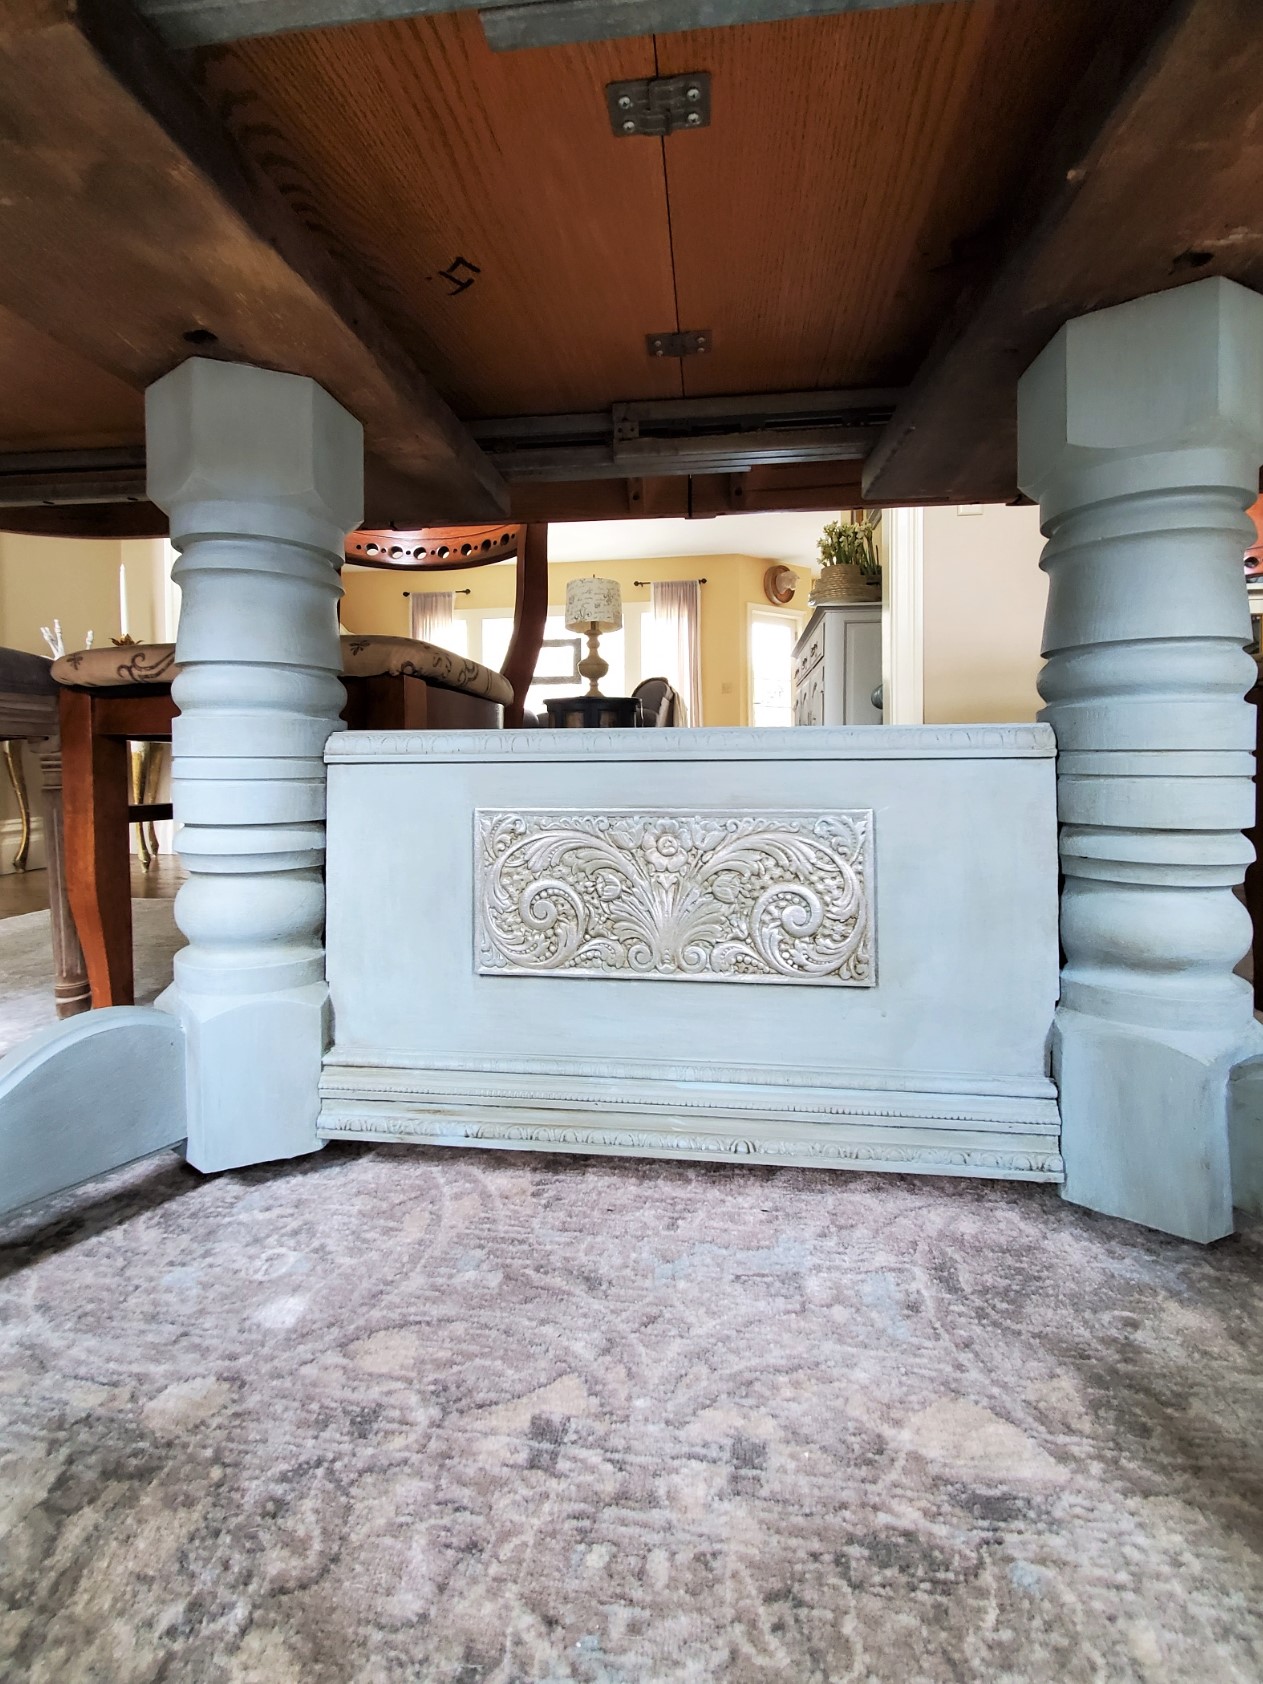
What especially amazes me with this paint is how little paint I used for my table. As you will see it’s not a small table base. The table with this paint product is truly amazing. One coat is all I needed because I applied to Boss.
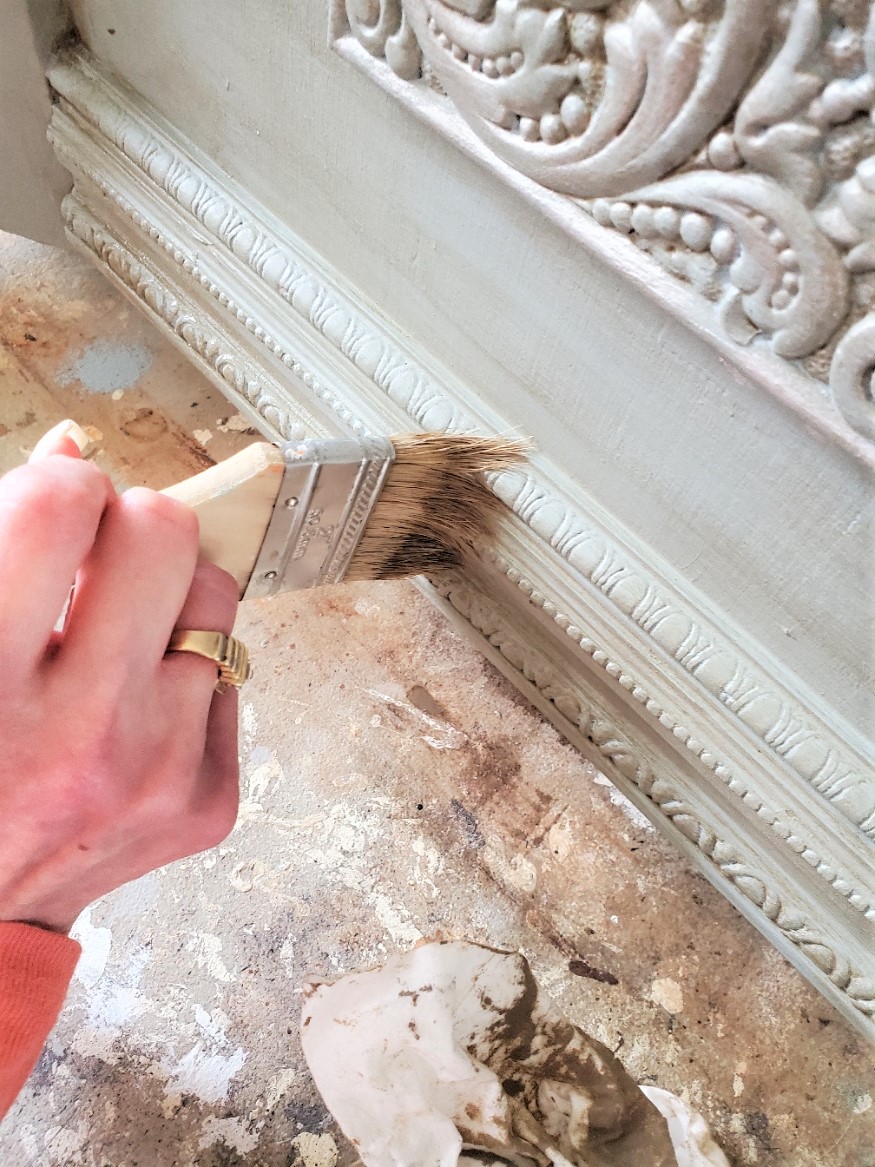
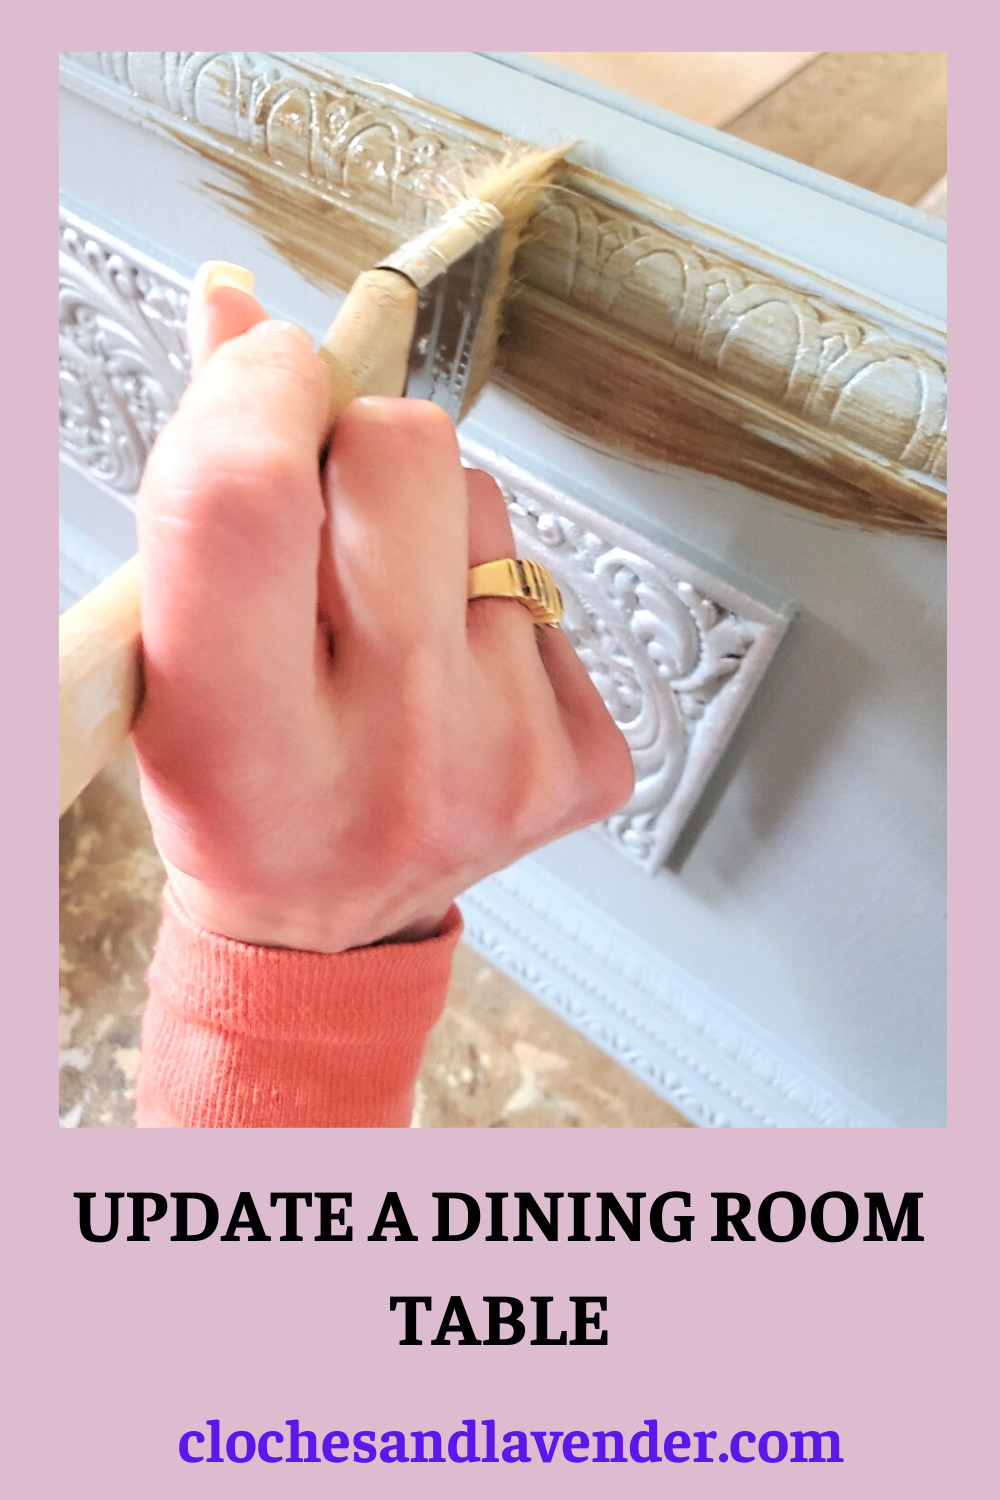
Step 3: Aging Beauty: Brown Glaze
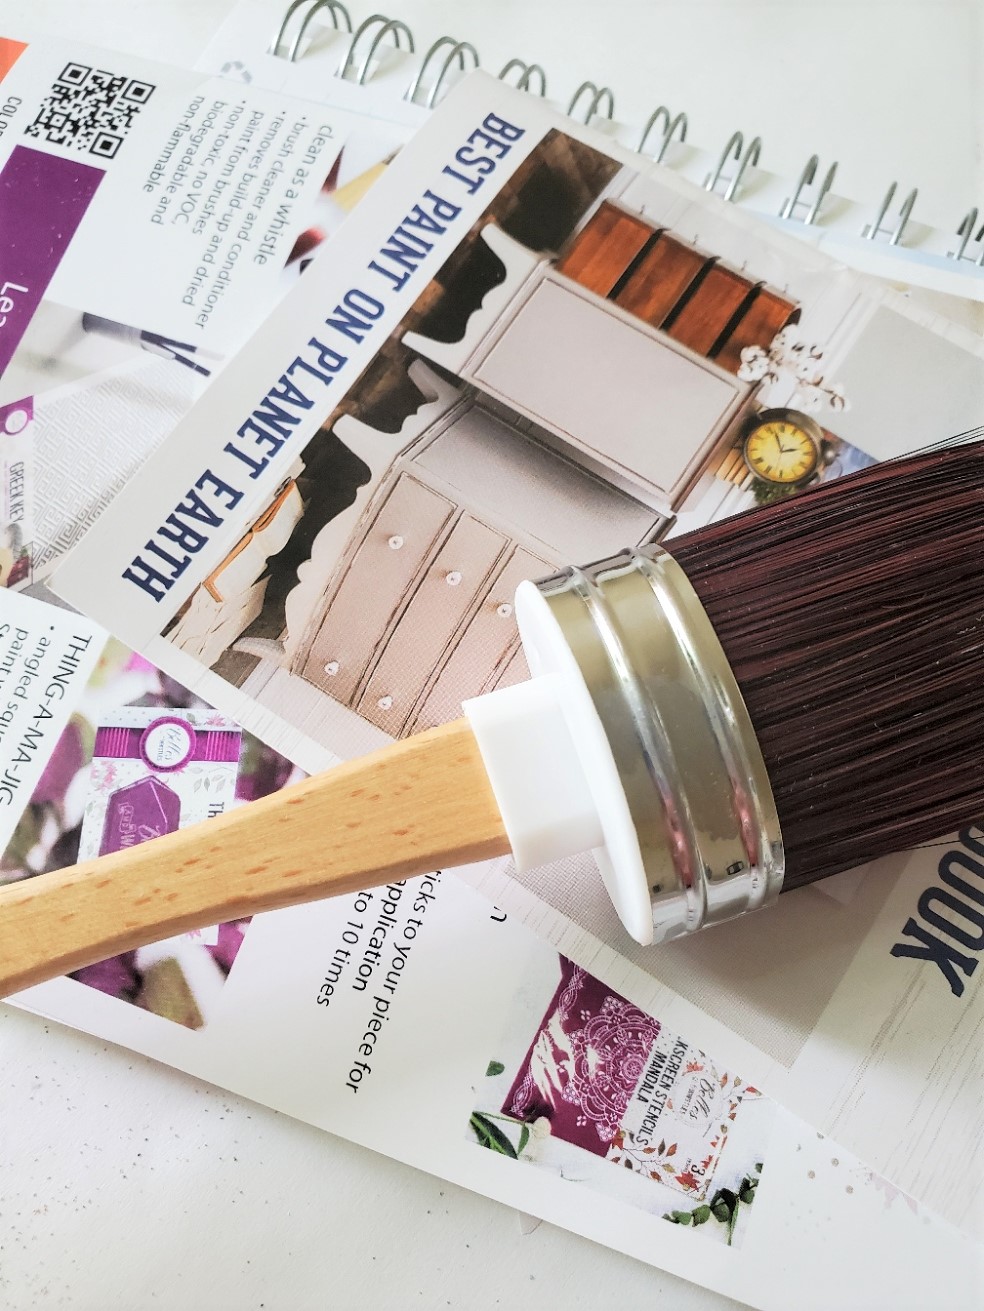
Next step, applying Van Dyke Brown Glaze to add age to my painting process. Normally, I mix my own glazes when painting, however, I decided to try this company’s glaze. This is where the continuous fine mist spray bottle came in handy.
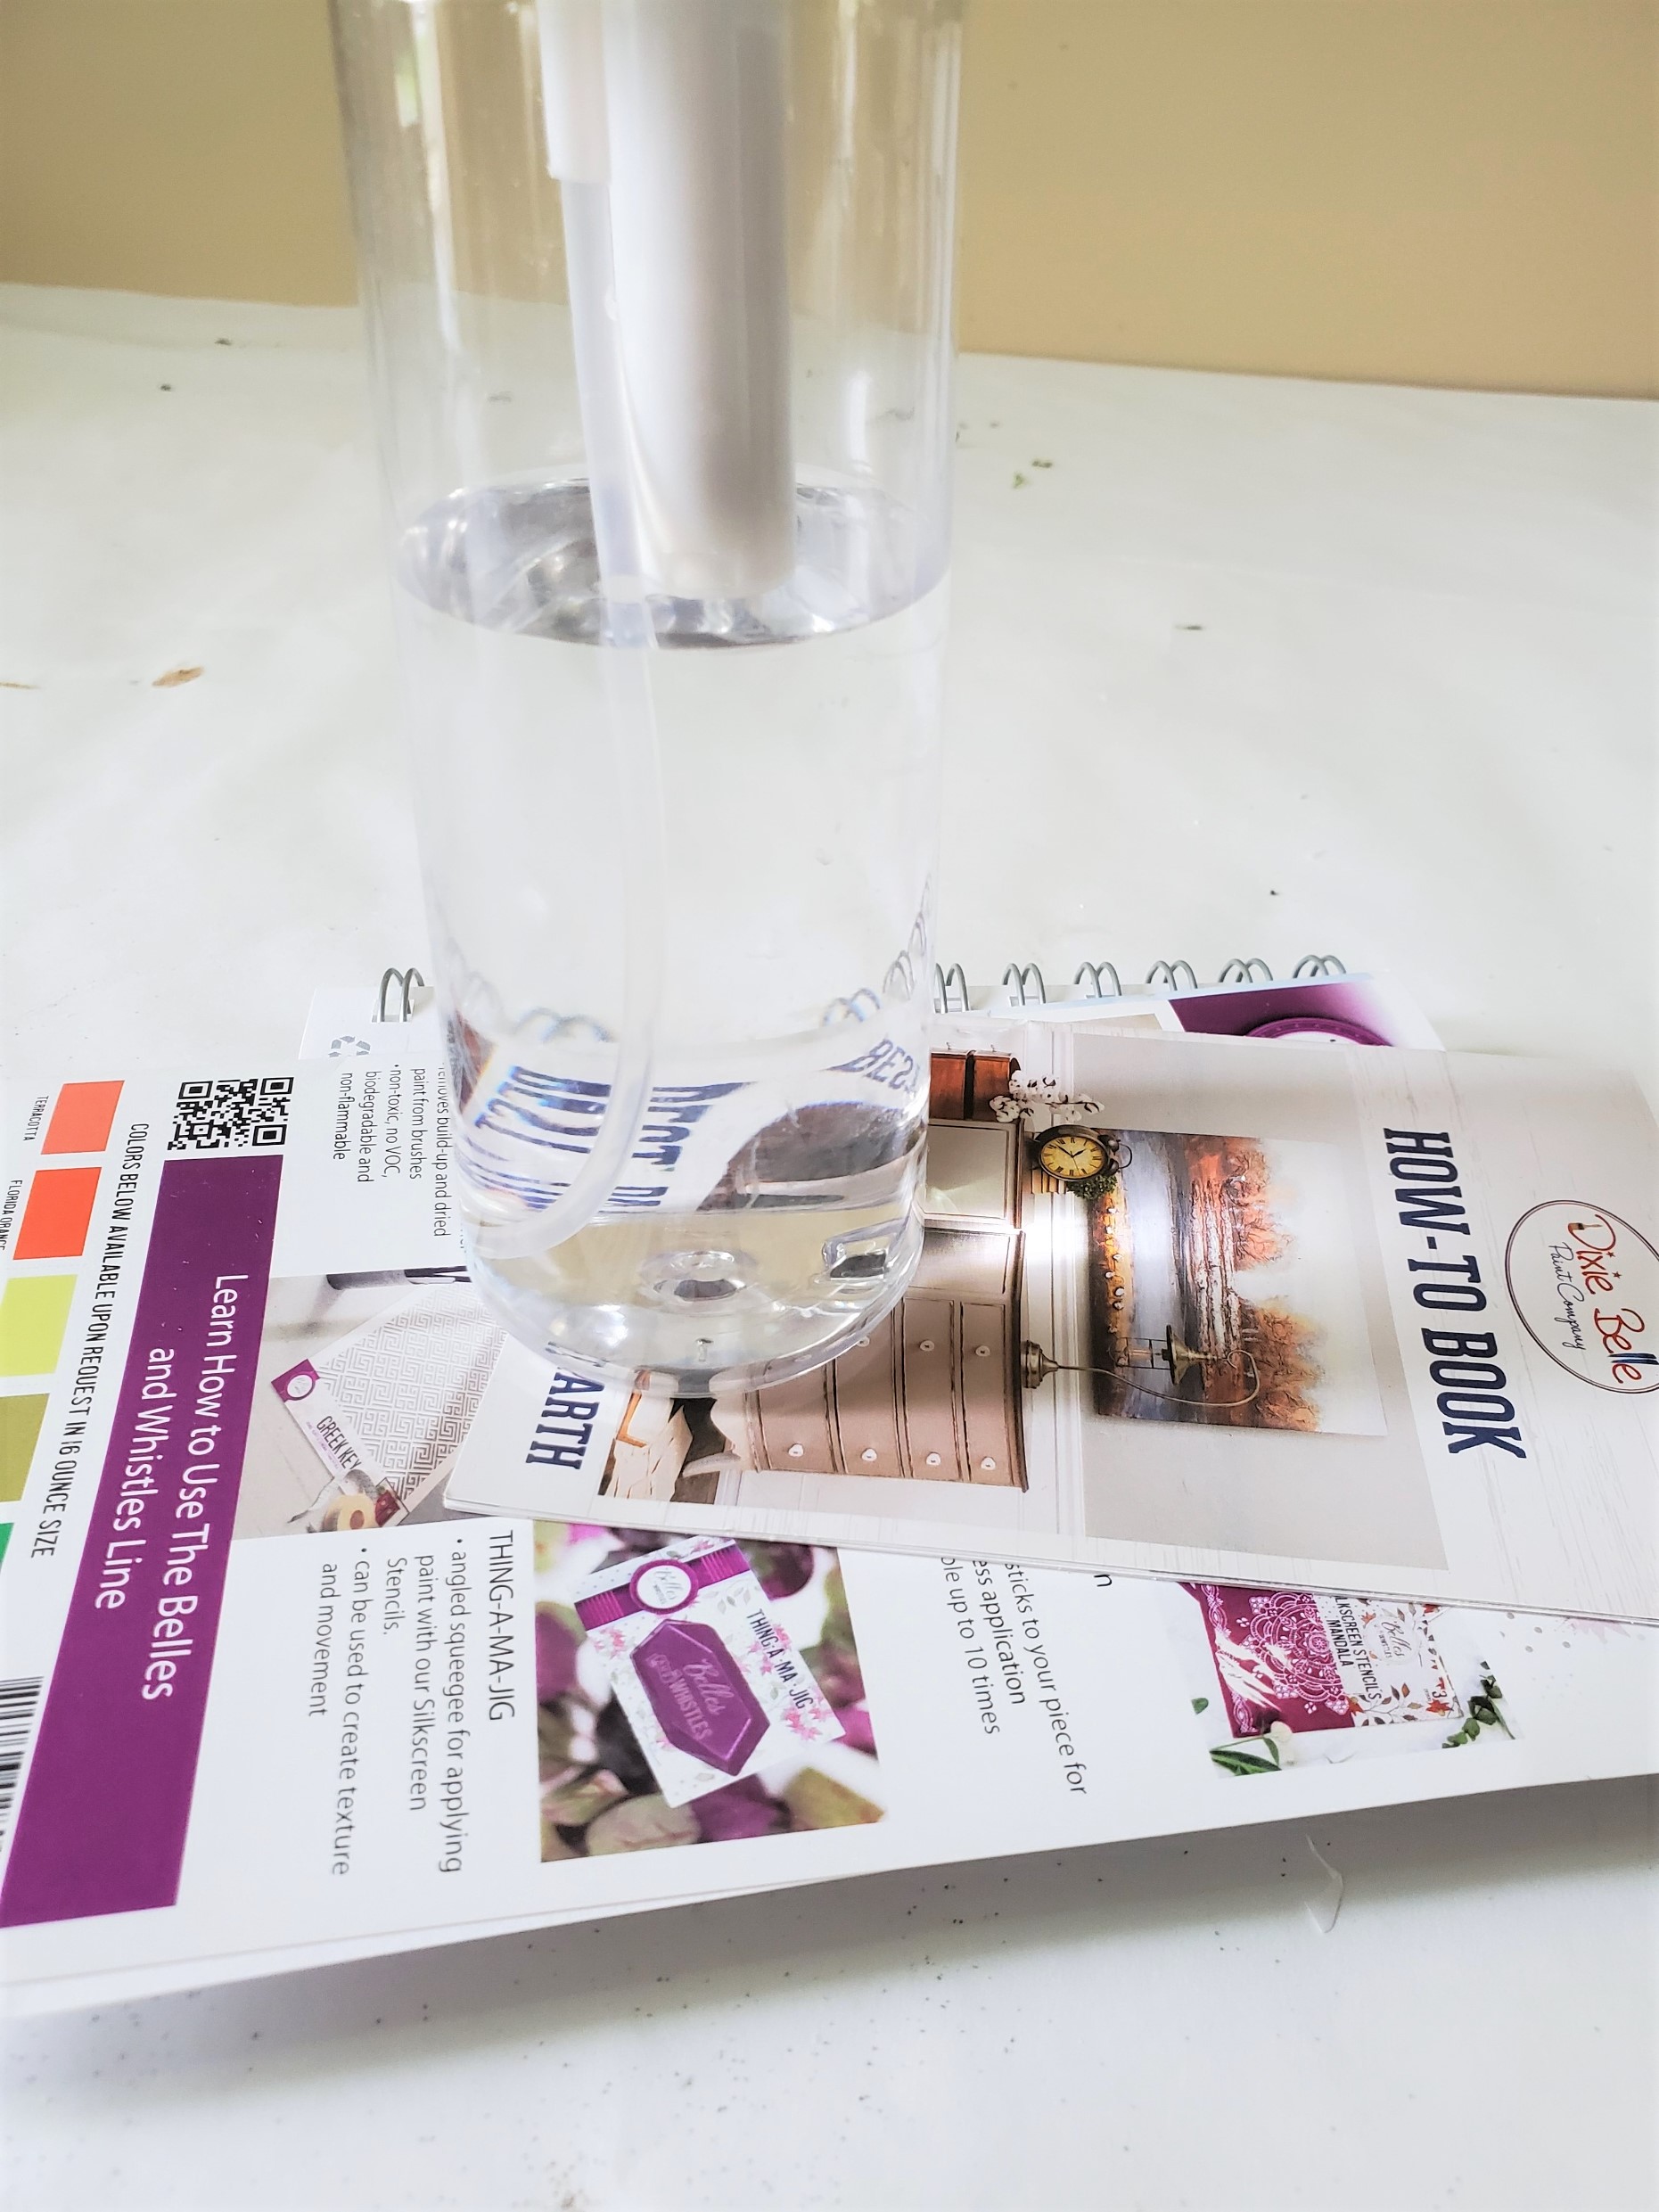
After applying my glaze to my updated painted dining room table, I used the mist bottle to thin it a bit to help lighten the aging I was looking to achieve.
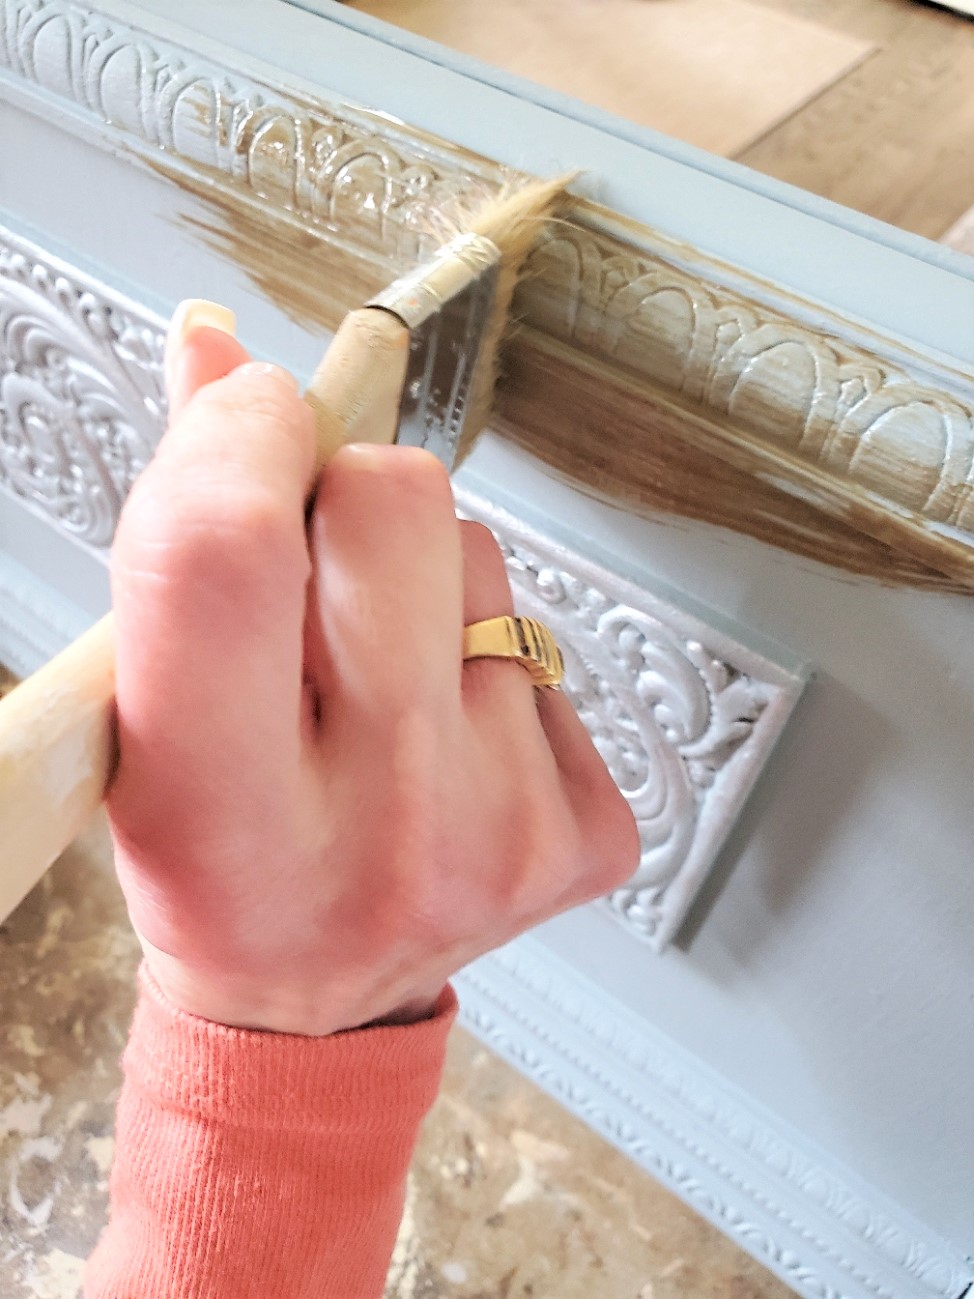
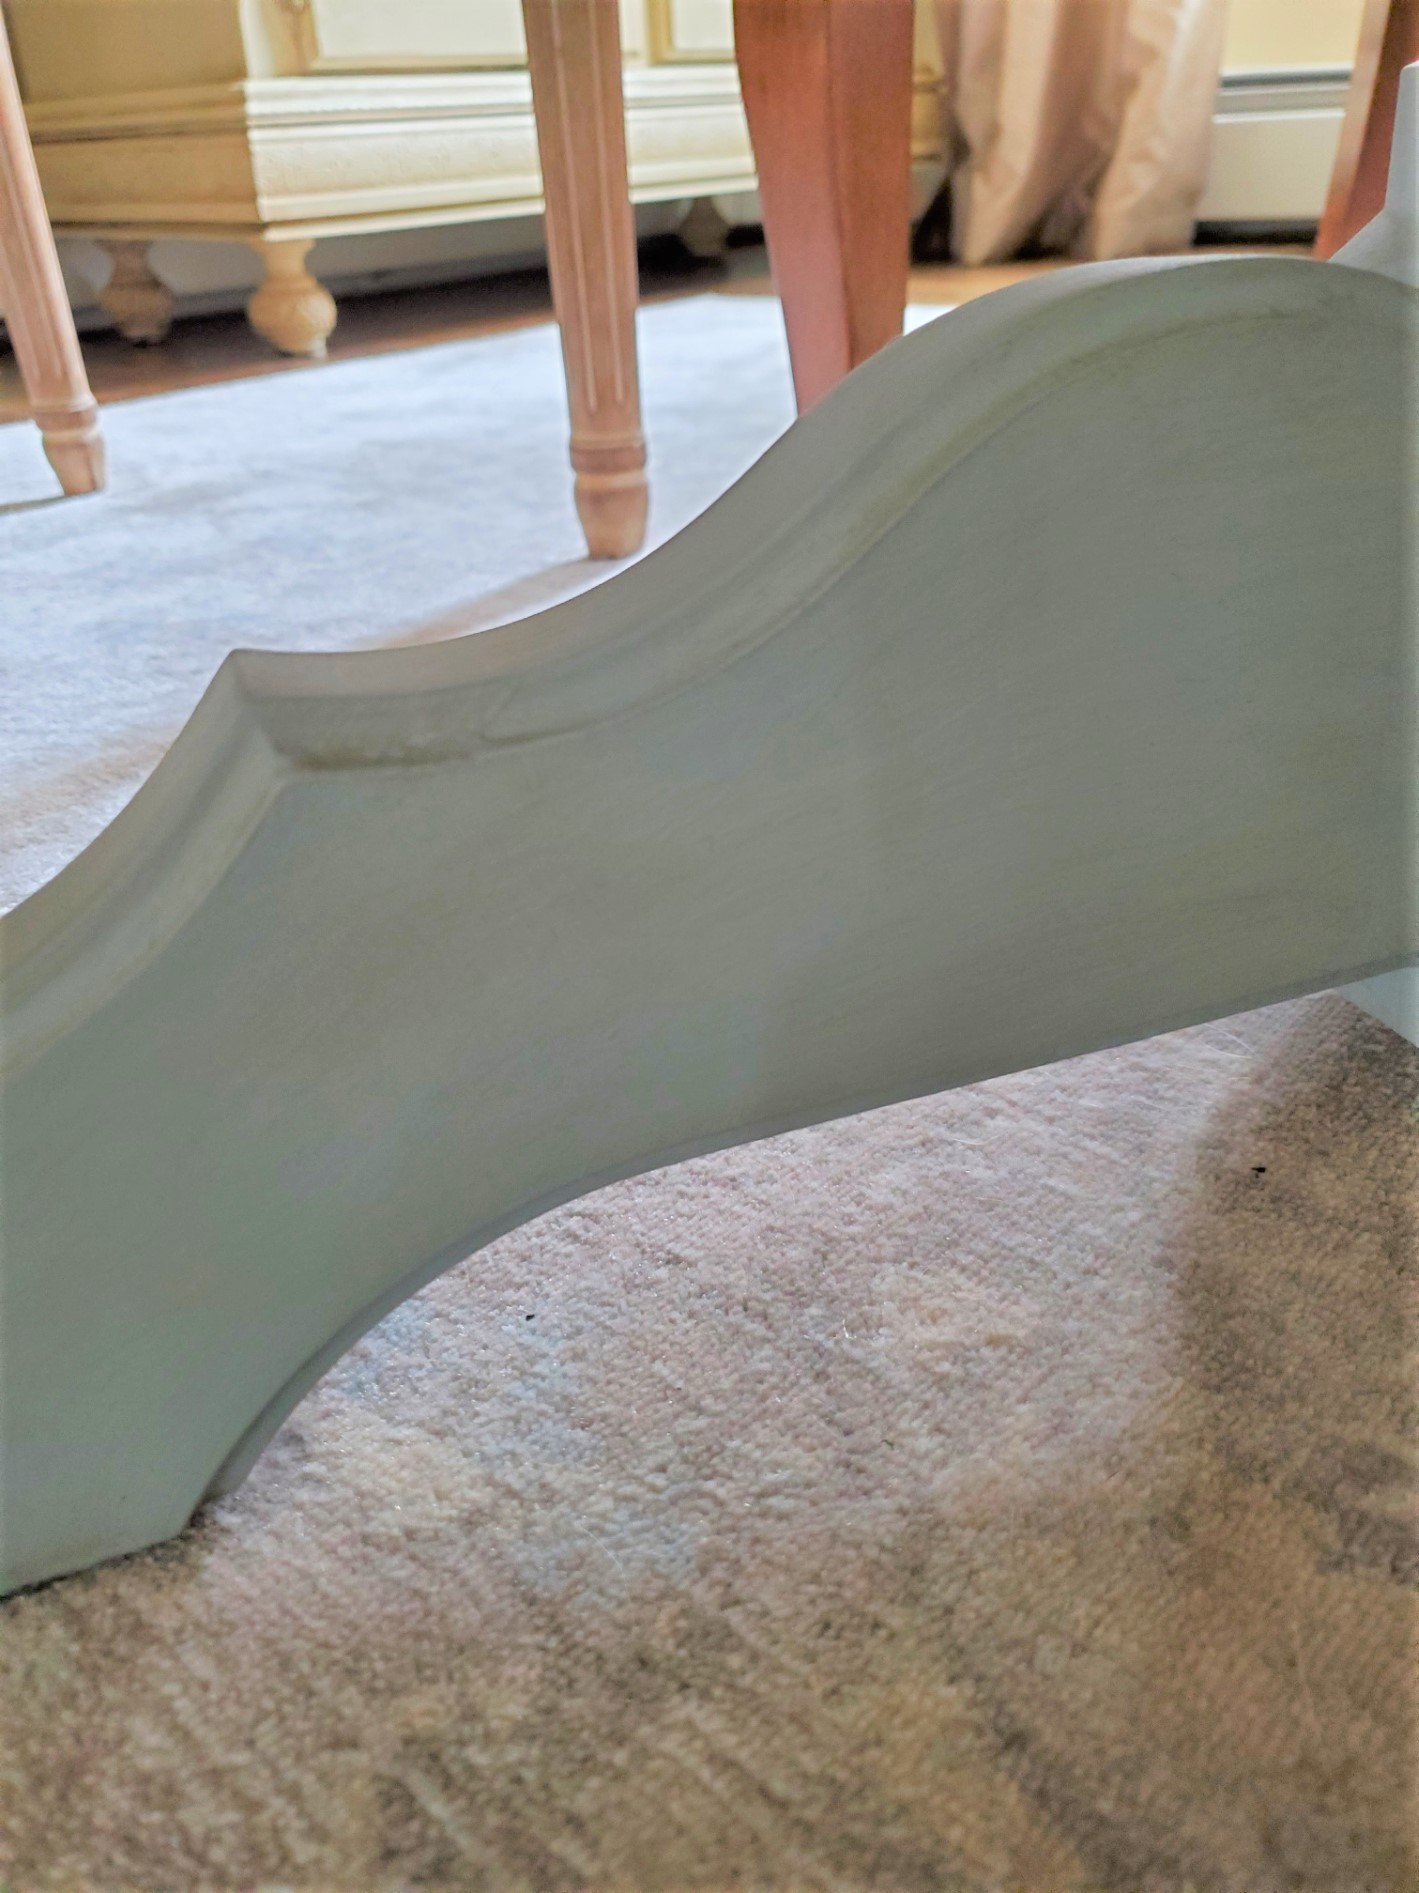
By the way, when doing this step, I use two brushes. One for wet and one stays dry for blending the glaze into smaller areas such as the legs and feet of my table base.
Also, I use a rag to blend in the glaze in larger areas of the furniture table base such as the middle section.
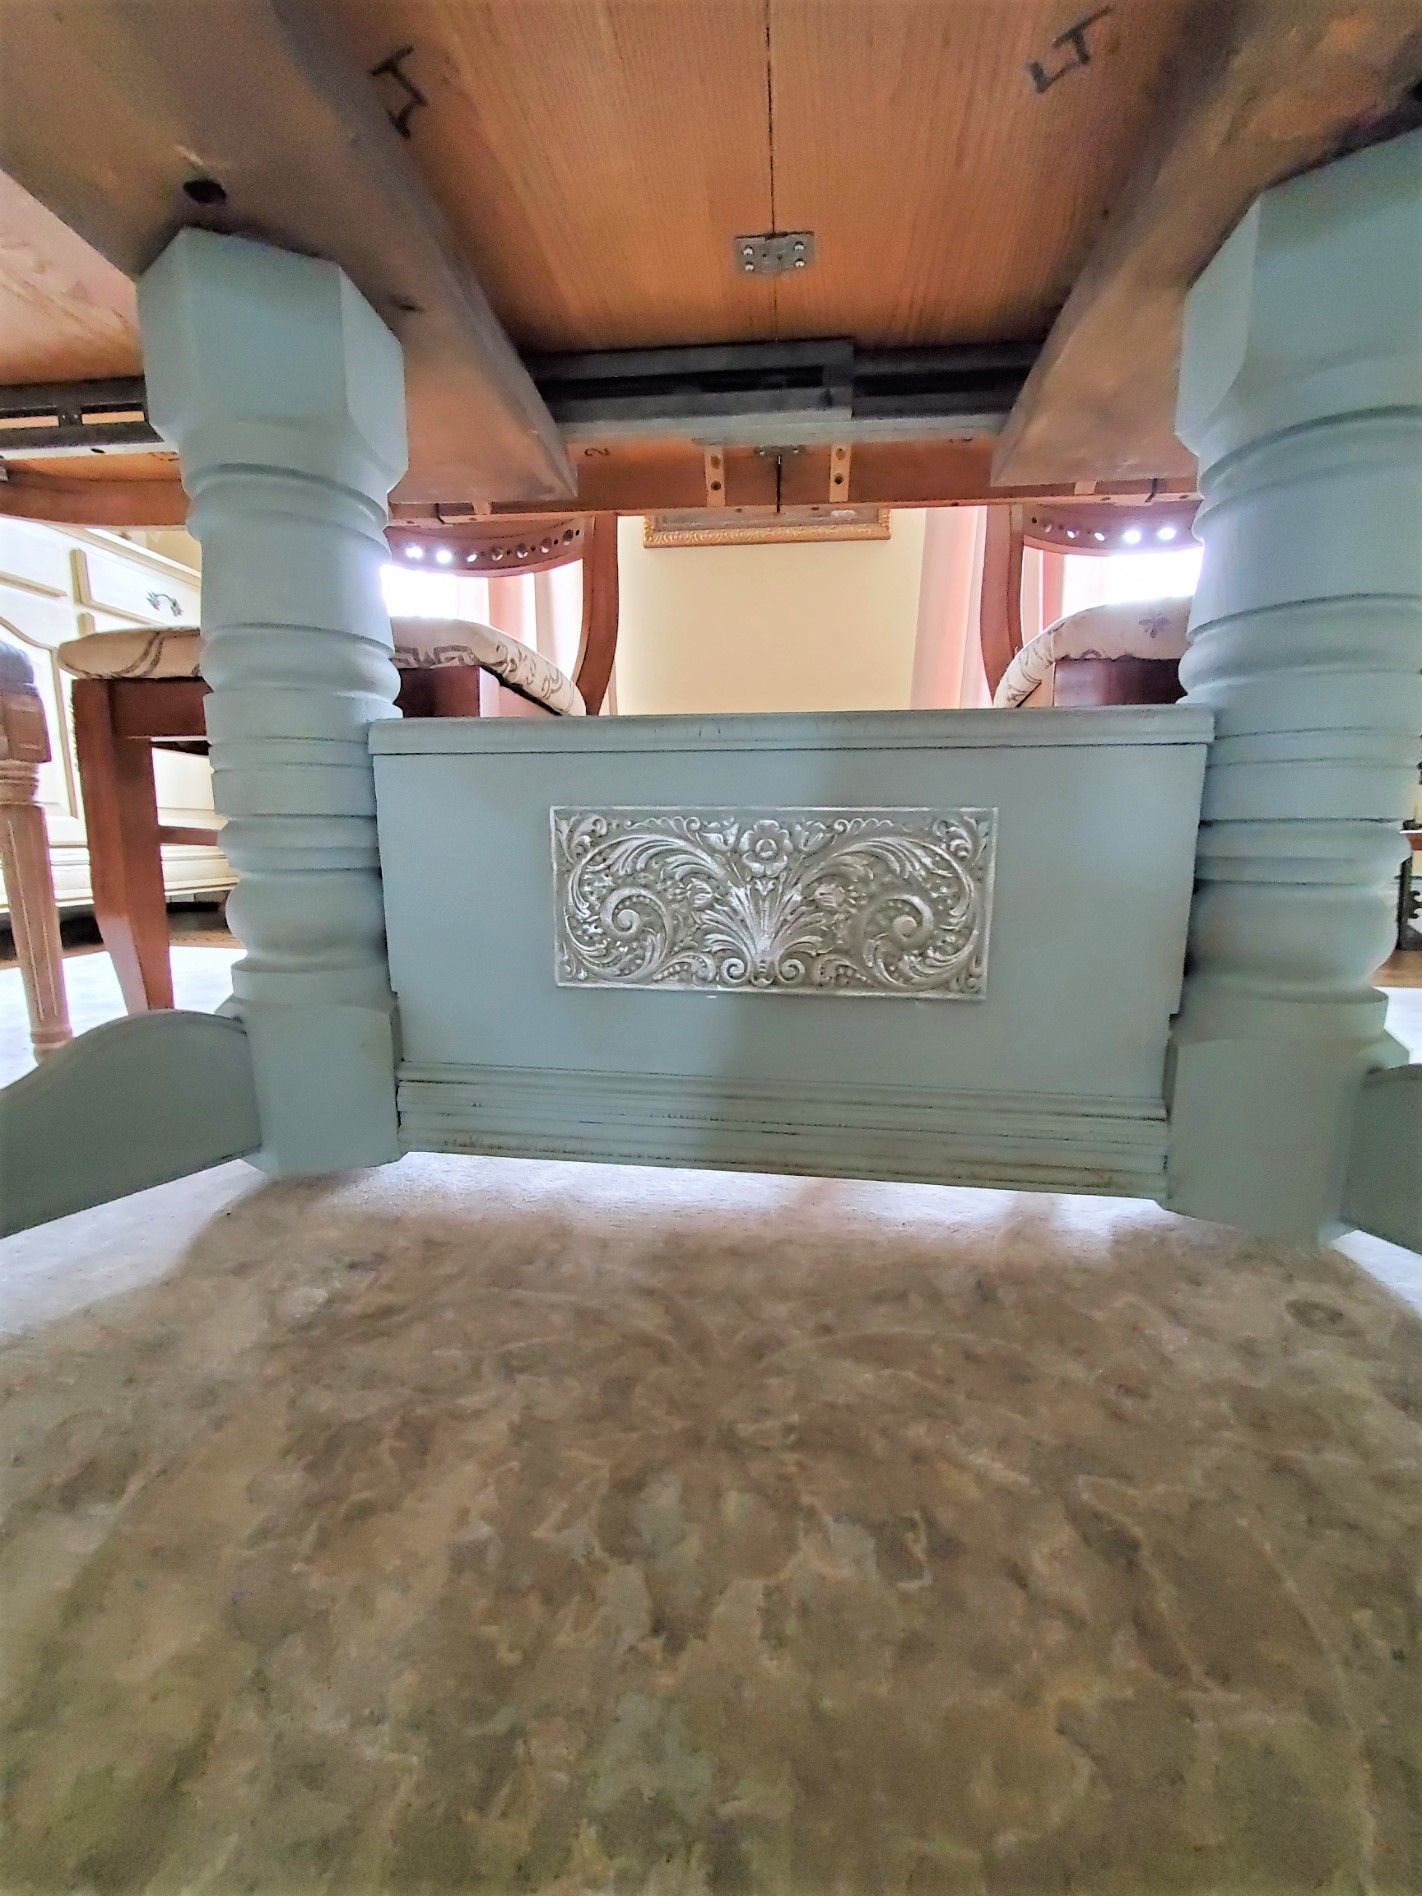
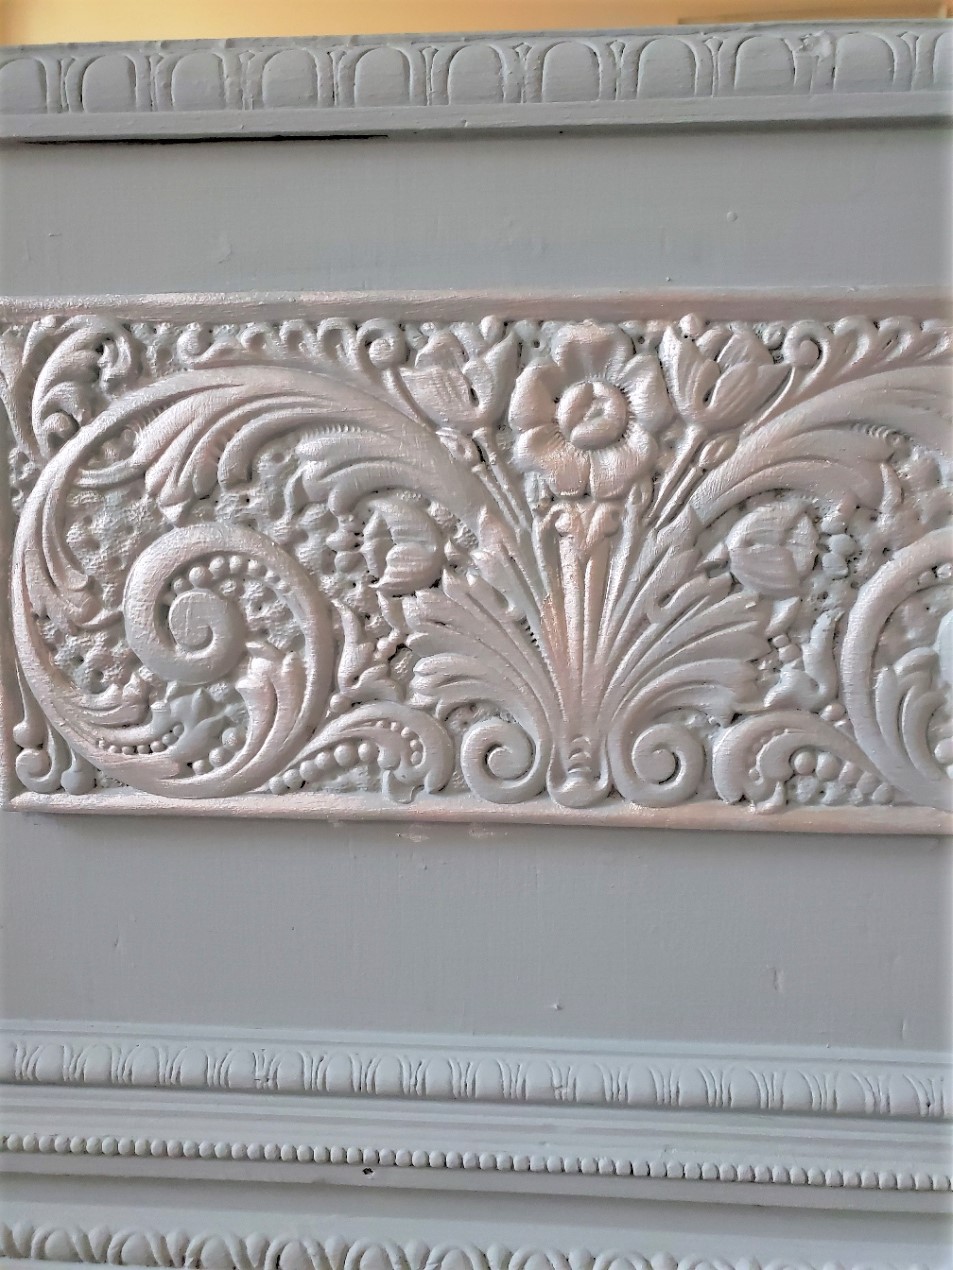
Speaking of the middle section of my base this receives a special treatment to add some elegance. Hey, this girl loves French decor, so some sparkle is needed for my painting project.
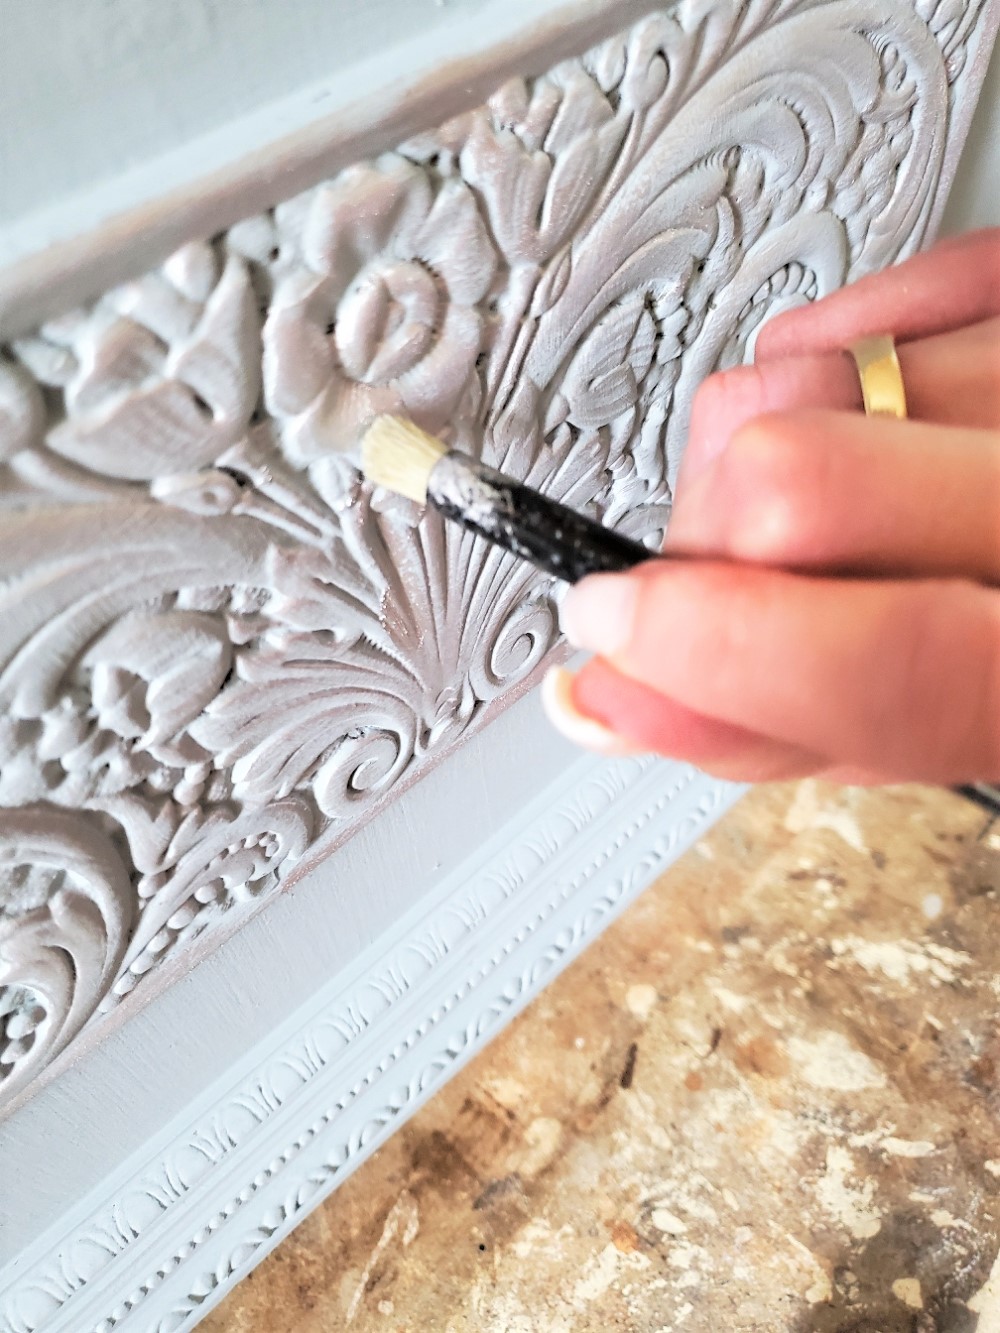
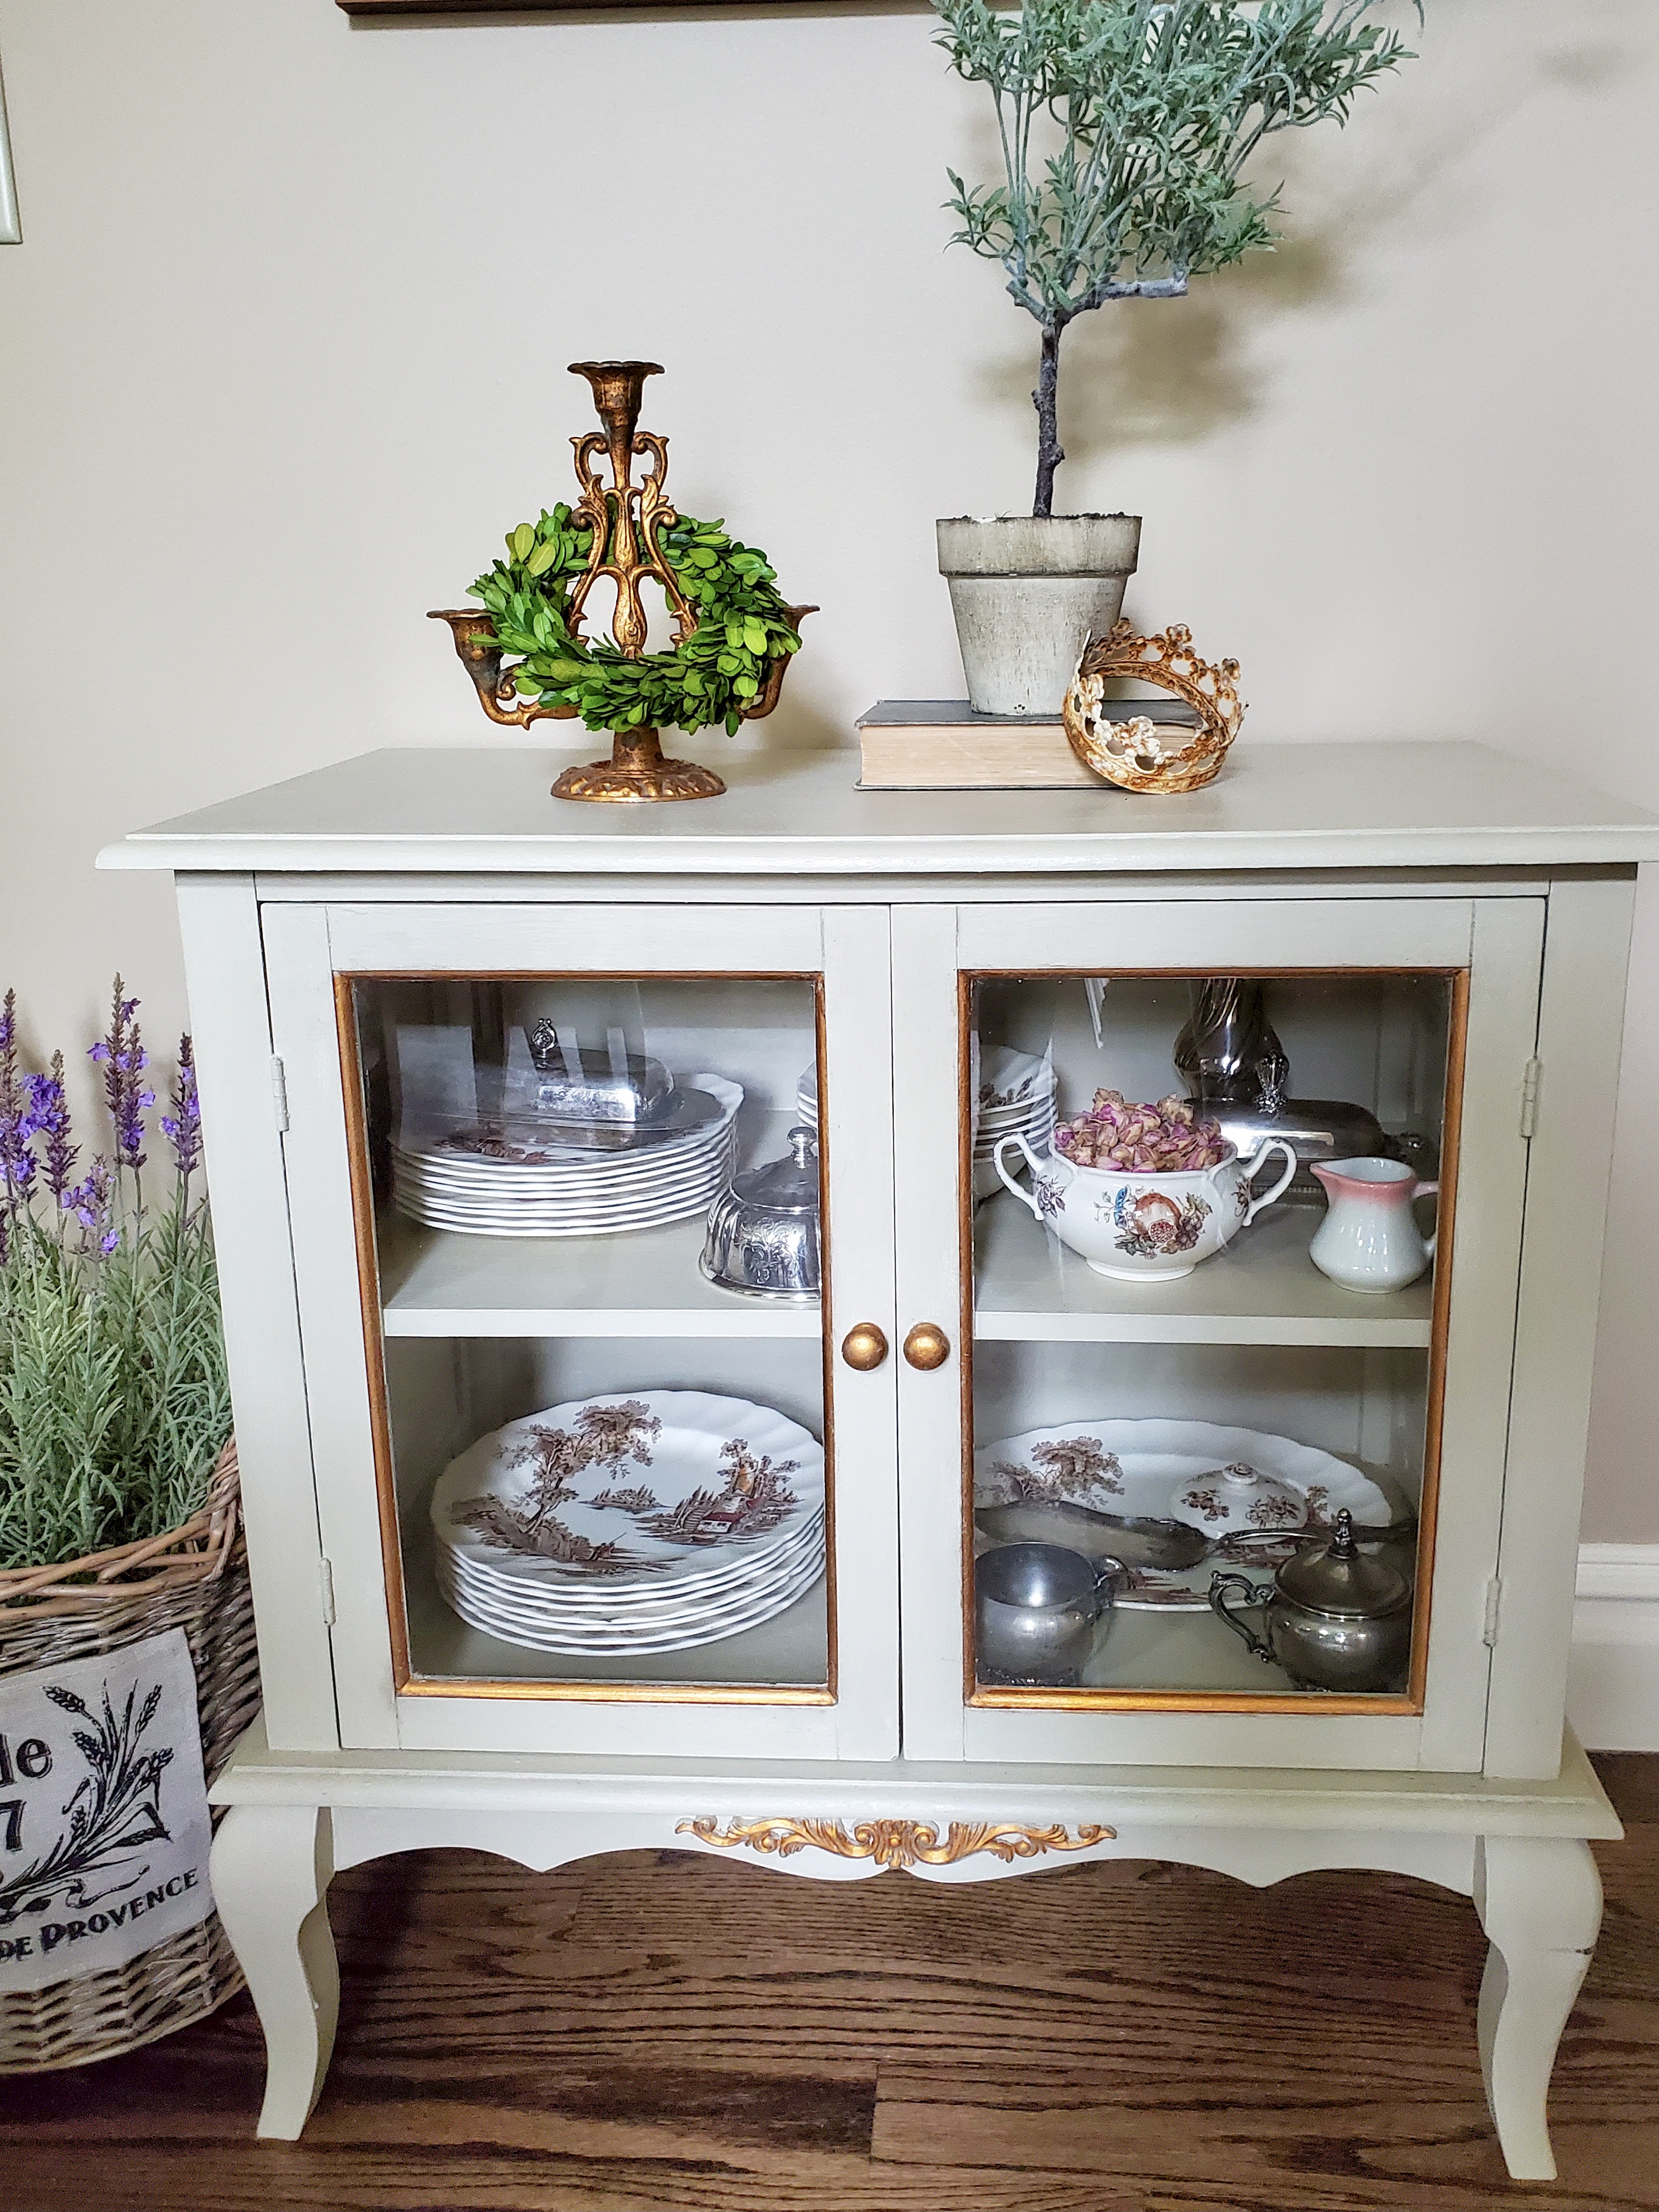
Applying Gilding Wax To The Applique
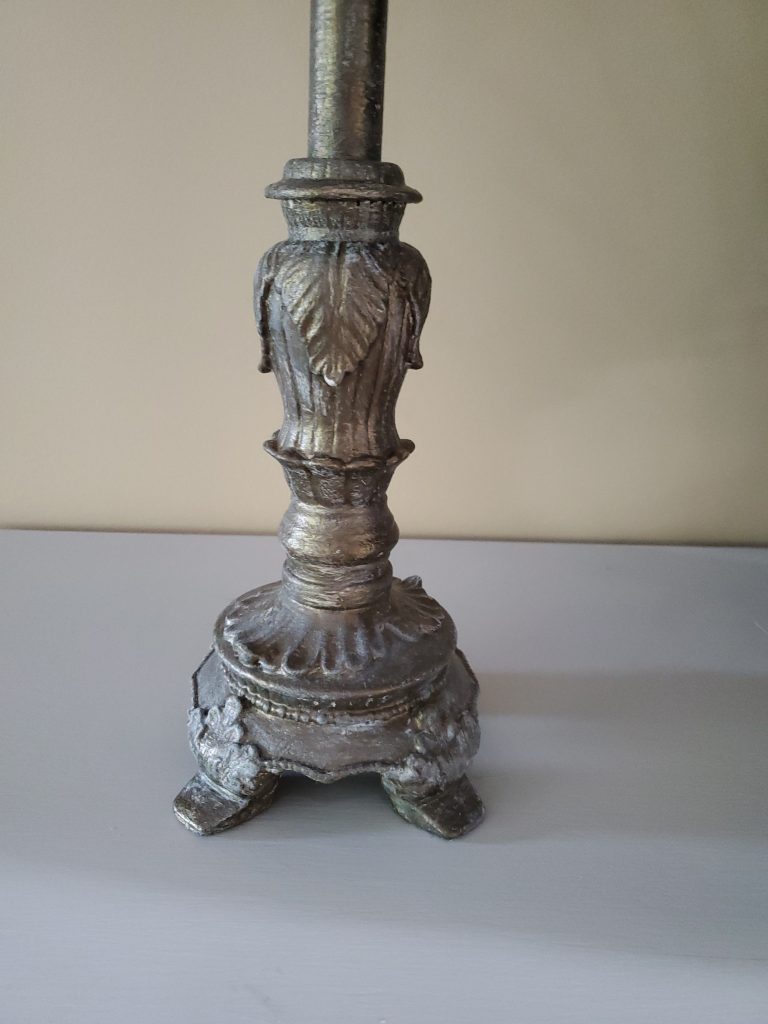
Step 4: Gilding: Timeless Eelegance
As I said above, I love a bit of gilding on pieces of furniture I paint. Having a large applique in the center of my dining room table base is the perfect area to add some of this product.
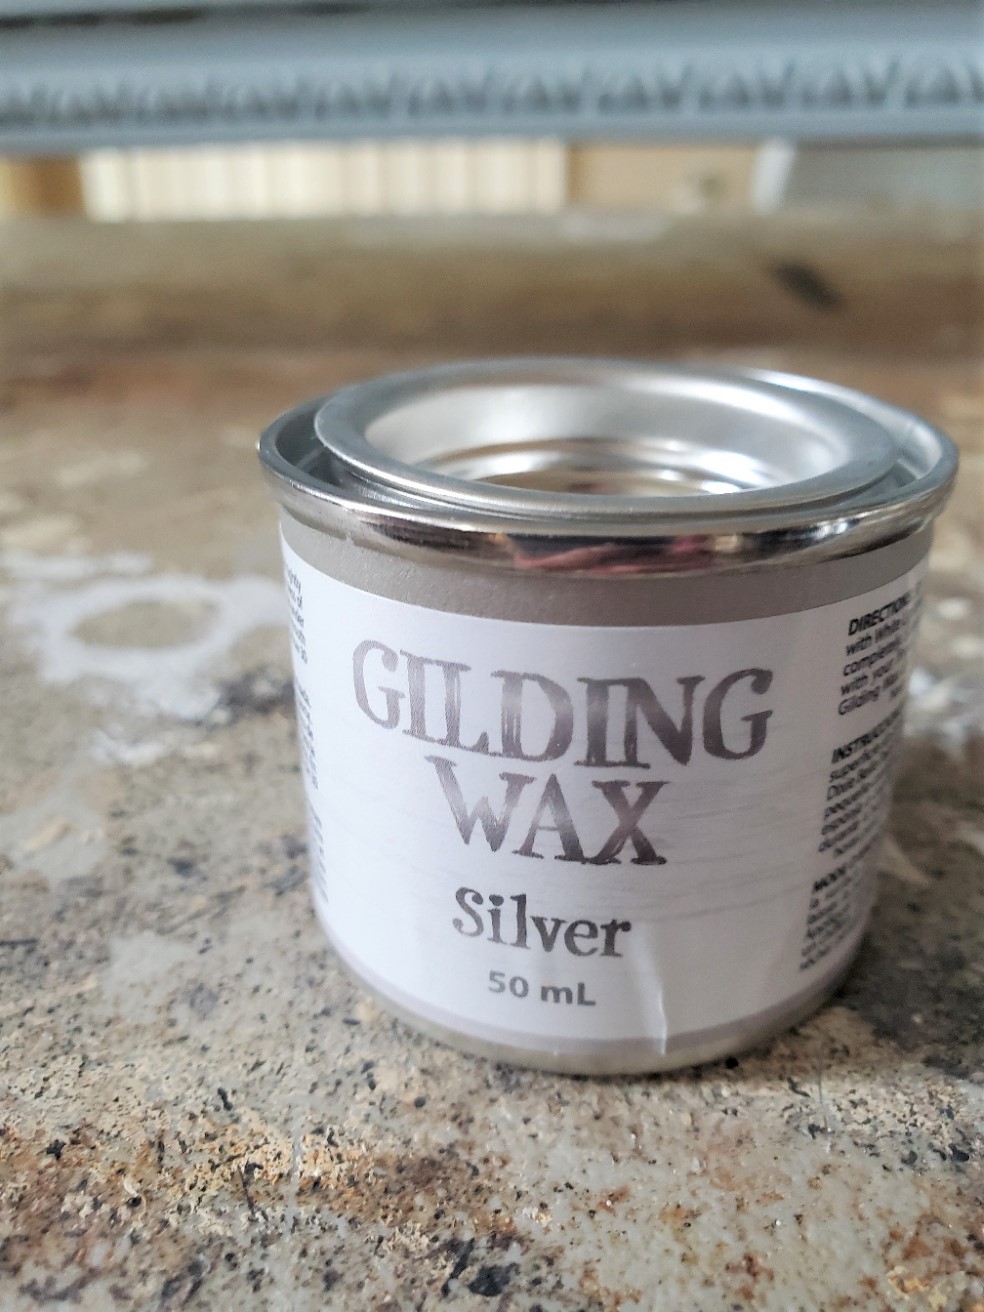
By the way, you can see more examples of my use of gold gilding wax ideas with a piece that received a big change.
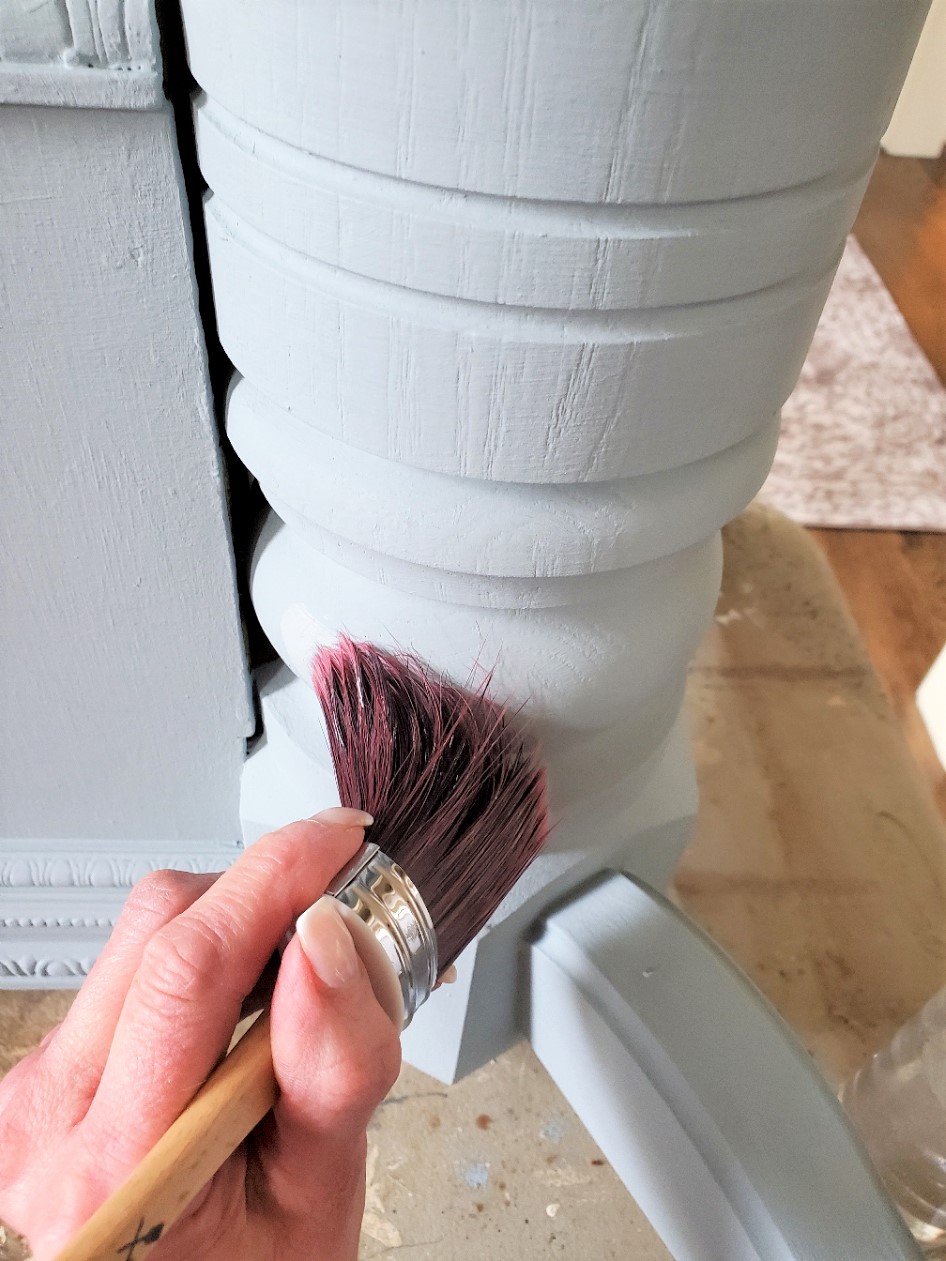
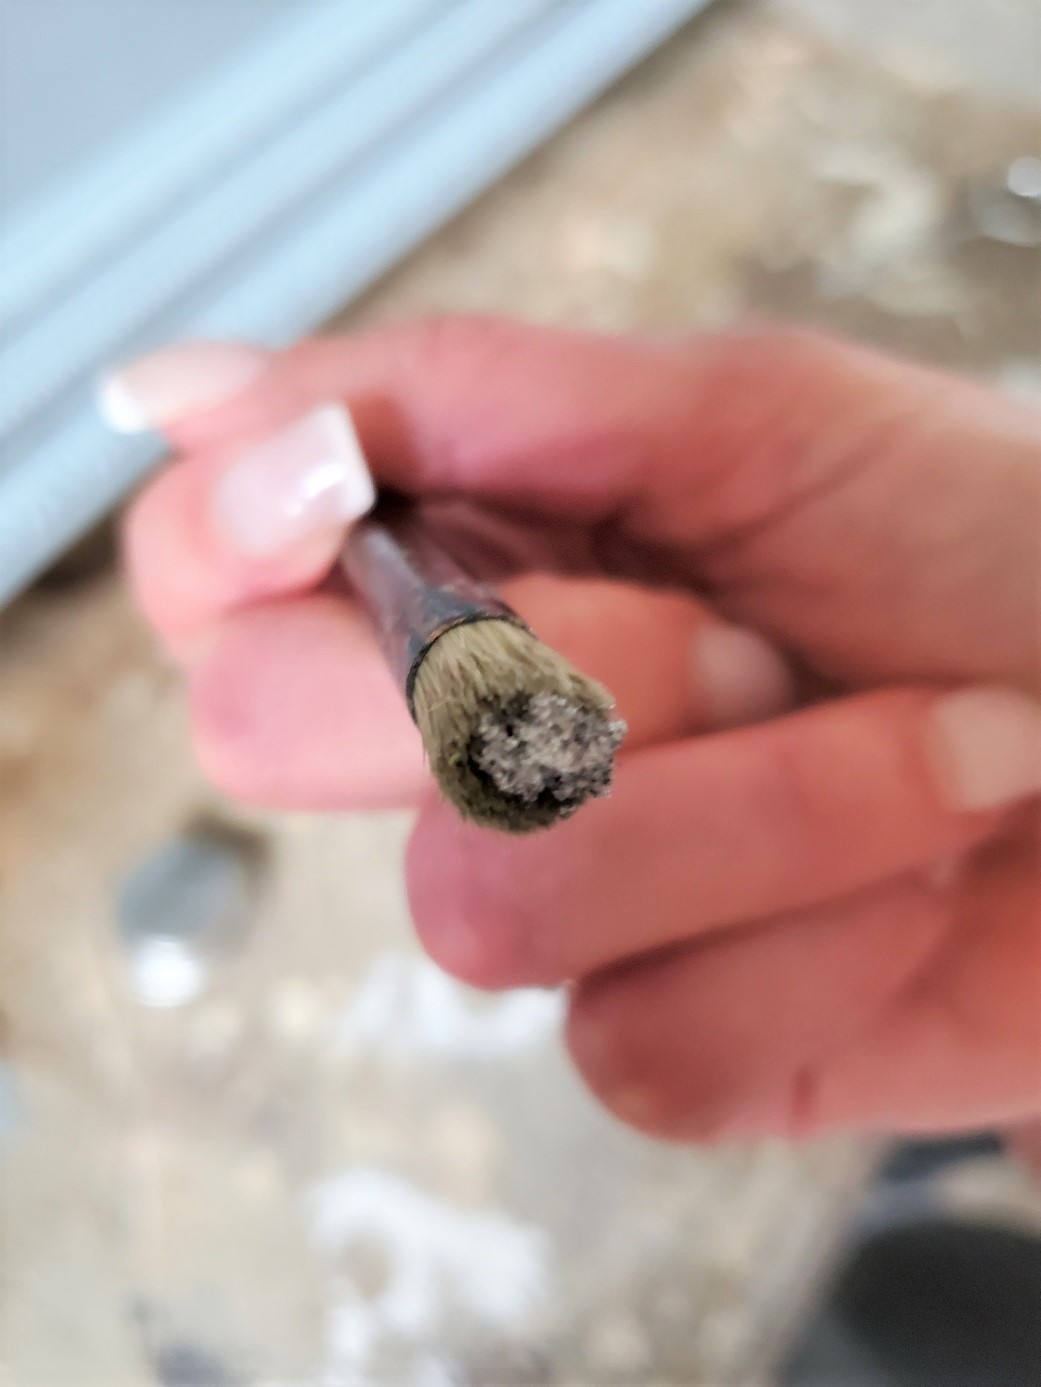
Now for this painting process, I decided silver gilding wax from Dixie Belle would be a perfect accent with this blue, gray color paint on the furniture base. Besides adding a bit of glitz to a piece when using gilding wax the product lasts a long time. The tiniest amount of this wax goes a long way.
For example, the amount seen on my brush is almost the amount to cover the applique on my paint project.
After applying the wax product let it dry for 20-30 minutes. Using a clean lint-free rag buff well for a beautiful sheen.

I hope you enjoyed learning about Dixies Belle products in this post. I also hope you like the direction I went with how to update a dining room table. Have you ever used Dixie Belle products; I’d love to read about your experience.

POSTS OF INTEREST
A Furniture Upcycle


It looks great Cindy. I love the color you chose!!
Thank you so much!
This is absolutely beautiful! Love the color. My vintage wooden kitchen table needs an update like this so bad…but I’m not a painter. (Neither technique nor ambition!) I’d hire you to do mine! 🙂
If I leaved near you I do it for you in a hearbeat
That is a lovely color Cindy! It’s such a soft blue. The antique technique you used adds another layer of interest! Great job my friend!😊
Thanks Cindy I’m hooked on this paint!
This is a great tutorial Cindy! I can’t believe I’ve never used milk paint. Time to change that!
Thank you so much!
This is such a good idea. I also love that you used “boss” to prevent bleed thought – which is always a challenge with red toned or dark colored woods. The updated table looks great!
Thank you so much. I’m hooked on Dixie Belle
This is such a beautiful update, Cindy! It’s the perfect nod to French flair. You did a great job on everything and I really appreciate all your painting, wax and glazing tips too. They’re super helpful. Hugs, CoCo
Thanks so much CoCo.
Your table looks amazing! I have been wanting to try Dixie Bell paint for a while now and after reading this, I think I will!! Love the color you chose! The brown wax and gilding made the details shine! Thanks, Donna
Dixie Belle has me hooked. I love every product I used.
Your table is looking wonderful. I’m in the process of painting mine too. Thanks for all the good tips.
Thanks so much Catol. How are you doing with your jewelry?
Your project turned out beautiful, Cindy! I am so glad you like the paint, it truly is amazing. I have not used Savannah Mist before, it is a gorgeous color!
Thank you so much. I love it!
I blog for Dixie Belle so I’m biased but I totally agree, their paints are beautiful to use. Love your table!
Thanks so much. The colors available are amazing and you do a great job
Hammered copper tables are functional masterpieces, crafted with precision and artistry. The hammered texture adds character, reflecting a blend of tradition and contemporary style in home and commercial spaces.