Chalk Paint on Pumpkins is a Sustainable Choice
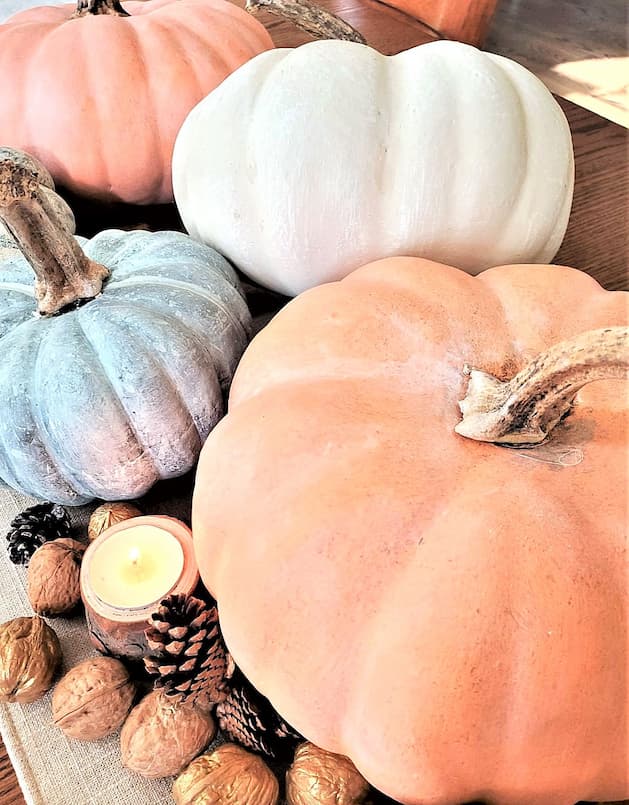
I'm sharing the painting process for chalk paint on pumpkins is a sustainable choice, including how I use real stems to give pumpkins a real look.
Yield: 7 pumpkins
Cost: $20
Notes
CHALK PAINT ON PUMPKINS
Supplies List:
- Pumpkins of your choice
- Hot glue gun
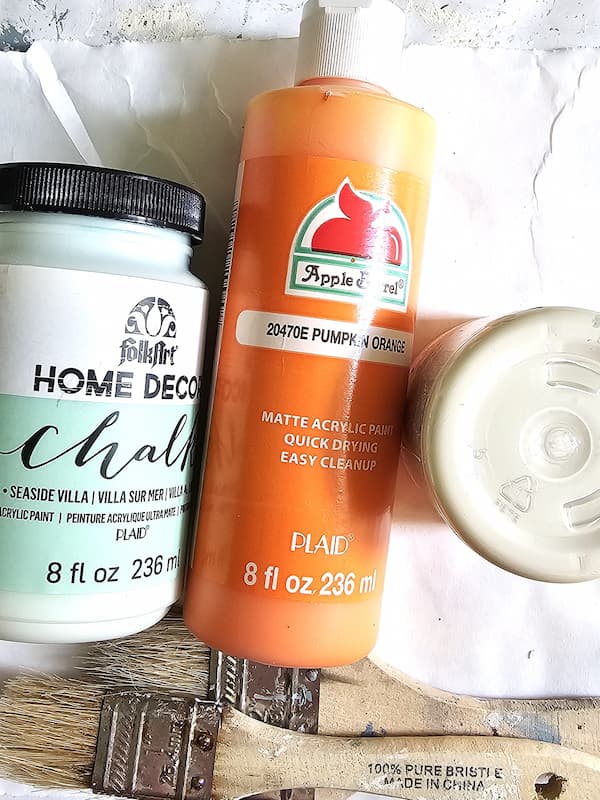
- FolkArt mint green chalk paint - this is no longer available. (HERE'S A GREAT OPTION)
- Deeper orange color paint - (HERE)
- White acrylic craft paint or Annie Sloan Chalk Paint in Old White
- Burnt umber or Raw umber pure pigment craft paint
- Chip brush
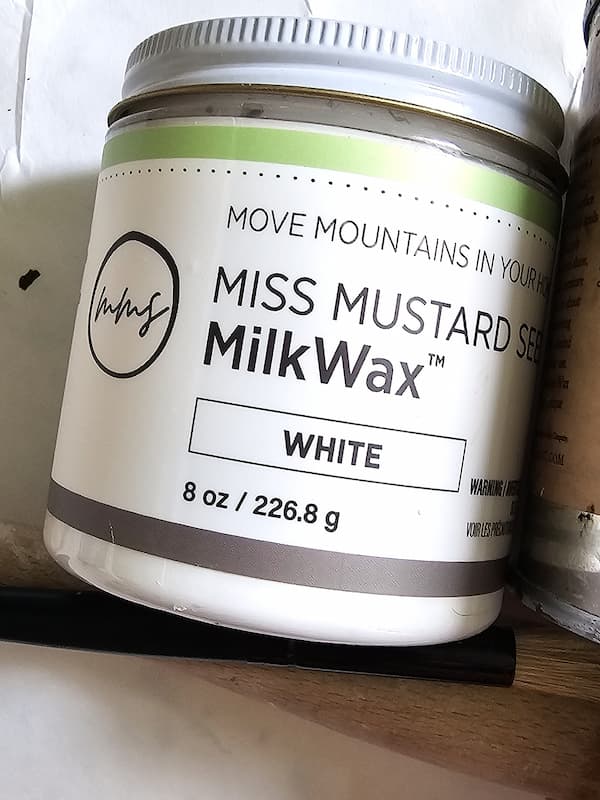
- White wax - (HERE) This is my favorite
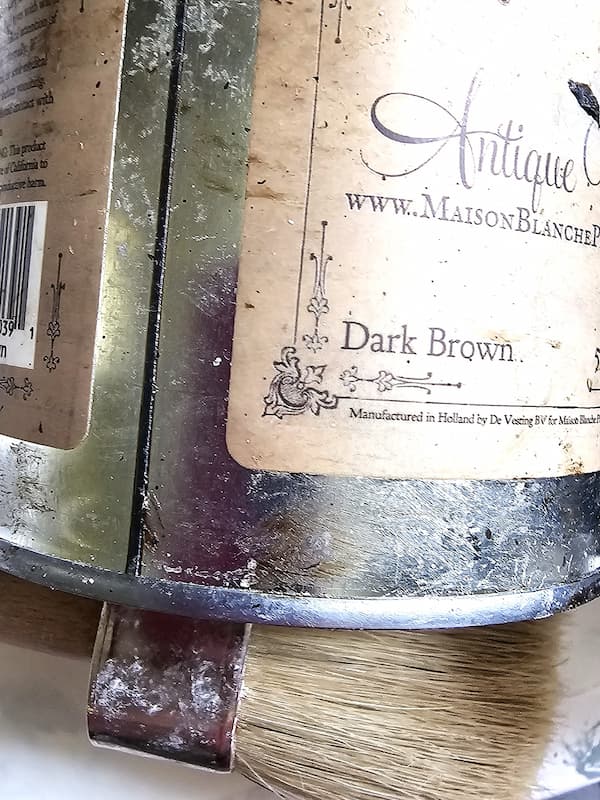
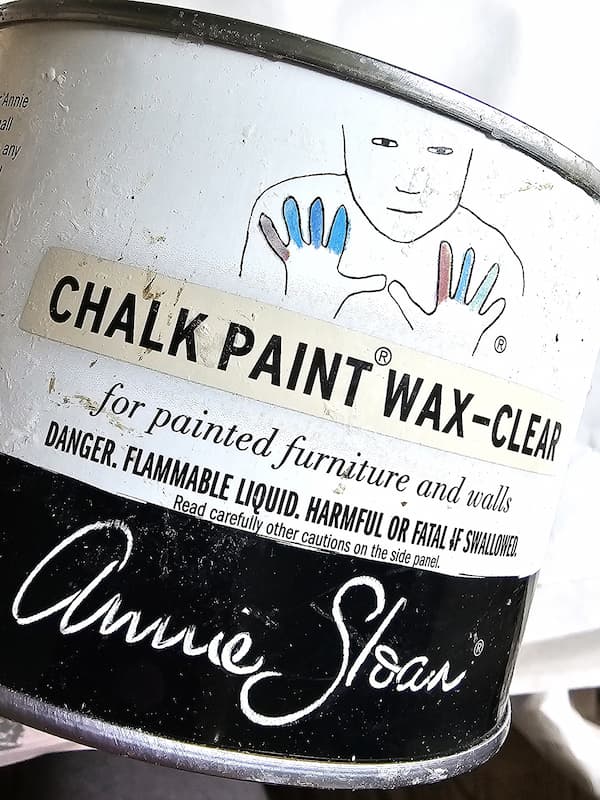
- Dark and clear wax or raw umber and burnt umber craft paint
- Paper plate
- Paint stick for mixing
- Stencil brush
- Wax brush - (HERE) - I love these
- OXO Goodgrips Lazy Susan - optional - I use this when working all the time
- Minwax Helmsman Spray - optional; see my tip purchase (HERE)
Step 1: Add the Deeper Orange Color
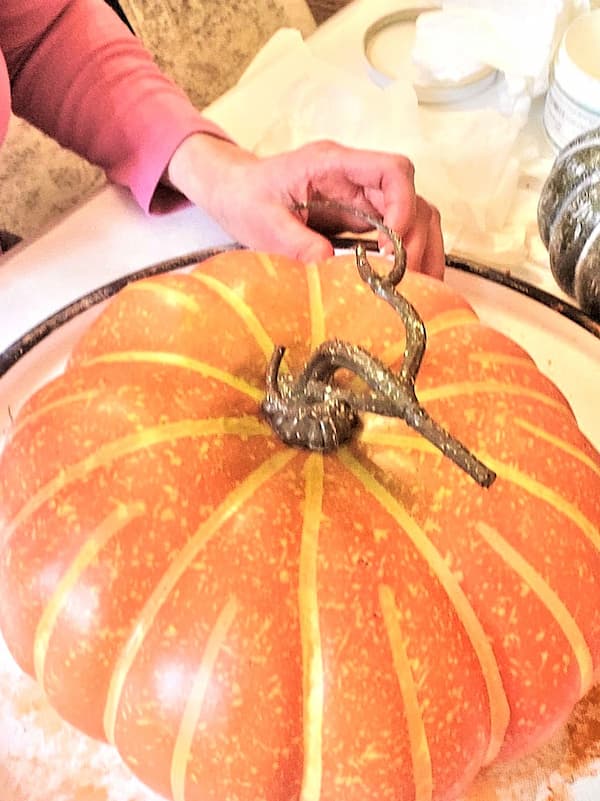
The first step before painting pumpkins is to clean them with a damp cloth. Starting with a clean surface helps the paint adhere properly. Before painting, remove the plastic stem. I purchased these pumpkins last year for $8 at my local craft store. This is the best part about shopping craft stores atm the right time. The shelves had just been restocked, and I found the perfect pumpkins for my fall crafts. Add a bit of raw umber pure pigment craft paint to the orange paint and mix well. This creates a deeper orange color for the DIY project. Paint half of the faux pumpkin, allowing it to dry between coats of paint. This base color will help create a realistic look.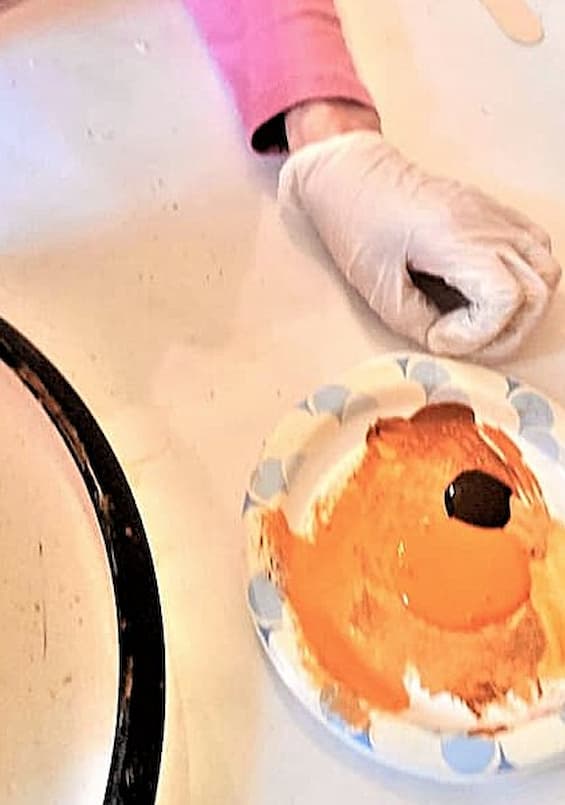
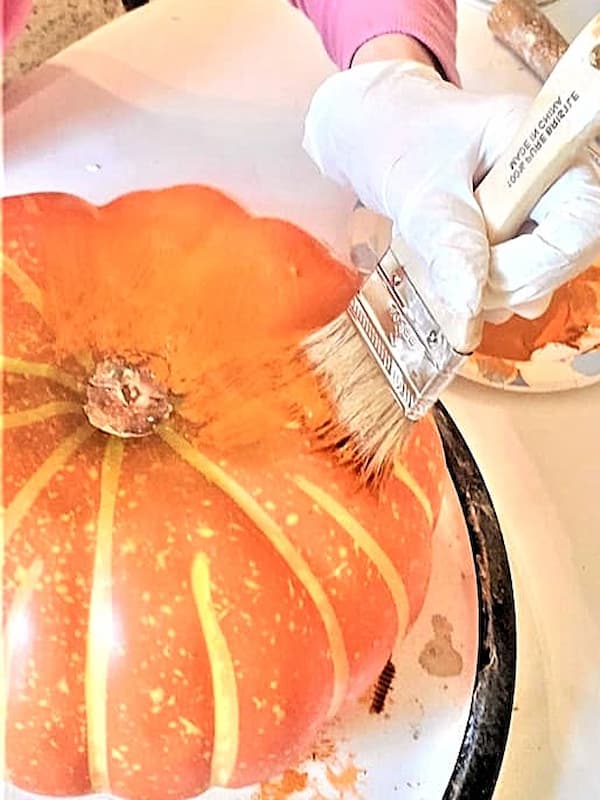
Step 2: Add a Lighter Coat of Paint
For the next step, add white craft paint or white chalk paint over the orange base color. This lighter layer helps give the chalk paint pumpkins a more realistic look. Chiffon cream and linen white are also great paint colors to use. Home Depot offers similar colors in their chalk decorative paint such as Tin White or Farmhouse white. If you prefer different color pumpkins, choose shades that work with your fall color scheme. Paint over the orange base, working on half of the pumpkin at a time. Keeping the paint slightly damp gives you enough time to use the stippling technique. This adds the natural texture you see on real pumpkins. Cindy's Tip: A real pumpkin has texture, and that's what we are trying to recreate. The stippling is what helps give these pumpkins the real look.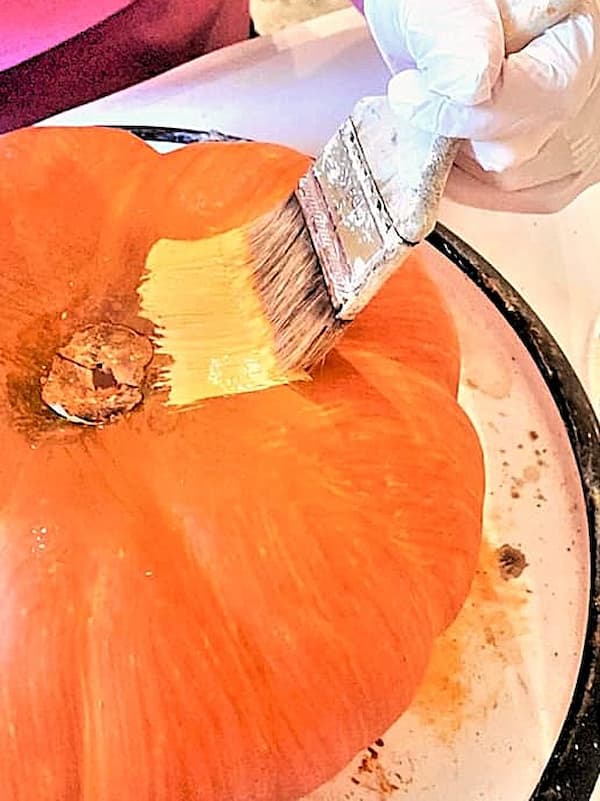
Step 3: Add Pumpkin Texture With Stippling
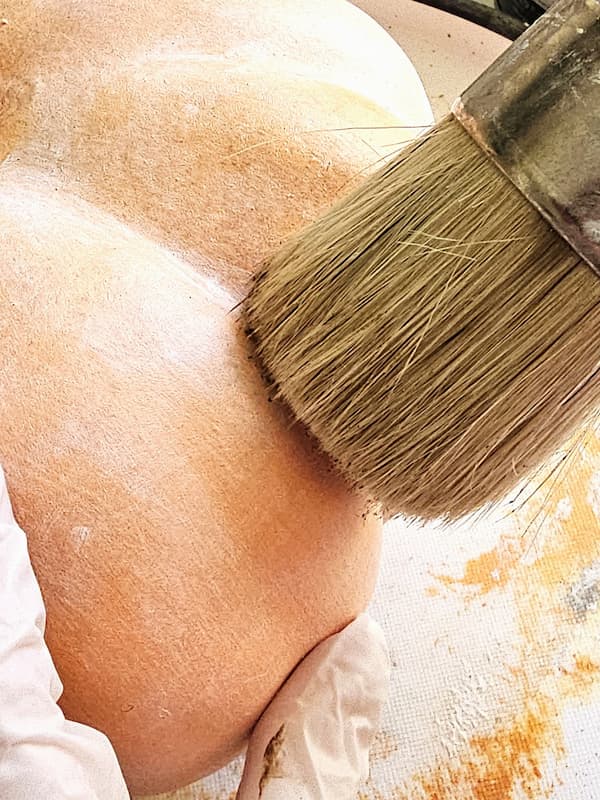
Pouncing and stippling can be hard on brushes, which is why I recommend inexpensive chip brushes. They can take a bit of abuse without worrying about ruining a good brush. Let the pumpkin dry completely. Once dry, repeat the same process over the entire pumpkin. Don't worry if some of the deeper orange color shows through as you work. Seeing different colors is part of what gives these pumpkins the varied, natural look of pumpkins. Cindy's Stippling Tip: Use the tips of the bristles on a chip brush to lightly stipple or pounce the paint onto the pumpkin. This creates the natural texture we're looking for when painting pumpkins.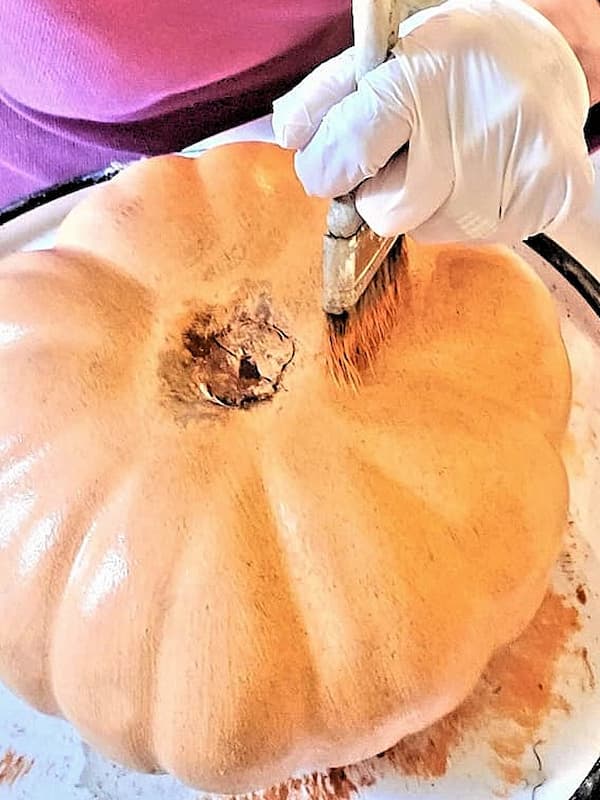
Step 4: Soften the Look With White Wax
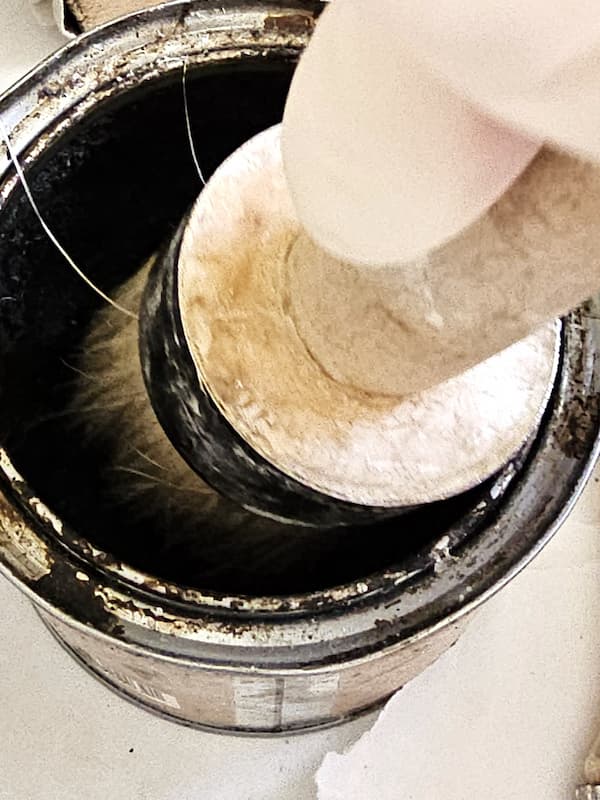
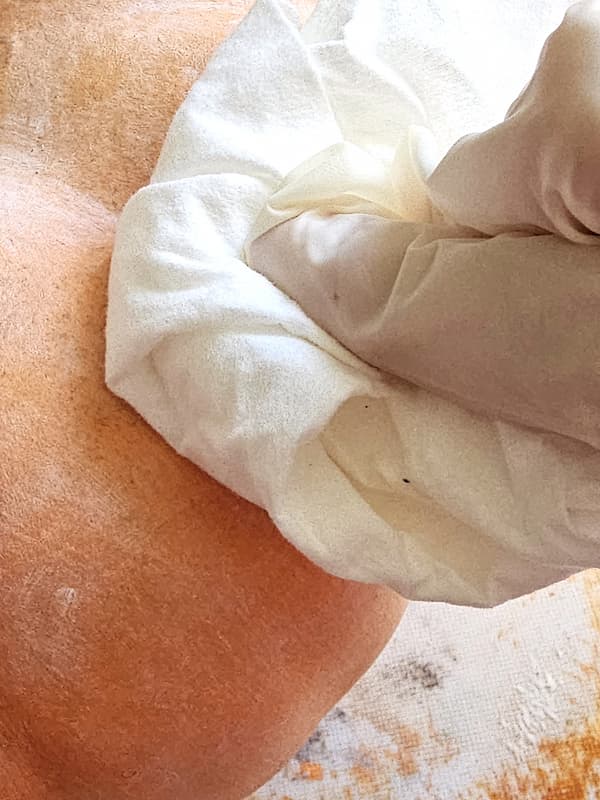
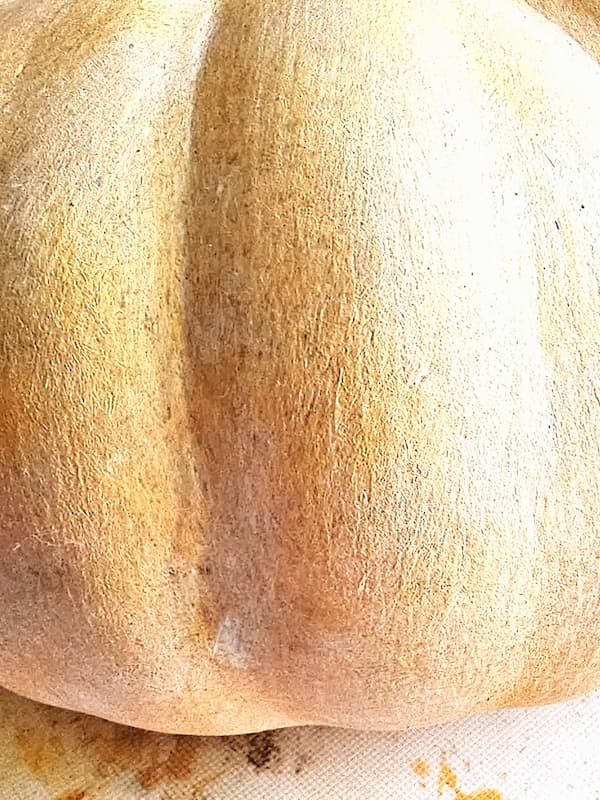
Add the white wax a little bit at a time, working in small sections. Use a wax brush to work the wax in well into the paint. This is when the painted pumpkin really begins to come to life. The white wax softens the orange color and gives the pumpkin the soft, muted finish found on heirloom gourds. After applying wax in a small section, lightly buff it with a lint-free rag. Continue working in small sections until the entire pumpkin is covered. The white wax is what helps create that soft, realistic look you see on heirloom gourds at pumpkin farms. This is one of my favorite parts of the painting process because the transformation is amazing!2 Cindy's Waxing Tip: Buffing wax is an important step. Be sure to buff the wax into the pumpkin with a lint-free rag to remove the excess wax. If you skip this process, the wax will remain sticky. I know this from painting furniture and other projects with wax over the years.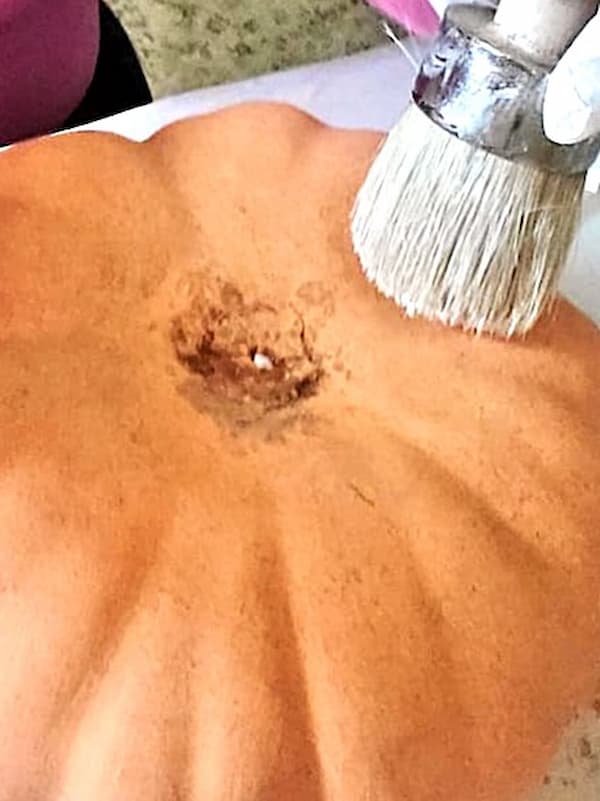
Step 5: Add Detail With Dark Color Wax
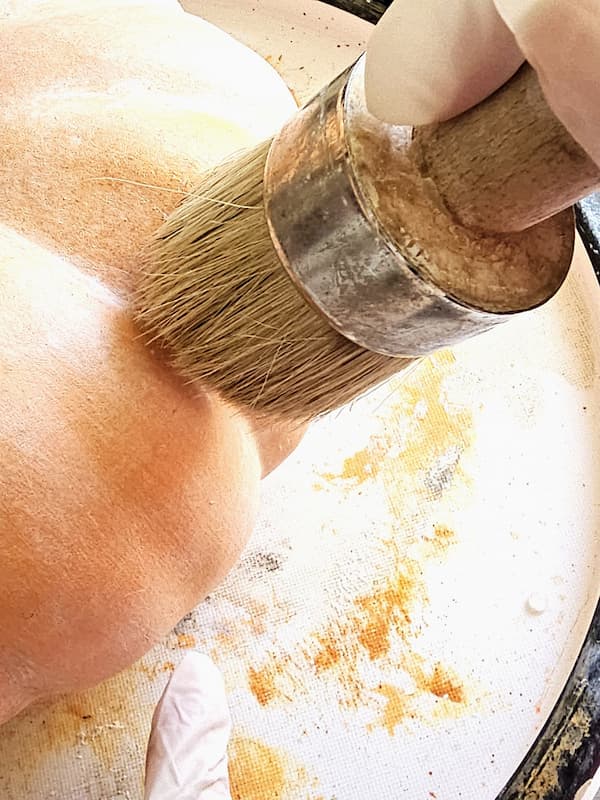
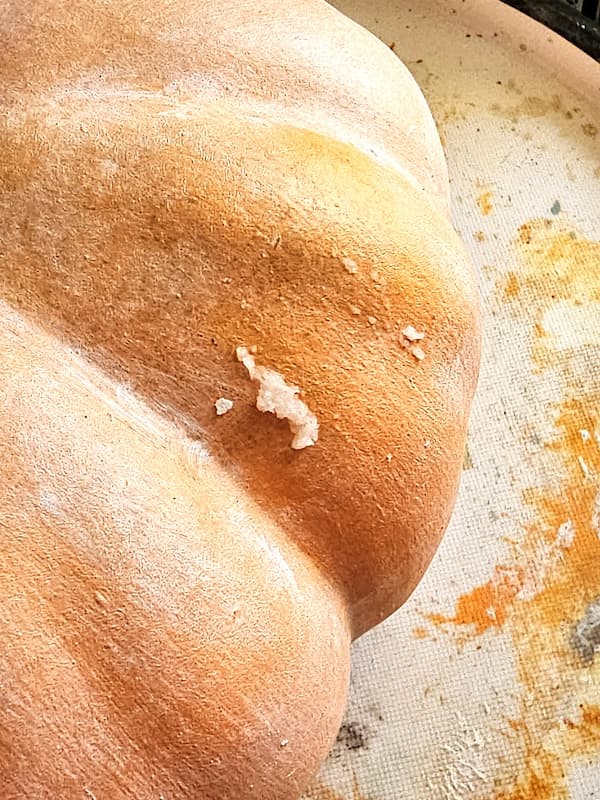
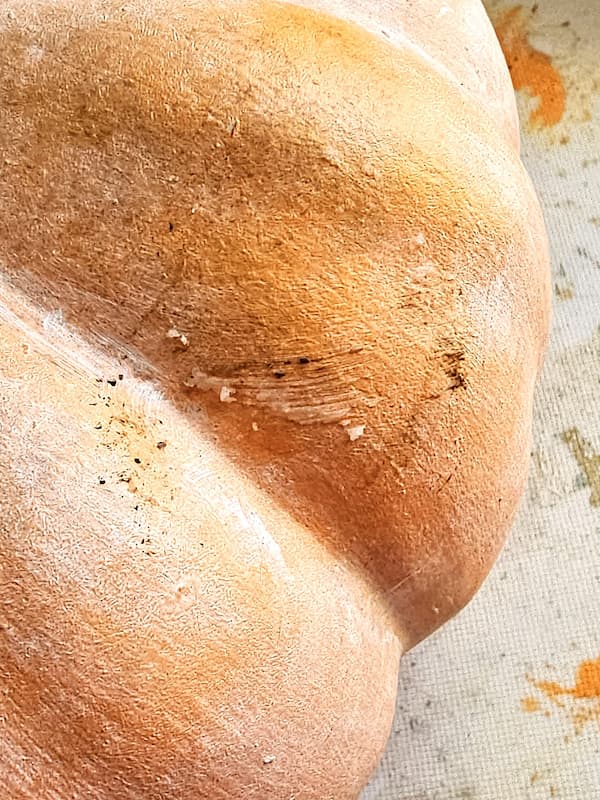
Adding a bit of clear and dark color wax around the real stems and in the creases adds depth to the light orange, heirloom-looking green gourds, and white pumpkins. The wax helps each color have a more realistic look. The stems of the pumpkins help complete the look when transforming fake pumpkins from the Dollar Store or Hobby Lobby into something that looks like the real thing. Cindy's Tip: When adding the waxes, I apply a light coat of clear wax first. This keeps the dark color wax from becoming too heavy. Dark color wax tends to absorb into paint quickly, so waxing clear gives you more control and allows the waxes to blend. For detail work, I always use a smaller wax brush or soft stencil brush. Apply the wax in small sections, then rub it into the paint with a lint-free cloth. The waxing process doesn't take a long time, but working in small sections helps you control the finish. If you don't want to use wax, dip the tip of a small chip brush into a combination of raw umber pure pigment craft paint. Wipe the excess onto a paper towel, then use a light stippling motion around the stem. You can also use a dry brush with raw umber paint in the creases of the pumpkin.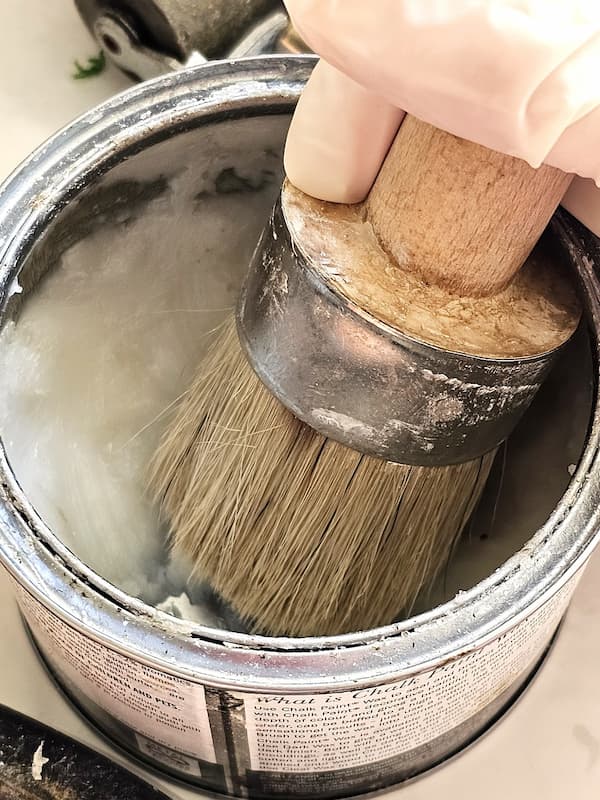
Step 6: Adding Stems of the Pumpkins
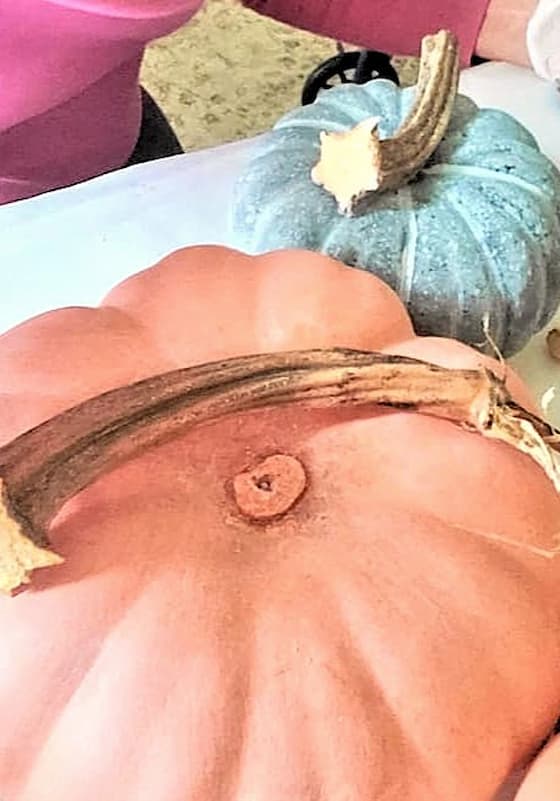
Adding dried real stems from my collection is the fun part. They add a realistic look to this easy craft and immediately make the fake pumpkins look like the real thing. When our family and friends came to our home last year, they thought the pumpkins were real. It's the simple things that can have a big impact. I save stems from my pumpkins every fall and have quite the collection of stems now. I love being able to reuse them year after year instead of throwing them away.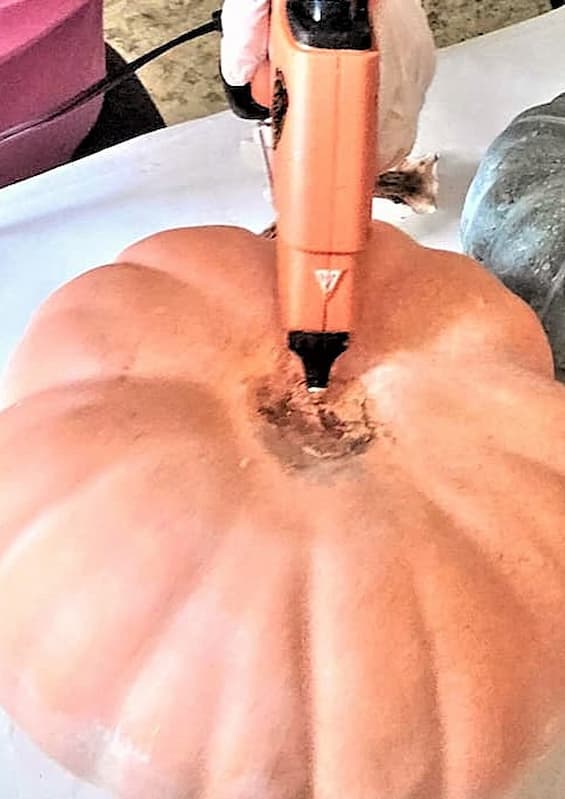
Smaller Pumpkins
I also wanted to create a few smaller pumpkins in softer colors. These are an easy craft and give your seasonal decor a little variety.Step 1: Paint and Dry Brush the Smaller Pumpkins
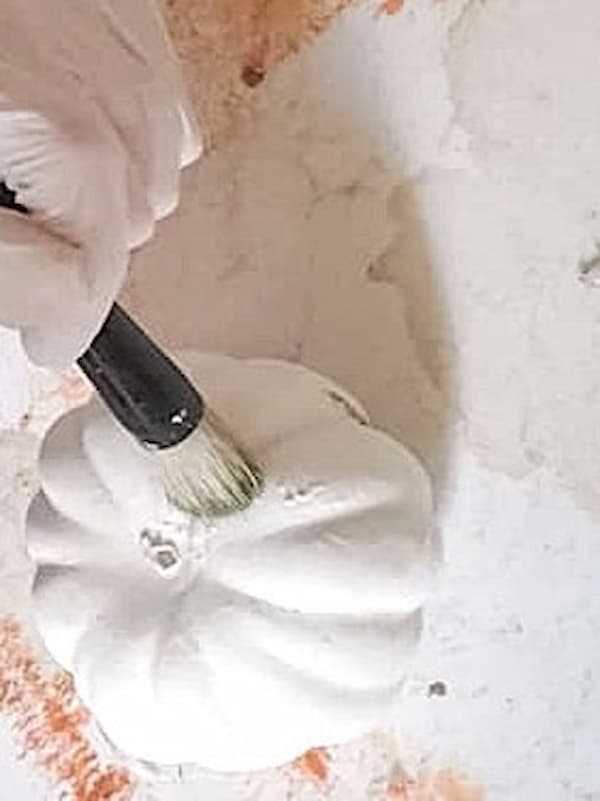
This faux pumpkin already had a great base color, so creating the soft green pumpkin look of something we might find at a pumpkin farm was easy. These painting techniques are simple and don't take a long time. Start by wiping the pumpkin with a damp cloth, so you have a clean surface. Use FolkArt green chalk paint and a chip brush, and use a dry brush technique to paint the entire pumpkin. The dry brush technique adds dimension and texture to smaller pumpkins.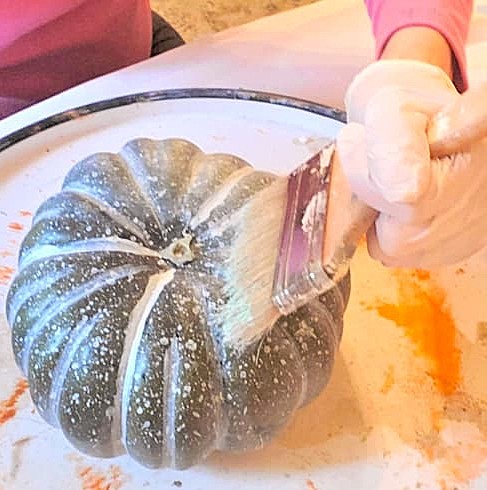
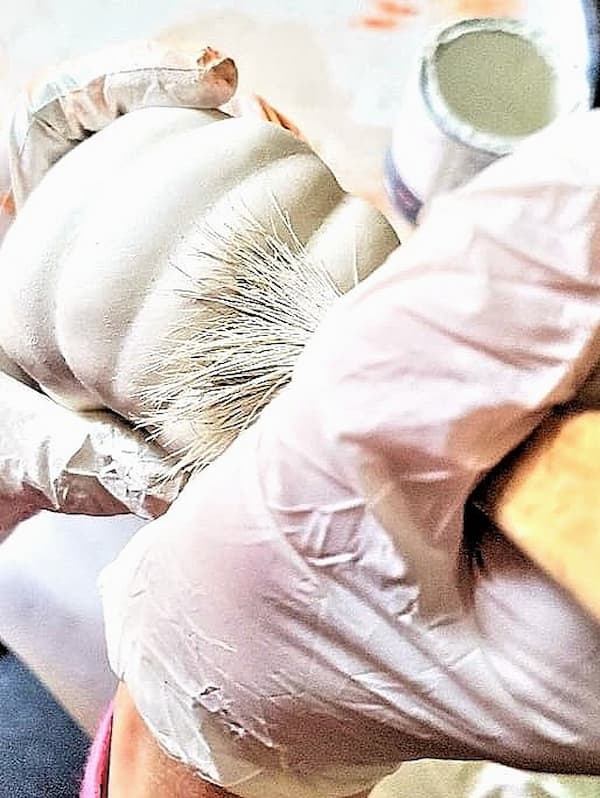
Step 3: Add the Stems of the Pumpkins
Adding the stems of the pumpkins is the finishing touch that gives these pumpkins a more real look. For smaller or Styrofoam pumpkins, I use a slightly different method for attaching the stems. Heat your glue gun on a low setting. This is important because high-heat glue can cause Styrofoam pumpkins to break down. Add a small amount of glue to the bottom of the stem. Place it on top of the pumpkin and hold it until the glue sets. Cindy's Pumpkin Tip: No real stems? No problem. Dry brush the plastic stem with a bit of raw umber pure pigment craft paint. For a different look, you can also wrap the stem with jute or twine. If you purchase small white pumpkins for outdoor decorating, save the stems. Use them for future projects or decorating. Cindy's Tip: Because this DIY uses dark wax and clear wax, I recommend keeping the chalk paint pumpkins indoors. If you want to use them outside, spray them with several coats of matte polyurethane to help protect the finish. Cindy's Dry Brushing Tip: Dip the tip of your brush into the paint. Wipe the excess paint onto a paper towel, paper plate, or rag. You want very little paint on your brush when dry brushing. I share in-depth details in this blog post on how to dry brush. The dry brush technique can be hard on brushes, so I recommend inexpensive chip brushes. They take a bit of abuse without worrying about ruining a good brush. I also shared a step-by-step tutorial showing this painting technique on planters. (HERE) One of my favorite parts of the painting process is mixing different colors of paint. Because I already had a good base color, the dry brushing went quickly.