Napkin Rings Easy Fall Craft
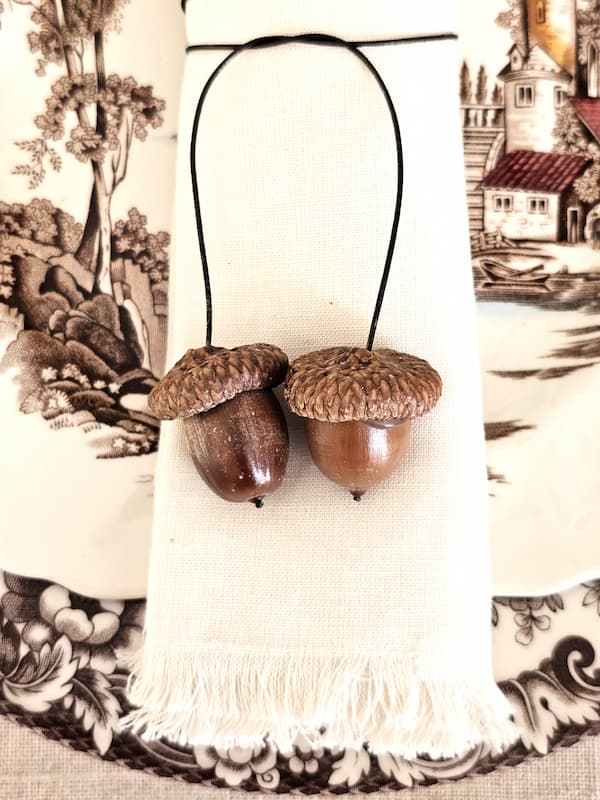
These lovely napkin rings bring the beauty of natural acorns to a fall table and make a pretty addition to place settings for everyday meals or special occasions.
Yield: 6 napkin rings
Cost: $10 if you have acorns
Notes
Oak Napkin Rings Easy Fall Craft
Craft Supplies:
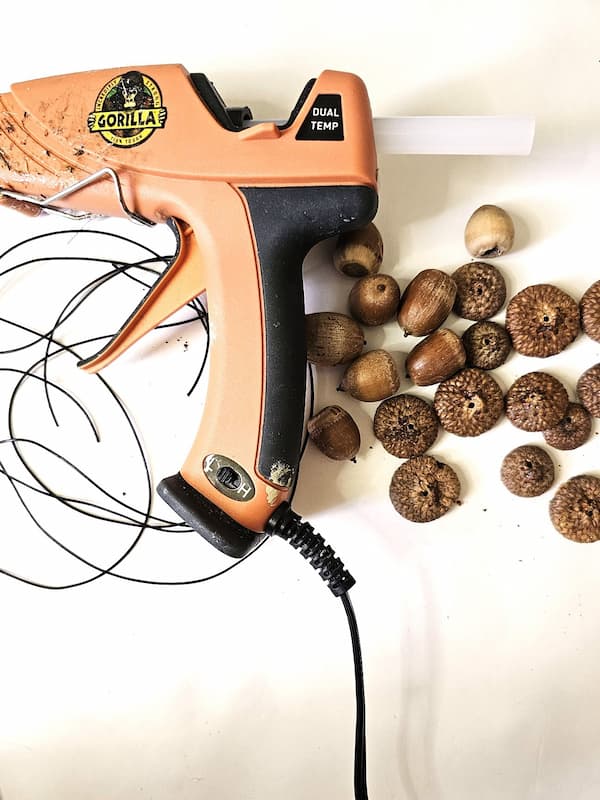
- 12 real acorns or 12 acorn caps
- Hot Glue Gun
- Tweezers
- Pliers
- Coated floral wire
- Wire cutters or scissors
- Drill
- 1/8 drill bit
Step 1: Preserve Acorns
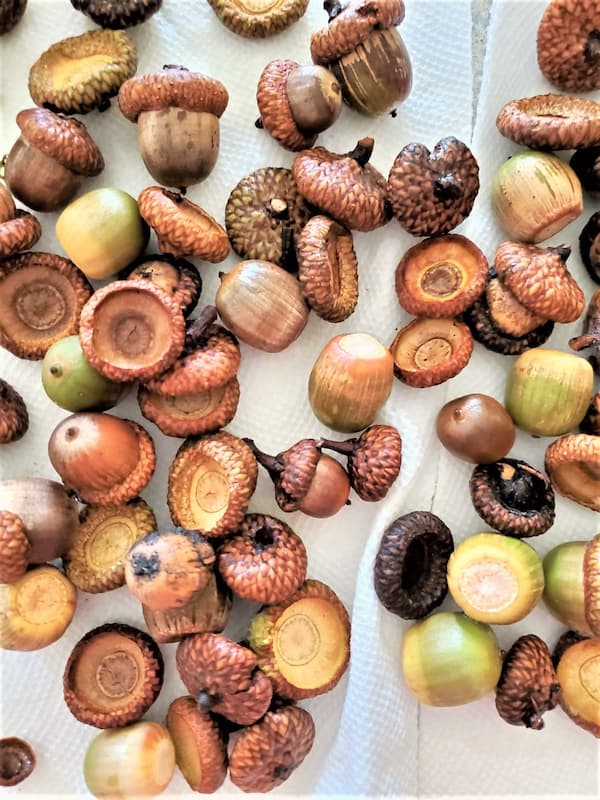
The first step is important if you want to use your oak napkin ring year after year. If you plan to make these for special occasions, an autumn table, or your Thanksgiving table, I recommend cleaning and preserving the acorns before assembling them. If you've been following Cloches & Lavender, you know how much I enjoy bringing natural elements into our home. I've been collecting and decorating with acorns for years, and my own collection is now a decade old. For the process, see my post on how to clean and preserve acorns for crafts and decor. I share exactly how to clean, dry, and preserve real acorns so they can be enjoyed in fall decor and craft projects for years. Cindy's Acorn Tip: Don't skip this step if you plan to store your napkin rings nd ujse them again. The preservation process helps remove dirt and insects and prepares the acorns for long-term decorating.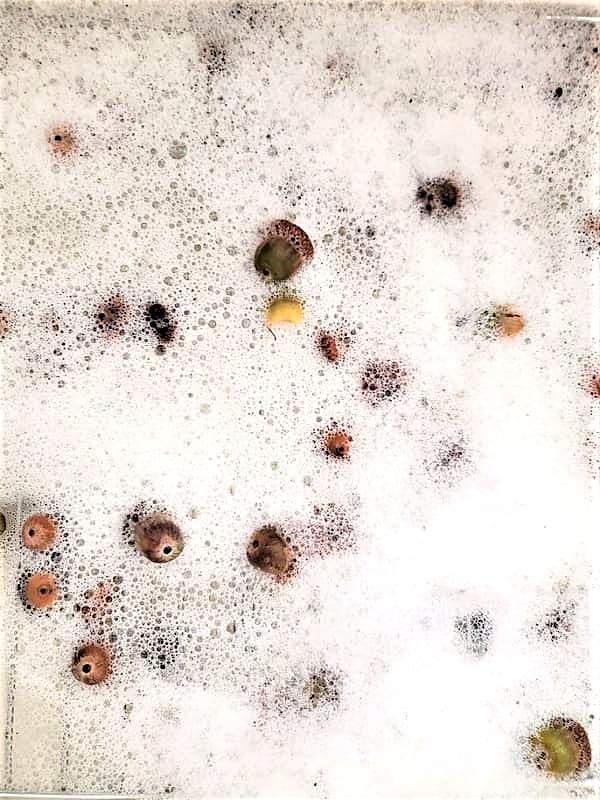
Step 2: Measure and Cut the Wire
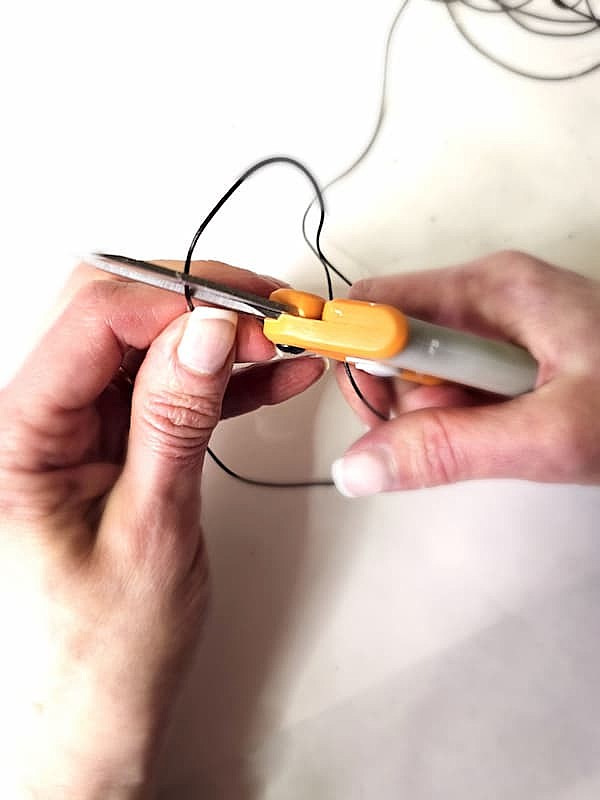
Measure the coated floral wire to 18 inches and cut it out with wire cutters or scissors. This length gives you enough wire to form the napkin ring and secure the ends.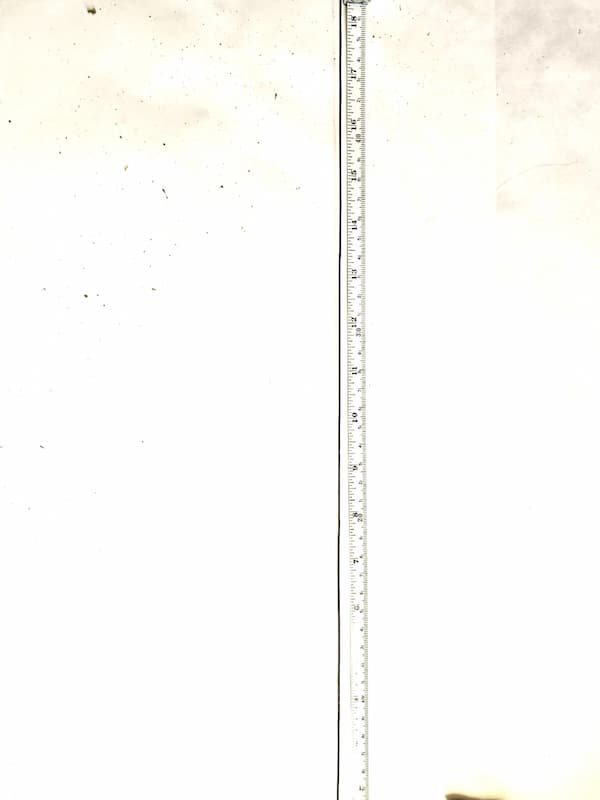
Step 3: Remove the Caps
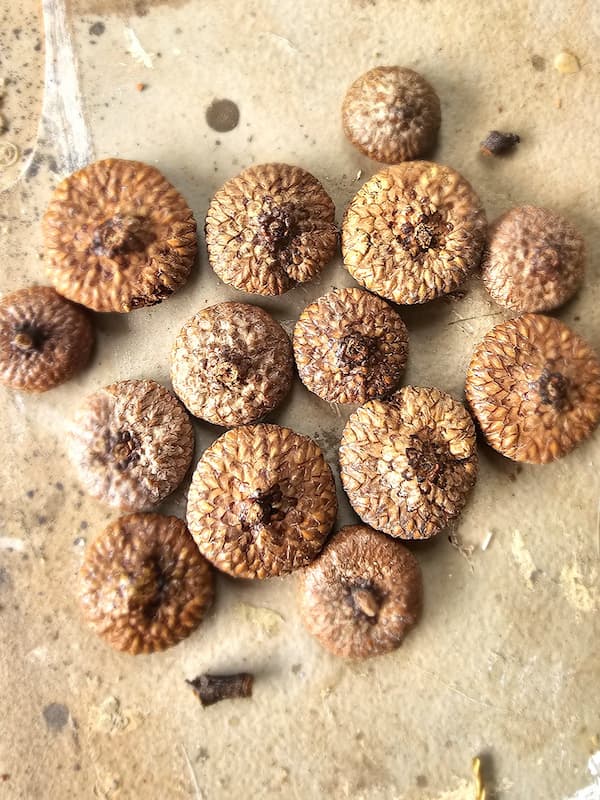
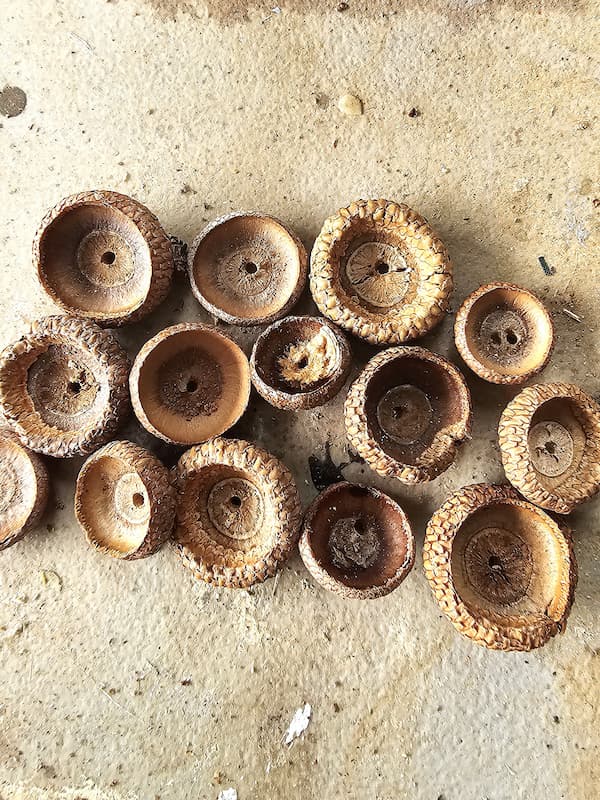
Carefully remove each acorn cap. The cap should come off easily from most real acorns. If one is stubborn, use the pointed tip of a pair of tweezers and gently slide it underneath the edge of the cap. Give it a little lift, nd it should pop off. Next, use pliers to remove the small stem from each cap. Keep each acorn cap next to its matching acorn. This makes it easy to find the right cap when you're ready to put your napkin ring together with your hot glue gun.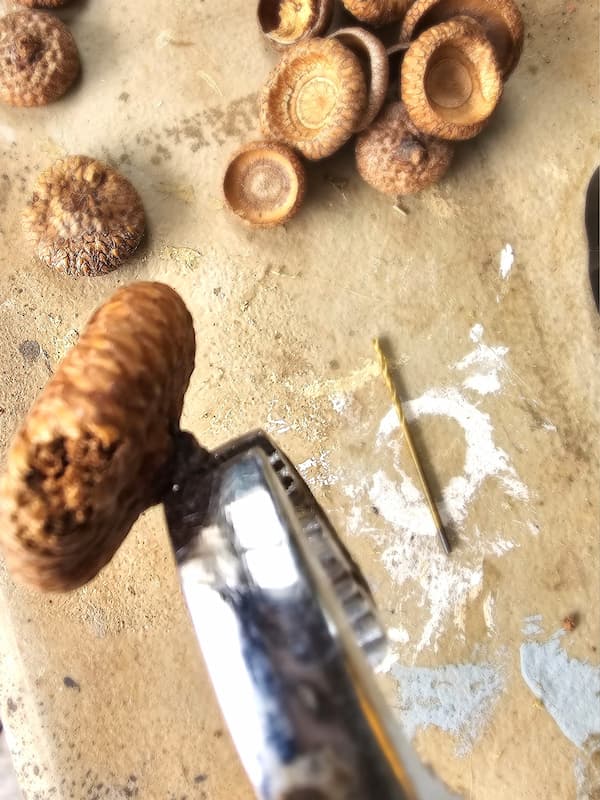
Step 4: Drill the Caps
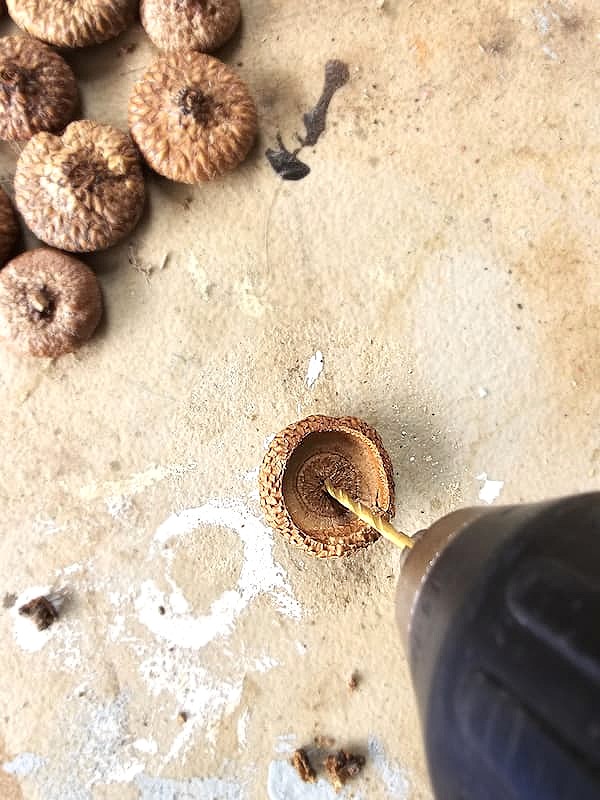
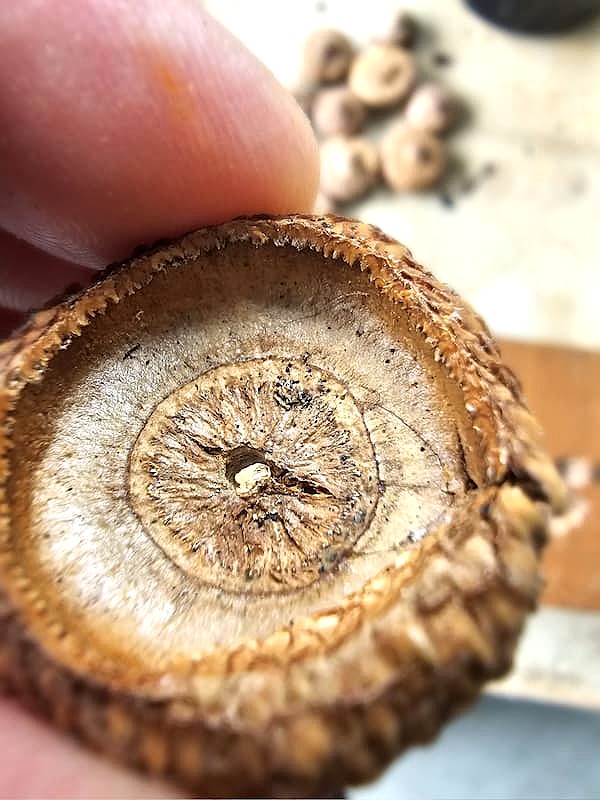
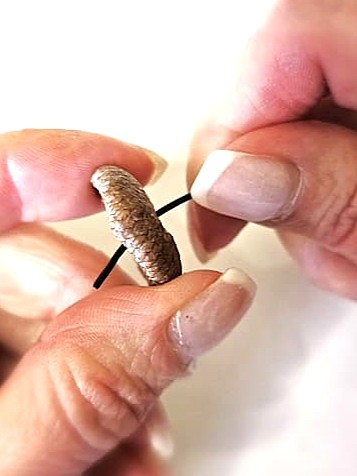
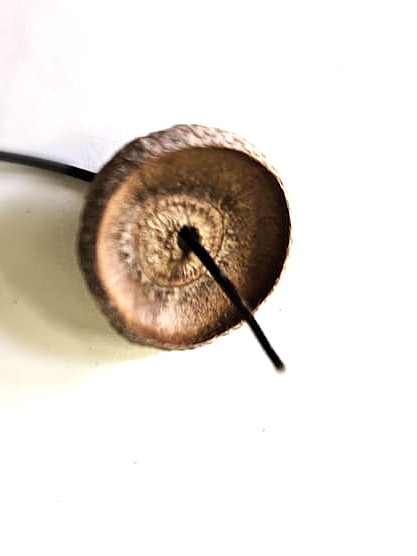
For the next step, carefully drill a small hole through the center of each cap using a 1/8 inch drill bit. A small hole is al you need for the floral wire to pass through. Once the holes are drilled, thread the ends of the wire through each cap. Make sure both ends of the wire come through the cap so you can secure them in the next step. Have your glue gun heating while you work. It will be ready when it's time to attach the wire and the acorn cap to create your finished napkin ring.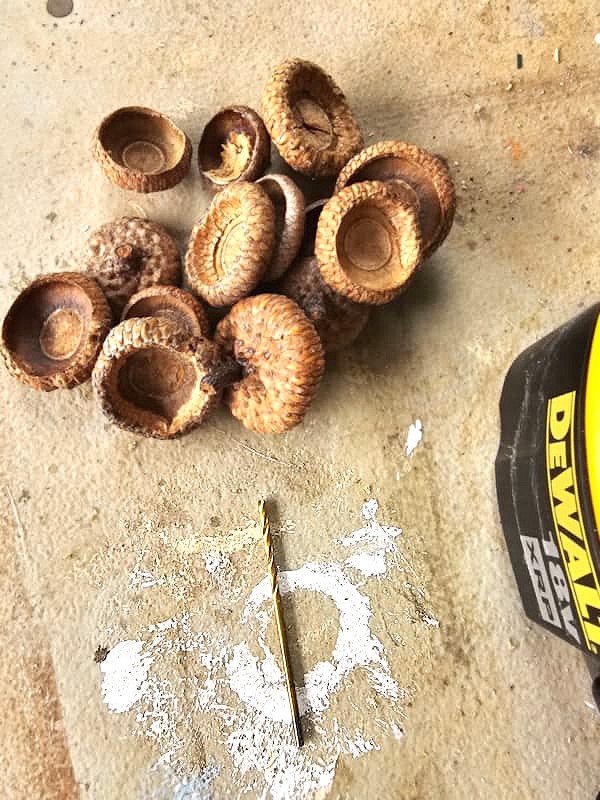
Step 5: Glue the Cap in Place
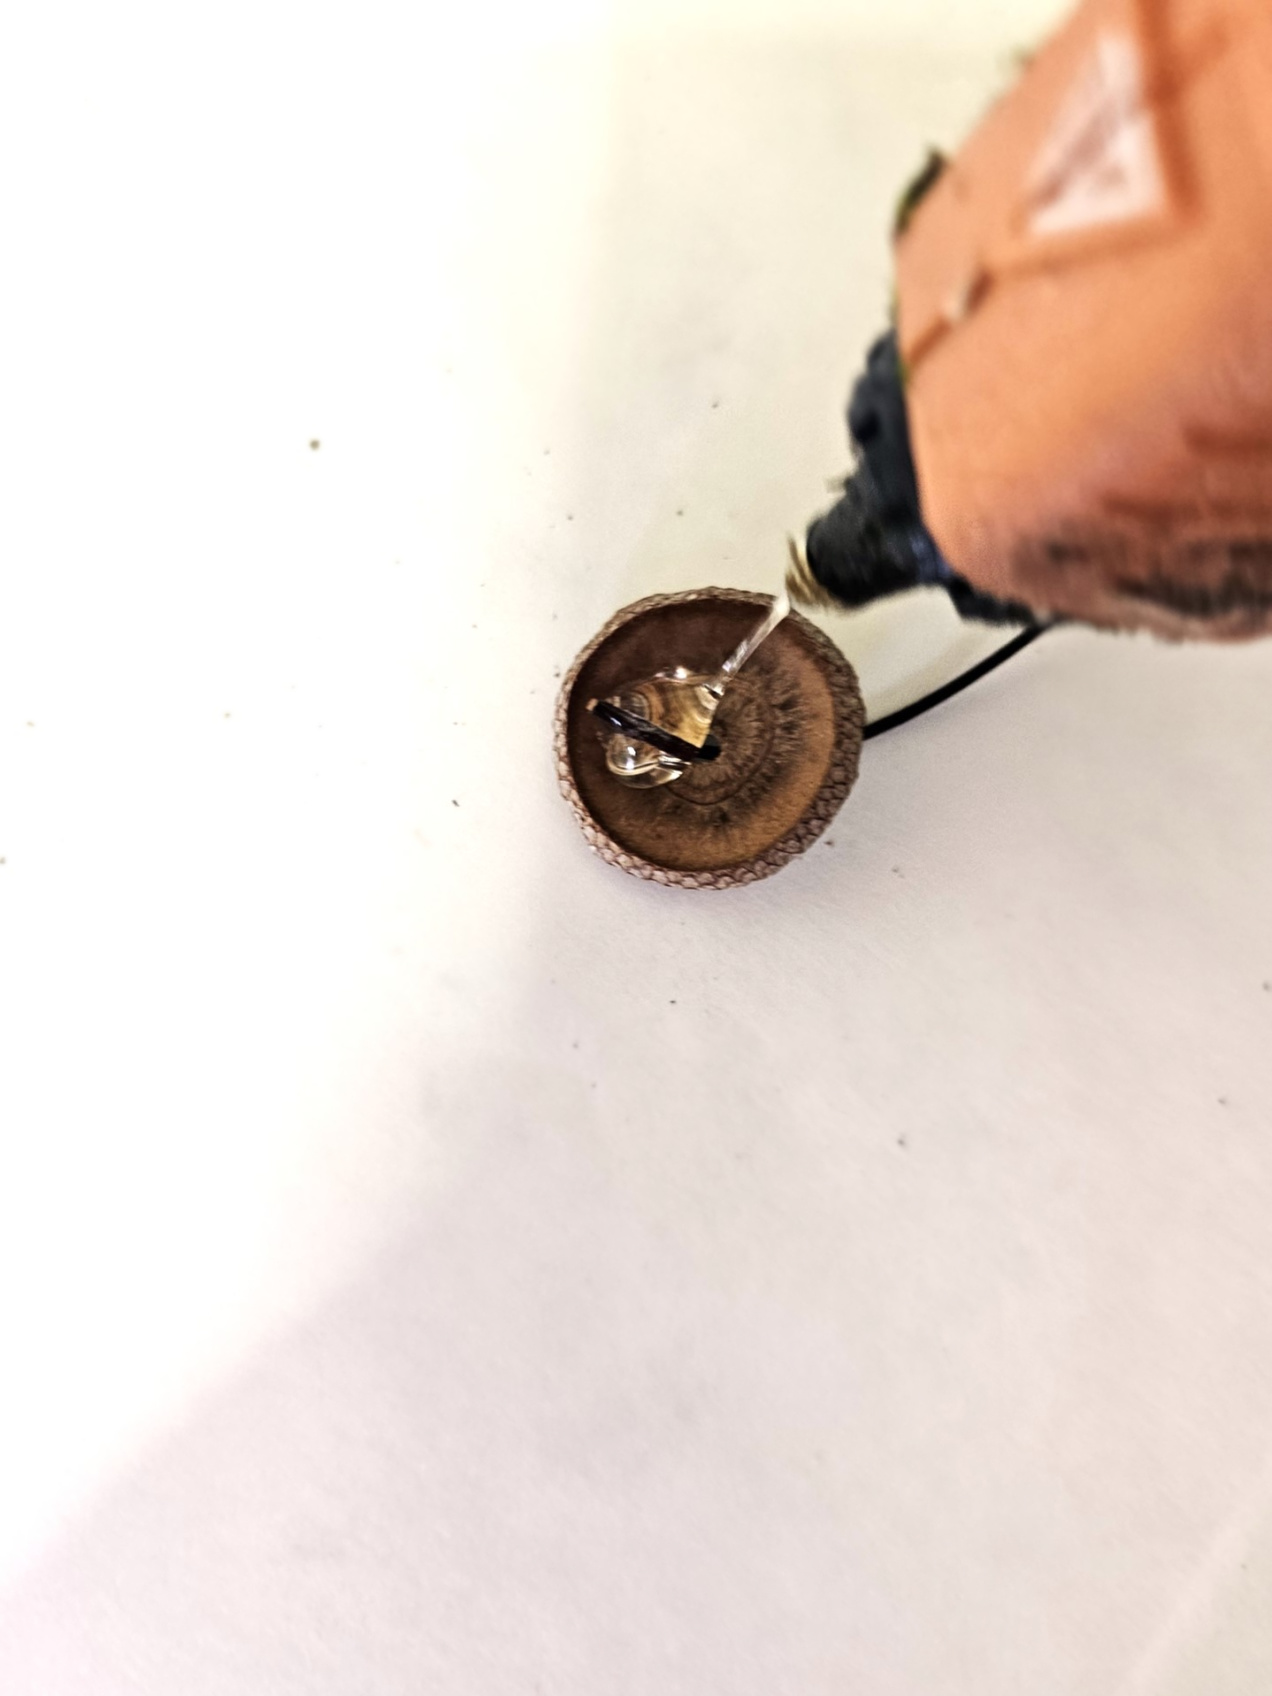
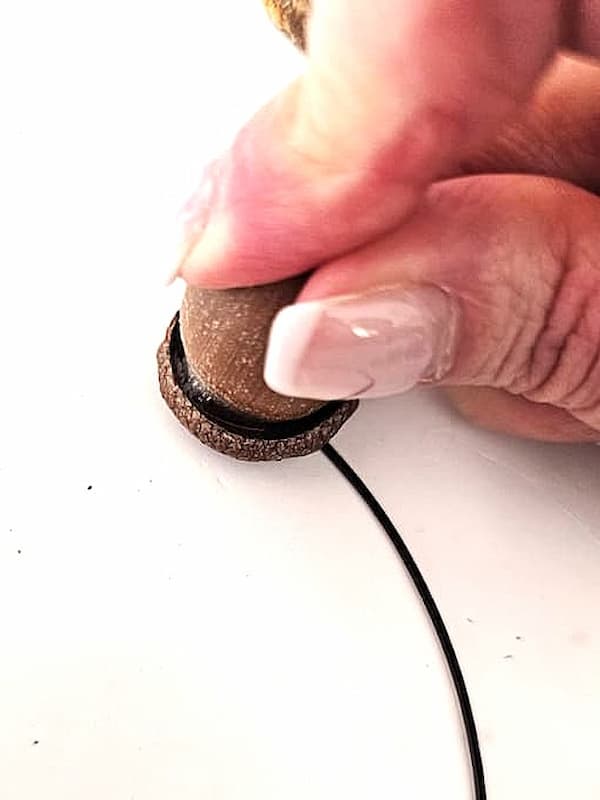
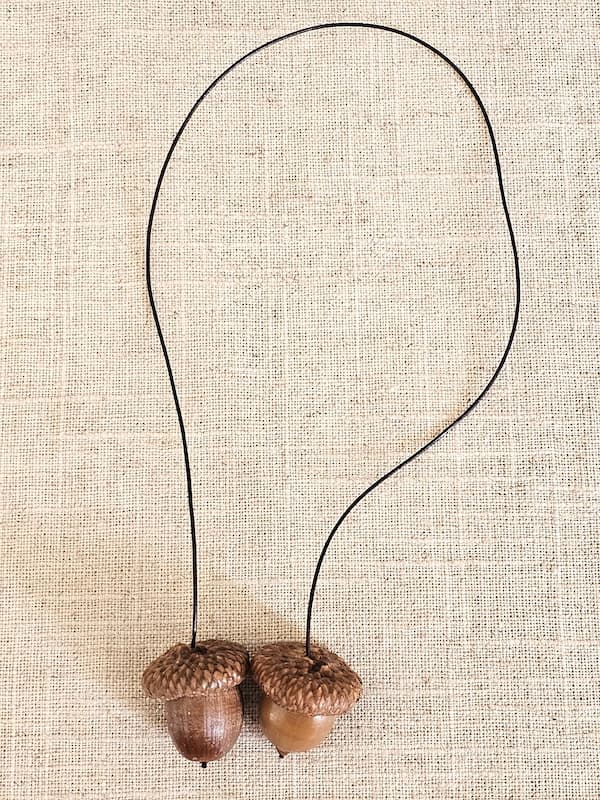
Using your hot glue gun, add a bit of hot glue to the ends of the wire inside the cap. Hold the wire in place for a few seconds until the glue sets. Next, add another bit of glue inside the acorn cap. Place the cap back onto its matching acorn and hold it firmly in place until the glue sets. That's it! Your acorn napkin ring is finished. Cindy's Tip: The speed of this project is what makes this a fun fall craft. Once your supplies are ready, you can make several napkin rings in a short amount of time. This is perfect when you're getting your fall or Thanksgiving table ready for this time of year.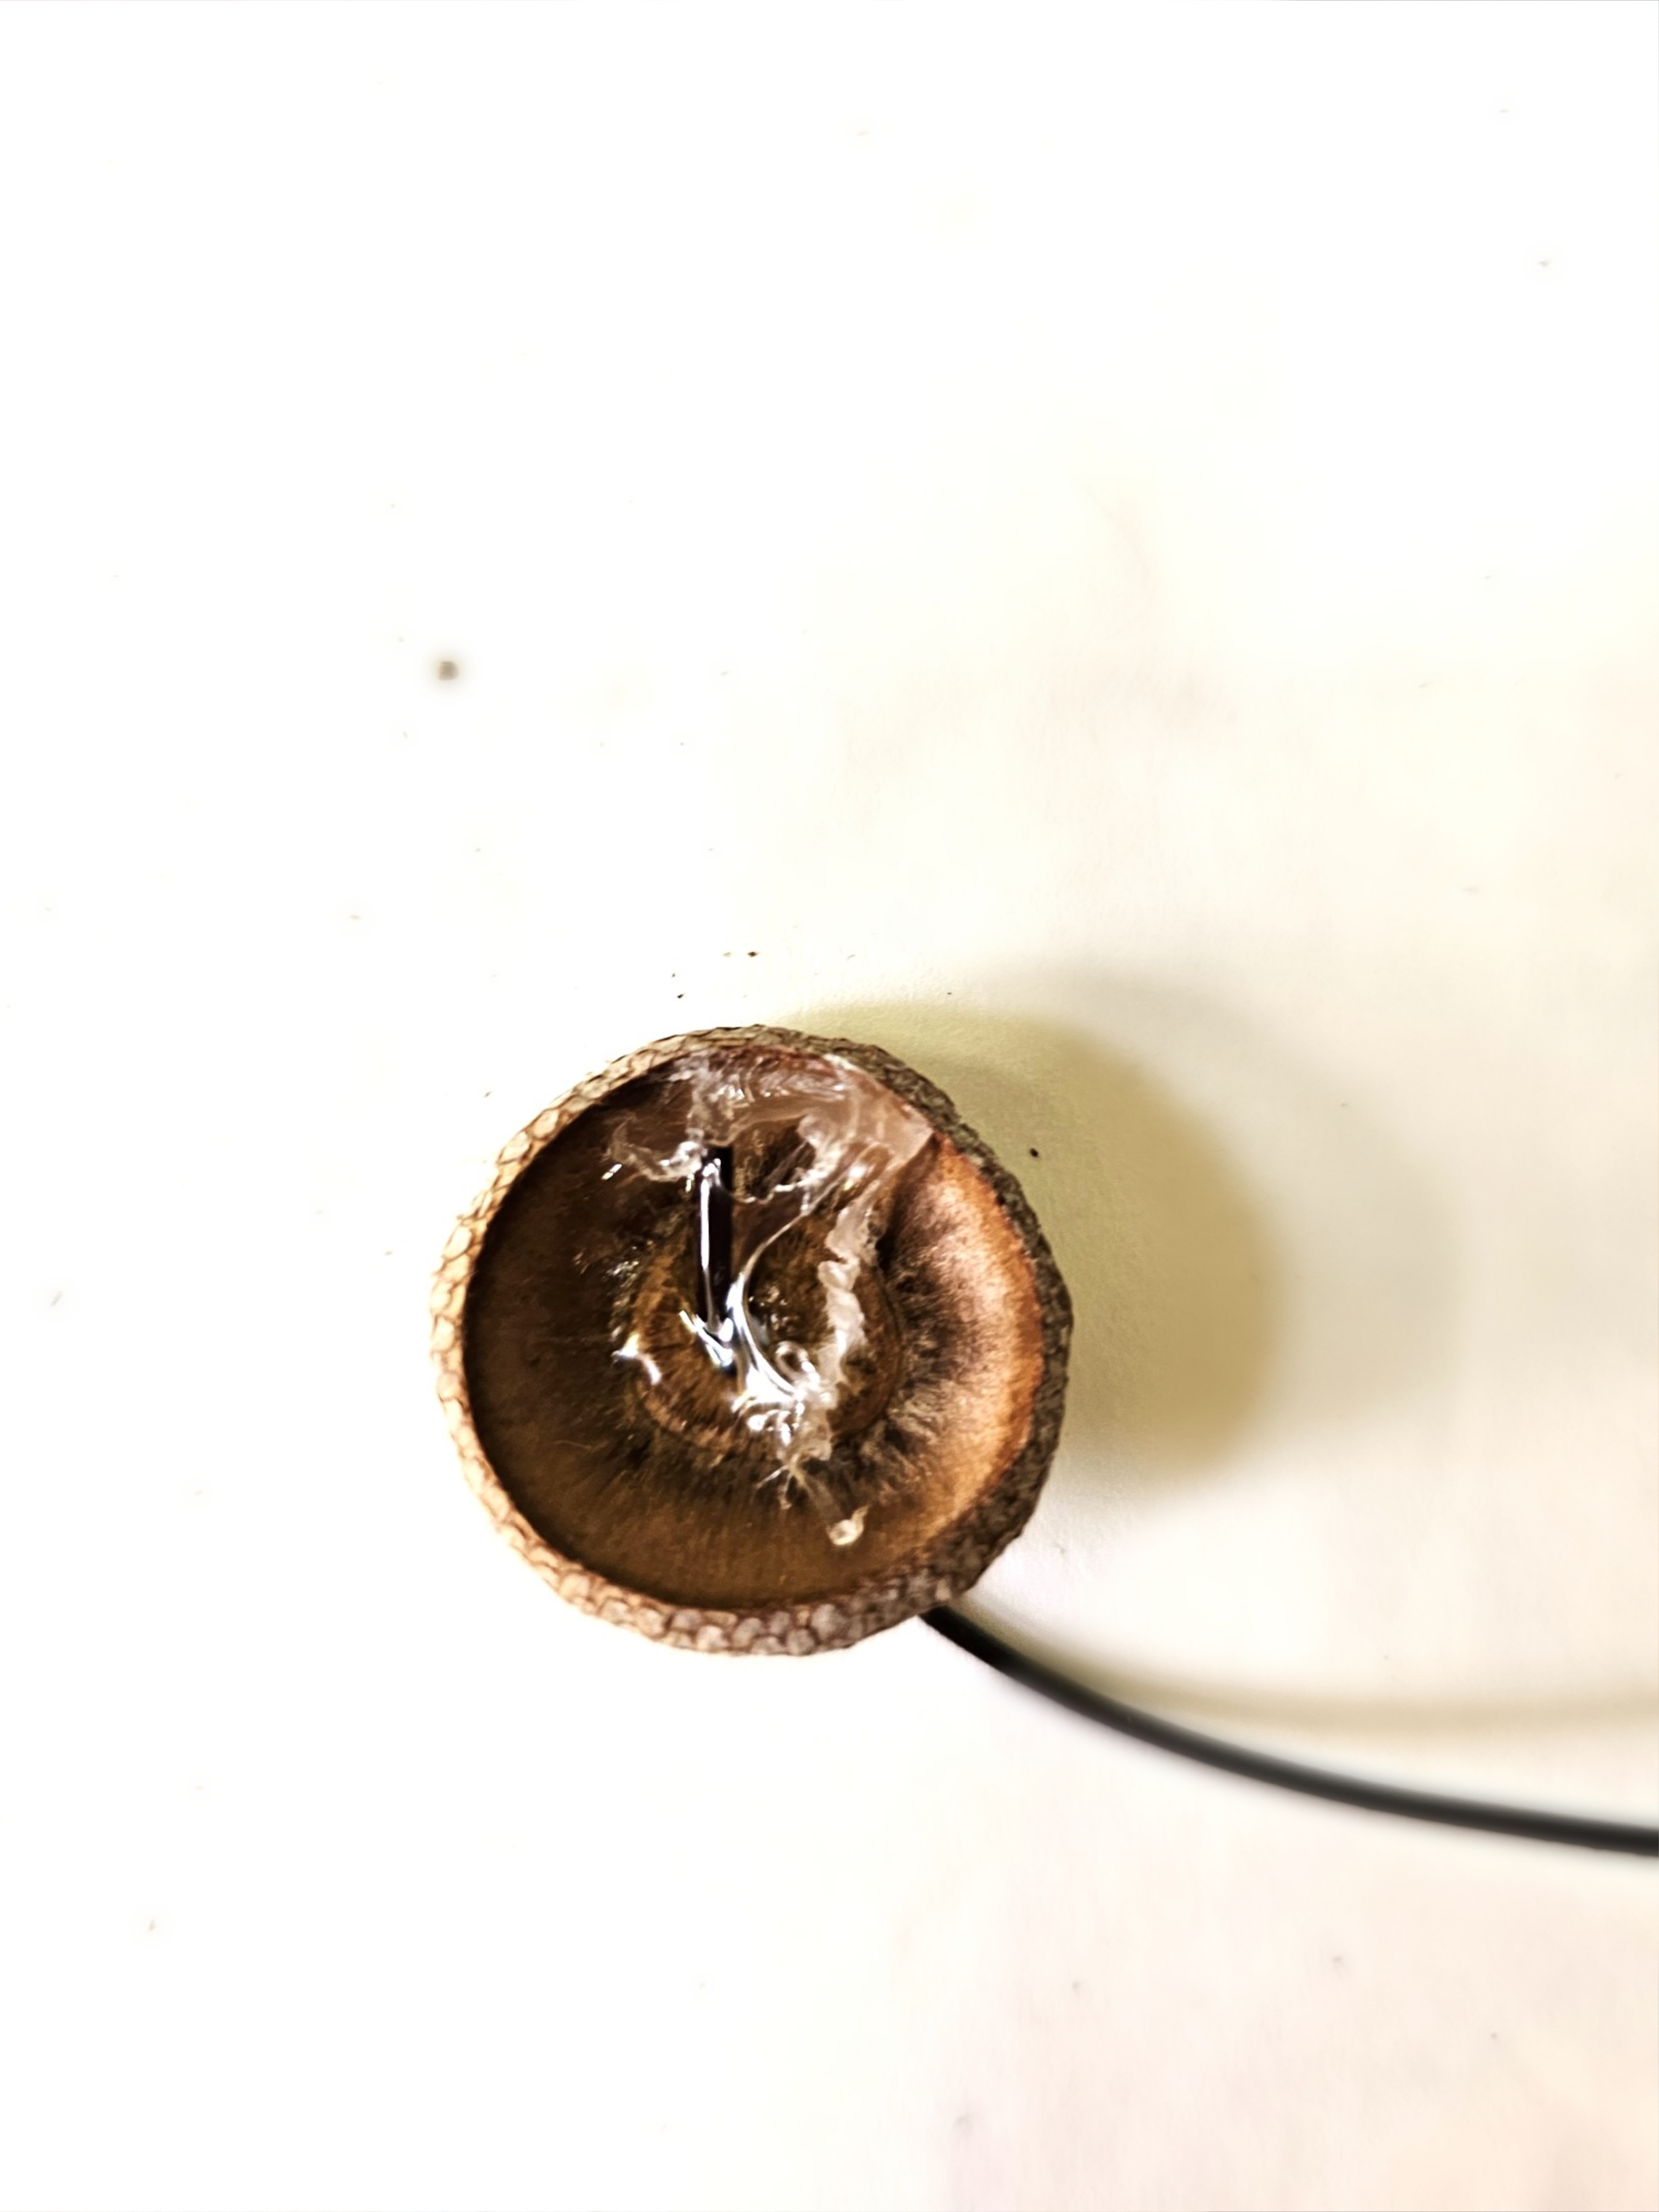
Make Napkin Ring Using Only Acorn Caps
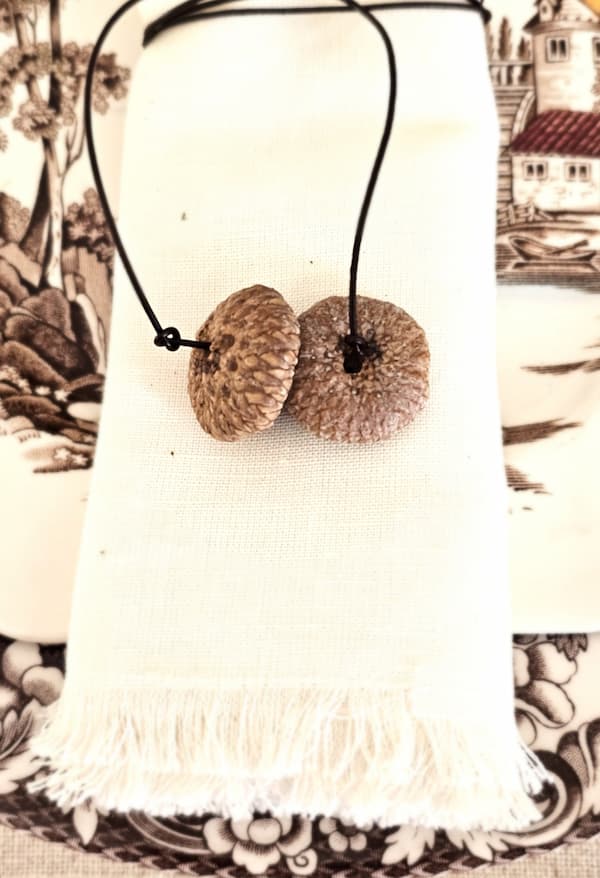
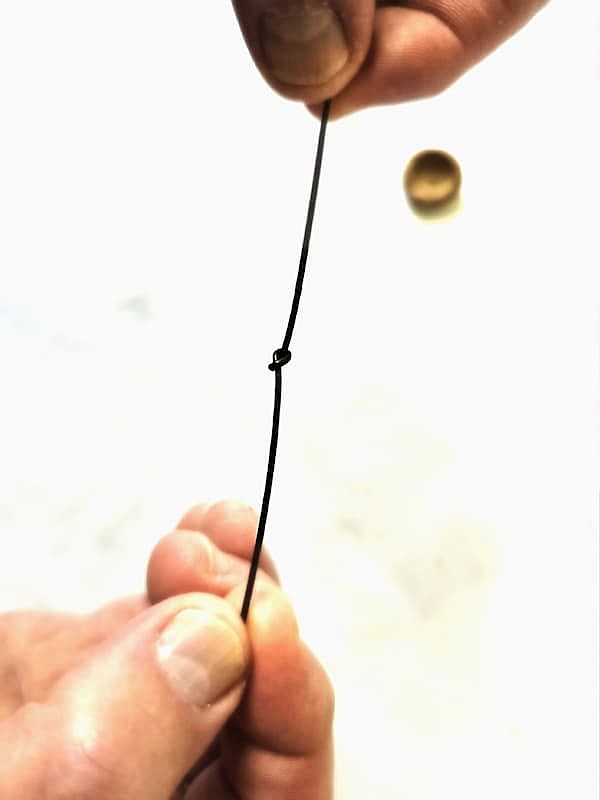
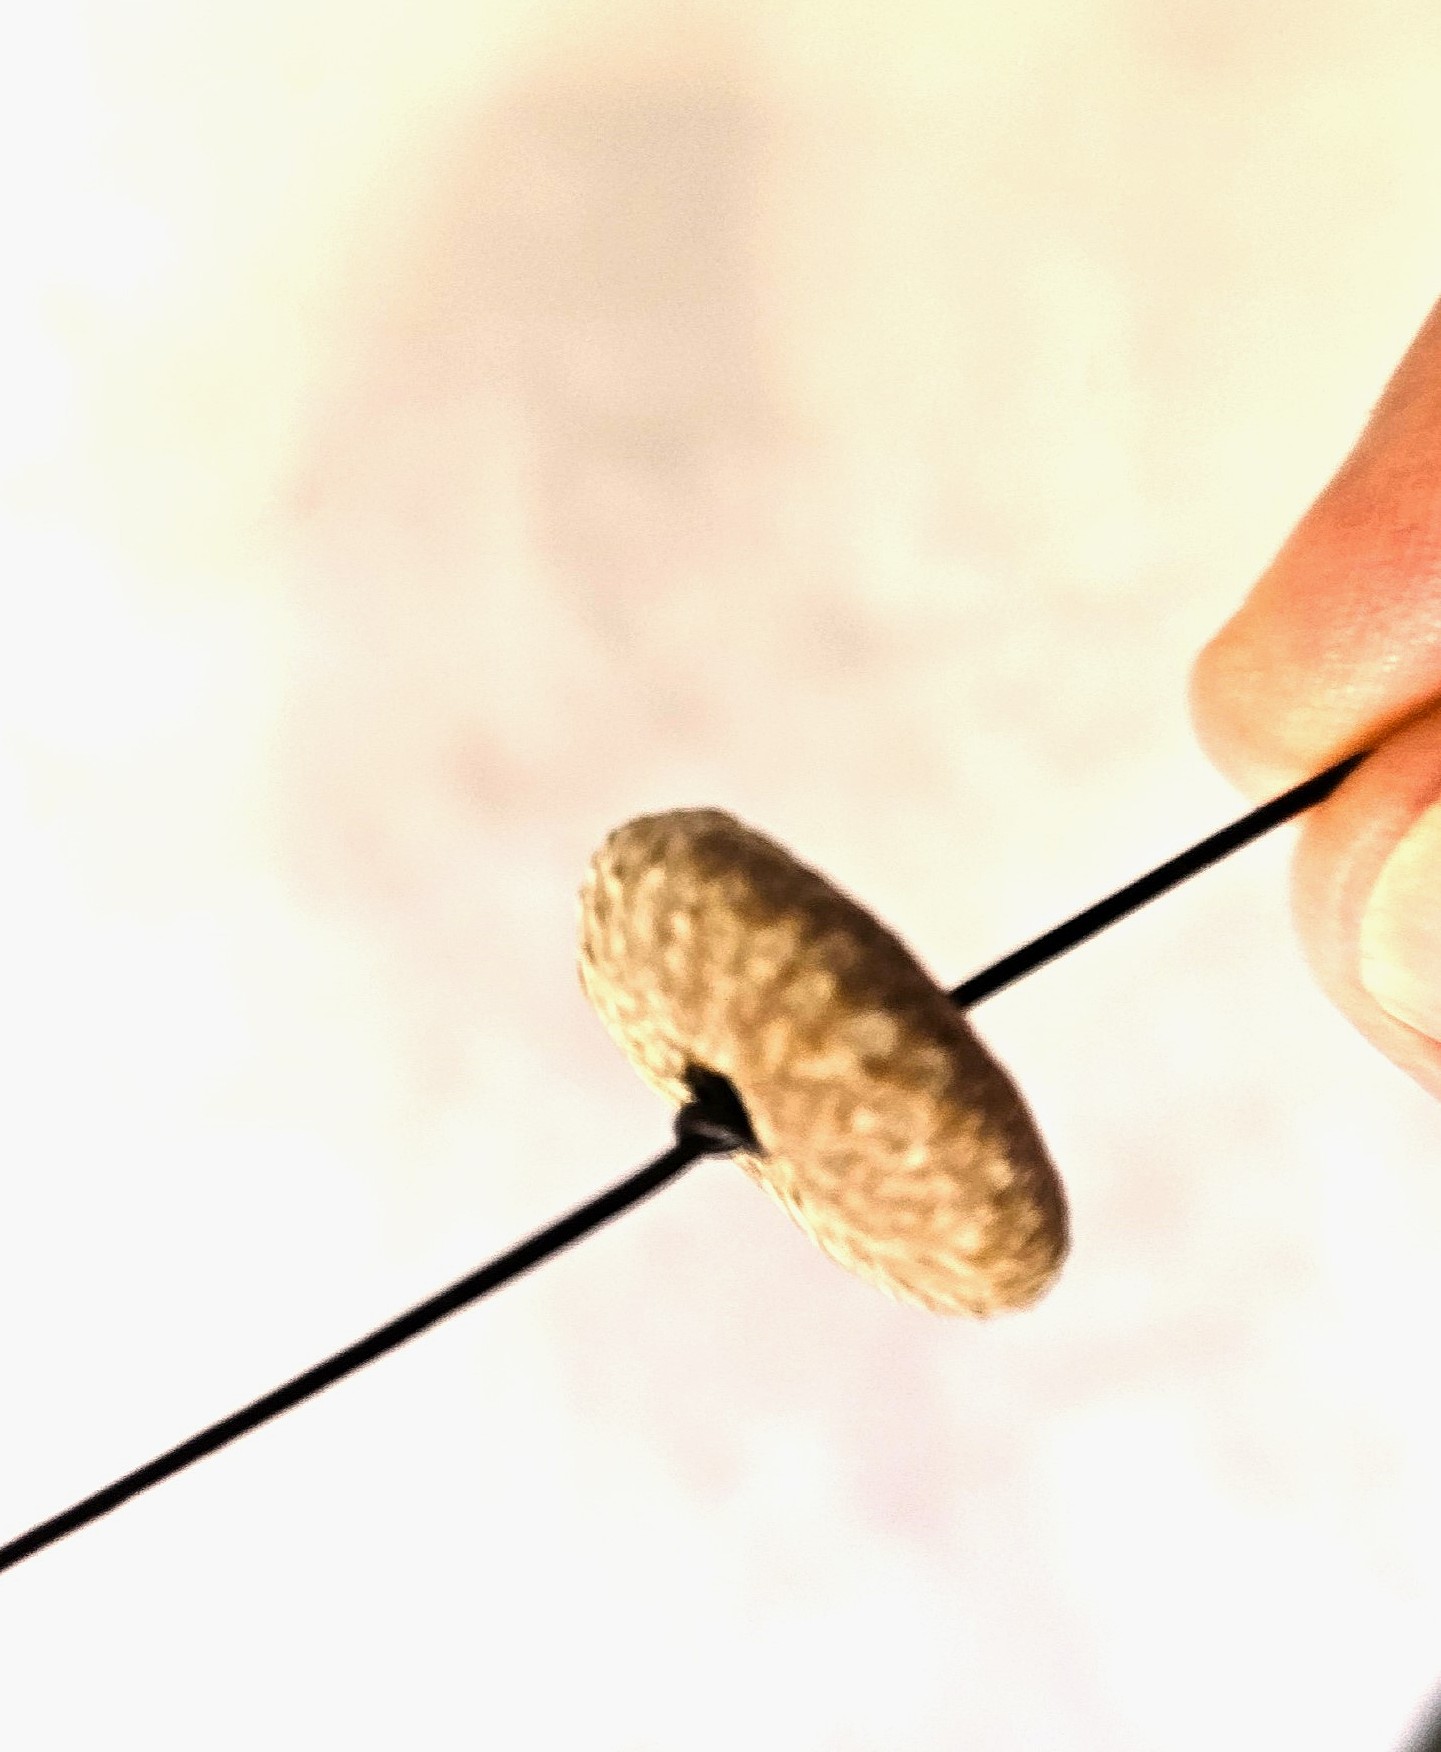
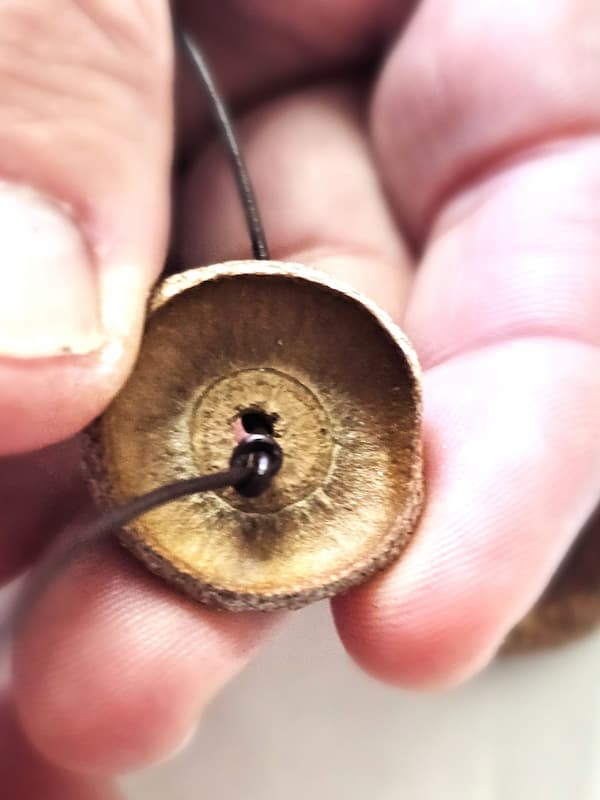
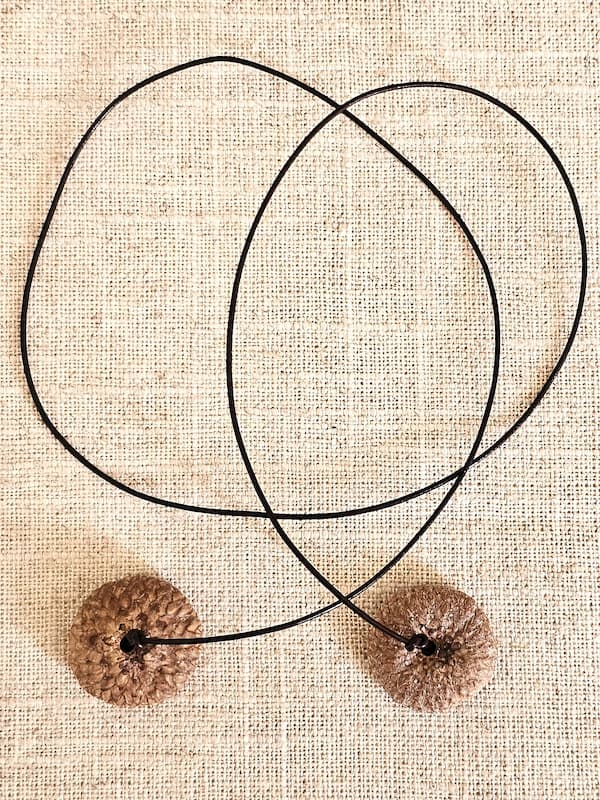
Don't have enough whole acorns? You can make these napkin rings using acorn caps. This is an alternative if you don't have easy access to real acorns, and it gives the finished napkin rings a slightly different look. Start by using pliers to remove the small stem from each cap. Next, drill a hole through each cap using a 1/8 inch drill, then thread the coated floral wire through the opening. Tie a secure knot on the outside of the cap. Then tie another knot on the inside to keep the wire in place. If you'd like extra security, add a bit of hot glue to the knot and allow it to set completely. I tested the finished napkin rings by gently tugging on the wire several times, and the knots stayed securely in place. Safety Tip: Never leave a hot glue gun unattended. If children or pets are nearby, keep them away from the hot glue, tools, and loose wire while making your napkin rings.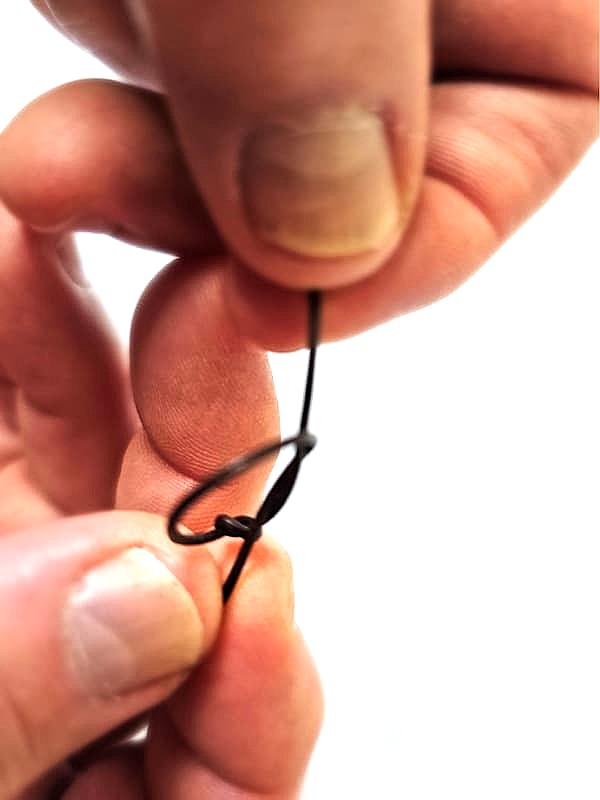
 If you don't have access to acorns:
Don't forget to check the links in the blog post to purchase acorns and caps!
If you don't have access to acorns:
Don't forget to check the links in the blog post to purchase acorns and caps!