
DRIED ORANGE WREATH WITH NATURAL DECORATIONS
In this step-by-step tutorial, I'll share easy DIY ideas to enhance your orange wreath and citrus garlands.
Yield: 1 wreath
Cost: 15
Equipment
- 1 A hot glue gun and glue sticks
- 1 Hot glue pot optional
- 1 Baking tray or cookie sheet drying oranges
- 1 paper towel
- 1 paint brush optional
- 1 grapevine wreath blank or a wire wreath frame
- 1 sharp knife optional
- 1 floral wire
Materials
- 1 whole dried orange
- 12 pieces dry orange slices
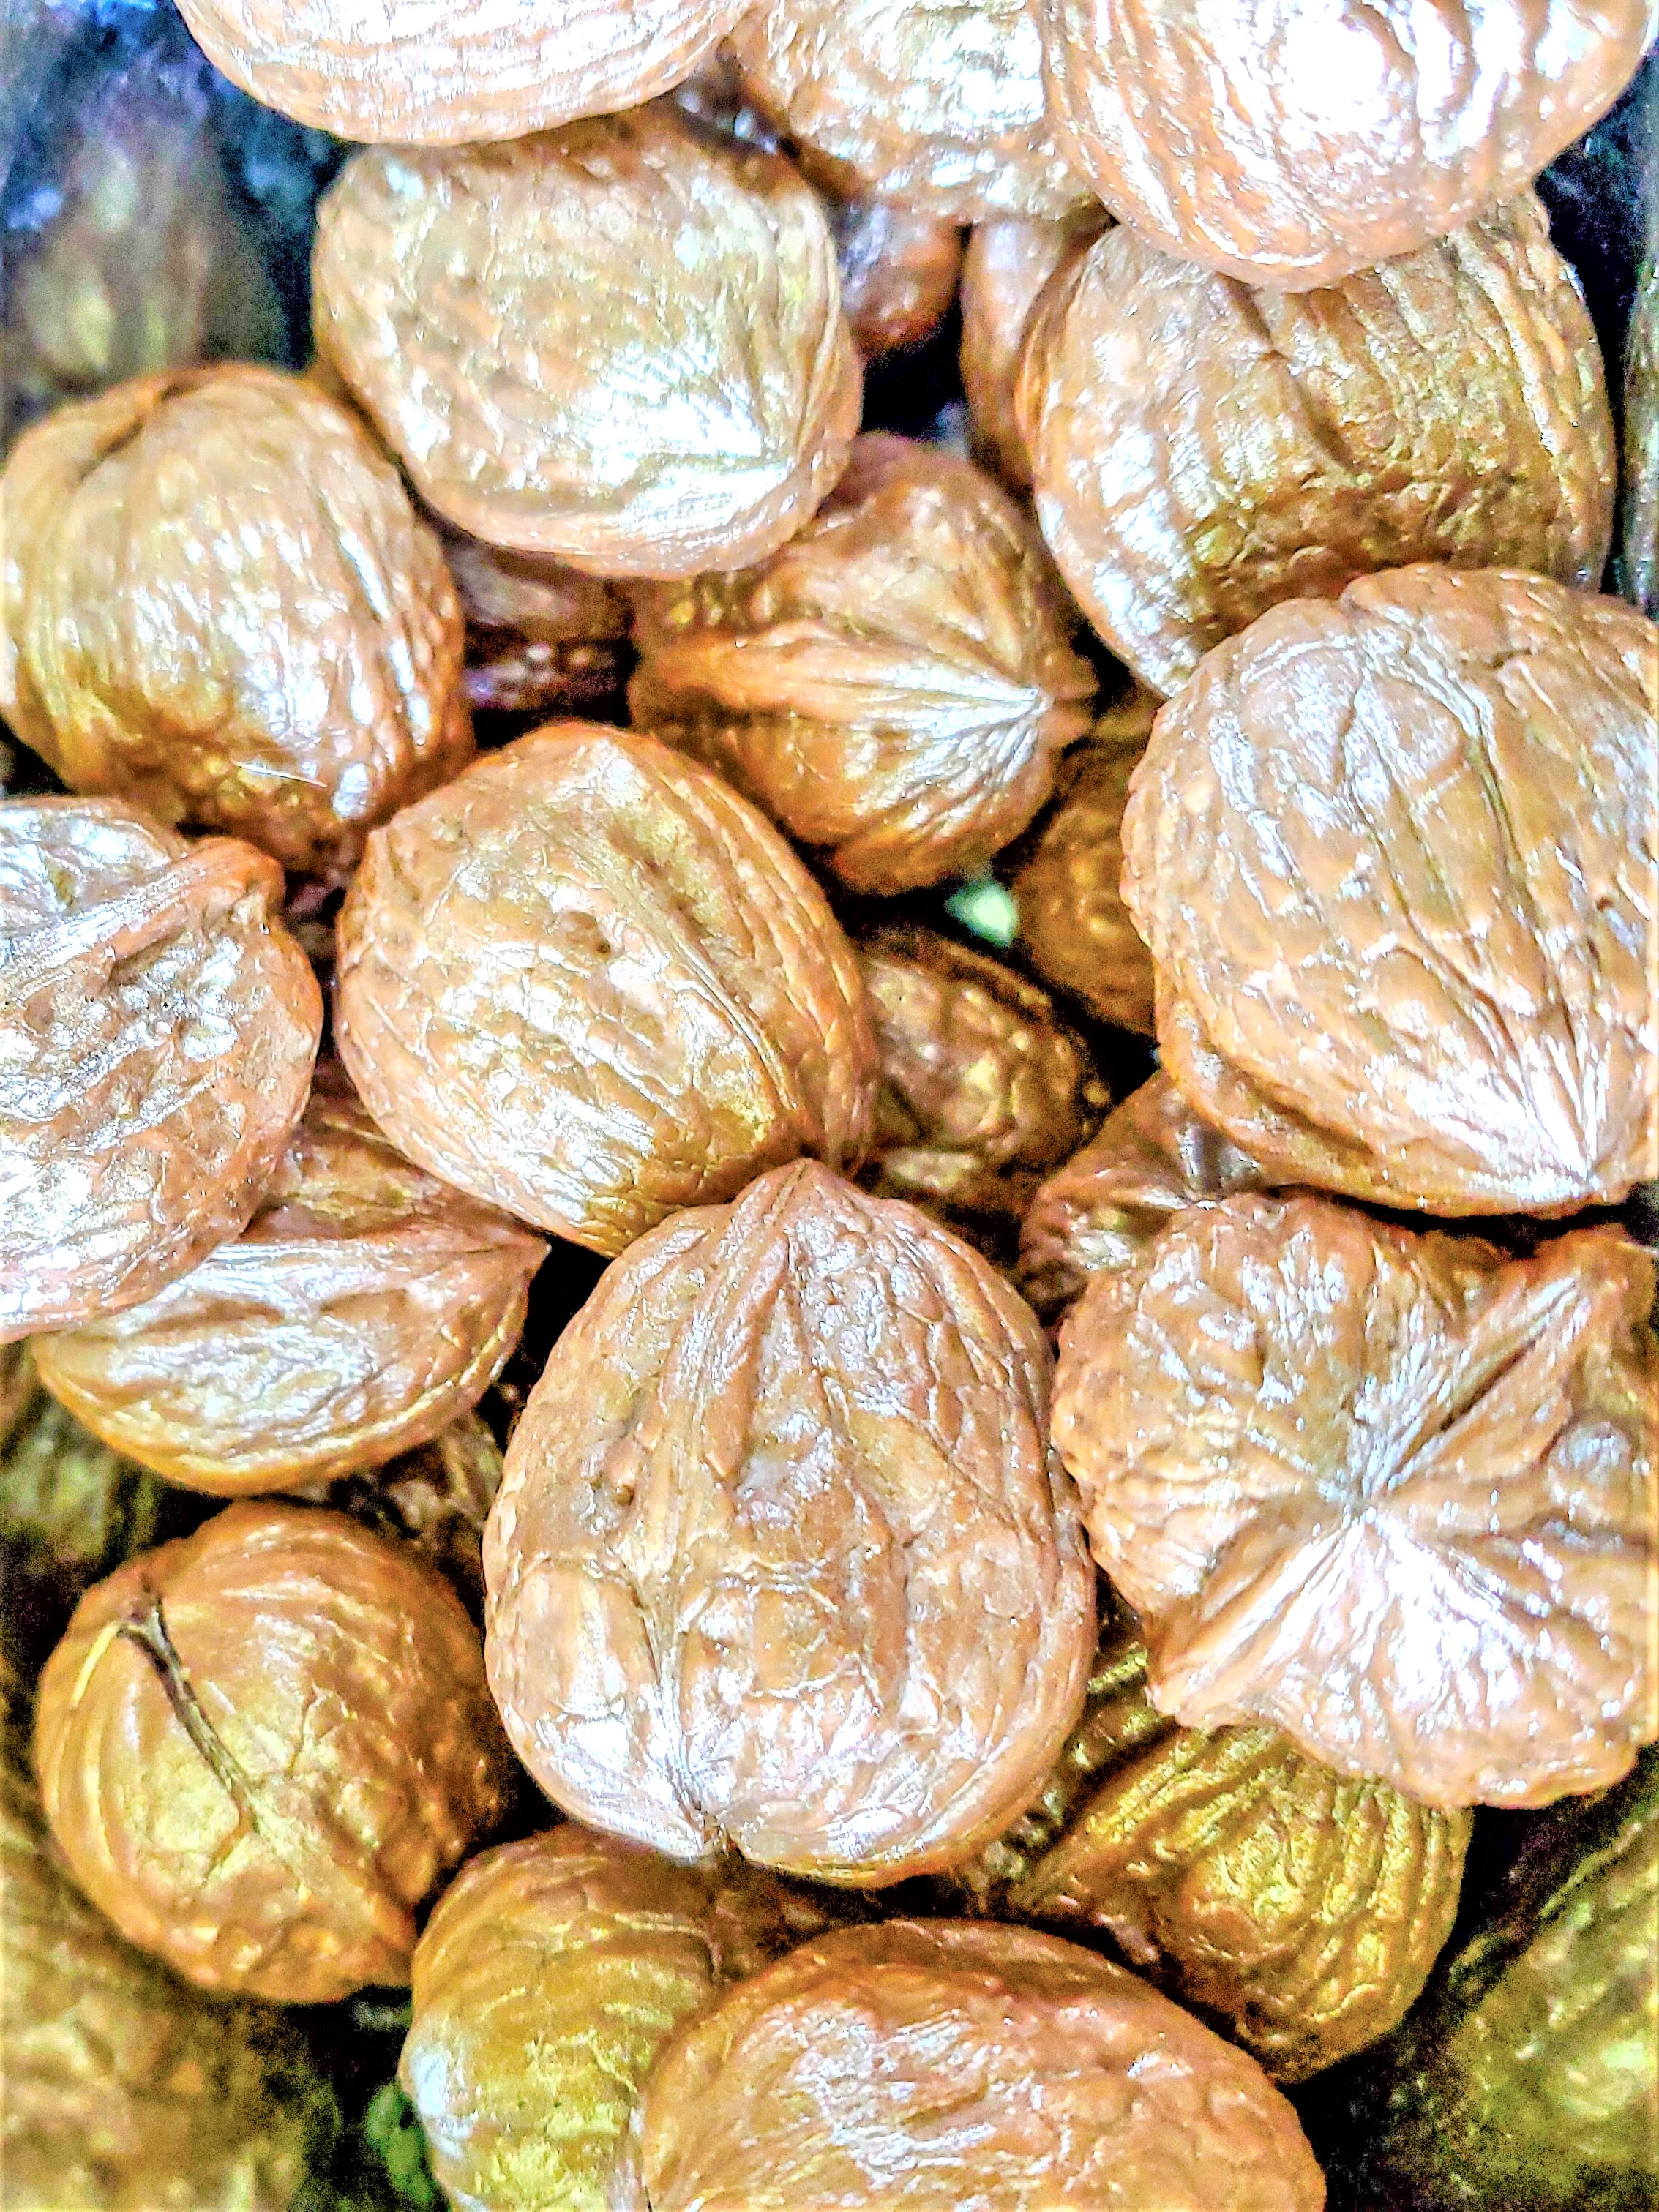
- 10 walnuts
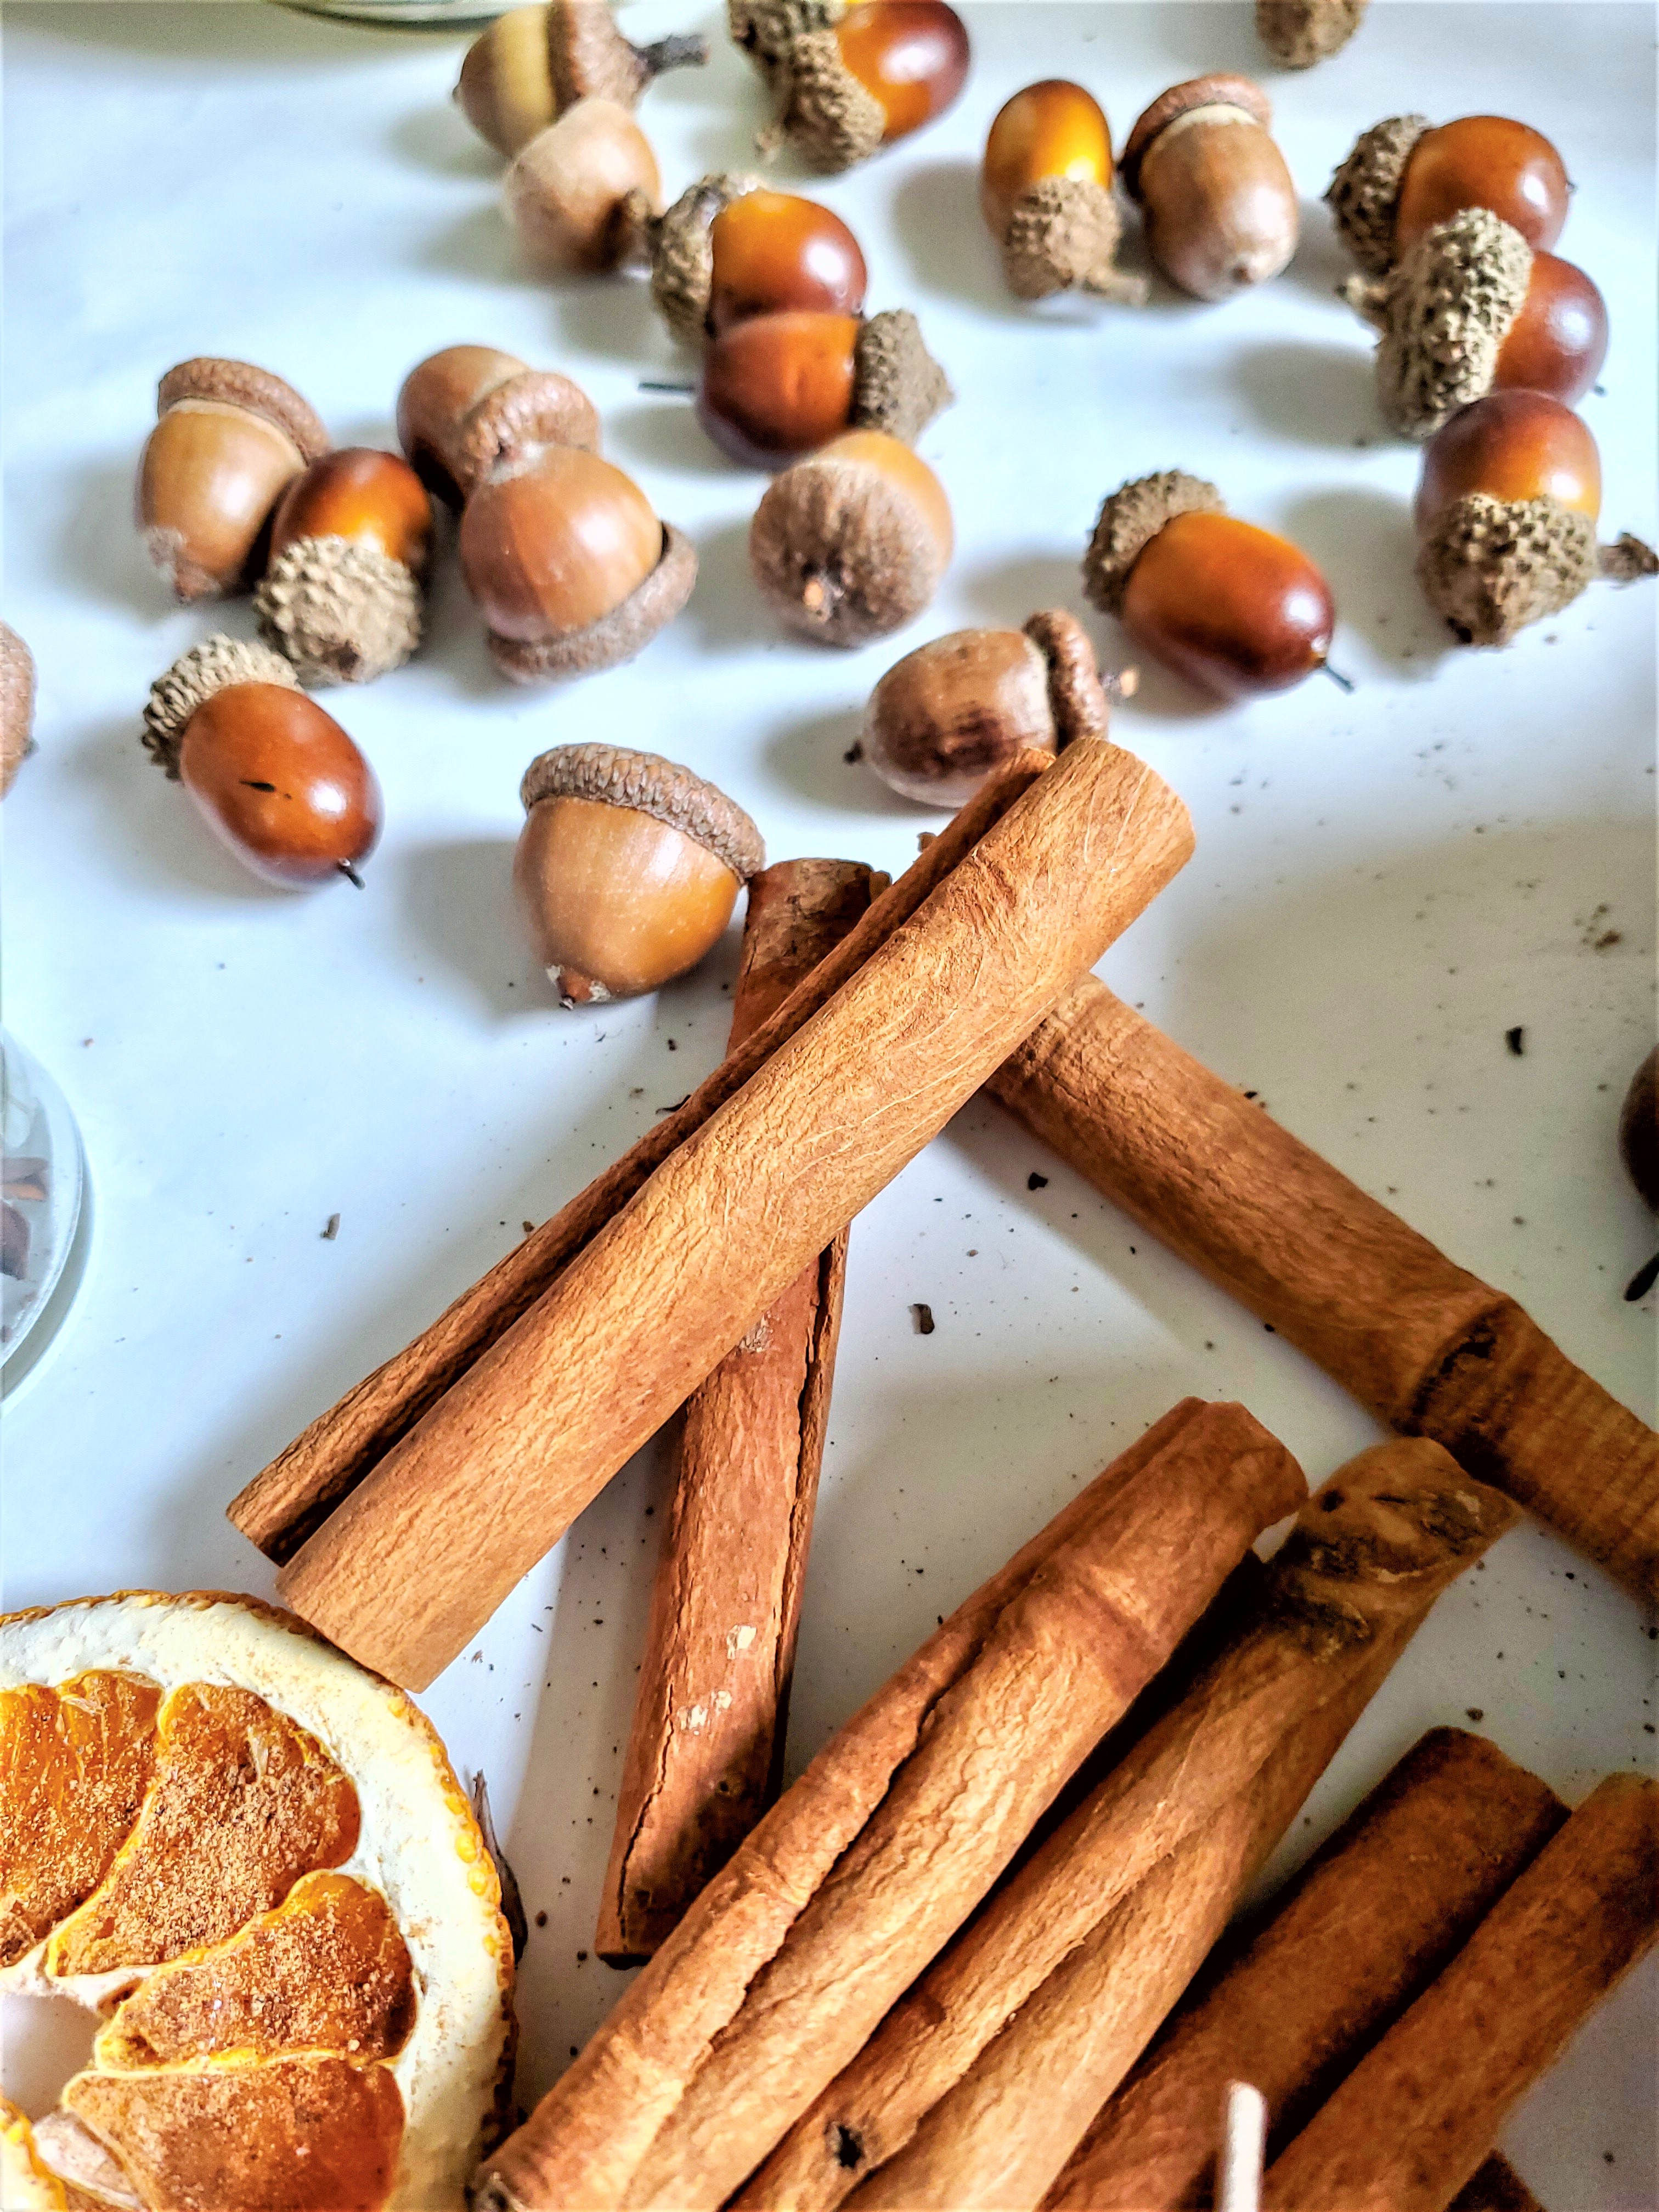
- 12 acorns
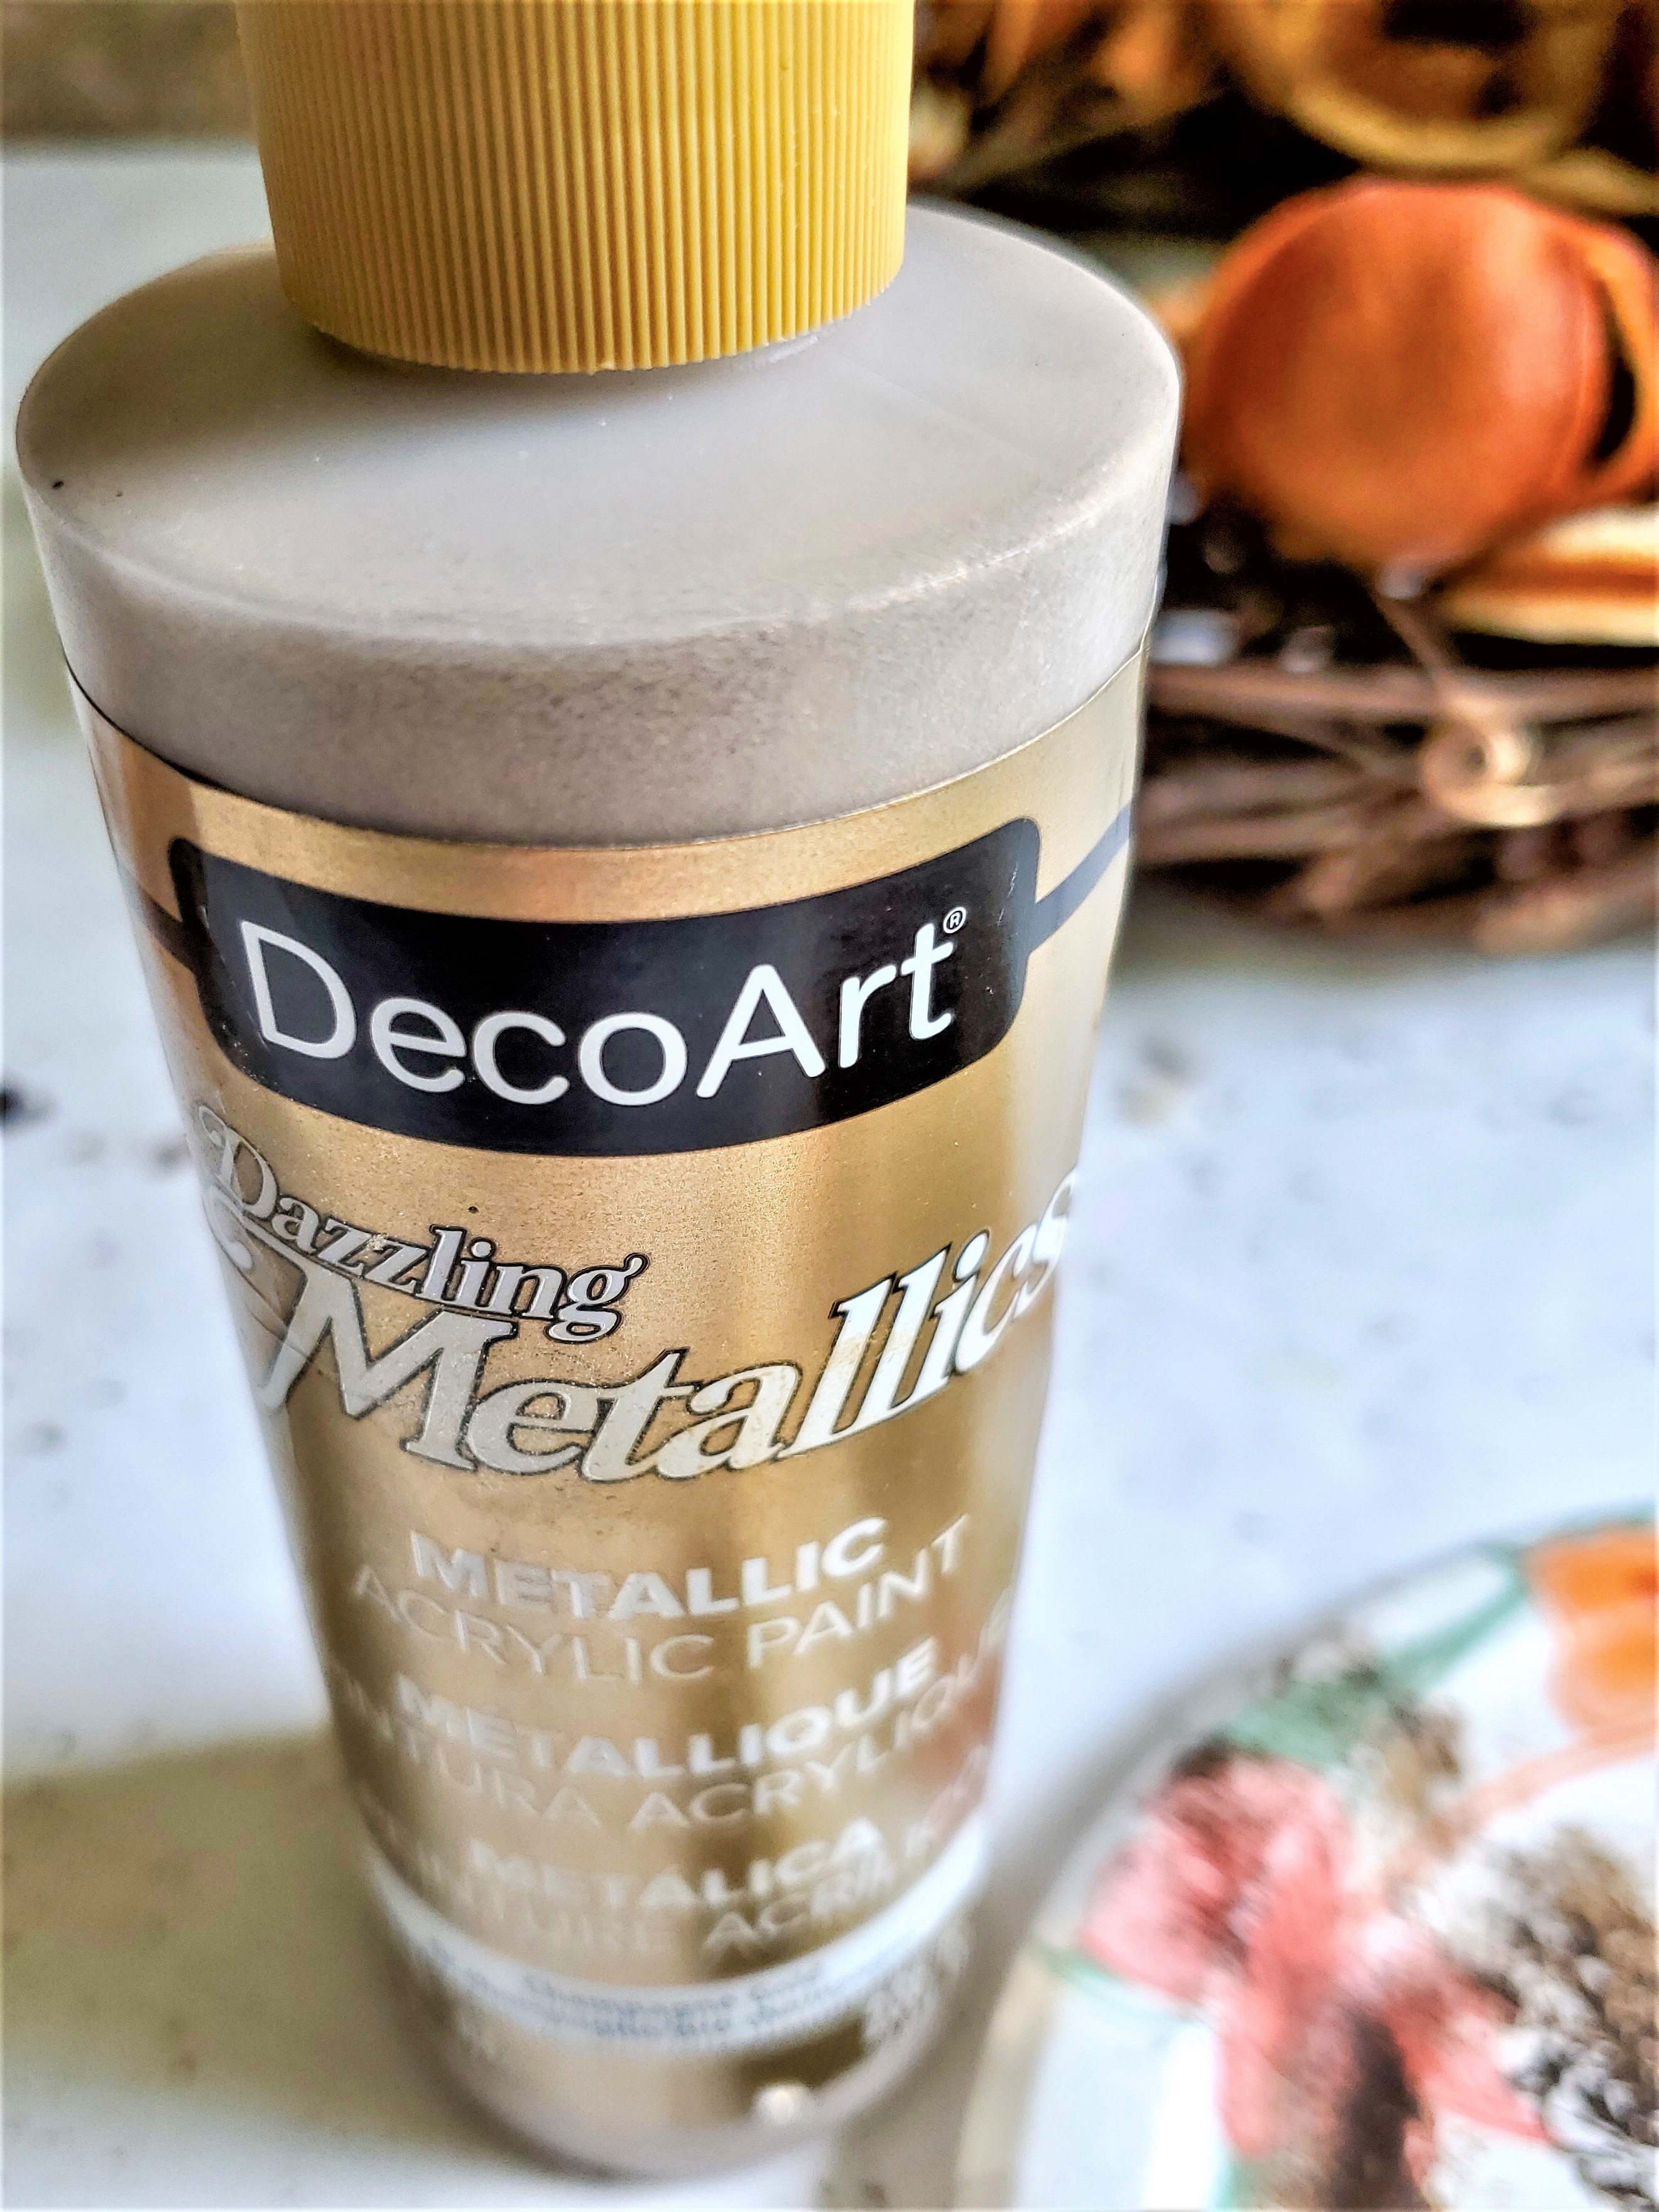
- 1 bottle champagne craft paint or gold paint
- 24 cinnamon sticks
- 1 jar Star anise
Instructions
- Step 1: Painting the Walnuts Adds Sparkle to the Entire WreathStart gilding walnuts using champagne craft paint. It's best to make this orange slice wreath on a flat surface.
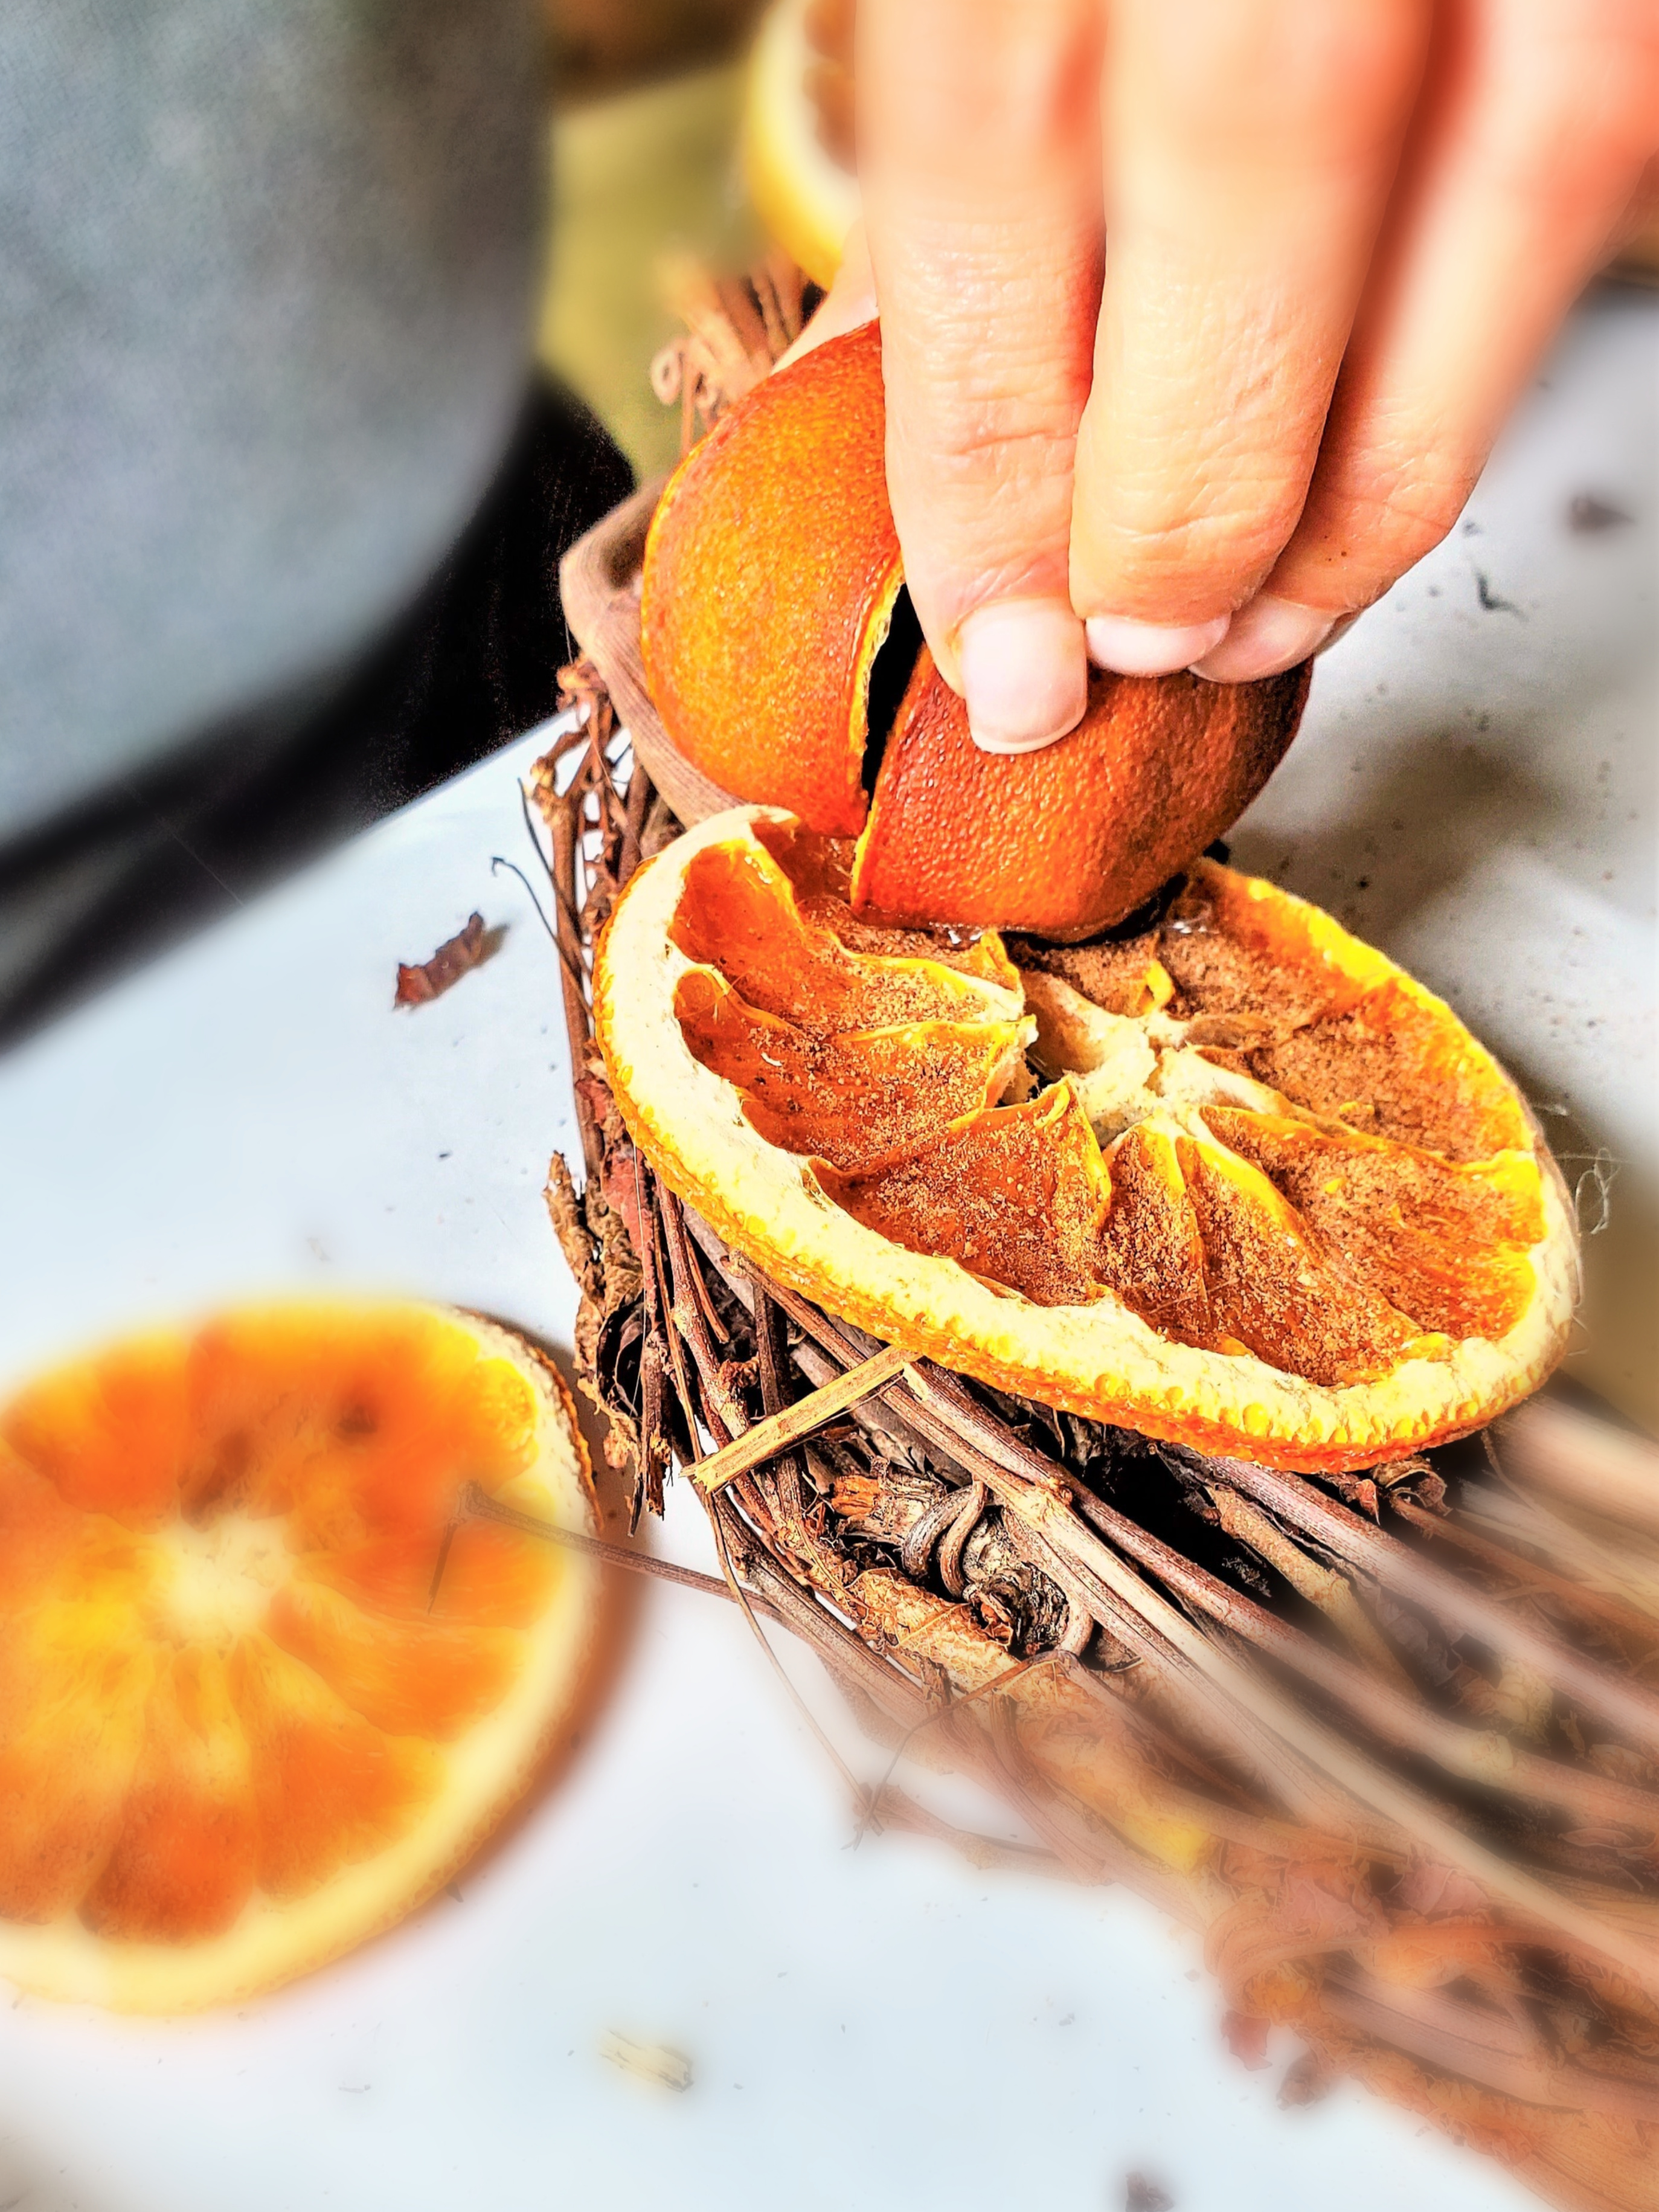
- Step 2: Glue the Dried Slices to the BaseFirst step use a hot glue set on low temperature and add sliced oranges in smaller sections on top of the wreath. Another great way to attach dried citrus is to use a clear fishing line or a piece of florist wire. Make sure to pull the fishing line tight to keep each orange slice tight and flat,Tip: When using a glue gun keep children and pets away to avoid burns.
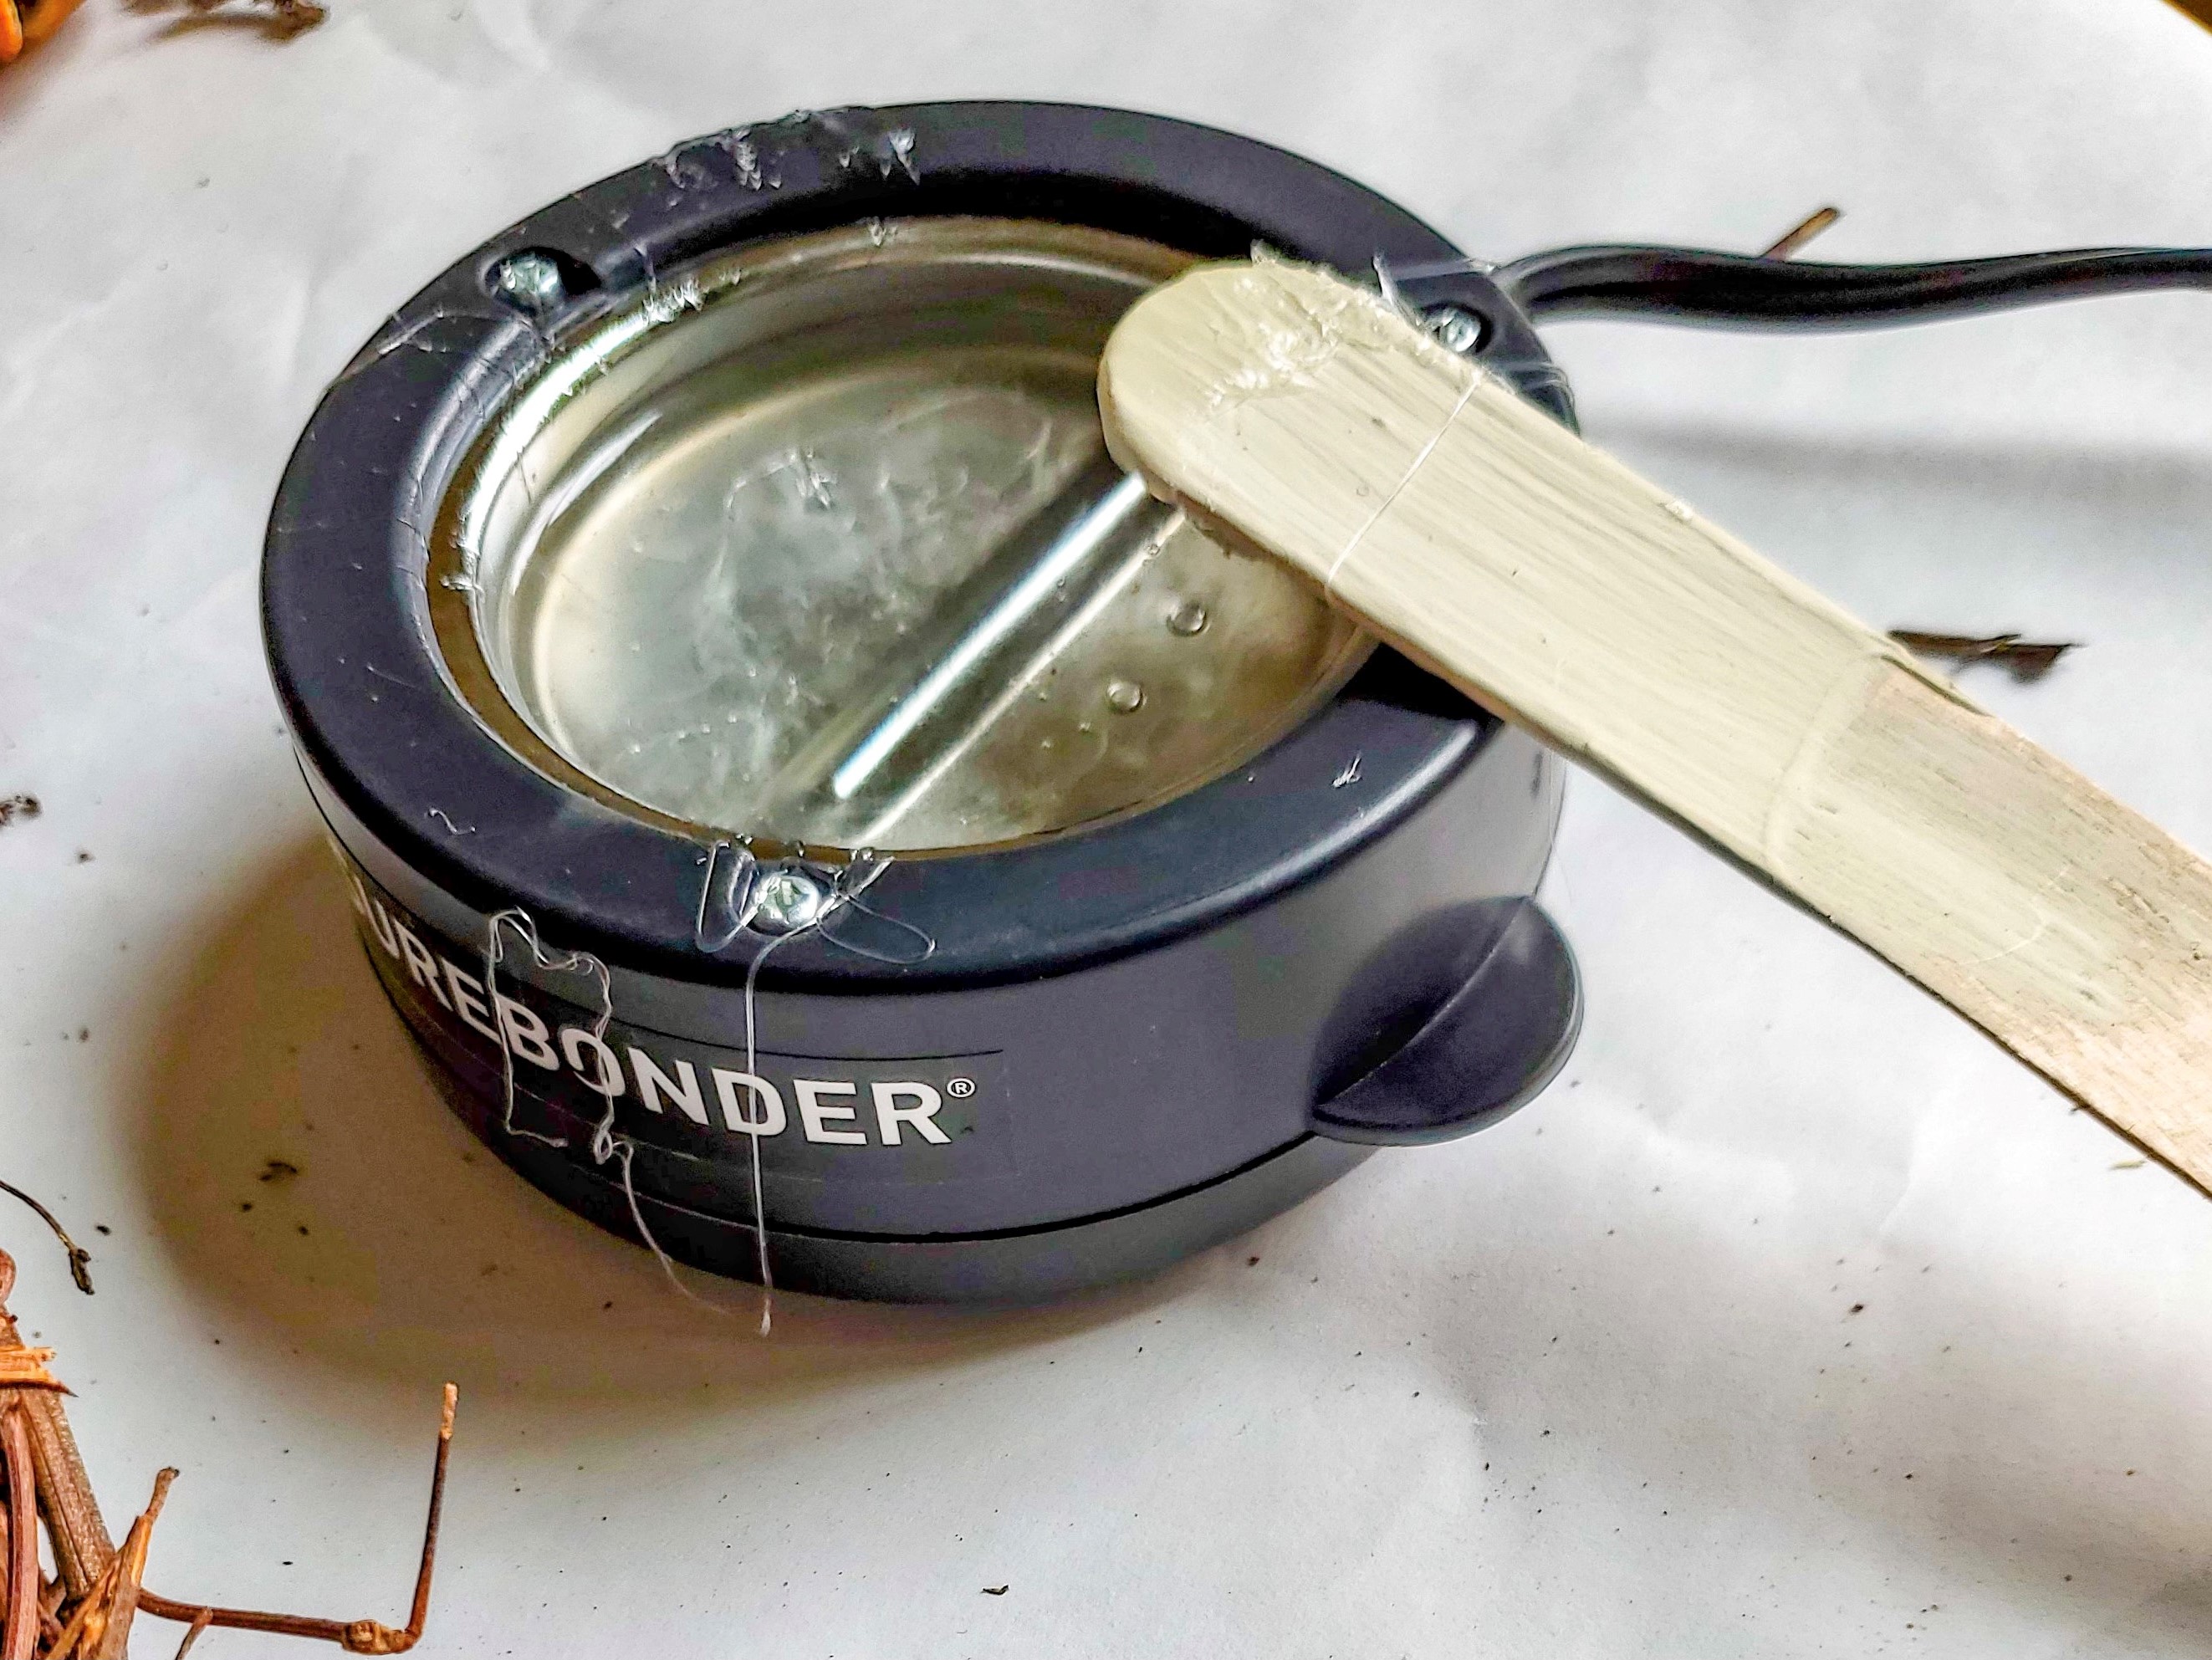
- Step 3: The Glue Pot: Attaching Oranges to a Nature Inspired WreathTypically, I would utilize my glue gun to attach the oranges for this DIY Christmas wreath.
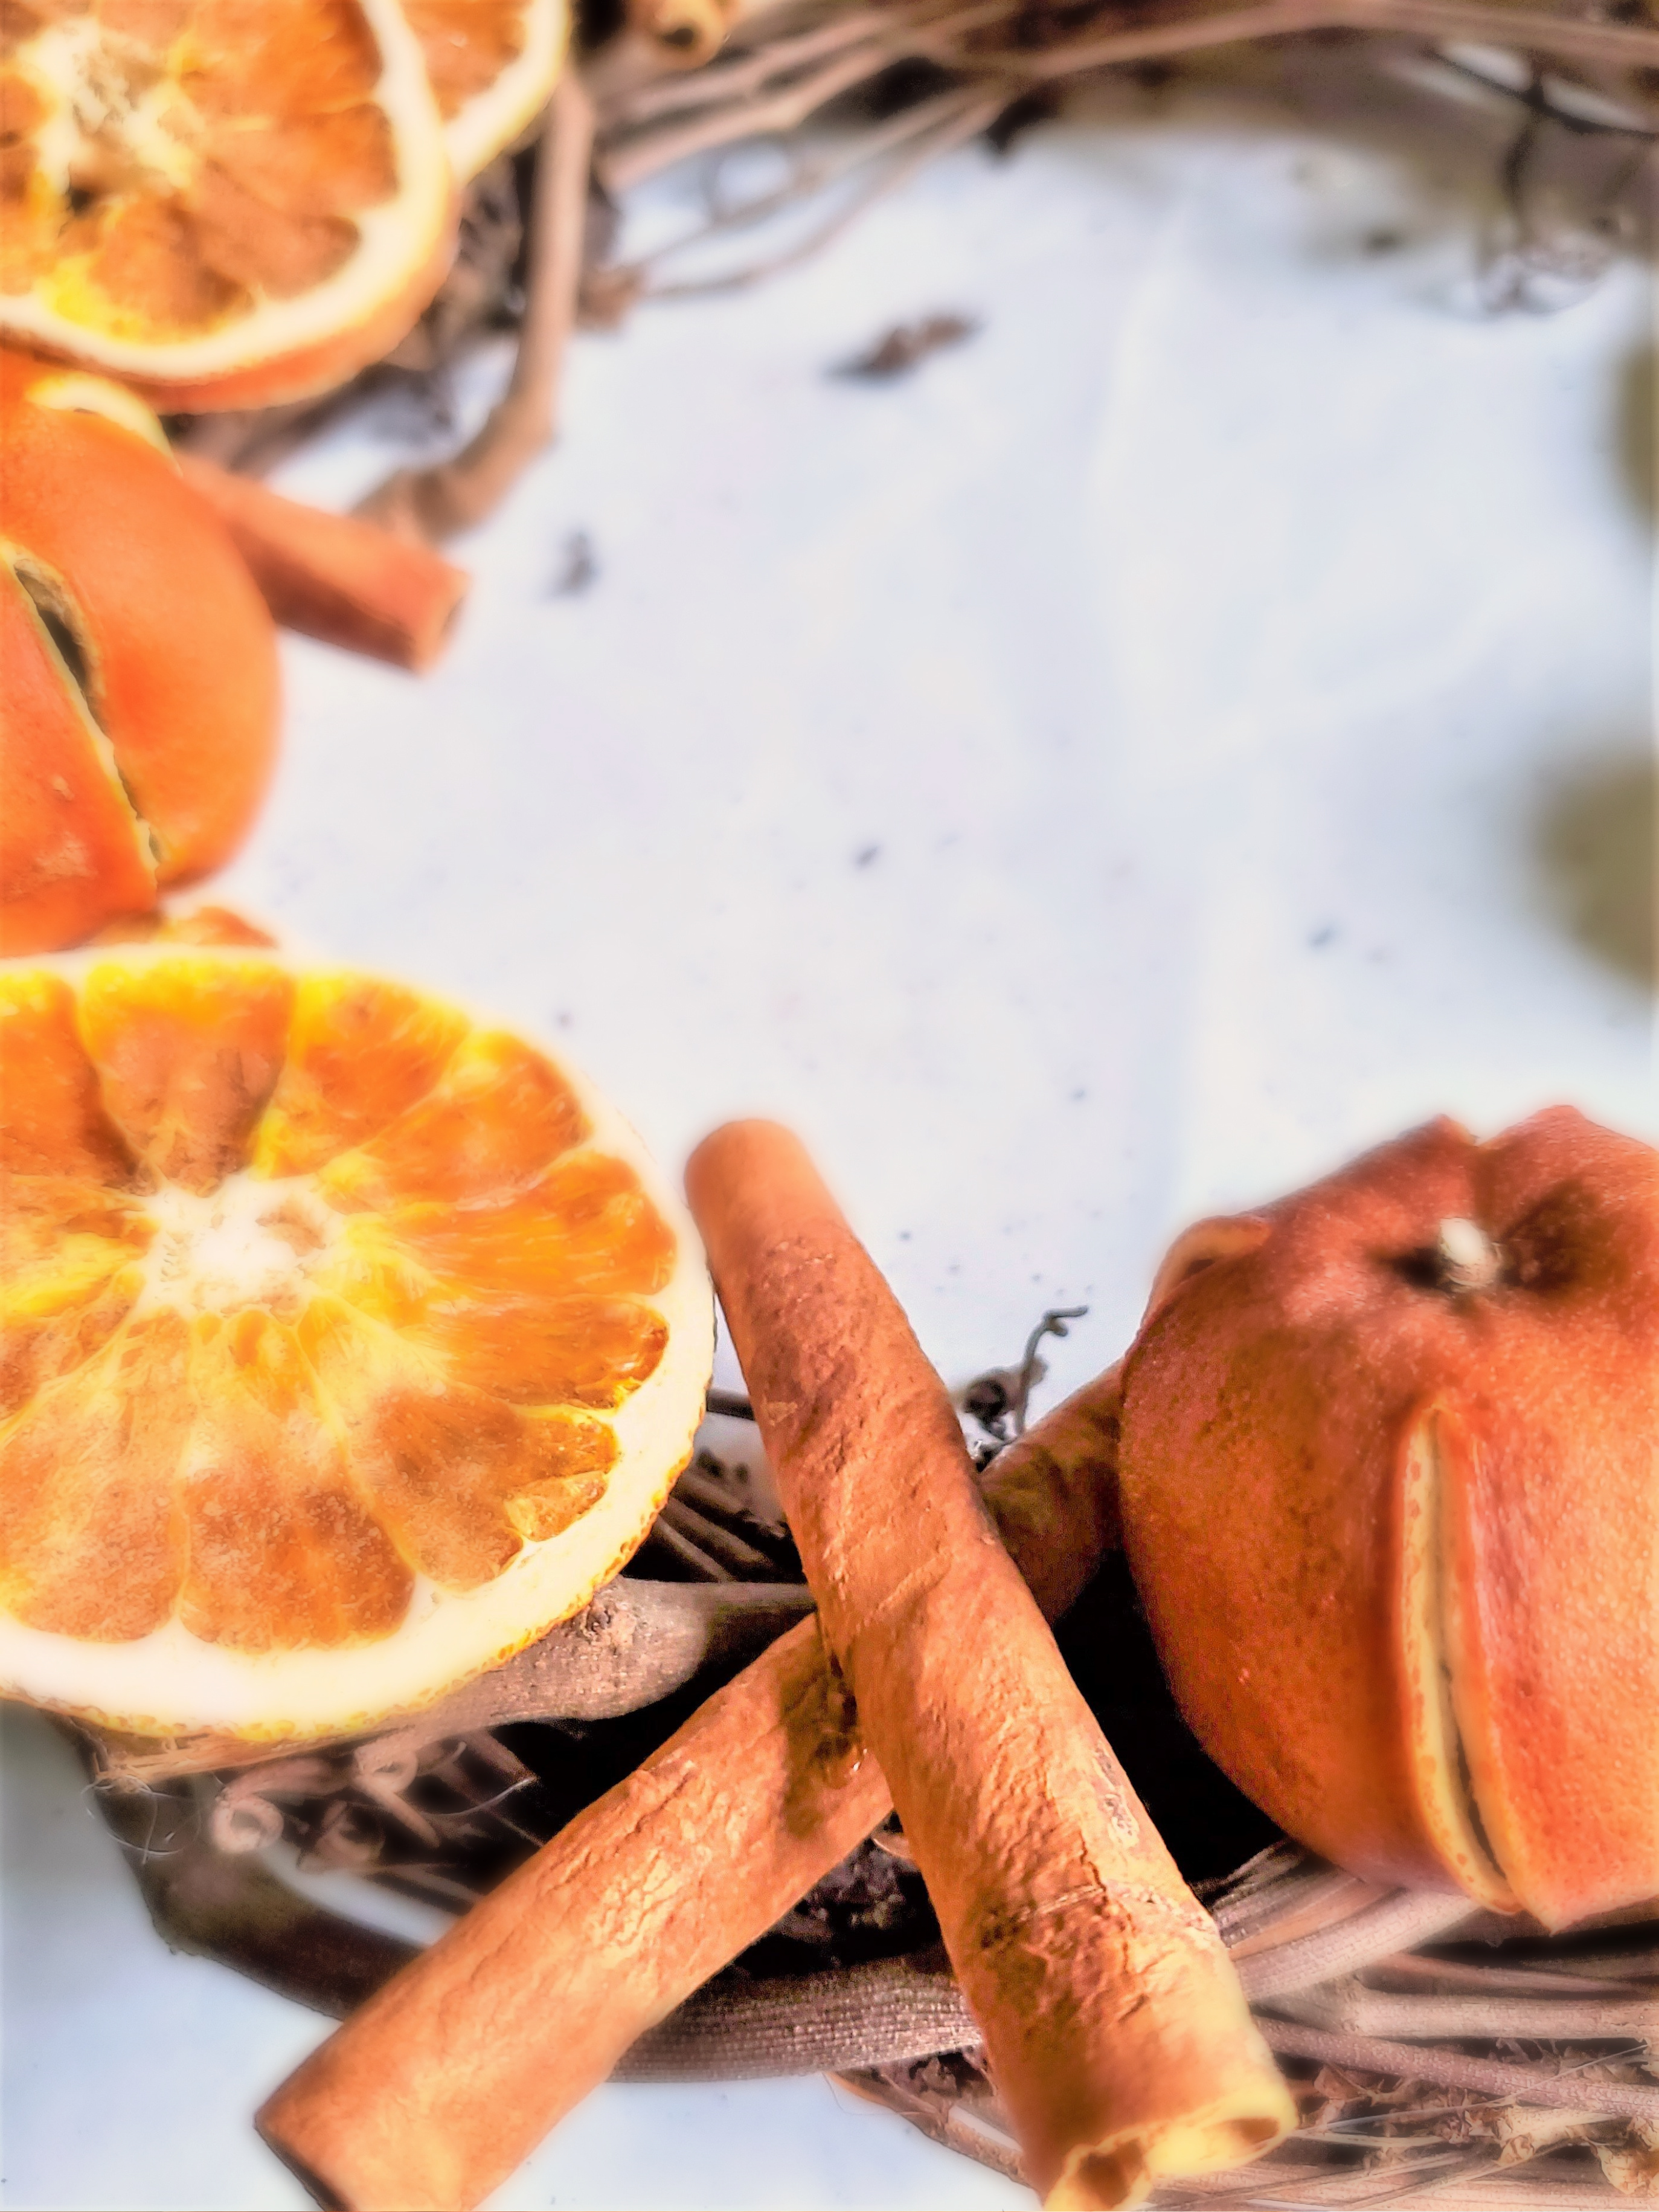
- Step 4: Adding Nature to Orange SlicesThe paint of the walnuts and cinnamon is a beautiful addition to the oranges and adds another natural element and texture to the entire wreath.Next, glue the walnuts nestling them beside the dried oranges.Carefully glue the cinnamon next to the dried orange slices and add another beautiful aroma to this wreath as well as more texture to the Christmas decoration.
- Step 5: Elevate the Entire Wreath with Rustic Charm Star Anise Magic Adding anise stars adds a beautiful woodsy smell with its design to the dried orange slices on the wreath for holiday decor through winter.
- Step 6: Finishing the Seasonal Wreath: Glue the Acorns The next step, enhancing the acorns with the same paint used on the walnuts is a great way to add an elegant touch to these pieces of nature. Use a dry brush technique. I've shared a detailed tutorial for this simple process.Not only is this technique quick, but it's also incredibly easy to apply. The key is to use a small amount of paint on your brush. Dip only the tip of the brush into the paint and then wipe off any excess on a paper towel before applying it to the acorns.Lightly brush over the surface of the acorns. This technique allows the natural look of the acorns to shine through while adding a touch of color. It's a way to maintain the organic look of the acorns and incorporate them alongside the dry navel orange slices on the wreath.
- Step 7: Hang the Finished WreathWhen adding this to natural Christmas decor, don't forget to add a ribbon of your choice to the top of the wreath. Think outside the box, instead of using a traditional red ribbon, or a piece of gray buffalo check ribbon, consider using lace as an option that contrasts with the rustic nature of the Farmhouse wreath. The delicate and intricate patterns create a charming look when paired with the other elements of this wreath. Attach the ribbon to the top of the wreath, allowing it to hang from the top of the door frame. Now, find the perfect spot in your home to display this inexpensive Christmas craft and let its natural beauty shine throughout the holidays into the winter months.
Notes
Dried Orange Wreath With Natural Decorations
Supplies: Dried Orange Wreath with Natural Decorations
- 18" grapevine wreath
- Blood oranges and navel oranges work
- walnuts in the shell
- paint
- hot glue gun and glue sticks
- cinnamon sticks
- acorn
- Star Anise
- paint brush
- paper plate
- paper towel
- floral wire (optional)
- glue pot (optional)
Step 1: Painting the Walnuts Adds Sparkle to the Entire Wreath
Start gilding walnuts using champagne craft paint. It's best to make this orange slice wreath on a flat surface.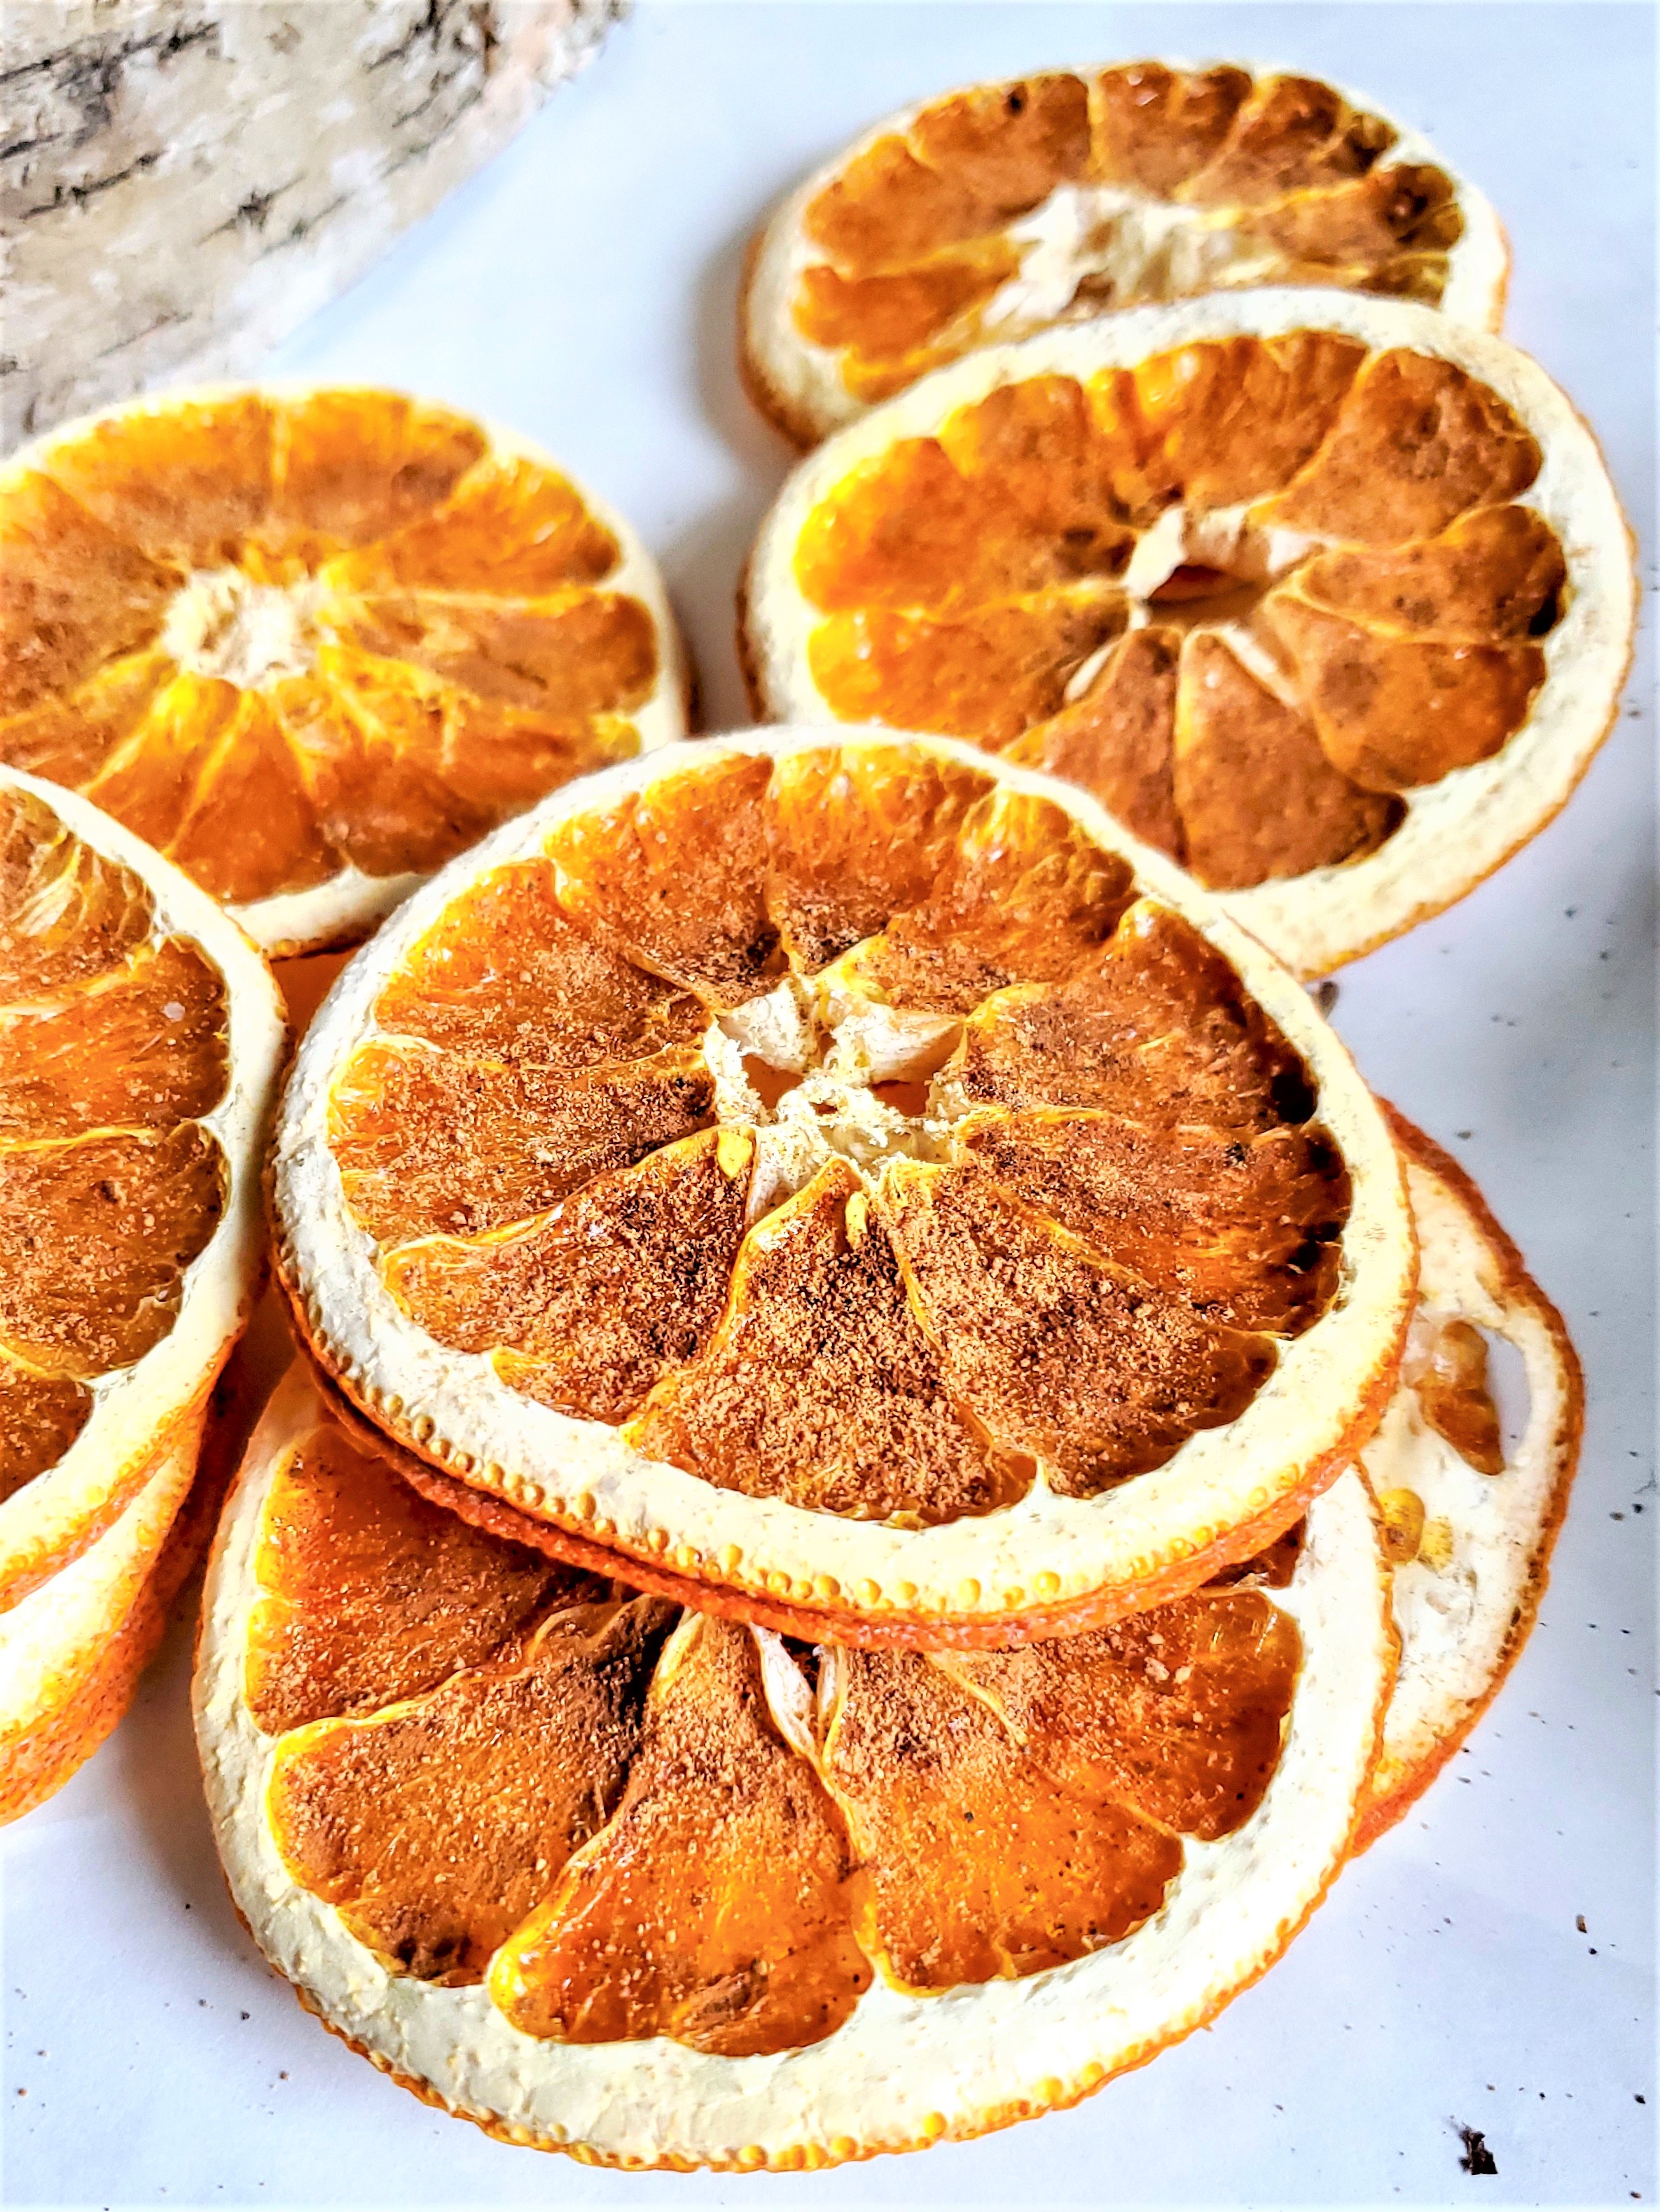
Step 2: Glue the Dried Slices to the Base
First step use a hot glue set on low temperature and add sliced oranges in smaller sections on top of the wreath. Another great way to attach dried citrus is to use a clear fishing line or a piece of florist wire. Make sure to pull the fishing line tight to keep each orange slice tight and flat. Overlap different sizes of dried citrus slices when making this simple orange decoration for your holiday decor. Next, glue each dried whole orange to the top of the orange slices and them to the farmhouse wreath Editor's Tip: When using a glue gun keep children and pets away to avoid burns.
Step 3: Attaching Oranges to a Nature Inspired Wreath
Typically, I would utilize my glue gun to attach the oranges for this DIY Christmas wreath. However, I recently decided to experiment with a new product offered by Surebonder, and I must say, I am impressed. This product has exceeded my expectations and I bought a larger size last year. It provides a secure and reliable hold, allowing me to incorporate the pieced onto this orange slice wreath..
Step 4: Adding Nature to Orange Slices
The paint of the walnuts and cinnamon is a beautiful addition to the oranges and adds another natural element and texture to the entire wreath. Next, glue the walnuts nestling them beside the dried oranges. Carefully glue the cinnamon next to the dried orange slices and add another beautiful aroma to this wreath as well as more texture to the wreath. Editor's Tip: Use caution when applying hot glue. Keep children and pets away from the wires and hot glue gun to avoid injury and burns. The fragrance of the cinnamon sticks fills the wreath with a warm and inviting fragrance that complements its charming appeal. Furthermore, the contrast of the dried orange slices and the rough, textured surface of the cinnamon sticks adds depth and interest to the wreath, making it a centerpiece for the holidays.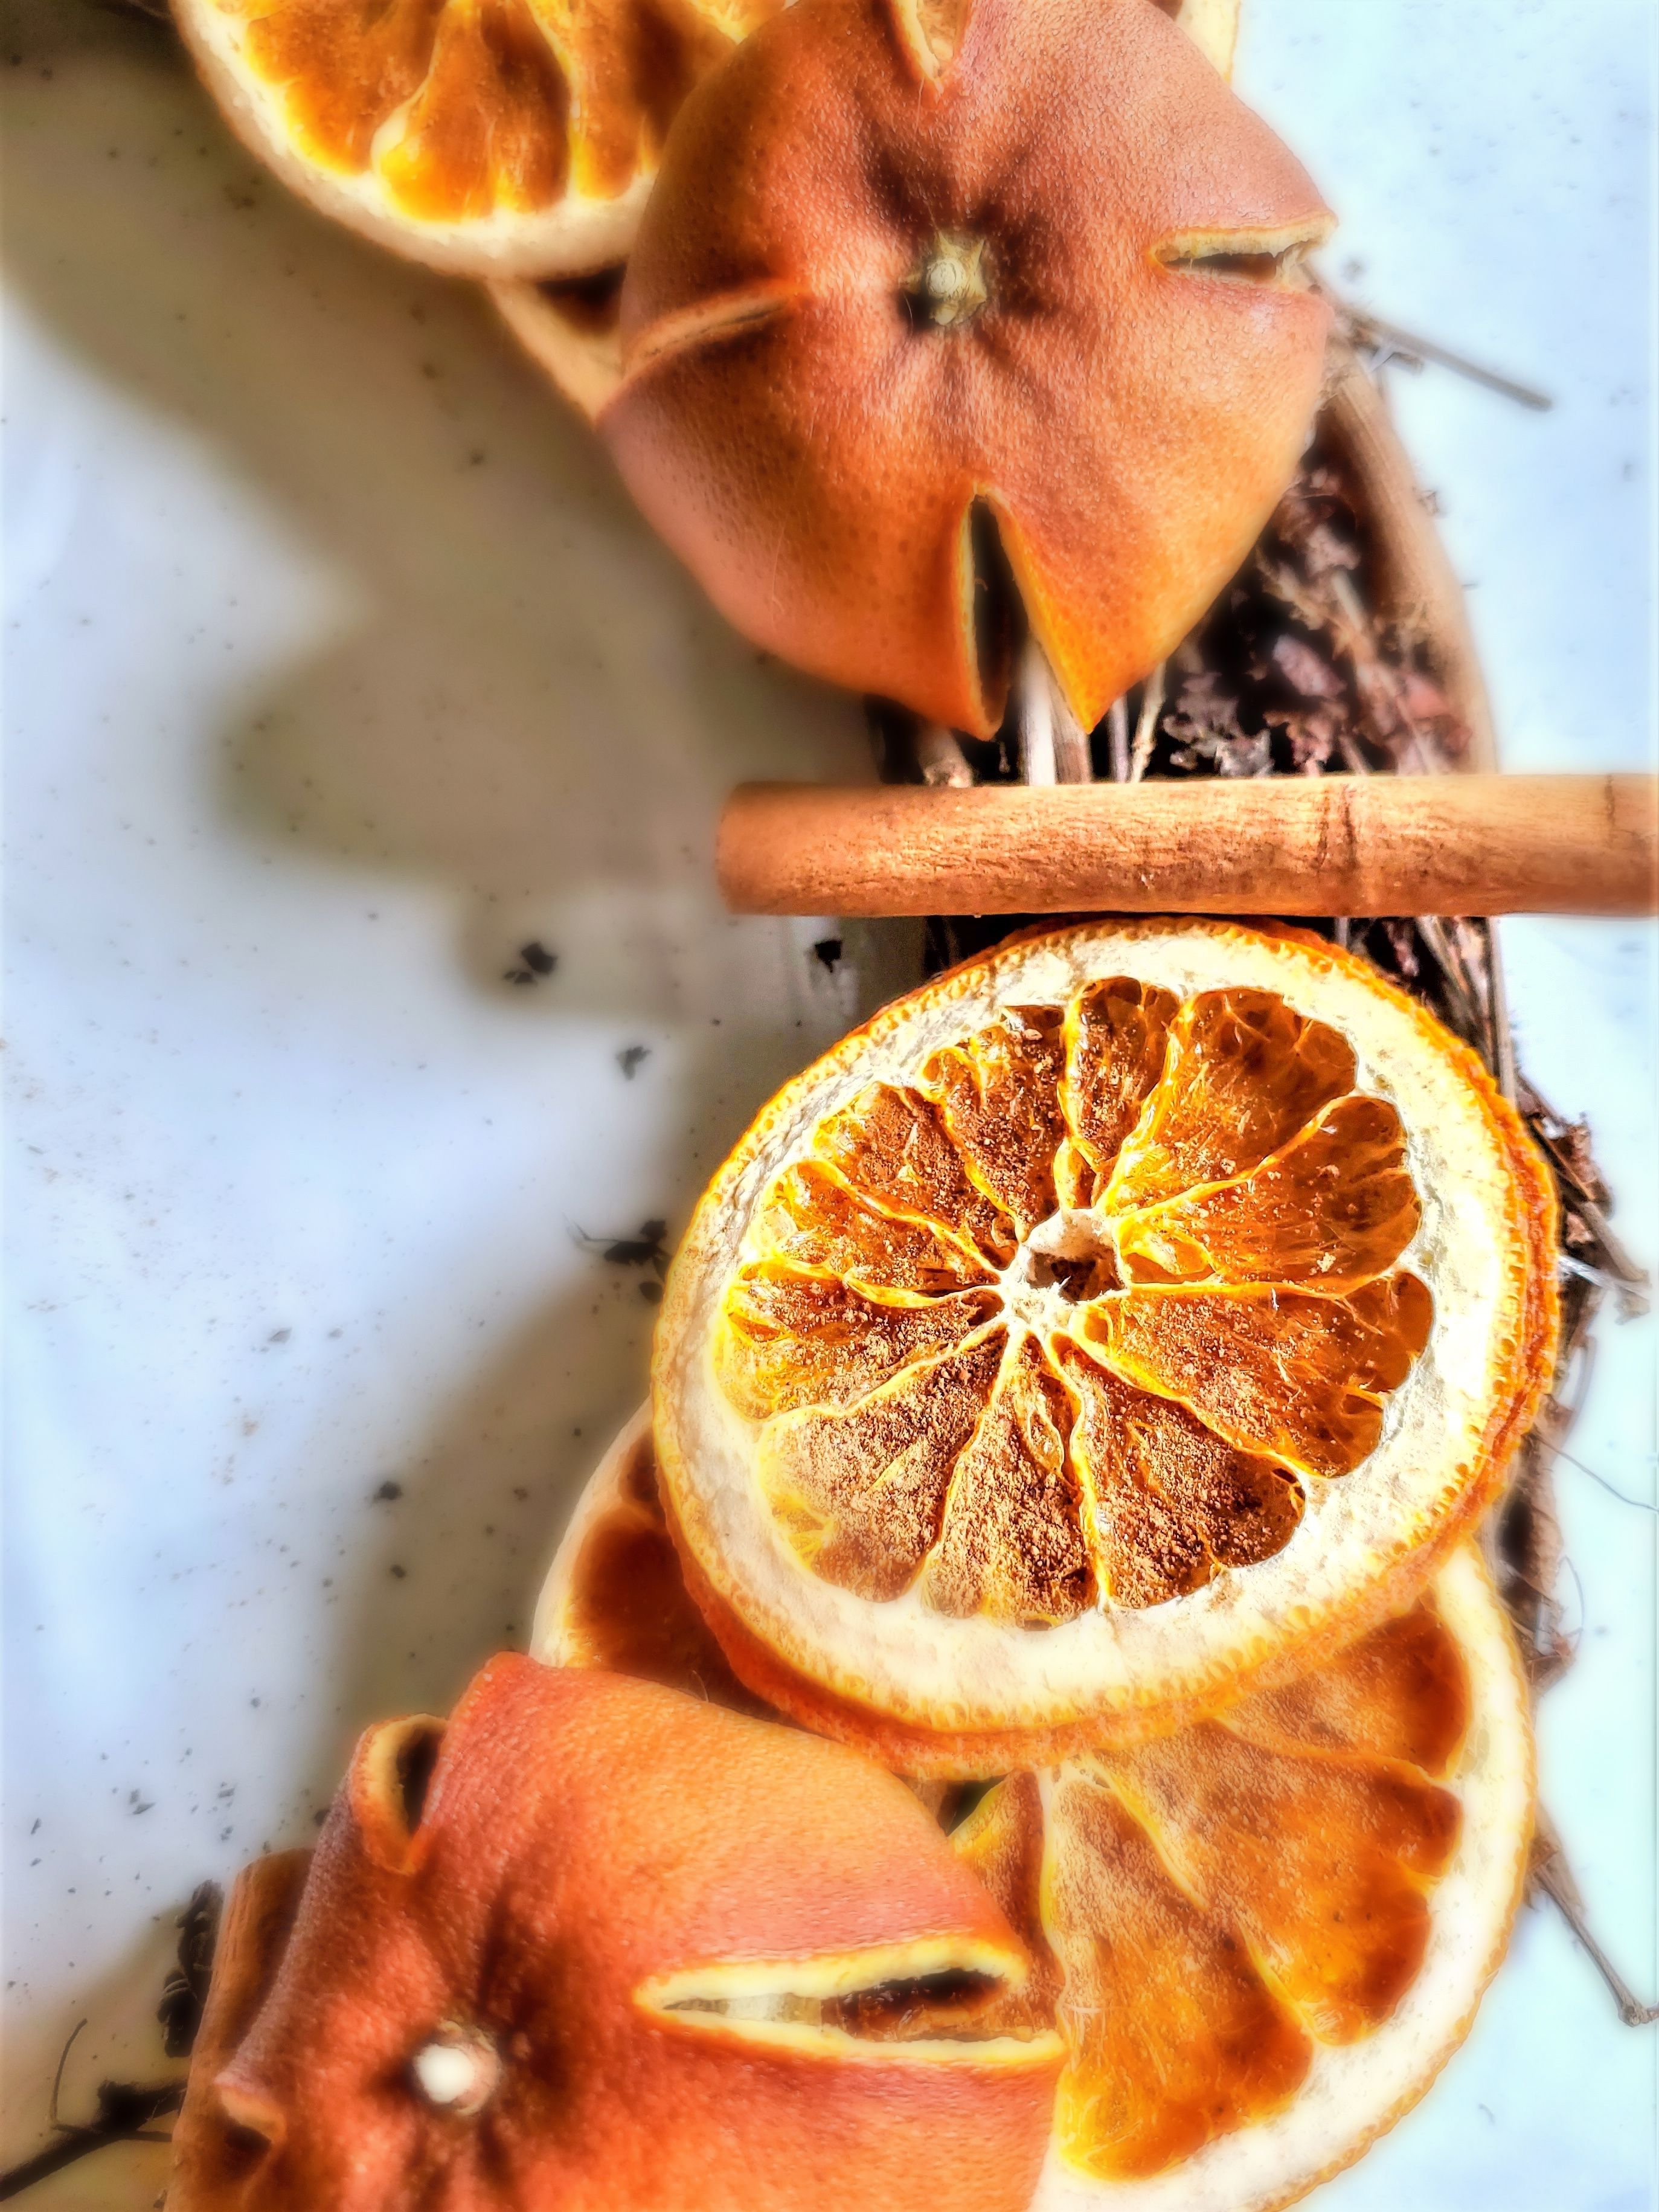
Step 5: Elevate the Entire Wreath with Rustic Charm Star Anise Magic
Adding anise stars adds a beautiful woodsy smell with its design to the dried orange slices on the wreath for holiday decor through winter.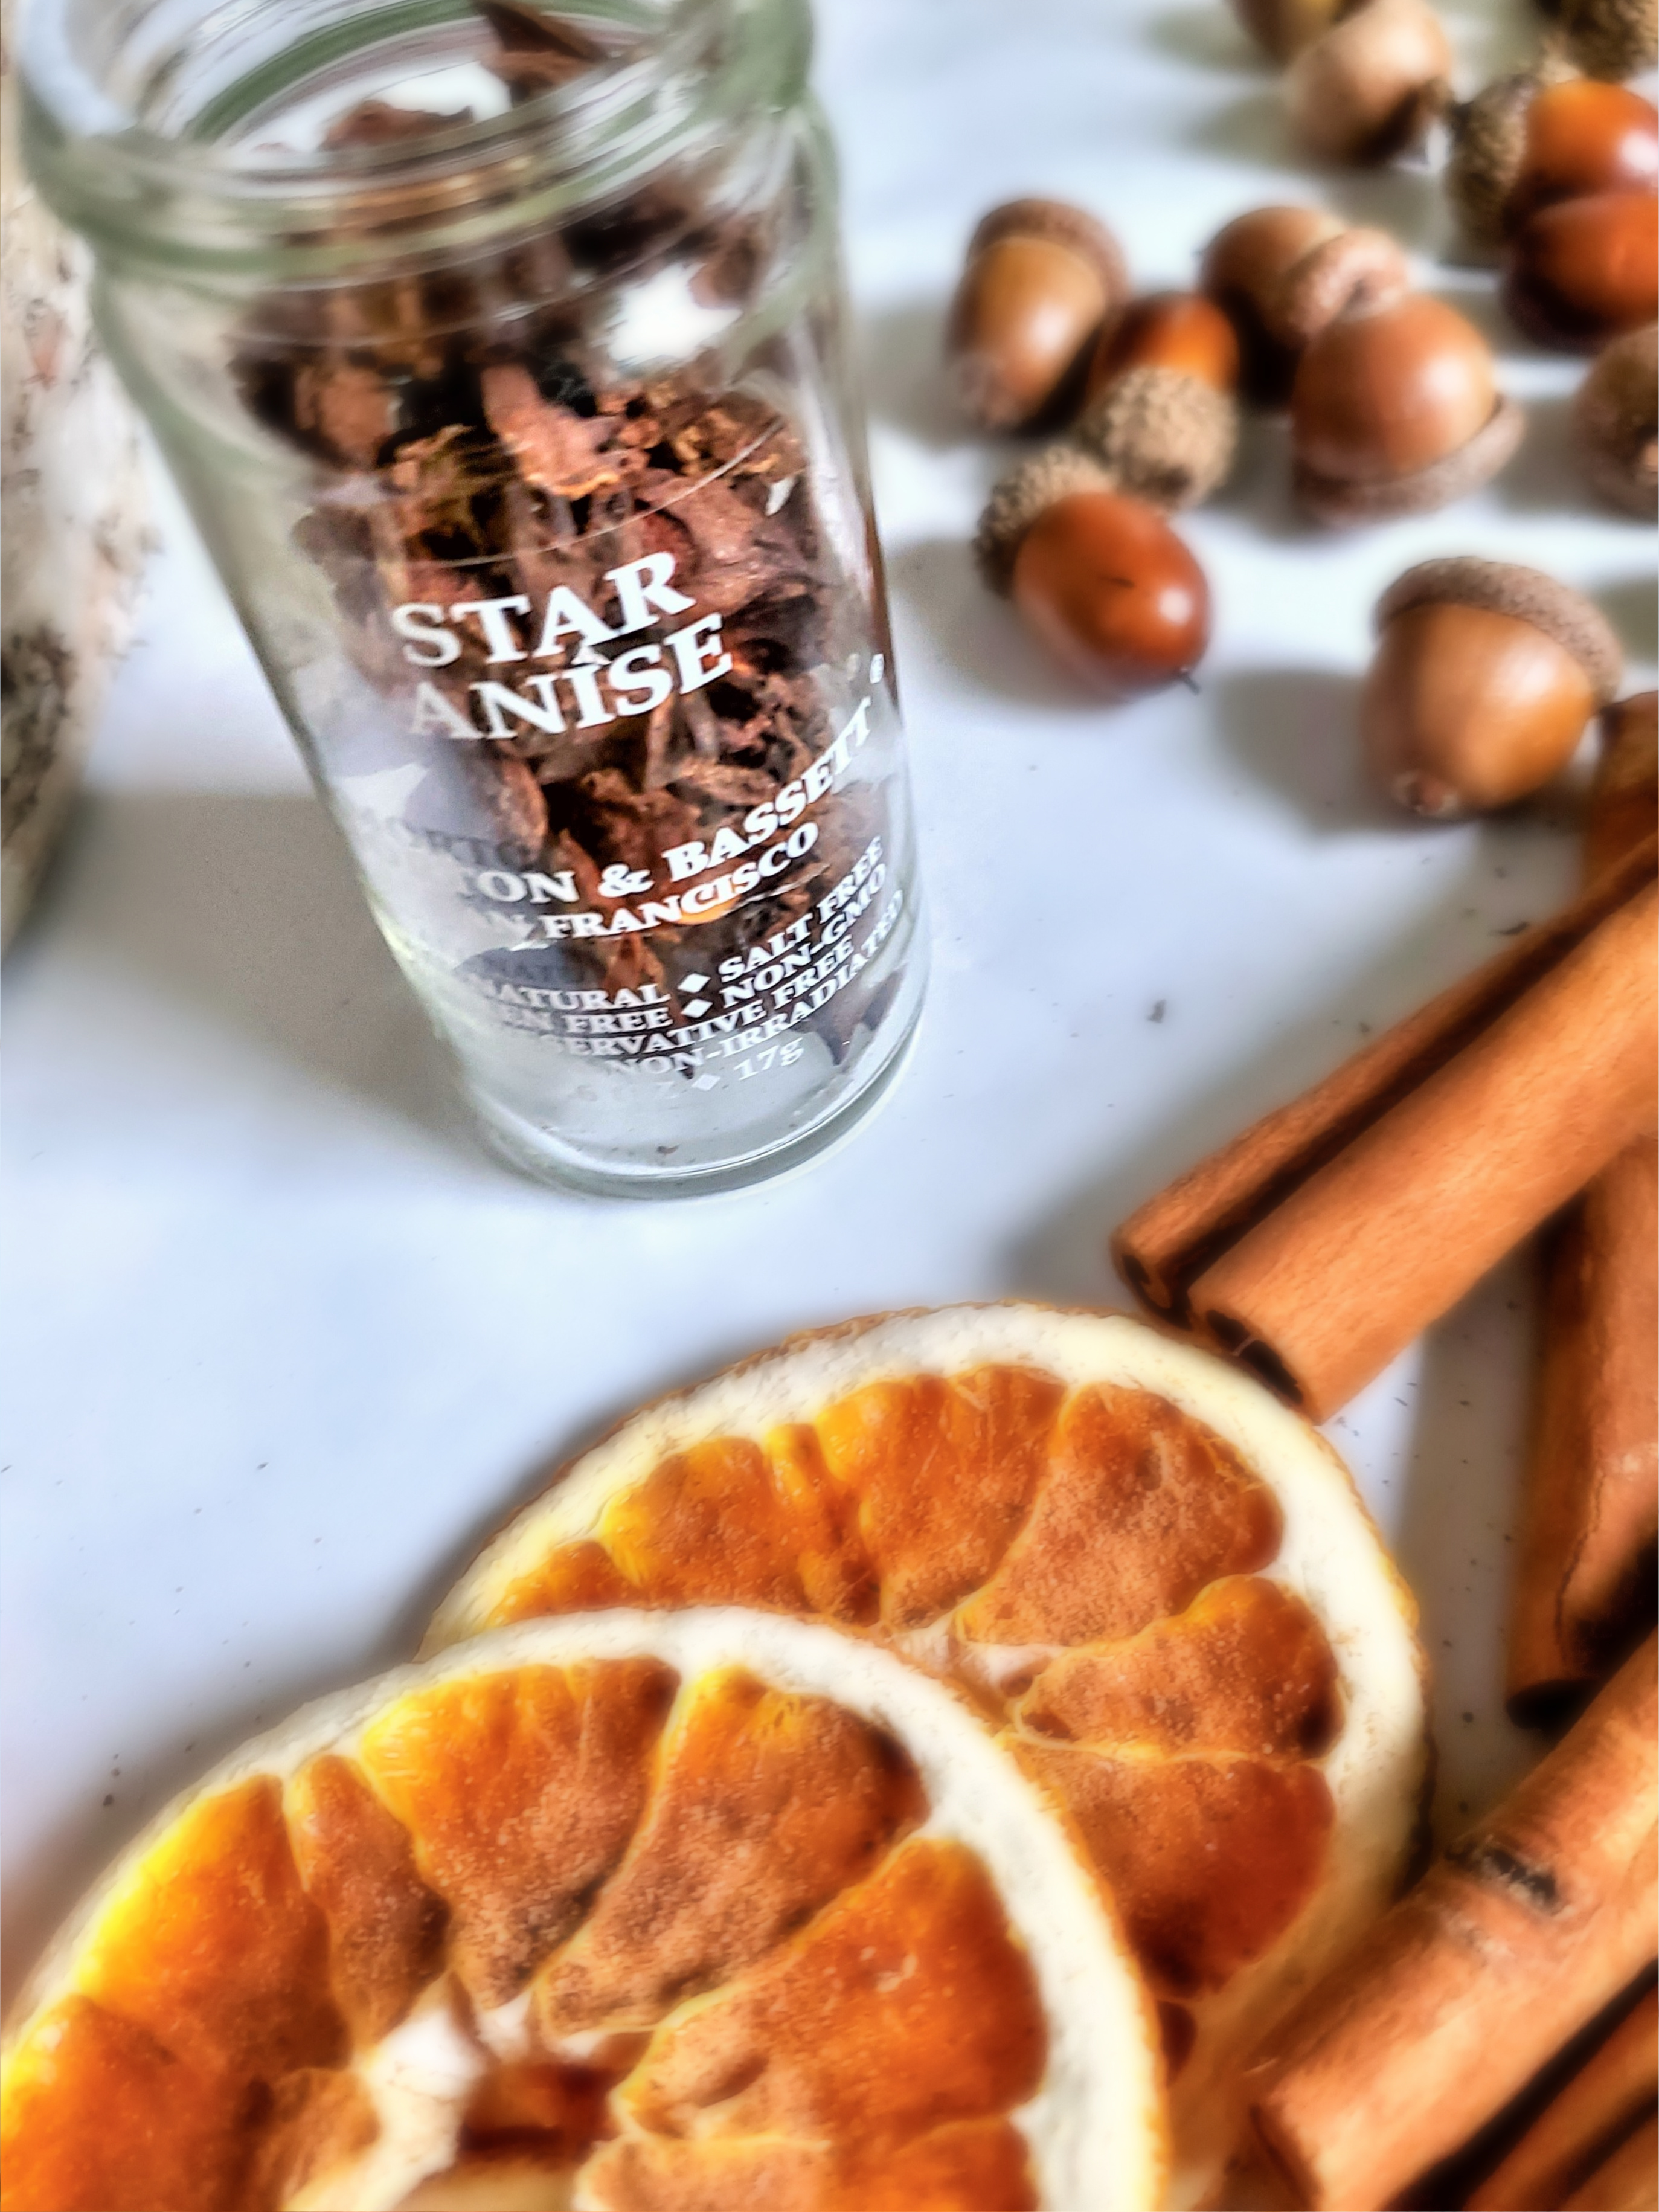
Step 6: Finishing the Seasonal Wreath: Glue the Acorns
The next step, enhancing the acorns with the same paint used on the walnuts is a great way to add an elegant touch to these pieces of nature. Use a dry brush technique. Not only is this technique quick, but it's also incredibly easy to apply. The key is to use a small amount of paint on your brush. Dip only the tip of the brush into the paint and then wipe off any excess on a paper towel before applying it to the acorns. Lightly brush over the surface of the acorns. This technique allows the natural look of the acorns to shine through while adding a touch of color. It's a way to maintain the organic look of the acorns and incorporate them alongside the dry navel orange slices on the wreath.Editor's Tip: Dip the tip of the paintbrush into the paint and then wipe off any excess on a paper towel before applying it to the acorns.
Lightly brush over the surface of the acorns.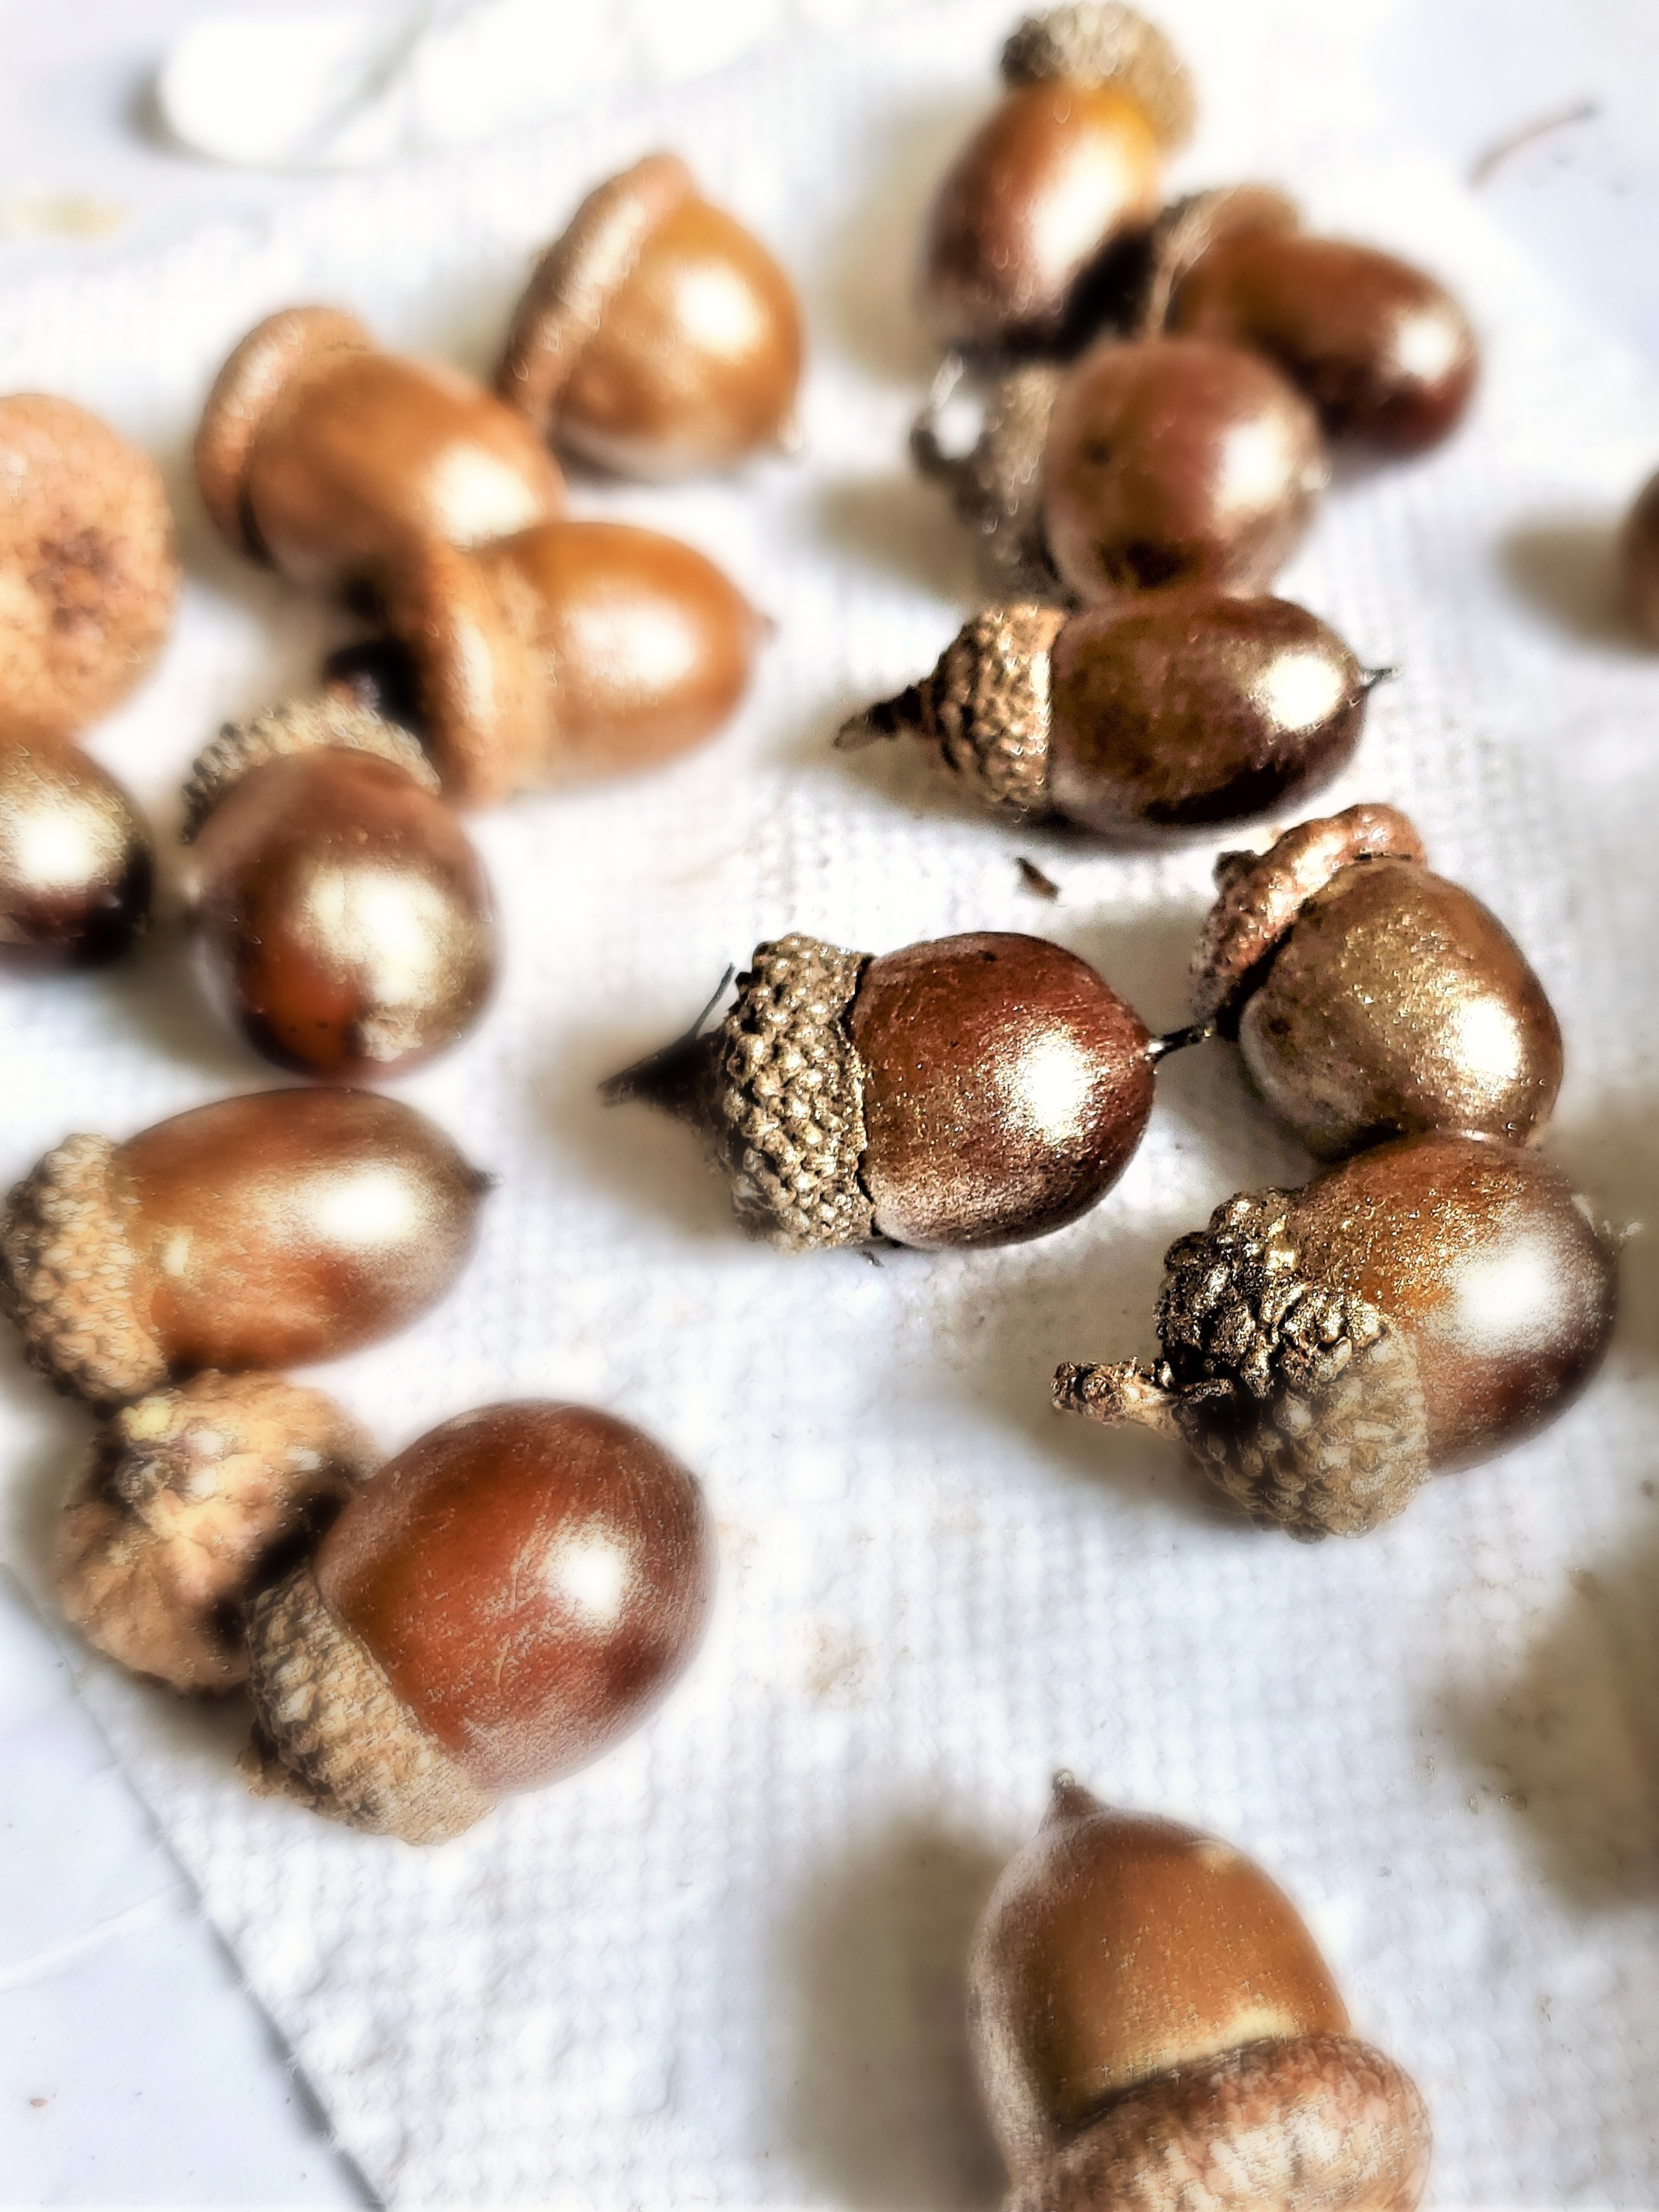
Step 7: Hang the Finished Wreath
When adding this to natural Christmas decor, don't forget to add a ribbon of your choice to the top of the wreath. Think outside the box, instead of using a traditional red ribbon, or a piece of gray buffalo check ribbon, consider using lace as an option that contrasts with the rustic nature of the Farmhouse wreath. The delicate and intricate patterns create a charming look when paired with the other elements of this wreath. Attach the ribbon to the top of the wreath, allowing it to hang from the top of the door frame. Now, find the perfect spot in your home to display this inexpensive Christmas craft and let its natural beauty shine throughout the holidays into the winter months.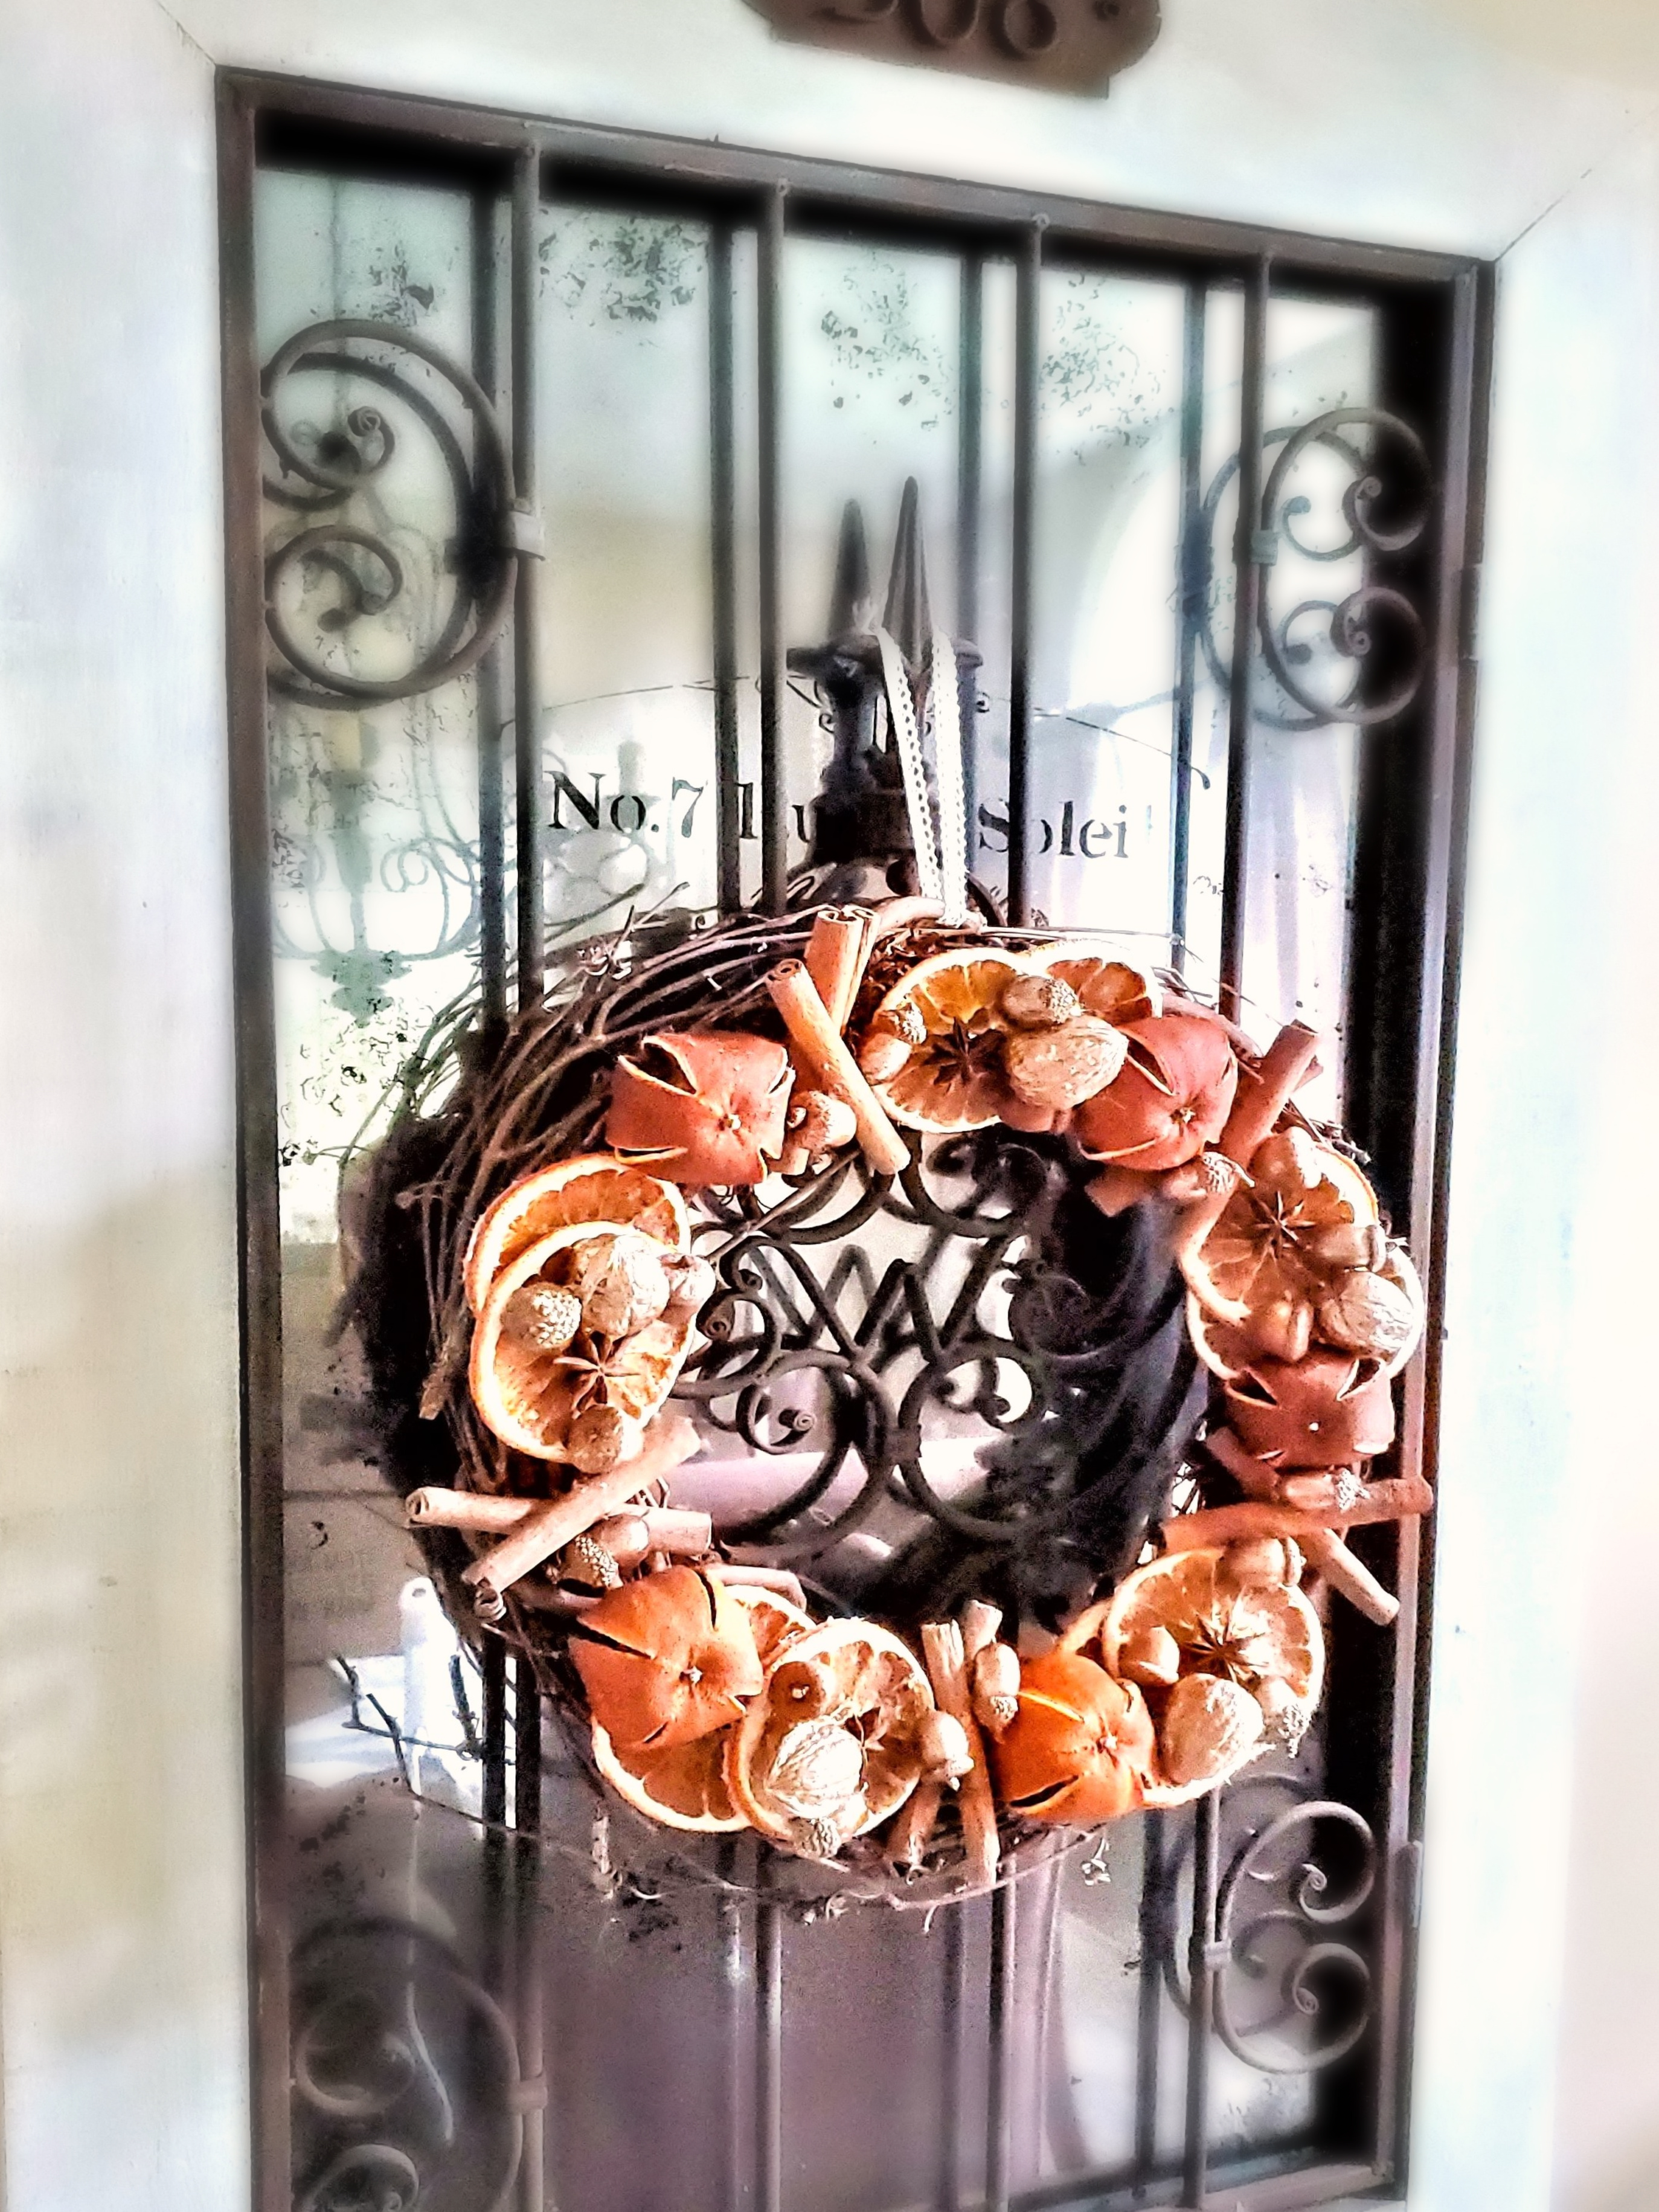 Happy crafting!