DIY Peat Pot Wreath Idea Easy And Quick To Make!
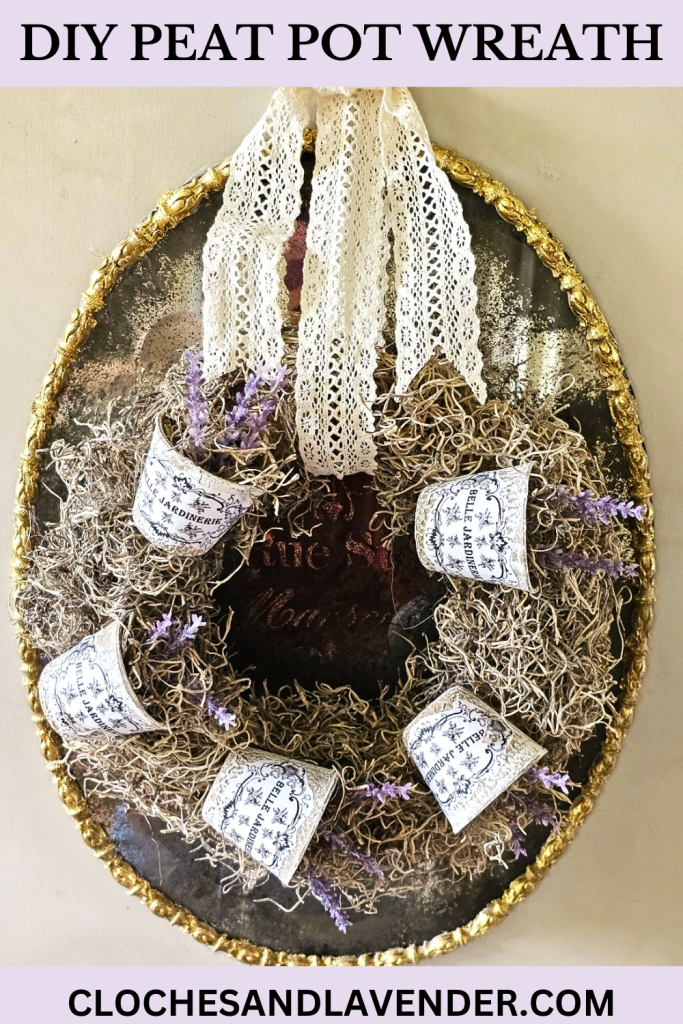
I’m back with another fun project using one of my favorite things! Can you guess what it is? Here’s a hint, it all began with sharing creative ideas for my Easter treat baskets. The basket ideas I share aren’t just for Easter. There are ideas for Mother’s Day, birthdays, the gardener, and more! Welcome to my peat pot wreath series! Yes, three wreath ideas to share using these little pots that are affordable and easy to find. So, let’s look at a DIY peat pot wreath idea that is easy and quick to make!
Jump to Printable DIY CardAs an Amazon Associate, Black Dog Salvage Furniture Paint affiliate, and other Affiliate links I earn from qualifying purchases* Use Code: C-L20 when visiting Black Dog Salvage Furniture Paint and RECEIVE 20% OFF!! I earn a small commission from qualifying purchases through these affiliate links. Affiliate links mean a small commission is earned if you purchase through the link. The price will be the same whether you use the links or go directly to the website. All opinions are my own. (Check our privacy policy and full disclosure policy)
â–º Table of Contents
Table of Contents
- 1 Flower Pot Obsession
- 2 Why use peat pots for crafting?
- 3 Dry Brush: DIY Peat Pot Wreath Easy and Quick to Make
- 4 Decoupage And Graphics
- 5 Wreath Essentials
- 6 Add Pots
- 7 Glue the Moss
- 8 Glue Dots
- 9 A Little Paint Big Change
- 10 Please Look for More Inspiration
- 11 PLEASE PIN IT TO REMEMBER IT AND SHARE IT!
- 12 OTHER POSTS OF INTEREST
- 13 CLICK ON THE IMAGE OF INTEREST TO SHOP!
- 14 DIY Peat Pot Wreath Idea Easy And Quick To Make!
- 15 DIY Peat Pot Wreath Idea Easy And Quick To Make!
- 15.1 Craft Supplies: DIY Peat Pot Wreath Idea Easy and Quick to Make
- 15.2 Dry Brush: DIY Peat Pot Wreath Easy and Quick to Make
- 15.3
- 15.4 Step 1: DIY Peat Pot Wreath
- 15.5
- 15.6
- 15.7 Step 2: Decoupage Magic with French Flair
- 15.8
- 15.9
- 15.10
- 15.11 Step 3: Building the Foundation for Your Wreath
- 15.12
- 15.13
- 15.14
- 15.15 Step 4: Adding Peat Pots to Your Spring Wreath — A Step-by-Step Guide
- 15.16
- 15.17
- 15.18
- 15.19
- 15.20 Step 5: Crafting a Spring Wreath with Glue and Spanish Moss
- 15.21
- 15.22
- 15.23
Flower Pot Obsession
Terra cotta pots are my favorite things, especially when combined with grapevine and the natural charm of moss. Whenever these elements come together, I’m all in on creating creative ideas to add them to our home or a wreath. I share a eucalyptus wreath that uses eucalyptus garland, a grapevine wreath, floral wire, and terra cotta pots. This is an adorable wreath that works from spring through fall. The best part, there’s NO GLUE!
Why use peat pots for crafting?
These little pots are a popular choice for crafting because of the numerous creative ideas to use them and little additional cost:
- For peat pot Easter baskets add a wire handle. Add assorted Easter candy.
- Mother’s Day, I share making these in a larger peat pot to give to Mom on her special day. Add a small plant or a few seed packets for Mom. She can add them to her garden.
- Imagine these pots or terra cotta pots, filled with orange pumpkins and Spanish moss for fall decor. These would make a pretty centerpiece or on a fireplace mantle.
- Faux succulents would make a great succulent craft idea and an adorable wreath to add to a front door.
- Make peat pot pumpkin holders for your fall decor. Add pumpkins in neutral colors to flower pots. Add moss for a rustic touch and Mod Podge a fall image or fall-themed napkin! This is going on my list this year!
- Peat pot wedding favors. Add an image of the bride and groom or the wedding date. Print this on cardstock or printer paper. Fill them with treats, a seedling, or a timer tea light for guests.
I have made these for special occasions and recommend buying a 5 inch peat pot. See great ways to use these for gift baskets for many special occasions.
Find these at craft stores such as:
- Hobby Lobby
- Dollar Tree
- Dollar General
- The Dollar Store
- Walmart
Craft Supplies: DIY Peat Pot Wreath Idea Easy and Quick to Make
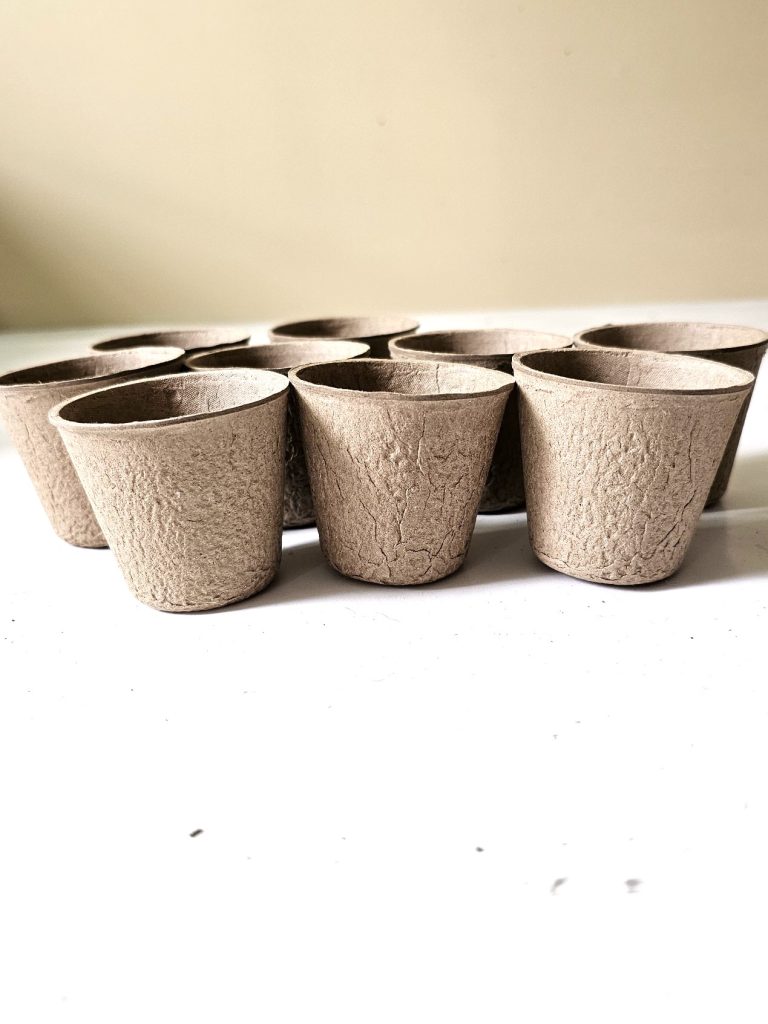
- Peat pot — 2 inches (or the size of your choice)
- Foam wreath form or grapevine wreath — 10 inches (or the size of your choice)
- Burlap ribbon
- Spanish Moss
- Hot glue gun and glue sticks
- Chalk paint or white craft paint
- Scissors
- Paper towel
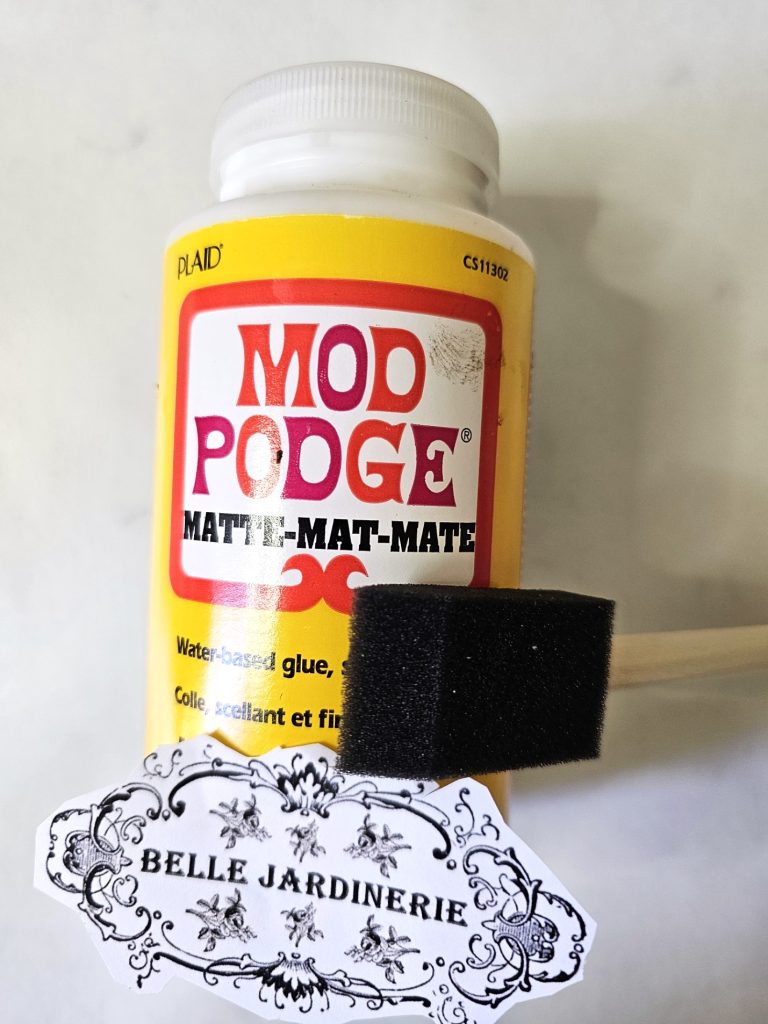
- Mod Podge
- Foam brush
- Small chip brush
- Graphic Images (optional)
Dry Brush: DIY Peat Pot Wreath Easy and Quick to Make
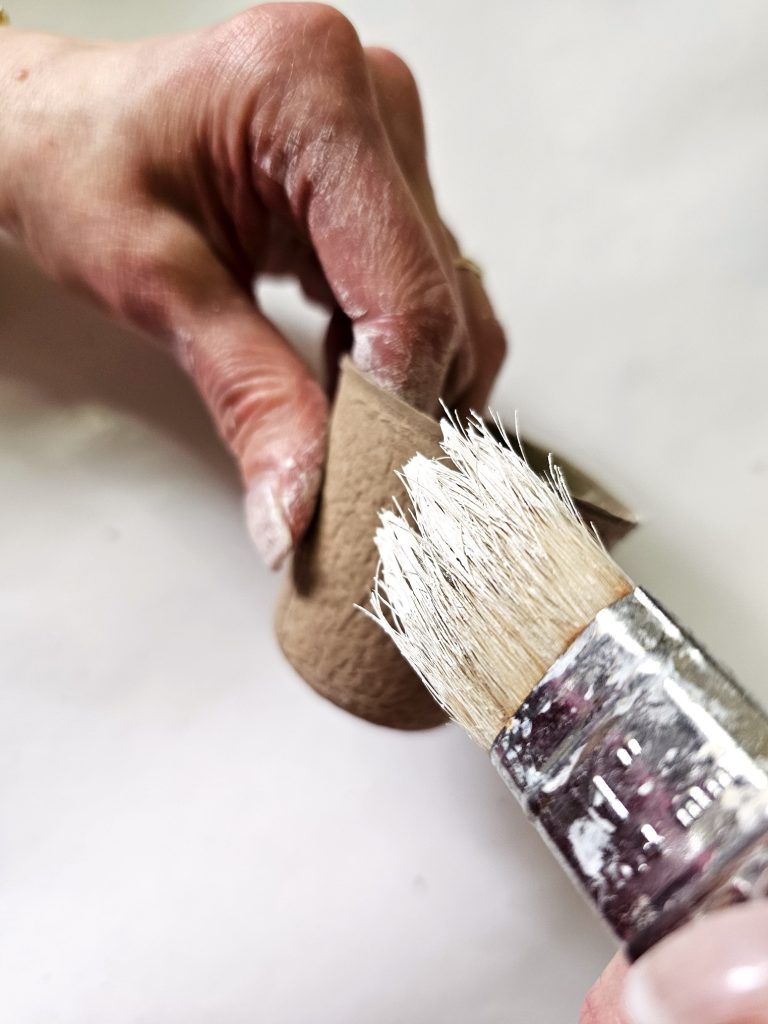
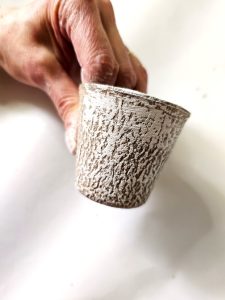
Using a dry brush technique is easy peasy and if this is your first time don’t worry, I will walk you through the process. Adding a dry brush with chalk or craft paint to these pots takes moments. Peat pots are more porous than working with terracotta pots. Because these pots are porous, I leave a bit more paint than normal. The drying time should take minutes.
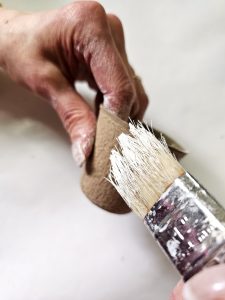
I dip the tip of the chip brush into the paint. I wipe the excess paint on a paper towel. The brush should have a little more paint since these are porous.
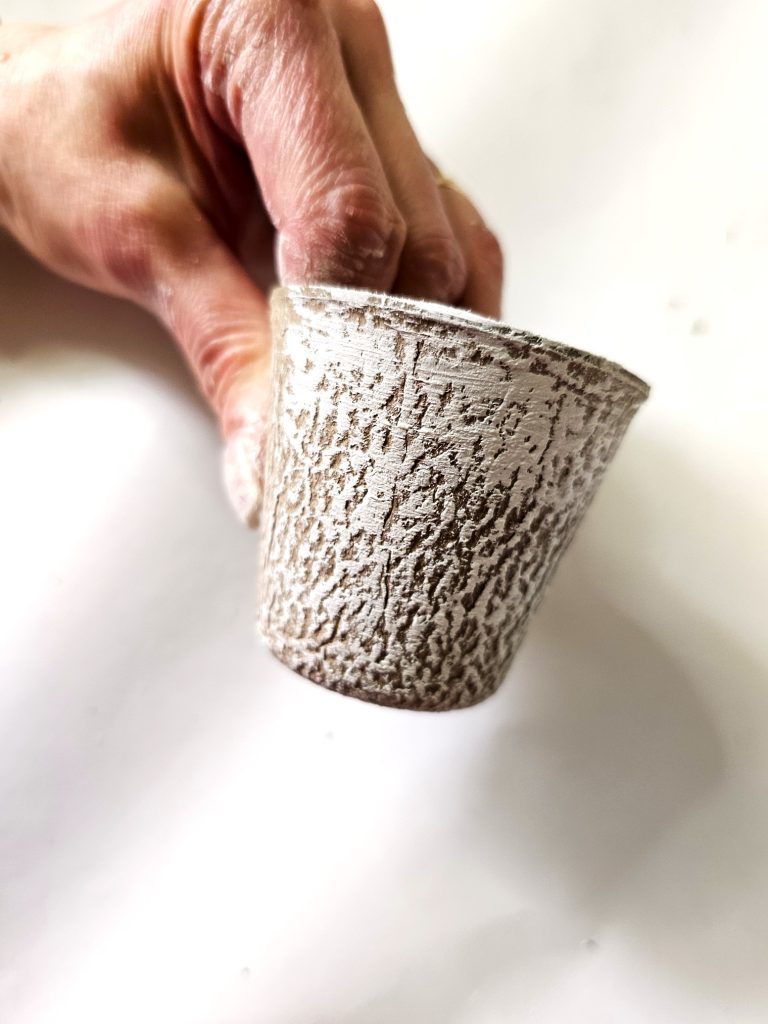
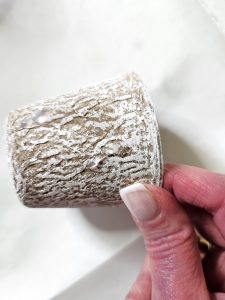
After removing some excess paint on the paper towel, add chalky finish paint to the side of the peat pot using a light stroke. I add the paint to the top of the pot too. This painting technique allows the natural colors of the pots to show.
The little pots are dry brushed with Annie Sloan’s old white but white craft paint will work fine. Add paint to the top of the pot.
Step 1: Crafting Charm: Whimsical DIY Peat Pot Wreath
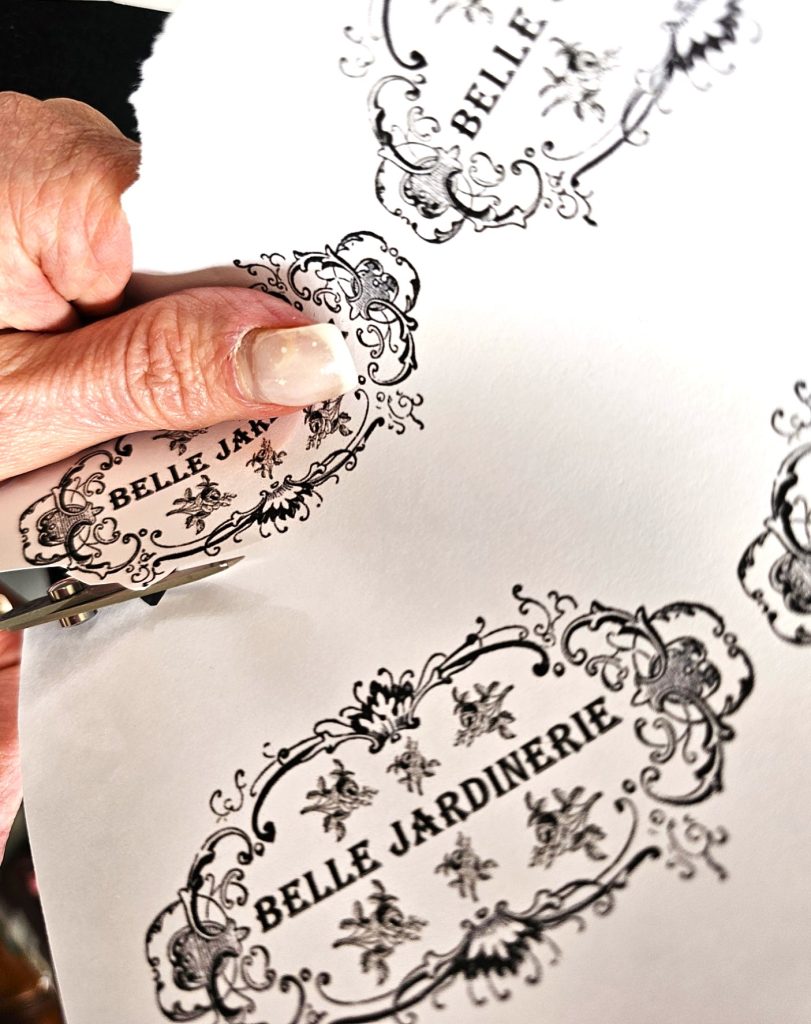
I printed a French graphic on printer paper. You can find free vintage graphics at The Graphics Fairy. Feel free to check my Pinterest board for many free graphics too. I have collected quite a collection. Visiting The Graphics Fairy or Pinterest is a great way to add no additional cost to this spring wreath.
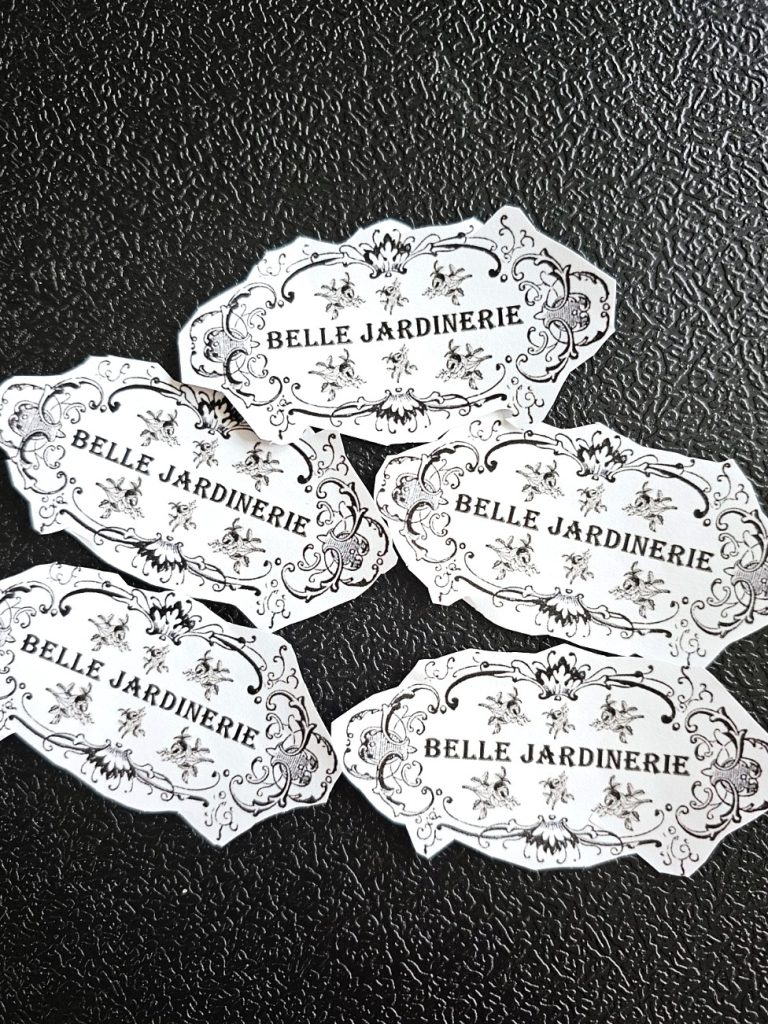
Decoupage And Graphics
Step 2: Decoupage Magic with French Flair
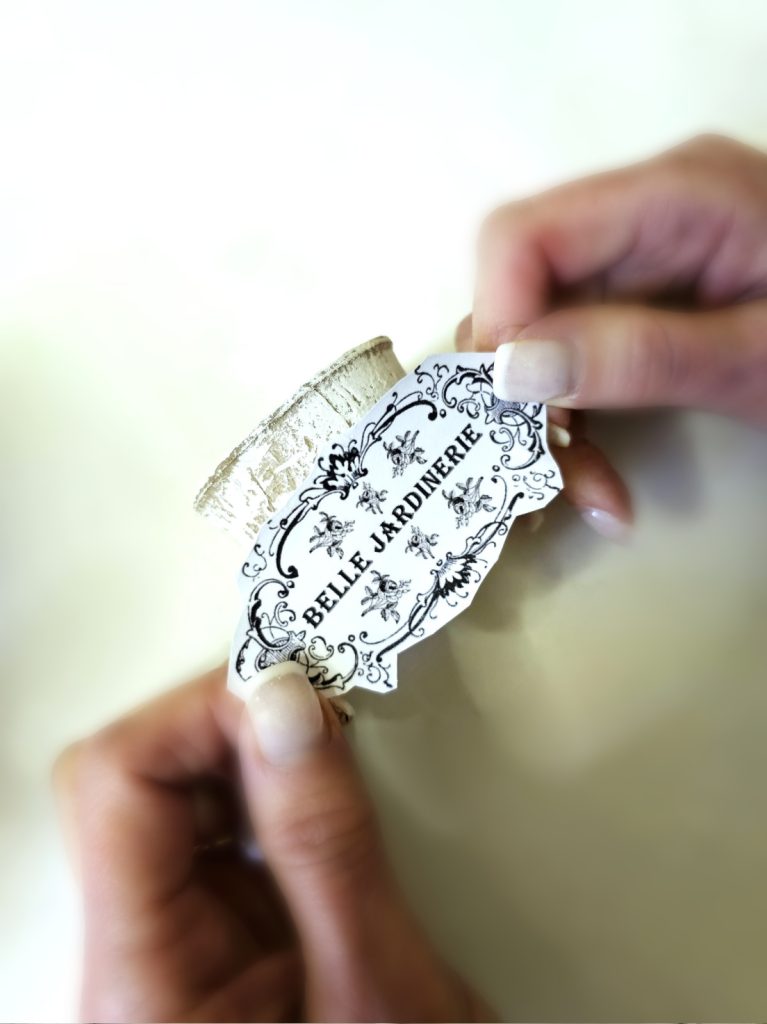
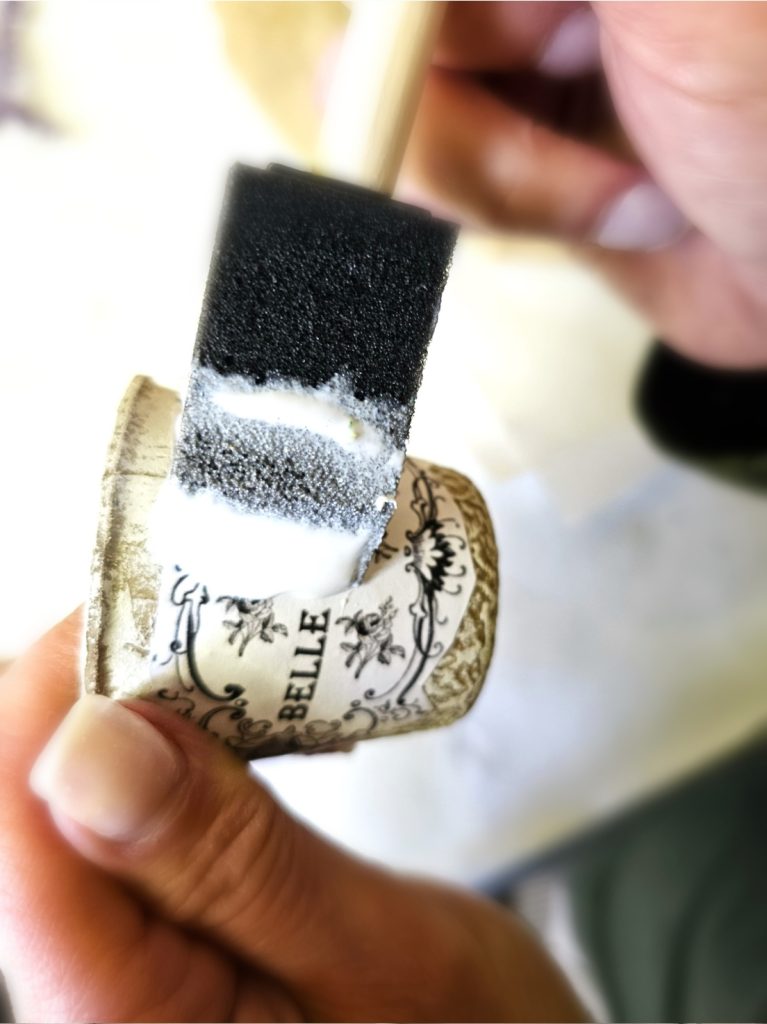
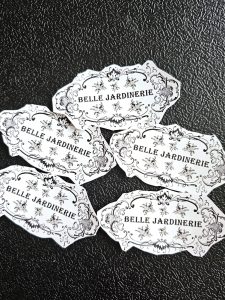
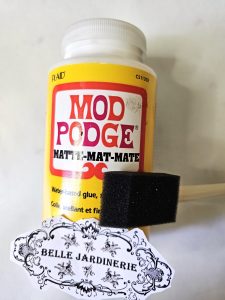
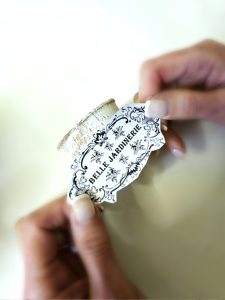
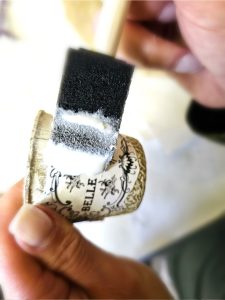
I printed the image 3 x 5 on computer paper. Next, cut the image. Cut as close to the words as possible. This allows the graphic to blend into each flower pot. Add Mod Podge to the back of the image for each pot. Cover the edges of the paper well. Flip it over and add it to the side of the peat pot. Press the image lightly with your fingertips. I added a second coat of Mod Podge to avoid yellowing and fading.
Wreath Essentials
Step 3: Crafting Essentials: Building the Foundation for Your Wreath
For this wreath, I used a foam wreath form. Wreath blanks were in my craft closet, I always check to see what I have at home before visiting the craft stores. To my surprise, I used my last two wreath forms so I will be heading to the craft store soon to replenish. I can’t be without wreath forms!
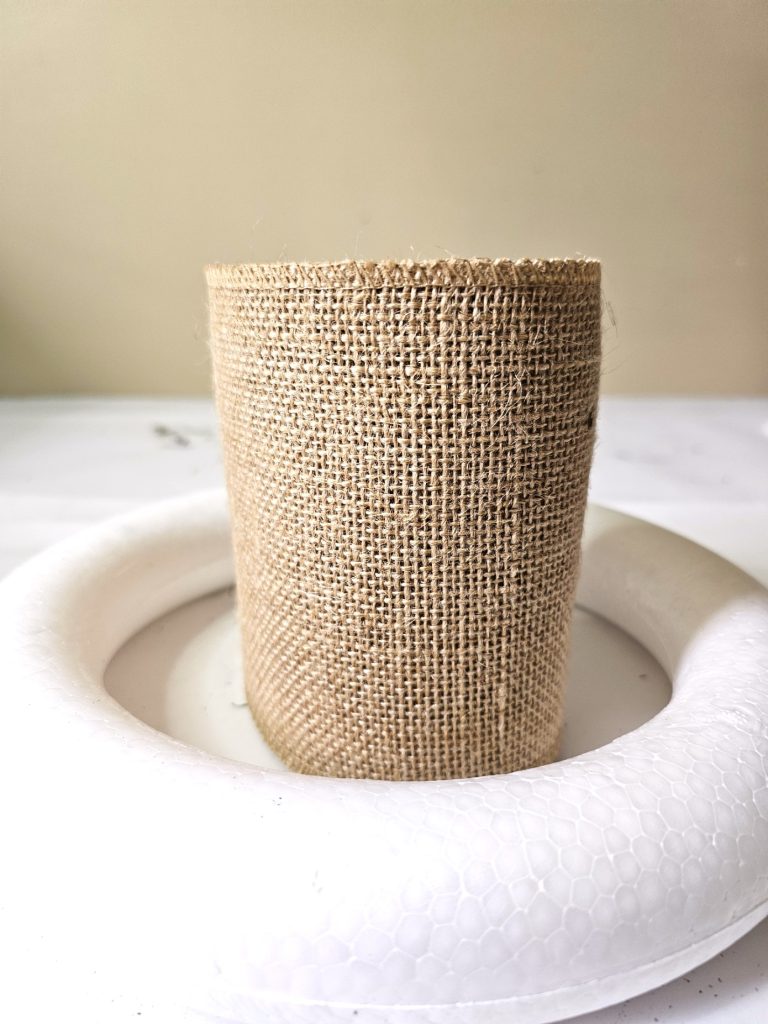
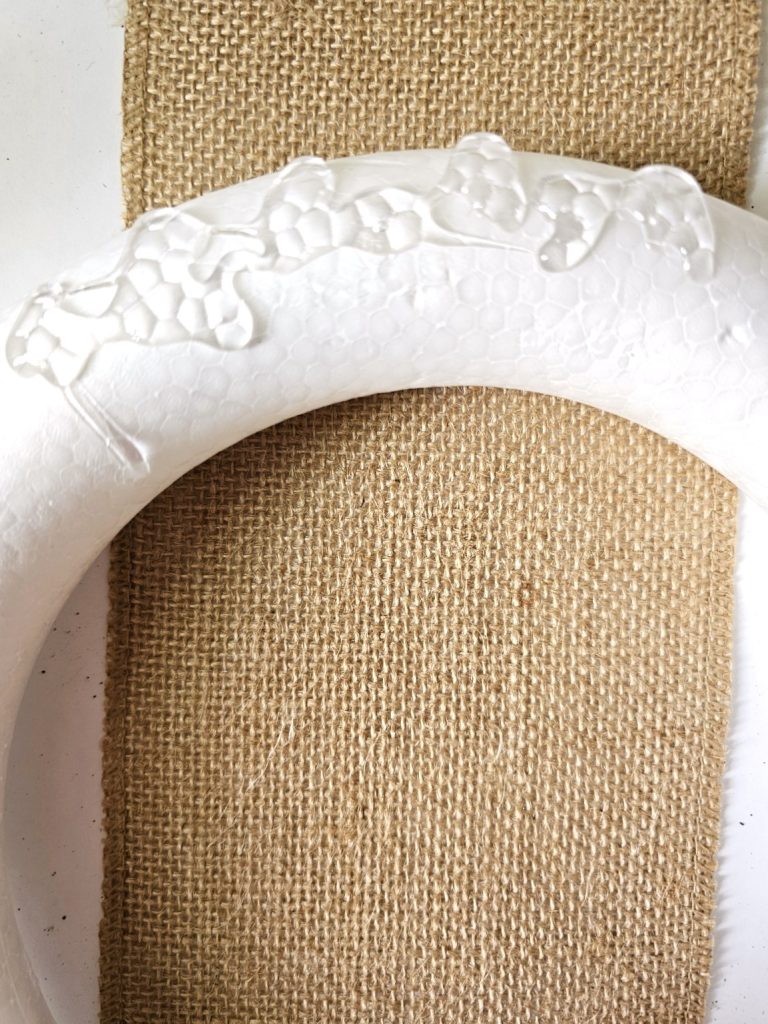
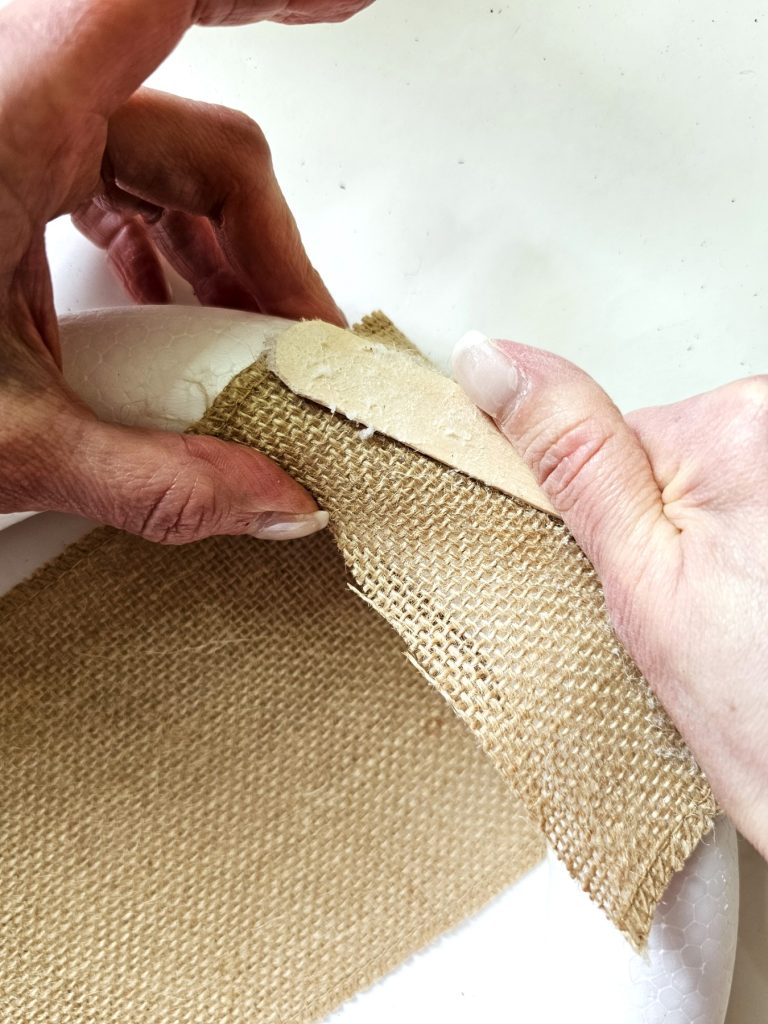
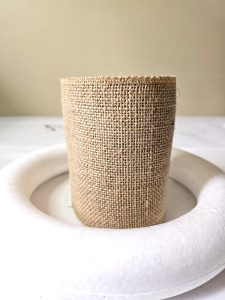
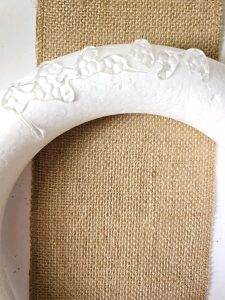
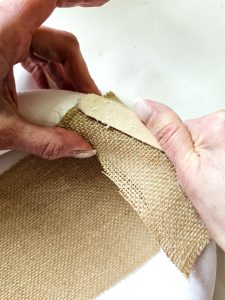
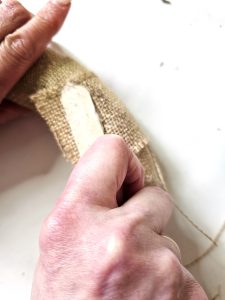
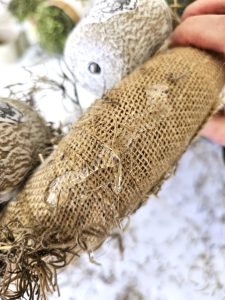
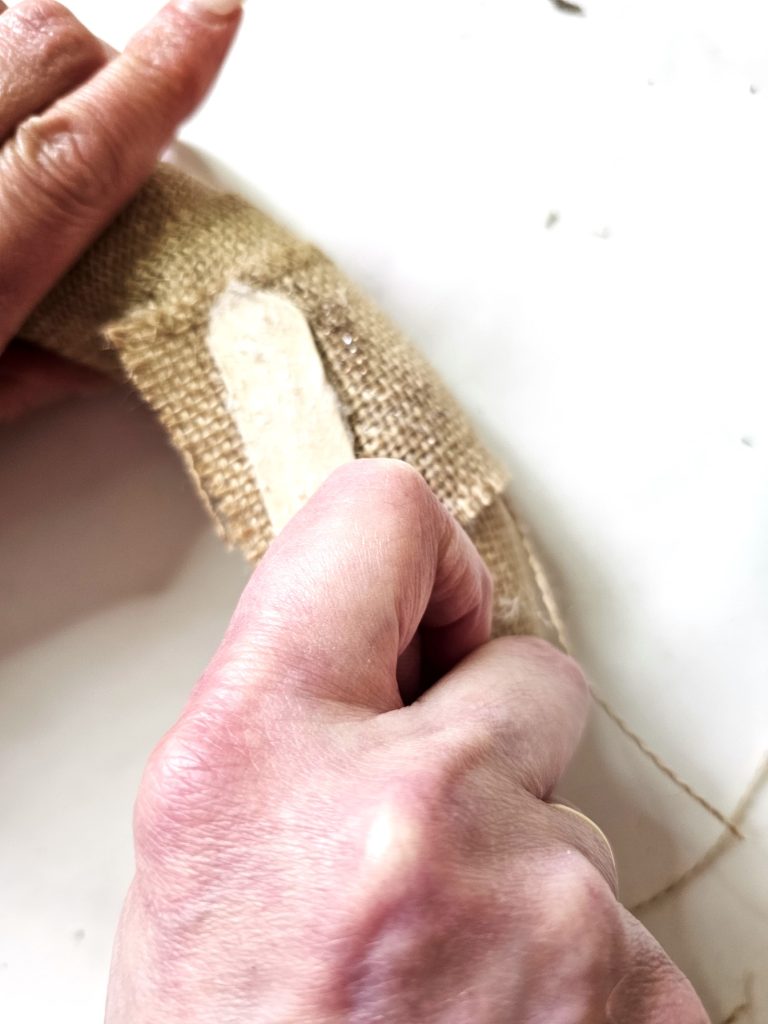
When I use a foam wreath form, I wrap the wreath form in burlap. This prevents the Styrofoam from breaking down from the glue. Add a dab of hot glue to the wreath and attach the end of the burlap ribbon. Hold it to set and wrap the wreath form. When you are at the end add a dab of glue and hold it to set.
Tip: Using a dual temperature glue gun is best when making wreaths. Setting the glue gun on low temperature prevents Styrofoam from breaking down. It’s a great way to avoid burns. I can’t recommend getting one enough if you enjoy crafting.
Add Pots
Step 4: Adding Peat Pots to Your Spring Wreath — A Step-by-Step Guide
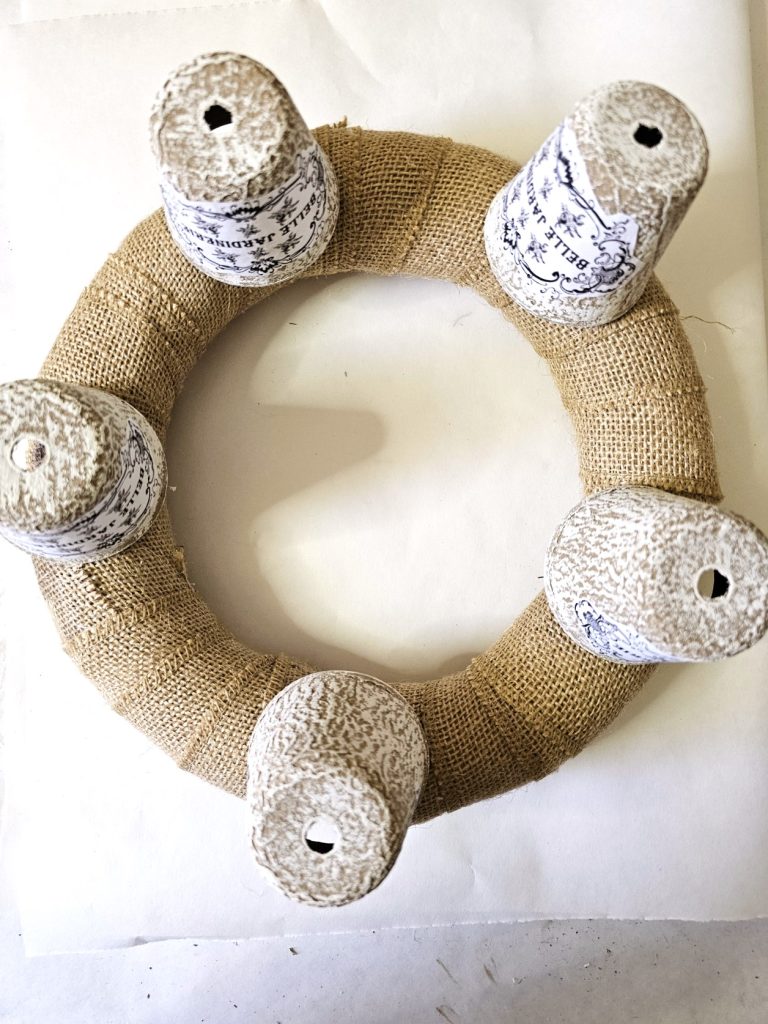
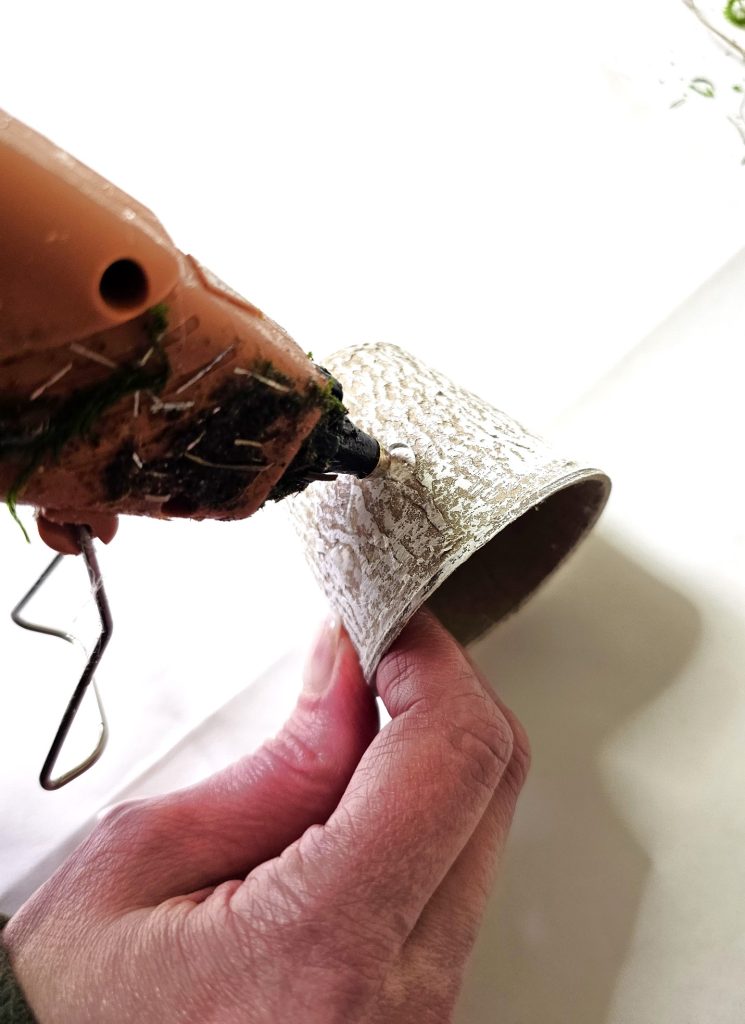
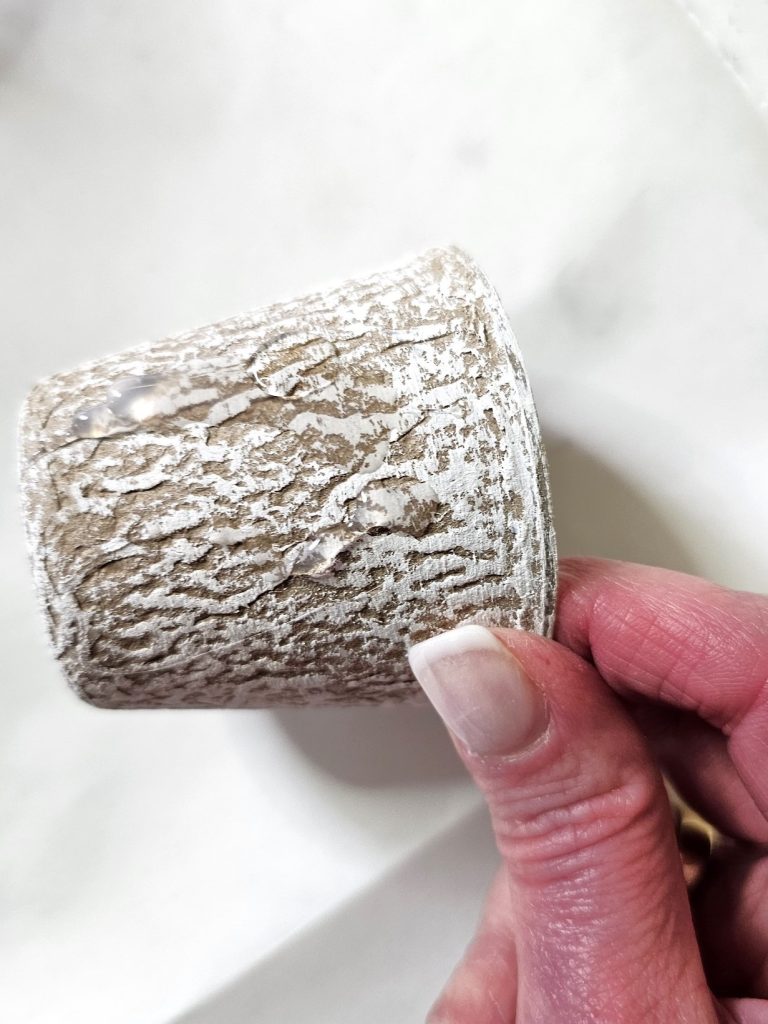
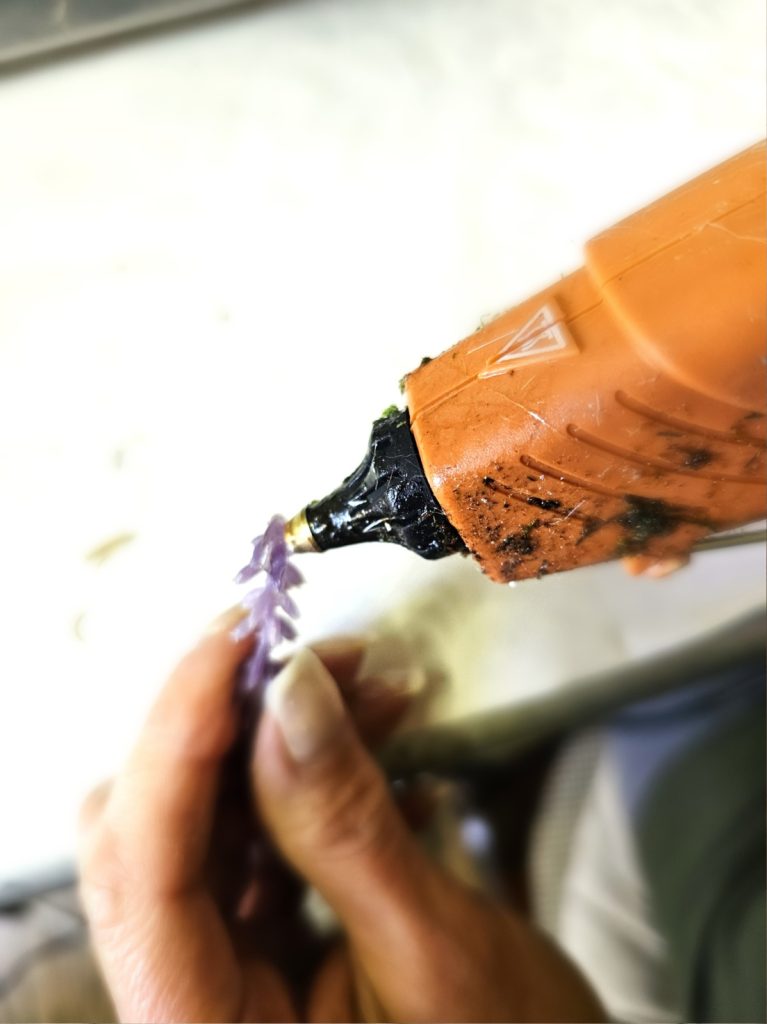
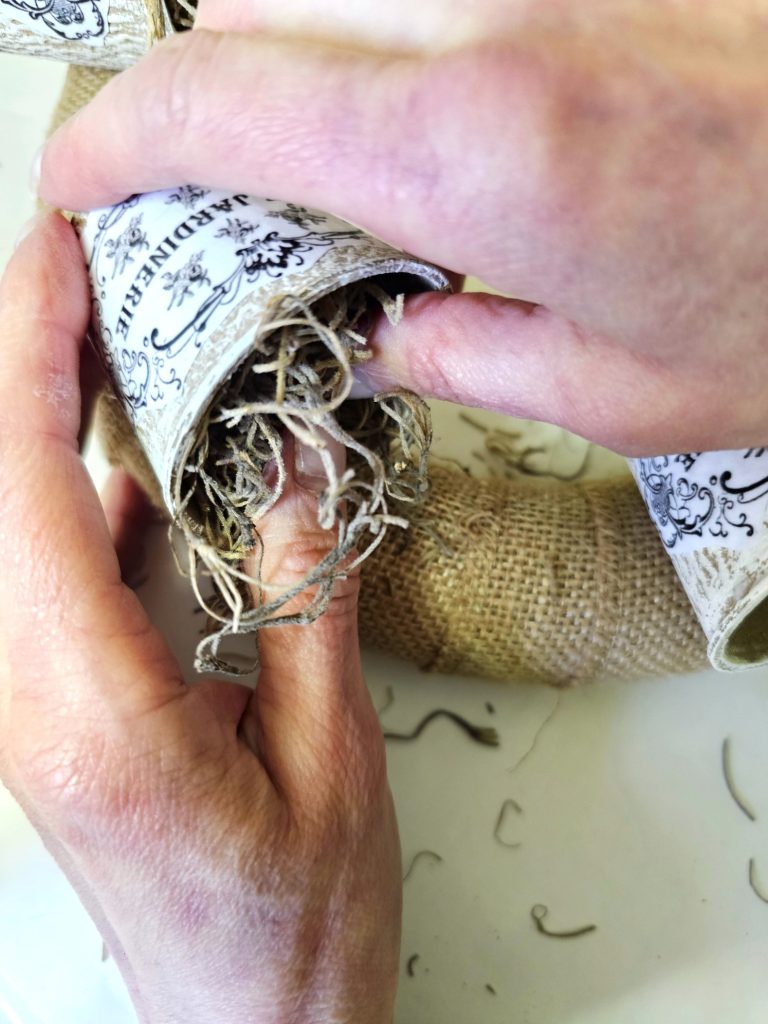
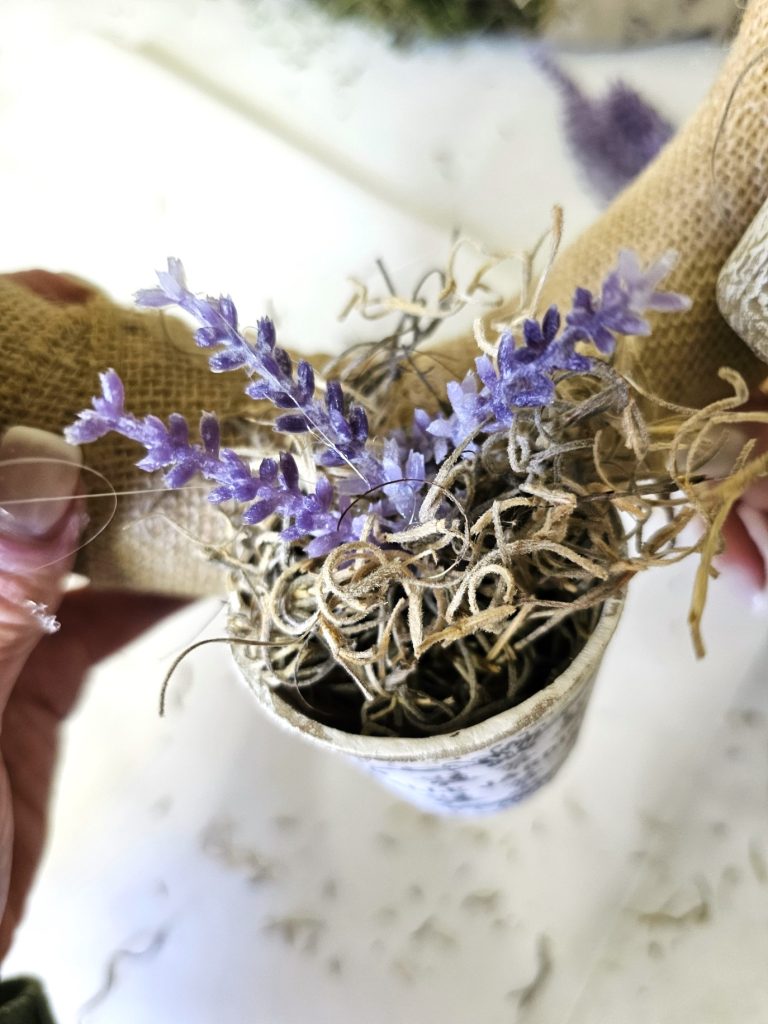
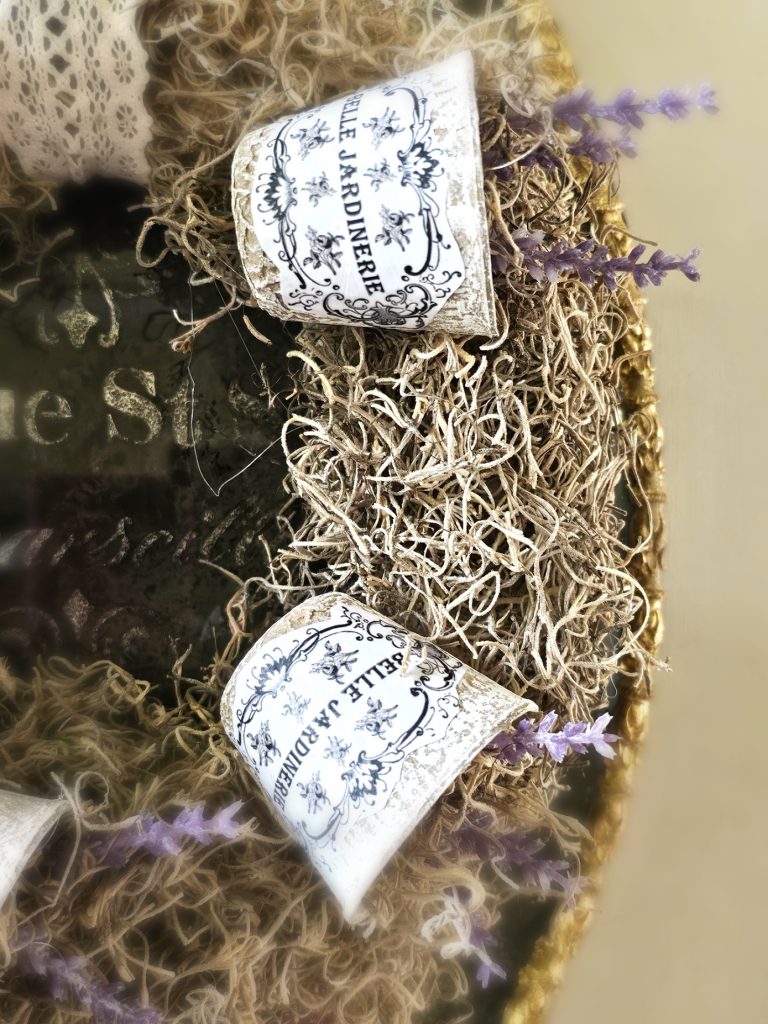
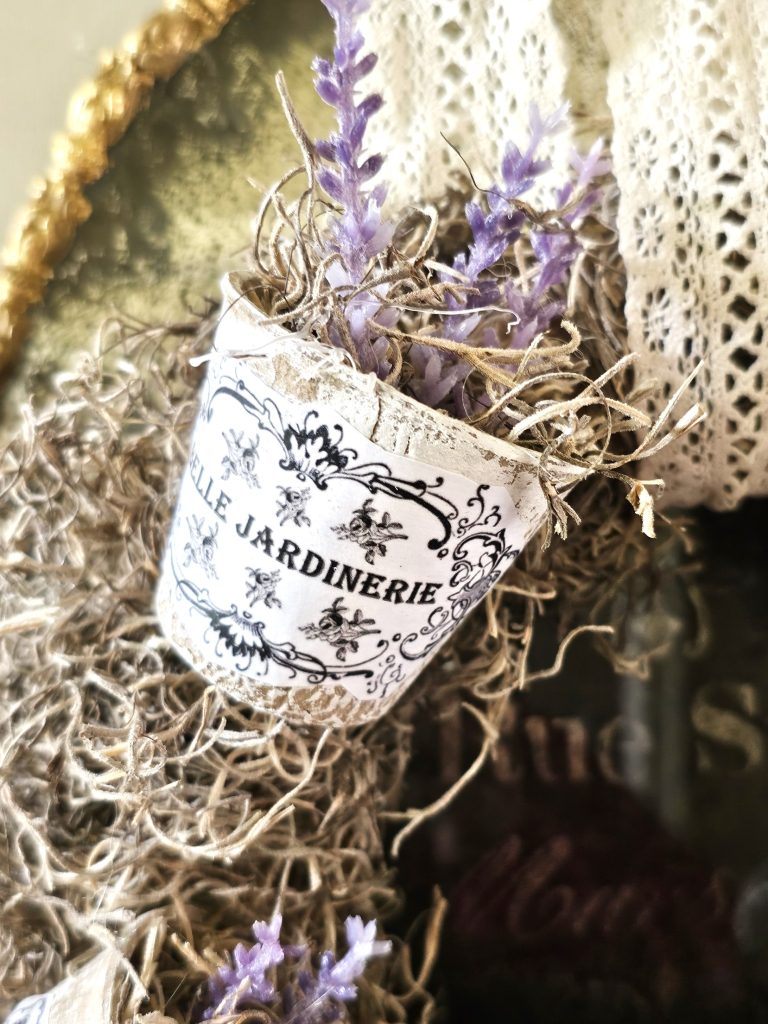
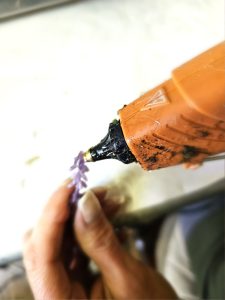
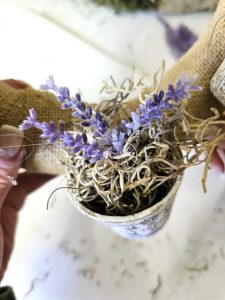
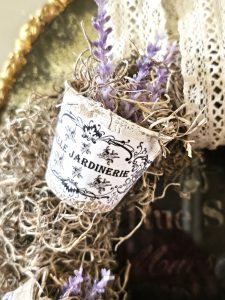
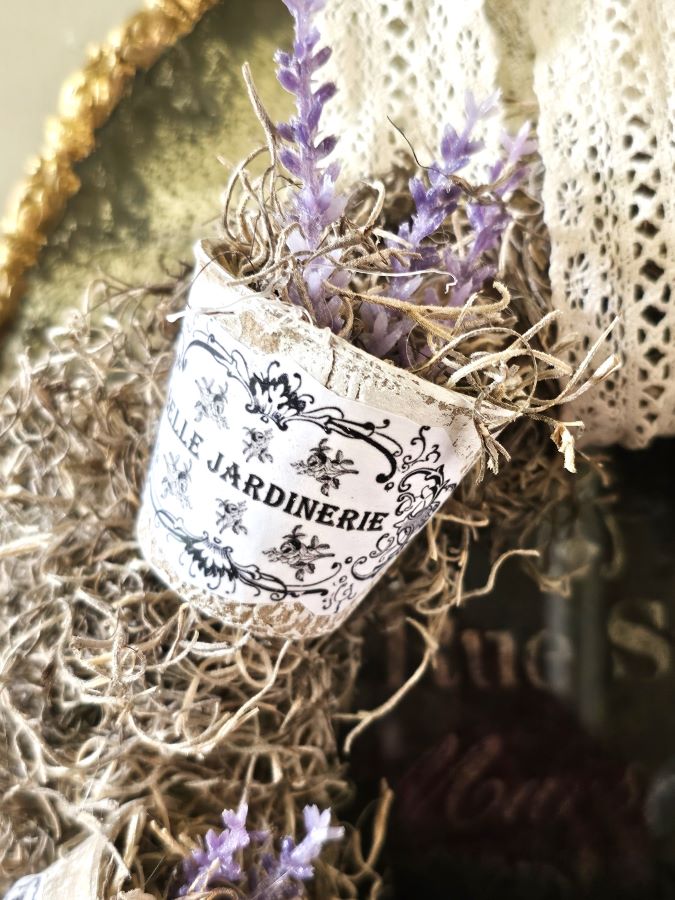
Add glue in two rows to the back of each little basket and hold them to set. I glued the pots first on this spring wreath because it allowed me to see how much moss was needed. I cut faux lavender and moss to add to each pot. Push the moss inside each pot. Add hot glue to the end of the lavender and hold it to set. Or add faux succulents for an adorable wreath for the spring and summer.
You can use terra cotta pots for this wreath. If you do thread jute the small hole in the pot. Pull the jute tight and double knot the jute to keep the pots stable. I share a blog post making a eucalyptus flower pot wreath. Guess what, this wreath has garlands and floral wire and is perfect for spring through fall.
Tip: I did a dry run to ensure my pots were glued in the correct spot. I tried to add these pots using a floral pin. The pots are too thick, the floral pin didn’t go through the side of the peat pot.
Glue the Moss
Step 5: Crafting a Spring Wreath with Glue and Spanish Moss
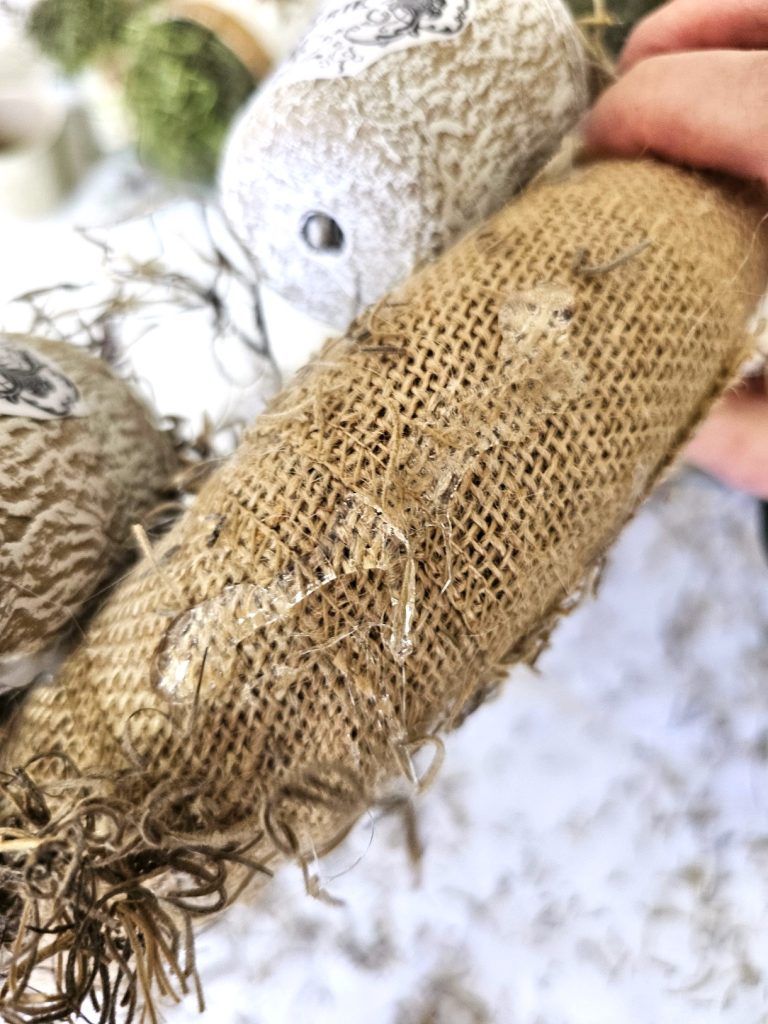
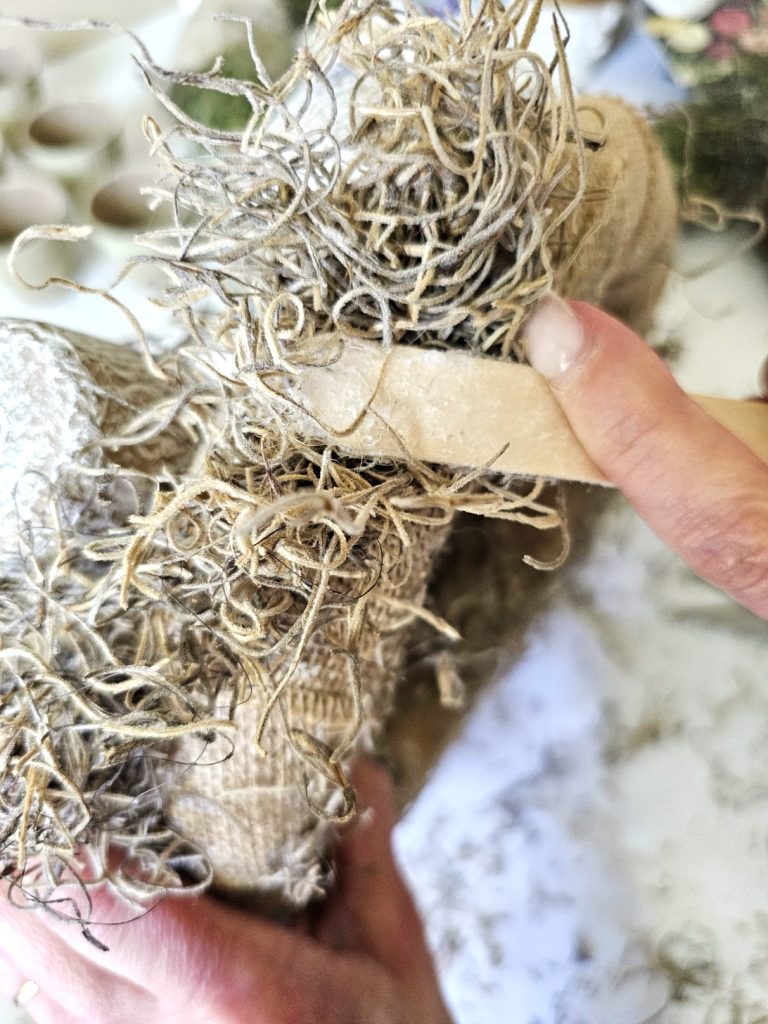
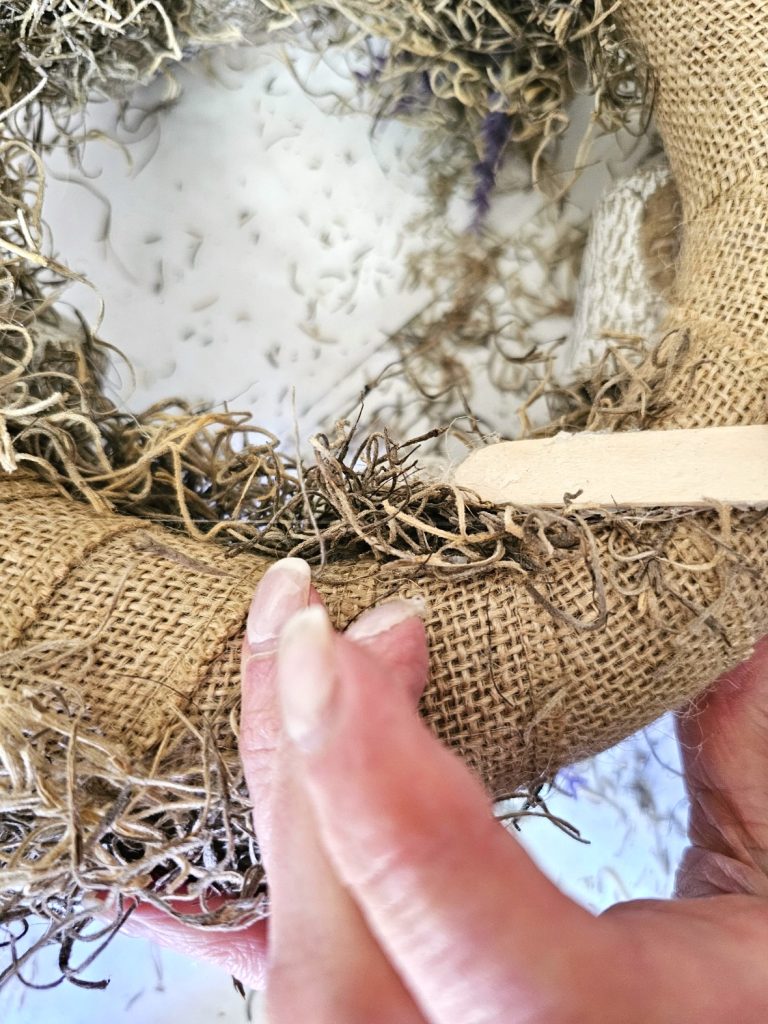
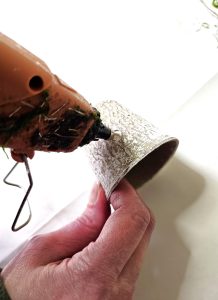
Next, I add hot glue to the wreath form and cut sections of moss. I added the Spanish moss in small sections at a time. As I add the moss, I use a popsicle stick to hold it to set. Cover the entire wreath with moss. Spanish moss can be messy. Add craft paper under your wreath. When you are finished roll up the paper and throw it away. Easy peasy clean up.
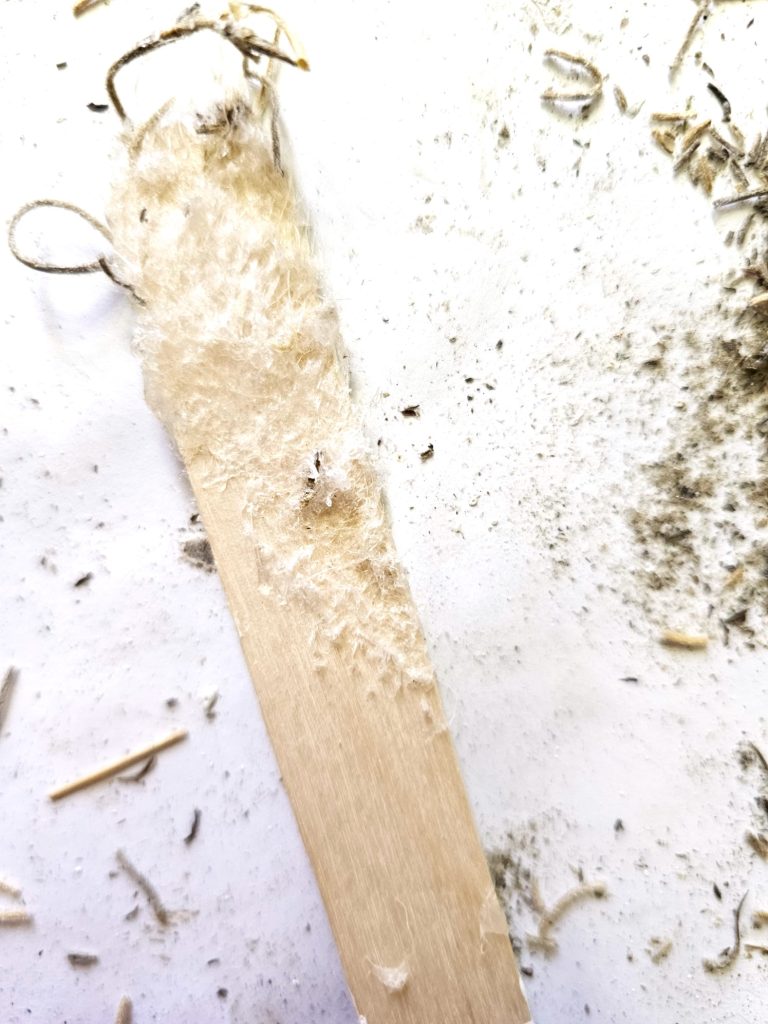
Tip: Be sure to use a popsicle stick or rubber fingertips to hold the moss to set to avoid burns. I don’t use rubber fingertips because I have tried many and none fit my fingers. My fingers are skinny. You can see from the popsicle stick how much glue seeps through the moss. Take note of the glue on the popsicle stick below.
Glue Dots
Mini Glue Dots: A Failure for This Project
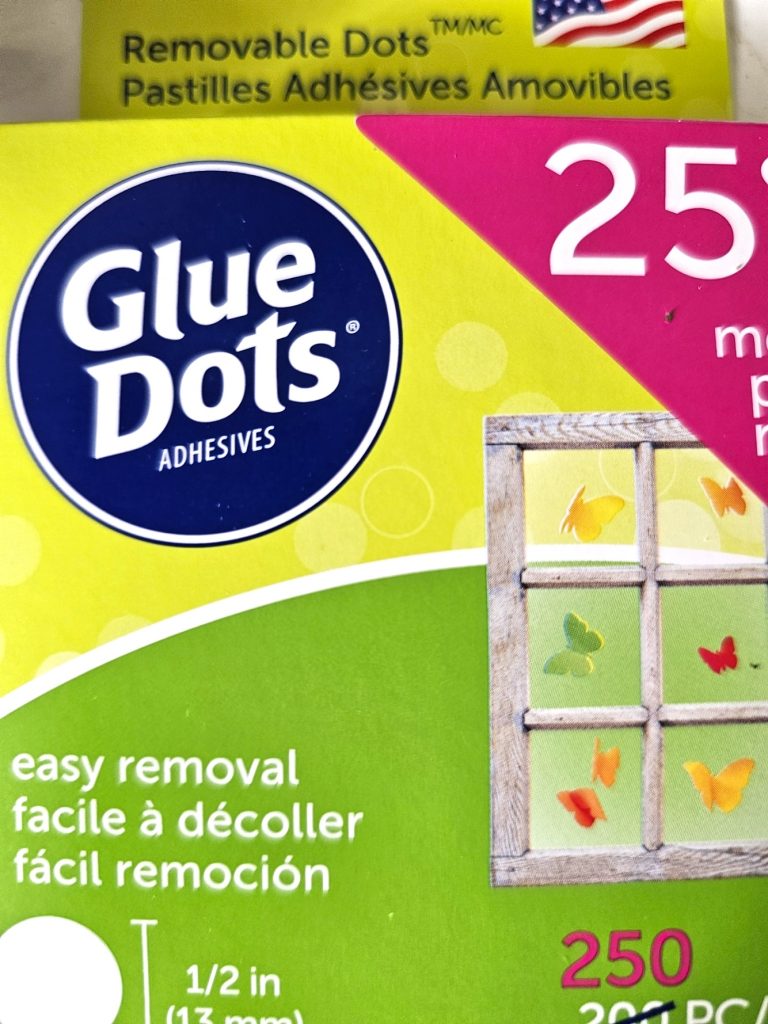
Have you seen removable mini glue dots? I bought some from the craft store thinking they would work to hold the images on both wreaths. I thought it would be a great way to reuse these little pots for a different project next year. Peat pots are porous, and they didn’t work, I was disappointed. I thought I was brilliant buying these glue dots for this project, but I guess not so much, LOL. I know they will be useful for paper crafts during the holiday season.
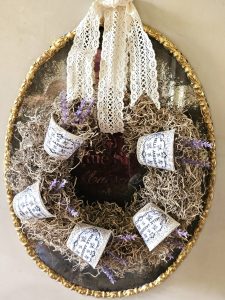
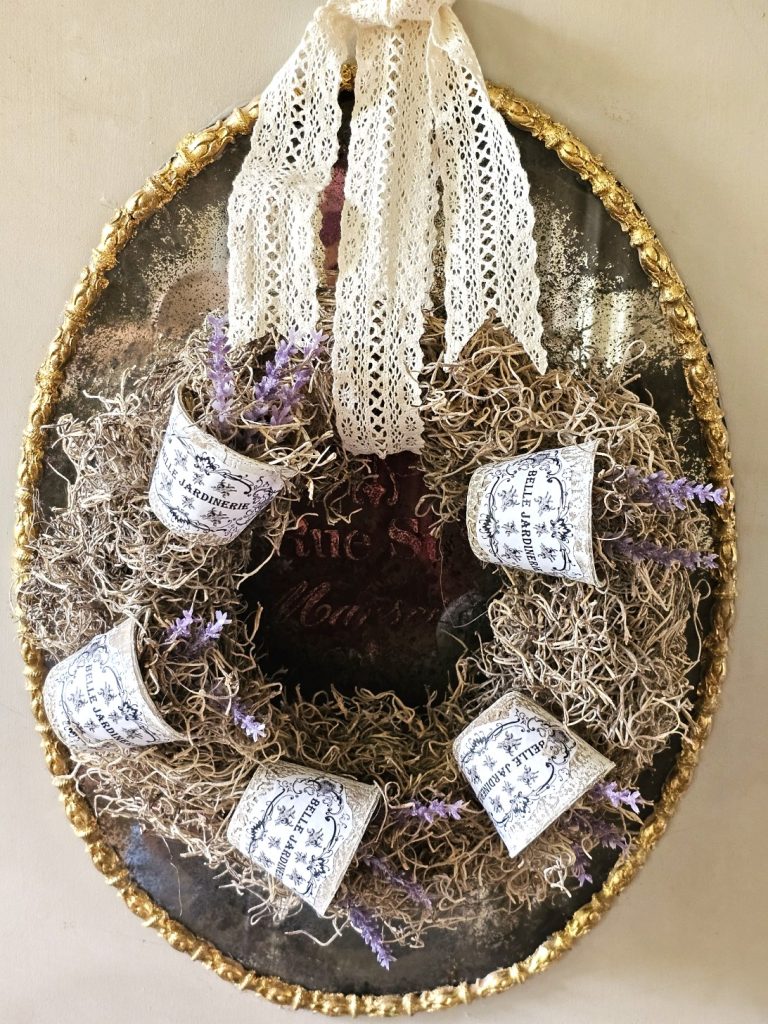
This wreath is filled with my favorite things, rustic elegance and charm. There’s nothing like adding natural elements when decorating our home. This combination adds a bit of whimsy and comfort to a home. The perfect balance for a French Country Farmhouse home. These wreaths can be customized in different ways to fit your decor style!
A Little Paint Big Change
Transform with Brushstrokes: Discover the Power of Paint
Last year I shared how to dry brush planters, it’s easy, sustainable, eco-friendly and they look brand new! This painting technique gives you creative ways to change and upcycle pieces that may otherwise wind up in a landfill. There is not a lot of additional cost because such little paint is used. This post is great because it shares how to layer different paint colors. This process can be done using chalky finish paint or acrylic craft paint. The original color of these planters was applied using raw umber acrylic craft paint and water. These planters looked the same 20 years later. Wait until you see what the flower pot looks like now! It’s amazing what a little paint can change and it’s in my plans for other fiberglass planters!
Please Look for More Inspiration
Check out my blog post for peat pot Easter baskets for creative ideas to use these pots for gift basket ideas for birthdays, Mother’s Day, and more!
In blog posts, I aim to inspire my readers through easy craft projects for your home. Keep an eye out, as I’ll be crafting pumpkin pots to enhance our decor come fall. It may be spring, but I can’t resist thinking about fall! I hope you are inspired to create a DIY peat pot wreath for your home. Happy crafting!
FOLLOW US ON: FACEBOOK, INSTAGRAM, PINTEREST, THREADS, X, AND TIKTOK.
PLEASE PIN IT TO REMEMBER IT AND SHARE IT!
OTHER POSTS OF INTEREST
CLICK ON THE IMAGE OF INTEREST TO SHOP!
DIY Peat Pot Wreath Idea Easy And Quick To Make!
Notes
DIY Peat Pot Wreath Idea Easy And Quick To Make!
Let’s look at a DIY peat pot wreath idea that is easy and quick to make!Craft Supplies: DIY Peat Pot Wreath Idea Easy and Quick to Make
-
- Peat pot — 2 inches (or the size of your choice)
-
- Foam wreath form or grapevine wreath — 10 inches (or the size of your choice)
-
- Burlap ribbon
-
- Spanish Moss
-
- Hot glue gun and glue sticks
-
- Chalk paint or white craft paint
-
- Scissors
-
- Paper towel
-
- Mod Podge
-
- Foam brush
-
- Small chip brush
-
- Graphic Images (optional)
Dry Brush: DIY Peat Pot Wreath Easy and Quick to Make
Using a dry brush technique is easy peasy and if this is your first time don’t worry, I will walk you through the process. Adding a dry brush with chalk or craft paint to these pots takes moments. Peat pots are more porous than working with terracotta pots. Because these pots are porous, I leave a bit more paint than normal. The drying time should take minutes. Dip the tip of the chip brush into the paint. Wipe the excess paint on a paper towel. The brush should have a little more paint since these are porous. After removing some excess paint on the paper towel, add chalky finish paint to the side of the peat pot using a light stroke. Add the paint to the top of the pot too. This painting technique allows the natural colors of the pots to show. The little pots are dry brushed with Annie Sloan’s old white but white craft paint will work fine. Add paint to the top of the pot.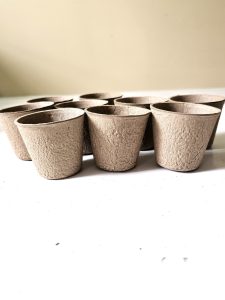
Step 1: DIY Peat Pot Wreath
Print a French graphic on printer paper. You can find free vintage graphics at The Graphics Fairy. Feel free to check my Pinterest board for many free graphics too. I have collected quite a collection. Visiting The Graphics Fairy or Pinterest is a great way to add no additional cost to this spring wreath.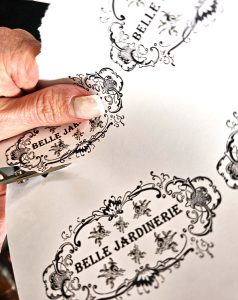
Step 2: Decoupage Magic with French Flair
Print the image 3 x 5 on computer paper. Next, cut the image. Cut as close to the words as possible. This allows the graphic to blend into each flower pot. Add Mod Podge to the back of the image for each pot. Cover the edges of the paper well. Flip it over and add it to the side of the peat pot. Press the image lightly with your fingertips. Add a second coat of Mod Podge to avoid yellowing and fading.
Step 3: Building the Foundation for Your Wreath
For this wreath, I used a foam wreath form.
When I use a foam wreath form, I wrap the wreath form in burlap. This prevents the Styrofoam from breaking down from the glue. Add a dab of hot glue to the wreath and attach the end of the burlap ribbon. Hold it to set and wrap the wreath form. When you are at the end add a dab of glue and hold it to set.
Step 4: Adding Peat Pots to Your Spring Wreath — A Step-by-Step Guide
Add glue in two rows to the back of each little basket and hold them to set. I glued the pots first on this spring wreath because it allowed me to see how much moss was needed. I cut faux lavender and moss to add to each pot. Push the moss inside each pot. Add hot glue to the end of the lavender and hold it to set. Or add faux succulents for an adorable wreath for the spring and summer.
You can use terra cotta pots for this wreath. If you do thread jute the small hole in the pot. Pull the jute tight and double knot the jute to keep the pots stable.
Step 5: Crafting a Spring Wreath with Glue and Spanish Moss
Add hot glue to the wreath form and cut sections of moss. I added the Spanish moss in small sections at a time. As I add the moss, I use a popsicle stick to hold it to set. Cover the entire wreath with moss. Spanish moss can be messy. Add craft paper or newspaper under your wreath. When you are finished roll up the paper and throw it away. Easy peasy clean up.
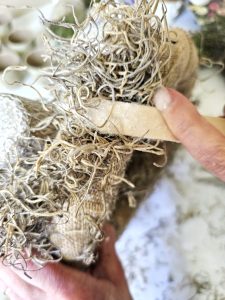
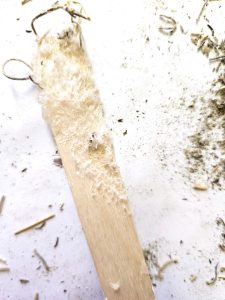 Tip: Be sure to use a popsicle stick or rubber fingertips to hold the moss to set to avoid burns. I don’t use rubber fingertips because I have tried many and none fit my fingers. My fingers are skinny. You can see from the popsicle stick how much glue seeps through the moss.
 Happy Crafting!



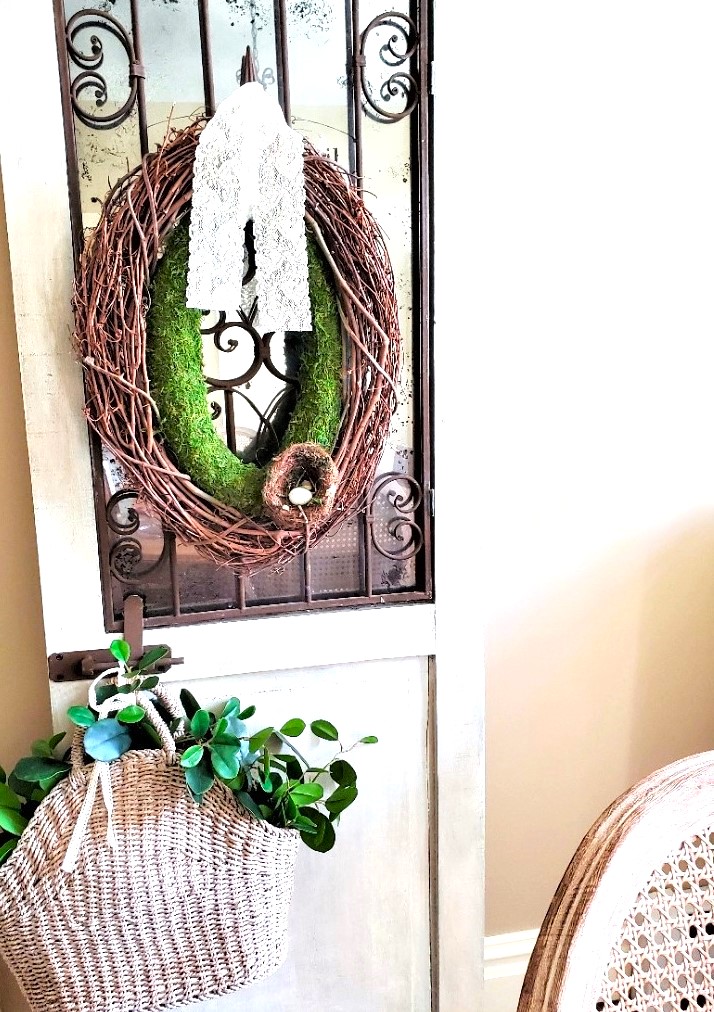
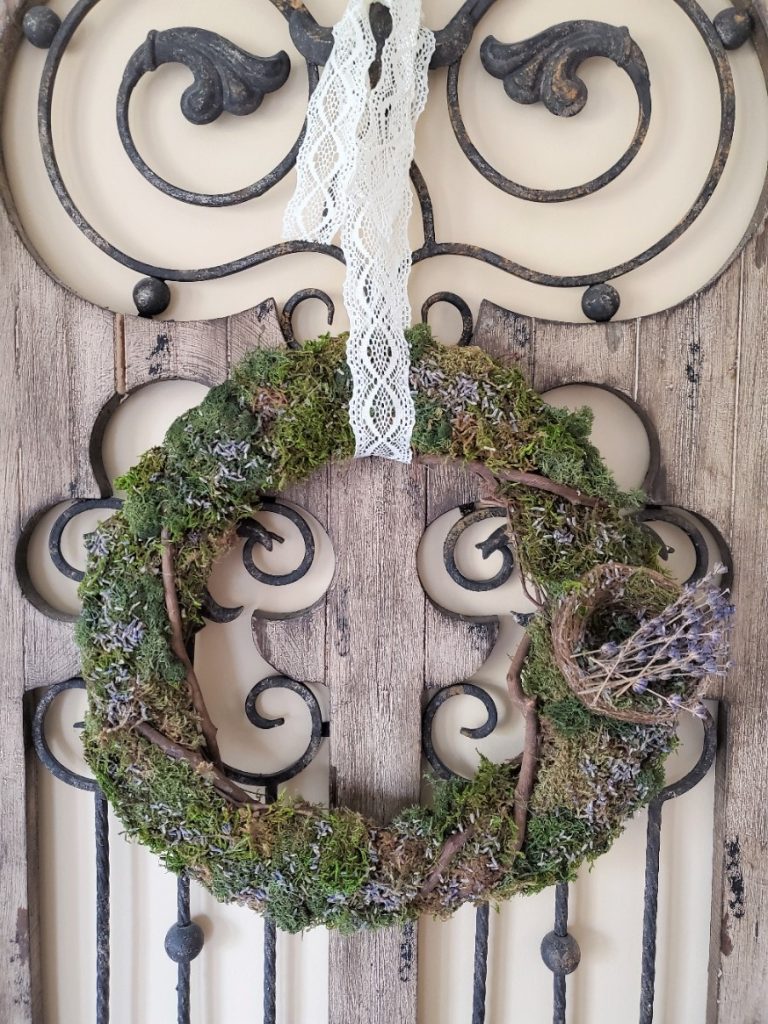


Very pretty and love your choice of lace instead of just a ribbon, a lovely contrast to the other more rustic elements.
Thank you so much Gail!
This is so cute Cindy and perfect for your decor. Very pretty. Have a good week. Hugs. Kris
Thank you Kris
What a cute idea, Cindy. Very pretty and just so softly sweet for Spring. Have a wonderful week- xo Diana
Thank you Diana. I hope everything is well
Cindy, that is just the sweetest wreath, perfect for spring and summer!!
Kim thank you so much!
You always have such clever ideas Cindy! I love seeing your craft projects come together. Beautiful!
Thank you Maria!
kkmt course for physiotherapists Manual therapy has become an integral part of physiotherapy these days. This field is still developing with many new updates. There is lot of scope for new researches and KKMT is a new progress in this row. The term Kinetikinetic in KKMT actually means mobilization of forces. So KKMT emphasises more on reprogramming the forces (muscular) than only realigning the joints.