
How to Make a Birch Log Candle Holder for Decor
Do you love rustic birch logs for home decor and special events? Same here. Today, I’m sharing how to make a birch log candle holder for decor. The best part is this craft project comes together with very minimal additional cost. These simple DIY birch log candle holders take about 20 minutes. They are perfect if you love creating home decor for the holiday season, winter decorating, fall centerpieces, or cozy rustic displays all year. It’s a charming and effortless project you’ll enjoy using season after season.
As an Amazon Affiliate and through other affiliate links, I earn a small commission from qualifying purchases made through affiliate links. The price is the same whether you use the affiliate links or the website. All opinions are my own. (Check our full disclosure and privacy policy.)
Jump to DIY CardSupplies List: How to Make a Birch Log Candle Holder for Decor
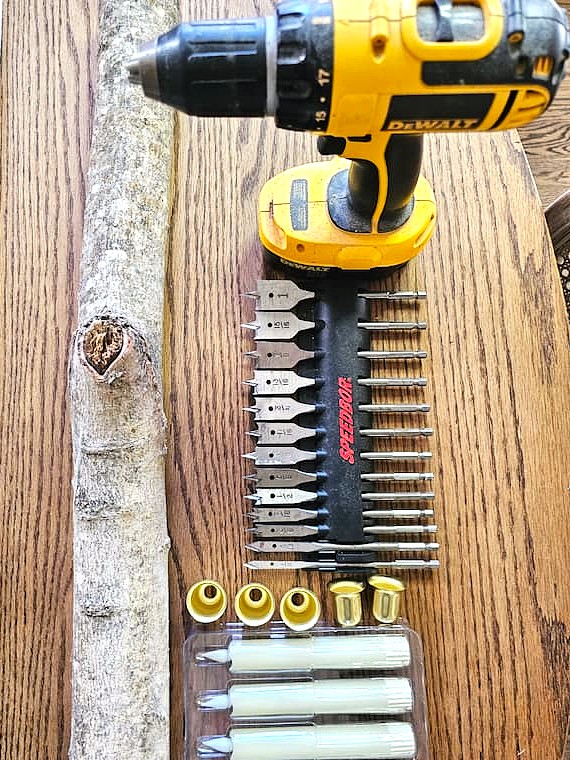
- Birch logs
- Metal candle holder cups (HERE)
- 11/2 Drill with a spade bit ADD LINK
- Double AA batteries
- Saw
- Hot glue gun – (MY MUST HAVE)
- Taper flameless candles (HERE) or tea lights flameless (MY FAVORITE – HERE)
Back Story: DIY Birch Candle Holders
A little backstory, I’ve wanted to create something with these birch logs from our neighbor’s tree since last year. They ended up in the basement, and honestly, we completely forgot about them. While planning our holiday decor for this year, we rediscovered these rustic logs. I immediately knew what I wanted to do. I was excited to finally create birch log candle holders in mixed heights to add to our home decor. And the best part? They take about 20 minutes to make and will still look beautiful after the holiday decor comes down. This log doesn’t have the typical white birch bark. Rest assured, it’s from a birch tree. This is the kind of project that brightens your winter decor or any time.
Step 1: How to Make DIY Birch Candle Holders – Find Your Logs
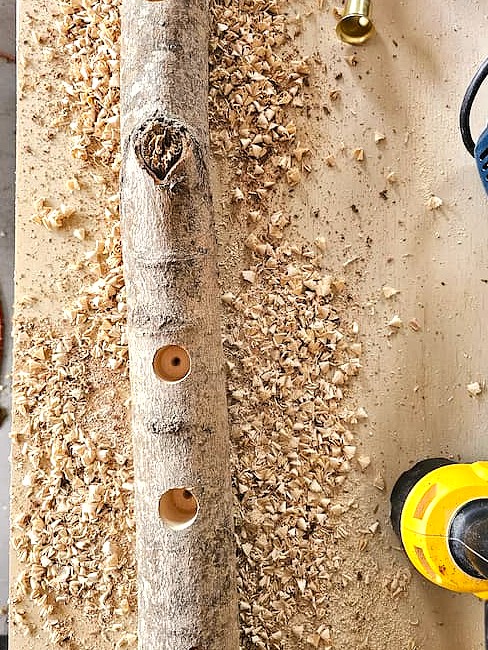
It’s best to start by choosing a sturdy birch log with a flat bottom. We spaced out where we wanted to drill the holes. Since the birch bark had a knot right in the center, it made the decision easy. We went with five holes to keep everything balanced. That knot in the birch bark adds such natural character, too.
Short story: When we downsized, we sold our table saw, and of course, that’s exactly what we needed to cut the log to the perfect length. So ours doesn’t have a flat bottom. But don’t worry, we figured out a simple way to keep the log from wobbling. I’ll share that tip at the bottom of the blog post.

Step 2: Cut the Holes for the Candles
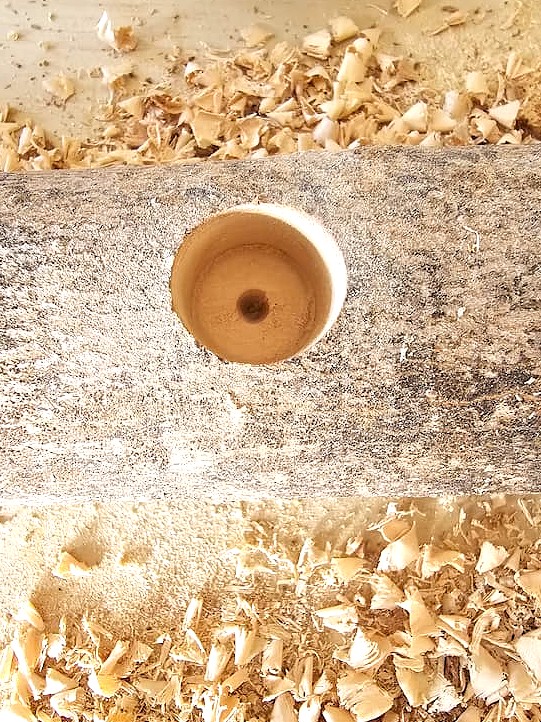
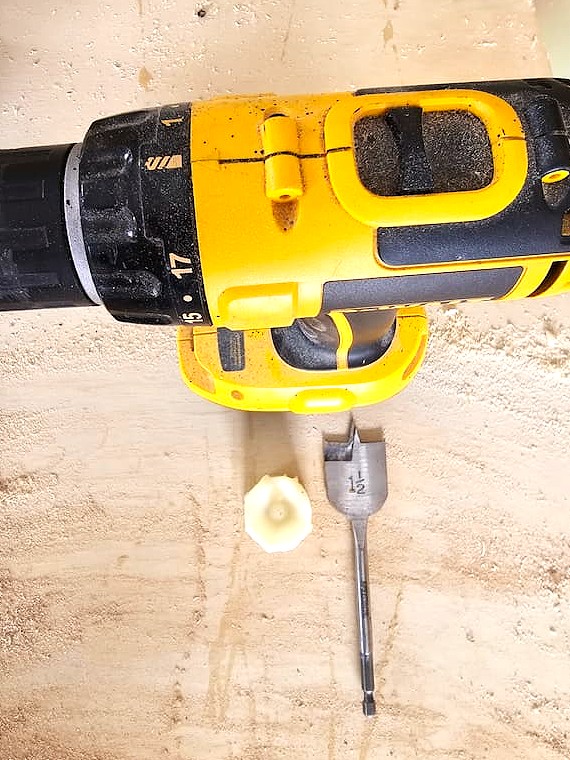
First, my husband measured and marked a long X with a pencil so he knew exactly where each hole should go. He predrilled a small hole and then used his drill with a 1 ½-inch spade bit to make five openings. You can use a Forstner bit, but a spade bit creates a cleaner, flatter hole with a smooth center. Perfect for what we need. Having a nice flat bottom in the holes is especially important if you’re using flameless candles, whether tapers or tea lights.
Step 3: Add the Metal Candle Cups
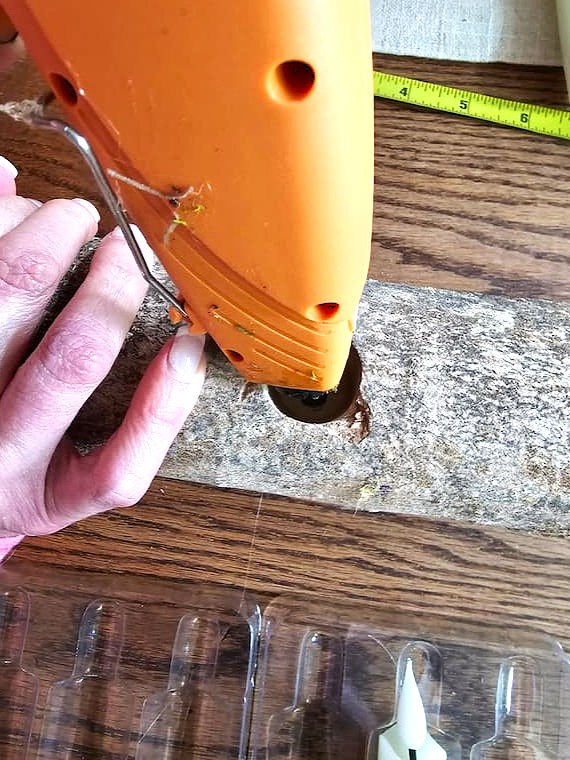
To keep the candles stable and snug, I added a thin line of hot glue around the outer edge of each drilled hole. Then I pressed a metal candle holder cup into each opening. They only need about a minute to set, and once they’re secure, you’re ready to add your flameless candles.




DIY Birch Log Candle Holders
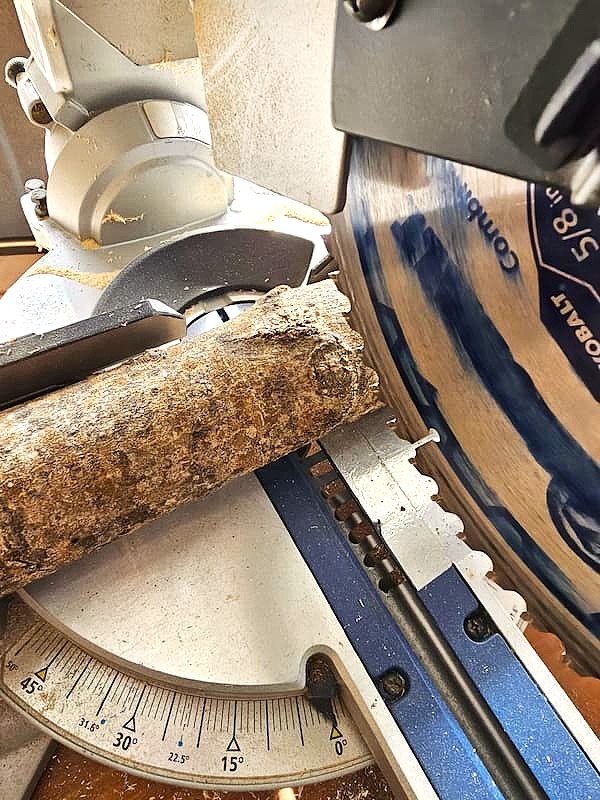
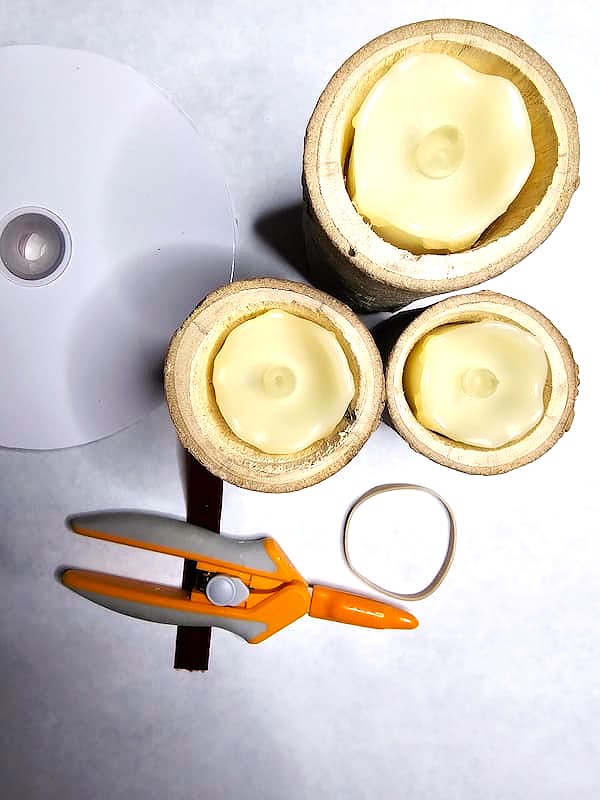
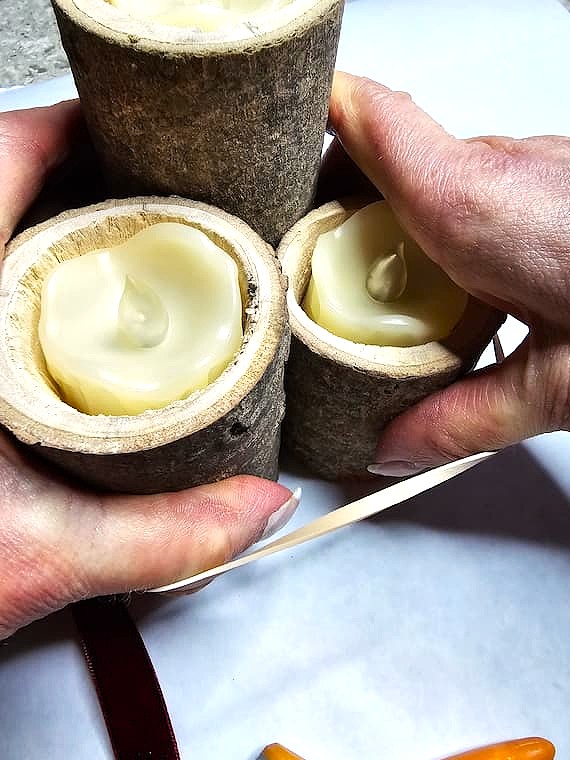
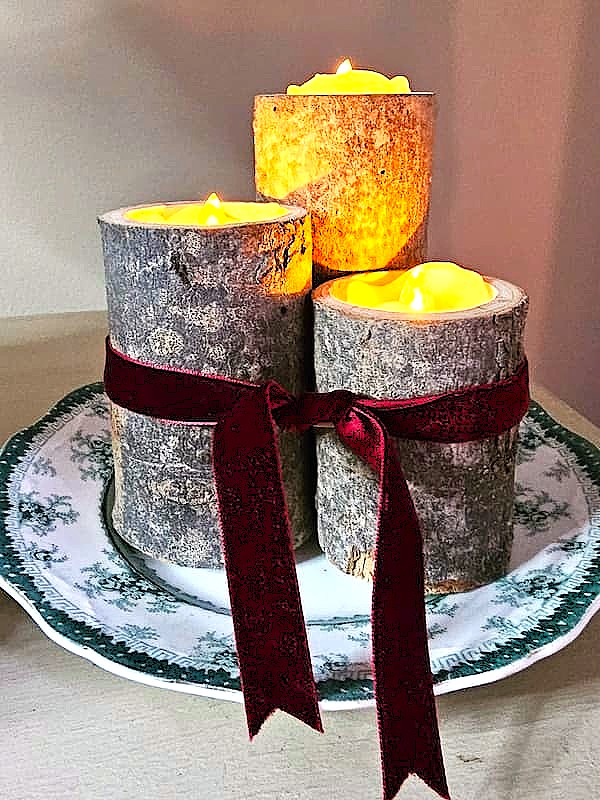
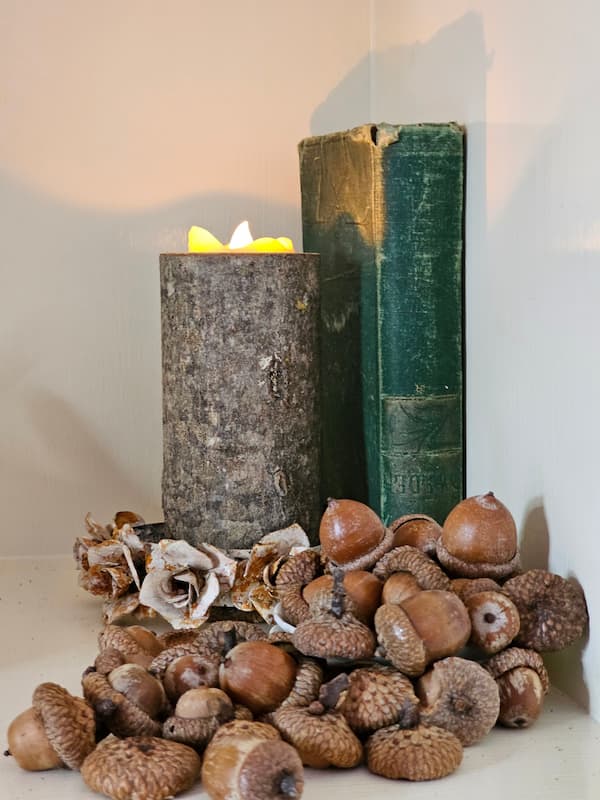
For our birch log candle holders, we decided to create mixed heights. This adds charm when they’re grouped together. My husband marked the remaining birch log with a pencil so we could cut each piece into different sizes and heights. Using the table saw, he cut the logs and made sure each bottom was flat. Then he marked a long X on the top of each one to find the perfect center. After that, he drilled pilot holes and used his spade drill bit to create openings deep enough to fit each flameless tea light candle just right.
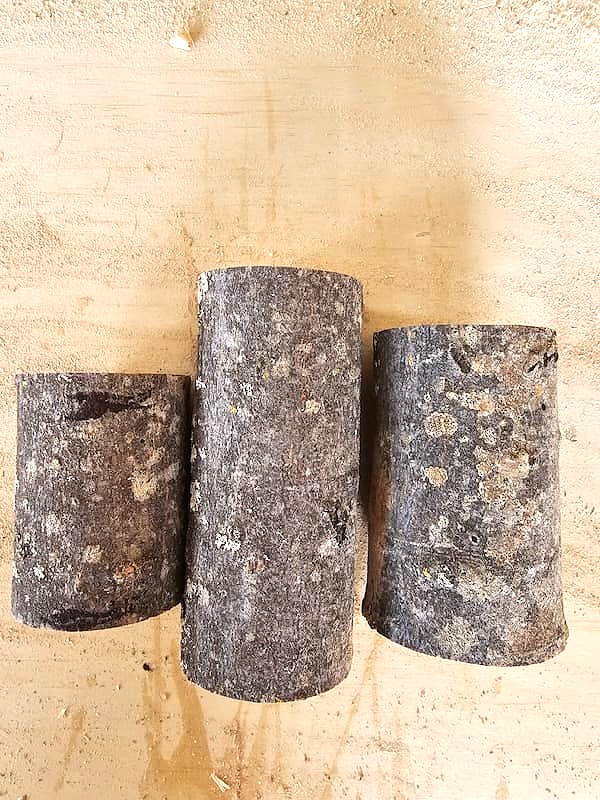

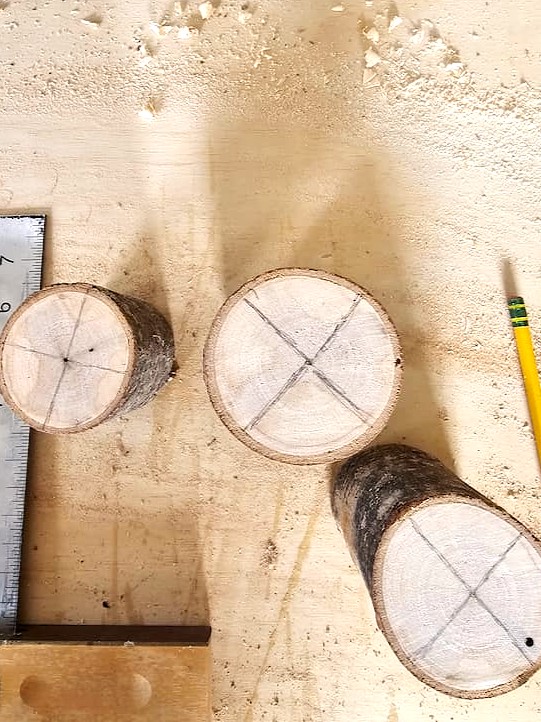
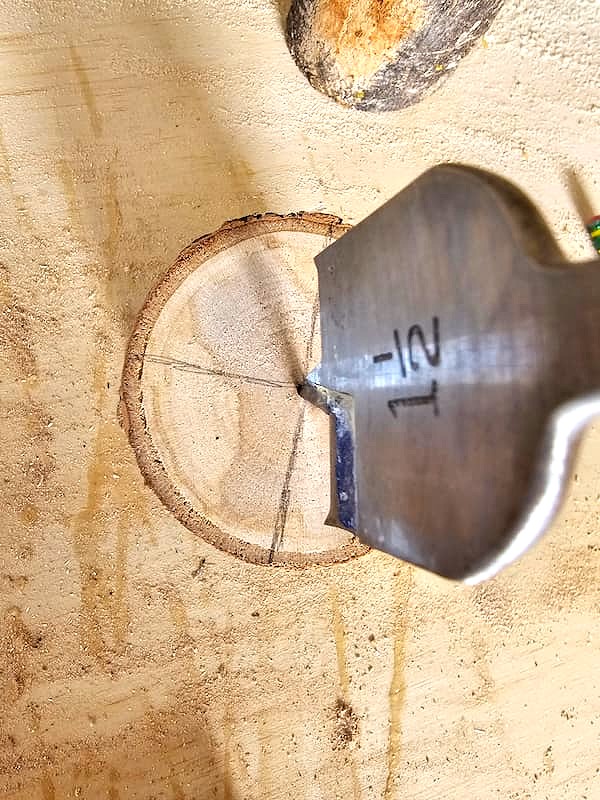
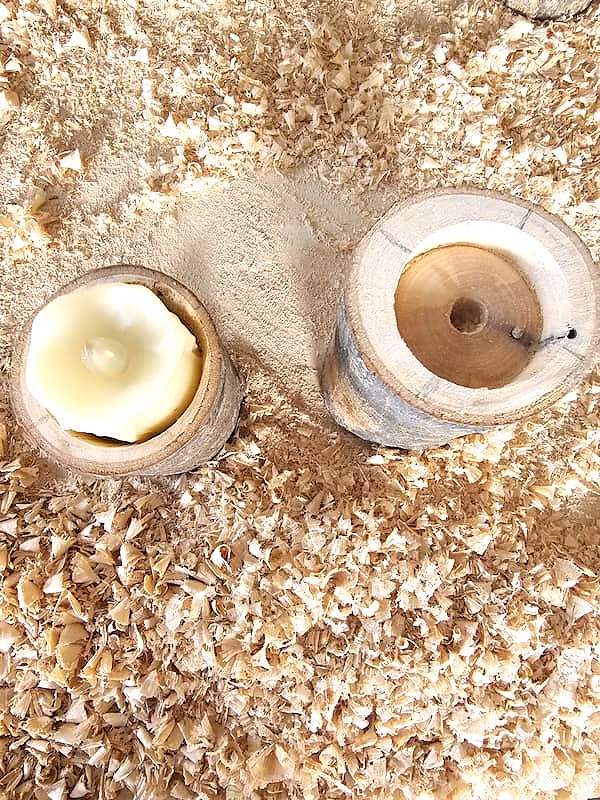
Cindy’s Birch Log Drilling Tips
- Drill slowly: Let the drill bit cut the wood cleanly to prevent your birch logs from chipping. Make sure each candle holder has a flat bottom.
- Pre-drill: Begin by drilling pilot holes, and drill slowly with the grain of the birch log to avoid splintering the birch wood. Drilling birch wood logs this way makes the wood a bit harder but much cleaner.
- Use the right tools: A sharp drill bit, like a spade bit or Forstner, makes creating smooth holes simple.
- Drill in stages: For your DIY birch log candle holders, mark a long X to find the center and keep the holes straight.
- Work with the grain: Always follow the grain of the birch wood for the best results.
- Mix sizes and candles: Making different sizes is a fun way to add tea lights and taper candles to your log. This piece will add rustic elegance to any home decor. I recommend flameless candles; wood can burn, so these are the safest option for your rustic, natural DIY birch candle holders.
How I Style My Easy DIY Candle Holders
These DIY candle holders are beautiful all year and transition from season to season. Below are a few of my favorite ways to decorate them each season.
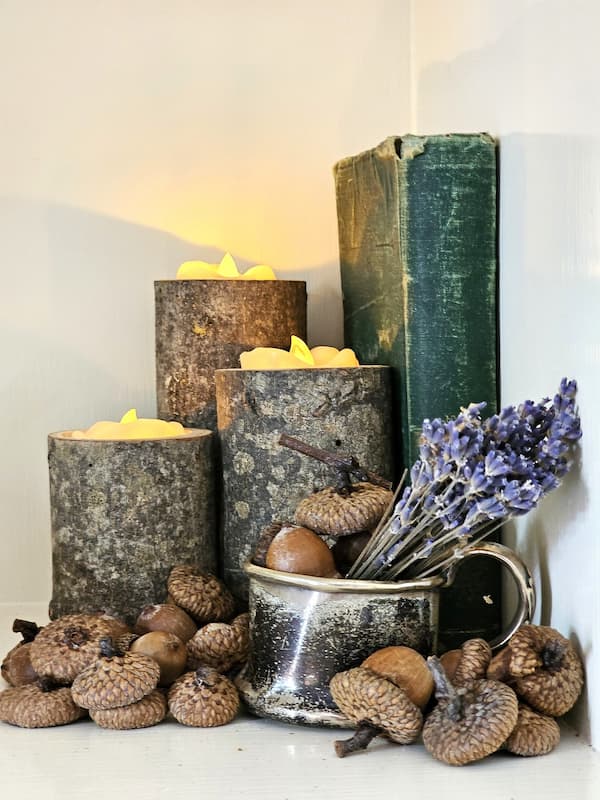
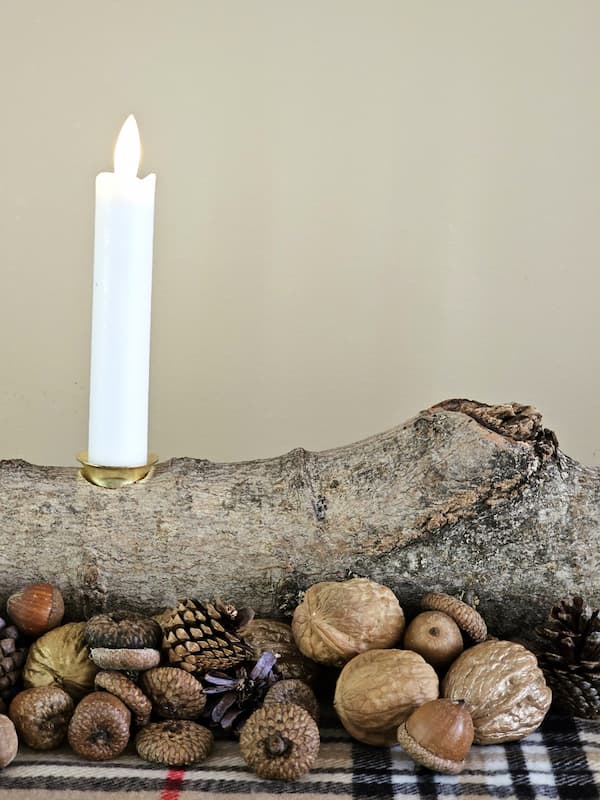
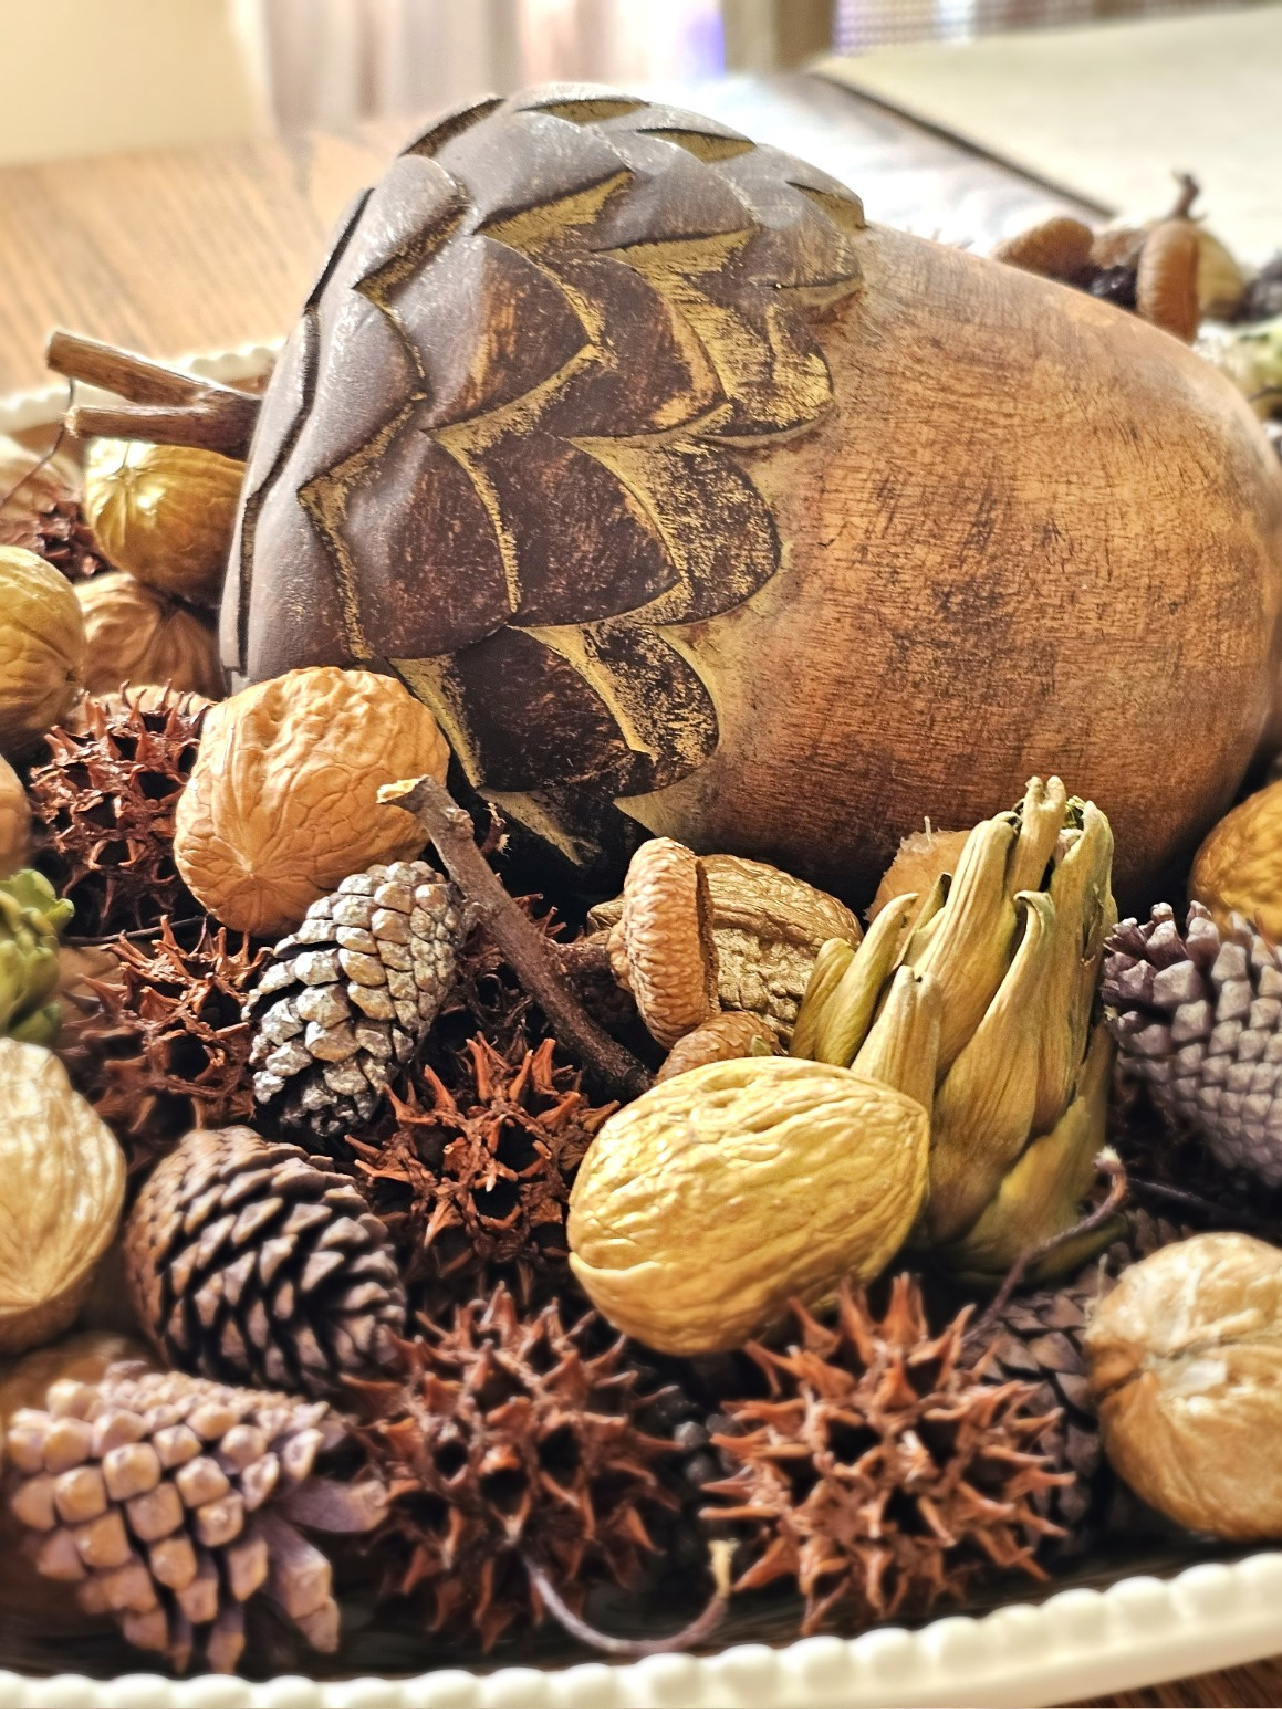
- Fall: I tuck acorns, pine cones, and walnuts around my birch log candle holders with a plaid scarf for a cozy fall centerpiece. If you have mini pumpkins, oak leaves, and bittersweet, add them for warm, natural touches.
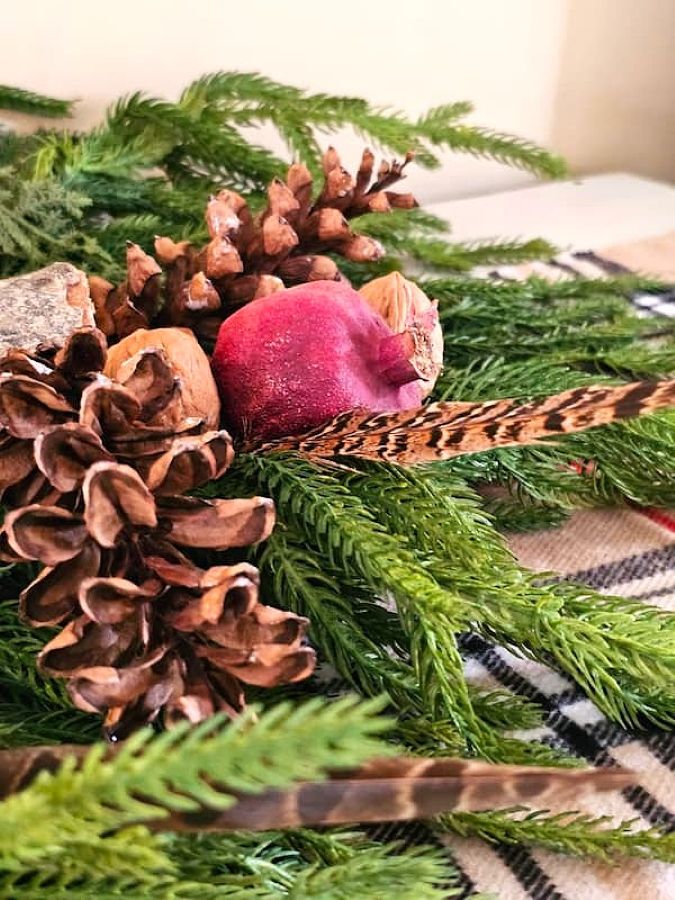
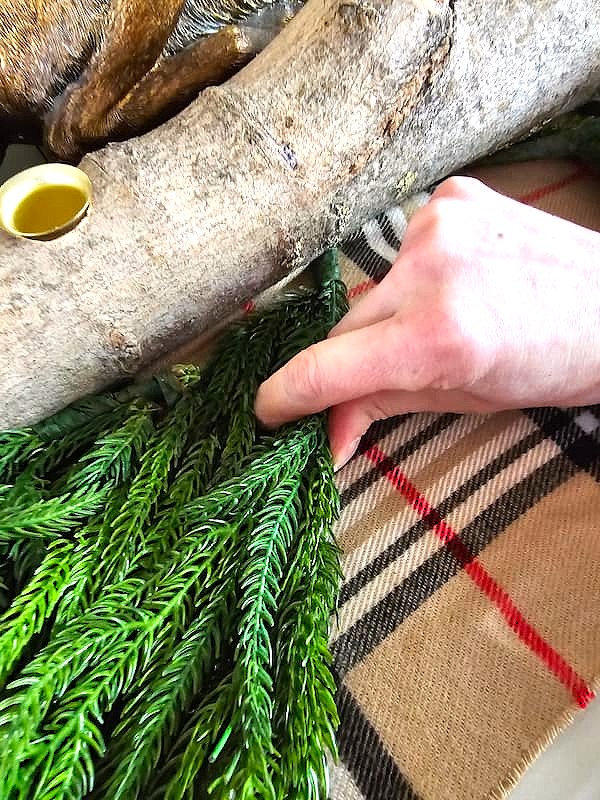
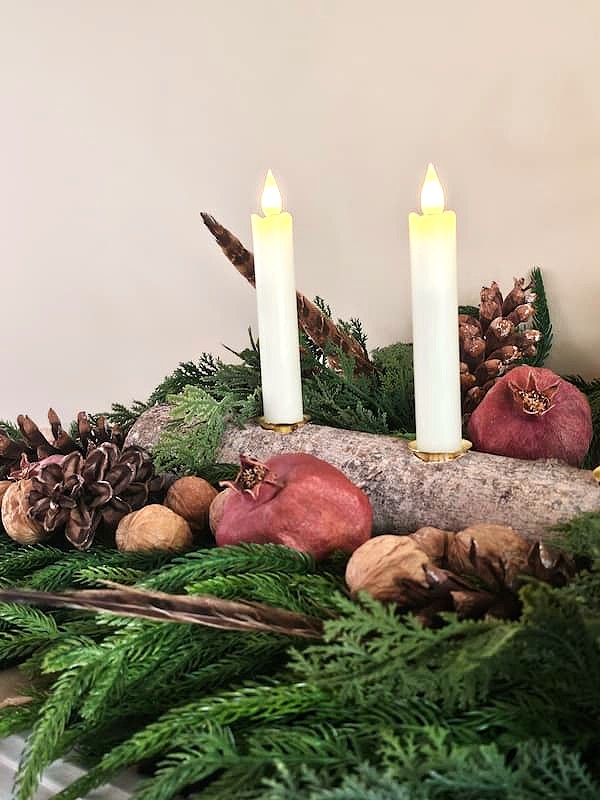
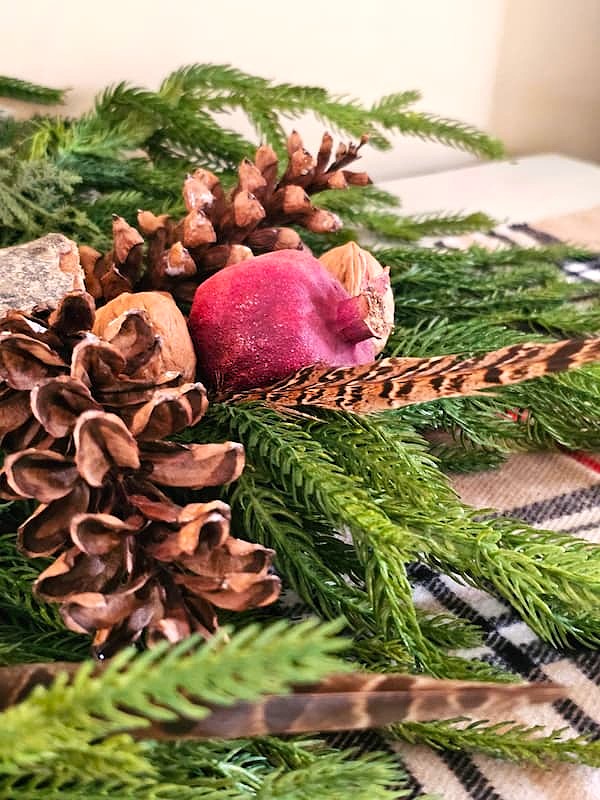
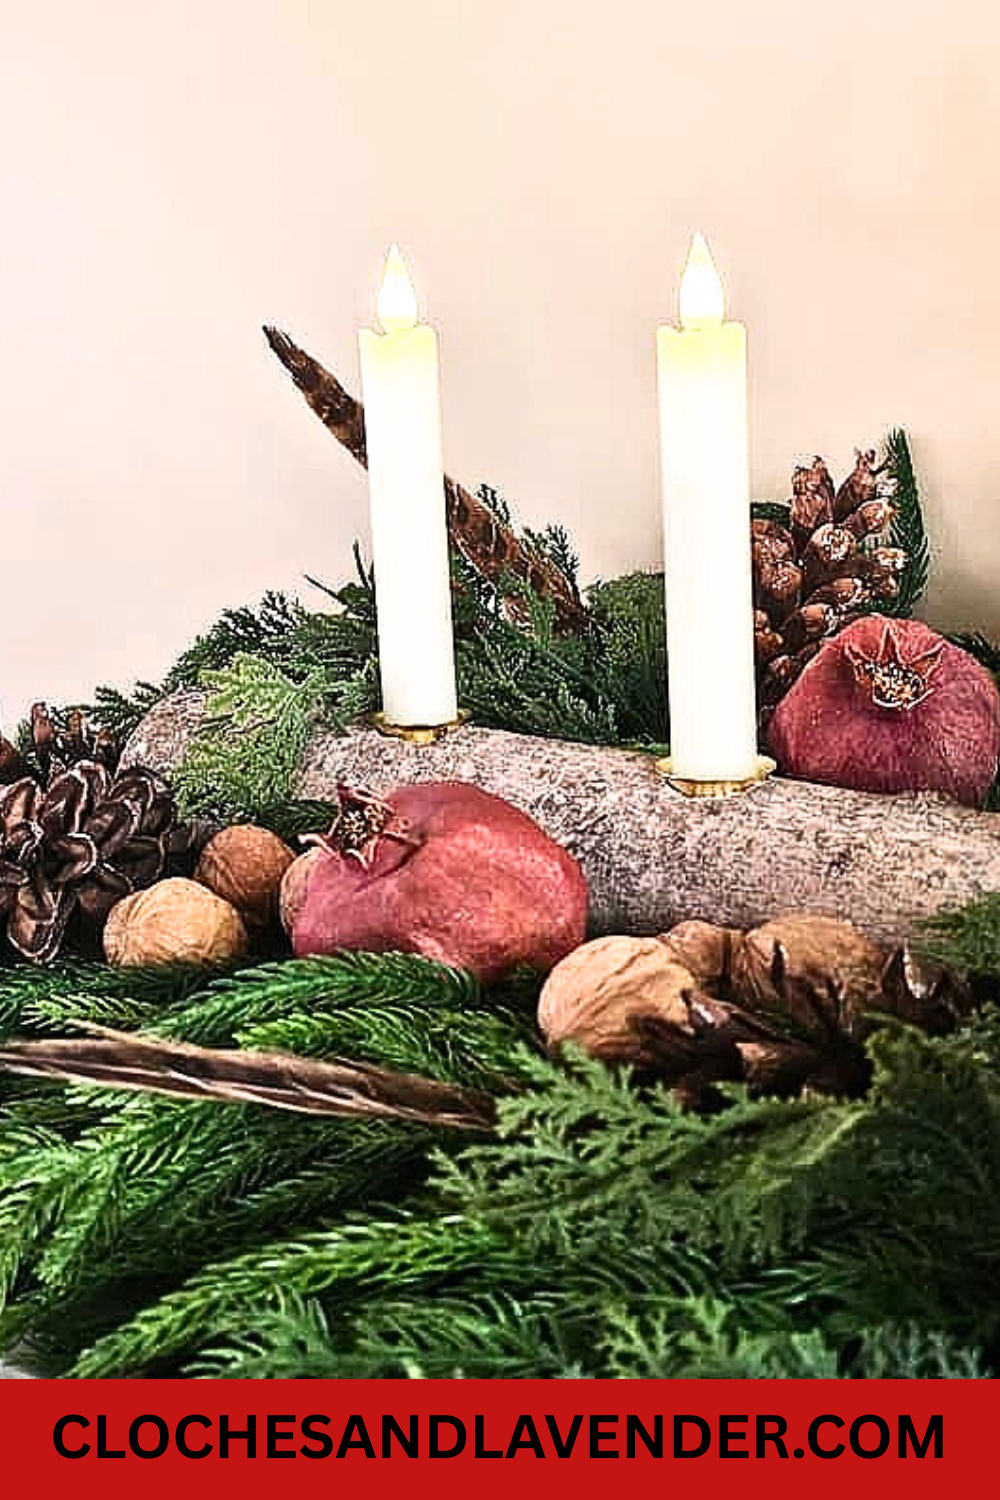
- Winter – Long Centerpiece: I added pine cones, pomegranates, walnuts, and evergreen branches for a natural, cozy look. Draping a plaid scarf around the centerpiece makes it feel grounded throughout the holiday season and winter. Decorating with nature has always been one of my favorite ways to add warmth and charm to our home. It’s beautiful, budget-friendly, and brings the outdoors inside.
- Spring: Spring is the perfect time to incorporate one of my favorite decorating elements, moss. I also love adding lavender. The combination of fresh green and soft blue-purple creates a natural look that’s perfect for the season.
- Summer: If you want a simple change, swap the moss and lavender for a spring of faux or dried eucalyptus with white flowers. It’s an easy way to create a fresh natural look for summer.
Preserve Acorns for Crafts and Decor – (HERE)
Cindy’s Helpful Tips
- Can I use real candles? No. Flameless are the safest choice because wood can burn.
- Can I use another type of log? Yes, but birch has the classic rustic look.
- How long do these candle holders last? Years, as long as they’re stored in a dry place.
- Always stabilize uneven logs with small items (books, coins, or flat wood pieces) or use evergreen branches to prevent wobbling.
- Layer textures, like ribbons, scarves, and natural elements, to make your centerpiece feel cozy and interesting.
- Mix different sizes and heights for grouped candle holders to create an interesting display.
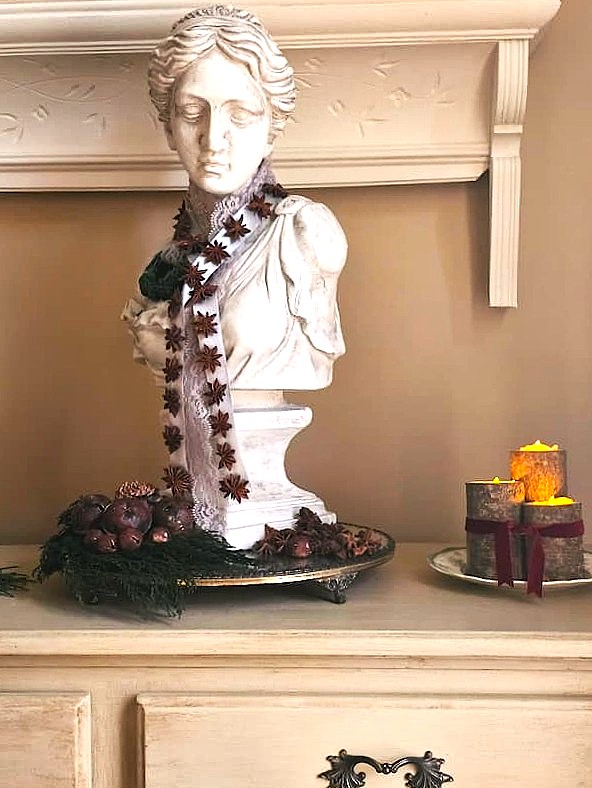
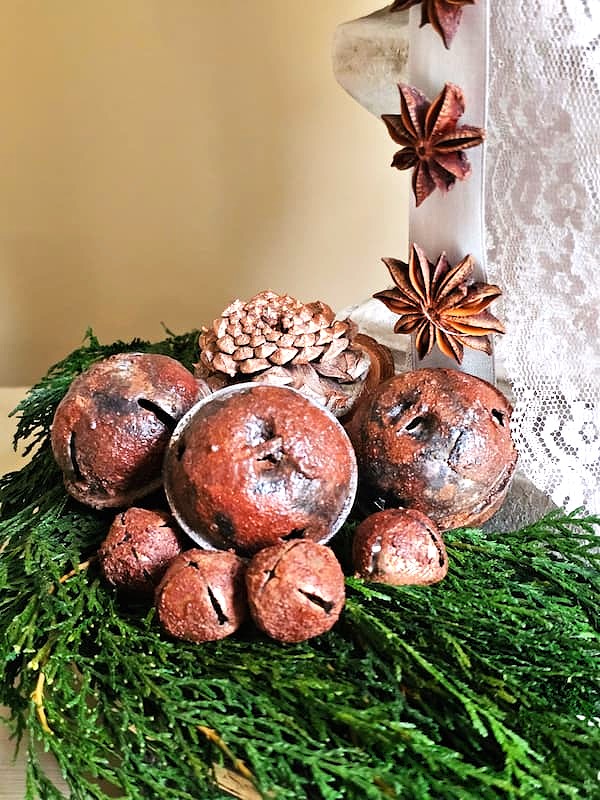
Make Rusty Bells in Minutes – (HERE)
I love decorating with these candle holders throughout the year. By changing the natural elements around them, they work for fall, Christmas, winter, spring, and summer. Nature is a free gift that adds charm and personality to our home. I embrace these elements more and more each year tostyle our home.
Cozy and Rustic Charm in Minutes
Ready to try how to make a birch log candle holder for decor? These little projects are fast, great for the budget, and add rustic charm to any table or mantel. I hope they inspire you to bring a little of nature indoors and enjoy decorating with them all year.

Other Posts of Interest
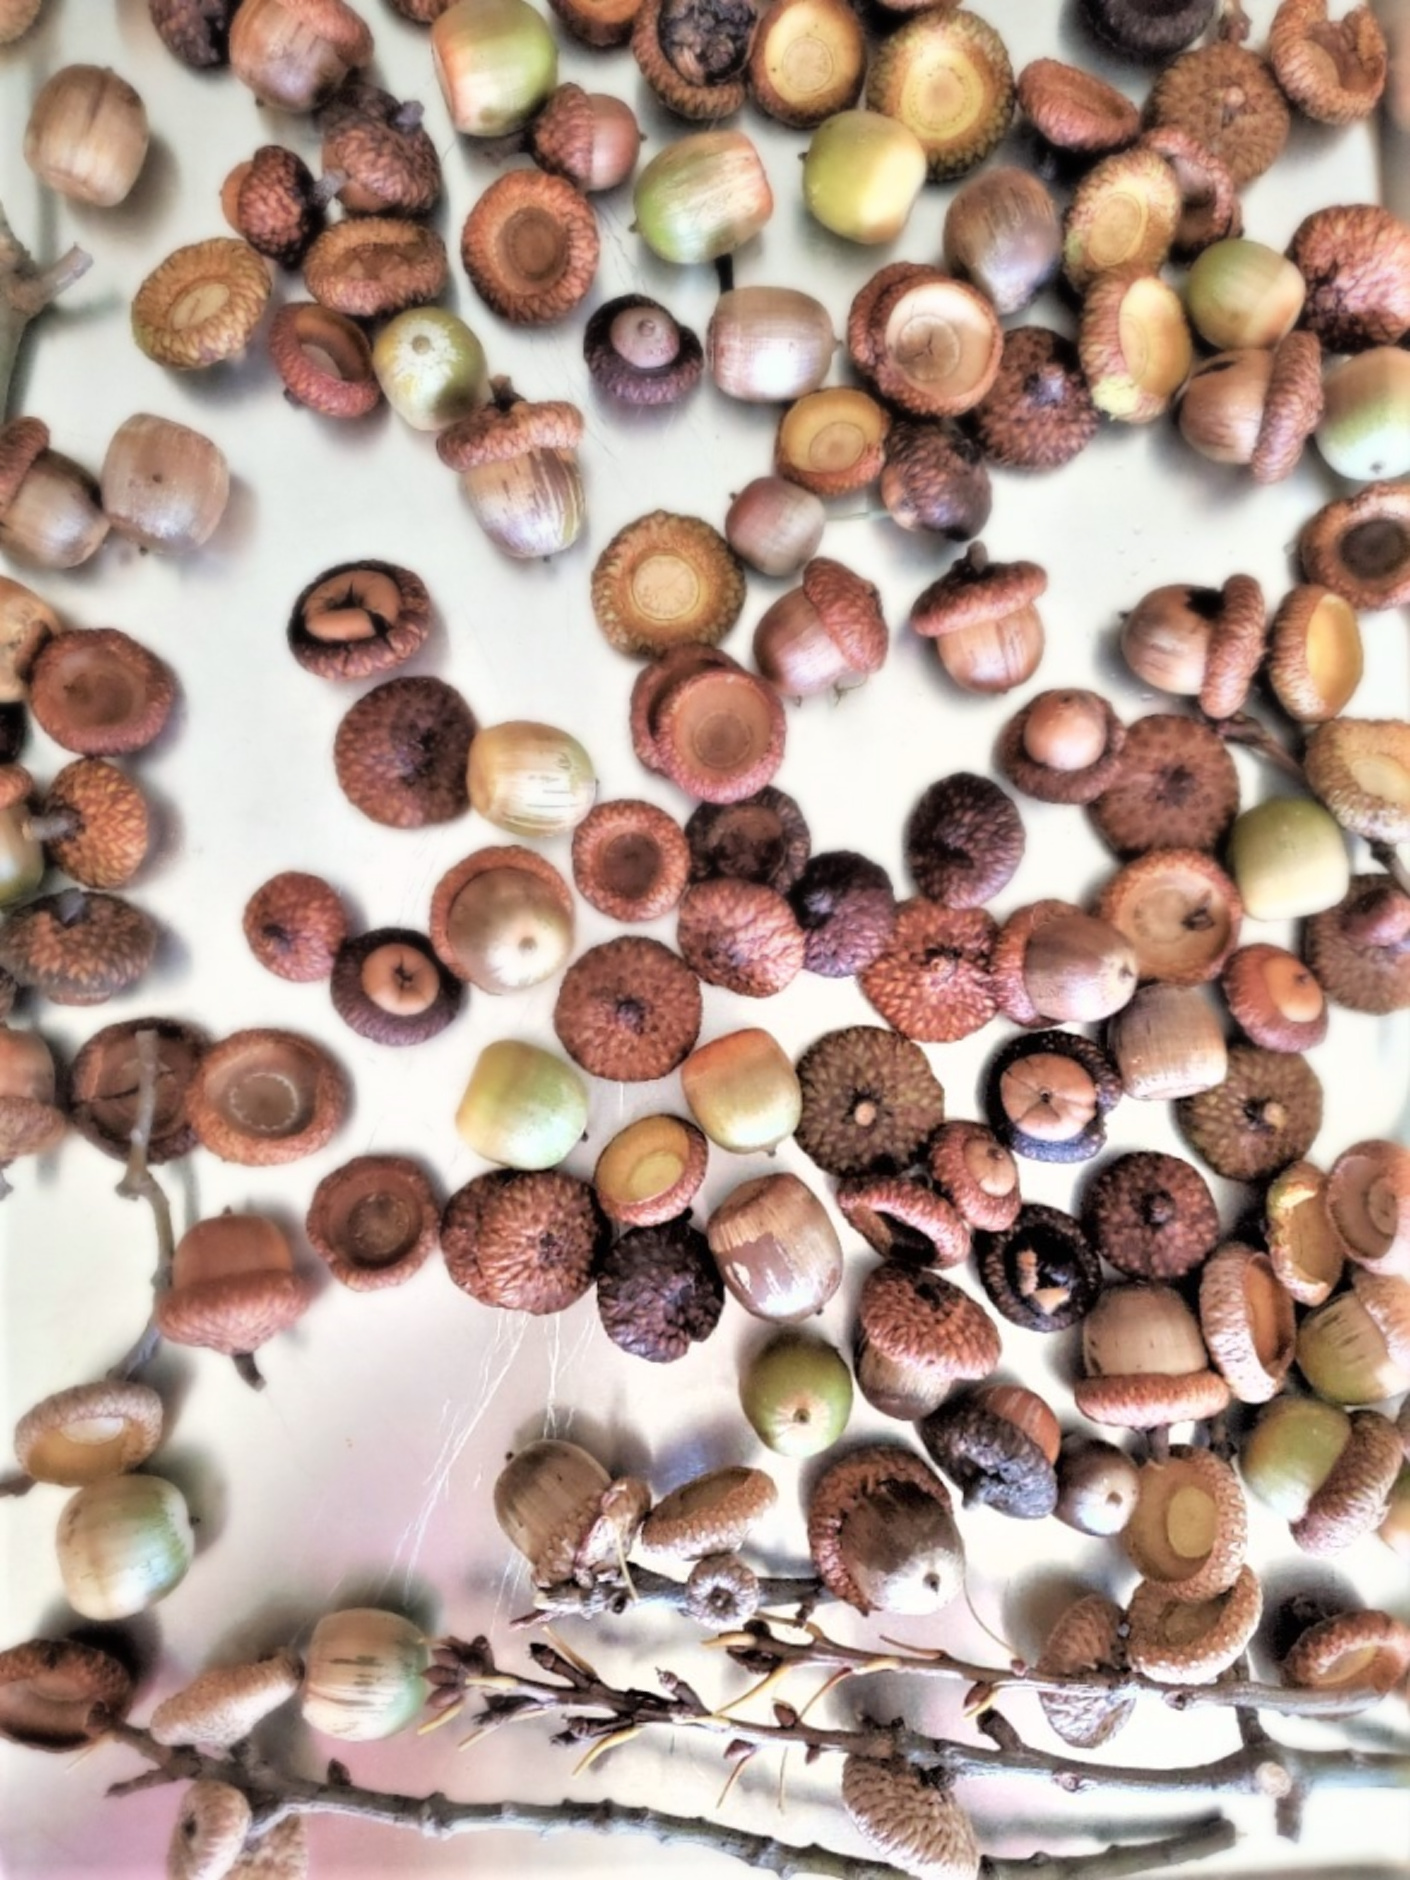
Clean & Preserve Acorns for Crafts & Decor
Click to Shop the Post

Birch Log Candle Holder
Notes
Candle Holders
Supplies:
- Birch logs
- Metal candle holder cups (HERE)
- 11/2 Drill with a spade bit ADD LINK
- Double AA batteries
- Saw
- Hot glue gun – (MY MUST HAVE)
- Taper flameless candles (HERE) or tea lights flameless (MY FAVORITE – HERE)
Step 1: Find Your Logs
It’s best to start by choosing a sturdy birch log with a flat bottom. We spaced out where we wanted to drill the holes. Since the birch bark had a knot right in the center, it made the decision easy. We went with five holes to keep everything balanced. That knot in the birch bark adds such natural character, too. Short story: When we downsized, we sold our table saw, and of course, that’s exactly what we needed to cut the log to the perfect length. So ours doesn’t have a flat bottom. But don’t worry, we figured out a simple way to keep the log from wobbling. I’ll share that tip at the bottom of the blog post.
Step 2: Cut the Holes for the Candles
First, my husband measured and marked a long X with a pencil so he knew exactly where each hole should go. He predrilled a small hole and then used his drill with a 1 ½-inch spade bit to make five openings. You can use a Forstner bit, but a spade bit creates a cleaner, flatter hole with a smooth center. Perfect for what we need. Having a nice flat bottom in the holes is especially important if you’re using flameless candles, whether tapers or tea lights.
Step 3: Add the Metal Candle Cups
To keep the candles stable and snug, I added a thin line of hot glue around the outer edge of each drilled hole. Then I pressed a metal candle holder cup into each opening. They only need about a minute to set, and once they’re secure, you’re ready to add your flameless candles.
Individual Pillar Candles
For our birch log candle holders, we decided to create mixed heights. This adds charm when they’re grouped together. My husband marked the remaining birch log with a pencil so we could cut each piece into different sizes and heights. Using the table saw, he cut the logs and made sure each bottom was flat. Then he marked a long X on the top of each one to find the perfect center. After that, he drilled pilot holes and used his spade drill bit to create openings deep enough to fit each flameless tea light candle just right.
Cindy’s Drilling Tips
- Drill slowly: Let the drill bit cut the wood cleanly to prevent your birch logs from chipping. Make sure each candle holder has a flat bottom.
- Pre-drill: Begin by drilling pilot holes, and drill slowly with the grain of the birch log to avoid splintering the birch wood. Drilling birch wood logs this way makes the wood a bit harder but much cleaner.
- Use the right tools: A sharp drill bit, like a spade bit or Forstner, makes creating smooth holes simple.
- Drill in stages: For your DIY birch log candle holders, mark a long X to find the center and keep the holes straight.
- Work with the grain: Always follow the grain of the birch wood for the best results.
- Mix sizes and candles: Making different sizes is a fun way to add tea lights and taper candles to your log. This piece will add rustic elegance to any home decor.
Styling Tips
- Fall: I tuck acorns, pine cones, and walnuts around my birch log candle holders with a plaid scarf for a cozy fall centerpiece.
- Winter – Long Centerpiece: I added pine cones, pomegranates, walnuts, and evergreen branches for a natural, cozy look.
- Spring: Spring is the perfect time to incorporate one of my favorite decorating elements, moss. I also love adding lavender.
- Summer: If you want a simple change, swap the moss and lavender for a spring of faux or dried eucalyptus with white flowers.

They’re lovely, Cindy! I think the long log with the reindeer behind it is so elegant.
Thank you so much Kim! Merry Christmas