Birch Log Candle Holder
Do you love rustic birch logs for home decor and special events? Same here. Today, I'm sharing how to make a birch log candle holder for decor.
Yield: 5 candle holders
Cost: $10
Notes
Candle Holders
Supplies:
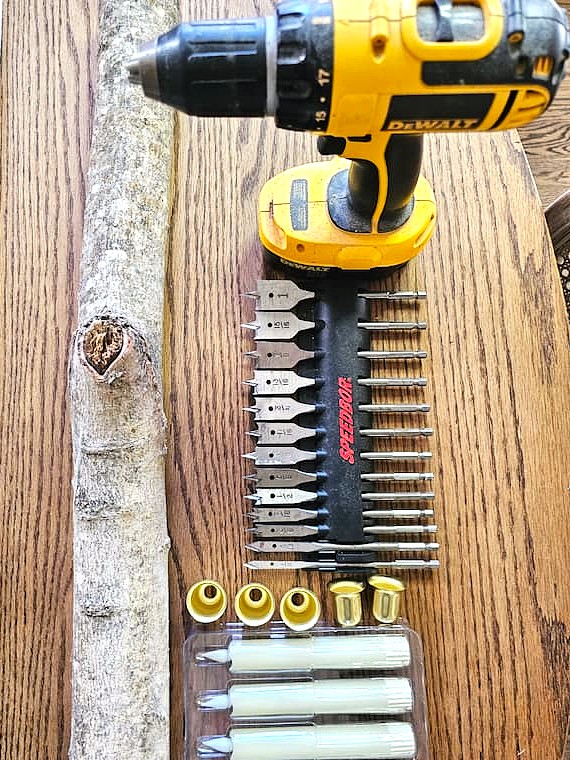
- Birch logs
- Metal candle holder cups (HERE)
- 11/2 Drill with a spade bit ADD LINK
- Double AA batteries
- Saw
- Hot glue gun - (MY MUST HAVE)
- Taper flameless candles (HERE) or tea lights flameless (MY FAVORITE - HERE)
Step 1: Find Your Logs
It’s best to start by choosing a sturdy birch log with a flat bottom. We spaced out where we wanted to drill the holes. Since the birch bark had a knot right in the center, it made the decision easy. We went with five holes to keep everything balanced. That knot in the birch bark adds such natural character, too. Short story: When we downsized, we sold our table saw, and of course, that’s exactly what we needed to cut the log to the perfect length. So ours doesn’t have a flat bottom. But don’t worry, we figured out a simple way to keep the log from wobbling. I’ll share that tip at the bottom of the blog post.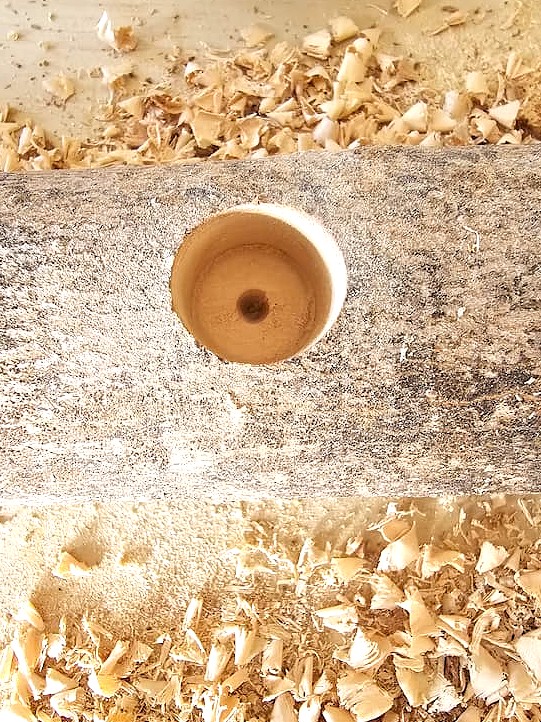

Step 2: Cut the Holes for the Candles
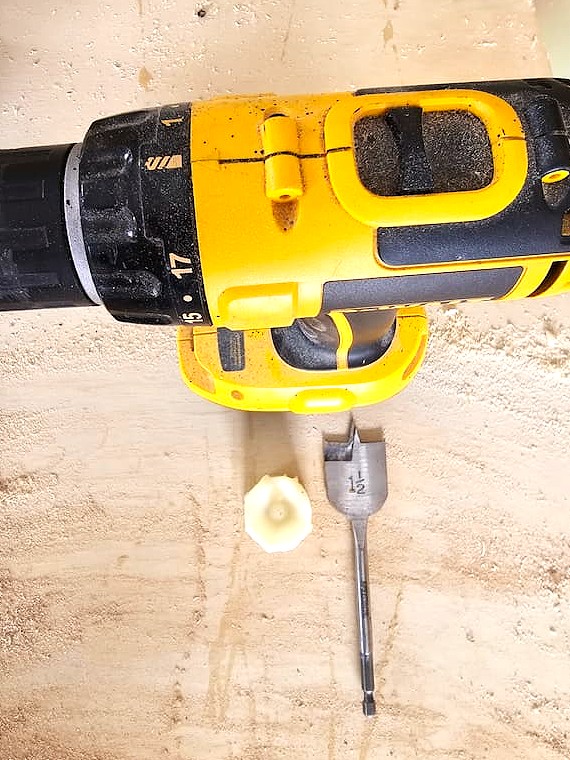
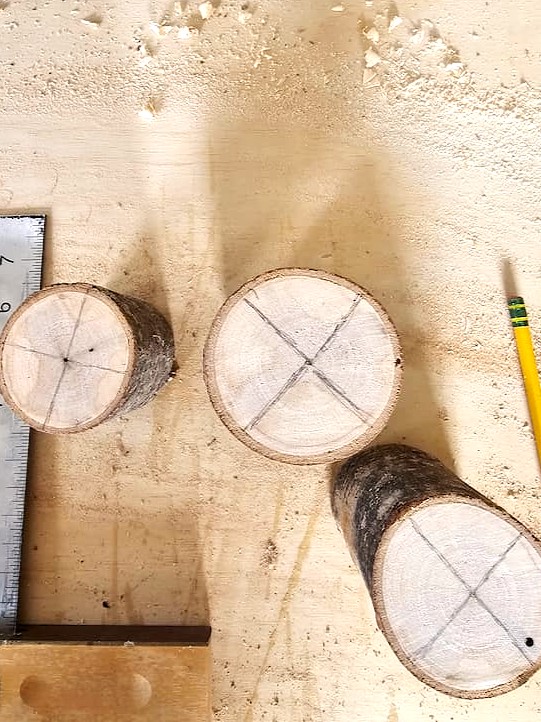
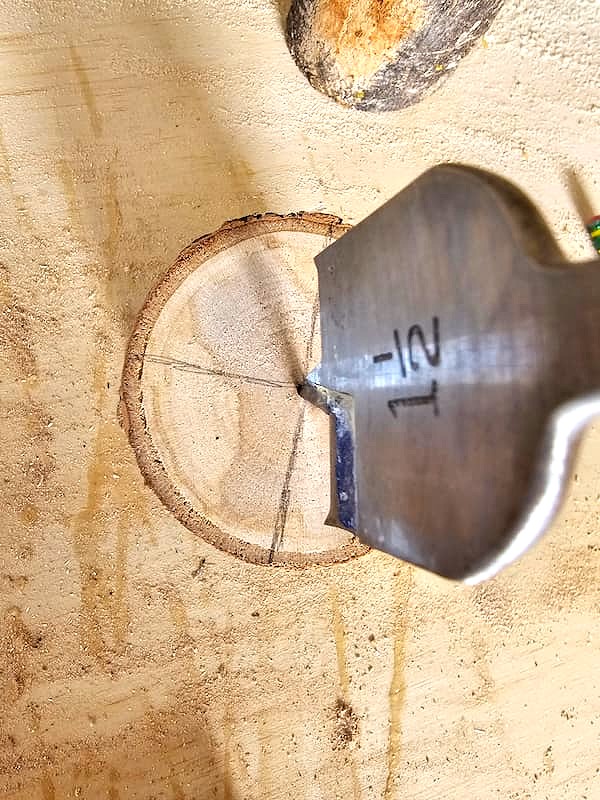
First, my husband measured and marked a long X with a pencil so he knew exactly where each hole should go. He predrilled a small hole and then used his drill with a 1 ½-inch spade bit to make five openings. You can use a Forstner bit, but a spade bit creates a cleaner, flatter hole with a smooth center. Perfect for what we need. Having a nice flat bottom in the holes is especially important if you’re using flameless candles, whether tapers or tea lights.
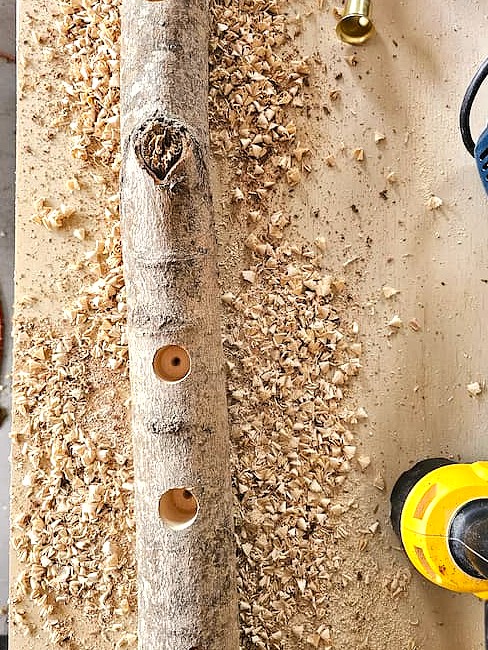
Step 3: Add the Metal Candle Cups
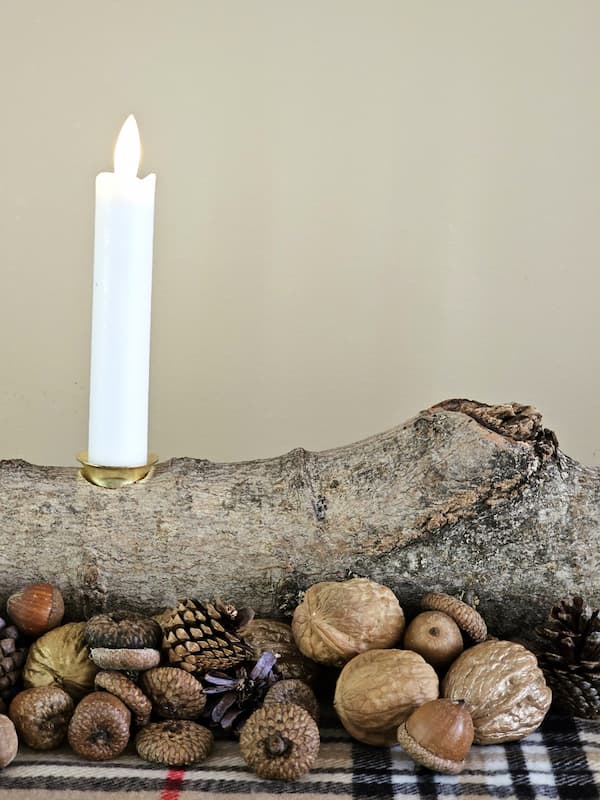
To keep the candles stable and snug, I added a thin line of hot glue around the outer edge of each drilled hole. Then I pressed a metal candle holder cup into each opening. They only need about a minute to set, and once they’re secure, you’re ready to add your flameless candles.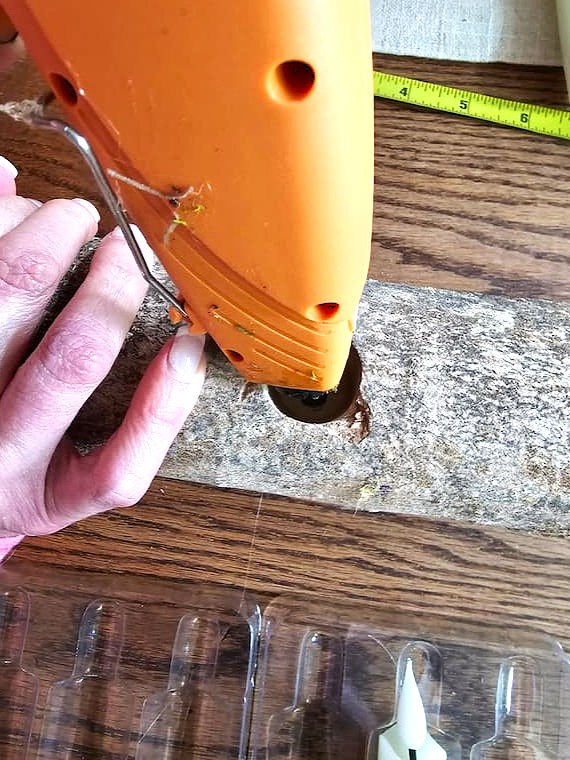

Individual Pillar Candles
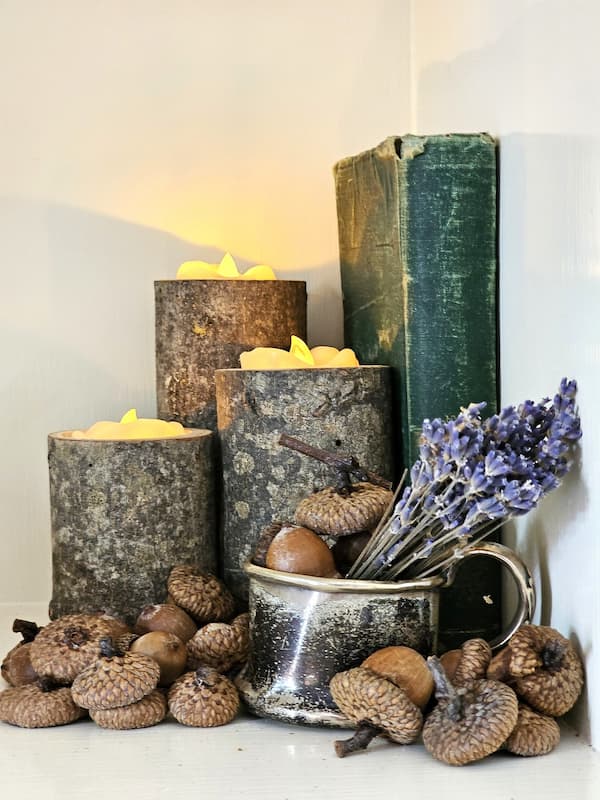
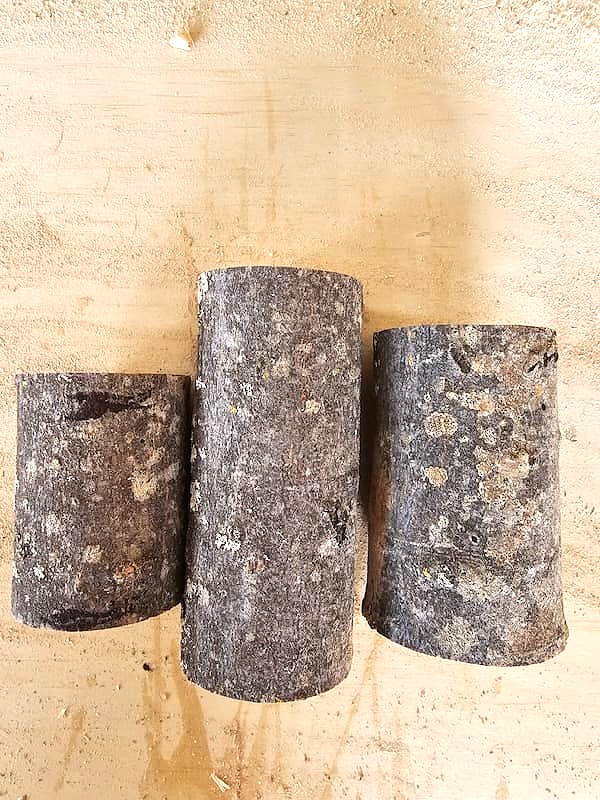
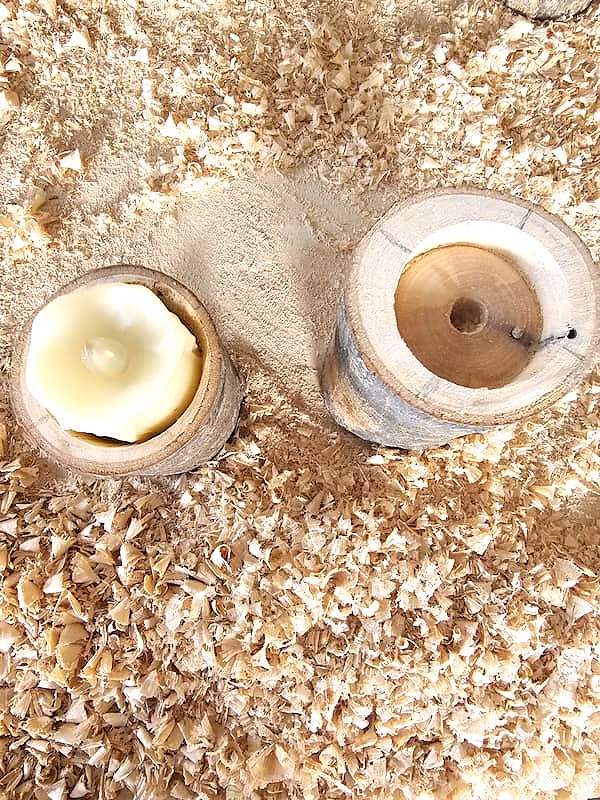
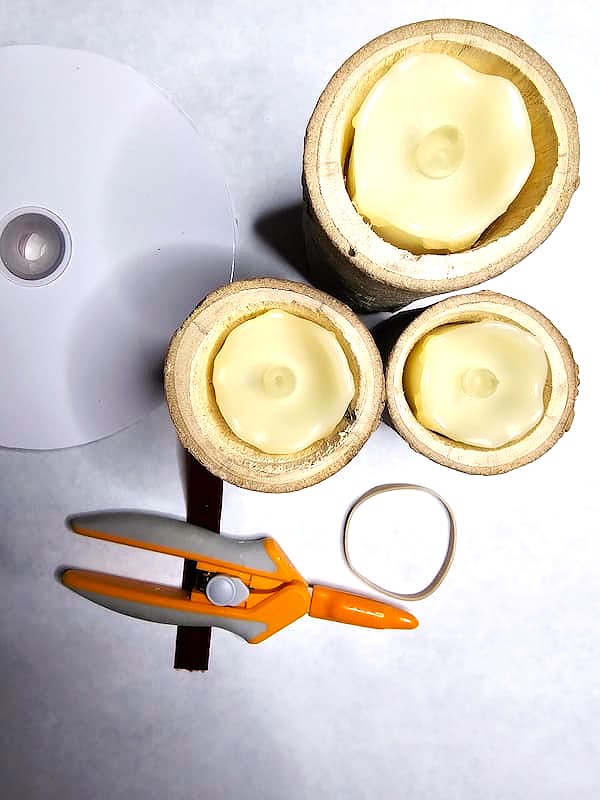
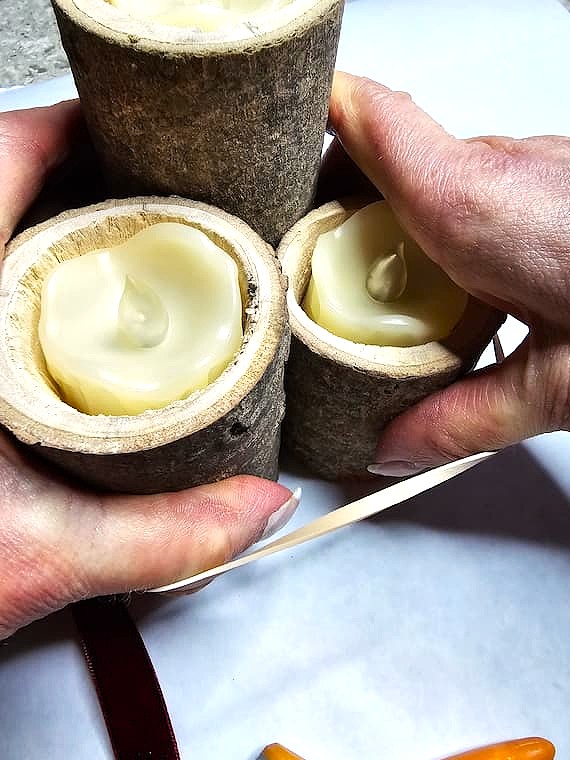
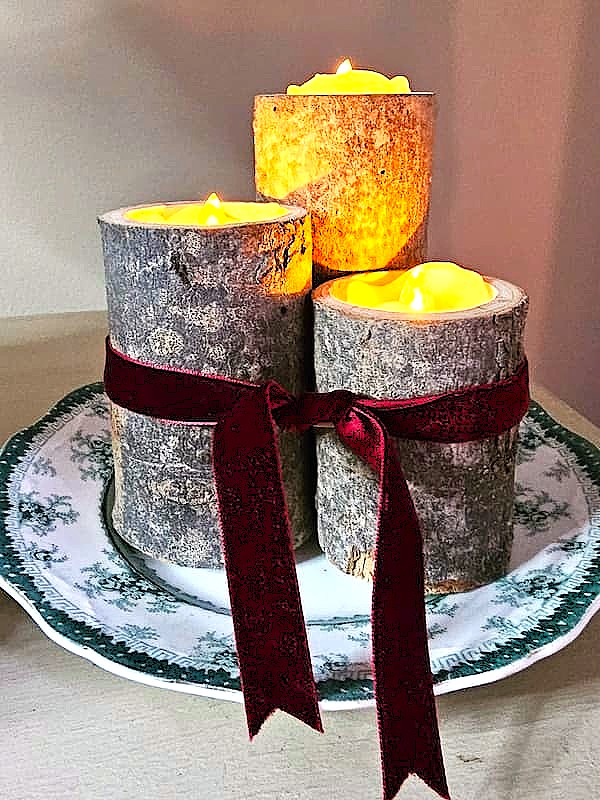
For our birch log candle holders, we decided to create mixed heights. This adds charm when they’re grouped together. My husband marked the remaining birch log with a pencil so we could cut each piece into different sizes and heights. Using the table saw, he cut the logs and made sure each bottom was flat. Then he marked a long X on the top of each one to find the perfect center. After that, he drilled pilot holes and used his spade drill bit to create openings deep enough to fit each flameless tea light candle just right.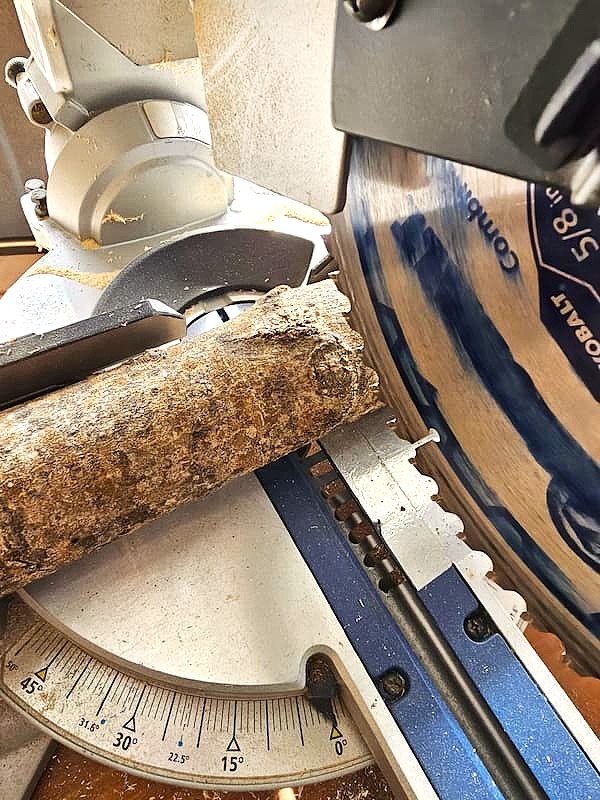

Cindy's Drilling Tips
- Drill slowly: Let the drill bit cut the wood cleanly to prevent your birch logs from chipping. Make sure each candle holder has a flat bottom.
- Pre-drill: Begin by drilling pilot holes, and drill slowly with the grain of the birch log to avoid splintering the birch wood. Drilling birch wood logs this way makes the wood a bit harder but much cleaner.
- Use the right tools: A sharp drill bit, like a spade bit or Forstner, makes creating smooth holes simple.
- Drill in stages: For your DIY birch log candle holders, mark a long X to find the center and keep the holes straight.
- Work with the grain: Always follow the grain of the birch wood for the best results.
- Mix sizes and candles: Making different sizes is a fun way to add tea lights and taper candles to your log. This piece will add rustic elegance to any home decor.
Styling Tips
- Fall: I tuck acorns, pine cones, and walnuts around my birch log candle holders with a plaid scarf for a cozy fall centerpiece.
- Winter - Long Centerpiece: I added pine cones, pomegranates, walnuts, and evergreen branches for a natural, cozy look.
- Spring: Spring is the perfect time to incorporate one of my favorite decorating elements, moss. I also love adding lavender.
- Summer: If you want a simple change, swap the moss and lavender for a spring of faux or dried eucalyptus with white flowers.