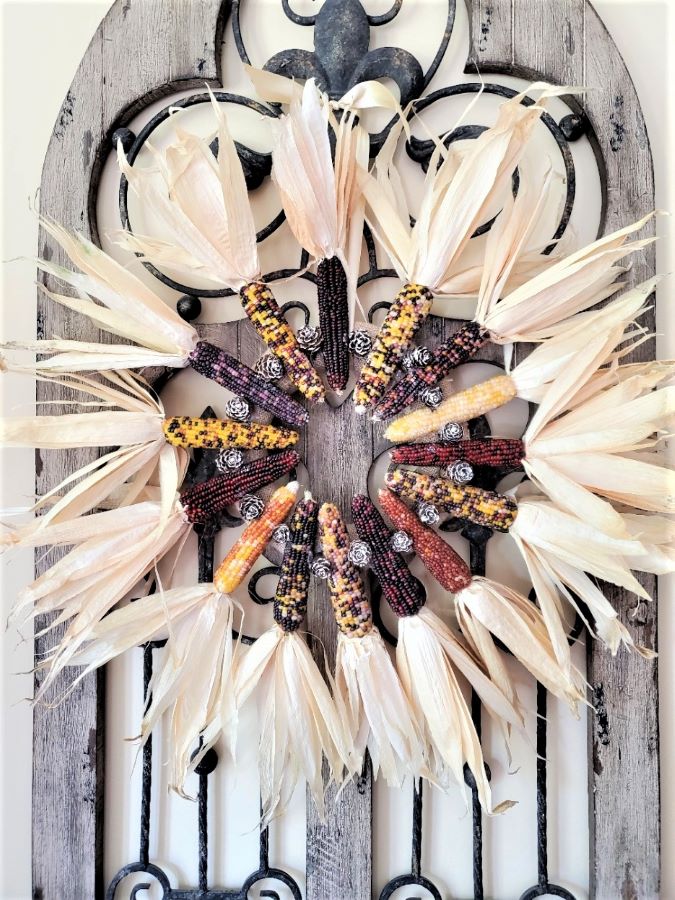
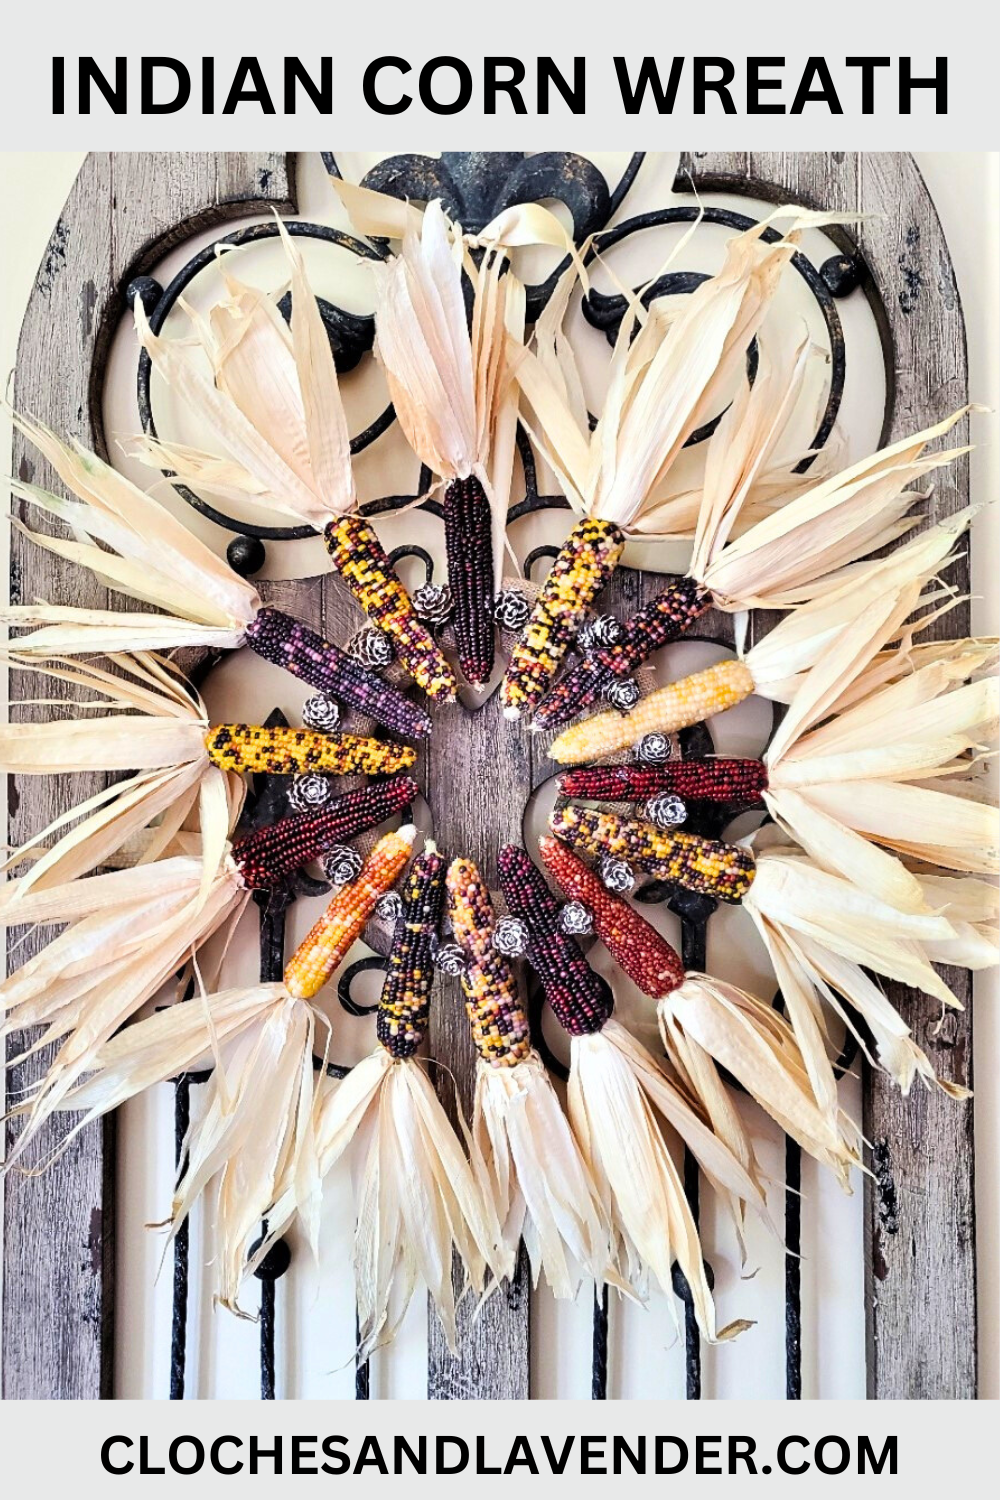
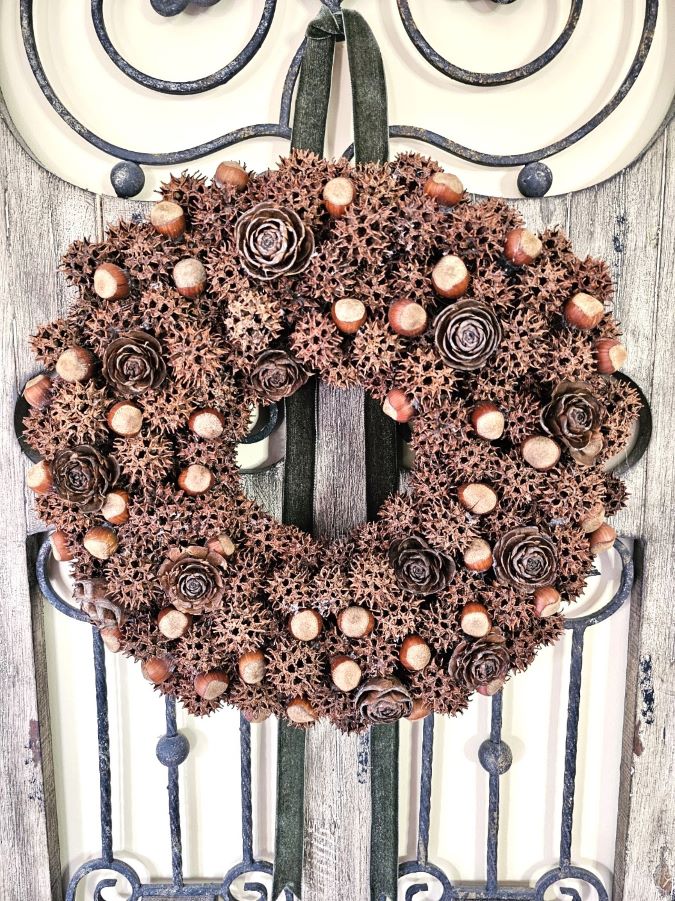
Indian Corn Wreath DIY
As the vibrant colors of autumn begin and the air grows crisp, there is a magic that comes with the change of seasons. We find ourselves drawn to creative ways to capture fall beauty and warmth, we are excited to share this Indian corn wreath DIY and printable card.
Jump to Recipeâ–º Table of Contents
Table of Contents
- 0.1 History and Symbolism of Indian Corn
- 0.2 Decorating With Flint Corn
- 0.3 Let’s Look At The Most Asked Questions
- 1 Step-by-Step Guide To Indian Corn Wreath
- 2 Arrange The Wreath Base
- 3 Wrap Wreath Form
- 4 Attach The Ribbon
- 5 Select Your Indian Corn
- 6 Secure The Ears Of Indian Corn
- 7 Add Pinecones To Indian Corn Wreath
- 8 Storing The Fall Wreath
- 9 Indian Corn Wreath DIY
- 10
- 11 DIY Indian Corn Wreath
- 11.1
- 11.2 Supplies List:
- 11.3
- 11.4
- 11.5 Step 1: Prepare Your Work Surface
- 11.6
- 11.7
- 11.8
- 11.9
- 11.10 Step 2: Place Your Wreath Base On A Flat Surface
- 11.11 Step 3: Wrap Wreath Form: Burlap Ribbon
- 11.12 Step 5: Mix Ears Of Corn: Different Colors
- 11.13 Step 6: Add Hot Glue To The Ears Of The Corn
- 11.14 Step 7: Add Pinecones And Decorative Elements
- 11.15 Step 8: Storing The Indian Corn Wreath
History and Symbolism of Indian Corn
The corn harvest was so important to the indigenous people of North America. Many tribes held religious ceremonies for a successful crop. It continues to be prominent in the arts, culture, health, and lifestyle of American Indians from New Mexico to Massachusetts.
Decorating With Flint Corn
The color and texture of Indian corn add an instant rustic look to your fall decor. Decorating with Indian Corn, known as Flint corn, is an easy and inexpensive way to bring the colors of fall in our decor to our rooms and front door.
Let’s Look At The Most Asked Questions
What is Indian corn called now?
Today, many call Indian corn “Flint corn”, it is a form of maize. It’s often referred to as ornamental or decorative corn, Indian corn, or Calico corn. The cobs are known for being colorful and hard as flint.
Can It Be Used for Cooking or Eating?
Indian corn is technically edible, it’s not consumed in the same way as sweet corn. The kernels of Indian corn are tougher and starchier, making them less desirable for consumption. Some Native American tribes have traditional methods of preparing and cooking Indian corn, such as grinding it into cornmeal for many dishes.
Today, Indian corn is primarily used for fall decor such as centerpieces with fall leaves and fall wreaths.
Supplies List:
- 15 small size ears of corn (Indian corn cobs of your choice)
- Hot glue gun and glue sticks
- 10-inch foam wreath or 10-inch straw wreath (craft stores)
- Burlap ribbon to wrap the foam wreath
- Wreath hanger or ribbon for hanging
- Tiny pinecones or fall leaves (optional)
- Scissors
- natural buff paint (optional)
Step-by-Step Guide To Indian Corn Wreath
Step 1: Prepare Your Work Surface
I want to let you know this Indian corn wreath is easy, and fast and will have beautiful fall colors and a WOW FACTOR!
Set up a clean and well-lit workspace to comfortably arrange your materials. Plug your hot glue gun on low. If you are using a Styrofoam wreath set your hot glue gun on low. High heat will break down the Styrofoam.
Remember to use extra caution when working with a hot glue gun.
Arrange The Wreath Base
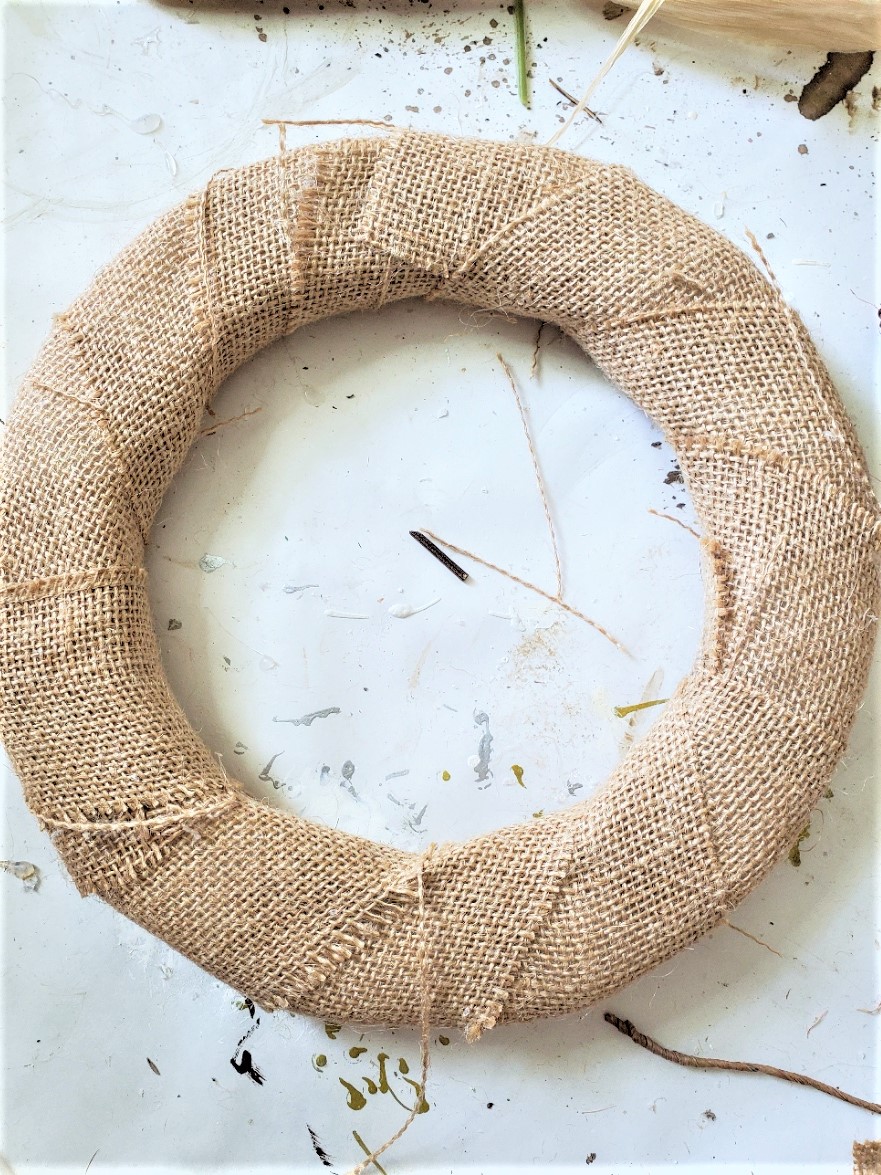
Step 2: Place Your Wreath Base On A Flat Surface
If using a straw wreath form, ensure it’s securely placed on a flat surface. If using a foam ring, position it so the flat side is facing up.
*As an Amazon Associate, Black Dog Salvage Furniture Paint, and other Affiliates I earn from qualifying purchases* There’s no extra charge to you. All opinions are my own.
Wrap Wreath Form
Step 3: Wrap Wreath Form: Burlap Ribbon
Normally I would use a straw wreath for the fall wreath. I had a foam wreath form in my craft closet, so I used what I had. This is a great way to save money. Always check to see what supplies you have before running to the craft stores.
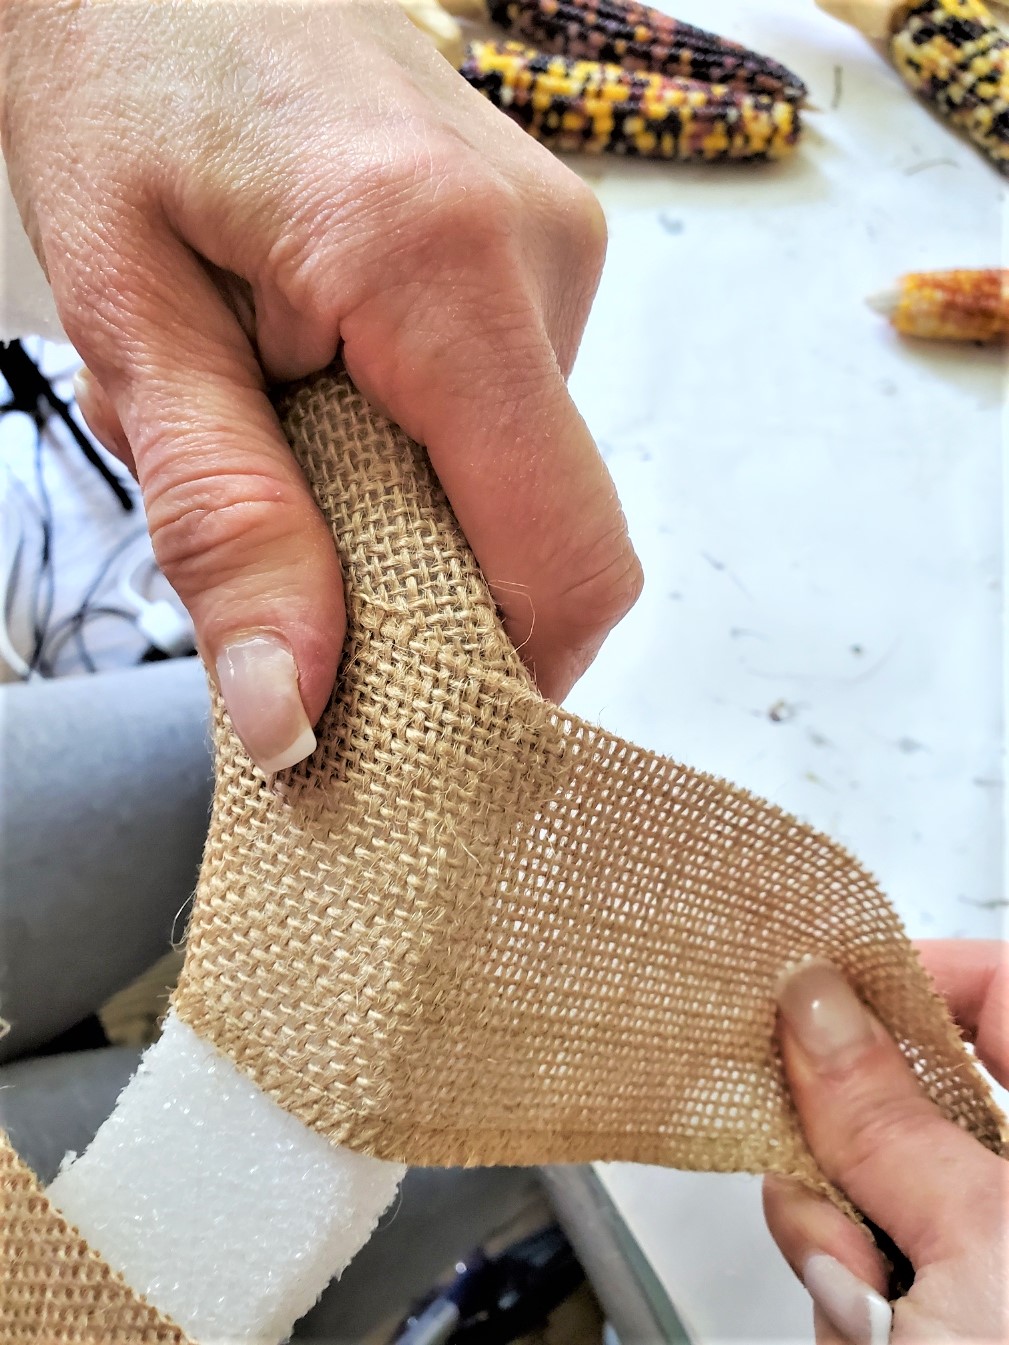
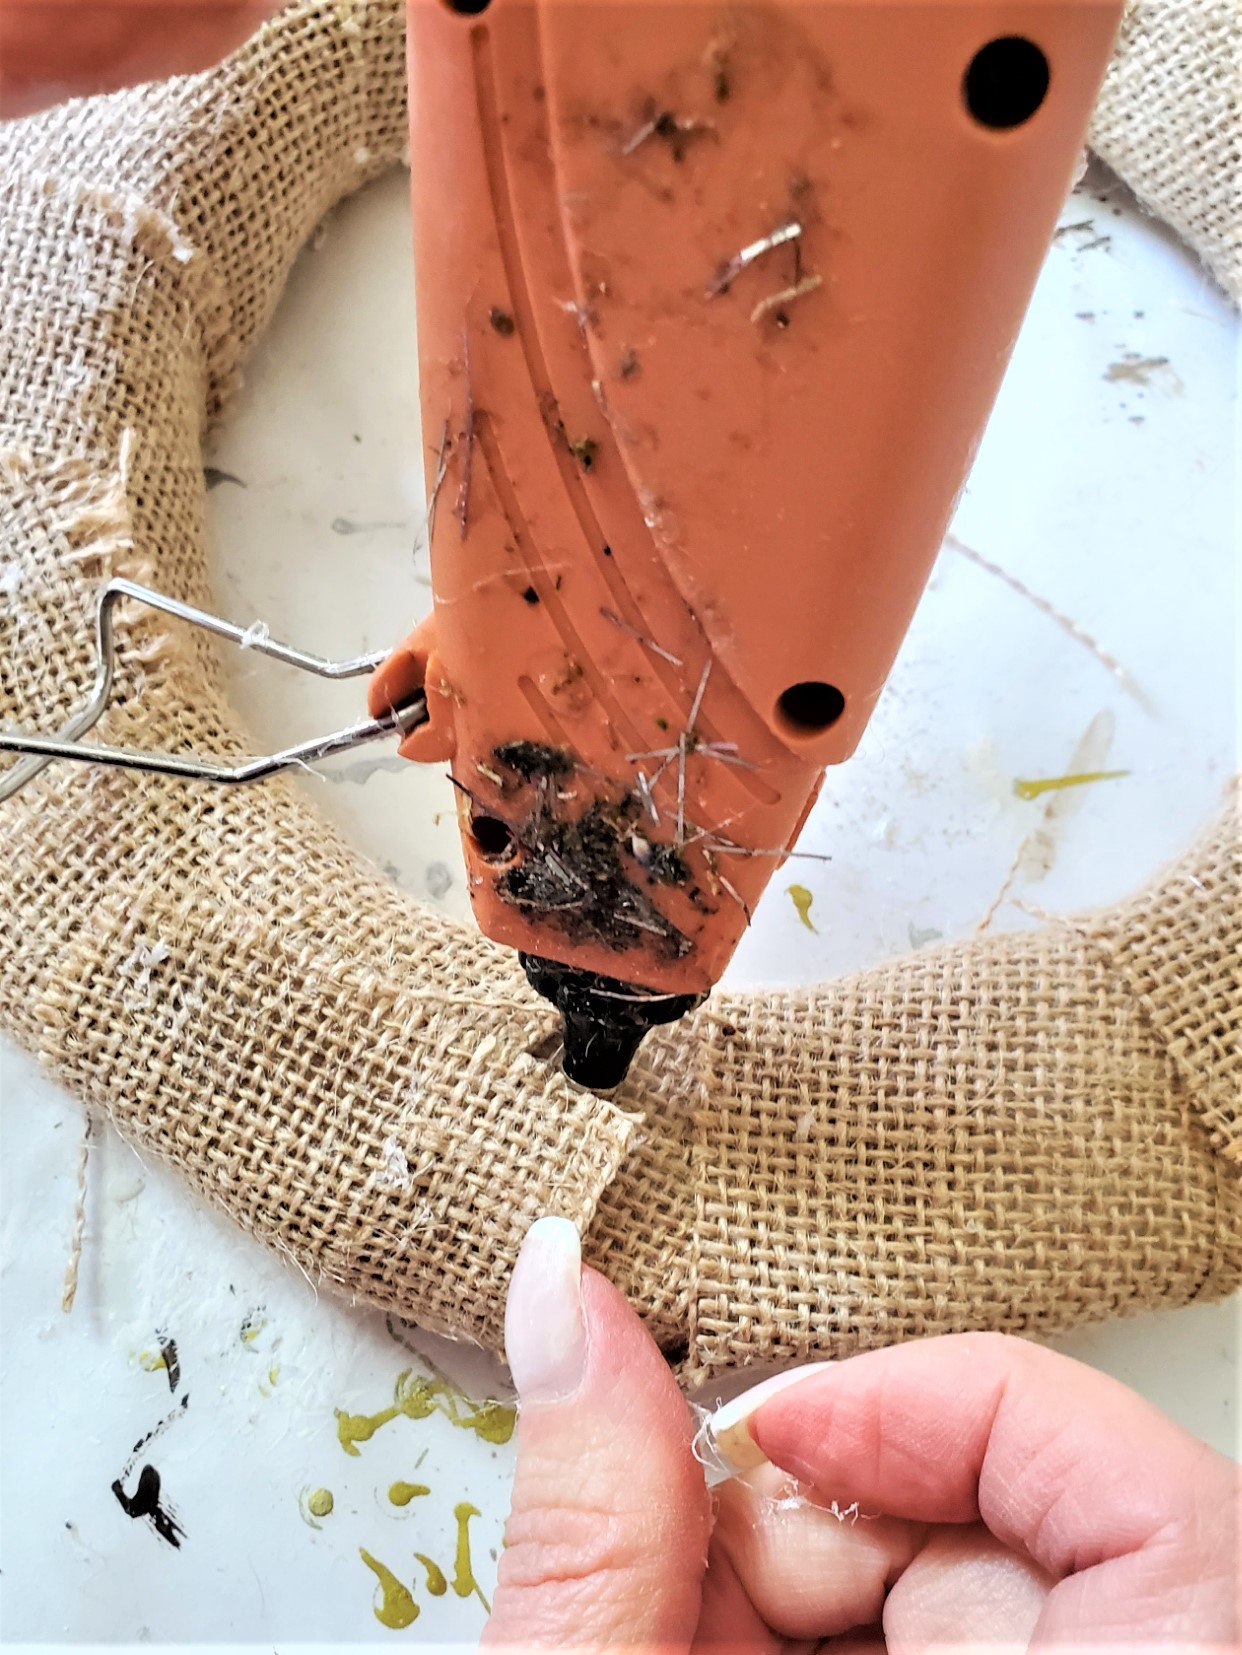
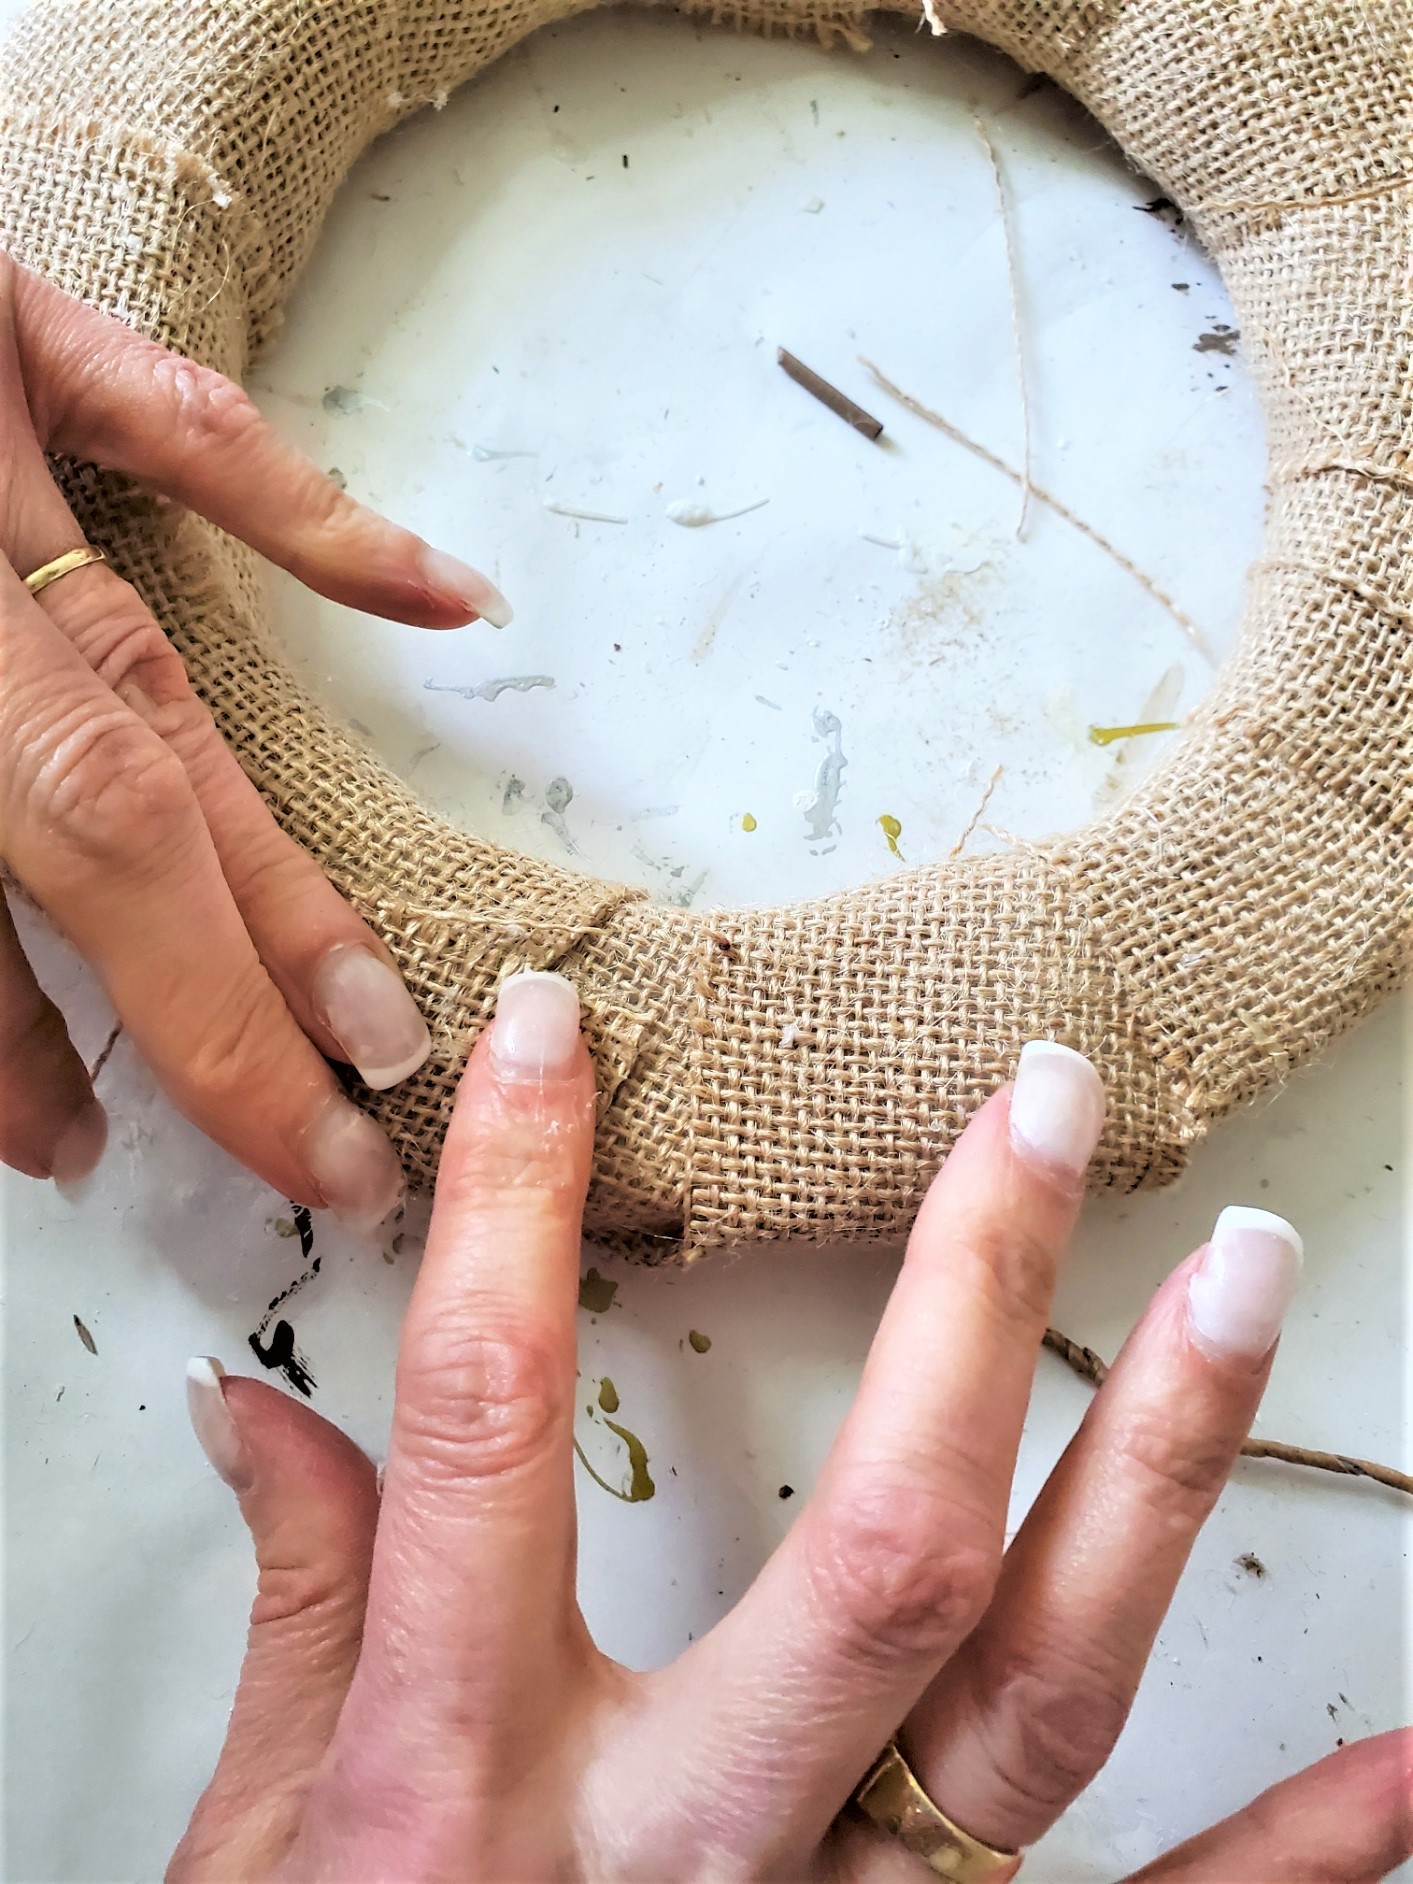
Hot glue the end of the burlap ribbon and wrap your new wreath. Again, use caution so you don’t burn yourself.
Tip: If you are unsure about getting burned, a great way to protect your fingers is to use rubber fingertips.
Attach The Ribbon
Step 4: Attach Ribbon Bow
If you are using a metal wire wreath base and plan to hang the Indian corn wreath, attach a ribbon loop to the top of the wreath base before wrapping it with the burlap ribbon. Be sure it is securely fastened, ornamental corn gets rather heavy.
You can also hang an Indian corn wreath with a metal wreath hanger. This requires you to add a loop to the back of the wreath before adding ears of corn. I suggest using a wrapped heavy-duty wire.
I slipped my ribbon under an ear of corn and wrapped it around my wreath form to hang.
Select Your Indian Corn
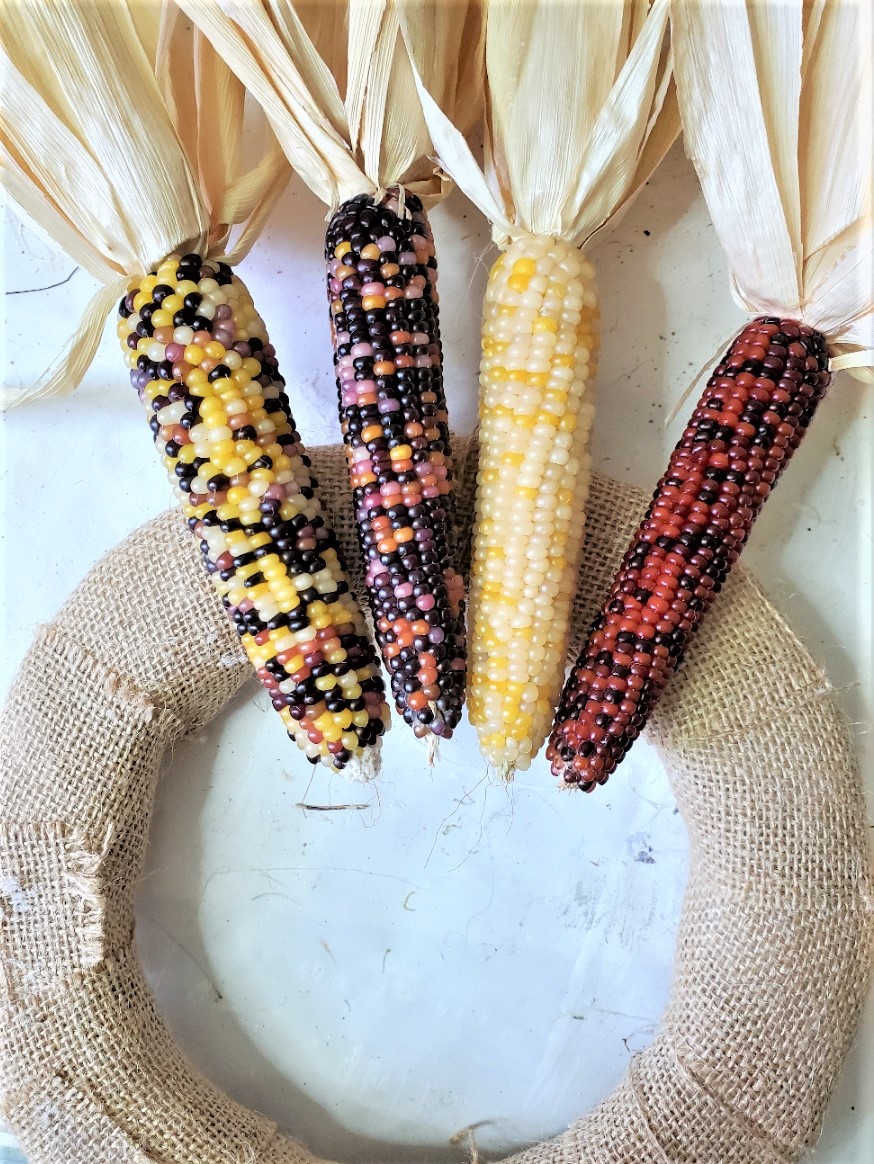
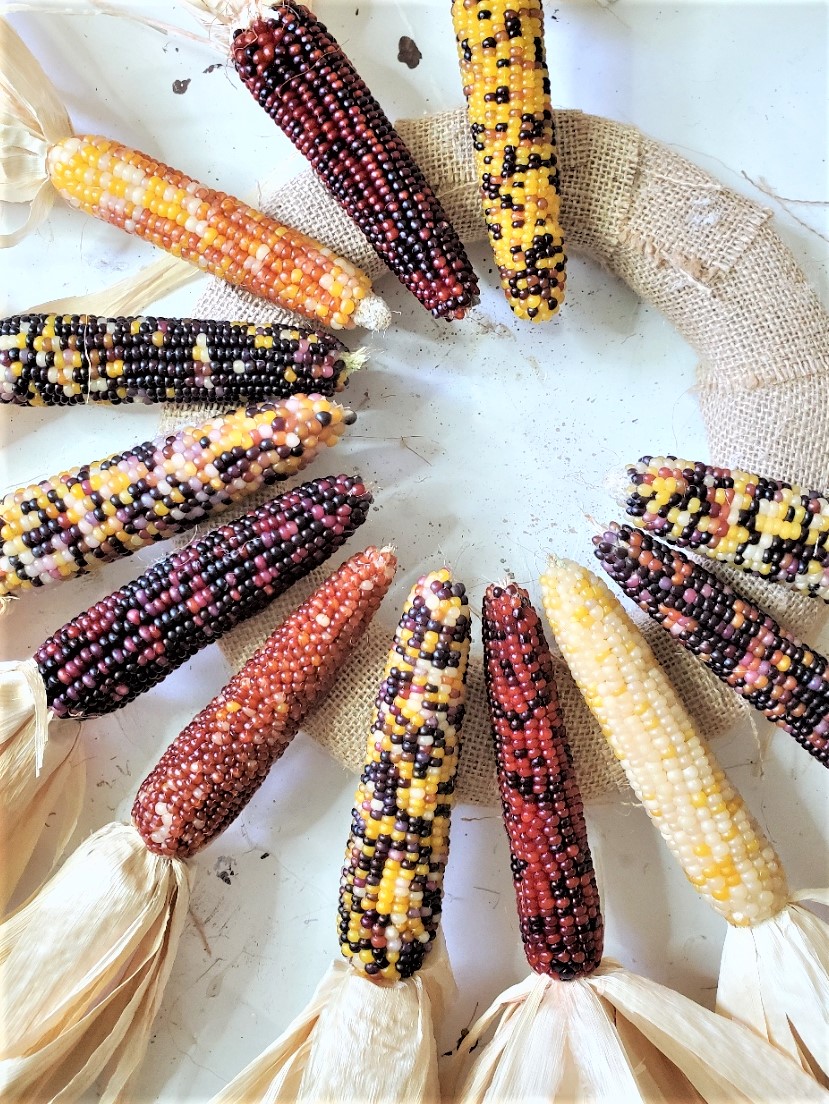
Step 5: Mix Ears Of Corn: Different Colors
This is a great way to get a variety of fall colors for your Indian corn wreath. The fall colors will give your Indian corn wreath a wow factor.

Secure The Ears Of Indian Corn
Step 6: Add Hot Glue To The Ears Of Corn
To be sure I was going to achieve the correct look for my Indian corn wreath, I did a dry run with a few ears of corn before adding hot glue.
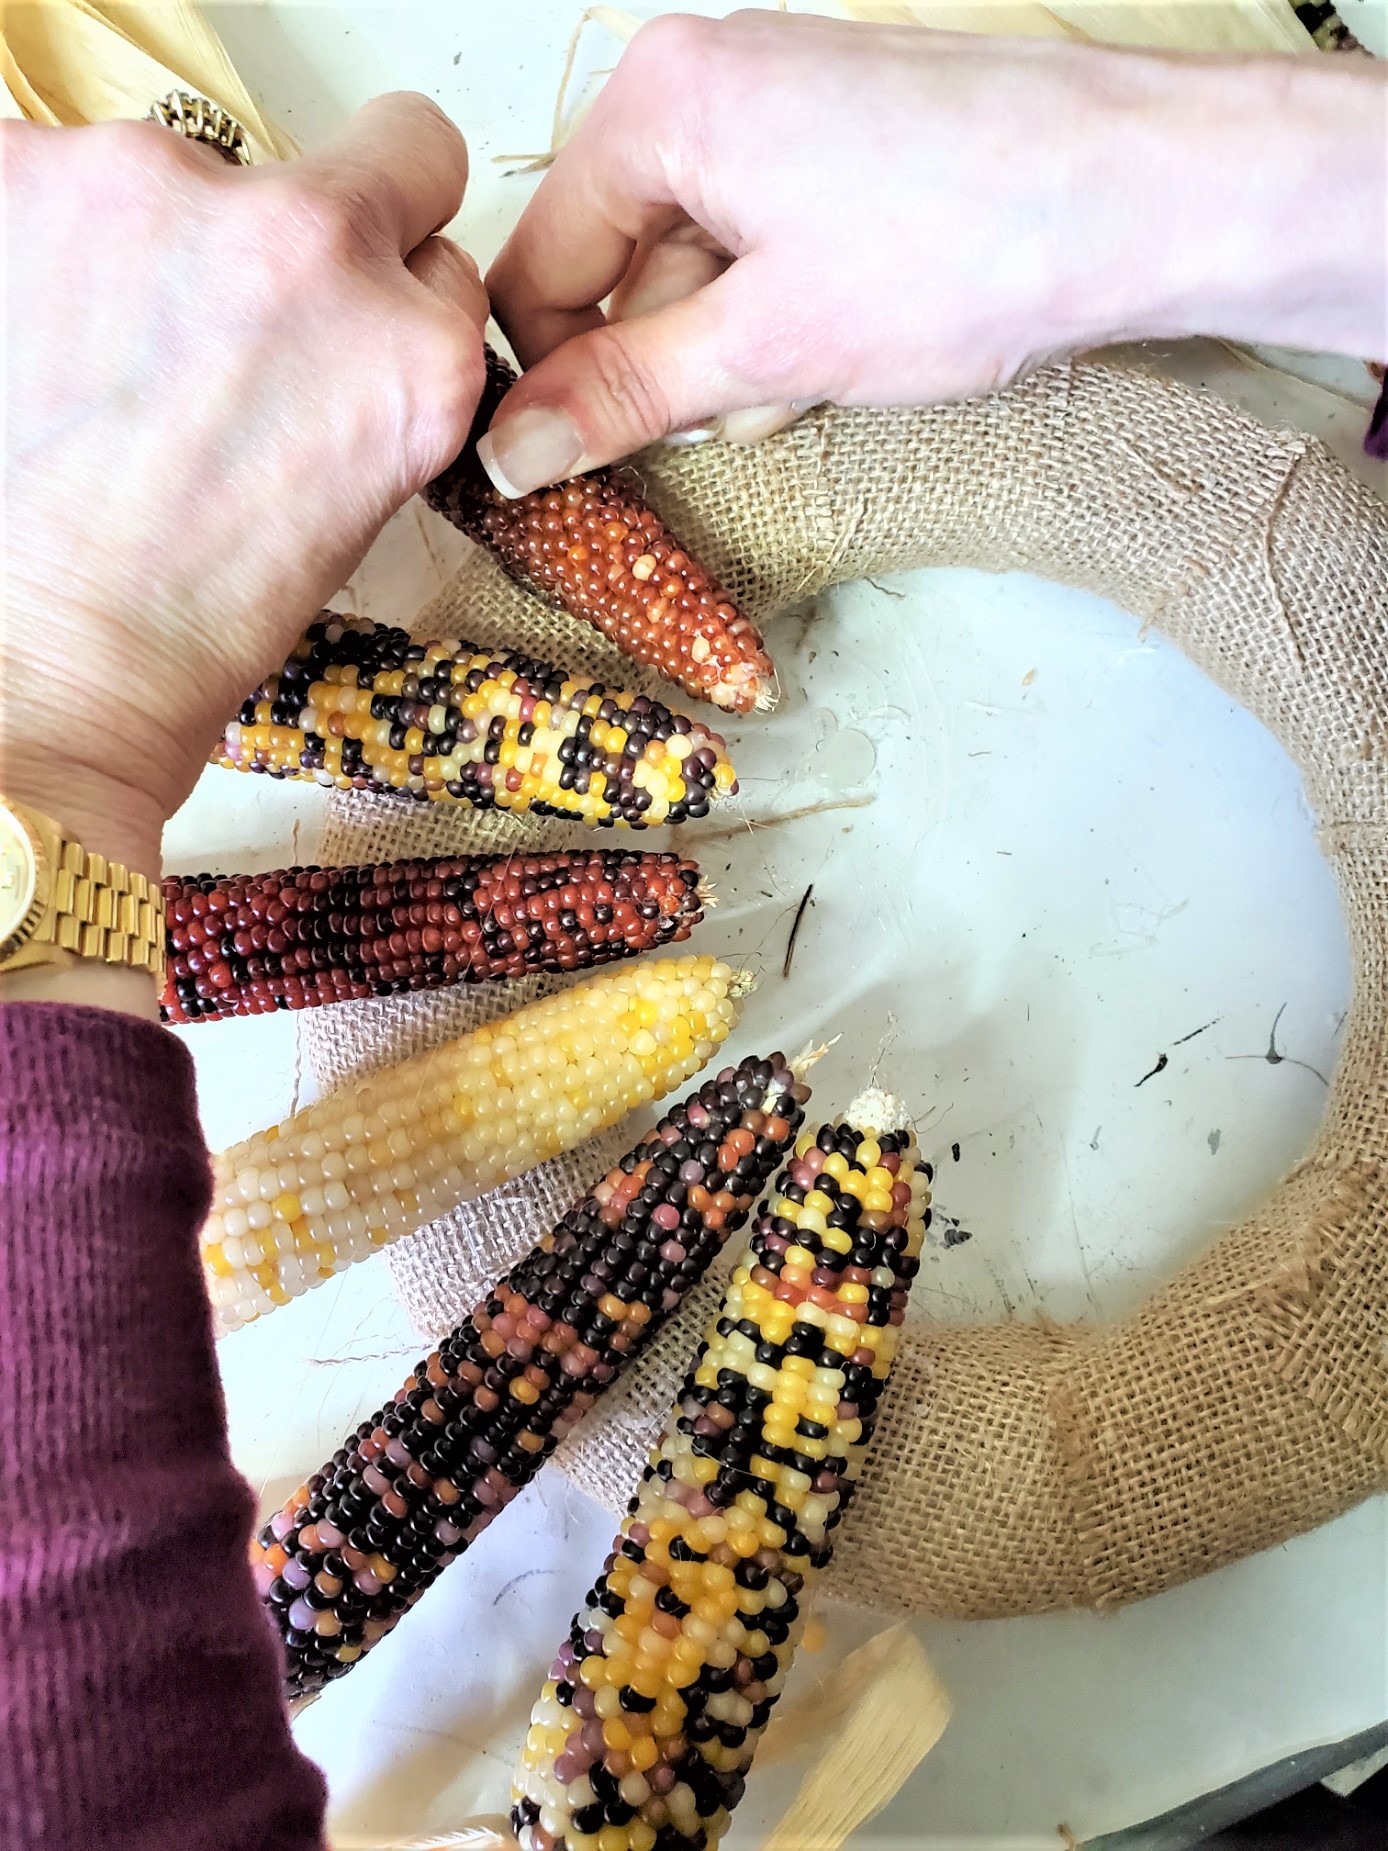
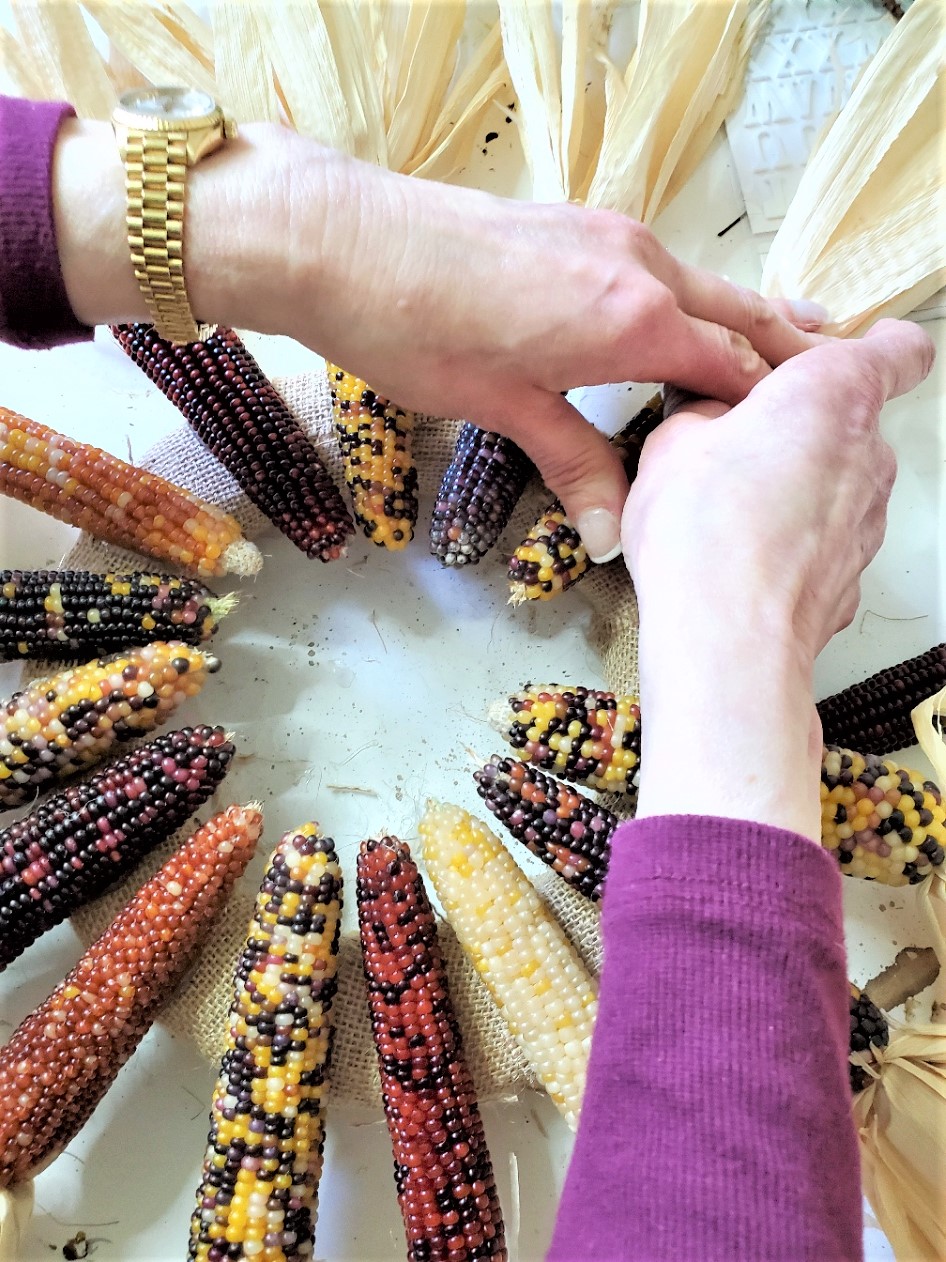
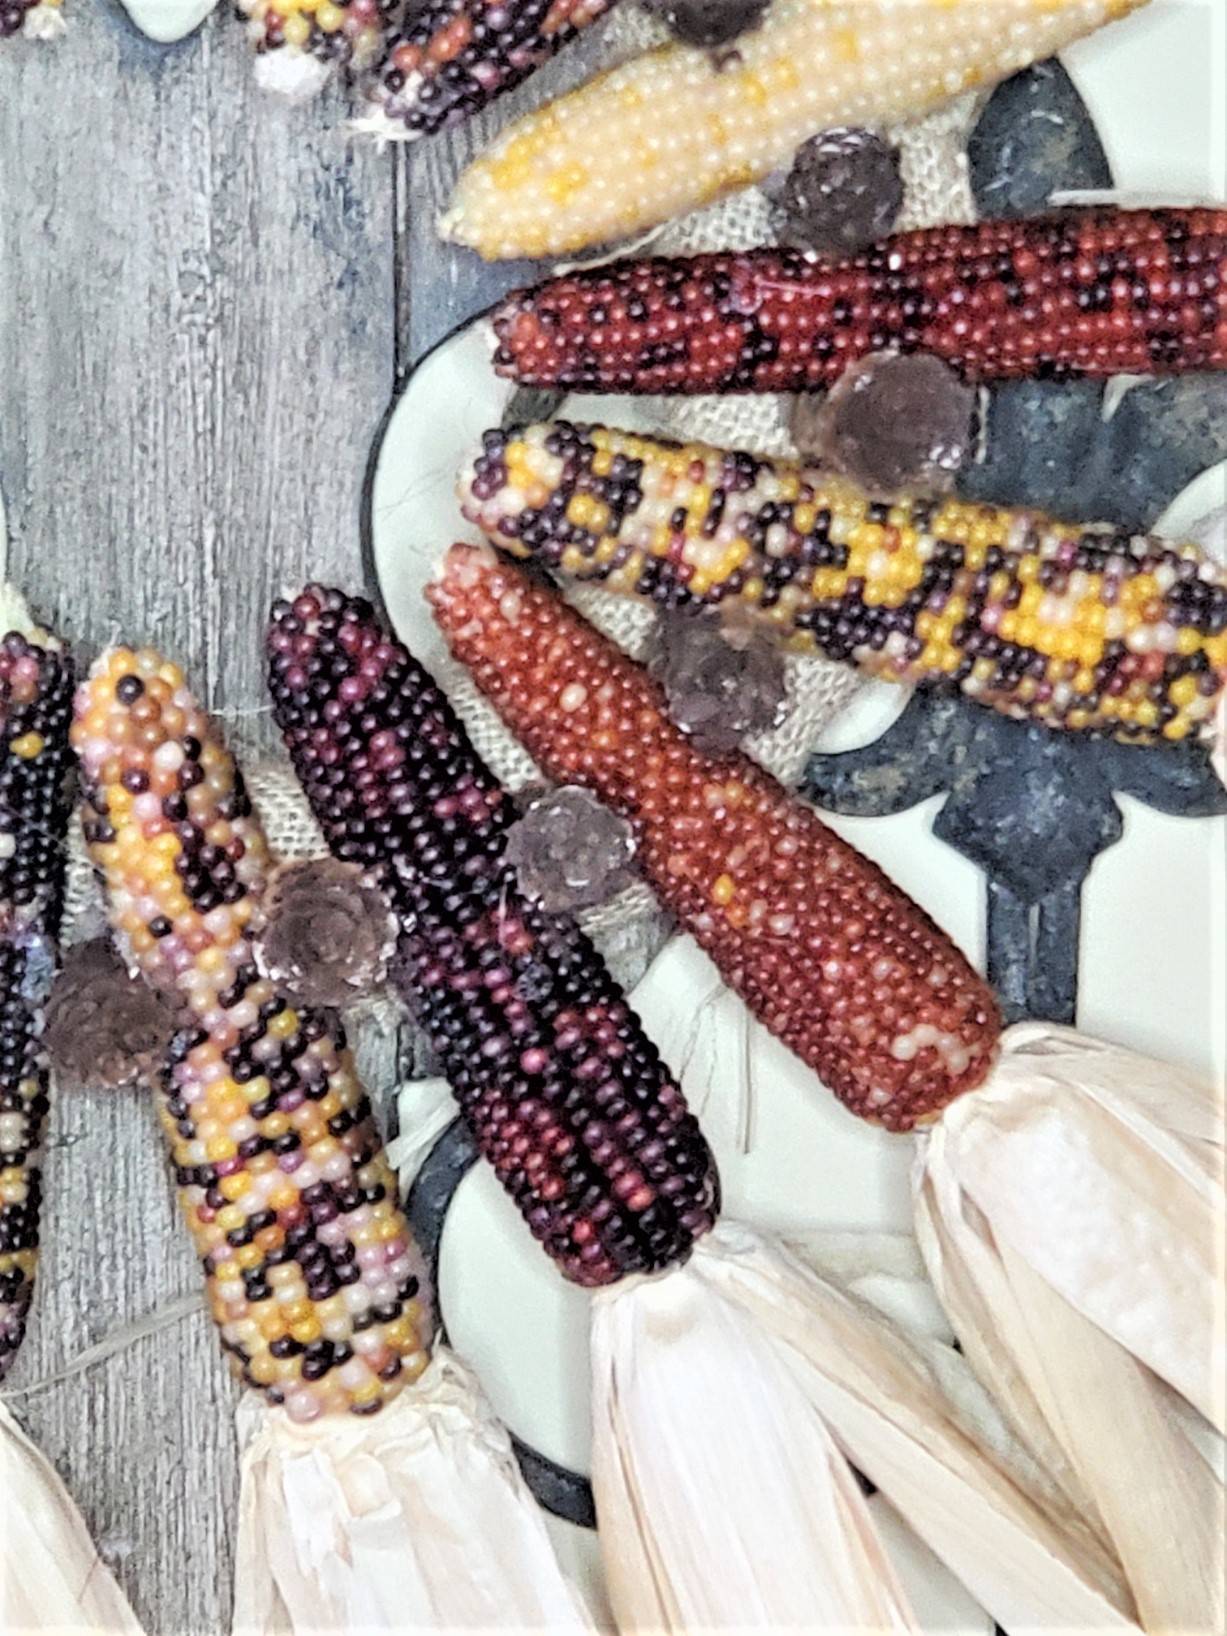
Once you have the ears of corn grouped in colors, add a bit of hot glue to your wreath base and add your first piece of corn.
Remember, the ears of corn are straight, and you need to add each ear of corn in a circular pattern with a balanced distribution of fall colors for a cohesive look.
Make sure to keep the corn husks gathered to prevent them from getting in the hot glue.

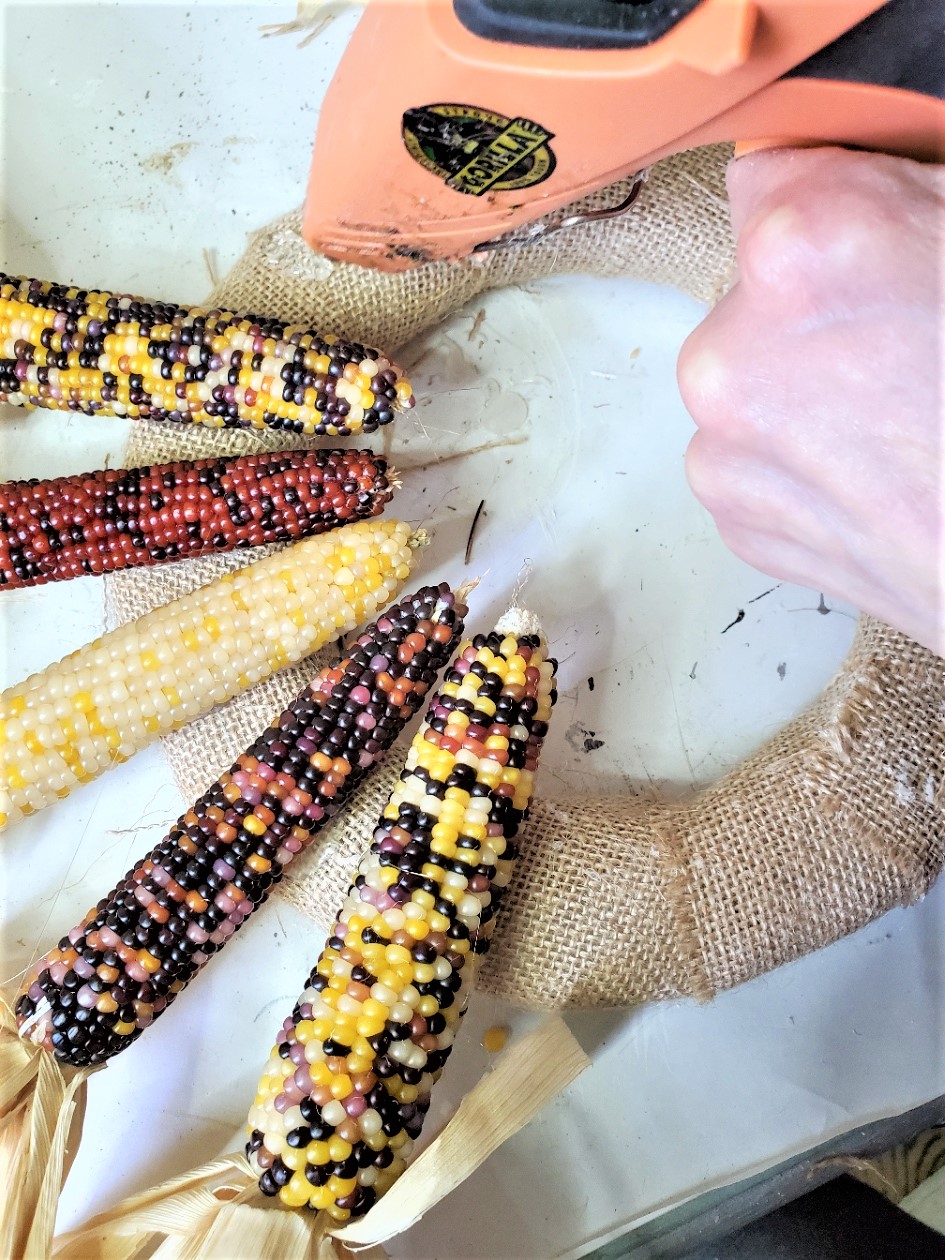
Tip: Yes, there will be a gap of burlap ribbon or straw showing. When the Indian corn wreath is hung it will blend.
Add Pinecones To Indian Corn Wreath
Step 7: Add Pinecones And Decorative Elements
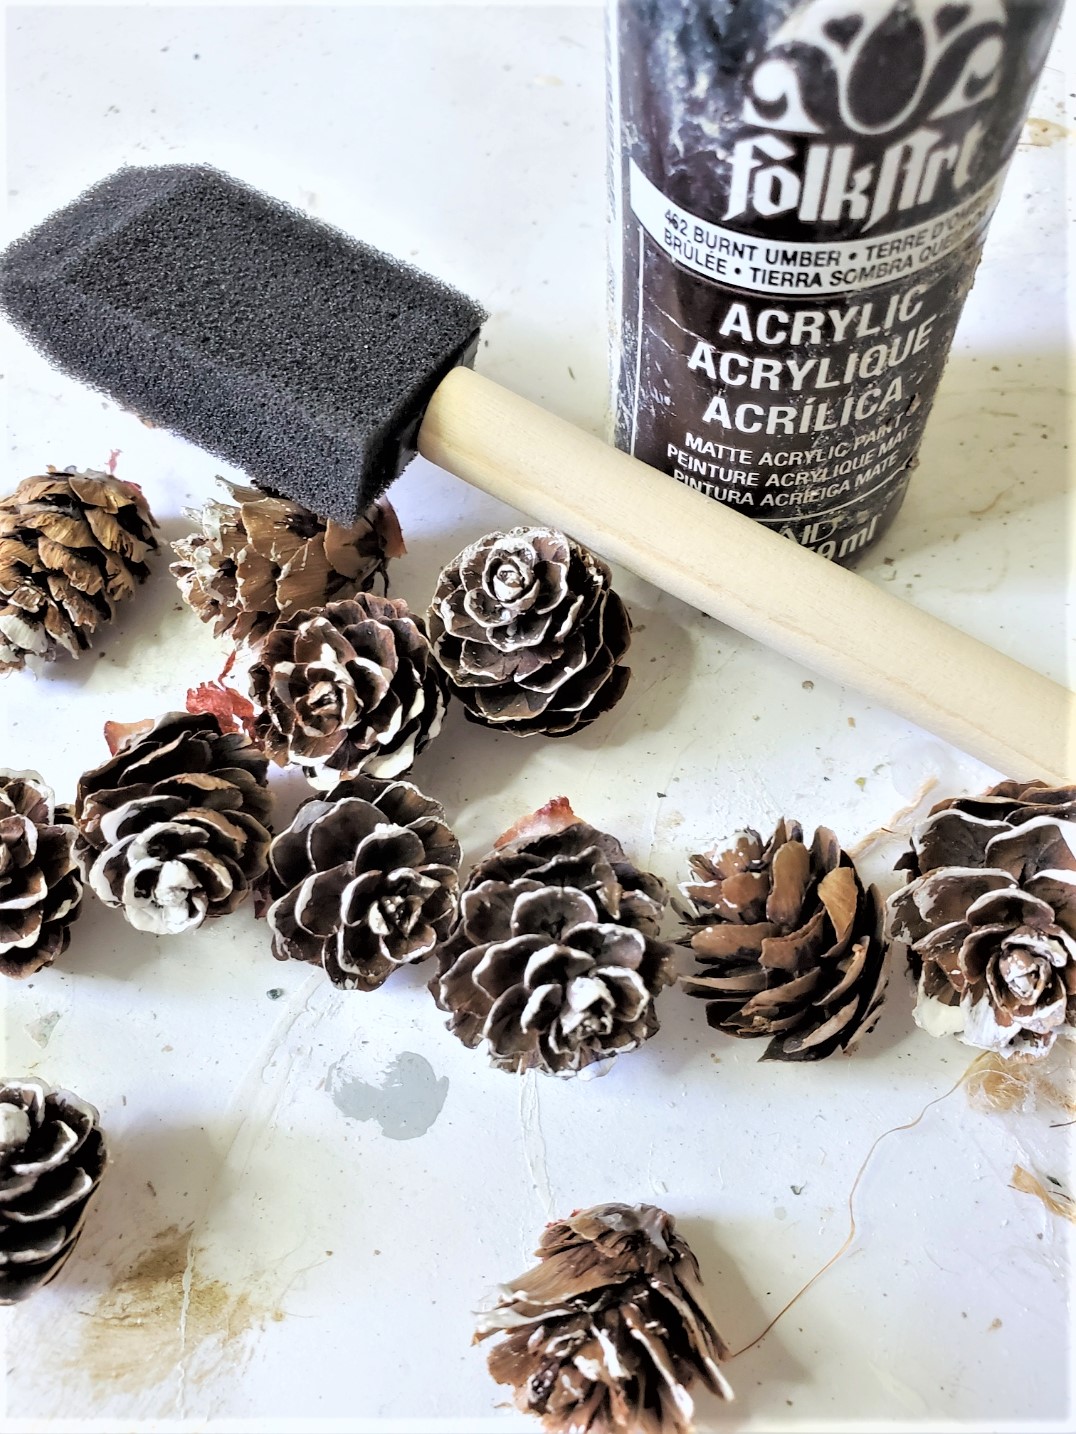
This is a simple way to make your Indian Corn wreath different than others. Use the hot glue gun to add tiny pinecones between each ear of corn. Use extra caution using the hot glue gun.
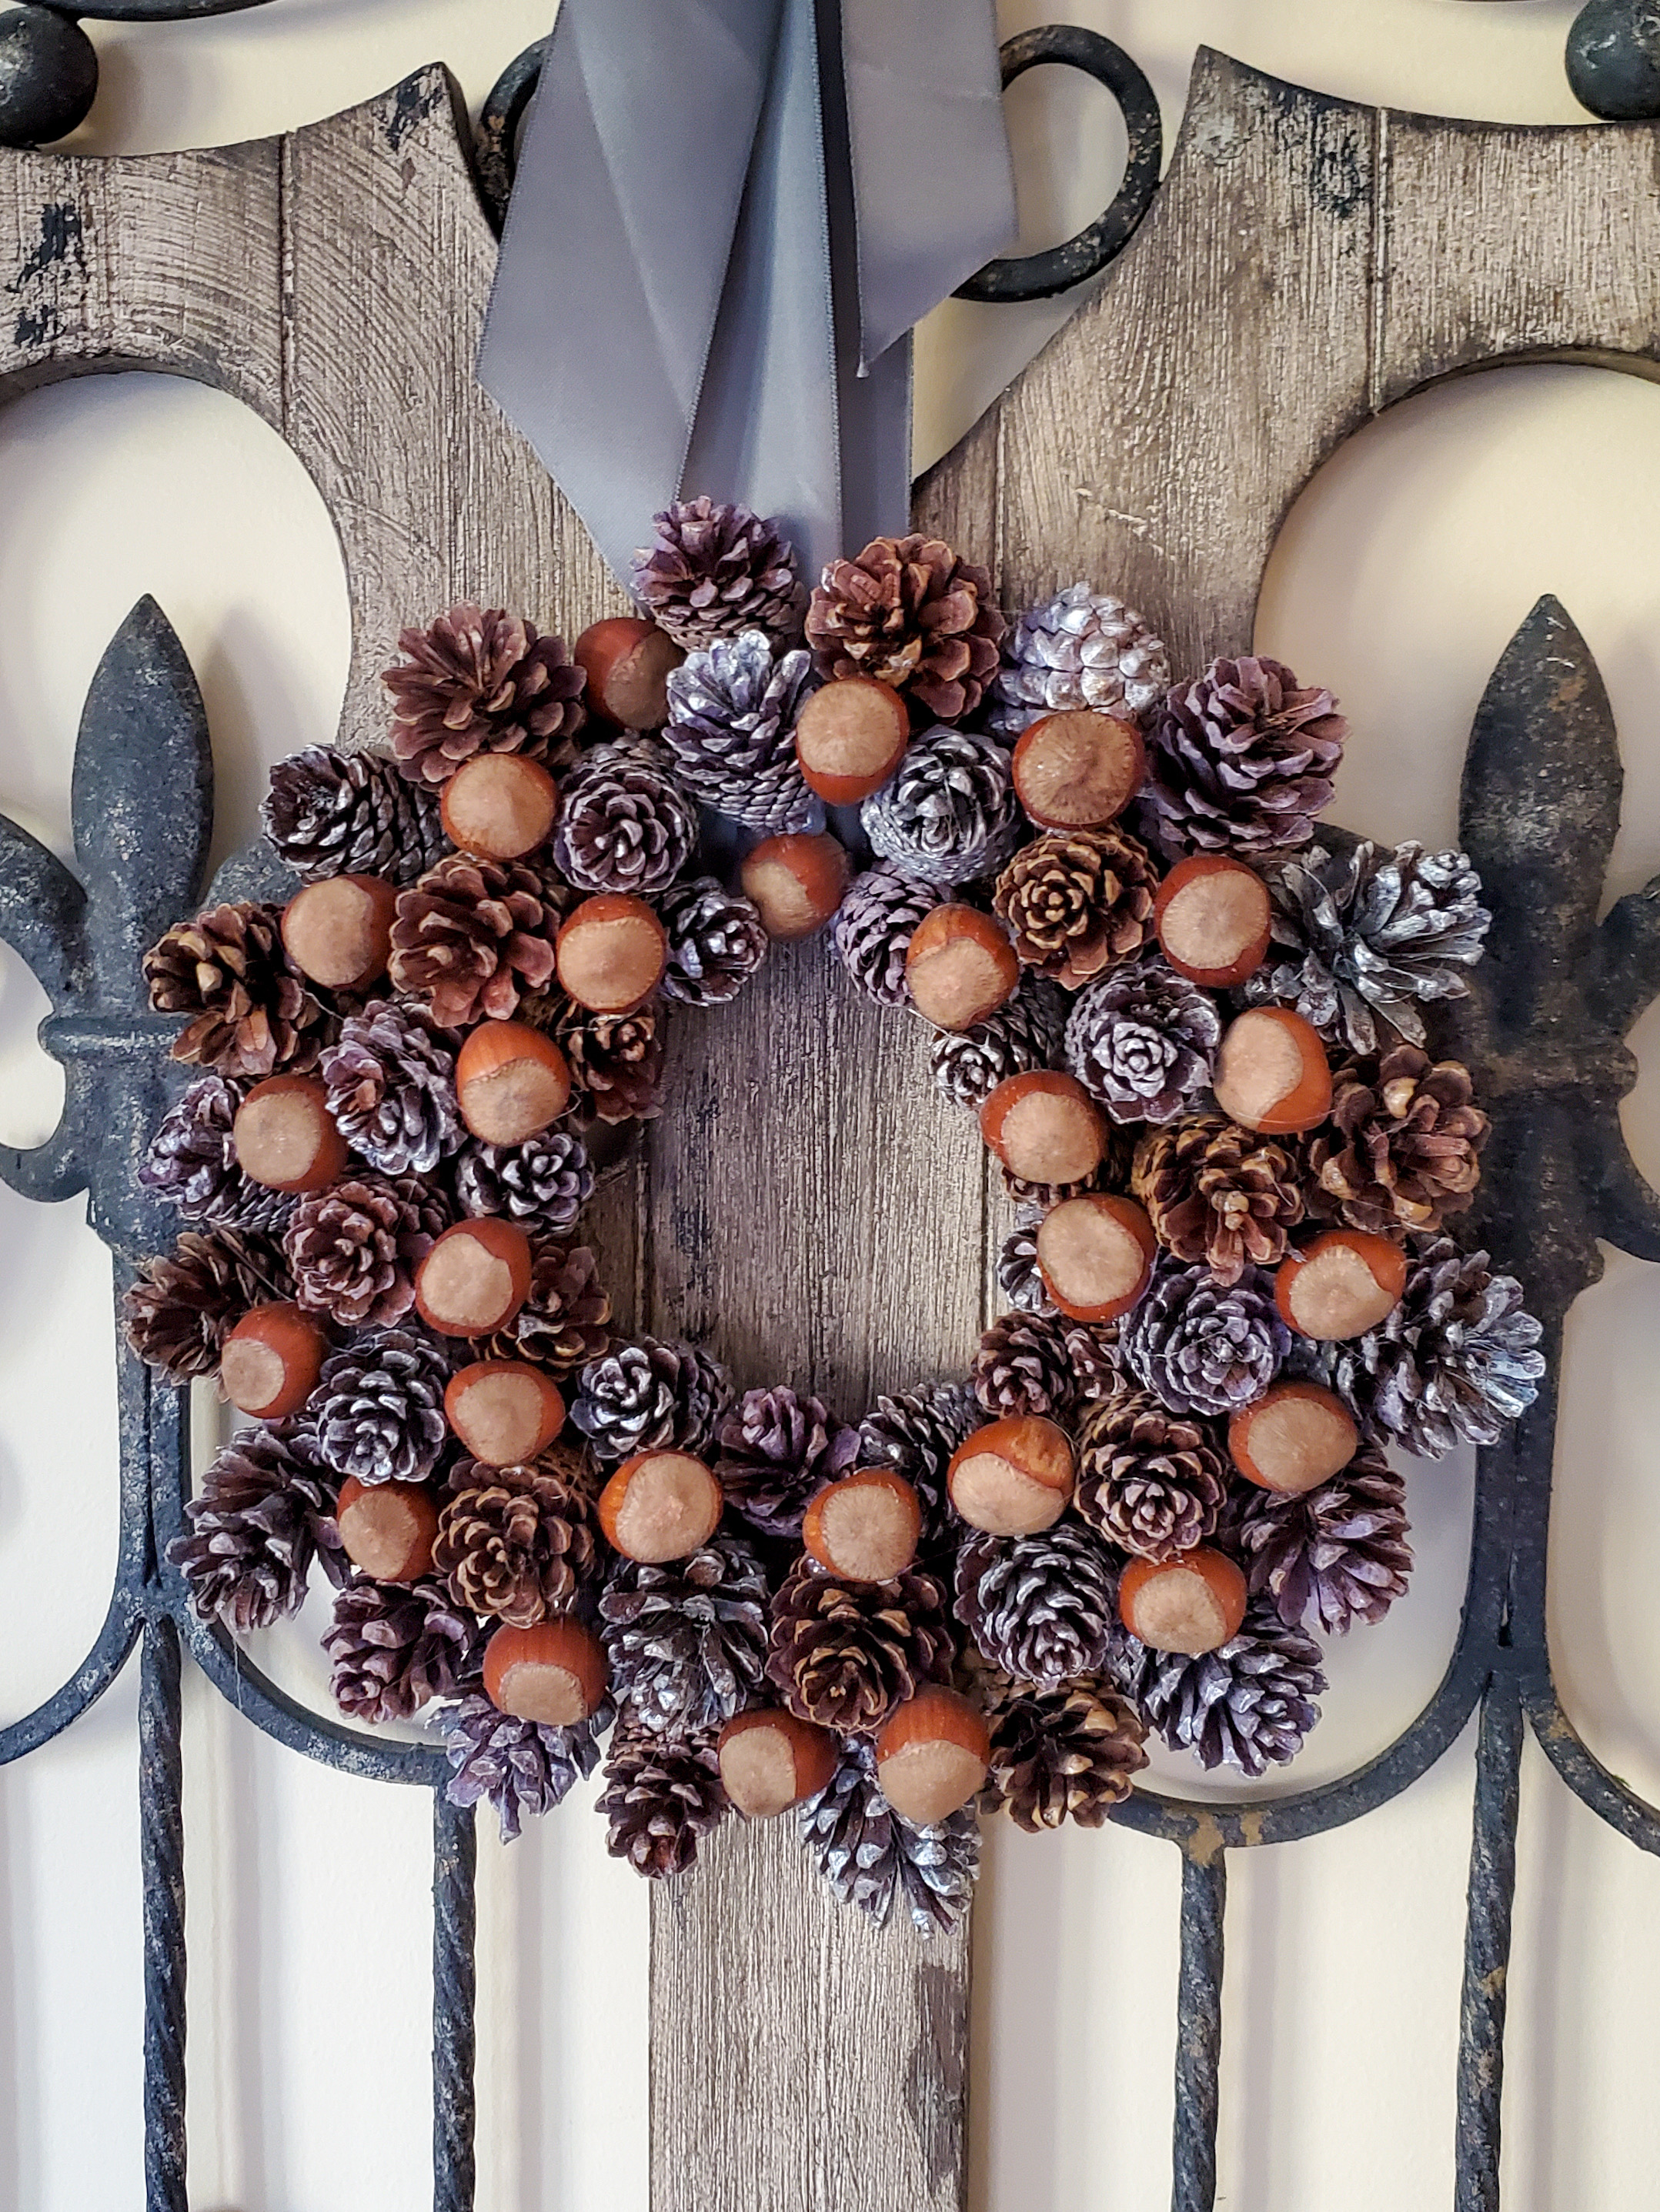
If you follow Cloches & Lavender, you know I enjoy adding natural elements and items from our backyard to our home, especially for fall decor.
Nature offers many gifts during the fall season to add to our home decor such as pinecones, acorns, and sticks from our yard. The best part these are free and add charm and warmth as the air becomes crisp.
I love pinecones and can never get enough of them. You may enjoy this post on how to clean and preserve them for your fall decor and the winter months.
I have a variety of pinecones in my craft closet. These are from old wreaths I hung on the back of my dining chairs years ago. I use these for the holiday season in many ways.
Tip: I save everything and these are a great way to add an extra touch of nature to my Indian corn wreath. Save as many of these kinds of pieces as you can, it saves money and a trip to craft stores.
Hanging and Display Your Fall Wreath
- Attach a sturdy ribbon or wire loop to the back of the Indian corn wreath for easy hanging.
- Consider placing the Indian corn wreath on your front door, above the fireplace, or as a centerpiece on a table.
- Add a flameless candle, pinecones, acorns, and other natural elements for a festive centerpiece on the coffee table or dining room table for your fall decor.
Other Ideas To Use Indian Corn
- Fill an apothecary jar with mini corn cobs, pinecones, cinnamon sticks, acorns, star anise, and fall leaves.
- Hot glue an empty coffee can with small ears of corn. Add jute, twine, ribbon, or raffia for a centerpiece, and add the colors of fall to your coffee table.
- Add the ears of corn to a dough bowl with pinecones, artichokes, apples, pears, and fall leaves.
Tip: Be aware if you hang this Indian corn wreath on the front door, if is not protected, squirrels may eat it for breakfast. I suggest hanging this Indian corn wreath inside a storm door and out of direct sunlight or indoors to keep it safe from wildlife.
Storing The Fall Wreath
Step 8: Storing The Indian Corn Wreath
When it is time to store your Indian corn wreath, I recommend covering it with brown paper. A plastic bag may cause moisture and cause the ears of corn to get moldy.”‹
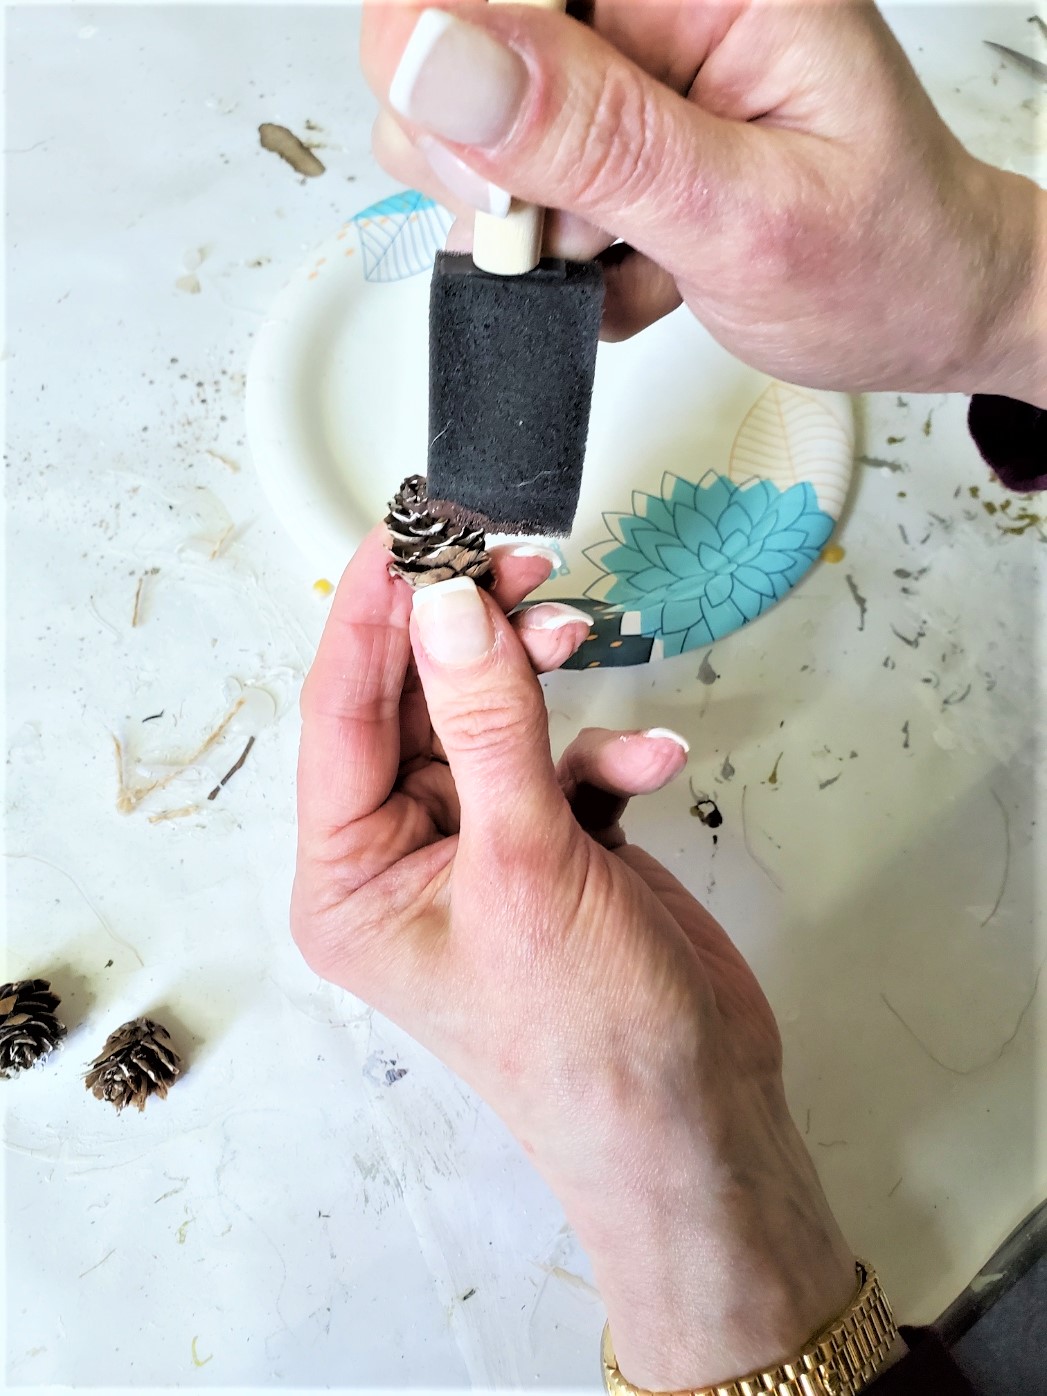
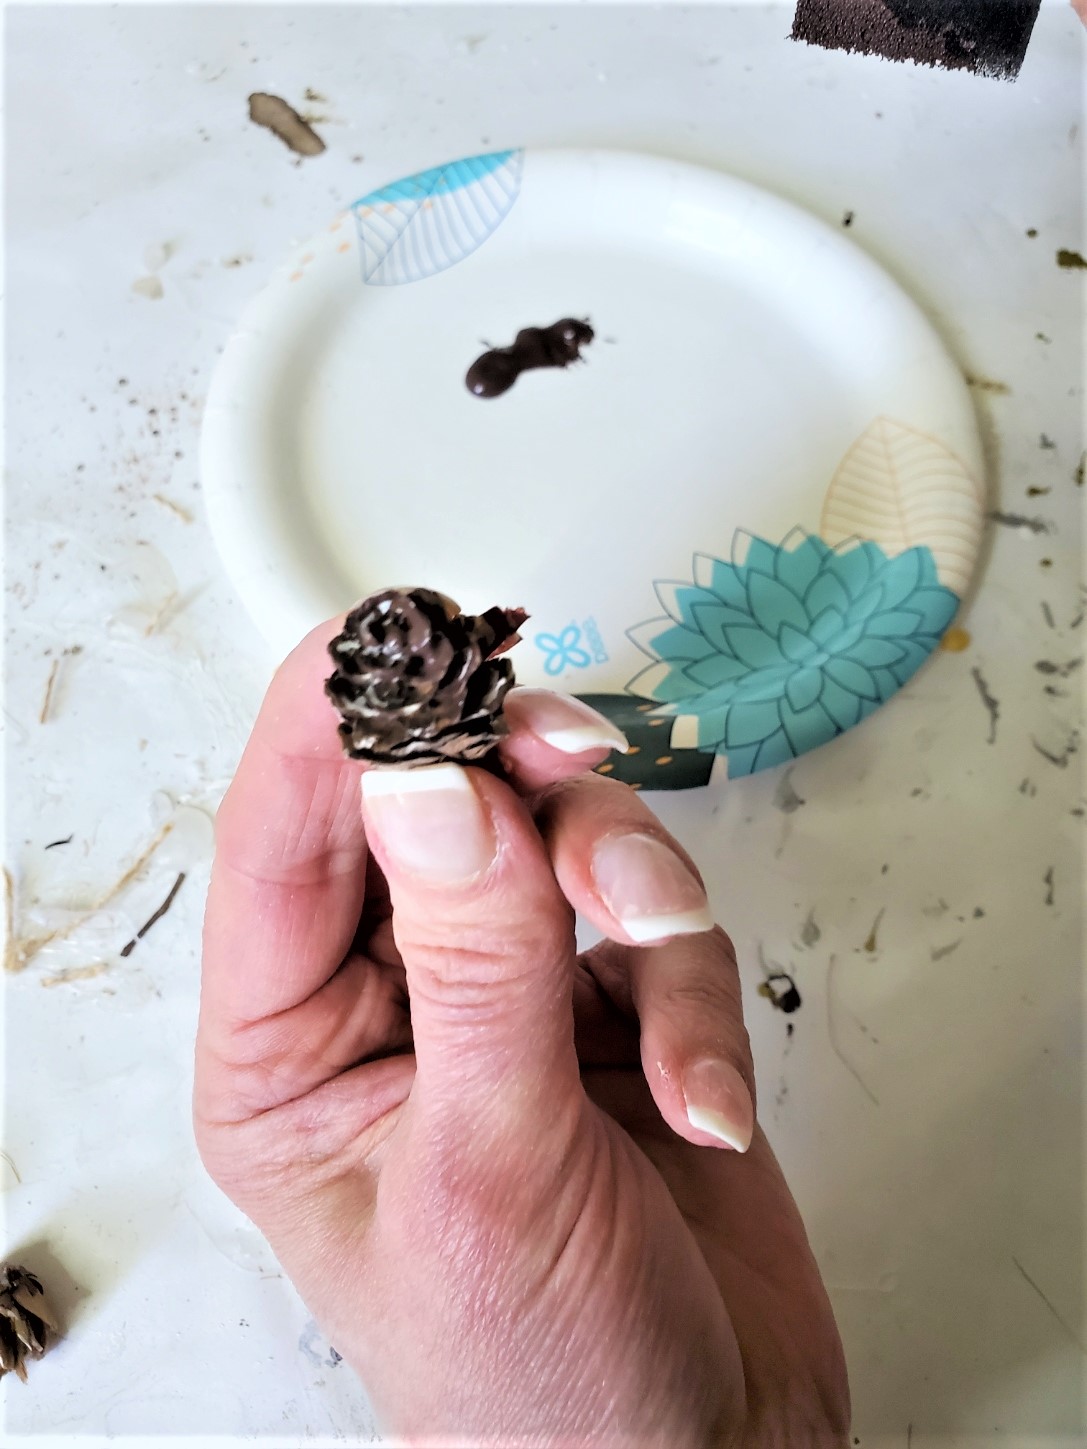
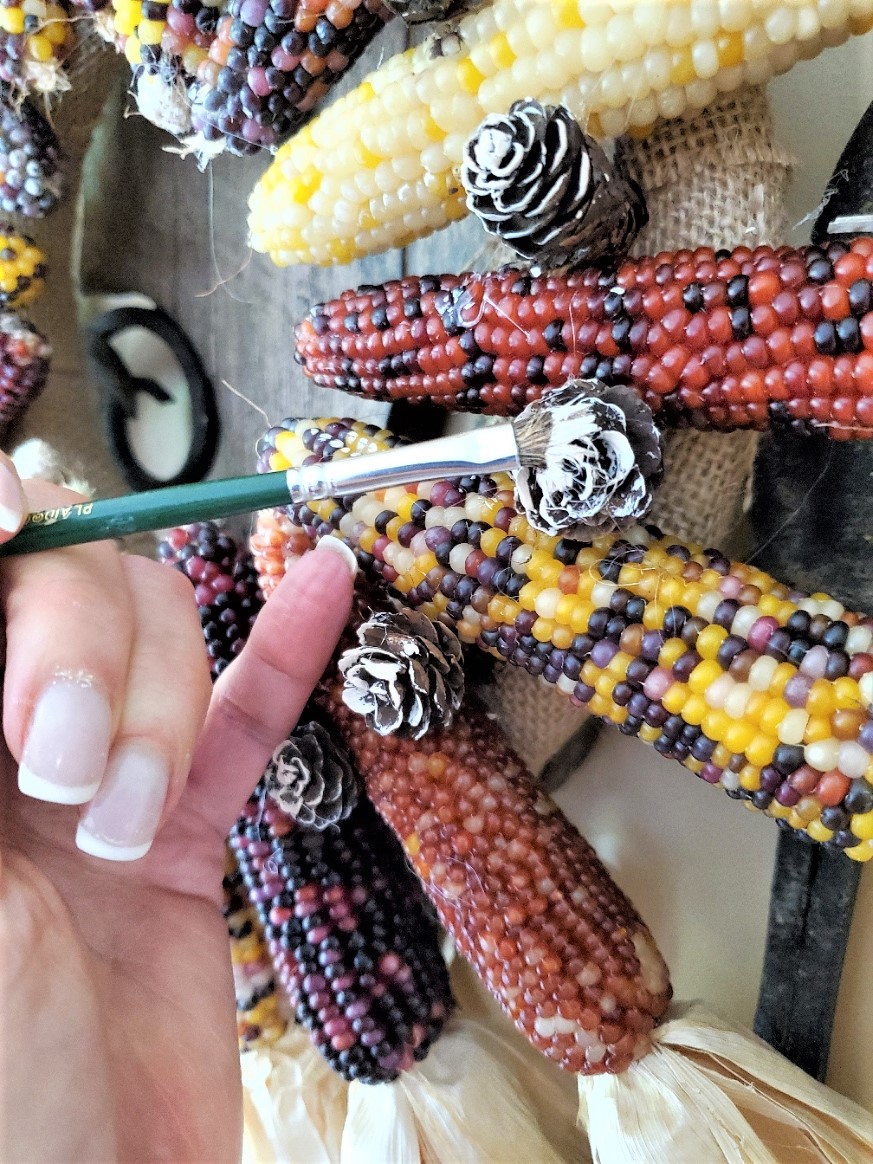
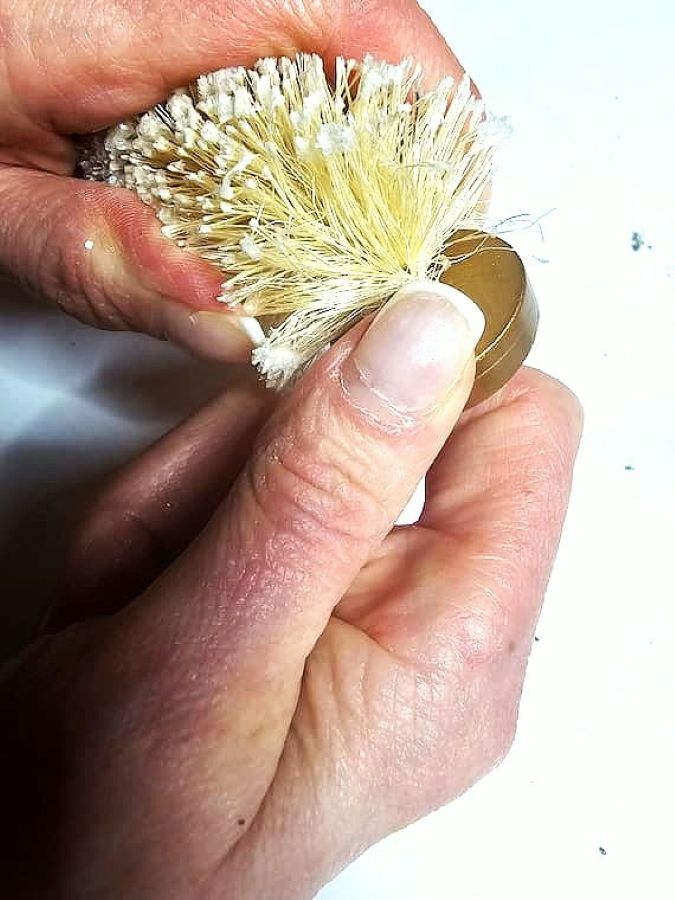
Tip: Once my Indian corn wreath was hung the pinecones blended in a bit too much. There’s always a solution. I dry-brushed them with a bit of DecoArt natural buff craft paint.
Why You Should Craft With Us
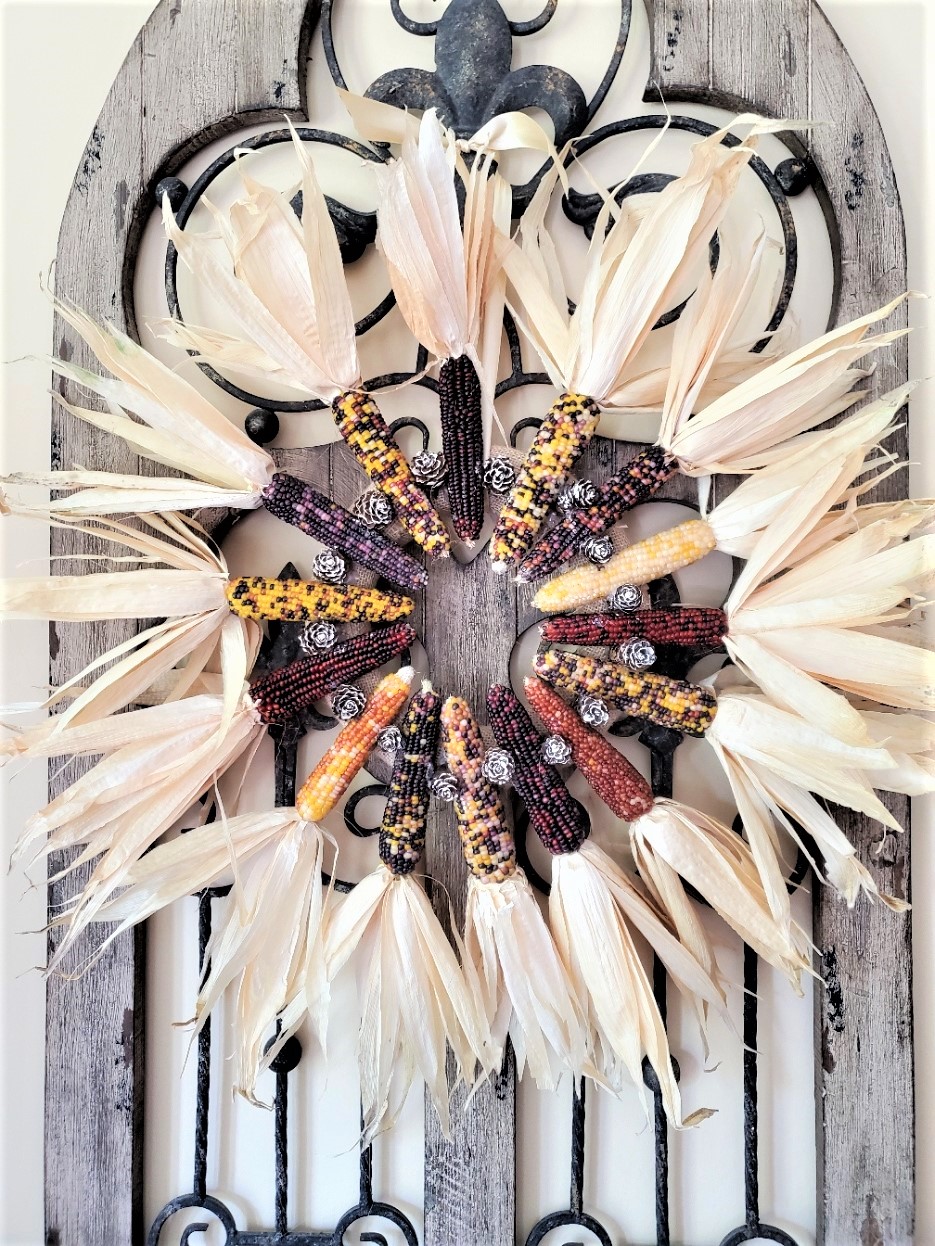
Get Crafting Today! Infuse your home with the beauty of autumn. Gather your materials and follow our detailed tutorial to create your own Indian Corn Wreath.
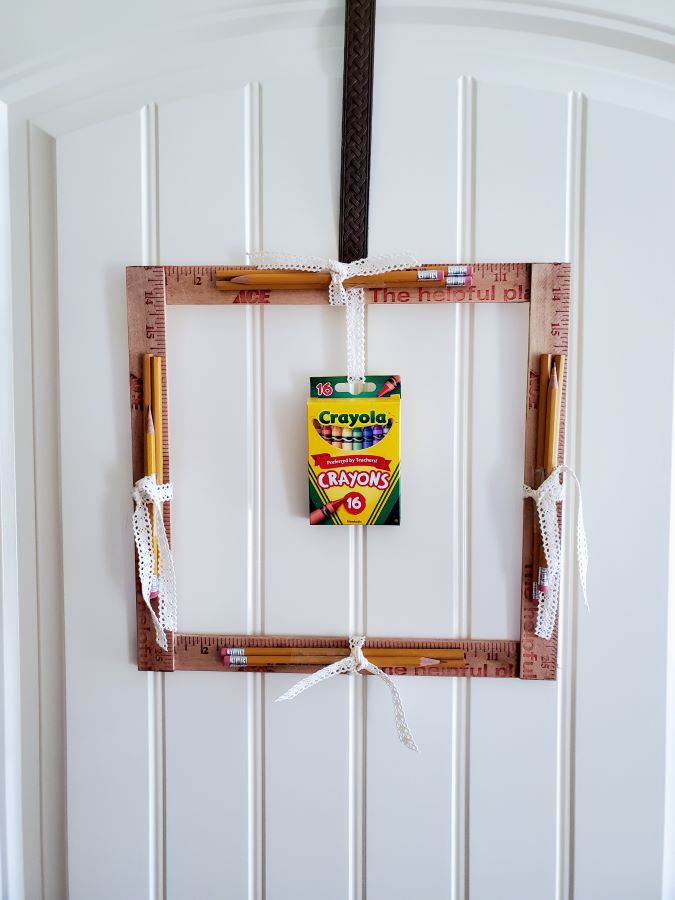
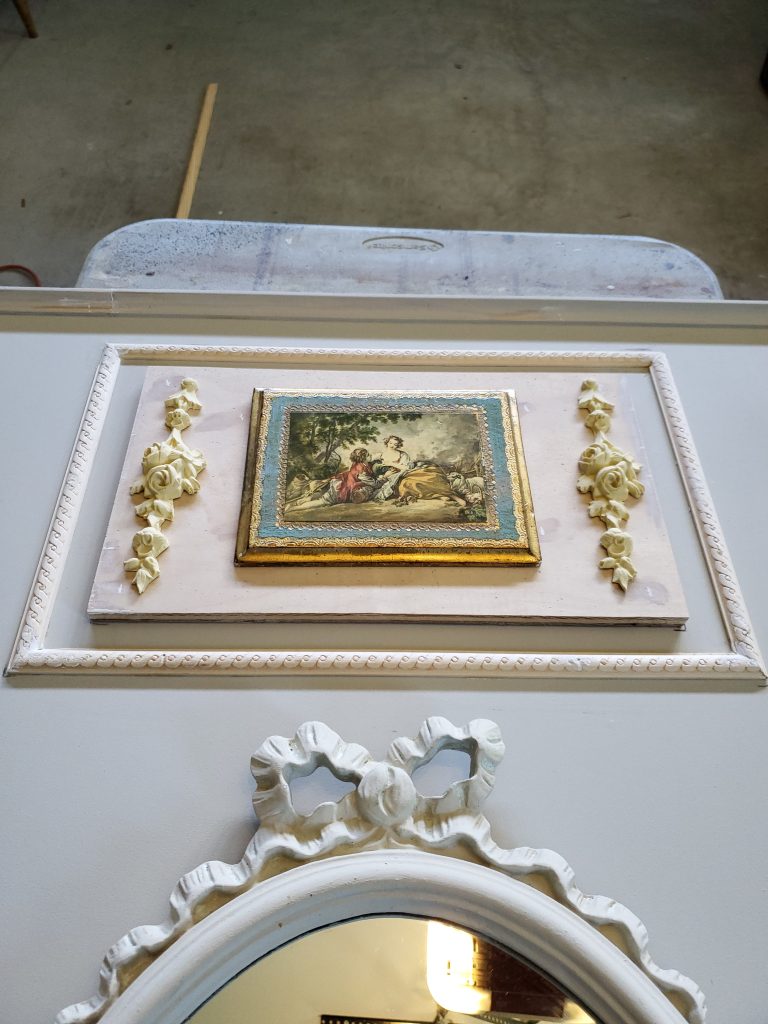
Explore More Seasonal DIY Projects Fall is a time of endless creativity. If you enjoyed making the Indian Corn Wreath, look at our collection of wreaths for other inspiring seasonal DIY projects.
From pumpkin-themed crafts to a pinecone wreath and extra touch, a fall nut wreath with a bit of elegance, and our assortment of dried orange craft ideas. Discover more ways to add your personal touch to this cozy season.
In conclusion, as the days grow shorter and the air crisper, your Indian Corn Wreath DIY and its color of fall beauty can be made from the treasures from nature. So, whether you hang it on your front door or use it as a centerpiece, remember that your crafting journey is about the finished product, it is about embracing the essence of fall. Find ways to make this your own and I hope you embrace that pieces can be fixed if they aren’t the way you perceived.
Happy fall!
FOLLOW US ON: FACEBOOK, INSTAGRAM, AND PINTEREST

POSTS OF INTEREST!


Indian Corn Wreath DIY
Equipment
- 1 hot glue gun and glue sticks
- 1 10-inch metal wreath form or a 10-inch straw wreath
- 1 Roll of burlap ribbon to wrap around the metal wreath frame
- 15 Small size ears of corn variety for the colors of fall
- 1 wreath hanger or ribbon for hanging the finished Indian corn wreath
- 1 Pair of Scissors
- 15 Tiny Pinecones or Fall leaves (optional)
Notes
DIY Indian Corn Wreath
Supplies List:
- 15 small size ears of corn (Indian corn cobs of your choice)
- Hot glue gun and glue sticks
- 10-inch foam wreath or 10-inch straw wreath (craft stores)
- Burlap ribbon to wrap the foam wreath
- Wreath hanger or ribbon for hanging
- Tiny pinecones or fall leaves (optional)
- Scissors
Step 1: Prepare Your Work Surface
I want to let you know this Indian corn wreath is easy and fast and will have beautiful fall colors and a WOW FACTOR!
Set up a clean and well-lit workspace and arrange your materials. Plug your hot glue gun on low. Using Styrofoam, set your hot glue gun on low. High heat will break down the Styrofoam. Remember to use extra caution with a hot glue gun.
Step 2: Place Your Wreath Base On A Flat Surface
If using a straw wreath form, ensure it’s securely placed on a flat surface. Using a foam ring, position it so the flat side is up.Step 3: Wrap Wreath Form: Burlap Ribbon
Normally, I would use a straw wreath for this fall wreath. I had a foam wreath form in my craft closet, so I used what I had. This is a great way to save money. Always check to see what supplies you have before running to the craft stores. Hot glue the end of the burlap ribbon and wrap your new wreath. Use caution so you don’t burn yourself.Step 5: Mix Ears Of Corn: Different Colors
This is a great way to get a variety of fall colors for your Indian corn wreath. The fall colors will give your Indian corn wreath a wow factor.Step 6: Add Hot Glue To The Ears Of The Corn
To be sure I achieved the correct look for my Indian corn wreath, I did a dry run with a few ears of corn before adding hot glue.Step 7: Add Pinecones And Decorative Elements
This is a simple way to make your Indian Corn wreath different than others. Hot glue tiny pinecones between each ear of corn. Use caution with the hot glue gun.Step 8: Storing The Indian Corn Wreath
When it is time to store your Indian corn wreath, I recommend covering it with brown paper. A plastic, bag may cause moisture and cause the ears of corn to get moldy.”‹ Happy Crafting!


Love this Indian Corn wreath so much, Cindy! It’s really special you have fond memories of kicking off the Fall season at the farm with your family. I’m definitely pinning this and I can’t wait to try to make my own too. Hope you’re feeling better soon. Big hugs, CoCo
This is so cool Cindy. How fun you could make this wreath to remind you of some great family memories. Have a good start to the new week. xoxo
I kept thinking about the old days when making the wreath. Love great family memories. Especially of my mom
I adore your Indian corn wreath! It is the perfect fall wreath.
Hugs,
Kippi
Thanks so much Kippi!
This is so beautiful Cindy; so glad you finally used your corn :).
I so happy I bought it advance
I love this wreath so much! It brings back memories of my mom using them in her decor too! What naughty little squirrels trying to eat the corn! Great post!
Pinning!
Hugs, Karin
Squirrels have no mercy. Thanks for Pinning
Hi Cindy, I absolutely love your corn wreath! I have to admit that I sometimes squirrel away décor for the following year too!
I do it all the time. Especially for fall and Christmas
This is a great wreath Cindy. I would have never thought of using Indian corn for a wreath. Thanks for the inspiration.
Thank you so much! You made my day
Your corn wreath turned out great, love the idea! Thanks for sharing.
Thank you so much
I have always wanted to make an Indian Corn wreath! Yours is gorgeous and you were smart to order the corn ahead of time.
Thank you. I learned because I wanted to make one a few years ago and couldn’t get any
This is so beautiful! Thanks for sharing the tutorial!
Thanks for the visit
Looks amazing. So happy to see you up and crafting.
Thank my dear!!
It feels great getting my crafting groove on. Especially with fall coming
This is a wonderful fall wreath! So sad that the farm is no longer around 🙁 Thanks for sharing.
This wreath is STUNNING! I love it.
I love this wreat so much! It’s like a starburst of fall!! Pinned!
Thanks so much Cindy
Very pretty, Cindy. I love Indian corn but it’s always a battle with the squirrels!
That’s why mine is hanging inside
I love this, Cindy. Smart idea to hang it inside away from the squirrels. xo Laura
Oh…how pretty! I love the husks on them. I don’t often see them that way. My mom used to have Indian corn in the house growing up…great memories!!
Thanks so much my friend
Cindy, how funny you mention Tice’s Farm! My parents used to take us there, too. It seemed so far – out in the country, but it was just about a half hour away. I loved the cider bar and doughnuts! Now Tice’s Farm is a strip mall called Tice Corner. Ah, well. Your wreath is fabulous, as is everything you do!
I love this. Great idea to order ahead for the following year. I think I need to do this too as the seasons tend to catch up on me before I’m ready. Thanks for sharing this.
Thanks for sharing with us – I’m featuring you this week when the new To Grandma’s house we go link party starts!
Thank you so much!!! I love this wreath!
I love this unique wreath. Great job!
Thank you
Love it Cindy. Thank you for sharing it with us at Farmhouse Friday!
This is so cool Cindy! Thanks so much for sharing it with us at Farmhouse Friday – we’re featuring you at tomorrow’s party!
Thanks for the feature
Hi Cindy! Congratulations on being featured on Celebrate Your Story.
Thank you so much Janet!
Wow such a great fall DIY!
Thanks so much Stacy. Thank you for the blog support
Beautiful wreath Cindy and what a great tutorial!
Thank you
Your creativity never ceases to amaze me, Cindy! What a fabulous way to transition to the Thanksgiving season while still keeping everything fun and festive. This wreath is just beautiful! Hugs, CoCo