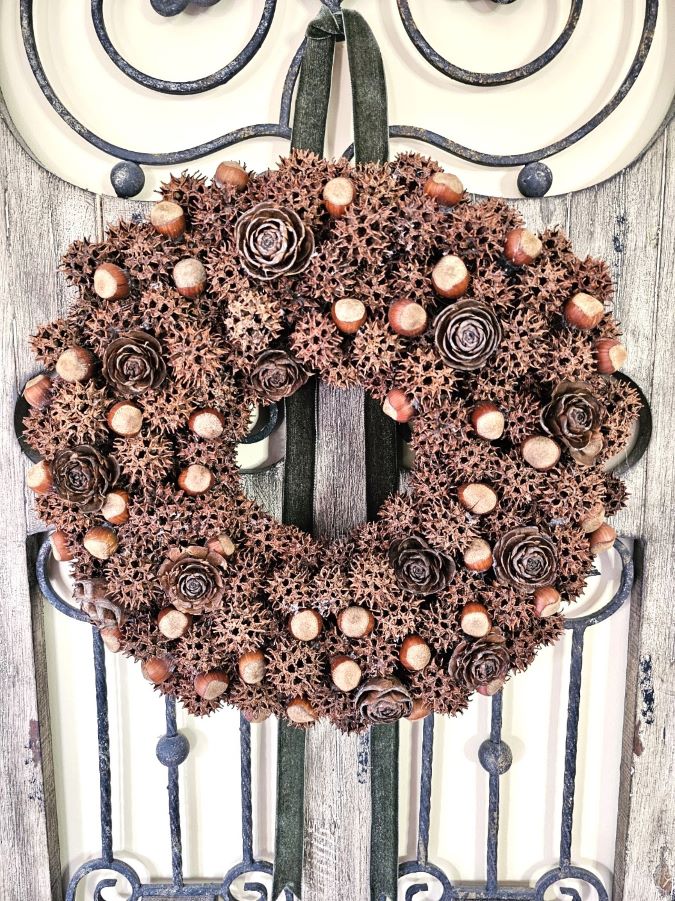
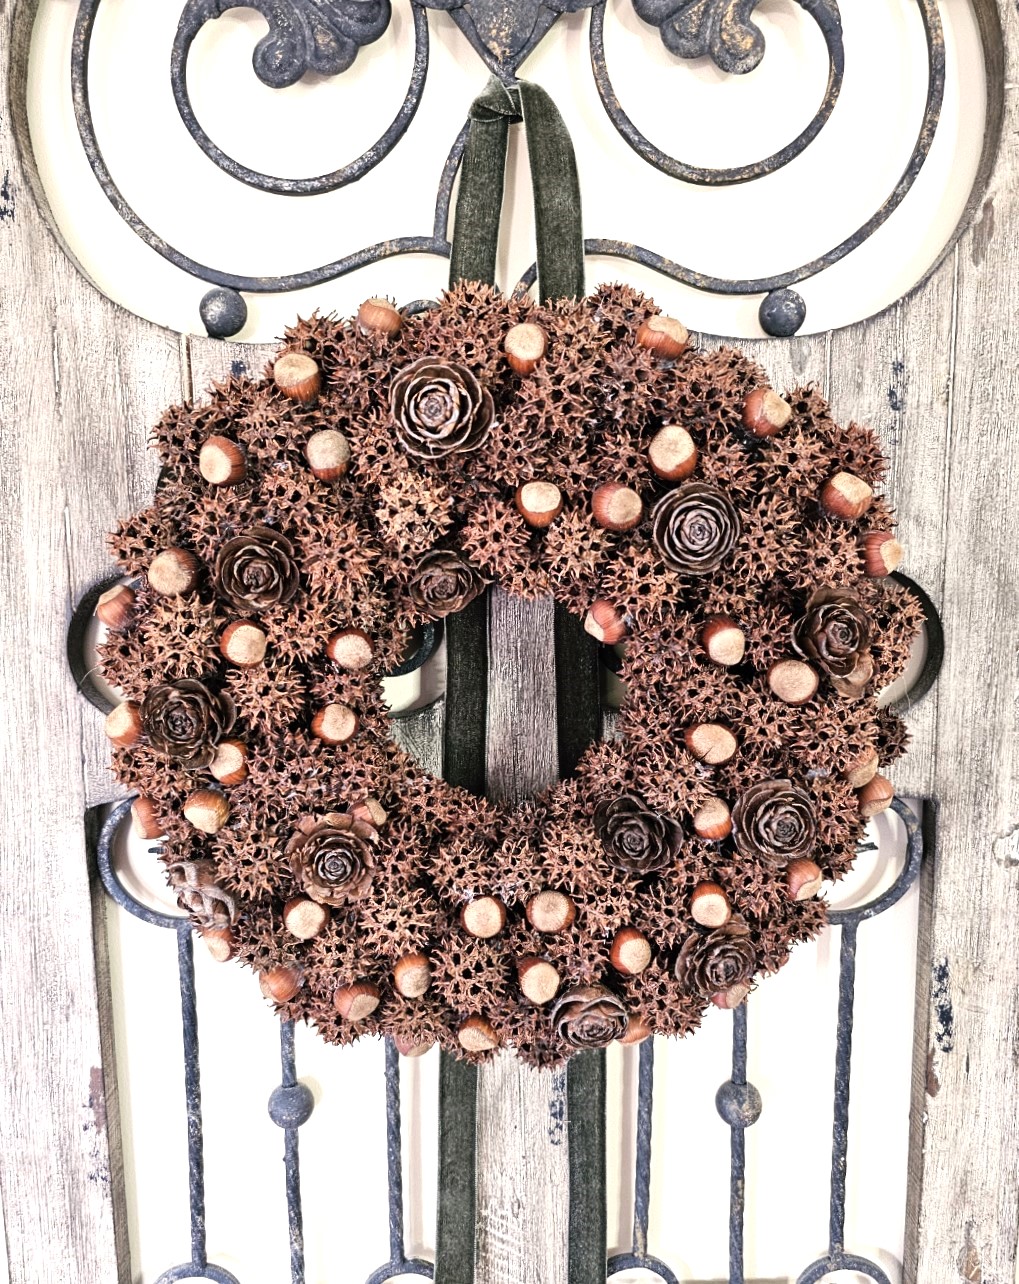
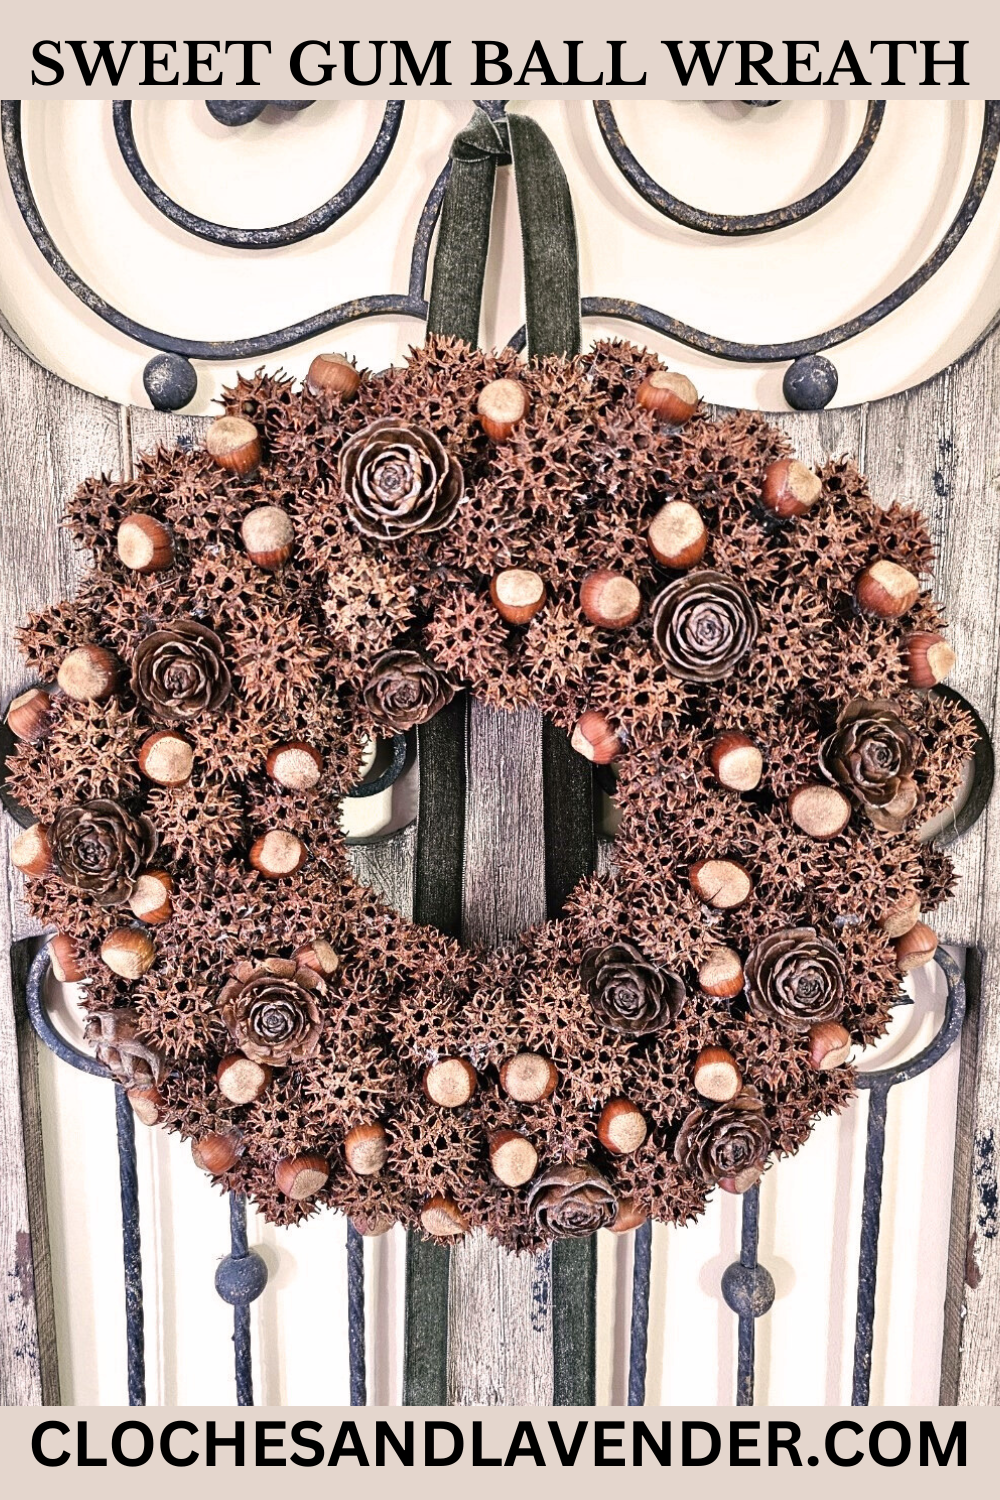
DIY Sweet Gum Ball Wreath for Cozy Home Decor
Looking for a fun, unique way to add rustic charm and cozy vibes? Sweet gum ball wreath for cozy home decor is a craft idea that turns ordinary sweet gum balls from your front yard into a beautiful handmade item full of natural elements and seasonal decor. Instead of tossing these spiky balls in the compost pile, create a wreath that shines on your front door, becomes a focal point on your coffee table, or a centerpiece on your dining table, bringing cozy home style to your home decor.
Cindy’s Tip: If you don’t have a sweet gum tree, you can purchase sweetgum balls from Amazon or Etsy. This is a great way to still enjoy the project and add rustic charm to your home decor.
As an Amazon Associate and through other affiliate links, I earn a small commission from qualifying purchases made through affiliate links. The price is the same whether you use the affiliate links or the website. All opinions are my own. (Check our full disclosure and privacy policy.)
Table of Contents
- 1 DIY Sweet Gum Ball Wreath for Cozy Home Decor: The Back Story
- 1.1 Craft Supplies
- 1.2 Step 1: Collect and Prep the Pods
- 1.3 Step 2: Paint the Wreath Base
- 1.4 Step 3: Attach Sweet Gum Pods
- 1.5 Step 4: Add Natural Elements
- 1.6 Step 5: Seal Your Sweetgum Balls (Optional but Recommended)
- 1.7 More Sweet Gum Balls and Craft Ideas
- 1.8 Fun Facts About Sweet Gum Trees
- 1.9 Display Your Sweet Gum Ball Wreath
- 1.10 Other Handmade Items:
DIY Sweet Gum Ball Wreath for Cozy Home Decor: The Back Story
I can already hear the complaints about these spiky balls. No, I don’t have sweetgum trees in my front yard. However, I love working with items that Mother Nature provides. Hey, they’re free, and when your neighbor offers you these empty seed pods, you take them. So, my husband came with a plastic bag. After realizing how many were lying on the ground from our neighbor’s sweet gum tree, he came back with two buckets. As I mentioned, the pieces Mother Nature offers are free! This DIY sweet gum ball wreath for cozy home decor was born from that moment. And if you’re still not convinced these seed pods are fun to use, you can always toss them in the compost pile.
Craft Supplies
- 8-inch or 10-inch straw wreath form or a grapevine wreath
- 150 sweet gum balls (HERE)
- 12 pinecone flowers (optional)
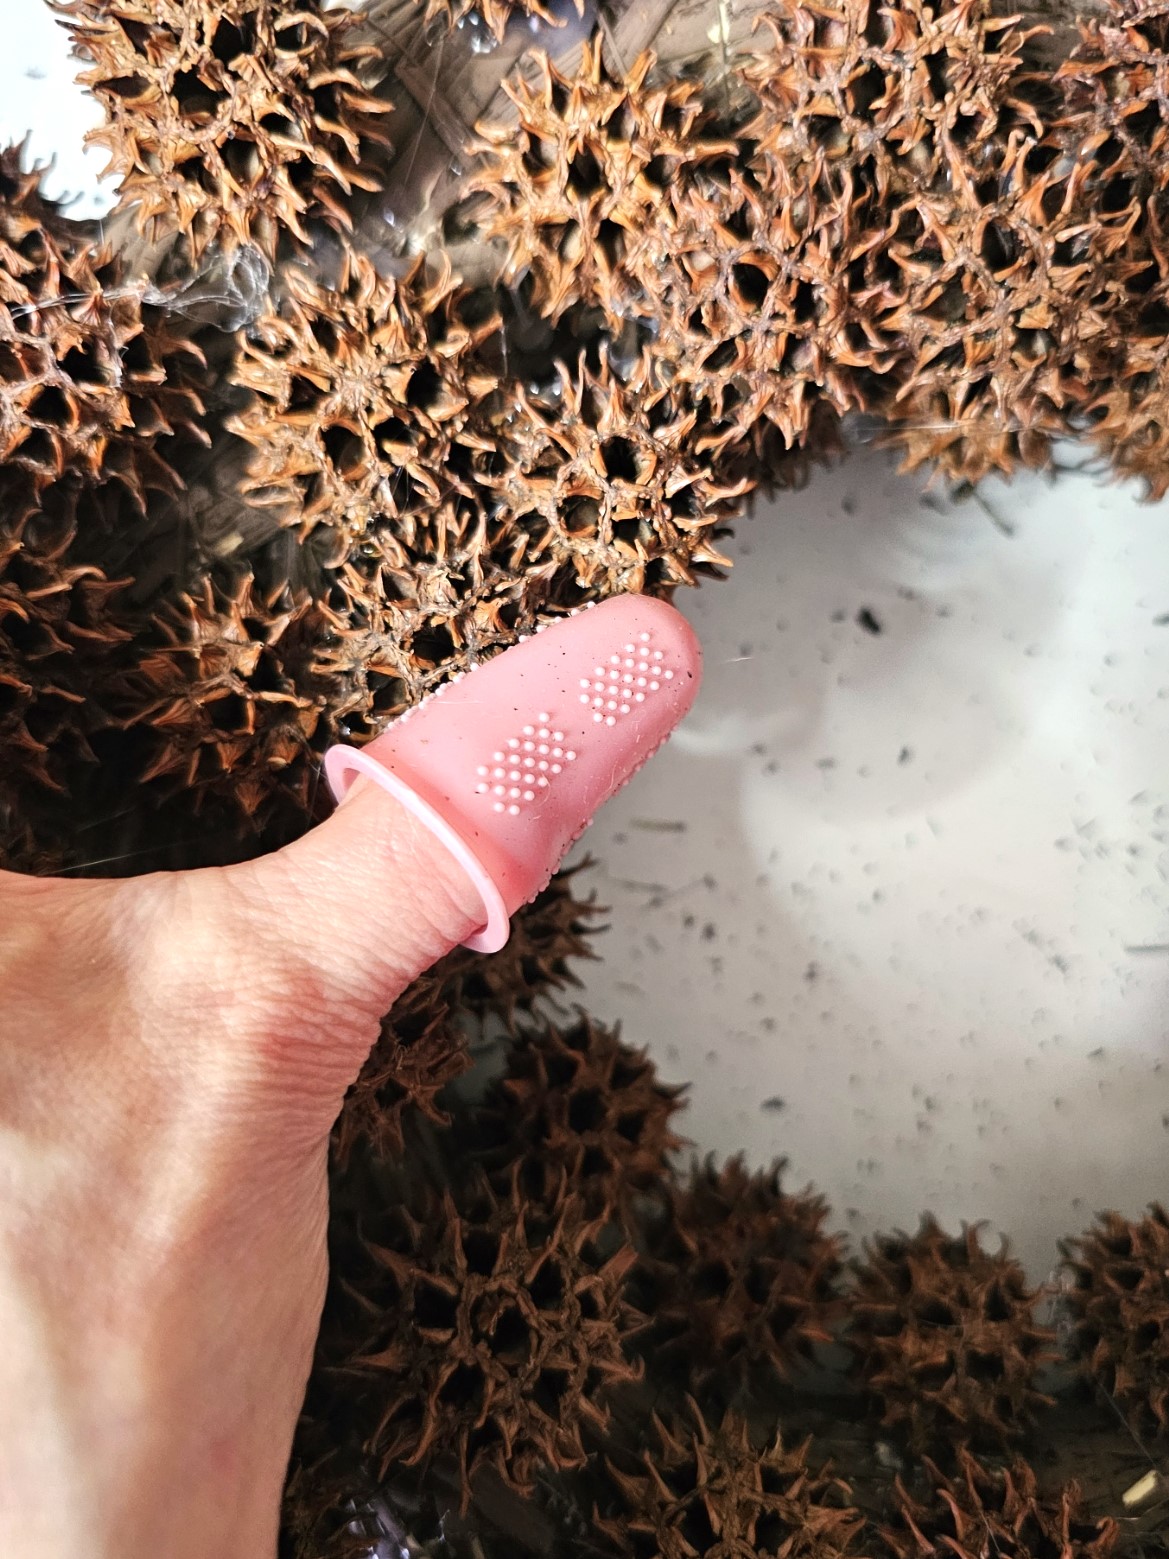
- Silicone finger protectors – My favorite (HERE)
- Hazelnuts (optional)
- Hot glue gun and glue sticks – My favorite (HERE)
- Matte brown spray paint (HERE)
- Cookie sheet – My favorite (HERE)
- Plastic bag or bucket
- Tweezers: to remove glue strings – My favorite (HERE)
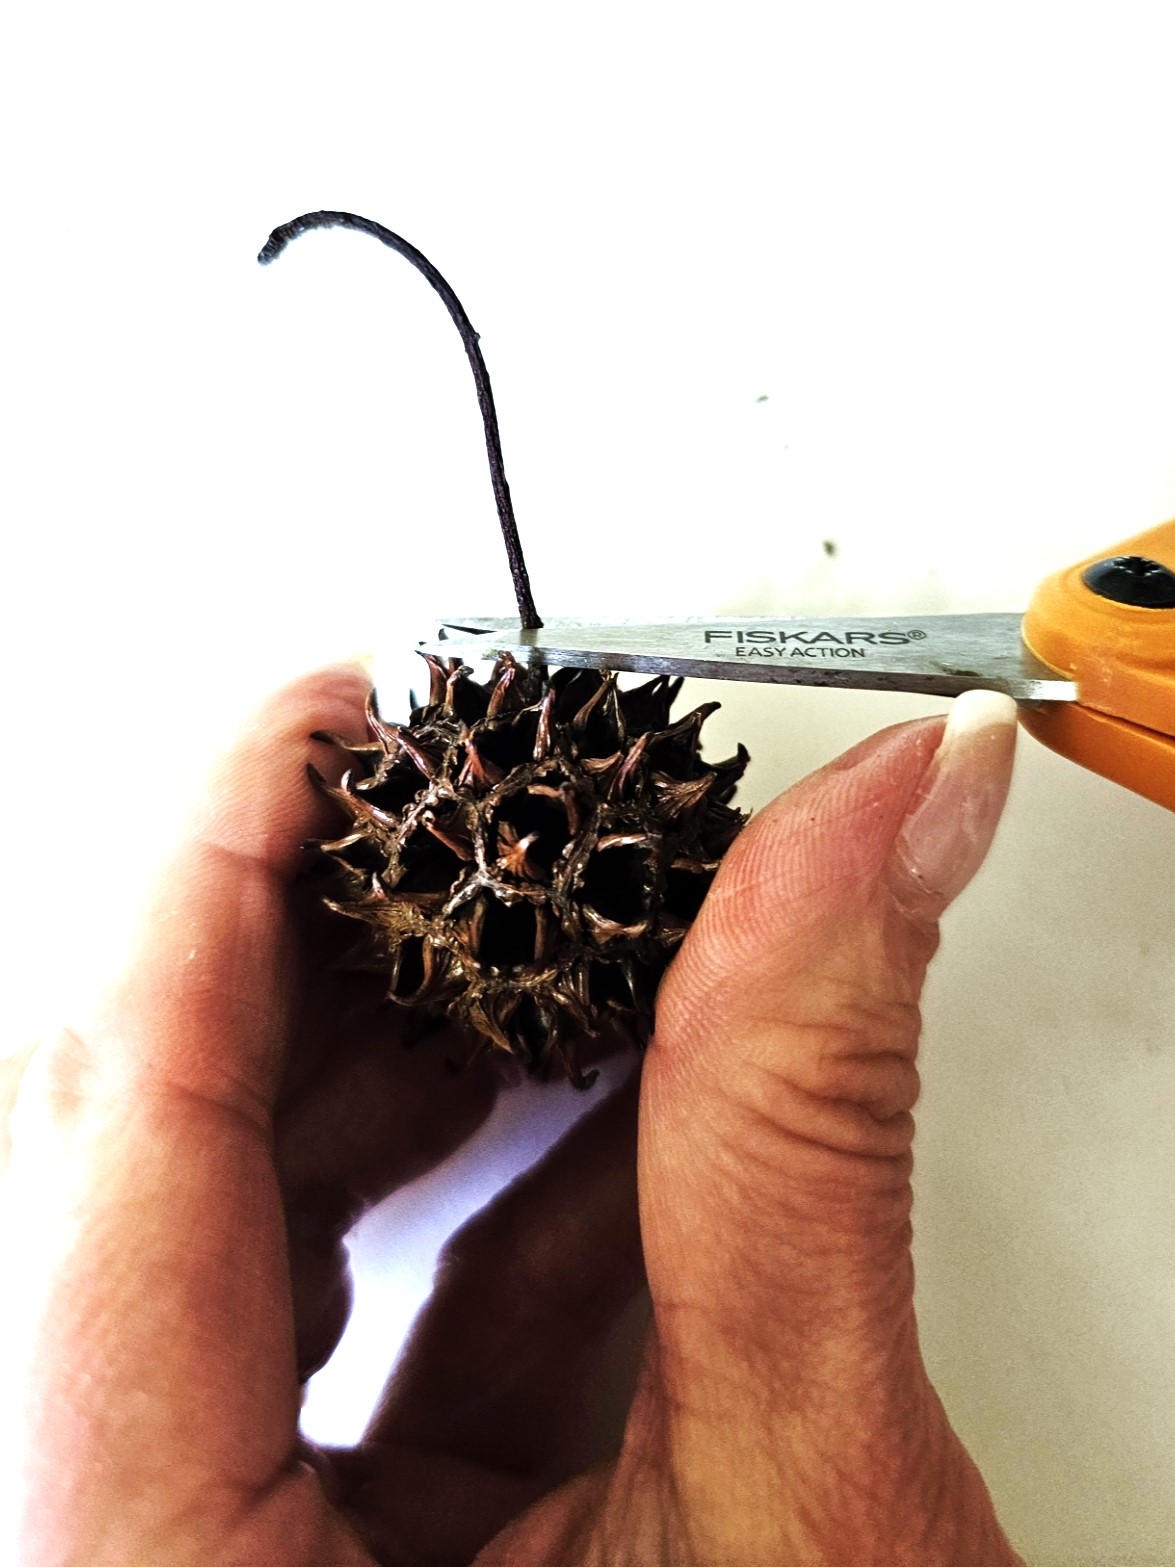
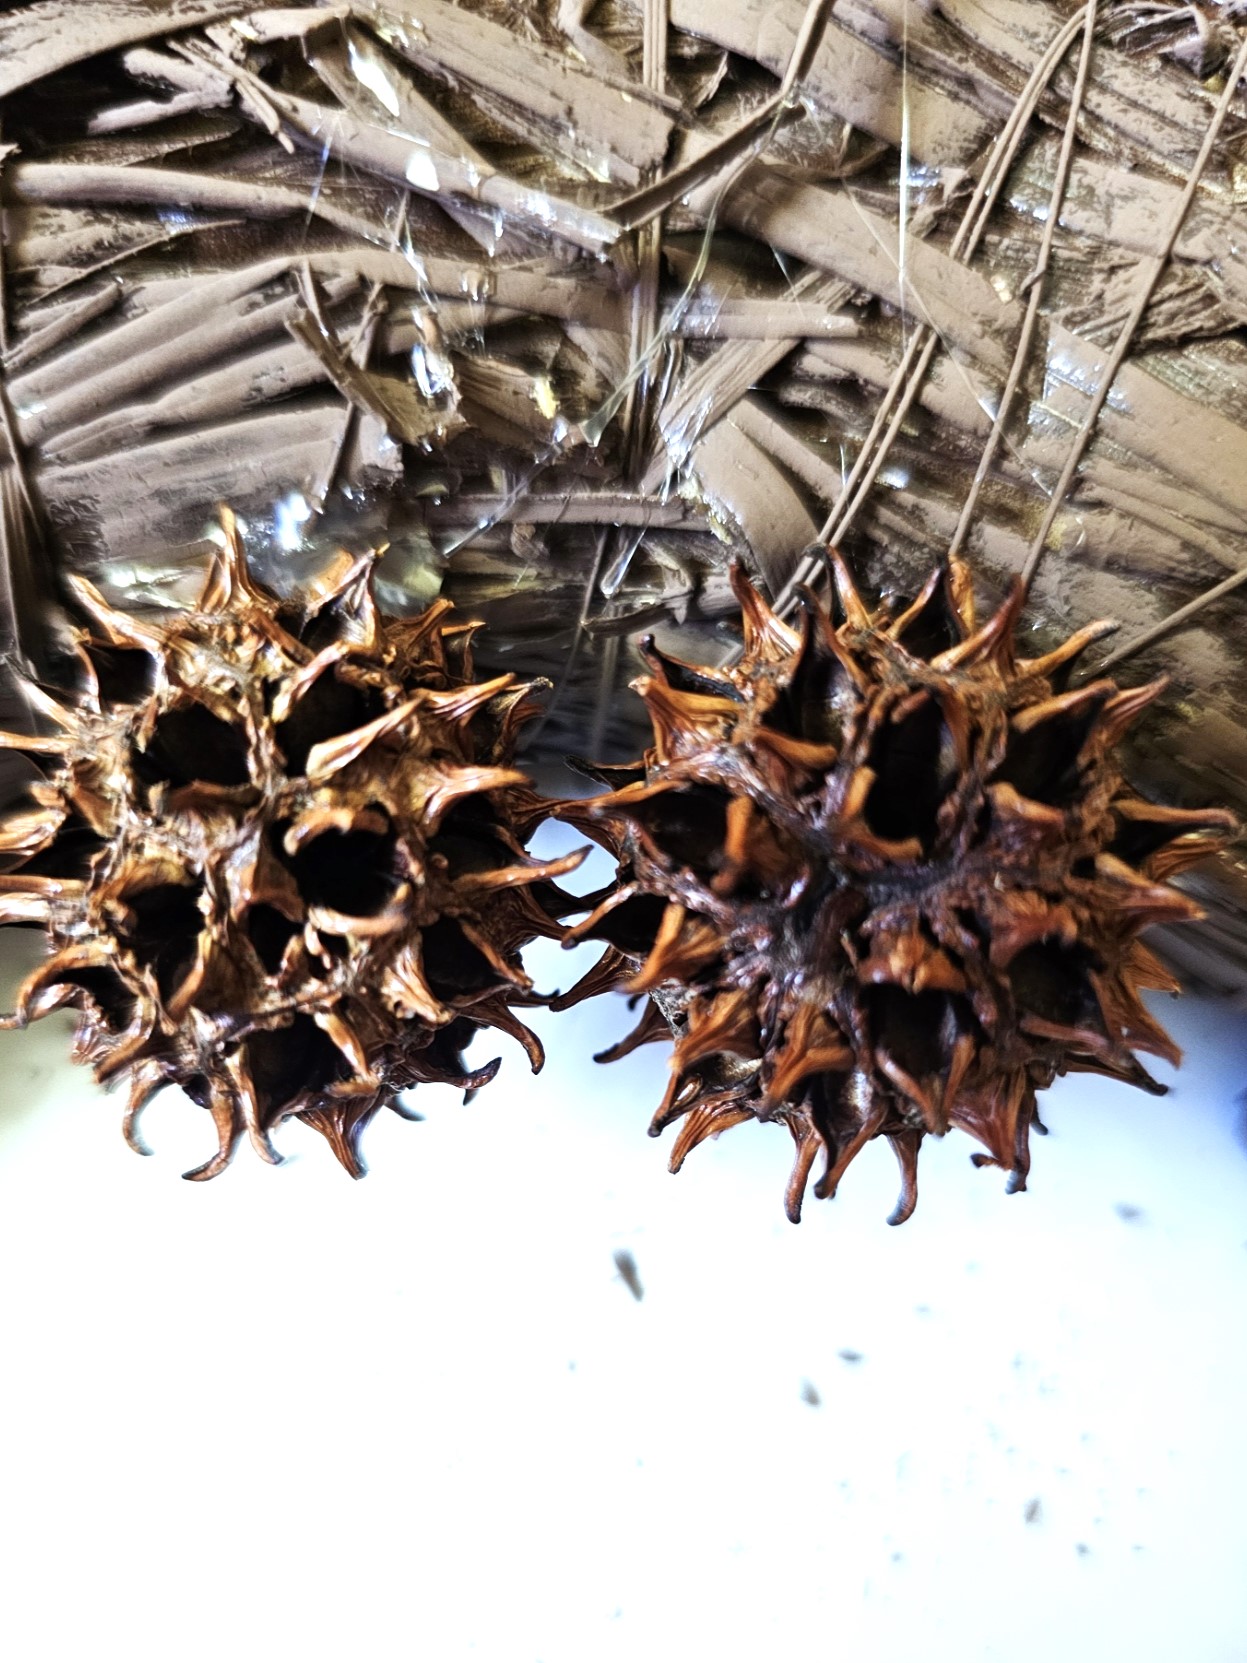
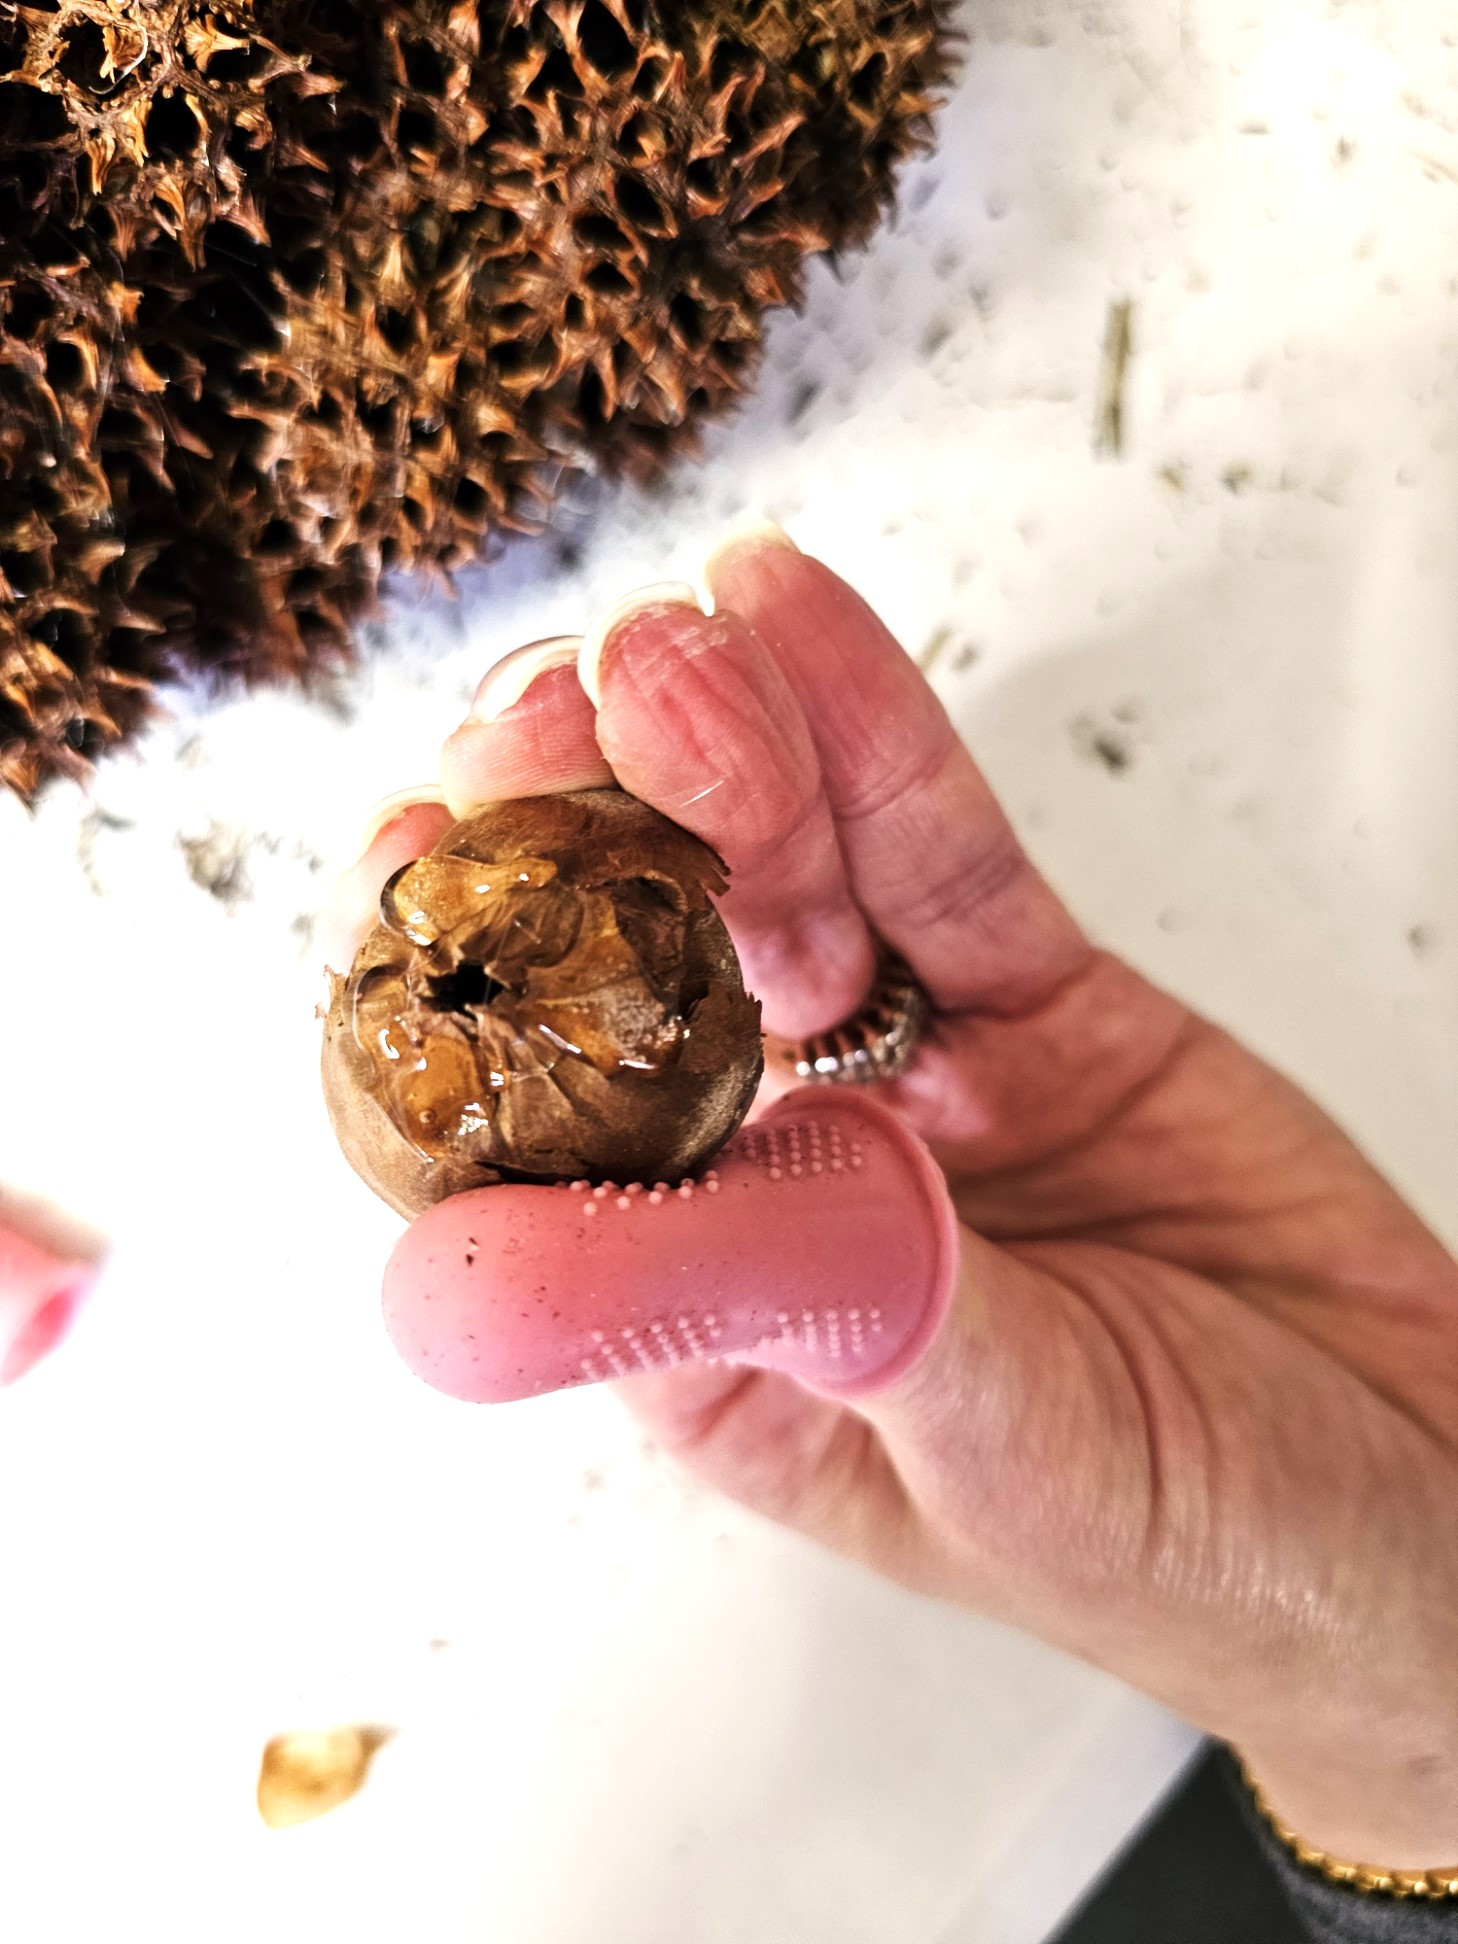
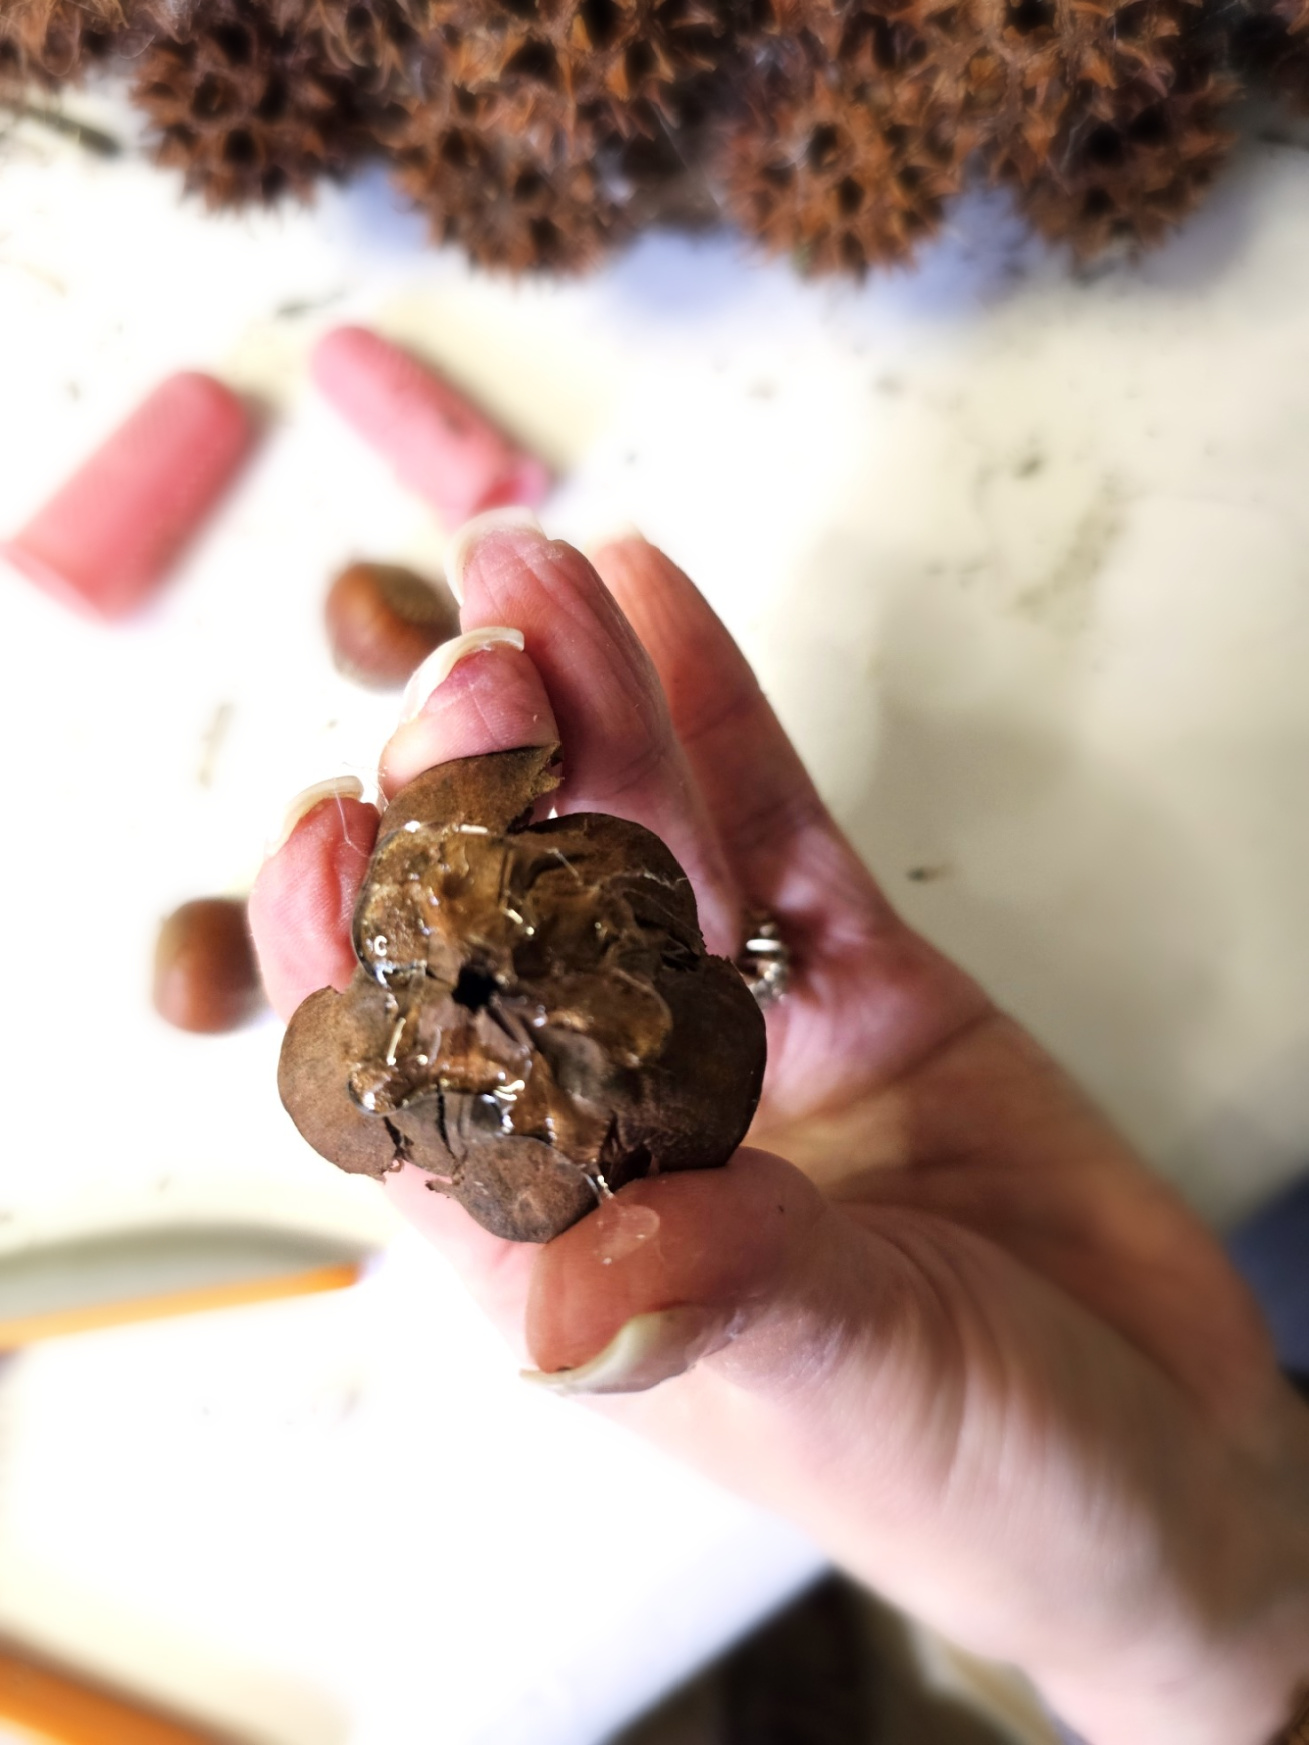
Step 1: Collect and Prep the Pods
Grab a plastic bag or bucket and collect sweet gum balls from sweetgum trees in your front yard. Preheat your oven to 250° and bake the seed pods for 15 minutes to remove pests. This ensures your handmade items last a long time and look perfect for multiple seasonal decor projects.
Cindy’s Tip: Visit this blog post to learn how I preserve pinecones for crafts and decor with my tips and tricks. (HERE) Even though Mother Nature provides these for free, critters sometimes nibble on sweet gum seeds, so baking is essential.
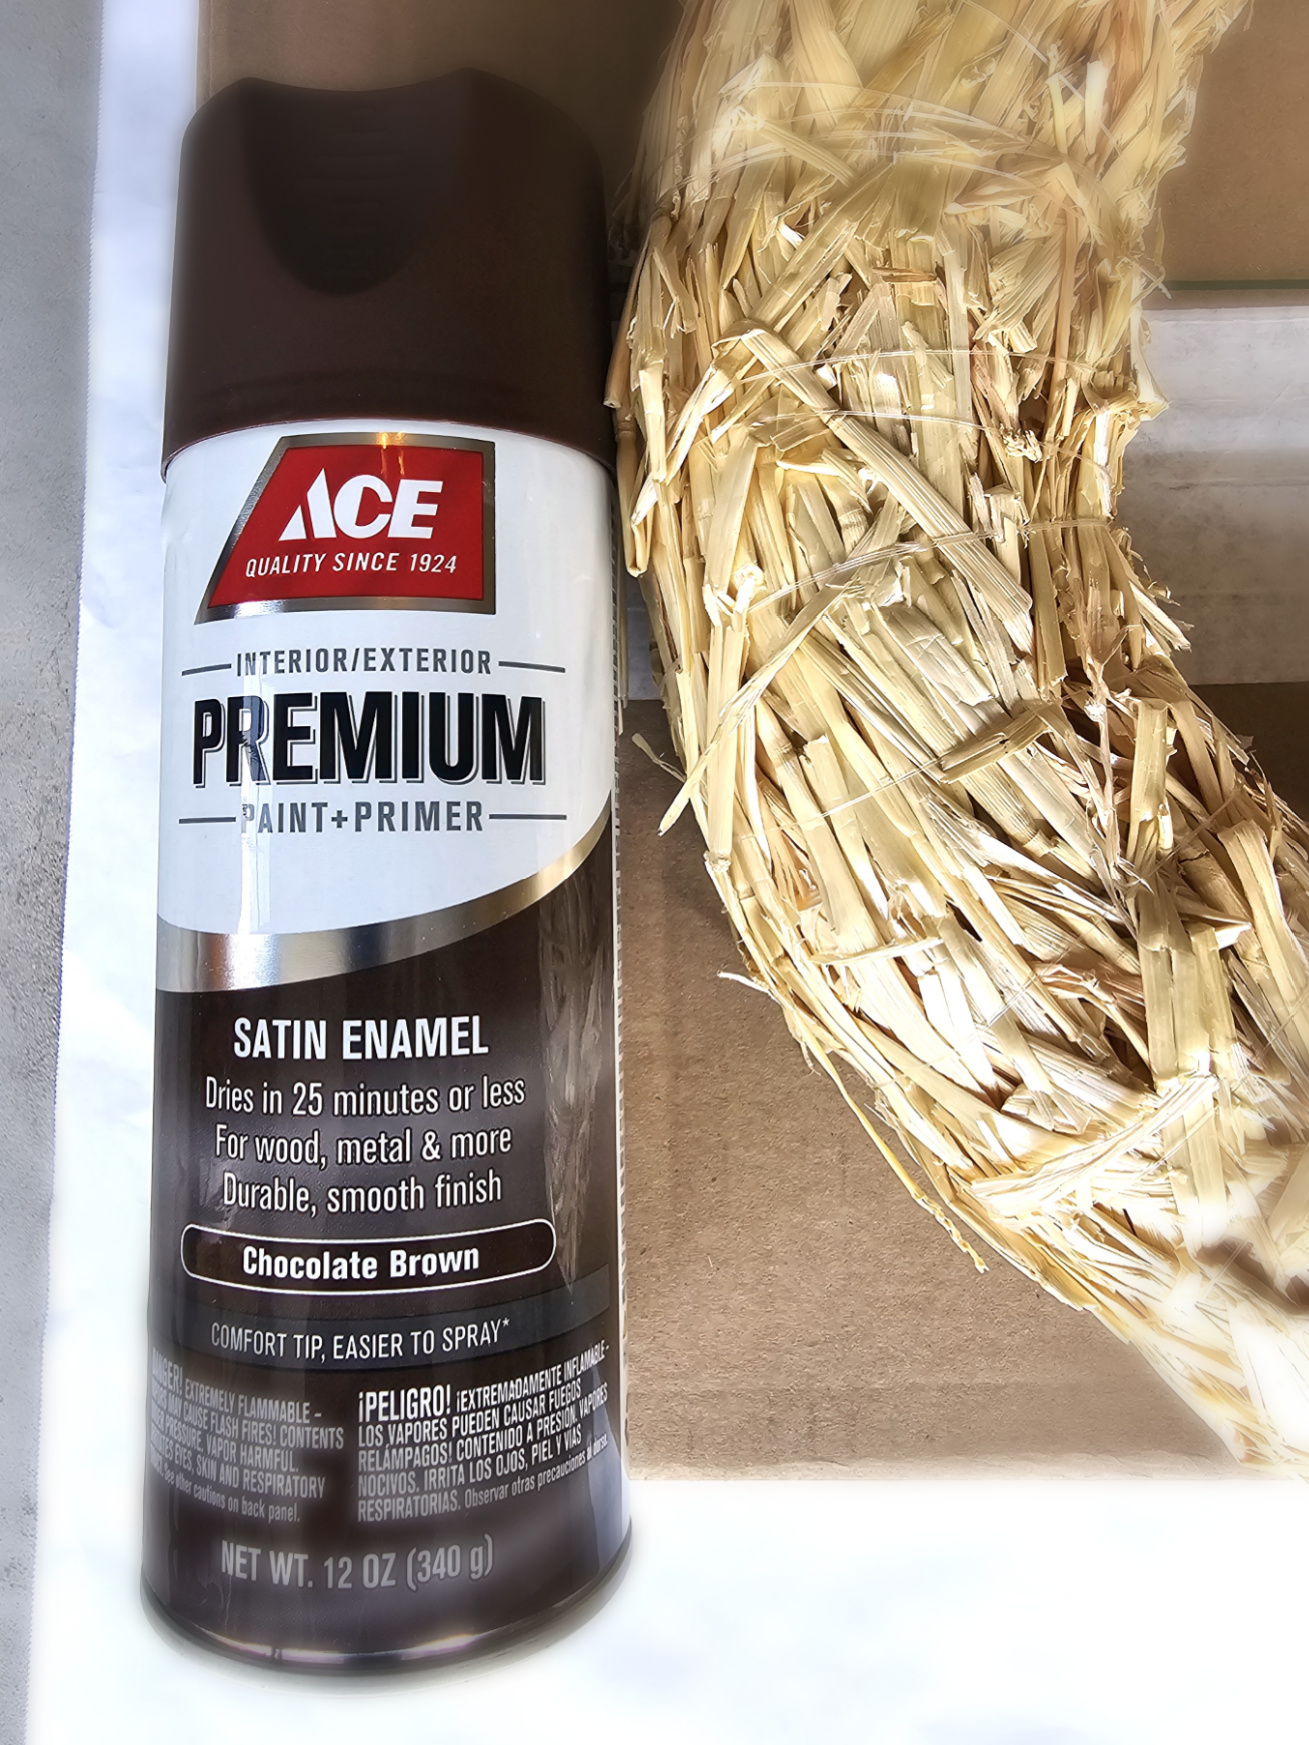
Step 2: Paint the Wreath Base
Use your straw wreath form or grapevine wreath as the base and remove the stems with scissors. Spray matte brown so any gaps behind the handmade items blend seamlessly. Spraying is the easy way to prep your wreath for this craft idea. It gives a flawless look.
Cindy’s Note: If you’re using a grapevine wreath, you can skip the painting. Its natural tones already provide a beautiful background.
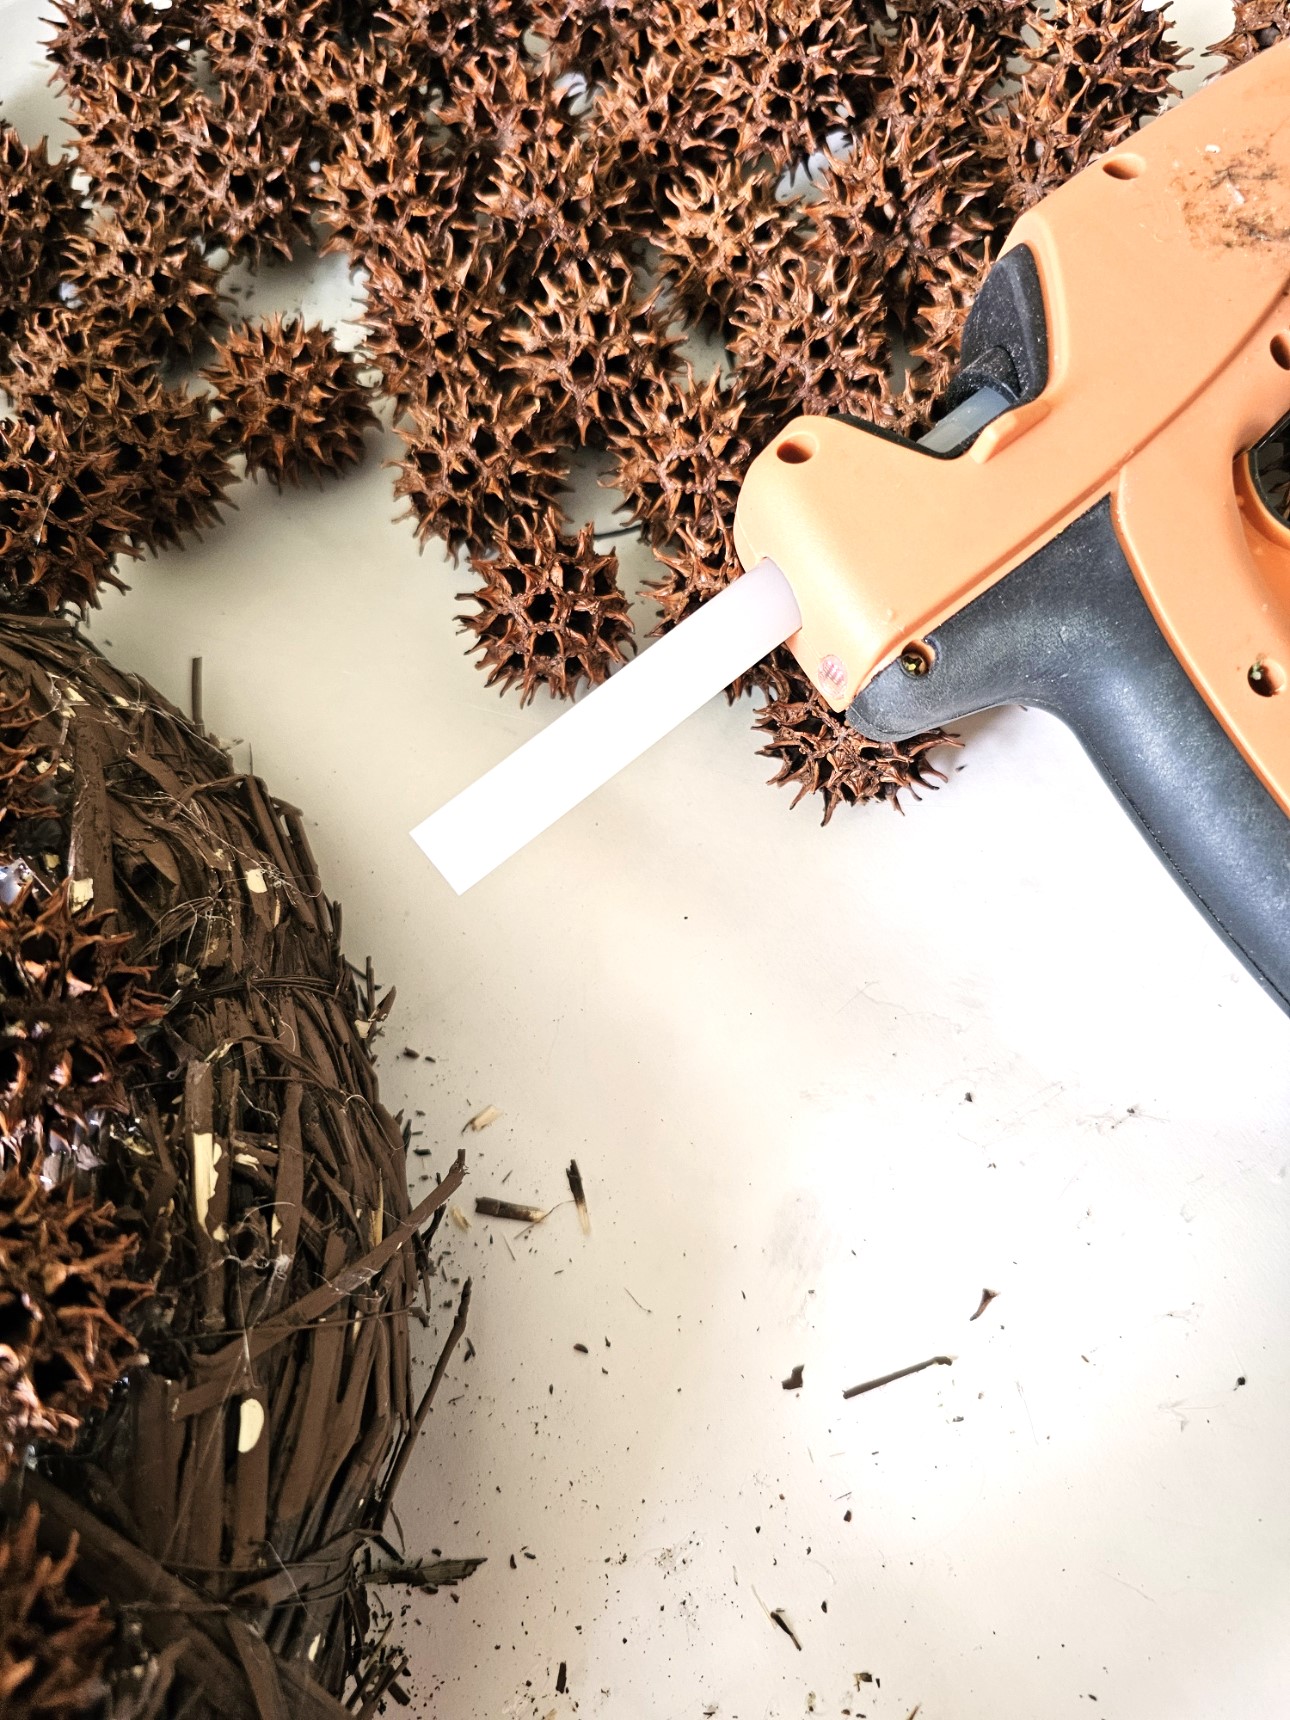
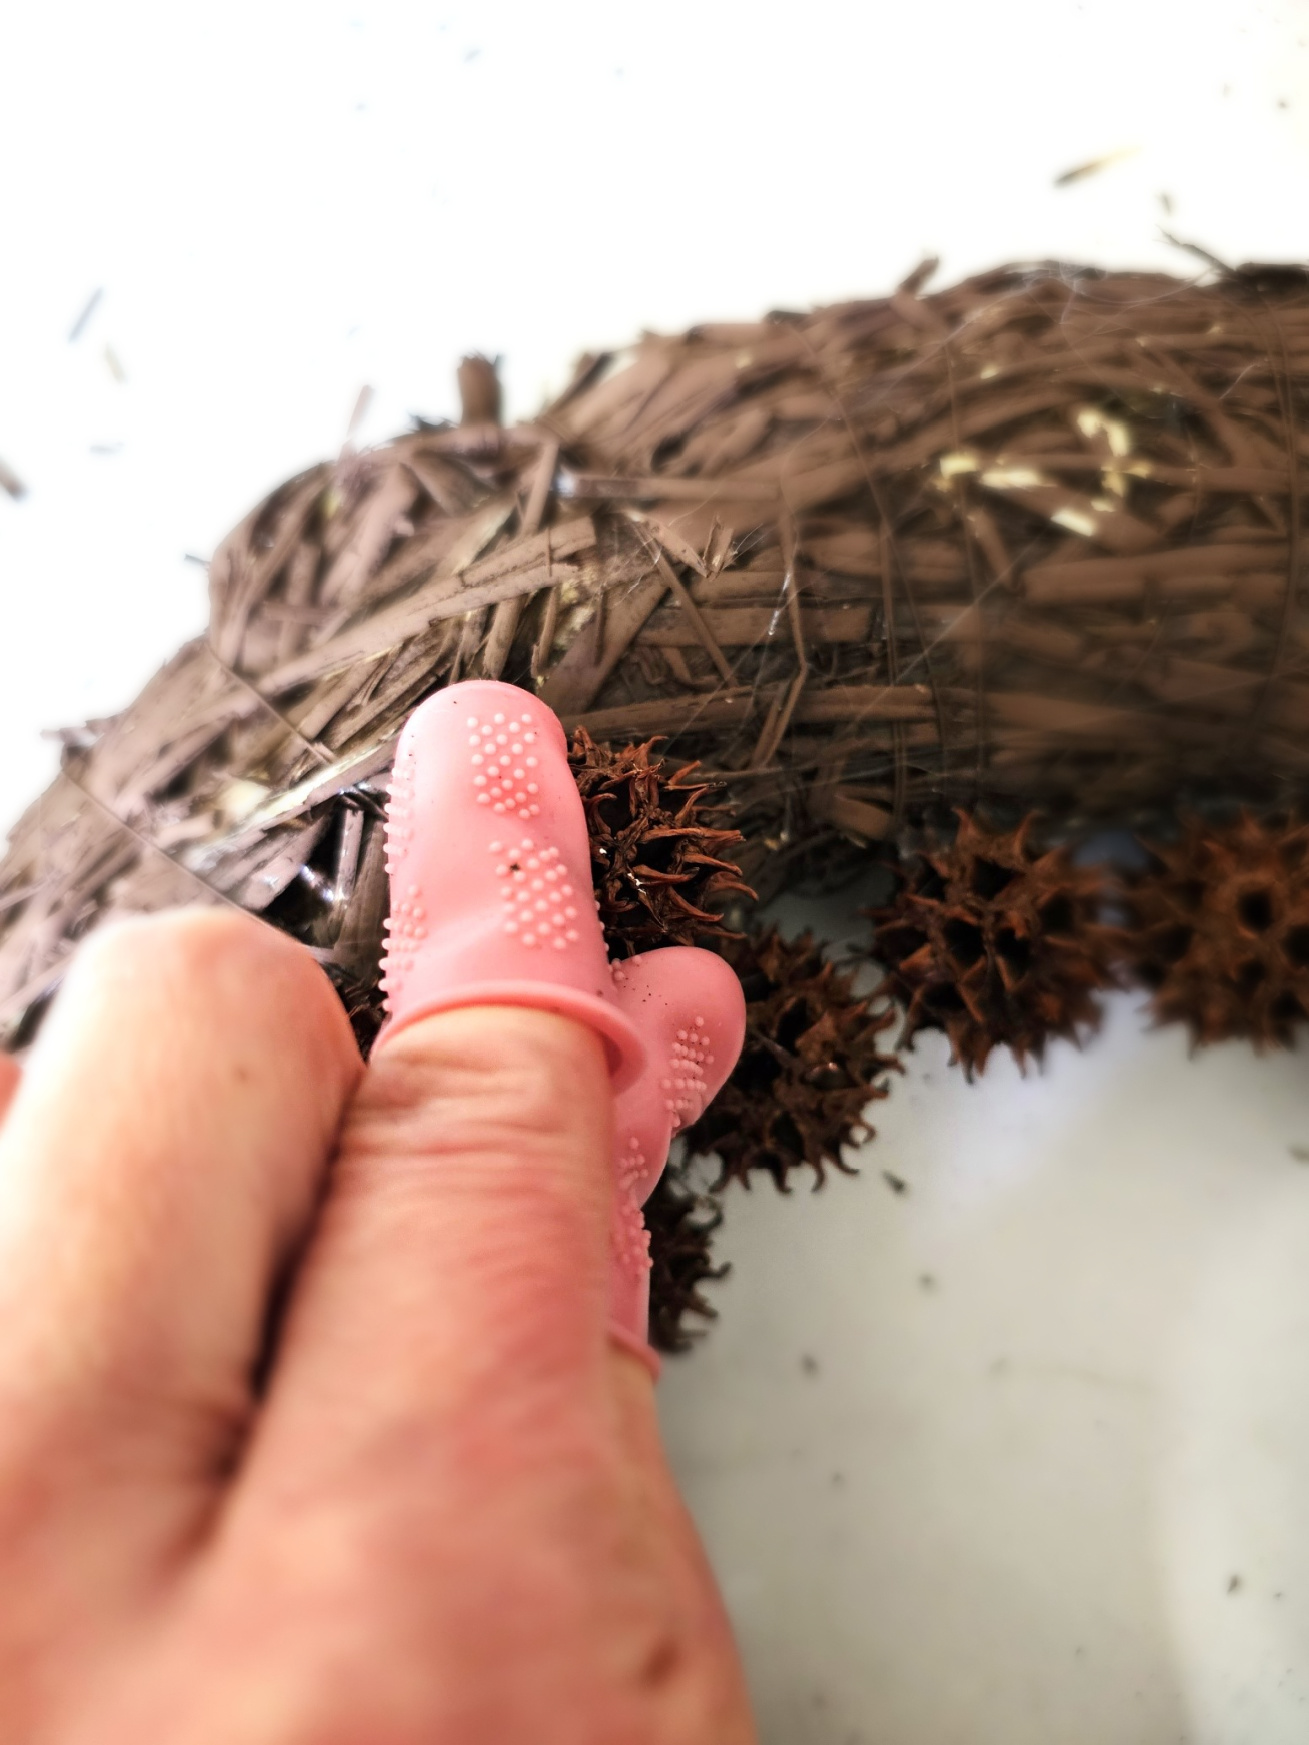
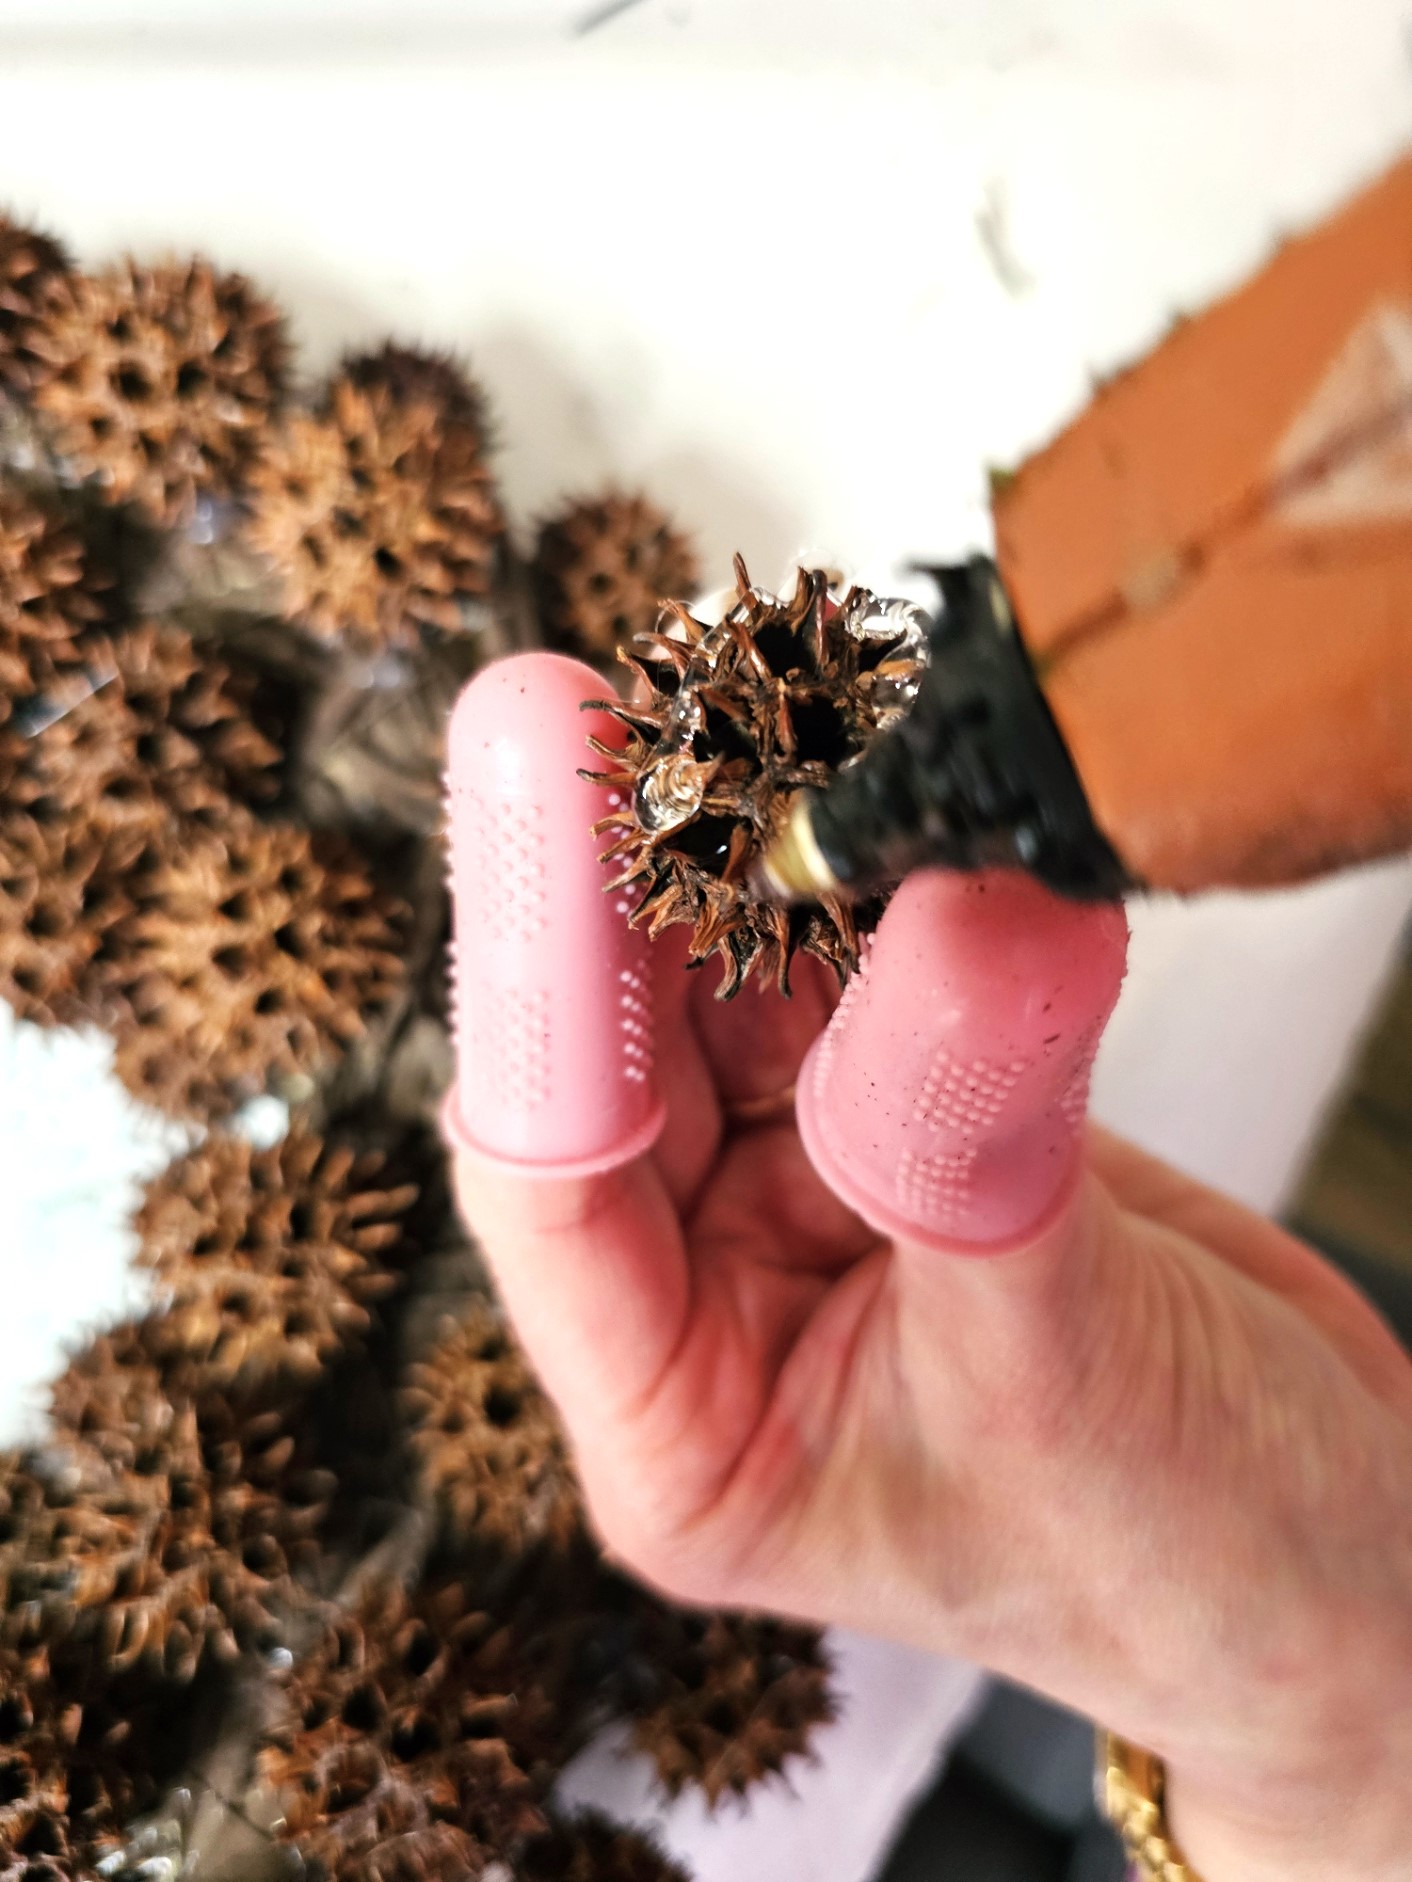
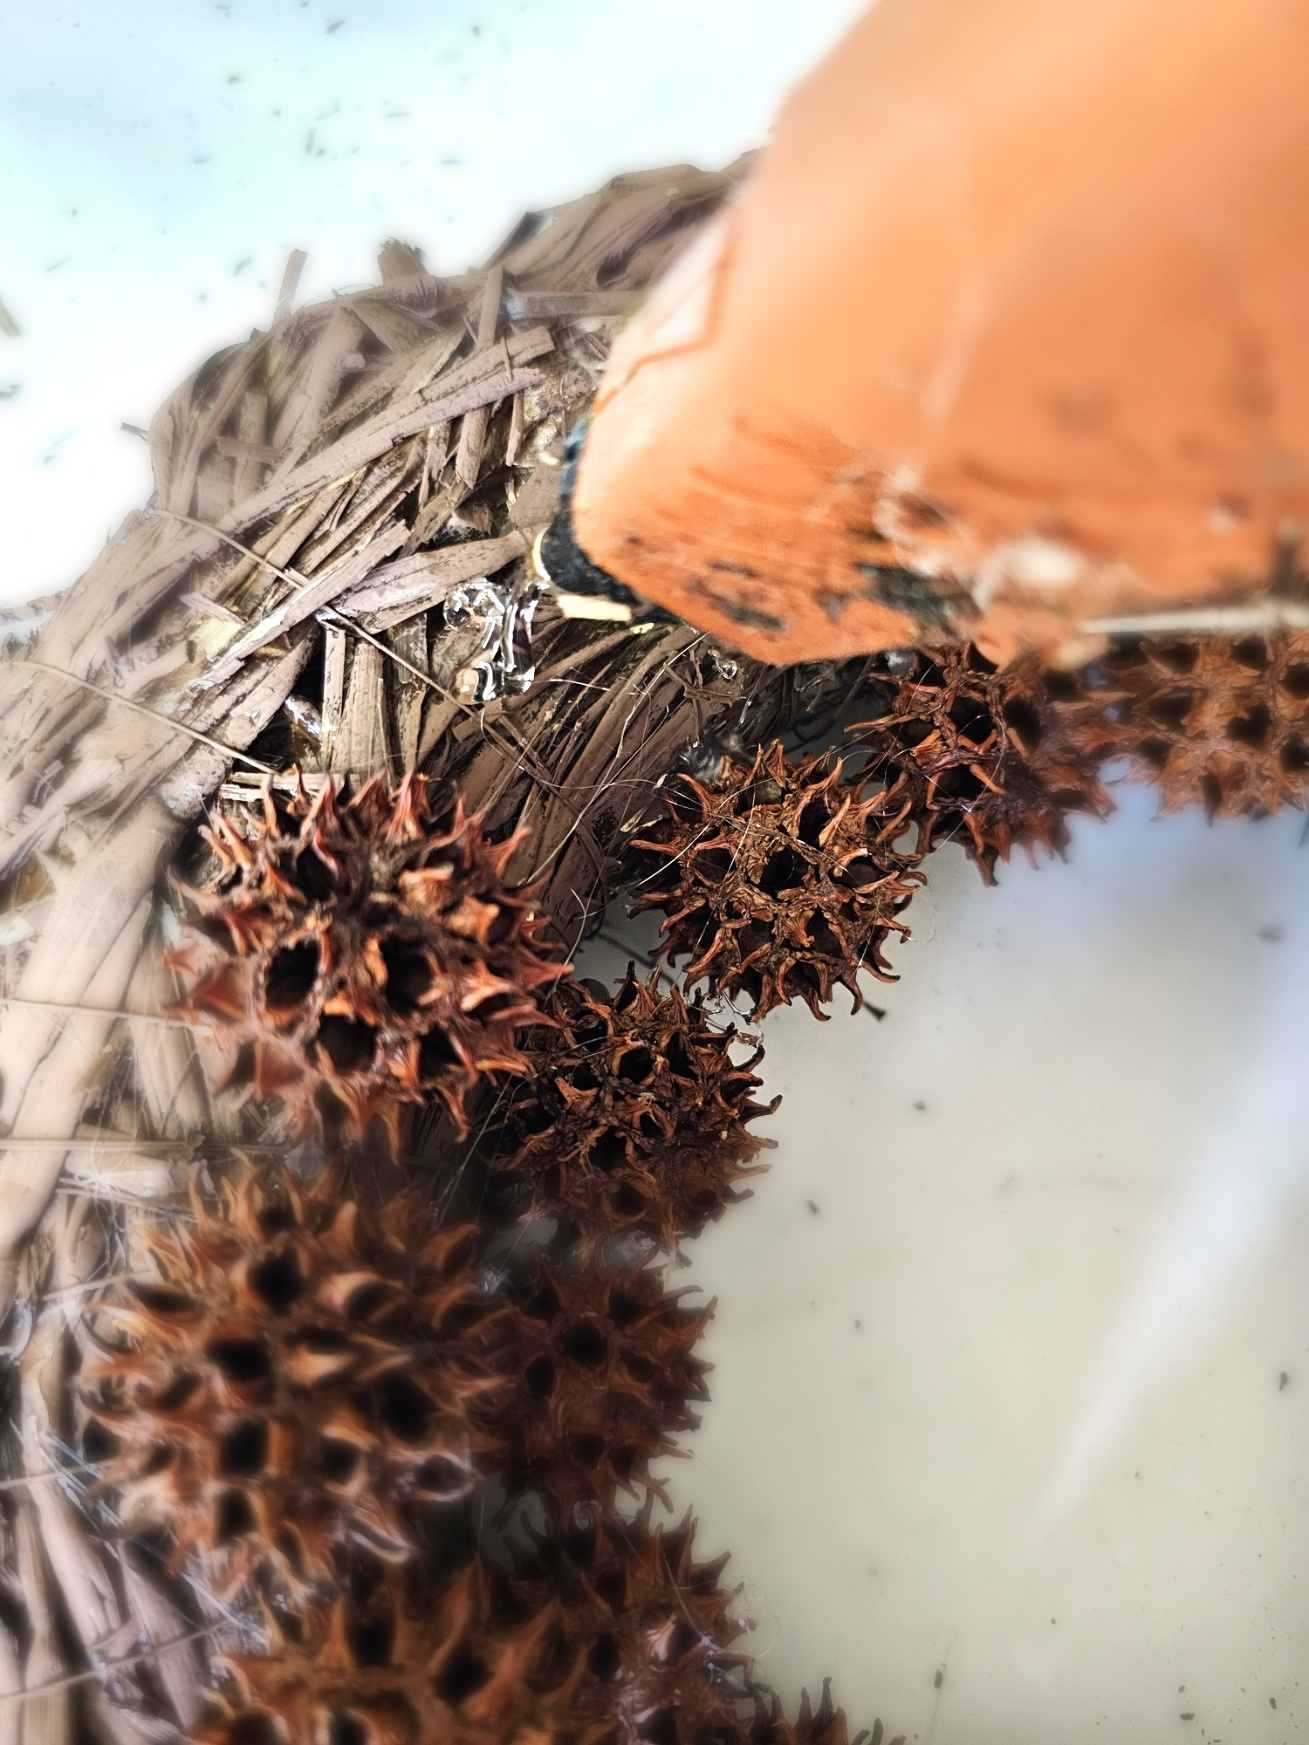
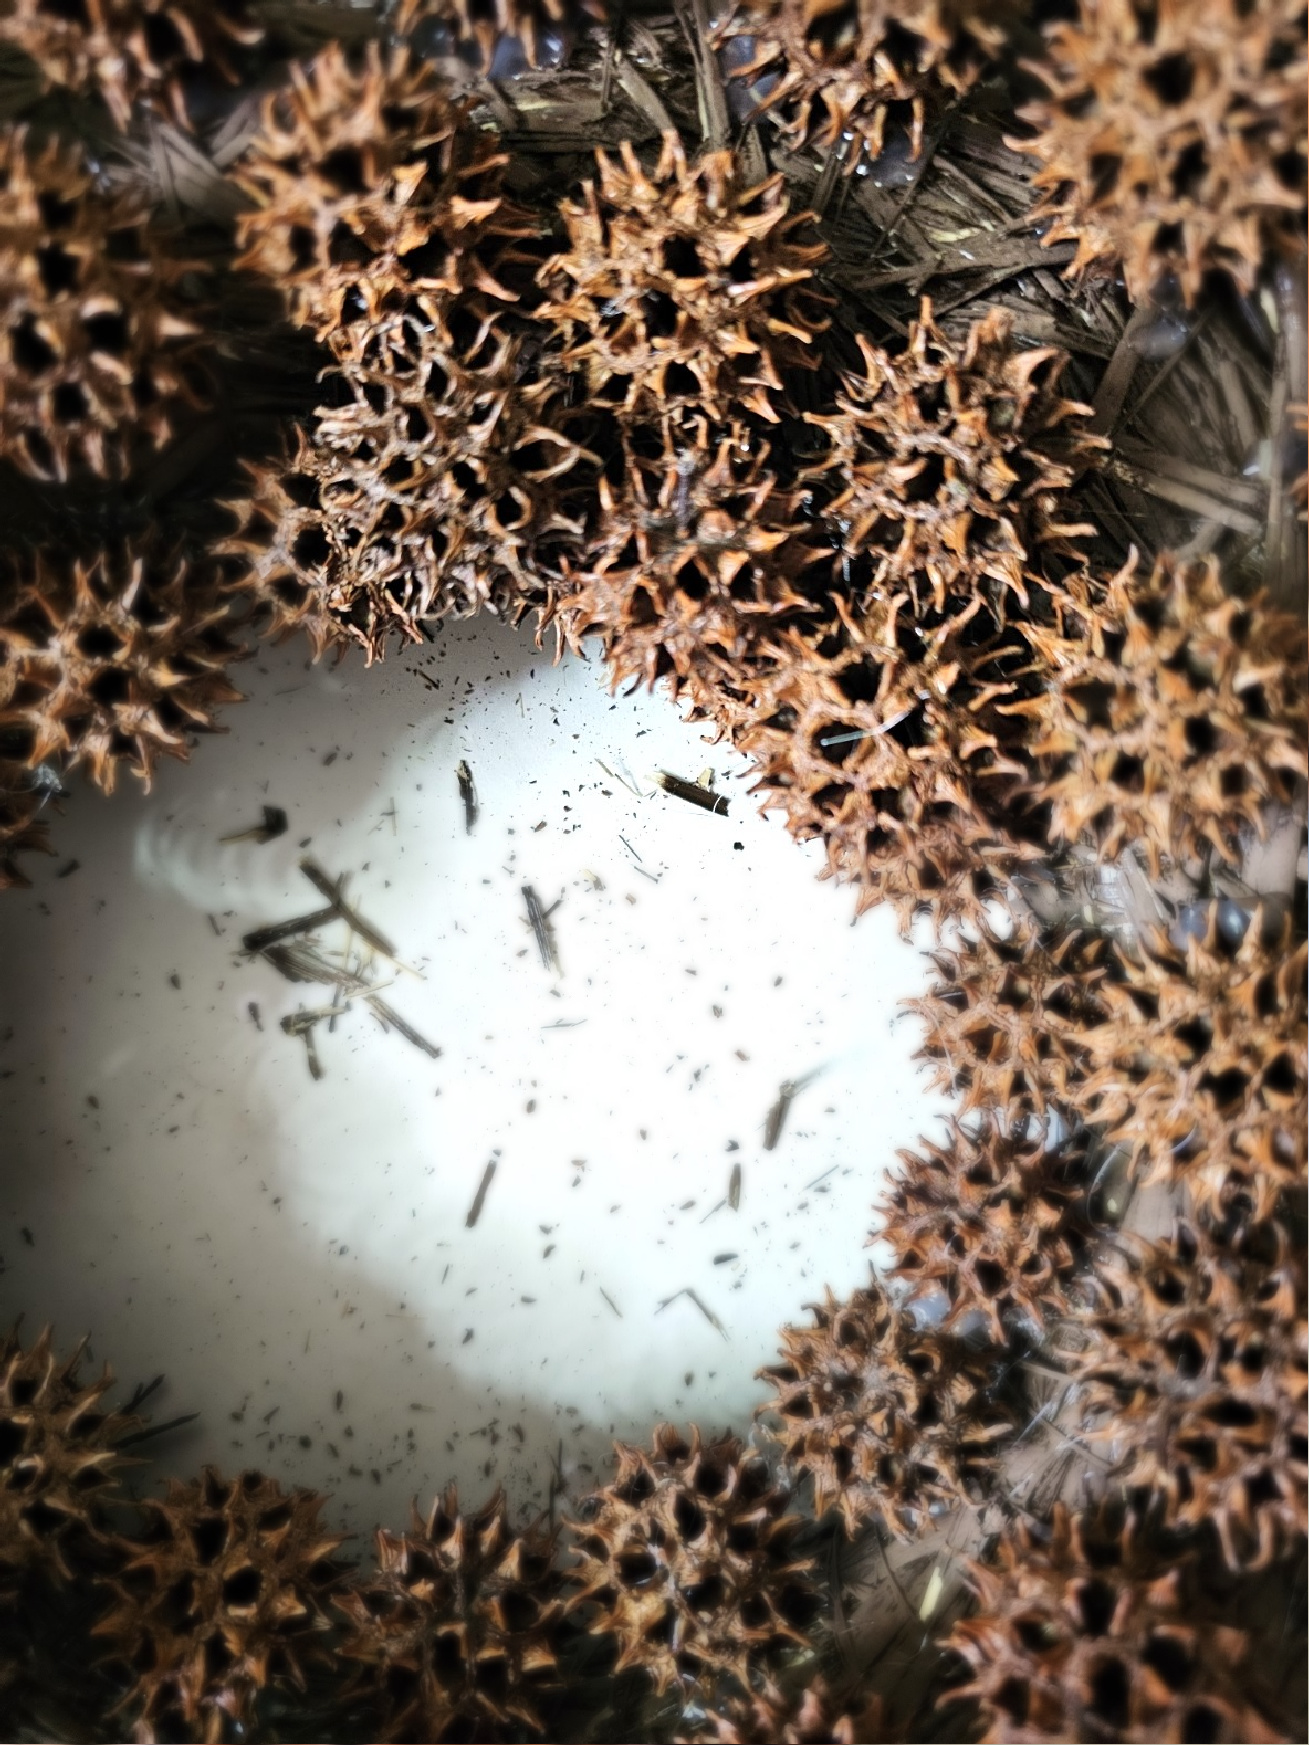
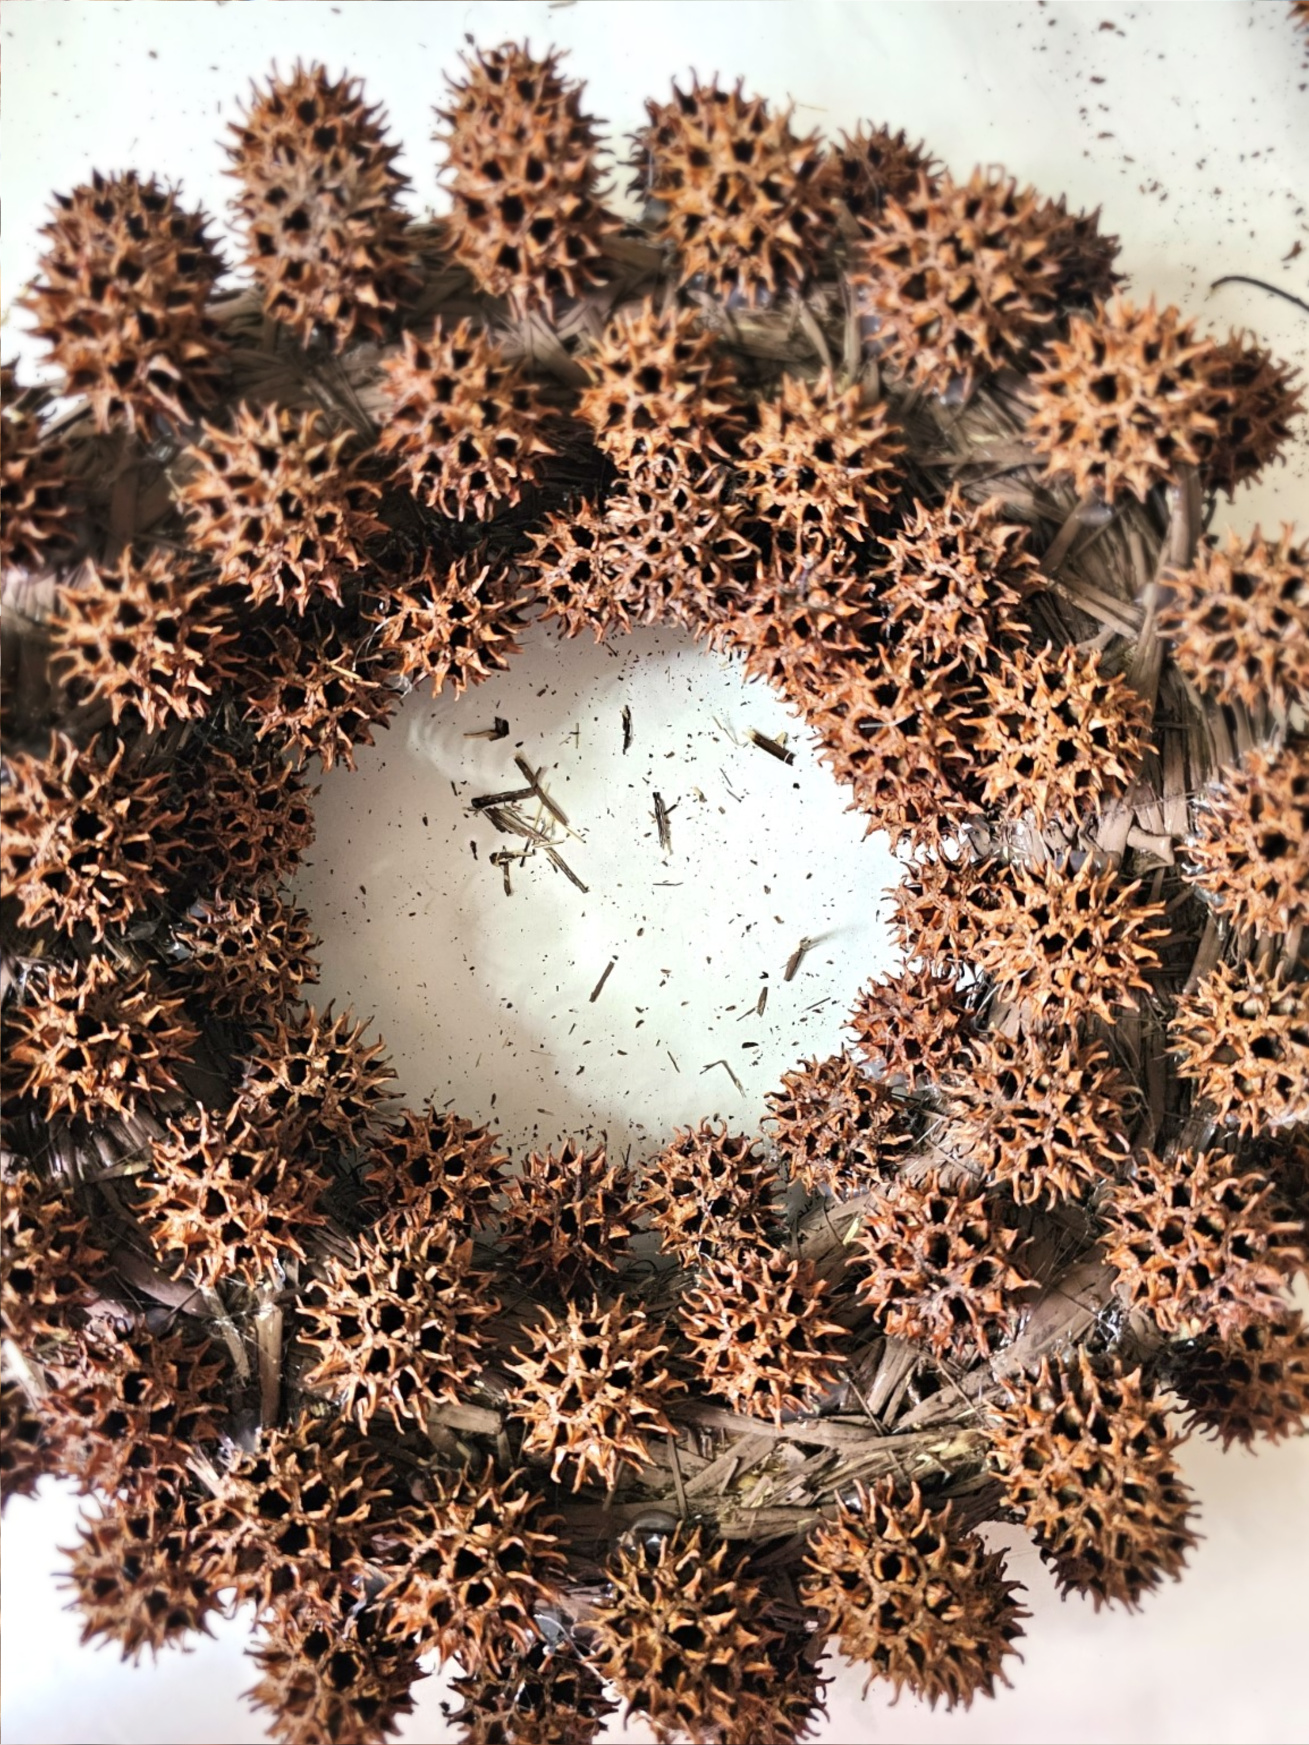
Step 3: Attach Sweet Gum Pods
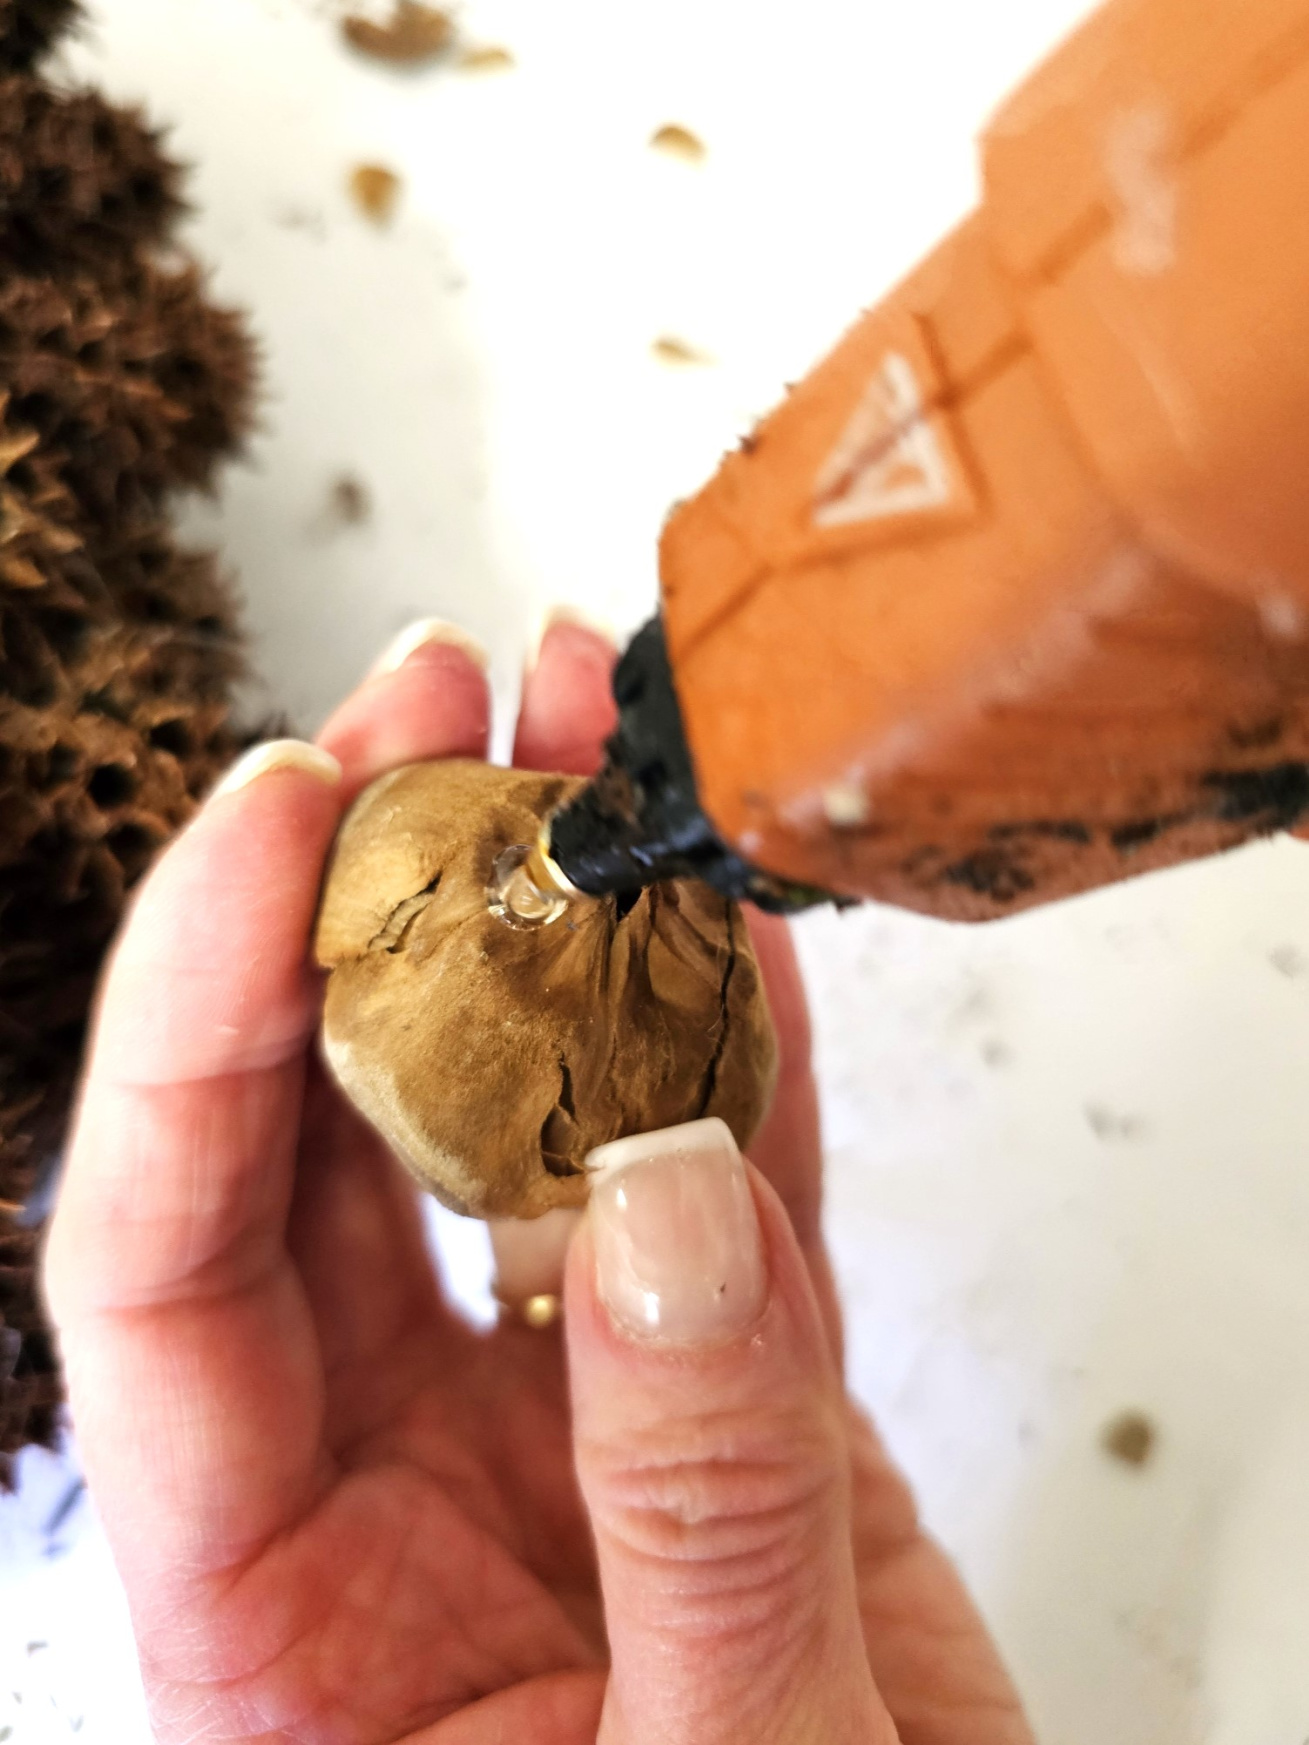
Secure sweet gum pods with a lot of hot glue using your glue gun. Hold each spiky ball to set. Take your time adding the pieces. I add hazelnuts to add texture. They do a great job filling in gaps and creating texture.
Cindy’s Protective Rubber Fingers: It has taken me since last year to find protective fingers that finally fit. I have skinny fingers, and every set fell off. So, if you have the same issue, these are a sure thing and do a great job of avoiding burns! I’m still getting used to wearing them. In some pictures, I’m not. Notice in some pictures, I’m adding glue to the wreath. My arms were getting tired. I have MS, so I have to change positions at times. Never let a disability define you!


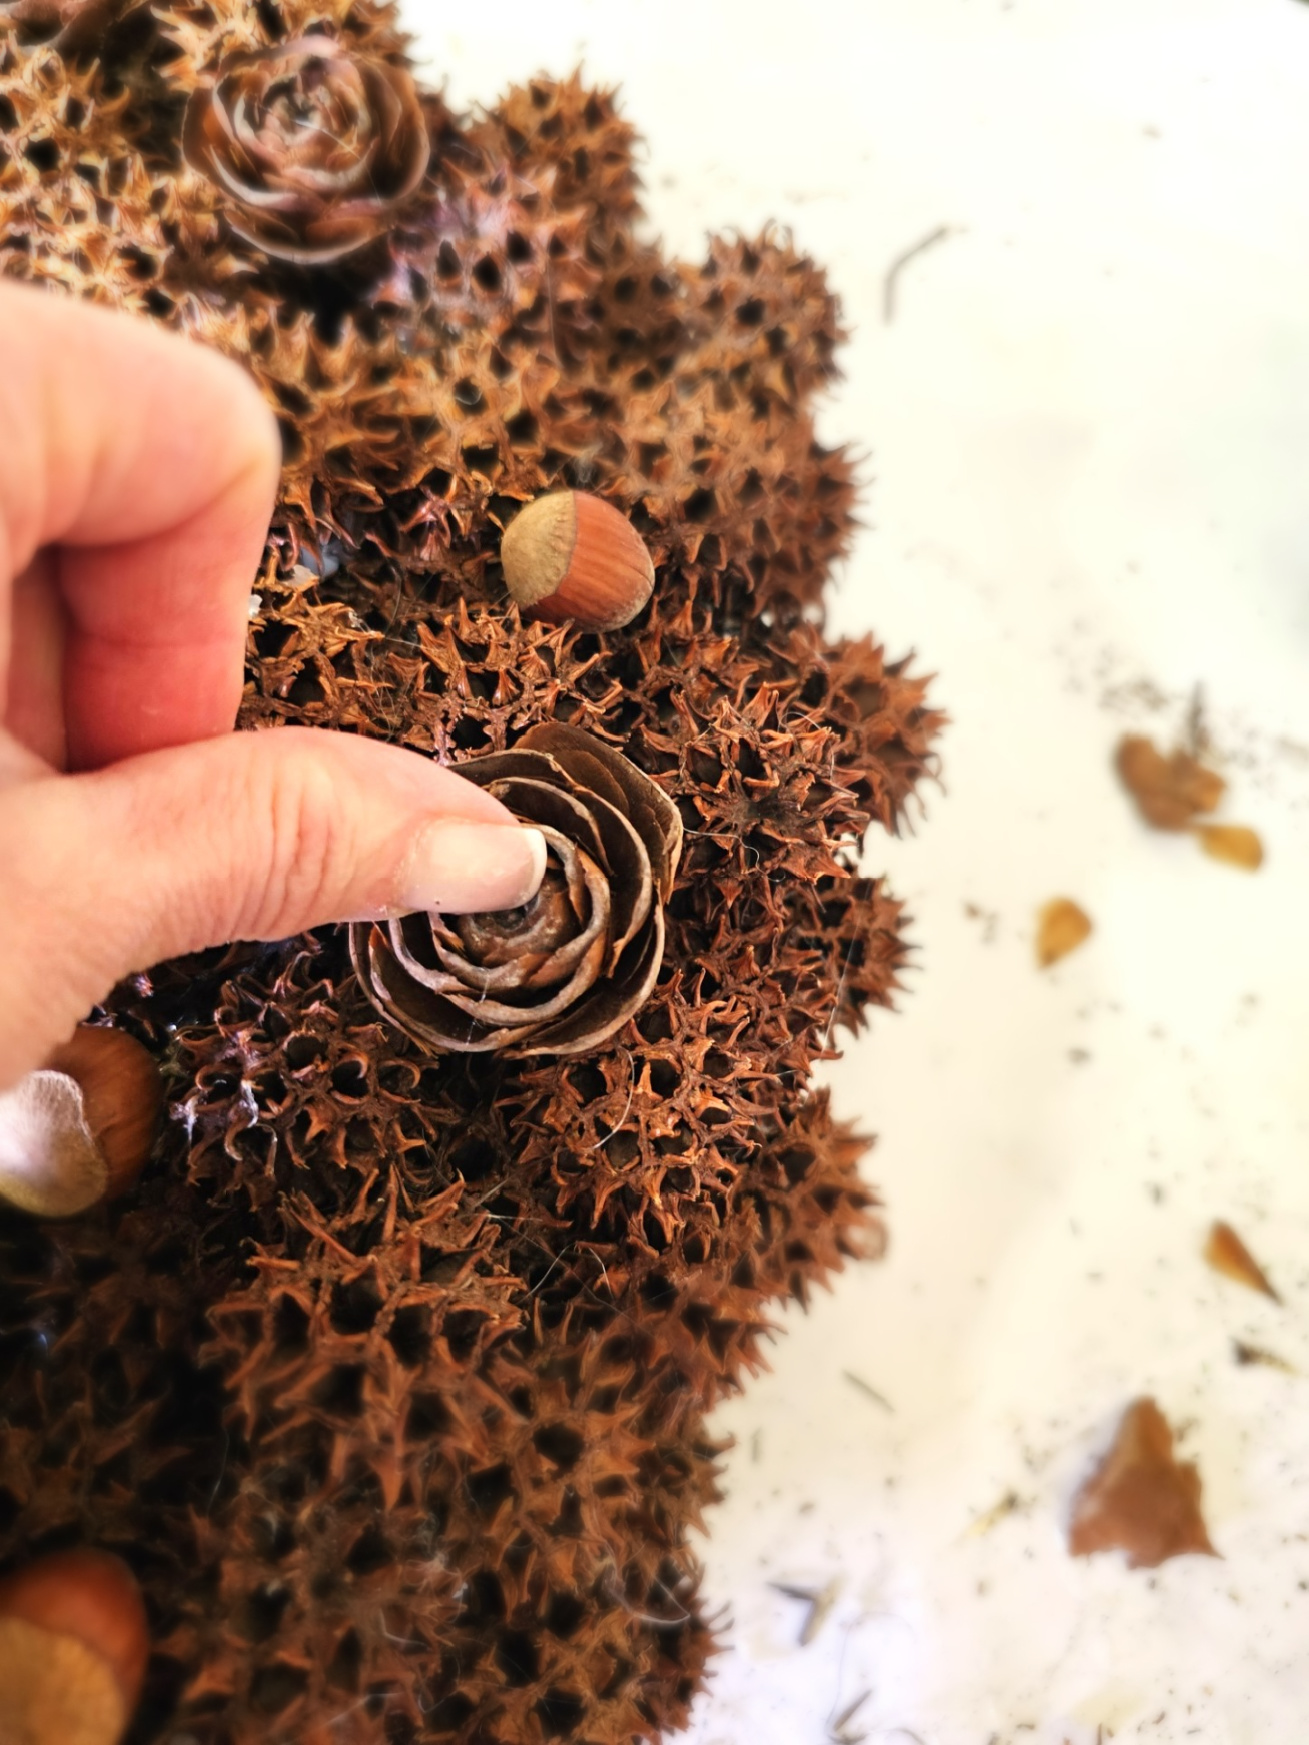
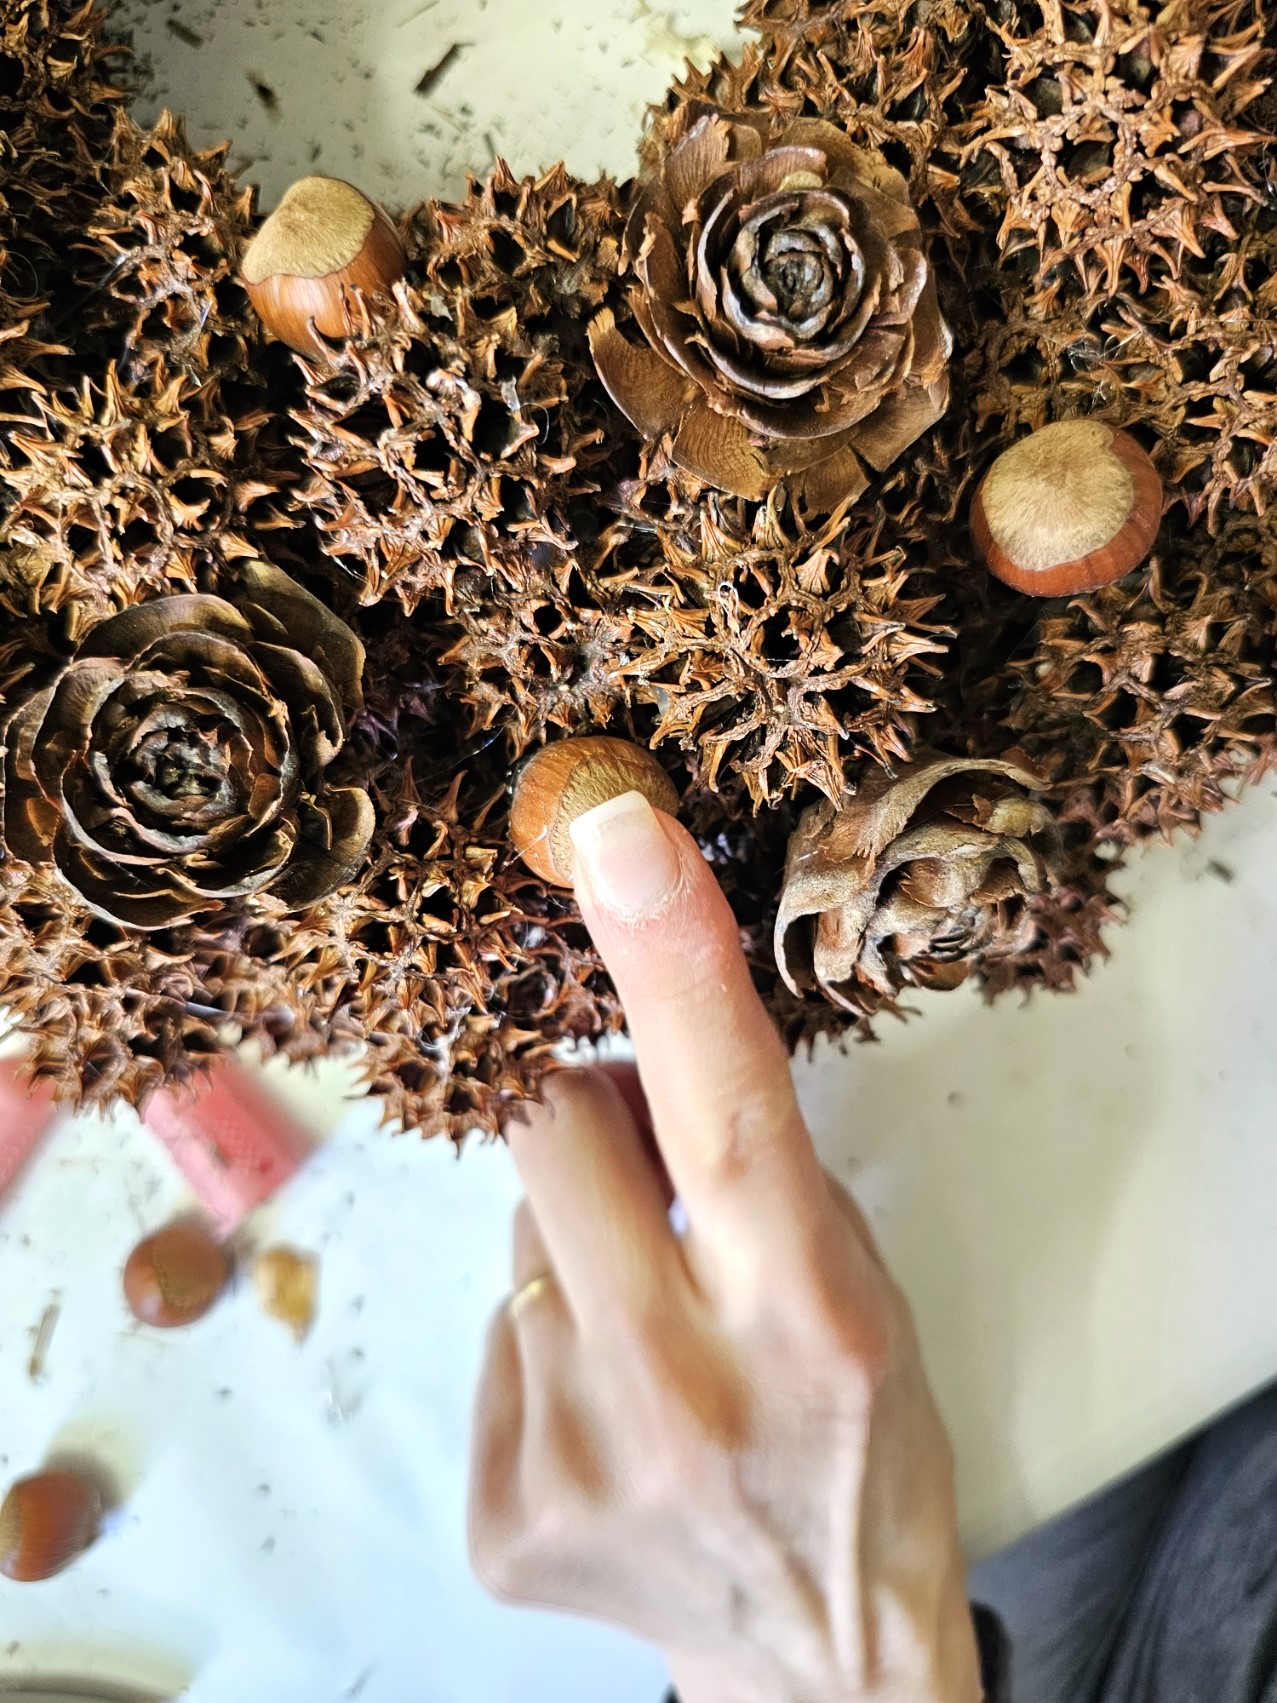
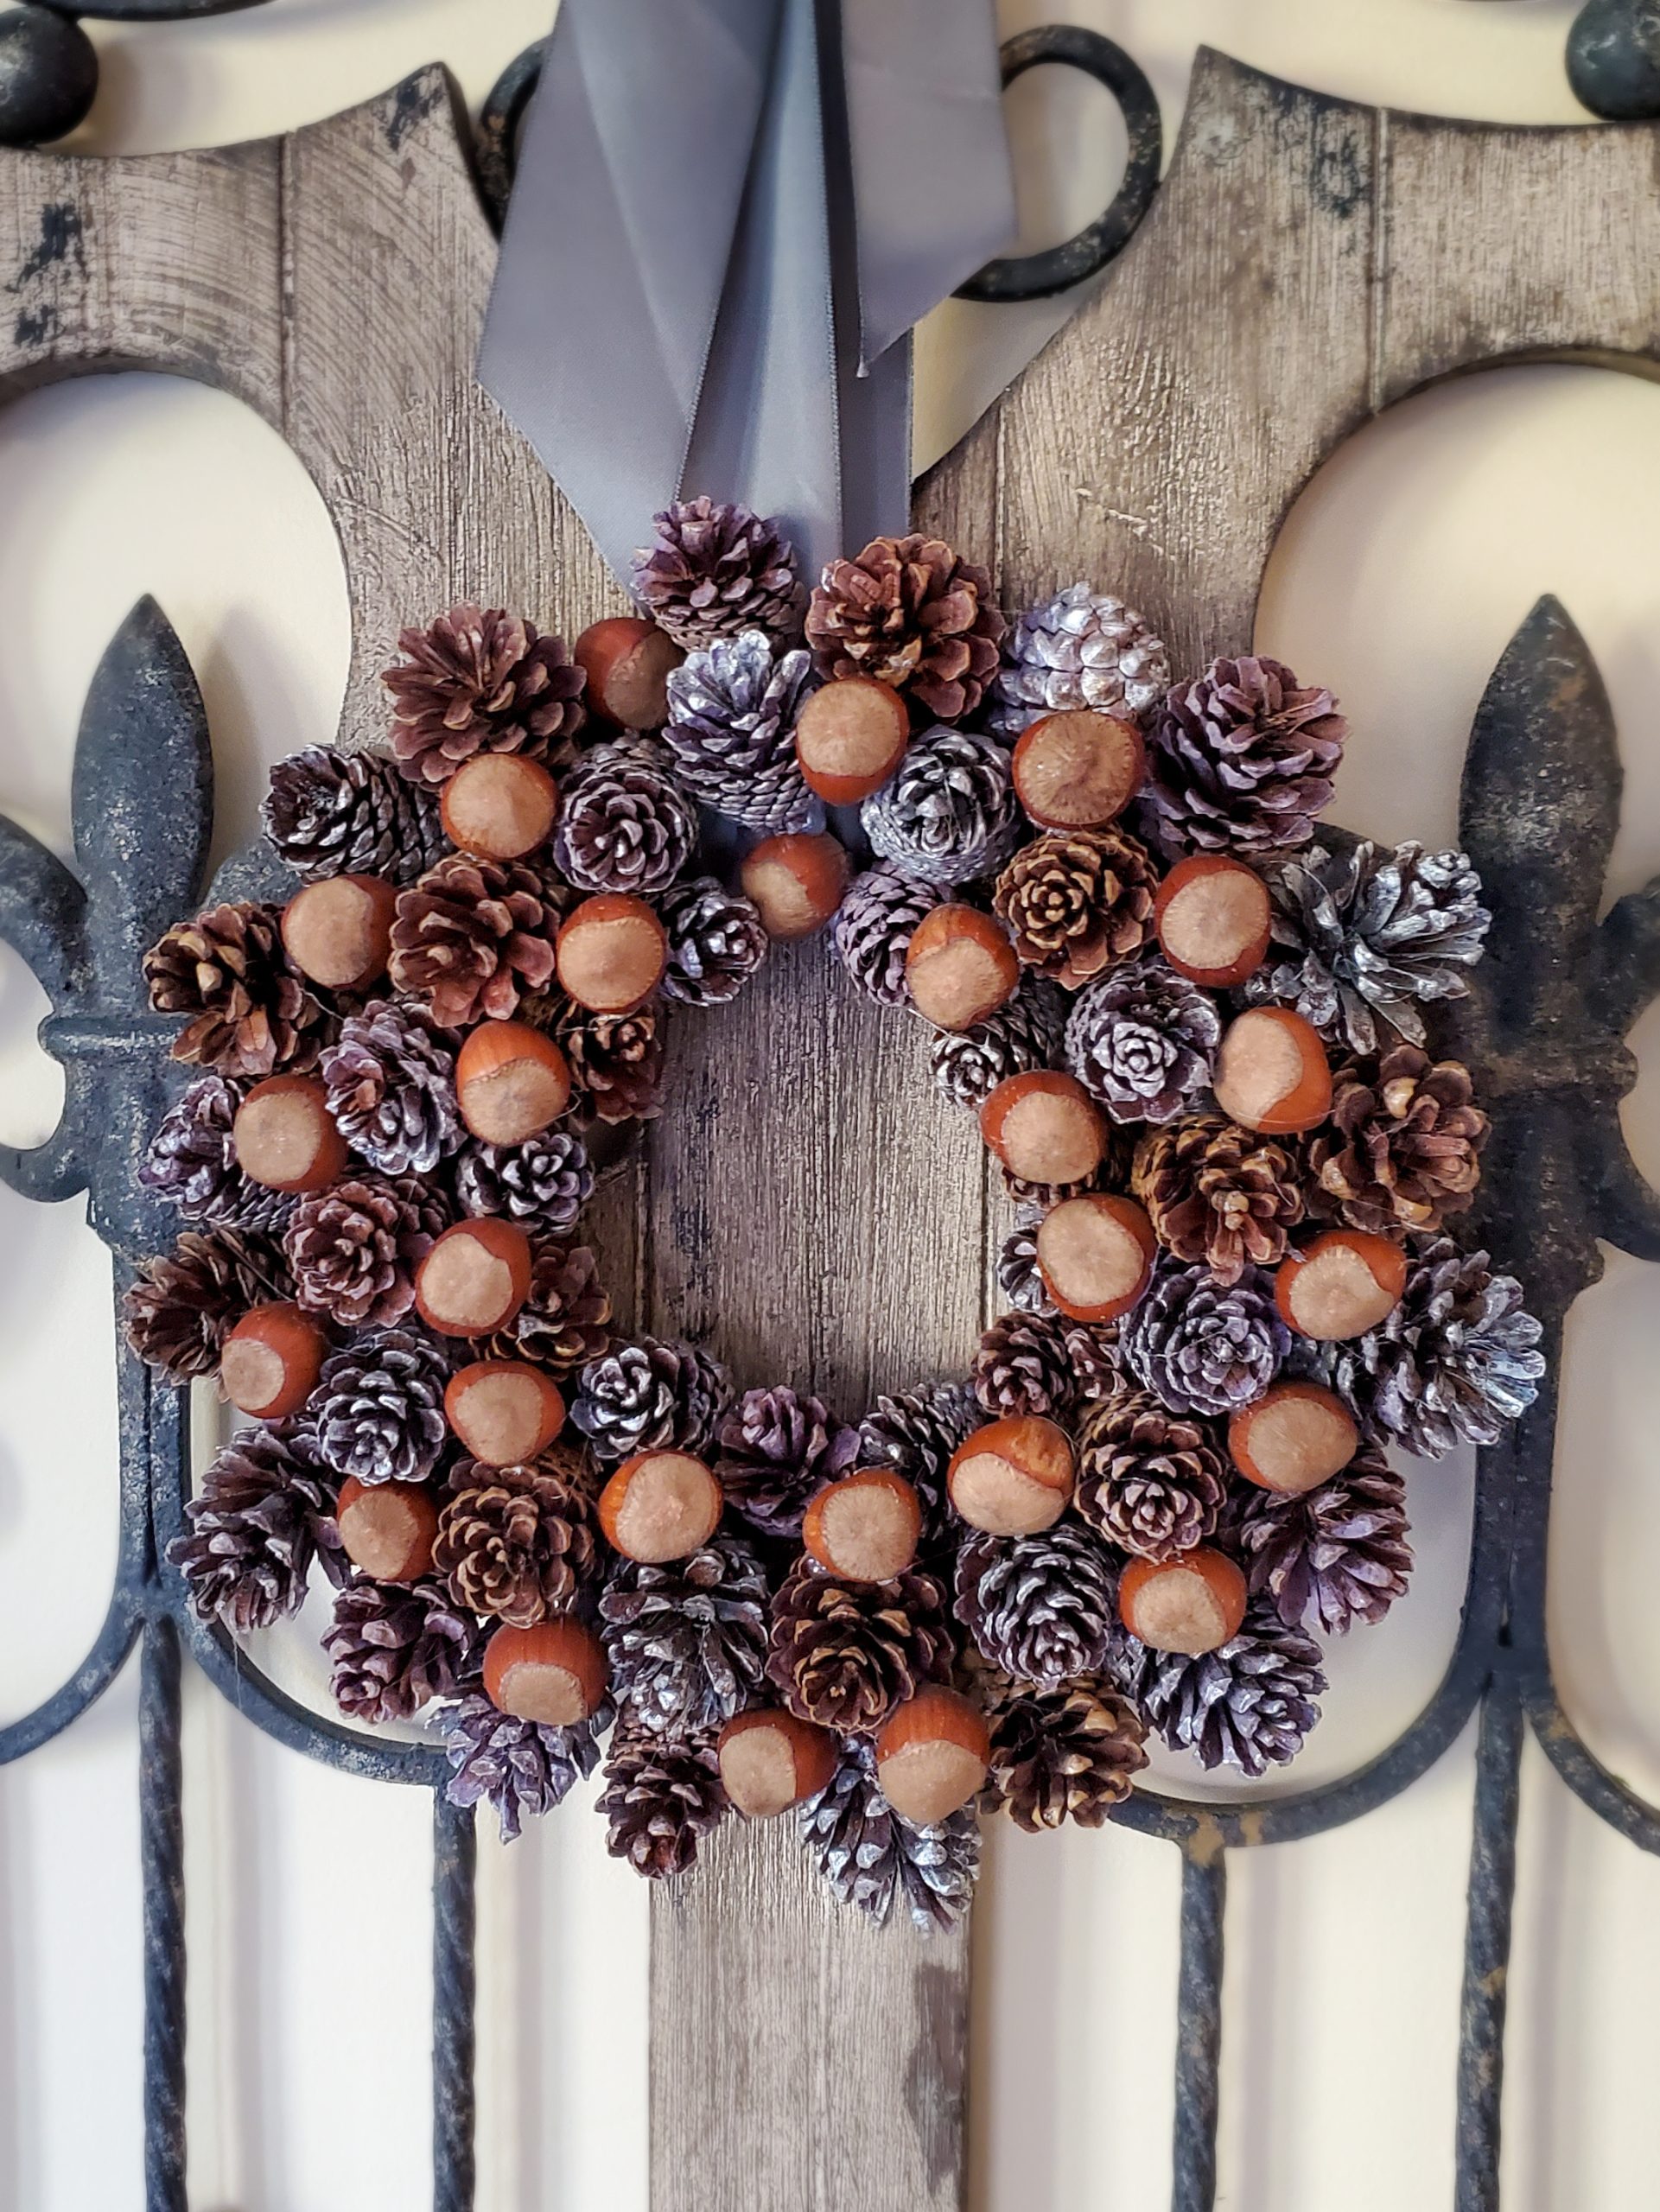
Step 4: Add Natural Elements
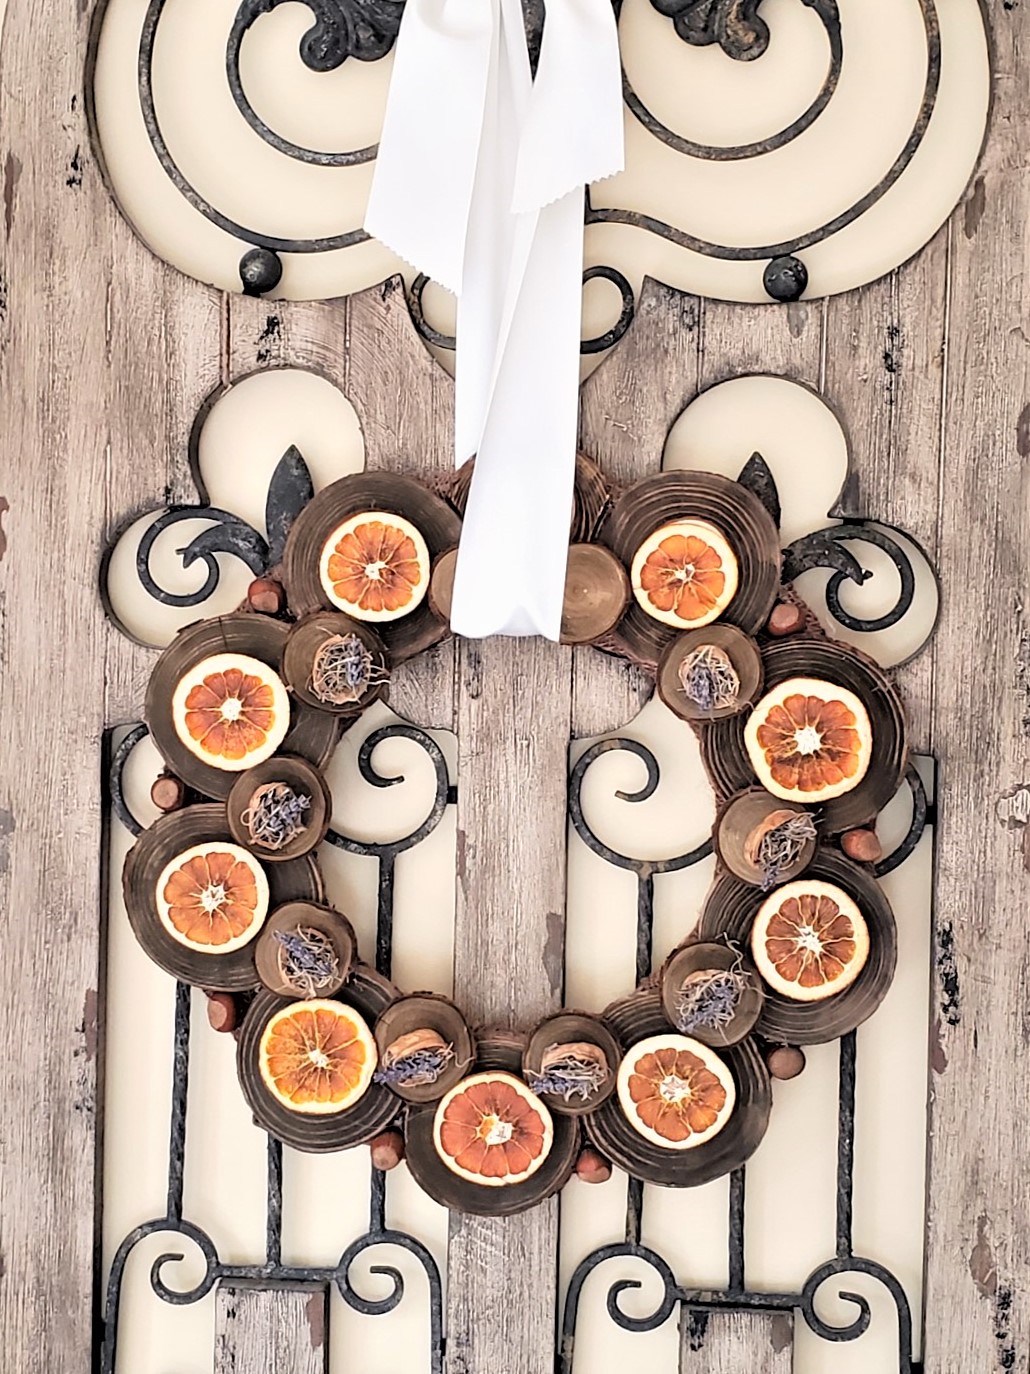
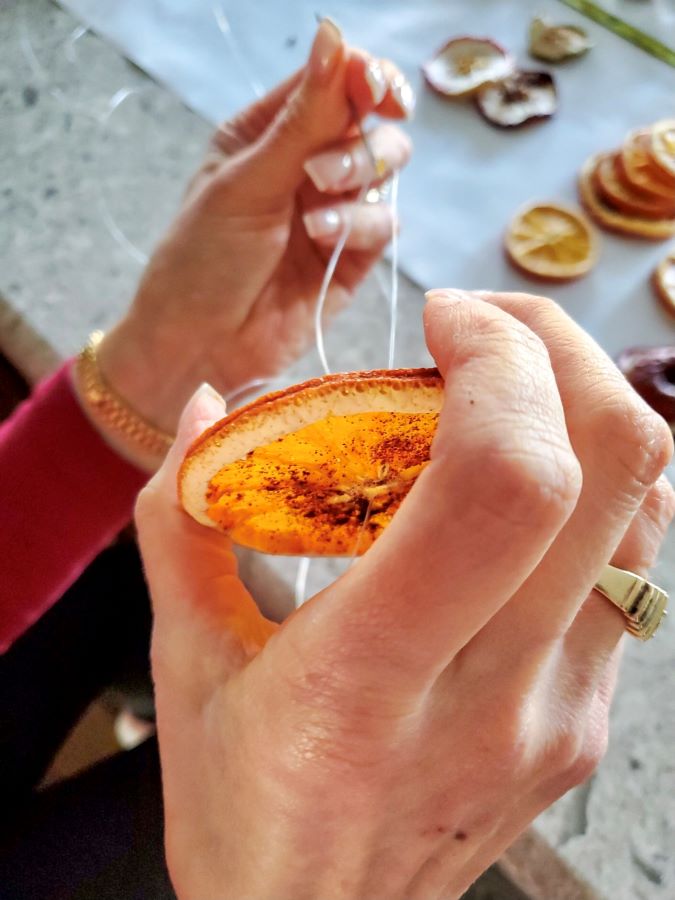
Add natural elements to the sweetgum like hazelnuts, pinecones, acorns, hazelnuts, cinnamon sticks, and dried oranges for cozy vibes. These touches elevate your handmade items, making your wreath perfect for centerpieces or as a focal point on your dining table or coffee table.
Cindy’s Note: If you don’t want to cut pinecones into flower shapes. You can find them (HERE) on Amazon or Etsy. Or you can skip this step or add the hazelnuts, small cinnamon sticks, or acorns. (HERE)
Step 5: Seal Your Sweetgum Balls (Optional but Recommended)
Sealing your sweetgum balls on your wreath is optional but recommended. It’s an easy way to help the spiky balls
last a long time, keeping your wreath looking fresh for multiple seasonal decor uses.

More Sweet Gum Balls and Craft Ideas
Even if you don’t make a wreath, sweet gum balls are perfect for other handmade items:
- Rustic centerpieces with the sweet gum pods, pine cones, acorns, and candles. You can see these in my home from last year. HERE They are beautiful and find out how to make the walnut garland in moments!
- Christmas tree ornaments using hot glue and ribbon
- Coffee table bowls with seed pods, acorns, and dried oranges
- Garlands on a grapevine wreath for seasonal decor
Even if you don’t have a sweet gum tree, you can purchase these spiky balls on Amazon (HERE) and Etsy. online to make these projects.
Cindy’s Tip: Dry brushing sweet gum pods with gold acrylic paint adds subtle sparkle, perfect for centerpieces, trays, or as a focal point.
Fun Facts About Sweet Gum Trees
- Native Americans used sweet gum seeds and resin for dental hygiene.
- Each sweet gum ball can hold 30–50 sweet gum seeds
- Sweetgum trees support wildlife, birds, squirrels, and more love the seeds
- Spiky balls can also be used as mulch and ground cover, thanks to Mother Nature
Display Your Sweet Gum Ball Wreath
Your DIY sweet gum ball wreath for cozy home decor is now ready to shine and enjoy for a long time! Hang it on your front door, style it on a coffee table, or make it a dining table centerpiece for seasonal decor that adds rustic charm and cozy vibes to your home. Whether you collected the seed pods from Sweetgum trees in your front yard or sourced them online, these handmade items bring a touch of Mother Nature indoors. Enjoy showing off your wreath, sharing your craft idea with friends, and creating centerpieces that will delight year after year in any decor style. Please share this on FACEBOOK, INSTAGRAM, AND PINTEREST.

Other Handmade Items:

Don’t forget to join us over at the Creatively Crafty Linky Party every Wednesday through Sunday
https://creativelybeth.com/creative-crafts-linky-party/
Followed and Pinned!
Creatively, Beth
Thank you Beth!
Very pretty Cindy! You are the queen of wreaths!
Thanks Kim! This may be my favorite!
Love how this turned out! Gluing all those on was so worth it! Makes me miss the sweet gum tree we had in KY!! If we still lived there I’d be making this wreath right now!
Thanks Donna and it was worth it!
Wow, you’ve made so many beautiful wreaths! Love them all. We always called the Sweet Gum balls Pokey Balls and cursed them each time we stepped on one. Glad the tree was only at my Mother-in-Laws! Thank you for sharing this with us on Farmhouse Friday. I’m featuring it tomorrow. Hope you link up again soon. pinned
Thanks so much for Cindy for featuring me. I wouldn’t wnt these in my yard. It’s great to have a neighbor that does!