
Easy DIY Dry Brush Planters In Four Steps!
Today I’m sharing an easy DIY dry brush plastic planters in four steps with paint to give them new life. This is a great way to give fiberglass pots in good condition a new look!
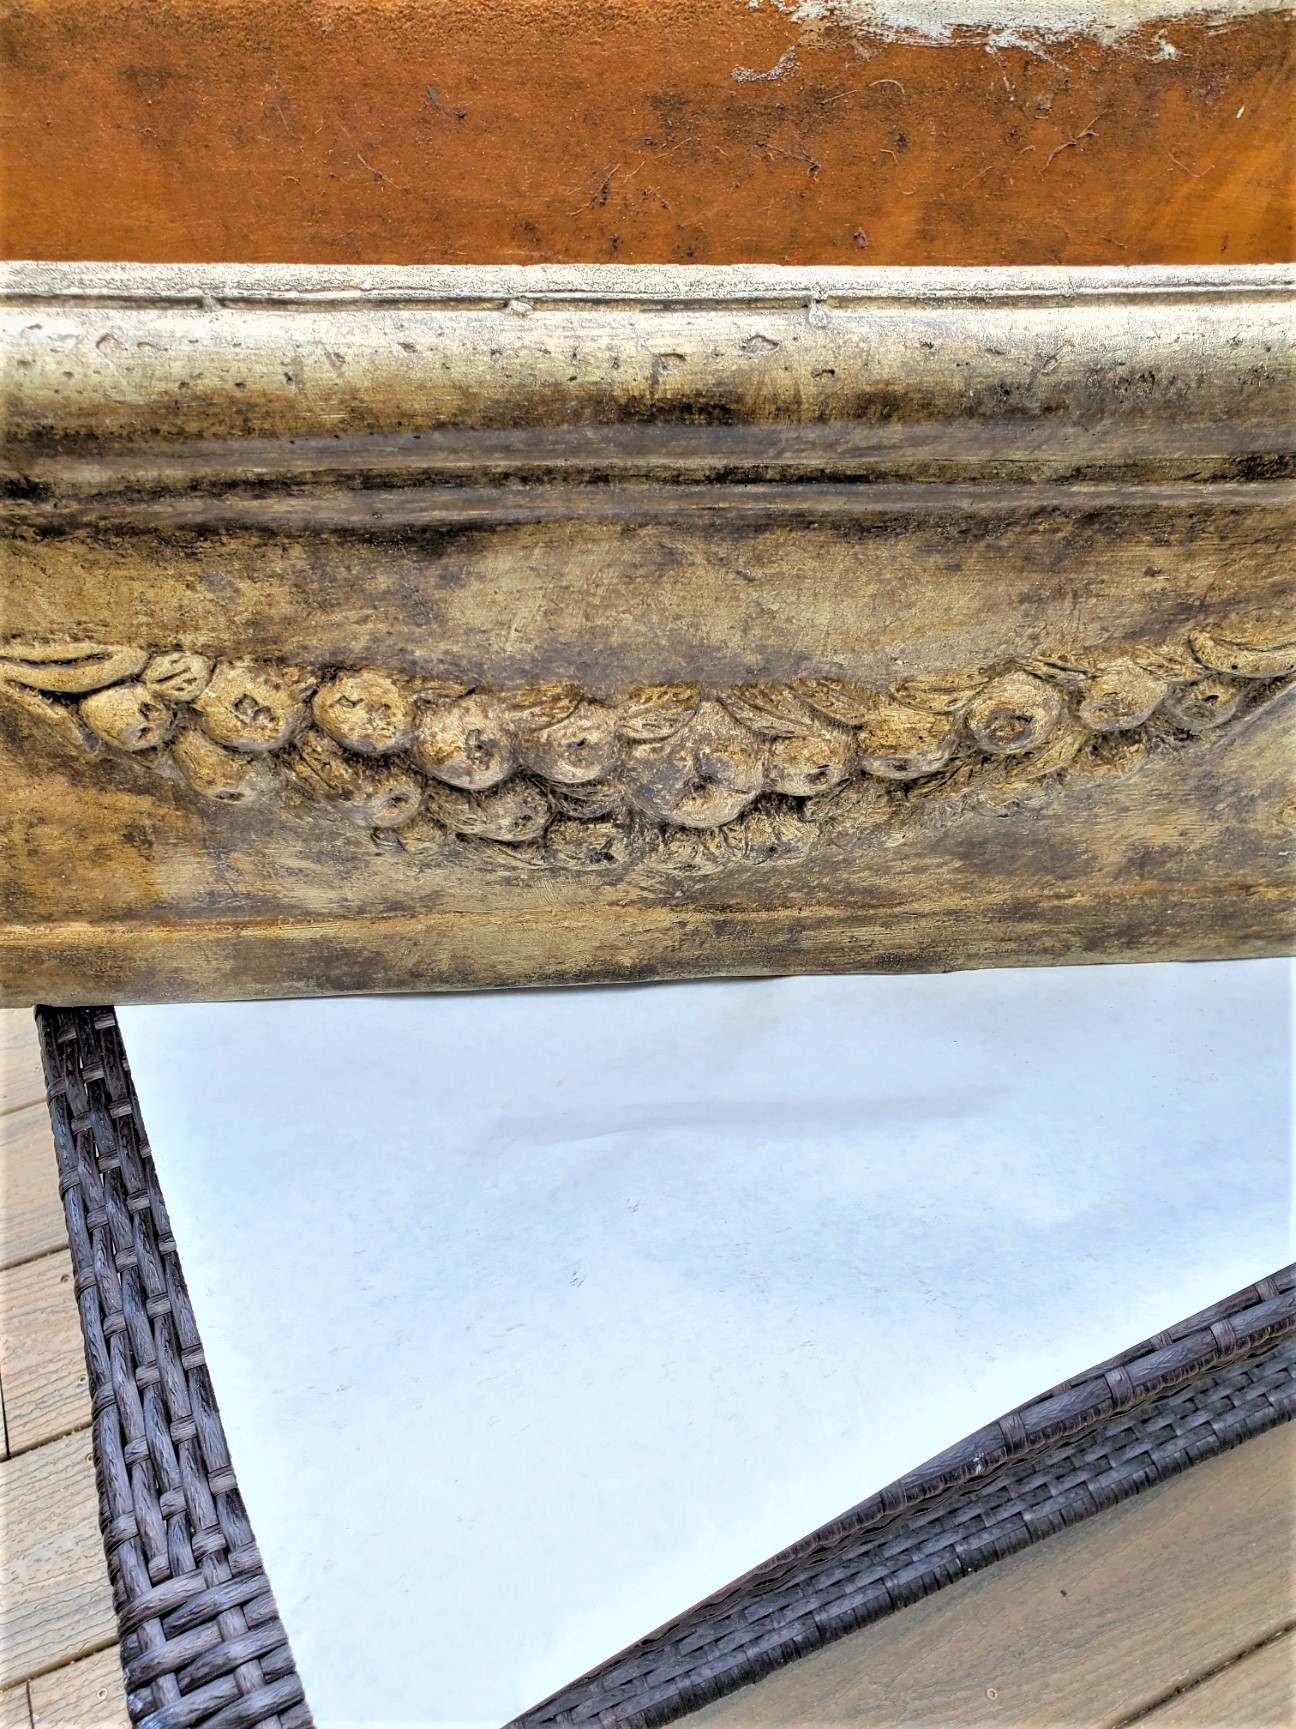
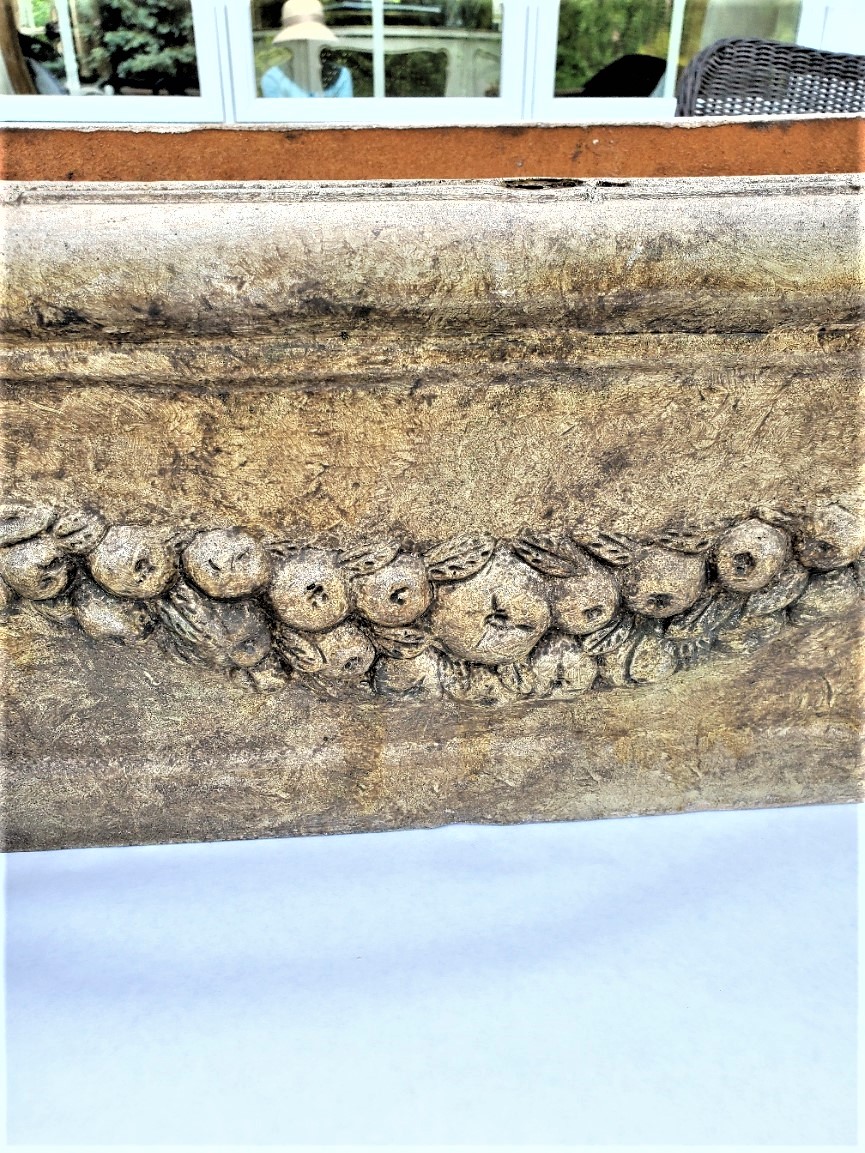
I have had these fiberglass pots for 20 years. They were given an update in our old home 10 years ago using acrylic paint in raw umber pure pigment and a small amount of water. These are still in good condition and I love the look so there’s no reason to throw them away. Plus, this is a great way to keep pieces out of landfills. So, this is a sustainable project which is good for the environment.
Let me share the best way to do this simple painting process.
Jump to DIY CardTable of Contents
- 1 How Planning a Trip to the Garden Center Can Inspire a Makeover
- 2 Coverage with a Dry Brush
- 3 Why Add Various Colors in Different Directions?
- 4 Dry Brushing Planters
- 5 Adding the Second Coat
- 6 Curing and Sealing
- 7 Ready to Revamp? Start Your Dry Brush Journey Today!
- 8 Pin this to Remeber this Painting Technique!
- 9 CLICK ON THE IMAGE TO SHOP!!
- 10 EASY DIY DRY BRUSH PLANTERS IN FOUR STEPS!
- 11 EASY DRY BRUSH PLANTERS
How Planning a Trip to the Garden Center Can Inspire a Makeover
Before I visit the garden center to buy annuals for our front porch and deck, I take my flower pots out to remind myself of their size. This is a great way to remember the number of plants we need to buy so we don’t need to revisit the garden center. Last year when I took our plastic planters out of the shed, I decided to update the color using chalk paint with a dry brush. Did you know this is good to use as outdoor paint? It is and with no priming, chalky paint is perfect for outdoor pieces.
The good news a dry brush technique is an easy way to update fiberglass material, furniture, home decor, and more!
â–º Table of Contents
What is Dry Brushing?
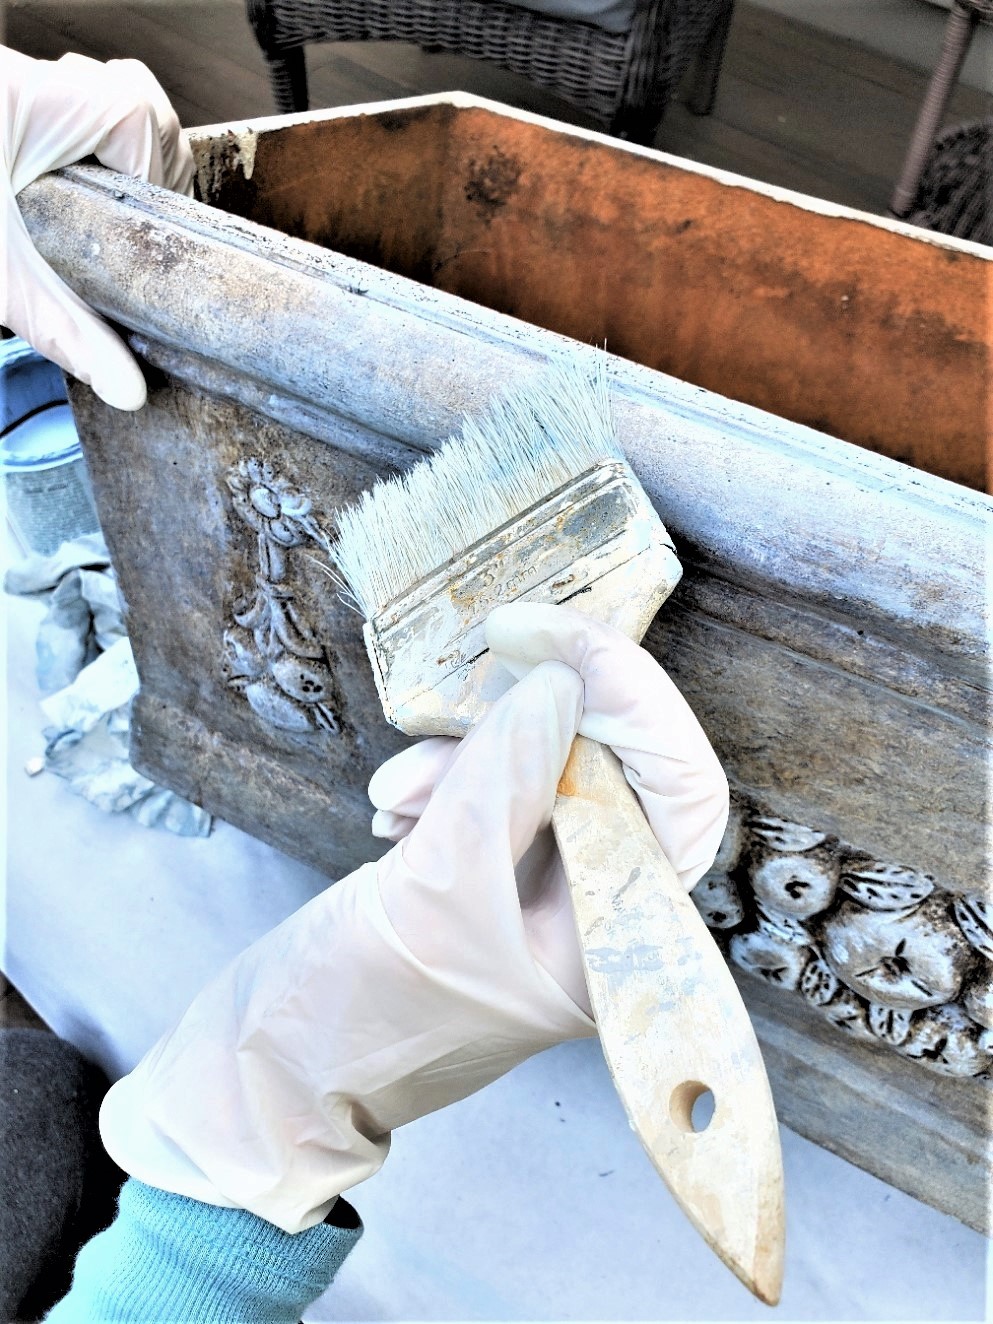
Here’s the secret I enjoy the most about this technique. You only need to apply a small amount of paint to the tip of the paint brush. Use a clean, dry paint brush and scrub the paint into the surface you are working on. I use what’s known as a “stabbing motion” which is the best way to get the paint into the crevices.
When I apply a dry brush, I like to use two or three colors of paint. The first coat can be a contrasting or complementary color to the second coat. The first coat of paint, apply normally with full coverage and a smooth finish. Dry brush your second coat and/or third coat of paint. Dry brushing can be applied in different directions and various colors to create an uneven finish with a small amount of paint and time.
Pro Tip: I don’t recommend attempting dry brushing with spray paint. It can create an uneven look.
A Great Opportunity for a Worn Look
This is a great way to create a worn, rough, and uneven texture. This technique can add a rustic, worn look to numerous items. This is a great opportunity to experiment with various colors of chalk or acrylic paint which adds to the worn texture of any piece and why it’s a favorite painting technique.
Many recommend using a high quality brush, however, I don’t. I don’t use a good paint brush for this technique because paintbrushes take a beating with this painting technique. I use chip brushes and the more worn the brush the better the results over my 20 years of experience.
Where To Buy Chalk Paint?
- AnnieSloan.com
- Home Depot
- Thepurplepaintedlady.com (my go-to place)
- Amazon
- Lowes
- Michaels
- Walmart
If you buy this paint from other than Anni Sloan or The Purple Painted Lady, the colors and paint are different. However, I have used some of their products and they work great.
What Can a Dry Brush Technique be Used On?
This technique is great to use on pieces that are in good condition but you want to achieve a color change and weathered/aged look.
Use acrylic paint or chalk paint:
- Flower pots
- Outdoor furniture
- Stone planters
- Concrete planters
- Home Decor
- Furniture
- Sheds
- Achieve a concrete look as I did on this urn
When adding paint to give any piece new life, cover your work area to protect it from spills and splattering, use a clean paint brush, and have paper towels and rags close by.
Coverage with a Dry Brush
The good news using a dry brush doesn’t give a piece full coverage and that’s the point!
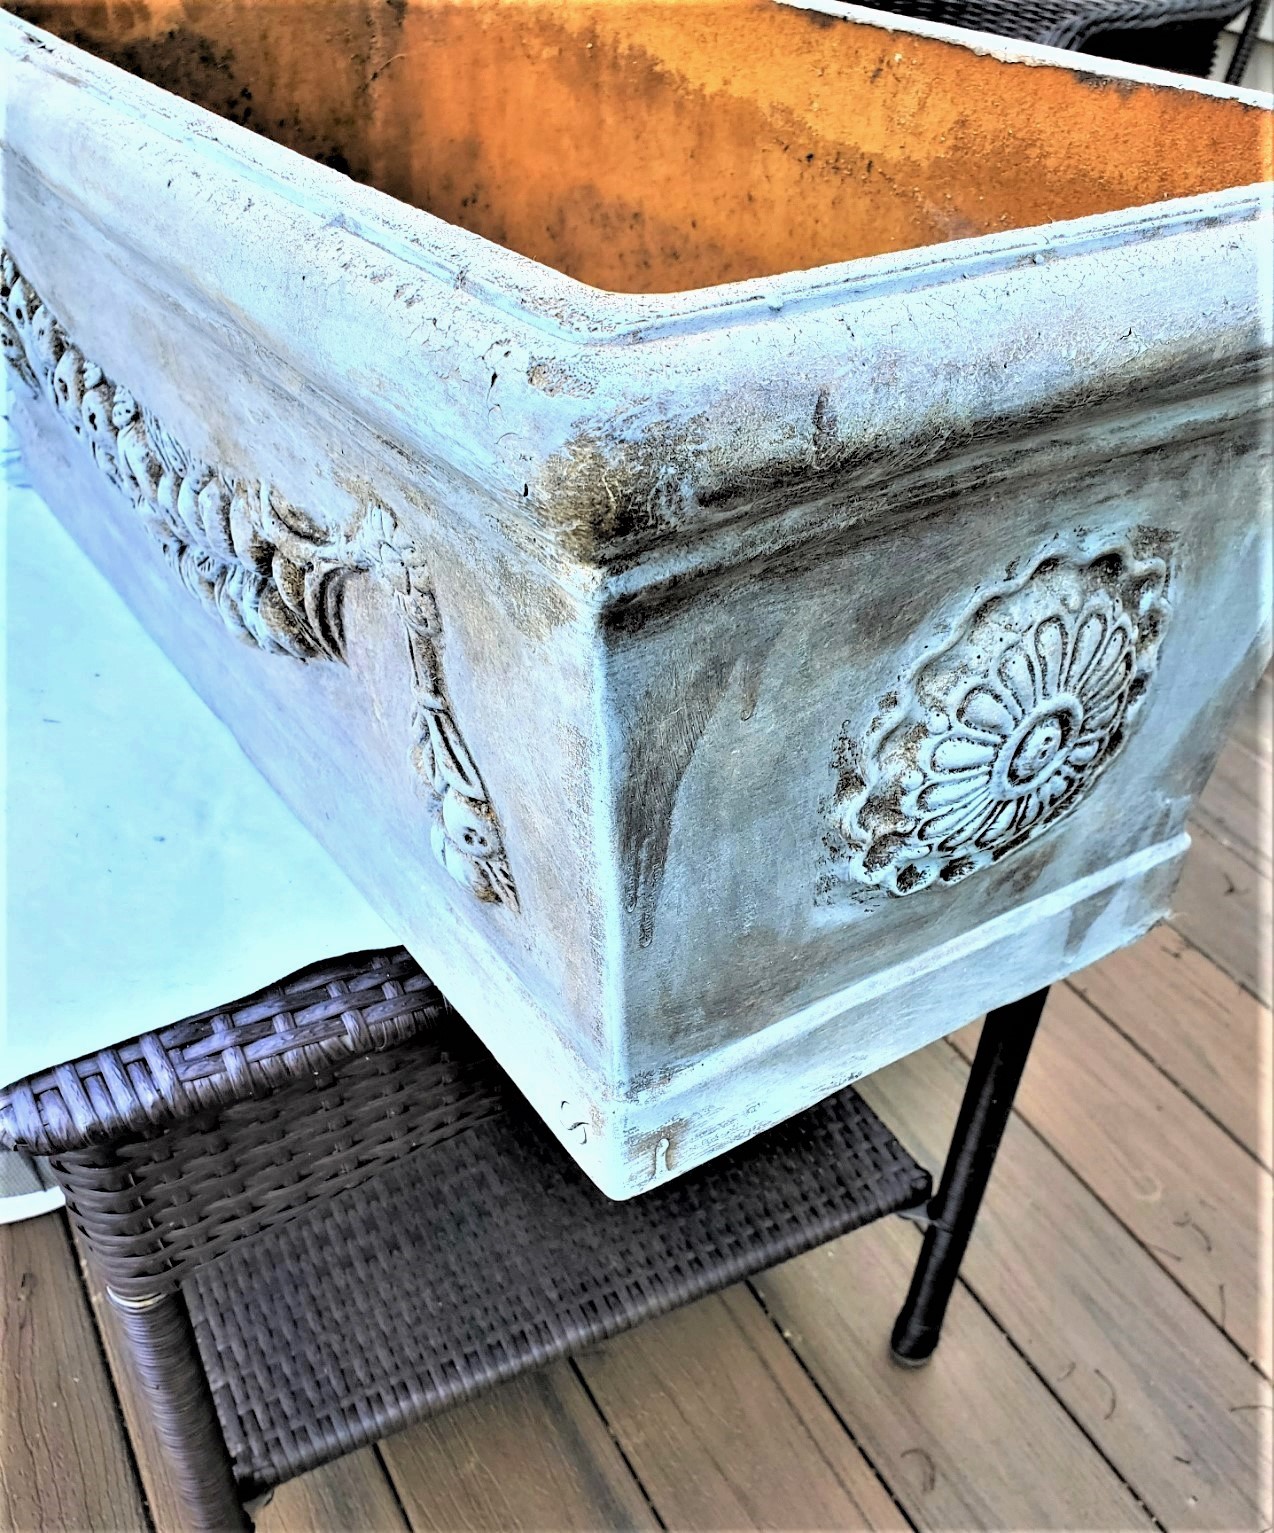
This is the best way to achieve a rough and uneven finish. The good news is that when you use a dry brush on plastic planters, furniture, or home decor you don’t need a smooth finish. You want to see the different directions of the various colors shine through. The result will give my fiberglass pots look like they got a lot of outdoor use in the natural elements over the years. The same goes for outdoor furniture pieces, planters that have a concrete look, and even garden statues. And the good news is there’s no priming! However, remove paint that’s peeling and any rust before painting.
Why Add Various Colors in Different Directions?
I add paint in various colors and different directions to add texture and a worn look. Doing this is a great opportunity to blend any brushstrokes. This is the best way for my plastic planters to have a naturally aged look
Supplies Needed to EasyDry Brush Planters in Four Steps!
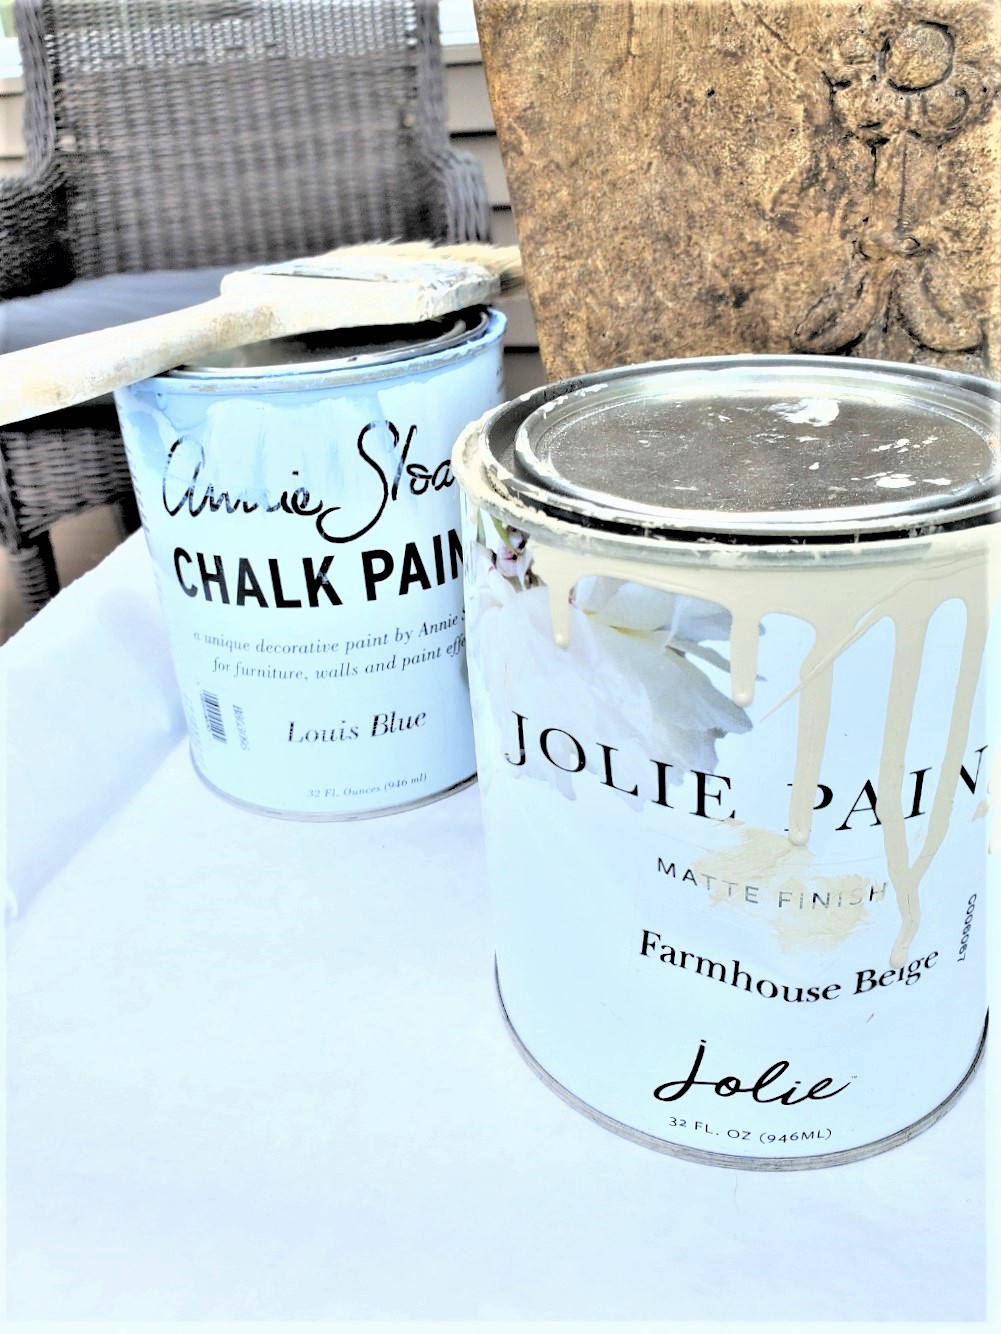
- Chalk Paint – Annie Sloan Louis Blue or color and paint of your choice
- Chalk Paint – Annie Sloan Country Grey or the color of your choice
- Or acrylic paint
- Paint brushes
- Painter stirrers
- Paper towels or rags
- Paper to Cover Work Area
Dry Brushing Planters
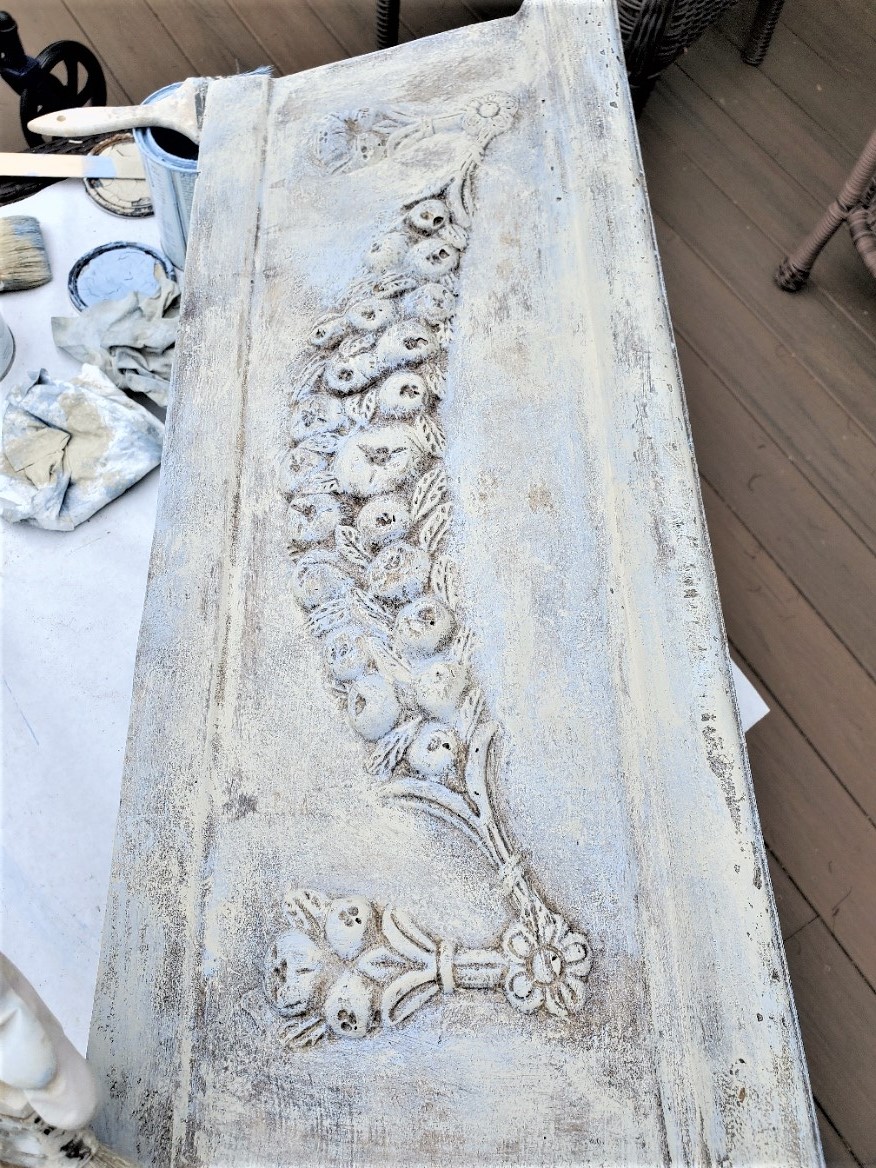
Step 1: Start Your Easy DIY Dry Brush Planters with a Clean Slate
Before beginning the dry brush technique, clean the fiberglass flower pots or plastic planters with soap and water, and let these dry completely.
I recommend adding paper to your work area to catch any paint splatters. I did this dry brush technique outside, so I covered our outdoor furniture.
If you are adding your first coat of paint, make sure it has a smooth finish. My fiberglass pots have already been painted so I am skipping this step.
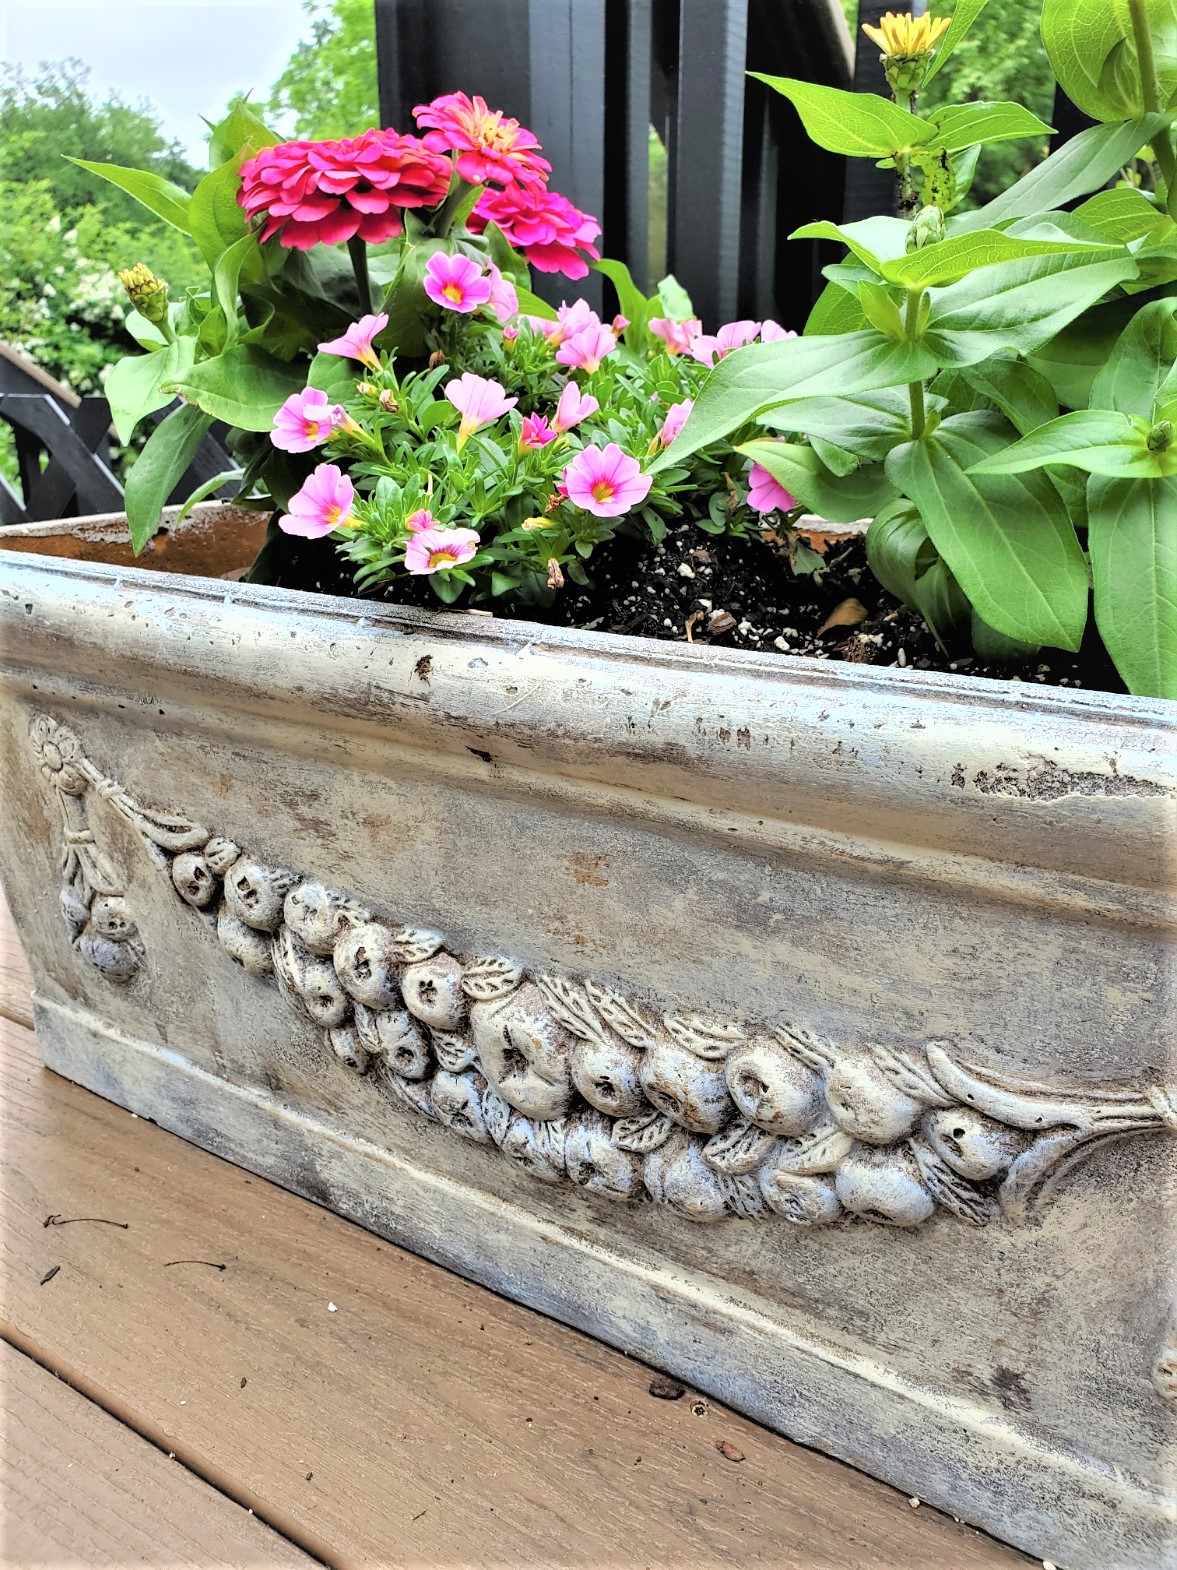
Step 2: Transform Your Planters: Give New Life With a Dry Brush
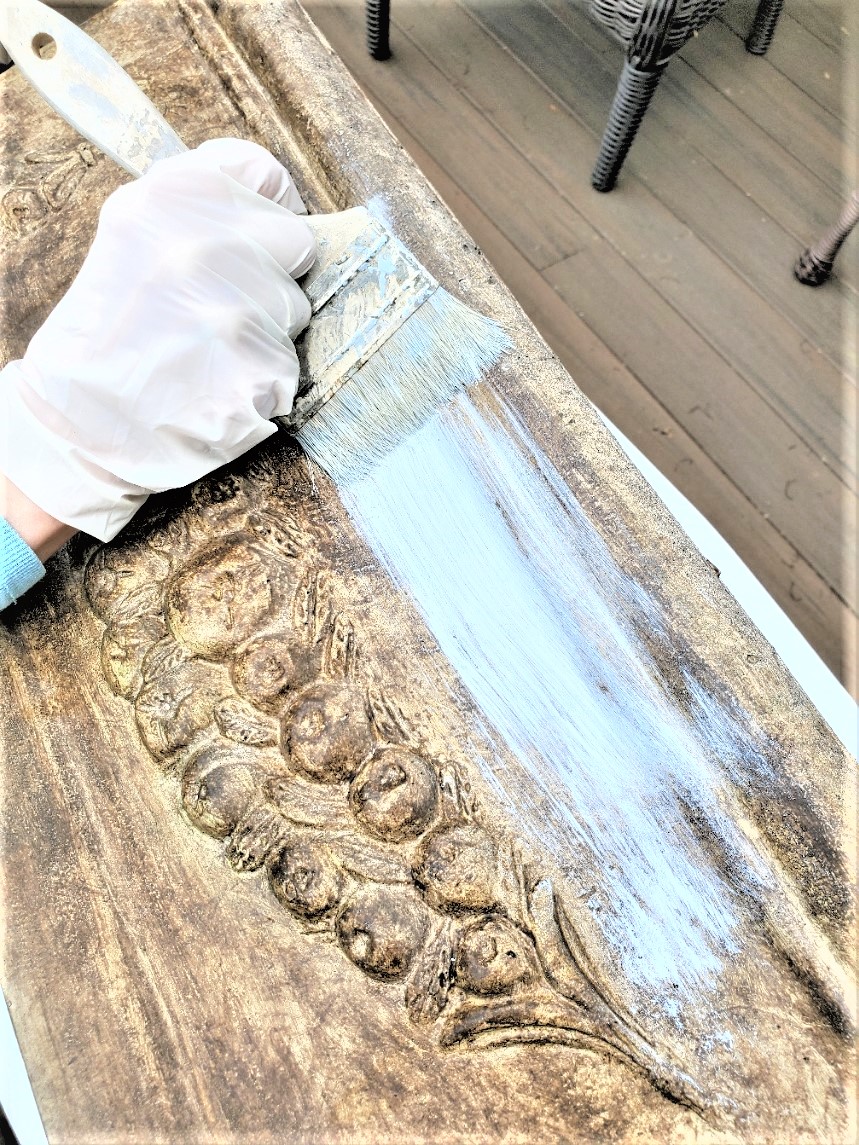
Now dip the tip of your brush to grab a small amount of paint and dab the chalk or acrylic paint on paper towels or a rag to remove excess paint. Begin adding paint to the flower pots. When I dry brush, I add the colors in different directions, and in tiny spots, I use circular motions. This adds more dimension and is one of the reasons I love this painting technique.
First I begin adding my blue paint. I did this heavier in some sections to give these plastic planters a true aging appearance. I also added paint to the top edge of the pot.
Tip: When aging fiberglass material or outdoor furniture pieces with a dry brush, remember pieces in nature age differently. So, make sure to add this process heavier and lighter in areas.
Adding the Second Coat
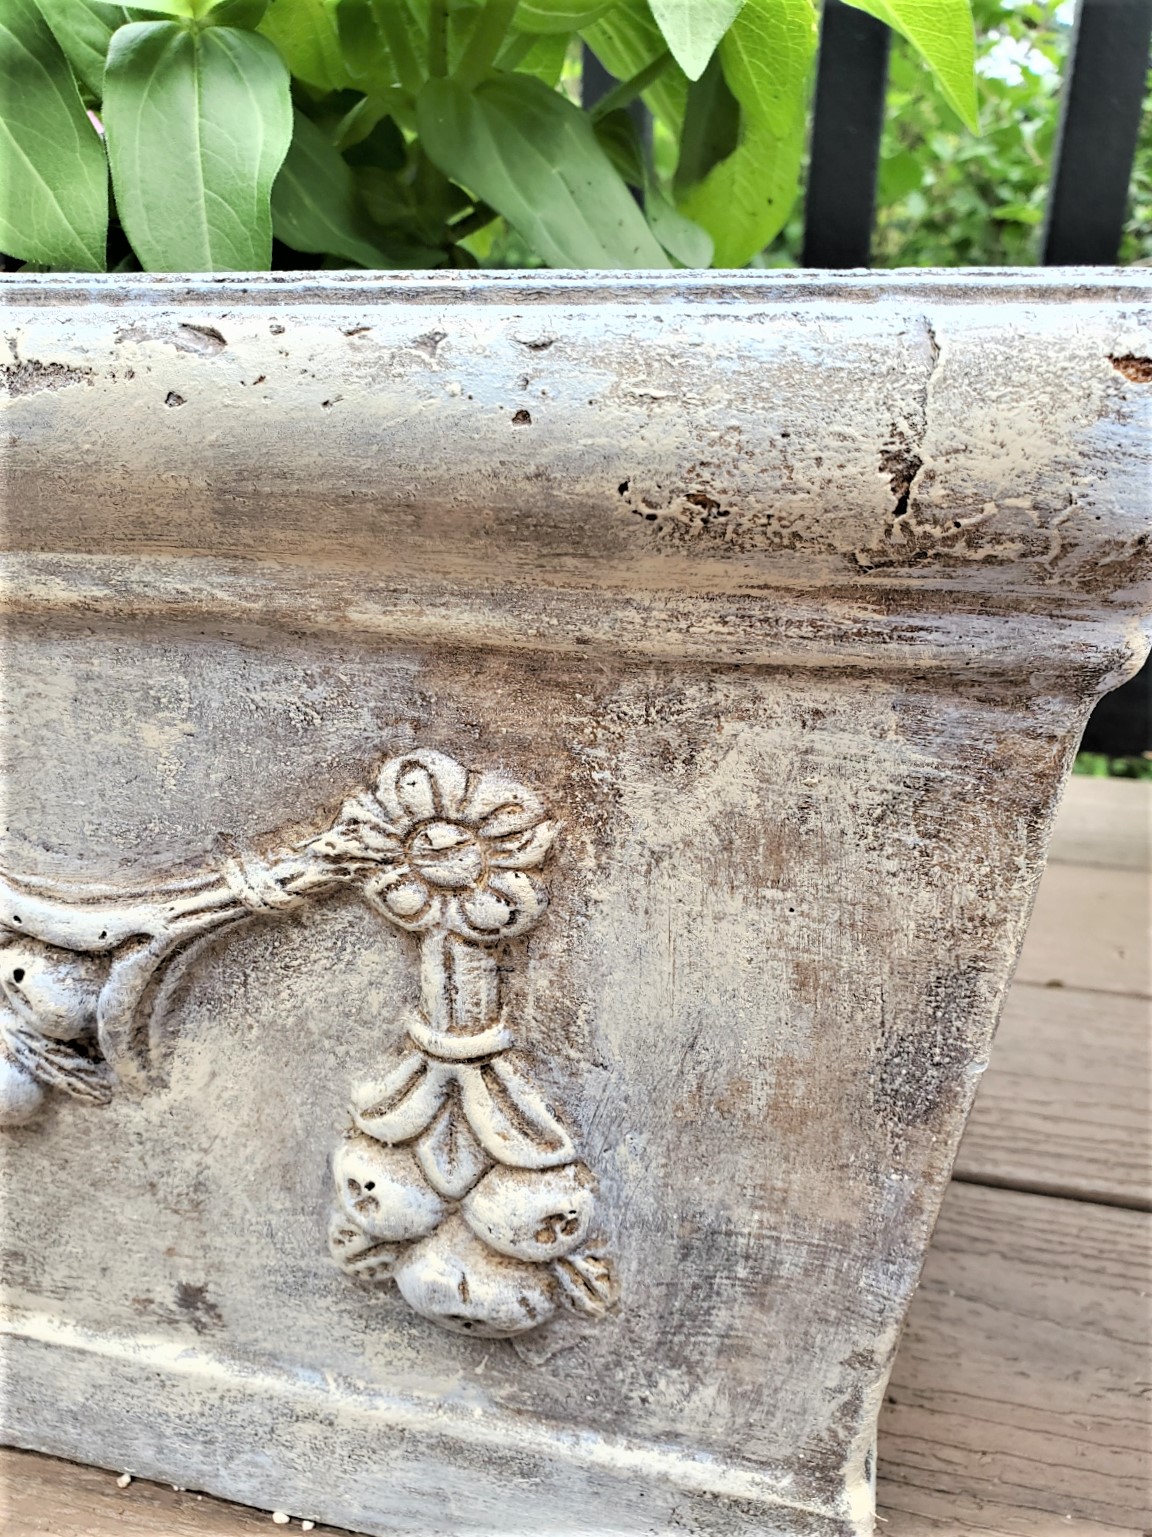
Step 3: Adding Different Colors for Textured Brilliance
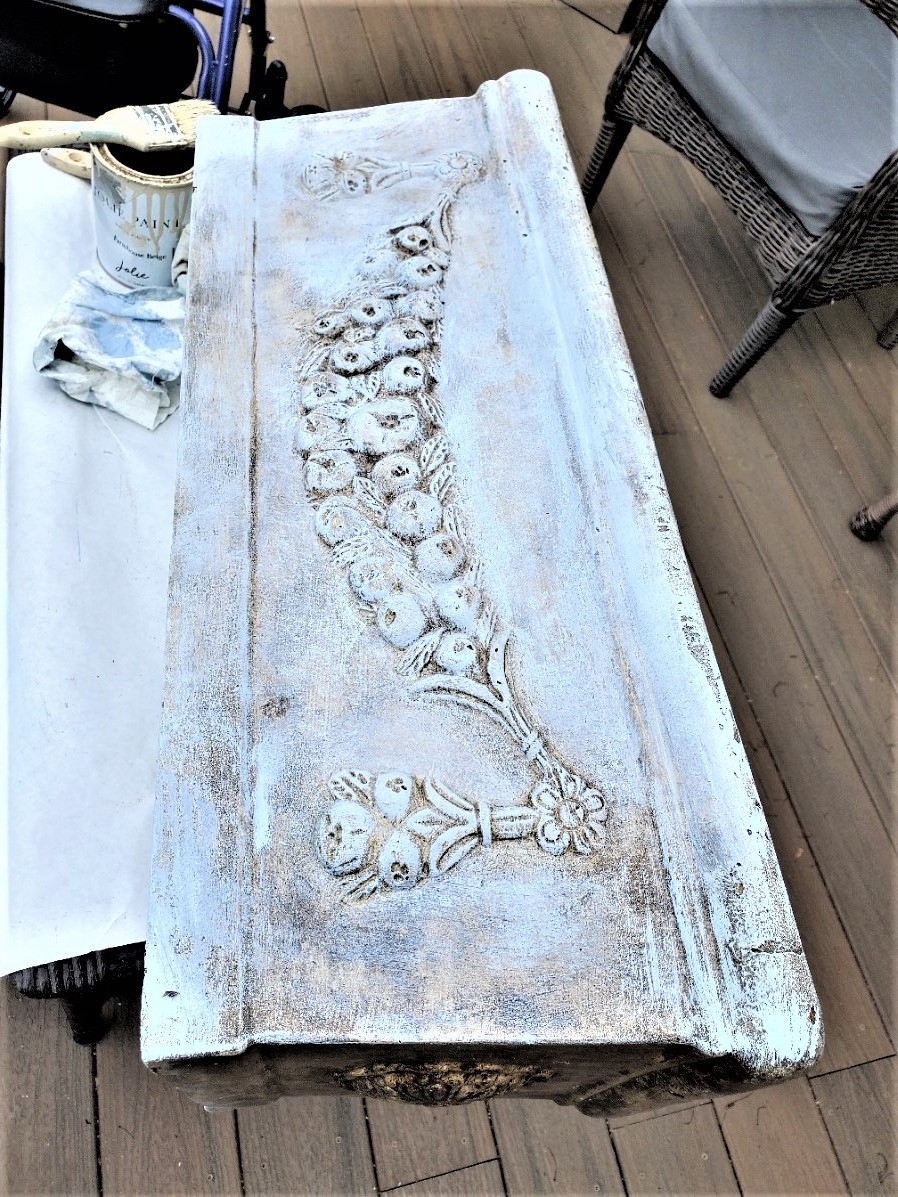
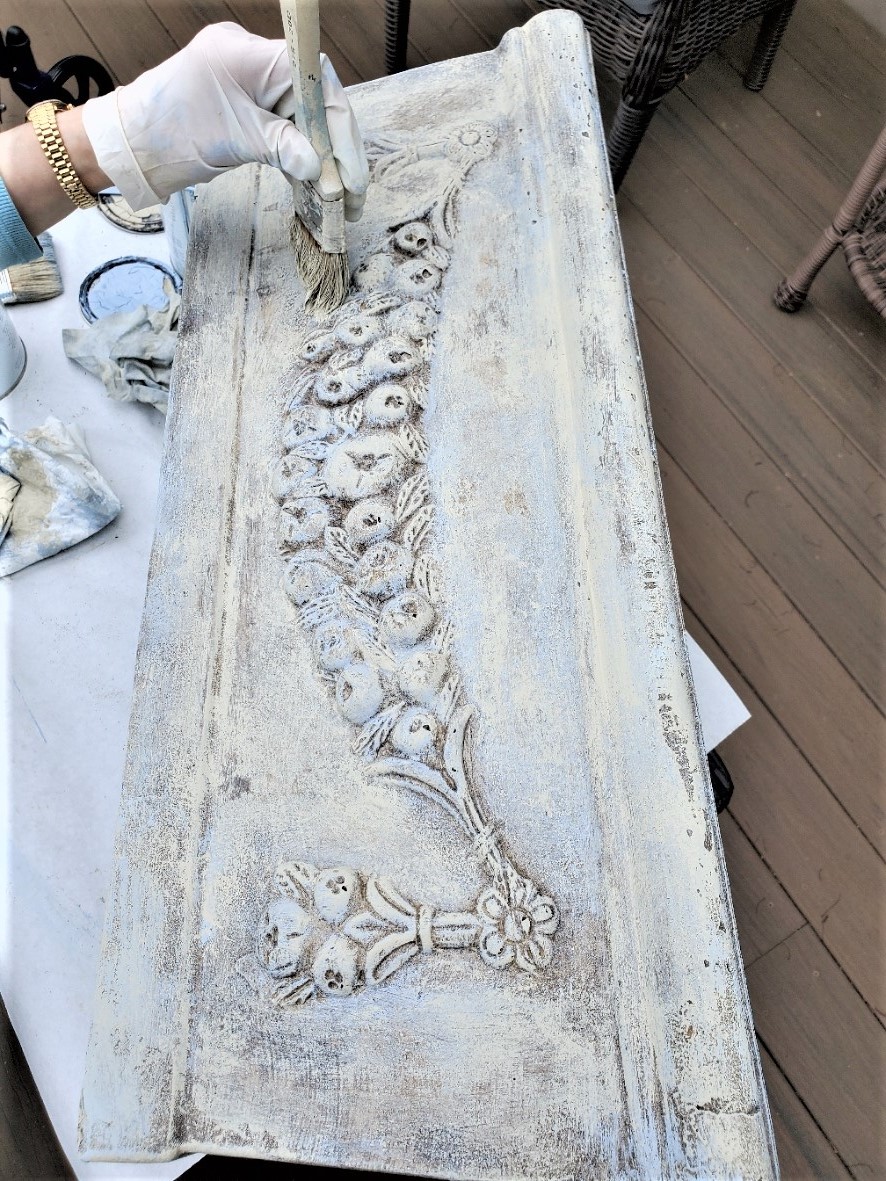
Now I add the Farmhouse Beige or color of your choice using a new paint brush. Again, dip the tip of the brush wiping the excess on paper towels or a rag.
Here’s a great opportunity to add tons of character and texture to your planters for the front porch. When I apply my second coat of dry brushing, I rub the paint in a few areas using more pressure. Using these different techniques gives these the look of being left outdoors for years in the backyard. Again, add your paint to the top edge of each planter.
Tip: Why apply more pressure with this painting technique for the second coat and third coat? I do this to reveal a small amount of paint.
Again, the aging process doesn’t look the same on an entire piece.
*As an Amazon Associate, Black Dog Salvage Furniture Paint affiliate, and other Affiliate links I earn from qualifying purchases* Use Code: C-L20 when visiting Black Dog Salvage Furniture Paint and RECEIVE 20% OFF!!
I earn a small commission from qualifying purchases through affiliate links. I use affiliate links, which means a small commission is earned if you purchase through the link. The price will be the same whether you use the affiliate links or go directly to the website. All opinions are my own. (Check our Privacy Policy)
Curing and Sealing
Step 4: Curing and Sealing for Lasting Beauty in Outdoor Spaces
When using chalk paint, I find it’s best to let it cure for at least 24 hours. Because these planters will be on our front porch where we get harsh afternoon sun, I’m applying two coats of matte polyurethane. I let these cure overnight before planting begins.
Ready to Revamp? Start Your Dry Brush Journey Today!
- Ready to give your old fiberglass pots a stunning makeover? Try the dry brush technique today and watch them transform into beautifully weathered pieces that add character to your garden or home decor.
- Looking for a sustainable way to refresh your outdoor space? Join me in embracing the art of using a dry brush to revitalize your planters, furniture, and more, while reducing waste and giving new life to old items.
- Don’t let your outdoor decor blend into the background. Take the plunge with dry brushing and discover how easy it is to create a unique, aged look that adds charm and personality to your front porch. Start your dry brush adventure now and see the difference it makes!
If you would like to see different techniques with paint, these furniture pieces are big makeovers. One is a small glass front cabinet, how to update a dining room table base, and washing technique with paint and a video.
Now you know the steps for easy dry brush planters in four steps! Use this process for other pieces that need an updated brand new look.
I hope you find this post easy to follow to dry brush planters and it’s helpful. I look forward to sharing more painting updates with you soon!
Also remember to follow us on PINTEREST, FACEBOOK, INSTAGRAM, TIKTOK, and YOUTUBE.

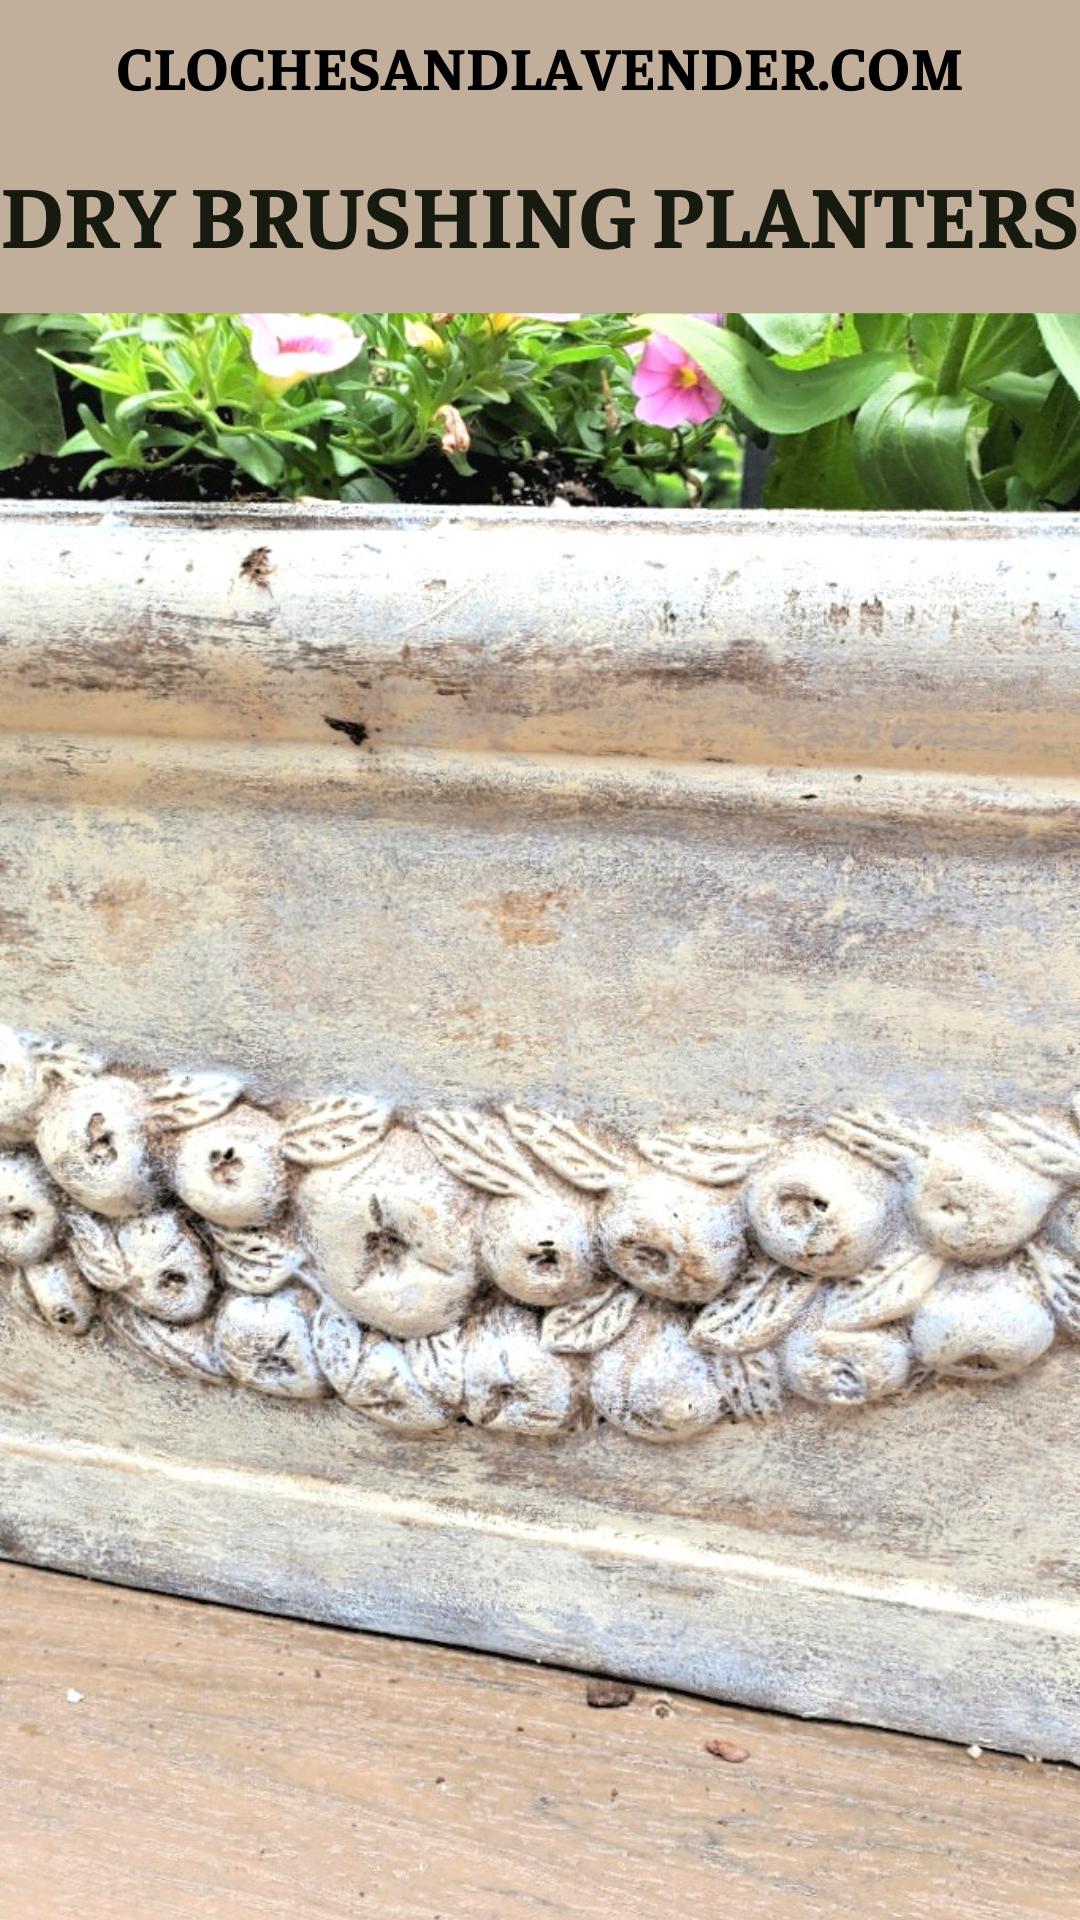
Pin this to Remeber this Painting Technique!
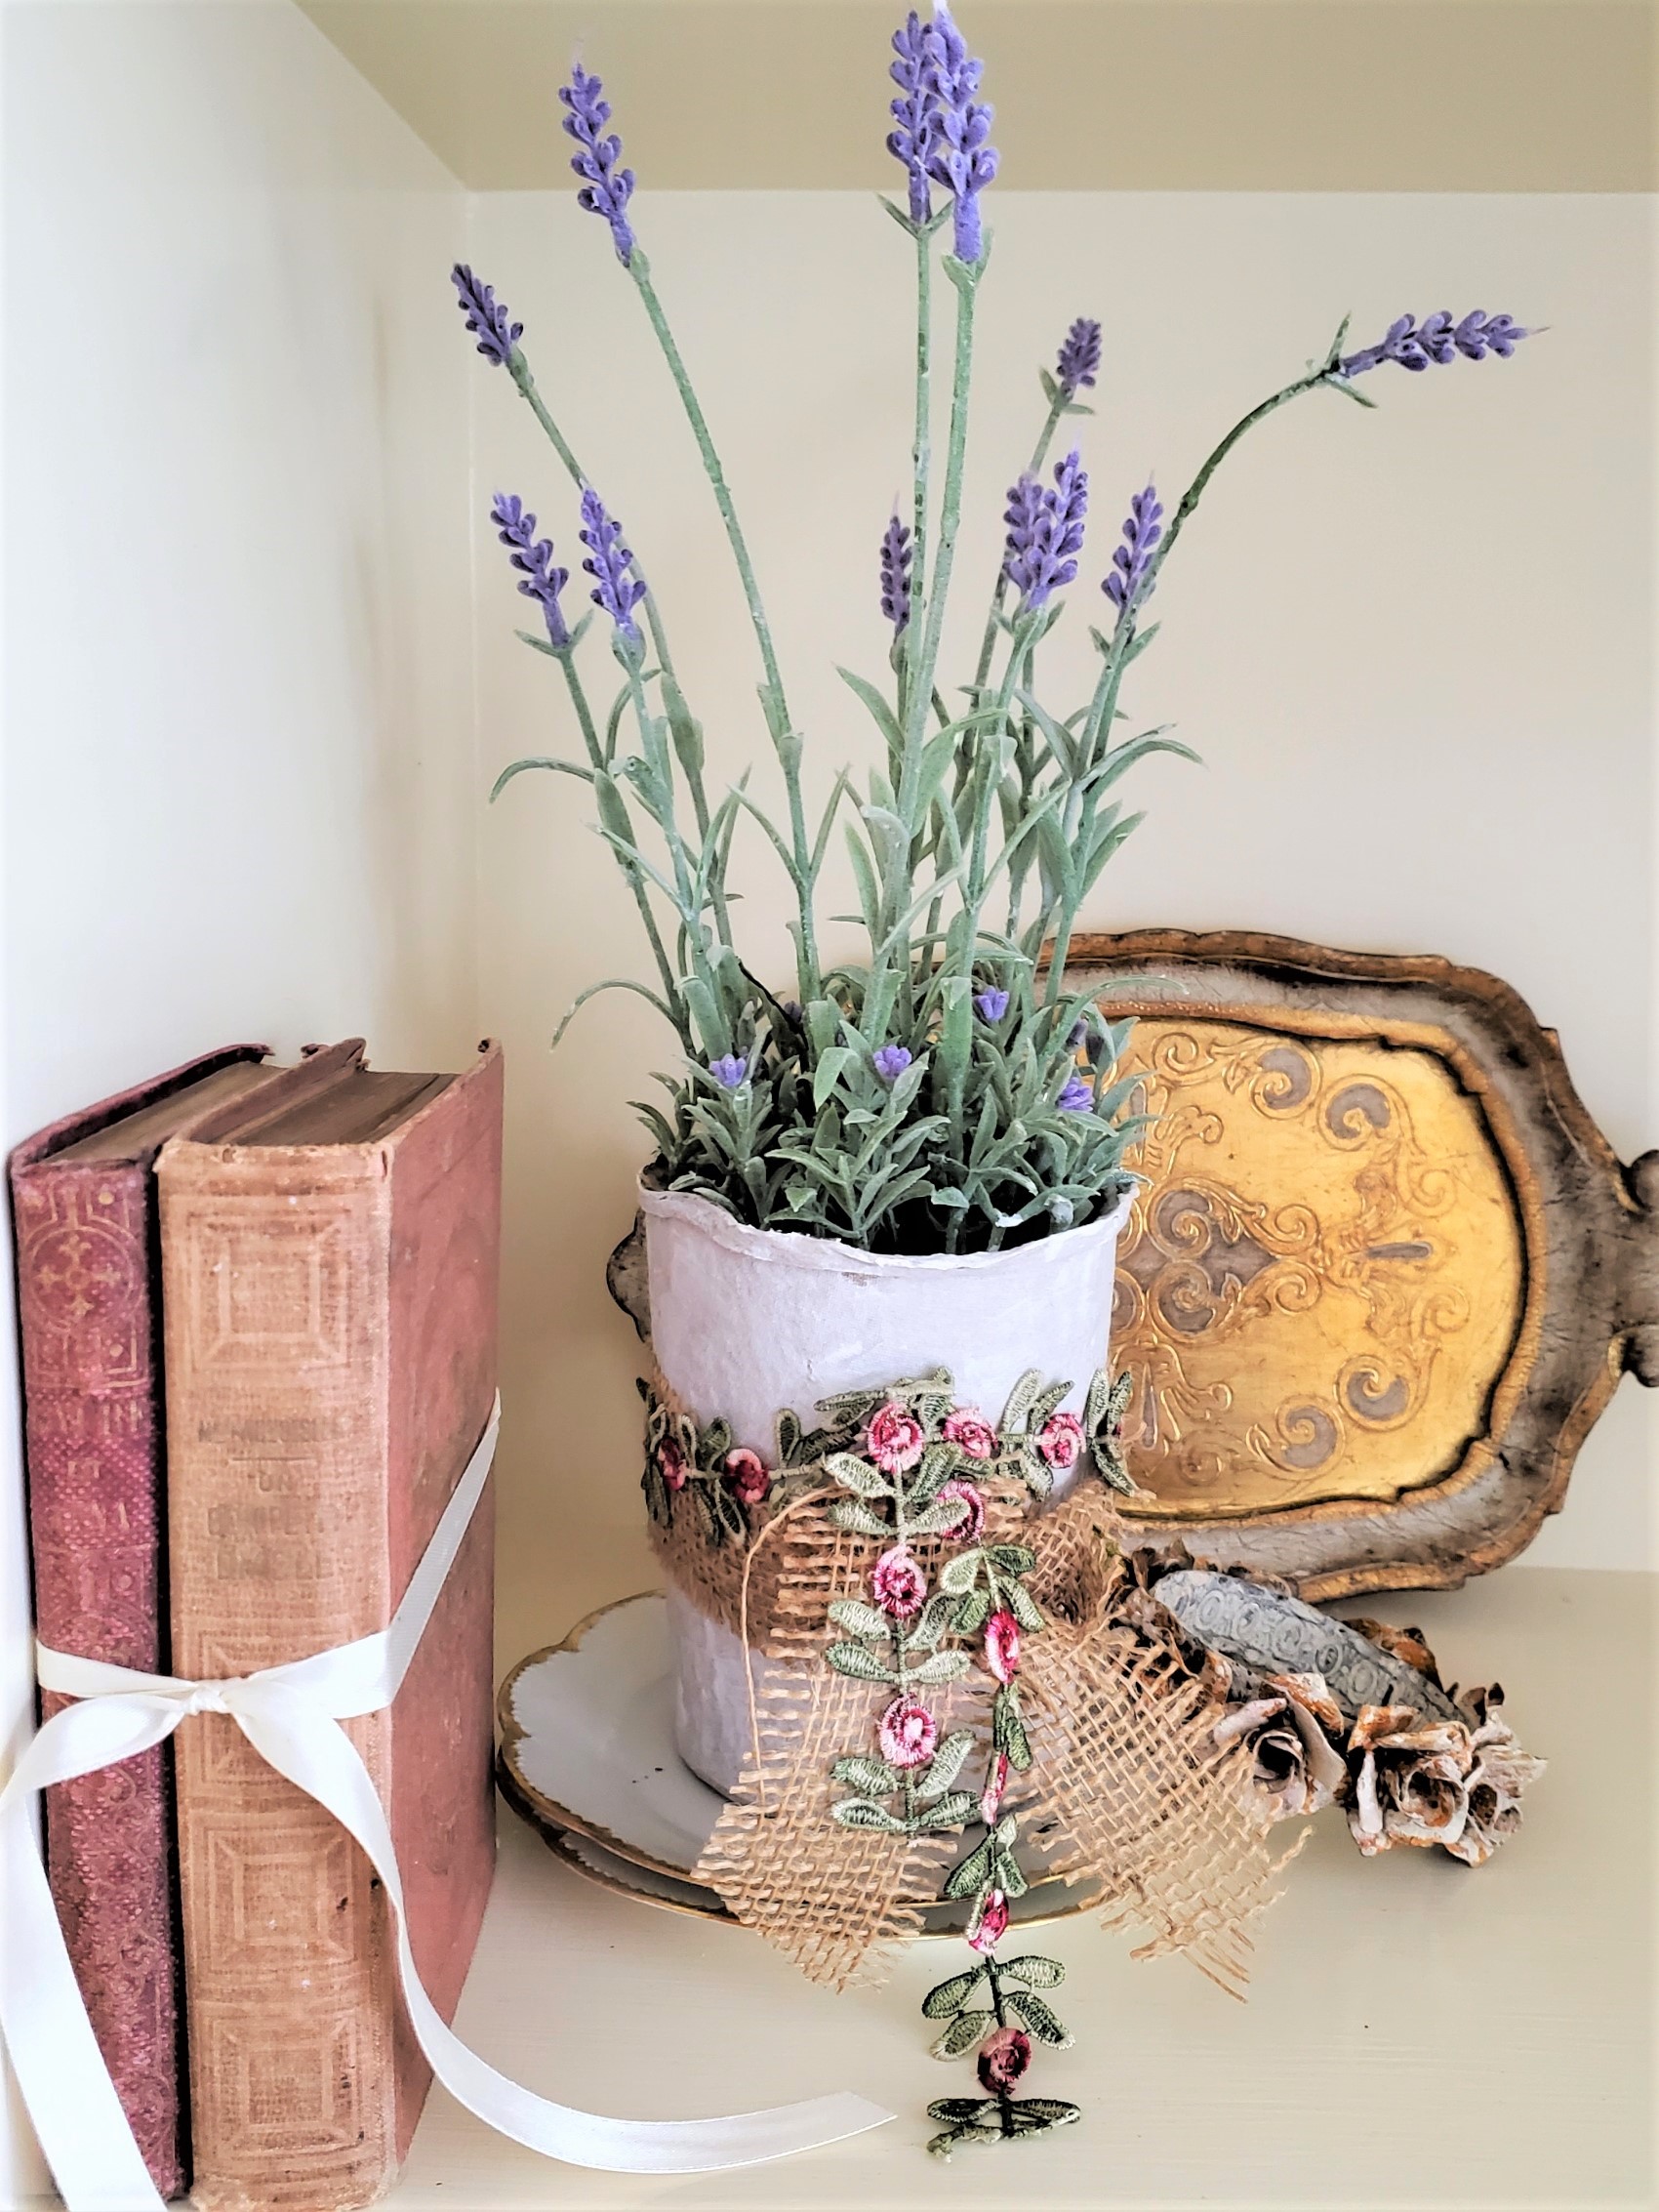
5 Ways: How To Style Artificial Lavender
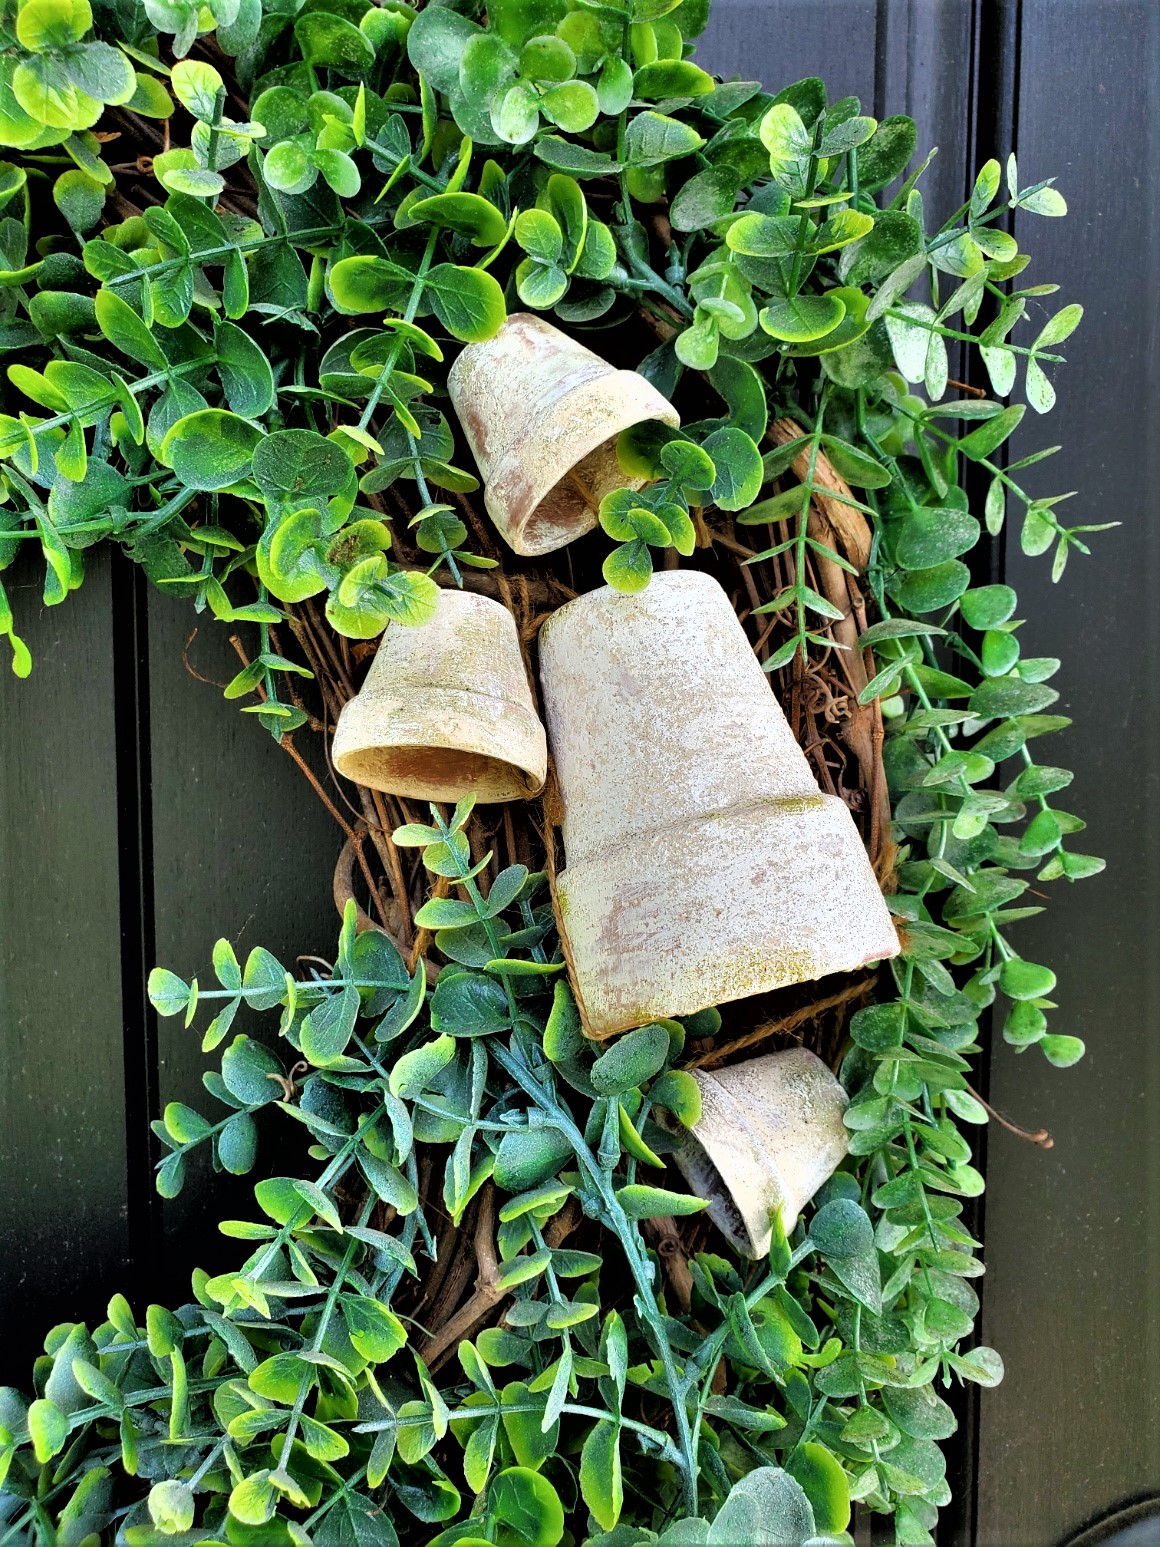
Easy DIY Artificial Eucalyptus Wreath
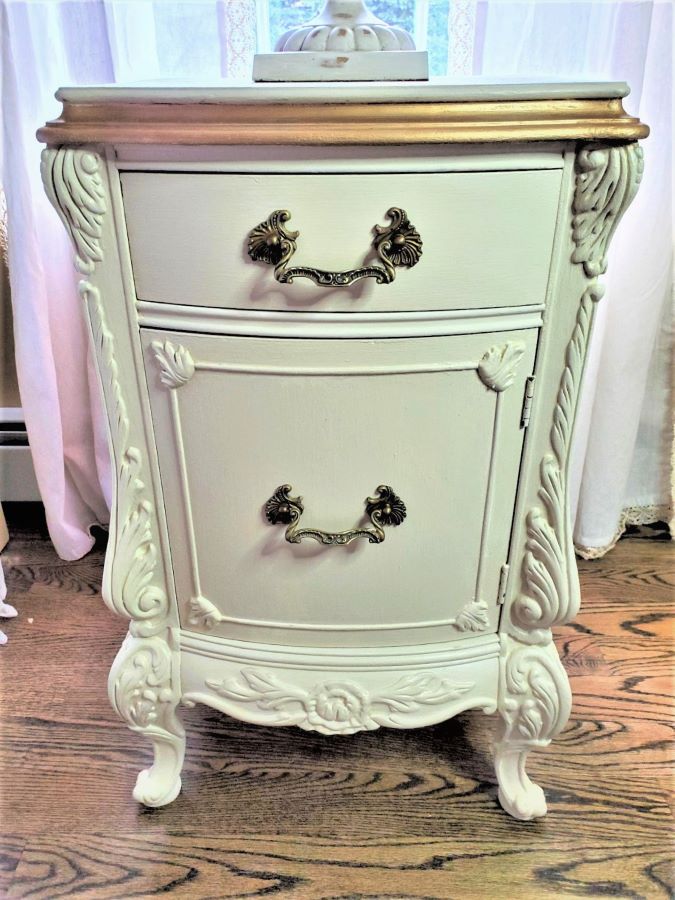
How To Paint Furniture With Acrylic Paint
CLICK ON THE IMAGE TO SHOP!!

EASY DIY DRY BRUSH PLANTERS IN FOUR STEPS!
Notes
EASY DRY BRUSH PLANTERS
Step 1: Start Your Easy DIY Dry Brush Planters with a Clean Slate
Before beginning the dry brush technique, clean the fiberglass flower pots or plastic planters with soap and water, and let these dry completely.
I recommend adding paper to your work area to catch any paint splatters. I did this dry brush technique outside, so I covered our outdoor furniture.
If you are adding your first coat of paint, make sure it has a smooth finish. My fiberglass pots have already been painted so I am skipping this step.
Step 2: Transform Your Planters: Give New Life With a Dry Brush
Now dip the tip of your brush to grab a small amount of paint and dab the chalk or acrylic paint on paper towels or a rag to remove excess paint. Begin adding paint to the flower pots. When I dry brush, I add the colors in different directions, and in tiny spots, I use circular motions. This adds more dimension and is one of the reasons I love this painting technique.
First I begin adding my blue paint. I did this heavier in some sections to give these plastic planters a true aging appearance. I also added paint to the top edge of the pot.

Step 3: Adding Different Colors for Textured Brilliance
Now I add the Farmhouse Beige or color of your choice using a new paint brush. Again, dip the tip of the brush wiping the excess on paper towels or a rag.
Here’s a great opportunity to add tons of character and texture to your planters for the front porch. When I apply my second coat of dry brushing, I rub the paint in a few areas using more pressure. Using these different techniques gives these the look of being left outdoors for years in the backyard. Again, add your paint to the top edge of each planter.
Step 4: Beauty in Outdoor Spaces
When using chalk paint, I find it’s best to let it cure for at least 24 hours. Because these planters will be on our front porch where we get harsh afternoon sun, I’m applying two coats of matte polyurethane. I let these cure overnight before planting begins.
This came out so pretty. Have a great day today and wonderful rest of the week. xoxo Kris
Thanks so much my friend!
Love the colouring you created. I have a black planter with a nice pattern that desperately needs some character like this!
Thanks so much!
I love your planters. They have that French Country charm. Stunning, my friend!
Thank you so much. I love them!
Love it! And that planter!
Love the planter and the colors you used! Thanks for sharing!
Thanks so much Kim!
gorgeous Cindy, you’re motivating me to give a makeover to a couple of large pots that really need some help. have a lovely weekend!
Thanks so much Debra. It means so much!
Hey Cindy! That is such a beautiful planter and I love the way you brightened it up by painting it! It looks amazing! I have a round pot that would look great with a finish like this! Pinning now!
Thanks so much Donna. It mean so much!
This was a beautiful pot before you started but I absolutely love how this turned out. I’m going to keep an eye out for some old pots that I can give this treatment. Thank you.
Thanks so much Carol!
I love this look, Cindy! They look amazing.
Hi Cindy – Thank you so much for sharing your post with the Fabulous Friday Link Party. We are featuring you this week. Congrats!
Thank you so much!