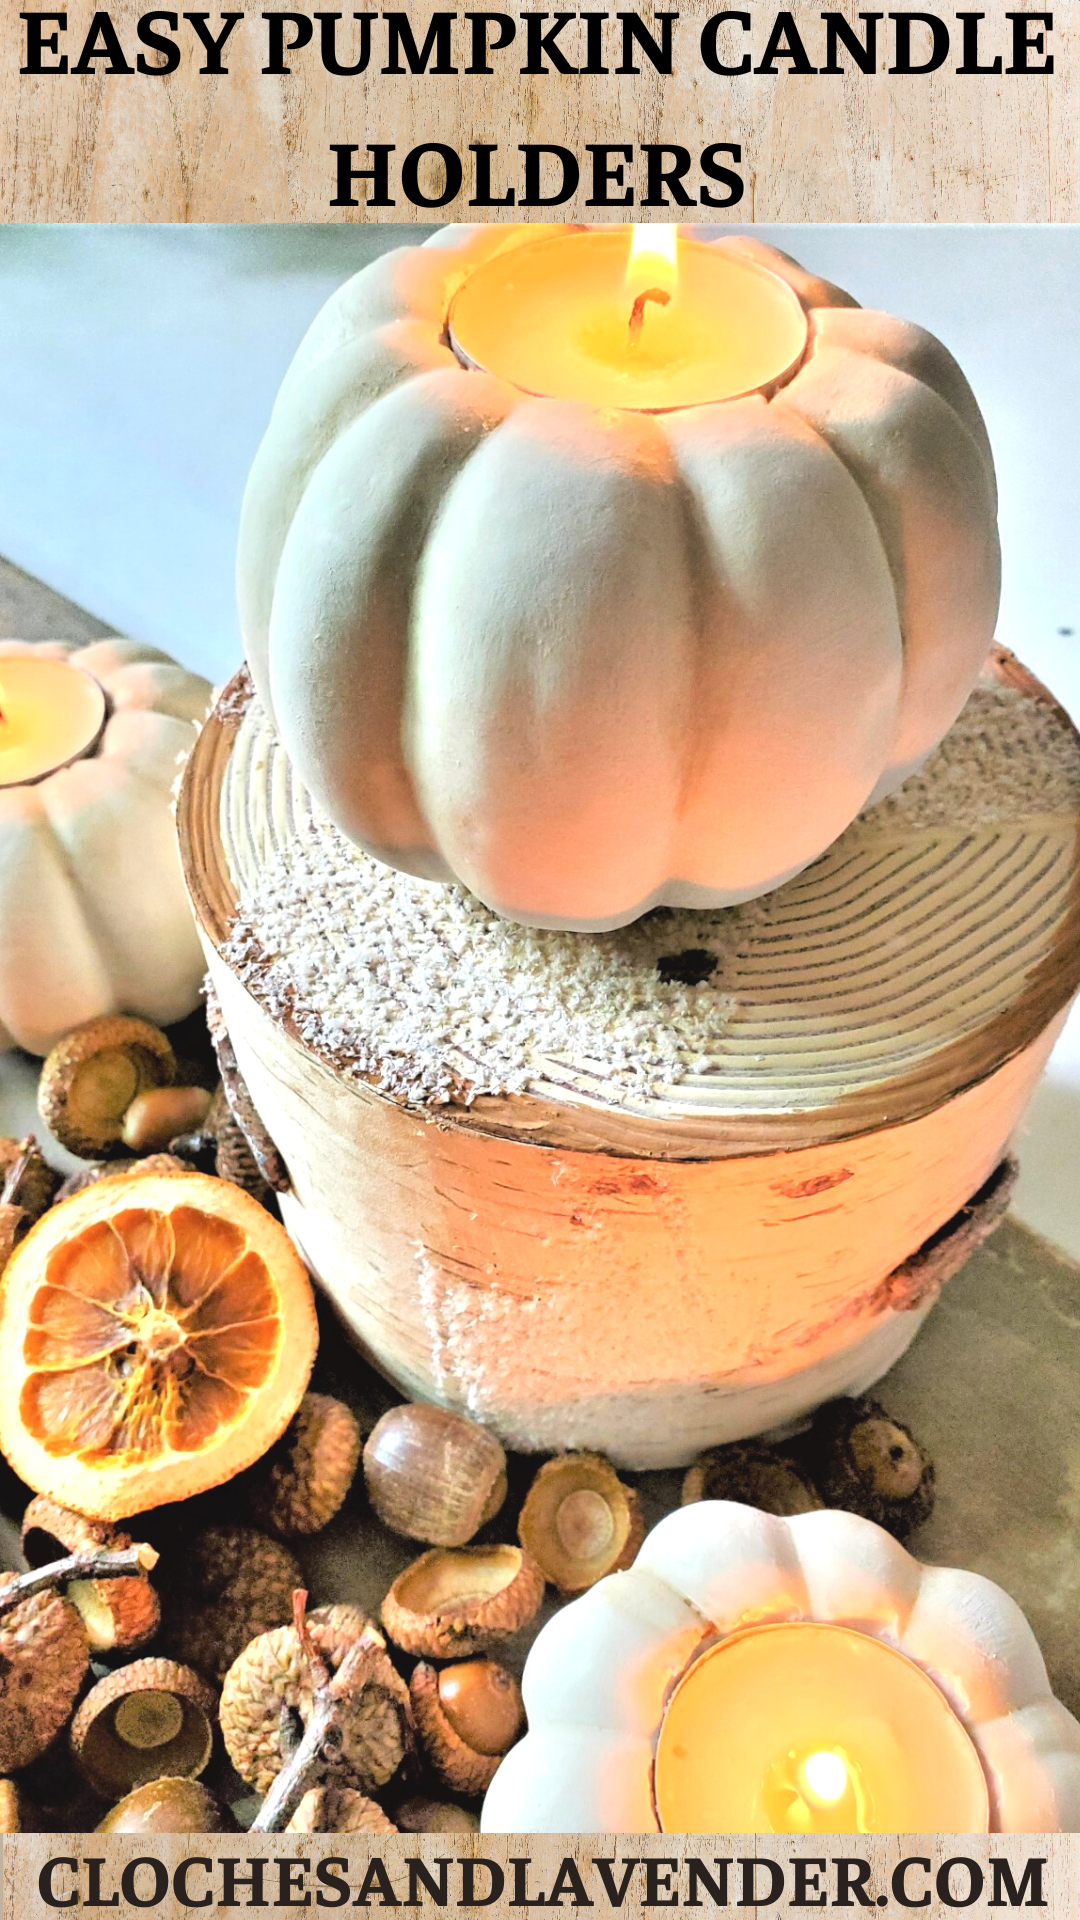
Easy Pumpkin Candle Holders In Four Steps
Are you looking for a simple DIY project to elevate a fall table or Thanksgiving table to add cozy vibes for the season? Look no further! I enjoy adding natural elements to our home, especially for fall. Nature offers many gifts during this time of year for DIY projects and home decor. Today I’m sharing step-by-step tutorials for easy pumpkin candle holders in four steps. These will add cozy vibes to your dinner table, coffee table, or fall mantel.
Jump to DIY Printable CardEasy Pumpkin Candle Holders In Four Steps: Helpful Tips
Whether you choose real pumpkins, small gourds, or baby pumpkins from the grocery store, the Dollar Store, thrift store, or flea market, these step-by-step tutorials will guide you through fun ideas to create pumpkin candleholders. These make a beautiful centerpiece for a holiday table or a relaxing evening with friends. The best part? These can be custom-designed to hold taper candles or tea light candles. If this is your first time making homemade candle holders, no worries, I will be sharing helpful tips to make and fun ideas to add them to your home.
Supplies Needed: Easy Pumpkin Candle Holders in Four Steps
- Pencil (pencil line)
- Small pumpkins (fake or real) – grocery store, Dollar Store, thrift store or flea market
- White craft paint (optional)
- Light brown wax or raw umber craft paint (optional makes these candle holders look like the real thing)
- Small chip brush (optional – makes pumpkin candleholders look like the real thing)
- Small stencil brush
- Paper towel or rag
- Box cutter (be extremely careful)
- Tea light candles or flameless battery-operated taper candles
- Hot glue gun (optional)
- Spade drill bit
DIY Mini Pumpkin Candle Holders
Step 1: Remove the Stem
These pumpkin candles are a simple project with little alteration. This takes a little bit of time and next to no money!
Cover your work surface with craft paper or newspaper for easy cleanup.
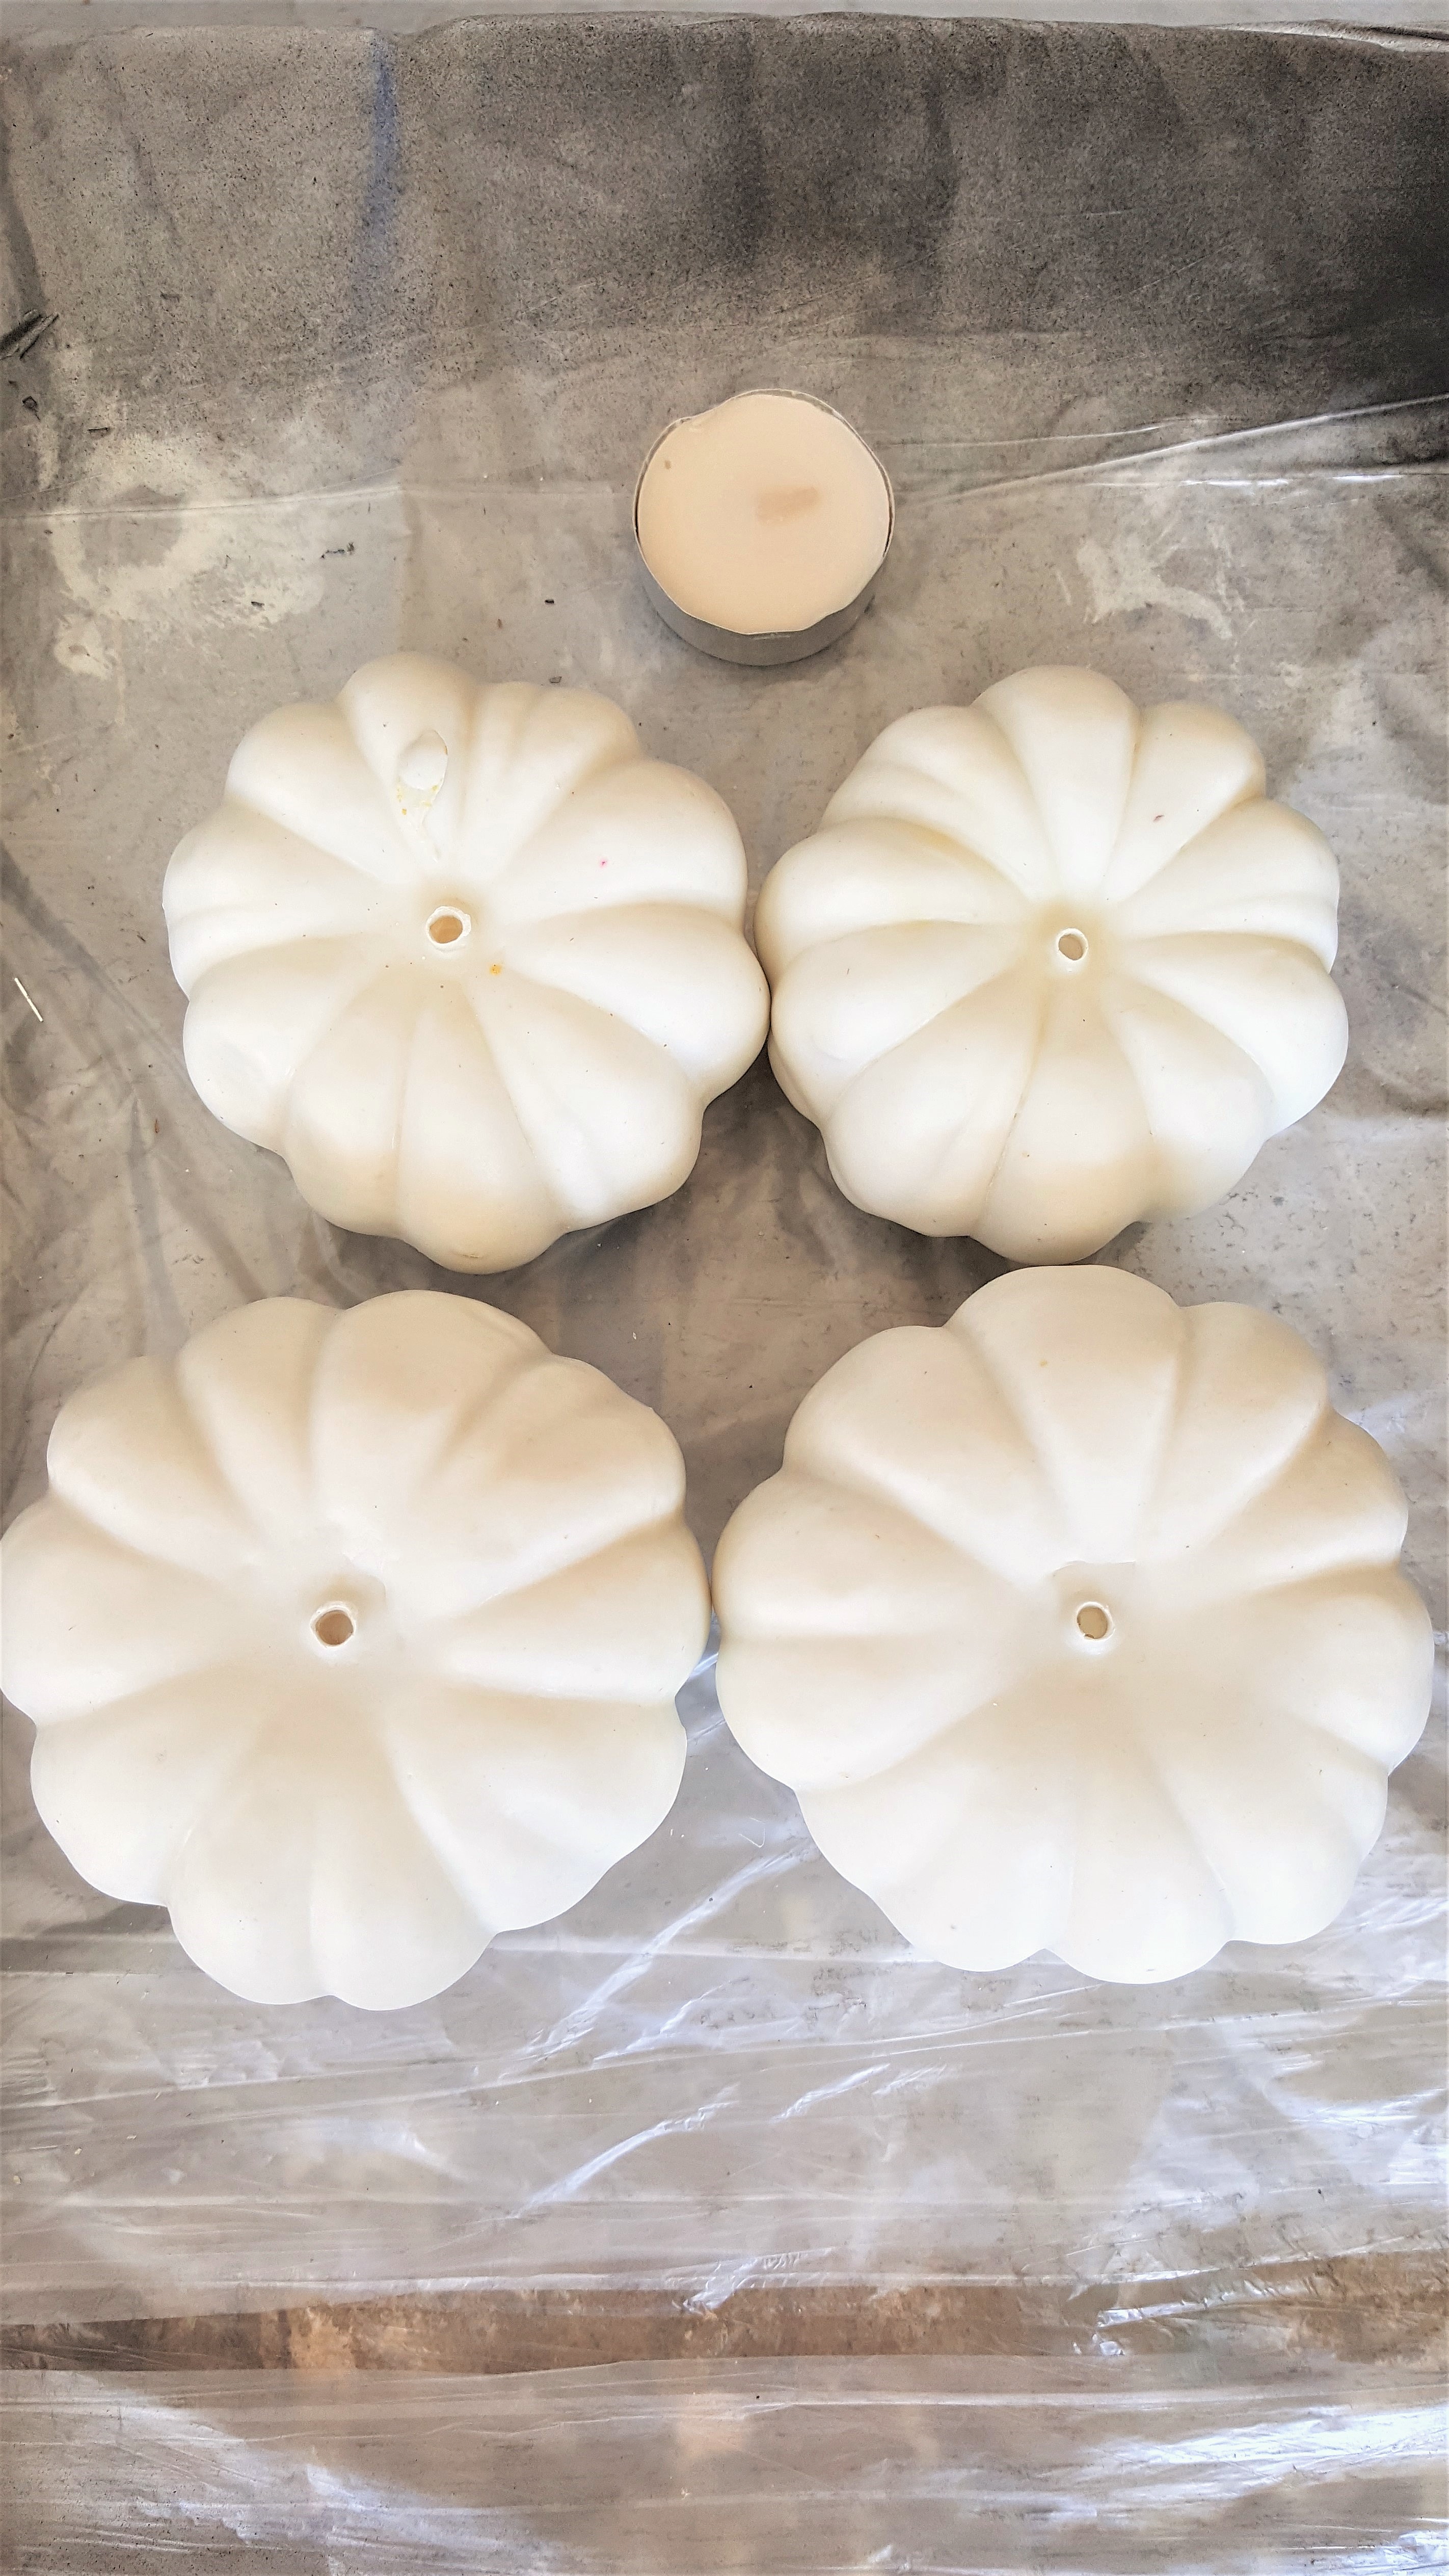
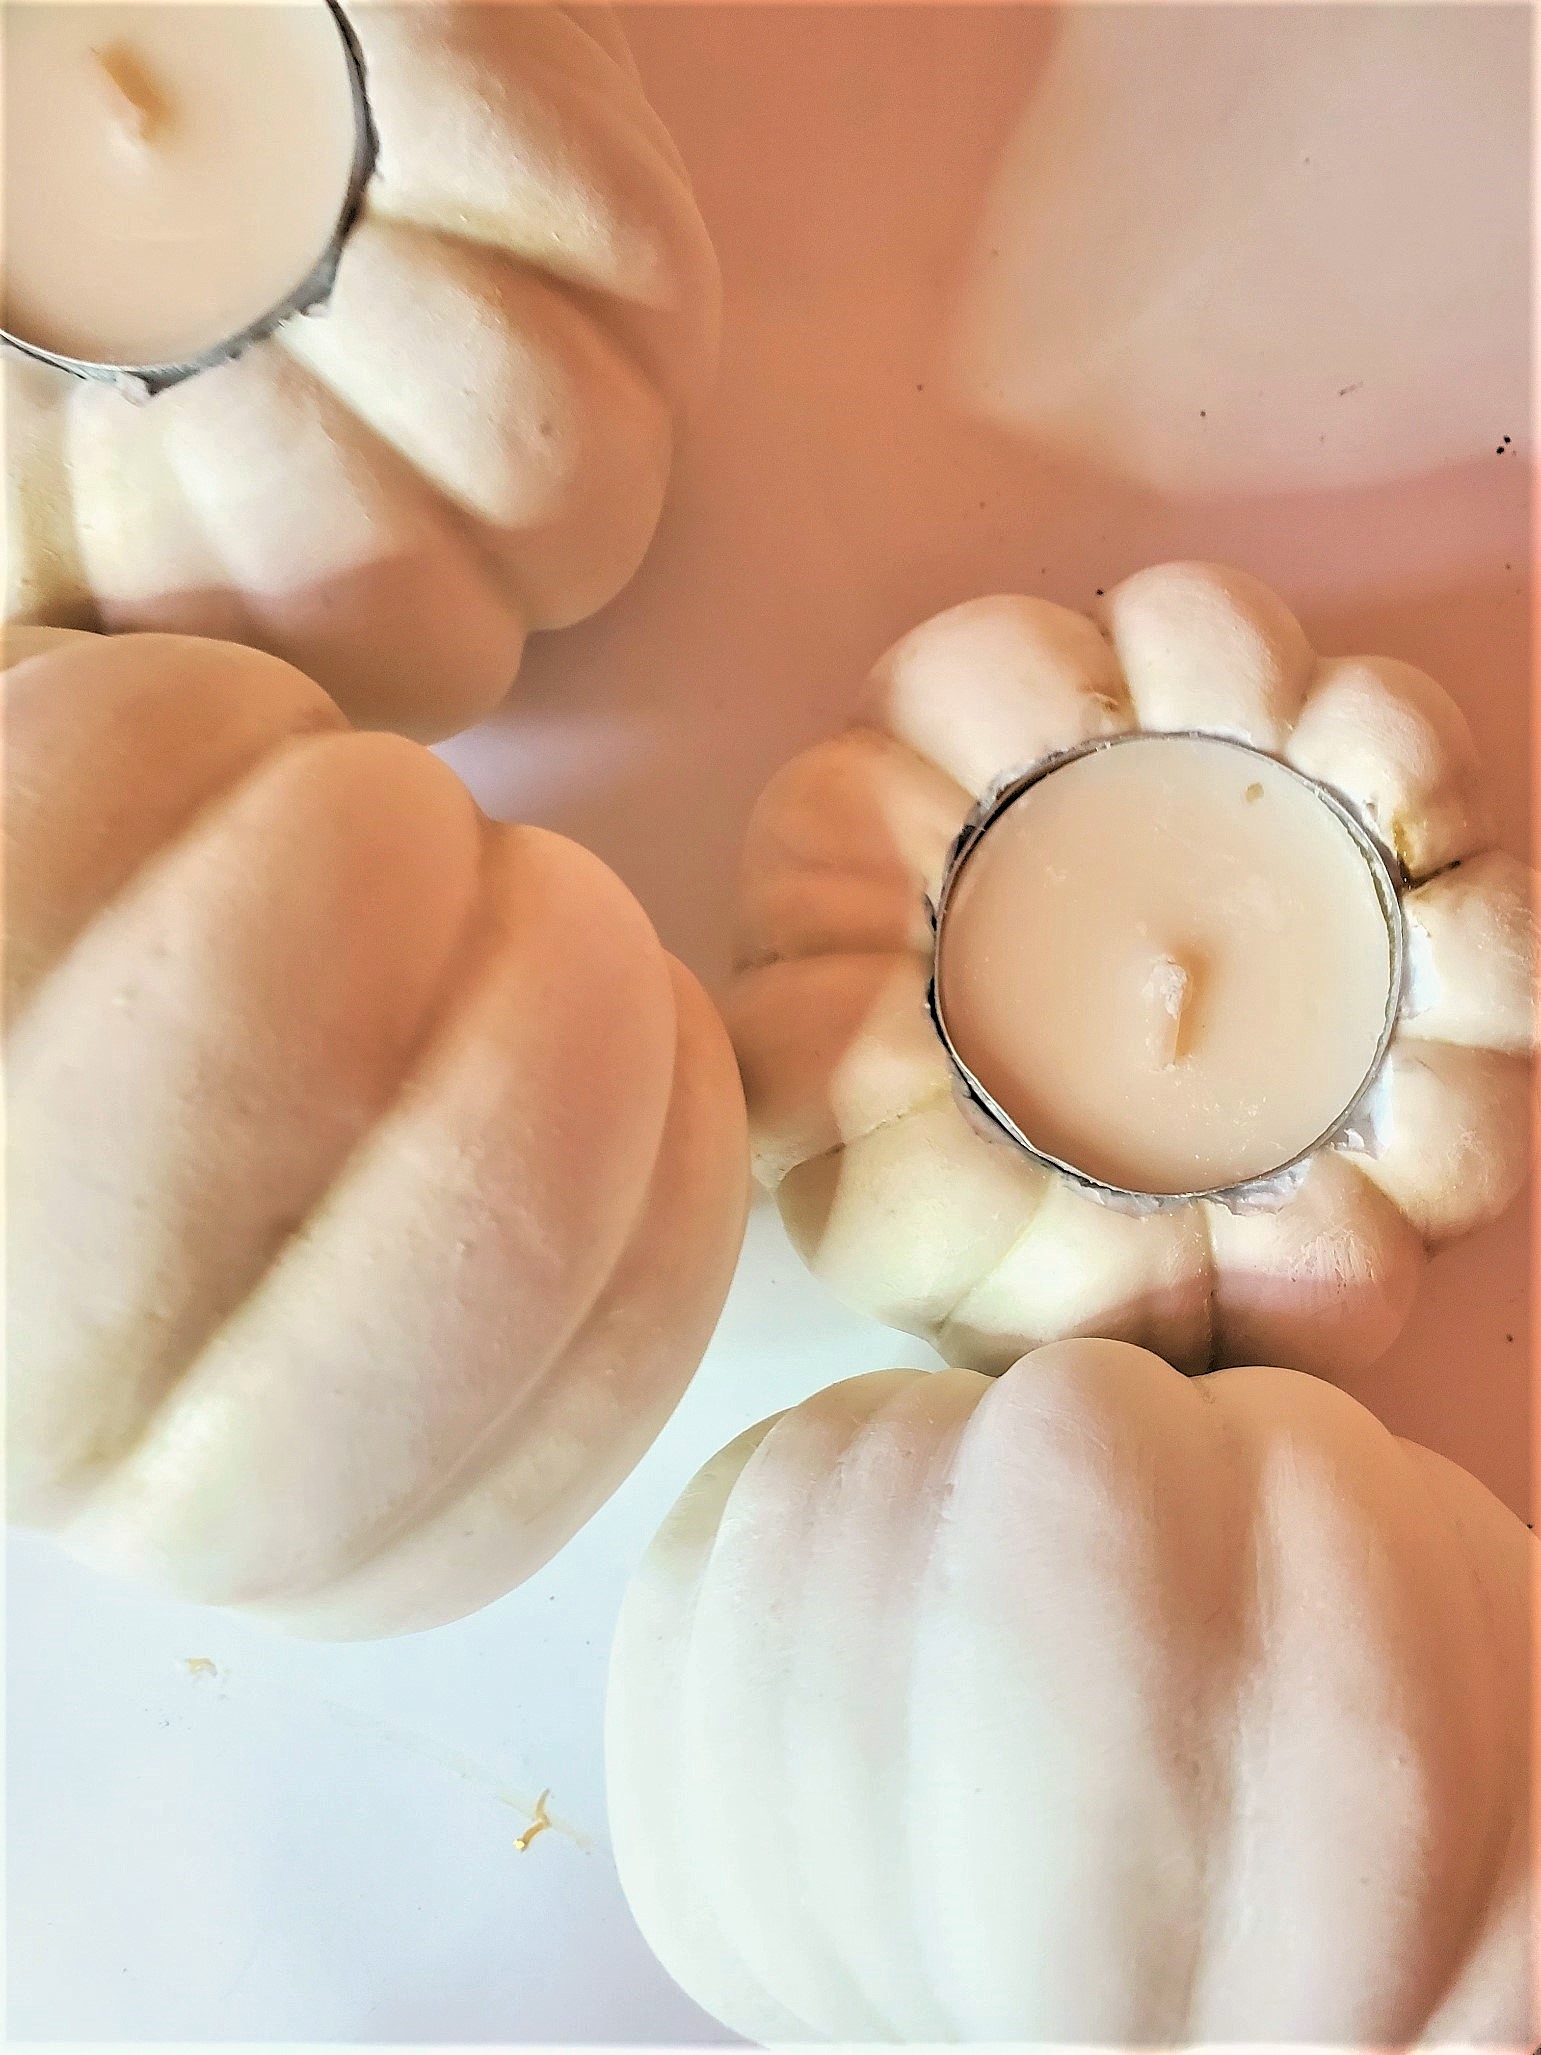
Gently pull or twist off the stem from the mini pumpkins.
If using real pumpkins, carefully cut off the base of the stem. Remember to save the stems for future fall home decor DIY ideas.
As an Amazon Associate, Black Dog Salvage Furniture Paint affiliate, and other Affiliate links I earn from qualifying purchases Use Code: C-L20 when visiting Black Dog Salvage Furniture Paint and RECEIVE 20% OFF!!
I earn a small commission from qualifying purchases through affiliate links. The price will be the same whether you use the affiliate links or go directly to the website. All opinions are my own. (Check our Full Disclosure and Privacy Policy)
Step 2: Create a Base for the Candle
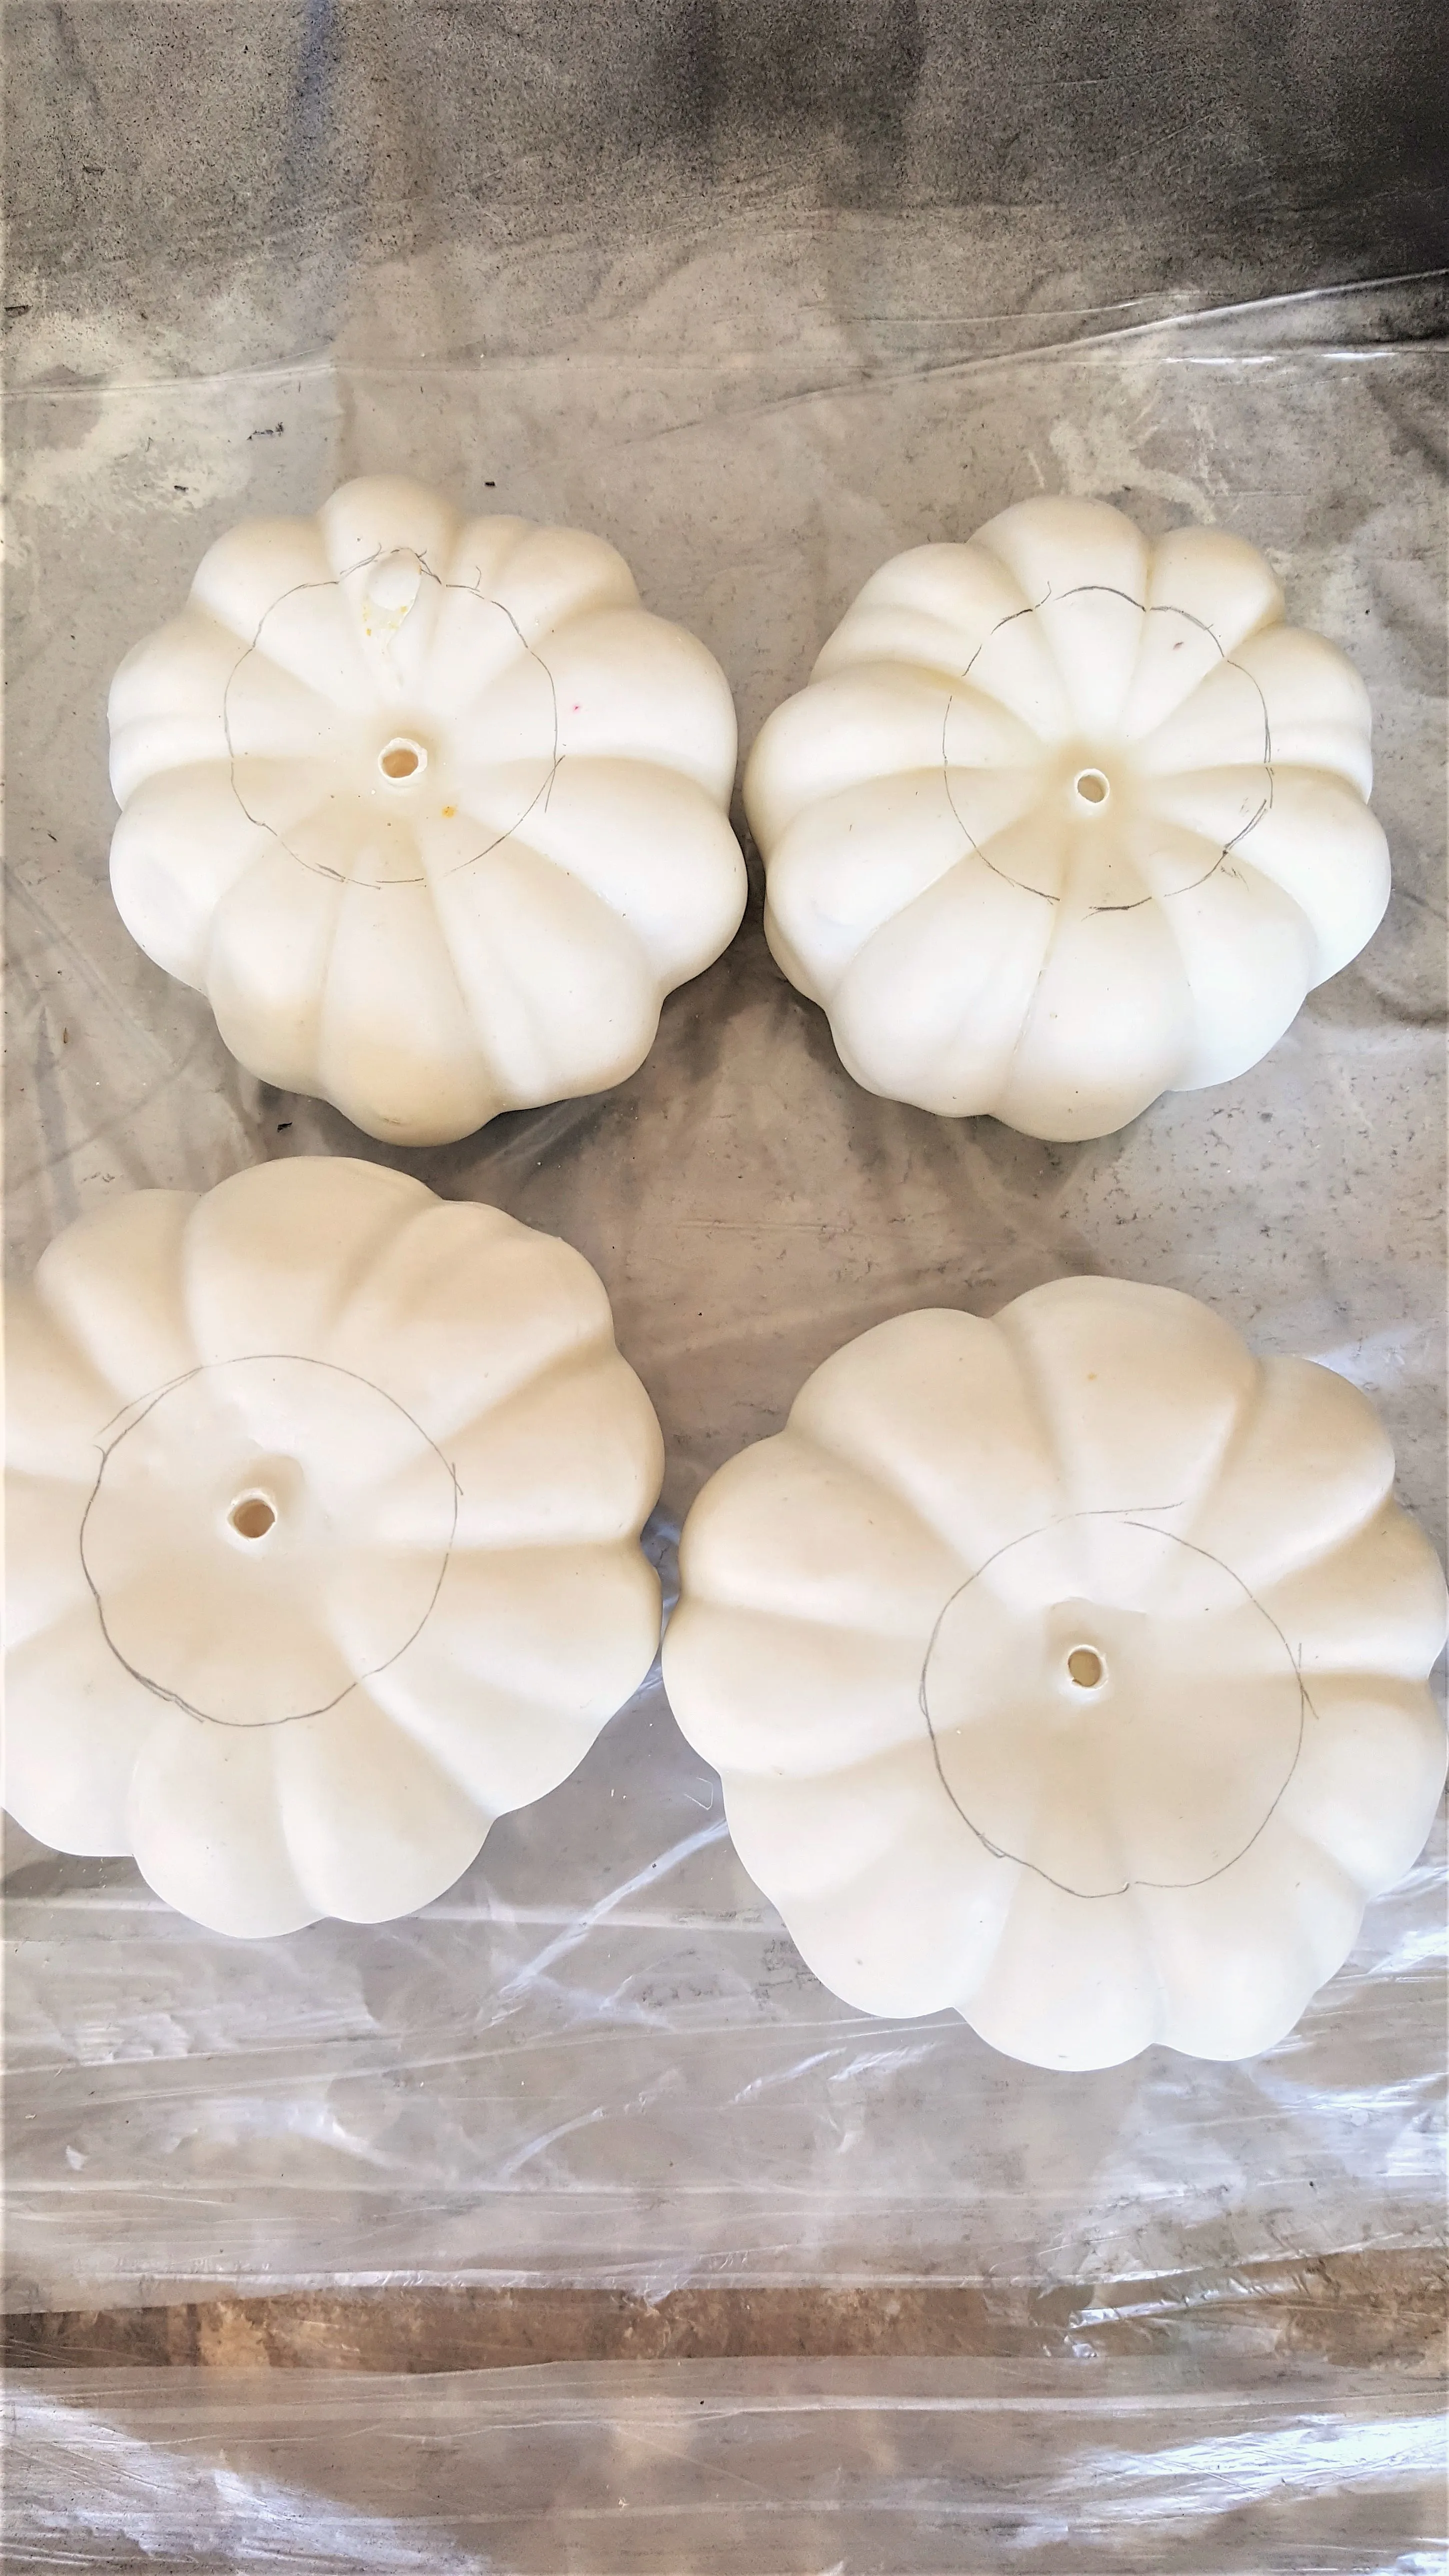
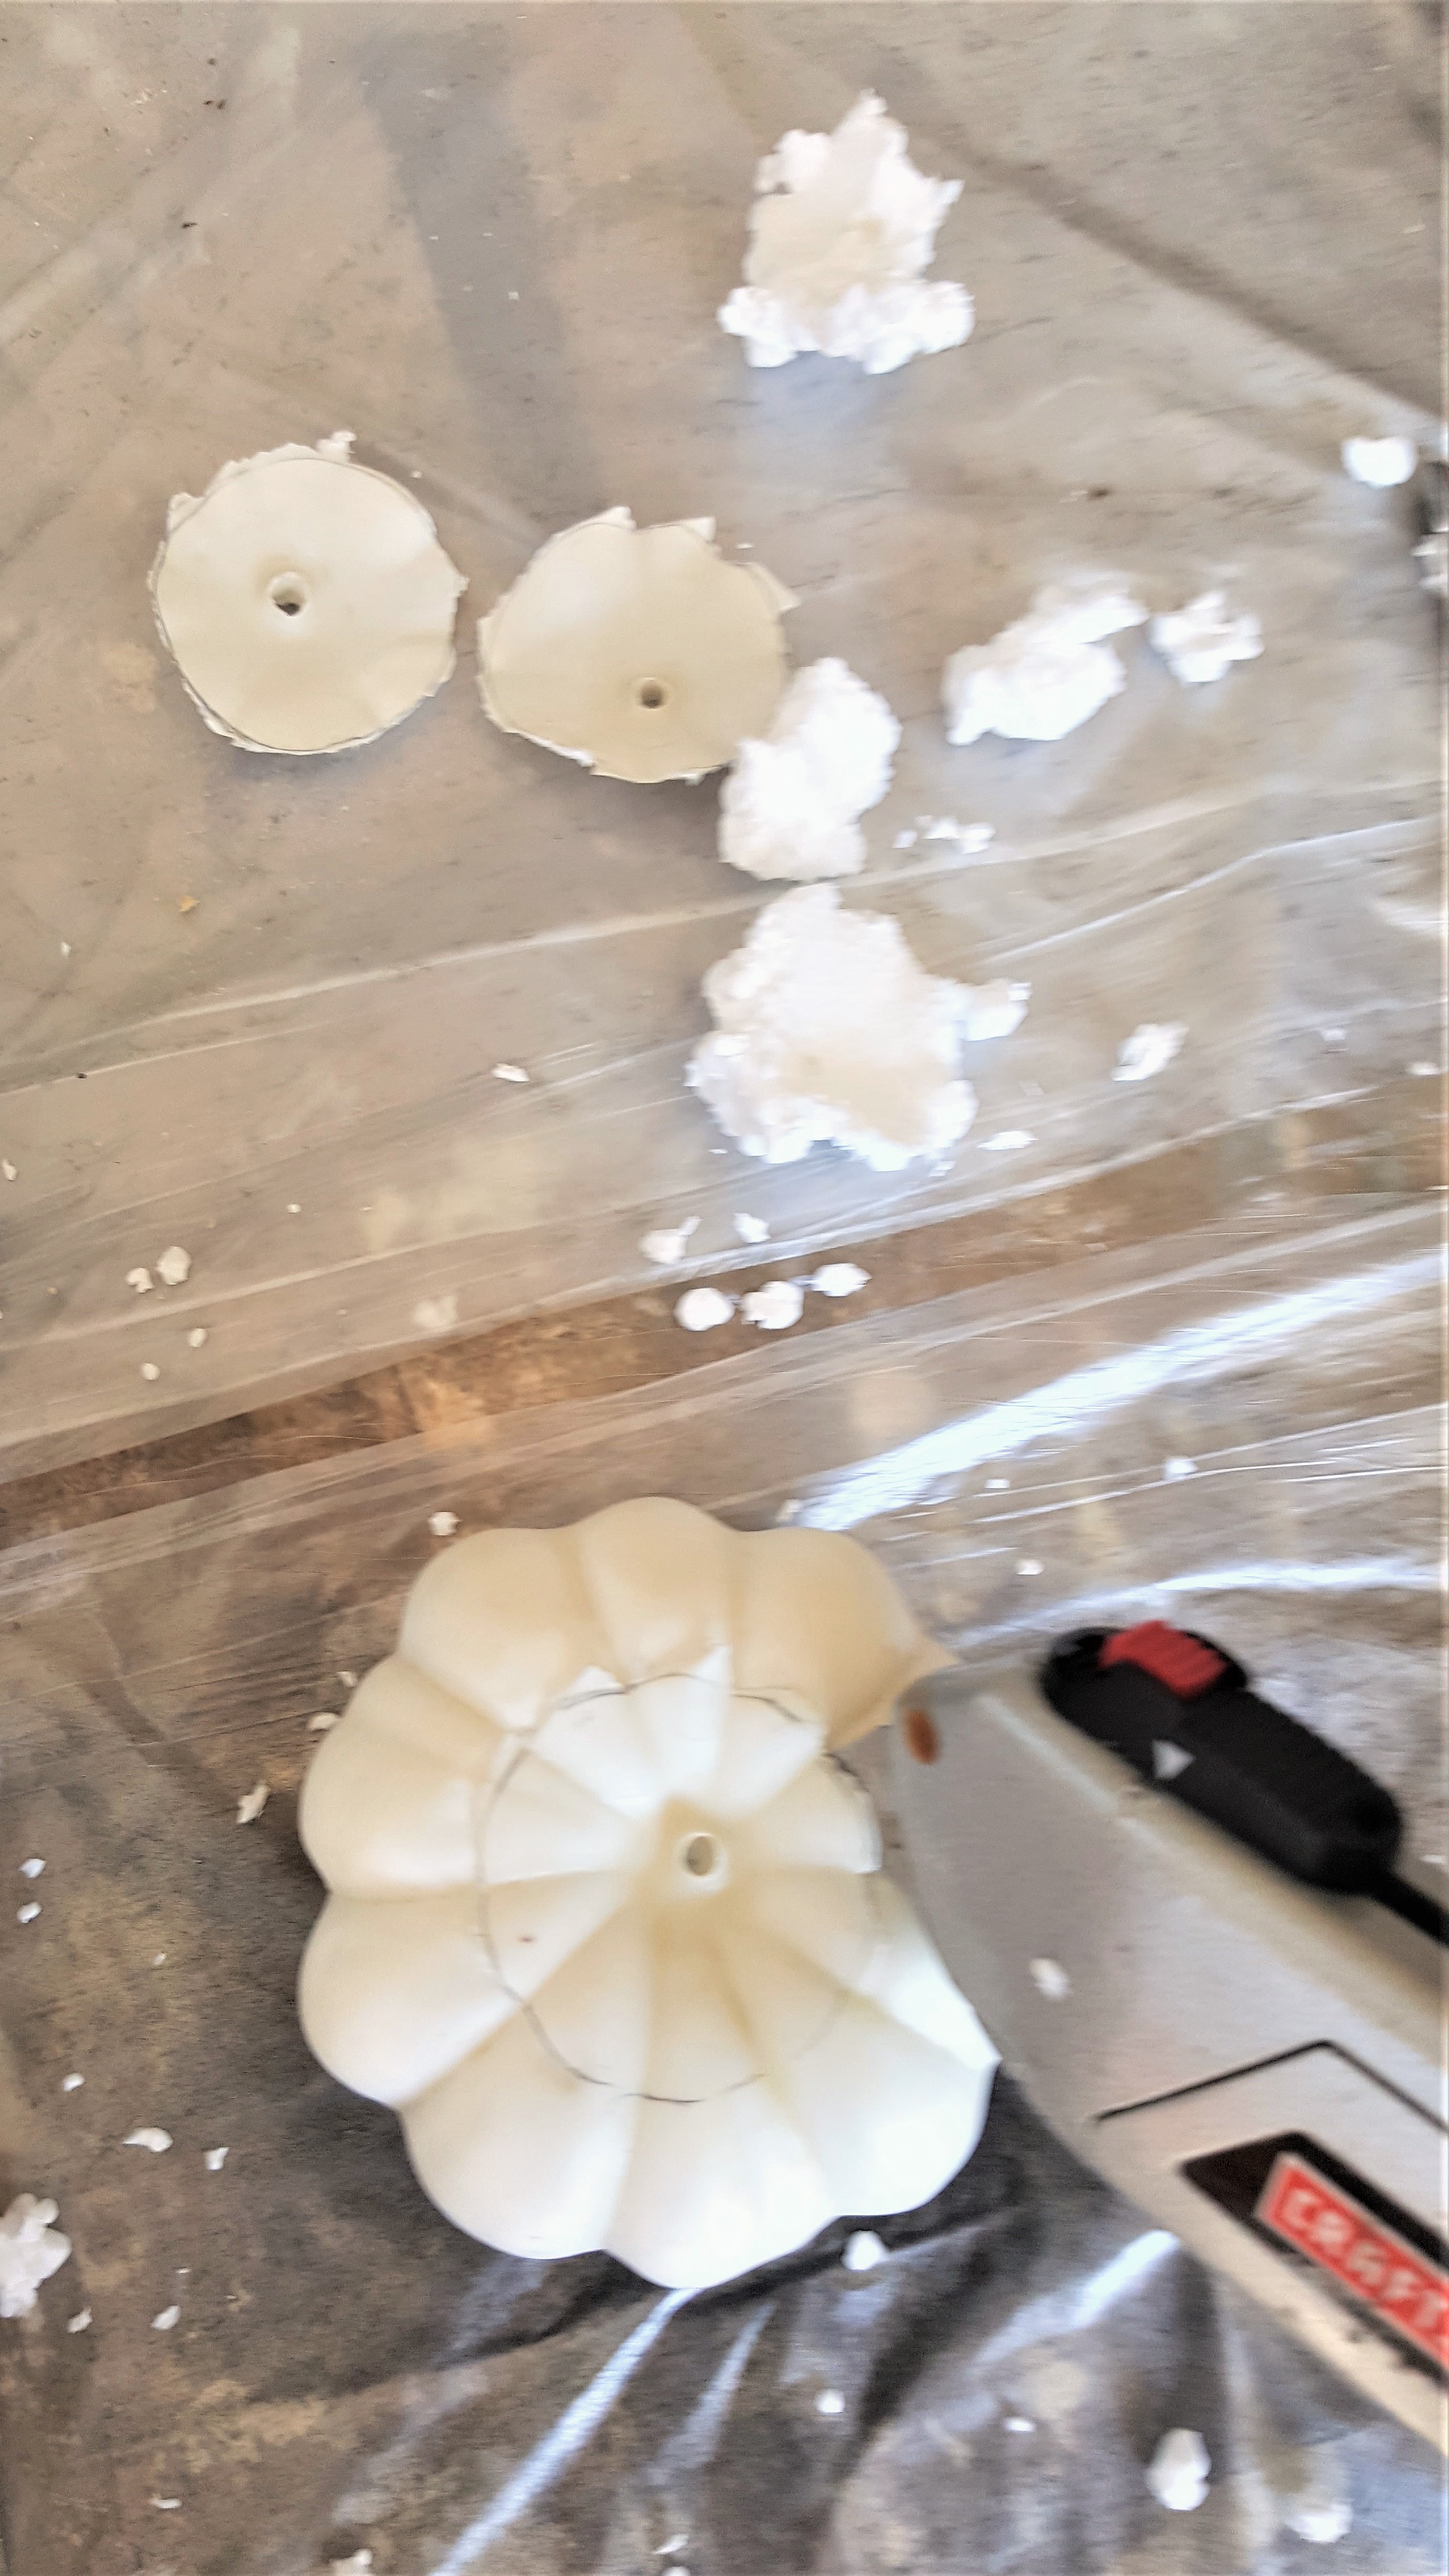
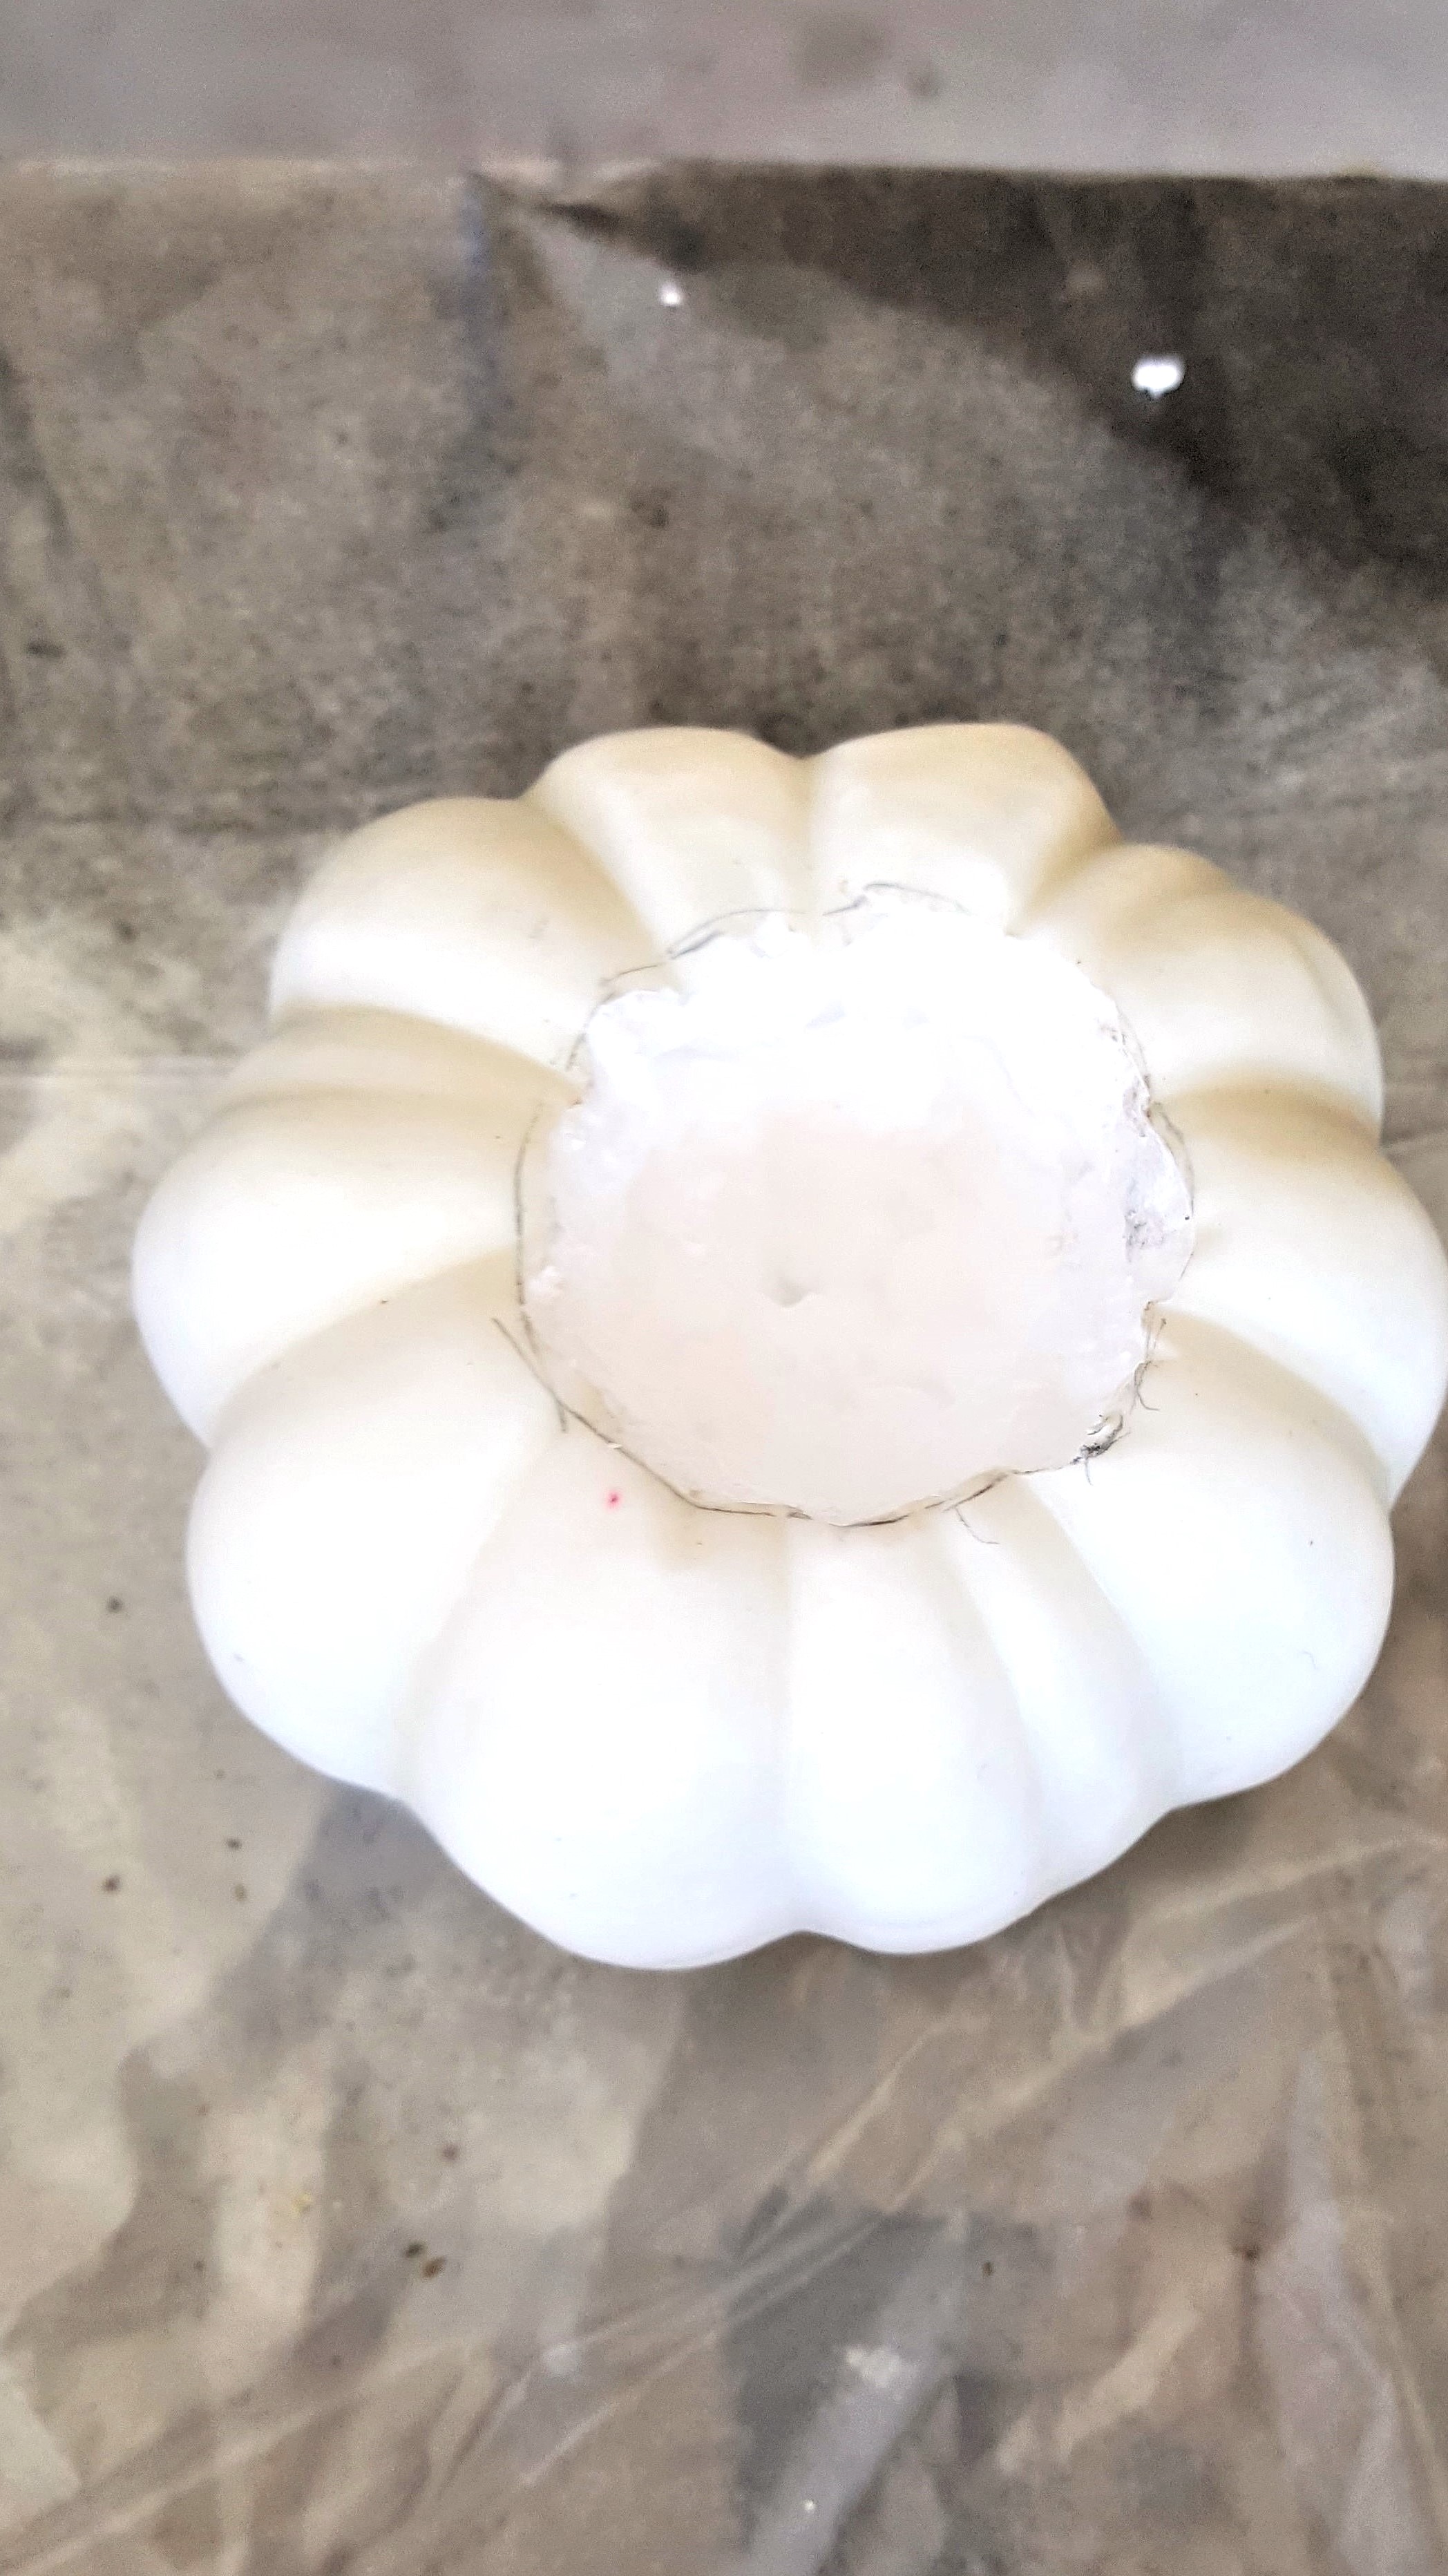
Place a tea light candle on top of the pumpkin and trace around it to make a pencil line. Carefully use a box cutter to cut a hole along the traced line on the top of the pumpkin.
For real pumpkins, carefully cut around the base of the stem and remove the top. Scoop out the pumpkin seeds, and consider saving them for roasting; they make a delicious and healthy snack!
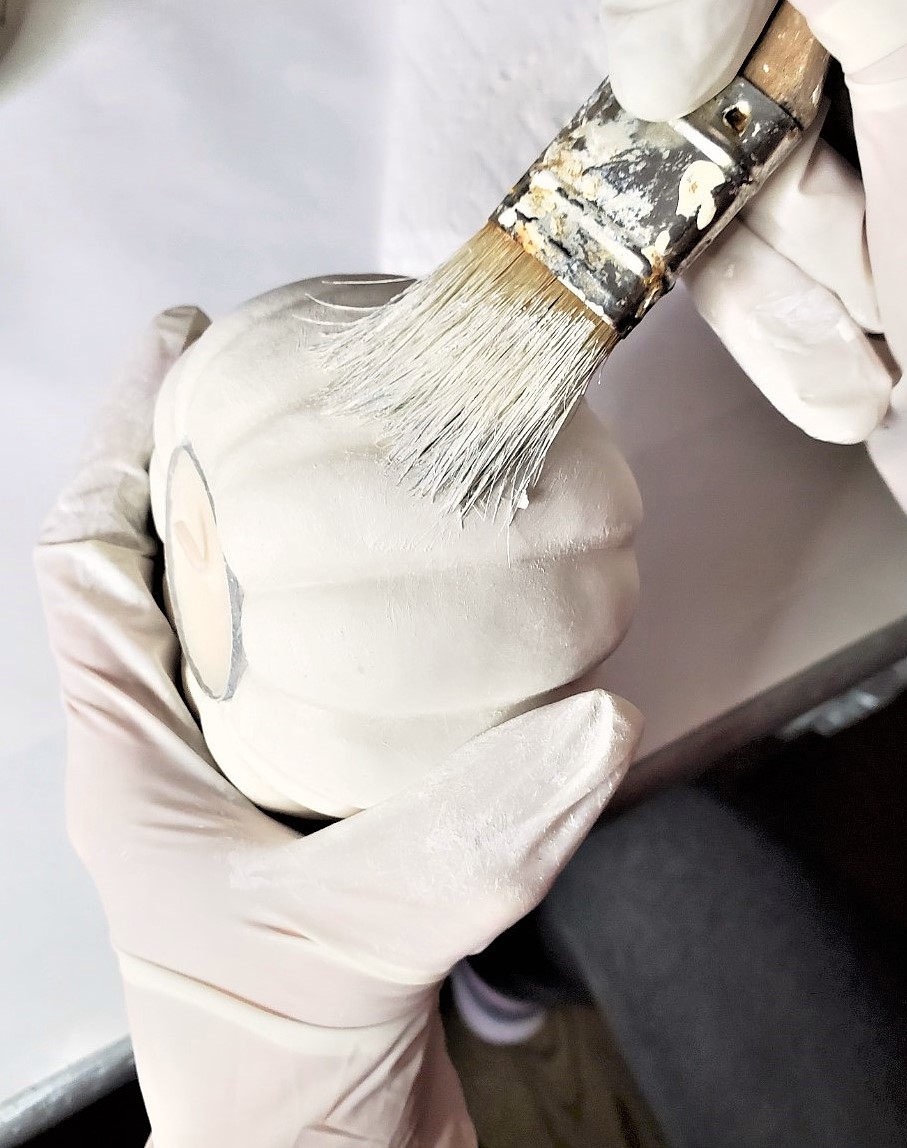
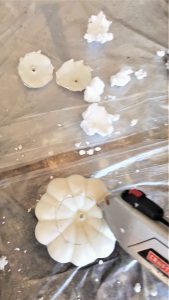
Step 3 (Optional): Add Realistic Texture With Paint
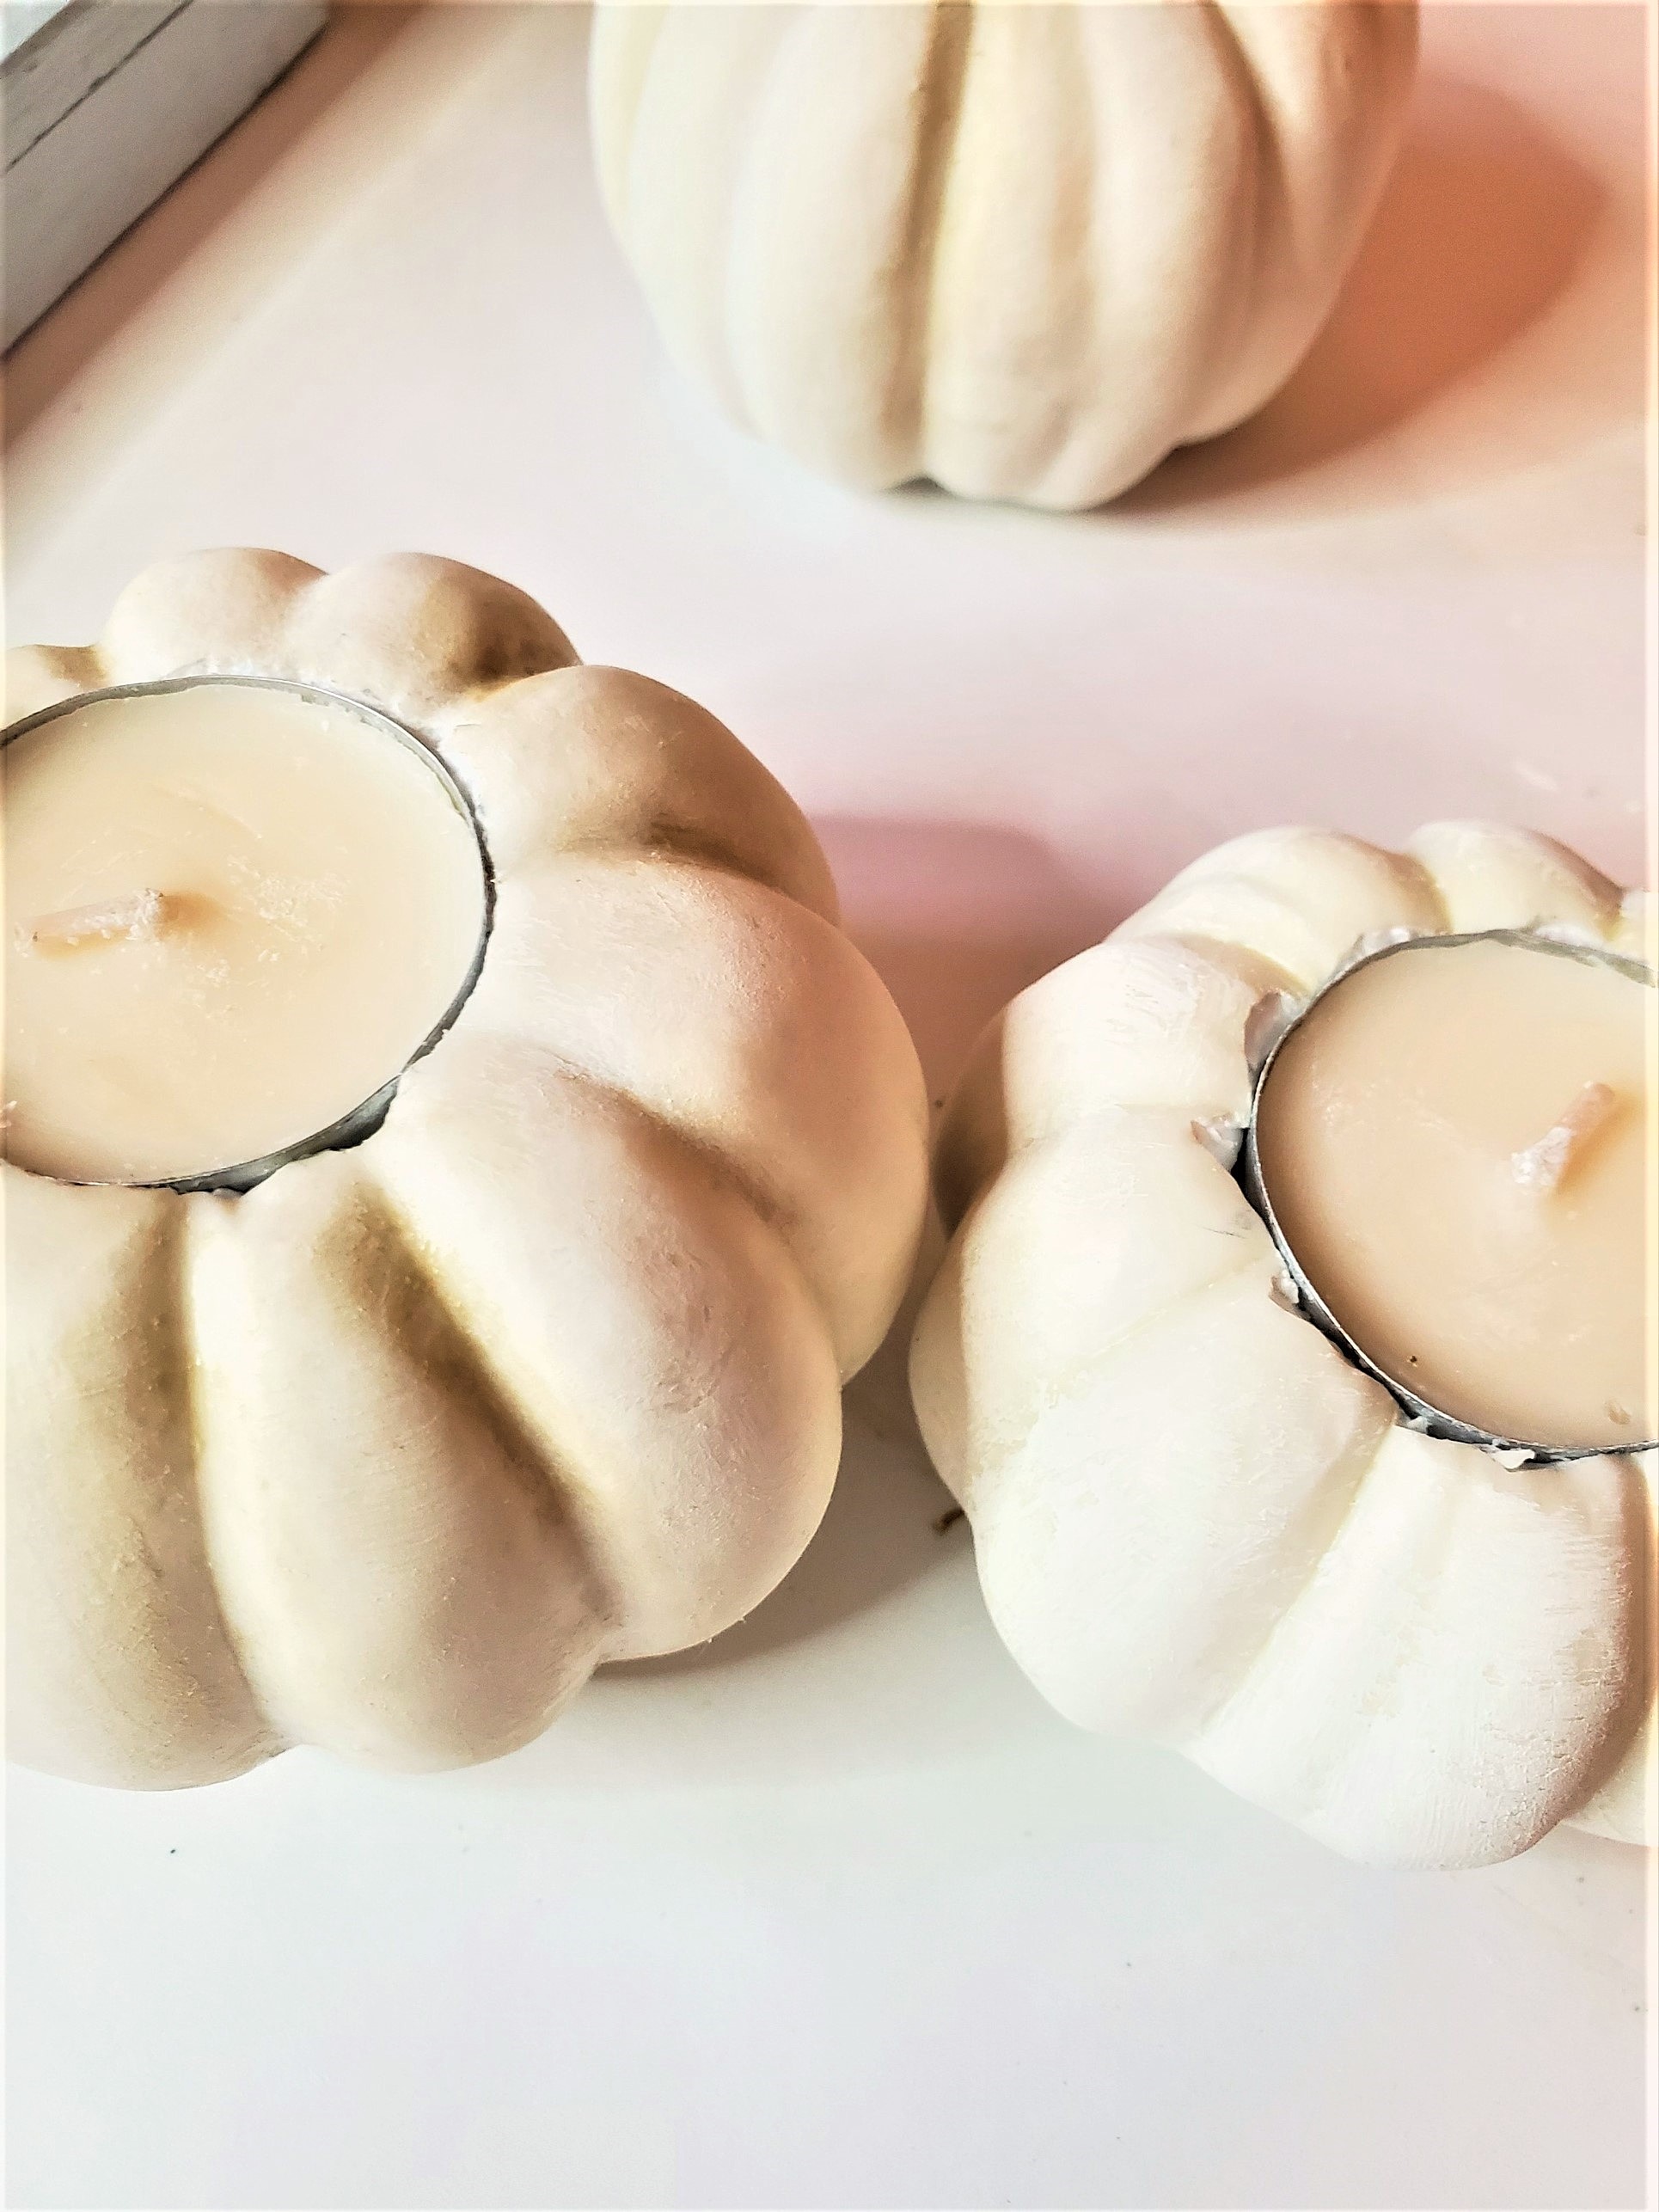
To achieve the look of a real pumpkin, dry brush the pumpkins with white craft paint. Dip the tip of a small chip brush in the paint and wipe off the excess on a paper towel. Lightly dry brush the paint on the pumpkins and let them dry for about 10 minutes. If this is your first time using a dry brush painting technique, no worries, I share detailed step-by-step instructions for a basket and a planter.
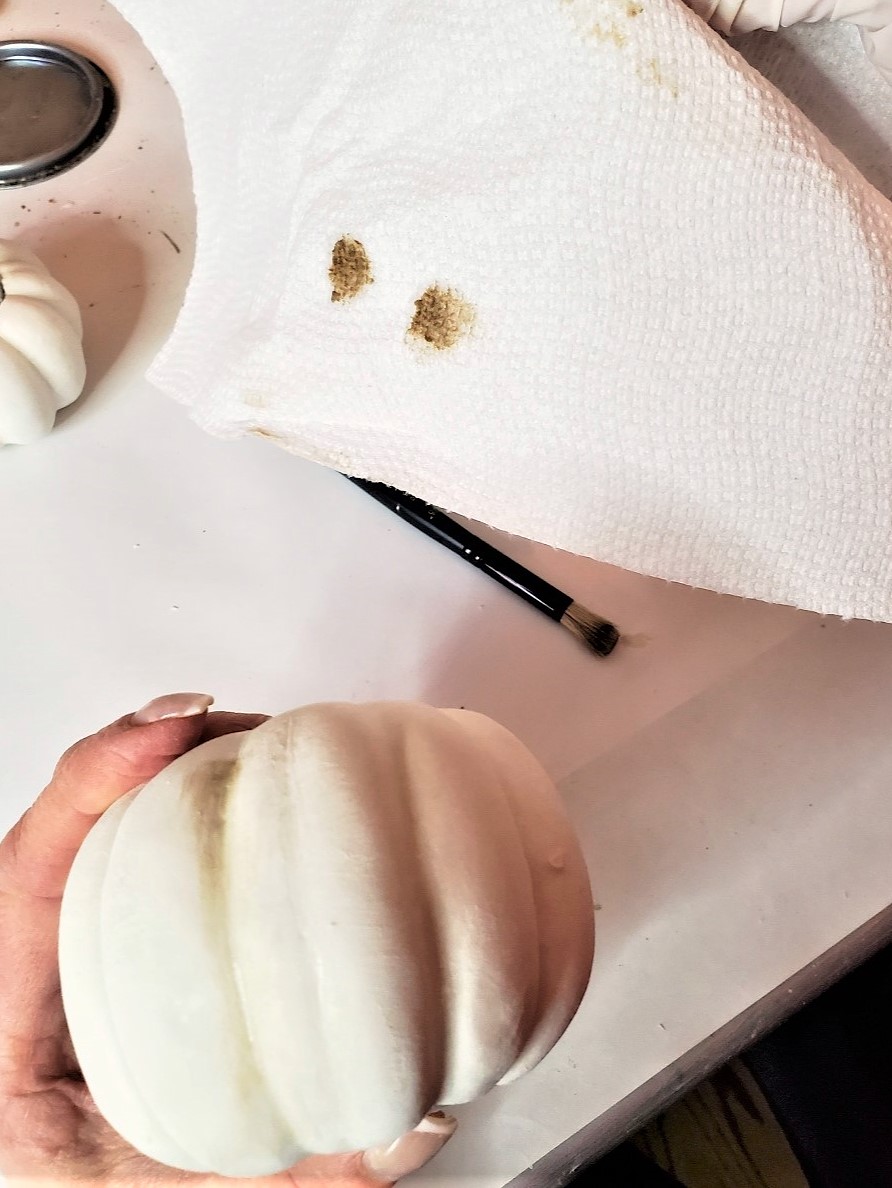
For a more natural texture, use a small stencil brush to add light brown wax or raw umber craft paint to the creases to create shadows. Blend the paint with a (barely) damp paper towel and wax to create shadows to resemble the real thing.
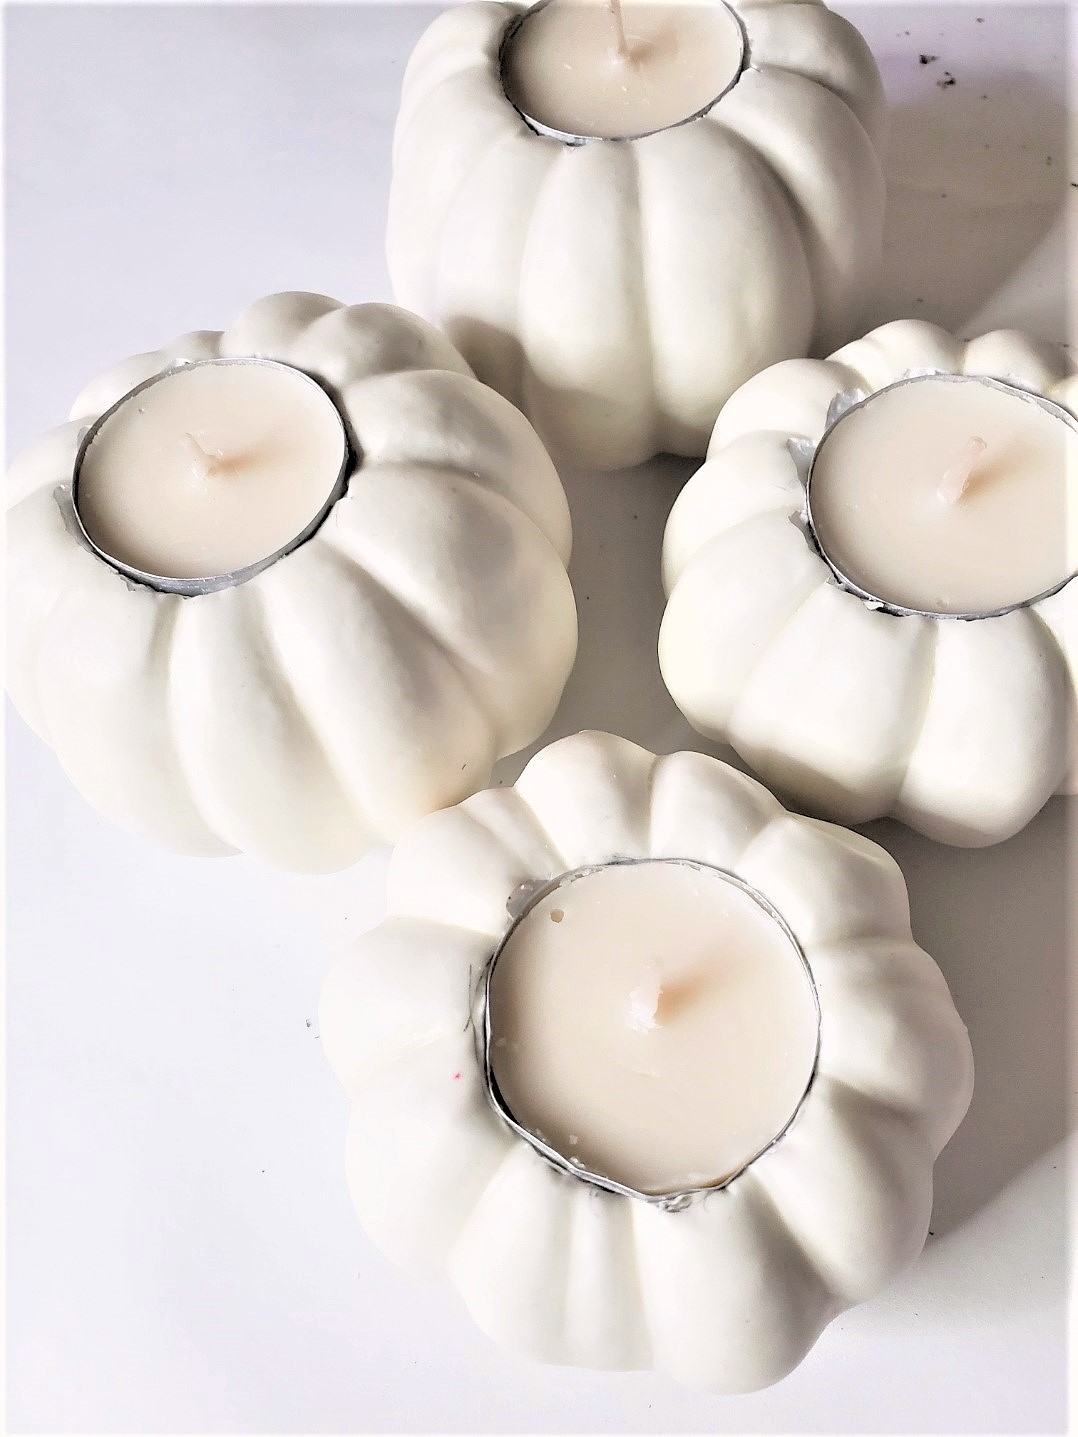

Step 4: Assemble The DIY Pumpkin Candle Holders
Once the paint is dry, add a tealight to the base of the candle holder.
Pro Tip: For a tall candle, use melted wax or hot glue on the base of the tall candle to secure its DIY mini pumpkin taper candle holders. Be sure to position the candle so it stands straight on top of the pumpkin.

Is it Safe to put a Real Candle in a Pumpkin?
It’s safest to use a glow stick, fairy lights, or battery-operated candles in a real pumpkin.
Best Candle Real Pumpkins
When using pumpkins as candle holders, it’s essential to prioritize safety to prevent any potential fire hazards. Here are some types of candles that are safe to use with pumpkins:
- Real Pumpkins: Battery-operated taper candles, tea lights, and votives are the safest options for real mini pumpkins. Battery-operated LED candles mimic the flickering glow of real candles without the risk of fire or melting the top of the pumpkin.
- Tea lights: If you prefer real candles for DIY pumpkin candle holders, opt for tea lights or votive candles. These are smaller in size and enclosed in metal or plastic containers, reducing the risk of direct contact with the pumpkin’s interior.
- LED fairy lights: Tiny LED fairy lights or string lights can be safely placed inside a pumpkin to create a magical effect without any flame.
Display Ideas Pumpkin Candle Holder
- Use mini pumpkins or small gourds to make variations for this simple DIY project.
- These mini pumpkin taper candle holders will make a beautiful centerpiece on a dinner table or Thanksgiving table.
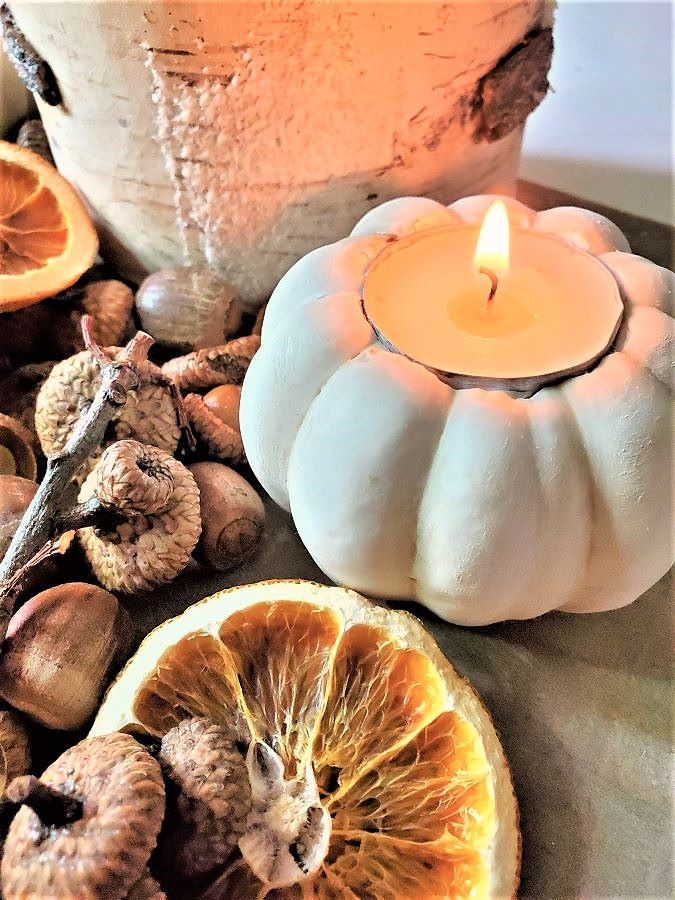
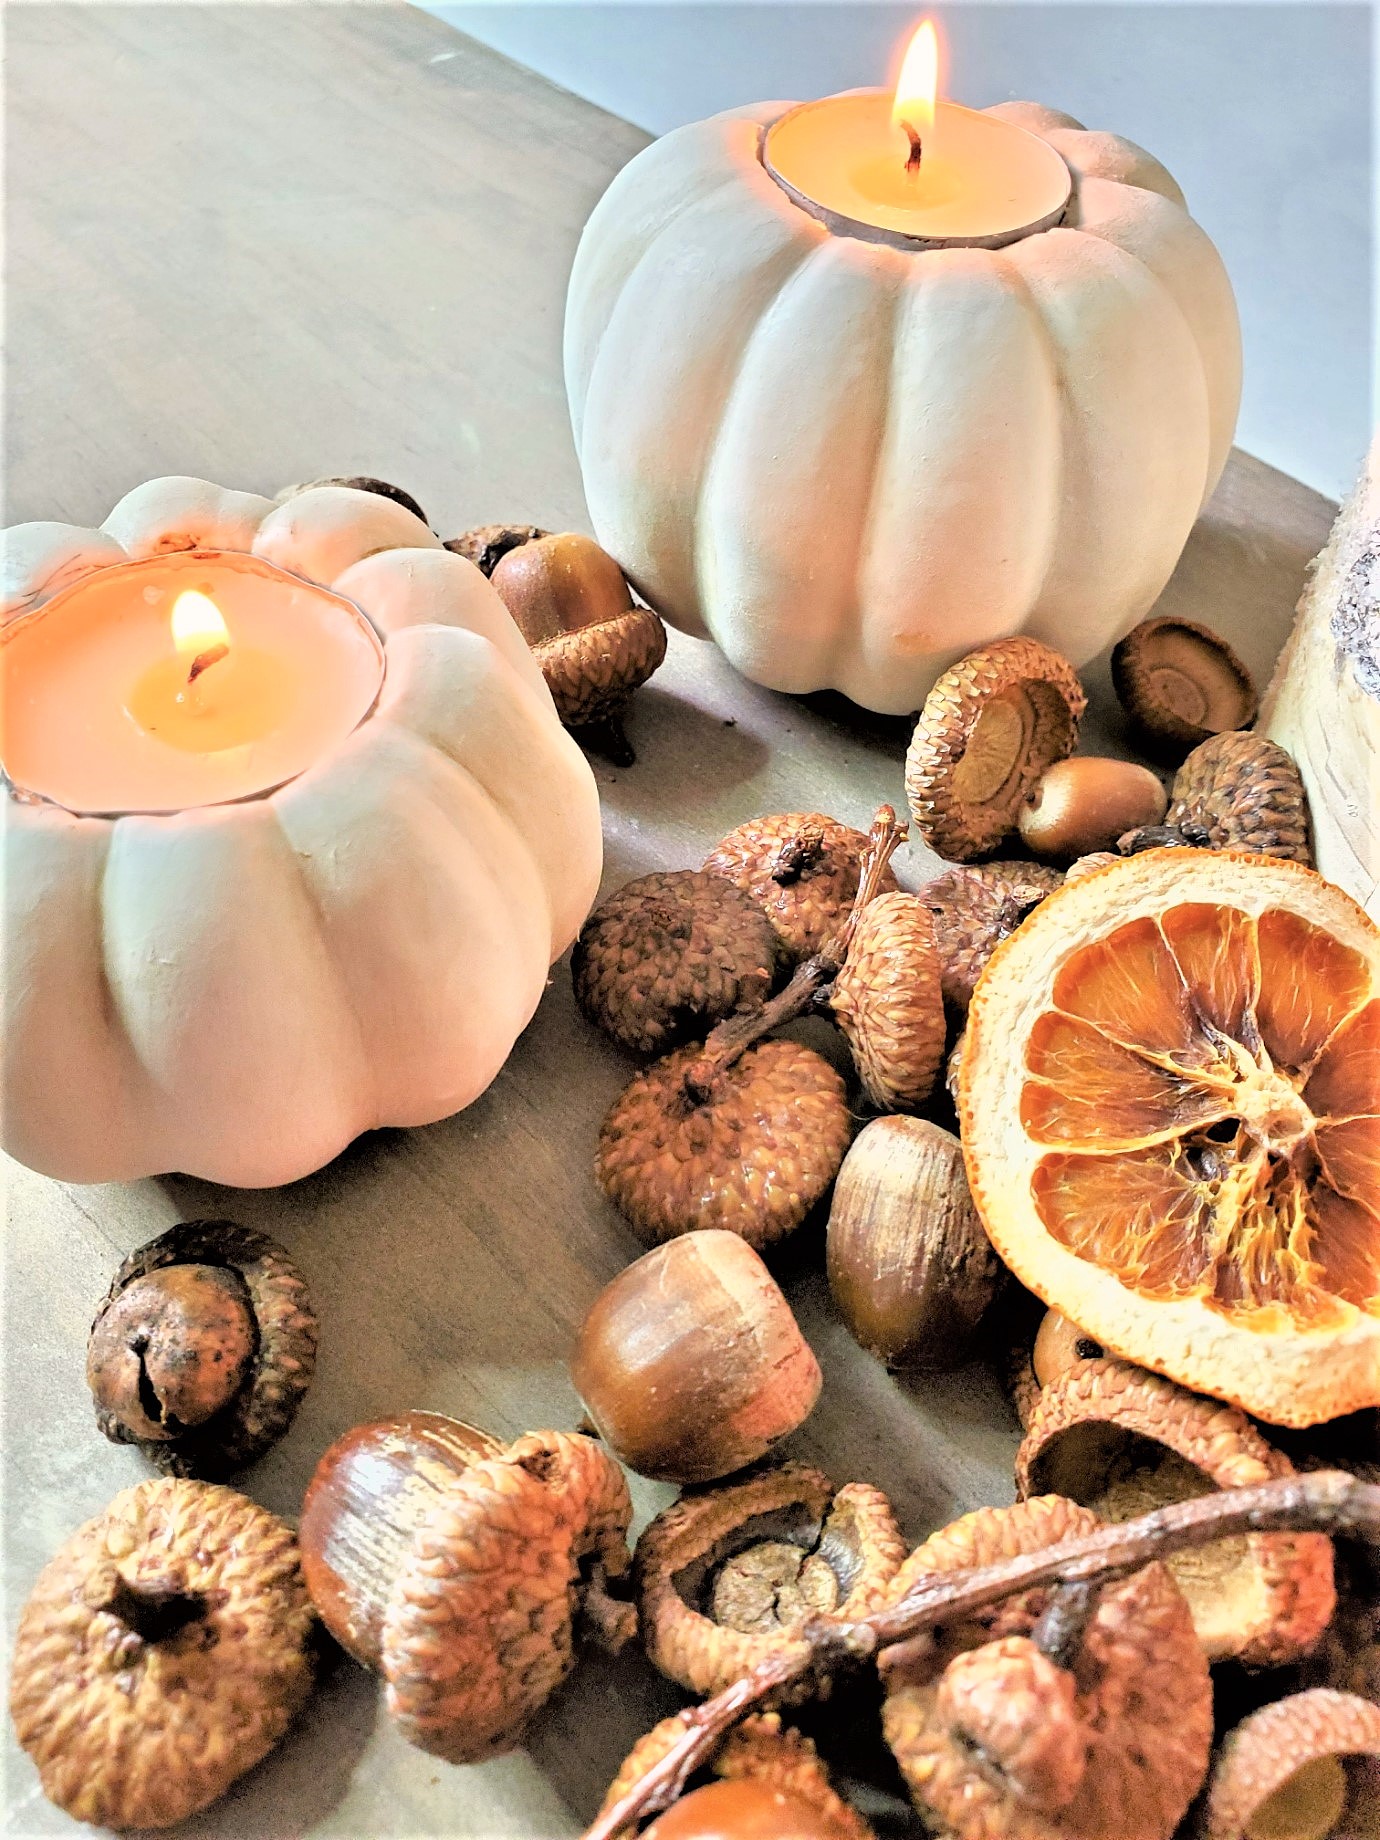
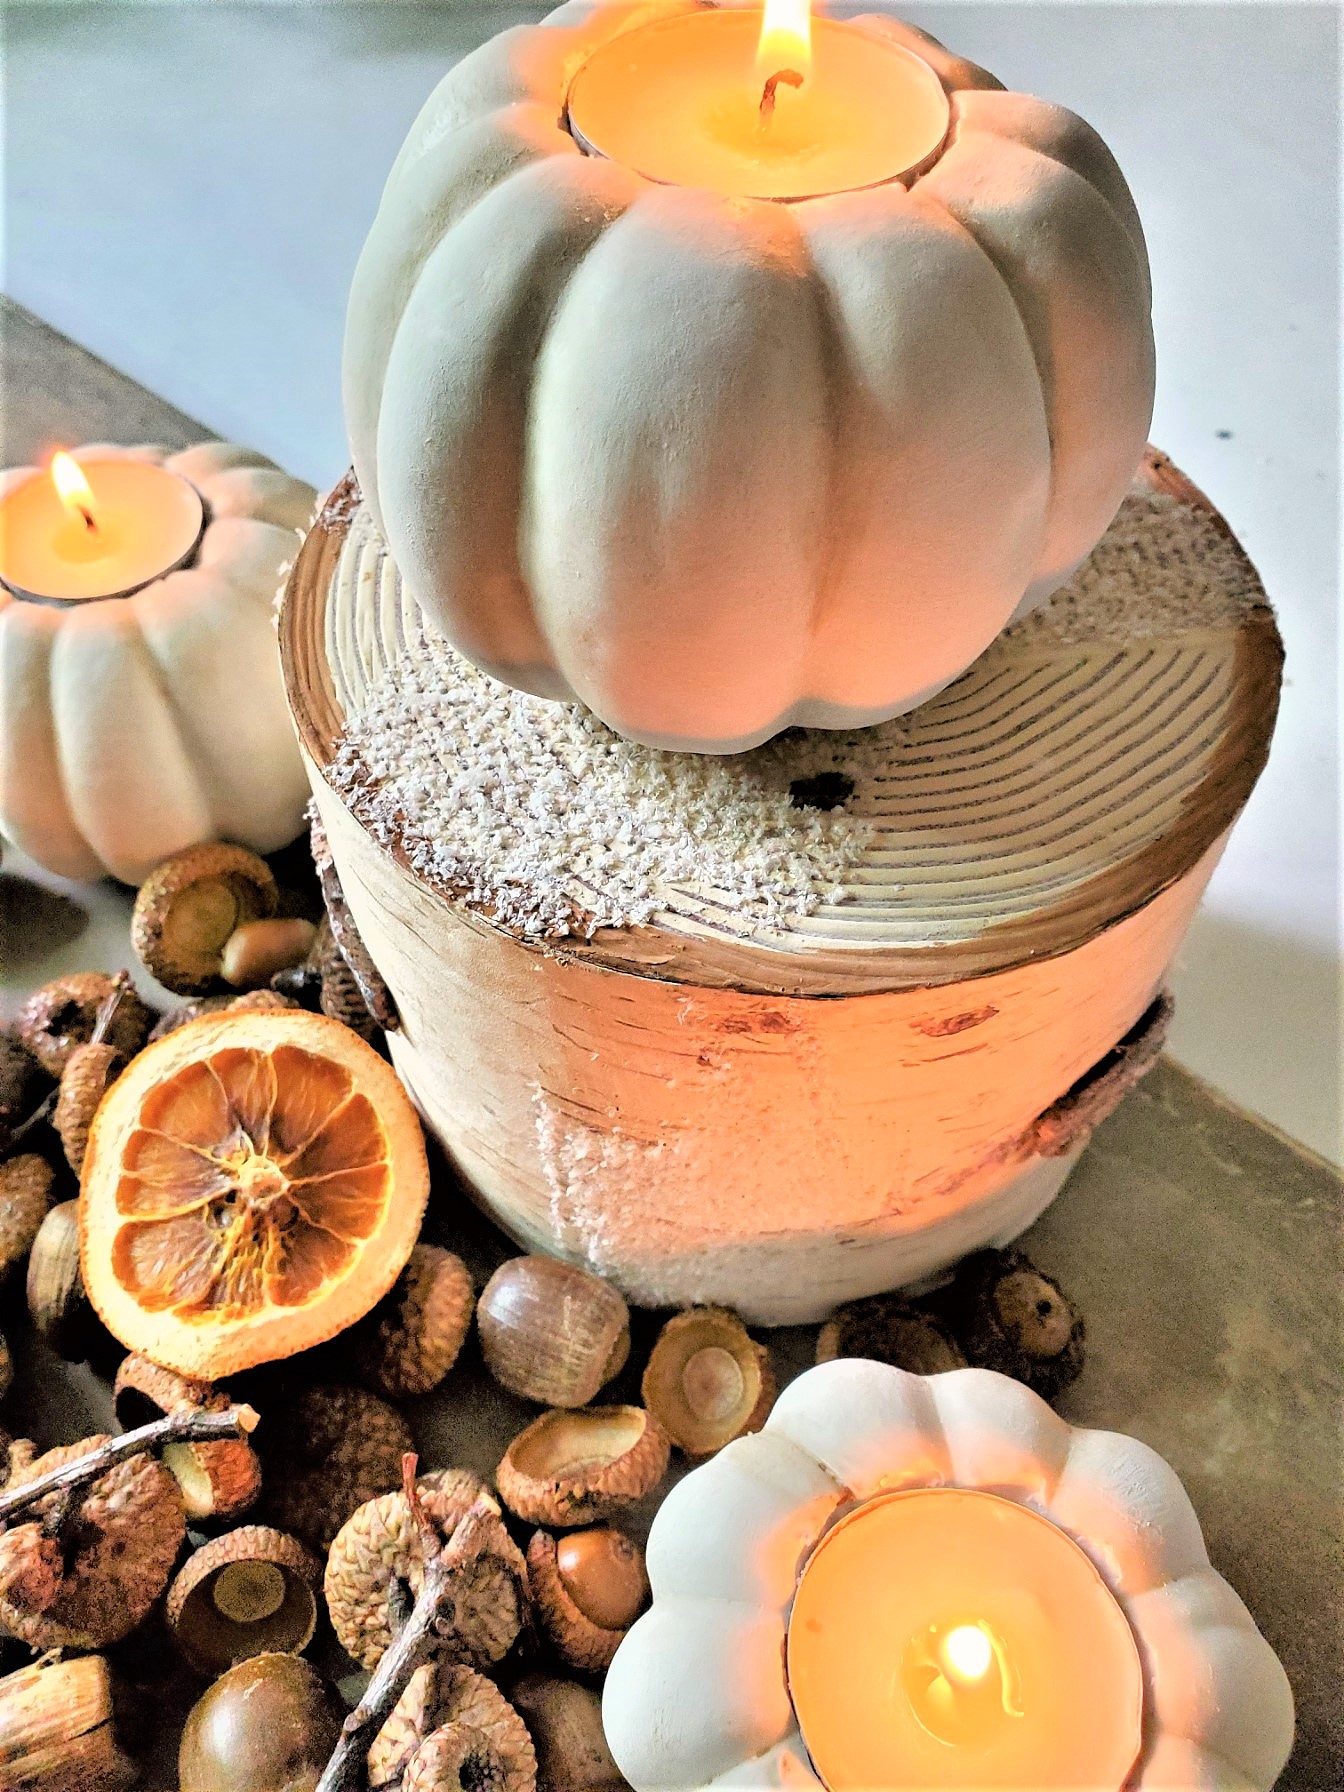
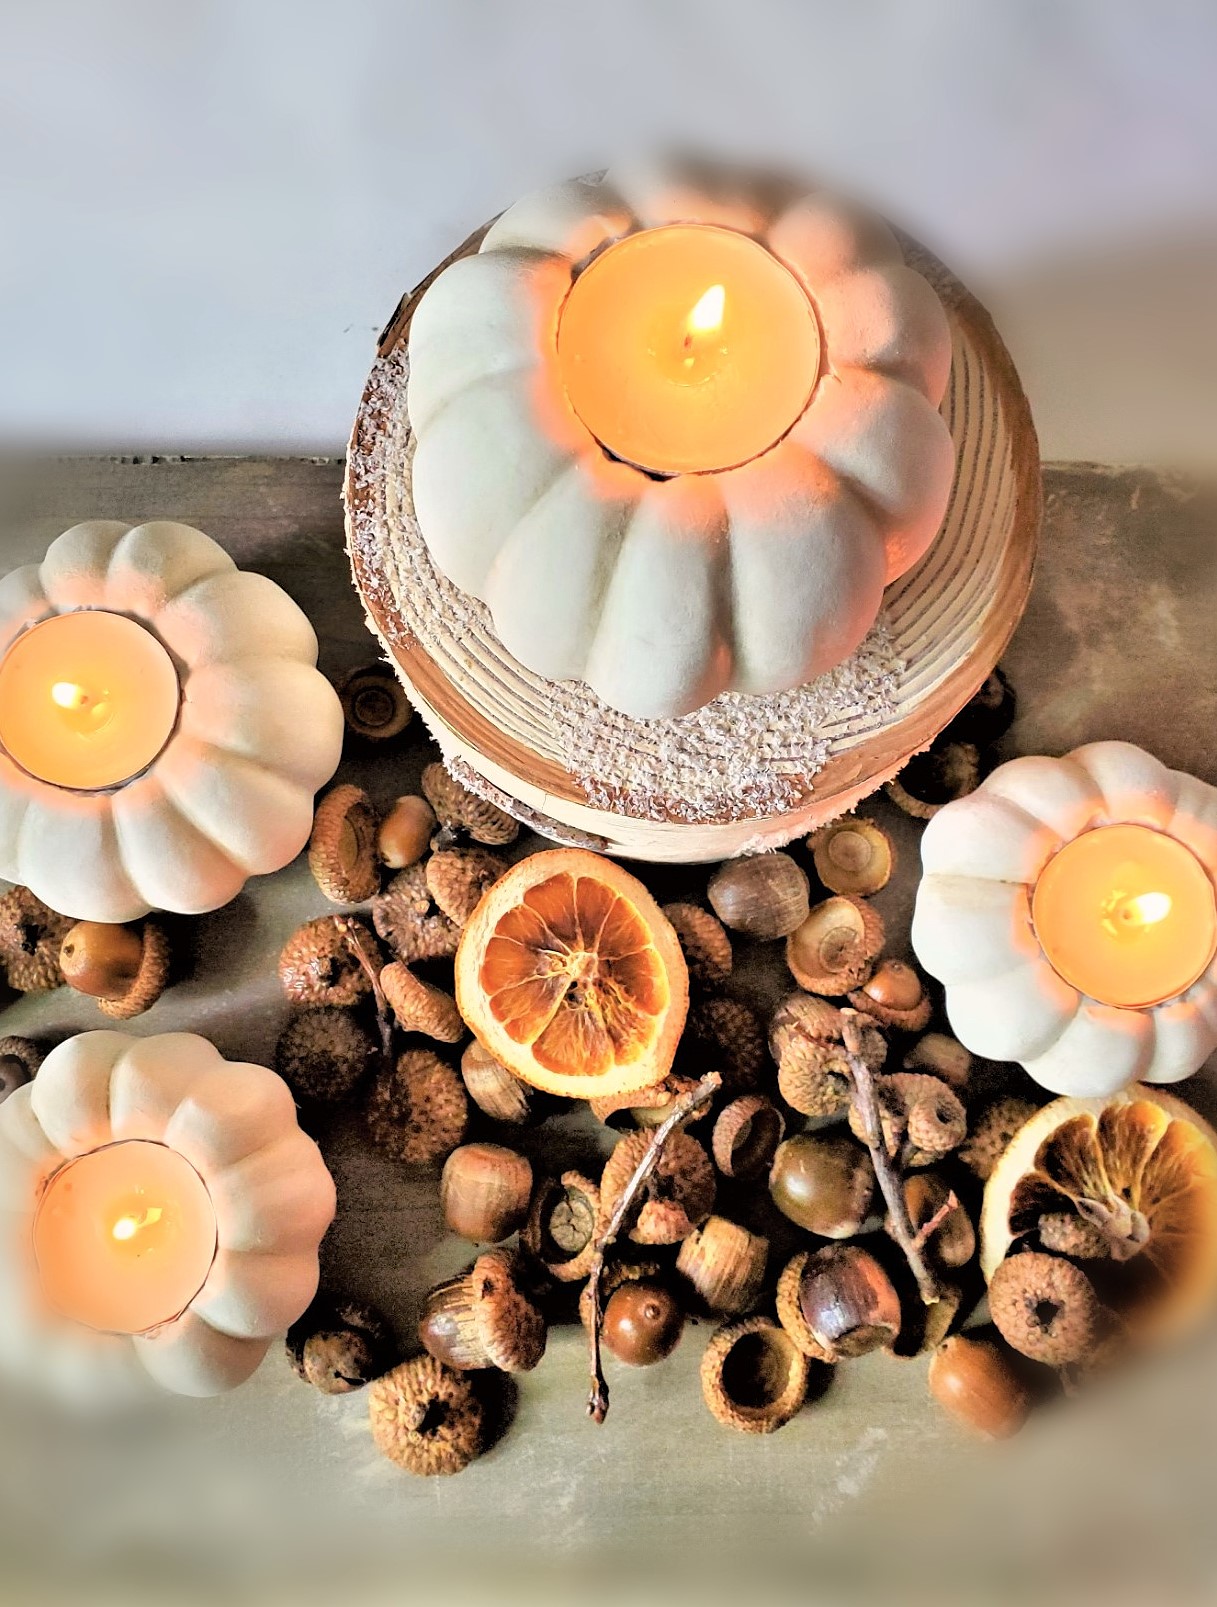
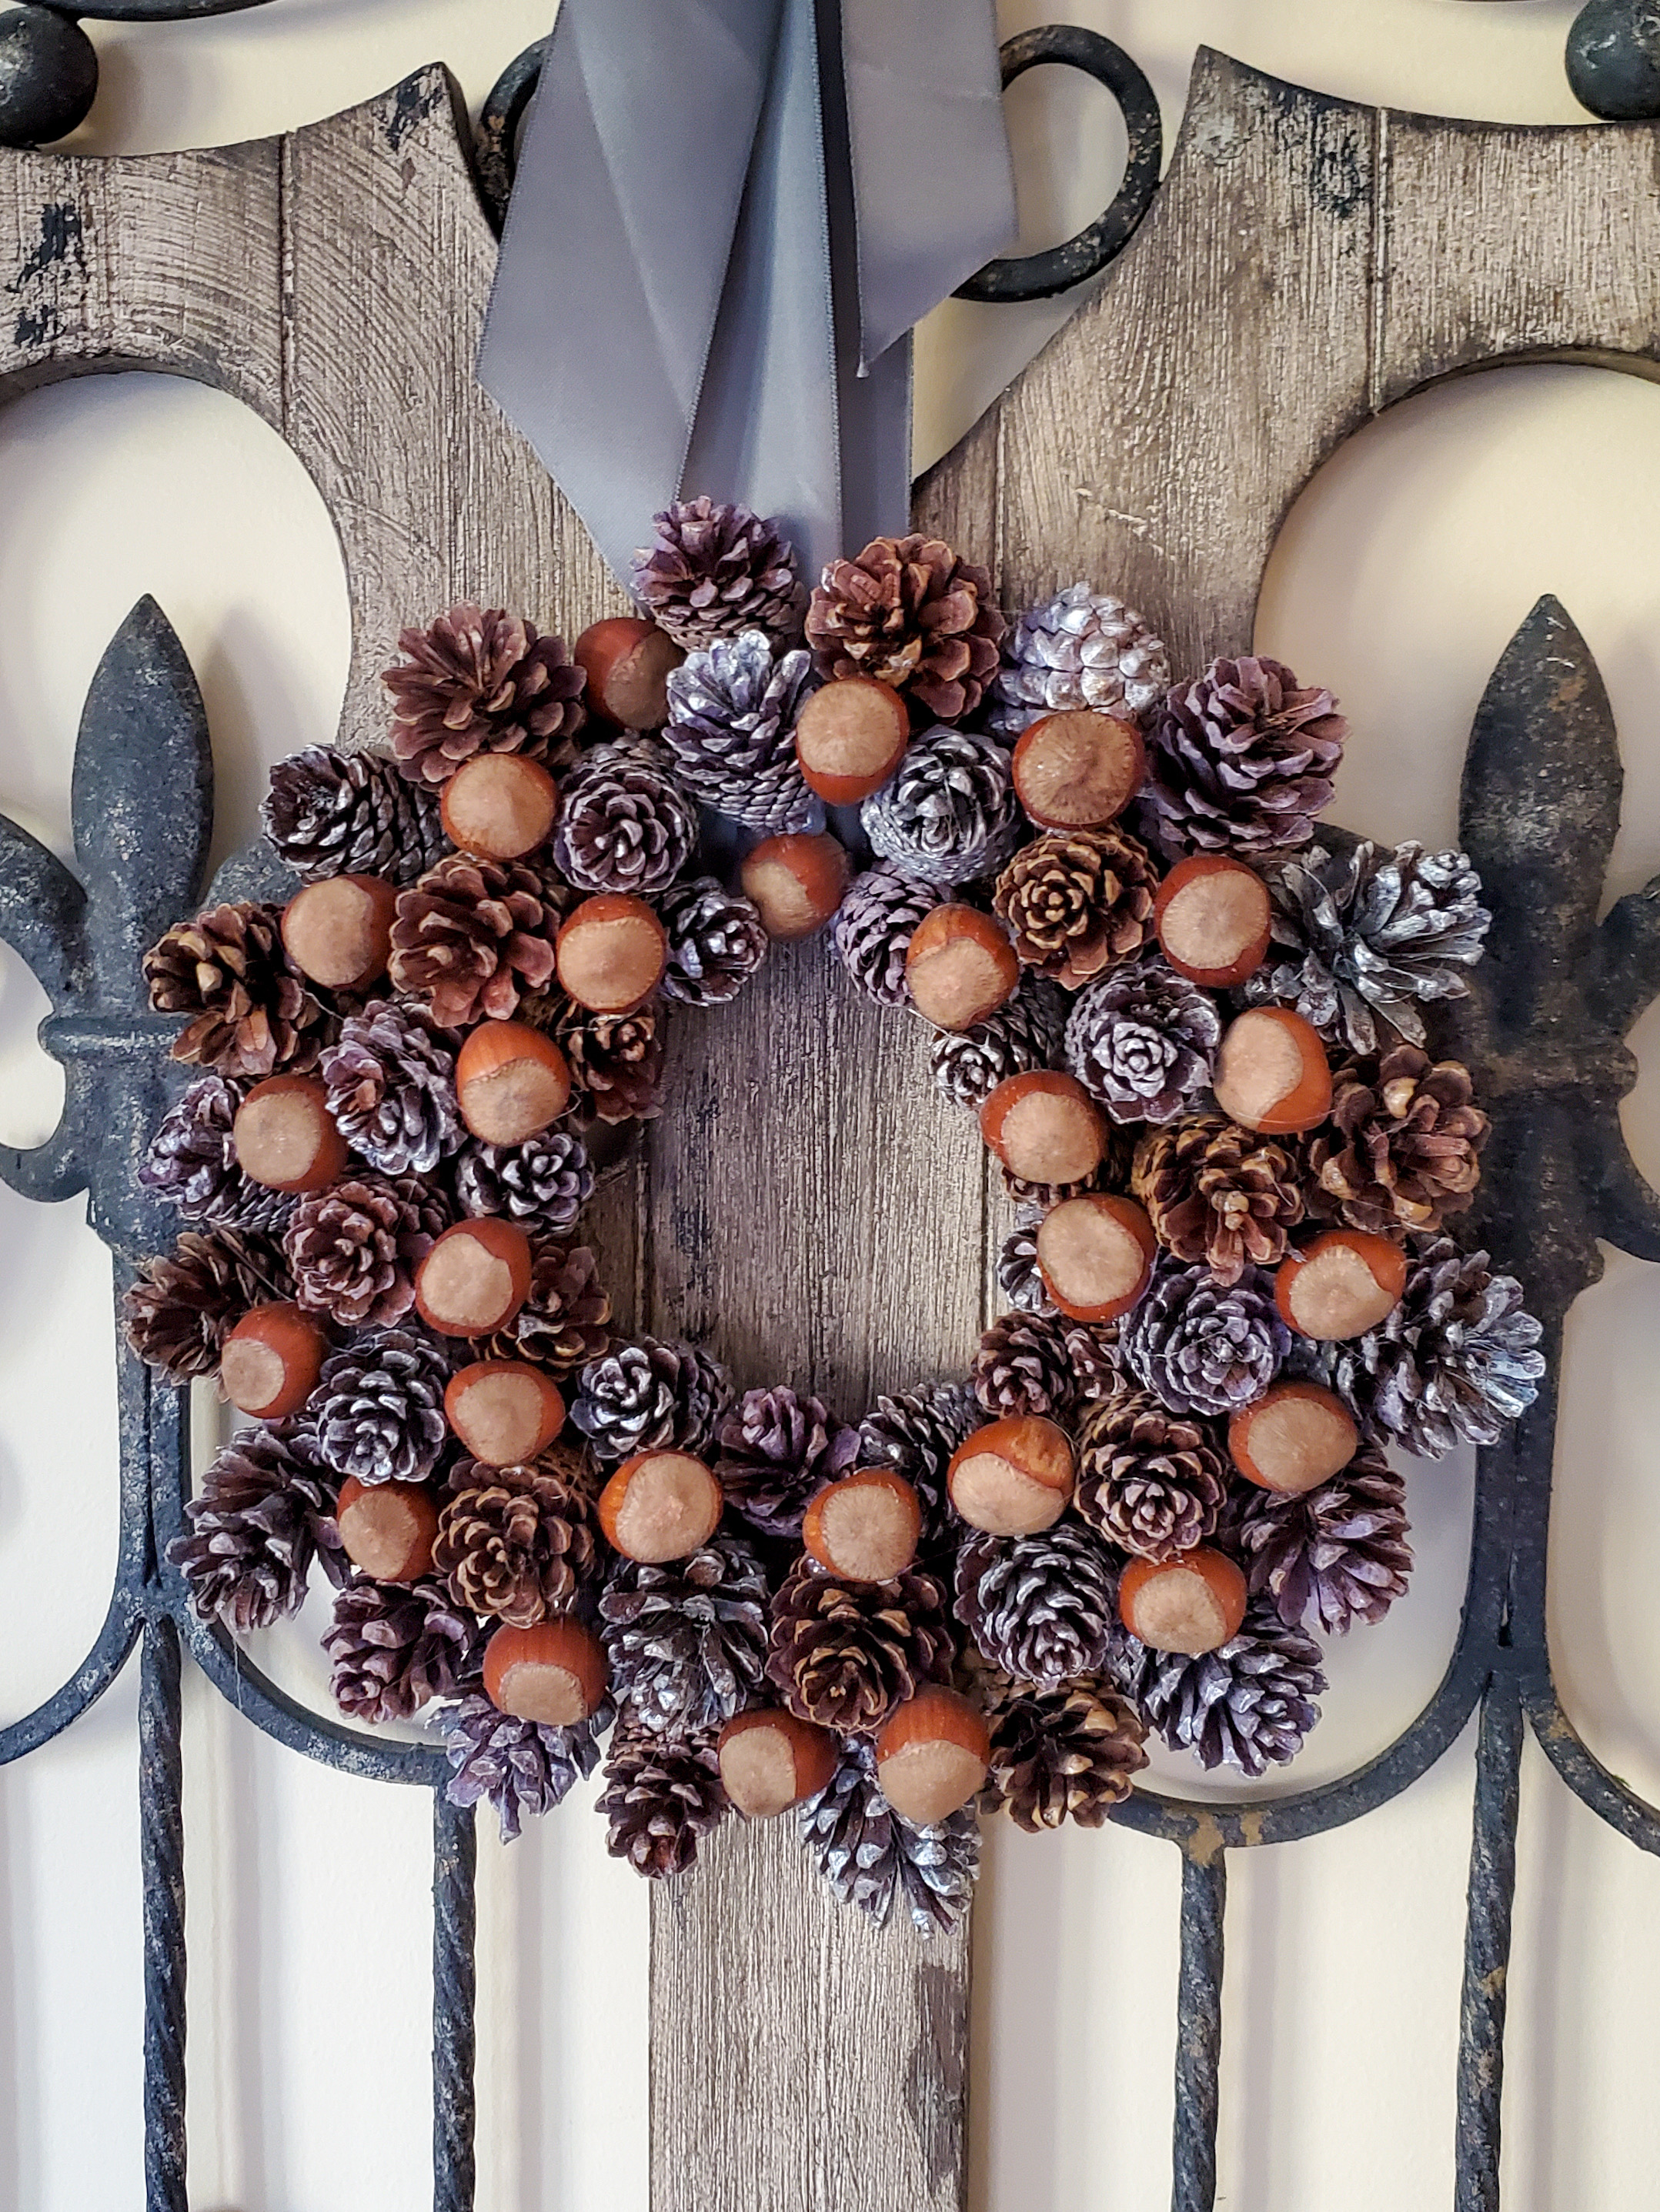
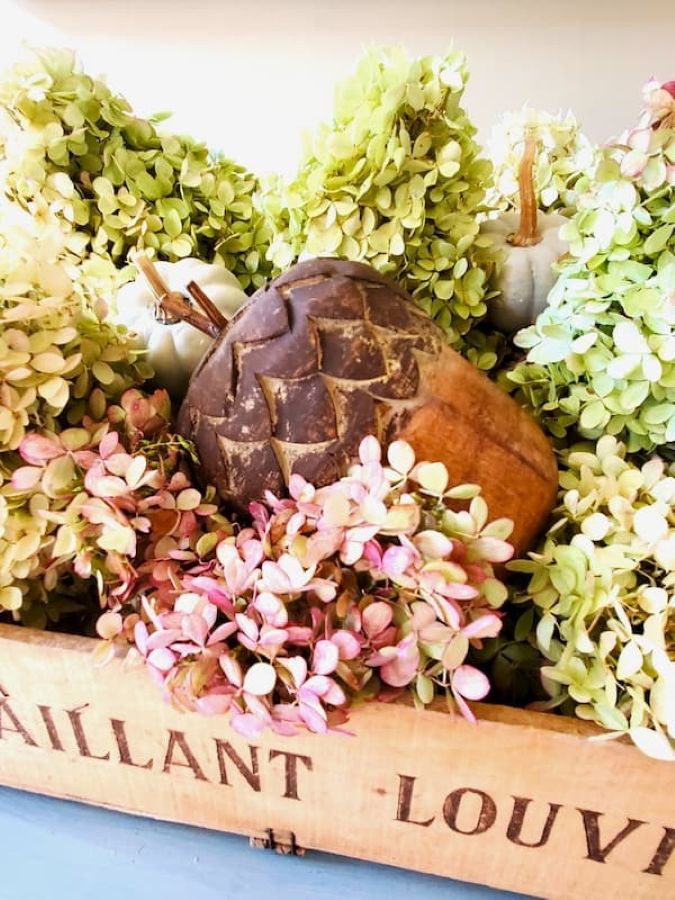
- Incorporate this fun pumpkin project on a fall mantel with natural elements like pinecones, acorns, nuts, corn husks, or fresh flowers for a cozy and inviting atmosphere.
- These DIY pumpkin candle holders are perfect for your fall table and fall gatherings. Add these to fall decorations for the rest of the fall season.
DIY Projects: Pumpkin Candles
- Halloween Candle Holders: Make Halloween candle holders from empty coffee cans. Add a jack o lantern face with black paint or a black Sharpie. Incorporate black pipe cleaners for spider legs. This is a simple project for the kids! Here are fun ideas for Halloween candle holders. There are 26 of them including one with wine glasses!
- Spider Pumpkin Candle Holders: Julee Ireland shares a simple DIY and a little alteration made to mini pumpkins or baby pumpkins from the Dollar Store to make a fun pumpkin project for Halloween. Paint mini pumpkins with orange or black paint. Use a box cutter to make an opening for the base of the candle. Add black battery-operated taper candles or tea light candles. Using a hot glue gun, add a little bit of hot glue, and attach black pipe cleaners for the spider’s legs. Make these DIY mini pumpkin candle holders for a Halloween party to add to console tables.
DIY Pumpkin Ideas
- Pumpkin Vase: A large pumpkin or medium pumpkin will work best for this simple project. Make faux DIY mini pumpkin candle holders using a spade drill bit and a box cutter for the base of the candle. Make a pencil line around an empty coffee can or mason jar on the top. Carefully cut the top of the pumpkin with a box cutter. Add the coffee can or mason jar to the center of the pumpkin with water and fresh flowers or a small mum from the grocery store. Place this on a dinner table, coffee table, or dining room table for the rest of the fall season. Add battery-operated taper candles for soft light and coziness.
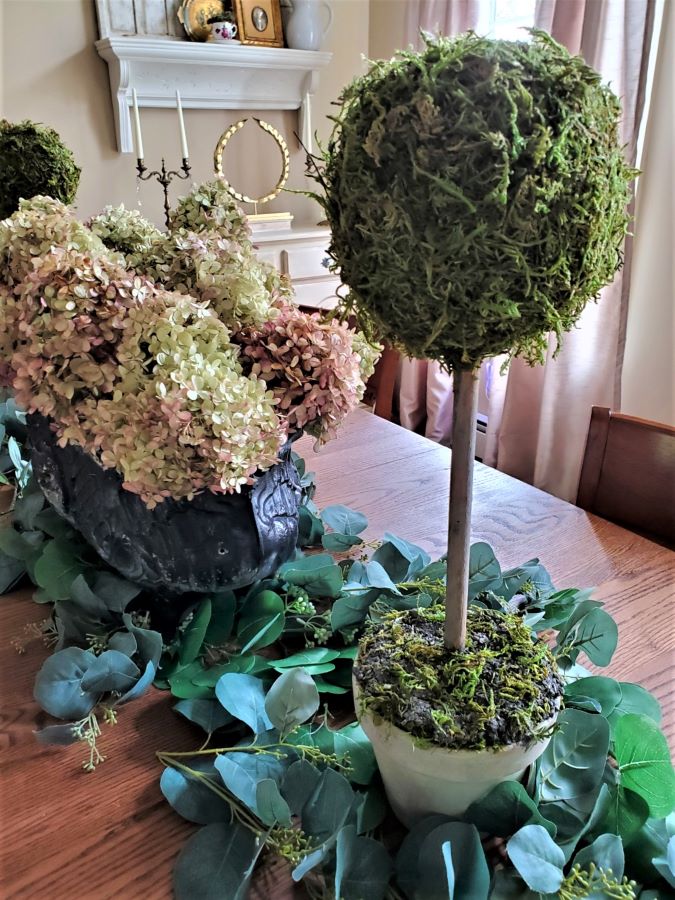
- DIY Concrete Pumpkins: I found these beautiful DIY concrete pumpkins from Lily Ardor. These are beautiful with the moss on them for a touch of nature. Wait, until you see what she used to make these! These are great!
Using Real Candles and Precautions
- Always supervise the candles: Never leave lit candles unattended, especially inside a pumpkin.
- Use stable surfaces: Ensure the pumpkin is placed on flat surfaces to prevent tipping.
- Keep away from flammable materials: Avoid placing the pumpkin near flammable objects, such as curtains or other decorations.
- Use a candle holder: Consider using a candle holder or votive cup inside the pumpkin to keep the flame contained.
- Avoid windy areas: If using a real candle outdoors, place the pumpkin in a sheltered area to protect the flames from wind gusts.
- Extinguish properly: When you’re finished using the candles, make sure to extinguish them properly. For real candles, use a candle snuffer or carefully blow them out.
By following these safety guidelines and choosing appropriate candles, you can enjoy the warm glow and cozy ambiance of pumpkin candle holders without compromising safety. Remember, battery-operated LED candles and flameless options are the safest choices for worry-free autumn home decor.
Natural elements: cozy vibes for home decor or a fall table to add cozy vibes:
- Pine cones – Here
- Nuts
- Acorns
- Apples – Here
- Bittersweet – HERE
- Baskets
- Birch Logs – Here
- White baby pumpkins
- Orange baby pumpkins
- Pheasant feathers – HERE
- Corn husks
- Indian corn (Flint corn)
- Small gourds
- Fall foliage – HERE
- Fresh flowers
Incorporate these natural elements with your pumpkin candles and beautiful fall decorations on a fall dining room table, coffee table, or Thanksgiving table.
Buying Pumpkins for DIY Pumpkin Candle Holders Four Steps
- Grocery store
- Dollar Store
- Craft stores
- Dollar Tree
- Thrift store or flea market
Grab your hot glue gun, small gourds, or pumpkins, and get ready to make easy pumpkin candle holders in four steps today to create a beautiful centerpiece for a coffee table, and fall mantel home decor! These pumpkin candles are perfect with natural fall decorations to create the perfect fall table. Incorporate a little bit of nature using pine cones, corn husks, bittersweet, nuts, acorns, apples, and birch logs for a festive Thanksgiving table. I hope this inspires you to make this simple project for your home to add cozy vibes by following my step-by-step instructions. Share your simple DIY projects with us @clochesandlavender or email me a picture so we can see your pumpkin candleholders! Happy Crafting!
SHARE THIS ON: FACEBOOK, INSTAGRAM, AND PINTEREST

More DIY Projects with Step-by-Step Tutorials

Paint Plastic Pumpkin to Look Real
Easy Pumpkin Candle Holders In Four Steps
Equipment
- 1 bag faux mini pumpkins
- 1 box cutter
- 1 tube White paint optional
- 1 bottle raw umber paint or dark wax optional
- 1 Small chip brush optional
- 1 Stencil Brush optional
- 1 drill spade for real pumpkins optional
- 1 pencil for a pencil line
- 1 tealight candle to trace
- 1 paper towel or a rag optional
Instructions
- Step 1: Remove the StemThese pumpkin candles are a simple project with little alteration. This takes a little bit of time and next to no money!Cover your work surface with craft paper or newspaper for easy cleanup.Gently pull or twist off the stem from the mini pumpkins. If using real pumpkins, carefully cut off the base of the stem. Remember to save the stems for future fall home decor DIY ideas.
- Step 2: Create a Base for the CandlePlace a tea light candle on top of the pumpkin and trace around it to make a pencil line. Carefully use a box cutter to cut a hole along the traced line on the top of the pumpkin. For real pumpkins, carefully cut around the base of the stem and remove the top. Scoop out the pumpkin seeds, and consider saving them for roasting
- Step 3 (Optional): Add Realistic Texture With PaintTo achieve the look of a real pumpkin, dry brush the pumpkins with white craft paint. Dip the tip of a small chip brush in the paint and wipe off the excess on a paper towel. Lightly dry brush the paint on the pumpkins and let them dry for about 10 minutes. If this is your first time using a dry brush painting technique, no worries, I share detailed step-by-step instructions for a basket and a planter.For more natural texture, use a small stencil brush to add light brown wax or raw umber craft paint to the creases to create shadows. Blend the paint with a (barely) damp paper towel and wax to create shadows to resemble the real thing.
- Step 4: Assemble The DIY Pumpkin Candle HoldersOnce the paint is dry, add a tealight to the base of the candle holder. Pro Tip: For a tall candle, use melted wax or hot glue on the base of the tall candle to secure its DIY mini pumpkin taper candle holders. Be sure to position the candle so it stands straight on top of the pumpkin.
Notes
Easy Pumpkin Candle Holders In Four Steps
Supplies Needed: Easy Pumpkin Candle Holders
- Small pumpkins (fake or real) – grocery store, Dollar Store, thrift store or flea market
- White craft paint (optional)
- Light brown wax or raw umber craft paint (optional makes these candle holders look like the real thing)
- Small chip brush (optional – makes pumpkin candleholders look like the real thing)
- Small stencil brush
- Paper towel or rag
- Box cutter (be extremely careful)
- Tea light candles or flameless battery-operated taper candles
- Hot glue gun (optional)
- Spade drill bit
- Pencil (pencil line)
Step 1: Remove the Stem
These pumpkin candles are a simple project with little alteration. This takes a little bit of time and next to no money! Cover your work surface with craft paper or newspaper for easy cleanup. Gently pull or twist off the stem from the mini pumpkins. If using real pumpkins, carefully cut off the base of the stem. Remember to save the stems for future fall home decor DIY ideas.
Step 2: Create a Base for the Candle
Place a tea light candle on top of the pumpkin and trace around it to make a pencil line. Carefully use a box cutter to cut a hole along the traced line on the top of the pumpkin. For real pumpkins, carefully cut around the base of the stem and remove the top. Scoop out the pumpkin seeds, and consider saving them for roasting, they make a delicious and healthy snack!
Step 3 (Optional): Add Realistic Texture With Paint
To achieve the look of a real pumpkin, dry brush the pumpkins with white craft paint. Dip the tip of a small chip brush in the paint and wipe off the excess on a paper towel. Lightly dry brush the paint on the pumpkins and let them dry for about 10 minutes. If this is your first time using a dry brush painting technique, no worries, I share detailed step-by-step instructions for a basket and a planter. For more natural texture, use a small stencil brush to add light brown wax or raw umber craft paint to the creases to create shadows. Blend the paint with a (barely) damp paper towel and wax to create shadows to resemble the real thing.
Step 4: Assemble The DIY Pumpkin Candle Holders
Once the paint is dry, add a tealight to the base of the candle holder. Pro Tip: For a tall candle, use melted wax or hot glue on the base of the tall candle to secure it
Happy Crafting!

I only like “easy!” These are really cute, Cindy. I love how they look with your acorns, bark candle, and dried oranges.
Thanks so much Amy! These are really easy
I love this will have to try making this!
Hope you give these a try. They are very easy!
This is such a clever idea, Cindy. I LOVE how they turned out. I may just have to borrow this idea for my Thanksgiving table. I pinned it so I would be sure to remember it. Thanks for sharing!
You did a great job with the paint to make them look so classy. I’m always too afraid to mess with real candles with pets and a toddler around but I have stash of LED ones which this would be great for.
These are really cute and a great idea to have them at place settings. Happy Thursday.
Love these Cindy. Sadly I have not been able to find white pumpkins this year, lots of orange but no white. Thank you for sharing.
Hi Cindy – This is such a cute idea! Wouldn’t these look great scattered down the center of a Thanksgiving table? (Yes! They would!).
I love your ideas, Cindy. VERY clever. I hope you have a wonderful fall weekend. xo Diana
Thanks sweet Diana.
These are so cute Cindy! I love that they can be used throughout the fall season, for Halloween and even Thanksgiving. They’re totally fabulous. Thanks so much for the heads up on saving the stems. I always forget to do that. Loving and pinning, CoCo
Oh saving the stems is the law in our house. I got some good ones again this year.
Very cute idea, Cindy! Great for a Thanksgiving table.
That’s the plan and I may make a few more.
I love DIY’s that are simple but look amazing and this one does just that! I would love to try this sometime so I’m pinning now!! Thanks for sharing your creativity!
Thanks Donna, these are so easy and look elegant.
These are absolutely adorable Cindy. I like the idea of one per table setting at Thanksgiving. Cute!
Absolutely, I mat get more. Thanks so much for always visiting
Cindy,
what a great idea!! Love it!! Thanks for the inspiration and thanks so much for stopping by!!
Hugs,
Deb
Love this idea Cindy! These tea light pumpkin holders came out so cute.
This is such a great project! Love how you styled them as well!!!
The pumpkins do indeed look real. Very pretty! I’m here from All About Home party. Would love for you to share each week at the Home Matters Party Thursday (9pm est) through Monday. Hope to see you this Thursday!
I love these! I’ll be featuring them tonight on Crafty Creators. Congrats!
Niki | Life as a LEO Wife
Cindy, these are so pretty. I appreciate you sharing this tutorial.
Visiting today from IMM #125