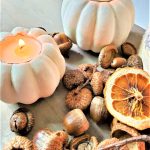
Easy Pumpkin Candle Holders In Four Steps
Today I'm sharing step-by-step tutorials for easy pumpkin candleholders in four steps. These will add cozy vibes to your dinner table, coffee table, or fall mantel.
Yield: 4 candle holders
Cost: 20
Equipment
- 1 bag faux mini pumpkins
- 1 box cutter
- 1 tube White paint optional
- 1 bottle raw umber paint or dark wax optional
- 1 Small chip brush optional
- 1 Stencil Brush optional
- 1 drill spade for real pumpkins optional
- 1 pencil for a pencil line
- 1 tealight candle to trace
- 1 paper towel or a rag optional
Instructions
- Step 1: Remove the StemThese pumpkin candles are a simple project with little alteration. This takes a little bit of time and next to no money!Cover your work surface with craft paper or newspaper for easy cleanup.Gently pull or twist off the stem from the mini pumpkins. If using real pumpkins, carefully cut off the base of the stem. Remember to save the stems for future fall home decor DIY ideas.
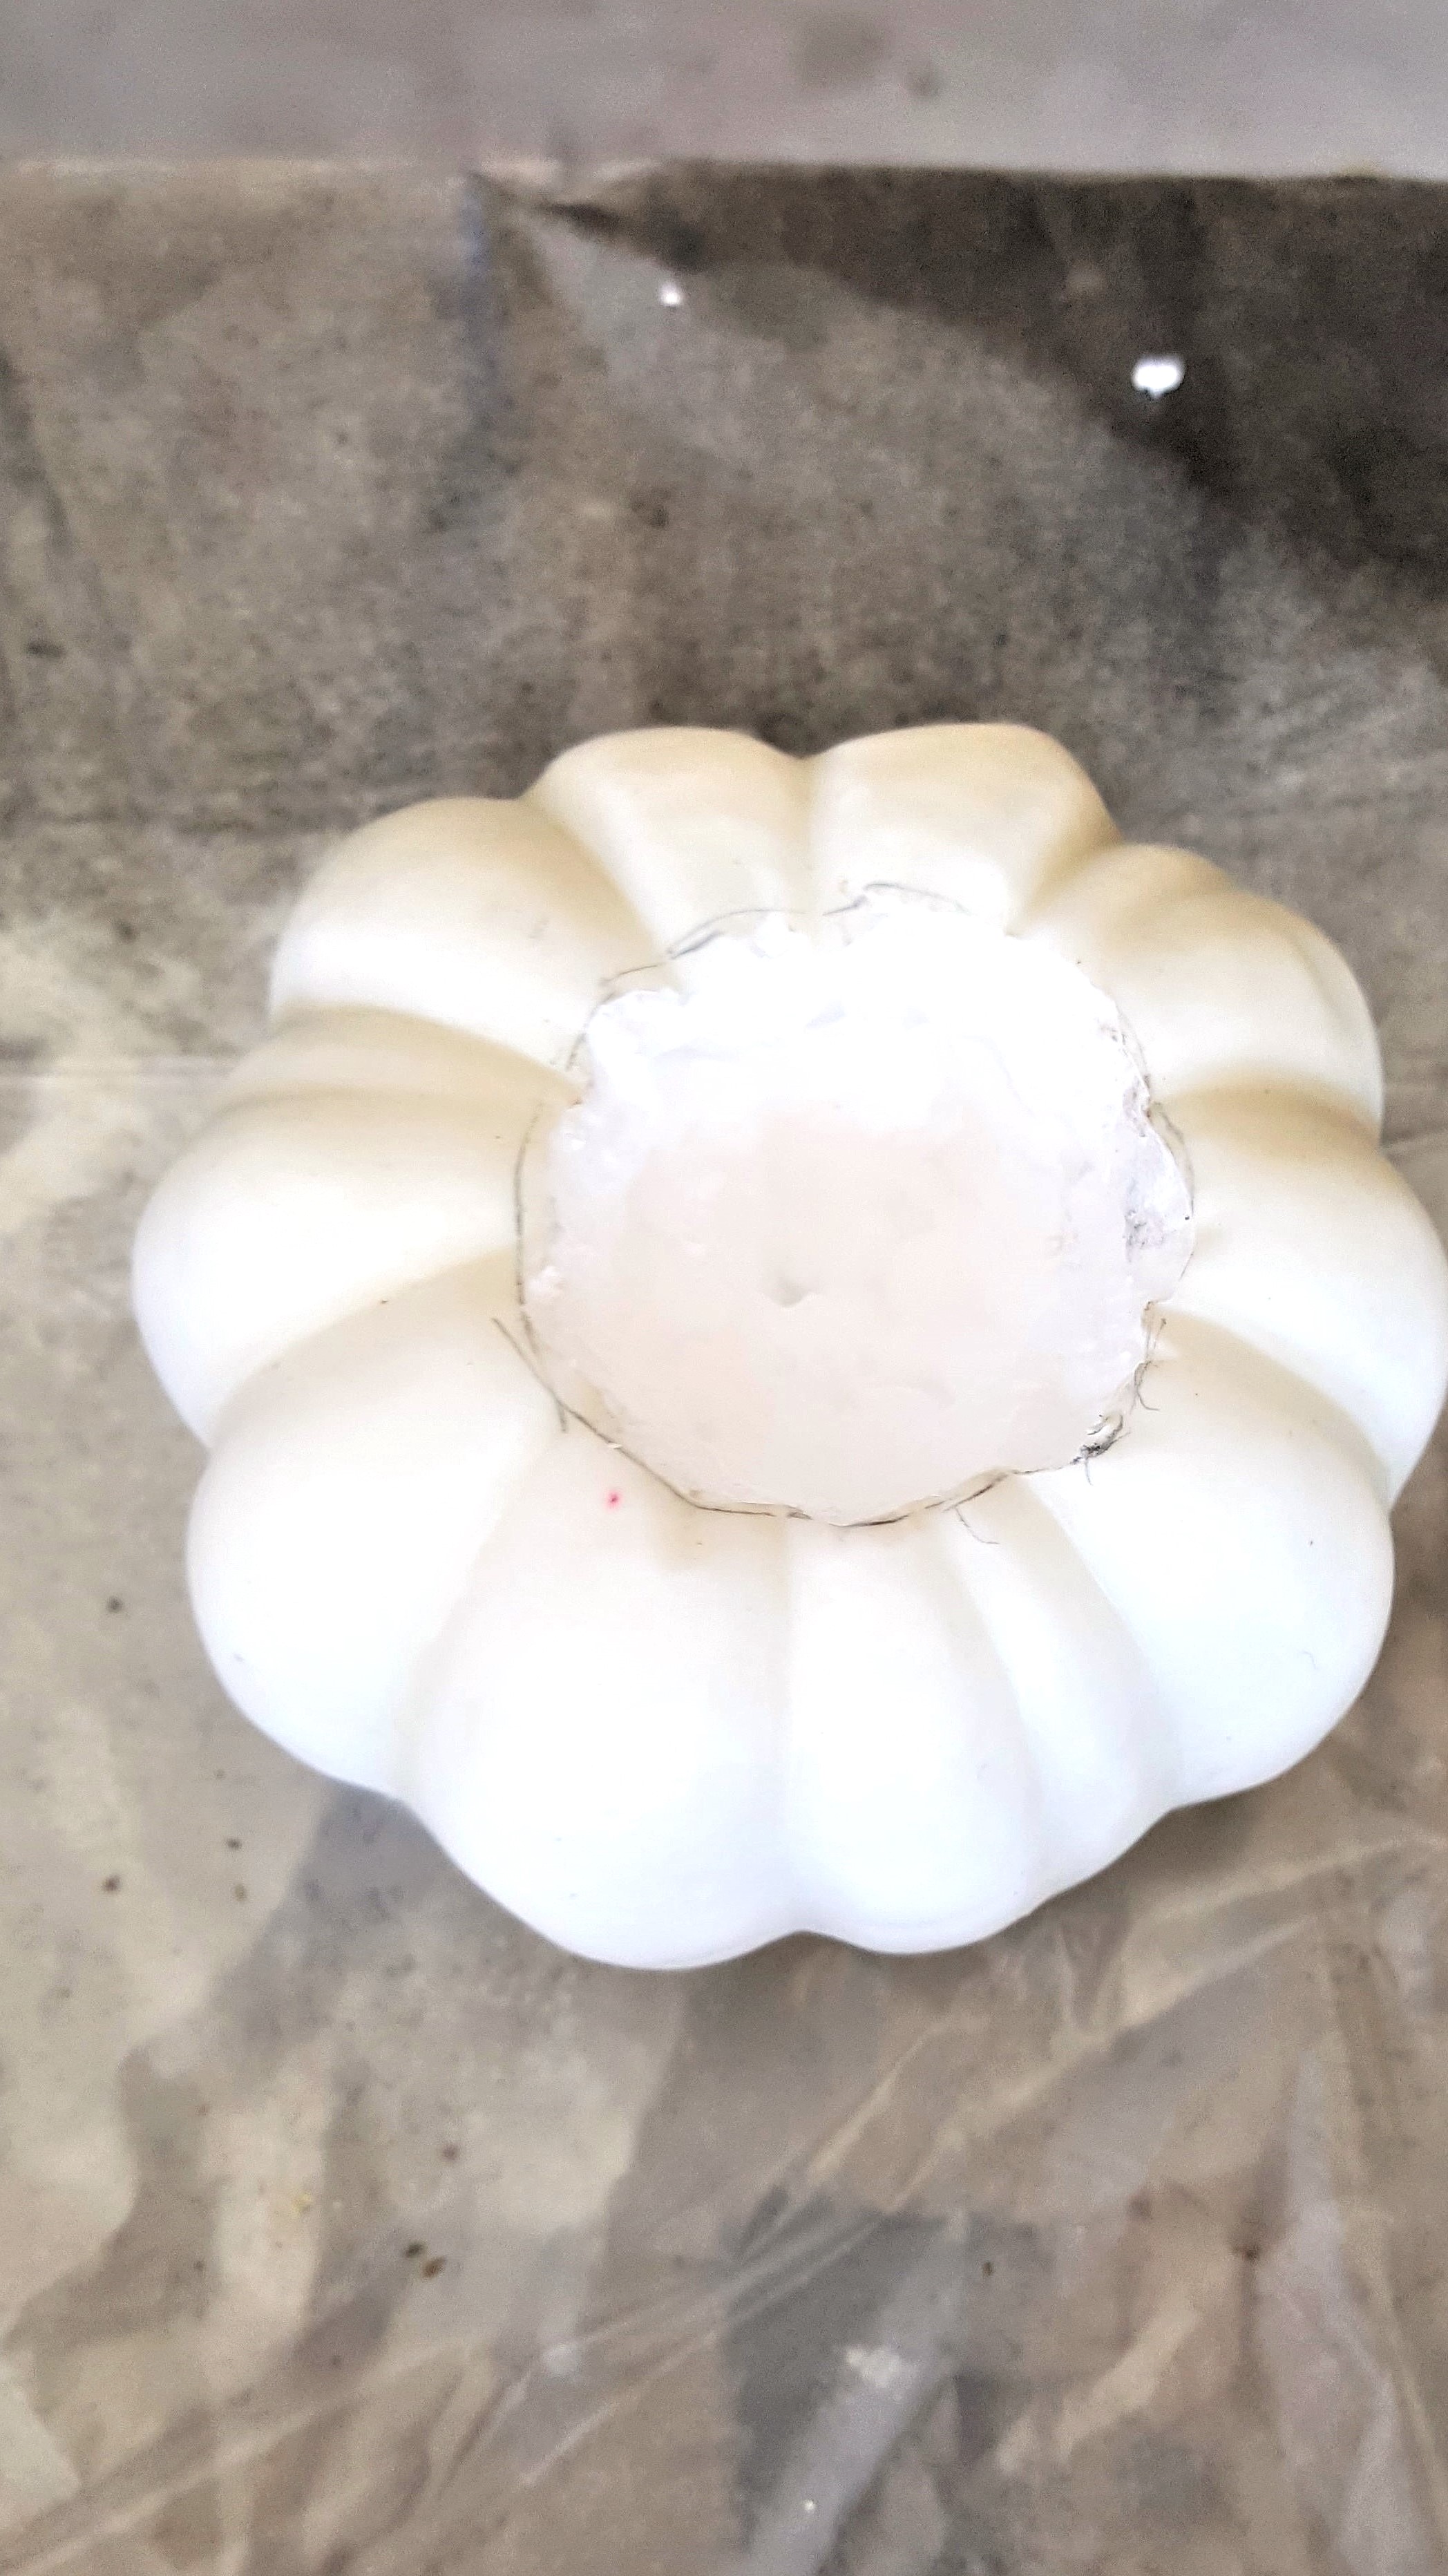
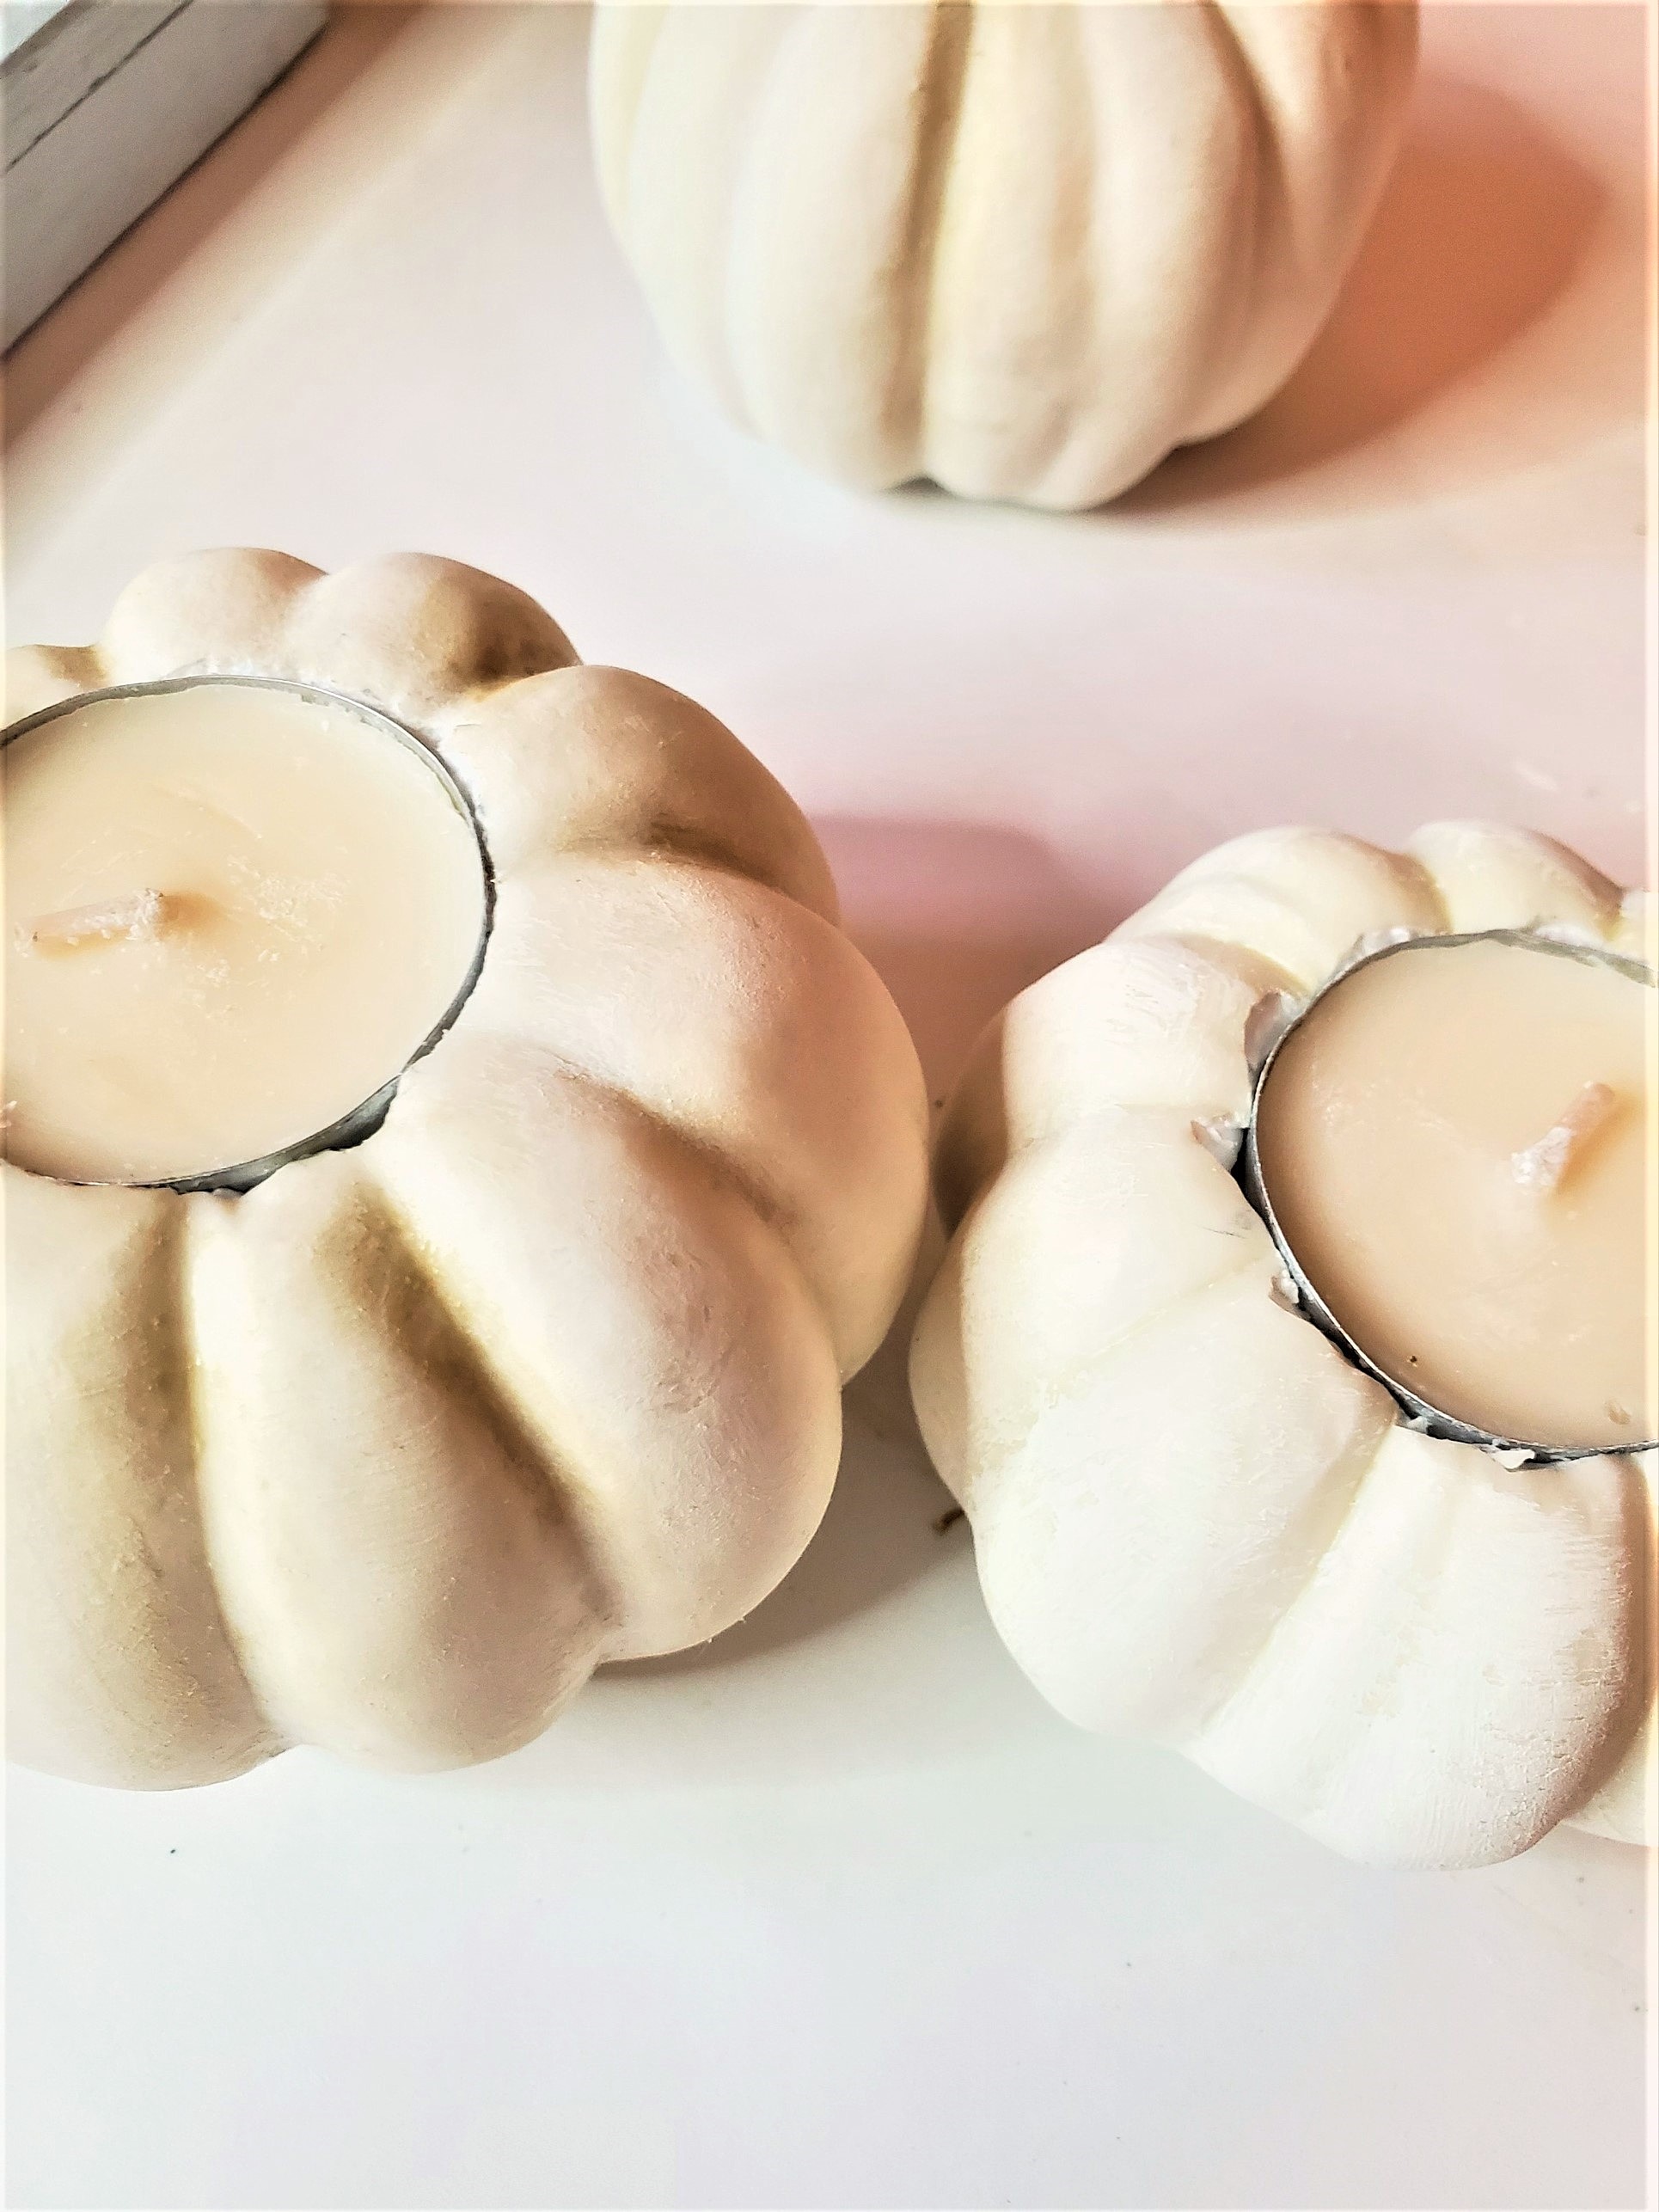
- Step 2: Create a Base for the CandlePlace a tea light candle on top of the pumpkin and trace around it to make a pencil line. Carefully use a box cutter to cut a hole along the traced line on the top of the pumpkin. For real pumpkins, carefully cut around the base of the stem and remove the top. Scoop out the pumpkin seeds, and consider saving them for roasting
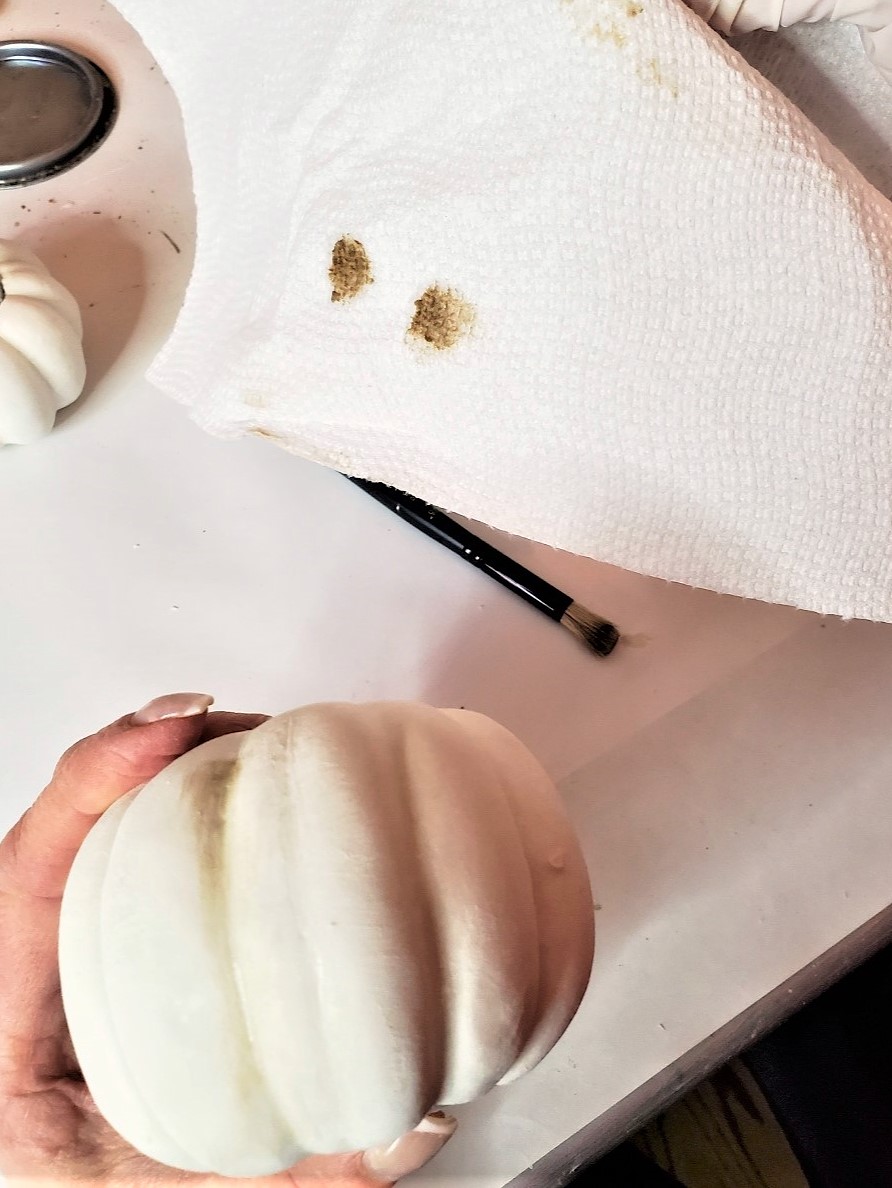
- Step 3 (Optional): Add Realistic Texture With PaintTo achieve the look of a real pumpkin, dry brush the pumpkins with white craft paint. Dip the tip of a small chip brush in the paint and wipe off the excess on a paper towel. Lightly dry brush the paint on the pumpkins and let them dry for about 10 minutes. If this is your first time using a dry brush painting technique, no worries, I share detailed step-by-step instructions for a basket and a planter.For more natural texture, use a small stencil brush to add light brown wax or raw umber craft paint to the creases to create shadows. Blend the paint with a (barely) damp paper towel and wax to create shadows to resemble the real thing.
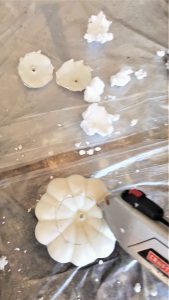
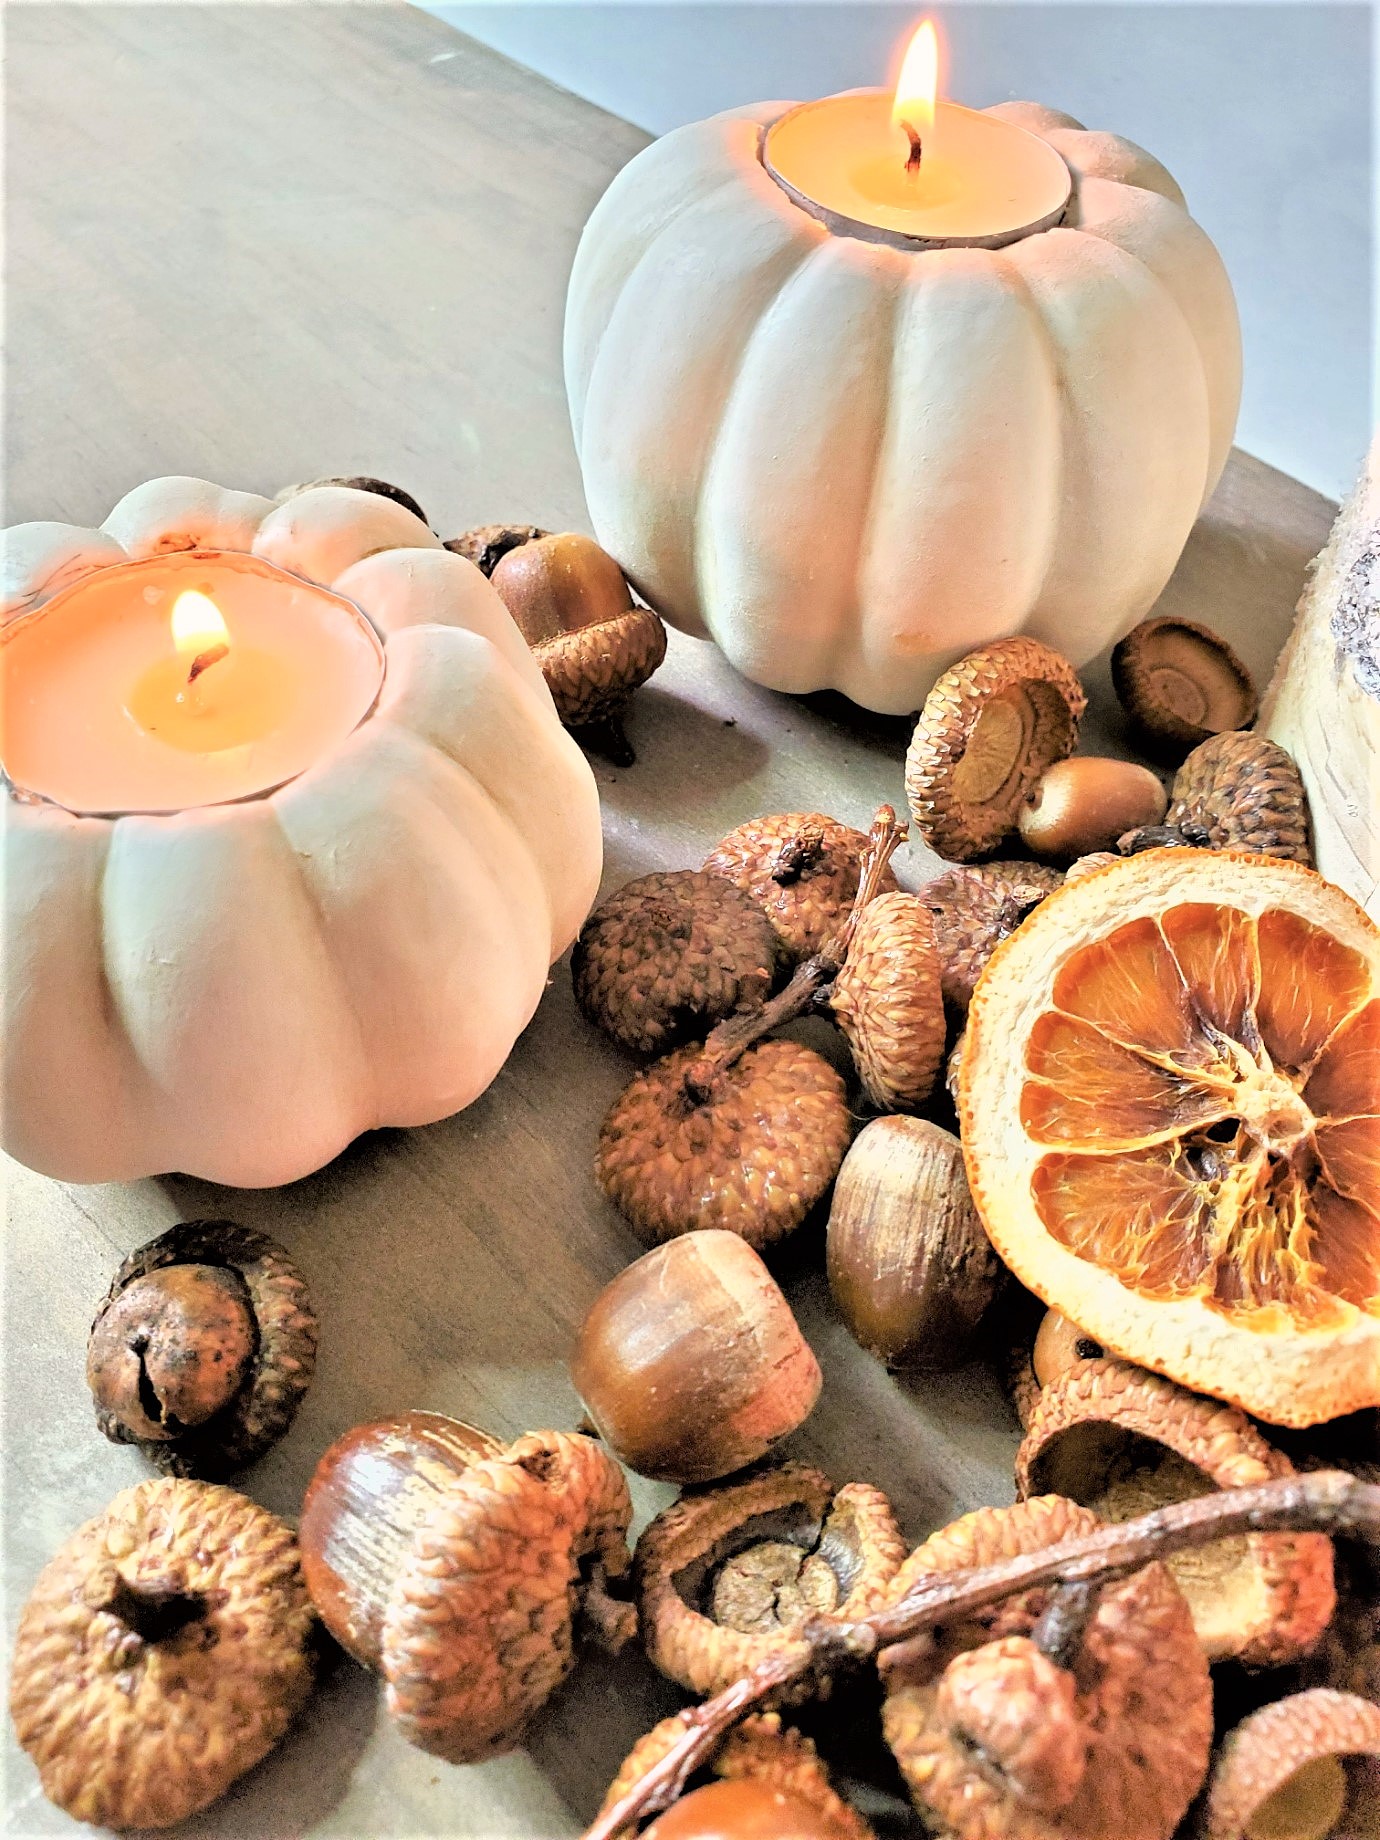
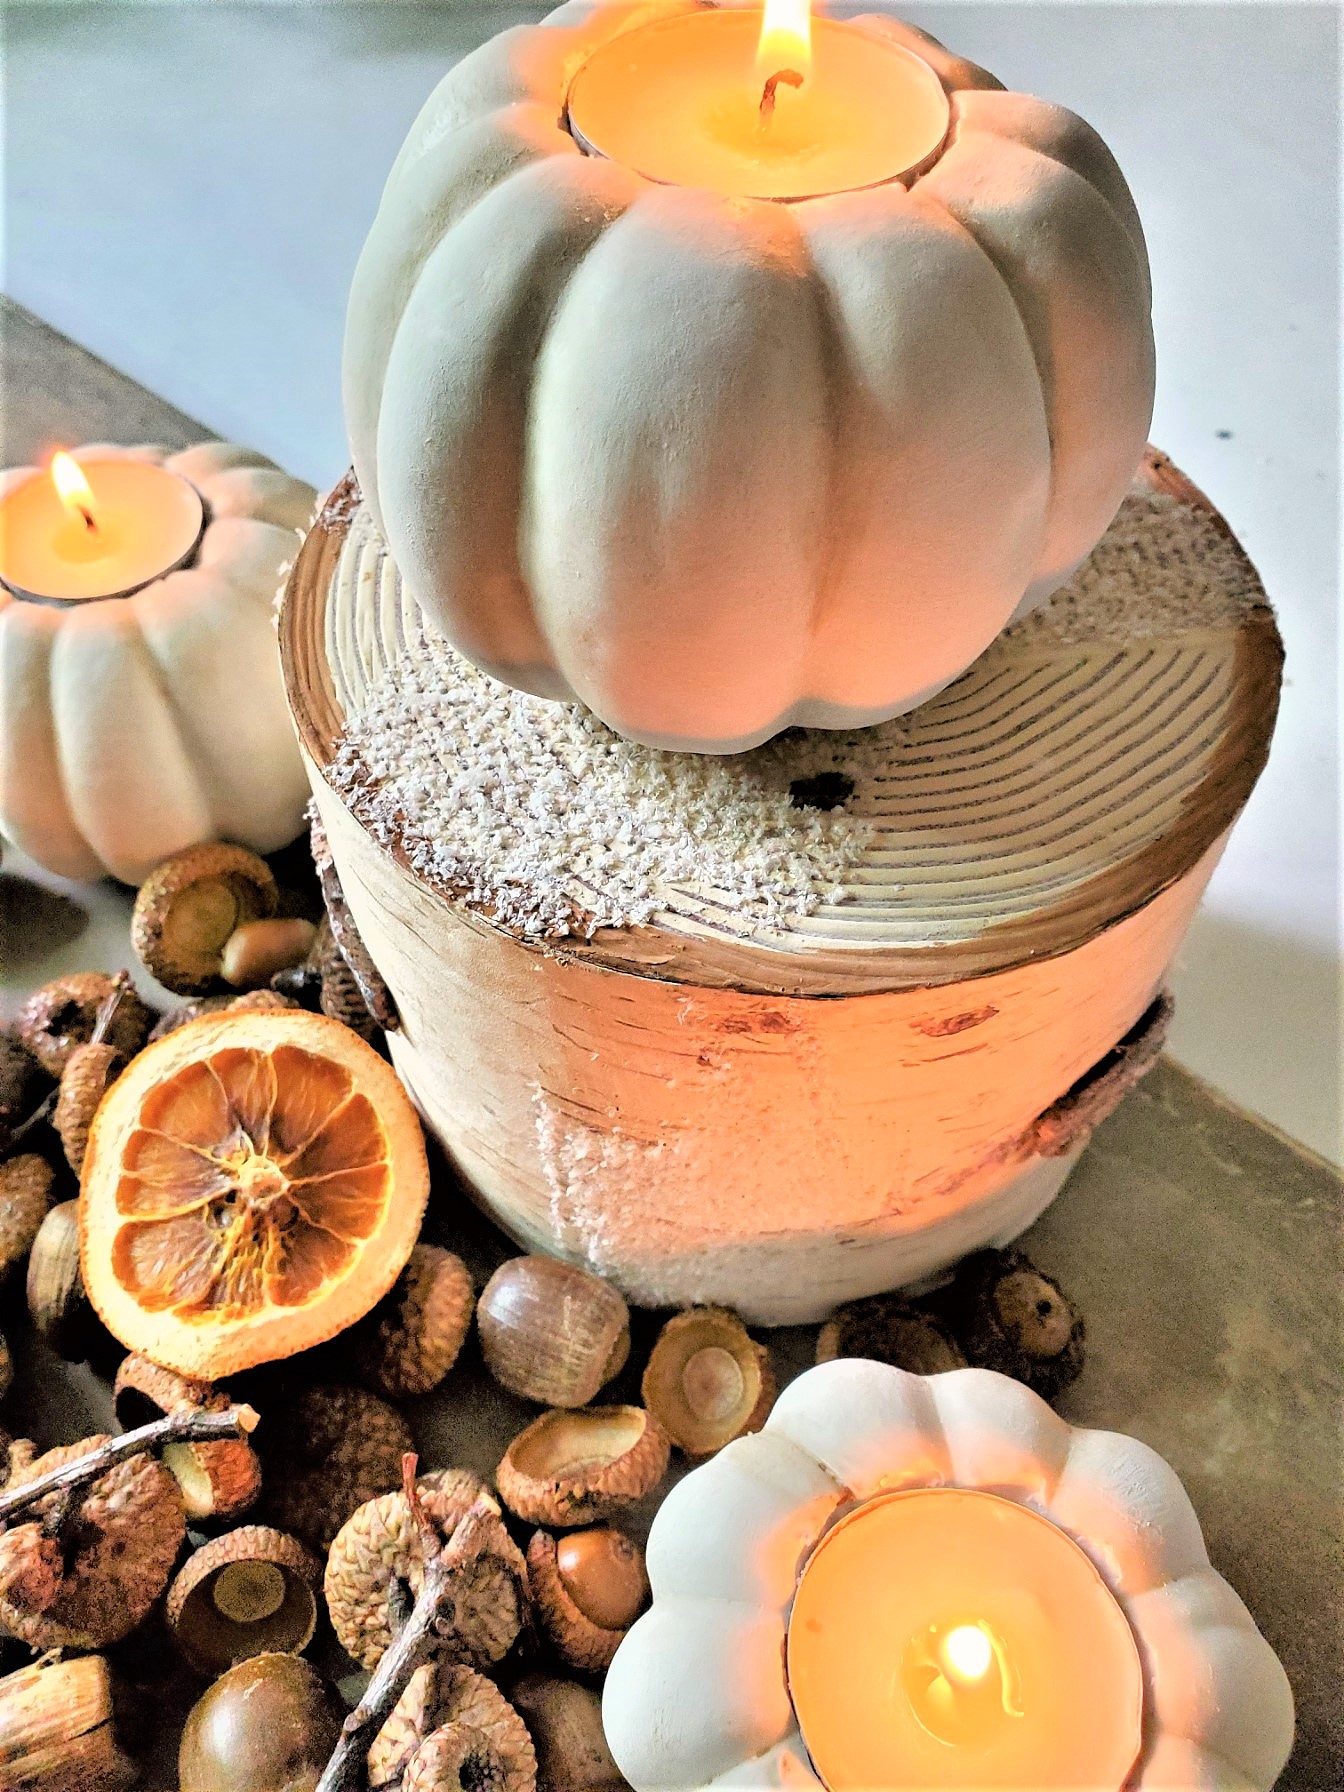
- Step 4: Assemble The DIY Pumpkin Candle HoldersOnce the paint is dry, add a tealight to the base of the candle holder. Pro Tip: For a tall candle, use melted wax or hot glue on the base of the tall candle to secure its DIY mini pumpkin taper candle holders. Be sure to position the candle so it stands straight on top of the pumpkin.
Notes
Easy Pumpkin Candle Holders In Four Steps
Supplies Needed: Easy Pumpkin Candle Holders
- Small pumpkins (fake or real) - grocery store, Dollar Store, thrift store or flea market
- White craft paint (optional)
- Light brown wax or raw umber craft paint (optional makes these candle holders look like the real thing)
- Small chip brush (optional - makes pumpkin candleholders look like the real thing)
- Small stencil brush
- Paper towel or rag
- Box cutter (be extremely careful)
- Tea light candles or flameless battery-operated taper candles
- Hot glue gun (optional)
- Spade drill bit
- Pencil (pencil line)
Step 1: Remove the Stem
These pumpkin candles are a simple project with little alteration. This takes a little bit of time and next to no money! Cover your work surface with craft paper or newspaper for easy cleanup. Gently pull or twist off the stem from the mini pumpkins. If using real pumpkins, carefully cut off the base of the stem. Remember to save the stems for future fall home decor DIY ideas.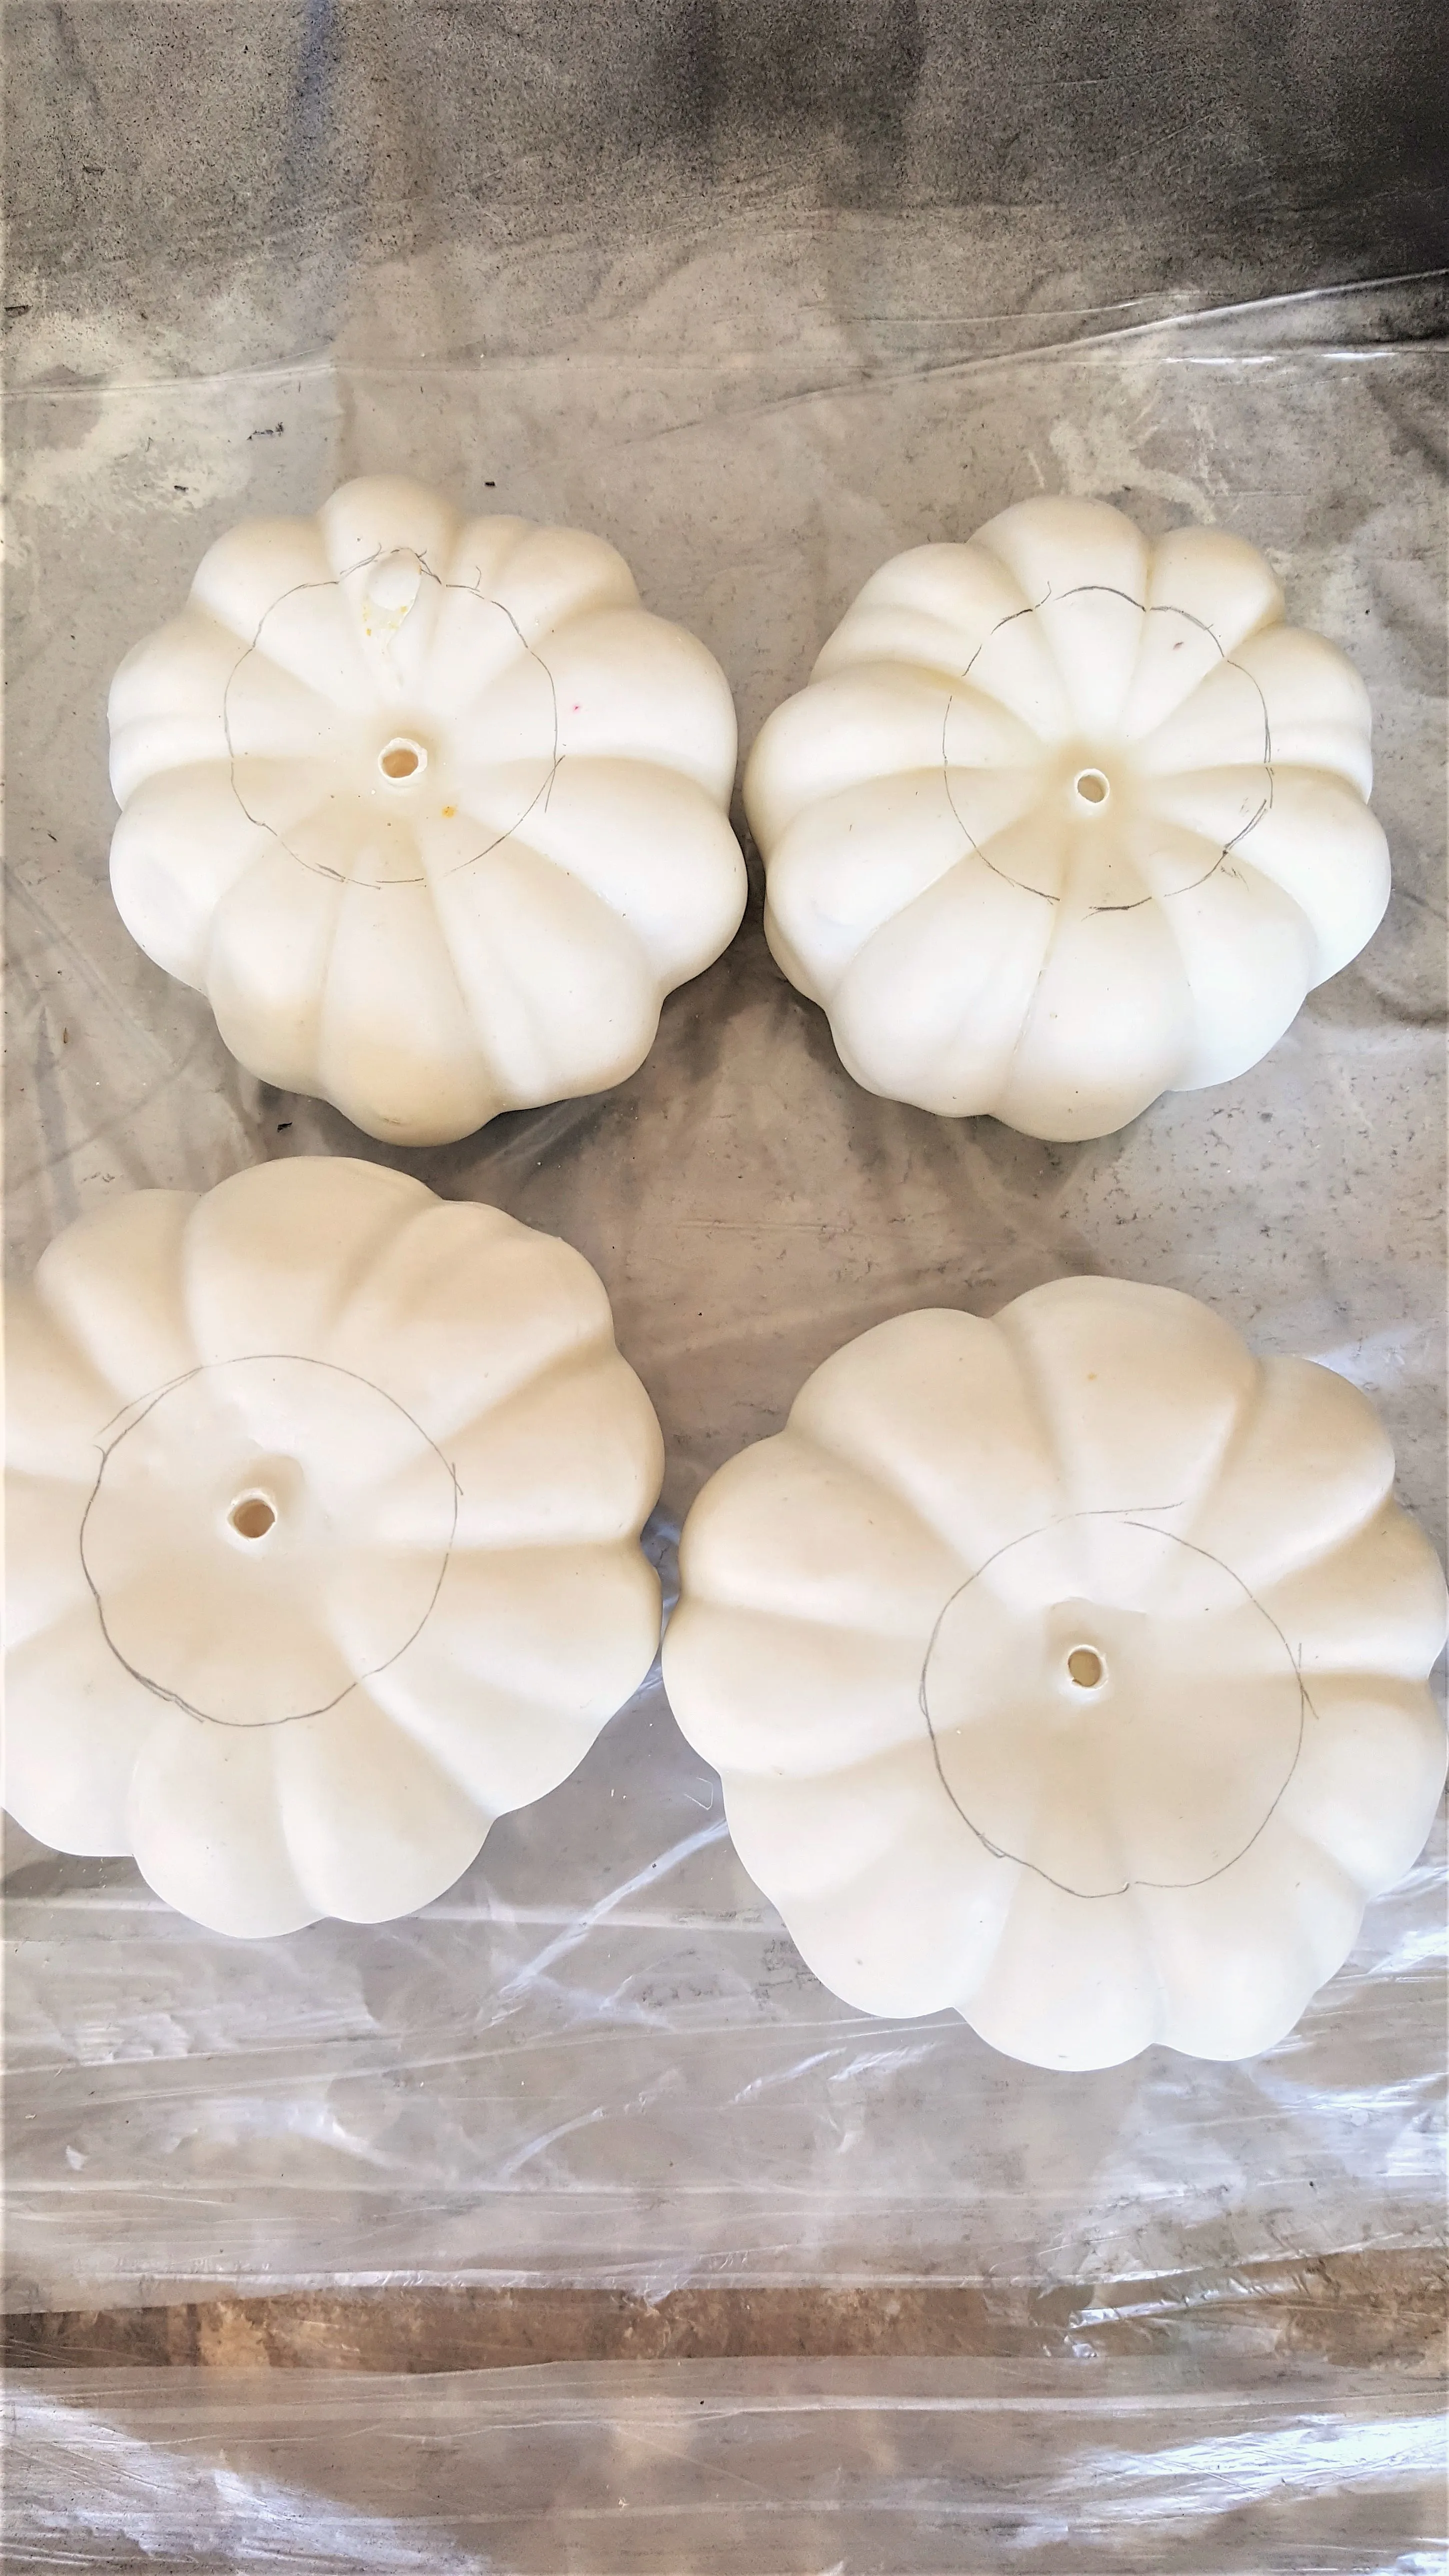
Step 2: Create a Base for the Candle
Place a tea light candle on top of the pumpkin and trace around it to make a pencil line. Carefully use a box cutter to cut a hole along the traced line on the top of the pumpkin. For real pumpkins, carefully cut around the base of the stem and remove the top. Scoop out the pumpkin seeds, and consider saving them for roasting, they make a delicious and healthy snack!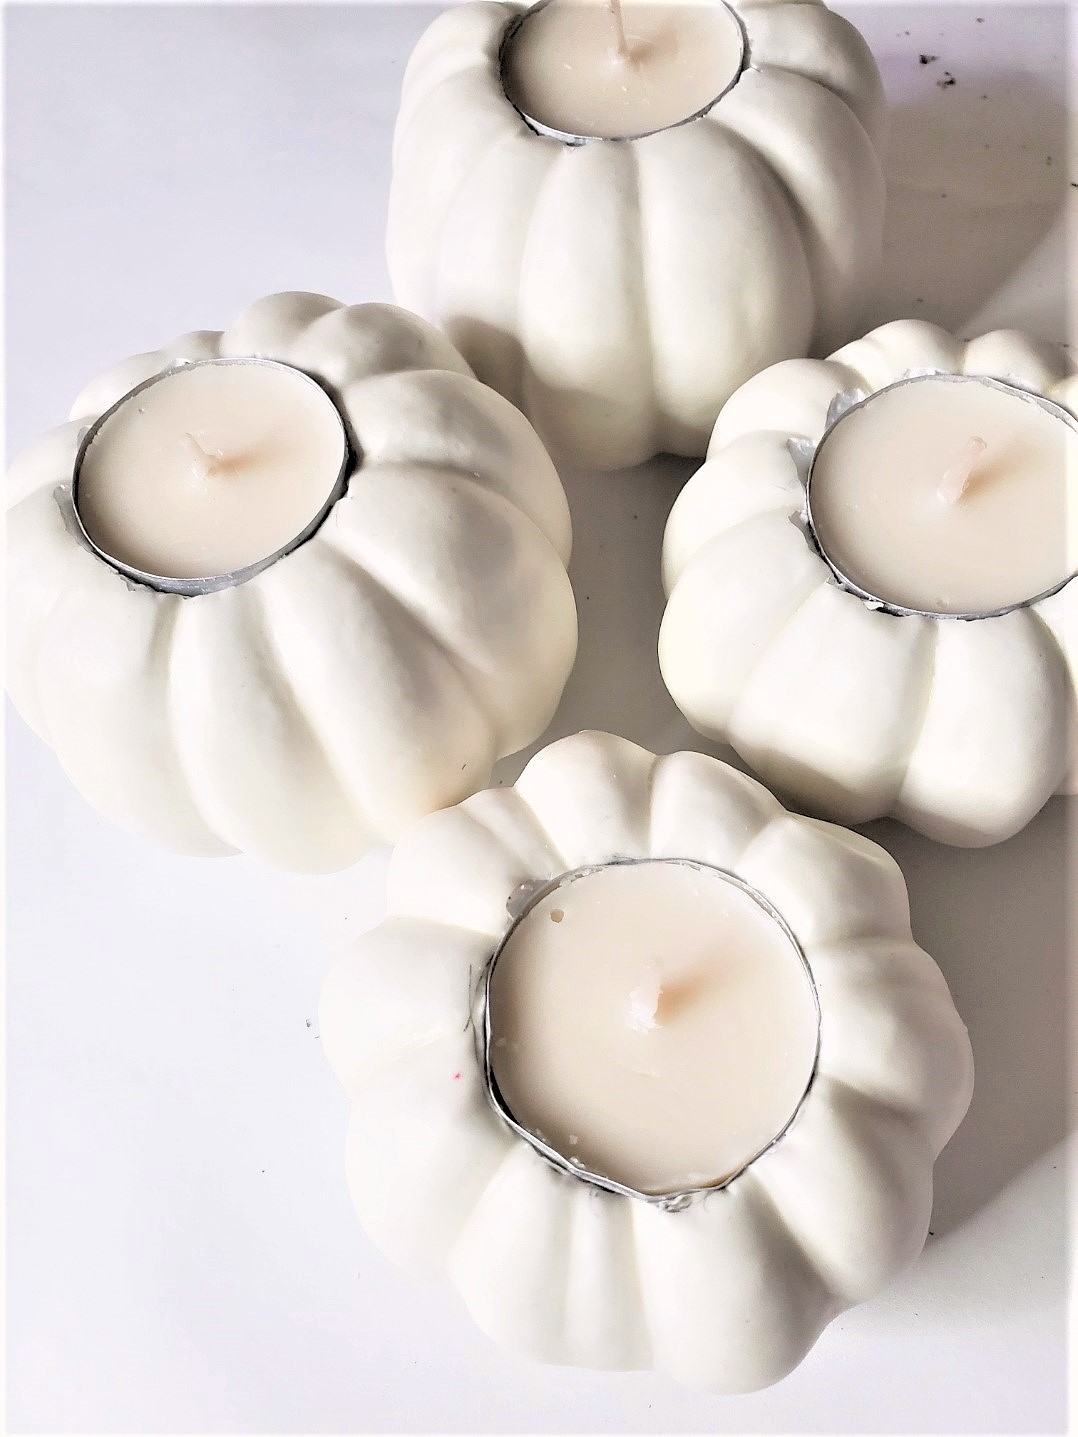
Step 3 (Optional): Add Realistic Texture With Paint
To achieve the look of a real pumpkin, dry brush the pumpkins with white craft paint. Dip the tip of a small chip brush in the paint and wipe off the excess on a paper towel. Lightly dry brush the paint on the pumpkins and let them dry for about 10 minutes. If this is your first time using a dry brush painting technique, no worries, I share detailed step-by-step instructions for a basket and a planter. For more natural texture, use a small stencil brush to add light brown wax or raw umber craft paint to the creases to create shadows. Blend the paint with a (barely) damp paper towel and wax to create shadows to resemble the real thing.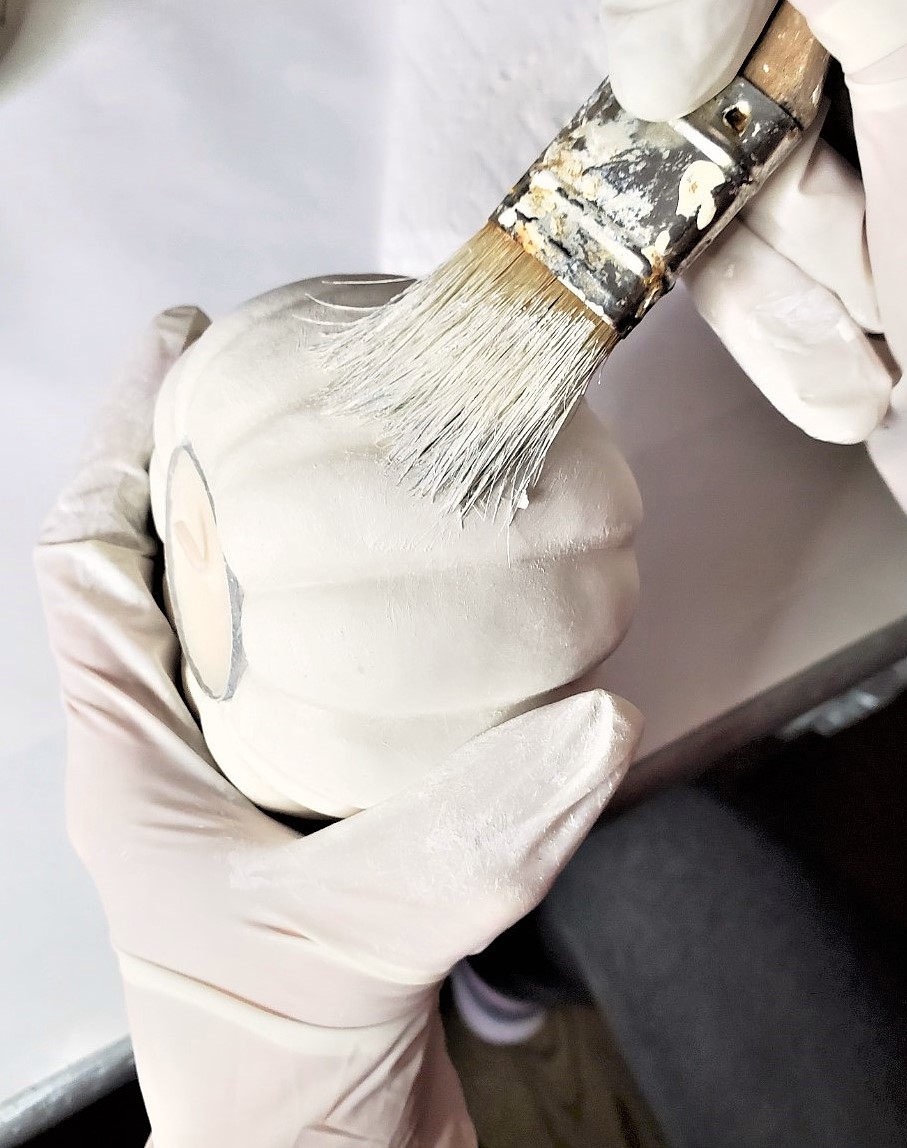
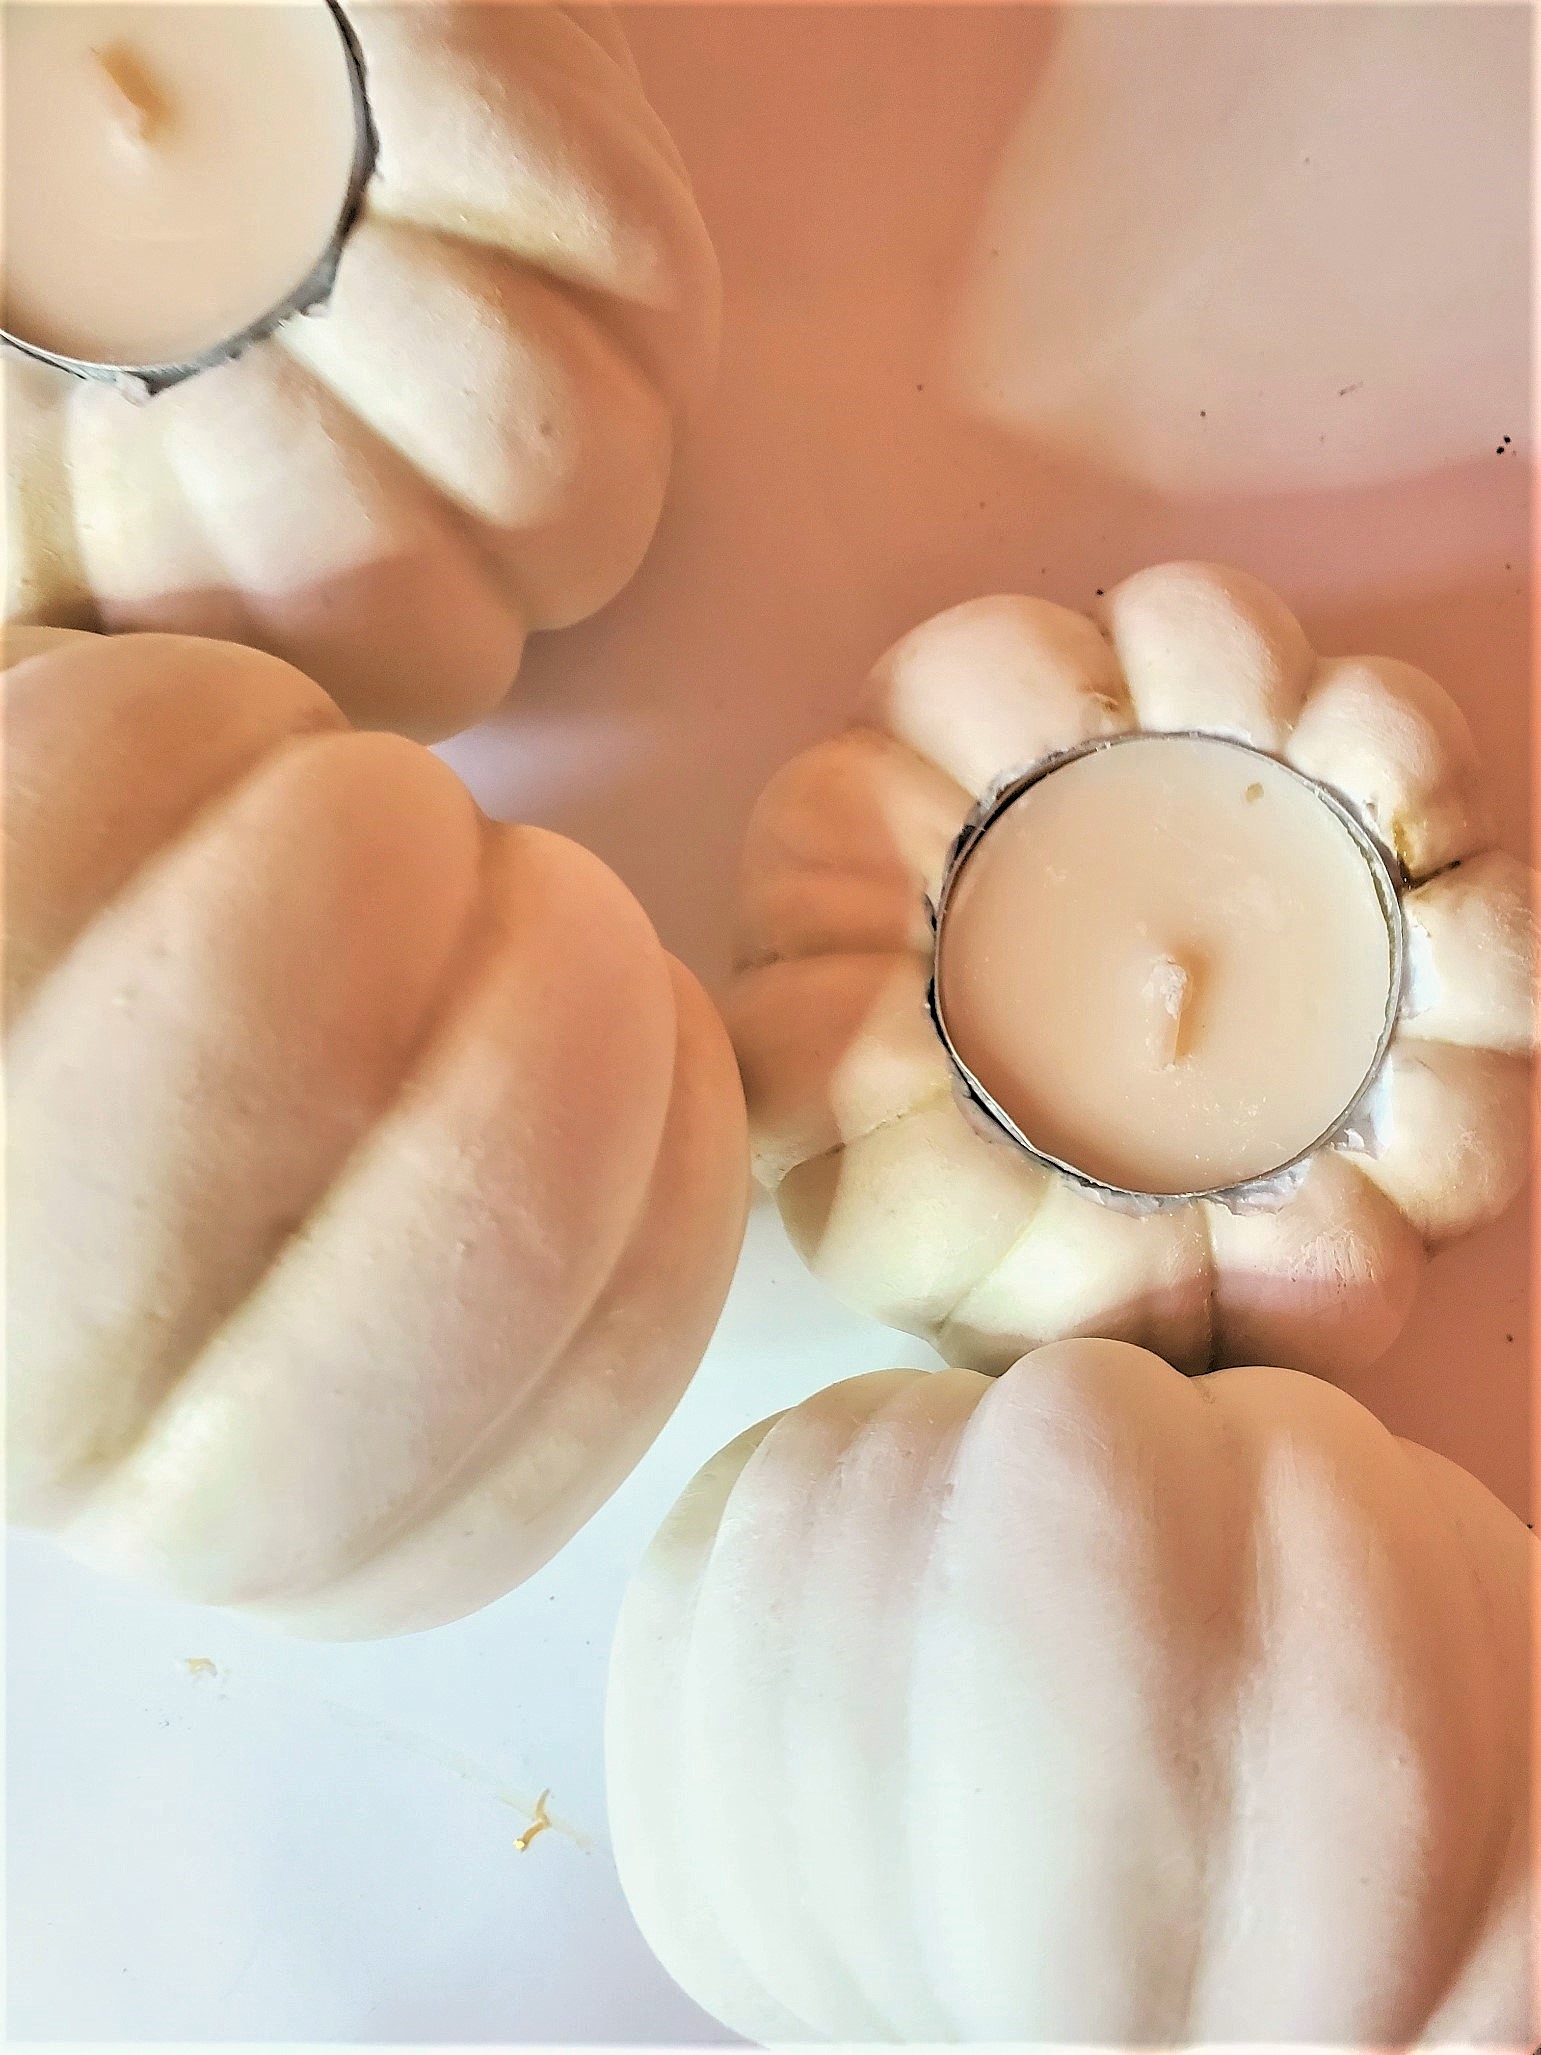
Step 4: Assemble The DIY Pumpkin Candle Holders
Once the paint is dry, add a tealight to the base of the candle holder. Pro Tip: For a tall candle, use melted wax or hot glue on the base of the tall candle to secure it
 Happy Crafting!