
Make DIY Wood Coasters
Did you ever think, I’d like to make coasters? Today, I am sharing how to make DIY wood coasters. These are an easy craft, and you can design them to fit your home decor style. I think being able to customize pieces to fit our style is the best. And these wood coasters are perfect.
For this DIY I found wood slabs with bark on them. As soon as I made the purchase, I began thinking, these are perfect for coasters.
Because I enjoy our dining room table exposed when we have gatherings coasters are a necessity under glasses. So, making DIY Wood coasters came to mind. These became more relevant now, because we entertain more often from fall through winter.
Table of Contents
- 1 Why is it Called a Drink Coaster and the History?
- 2 Where Does the Word Coaster Come From?
- 3 How to Make DIY Wood Coasters
- 4 Finding a Graphic Image to Add to My DIY Coasters
- 5 Adding White Wax to The Bark on My DIY Craft
- 6 How I Add My Image to My Wood Craft Project
- 7 Adding Outdoor Mod Podge to The Images on The Wood Coasters
- 8 SOME OF MY FAVORITE CRAFT SUPPLIES
Why is it Called a Drink Coaster and the History?
History of the Bar Coaster
The first coasters were designed for wine bottles and decanters, so they will slide or coasted around the dinner table. Generally, after the servants have retired for the evening.
For example, early on coasters were mainly a shallow tray or dish made of wood, paper Mache, silver or silverplate
To begin with, beermats made of cardboard by the German printing company. And the first beermat was made of wood pulp.
Then these had been introduced to the United Kingdom in 1920 to advertise pale ale.
Additionally, saucers are often used for the same purpose. Also, when drinking tea, it is customary to use a cup and saucer set. By the mid-twentieth century, drink coasters are made in many materials and styles and are being manufactured for domestic use. Today, they an everyday houseware piece.
Where Does the Word Coaster Come From?
Have You Heard of a Bottle Coaster?
The word coaster comes from the bottle-coaster, which is a round wheeled tray originally for decanters.
How to Make DIY Wood Coasters
Step 1: Finding the Wood Rounds for My Coasters
Wood slices with bark surrounds are usually easy to find at any craft store especially now a days. By the way, they are inexpensive too.
Because the wood slices have two sides, I decided to make two drink coasters out of one slab. How cool is that? I love the idea of getting two homemade beverage coasters from one piece.
Finding a Graphic Image to Add to My DIY Coasters
Step 2: Graphic Image for this Simple Craft
So, off to Etsy I went to visit my favorite shop French Paper Moon. By the way, I don’t want the name of this shop to scare you off. This shop doesn’t only have French images. Also, I have said this before, these images have a copyright, so they are high quality. The most expensive is $4 and I can use it as often as I want for many projects.
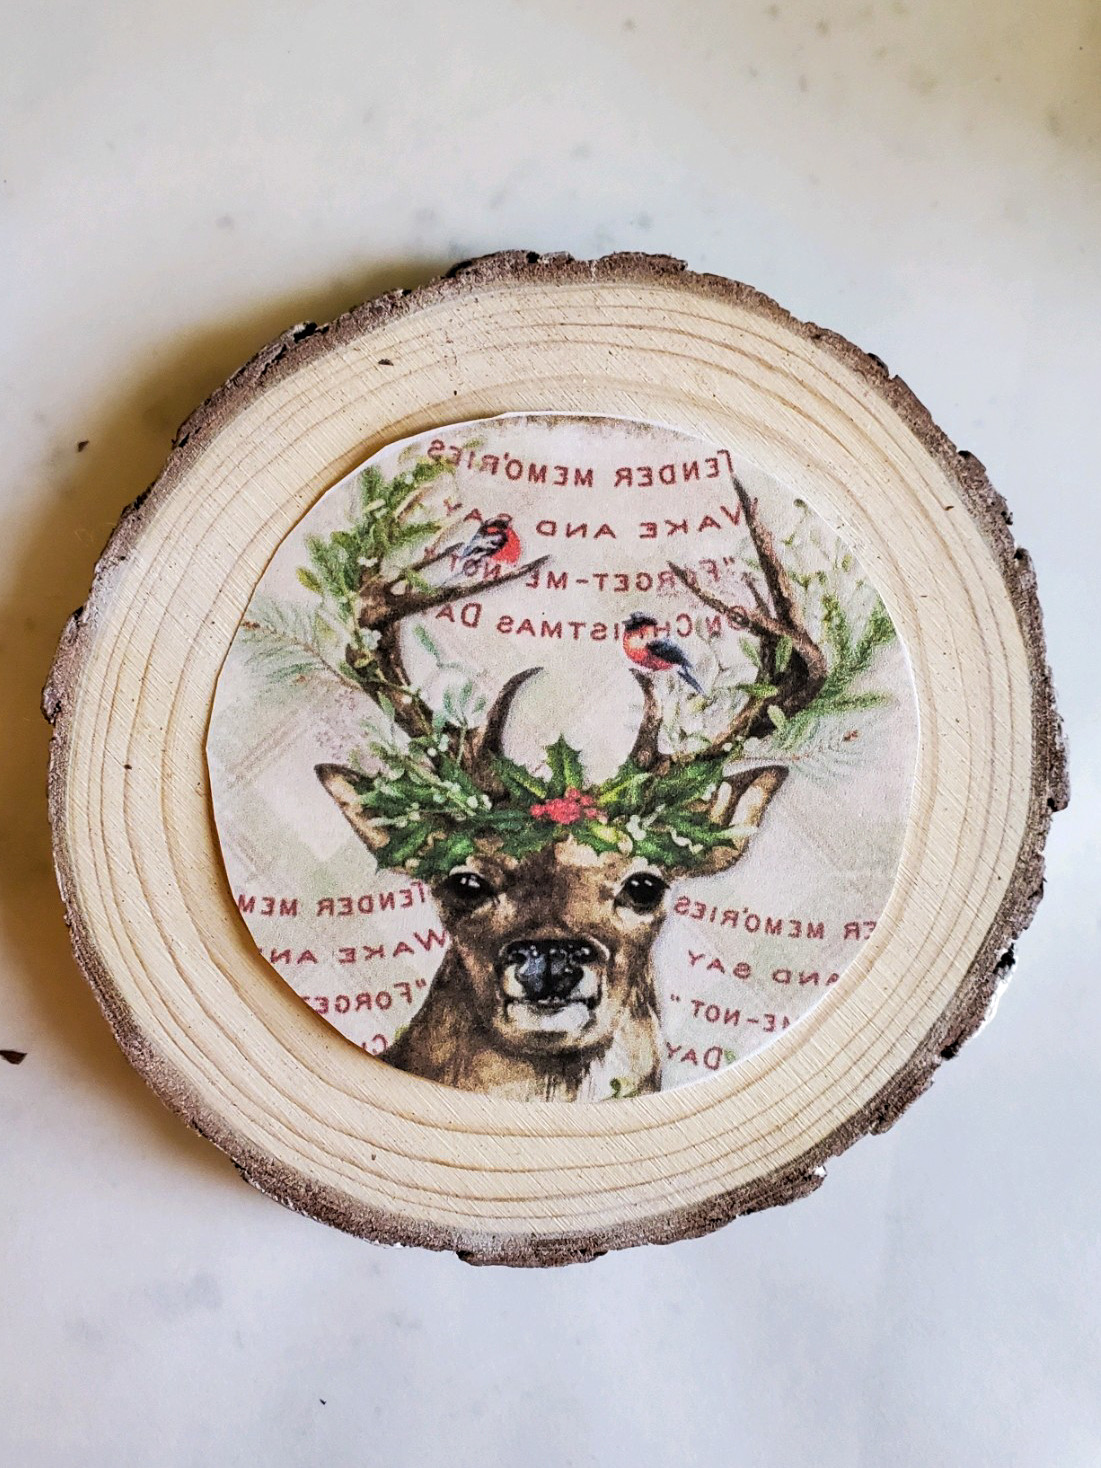
After finding images for my DIY wood coasters, I print them in reverse. Incidentally, I share this idea for this project this Christmas craft and a simple canvas project.
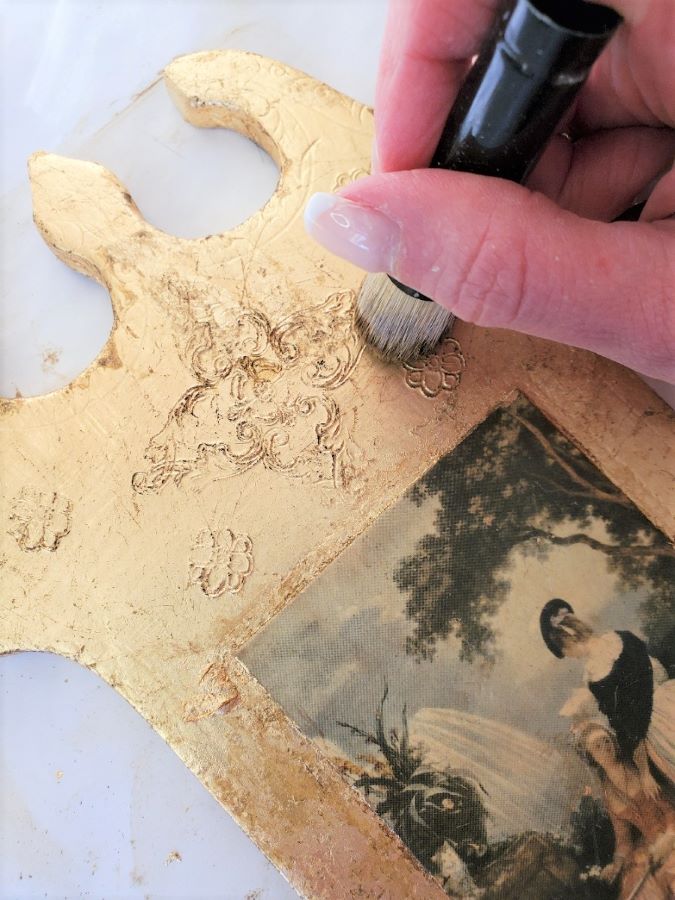
Adding White Wax to The Bark on My DIY Craft
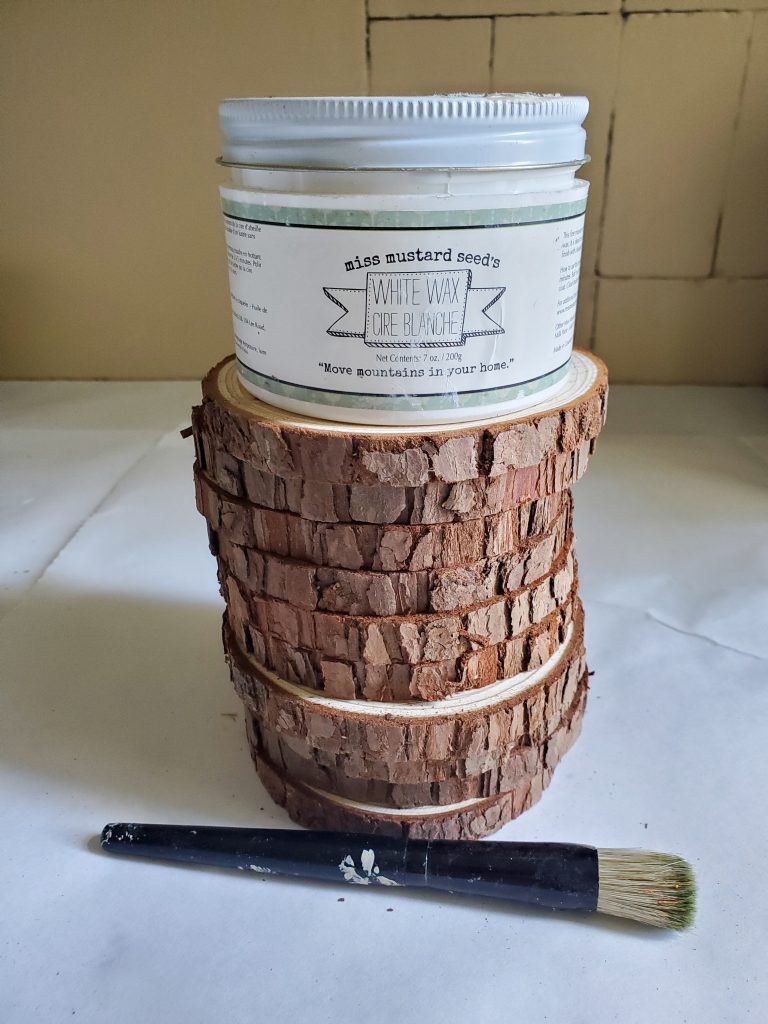
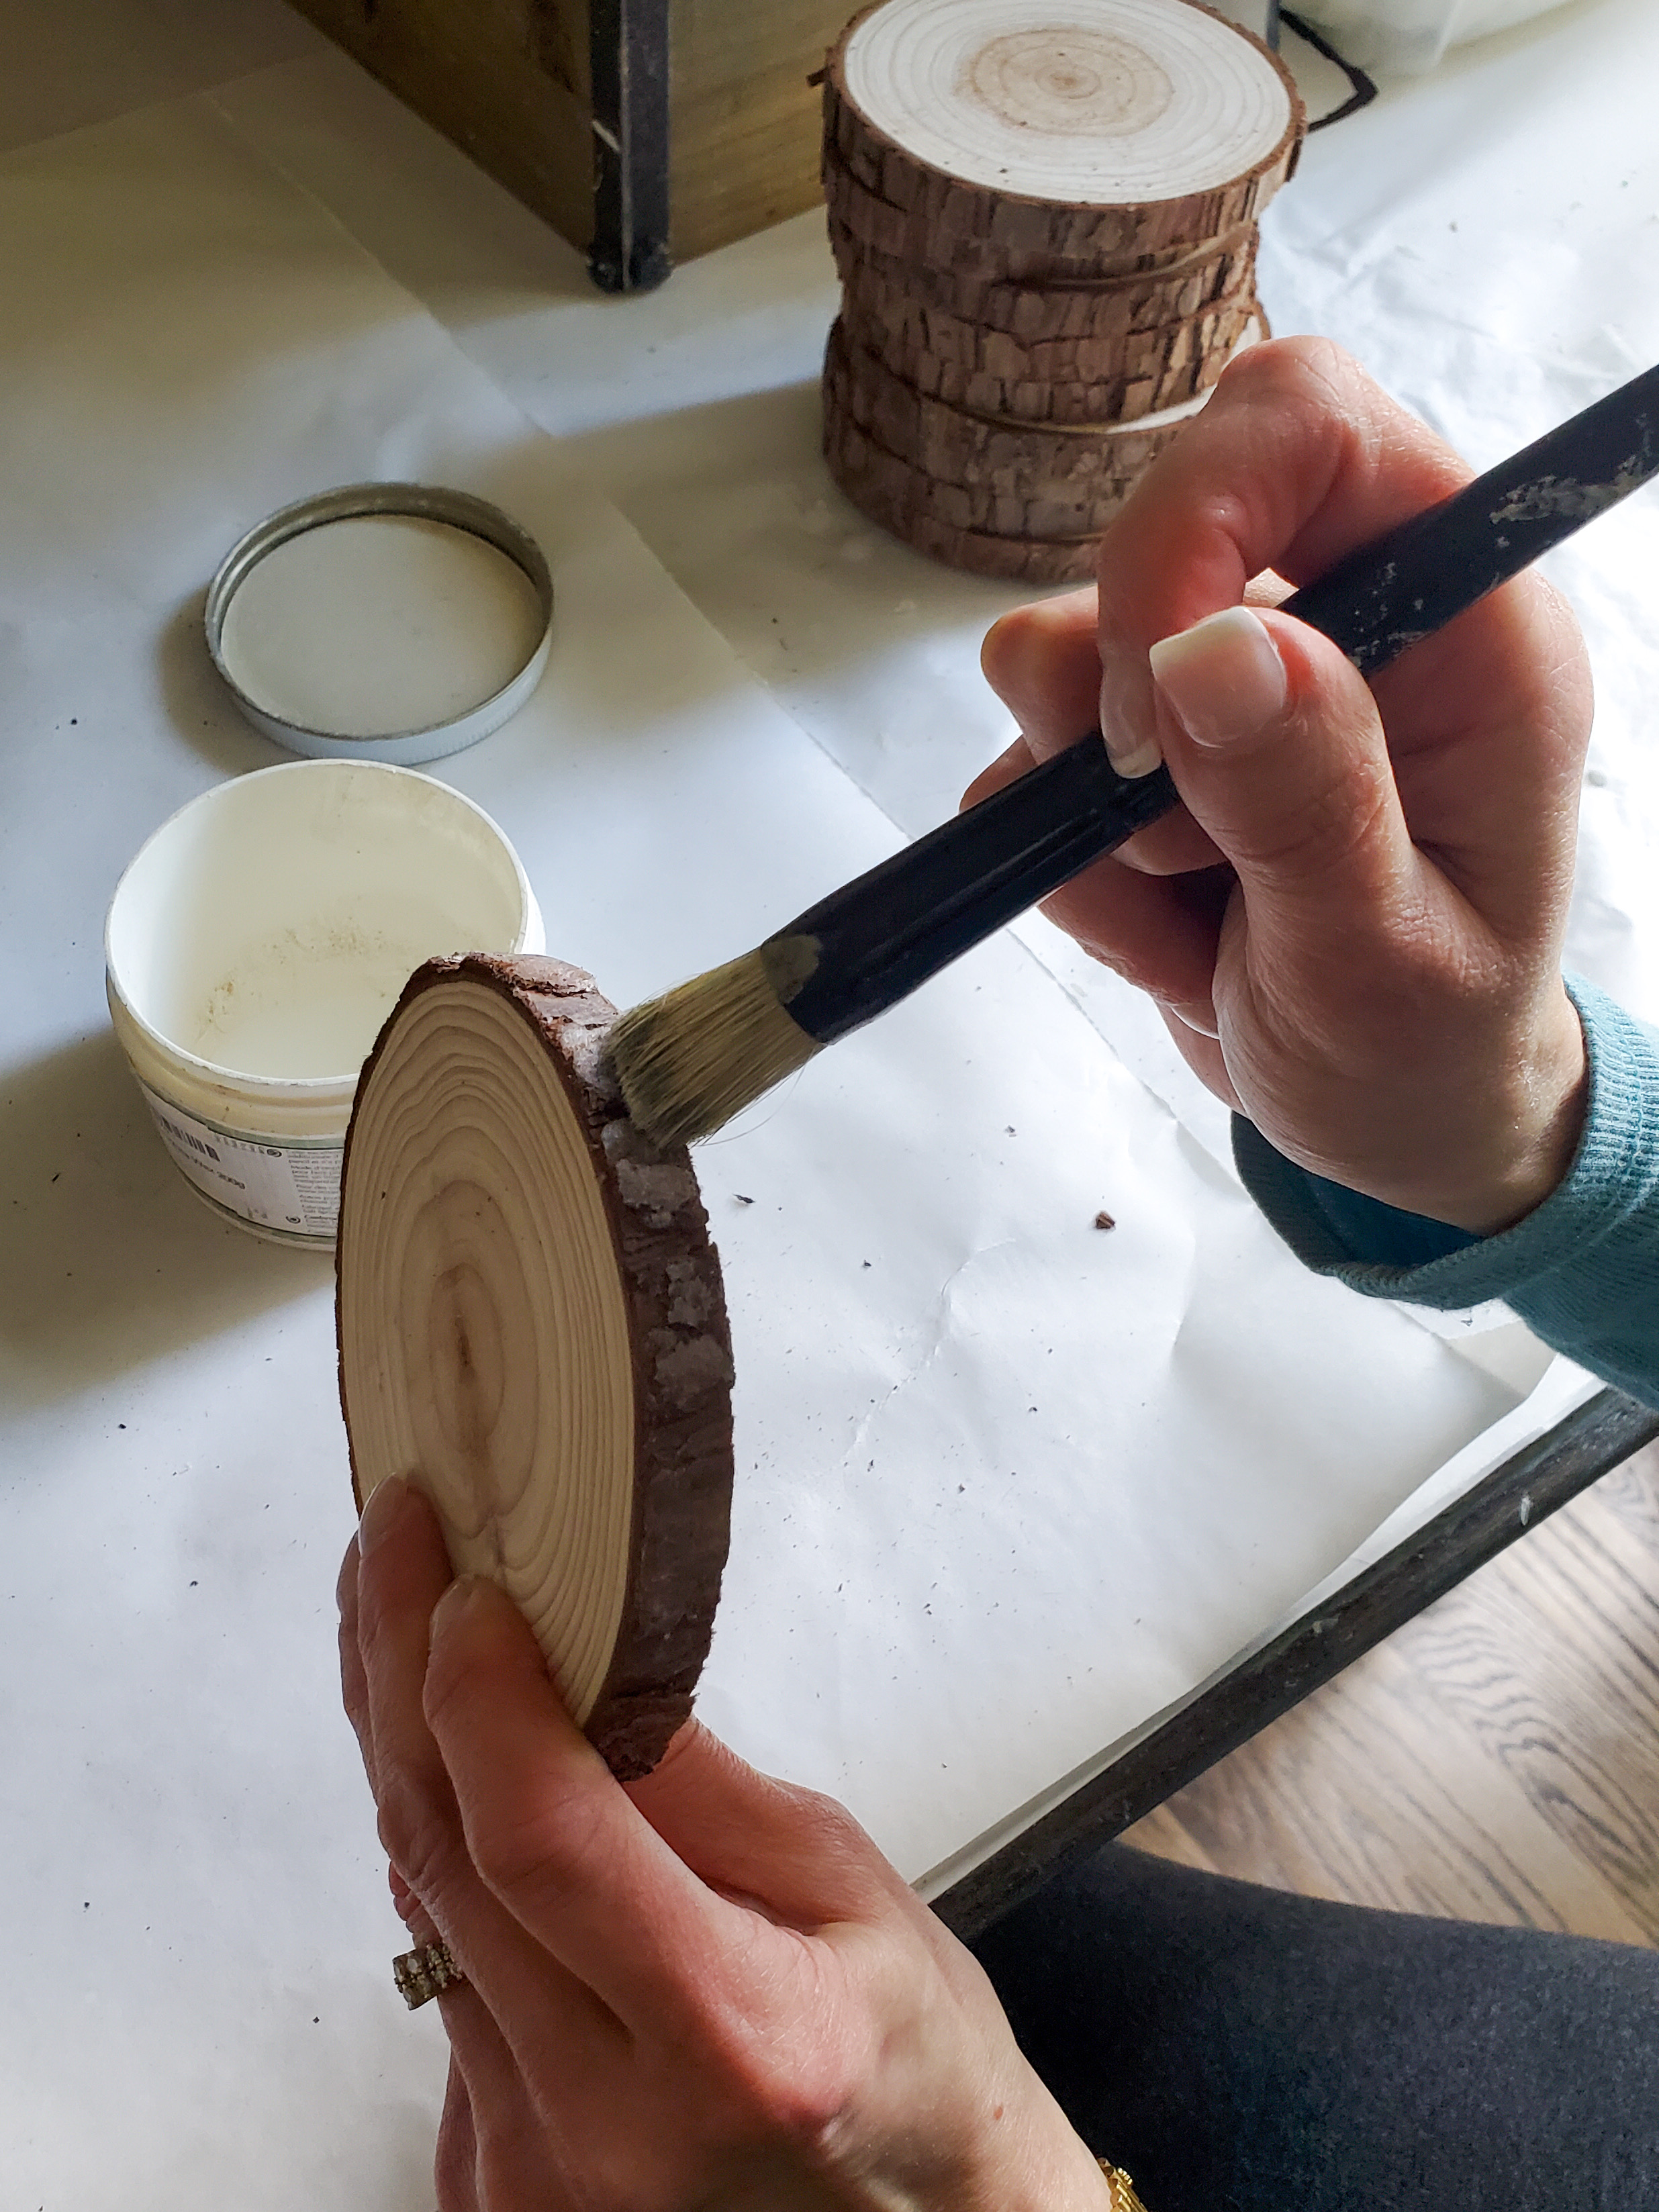
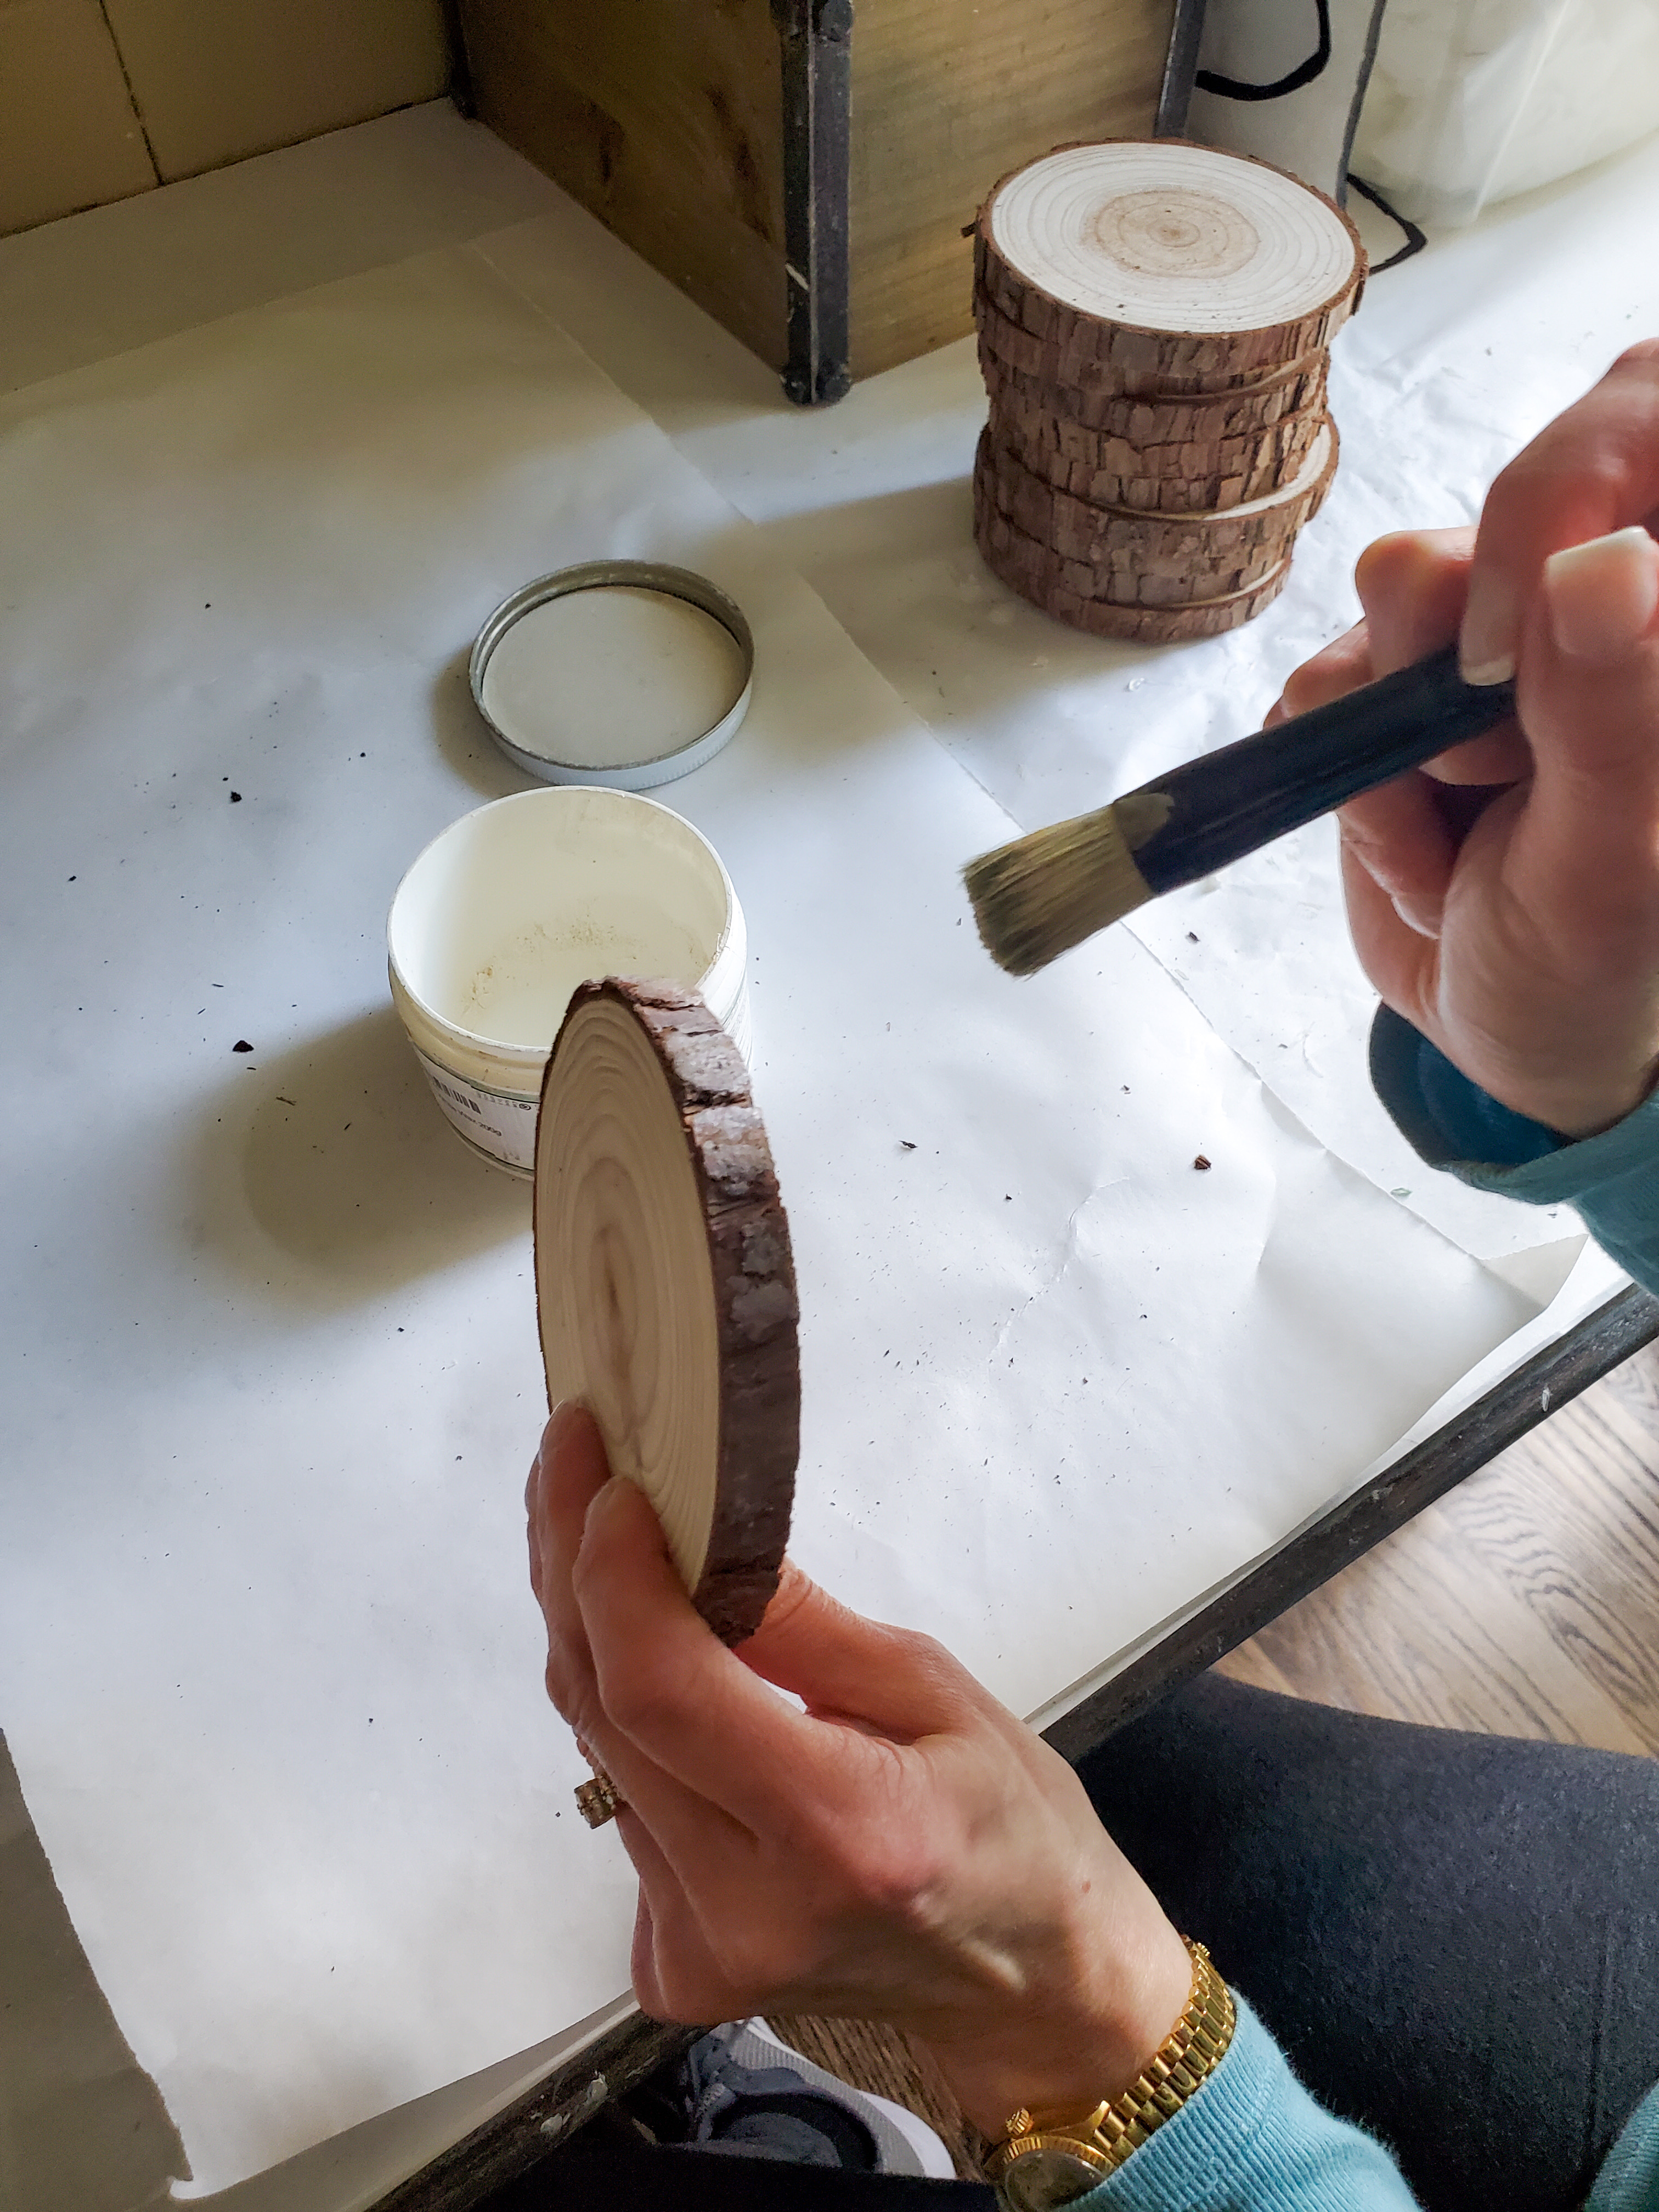
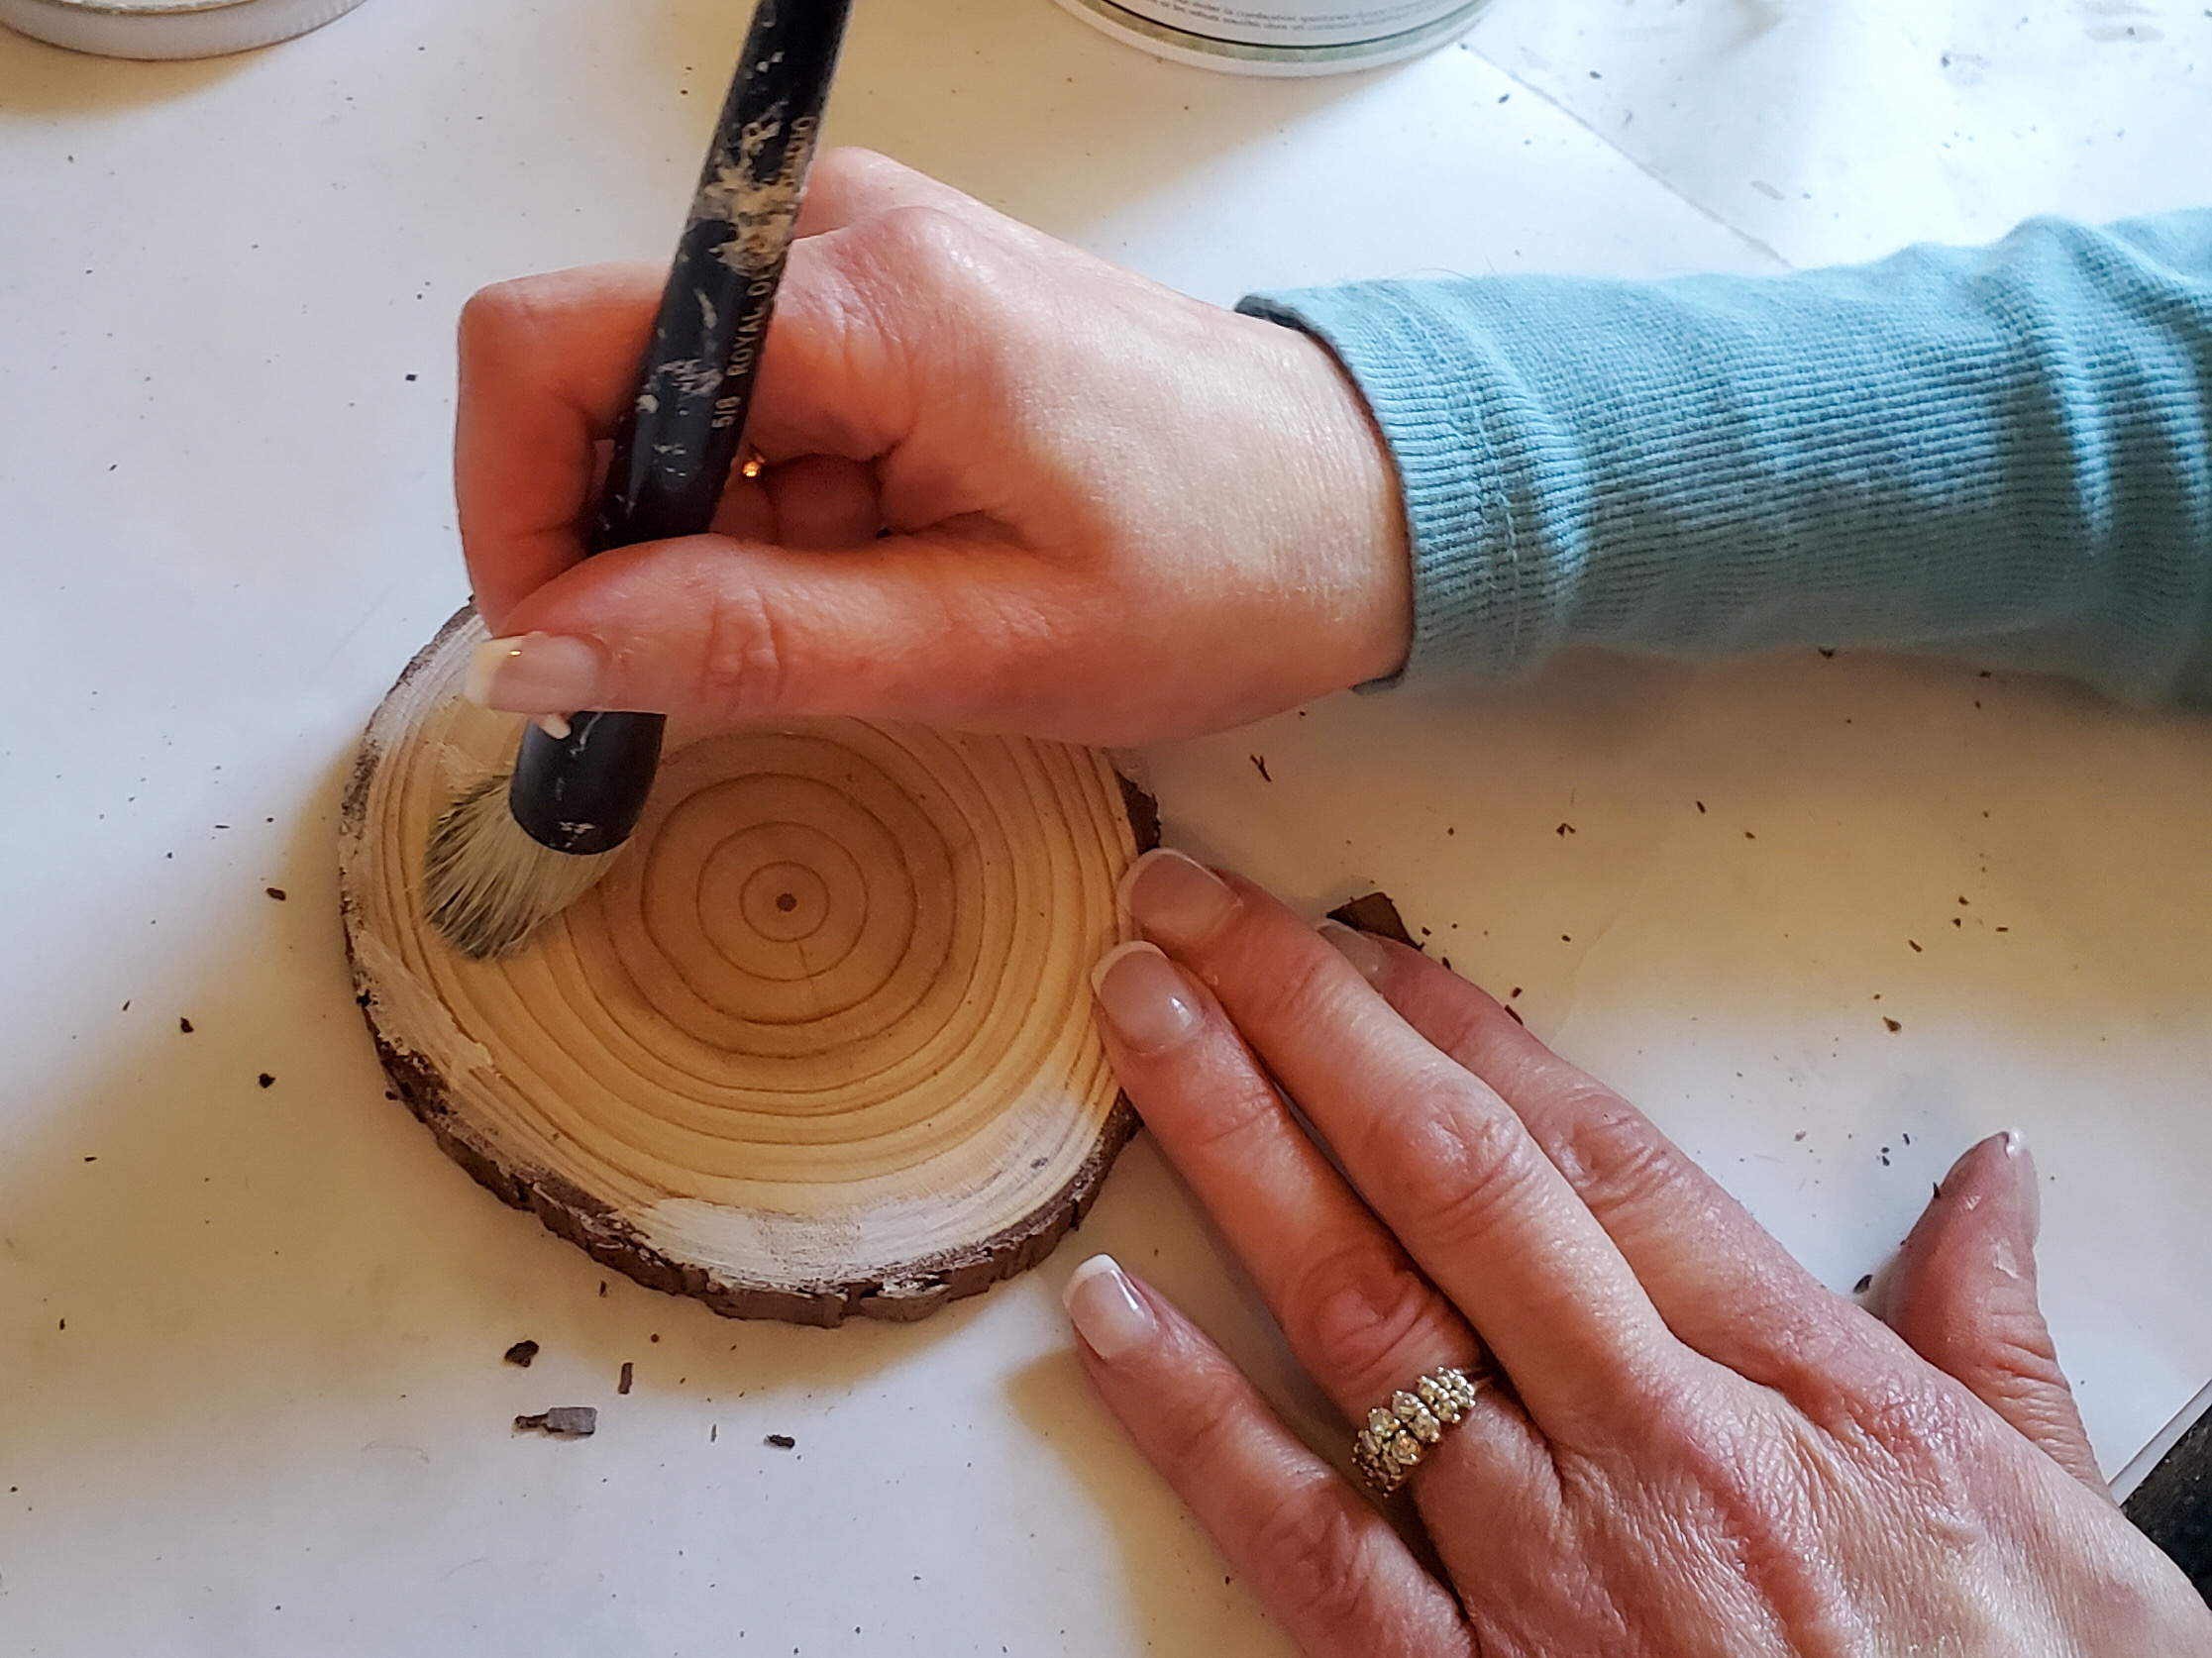
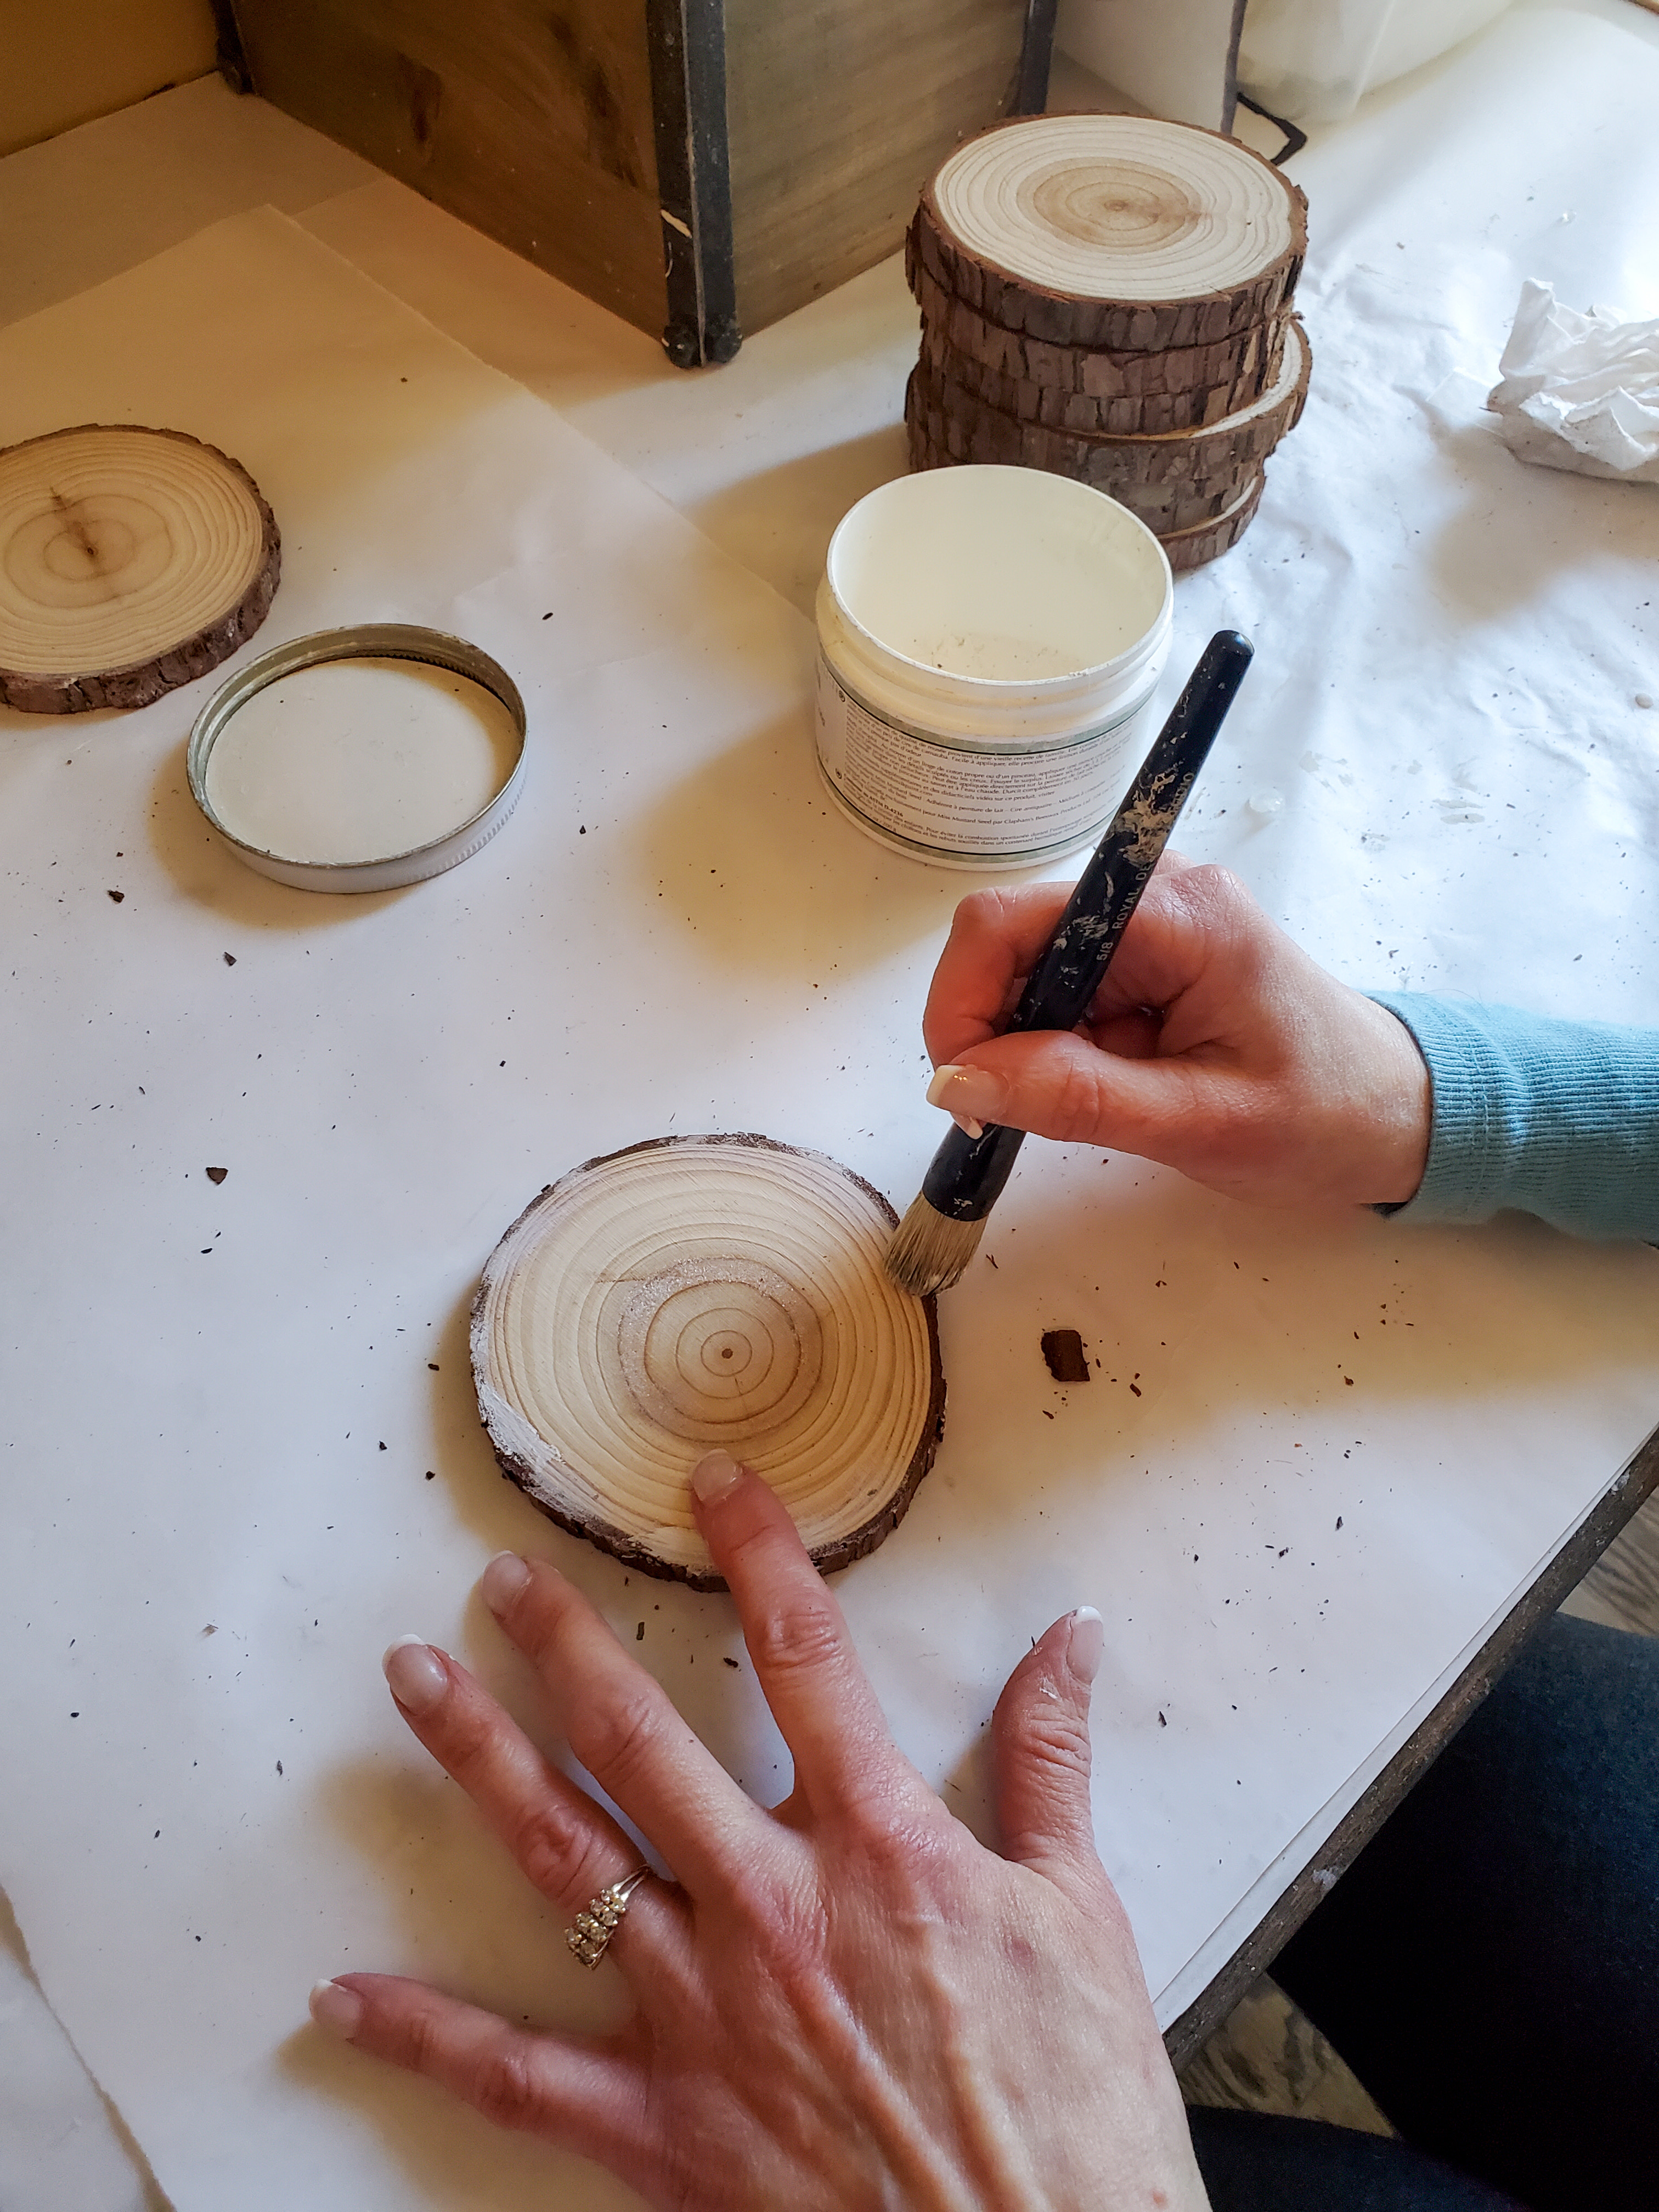
Step 3: Waxing the Bark Using a Stencil Brush
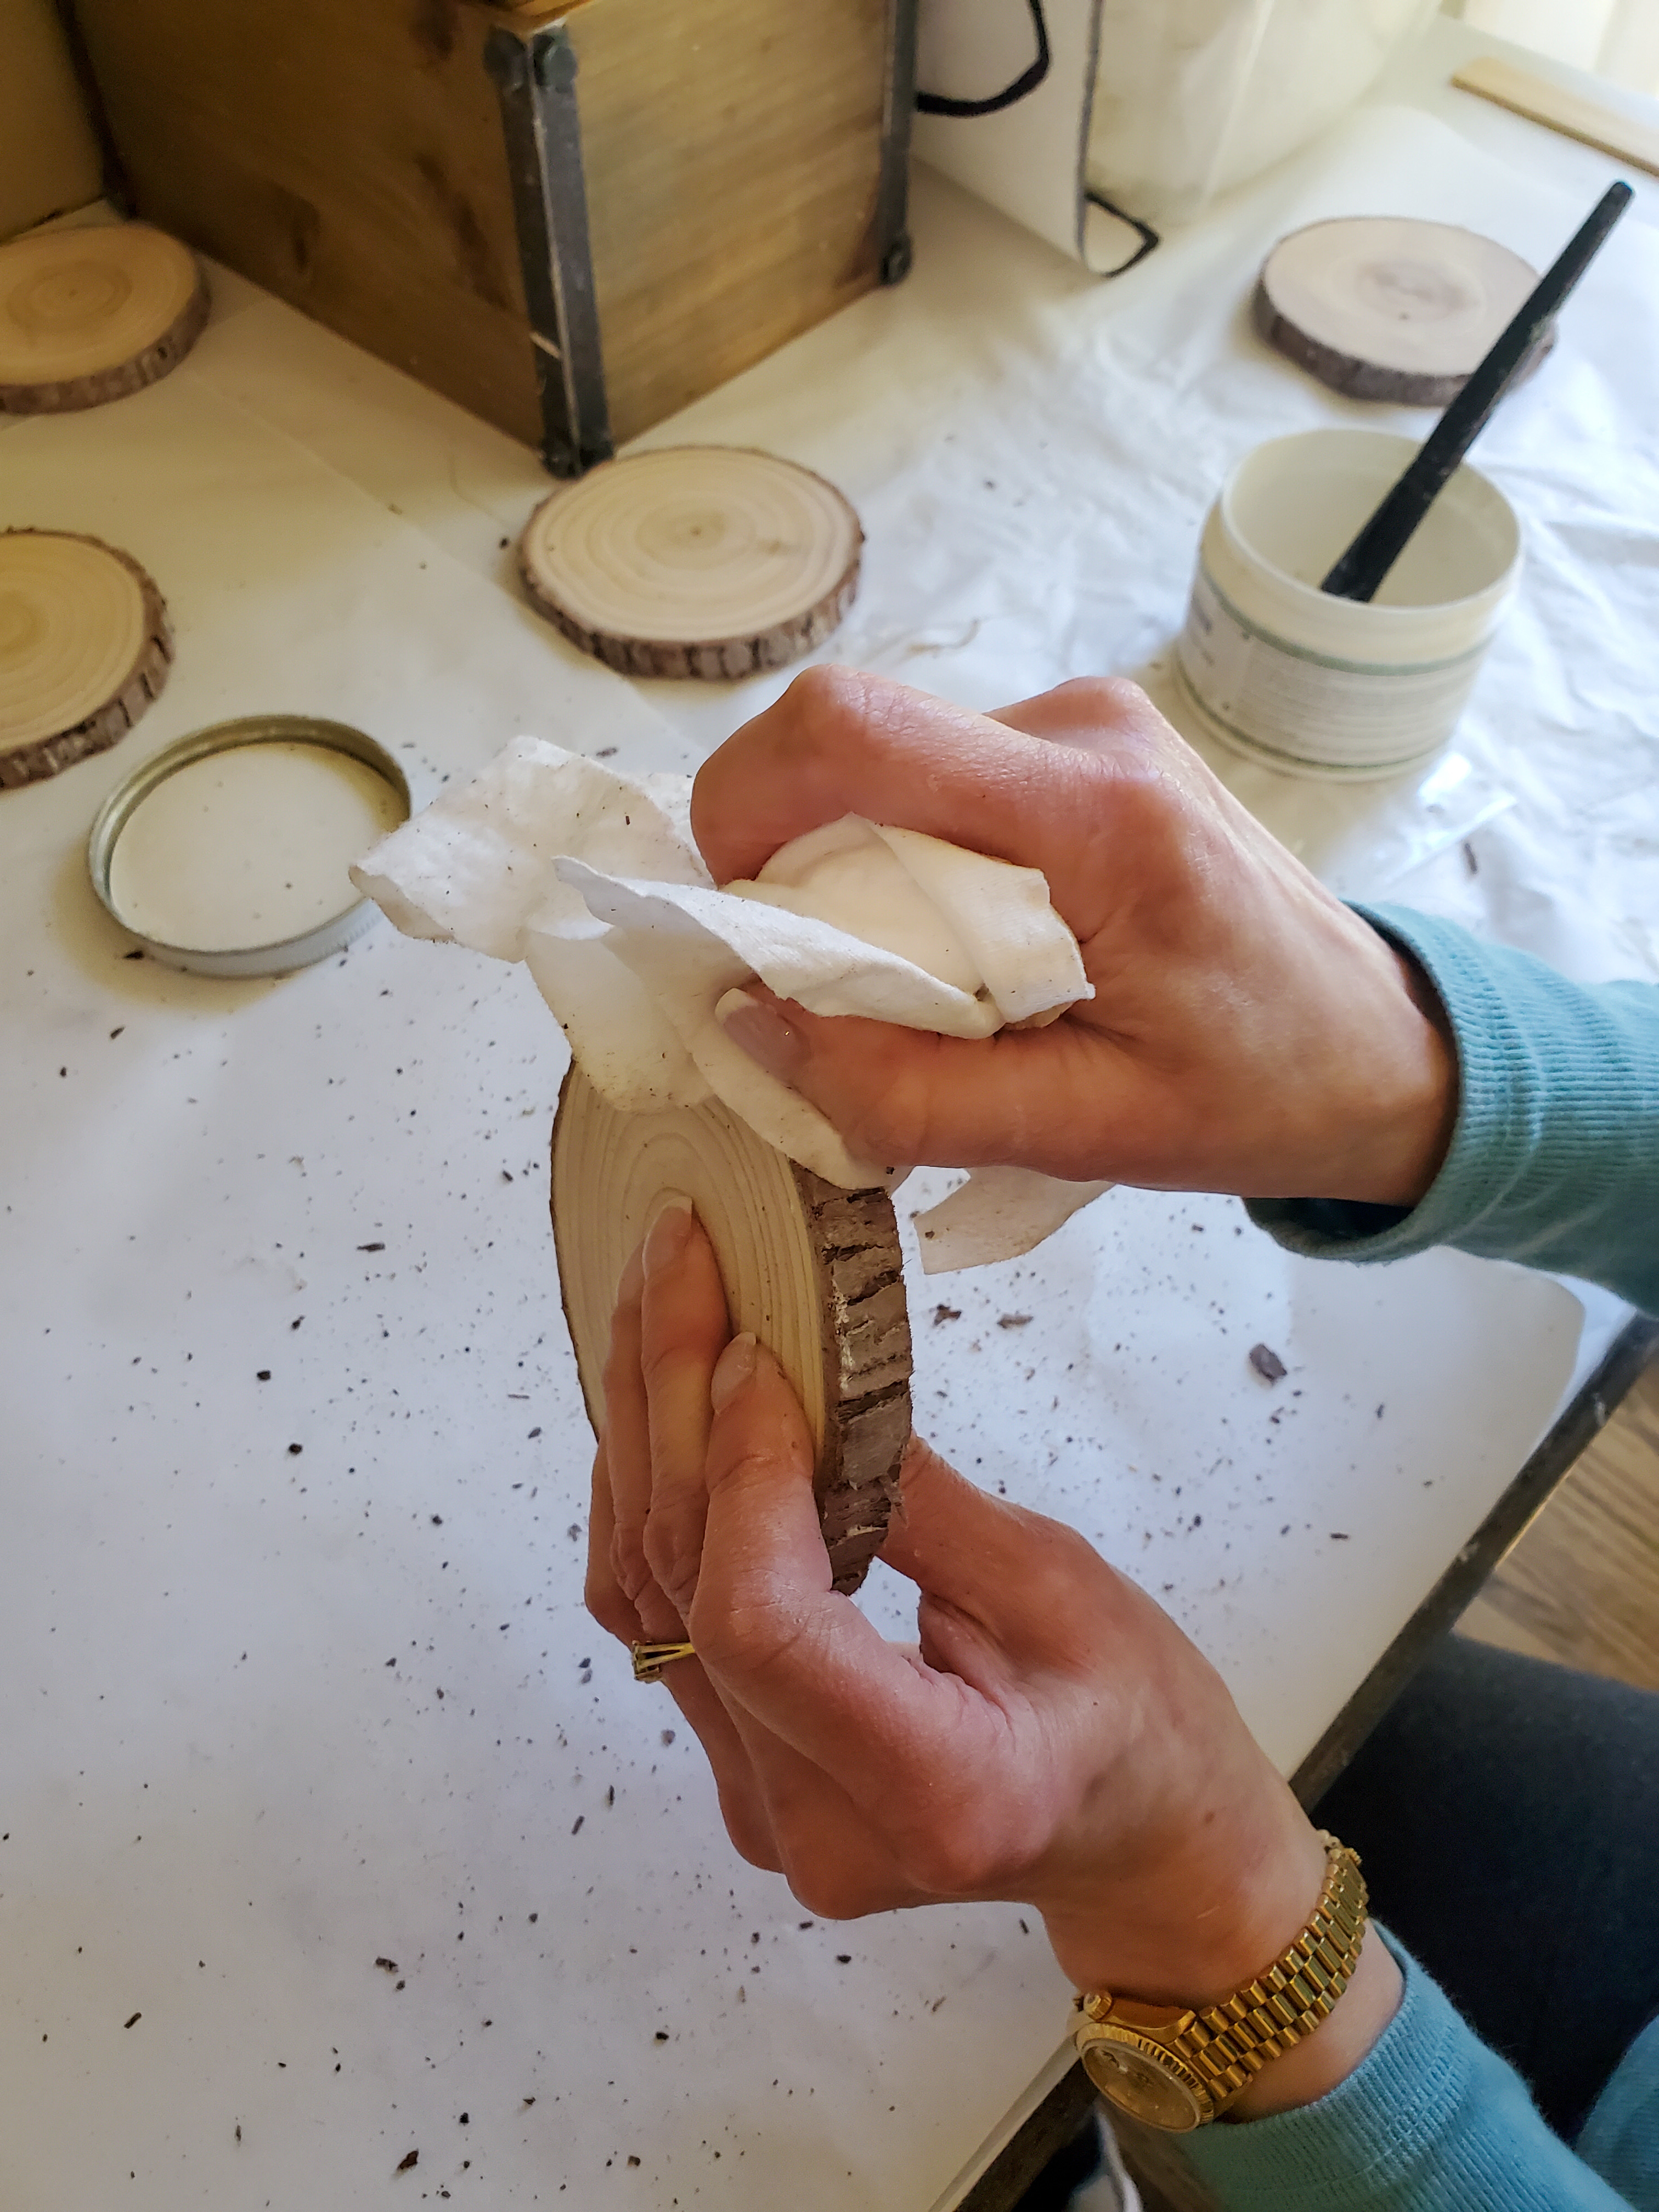
Before adding the graphic to my DIY wood coasters, I add a coat of white wax. I did this using a small stencil brush. Remember after applying the wax us a lint free rag to rub the wax well into the bark. This is important because it will prevent the wax from being sticky.
How I Add My Image to My Wood Craft Project
Step 5: Mod Podge the Image to the Craft Idea
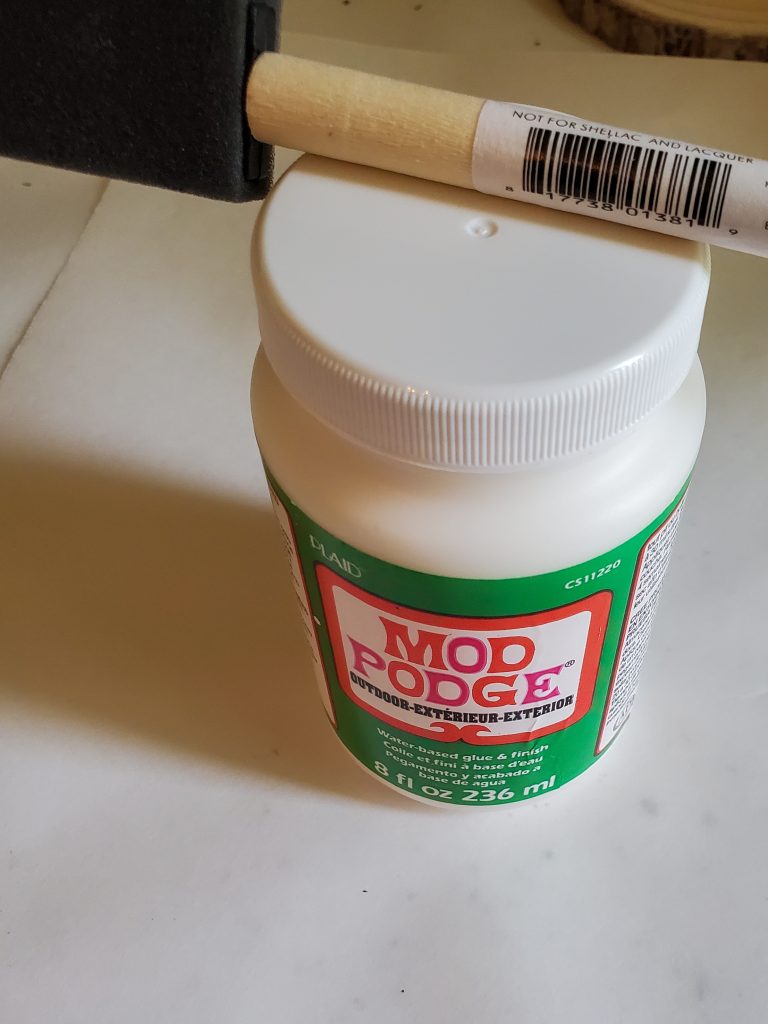
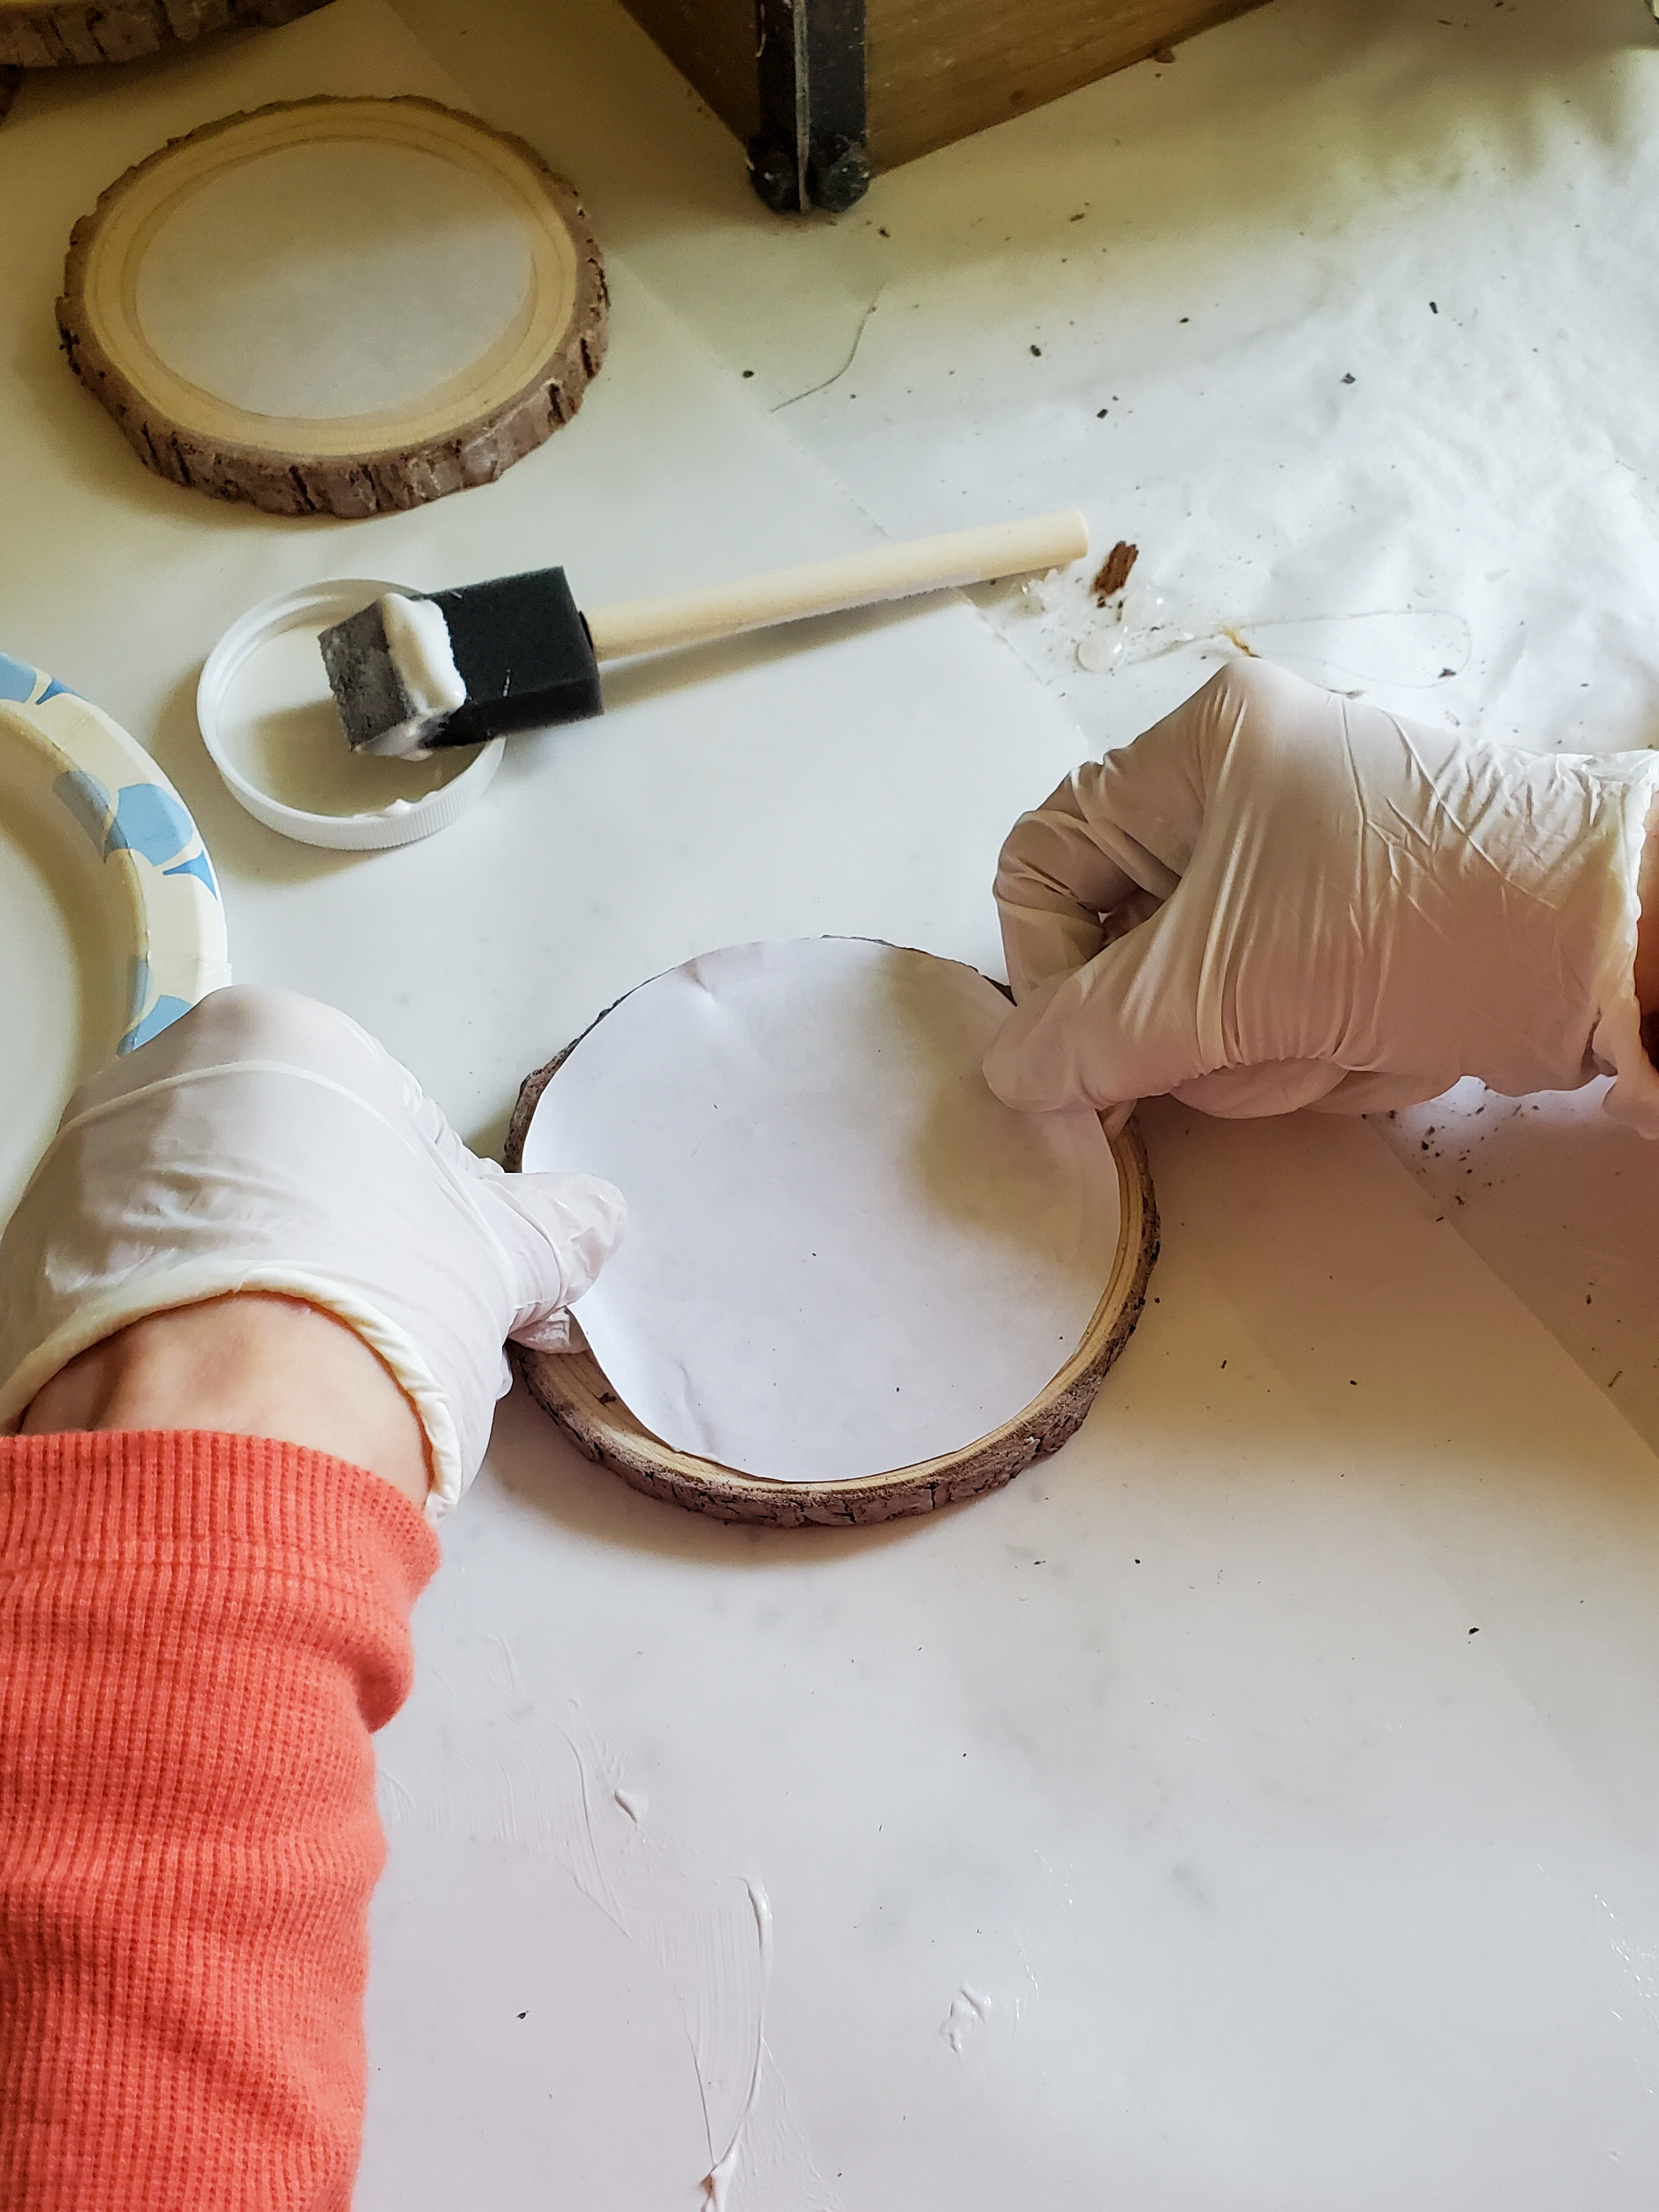
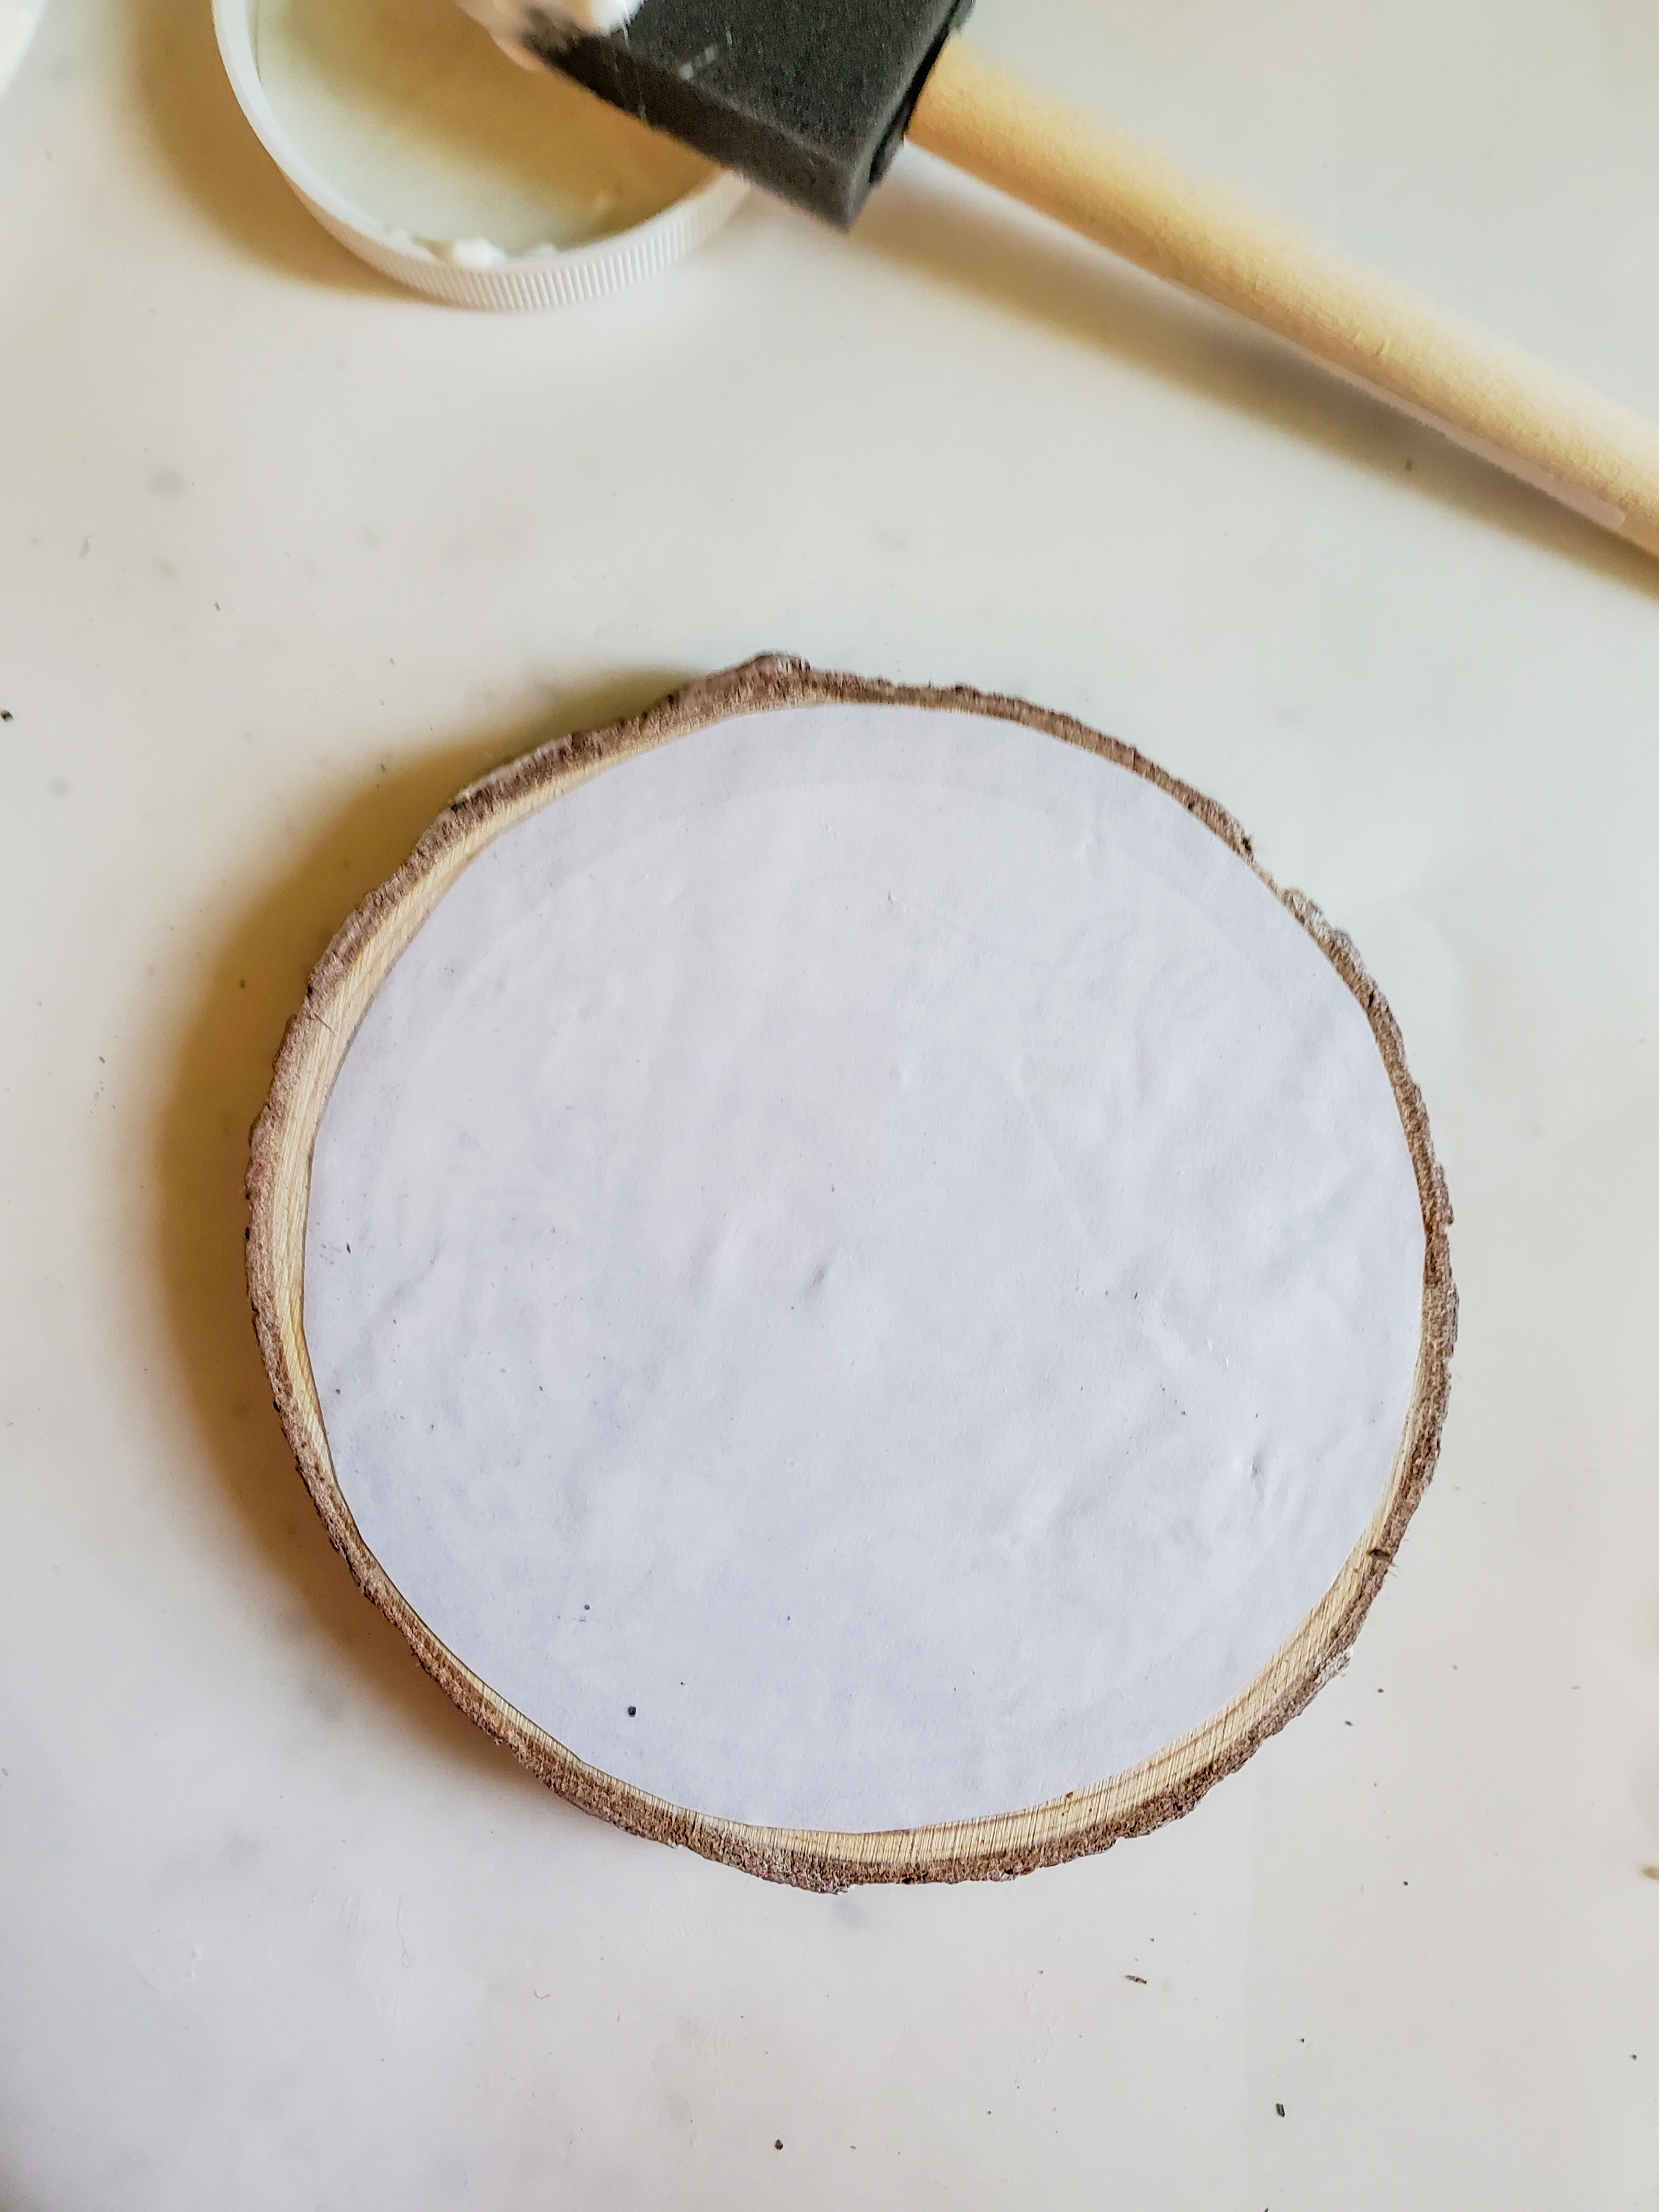
Now that I have printed my image for my easy DIY coasters, I am going to add these to either side. Using outdoor Mod Podge, I add it to the top side of my first coaster.
Next flip the image over and smooth on to the first side of the image for the wood drink coaster. Let dry.
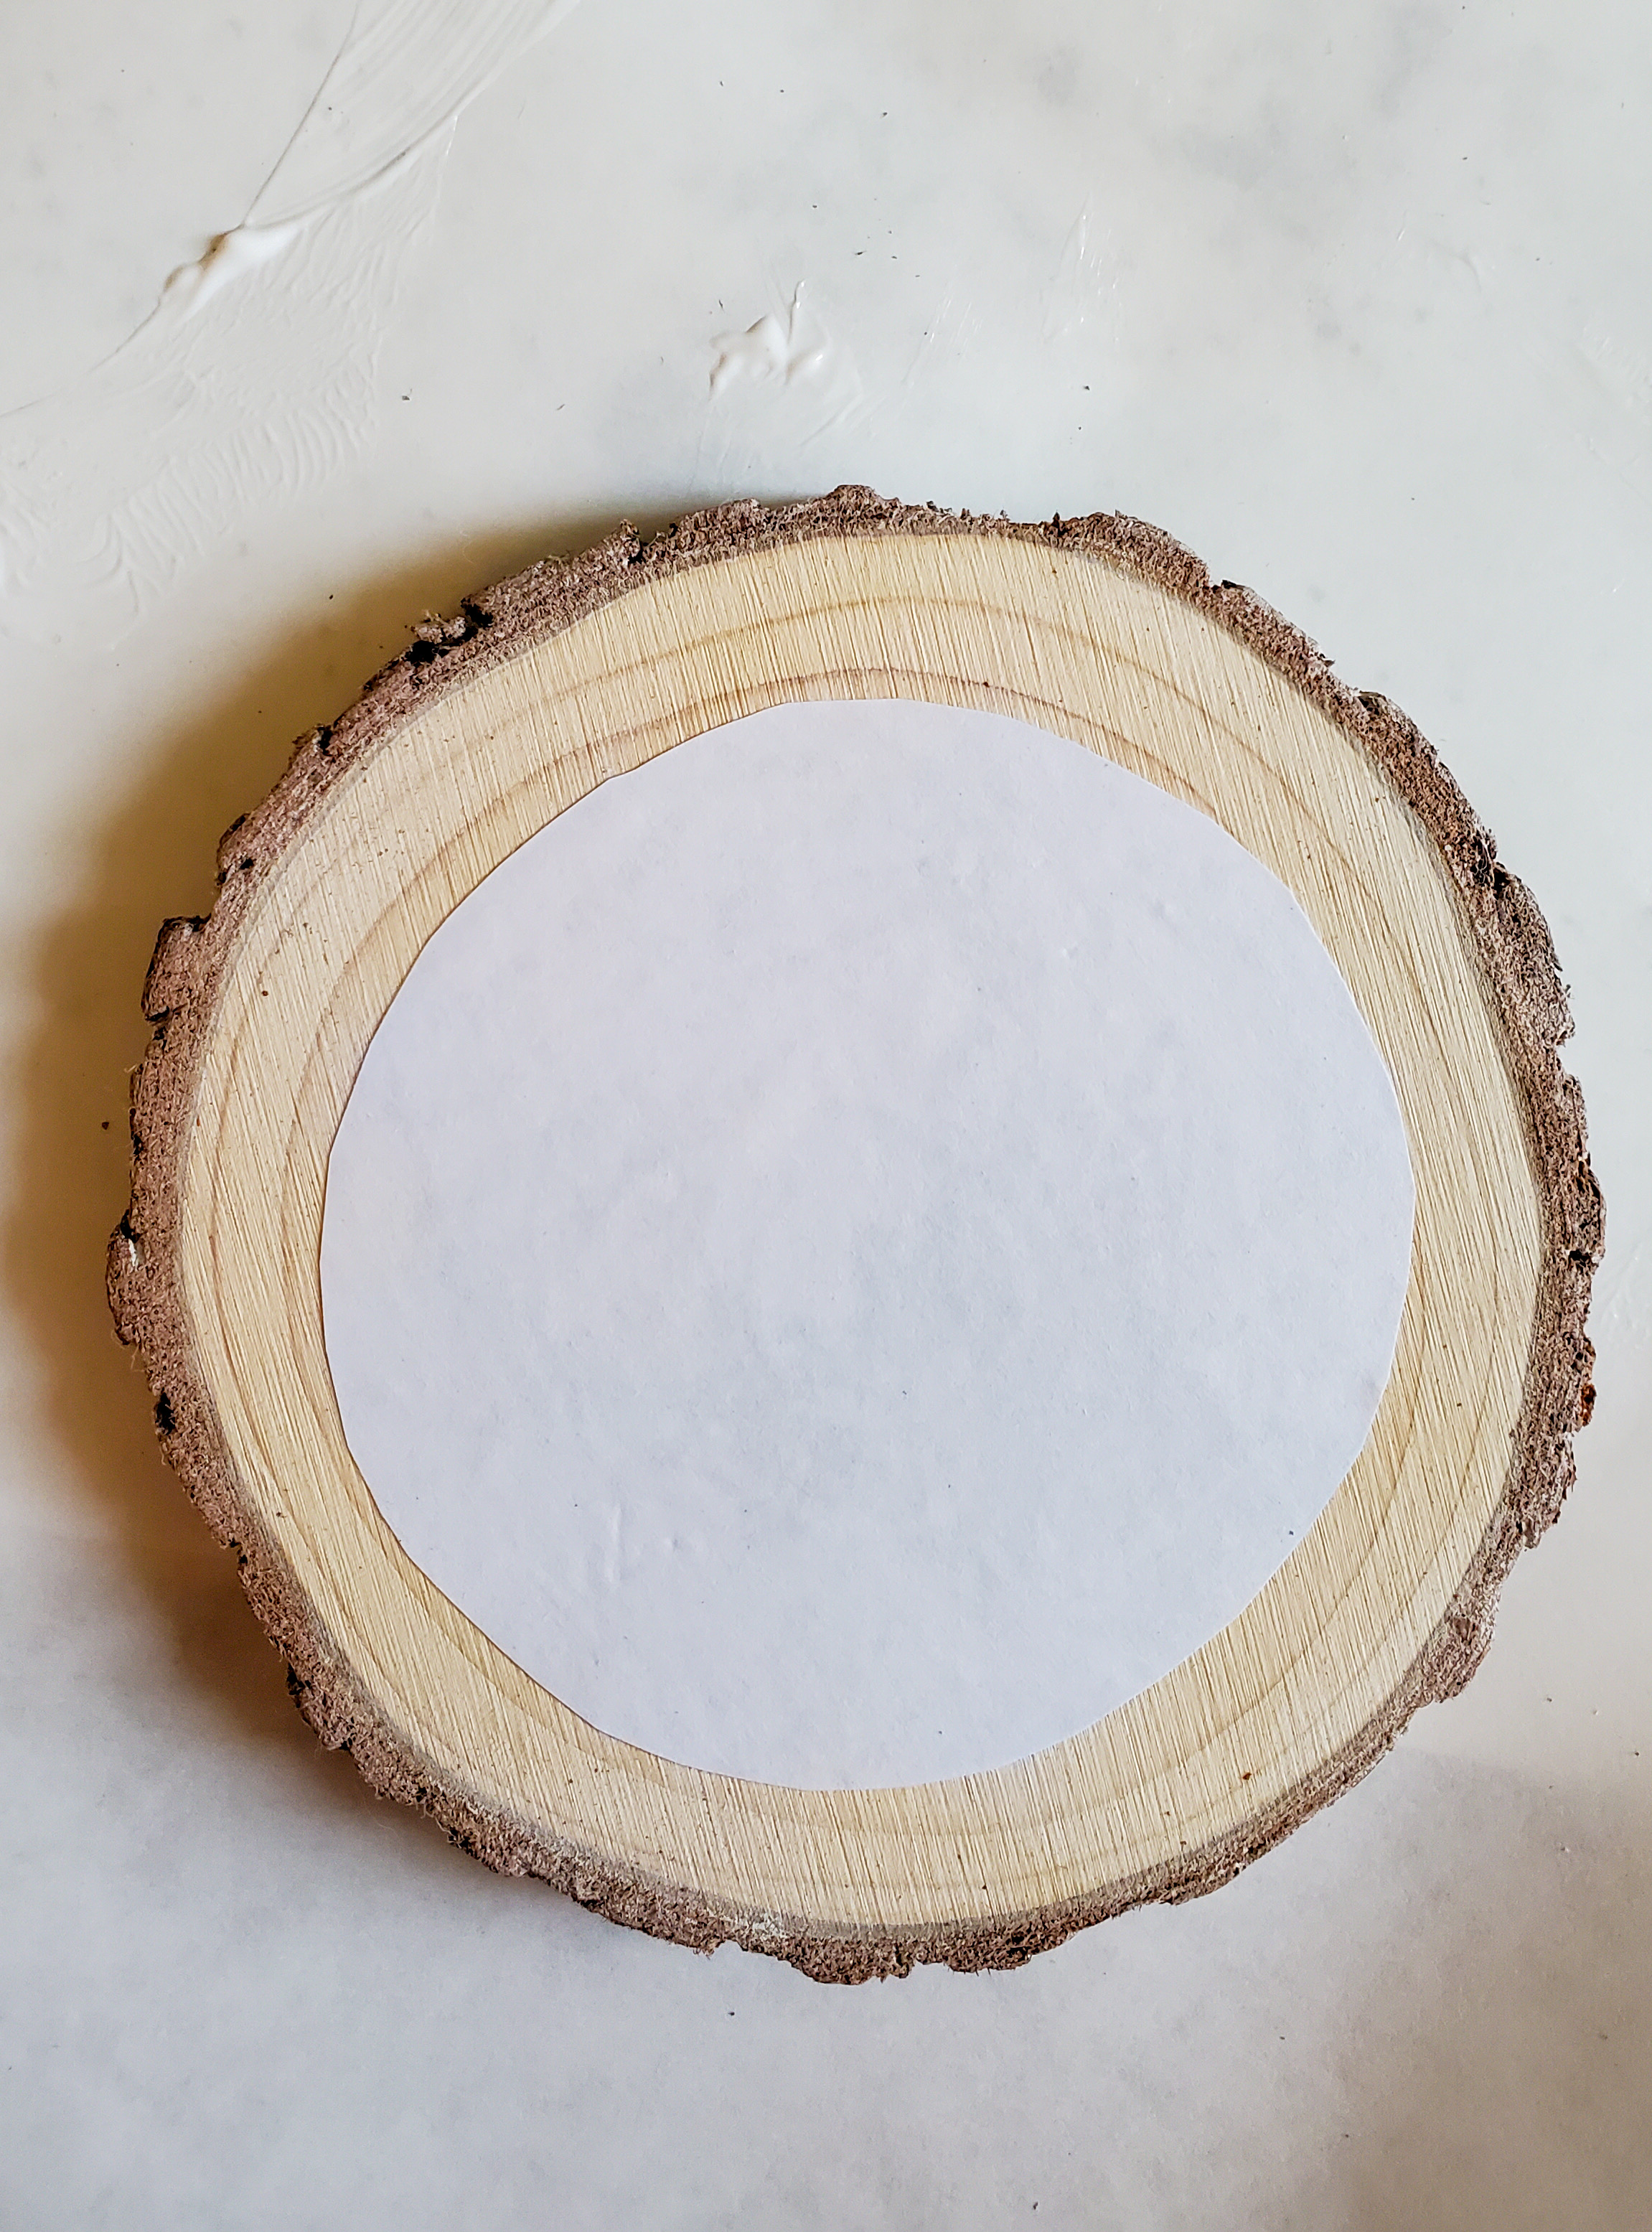
After the first image is dry, add the second image to the other side of the DIY coaster. Again, use the same process.
Adding Outdoor Mod Podge to The Images on The Wood Coasters
Step 6: Adding Outdoor Mod Podge and Why
Lastly, add three coats of outdoor Mod Podge over the image on the wood coasters for protection. Because glasses with ice tend to sweat this step is important. It will prevent damage to the image on the simple craft idea to make coasters.
By the way, I added three coats of Mod Podge. Let dry in between each coat. I also lightly sand using a fine grit sanding sponge after each coat of Mod Podge on my beverage coasters.
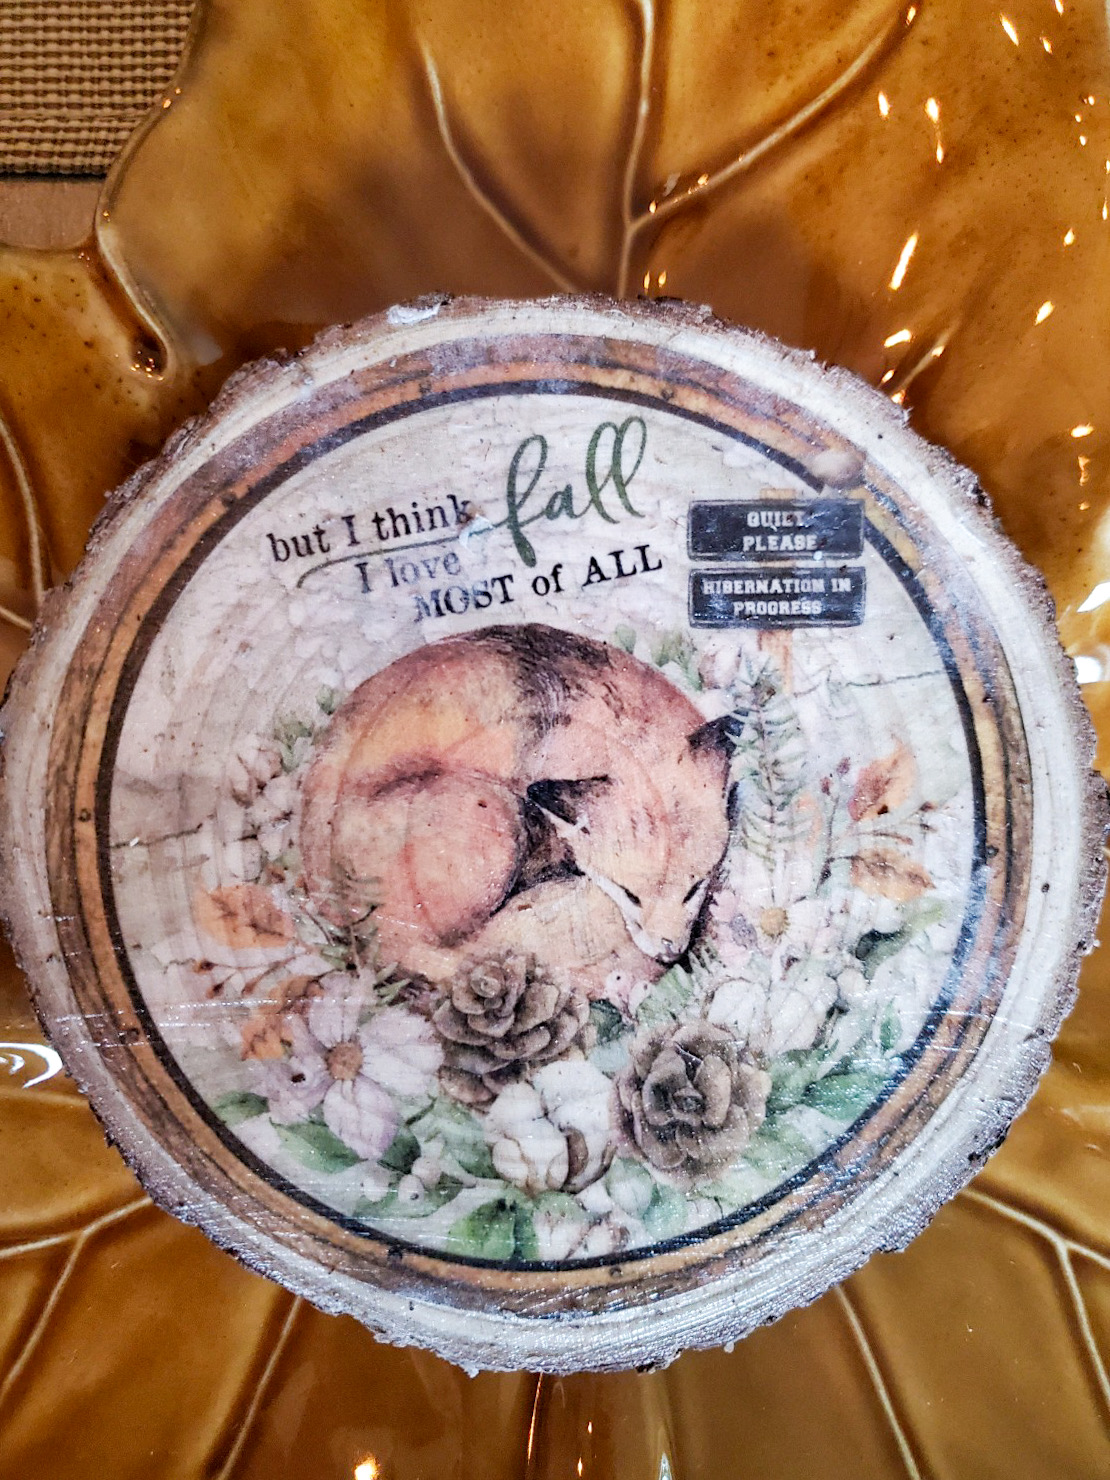
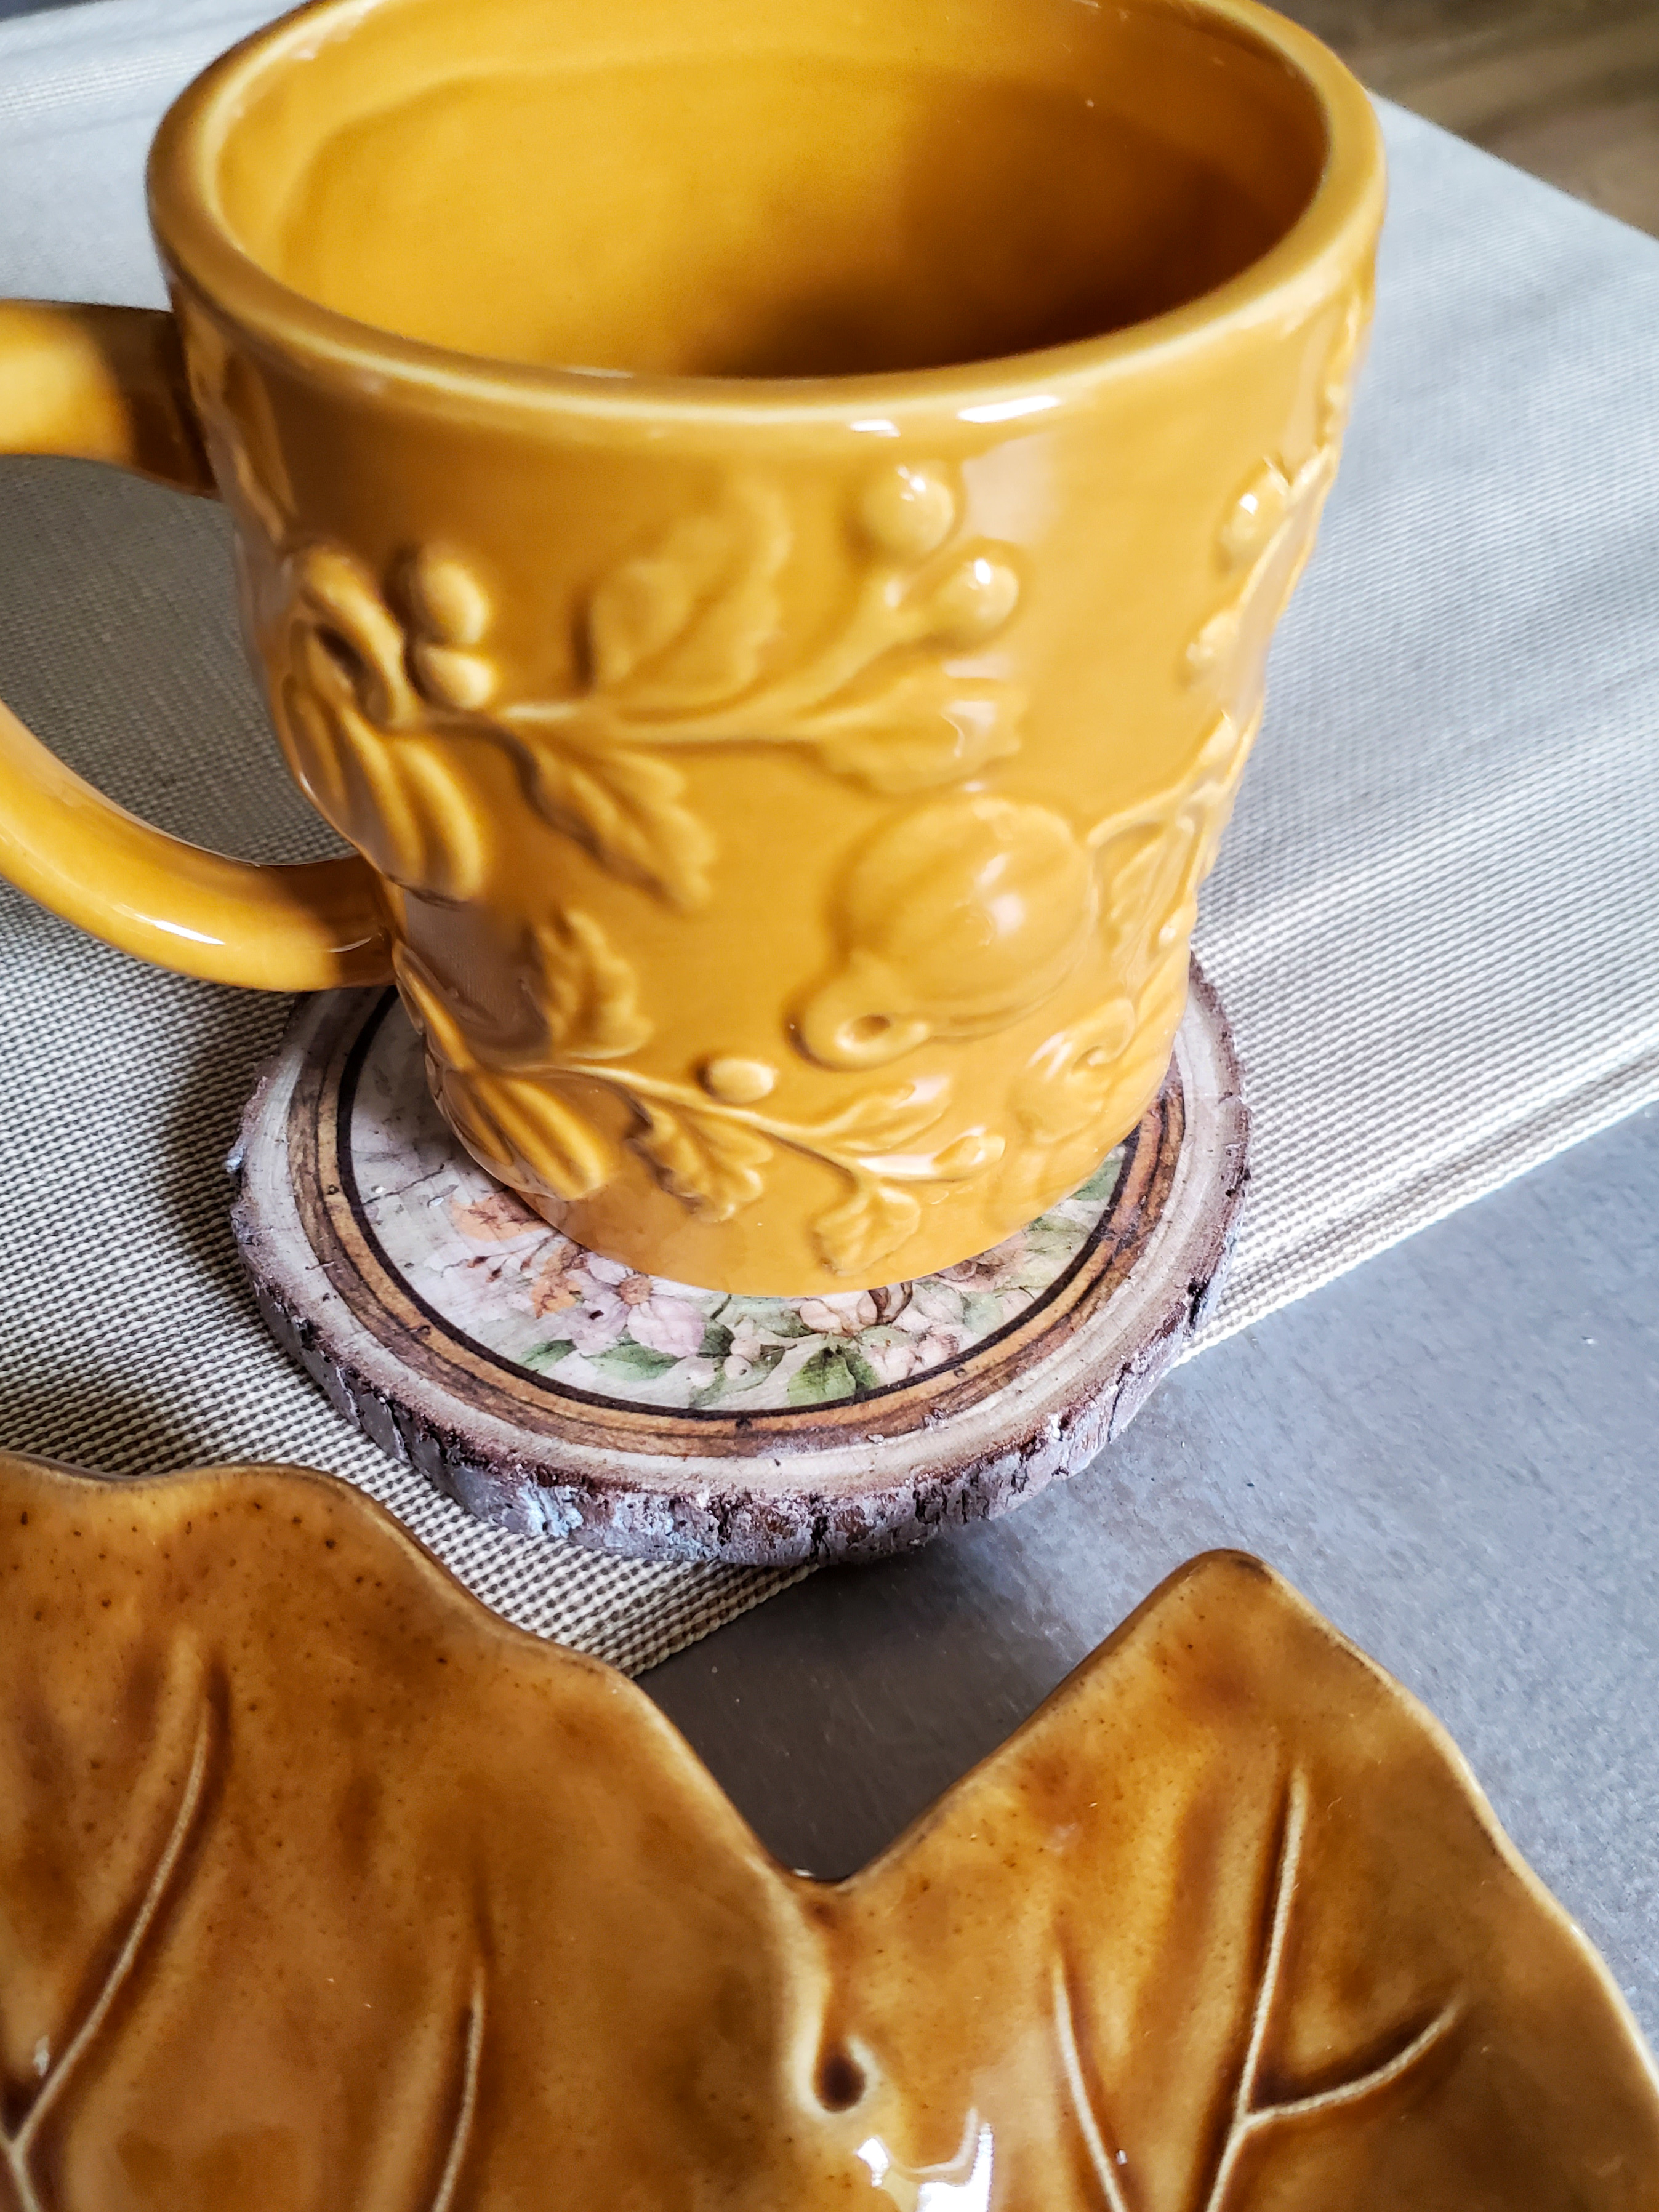
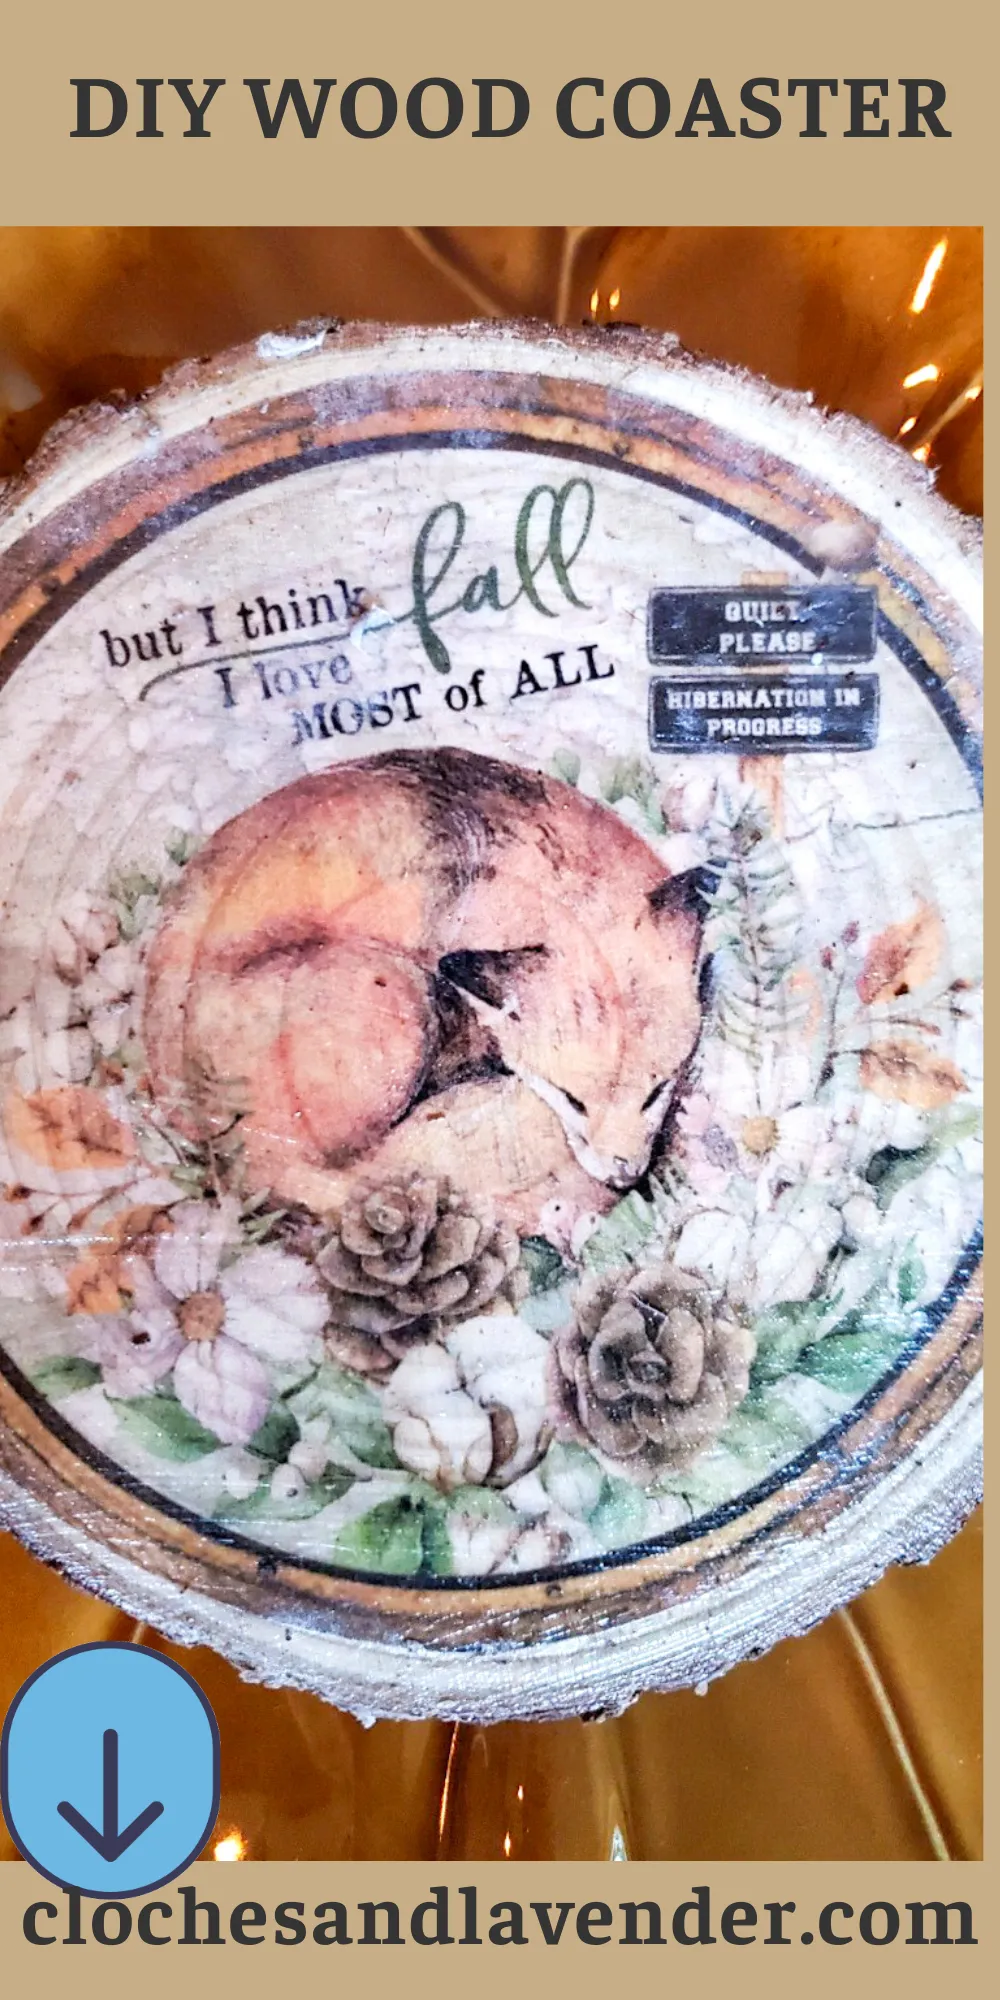
Here are the seasonal wood coasters ready to use. One side has a fall image.
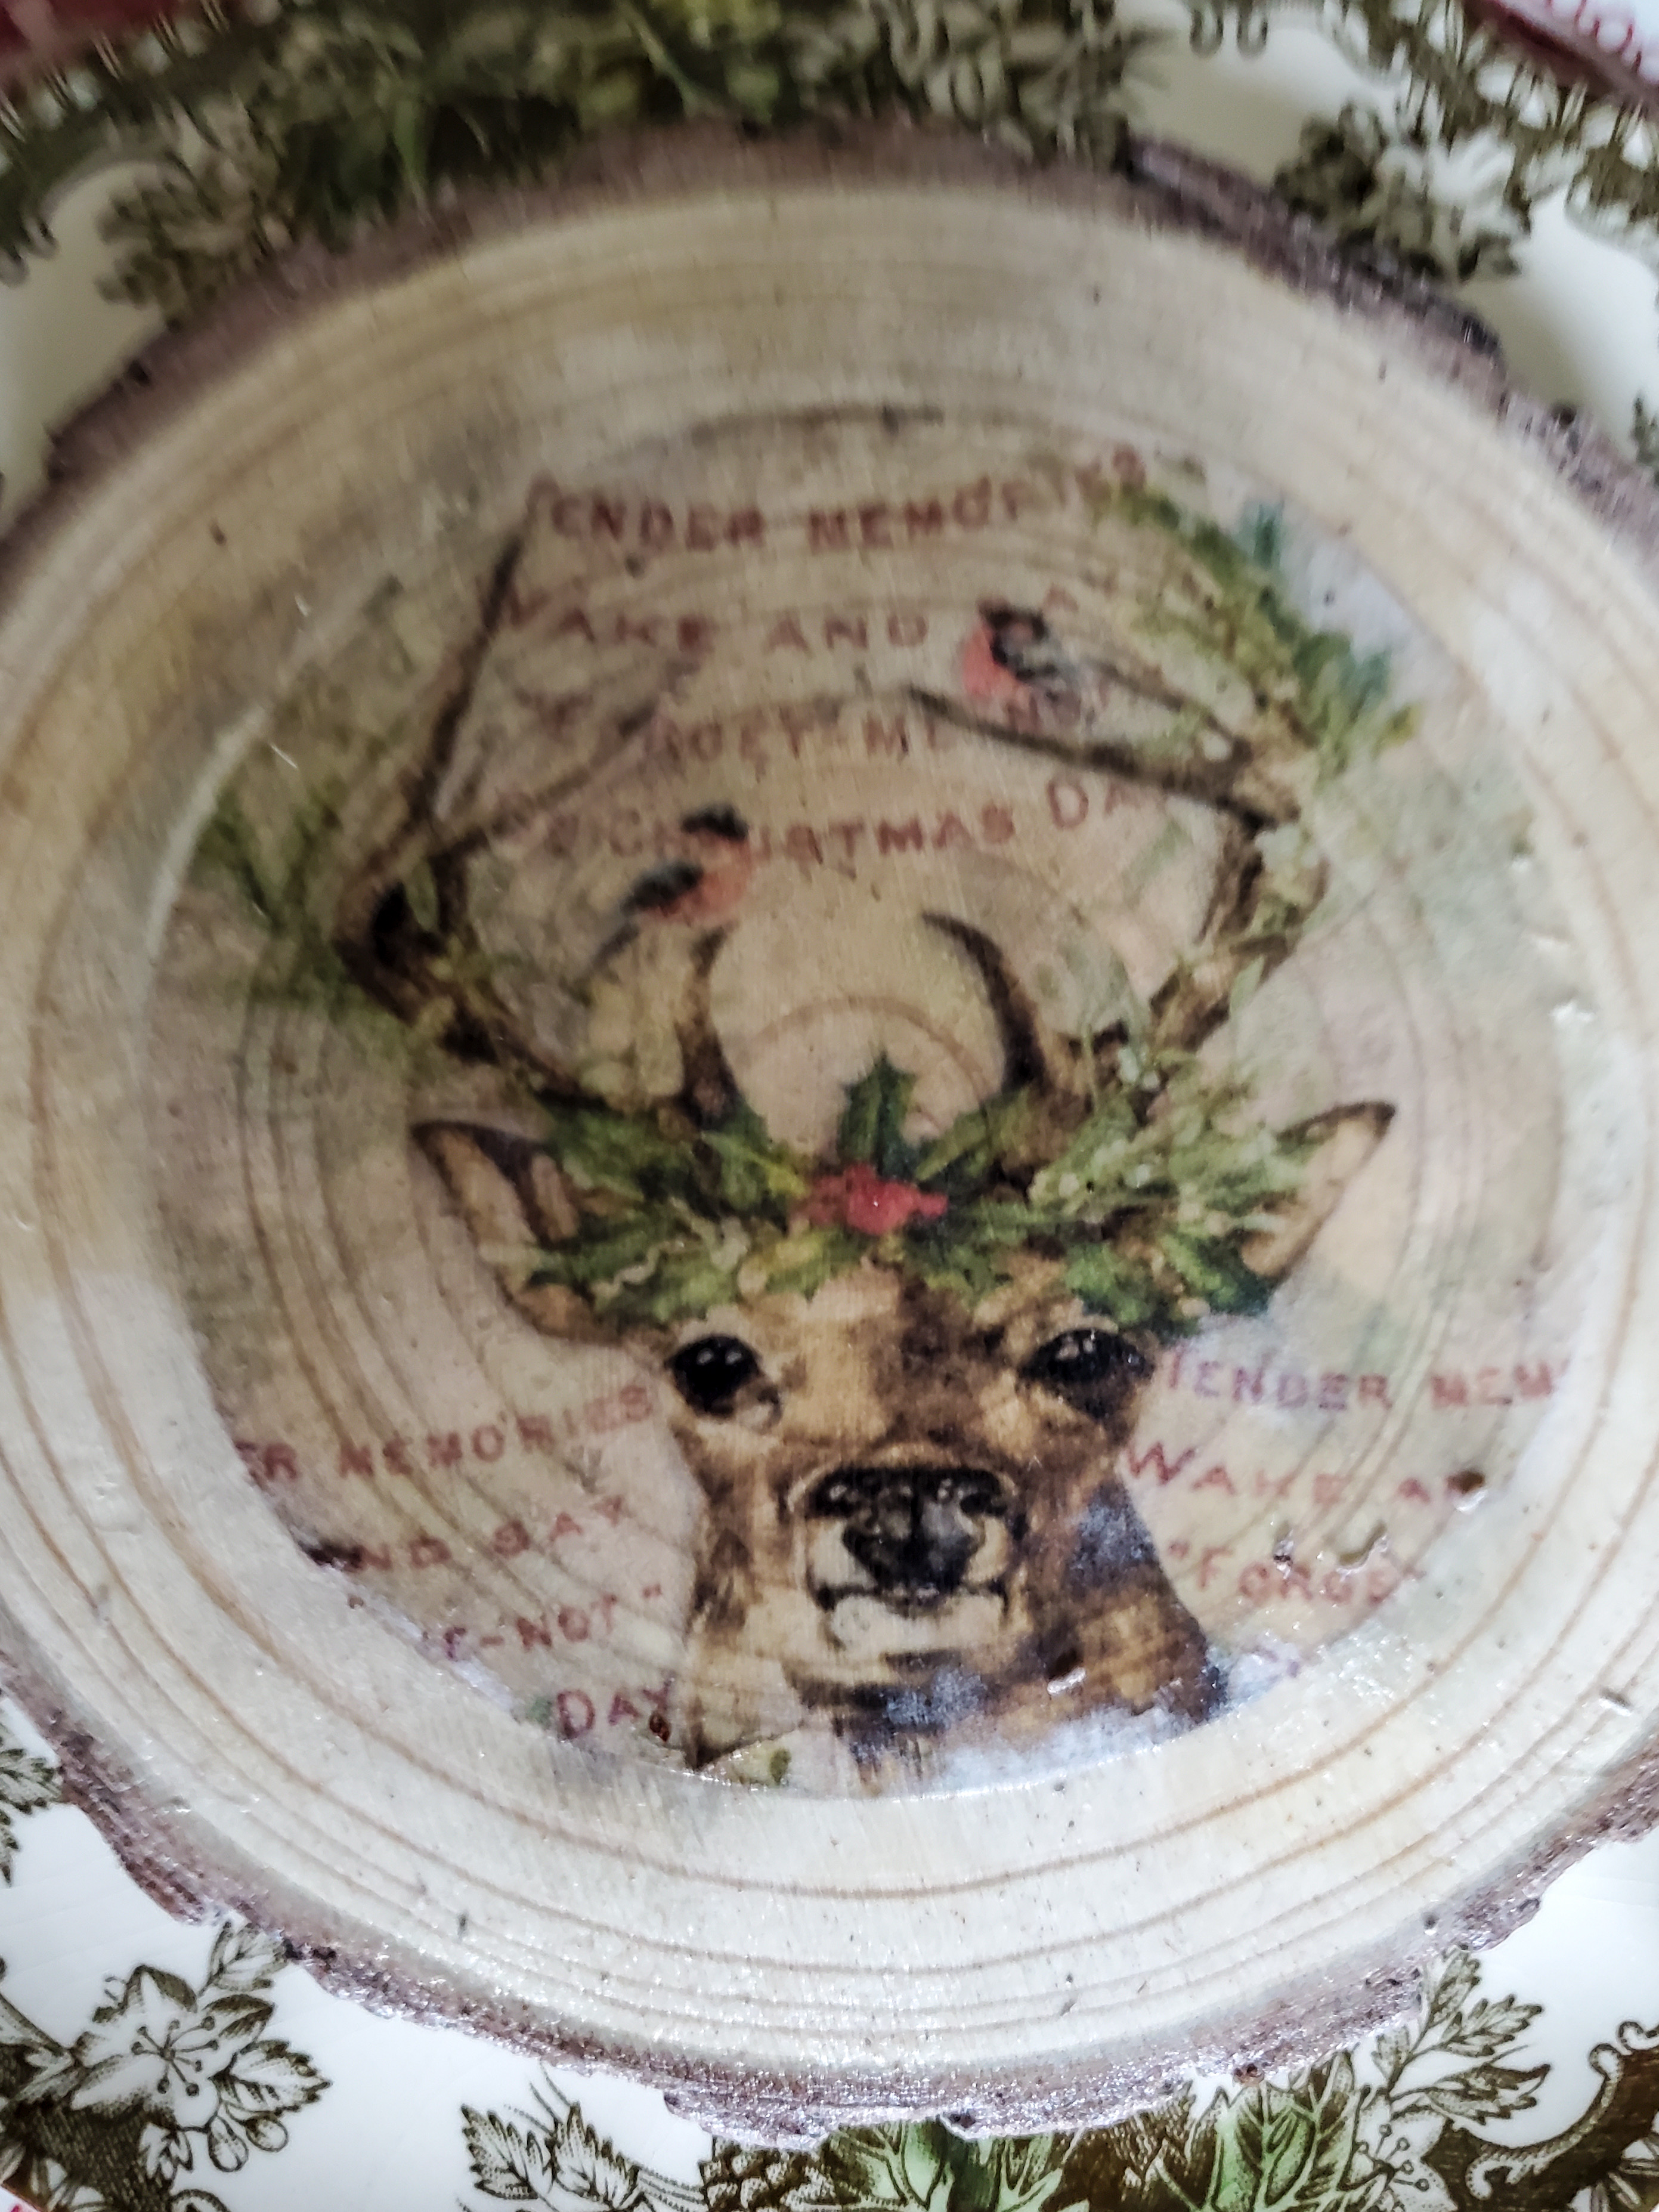
Flip the DIY wood coaster over and I am all set for Christmas season.
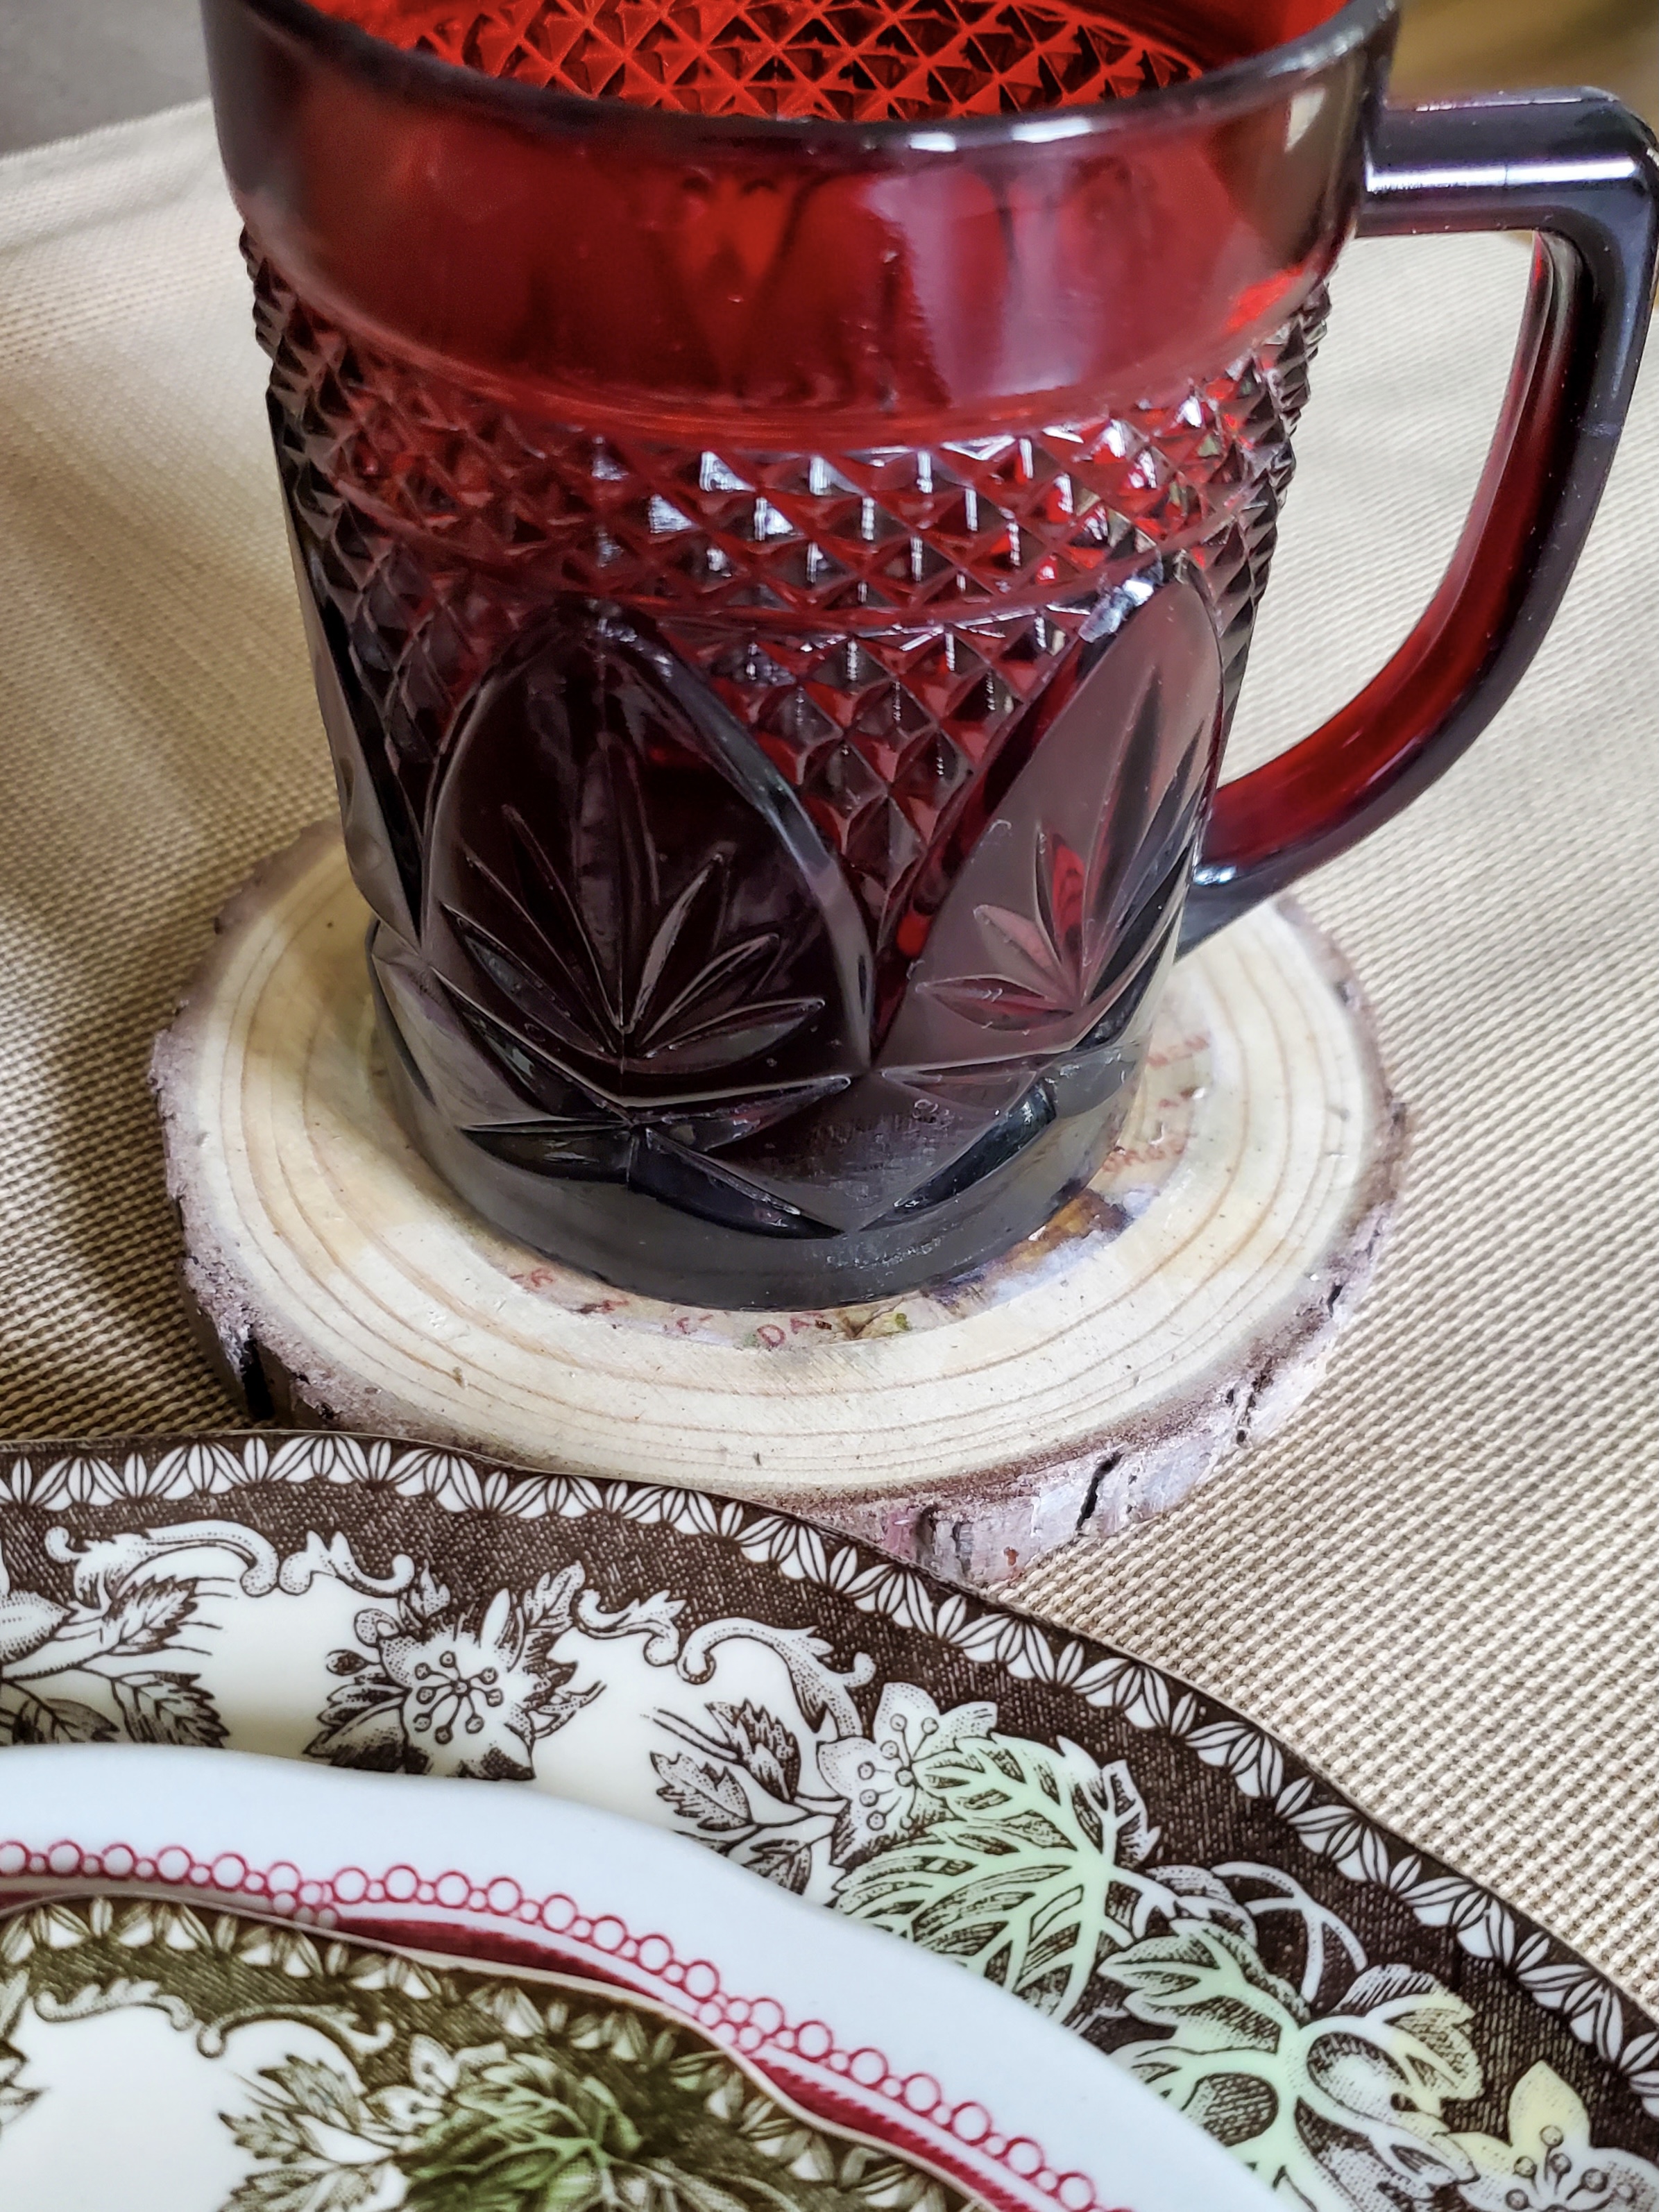
These DIY coasters are going to be the perfect addition to our dining room table for celebrating these seasons.
I hope I inspire to make DIY coasters for your home to protect your tables from beverages dripping. Do you have a favorite, I’d love to hear your thoughts?


These are so cute CIndy. Happy Wednesday. xoxo
Thank you so much Kris
super cute Cindy. You are going to enjoy those coasters for years. Thanks for sharing the tutorial!
So pretty Cindy, these could be made for so many occasions. Thank you for the inspiration.
I know, I have plans for spring and summer
What a super cool idea to make one coaster into two! And both designs are adorable and fitting for the seasons! You are going to enjoy using them so much while entertaining!
Thanks Gail
Aren’t wood slices the best? Great way to use them. They provide both decor and a practical use.
The coasters are so cute and I love the design you chose!
Thanks so much!
What beautiful coasters!! I adore that little sleeping fox. SO sweet. I had to pin him…
Thanks so much! Pinning always appreciated!ðŸ‚🧡ðŸ‚
These are so cute! I love the reindeer one!
Your coasters are so cute and clever and I simply adore the little woodland animals on them!
So many great tips. I keep saying I’m going to really get lost in Etsy and then I get distracted. Beautiful prints and I love that they will work right into the Christmas season. Smart! It looked like when you put the mod podge on that you only see the back side of the paper. Does that layer disappear after the 3 coats revealing the print?
It’s reverse transferring.
I share the details how to do it step by step in a canvas art post I shared a few posts ago.
It’s very easy
Your coasters are beautiful, Cindy! I made these for a shop that I had long ago and they sold quickly.
Thanks so much!
Thank you Paula
Your coasters are beautiful!!!
Thanks so much Michelle!
I’ve seen those wood pieces every time I go to our local craft store but I always pass on by because I just didn’t know what I could do with them! What a great and functional idea, Cindy! Your coasters turned out SUPER cute!
Very cute for Fall and love the mugs you showed on the coasters.
Really nice, Cindy. I like how you did fall on one side, and Christmas on the other.
So pretty Cindy! I can’t believe we are already so close to Christmas.
I know time is flying
Thede are adorble Cindy! Great tutorial and I want to do this some day! Pinned!
Thank you so much Cindy
What a fun way to dress up a plain wood slice. I really like the vintage look. Thanks for sharing, Cindy.
Thanks Meegan and I like that I got coasters per slab
These turned out so pretty!
Thank you
Thanks so much
These are so pretty, CIndy! I can’t get over how easy they were to make either. They would be pretty as gift tags or even ornaments too. Plus, they would be cute in a new house gift basket as well. I can’t wait to try these. They’re fantastic! Pinning! Hugs, CoCo