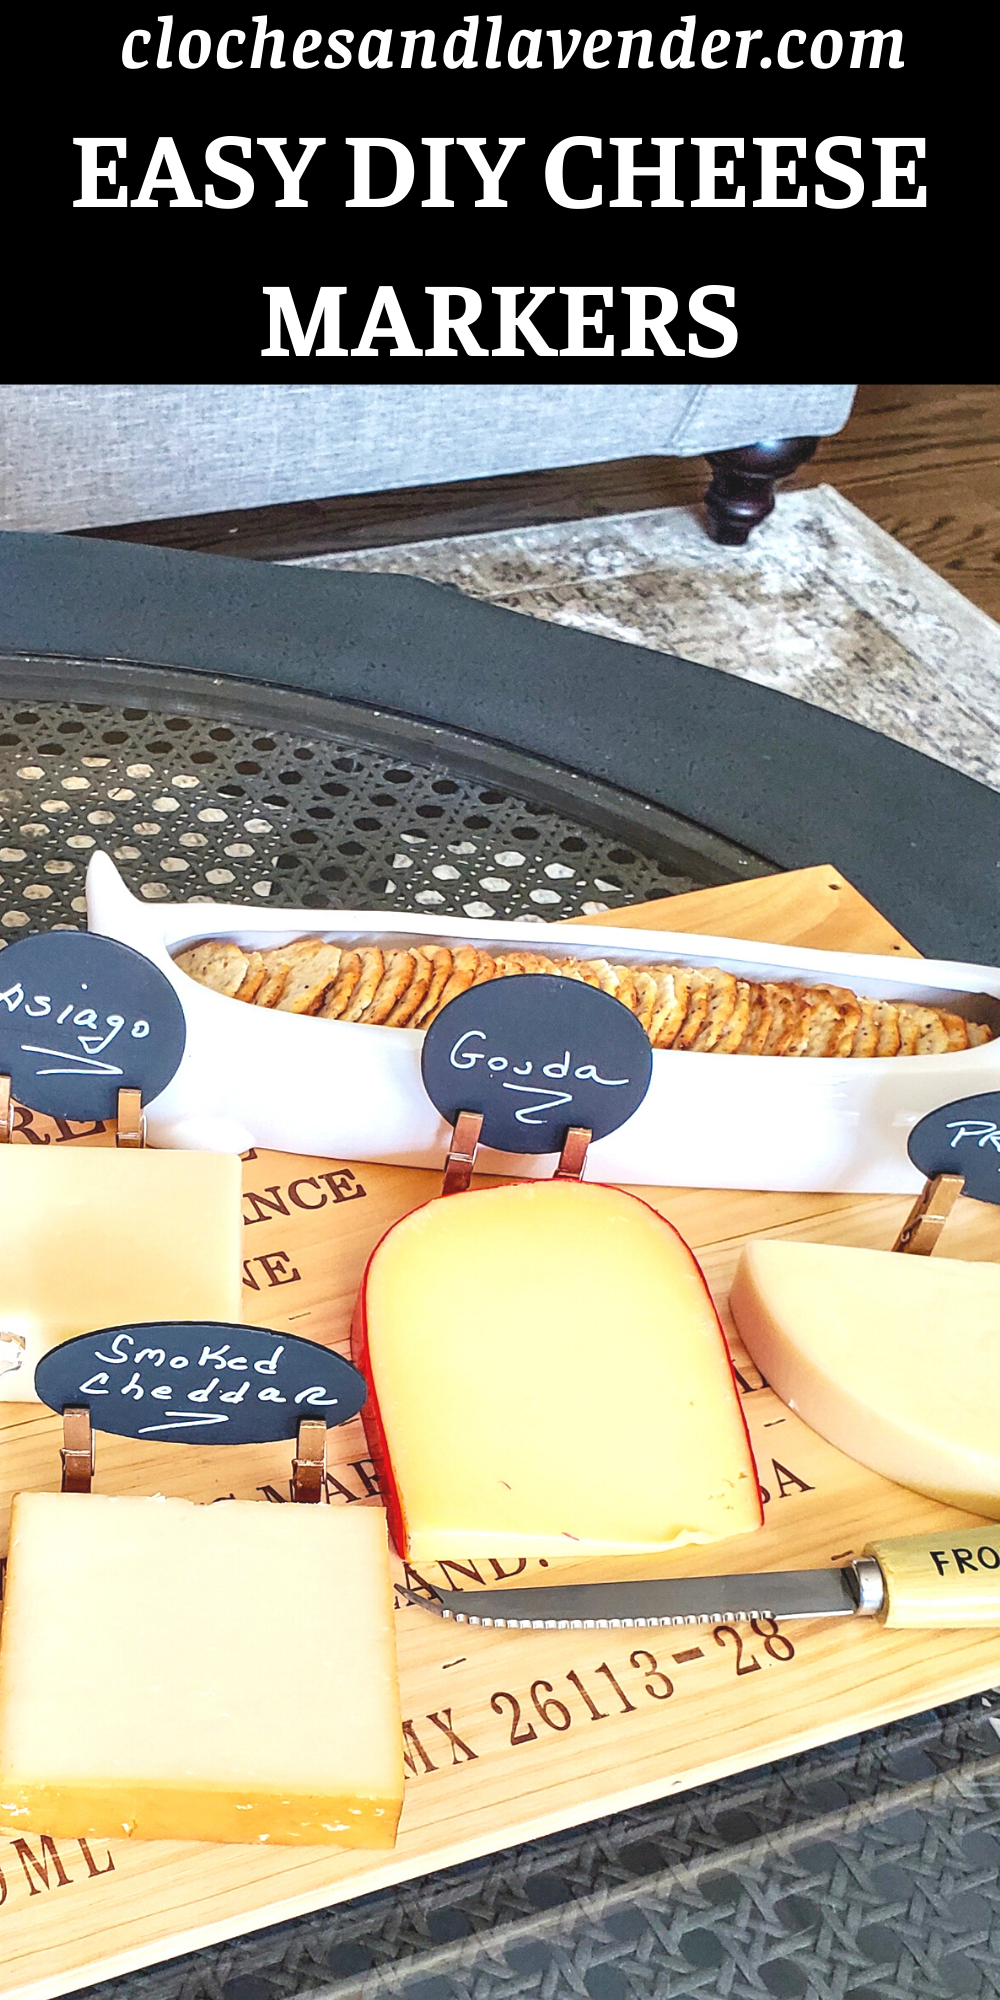
Easy DIY Cheese Markers With Chalkboard Paint
Hello everyone, do you like a cheese tag to add to your cheese platters? How about a tag with a cheese name that’s not the same as every other one seen on party buffets? I have an easy way to make the best cheese markers now! Enter the world of easy DIY cheese markers with chalkboard paint, where creativity meets functionality, enhancing your charcuterie experience. That’s right, these handcrafted markers offer more than identifying the different types of cheese. They’re filled with style and a commitment to sustainability. So, let’s learn an easy way to make these easy DIY cheese markers for a charcuterie that will wow guests next time!
Table of Contents
- 1 Easy DIY Cheese Markers With Chalkboard Paint
- 2 Level Up Your Cheese Platter Game: DIY Cheese Markers for Entertaining and Gatherings
- 3 Reasons To Make Cheese Markers
- 4 What Are Cheese Markers For?
- 5 Why Make Cheese Markers?
- 6 Supplies List:
- 7 The DIY Process: Adding Your Artistry to Cheese Platter
- 8 Buy Wood Pieces For An Easy Cheese Tag
- 9 Elevating The Design With Clothespin Feet
- 10 Bringing Chalkboard Paint to Life
- 11 Touch Of Gold Appetizer Look
- 12 Easy DIY Cheese Markers For A Charcuterie Board
- 13 Dishes and Glasses Cheese Platter
- 14 Add Pretty Glasses And Small Utensils For Serving
- 15 Get Ready To Create!
- 16 Conclusion:
- 17 POSTS OF INTEREST
- 18 Easy DIY Cheese Markers With Chalkboard Paint
- 19 Easy Cheese Marker With Chalkboard Paint
Easy DIY Cheese Markers With Chalkboard Paint
Level Up Your Cheese Platter Game: DIY Cheese Markers for Entertaining and Gatherings
I have been thinking about making these DIY cheese markers to add to our charcuterie for quite some time. However, I wanted to have something a bit different for my cheese platters. These cheese markers are the perfect tool and a great addition when sharing various food items and different cheeses for amazing cheese platters. These are the perfect party accessories for elegant gatherings and holiday meals. But perfect for relaxing with friends, during wine parties with your favorite type of cheese, and catching up. And this is what makes them the best!
Jump to DIYReasons To Make Cheese Markers
- These are easy projects when serving your favorite cheese at elegant gatherings with family or friends.
- These are the best cheese markers and are a great addition to identifying food items, and different types of cheeses for outdoor entertaining, party buffets, and elegant gatherings.
- There are a variety of porcelain cheese marker signs available in the marketplace. For example, this is Maison Du Fromage’s cheese marker set or fine-white porcelain markers that are pretty to add to cheese platters and a charcuterie board.
What Are Cheese Markers For?
Cheese markers are the perfect tool to let you know the cheese names of different types of cheeses on a charcuterie board. Cheese markers are the perfect tool for cheese and wine parties. Use these for an easy way to identify food items and different cheeses for holiday meals, outdoor entertaining, and party buffets.
Why Make Cheese Markers?
Making your cheese markers is a fun and easy way to add a personal touch to your cheese platter or charcuterie board. Here are a few reasons why you might want to make a cheese tag:
- Personalization: When you make your cheese markers to identify different cheeses for a cheese platter, you can customize them to fit your style and taste. You can choose the materials, colors, and designs that appeal to you and match the theme of your event or elegant gatherings.
- Cost-effective: Making a cheese tag can be a cost-effective alternative to buying pre-made markers from a store. You can use materials you have at home or purchase affordable materials from a craft store.
- Sustainability: Make your cheese markers a sustainable choice because the materials are eco-friendly and reusable. This is an easy way to reduce waste and minimize environmental impact.
- Creative outlet: Crafting your cheese markers is a fun and easy way to express yourself and tap into your artistic side. You can experiment with different materials and techniques to create the best cheese markers as the perfect tool to showcase your personality and style.
- Overall: making your cheese markers is an easy way to add a personal touch to your cheese platters while also being cost-effective and sustainable.
Supplies List:
- Chalkboard paint
- Wood discs (shape of your choice)
- Writing marker with an eraser end or chalkboard pens
- Foam brush
- Small clothespins
- Antique gold Rub N Buff
- Stencil brush
- rag or paper towel
The DIY Process: Adding Your Artistry to Cheese Platter
Step 1: Acquiring The Right Materials For Your DIY Cheese Marker Project
The first purchase is Benjamin Moore chalkboard paint. Because I was next to Ace Hardware, I ran in to buy the paint to make my chalkboard cheese markers.
Also, we are HUGE Benjamin Moore fans! Plus their paint is still made in the United States and this means so much to us.

Next came the plan, to make the best cheese markers to add to our charcuterie board with an easy way to clean up, straightforward, and party accessories I can use repeatedly. This is where the chalkboard paint became ideal. Therefore, the hunt began for pieces to create these chalkboard cheese markers.
Buy Wood Pieces For An Easy Cheese Tag
Step 2: Wood Elegance: DIY Cheese Markers
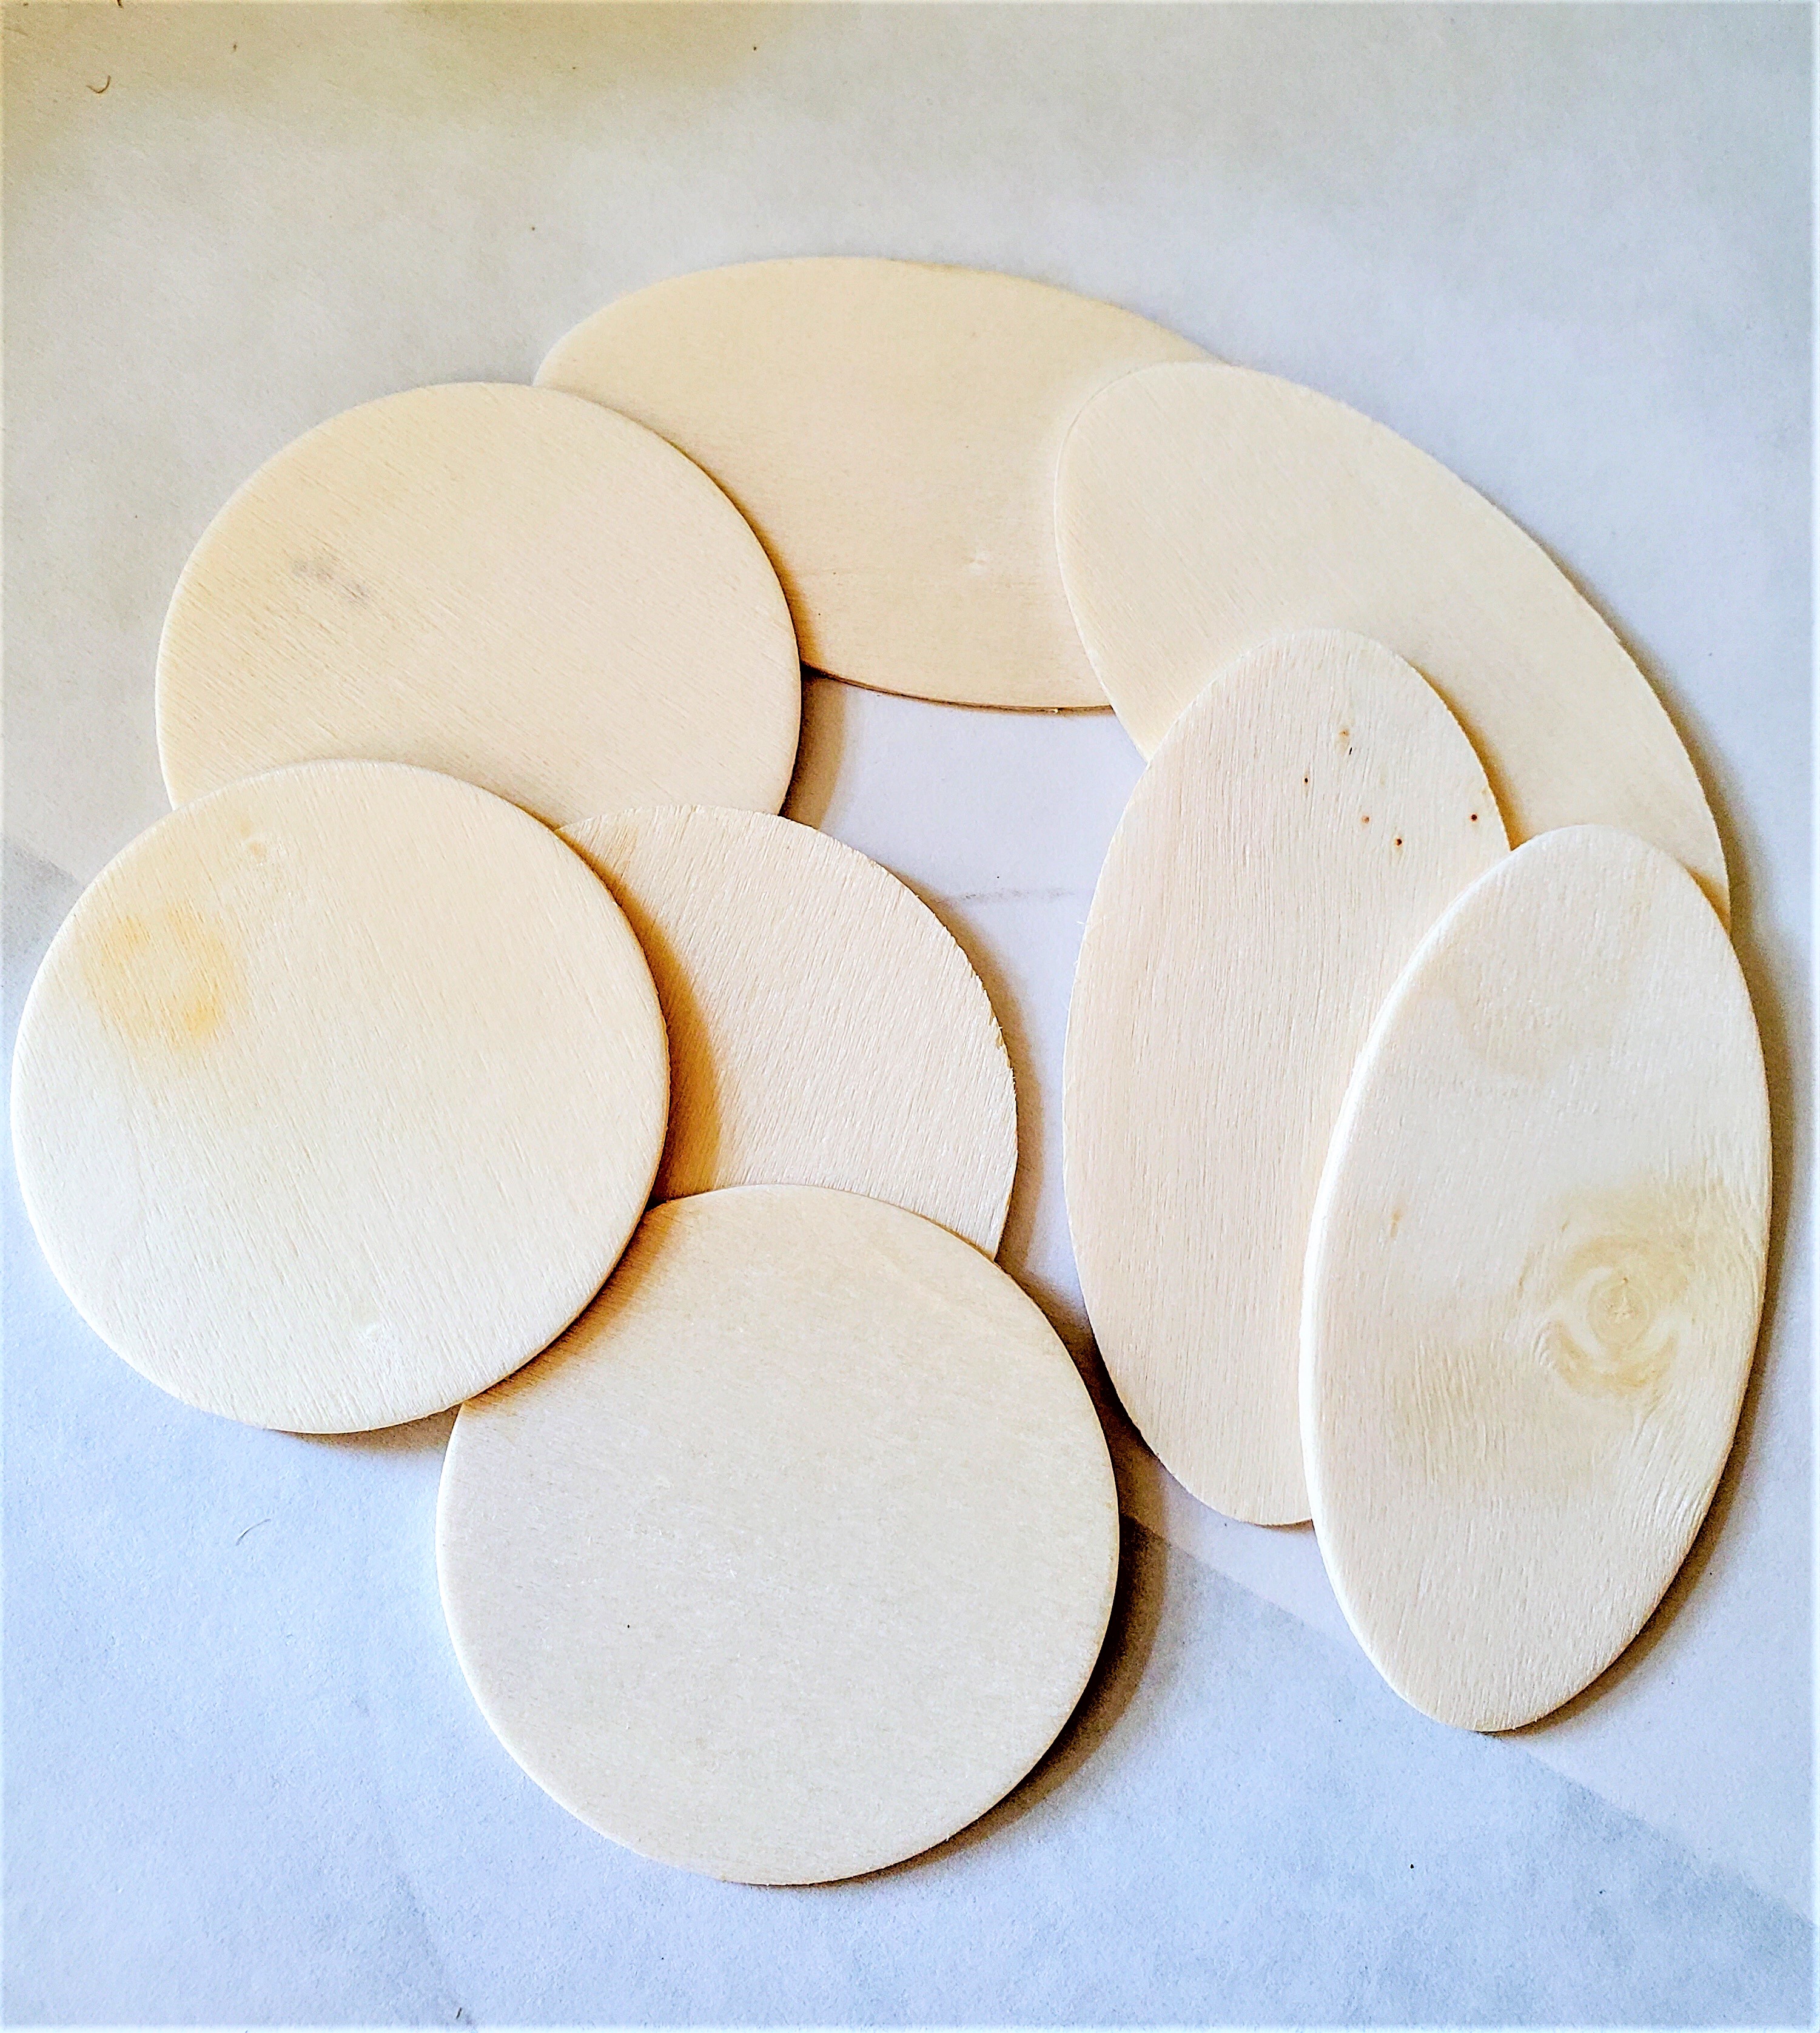
First, finding a package of different round wooden shapes at Michaels, gave me the perfect tool to make cheese markers to add to cheese platters when sharing our favorite cheese items. They are a versatile addition and an easy way to see the cheese names of the types of cheeses being served on a charcuterie board for party buffets or outdoor entertaining during the warmer weather.
Elevating The Design With Clothespin Feet
Step 3: A Different Stand Elegant Gatherings
So then, I began looking for something to allow the cheese tag to stand. Wait until you see what I bought, small wooden clothespins, perfect right? And different!
Finding these small clothespins was exciting because these make each cheese tag different from the porcelain cheese marker signs, I have seen in the marketplace. By the way, have you seen cheese markers with clothespins as feet before? I haven’t!
Also, clothespins work great, if I need taller feet, or use different-height dishes for cheese and wine parties these are a versatile addition.
Not having seen these adds originality to this cheese tag craft. I think these are adorable and add a bit of elegance a perfect match for our home.
I also love that these add originality to cheese platters for holiday meals, party buffets, and outdoor entertaining. The best part these come completely apart for easy cleanup so a small space is all you need to store these chalk markers until you need them next time!
Next, while in Michaels I did purchase a few chalkboard pens for my DIY cheese markers. I also purchased silver and a washable gold pen. These will be the perfect party accessories for holiday meals and party buffets. Especially to see different food items such as appetizers and desserts on a charcuterie board.

*As an Amazon Associate, Black Dog Salvage Furniture Paint affiliate, and other Affiliate links I earn from qualifying purchases* Use Code: C-L20 when visiting Black Dog Salvage Furniture Paint and RECEIVE 20% OFF!!
I earn a small commission from qualifying purchases through affiliate links. I use affiliate links, which means a small commission is earned if you purchase through the link. The price will be the same whether you use the affiliate links or go directly to the website. All opinions are my own. (Check our Privacy Policy)
Bringing Chalkboard Paint to Life
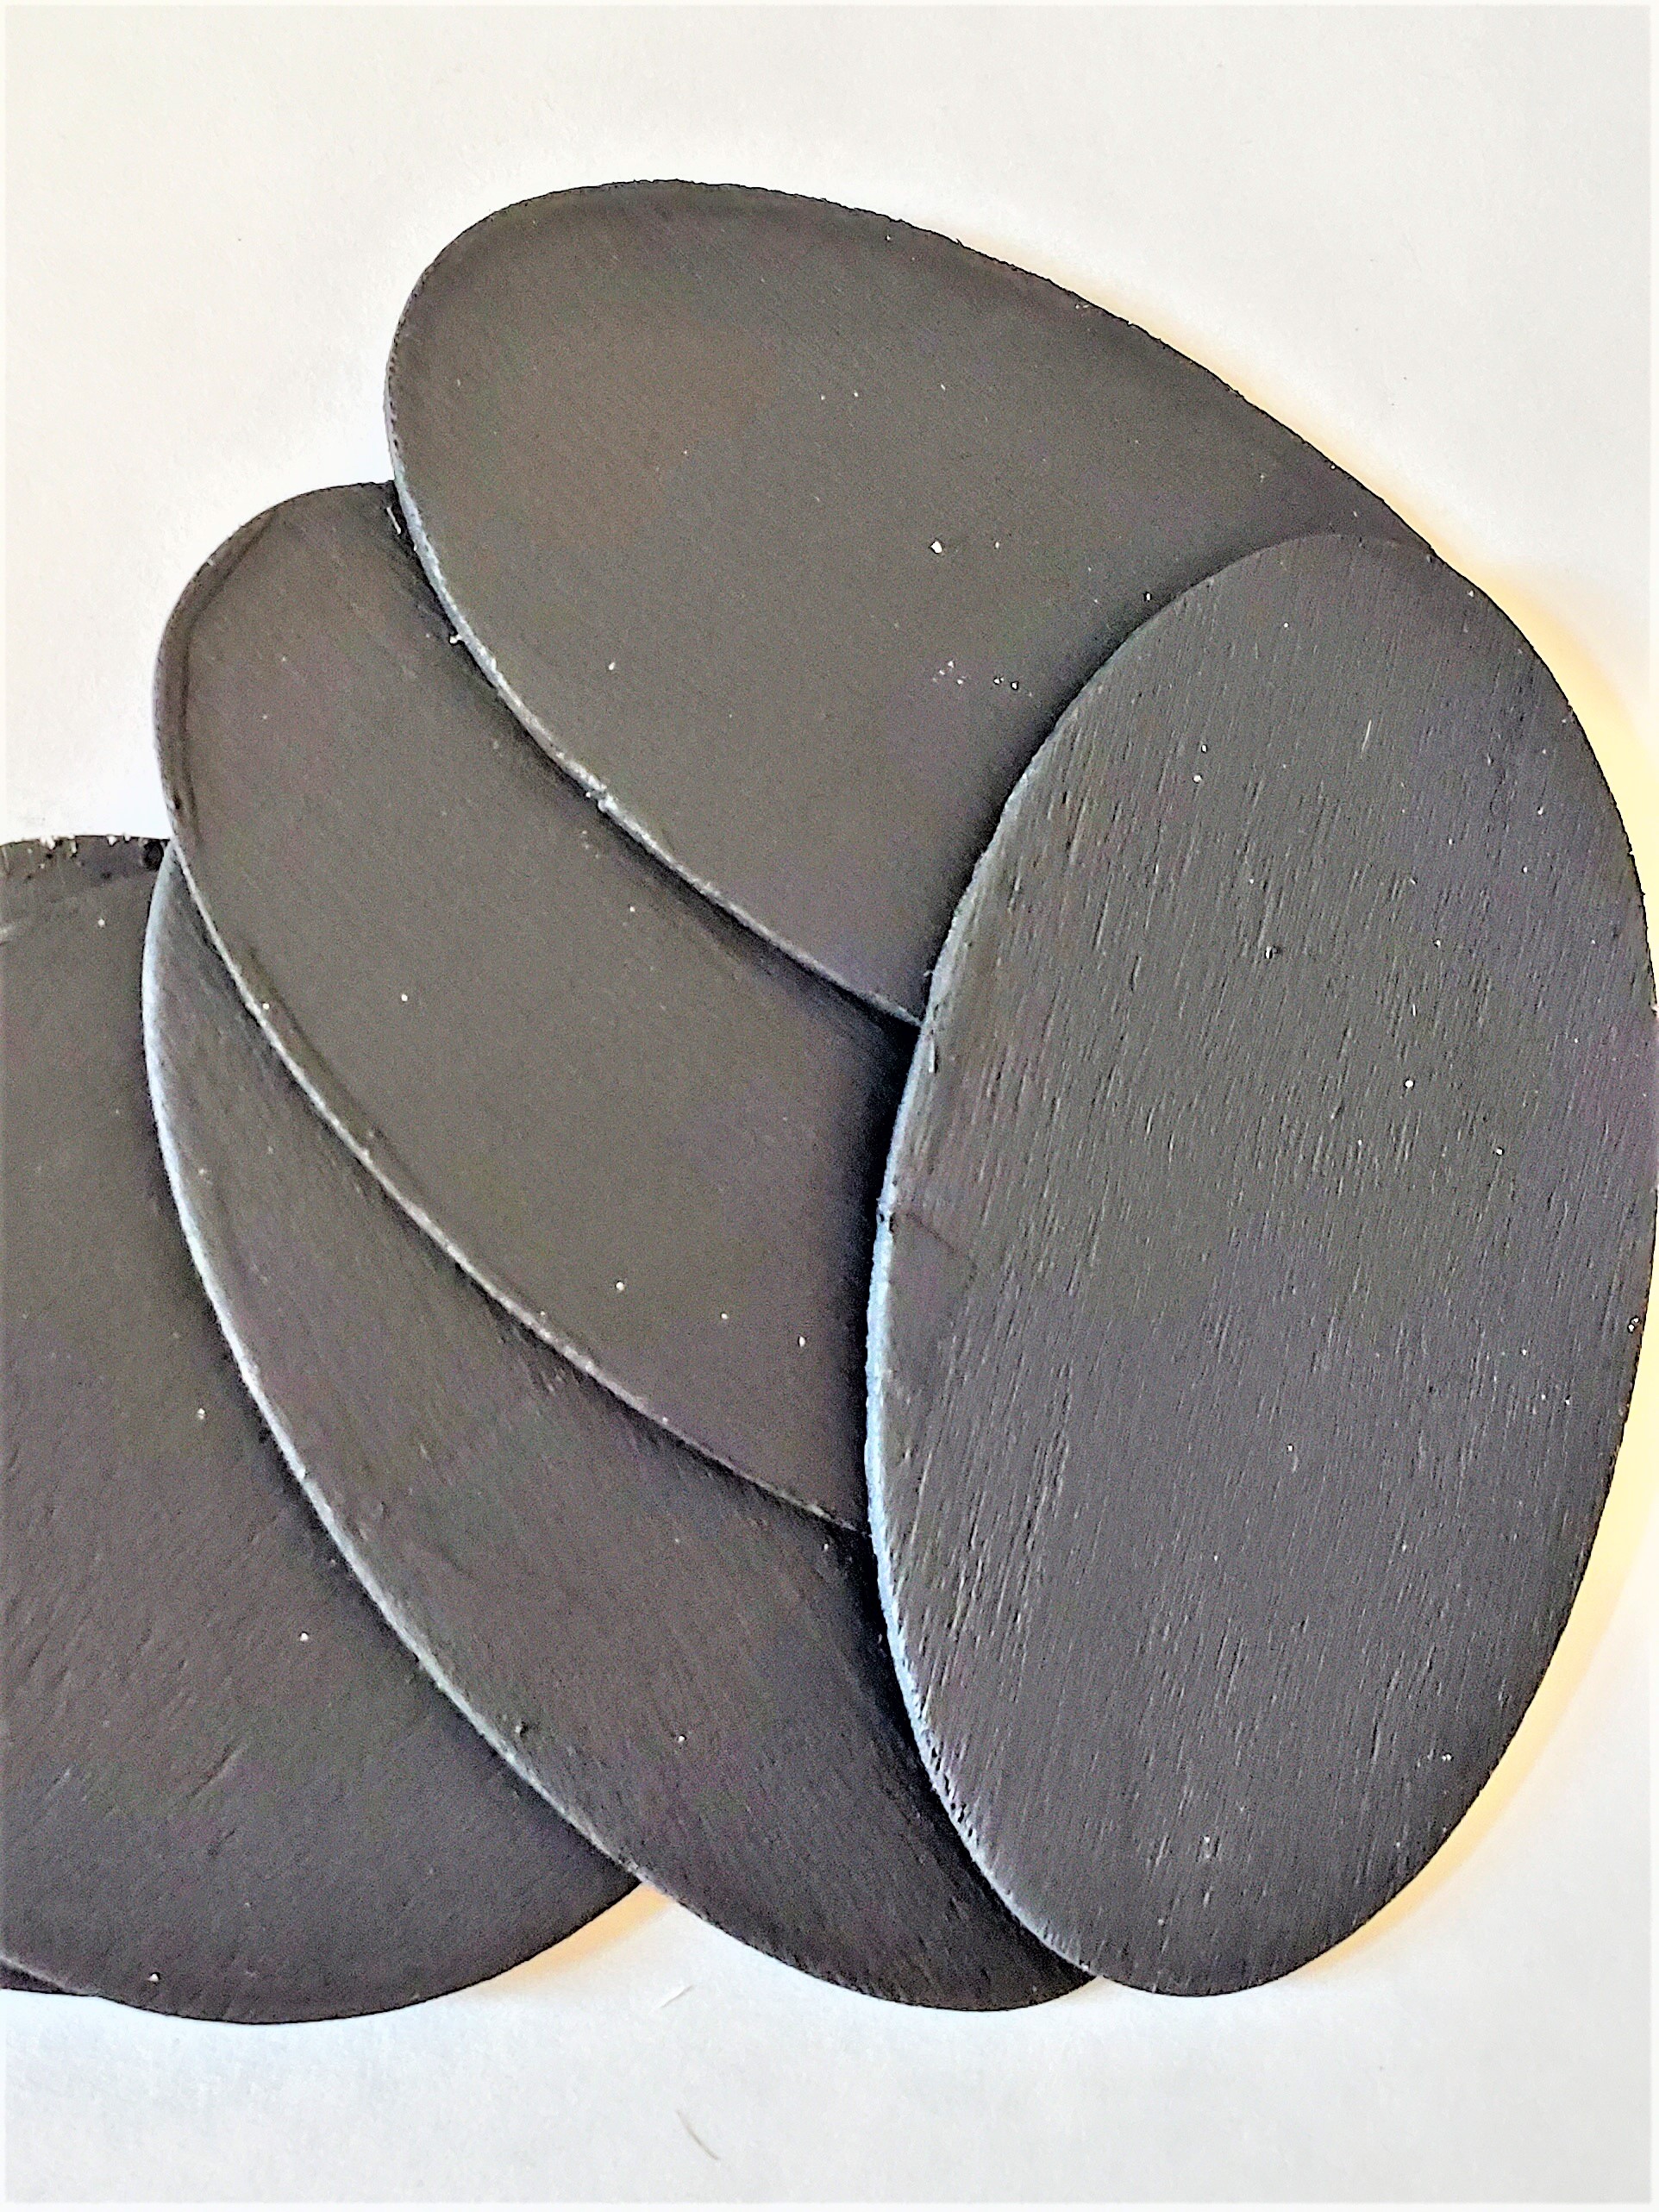
Step 4: Paint the Wood Discs For A Chic And Personalized Touch
After gathering my supplies in my office/craft room, it is time to begin making the chalkboard cheese markers.
I begin painting each side of the wood pieces with two coats of chalkboard paint. Let them dry completely in between each coat.
Touch Of Gold Appetizer Look
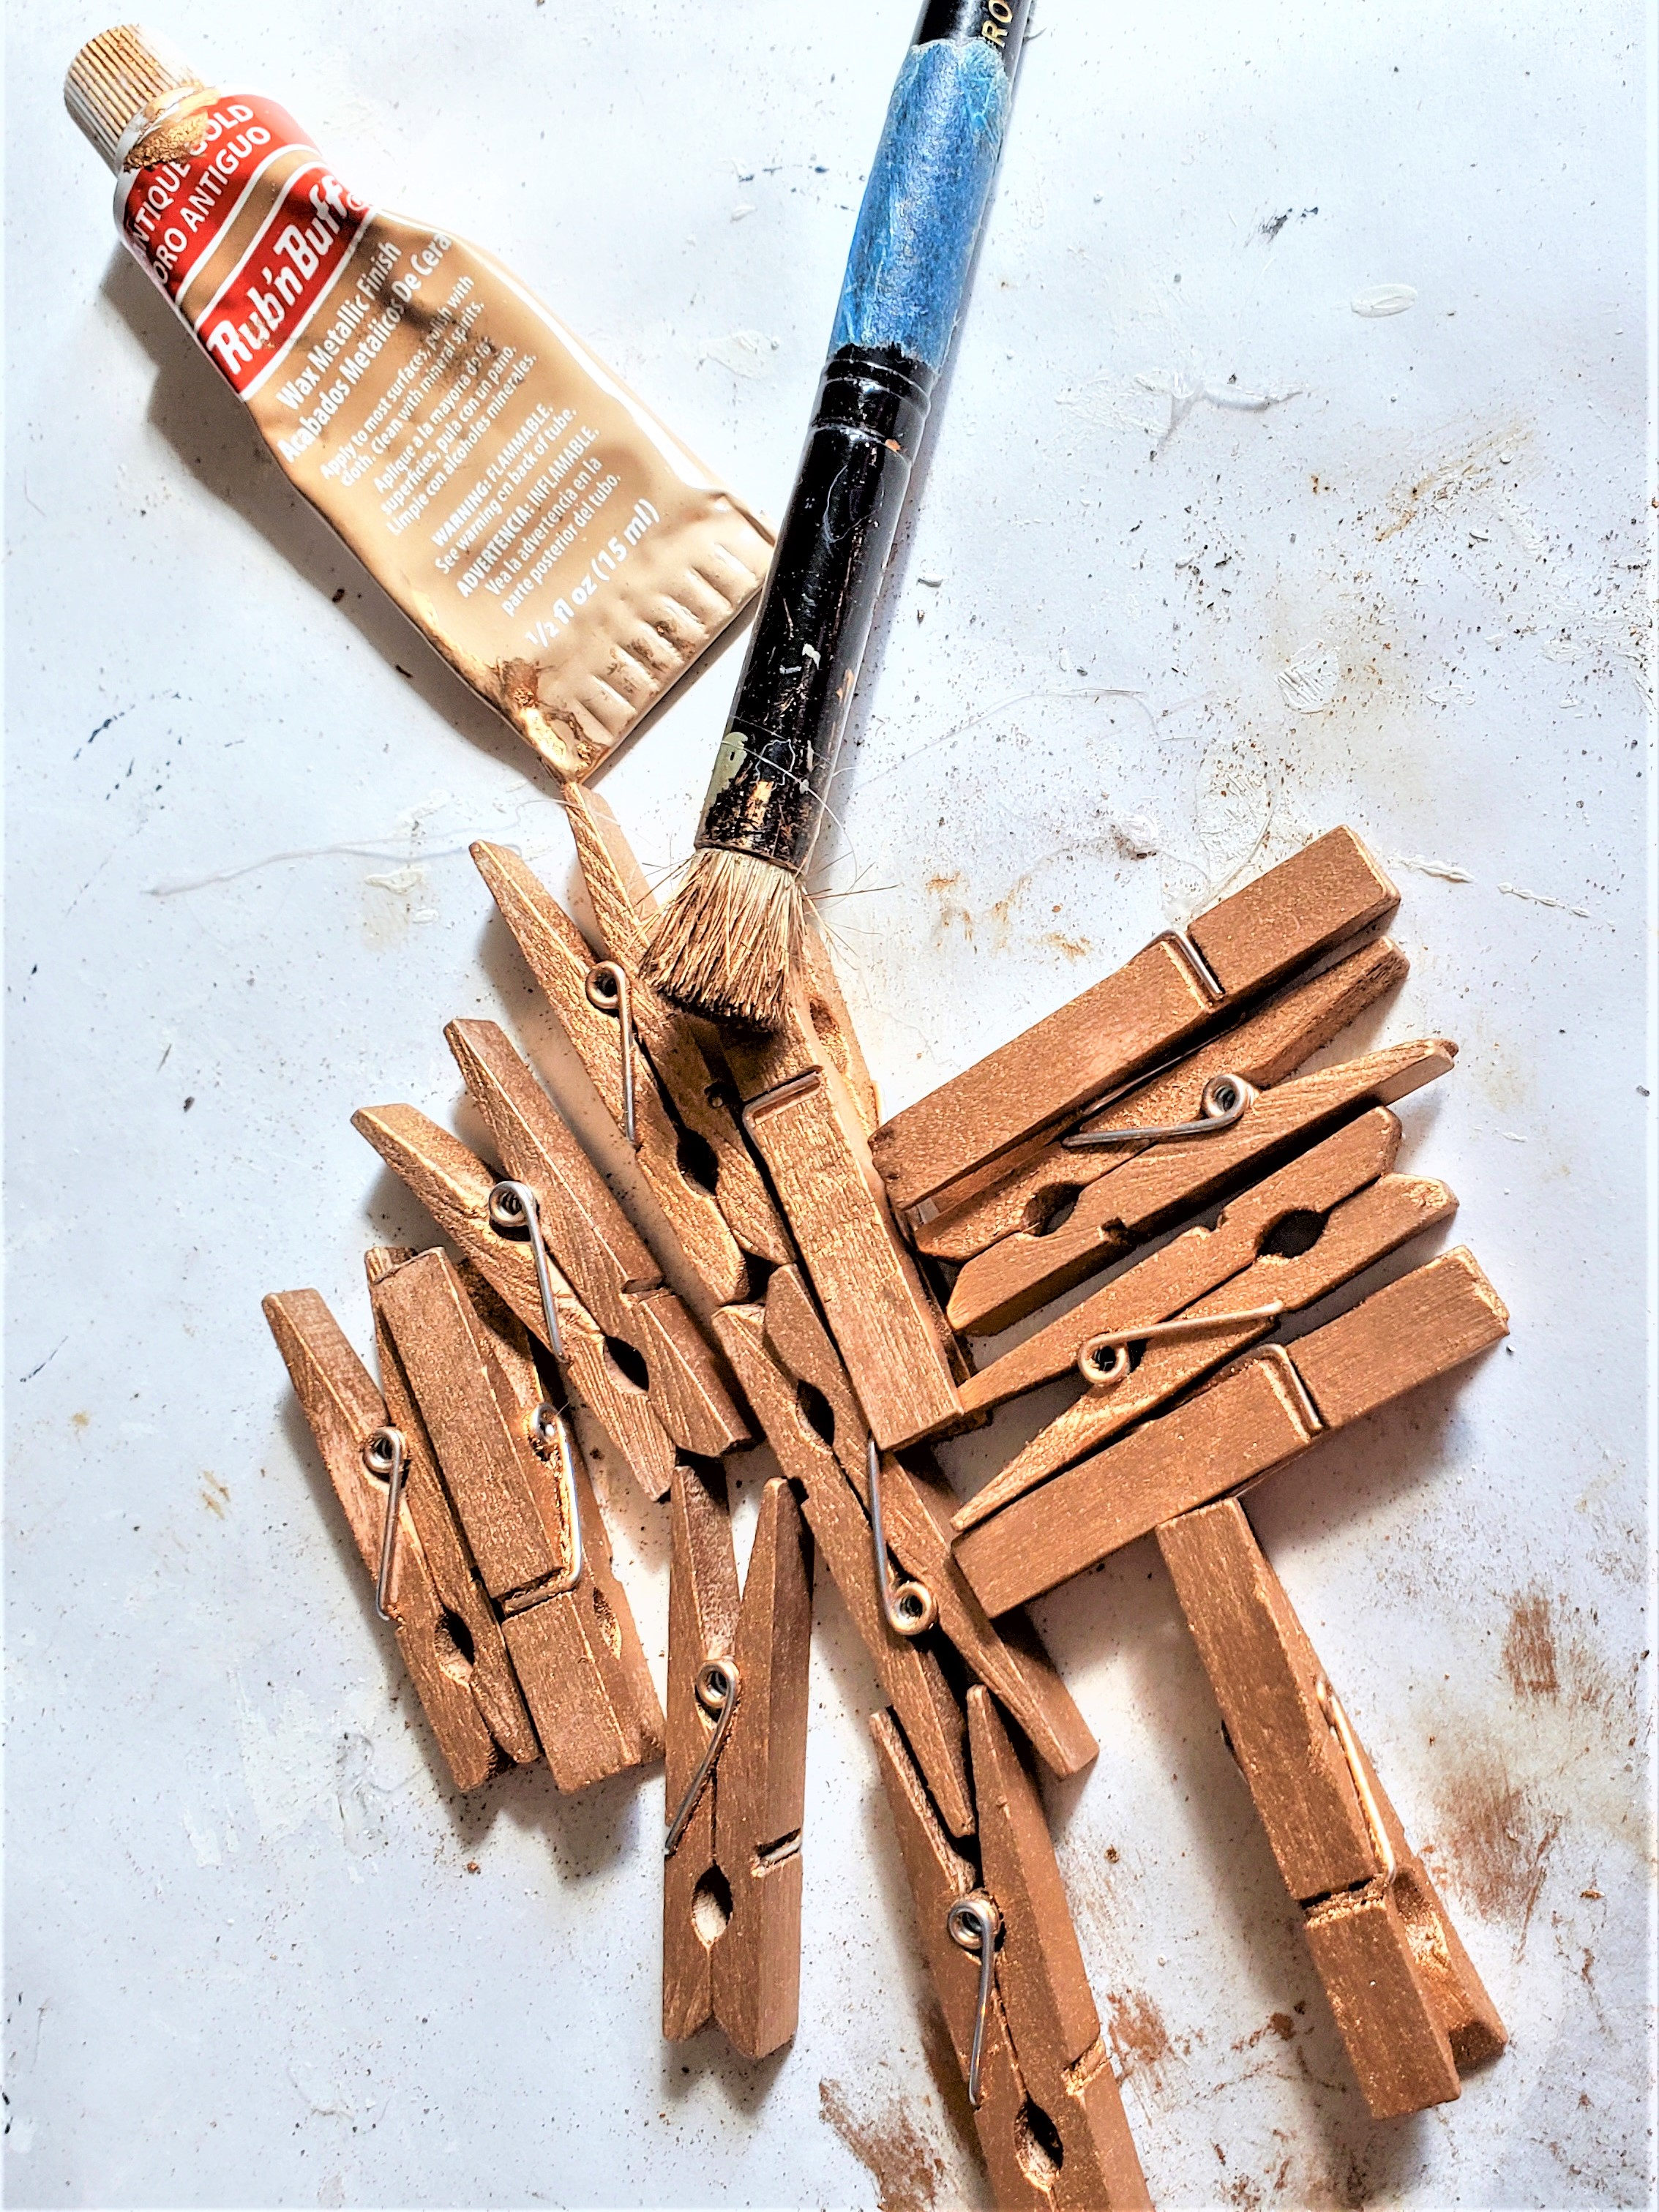
Step 5: Paint The Rub N Buff Or Antique Gold Paint To Enhance Your DIY Cheese Marker’s Feet
Meanwhile, as the bases are drying, I grab a favorite product, Rub N Buff in antique gold for my clothespin’s feet. A stencil brush is a perfect tool to add the Rub N Buff. Besides being an easy product to work with a little goes a long way. Buff with a lint-free rag or paper towel and let them dry completely.
Easy DIY Cheese Markers For A Charcuterie Board
Step 6: Assembling Your Masterpieces To Your Board For Appetizers or Cheeses
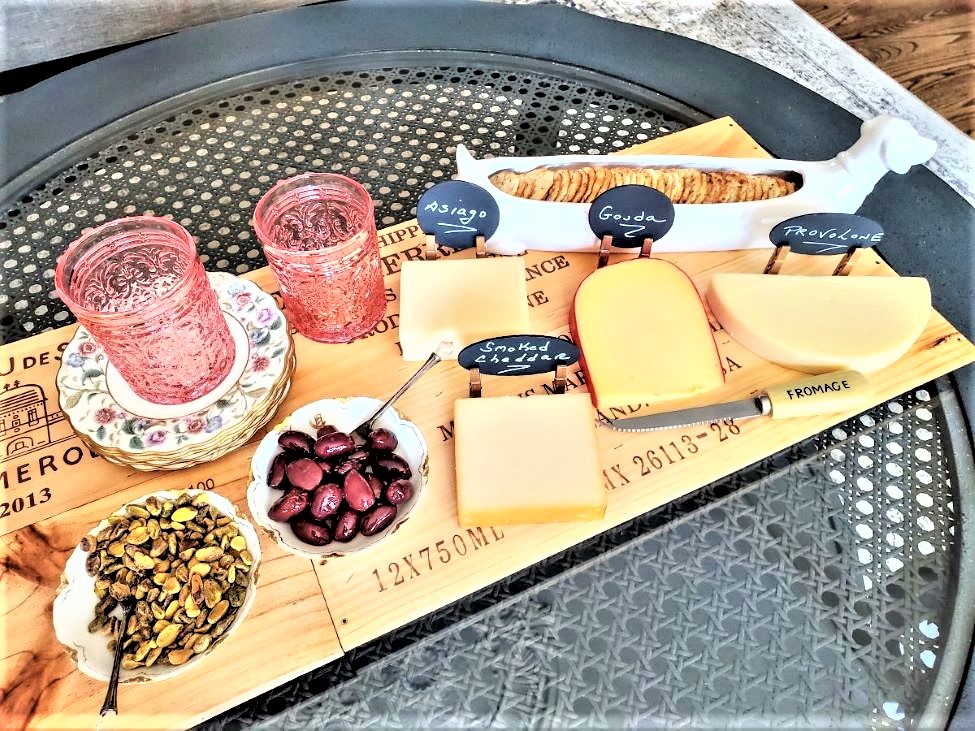
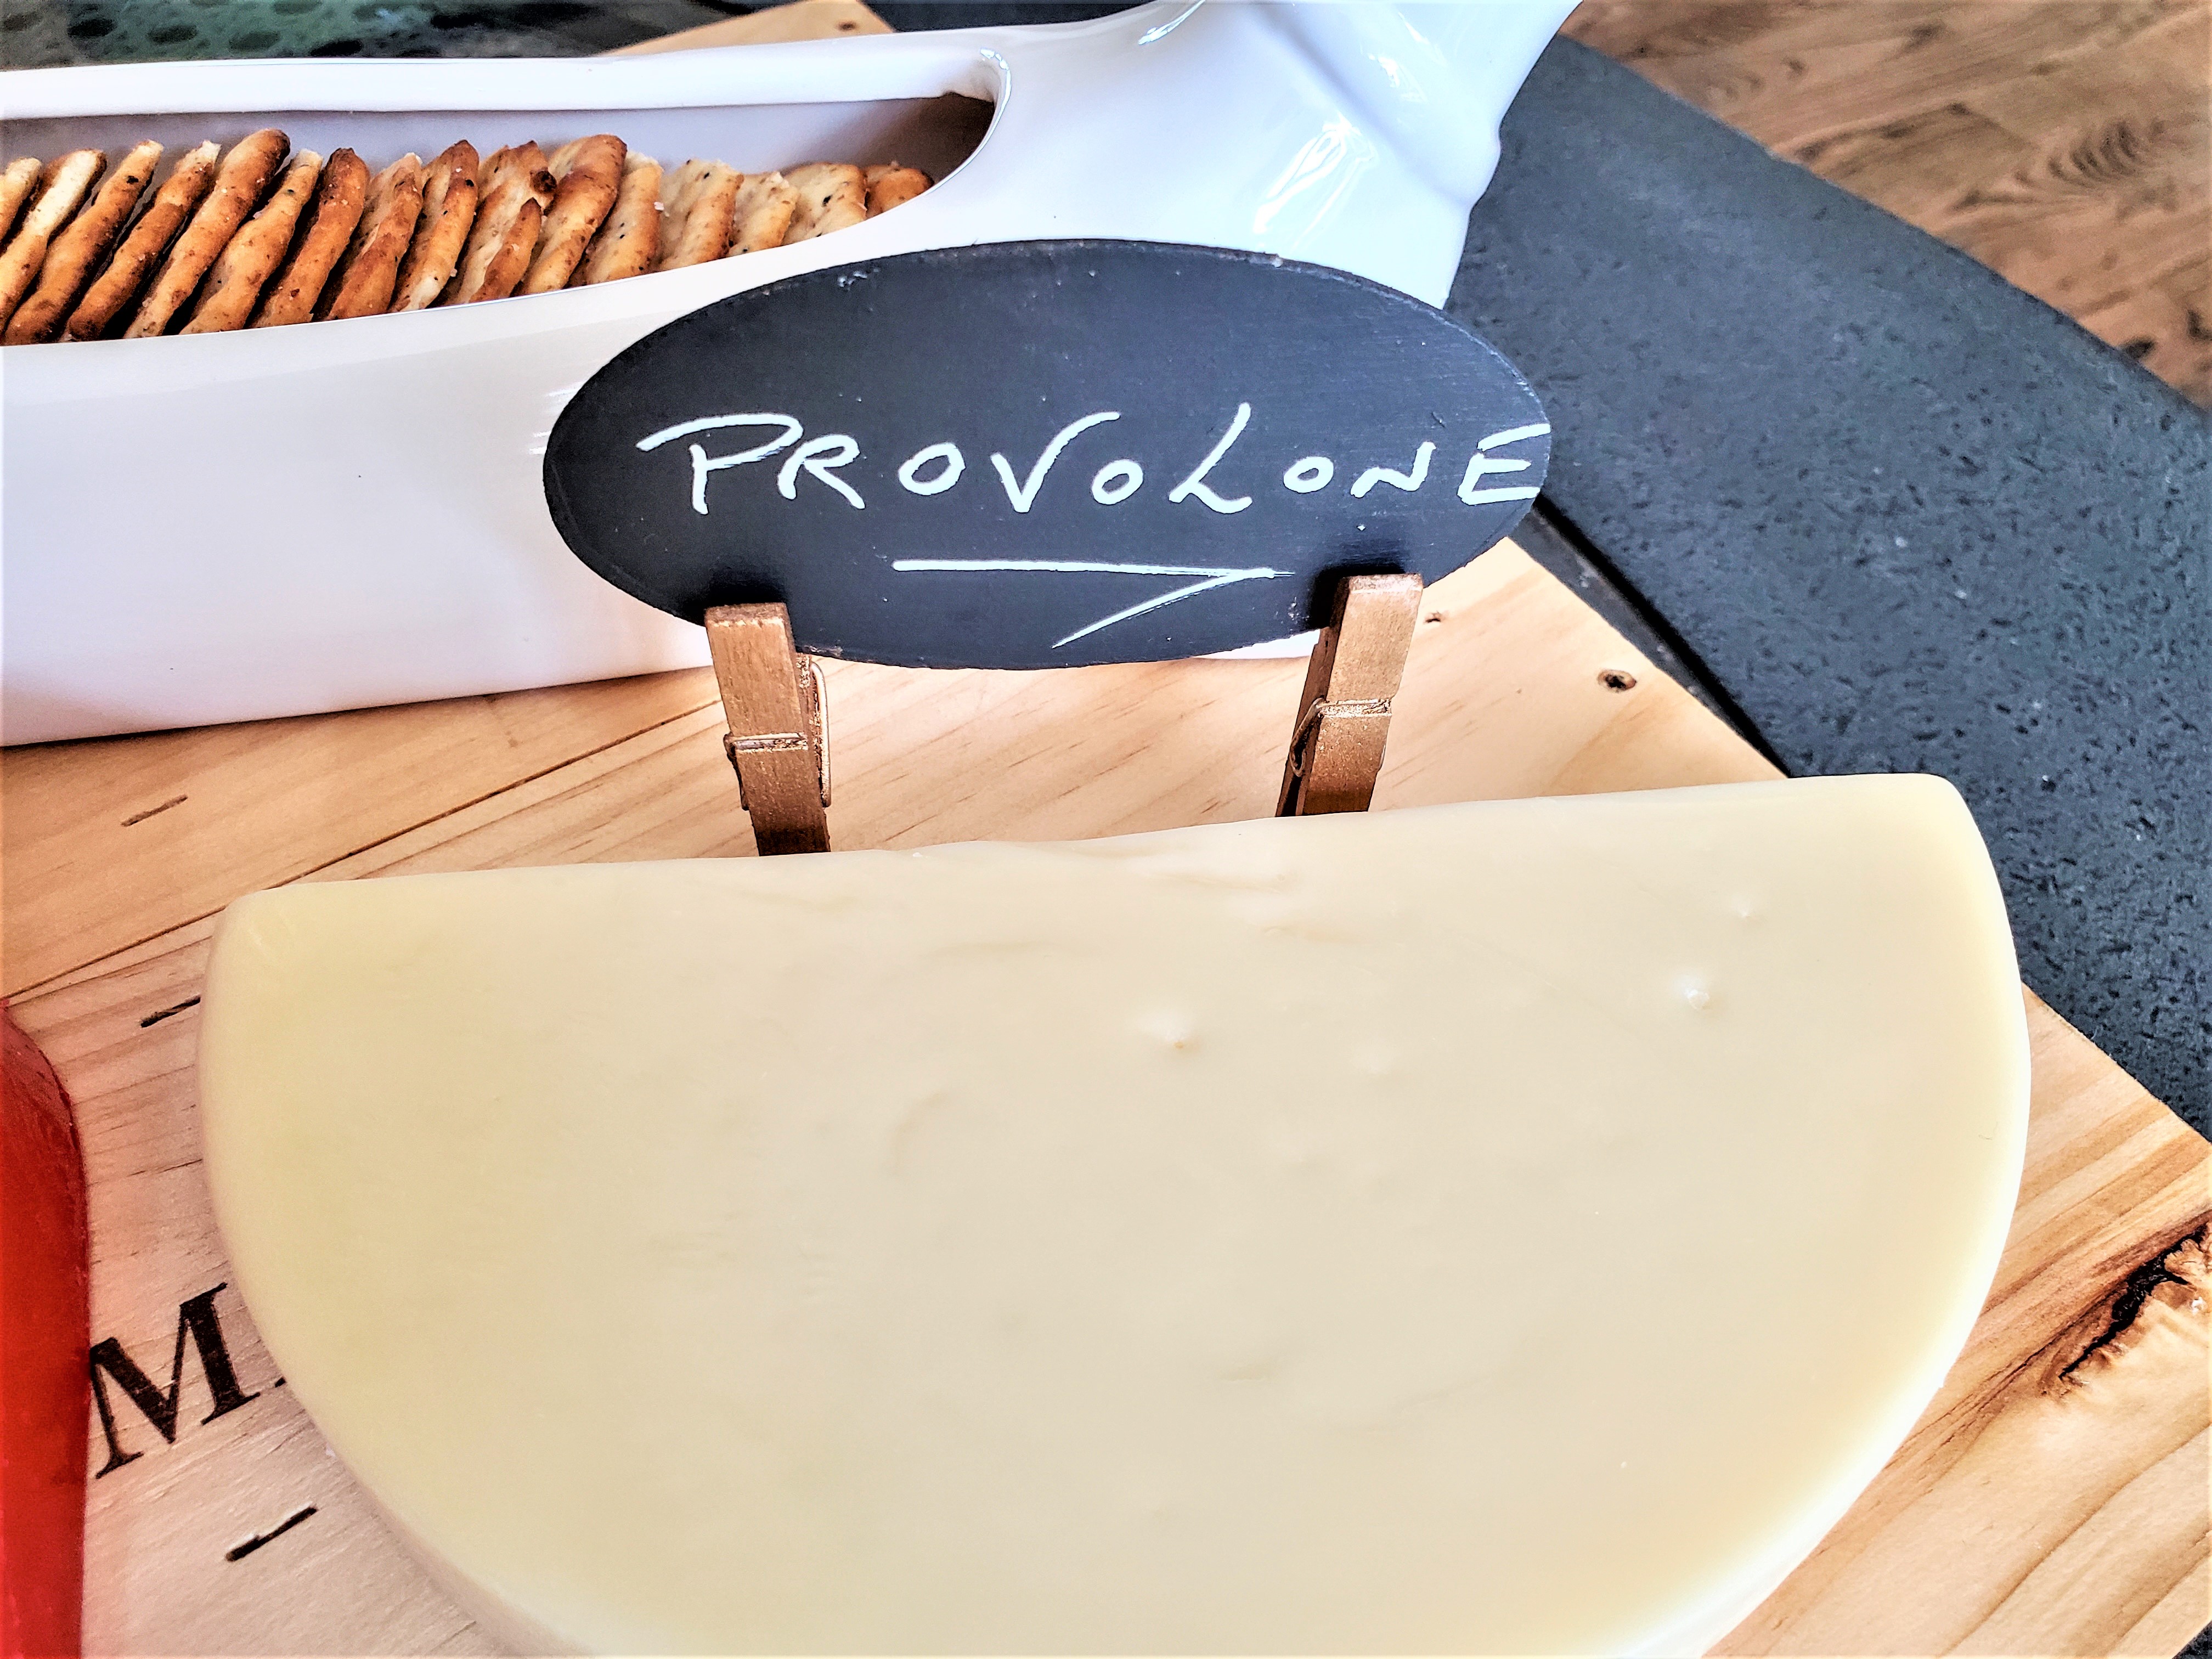
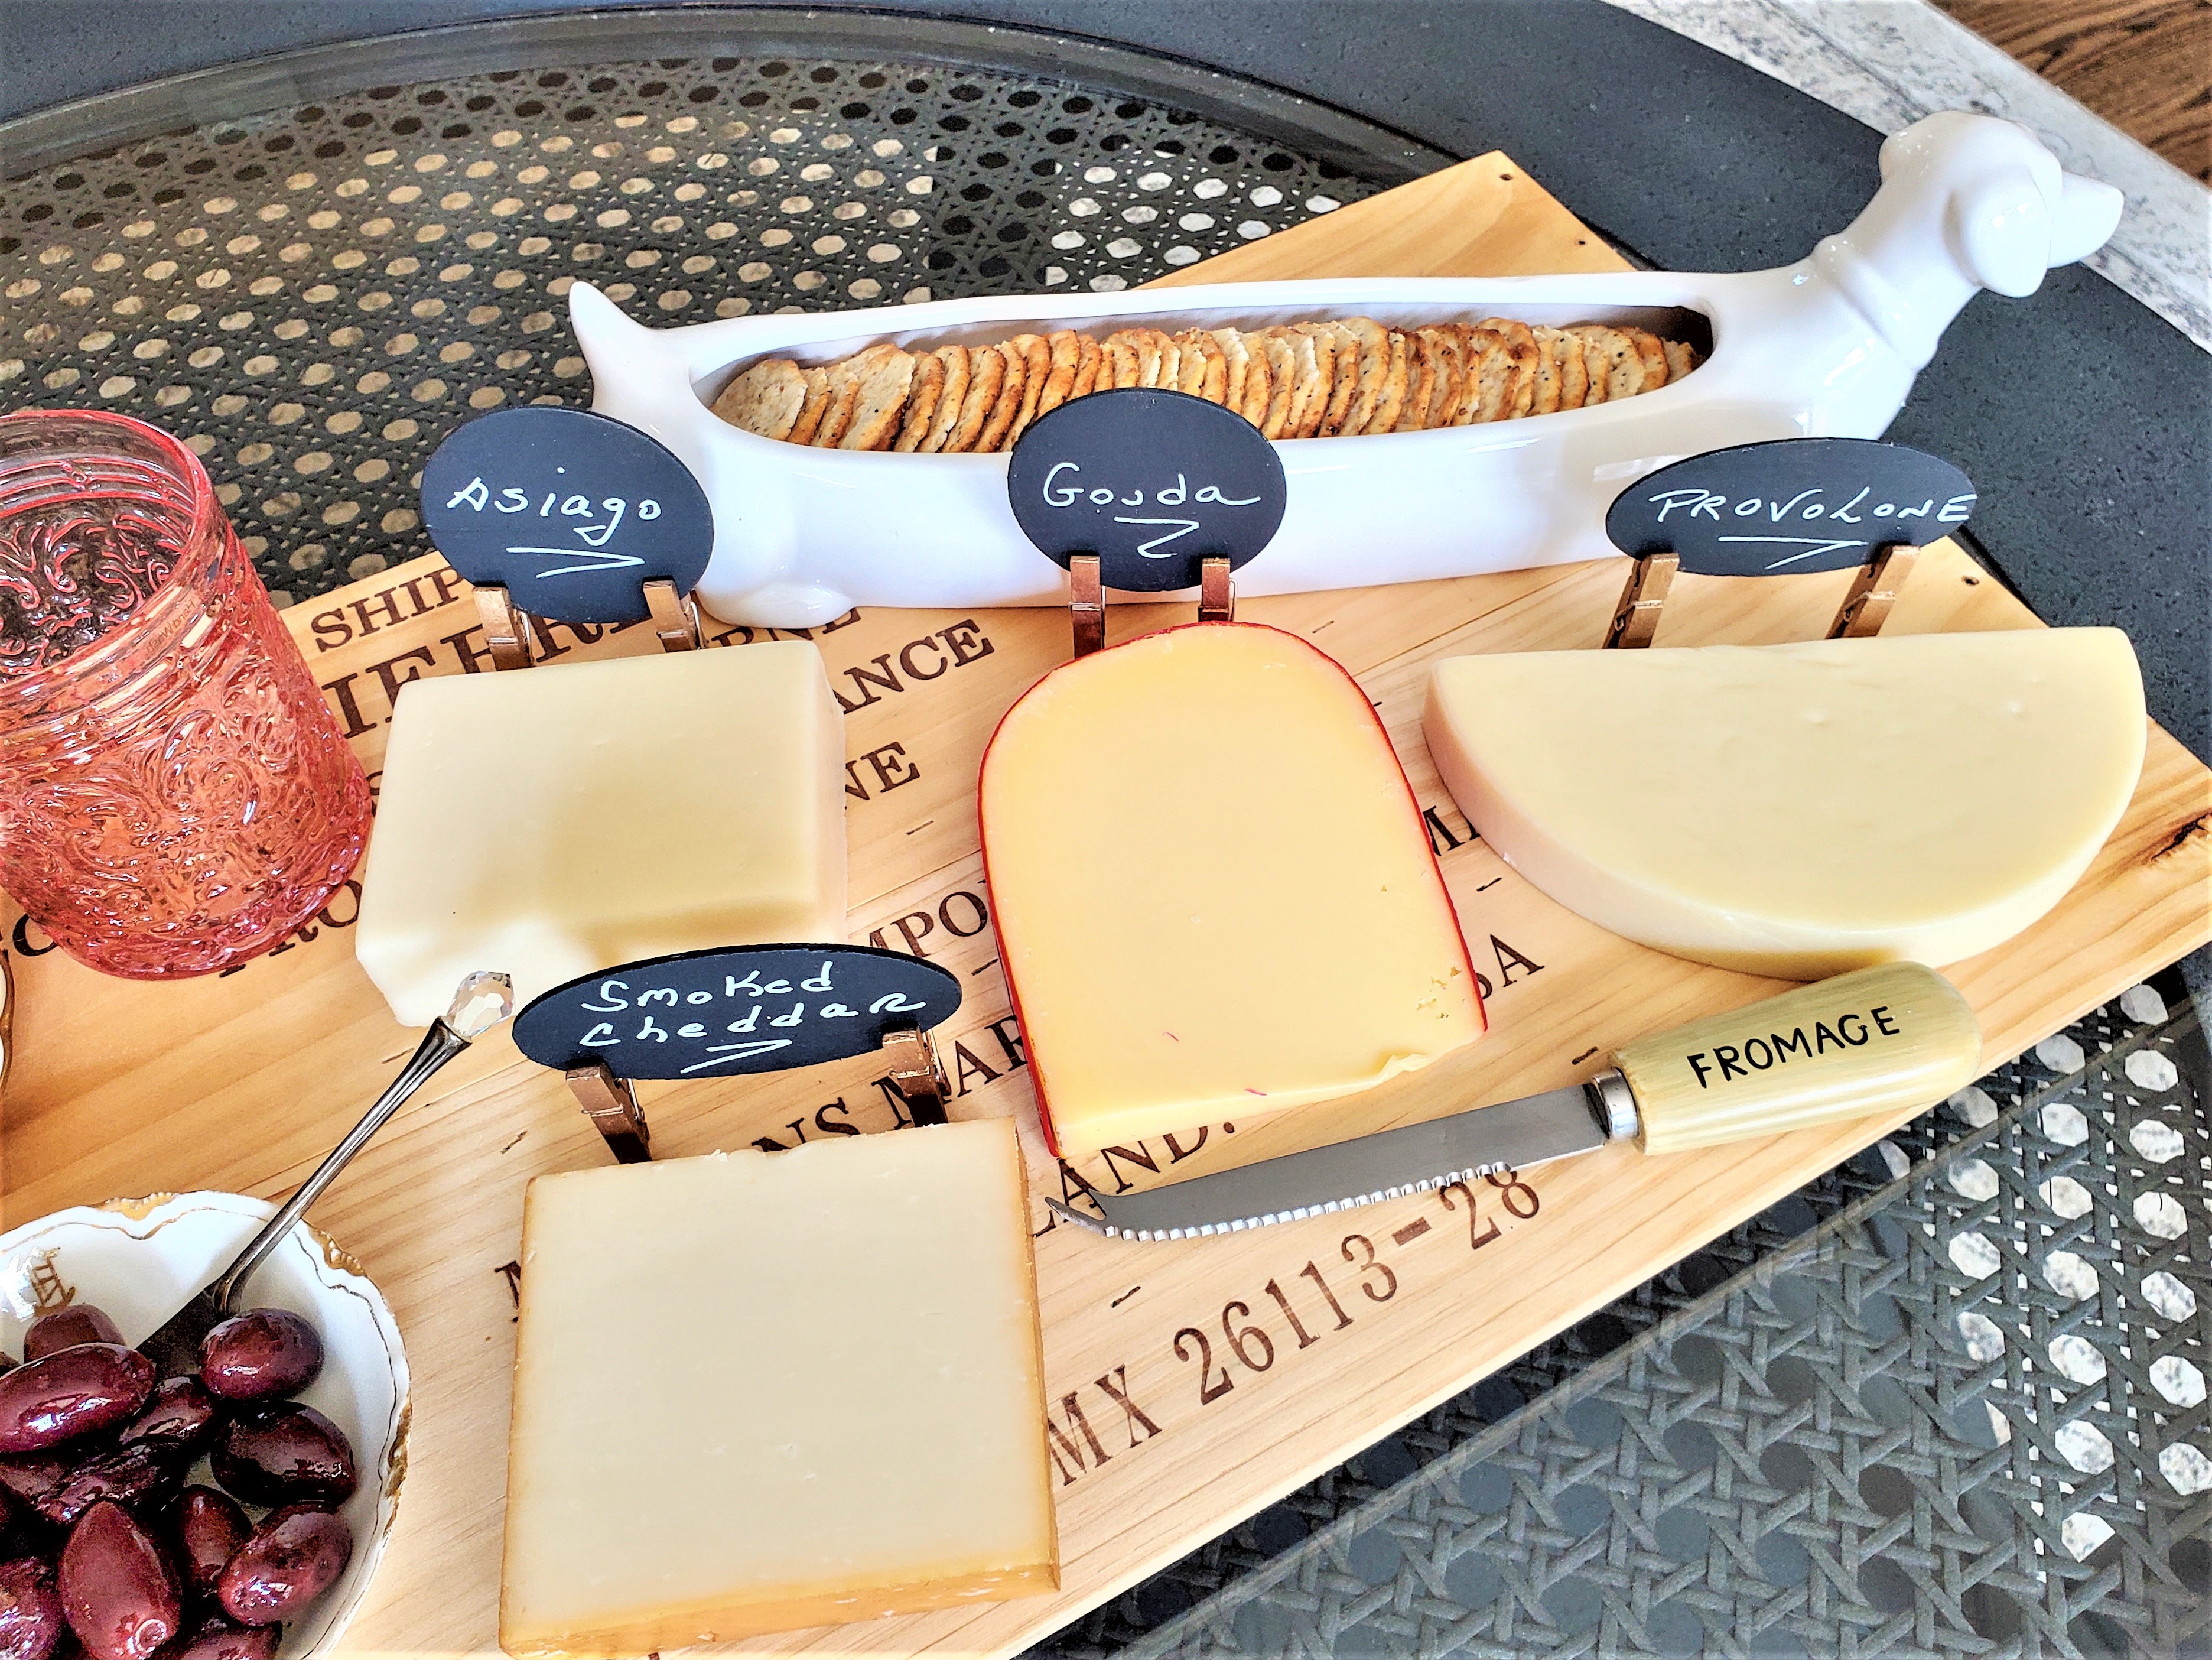
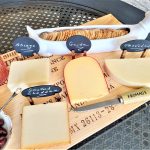
After finishing the DIY cheese markers, I set up a small charcuterie board.
By the way, you may be interested in another charcuterie post where I share details of how I made my cheeseboard from an old wood wine crate, wait until you see this, it’s amazing!
I truly love how the clothespins add another elegant look to display a cheese name for elegant gatherings. Notice how they elevate the cheese tag, so they are easy to see and don’t get in the way when reaching for your favorite cheese or food items?
Dishes and Glasses Cheese Platter
Step 7: Curating Your Charcuterie Presentation With Stylish Accessories
As a rule, when making a charcuterie board, adding different types of cheeses, nuts, olives, and fruit makes great additions. It’s also a good idea to mix hard and soft cheeses. Be sure to add different cheeses such as:
- Gouda
- Blue Cheese
- Asiago
- Brie
- Goat cheese
Be sure to add a variety of soft cheeses and hard cheese to the charcuterie board.
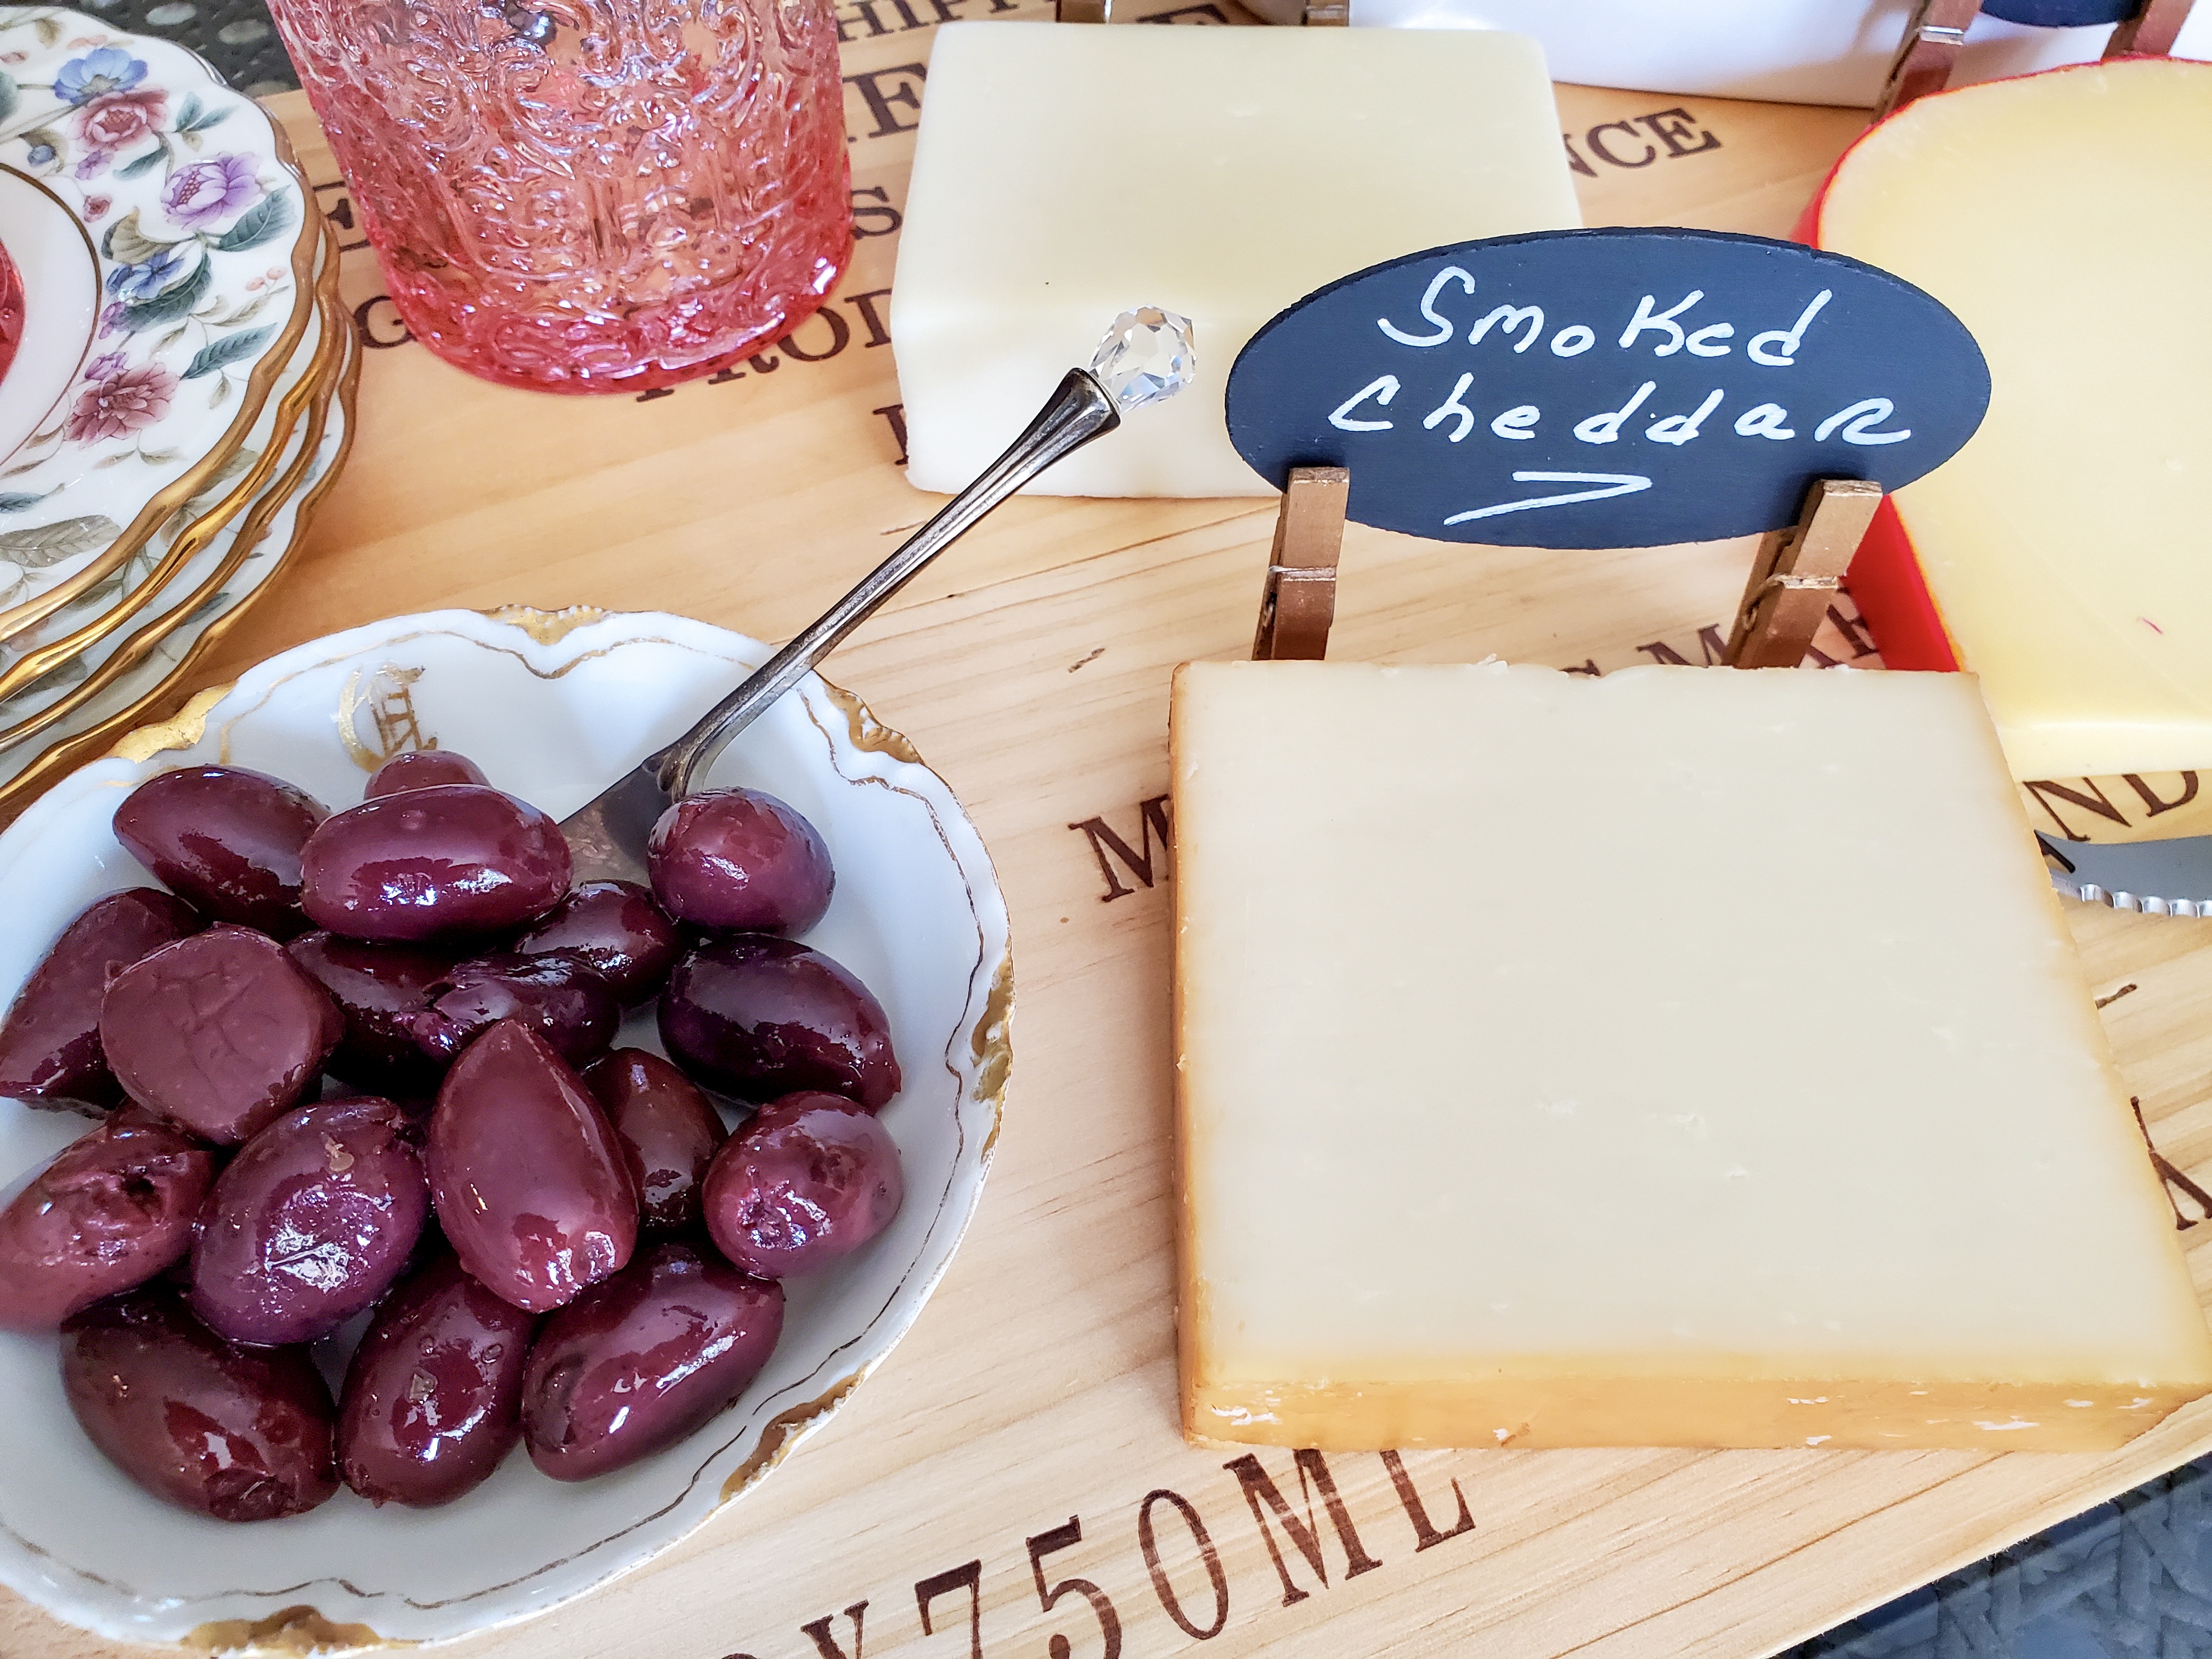
I also try to make this as pretty as possible because we eat with our eyes first. I like to use pretty dishes to hold nuts and olives. pretty dishes because we eat with our eyes first.
Also, a great addition is to add small forks and spoons for serving to make it easier for your guests to grab their favorite food items.
Add Pretty Glasses And Small Utensils For Serving
Add Pretty Glasses And Small Utensils For Your Elegant Charcuterie Spread
By the way, these glasses are a new favorite purchase of mine. First of all, I love the pattern because it is subtle and perfect for elegant gatherings. I enjoy adding elegant and rustic touches anywhere I can.
These glasses can be used to serve easy desserts inside if I choose to make a dessert charcuterie board. Have you ever made one? They are an easy way to serve your favorite sweet treats, and you may enjoy this post where I made a dessert charcuterie board for Mother’s Day.

Get Ready To Create!
- Ready to Craft Your Cheese Marker Masterpieces?
Dive into the world of creativity and personalize your charcuterie presentations with unique DIY cheese markers. Get started today! - Elevate Your EDlegant Gatherings with Homemade Cheese Markers!
Unleash your inner artist and transform your gatherings into memorable events. Begin crafting your elegant cheese markers now. - Discover the Art of Charcuterie: Create Your DIY Cheese Markers Today!
Elevate your cheese platter for wine parties, outdoor entertaining, and holiday meals with the perfect tool. Don’t miss out on the chance to showcase your culinary artistry.
Conclusion:
Creating cheese markers isn’t just a craft it’s creativity, style, and commitment to sustainable elegance. With a few carefully chosen materials and a touch of imagination, you can elevate your party buffets with your unique flair. So, next time you gather your guests for cheese and wine parties, your DIY cheese markers will not only identify food items and the type of cheese, but they will also tell a story of your passion for hosting holiday meals and elegant gatherings
I am so happy I made this great addition to my Charcuterie board. Also, I hope I have given you inspiration for an easy way to make the best cheese markers with chalkboard paint for your own home and to wow guests! Love quick and easy recipes for snacks on your next cheese board? These are fantastic and enjoyed by everyone.
Don’t forget to follow us on Pinterest, Facebook, and Instagram.

POSTS OF INTEREST

Creamy White Chocolate Desserts
Easy DIY Cheese Markers With Chalkboard Paint
Notes
Easy Cheese Marker With Chalkboard Paint
Supplies List:
-
- Chalkboard paint
-
- Wood discs (shape of your choice)
-
- Writing marker with an eraser end or chalkboard pens
-
- Foam brush
-
- Small clothespins
-
- Antique gold Rub N Buff
-
- Stencil brush
-
- rag or paper towel
Step 1: Acquiring the Right Materials
The first purchase is Benjamin Moore chalkboard paint. Because I was next to Ace Hardware, I ran in to buy the paint to make my chalkboard cheese markers. Also, we are HUGE Benjamin Moore fans! Plus their paint is still made in the United States and this means so much to us.
Step 2: Wood Pieces for Chalkboard Cheese Markers
First, finding a package of different round wooden shapes at Michaels, gave me the perfect tool to make cheese markers to add to cheese platters. They are a great size and an easy way to see the cheese names of the types of cheeses being served on a charcuterie board for party buffets.Step 3: A Different Stand for the Cheese Markers
So then, I began looking for something to allow the cheese tag to stand. Wait until you see what I bought! Small wooden clothespins, perfect right? And different! Finding these small clothespins was exciting because these make mine even more different from the porcelain cheese marker signs, I have seen in the marketplace. By the way, have you seen cheese markers with clothespins as feet before? I haven’t!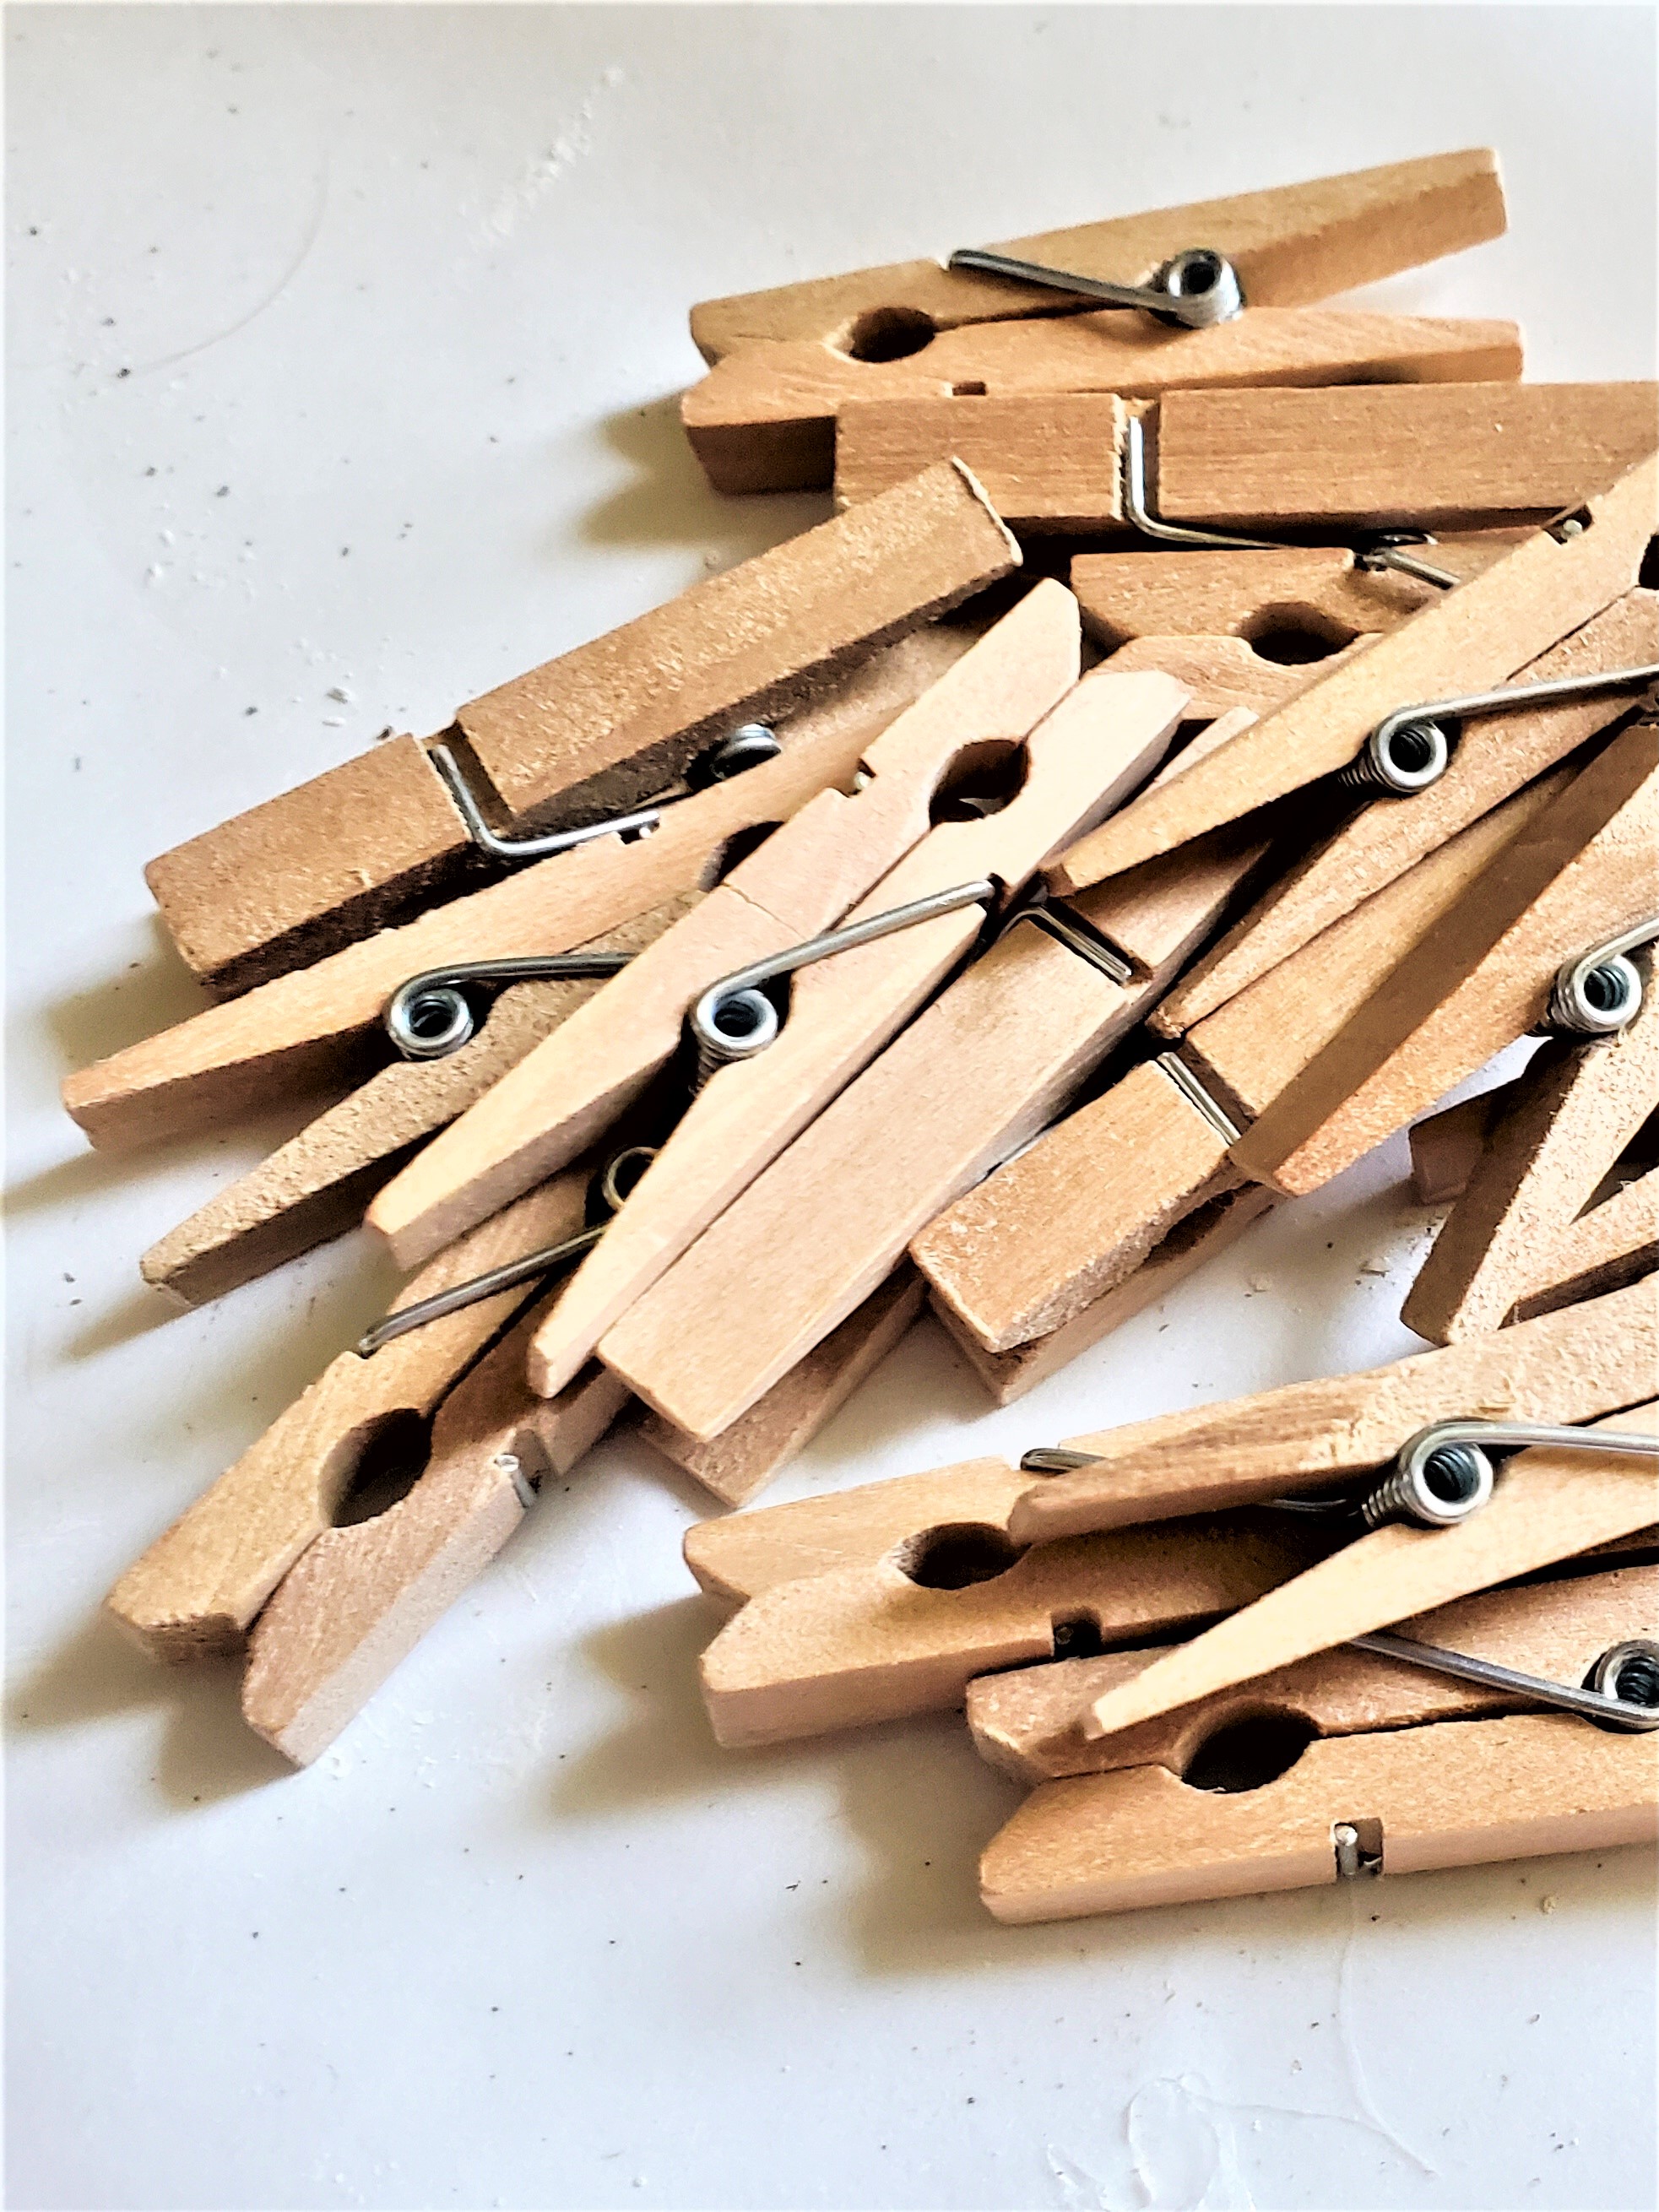
Step 4: Paint the Wood Discs
After gathering my supplies in my office/craft room, it is time to begin making the chalkboard cheese markers. I begin painting each side of the wood pieces with the two coats of chalkboard paint. Let them dry completely in between each coat.
Step 5: Paint the Rub N Buff or Antique Gold Paint
Meanwhile, as the bases are drying, I grab a favorite product, Rub N Buff in antique gold for my clothespin’s feet. A stencil brush is a perfect tool to add the Rub N Buff. Besides being an easy product to work with a little goes a long way. Buff with a lint-free rag or paper towel and let them dry completely.

Cindy I love your charcuterie board signs. I have purchased similar signs, but when I saw yours I was asking myself Why? Such a great Idea! P.S. I think I have the same glasses in blue as your pink? peach? ones. I love your color! Thanks for the inspo.
They turned out wonderful!
Charcuterie boards are great for entertaining. The cheese markers are really cute. What did you use for writing on the boards? Did I miss that part?
What a pretty way to enhance charcuterie boards! It’s always great to see exactly what delicacies are presented and your chalk markers are the perfect solution for identifying tasty treats!
Thanks for sharing your tutorial on how to make those cute labels. I want a Charcuterie board, so when I do get one I want to make these.
“We eat with our eyes” oh my gosh, you are so right! Your charcuterie board looks so beautiful. Great tutorial! I love how versatile your markers are. Am going to go check out how you made your board now… : )
Thanks so much Kelli
I LOVE the charcuterie board and made and use it all the time! Now I can’t wait to make some of your markers so everyone knows what their grabbing! Great idea, Cindy! P.S. I love that you used that Rub and Buff on your clothespins! It adds a touch of class for sure!
I love Rub N Buff
What a cute idea, Cindy. Thanks for sharing. xo Laura
Love your presentation. The markers are so fun and that wine or cheese board as the base is perfect!
I love having it Debra
Your charcuterie board looks amazing and the markers add to the look! I will definitely give this a try!
Karen
They were fun to make
SO pretty and I love your creativity. The board looks great and I have a weakness for cheese.
These are so cute, Cindy, and would make a fabulous gift set too. I love that you can use them throughout the year no matter what the season. They’re perfection! Big hugs, CoCo
Thanks so much Coco. I have been wanting them snd I’m happy I made some
What an easy project! And so handy to help identify foods for different dietary restrictions too! The cracker holder is too cute. Thanks for sharing.
These are so cute – I love that you chose something really unexpected for this challenge.
I love this idea, Cindy! Pinned and schedule to my FB page.
Thanks so much! They were fun to make
I love how these turned out. Pinned for my next craft day!
Thanks so much. They are very easy
What a lovely board and your signs came out great! I love the idea of adding rub and buff to the clothespins to give them a metallic look!
I had to add the Rub N Buff for my love of Florentine
I love when signs are on these boards or with dishes so you know what you are tasting. Great job.
Love the markers! I really like that they are black, makes it more impactful against the cheeses. Great DIY!
Thank you so much
What a great idea and so easy to make too! I’ll definitely be giving these a try. Pinned 🙂
Such a cute project Cindy. The charcuterie boards are all the rage now, so these sweet little markers are perfect. I am happy to feature your cheese markers at Love Your Creativity.
I want a charcuterie board, but never broke down and buy one. When I do, I will be sure to make your perfect markers. Pinned for later!
Thanks Terrie. I made mine from wood wine crate pieces and use mineral oil after I use it and wash it
Great idea – I hate going places and it’s a guessing game on what you are choosing. These boards and tips are great.
Such a clever idea and so simple to make! Thanks for the inspo! Donna
These look so good! Thanks for sharinfg this how to make and very useful tutorial for these cute signs.
we are huge benjamin moore fans too; we use nothing but in our house! I’ve always wanted to try their chalk board paint; now I have an excuse!
Hi Cindy … I’ve always wanted to have a set of cheese markets. What a clever way to make them. I’ve not tried chalk board paint before … but I’m going to! xo
It’s great to work with and I wanted something different
Love this! It can help to coat the whole side in chalk and then rub it off so the words you put on later don’t leave behind a trace.
This is such a cute idea. I must make these. Thank you for sharing.
So easy to make