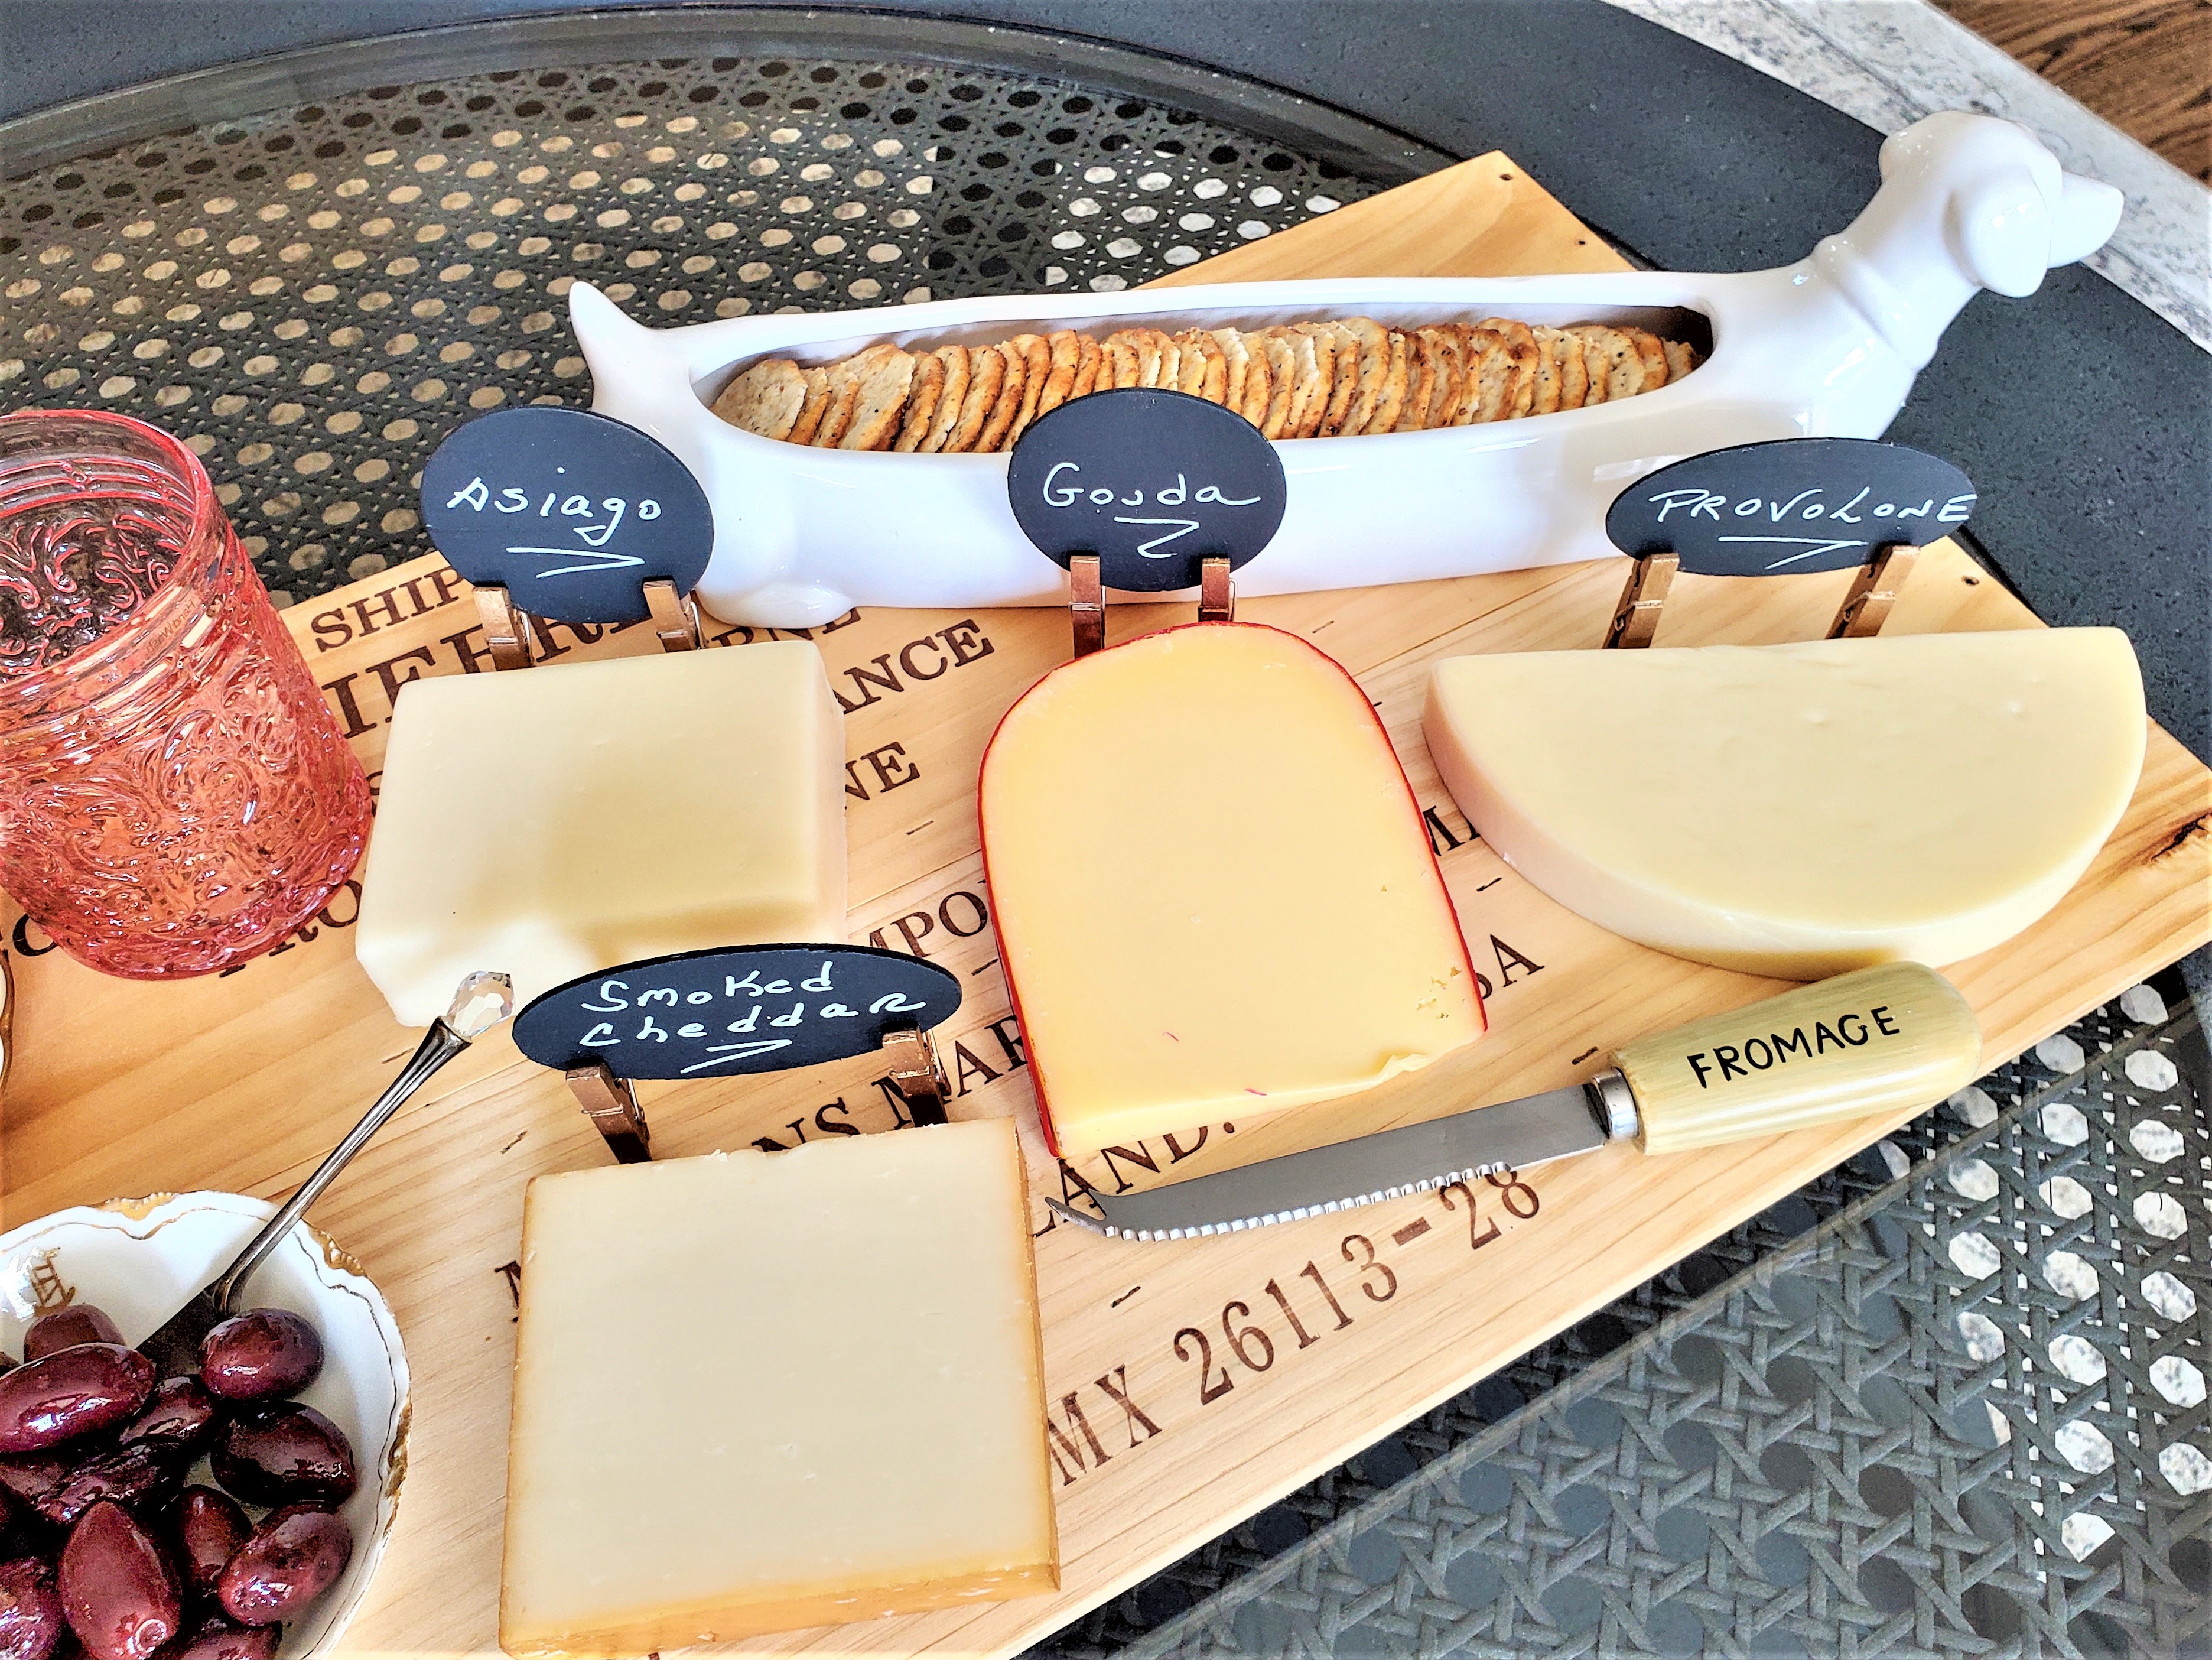
Easy DIY Cheese Markers With Chalkboard Paint
Enter the world of easy DIY cheese markers with chalkboard paint, where creativity meets functionality, enhancing your charcuterie experience charmingly. These handcrafted markers offer more than just identifying the various cheeses on your board; they're filled with style, resourcefulness, and commitment to sustainability.
Yield: 8 cheese markers
Cost: $10
Notes
Easy Cheese Marker With Chalkboard Paint
Supplies List:
-
- Chalkboard paint
-
- Wood discs (shape of your choice)
-
- Writing marker with an eraser end or chalkboard pens
-
- Foam brush
-
- Small clothespins
-
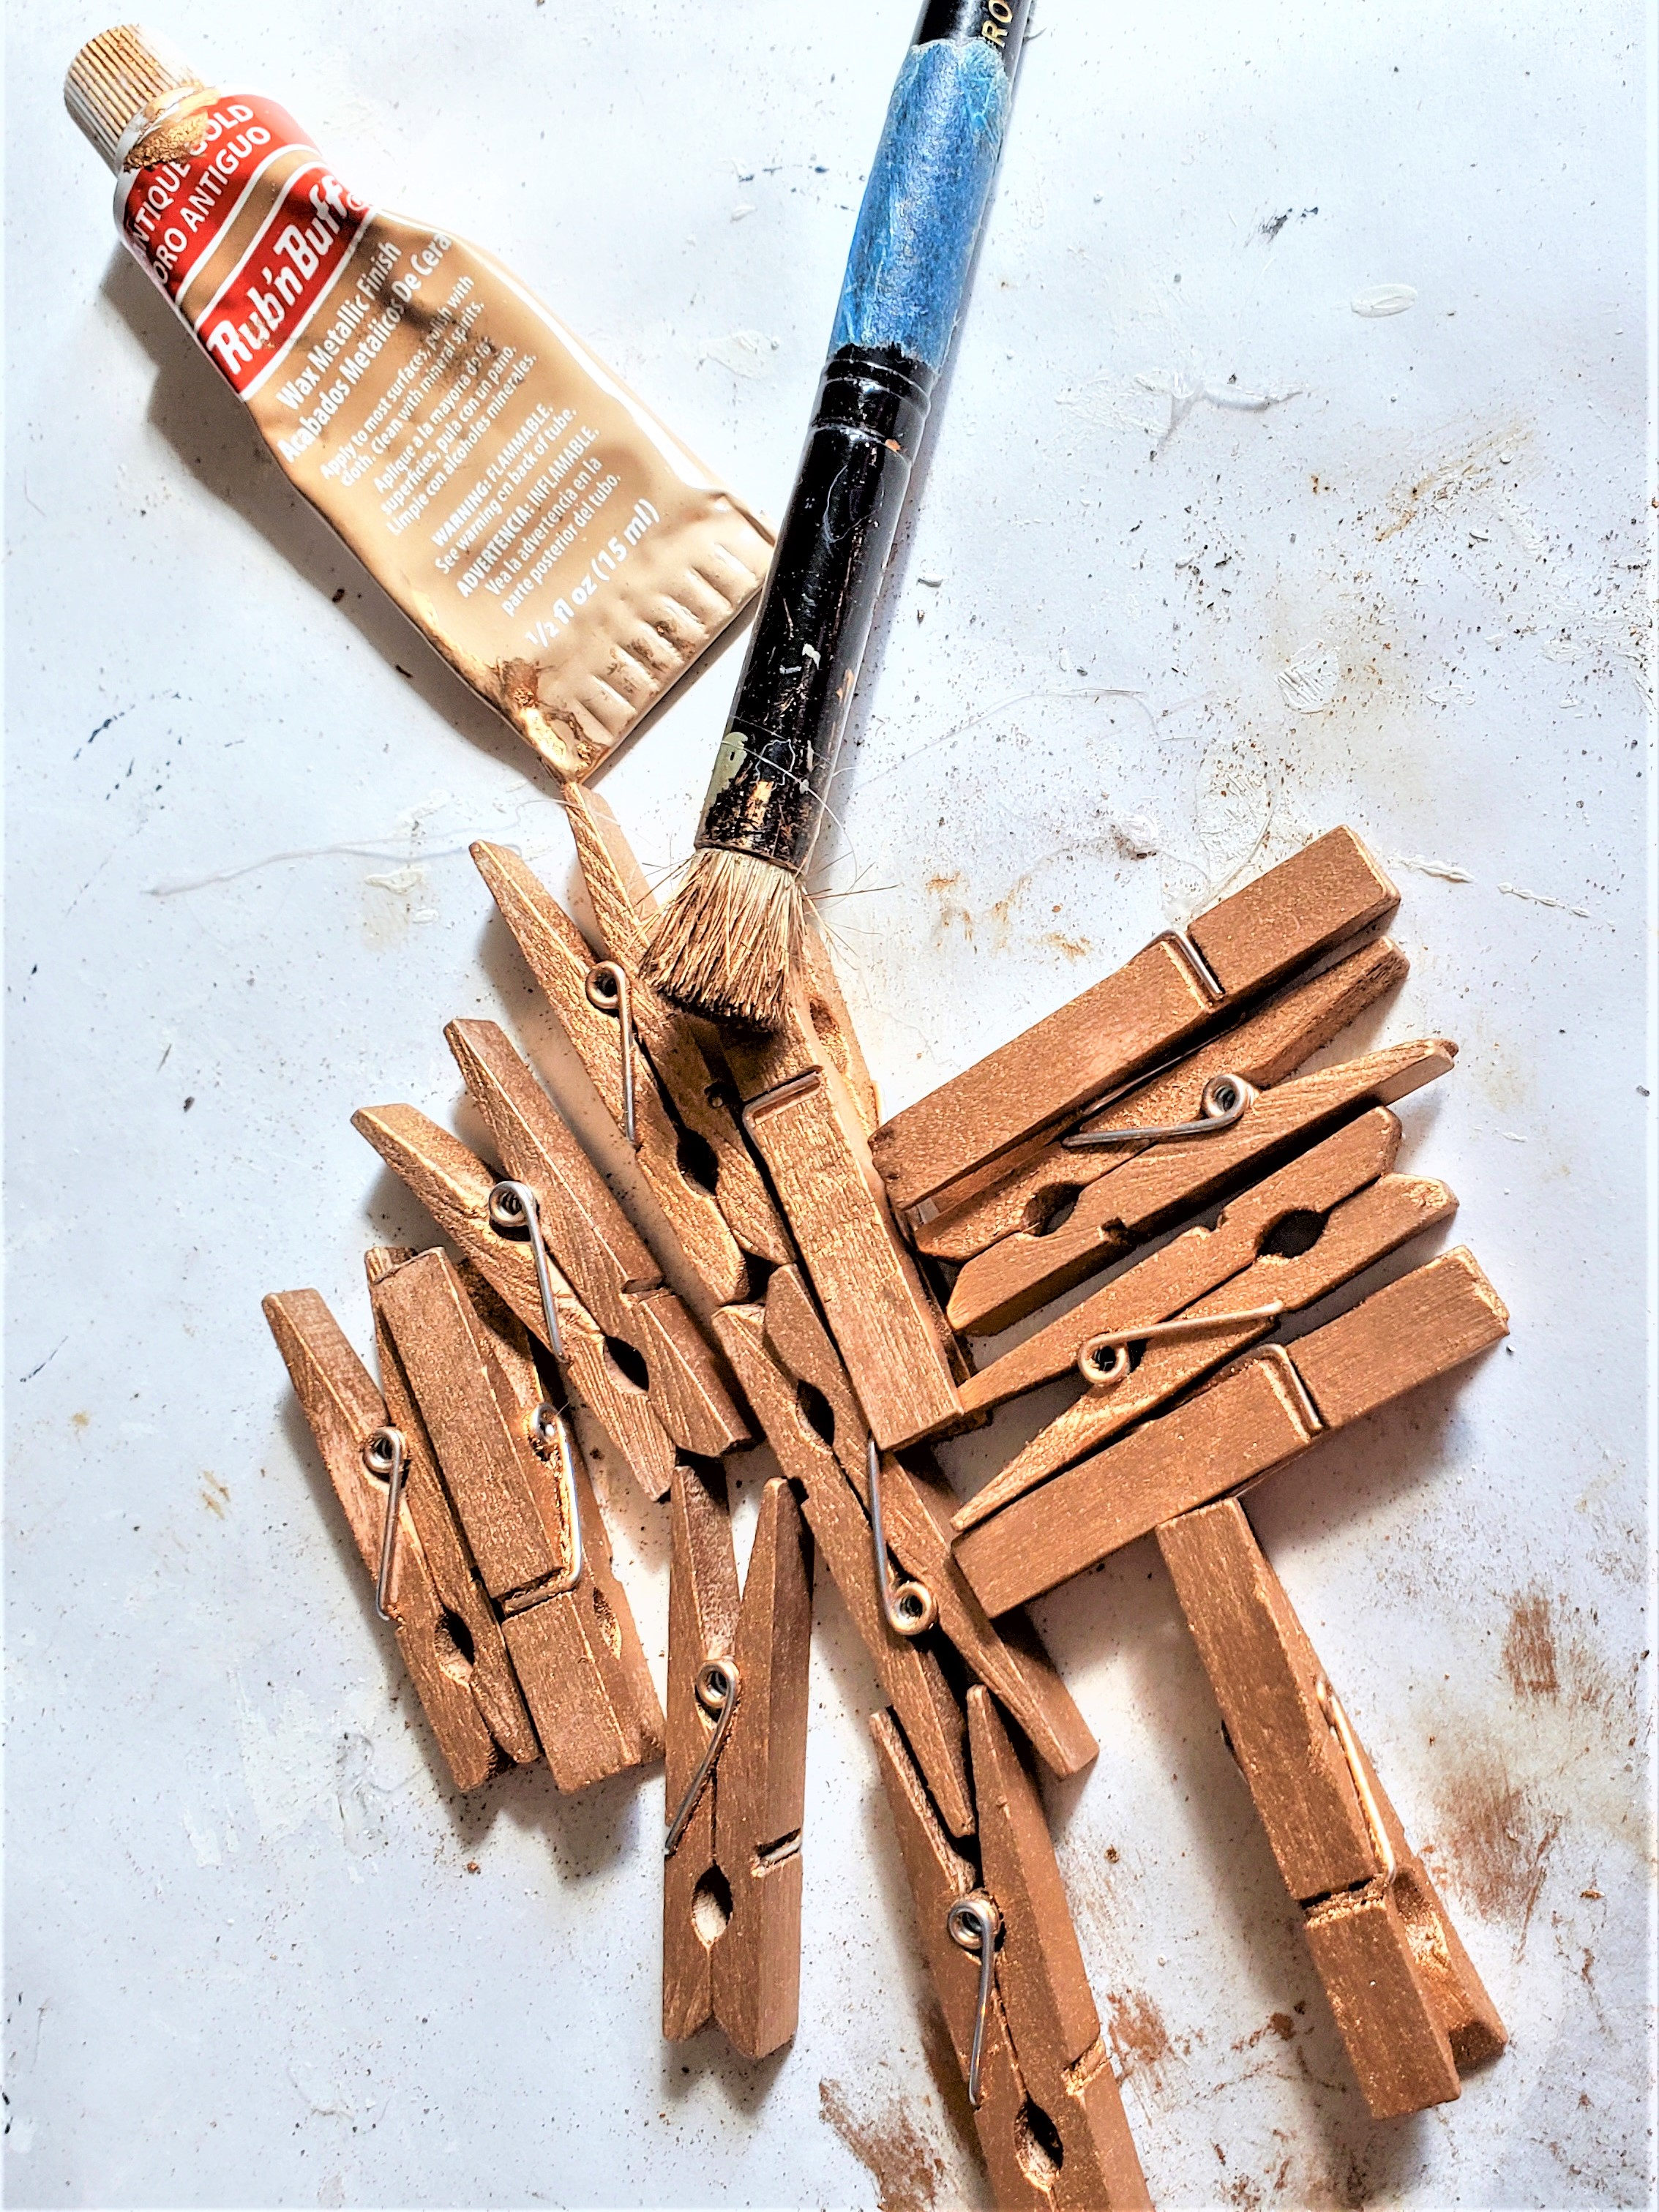
- Antique gold Rub N Buff
-
- Stencil brush
-
- rag or paper towel
Step 1: Acquiring the Right Materials
The first purchase is Benjamin Moore chalkboard paint. Because I was next to Ace Hardware, I ran in to buy the paint to make my chalkboard cheese markers. Also, we are HUGE Benjamin Moore fans! Plus their paint is still made in the United States and this means so much to us.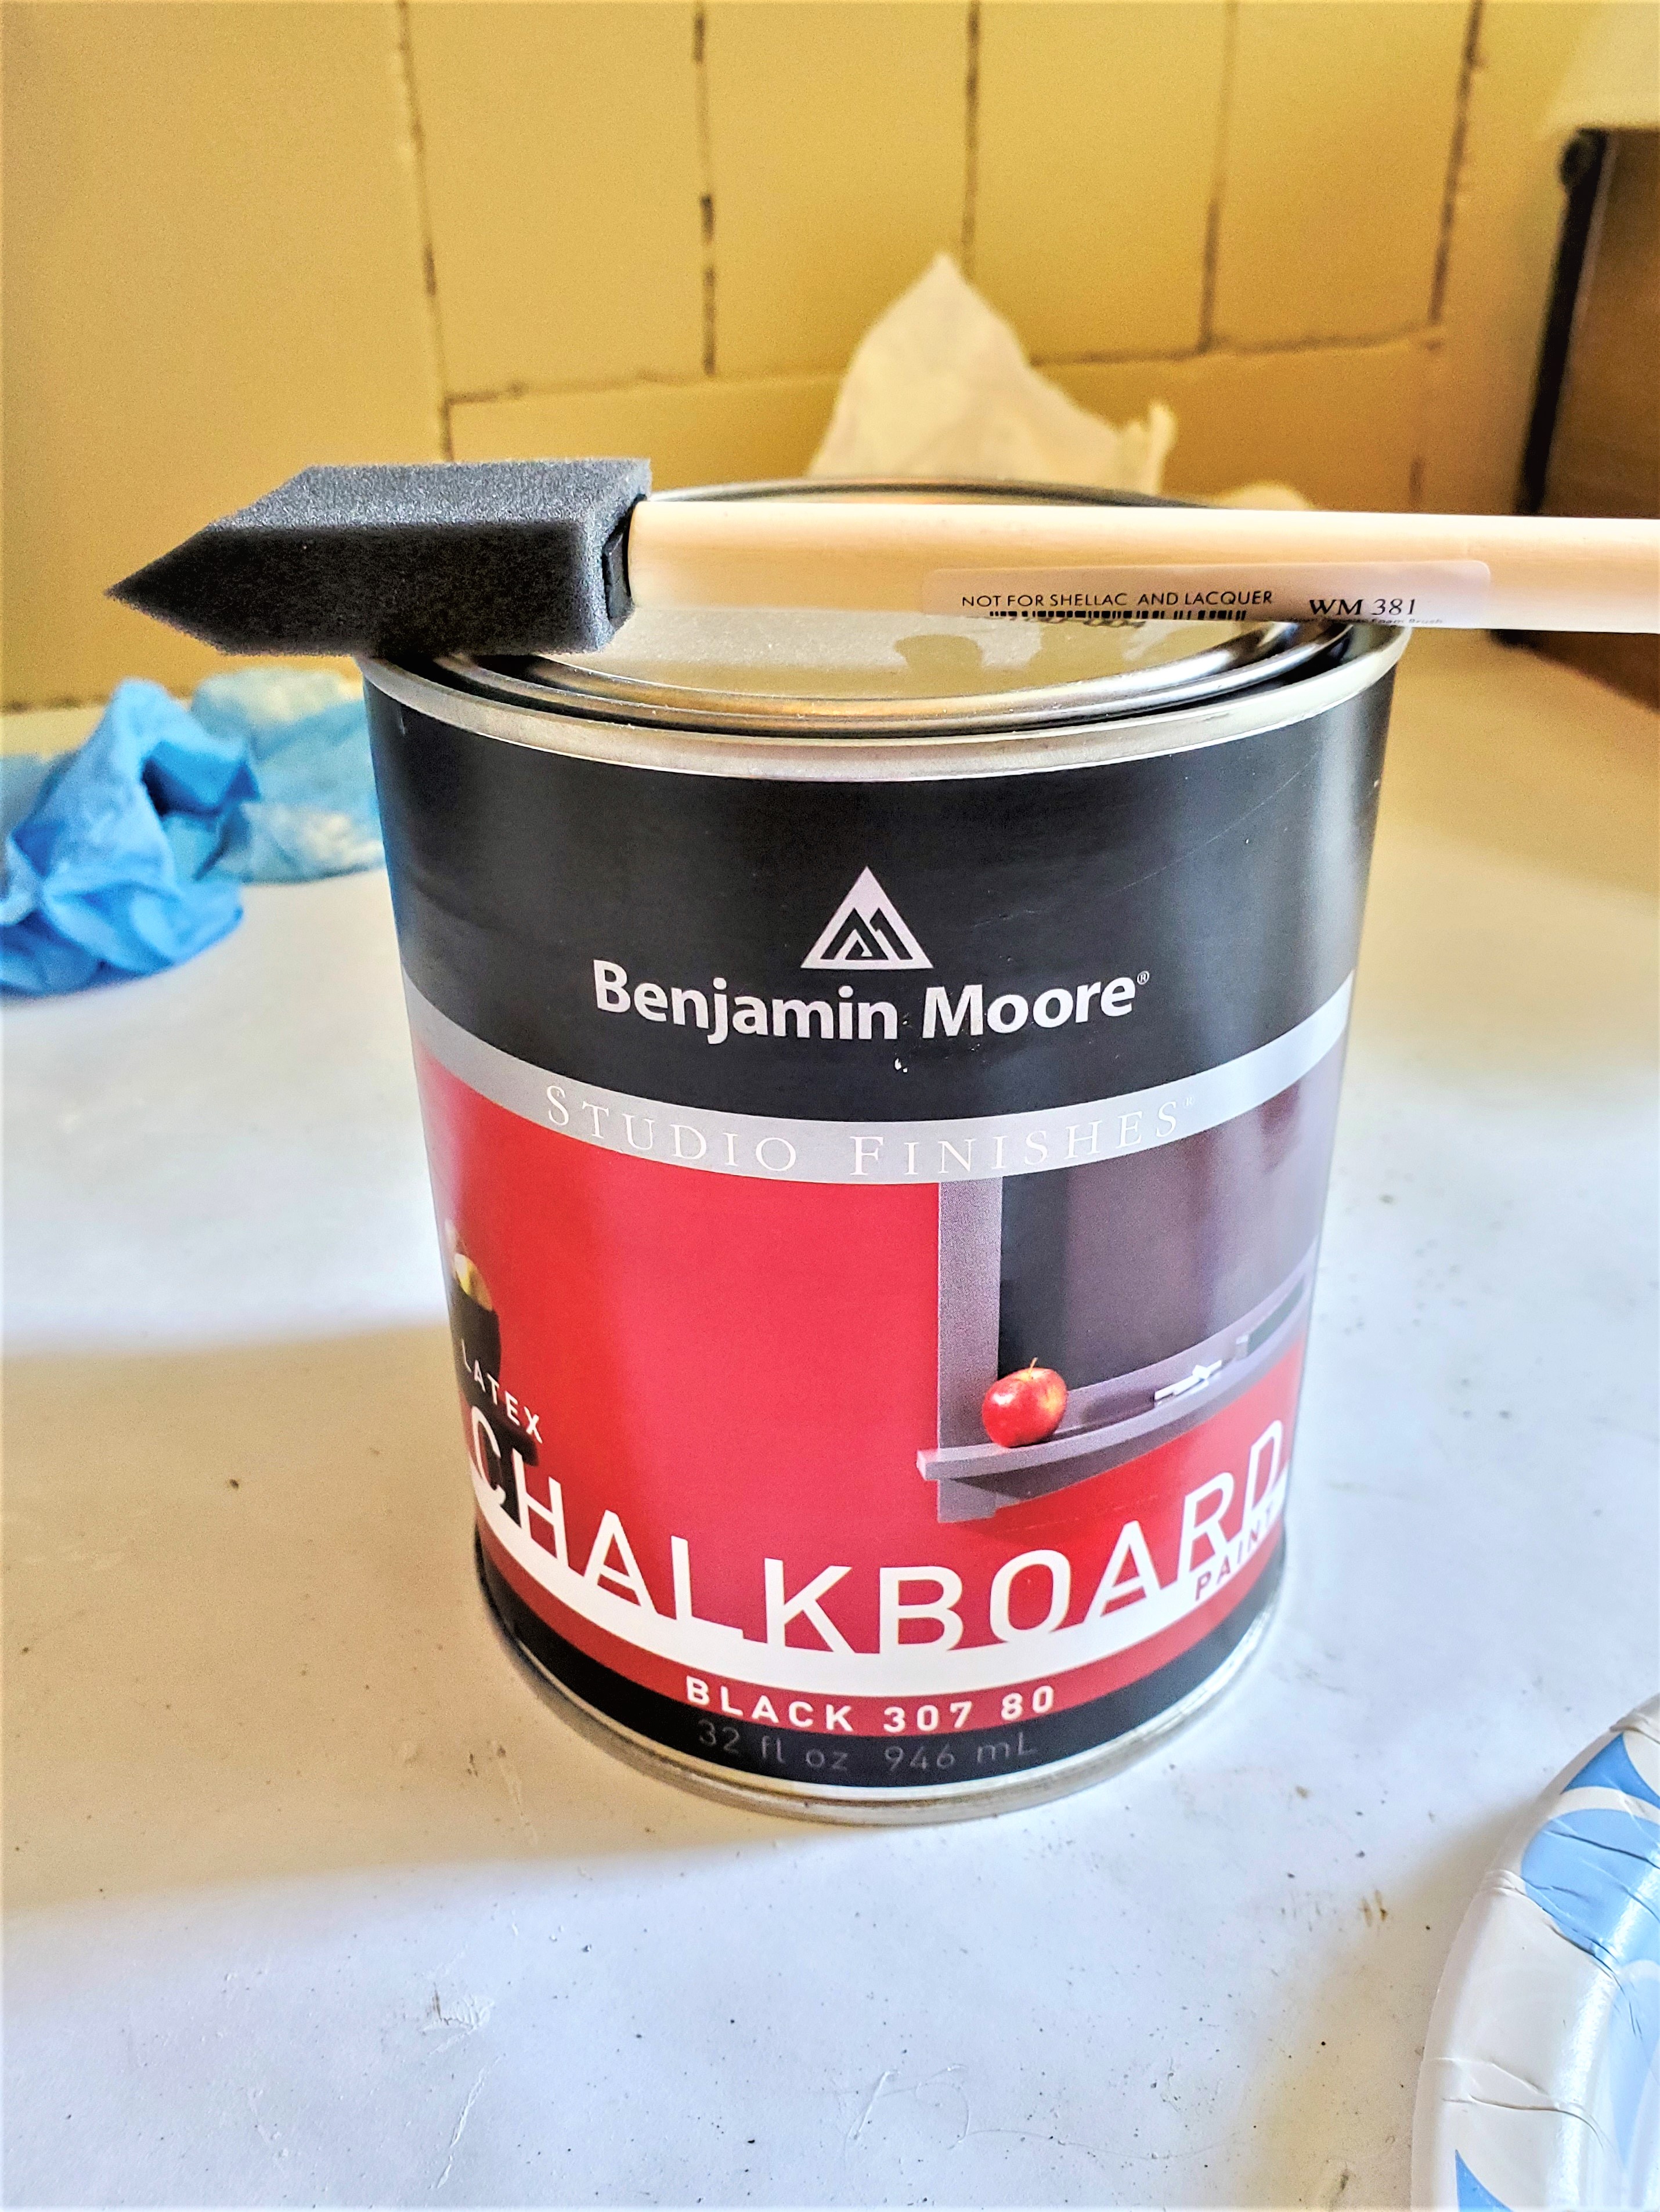
Step 2: Wood Pieces for Chalkboard Cheese Markers
First, finding a package of different round wooden shapes at Michaels, gave me the perfect tool to make cheese markers to add to cheese platters. They are a great size and an easy way to see the cheese names of the types of cheeses being served on a charcuterie board for party buffets.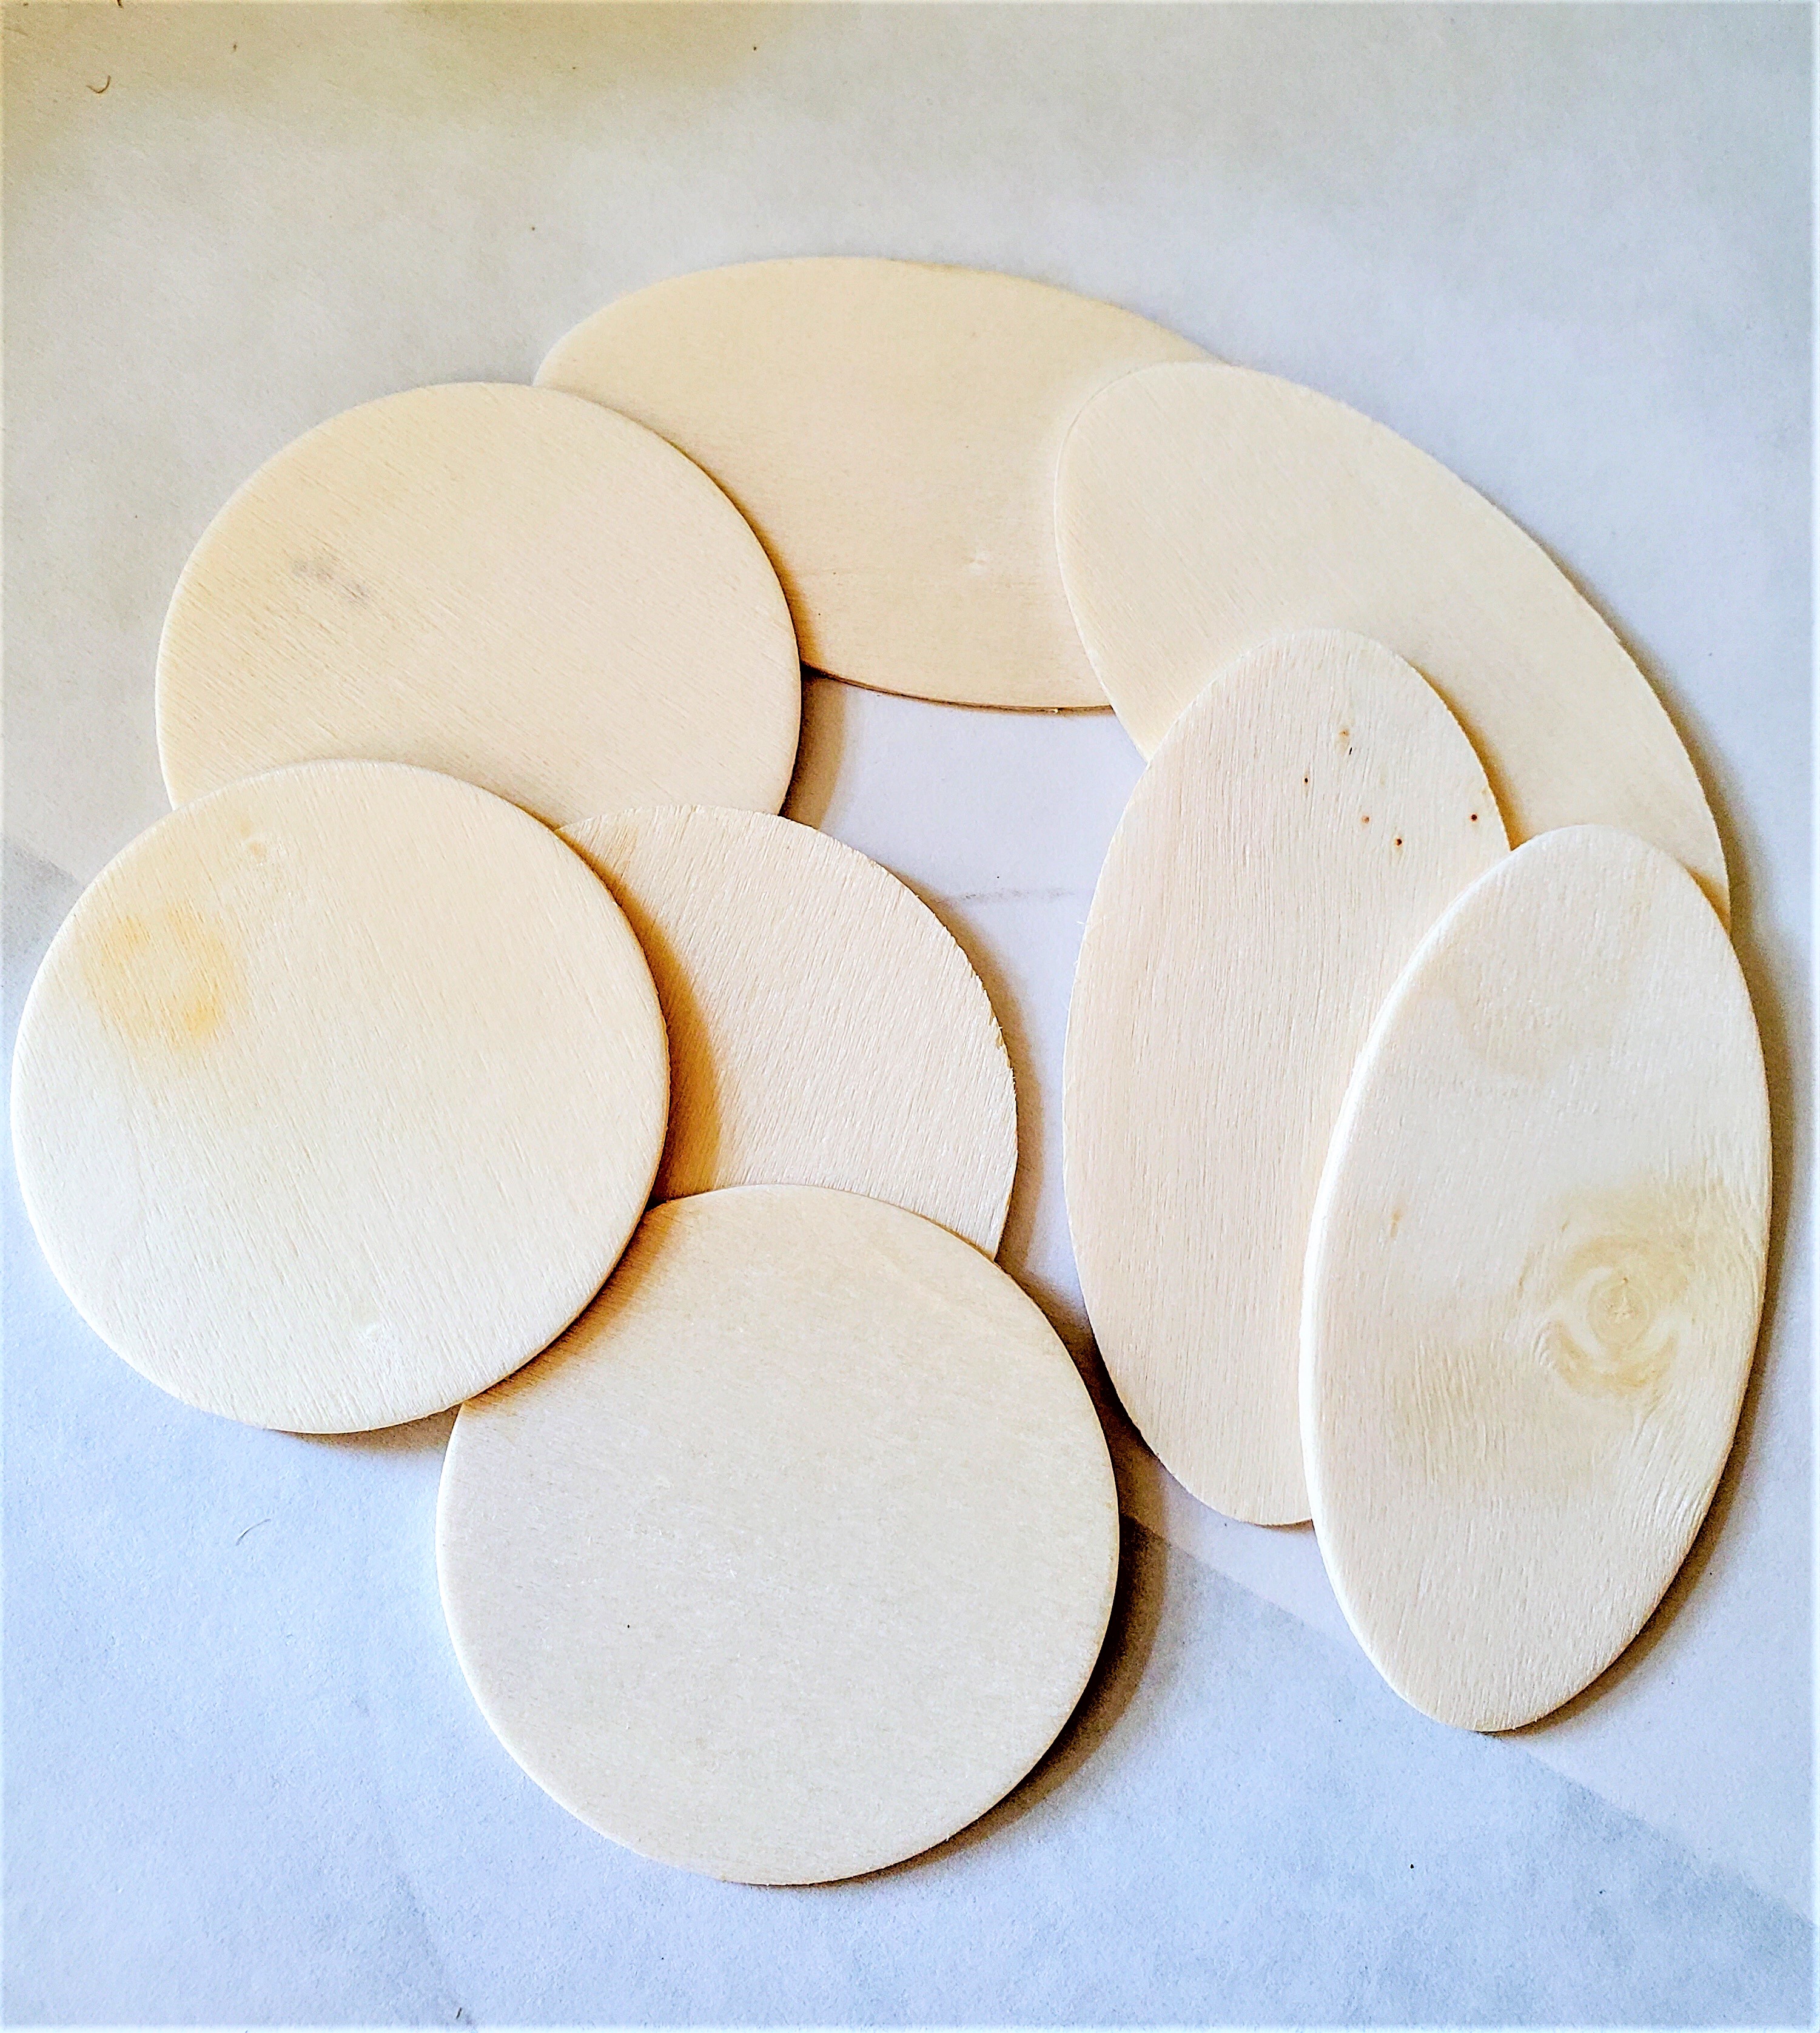
Step 3: A Different Stand for the Cheese Markers
So then, I began looking for something to allow the cheese tag to stand. Wait until you see what I bought! Small wooden clothespins, perfect right? And different! Finding these small clothespins was exciting because these make mine even more different from the porcelain cheese marker signs, I have seen in the marketplace. By the way, have you seen cheese markers with clothespins as feet before? I haven't!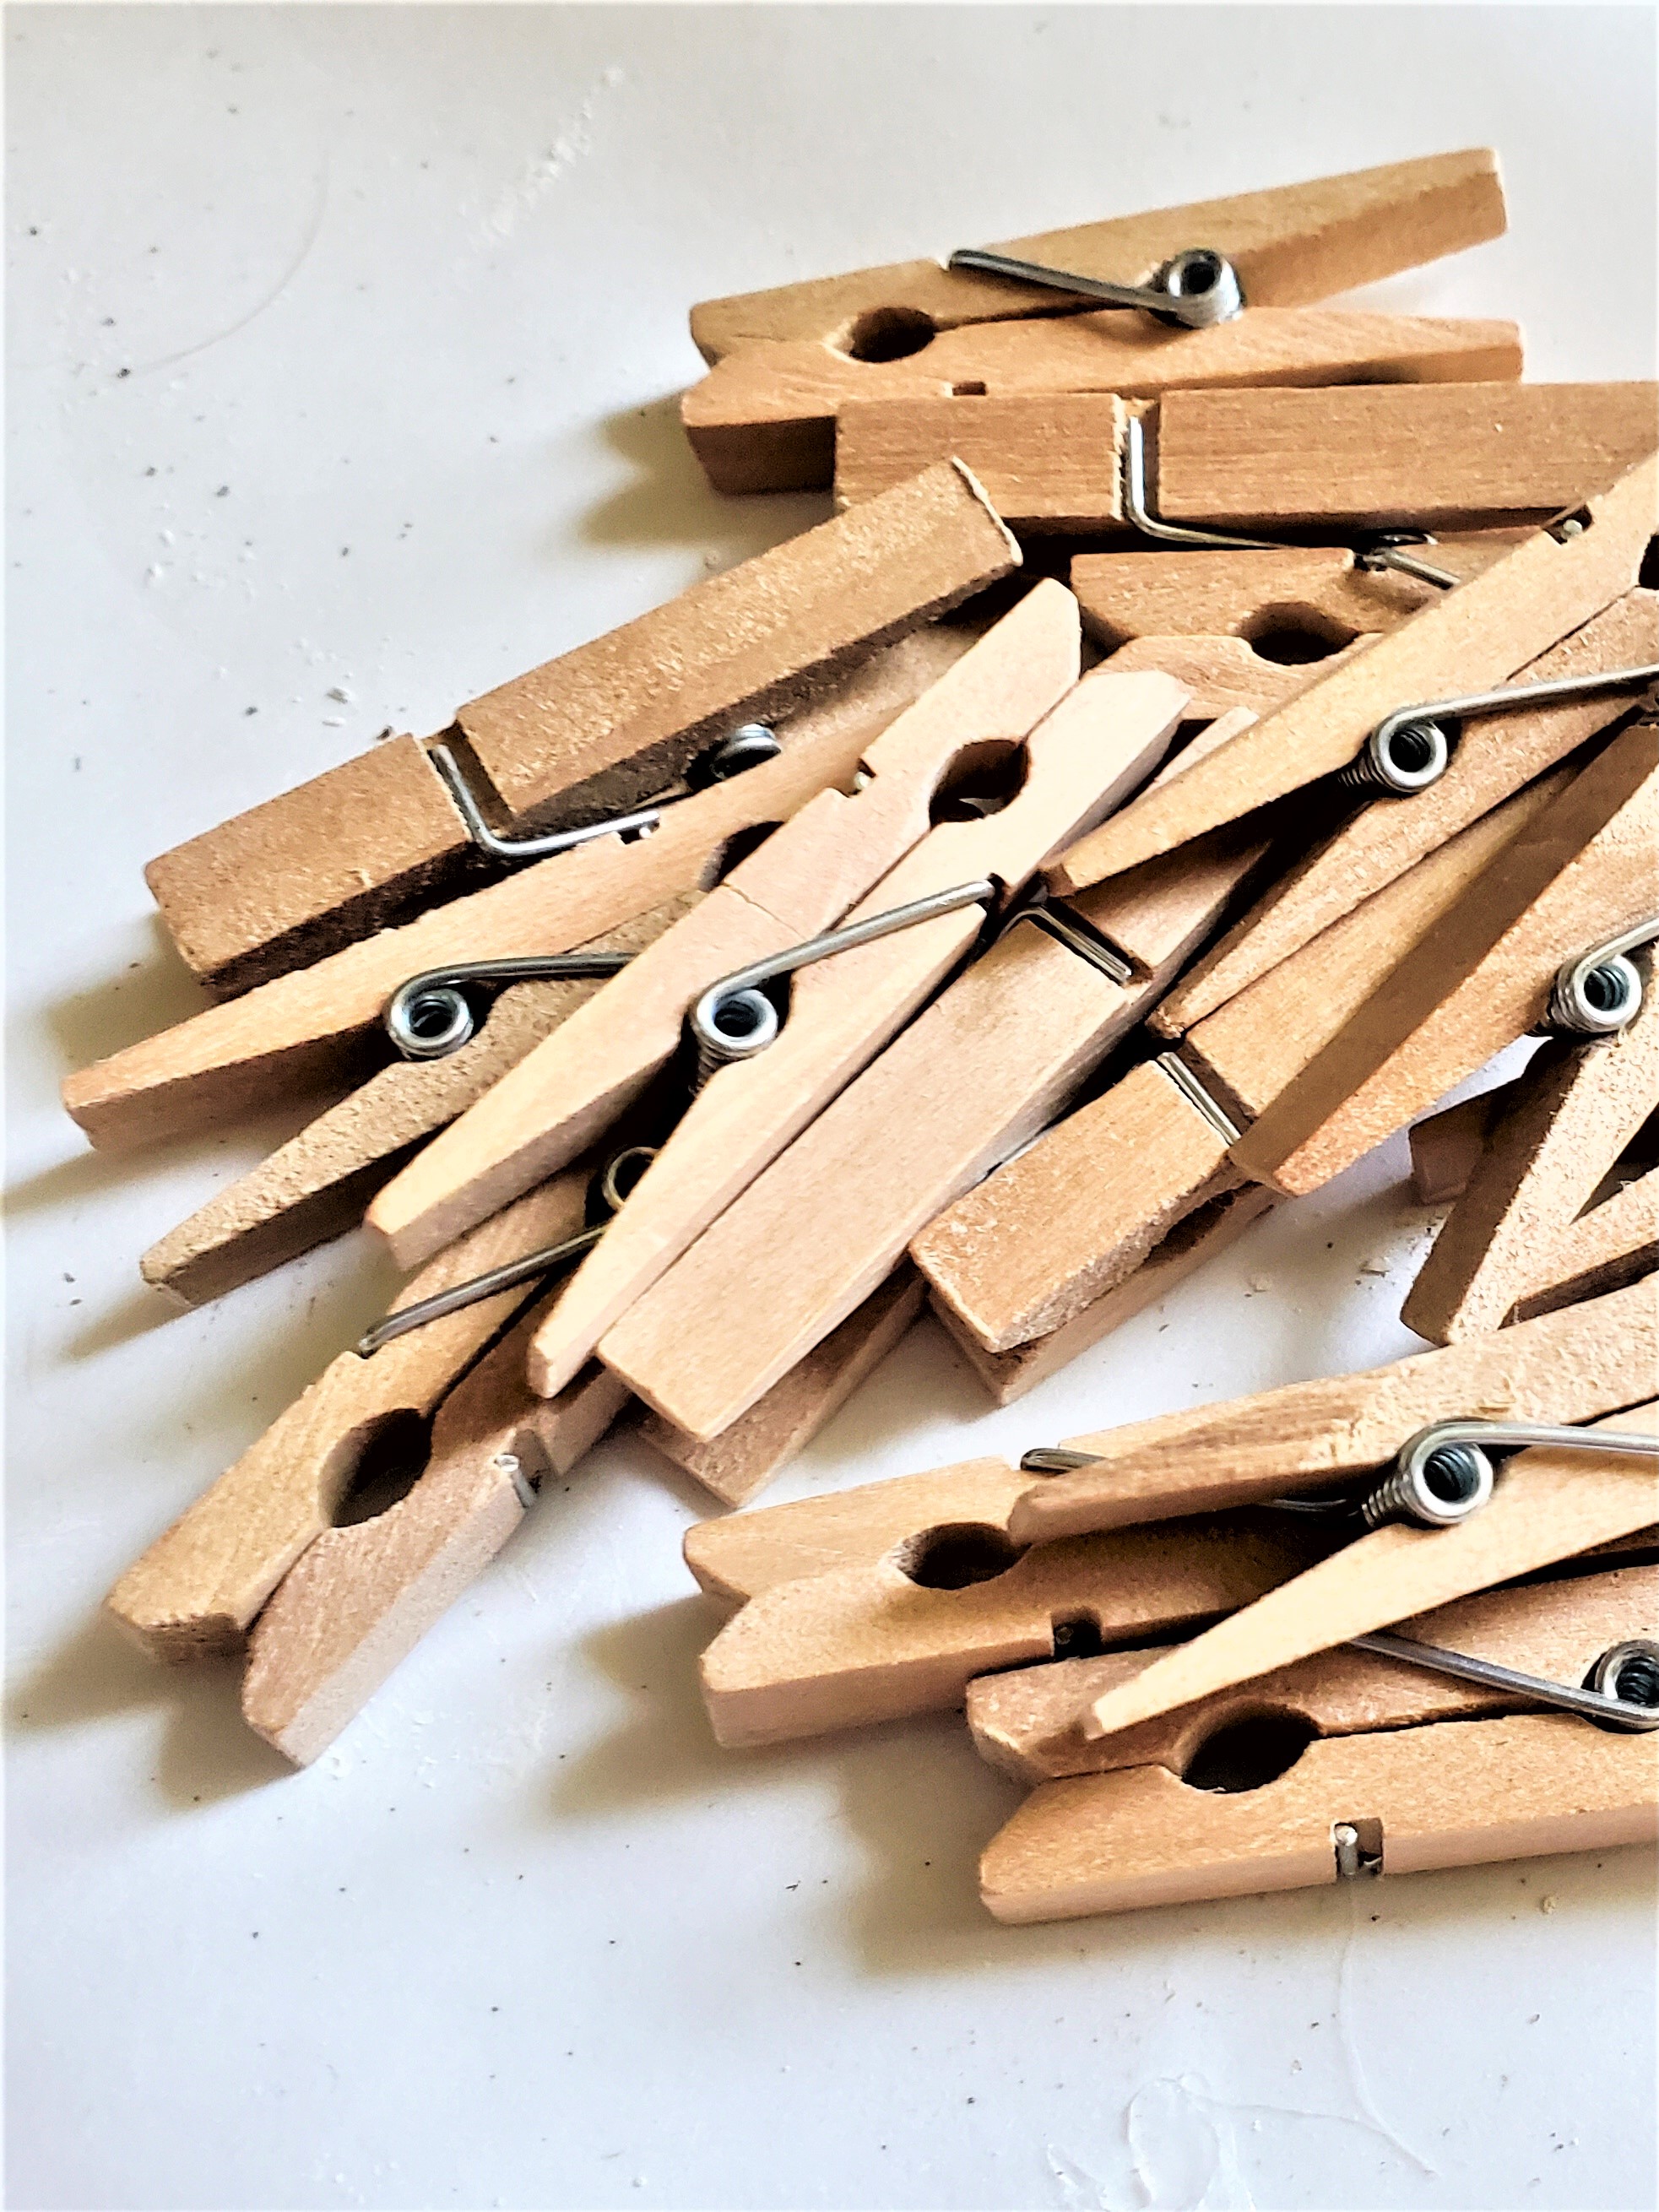
Step 4: Paint the Wood Discs
After gathering my supplies in my office/craft room, it is time to begin making the chalkboard cheese markers. I begin painting each side of the wood pieces with the two coats of chalkboard paint. Let them dry completely in between each coat.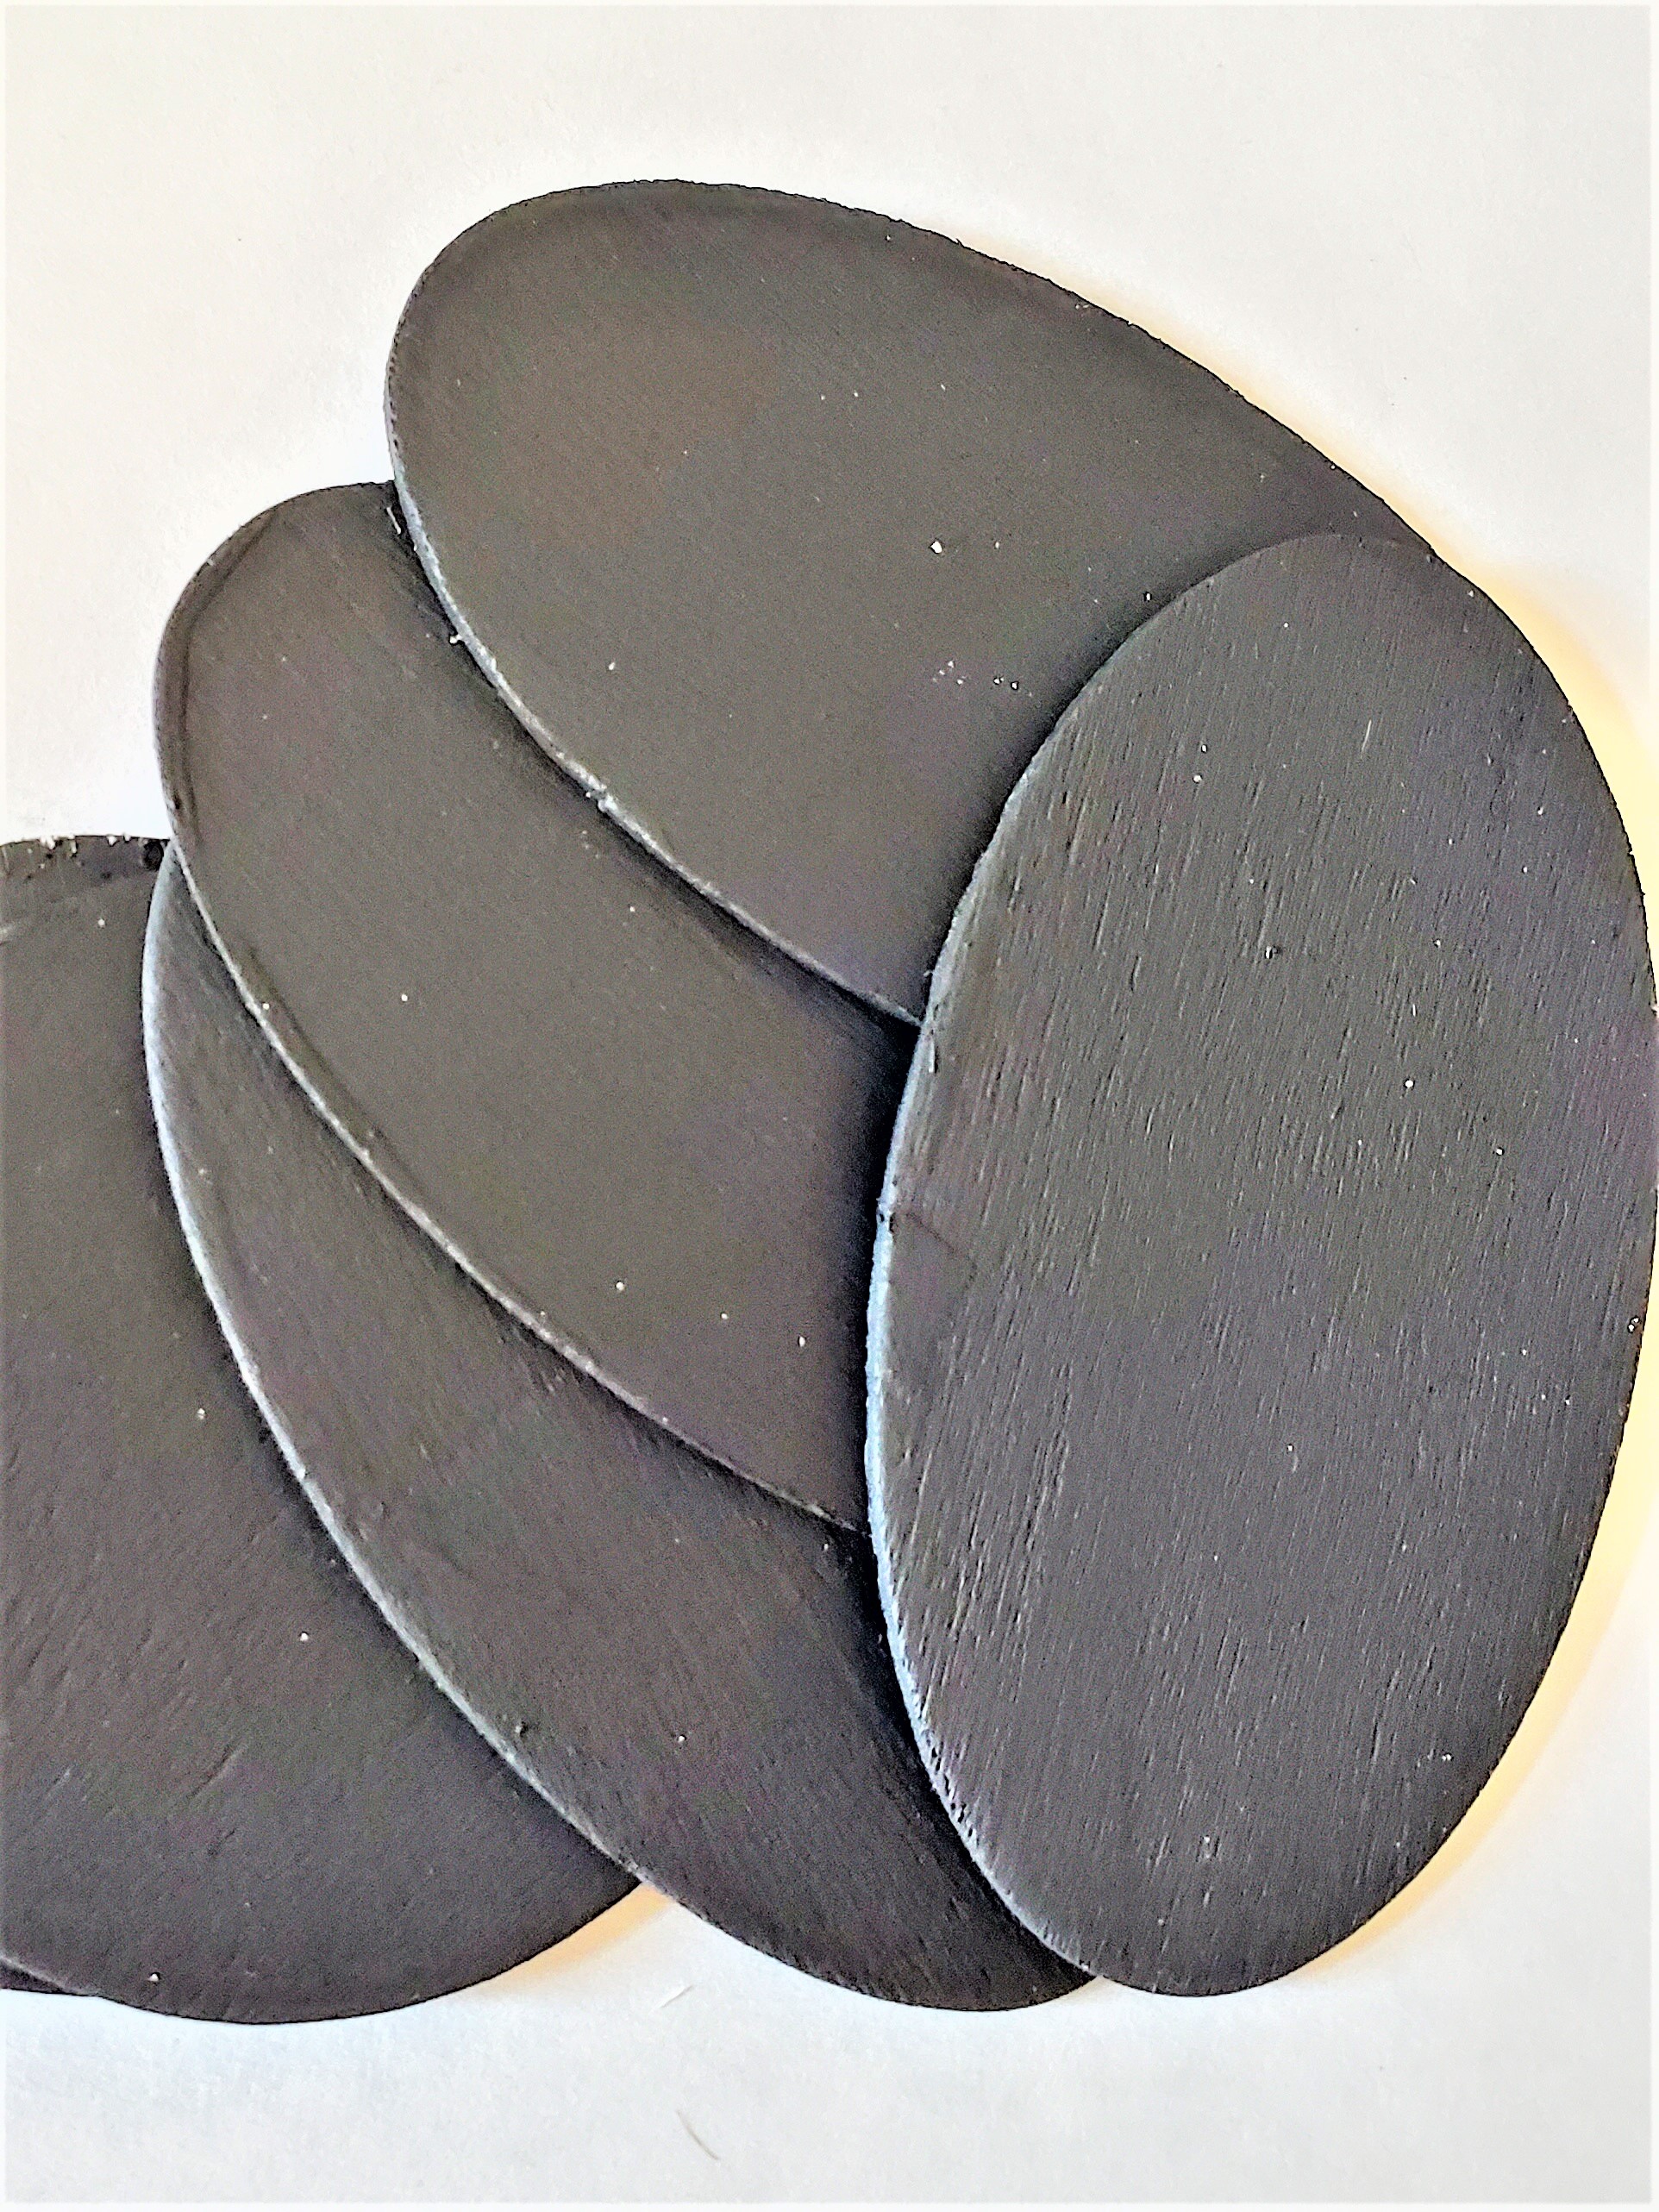
Step 5: Paint the Rub N Buff or Antique Gold Paint
Meanwhile, as the bases are drying, I grab a favorite product, Rub N Buff in antique gold for my clothespin's feet. A stencil brush is a perfect tool to add the Rub N Buff. Besides being an easy product to work with a little goes a long way. Buff with a lint-free rag or paper towel and let them dry completely.