
Make a Cabbage Vase Fast — Try This Now
Today, I’ll show you easy steps on how to make a cabbage vase fast-try this now, a simple way to create a beautiful flower vase that will be the main star of the show on any spring or Easter tablescape. Pitchers, glass vases, and ceramic pieces aren’t the only pieces to use for a spring flower arrangement.
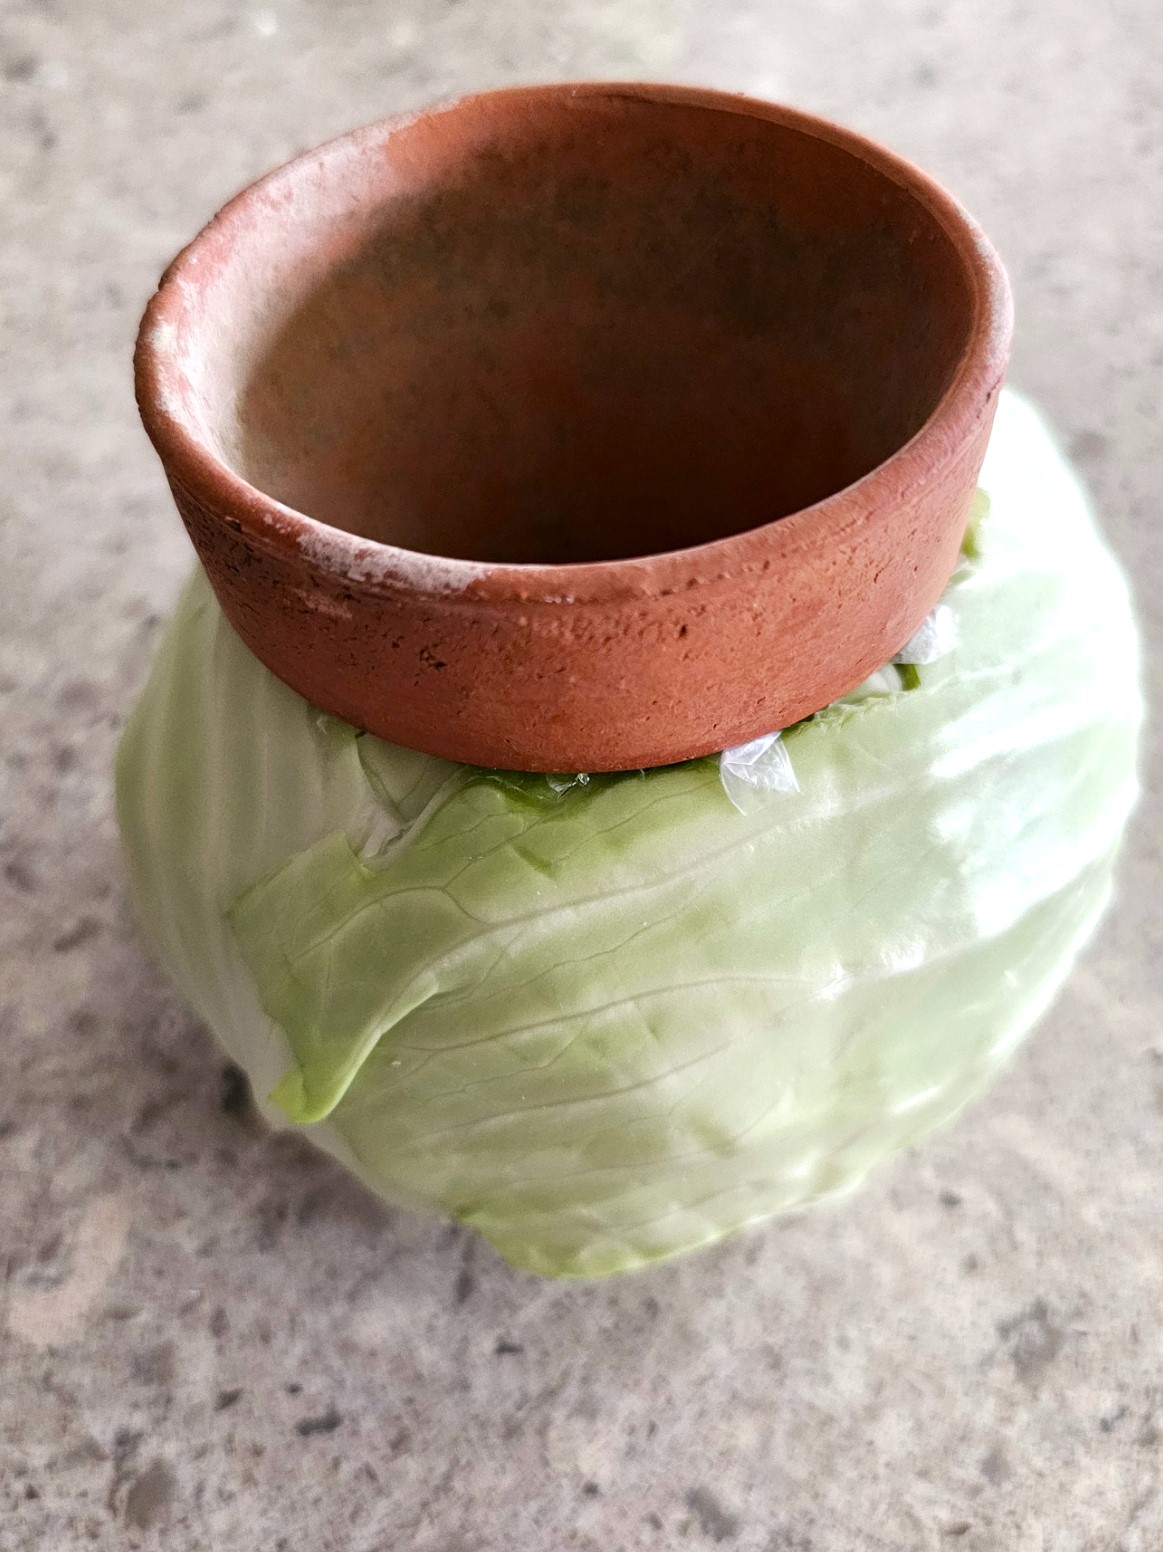
Guess what I used to make a beautiful flower arrangement? I’m sharing a unique design for a floral centerpiece Peter Rabbit would hop with approval. I also wanted to do a practice run before adding this to our spring table. While I was at the grocery store staring at the bunches of flowers, I decided it was the perfect day to experiment. I’m also sharing another option using a small terracotta pot inside the cabbage, which makes arranging flowers super easy.
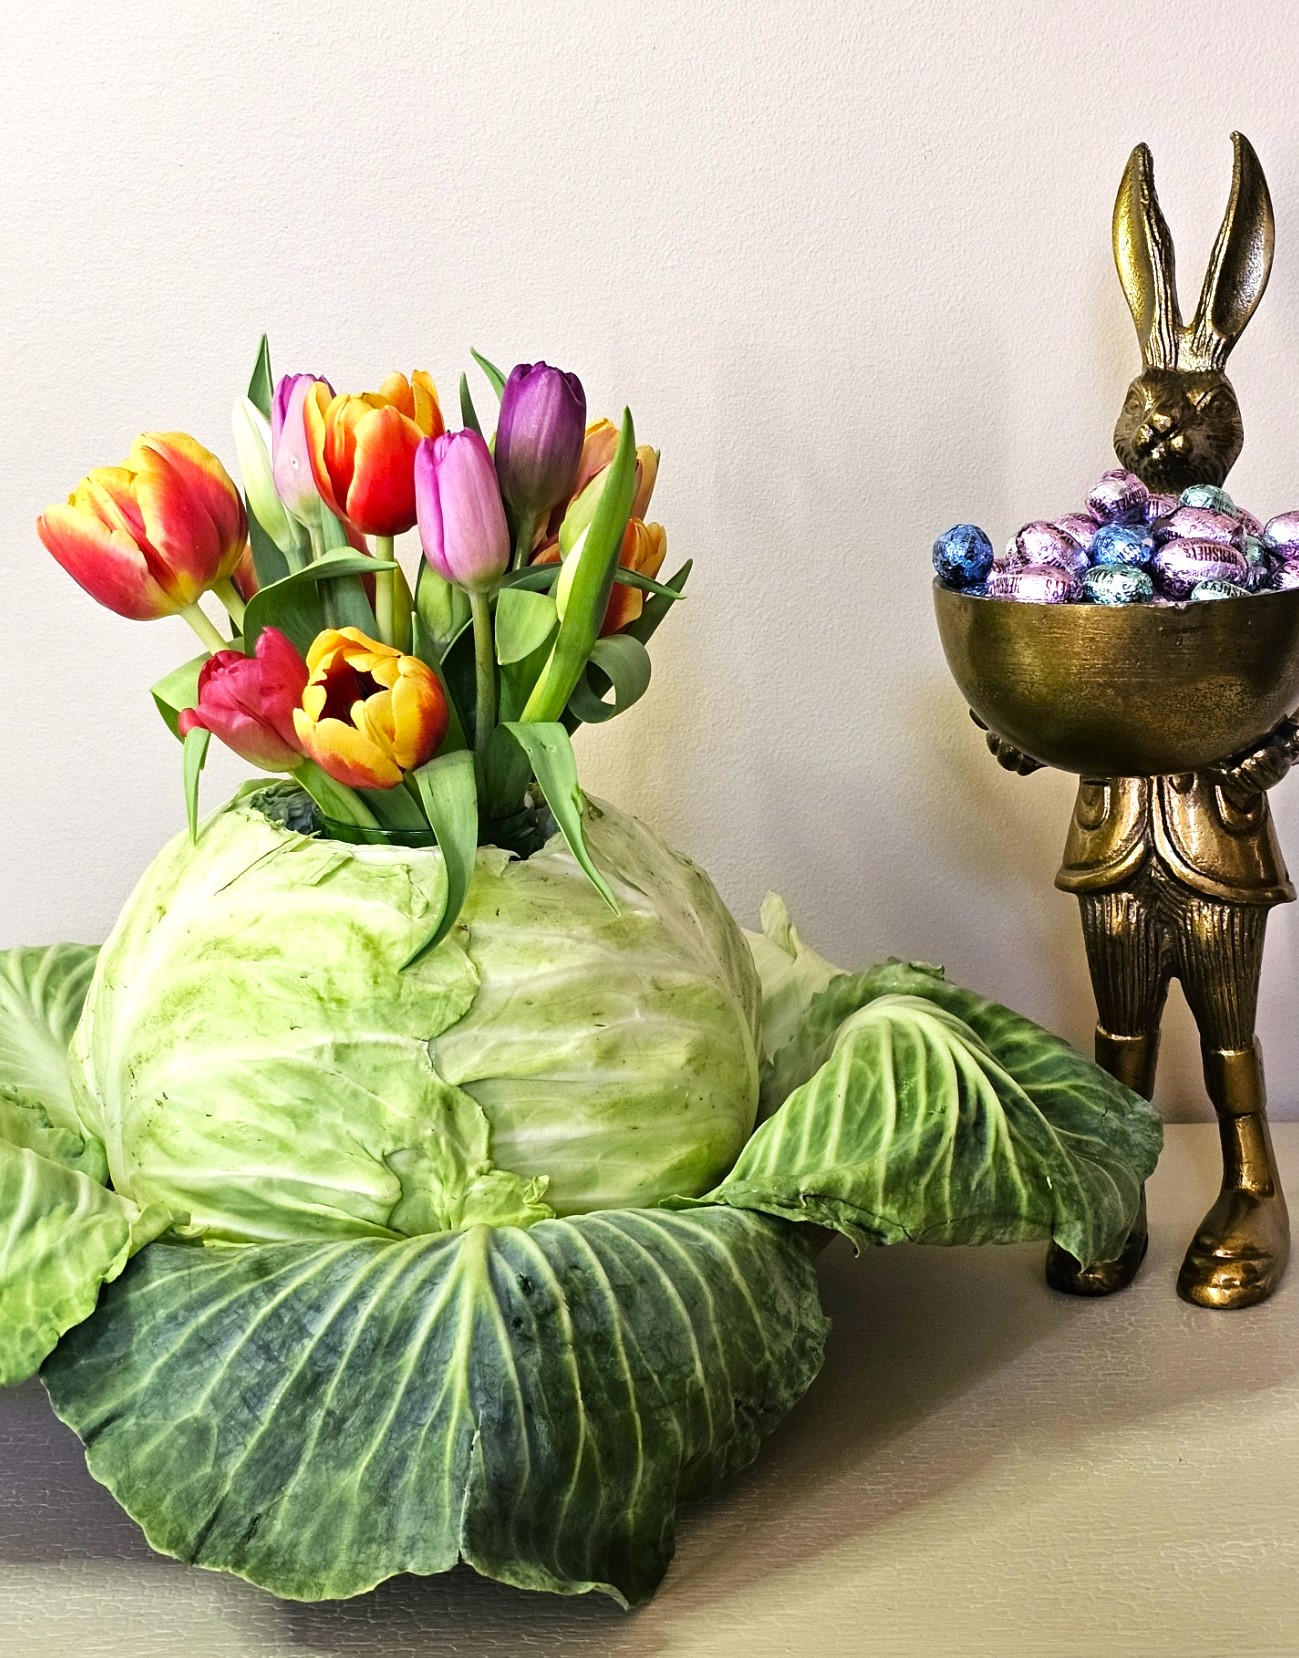
This hollowed cabbage makes a beautiful floral centerpiece for any spring or summer occasion. It’s especially perfect as an Easter centerpiece. This cabbage arrangement adds whimsy to any table, particularly with bunny plates. It is an easy way to add natural elements to home decorating!
As an Amazon Associate, and through other Affiliate links, I earn from qualifying purchases. On this blog, I earn a small commission from qualifying purchases through affiliate links. I use affiliate links, which means I earn a small commission if you purchase through them. The price will be the same whether you use the affiliate links or go directly to the website. All opinions are my own. (Check our Privacy Policy)
Jump to Printable DIYMake a Cabbage Vase Fast — Try This Now
Bring Nature Indoors with a Charming DIY Centerpiece
At Cloches & Lavender, my favorite things are natural elements and materials. These are incorporated into our home year-round. The best part about adding items from nature? They are practically free and add texture and warmth. They also work with any design style! So, after reading these easy steps, I hope you visit your grocery store and grab a green or red cabbage to create your own cabbage arrangement. This unique design creates the perfect spring flower arrangement for your home.
Supplies Needed: Make a DIY Cabbage Vase Fast
- A paring knife
- Large head of cabbage
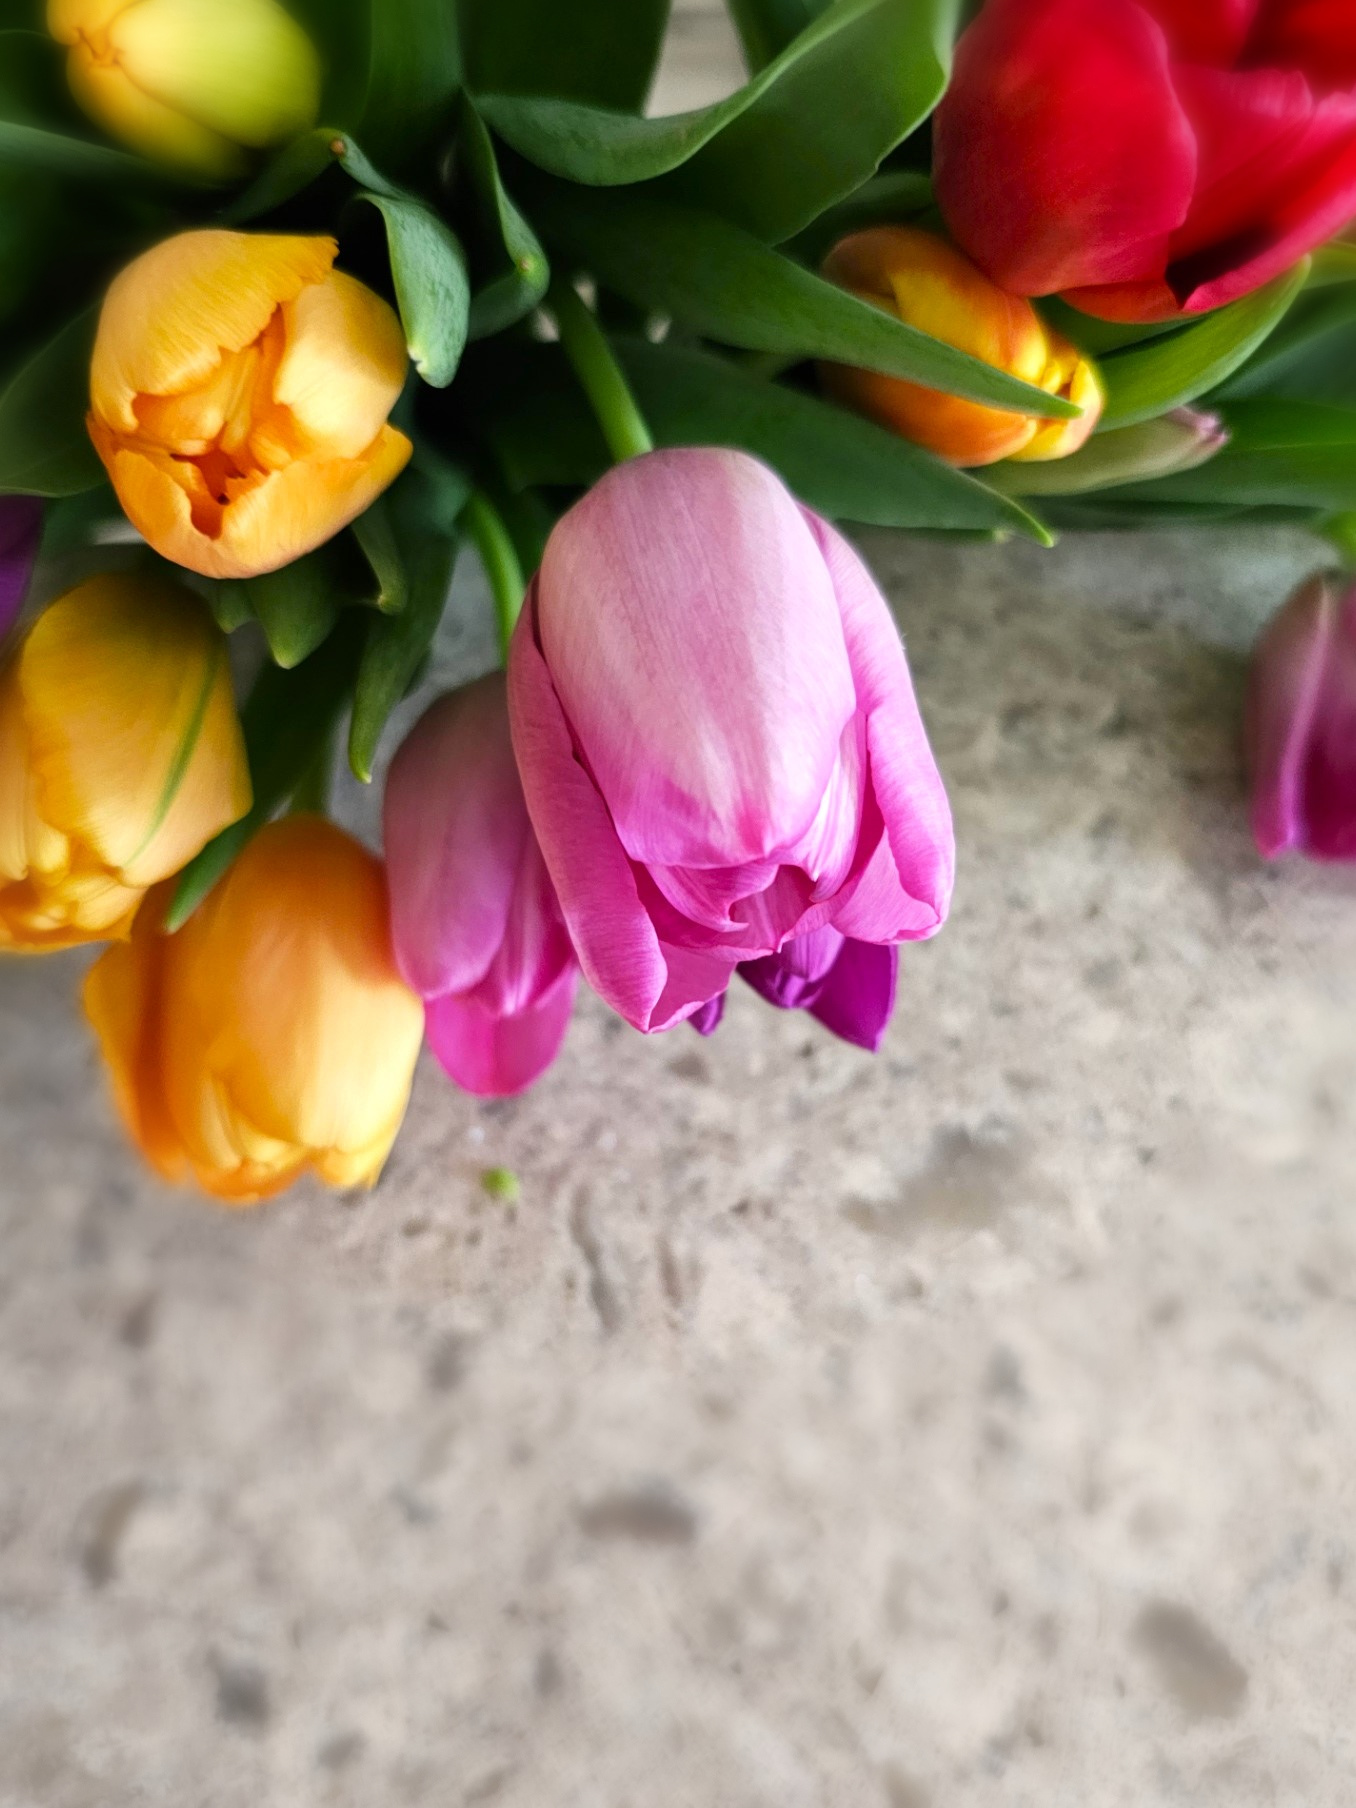
- Fresh tulips or assorted flower stems
- Cutting Board
- Plastic wrap – the sticky product you “press to seal.”
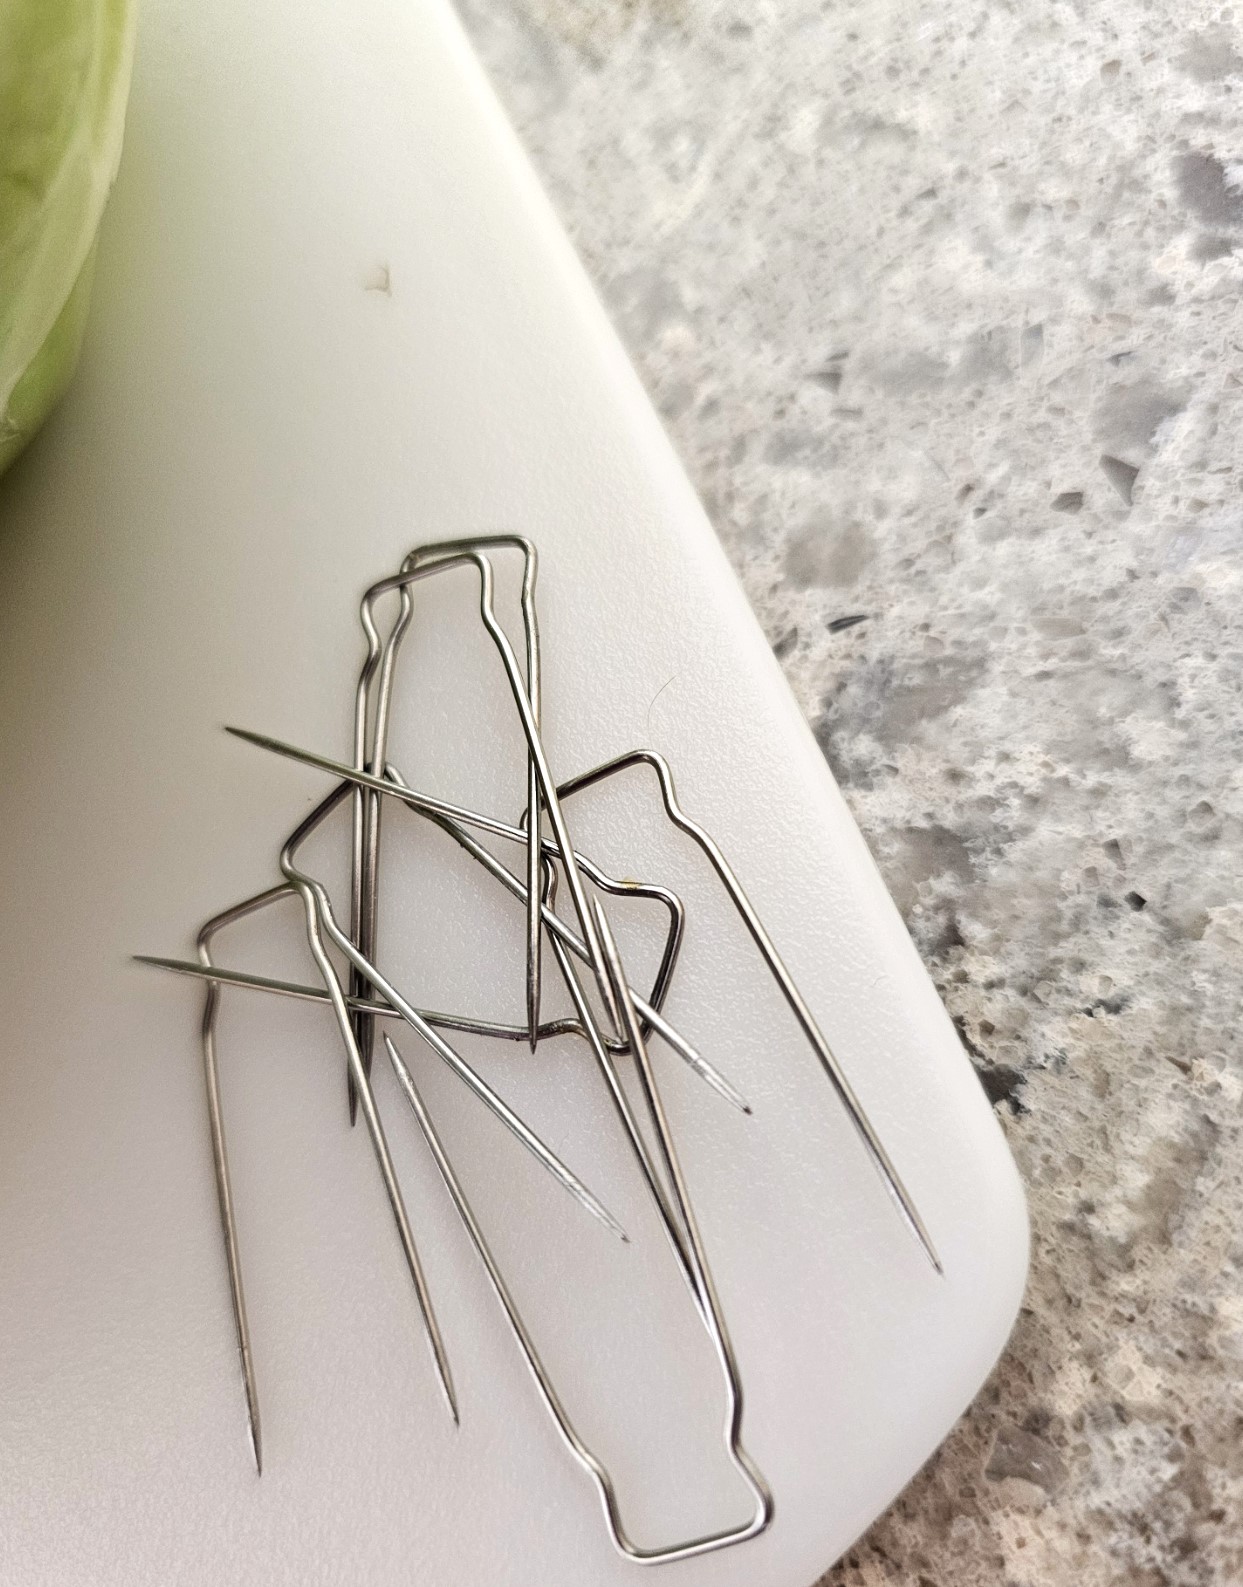
- Floral pins
- Small Glass jar, small mason jar 4 oz. or 6 oz. – Dollar Tree, Dollar store, or Hobby Lobby
- Wet paper towel
- Garden pruners – These are amazing!
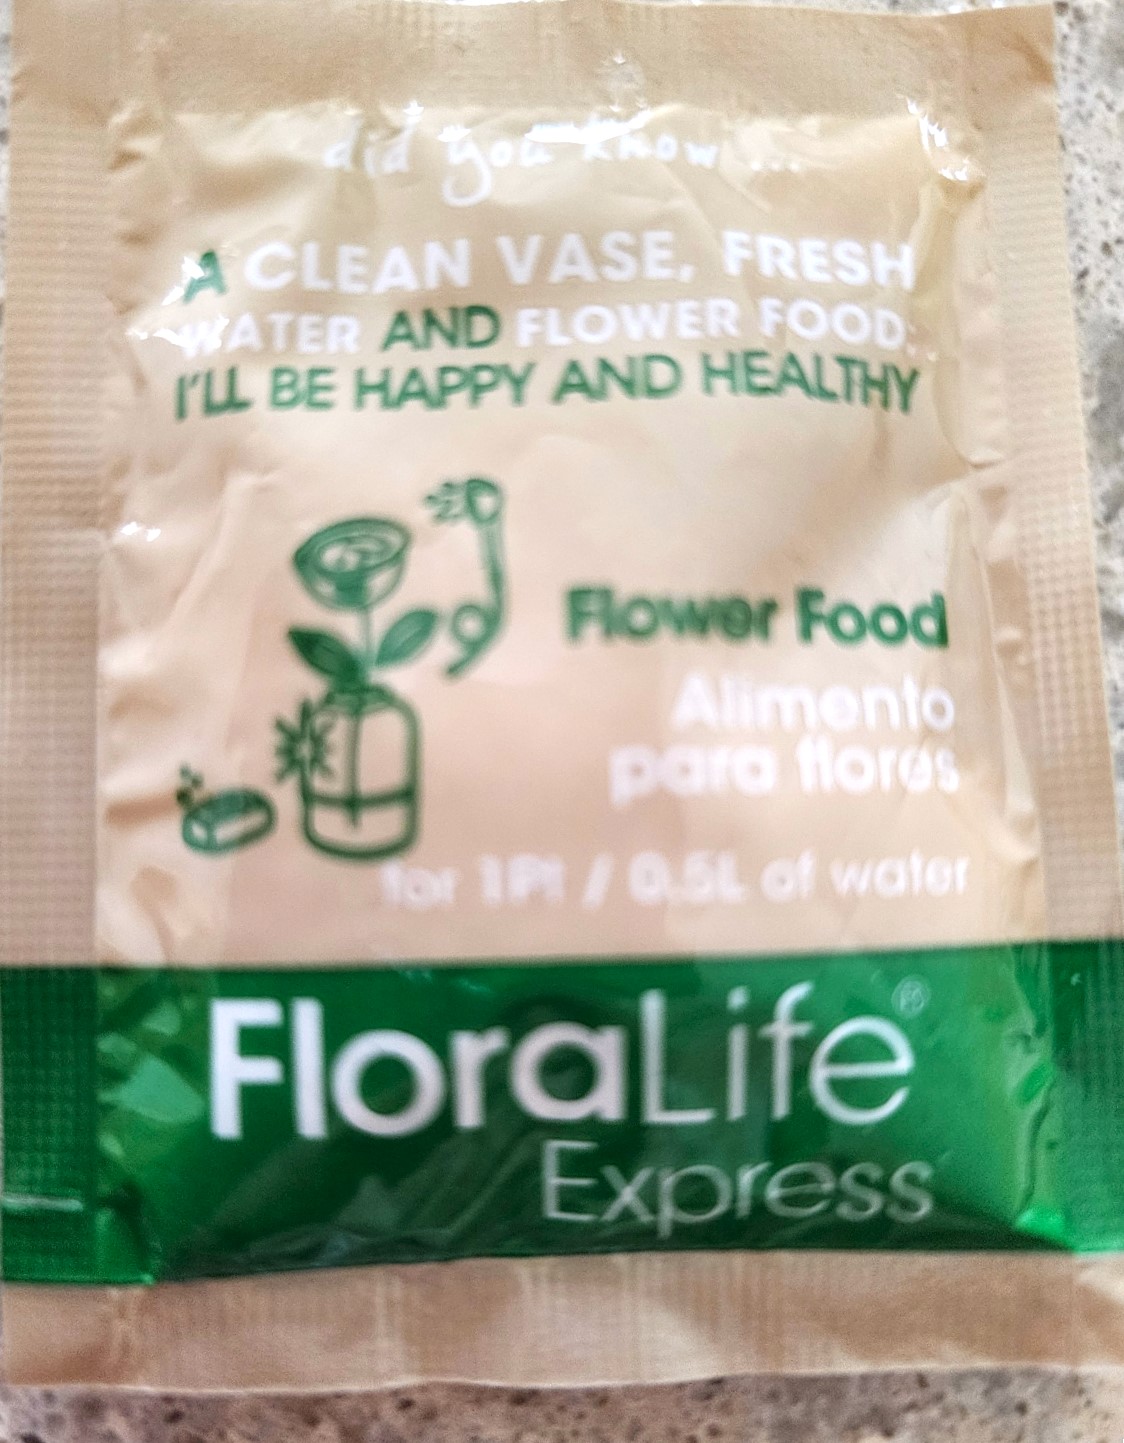
- Floral preservative packets – free at the grocery store
Step 1: Selecting Cabbage and Flowers for Your Cabbage Arrangement
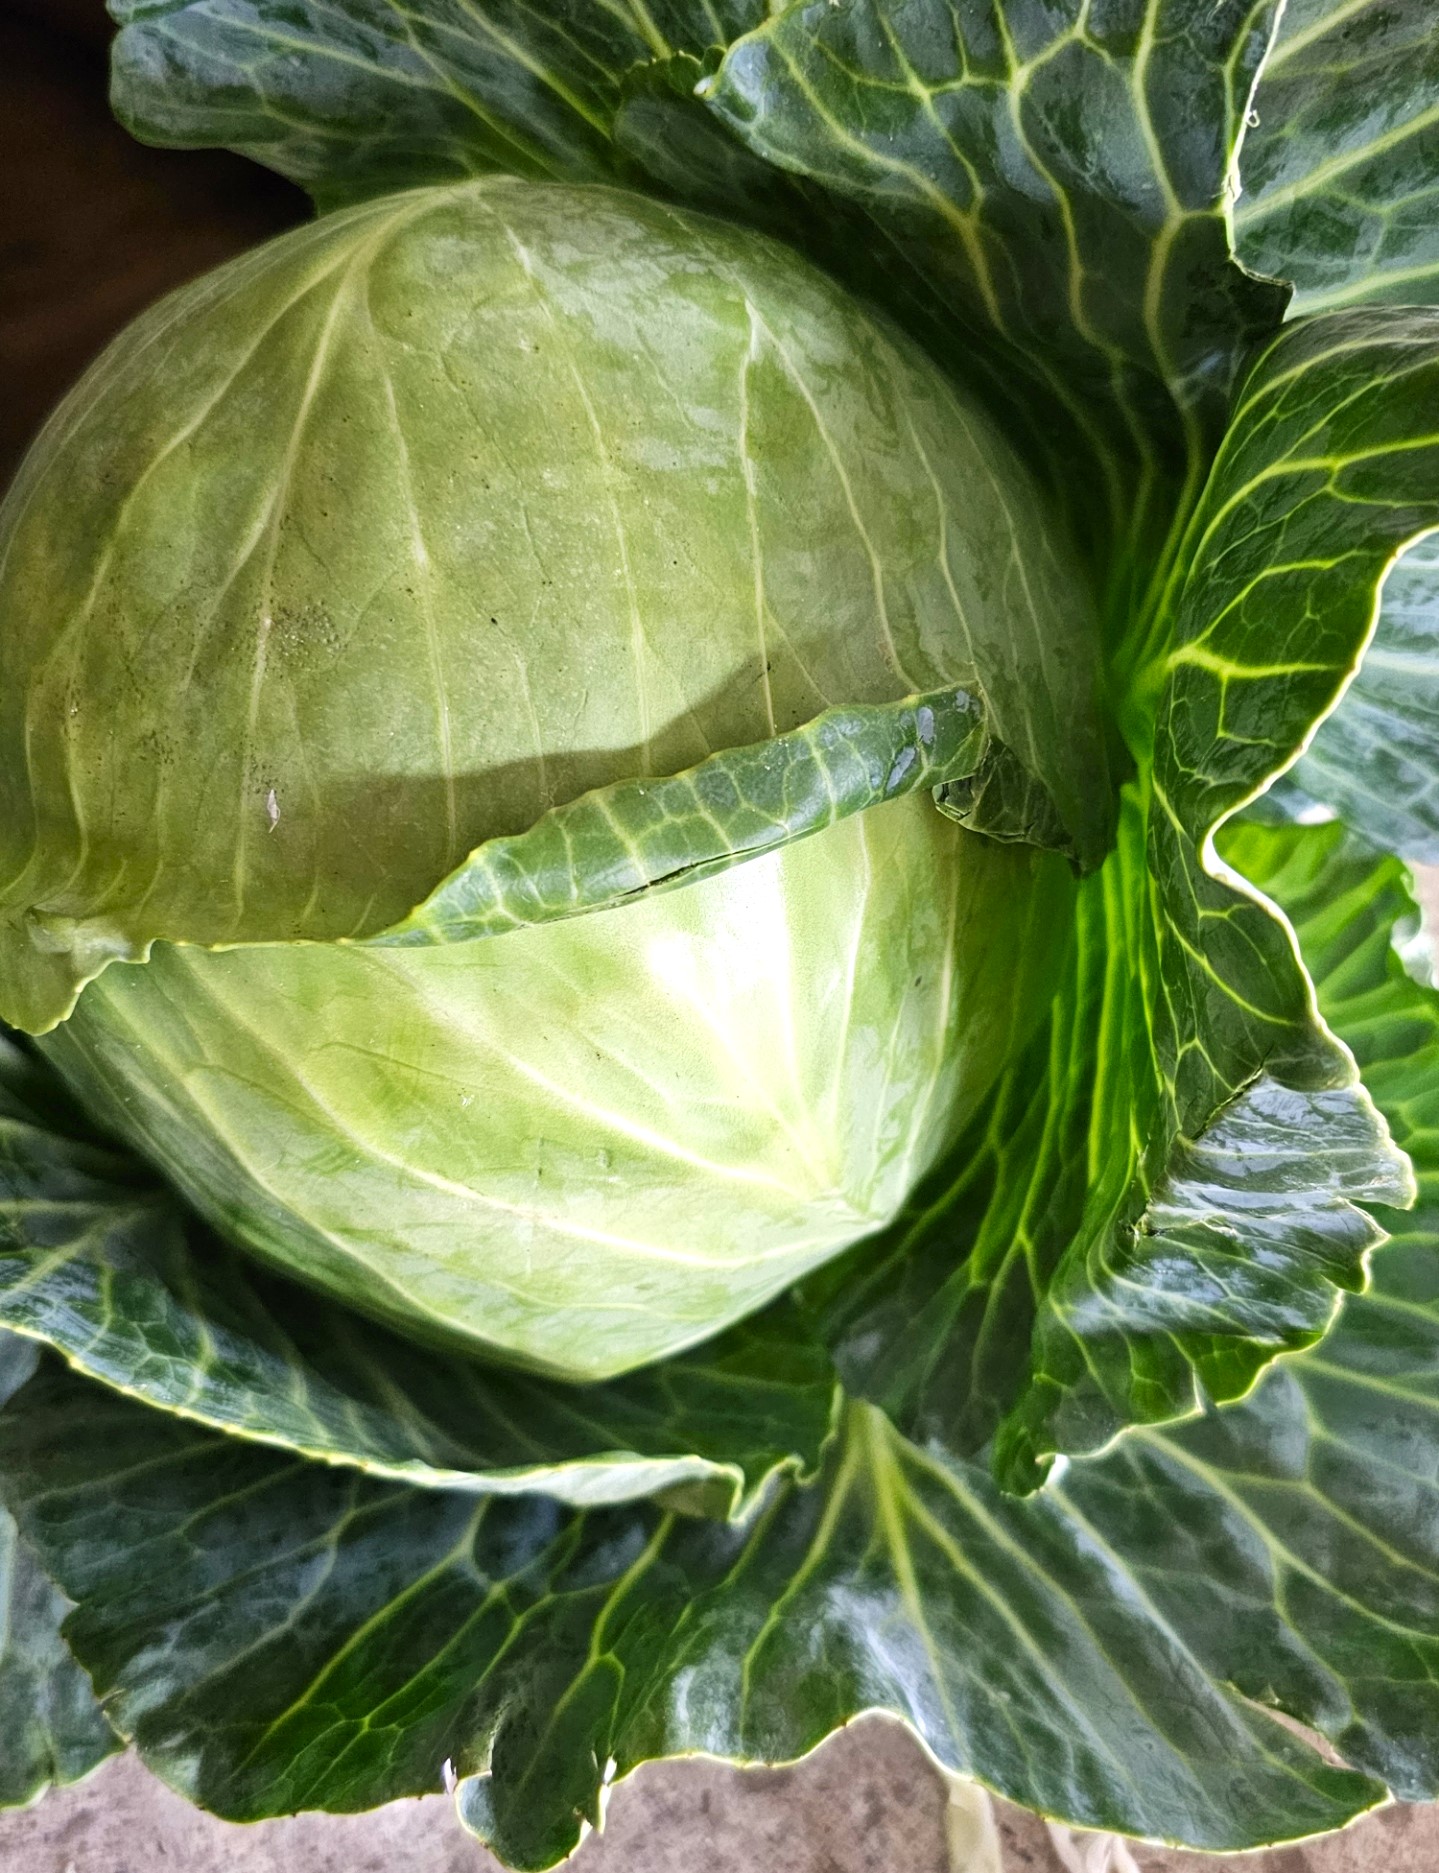
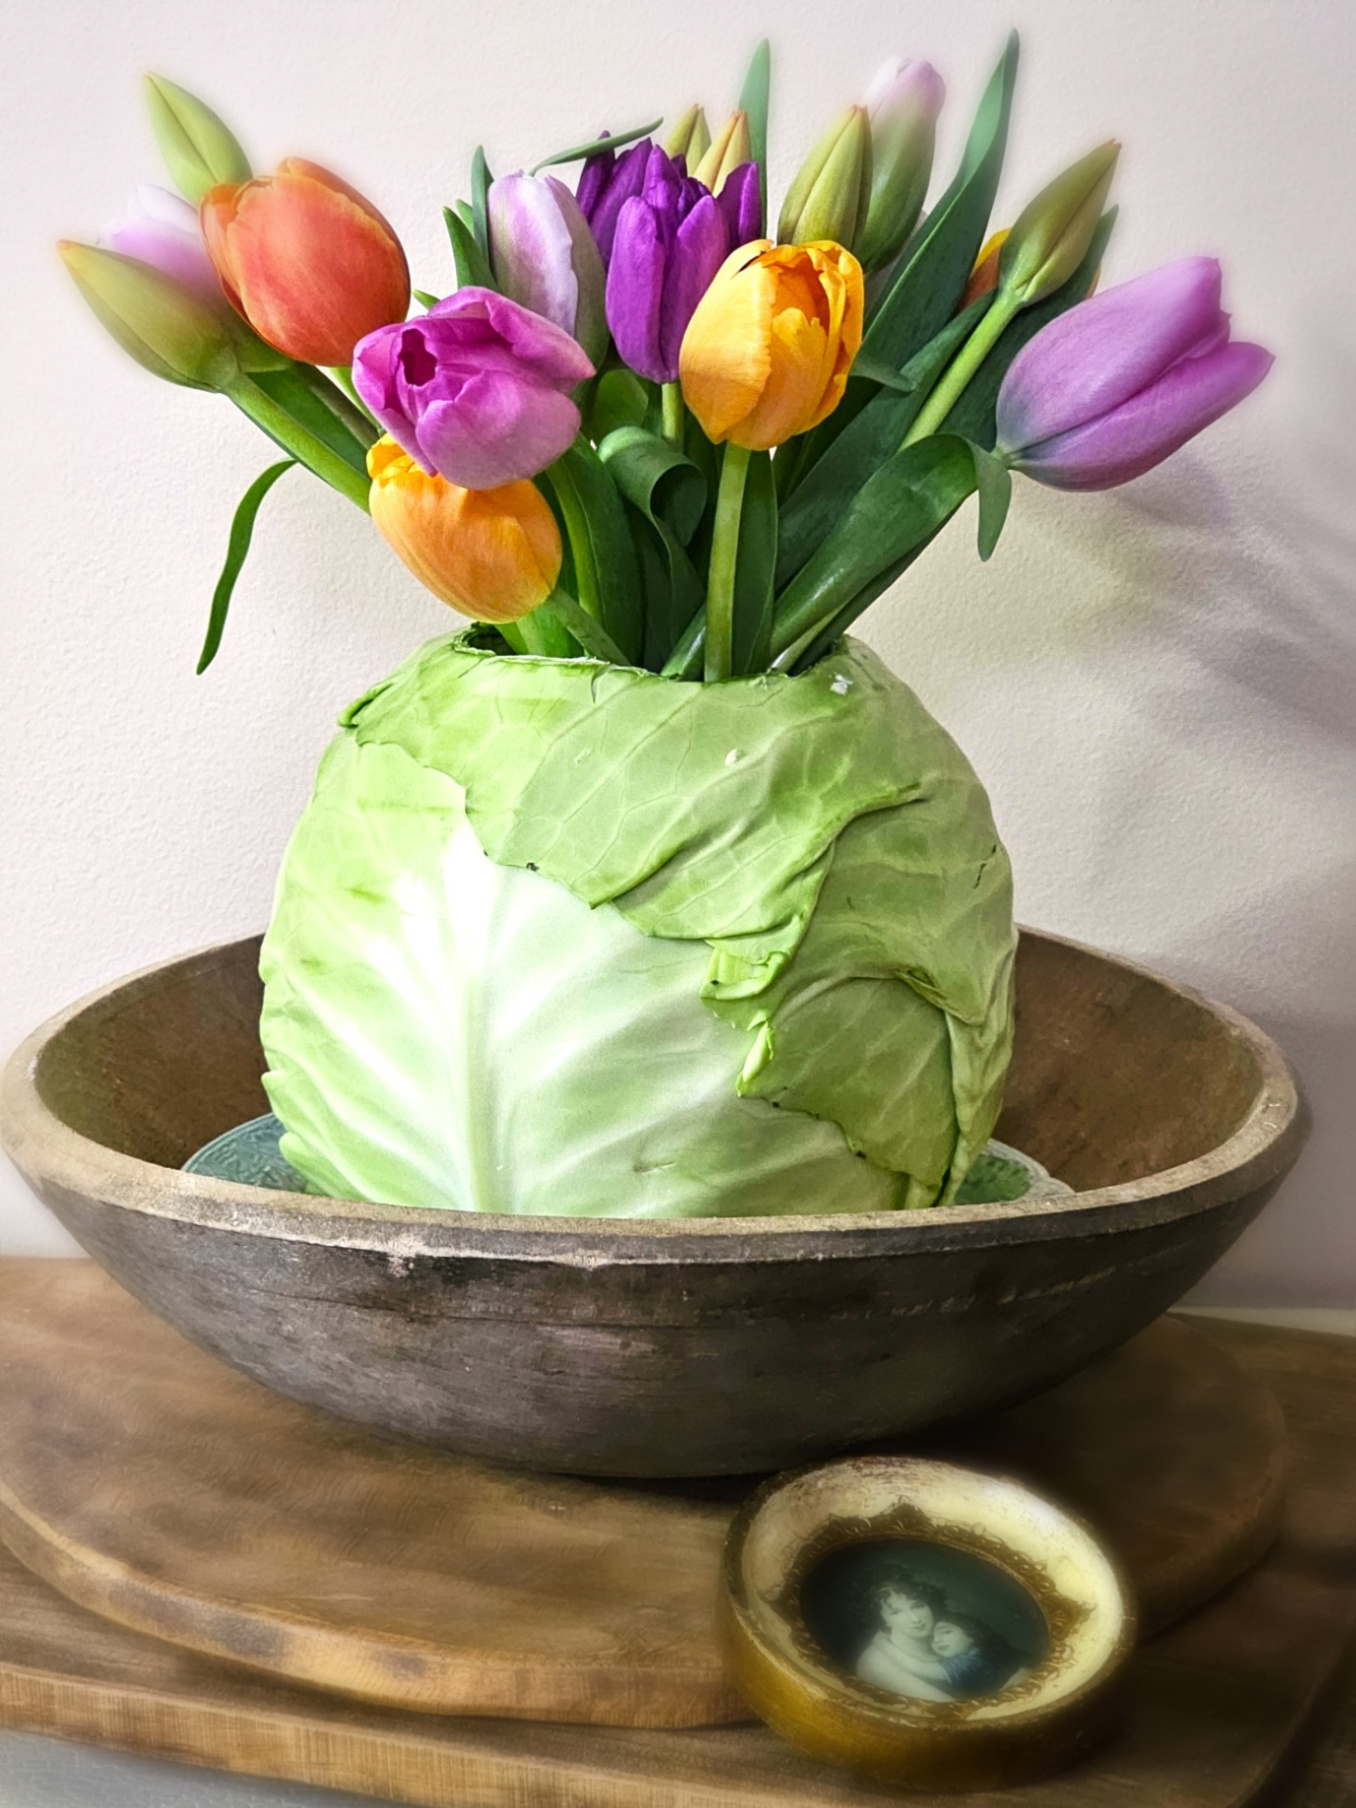
Choose green or red cabbage, fresh tulips, or your favorite flowers. Choose the color scheme that works with your spring table. For this floral arrangement, I chose fresh tulips in multiple colors. I’m happy red cabbage wasn’t available for this easy DIY cabbage vase. The combination of colors would have been overpowering. As I mentioned above, selecting a large head of cabbage is best; however, for practice, I’m using a small cabbage for my floral centerpiece.
Cindy’s Pro Tip: Imagine a red cabbage filled with cut hydrangeas and assorted green and pink grocery store flowers. This color combination would make this the main star of the show for any gathering!
Cindy’s Note: This cabbage vase is a unique way to create a beautiful spring flower arrangement for a spring table or Easter tablescape.
Quick Overview: Cabbage Vase Floral Centerpiece:
- Hollow out a cabbage for a natural spring flower arrangement vase
- Add fresh bunches of flowers like tulips or cut hydrangeas for a beautiful centerpiece
- Optional: Place a terracotta pot inside the cabbage for a rustic look
- Perfect for any spring or summer table
Step 2: Prepare the Bottom of Your Cabbage for a Stable Floral Centerpiece
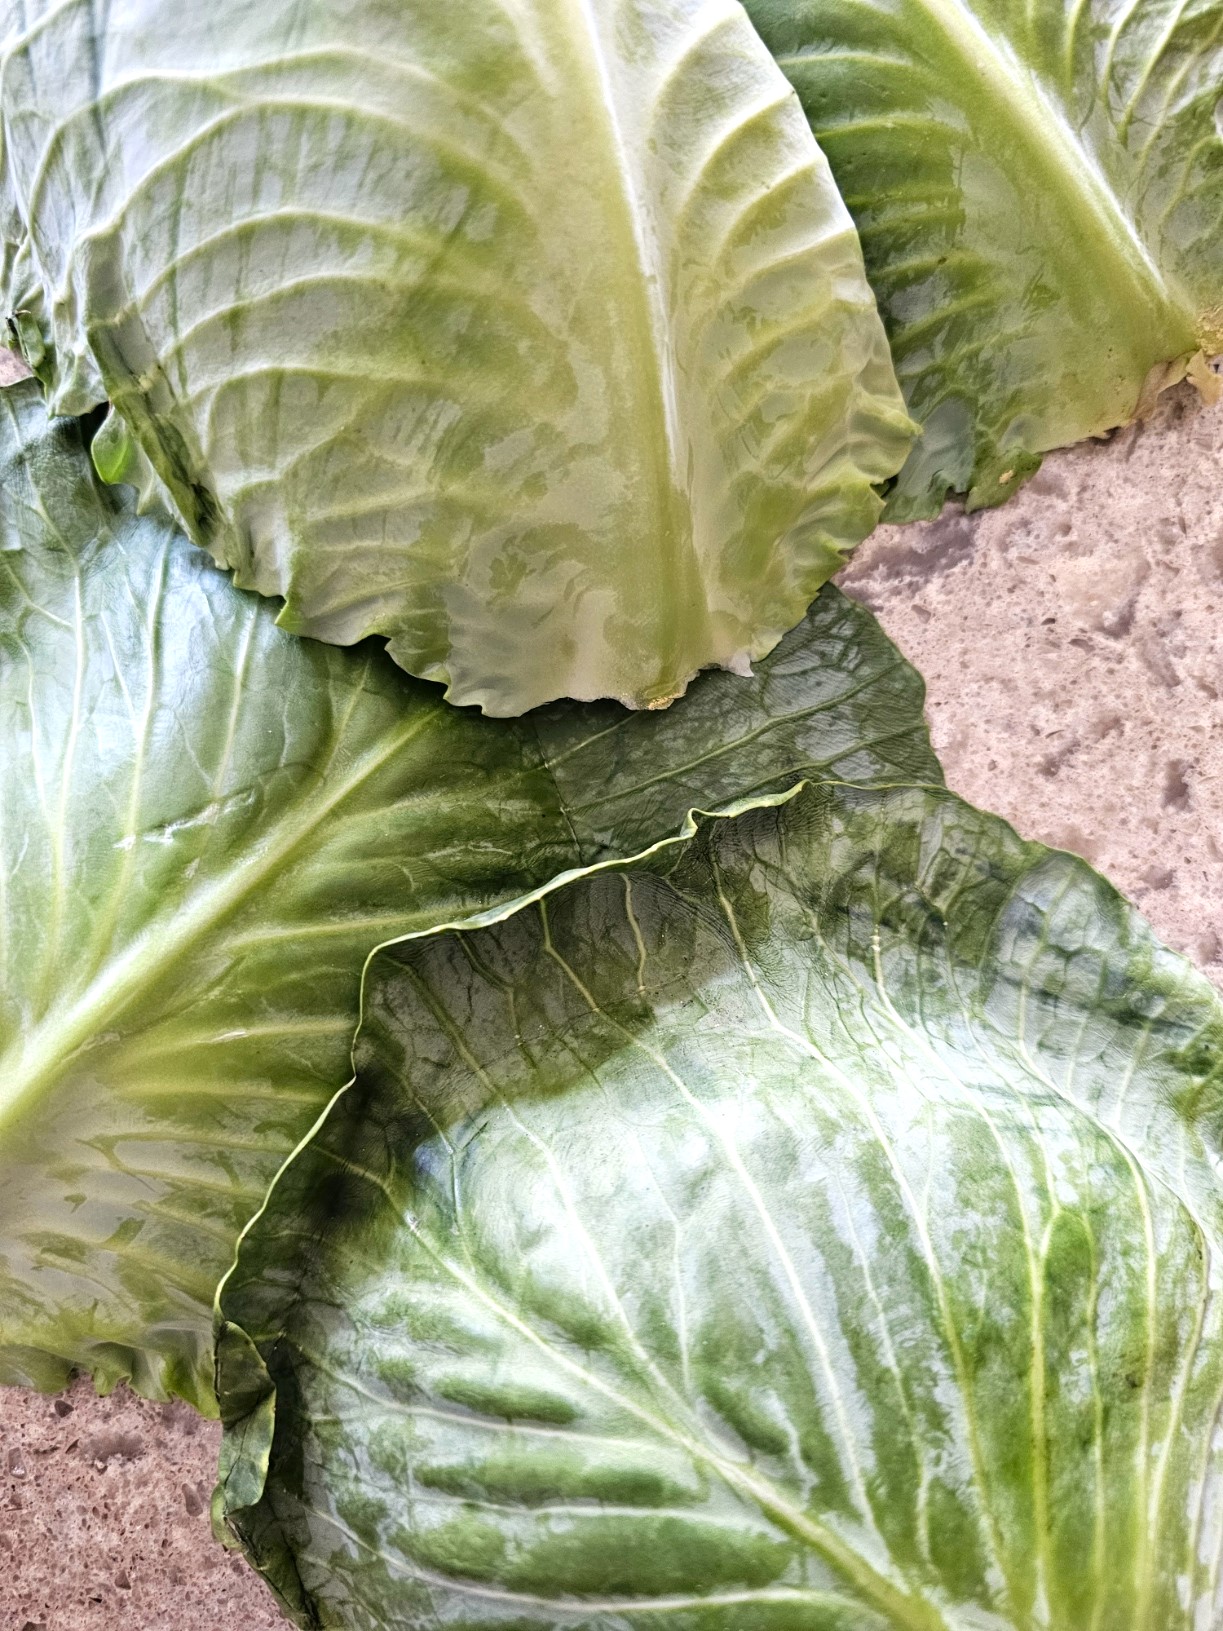
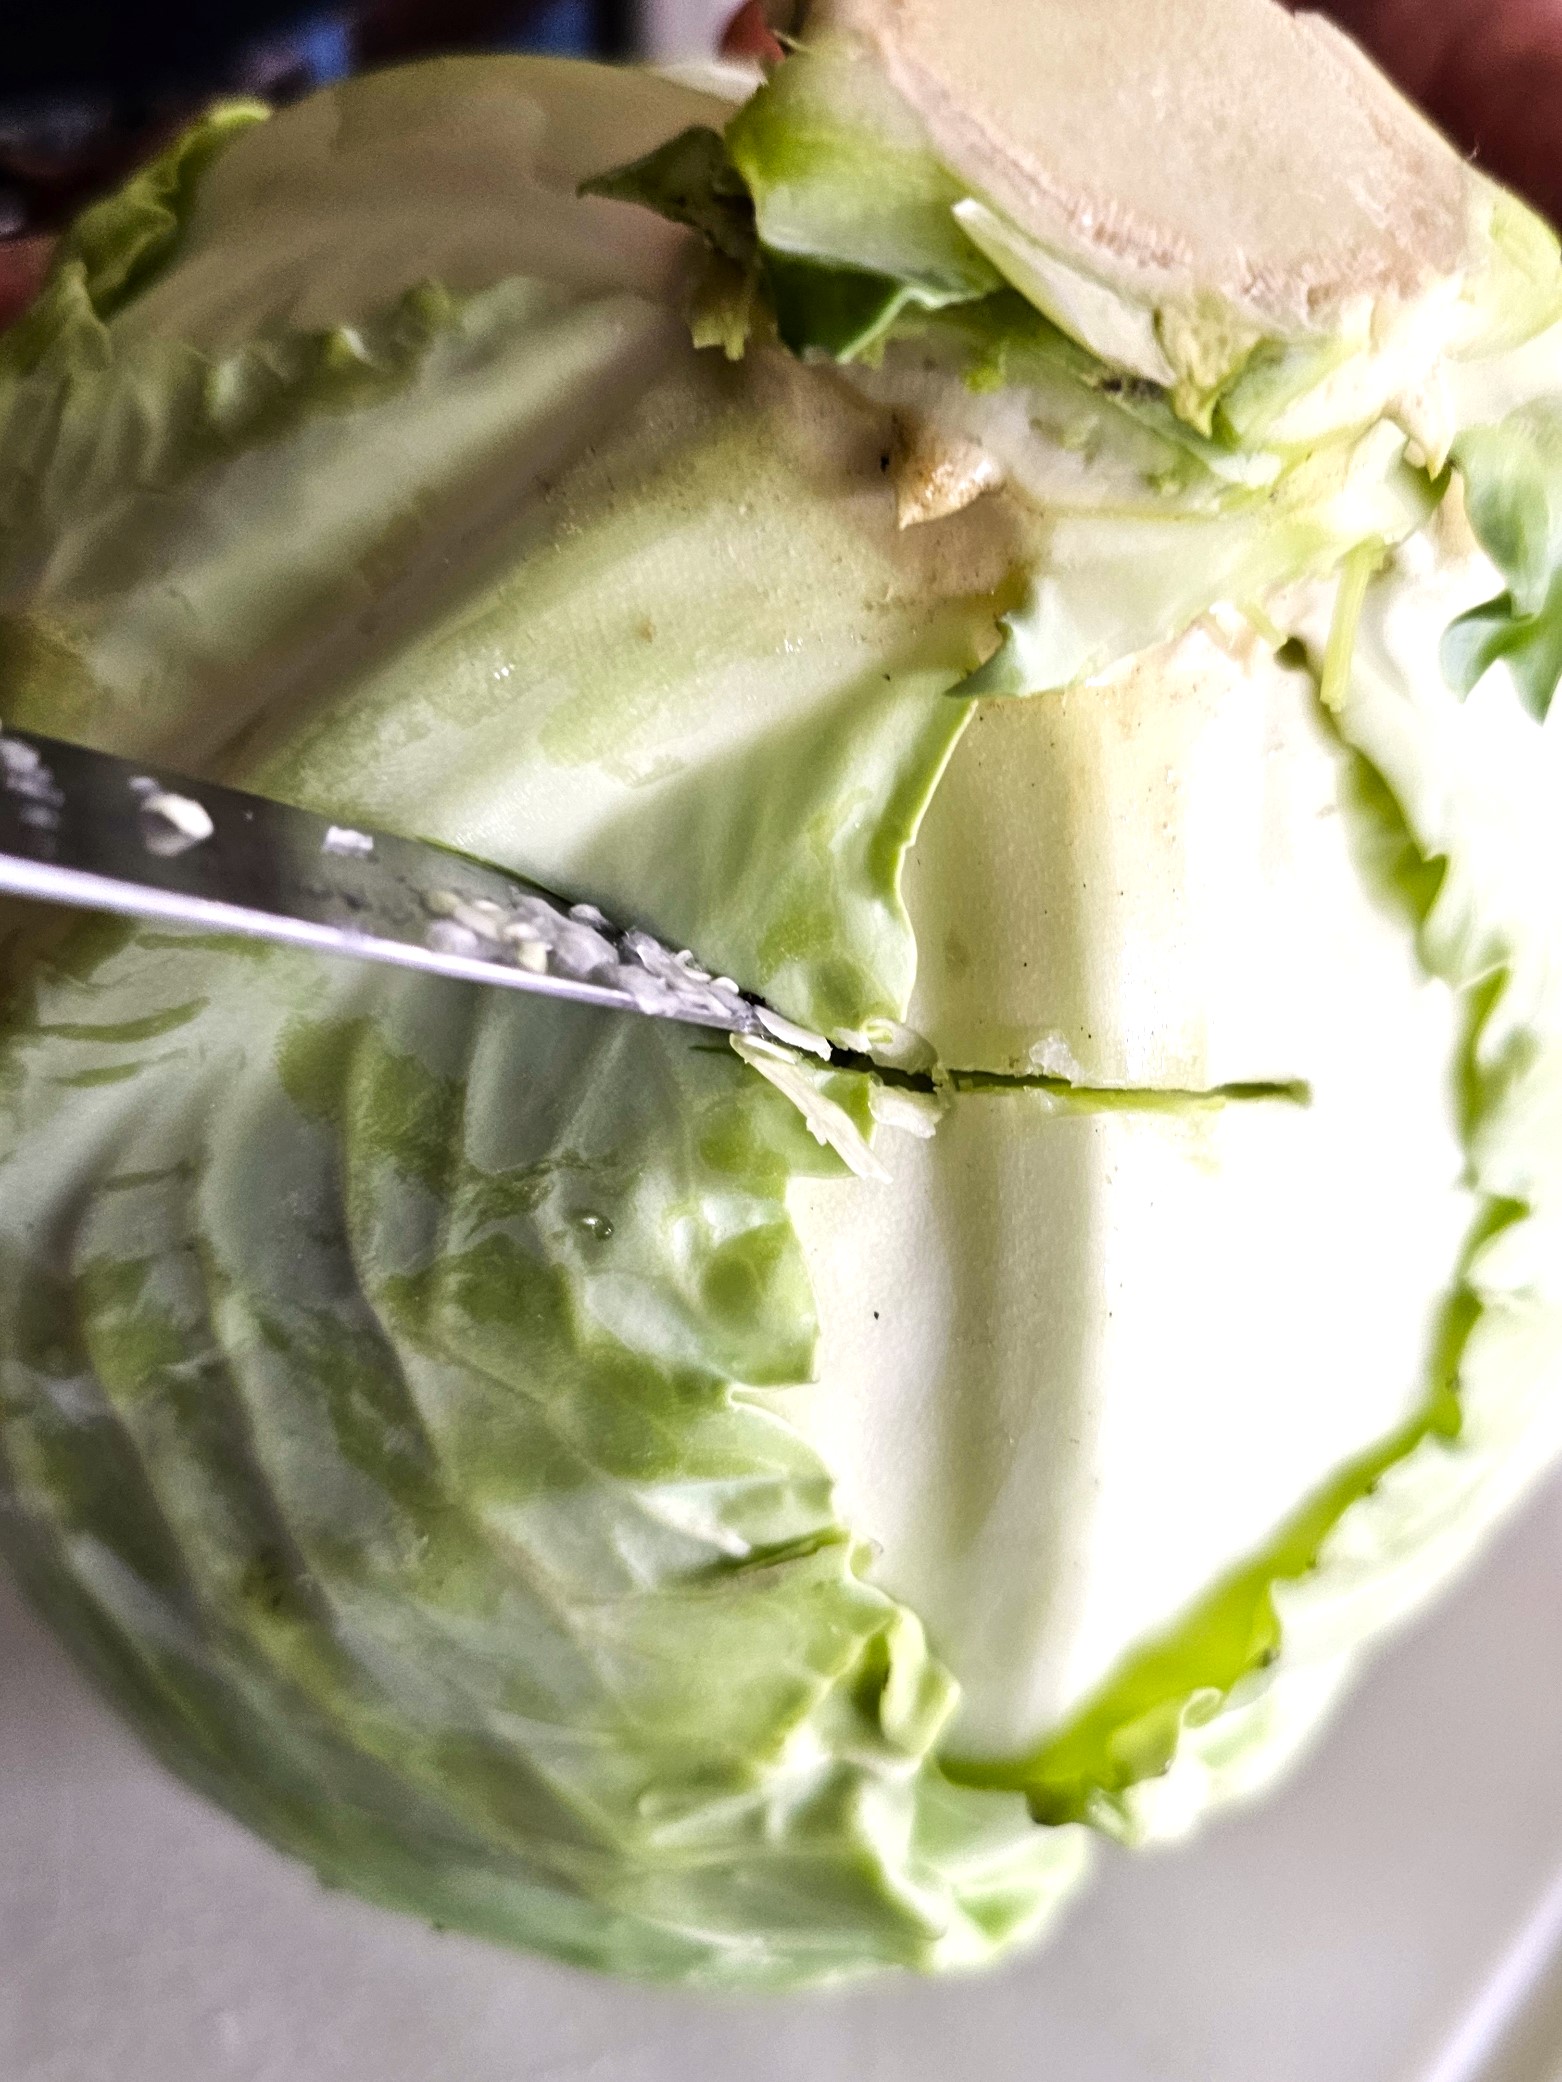
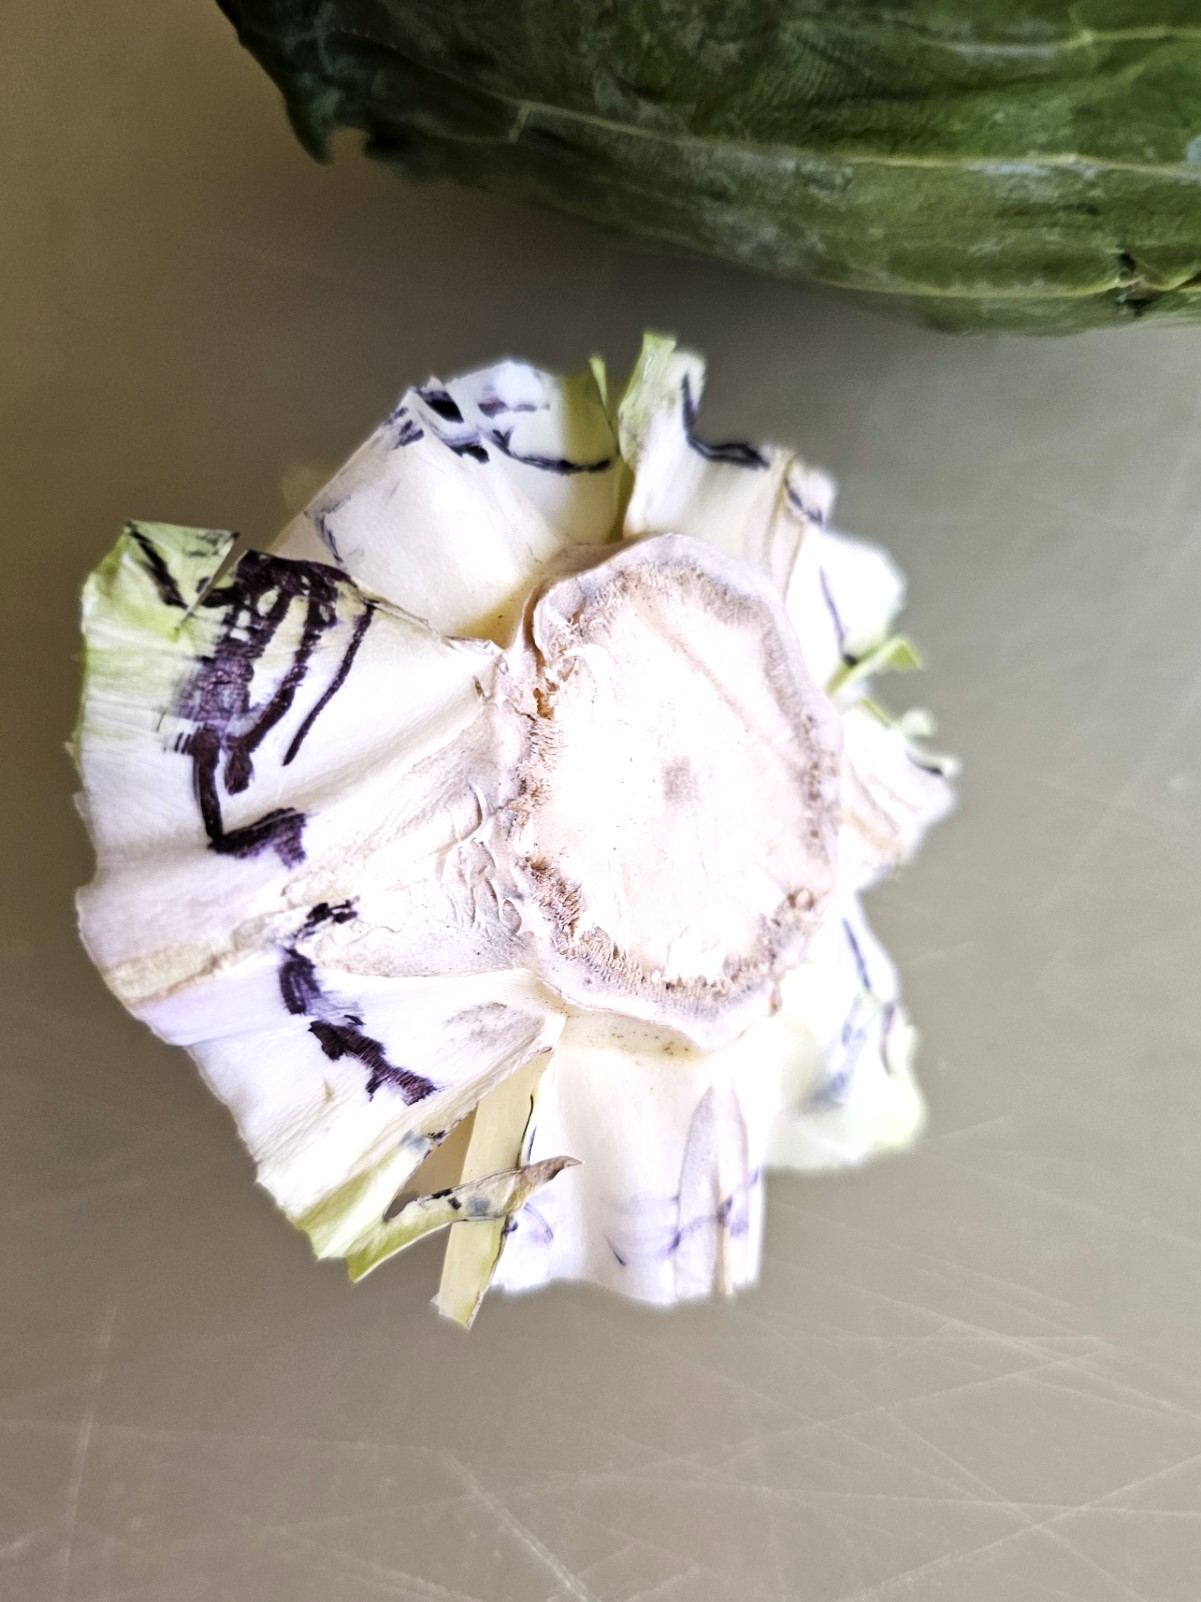
Remove the outer loose leaves from the bottom of the cabbage. Save these to add to the bottom of your cabbage with floral pins. Adding the outer loose leaves with pins will give the bottom of the cabbage a finished look. Place the cabbage on a cutting board. Hold the cabbage at a 45-degree angle and cut the bottom of your cabbage. This creates a flat surface for the bottom of your cabbage. Otherwise, your DIY centerpiece will wobble.
Cindy’s Pro Tip: It’s important to cut the bottom of the cabbage so that your cabbage vase arrangement is level and flat.
Step 3: Precision Crafting: Cut the Top of the Cabbage for Your Spring Flower Arrangement
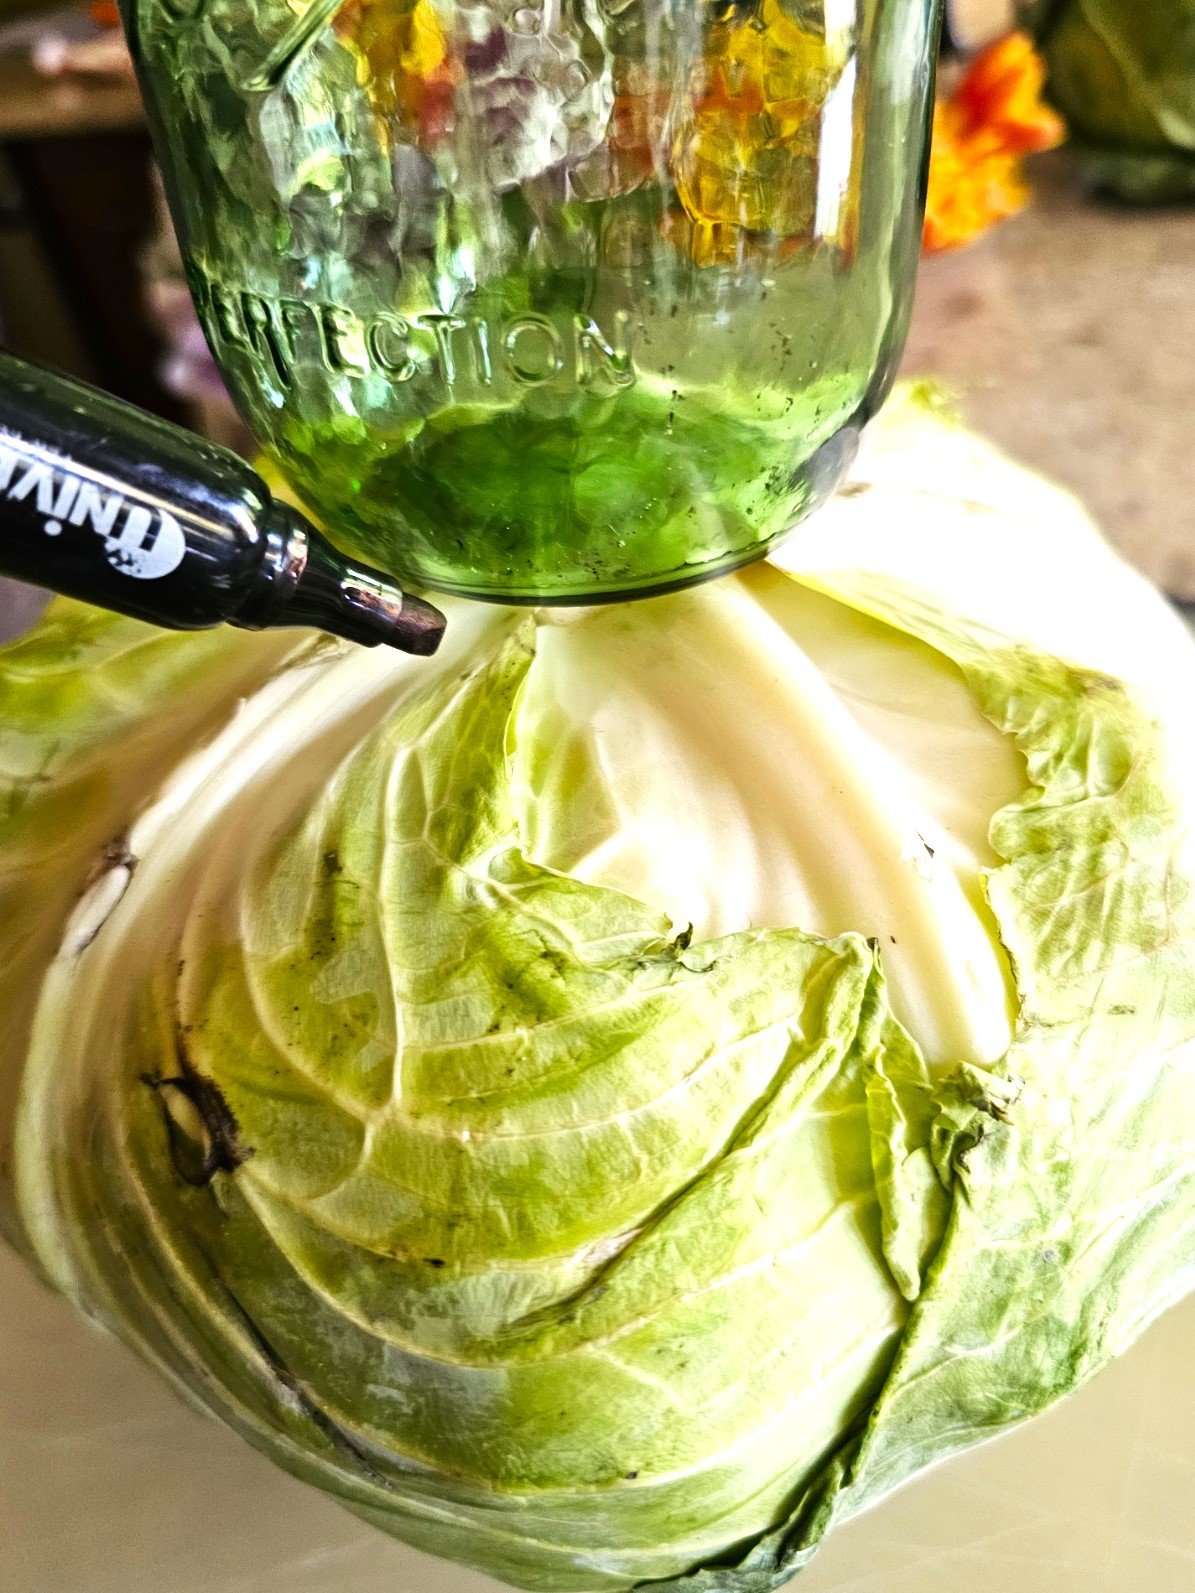
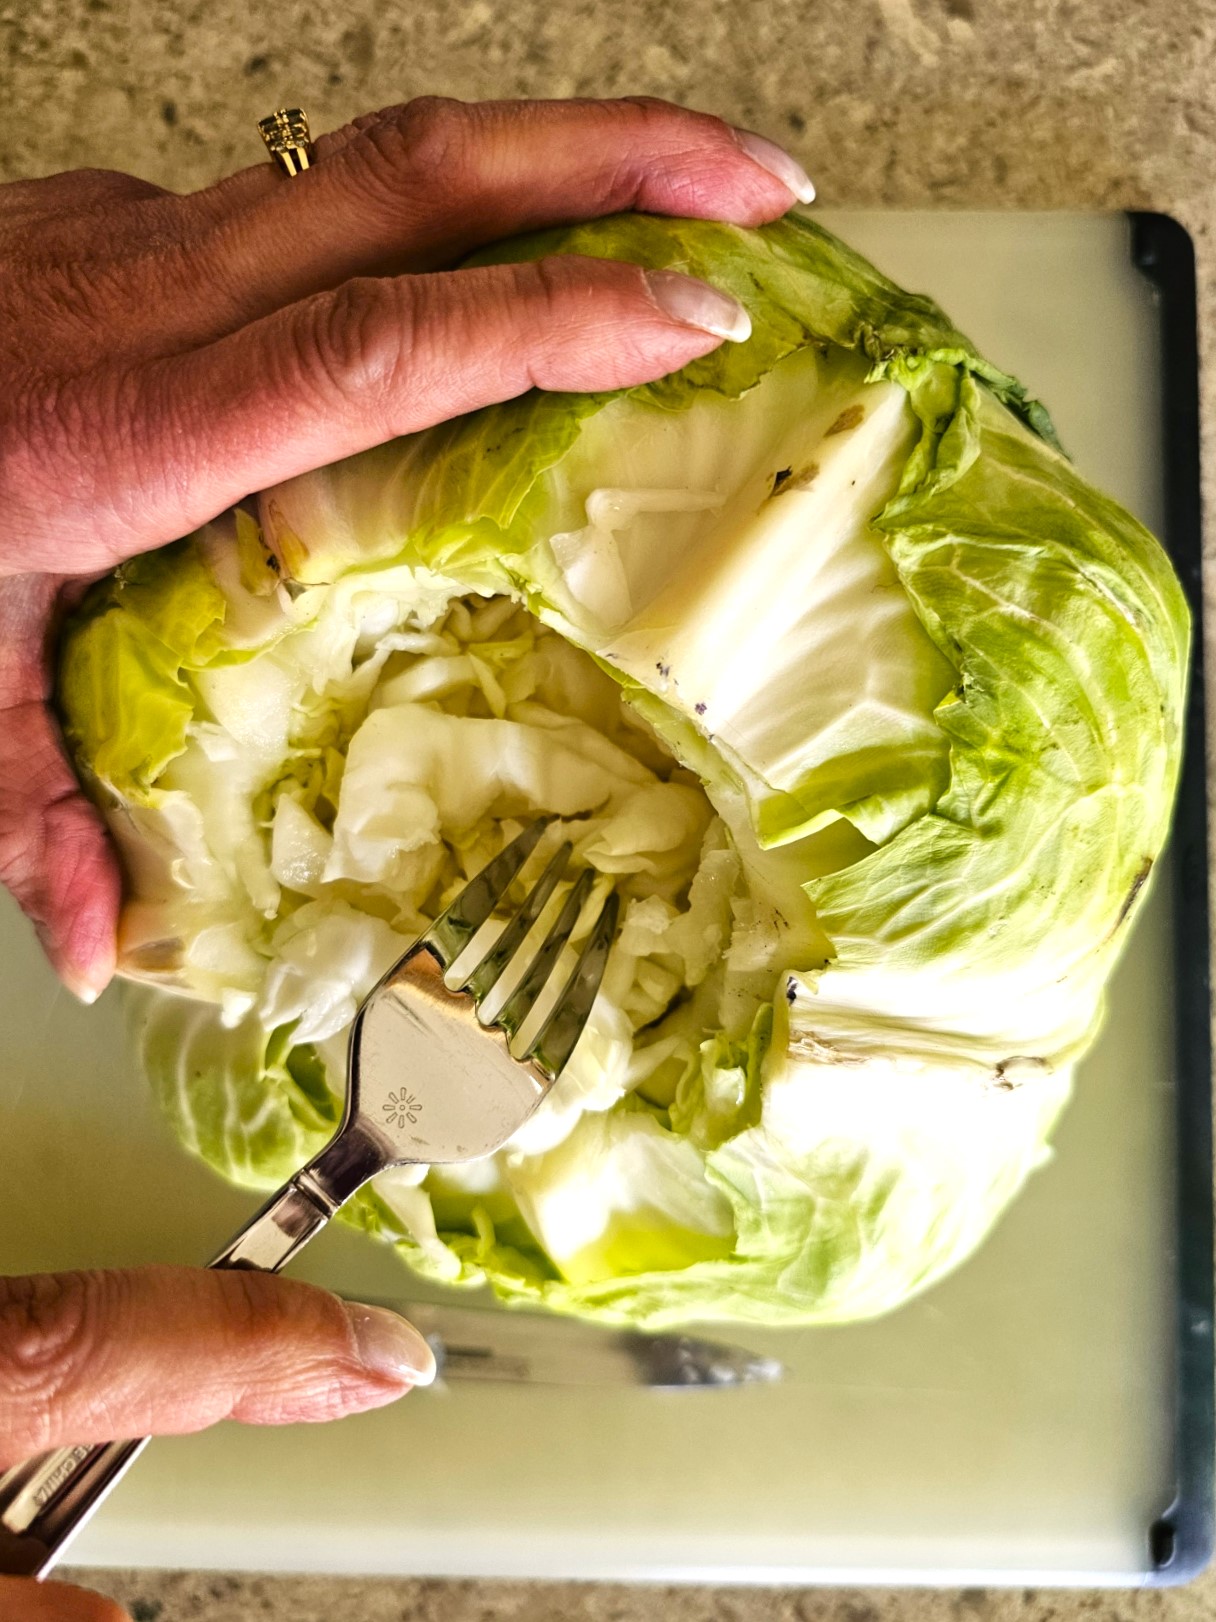
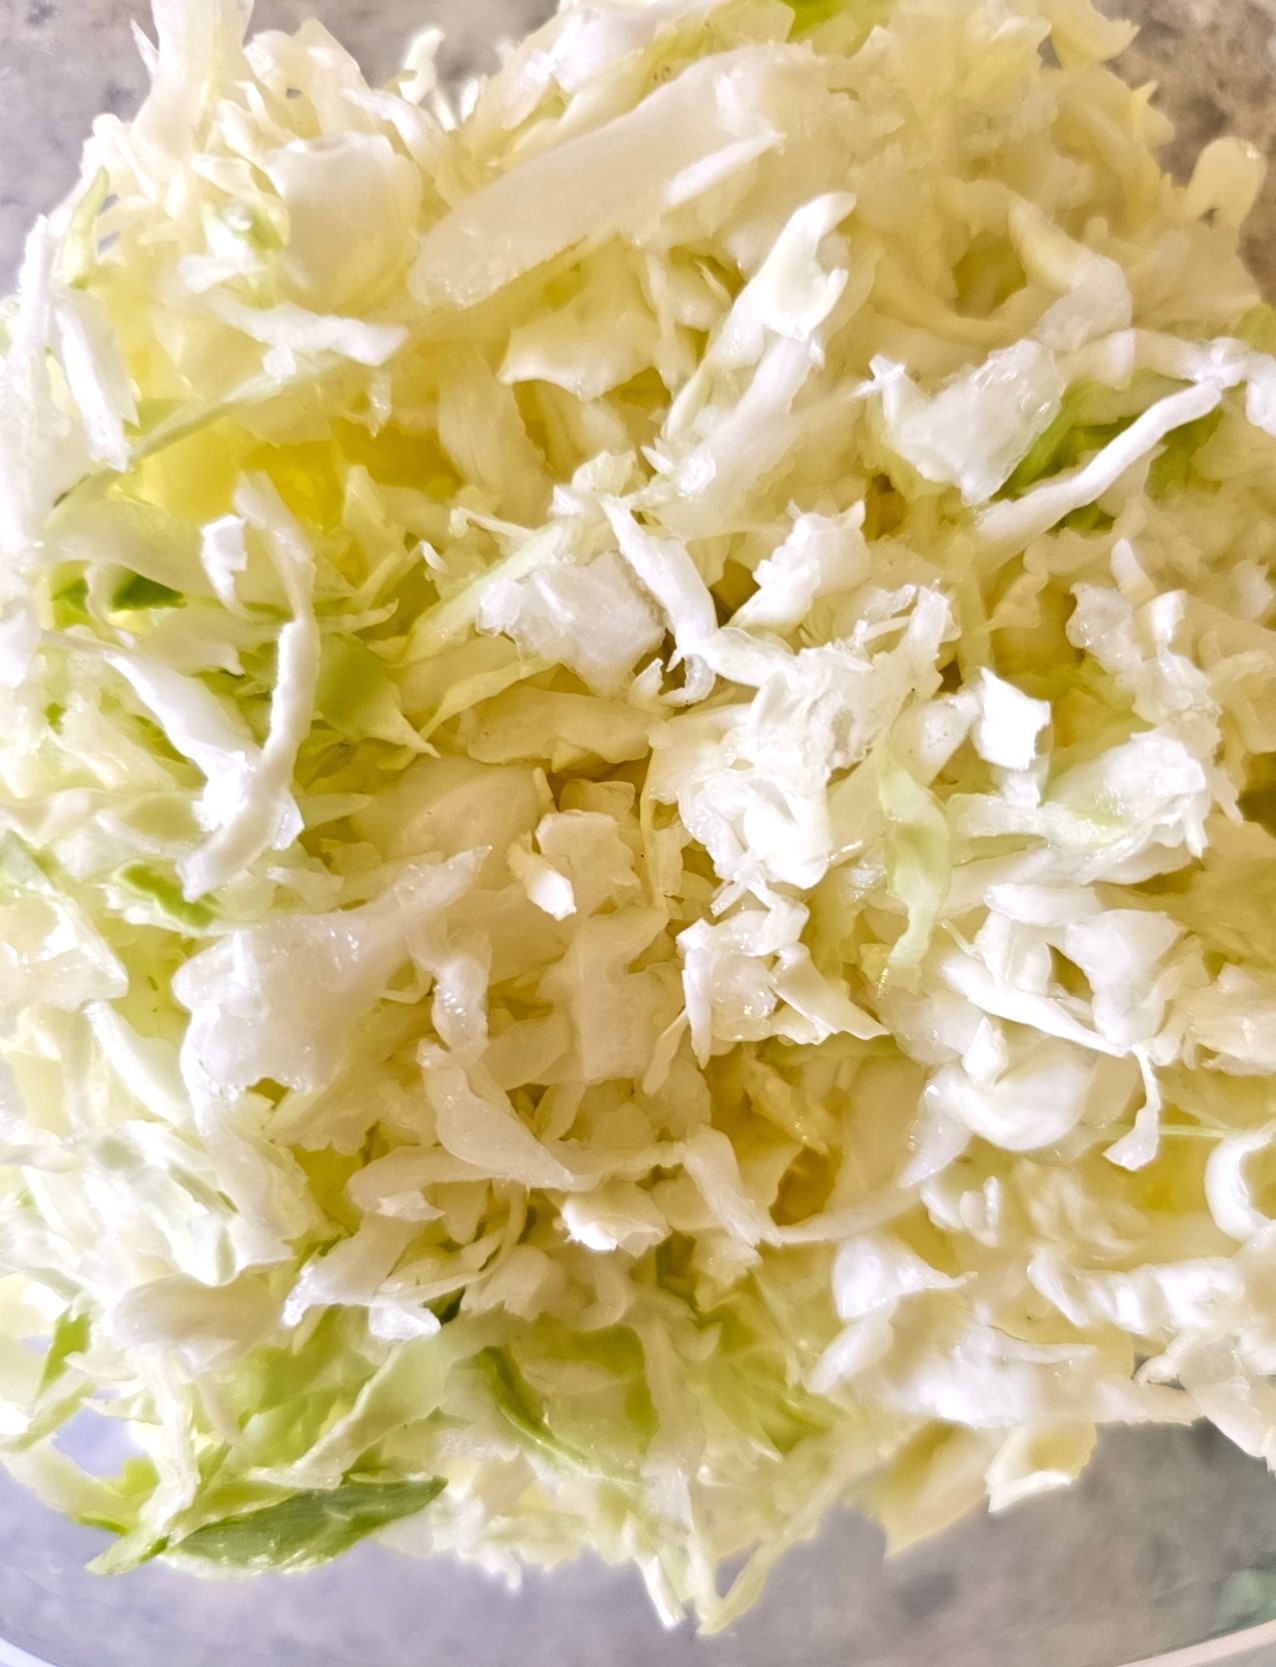
Next, use a Sharpie to trace the bottom outside edge of the glass mason jar on the top of the cabbage. Using a sharp knife, cut the top of the cabbage at a 45-degree angle. Begin to hollow it out. Cut around the edge of the cabbage with a paring knife to get to the center. Removing the center of the cabbage, a small piece at a time, works best. I used a fork to remove small pieces from the center of the cabbage and put them in a dish. Of course, as I did this, I ate the cabbage. I love raw cabbage!
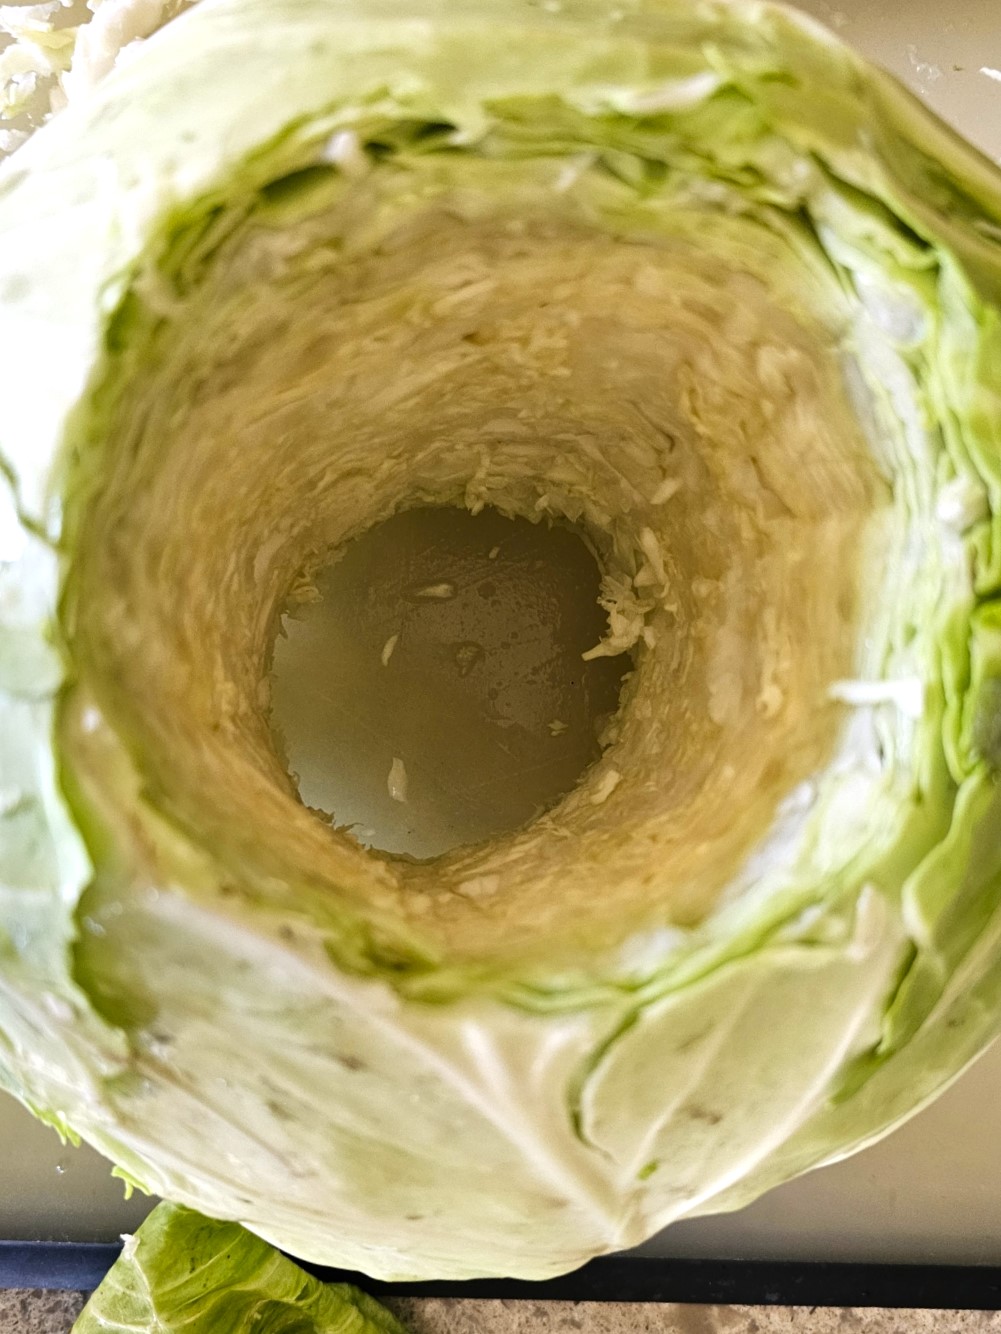
Cindy’s Pro Tip. As I removed the center of the cabbage, I tested the width with the jar on top of the cabbage. After measuring the top of the cabbage, continue cutting until the width is correct for the glass jar to fit the center of your hollowed cabbage.


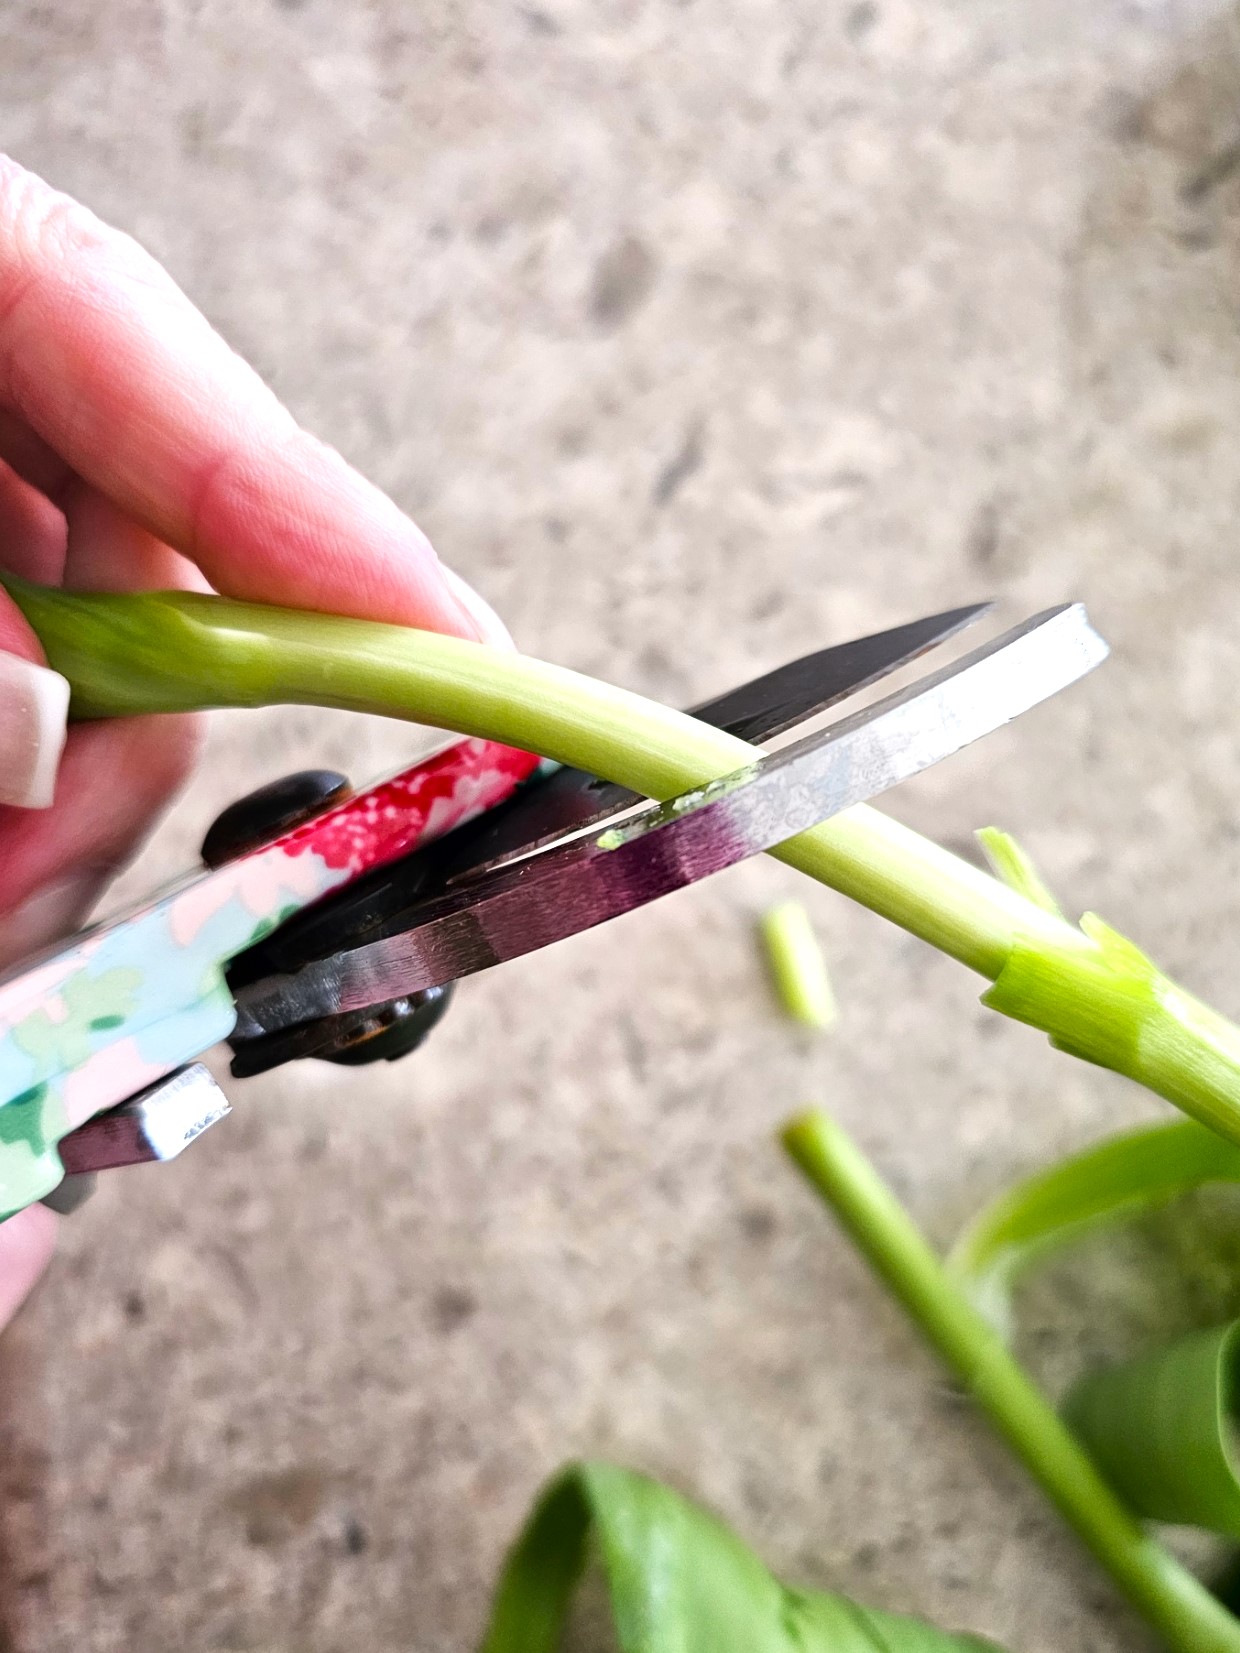
Step 4: Cut Tulips for Your Floral Centerpiece
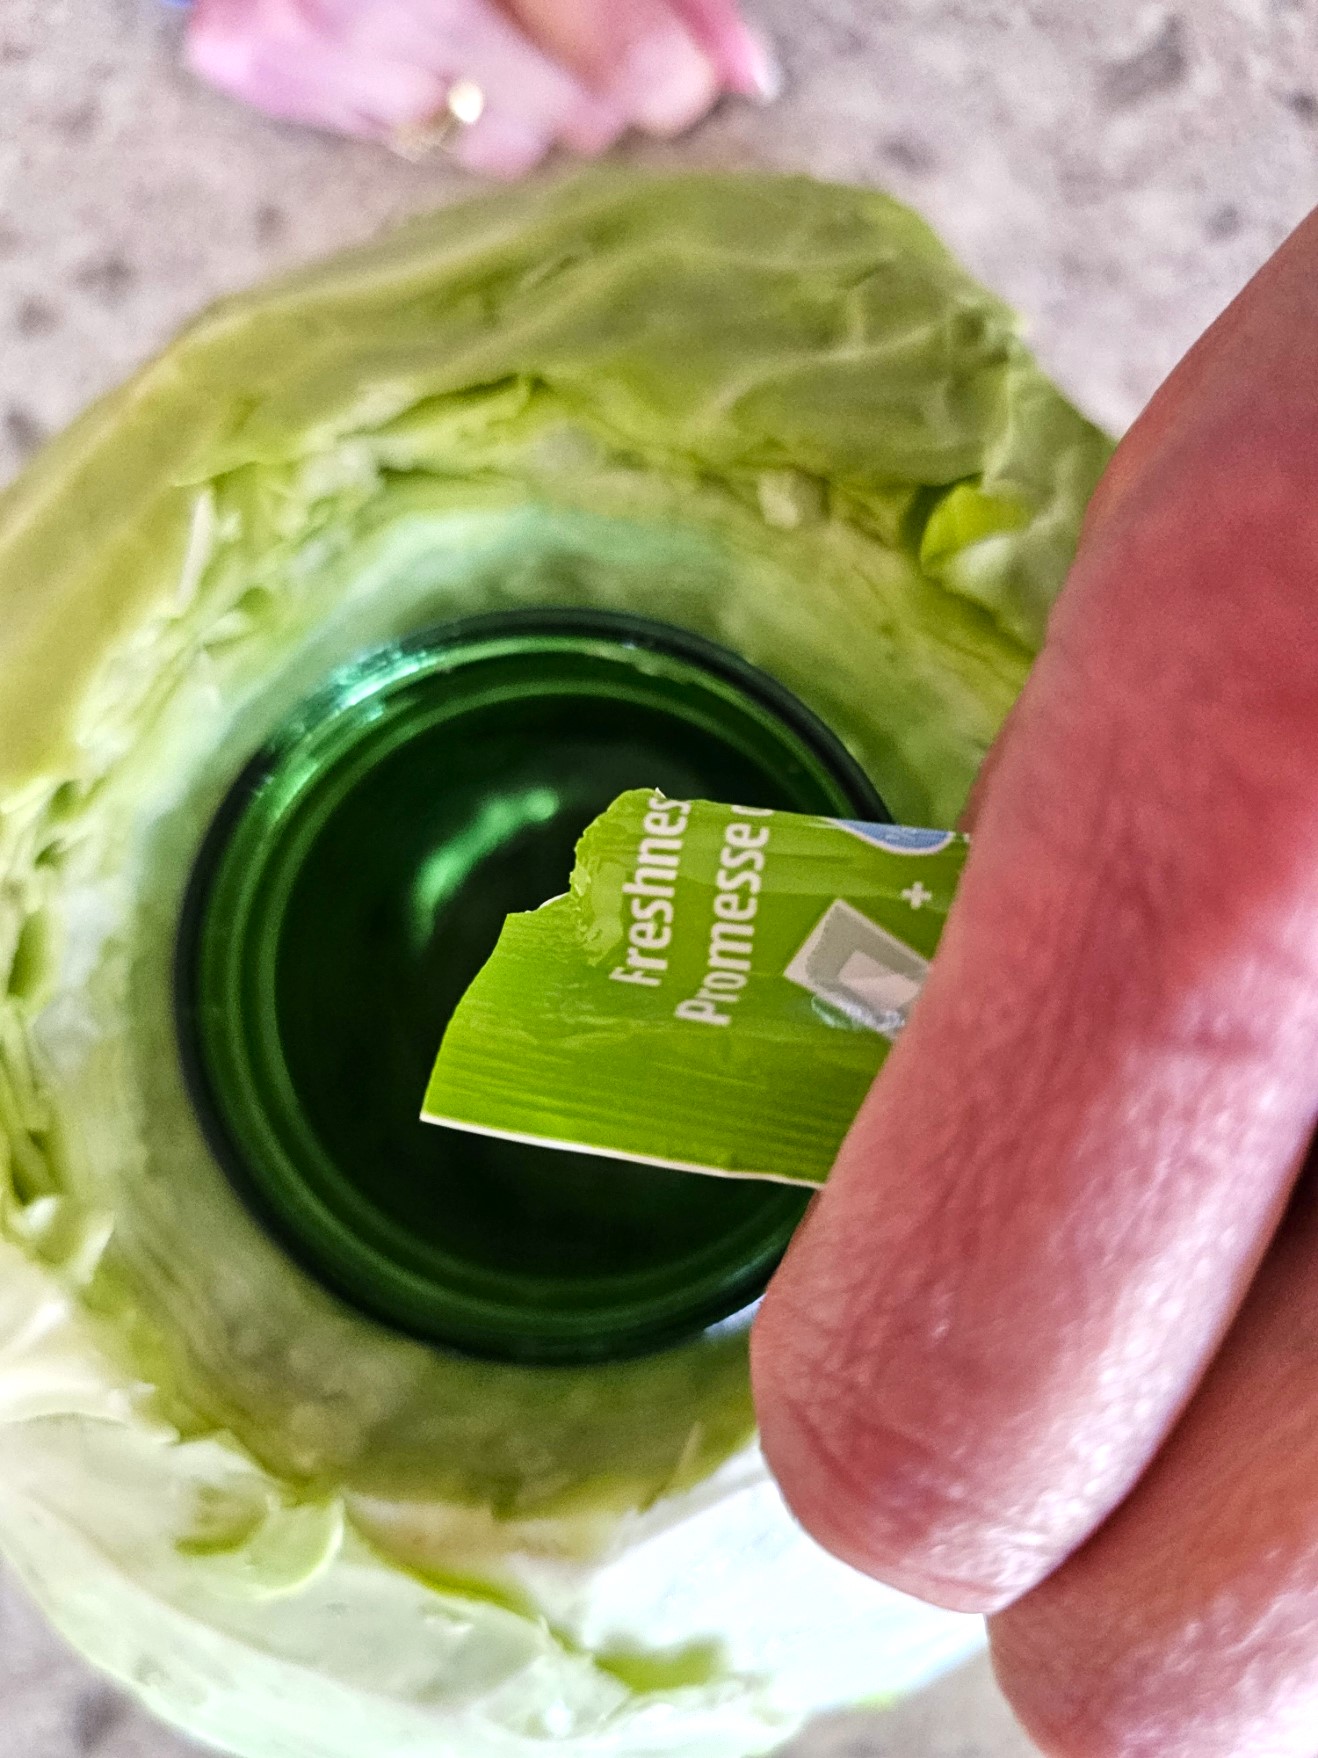
Using garden shears, I cut the flower stems at a 45-degree angle to the appropriate length. Next, I added the small mason jar and flower pot to the center. For the mason jar, I used a wet paper towel to wipe the jar. This makes it easy to push the glass jar through to the bottom. Add a little water and a bit of the floral preservative packets to the small mason jar. Place tulips or other spring flowers to make a beautiful cabbage arrangement for your Easter tablescape.
Cindy’s Pro Tip: Add a little for a damp paper towel. Wet the outside of the small mason jar. Carefully push it through the center of the cabbage.
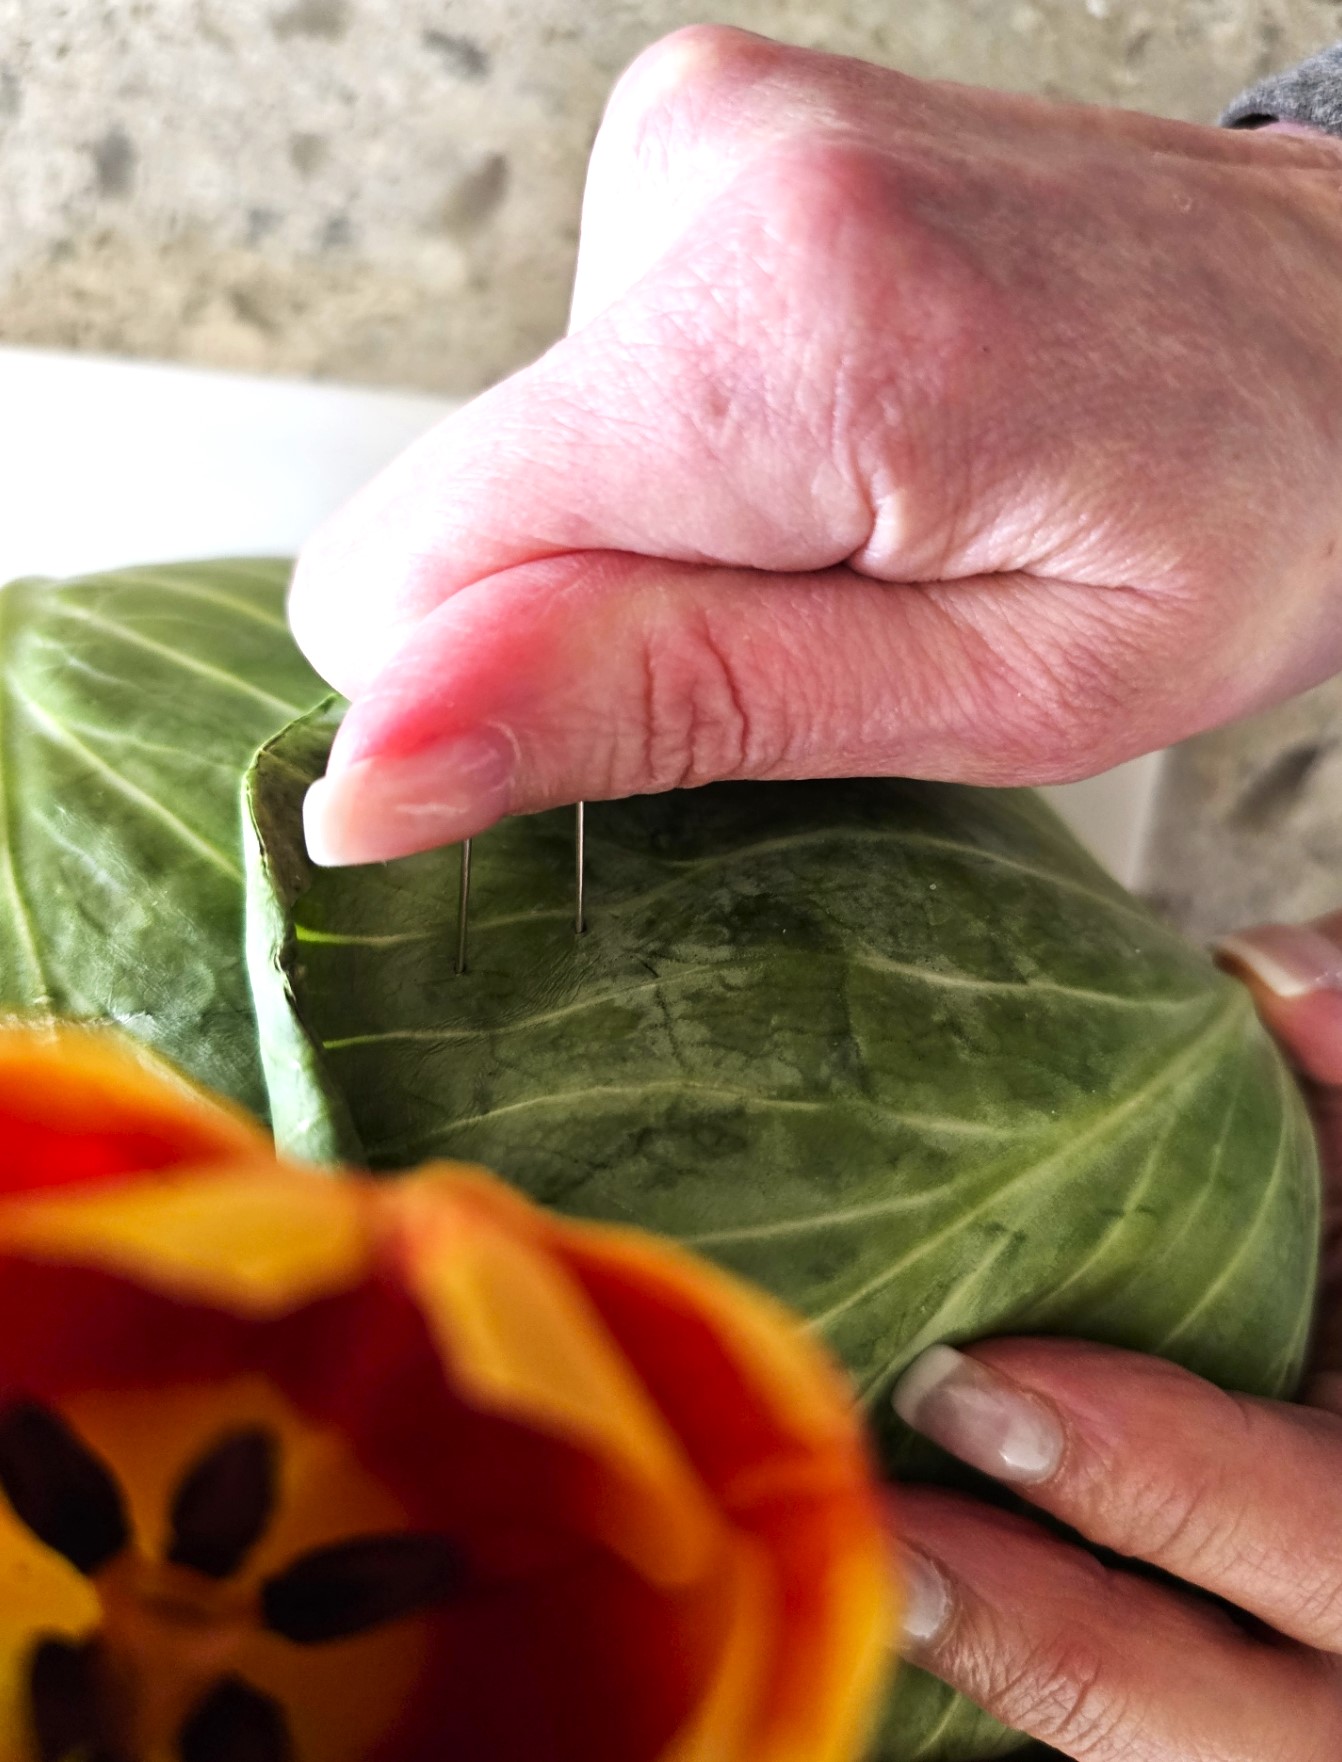
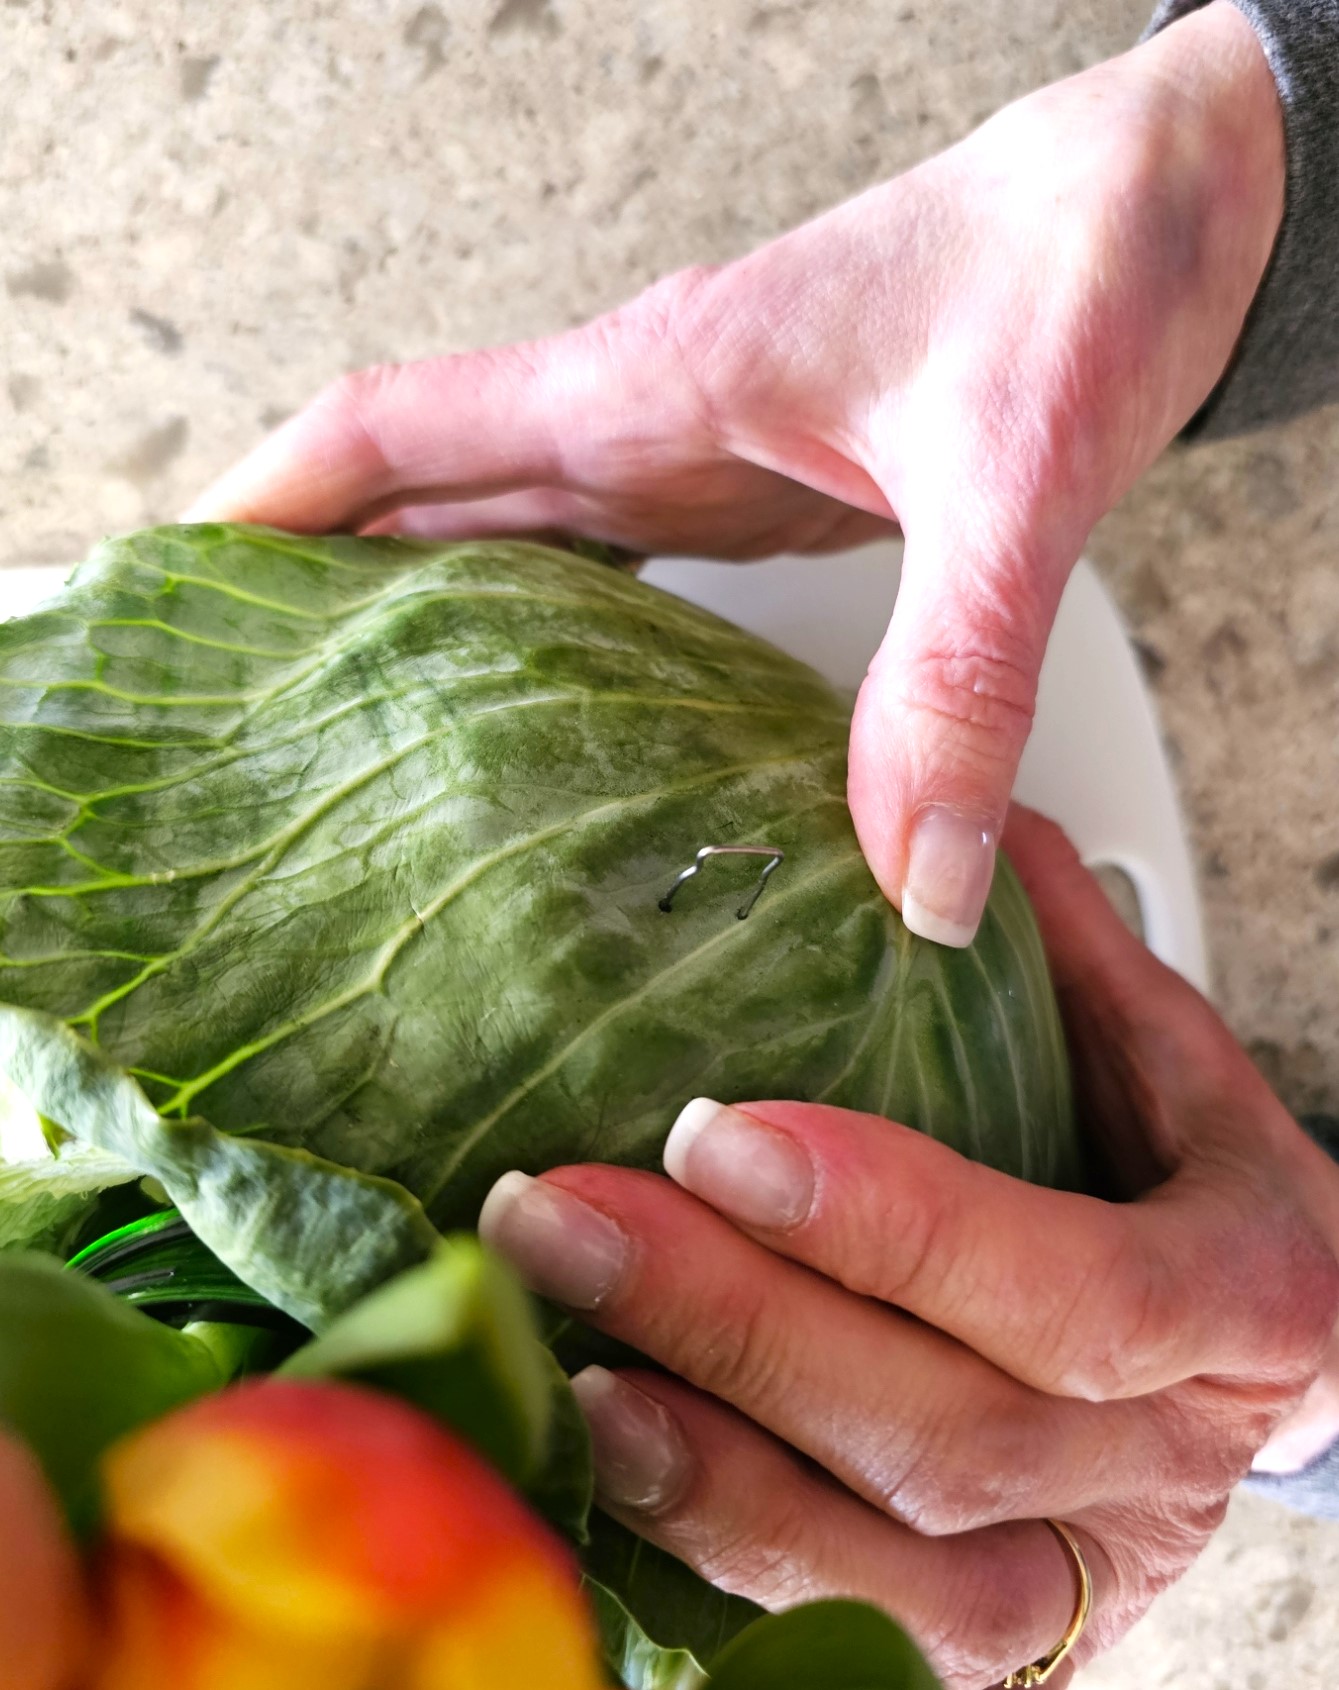
Step 5: Adding Floral Pins to Attach Outer Leaves
In the photos, I’m showing how to add the outer loose leaves. I did this to my cabbage and didn’t like how it made my finished DIY centerpiece. So, I draped the outer leaves over the edge of my dough bowl. I felt the outer loose leaves attached to my cabbage took away from the floral arrangement. Feel free to play around with your finished centerpiece and do what works best for your Easter table.
Cindy’s Pro Tip: You can add wet floral foam instead of a glass jar to the center of the cabbage. Wet the floral foam before adding it to your cabbage. This may be easier if you don’t want to worry about the water line going down in the jar. These can be found at the Dollar Store or Hobby Lobby.
Cabbage Vase Arrangement with Terracotta Flower Pot
Supplies:
- A paring knife
- Head of cabbage
- Terracotta flower pot
- Tulips or assorted bunches of flowers (cut hydrangeas are an option)
- Cutting Board
- Plastic wrap – the sticky product you “press to seal.”
- Garden pruners – These are amazing!
- Floral preservative packets – free at the grocery store
After you have hollowed out your cabbage, use the same method as above. Use the top of the terracotta flower pot to trace the opening on the cabbage. Trace the wider end of the flower pot at the center with your Sharpie, then cut an opening with a sharp knife.
Follow steps two and three, and you will have a beautiful flower vase.
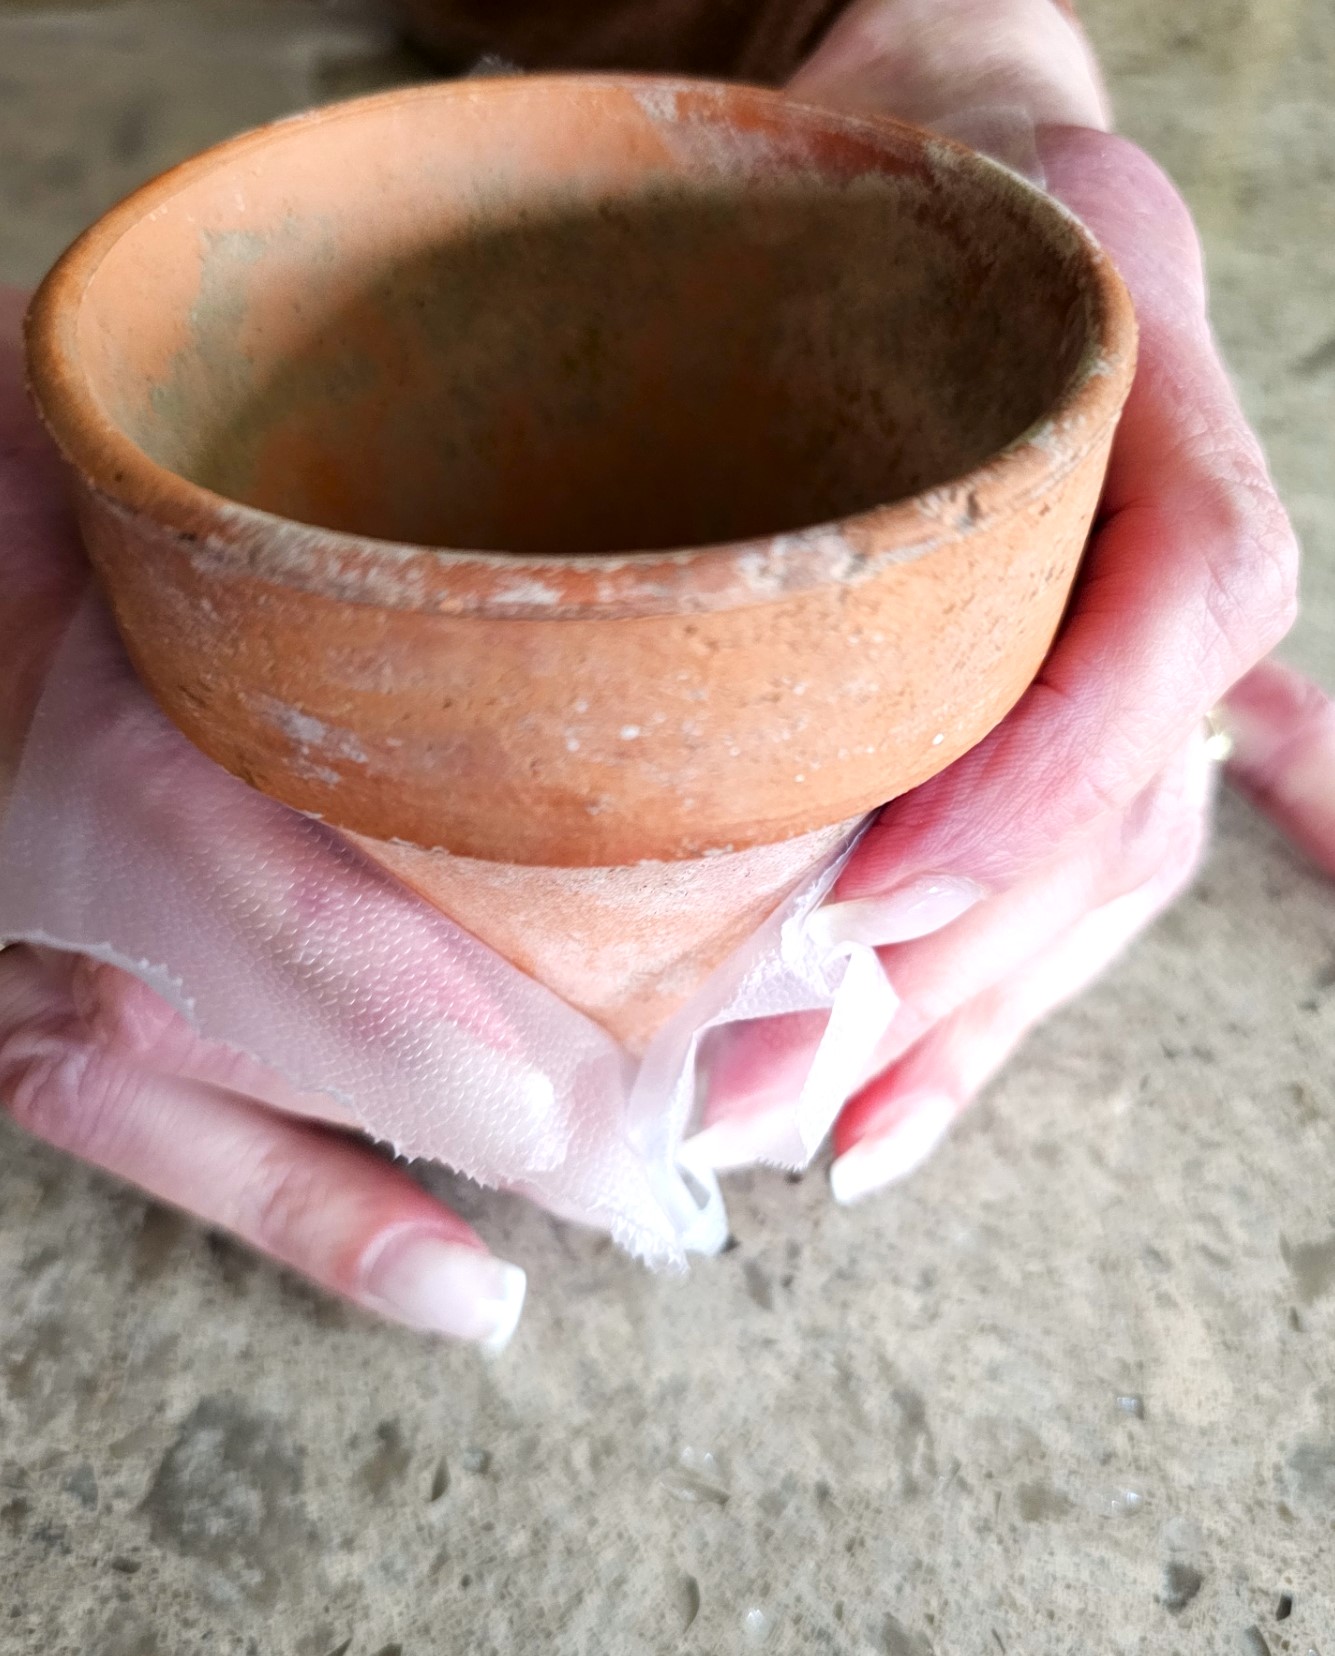
After the cabbage is hollowed out, tear off the sticky plastic wrap. Wrap the base of the terracotta flower pot and press it well. This helps the water from leaking through the small hole in the bottom of the flowerpot. Add a little water and a bit from the floral preservatives.
Read my note below regarding important information on using a flower pot and potential seepage.
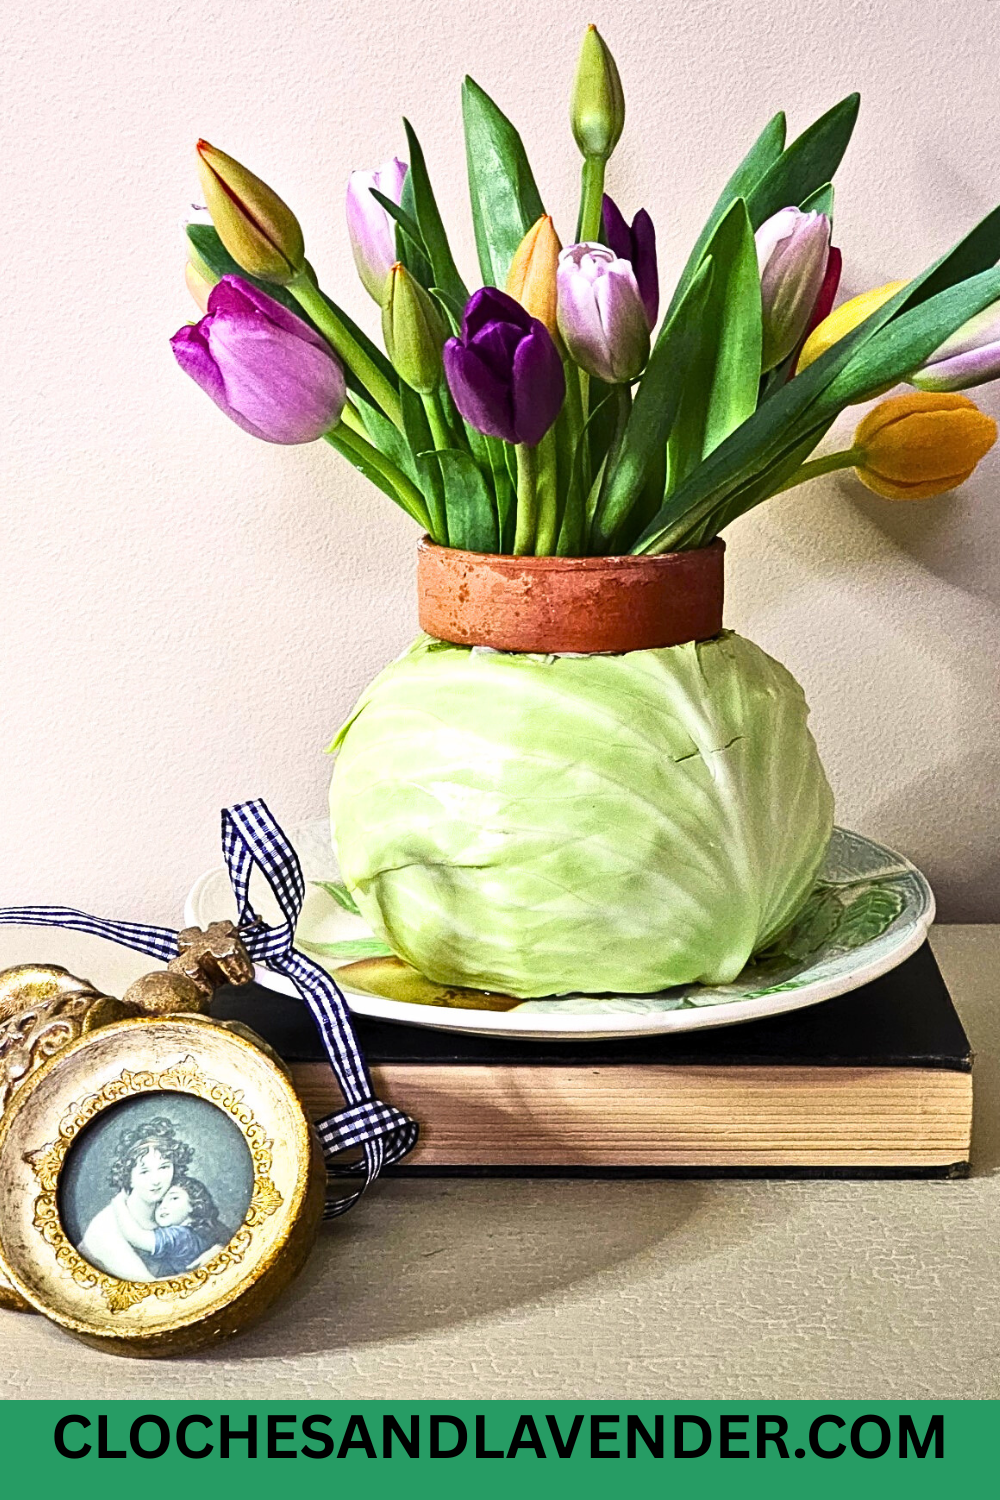
IMPORTANT NOTE: If you choose to use a terracotta pot for your DIY cabbage vase, I recommend using it on the day of your event. Terracotta is porous, and water slowly seeps through the flowerpot. Also, be sure to place a dish underneath the cabbage to prevent any damage to furniture or wood. I had mine for three days. There was only a little water. But it’s IMPORTANT to know about the seepage. This is my favorite look!

Stay Tuned for a Recipe!
So, after removing the cabbage, there’s quite a bit left. I can’t throw it in the garbage. I can hear my mom from heaven saying, ” Baby girl, what are you thinking, throwing good food away? A recipe will be coming soon with 2 cups of cabbage, olive oil, chopped yellow onions, and thin strips of pancetta instead of slices of bacon. I have read many add bacon. So, be sure to look for this recipe soon!
Home Decorating Ideas: Elevate Your Space with a Unique Design!
By the way, this cabbage arrangement is perfect to use in home decorating. Make this Easter centerpiece the main star of the show. Add your DIY cabbage vase to either end of a buffet table filled with a variety of spring flowers. This makes them the main star of the show for family and friends. Or place this beautiful flower vase on your coffee table, side table, or console table with a beloved bunny statue found at the thrift store, bunny plates, or a stack of your favorite vintage dishes. Add a topiary for a festive Easter centerpiece.
Blossom With Creativity: Elevate Your Space with a Unique Cabbage Vase Arrangement!
In conclusion, crafting a cabbage vase arrangement offers an opportunity to infuse creativity into your home decorating. Make a Cabbage Vase Fast — Try This Now. Step beyond traditional materials like pitchers, mason jars, or glass vases filled with spring flowers. You can elevate your space with this unique design that captures the essence of spring and summer. From selecting the perfect combination of flower stems and a large head of cabbage to preparing the hollowed cabbage, these easy steps add a personal touch to any spring table. Embellish your Easter tablescape, Easter centerpiece, or home decor with this flower arrangement for a charming focal point. So, the next time you visit the grocery store, pick up a cabbage, fresh tulips, or cut hydrangeas and make this DIY Centerpiece!
PLEASE SHARE THIS ON: FACEBOOK, INSTAGRAM, PINTEREST, X, THREADS, AND TIKTOK. THIS HELPS THE BLOG TO GROW. THANK YOU!

POSTS OF INTEREST!


Make a Cabbage Vase Fast — Try This Now!
Notes
Make a Cabbage Vase Fast — Try This Now
Supplies Needed: Make a DIY Cabbage Vase Fast
- A paring knife
- Large head of cabbage
- Fresh tulips or assorted flower stems
- Cutting Board
- Plastic wrap – the sticky product you “press to seal.”
- Floral pins
- Small Glass jar, small mason jar, 4 oz. or 6 oz. – Dollar Tree, Dollar store, or Hobby Lobby
- Wet paper towel
- Garden pruners
- Floral preservative packets – free at the grocery store
Step 1: Selecting Cabbage and Flowers for Your Cabbage Arrangement
Choose green or red cabbage, fresh tulips, or your favorite flowers. Choose the color scheme that works with your spring table. For this floral arrangement, I chose fresh tulips in multiple colors. I’m happy red cabbage wasn’t available for this easy DIY cabbage vase. The combination of colors would have been overpowering. As I mentioned above, selecting a large head of cabbage is best; however, for practice, I’m using a small cabbage for my floral centerpiece. Cindy’s Pro Tip: Imagine a red cabbage filled with cut hydrangeas and assorted green and pink grocery store flowers. This color combination would make this the main star of the show for any gathering!
Quick Overview: Cabbage Vase Floral Centerpiece:
- Hollow out a cabbage for a natural spring flower arrangement vase
- Add fresh bunches of flowers like tulips or cut hydrangeas for a beautiful centerpiece
- Optional: Place a terracotta pot inside the cabbage for a rustic look
- Perfect for any spring or summer table
Step 2: Prepare the Bottom of Your Cabbage for a Stable Floral Centerpiece
Remove the outer loose leaves from the bottom of the cabbage. Save these to add to the bottom of your cabbage with floral pins. Adding the outer loose leaves with pins will give the bottom of the cabbage.
Step 3: Precision Crafting: Cut the Top of the Cabbage for Your Spring Flower Arrangement
Next, use a Sharpie to trace the bottom outside edge of the glass mason jar on the top of the cabbage. Using a sharp knife, cut the top of the cabbage at a 45-degree angle. Begin to hollow it out. Cut around the edge of the cabbage with a paring knife to get to the center. Removing the center of the cabbage, a small piece at a time, works best. I used a fork to remove small pieces from the center of the cabbage and put them in a dish. Of course, as I did this, I ate the cabbage. I love raw cabbage! Cindy’s Pro Tip. As I removed the center of the cabbage, I tested the width with the jar on top of the cabbage. After measuring the top of the cabbage, continue cutting until the width is correct for the glass jar to fit the center of your hollowed cabbage.
Step 4: Cut Tulips for Your Floral Centerpiece
Using garden shears, I cut the flower stems at a 45-degree angle to the appropriate length. Next, I added the small mason jar and flower pot to the center. For the mason jar, I used a wet paper towel to wipe the jar. This makes it easy to push the glass jar through to the bottom. Add a little water and a bit of the floral preservative packets to the small mason jar. Place tulips or other spring flowers to make a beautiful cabbage arrangement for your Easter tablescape. Cindy’s Pro Tip: Add a little for a damp paper towel. Wet the outside of the small mason jar. Carefully push it through the center of the cabbage.
Step 5: Adding Floral Pins to Attach Outer Leaves
In the photos, I’m showing how to add the outer loose leaves. I did this to my cabbage and didn’t like how it made my finished DIY centerpiece. So, I draped the outer leaves over the edge of my dough bowl. I felt the outer loose leaves attached to my cabbage took away from the floral arrangement. Feel free to play around with your finished centerpiece and do what works best for your Easter table. Cindy’s Pro Tip: You can add wet floral foam instead of a glass jar to the center of the cabbage. Wet the floral foam before adding it to your cabbage. This may be easier if you don’t want to worry about the water line going down in the jar. These can be found at the Dollar Store or Hobby Lobby.
Terracotta Pot Method
Supplies are the same as above. Add a small terracotta pot and plastic wrap. Follow steps two and three, and you will have a beautiful flower vase. After the cabbage is hollowed out, tear off the sticky plastic wrap. Wrap the base of the terracotta flower pot and press it well. This helps the water from leaking through the small hole in the bottom of the flowerpot. Add a little water and a bit from the floral preservatives. Read my note below regarding important information on using a flower pot and potential seepage. IMPORTANT NOTE: If you choose to use a terracotta pot for your DIY cabbage vase, I recommend using it on the day of your event. Terracotta is porous, and water slowly seeps through the flowerpot. Also, be sure to place a dish underneath the cabbage to prevent any damage to furniture or wood. I had mine for three days. There was only a little water. But it’s IMPORTANT to know about the seepage. This is my favorite look!
I LOVE YOU, Dad
This is so pretty, Cindy! It’s perfect for spring and for the Easter table. Happy Spring!
Thanks Kim. Happy Easter
This is really clever Cindy. Have a great weekend. Hugs Kris
Thanks Kris, Happy Easter
Soooo pretty! I love cabbages as vases. I thought this was a fun idea and did try one once. Funny story, my son used to like to play Kick the Cabbage at Pasadena’s Highland Games when we went several times. Guess that was the ball kids used during the Renaissance. 🙂
Enjoy your beautiful centerpiece,
Hugs,
Barb 🙂
Hi Barb,
Thank you and it is a cute story. Thank you for sharing it. I’m imaging cabbage used as a soccer ball, lol
What a perfect centerpiece to celebrate Spring and Easter! It’s lovely Cindy! Pinning so I can try this sometime! Happy Easter!
Thanks so much Donna! It was fun
This is so stinking cute, Cindy! I’ve always wanted to make one of these so I really appreciate the step by step instructions so we can all try it too. I love the flowers you chose as well. They’re bright and cheery and feel like Spring. Hope you and your family have the best celebration. Big hugs, CoCo PS: Pinned and will share on next week’s From the Front Porch
Thanks so much CoCo. It was fun to make. Front porch share so excited!
WOW, this is so amazing and I love the idea. I visited you via A Morning Cup of Joe. My entries are #37+38. Feel free to join SSPS Linkup M-S: https://esmesalon.com/tag/seniorsalonpitstop/
Thank you so much!
This is such a charming way to display flowers! Thanks for the great step by step instructions.
Thank you Anna it means so much! I try to share the details as much as possible.
This is just so cute Cindy. I love it for Spring. I am able now to get your posts. I signed up again and now they are coming into my email. Yay!!!! Hugs. Kris