Make a Cabbage Vase Fast — Try This Now!
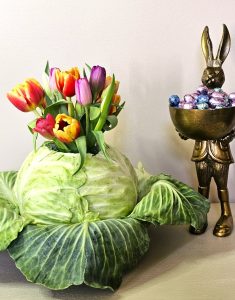
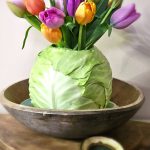
This beautiful flower vase will be the main star of the show on any spring or Easter tablescape. I wanted to do a practice run before adding this to our spring table to celebrate. While I was at the grocery store staring at the bunches of flowers, I decided this was the day to experiment. Guess what I used to make a beautiful floral arrangement? Today I'm going to share the easy steps on how to make a cabbage vase fast- try it now!
Yield: 1 DIY centerpiece
Cost: $5
Notes
Make a Cabbage Vase Fast — Try This Now!
Supplies Needed: Make a DIY Cabbage Vase Fast!
-
-
- A paring knife
-
- Large head of cabbage
-
- Fresh tulips or assorted flower stems
-
- Cutting Board
-
- Plastic wrap - the sticky product you "press to seal"
-
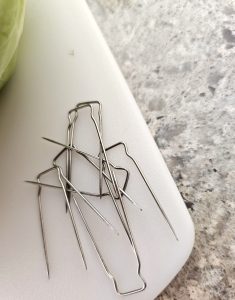
- Floral pins
-
- Small Glass jar, small mason jar 4 oz. or 6 oz. - Dollar Tree, Dollar store or Hobby Lobby
-
- Wet paper towel
-
- Garden pruners
-
- Floral preservative packets - free at the grocery store
-
Step 1: Selecting Cabbage and Flowers for Your Cabbage Arrangement
Choose green or red cabbage, fresh tulips, or your favorite flowers. Choose the color scheme that works with your spring table. For this floral arrangement, I chose fresh tulips in multiple colors. I'm happy a red cabbage wasn't available for this easy DIY cabbage vase. The combination of colors would have been overpowering. As I mentioned above, selecting a large head of cabbage is best; however, for practice, I'm using a small cabbage for my floral centerpiece. Cindy's Pro Tip: Imagine a red cabbage filled with cut hydrangeas and assorted green and pink grocery store flowers. This color combination would make this the main star of the show for any gathering!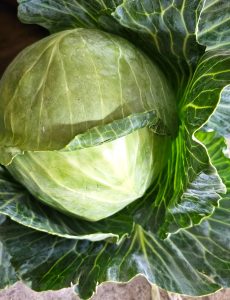
Step 2: Prepare the Bottom of Your Cabbage For a Stable Floral Centerpiece
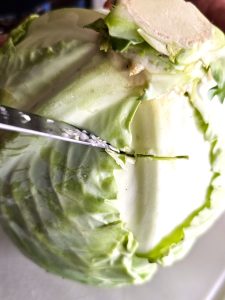
Remove the outer loose leaves from the bottom of the cabbage. Save these to add to the bottom of your cabbage with floral pins. Adding the outer loose leaves with pins will give the bottom of the cabbage a finished look. Place the cabbage on a cutting board. Hold the cabbage at a 45-degree angle and cut the bottom of your cabbage. This creates a flat surface for the bottom of your cabbage. Otherwise, your DIY centerpiece will wobble.
Cindy's Pro Tip: It's important to cut the bottom of the cabbage so your cabbage vase arrangement is level and flat.
Step 3: Precision Crafting: Cut Top of the Cabbage for Your Spring Flower Arrangement
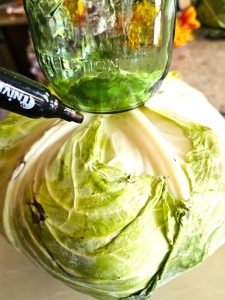
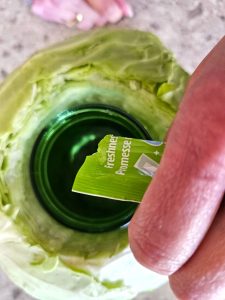
Next, use a Sharpie to trace the bottom outside edge of the glass mason jar on the top of the cabbage. Using a sharp knife, cut the top of the cabbage at a 45-degree angle. Begin to hollow it out. Cut around the cut edge of the cabbage with a paring knife to get to the center. Removing the center of the cabbage a small piece at a time works best. I used a fork to get each small piece of the center of the cabbage out and put the pieces in a dish. Of course, as I did this, I ate the cabbage; I love raw cabbage! Cindy's Pro Tip. As I removed the center of the cabbage, I tested the width with the jar on top of the cabbage. After measuring the top of the cabbage, continue to cut the cabbage until the width is correct for the glass jar to fit the center of your hollowed cabbage.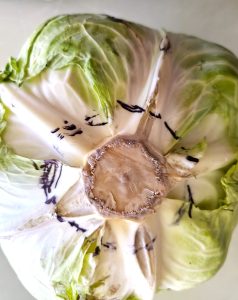
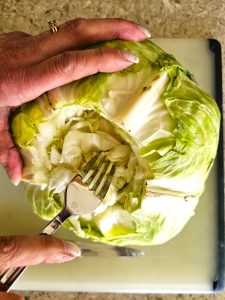
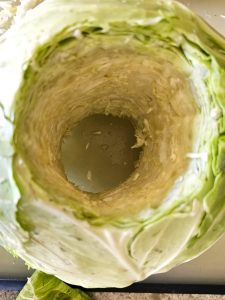
Step 4: Cut Tulips for Your Floral Centerpiece
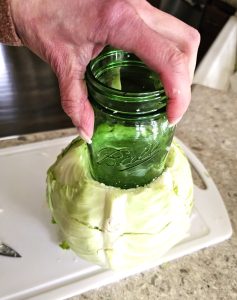
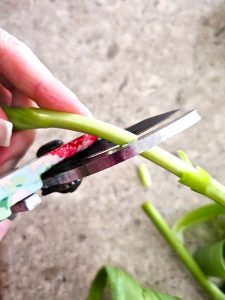
Using garden shears, I cut the flower stems at a 45-degree angle to the appropriate length. Next, I added the small mason jar and flower pot to the center. For the mason jar, I used a wet paper towel to wipe the jar. This makes it easy to push the glass jar through to the bottom. Add a little water and a bit of the floral preservative packets to the small mason jar. Place tulips or other spring flowers to make a beautiful cabbage arrangement for your Easter tablescape.
Cindy's Pro Tip: Add a little for a damp paper towel. Wet the outside of the small mason jar. Carefully push it through the center of the cabbage.
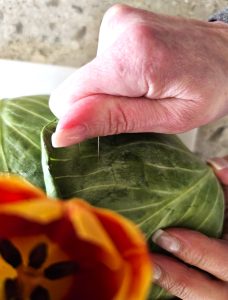
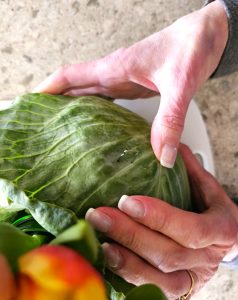
Step 5: Adding Floral Pins to Attach Outer Leaves
In the photos, I'm showing how to add the outer loose leaves. I did this to my cabbage and didn't like how it made my finished DIY centerpiece look. So, I draped the outer leaves over the edge of my dough bowl. I felt the outer loose leaves attached to my cabbage took away from the floral arrangement. Feel free to play around with your finished centerpiece and do what works best for your Easter table.
Cindy's Pro Tip: You can add wet floral foam instead of a glass jar to center of the cabbage. Wet the floral foam before adding it to your cabbage. This may be easier if you don't want to worry about the water line going down in the jar. These can be found at the Dollar Store or Hobby Lobby.
