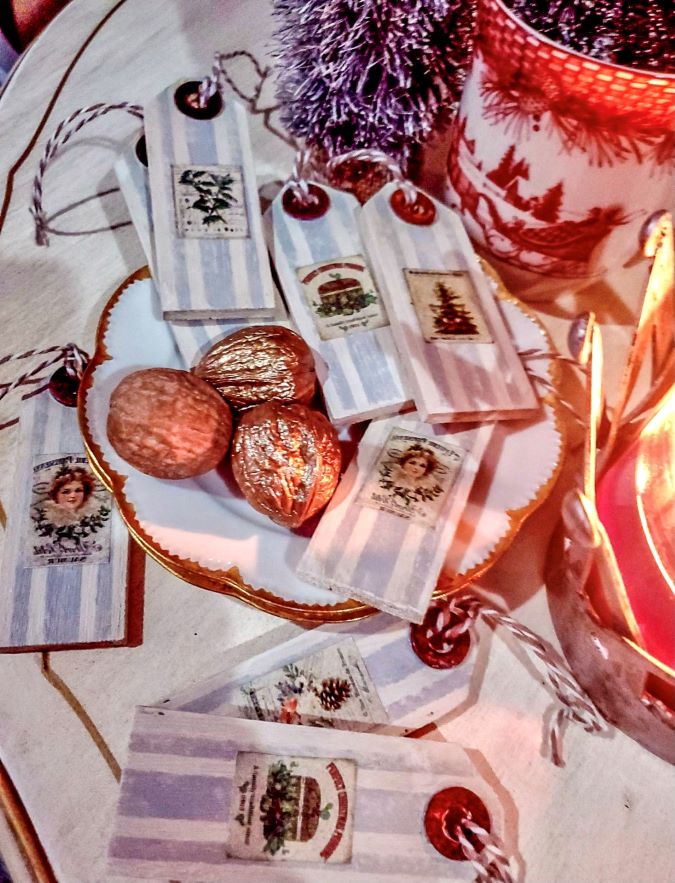
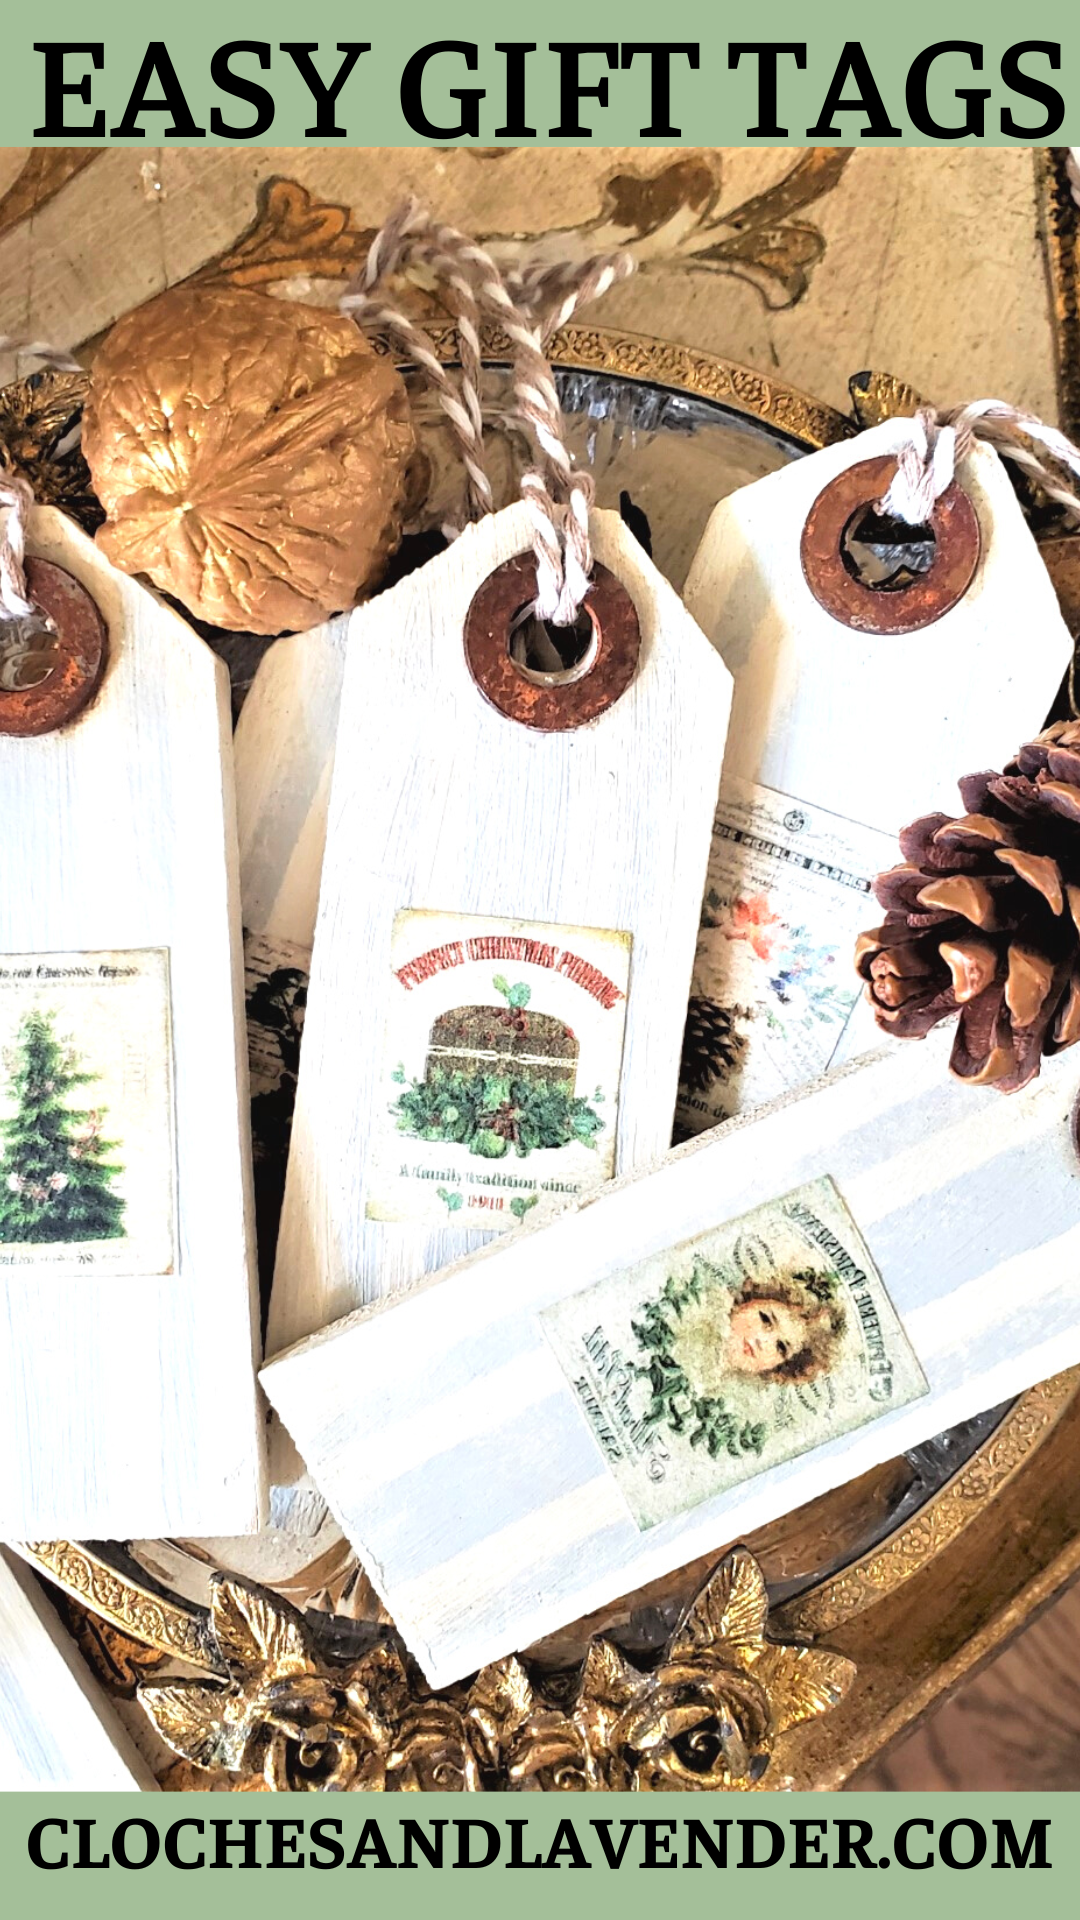
Christmas Gift Tags From Wood
Welcome, today I’m sharing an easy Christmas season craft project. Now let me share how to make Christmas gift tags from wood. You may be asking yourself why wood tags? So, I will tell you why wood is used for making this craft for the holiday season.
First of all, I like the idea of giving a present with a Christmas gift tag that’s a DIY. Also, I like the idea these holiday gift tags can be hung on my family’s or friends’ Christmas tree.
My goal with this project is to make easy tags become keepsakes.
This is an easy DIY craft to make.
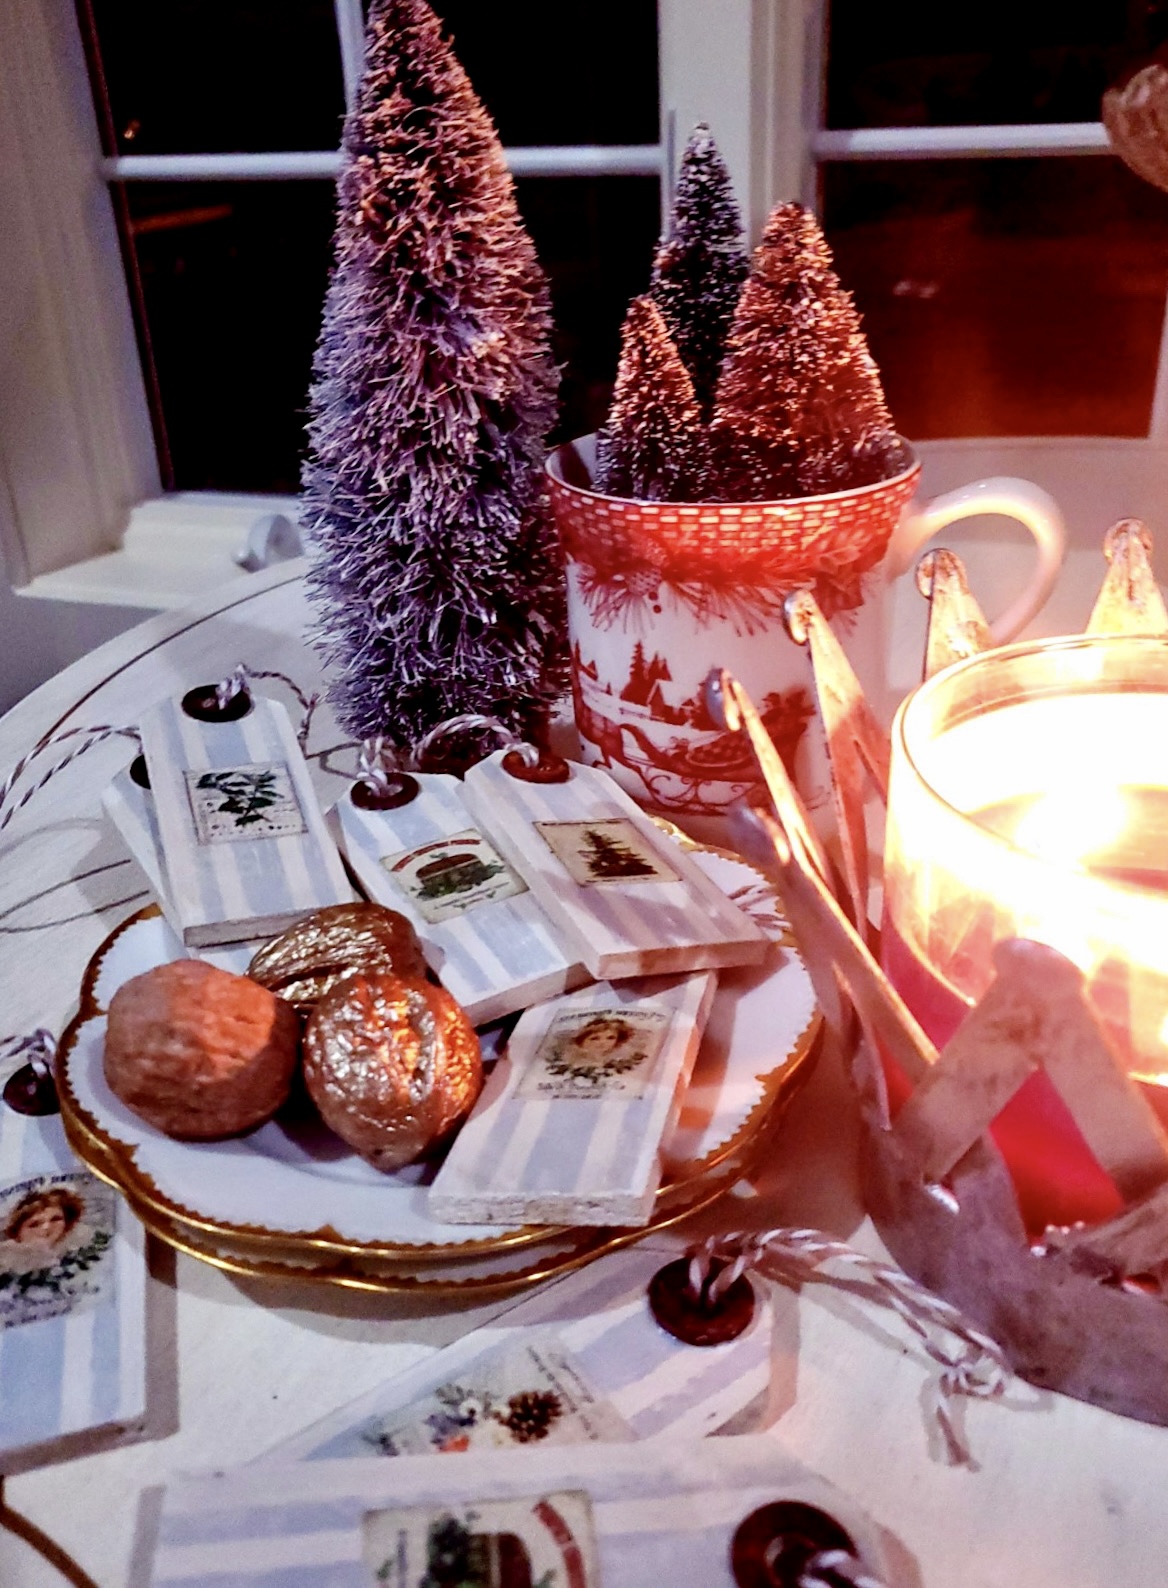
These being holiday-themed, I can also use these for our Christmas tree as ornaments because these add an Old World look.
Additionally, I can use these festive tags for displays around the house in dishes and bowls.
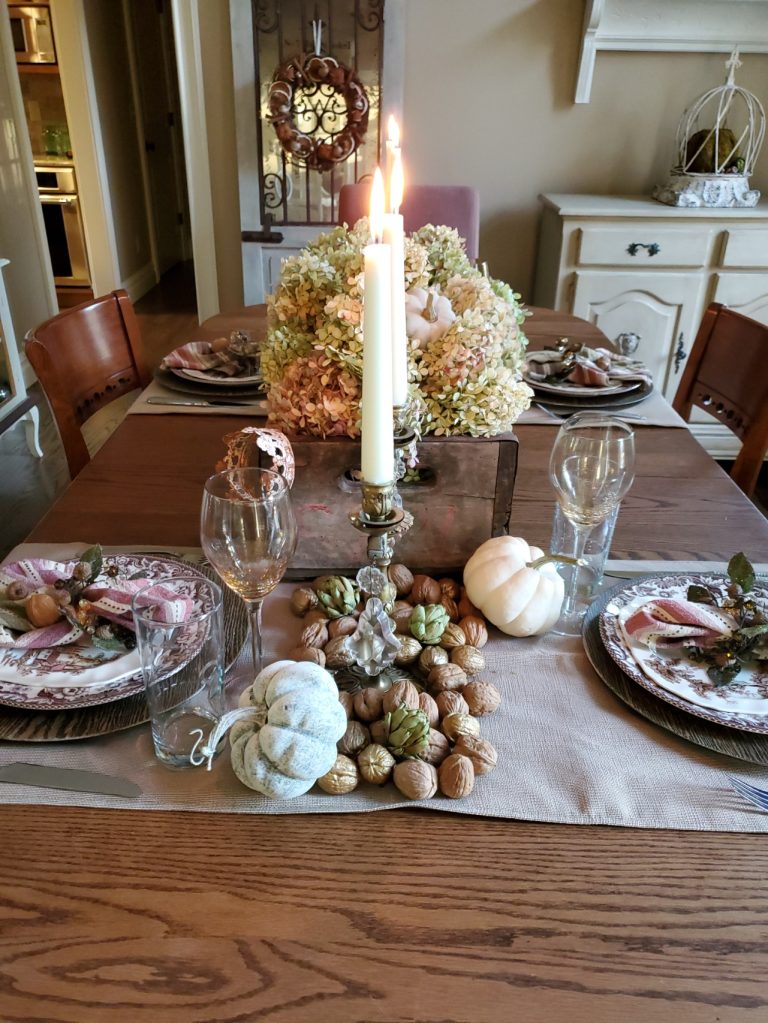
Simply by adding pinecones, nuts, greens, and dried citrus to make a pretty arrangement on any table.
Also, another idea is to use these wooden tags as drink charms for Christmas gatherings. So there are many reasons to make these Christmas tags from wood as opposed to card stock. These will last a lifetime and bring many people in our lives joy during the Christmas season.
Table of Contents
- 1 Supplies Needed:
- 2 Make Christmas Gift Tags From Wood
- 3 Cut The Wood Into Tag Shapes
- 4 Adding Color to the Christmas Gift Tags
- 5 Stenciling Gift Tags
- 6 Sanding The Tags
- 7 Adding More Character
- 8 Rusting The Washers
- 9 Gluing The Washers
- 10 Adding Charm
- 11 Mod Podge
- 12 Seasonal Gift Tags Character
- 13 Adding String
- 14 CHRISTMAS GIFT TAGS
Supplies Needed:
- 1/4 inch poplar wood
- compound miter
- chop saw
- small metal washers
- sanding sponge
- white vinegar
- peroxide
- table salt
- plastic container or solo cup
Make Christmas Gift Tags From Wood
Step 1: Cutting and Shaping the Wood
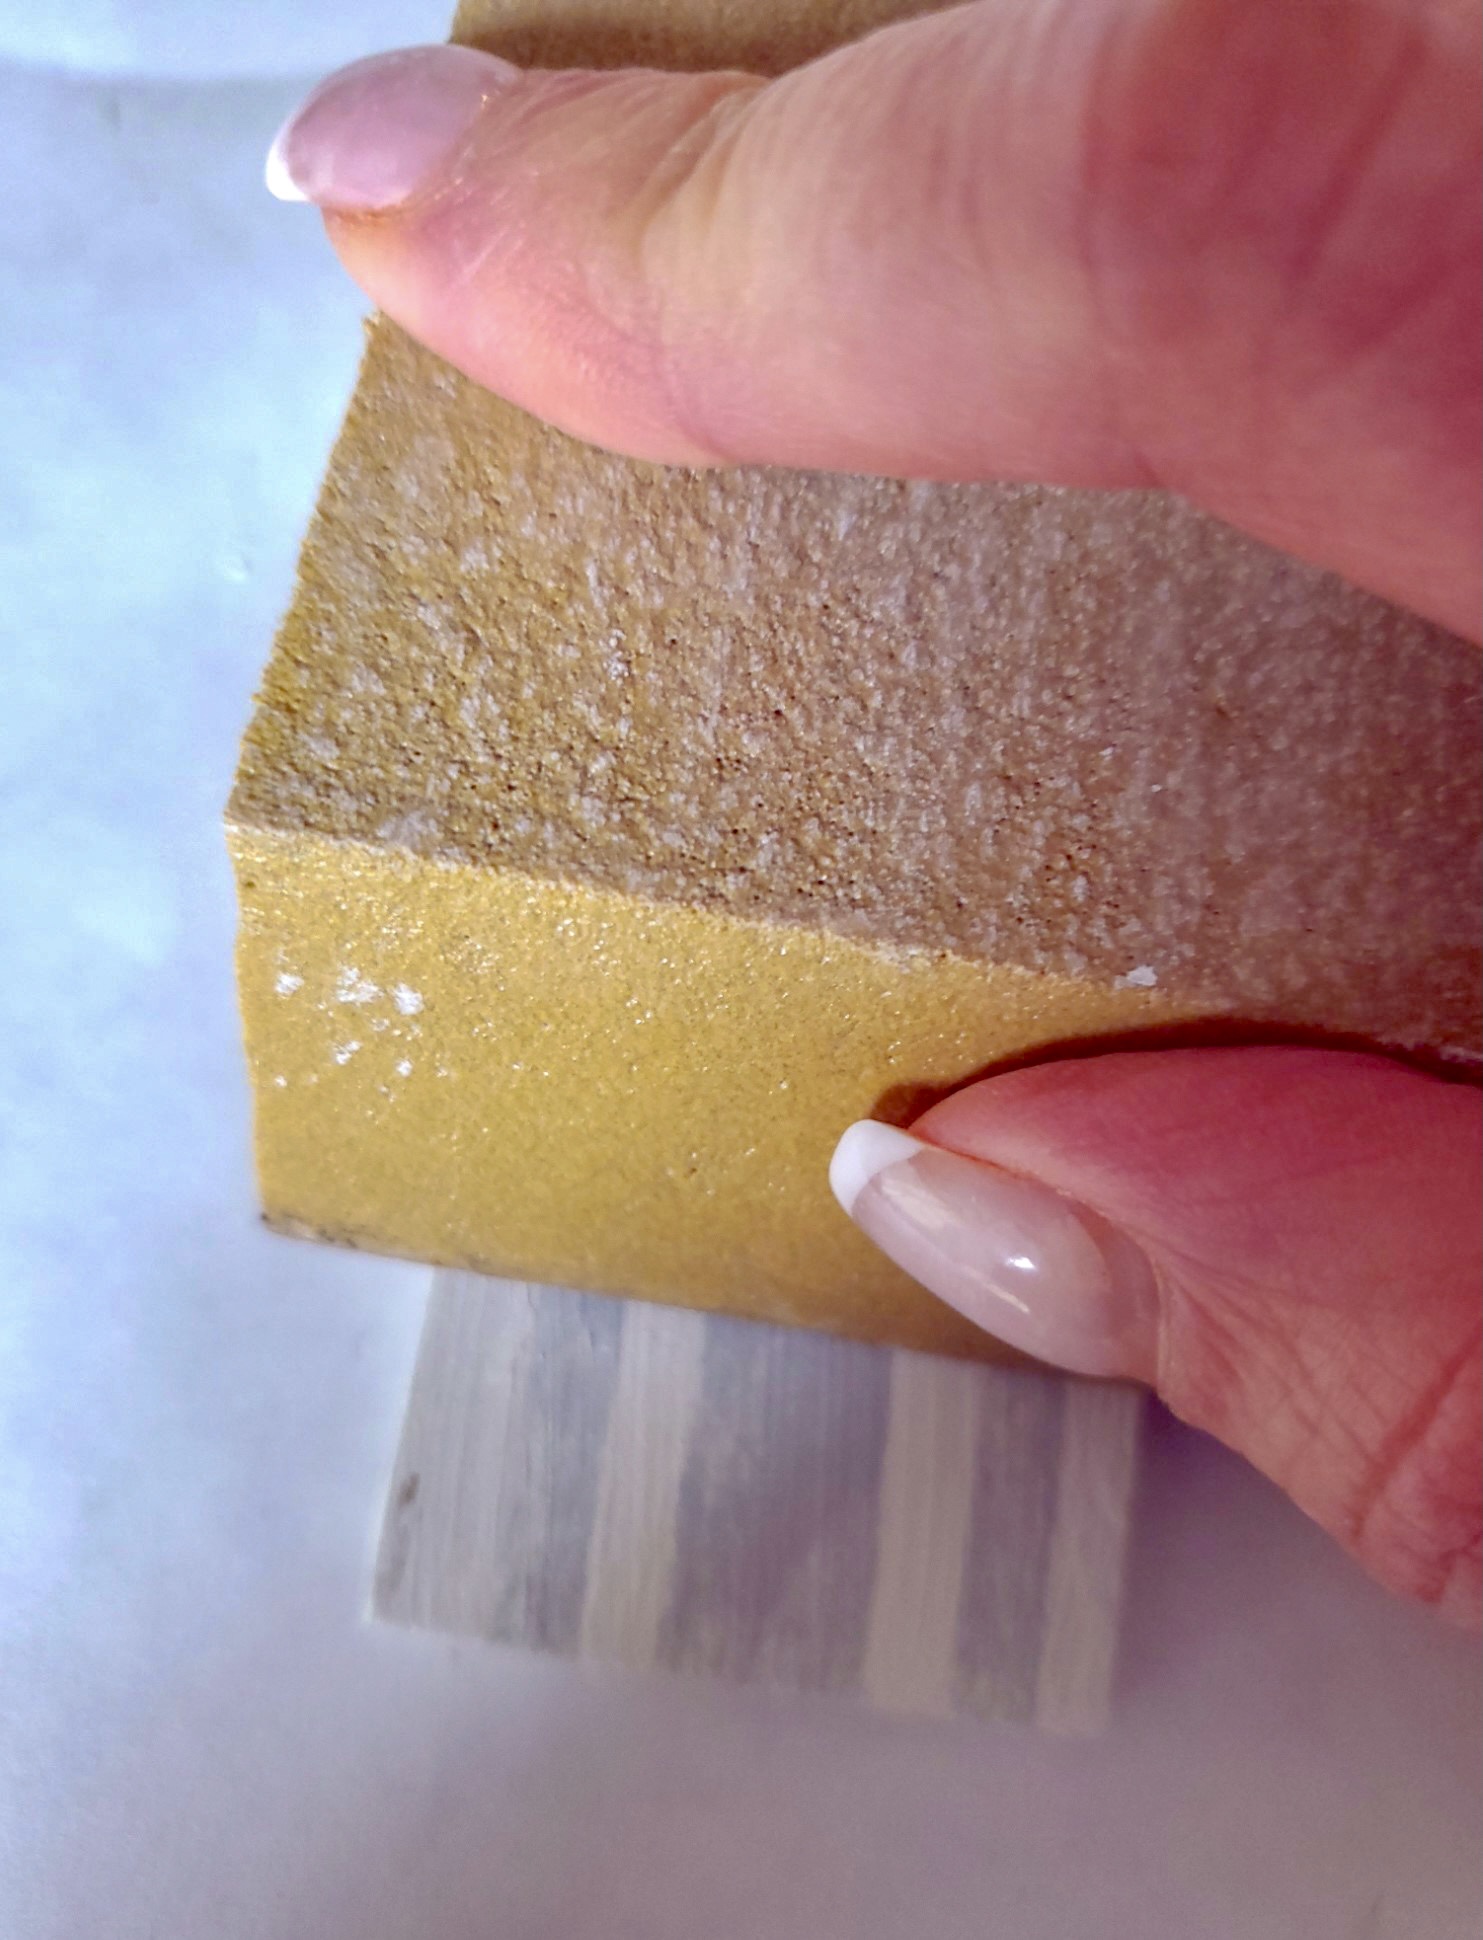
Purchase the wood from any home improvement store. I chose 1/4 inch thick poplar for my holiday gift tags. Poplar is especially good for this gift tag project because I will paint them.
Here’s a picture of a similar piece of wood that I am using for these present tags.
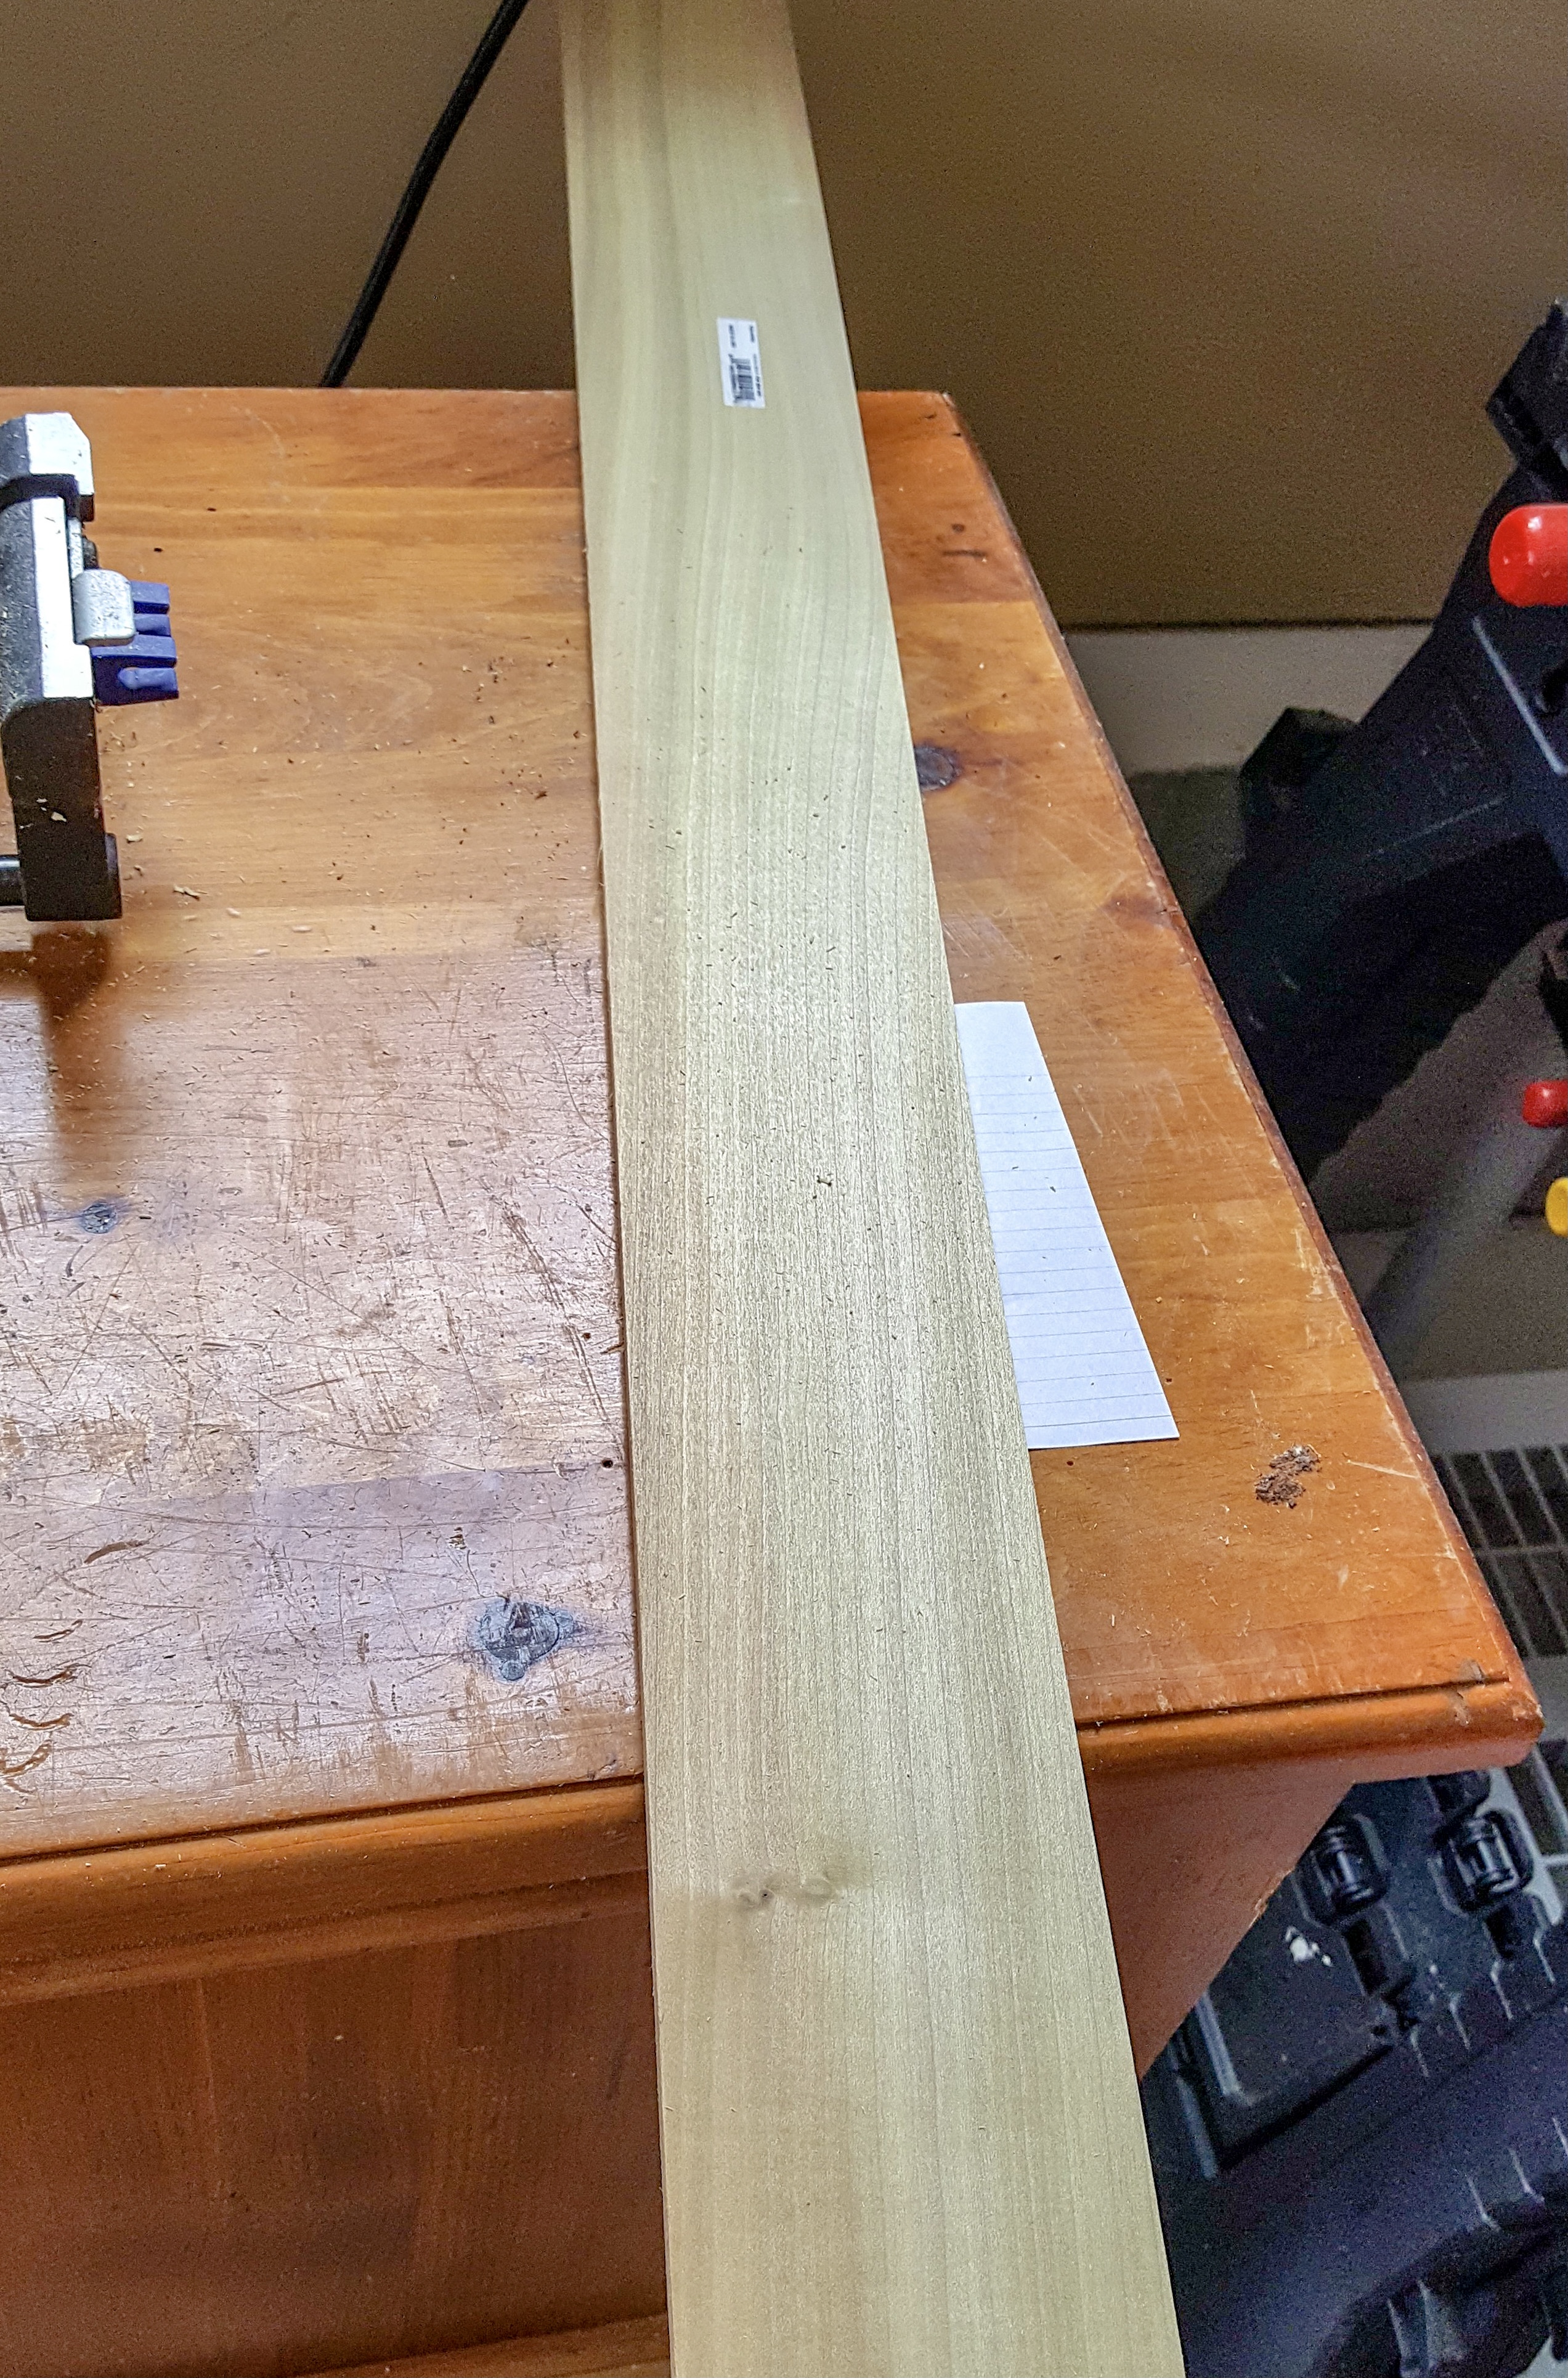

Next, I decide on the size, and my handyman, a.k.a. my husband cut the gift tags to size.
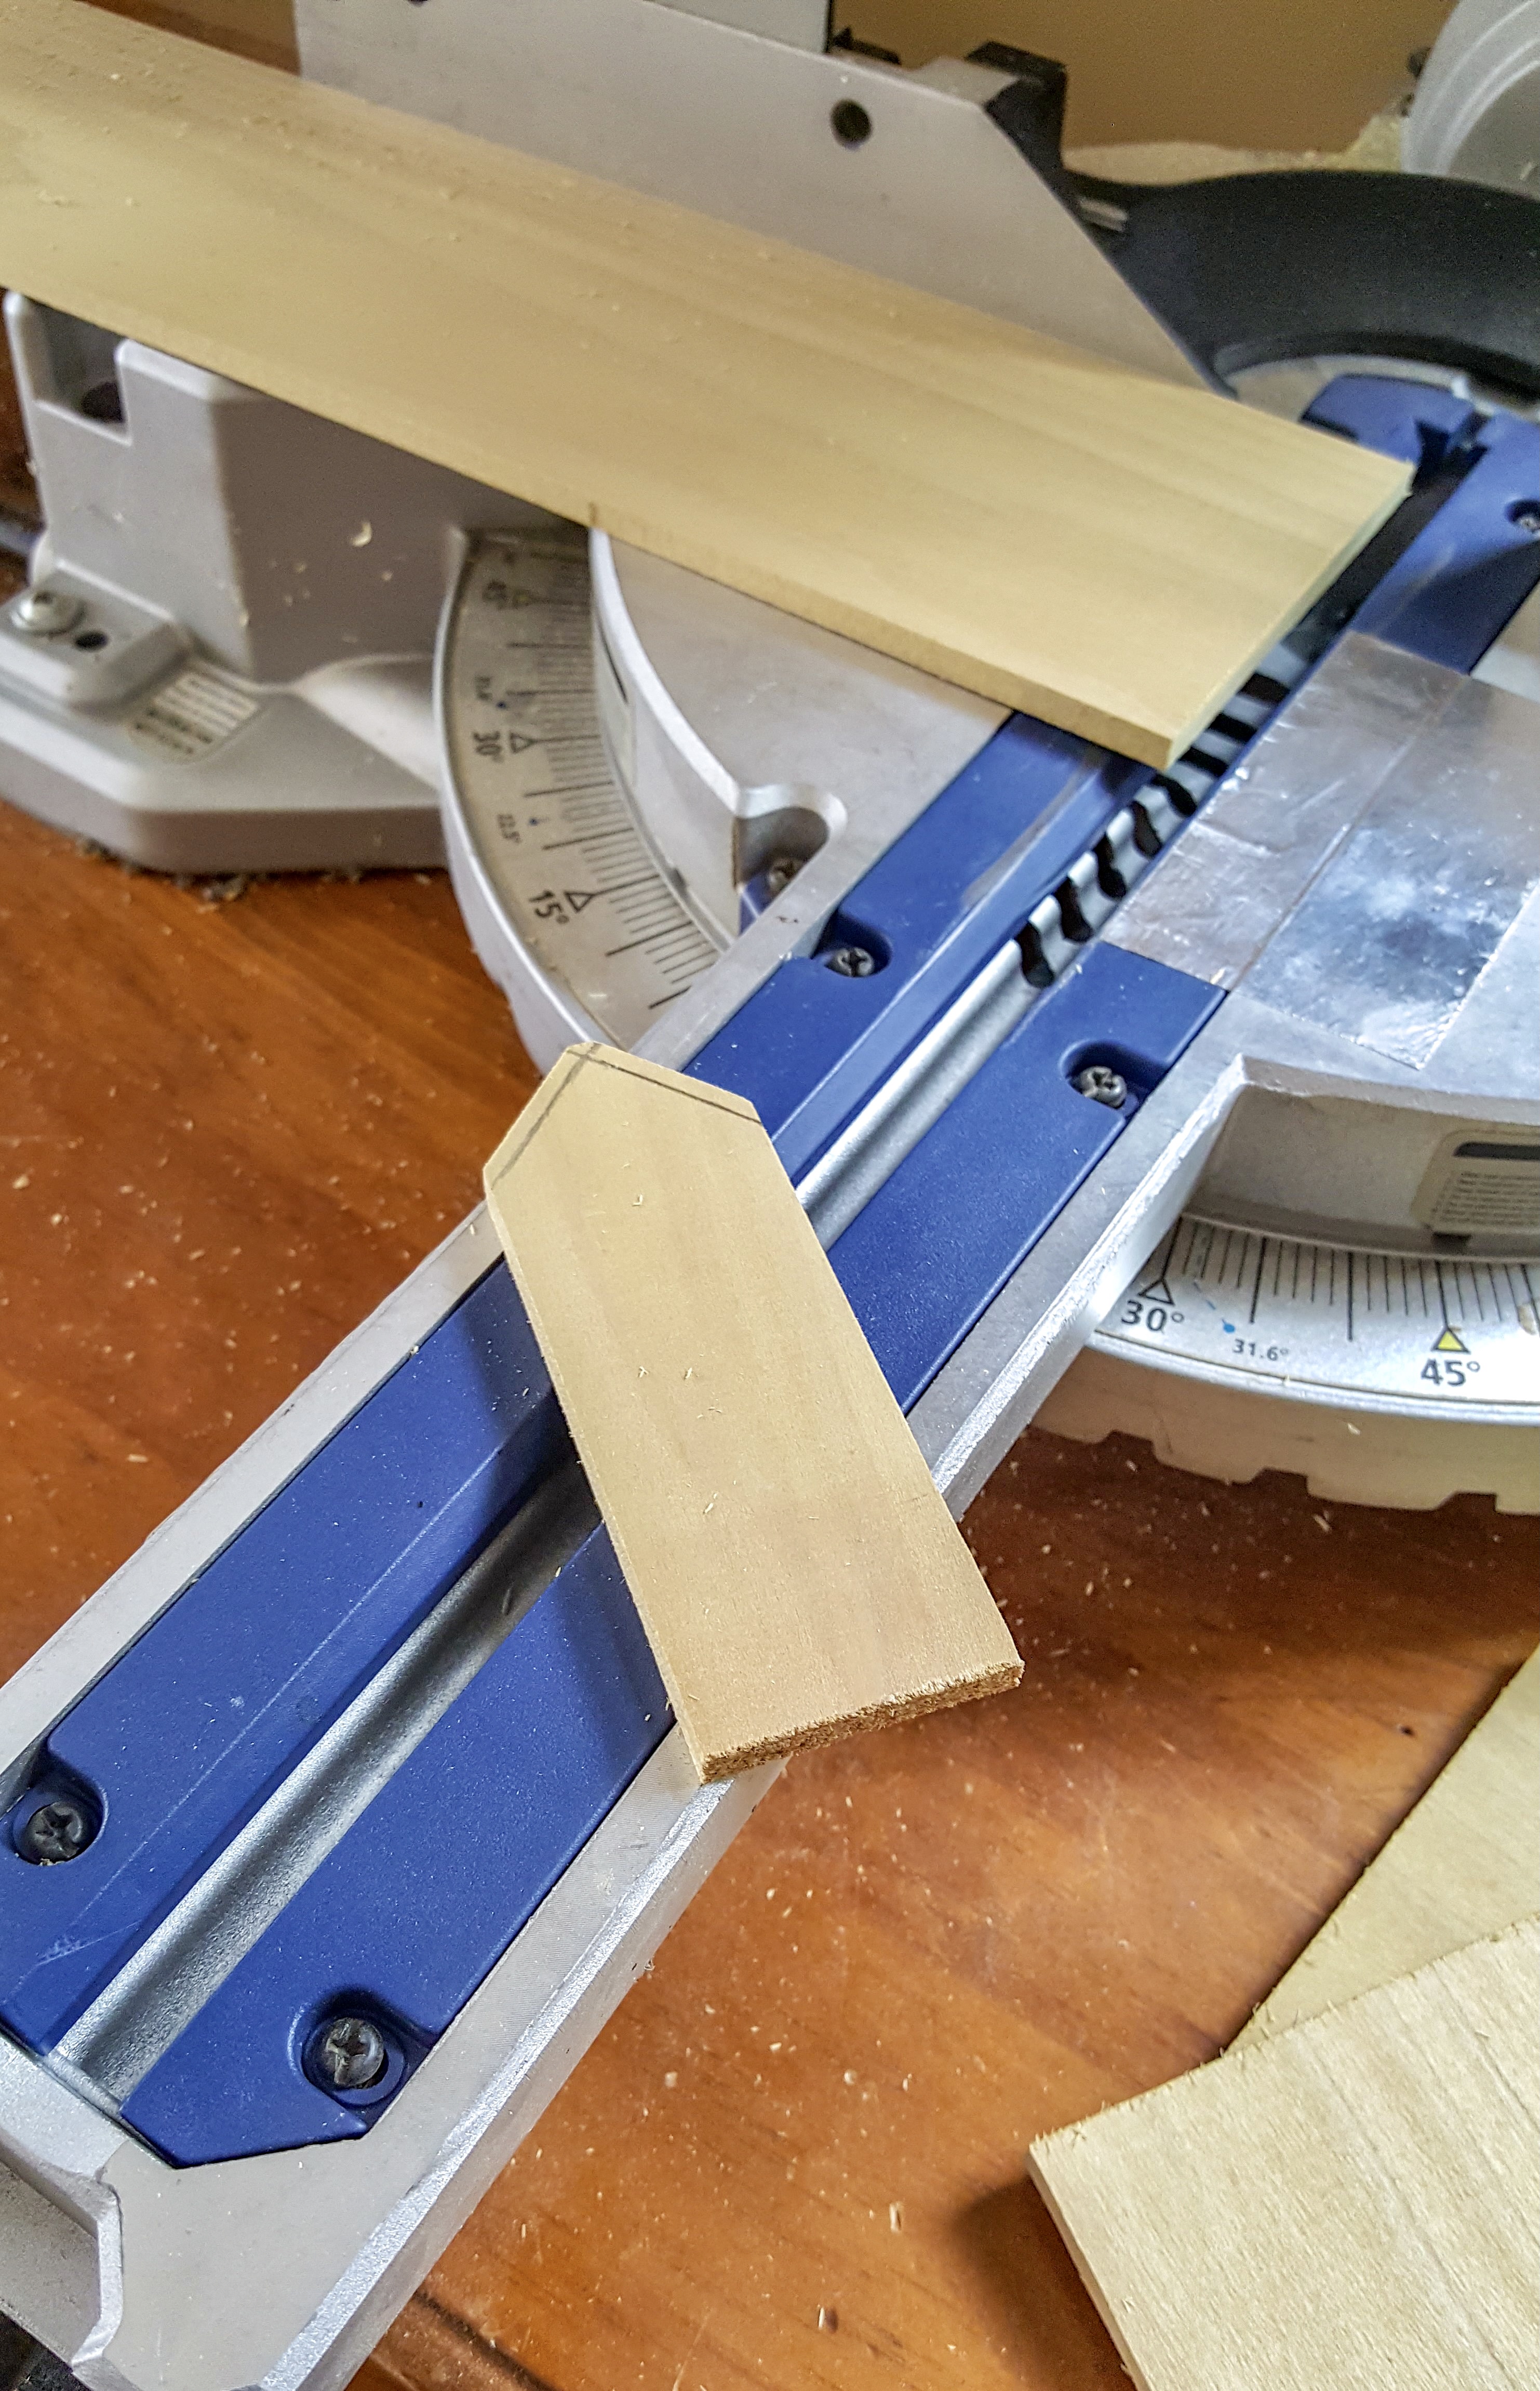
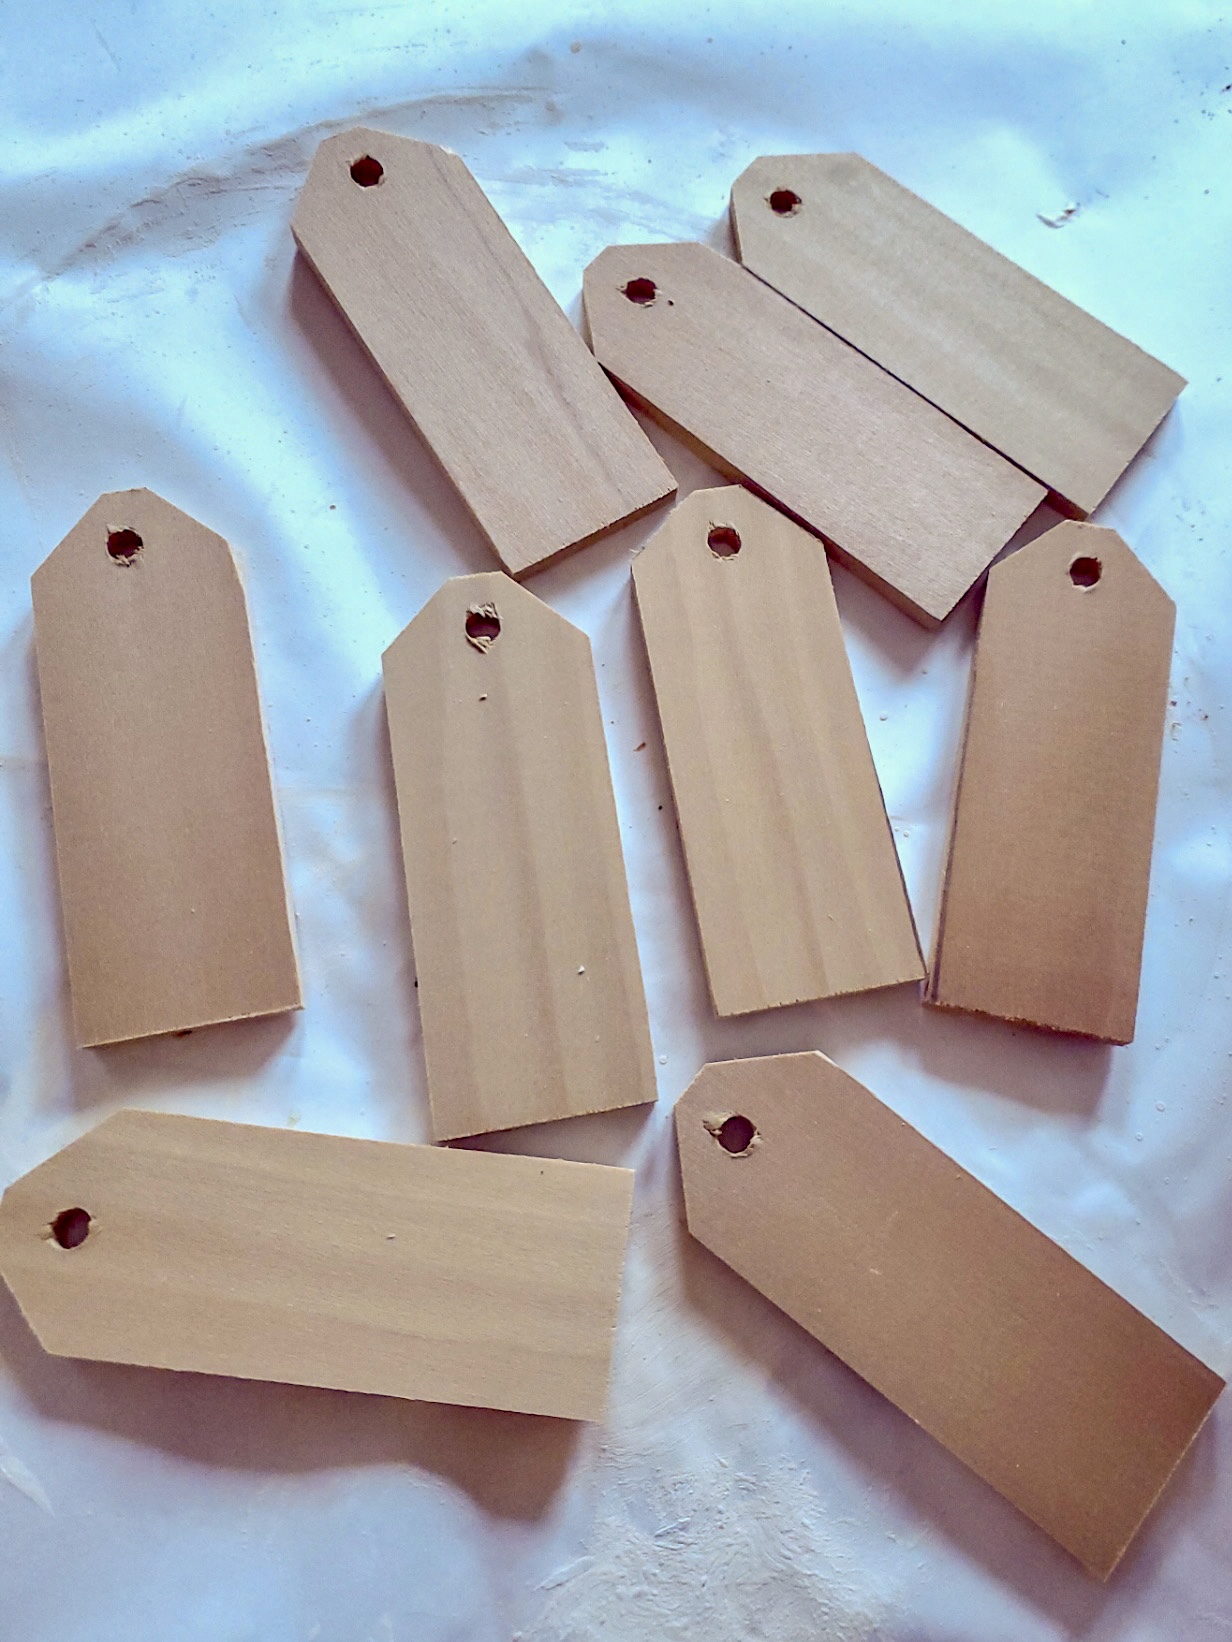
Cut The Wood Into Tag Shapes
Step 2: Wood Pieces into Tag Shape
After the tags are cut for the DIY use a light grit sanding sponge and sand the edges to remove any rough spots.
Here, you will want to add a drill hole to the top of the easy craft tags.
Adding Color to the Christmas Gift Tags
Step 3: Painting the Personal Tags
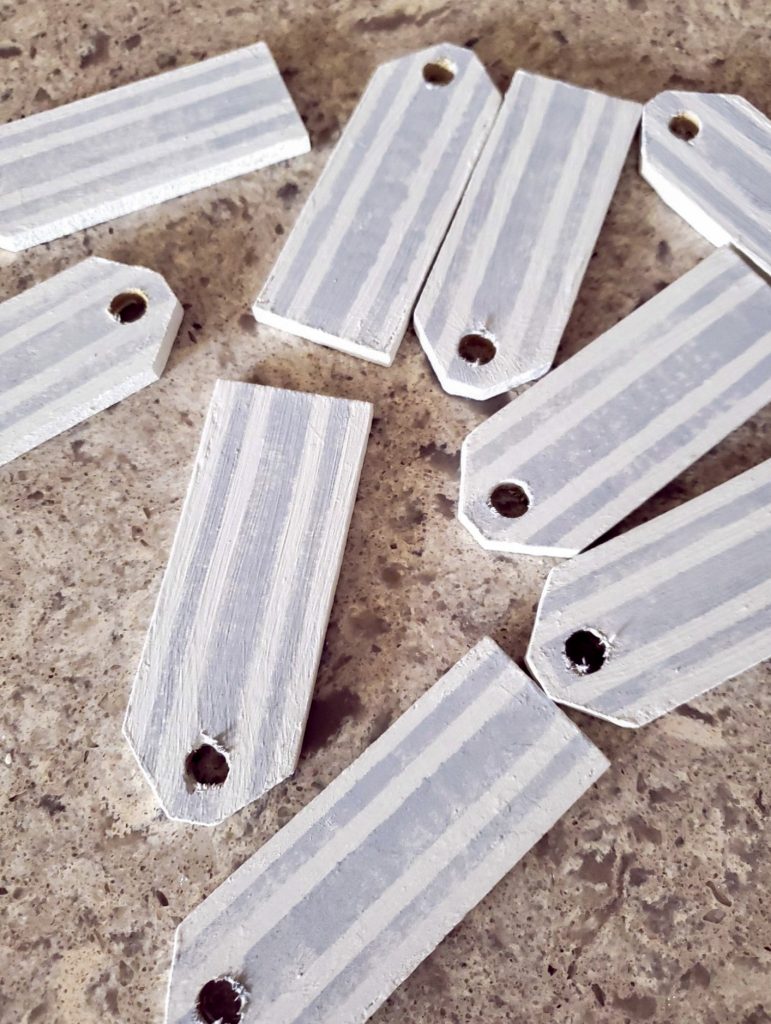
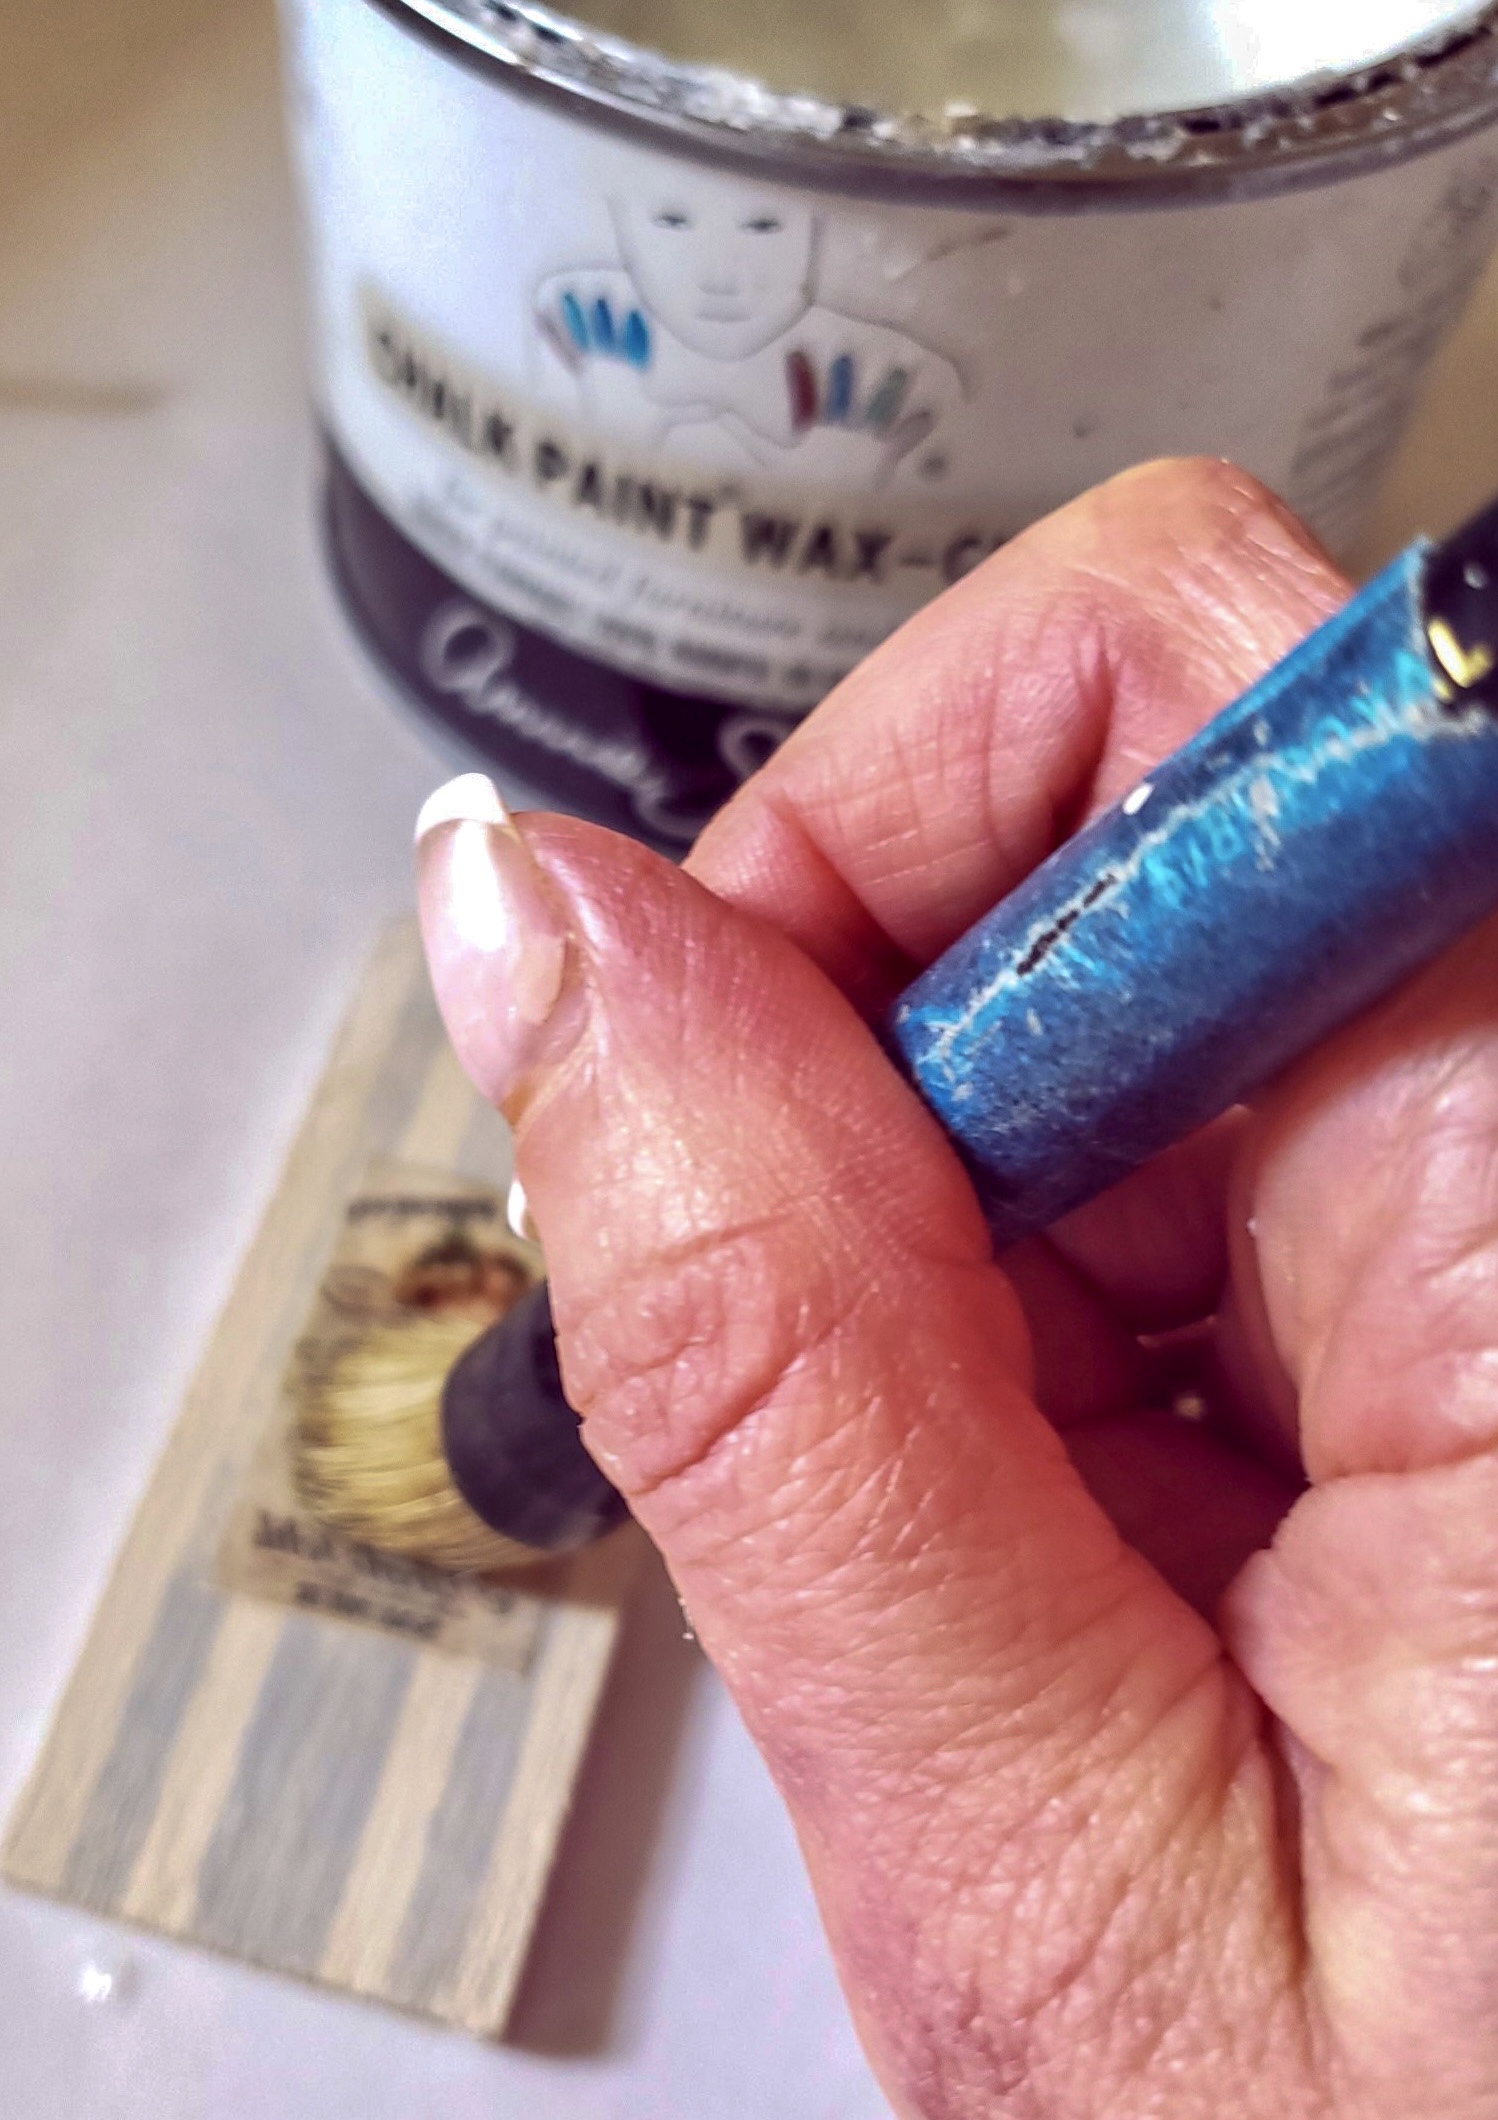
Now the fun part, designing and painting the holiday tags. I enjoy using chalk paint because I can paint with no priming! Also, I enjoy adding character to chalk paint with wax. For the most part, I use this chalk paint for painting. I have been using this paint for many years now and am never let down.
White craft paint will work as well. More coats of paint may be necessary.
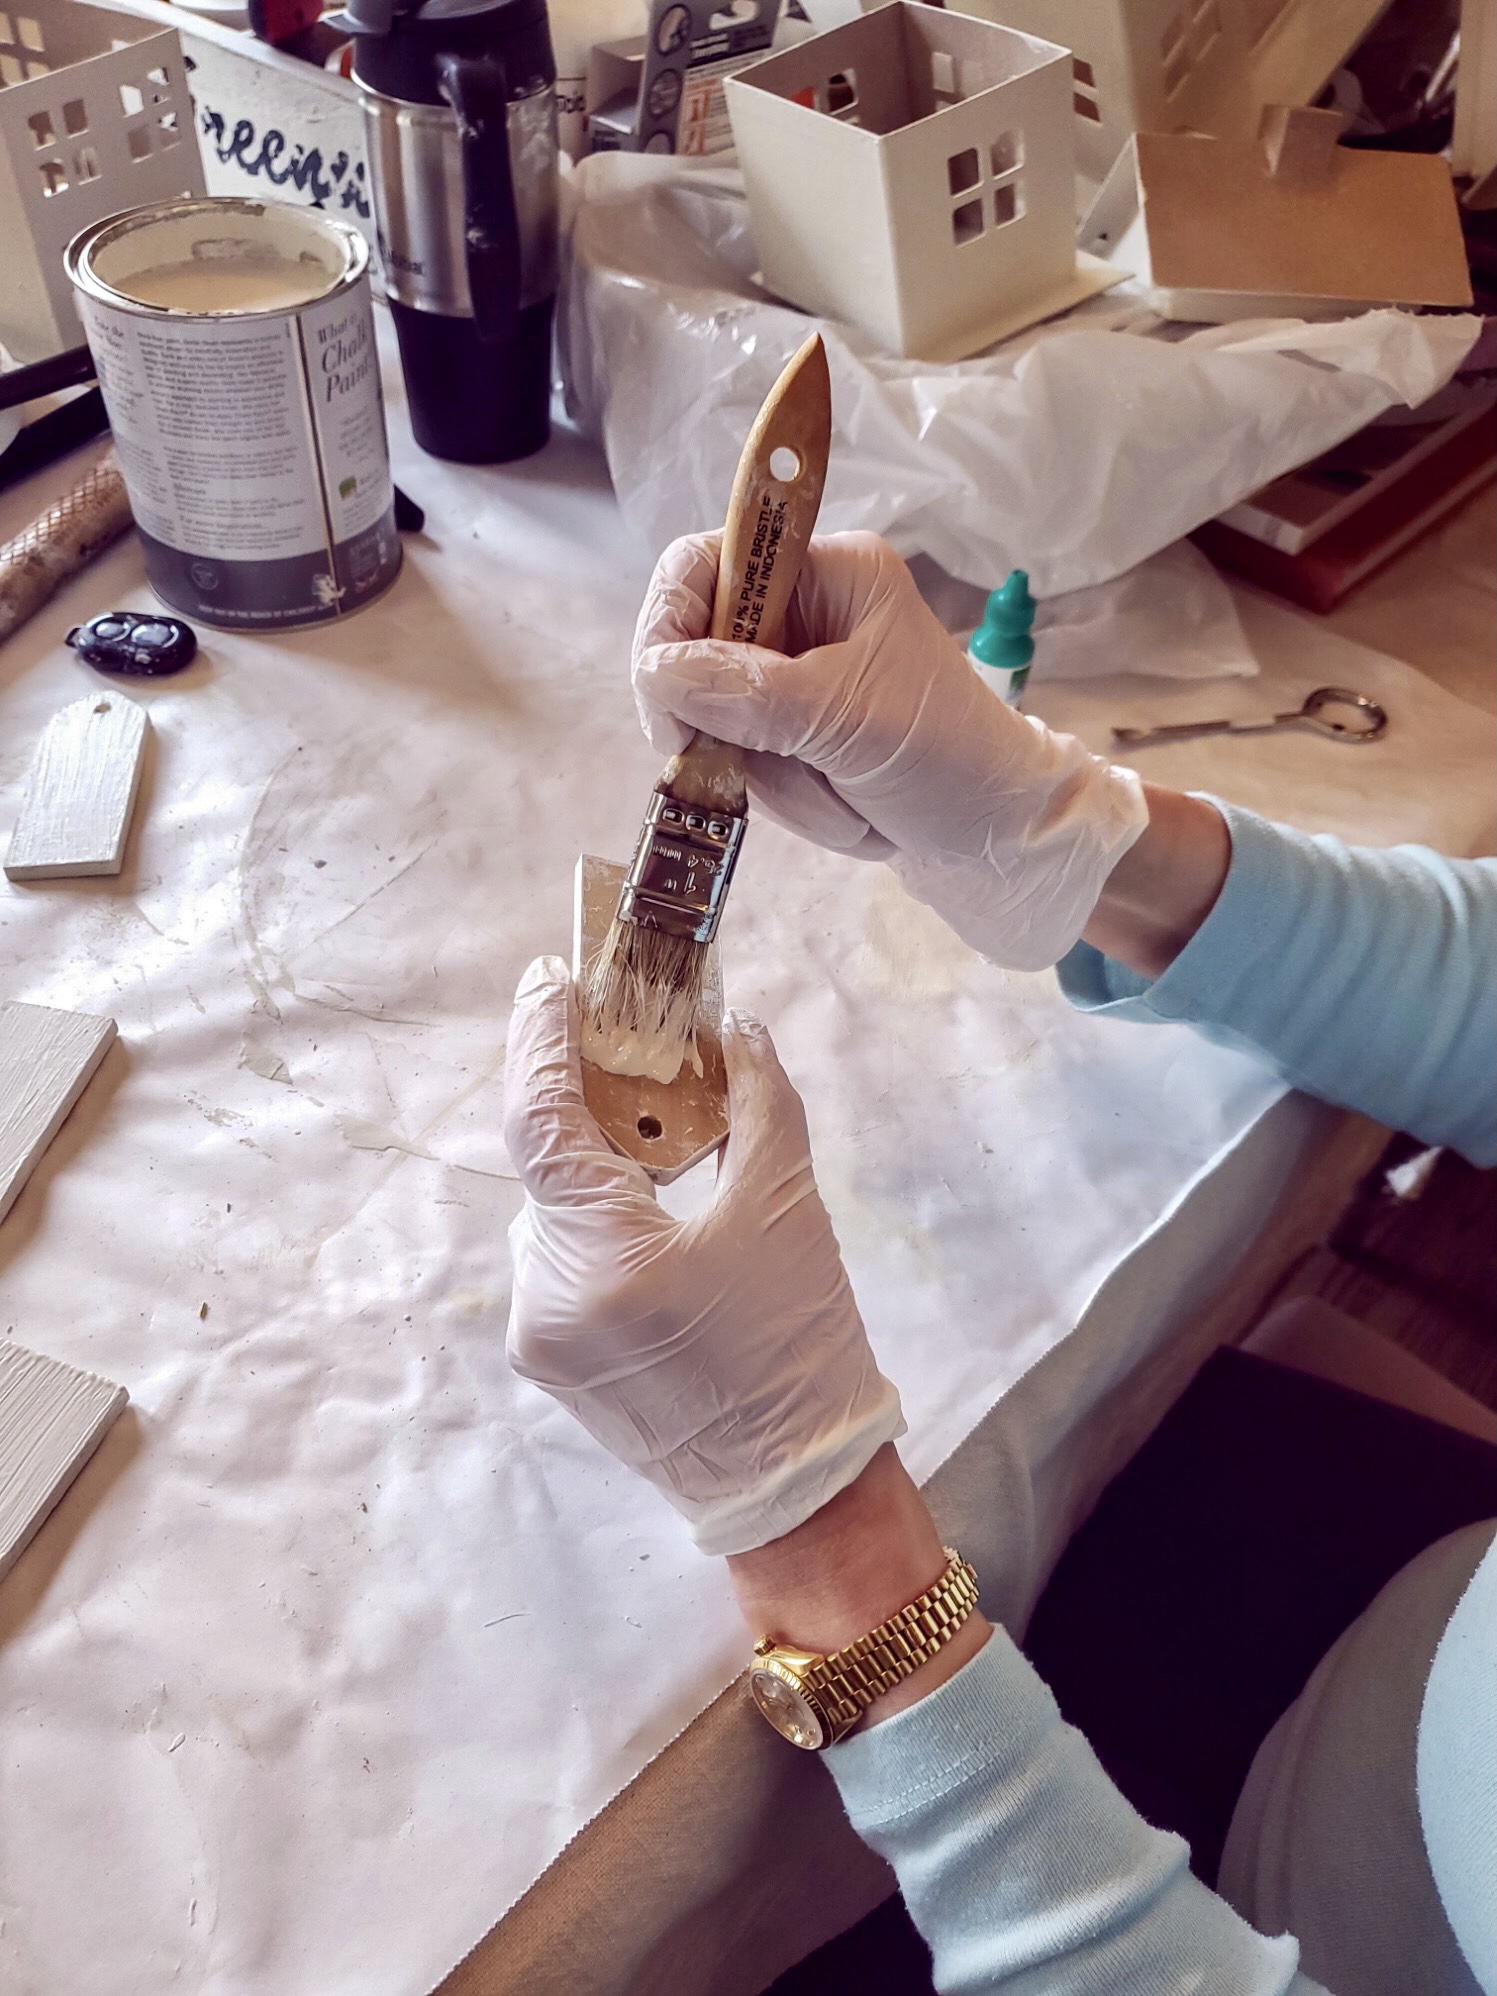
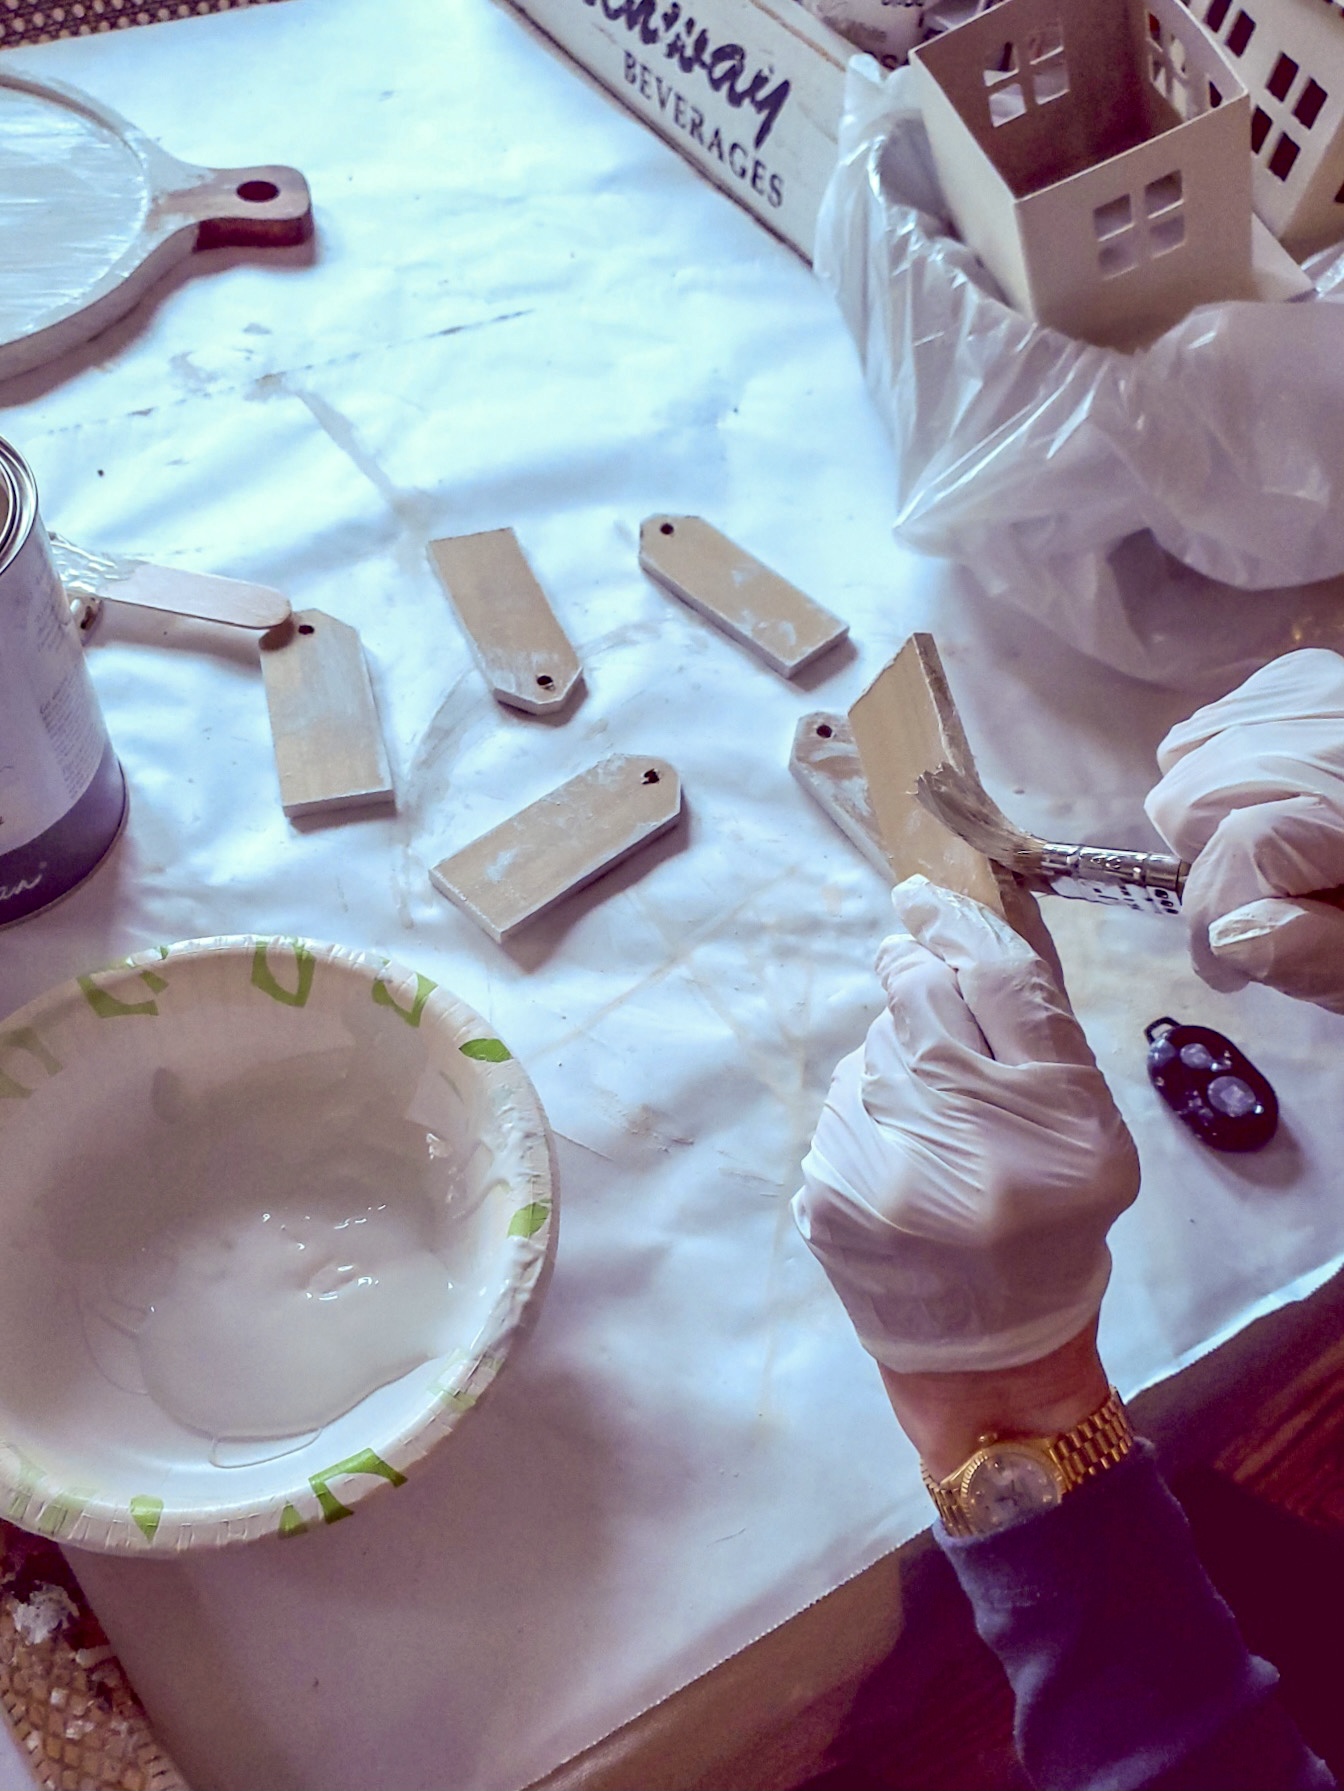
After painting the holiday tags two coats and drying in between each coat add the grain sac design. Here’s information for the grain sac to use for these seasonal tags. Besides, the price can’t be beat!
Stenciling Gift Tags
Step 4: Stenciling these Holiday Tags
Now, load your stencil brush with the color of your choice. Incidentally, my choice, is Folk Art medium gray and you can purchase this at any craft store for this project.
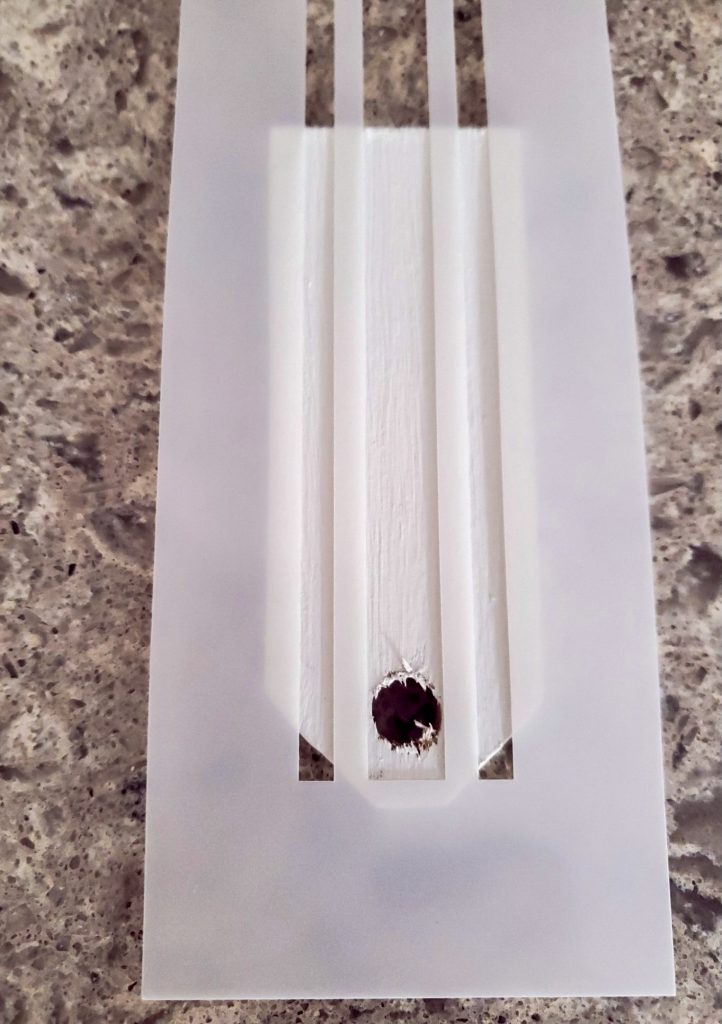
After loading your brush, using a good quality paper towel, pounce to remove most of your paint. By the way, doing this takes extra paint off your stencil brush and truly gives a stenciled look to your gift tags.
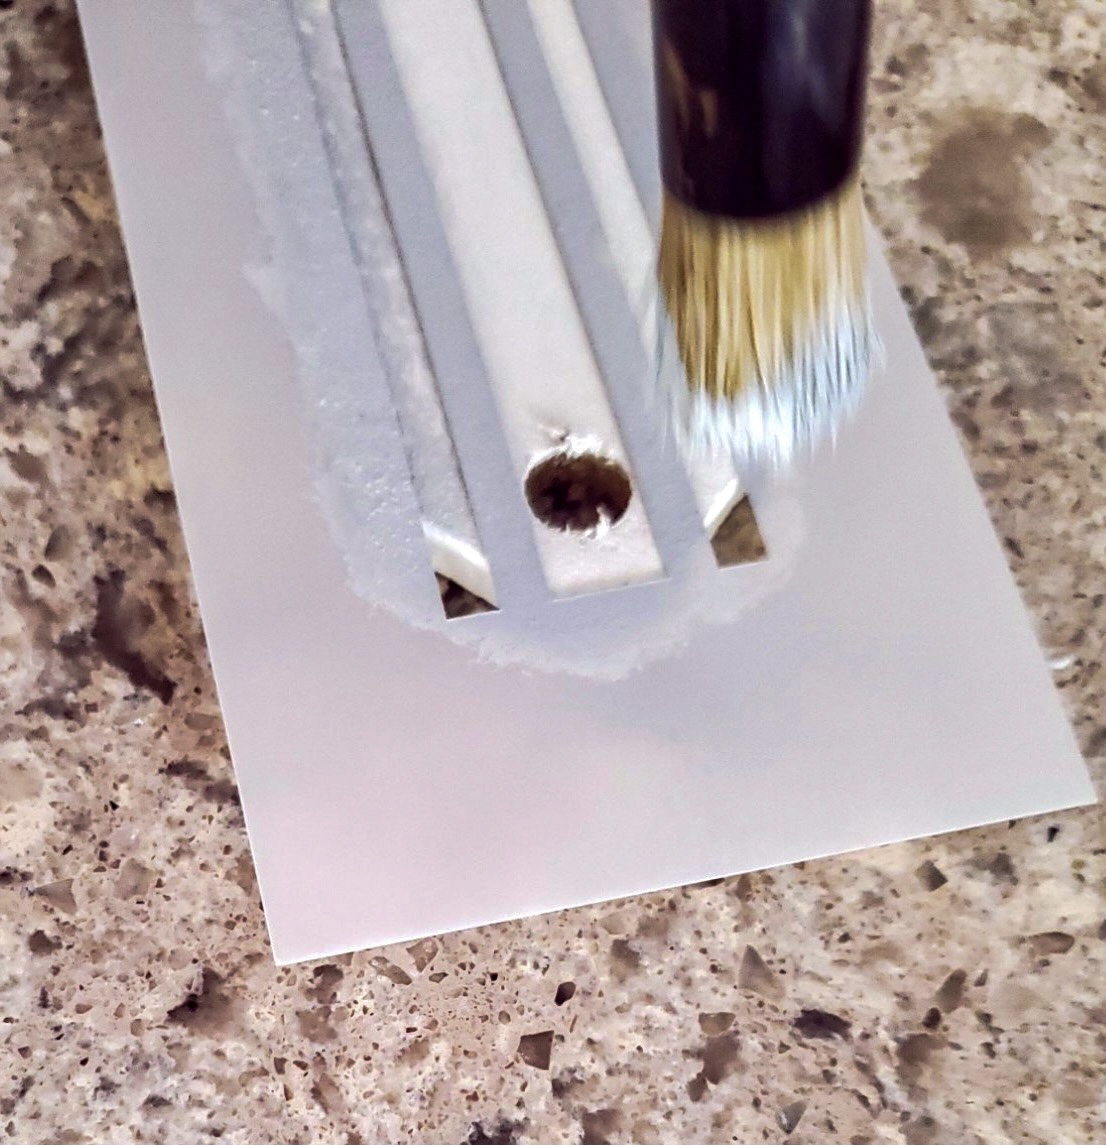
Pounce straight up and down when stenciling these tags because if you pounce on an angle you will bleed under your stencil. So stenciling straight up and down will give your grain sac the best look.
Notice the drill holes are left rough. I didn’t worry about this because the washers would cover them.
Sanding The Tags
Step 5: Sanding the Stencil for a Worn Look
After the stencil is dry, using a sanding sponge, lightly sand the stencil on your holiday gift tags. I say to lightly sand the seasonal gift tags to add more character.
Adding More Character
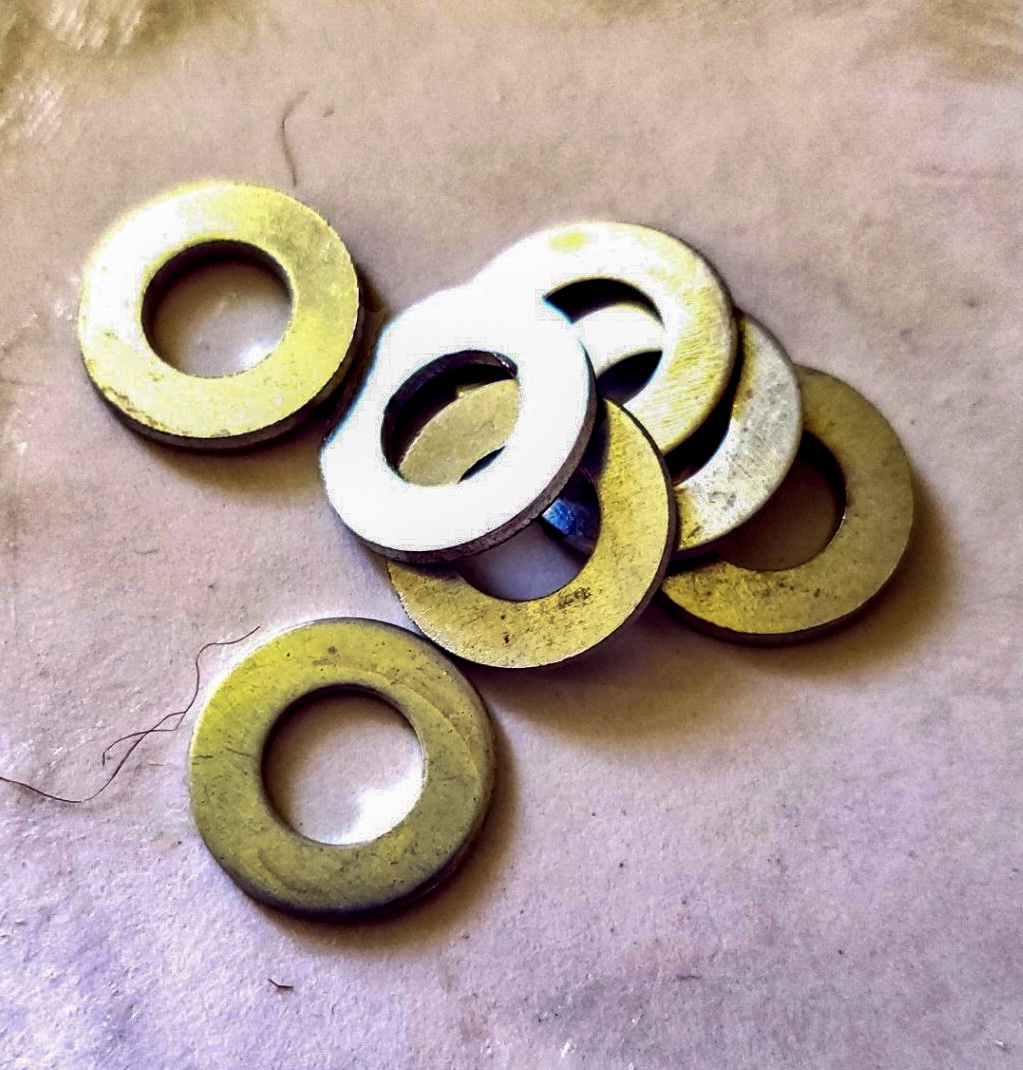
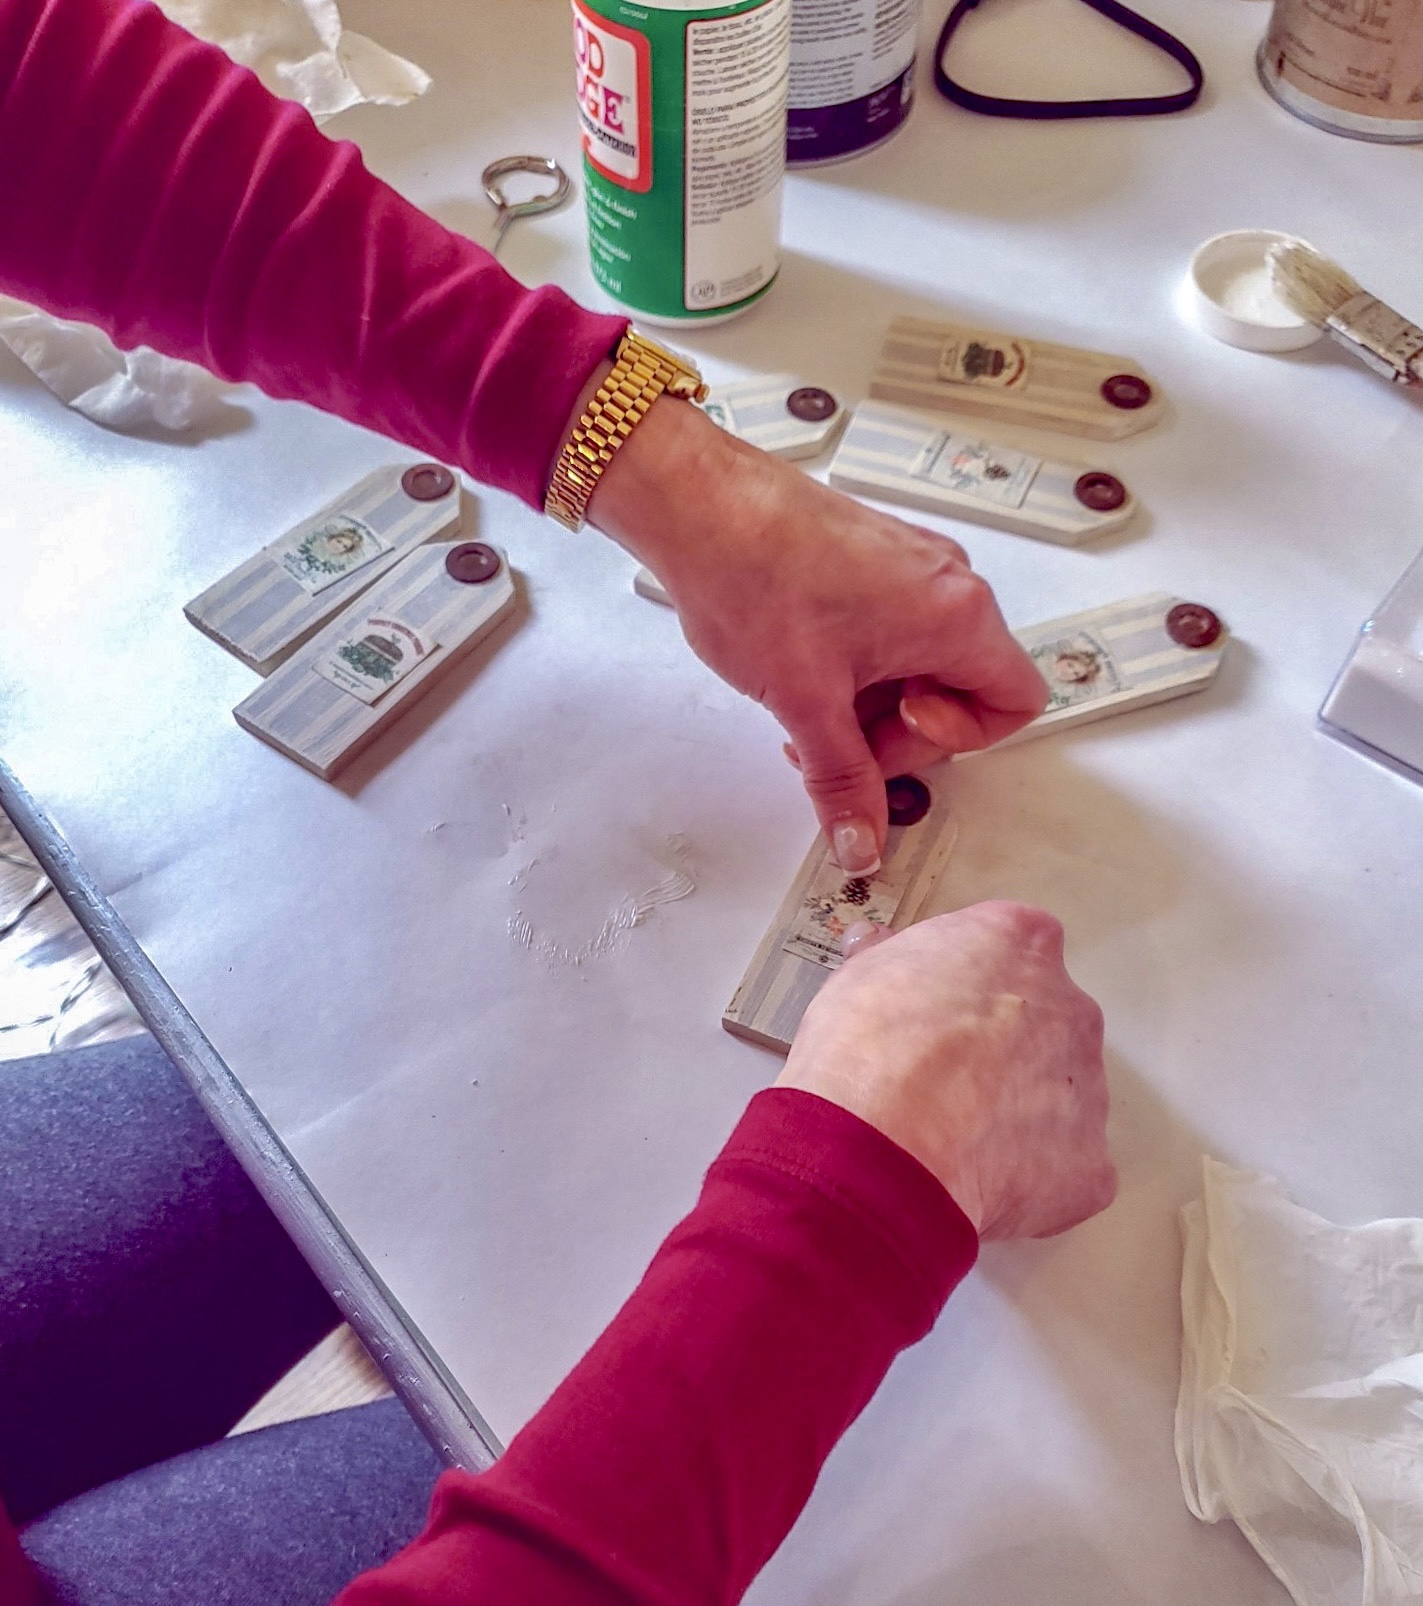
Step 6: Aging Washers to Add Character to the Tags
Here’s the link to the washers. This process uses everyday household items such as white vinegar, table salt, and peroxide in a container or cup. Additionally, doing this step adds even more character and an Old World Look to this easy craft project.
Rusting The Washers
Step 7: Easy Process of Rusting Washers
There is not an exact measurement for this process, unfortunately, I did this to see if it would work for my gift tags. Inside the container or a cup add a nice amount of table salt. Next, add peroxide and the white vinegar.
I did use a plastic container with a lid so after adding this mixture I put the lid on and shook it over the sink. However, this will work in a strong plastic cup too. After adding your ingredients to the washers stir the washers around a bit to evenly coat with the solution.

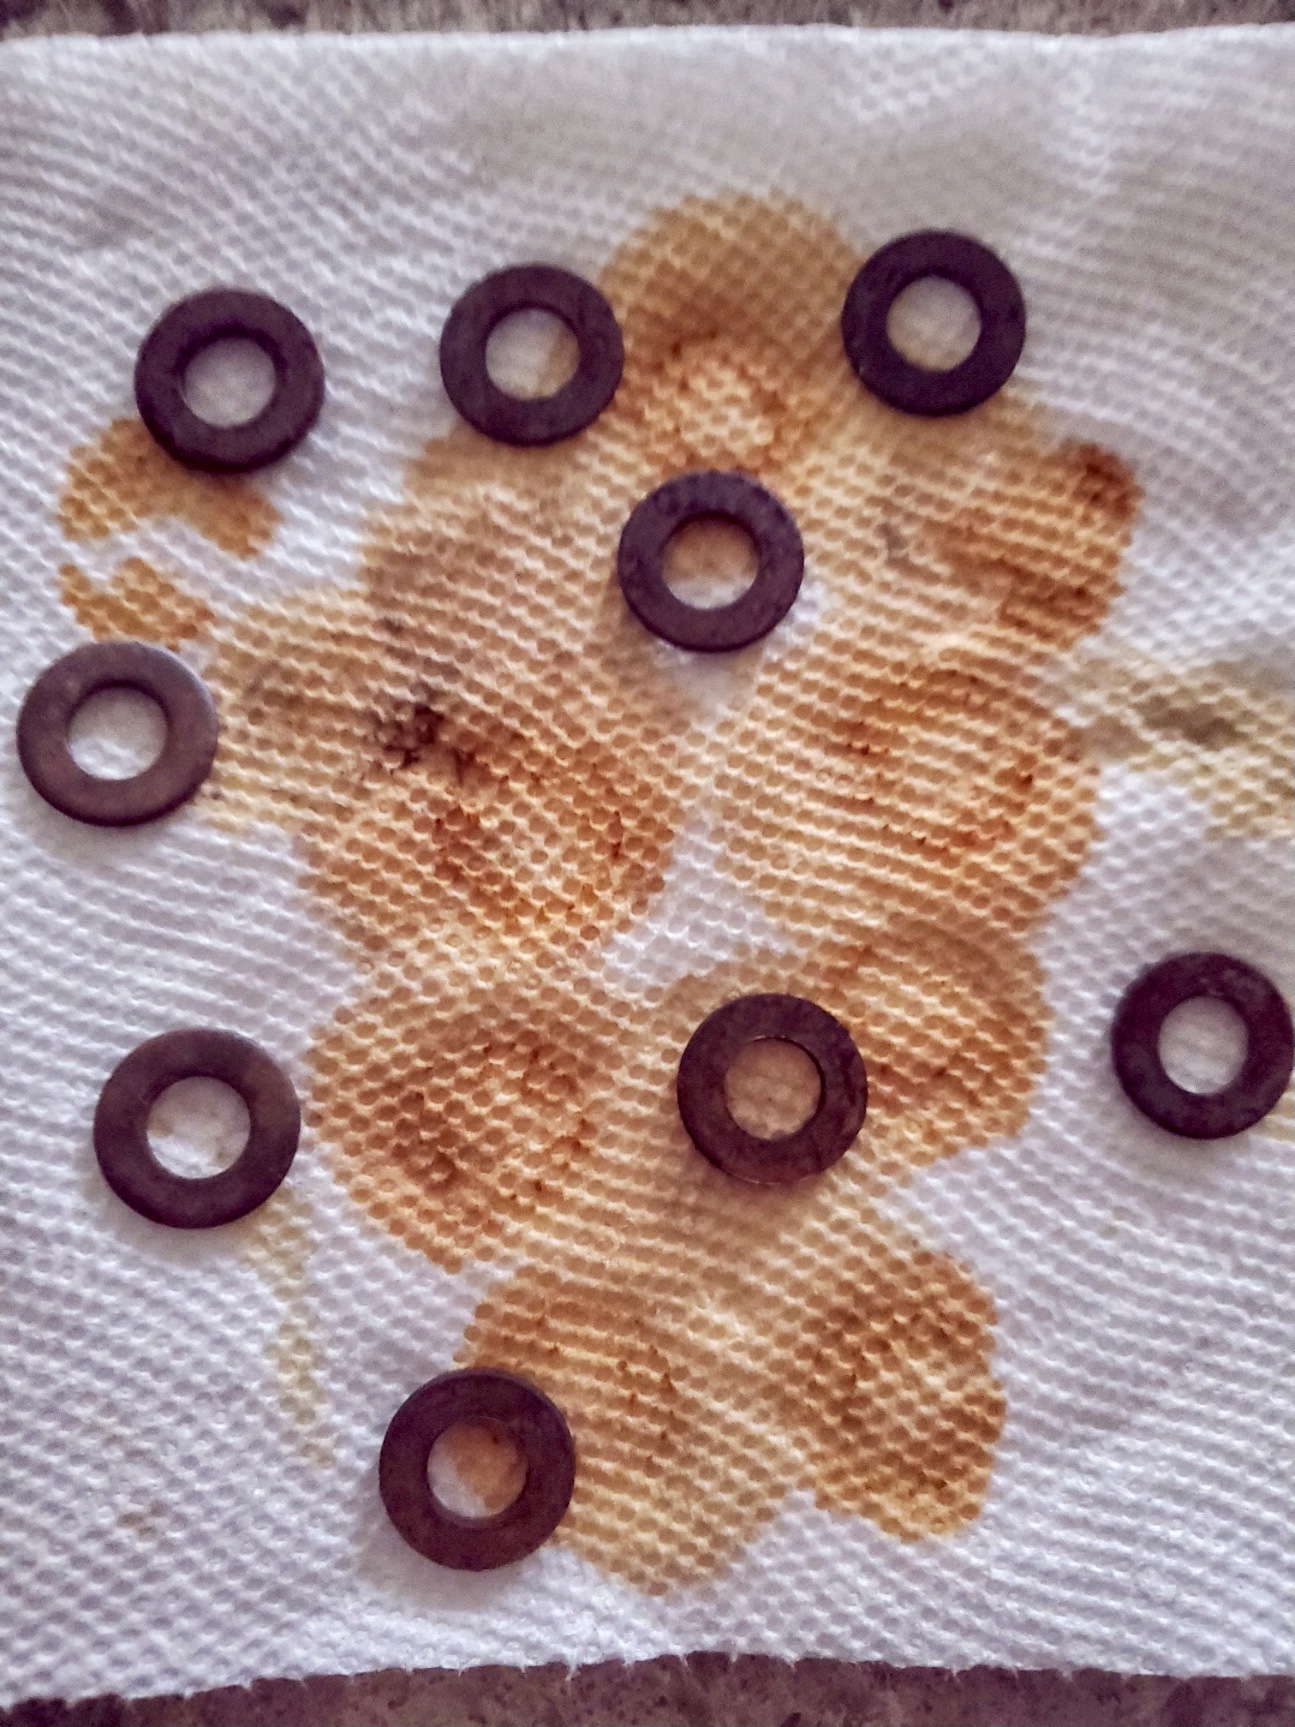
Let this sit with the lid off overnight and when I woke in the morning my washers were rusty additions for my Christmas gift tags. The air and the combination of the ingredients cause the reaction. I bet you didn’t know I am scientific, quite frankly neither did I. Truly, this was a guess and it works.
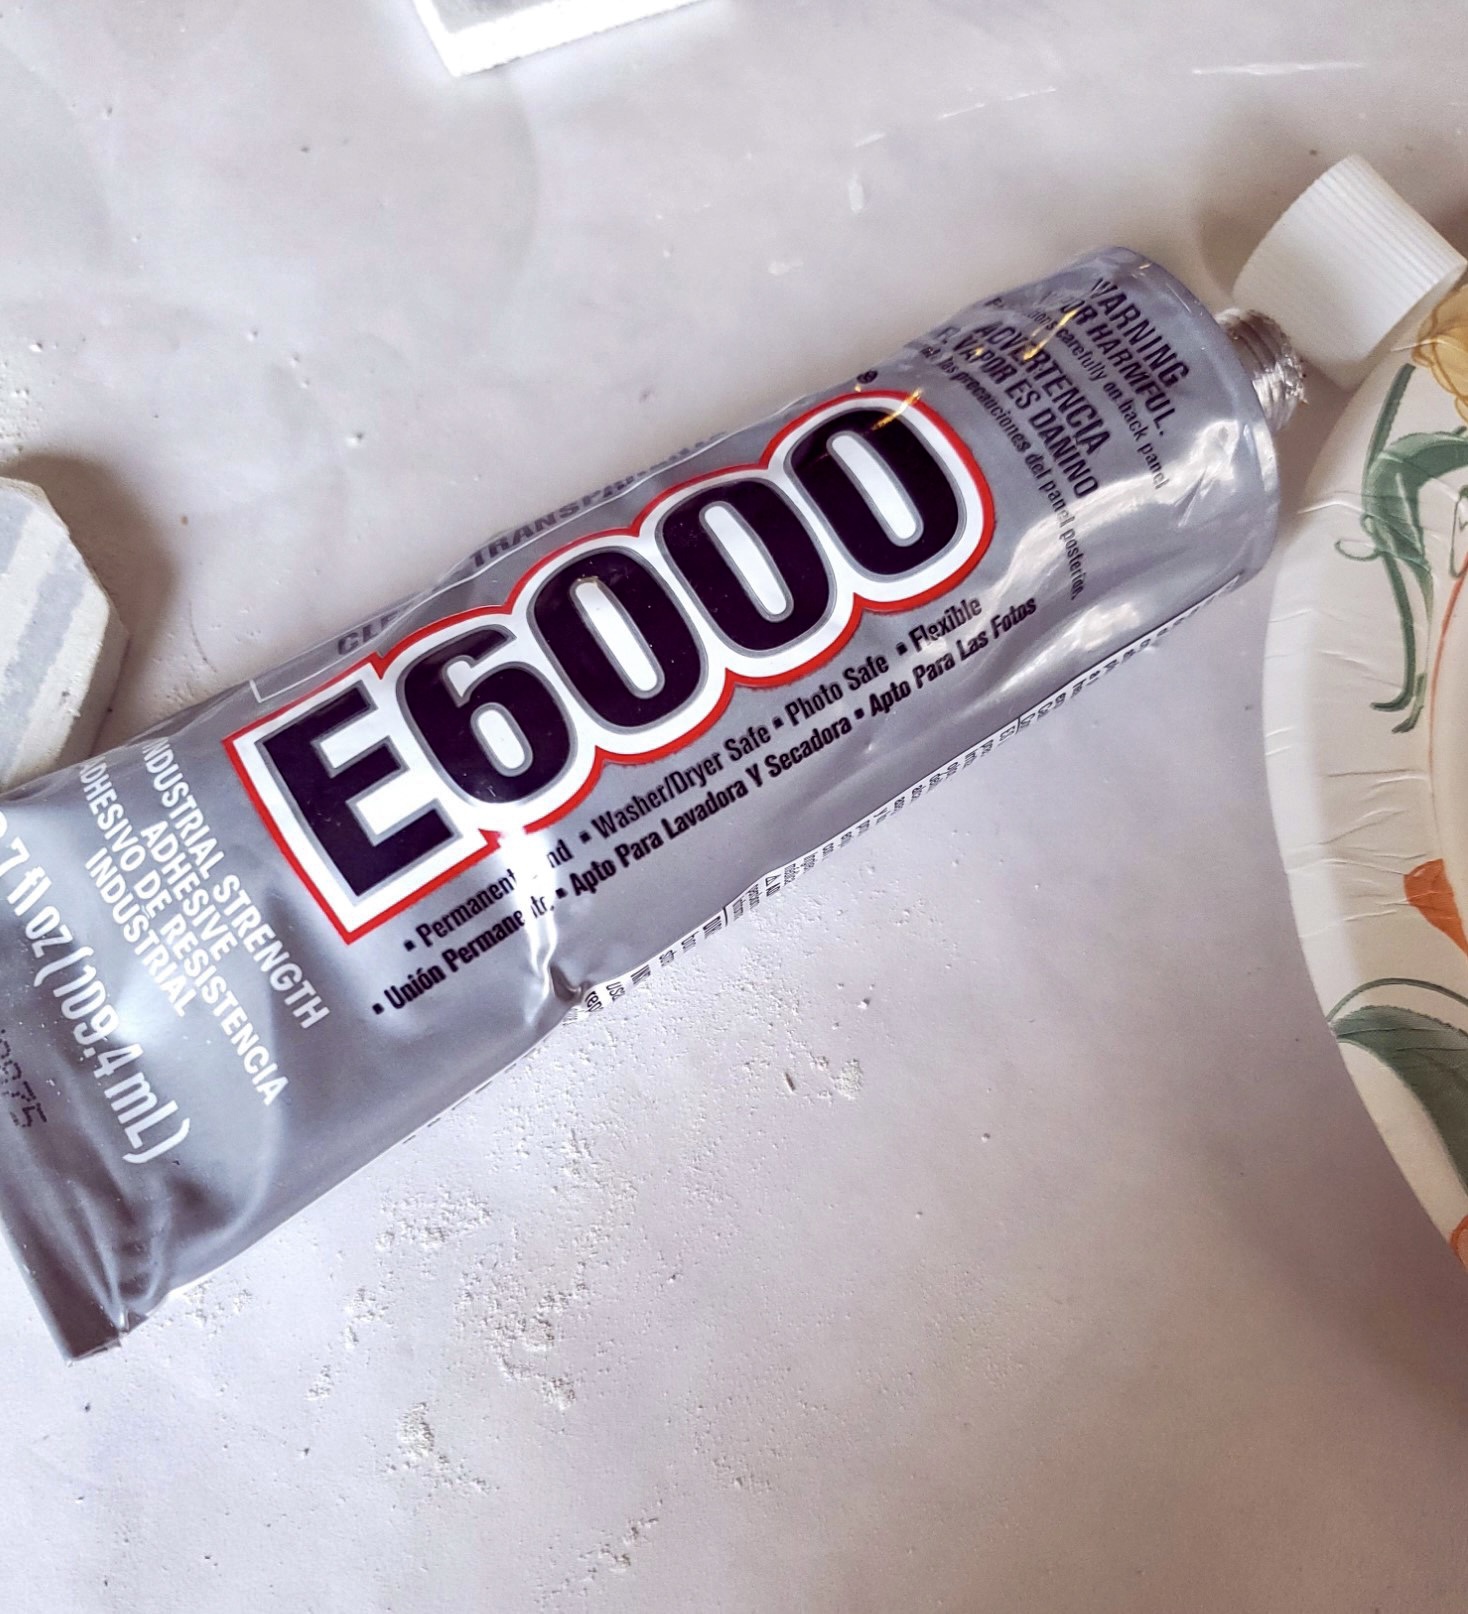
Gluing The Washers
Step 8: Use E6000 for Adhereing the Washers to the Tag Tops
Now take the rusty washers out of the solution and let dry on a paper towel to add to the gift tags. And glue the washers with a small amount of E6000.
Adding Charm
Step 9: Adding Even More Charm with Images
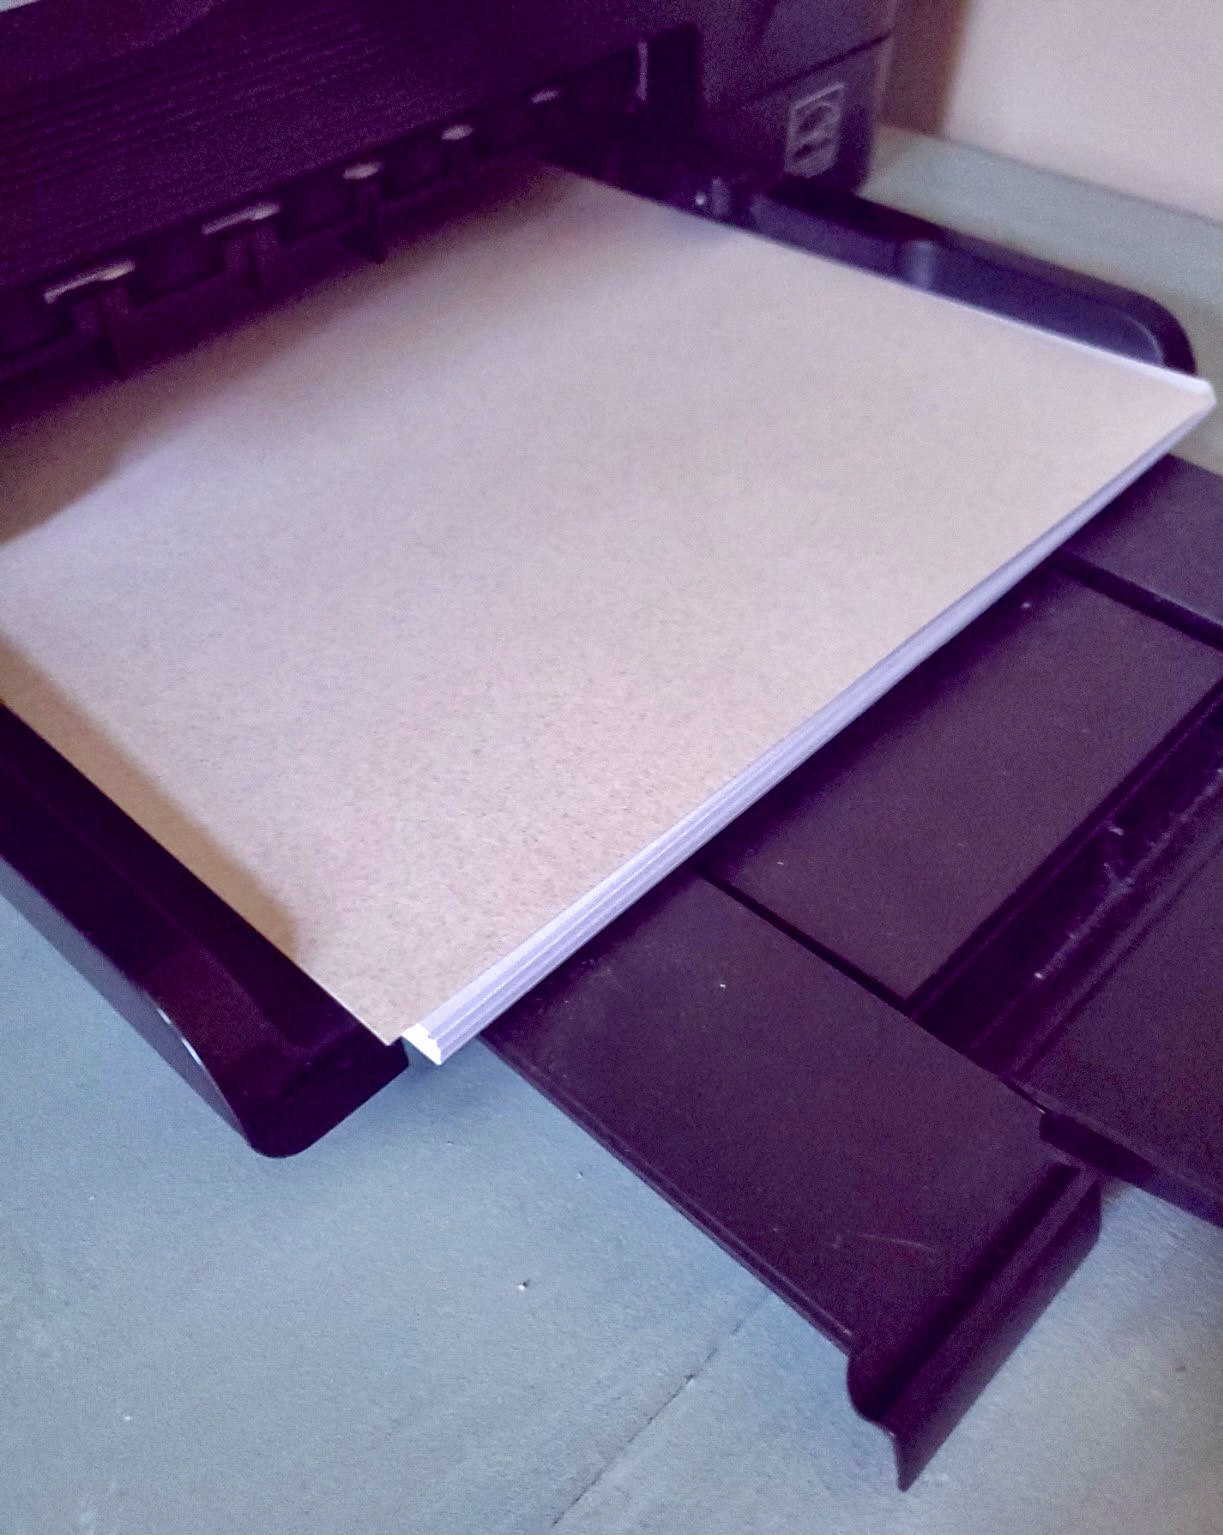
Now let’s begin another layer for the Christmas and holiday gift tags. I want French Christmas images on my tags. So, after doing some searching I found images on this Etsy shop to be the best. Now these are French Country Christmas image downloads for $3.00 each. However, this shop has a wide variety to choose from for this easy tag craft idea.
This price is reasonable because it comes in an instant download, and the images are perfect and licensed so they are one of a kind. Plus, I can size these images at any size and use them over and over for projects such as these gift tags and much more such as this simple craft idea.
Look on Etsy to get great graphic download images for these Christmas tags.
Next, I print my images in thumbnail size for the craft project. Also, I did use card stock.
Mod Podge
Step 10: Mod Podge the Images to this Easy Holiday Project
After I print them, I use Mod Podge and add them to the gift tags DIY.
Seasonal Gift Tags Character
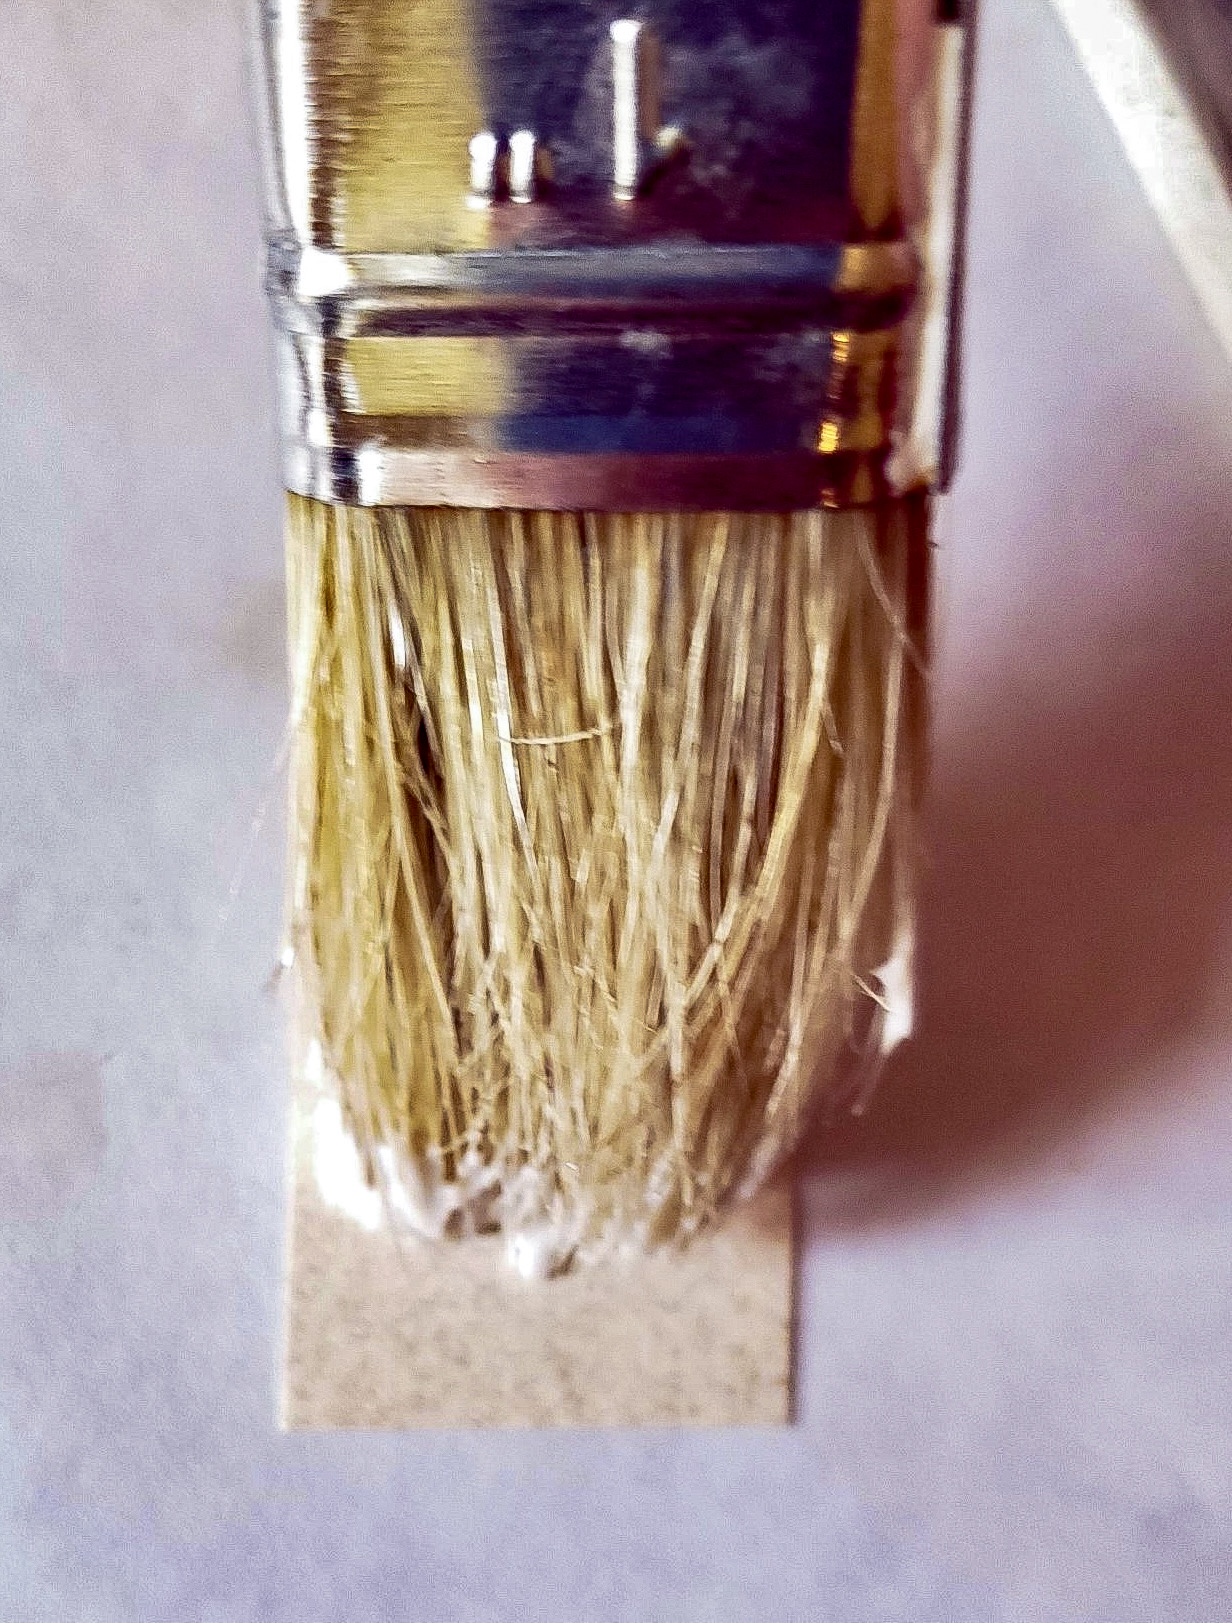
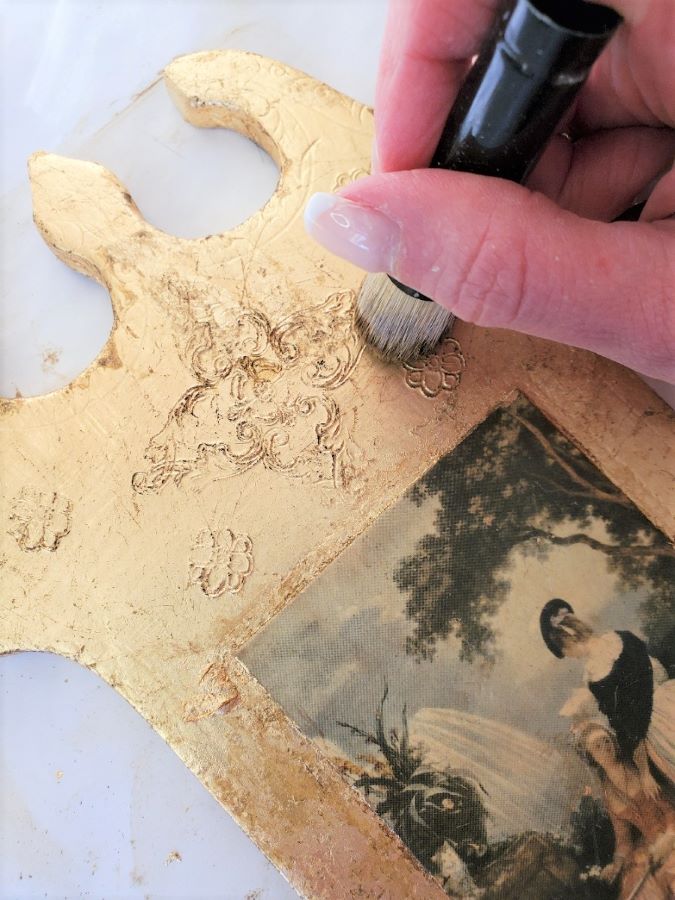
Step 11: Using Clear and Dark Wax to Make These Look More Worn
For my gift tags, I add a combination of clear wax and dark wax. I always have these brands in my craft room. By the way, if you want to spend less money I did find this clear wax and dark wax to use for these seasonal gift tags.
Also, adding wax, especially to the image brings out the colors of the image itself.
After adding the wax rub generously with a lint free rag.
Adding String
Step 12: Adding Your String to the Craft Tags
Lastly, for how to make Christmas gift tags from wood, add a string for hanging the seasonal tags from packages. Also remember, these holiday gift tags are fun to use on a smaller tree. Also, how about using these for napkin rings for Christmas gatherings? Let your family and friends take them home after dinner as a reminder of your holiday season.


I hope you enjoyed this post on how to make Christmas gift tags and think of making this simple craft idea for your loved ones or your home.
CHRISTMAS GIFT TAGS
Equipment
- Table/miter saw
- Stencil Brush
- 220 grit sanding sponge
- Chalk Paint/White craft paint
- Grain sac stencil
- Gray craft paint/paint of your choice
- Stainless steel washers
- Peroxide
- Table salt
- White vinegar
- Wood
- Plastic cup
- Mod Podge
- Sponge brush for Mod podge
- Small chip brush
- Drill
- String
Materials
- 1 piece poplar wood
- 1 package stainless steel washers
- 1 220 grit sanding sponge
- 1 small chip brush
- 1 sheet card stock

Cindy you are sooooo crafty. You need to open an etsy site to sell all these cute things you make. Happy Thursday.
You are crafting a lot of beautiful things these days. I love the tags and can be used all year long. Thanks for sharing.
Cindy I am in love with these! So cute!!!!
Cindy, these are so cute. I love how you made them look like grain stripe. I am definitely pinning for later.
These are really cute. Great tutorial.
Love them! You have such patience to create all of these crafty beauties!
I love this idea, Cindy!
Thank you Paula
These are so cute, Cindy. I agree with Kris that you should sell your things on Etsy. xo Laura
Thanks Laura. I love being creative!
These are so darling! I love the painted stripe on them! So so cute!
Karin
These Christmas gifts tags are so pretty, I’d love to make these for my Christmas gifts – pinned!
They’re so much fun to make!
Cindy, you are so creative! These are adorable!
These are so pretty, and unique! They look authentically vintage!
Thanks so much! Exactly what I was going for!
These tags are so beautiful, Cindy, I can’t wait to make a set of my own. Loved and pinned, CoCo
I never tried to make them out of wood and absolutely love the look of them. Your’s turned out so beautiful.
What a pretty way to personalize Christmas gifts!
Thank you, I love them
I have some old wooden blinds that I’ve been saving, I think this would be a fabulous way to use them up! Thanks for the tip!
They will be perfect for this project. Thanks Jayne
I love this project idea! Each recipient will love using their tag on their tree for years to come.
Thanks Paula
Love these cute little tags!
Thank you
These are beautiful, Cindy! I love this idea for holiday decor and gift tags. I love me anything with grain sack stripes so these are right up my alley, especially the lovely vintage charm!