Winter Pillows DIY
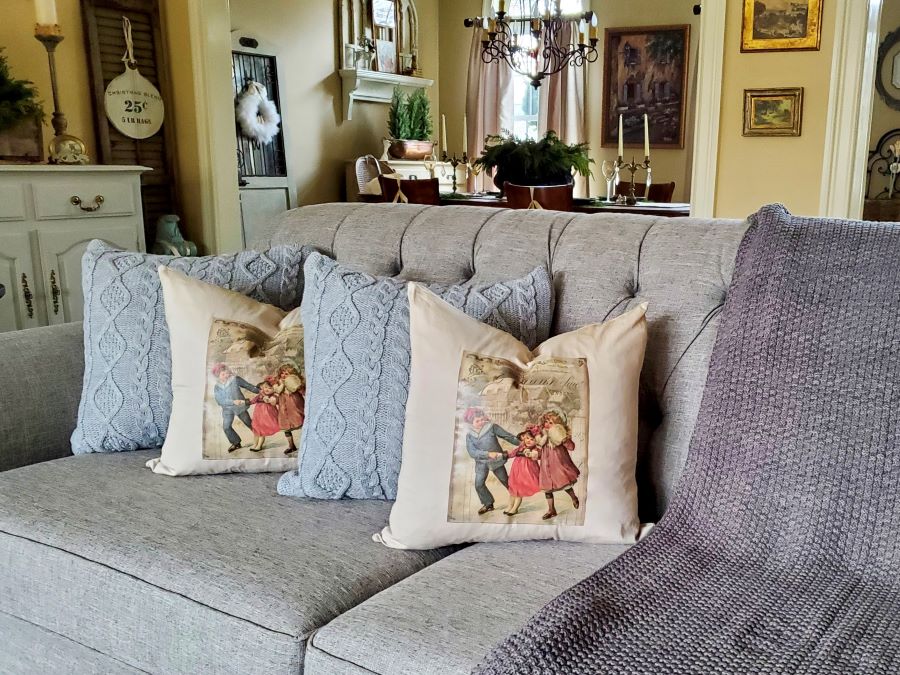
Let’s talk about how to make easy winter pillows DIY with iron-on vintage transfers. I love anything vintage, aged, and winter. Christmas will be here before we know it. Yes, it’s around the corner, however, this winter pillow project can be made in no time.
By the way, this project isn’t only easy but it’s budget-friendly too. The best thing about these easy pillows is they work for Christmas and can be left in the home all winter long.
Incidentally, this winter pillow project uses iron on transfers. These are very easy to work with so don’t concern yourself about difficulty and time.
Besides, I have done this process a few times for other crafts. As an example, if you are like me and love vintage visit this project that shares a full tutorial. Wait until you see how inexpensive this is to create and it’s perfect for a nonsewer like me!
So, let’s get started with how to make easy winter pillows using iron-on vintage transfers.
*As an Amazon Associate, I earn from qualifying purchases*
As an Amazon Associate and other Affiliates, I earn from qualifying purchases. If you purchase something through any link, I may receive a small commission with no extra charge to you. All opinions are my own
Using the correct paper is important. There’s iron on transfer paper for light fabric and darker fabrics. I buy mine from Amazon and will share a link at the end of this post. It’s also a great price.
Table of Contents
Using Cotton Or Muslin Fabric On The Pillow Project Is Best
Step 1: The Best Fabric to Use to Make this Simple Idea
Pillow covers for this winter transfer project are easy to find. There’s a wide selection out there. Again, I have bought covers at Amazon for a fantastic price. For the most part, cotton or muslin is my recommendation for iron-on transfers.
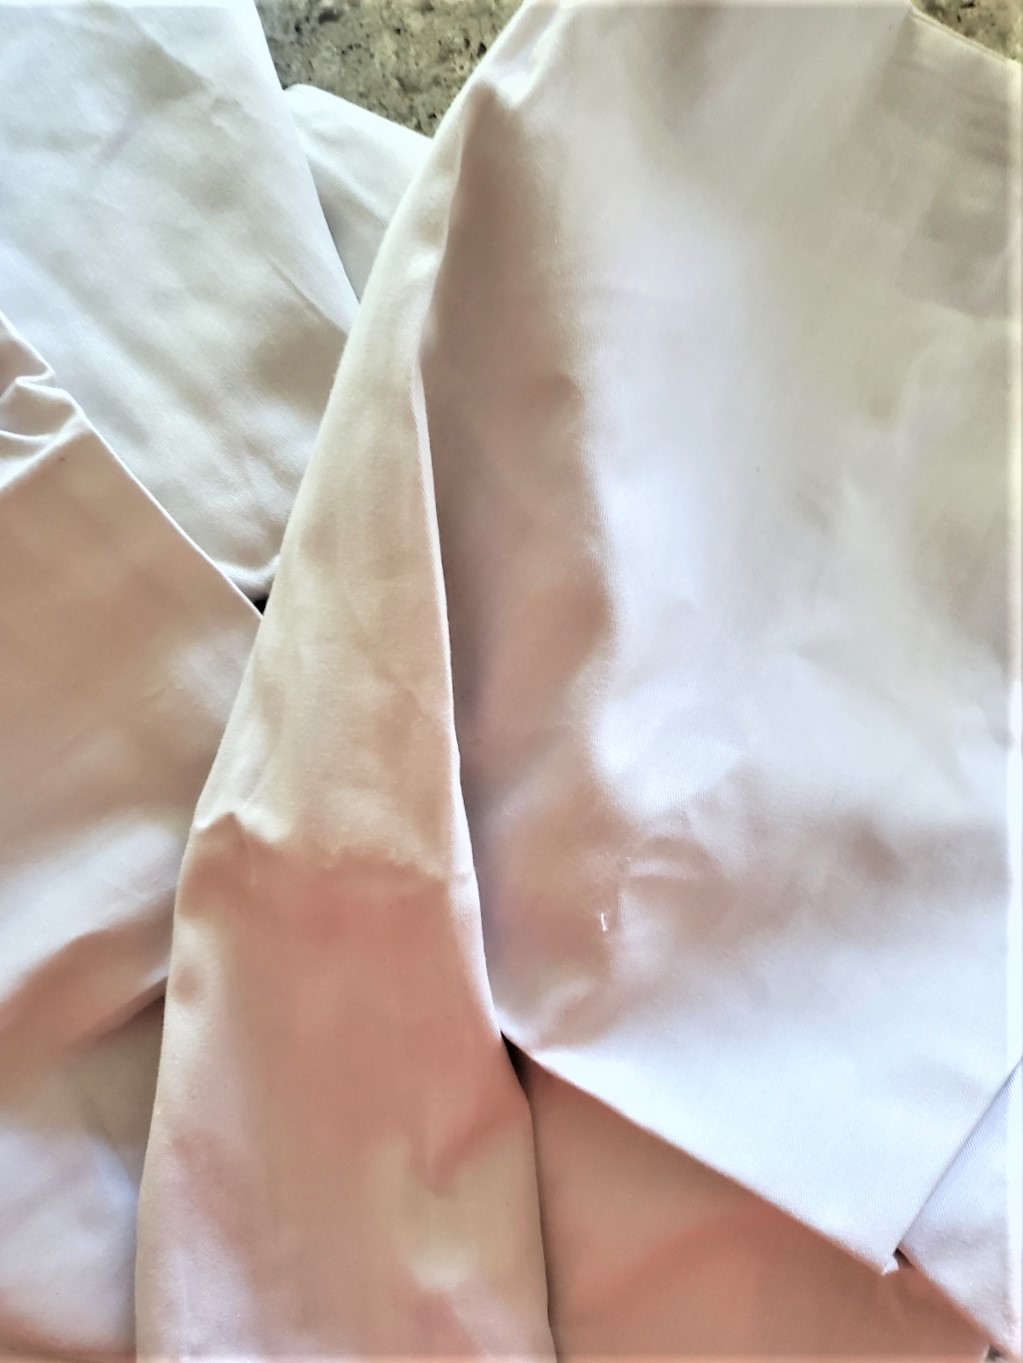
Give The Pillows An Antique Look With A Tea Staining Technique
Step 2: Adding an Aged Look Using a Quick Idea
Tea staining fabric has been done for years. I remember my mom doing this to pieces in our home. I truly think that is why I am fond of this technique to add age to fabrics.
Items Needed For This Project
- iron on transfer paper
- iron
- 8×10 piece of thin wood
- pillow covers – the size of your choice I used 18×18
- graphic image in reverse
- printer
- 8 tea bags
- pot of simmering water
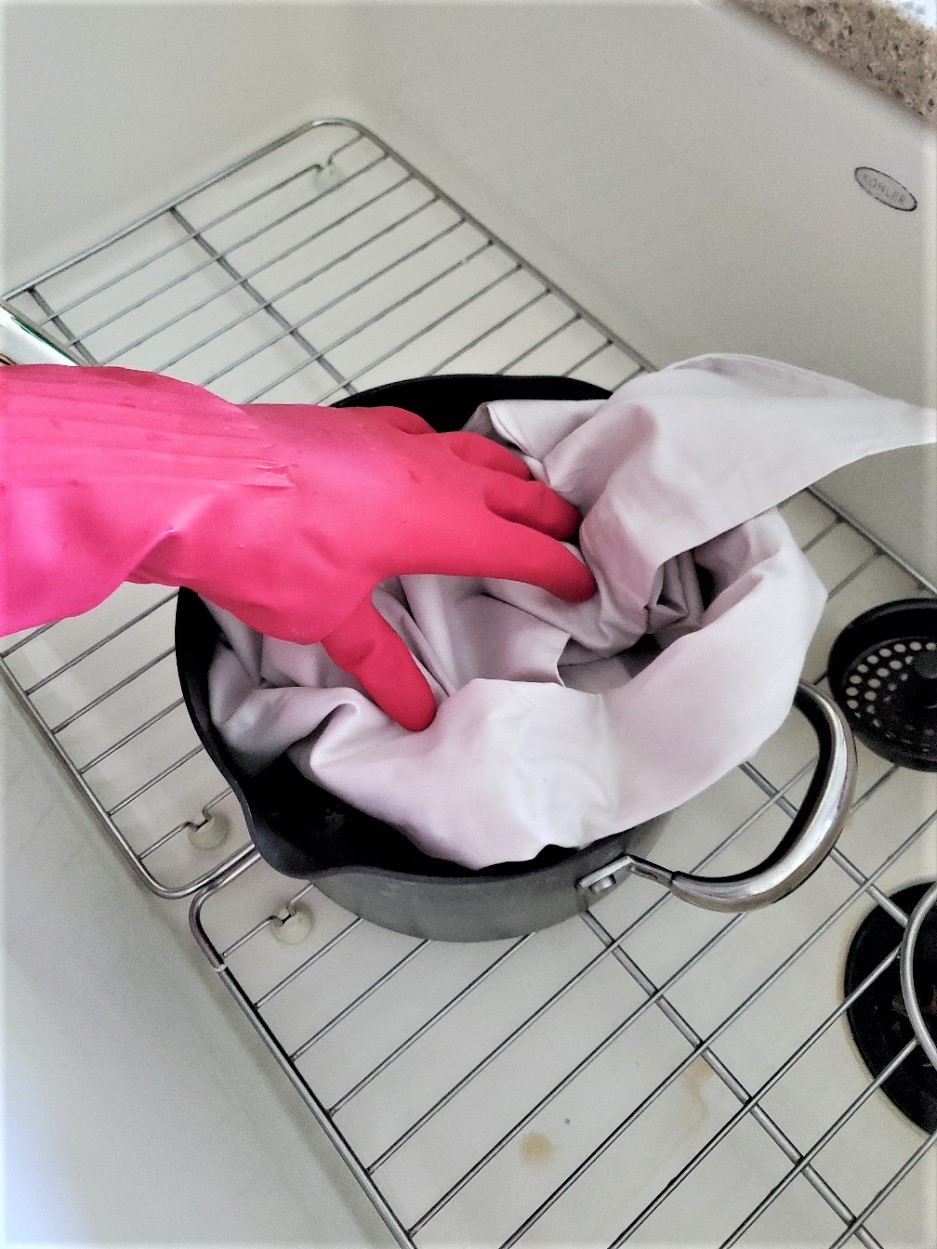
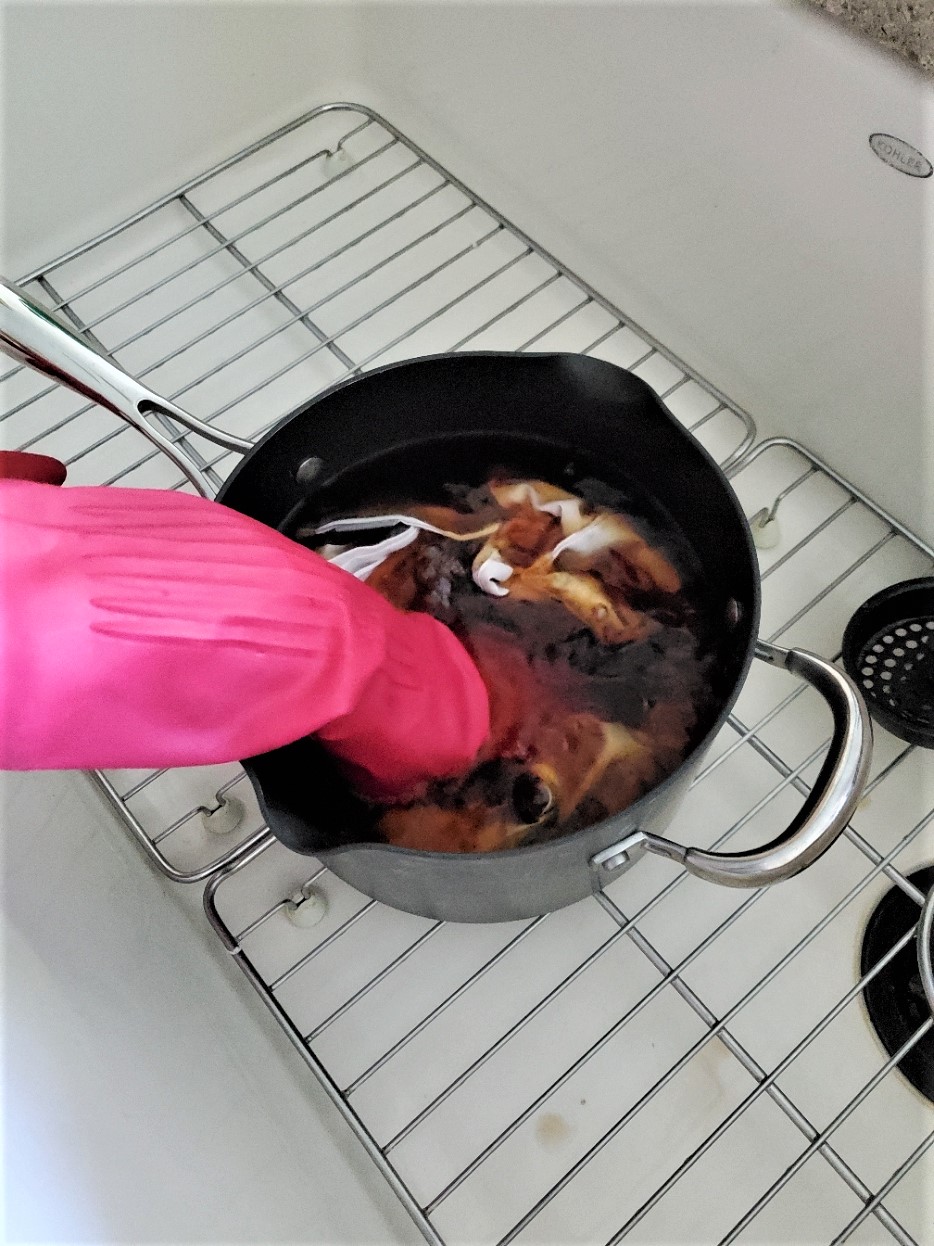
When tea staining fabric, I find it best to fill a pot with water and heat on the stove to a low simmer. After it reaches a simmer add a bunch of tea bags. Using a wooden spoon stir the tea bags to release the tea. After you get the darkness of the tea desired, add your pillow covers.
Nowadays we have Keruig machines in our homes. Yes, K-cups work for this process. I recommend one K-cup of tea or coffee.
Because the water is warm the tea activates the fabric easily. Next, take the pot carefully to the sink and squeeze the water out well. Hang them to dry. The drying process isn’t too long.
Where I Find The Iron Transfers For These Winter Pillows
When finding transfers for your pillows, for the most part, I enjoy vintage graphics. So this is my go-to Etsy shop. I recommend you visit here for images because she has a great selection and right now her images are on sale. Also, she has a wide selection of French, Farmhouse, and general winter and Christmas images.
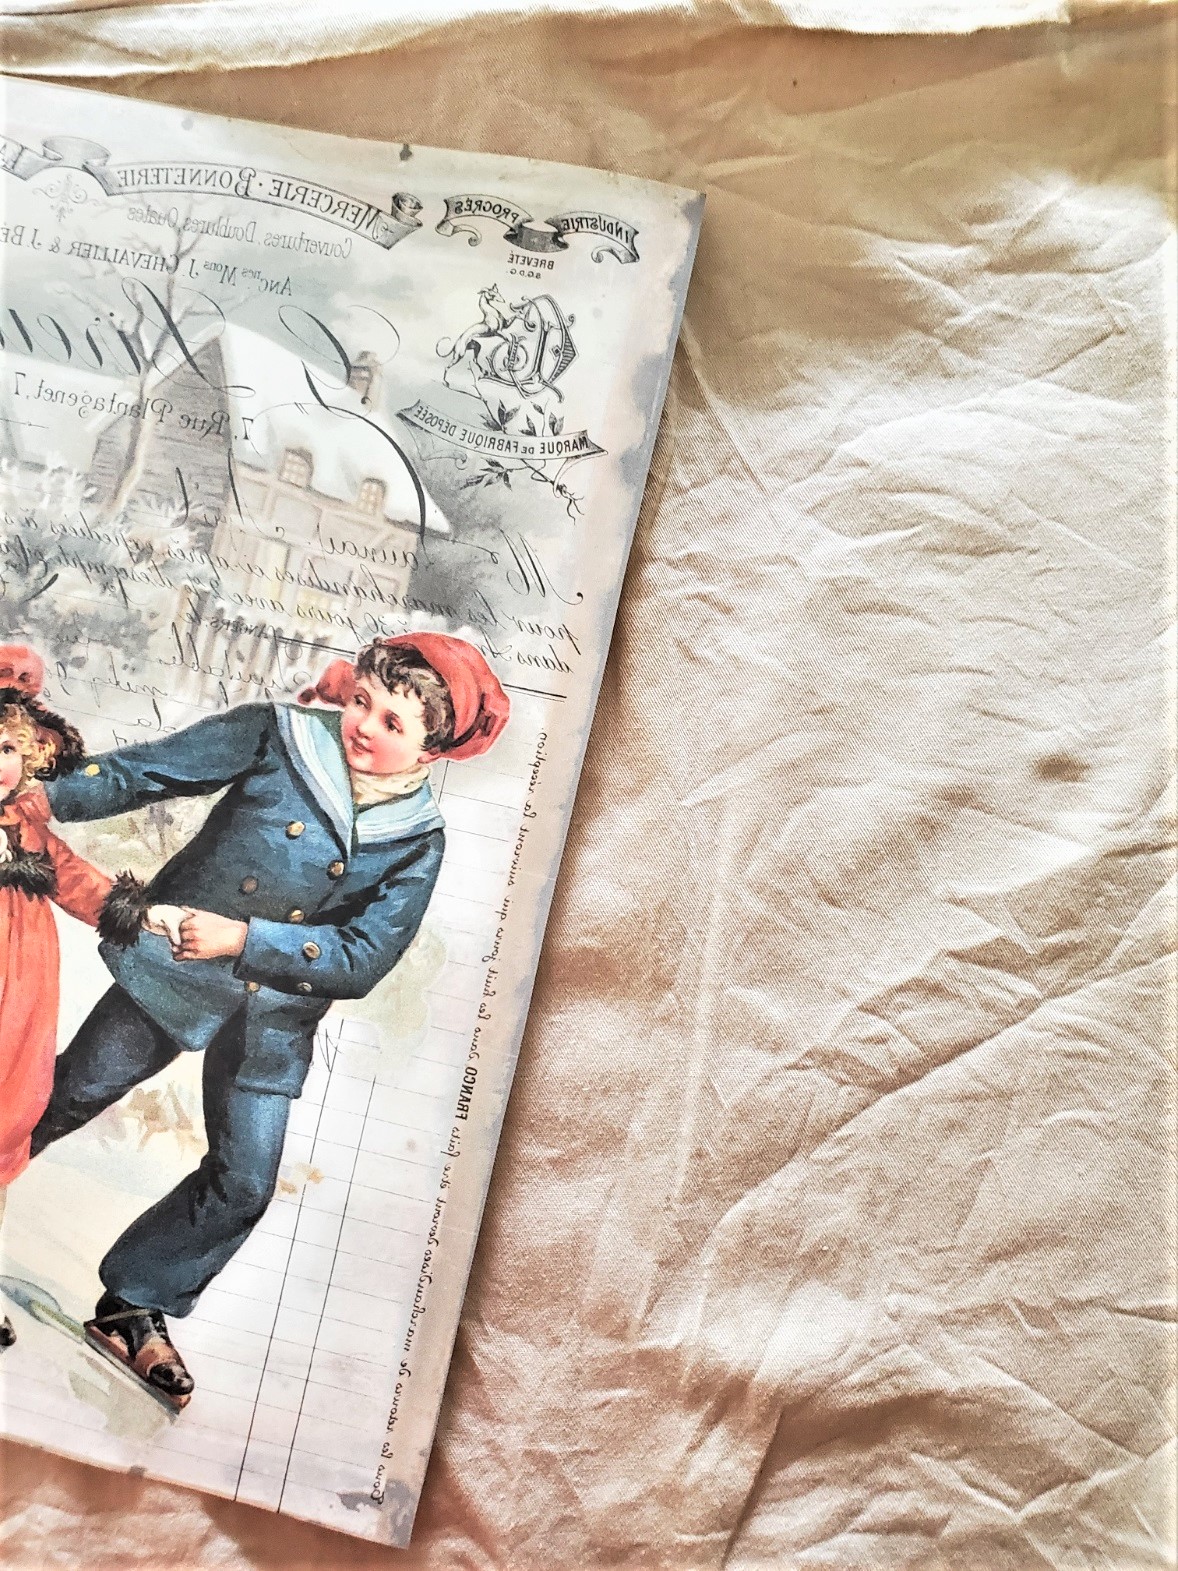
After finding graphics for the winter pillows, this shop owner automatically sends her images in forward and reverse. It’s particularly important the image is in reverse for these pillows.
Now print the vintage images for the winter pillows 8×10. This is namely, for inkjet printers, not laser printers as stated in the instructions.
After printing your image it’s time to heat the iron.
Recommendations When Ironing The Vintage Transfer On The Winter Pillows
Step 4
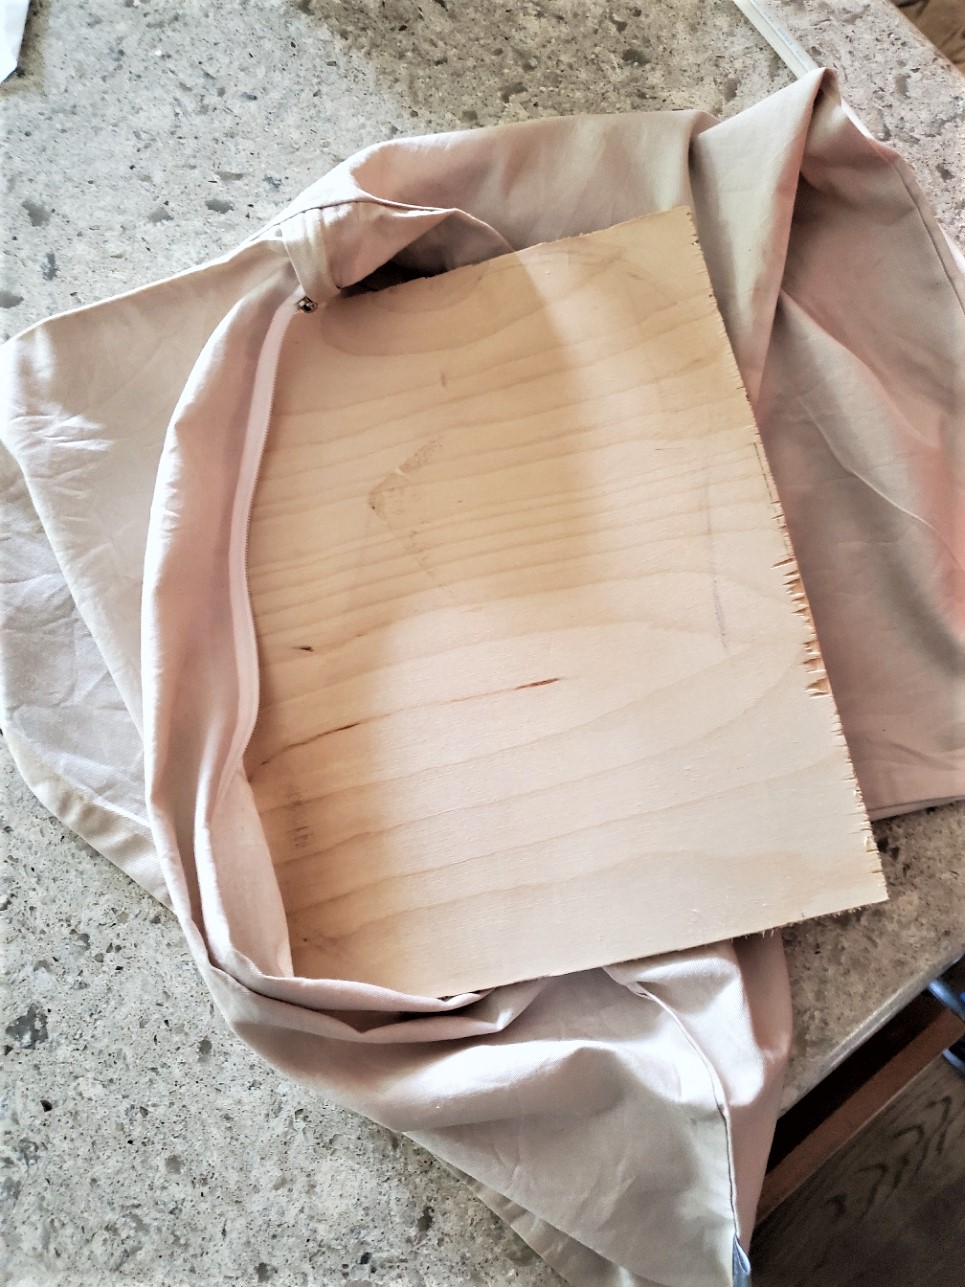
Now, heat your iron to the highest setting with NO steam. While the iron is heating grab a thin piece of wood, a wood cutting board, or very smooth tile to place inside the pillow cover. This step is important because when applying for iron transfers, an ironing board can’t be used!
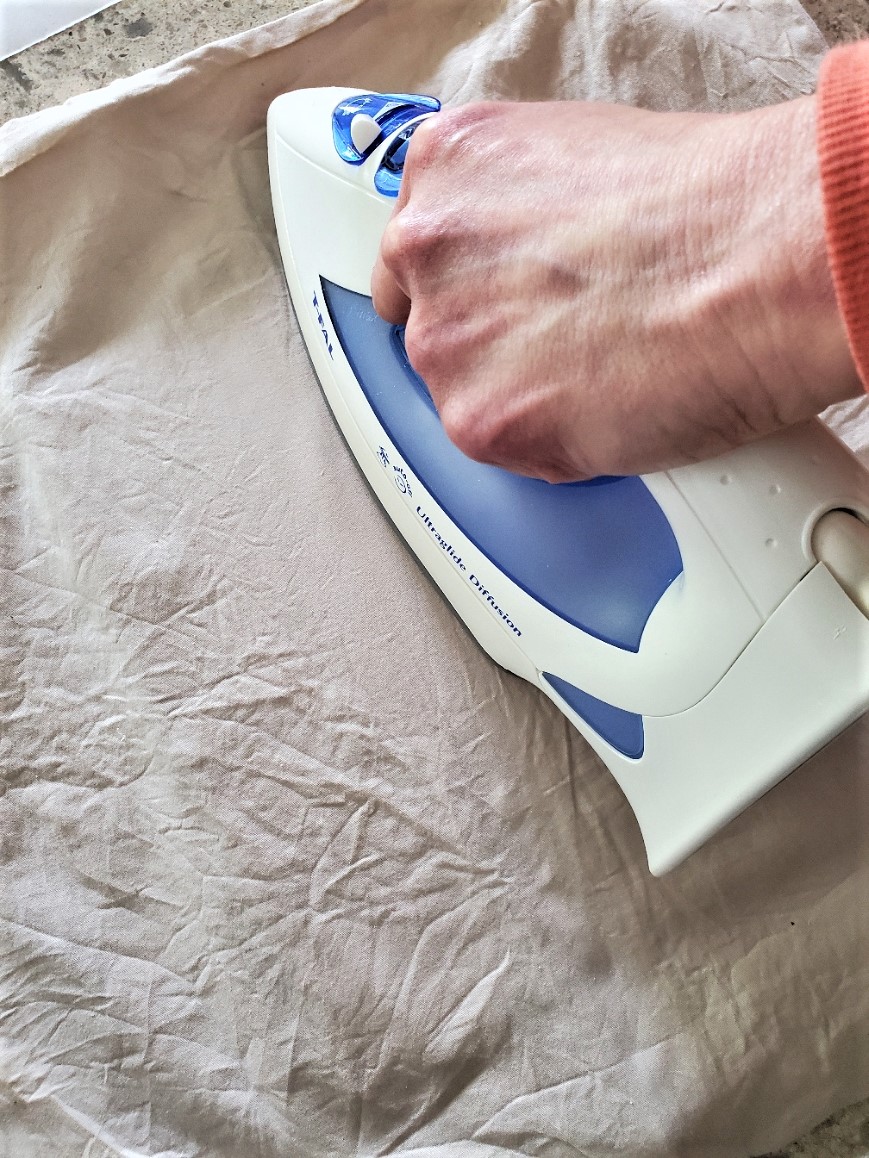
Step 5: Ironing the Fabrics an Important Step
Next step, iron your pillow cover to get ready for your winter graphic. If you use the tea staining process, the fabric will be wrinkled from squeezing the excess water out. Next, slip your hard surface inside your cover making sure it’s centered. Before adding the iron on transfer for your winter pillow slightly heat the cover.
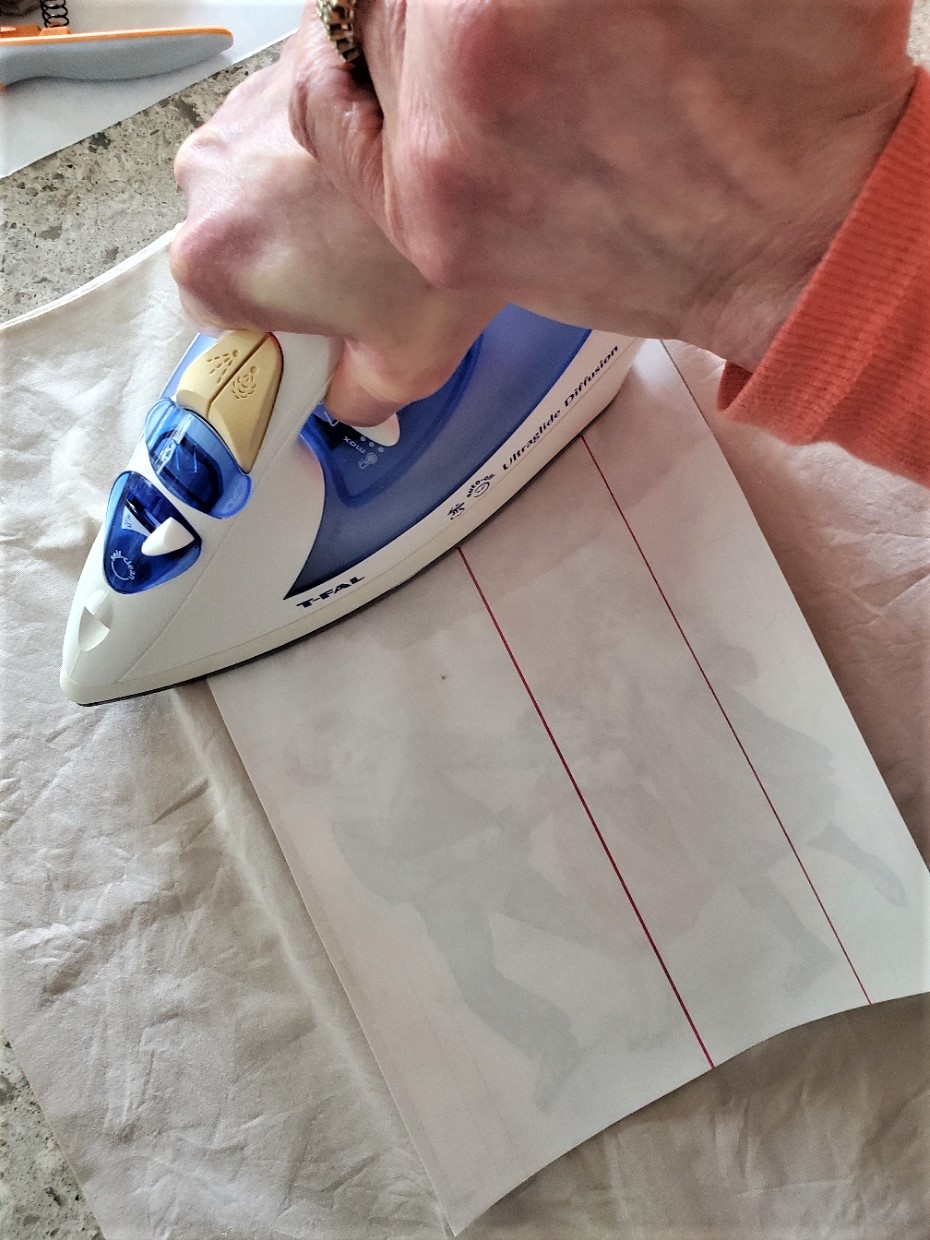
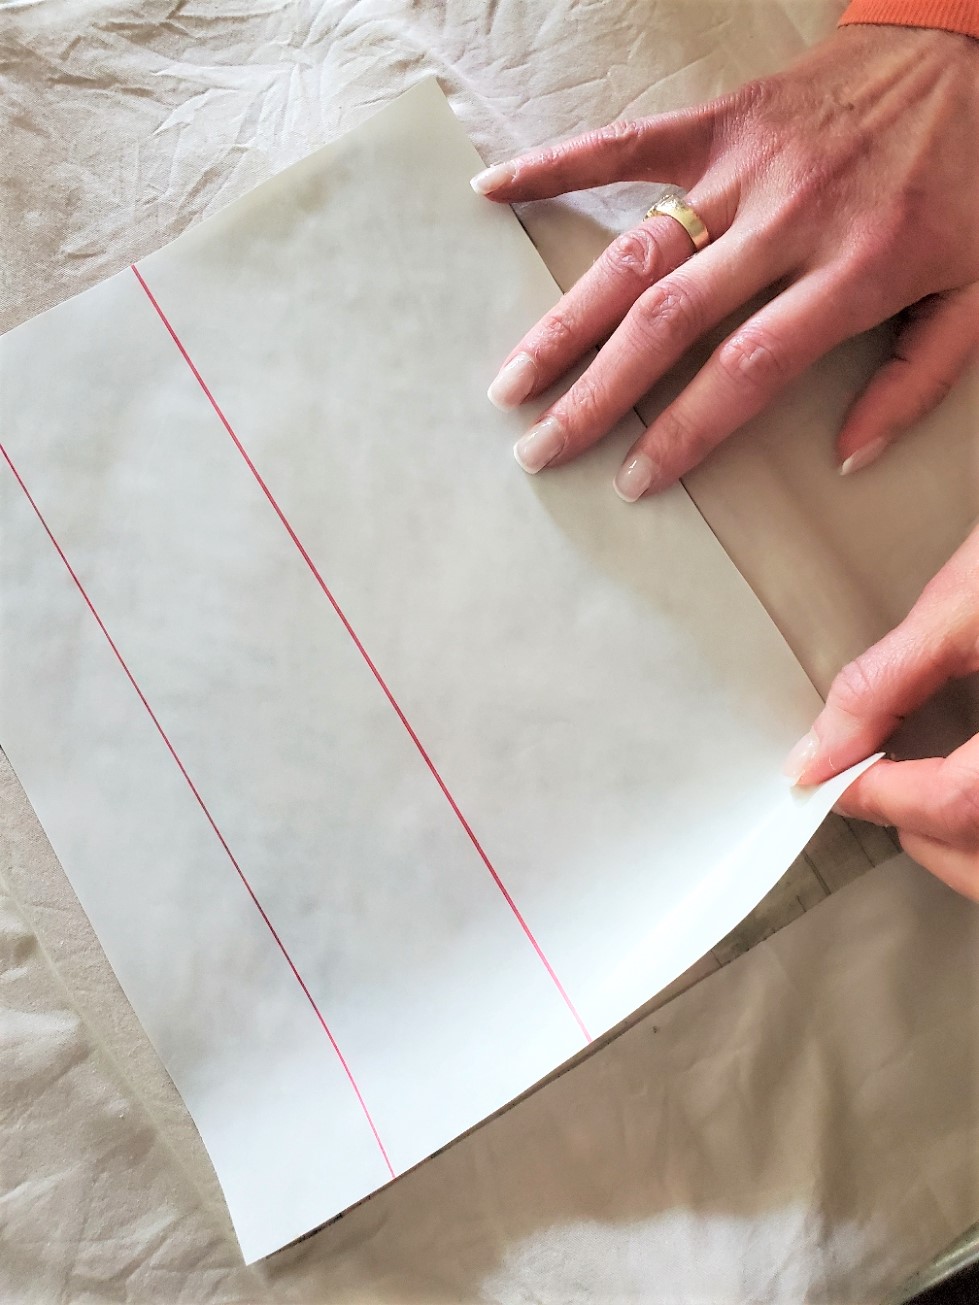
Now flip your image over and follow the instructions on the package.
Here’s an important tip:
For the most part, push down on the iron. It’s recommended not to use an ironing motion to keep the image flat and smooth. Also, roughly hold the iron going over the image for a count of 60. It’s never steered me wrong.
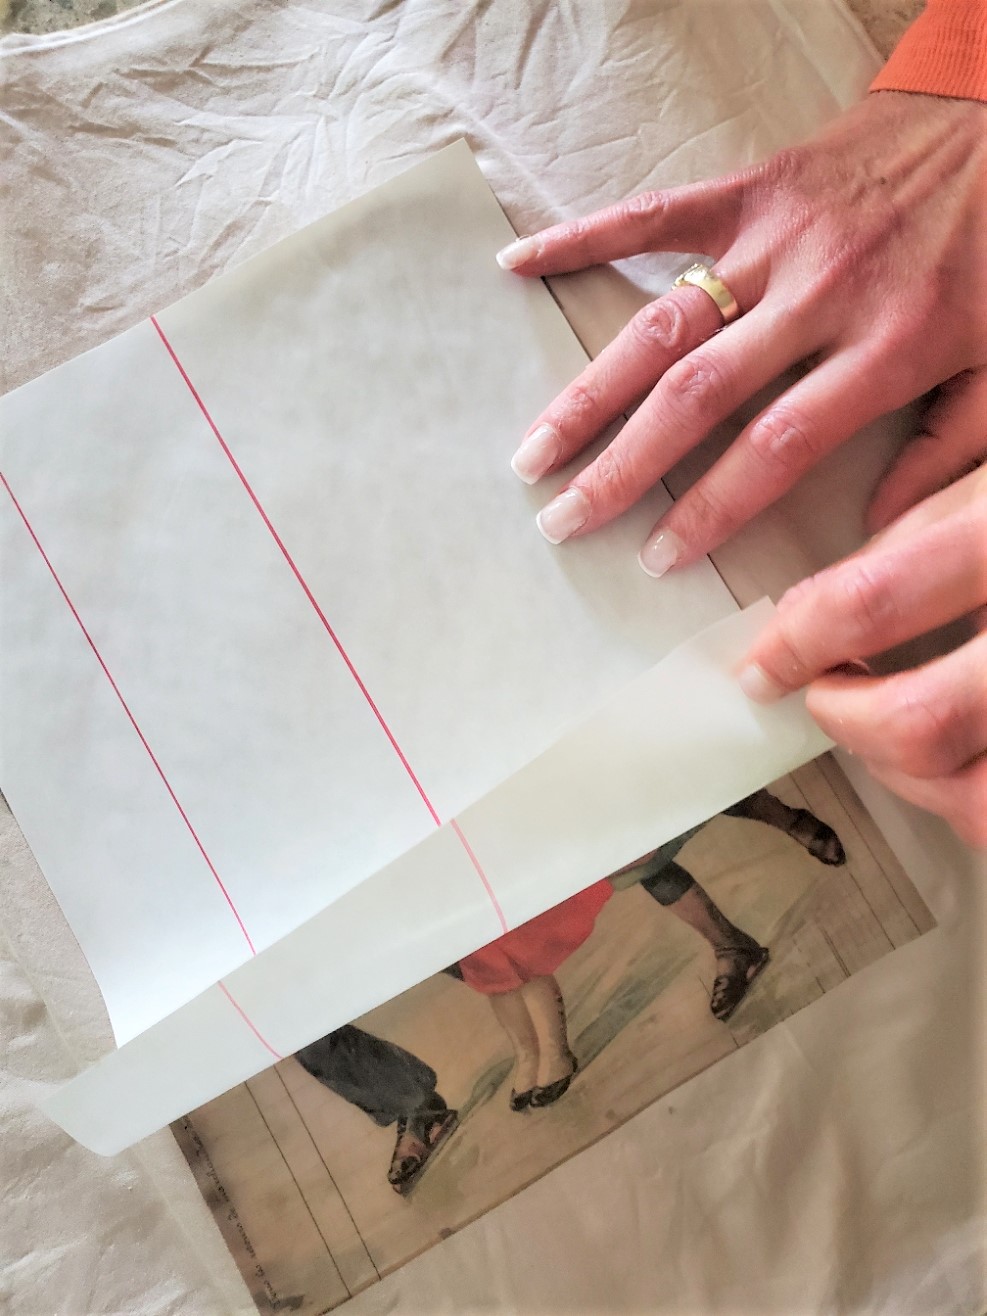
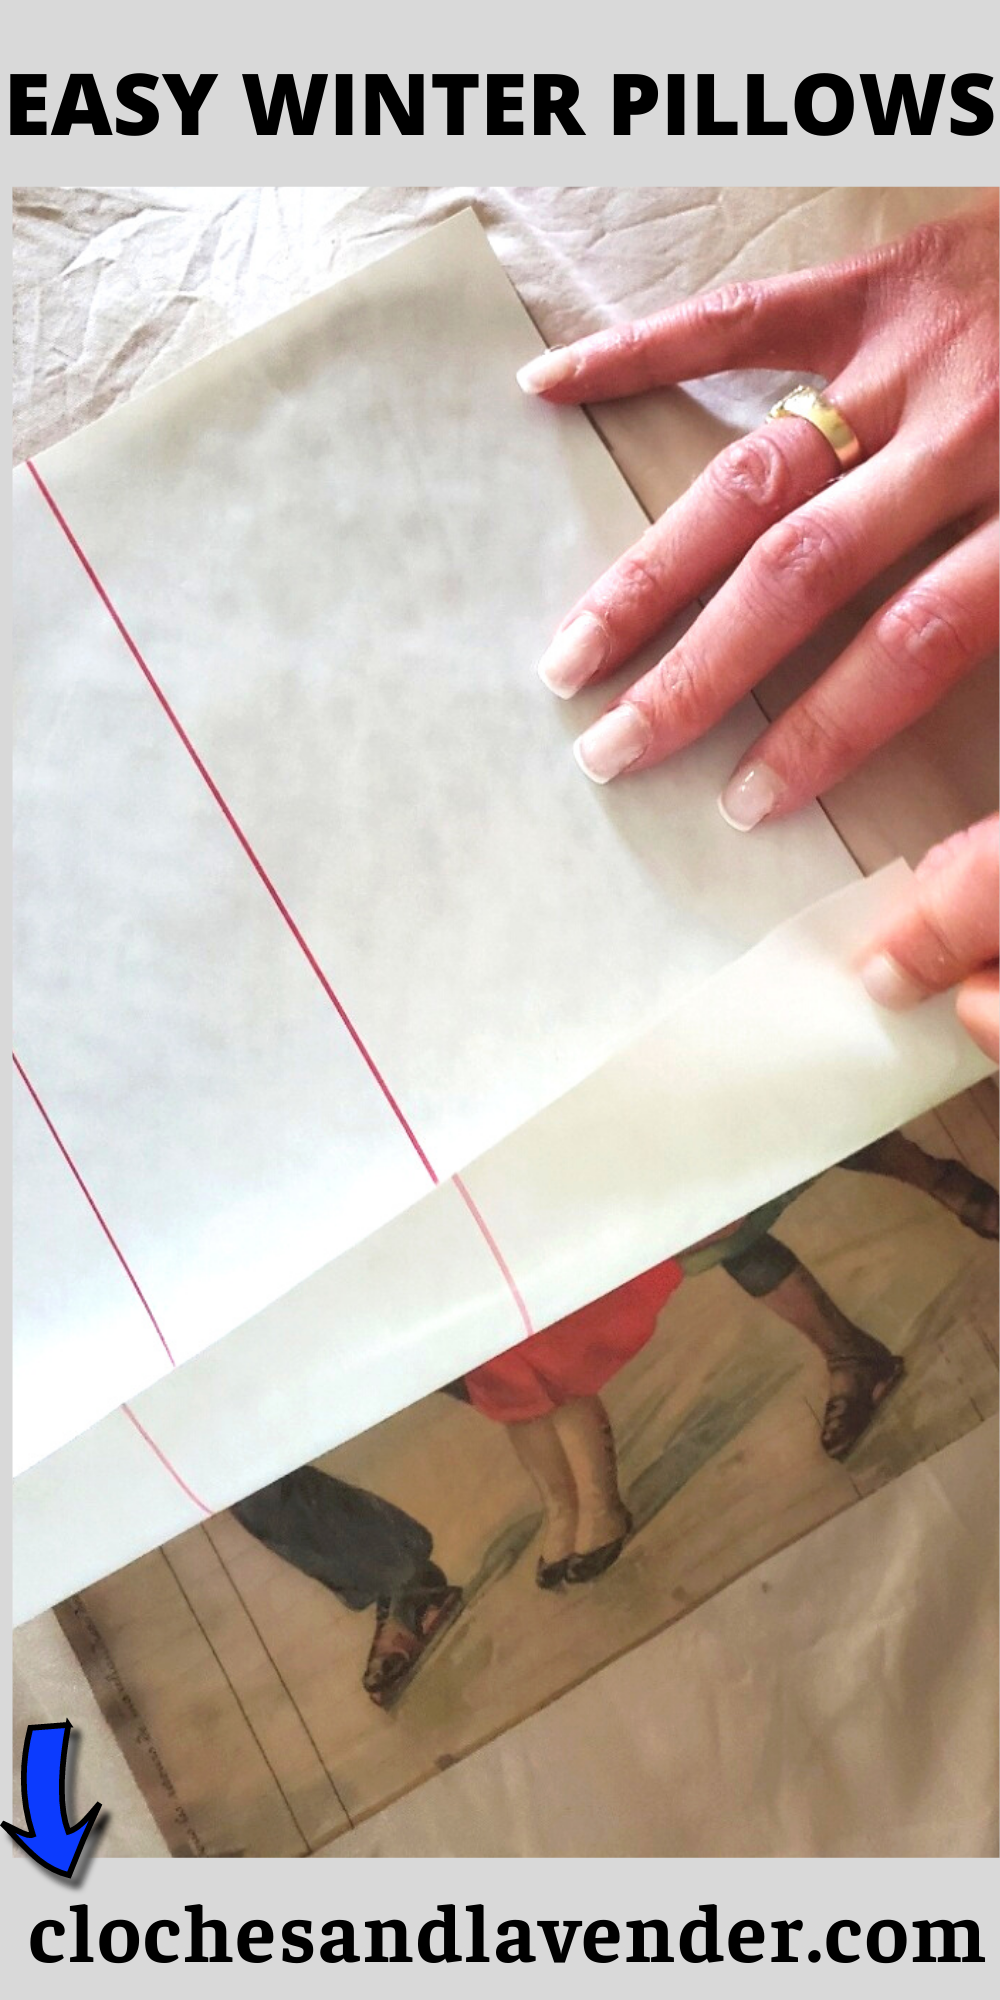
Step 6: Removing the Backing From the Image
Next, carefully remove the backing and you are finished and have a beautiful pillow. Your winter pillows can go in the washing machine in cold water on delicate.
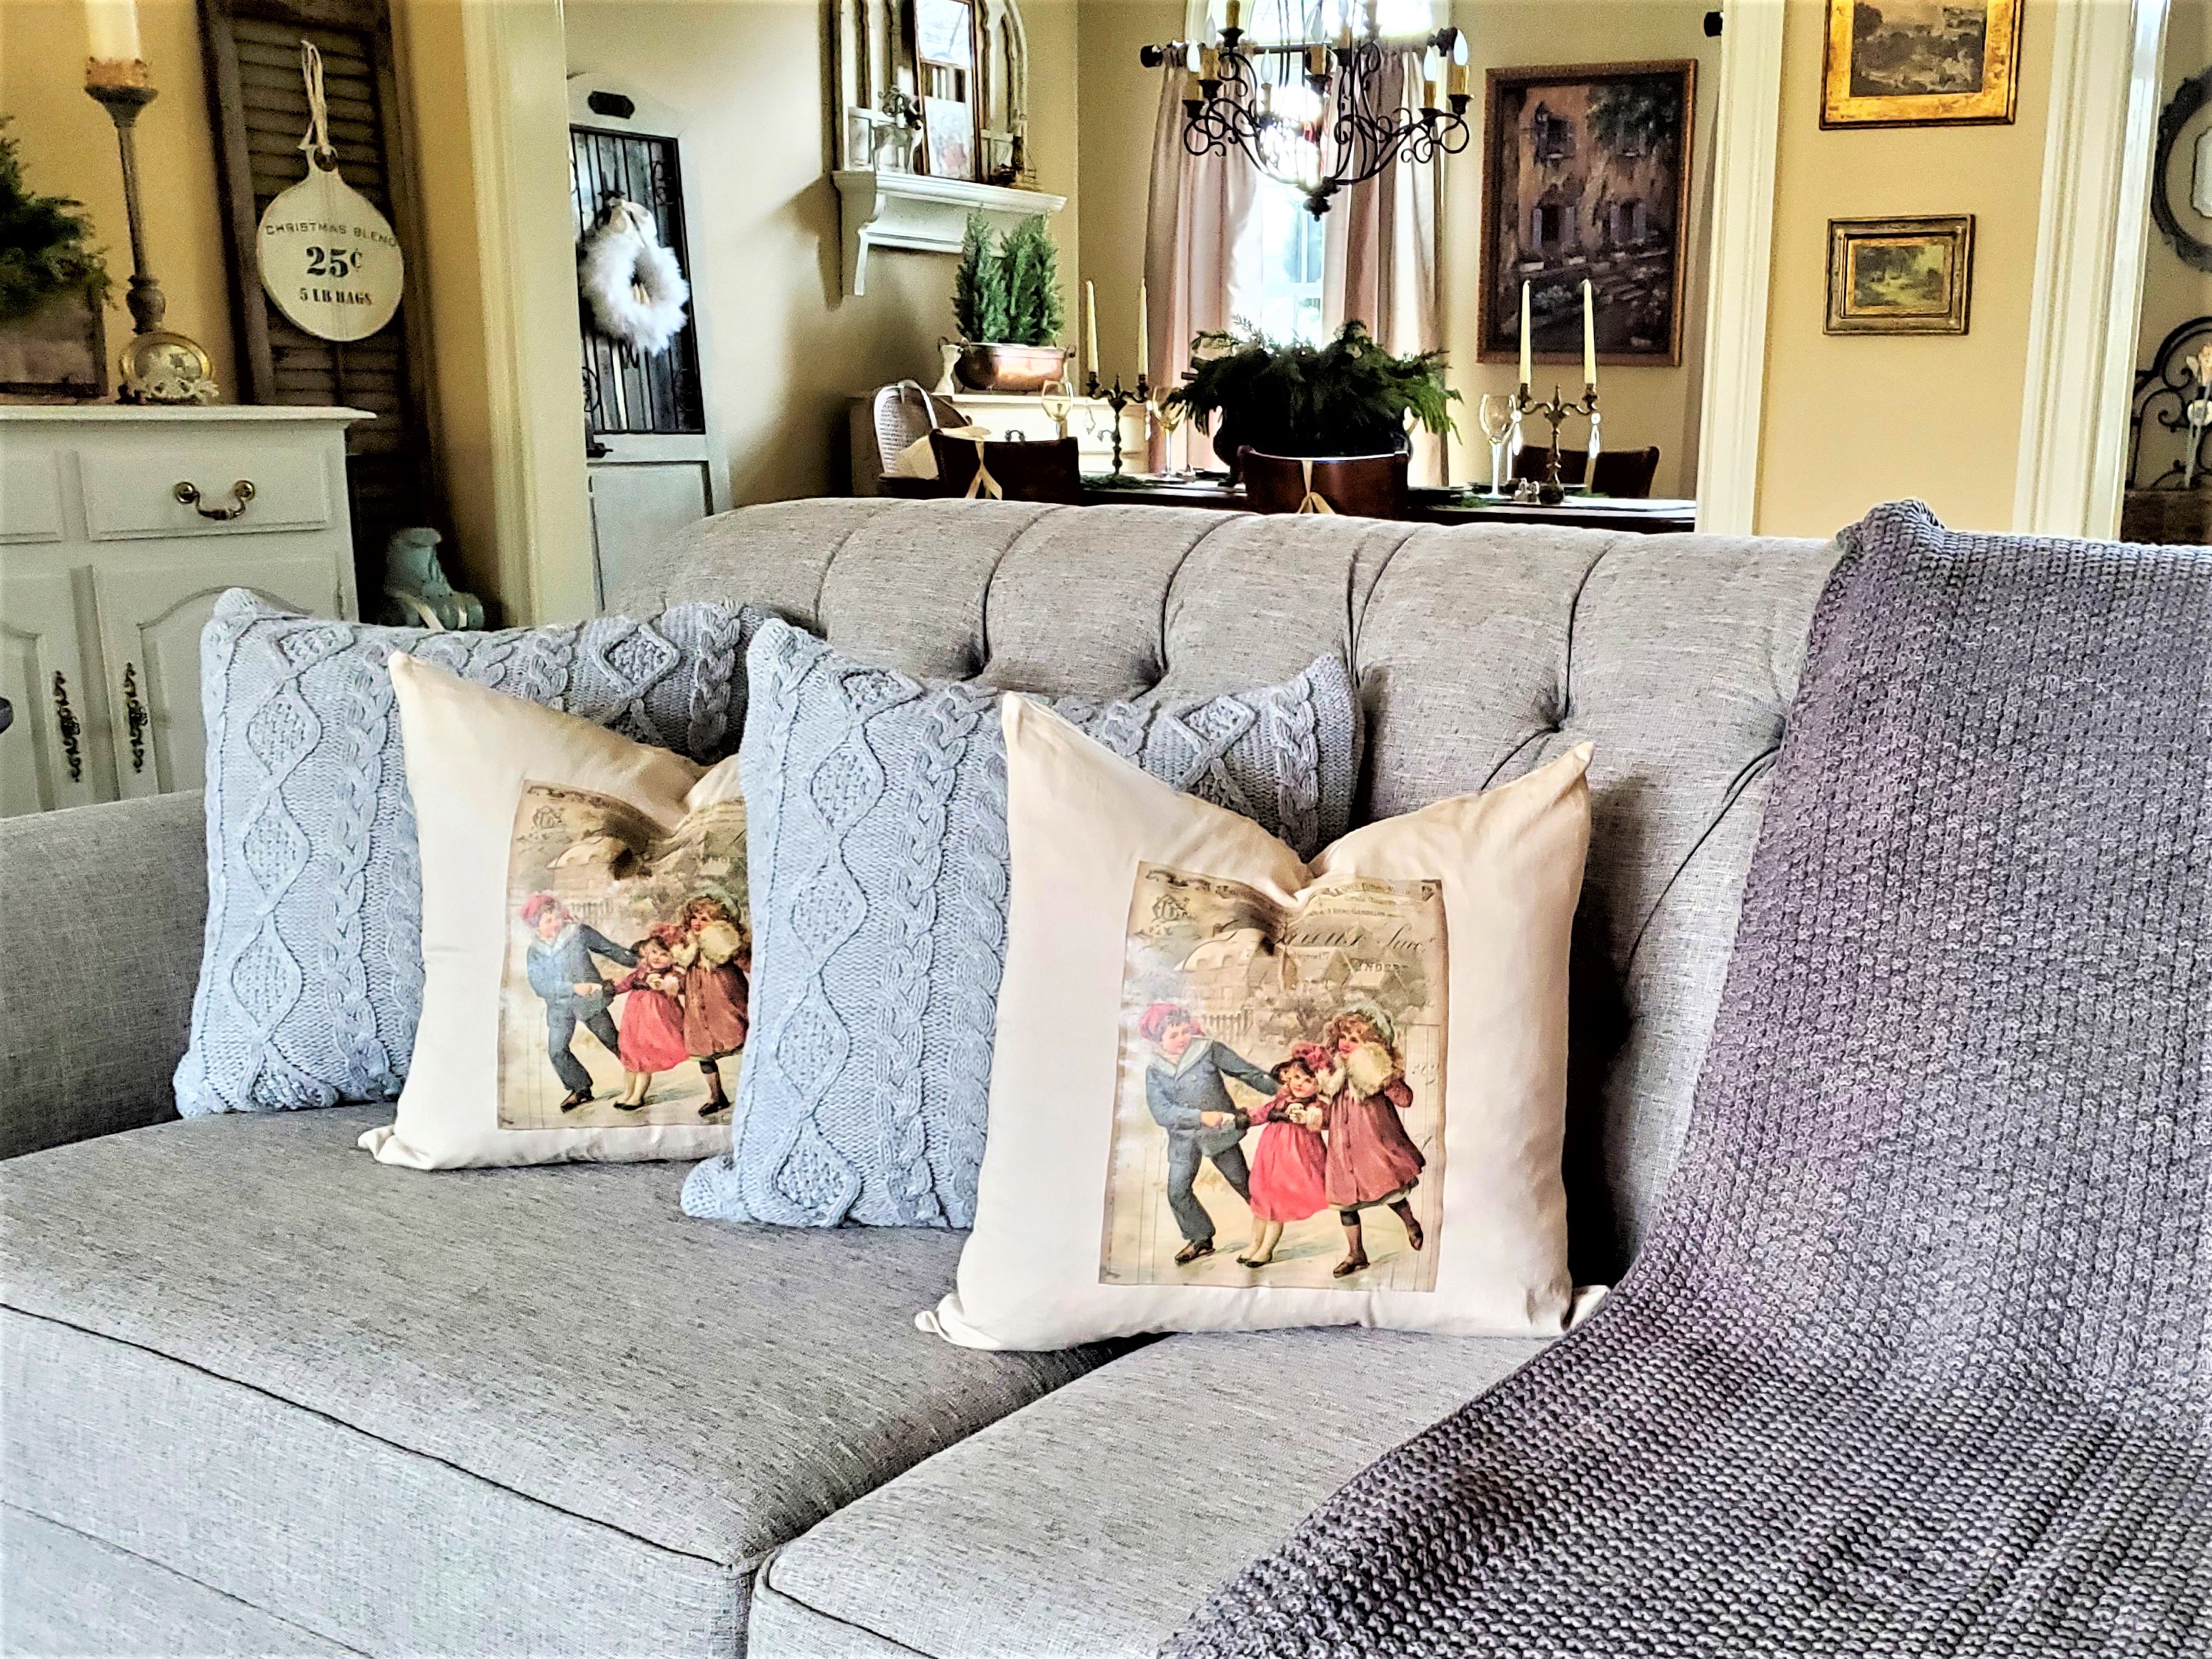
I hope you enjoyed this project on easy winter pillows DIY with iron-on vintage transfers. I hope this inspires you to make some for your home or as a gift for the pillow lover in your life.
Remember To Pin For Inspiration!

Your pillows are beautiful, Cindy! I love the graphics that you used.
Thanks Paula. So easy I may do some for spring
Your pillows are so cute. I love the graphics you used. Thanks for the tutorial. xoxo Kris
Thanks so much Kris!
These are lovely! And the tutorial seems easy to follow. Great Share!
Thank you. It’s so easy and done in no time
Oh, how pretty!! I love transfers and these are beautiful.
WOW your pillows look amazing! This is a great technique!
Thank you so much!
The pillow is so beautiful!
Thank you so much
Beautiful! I love these vintage pillows, I will be honest, I’ve never had good luck with iron on transfers. I am apparently doing something wrong. Thank you for sharing.
Thank you so much!
Hello,
Have a question: do you have a special paper for print image to transfer to the fabric?
If you look at the bottom of my post there’s an image for iron on transfer
These are super cute, CIndy! Thanks for the heads up about the rubbing. I would have definitely rubbed the iron back and forth but I can see now how that would mess the graphic up and these pillow covers are too cute to mess up. Love this idea so much! Loving and pinning, CoCo
Thanks so much! Hope you’re enjoying Christmas!
These came out great, Cindy!