
Easy Moss Grapevine Balls
Today I’m sharing easy moss grapevine balls. What makes this project particularly perfect? It’s fast and the kids can even help!
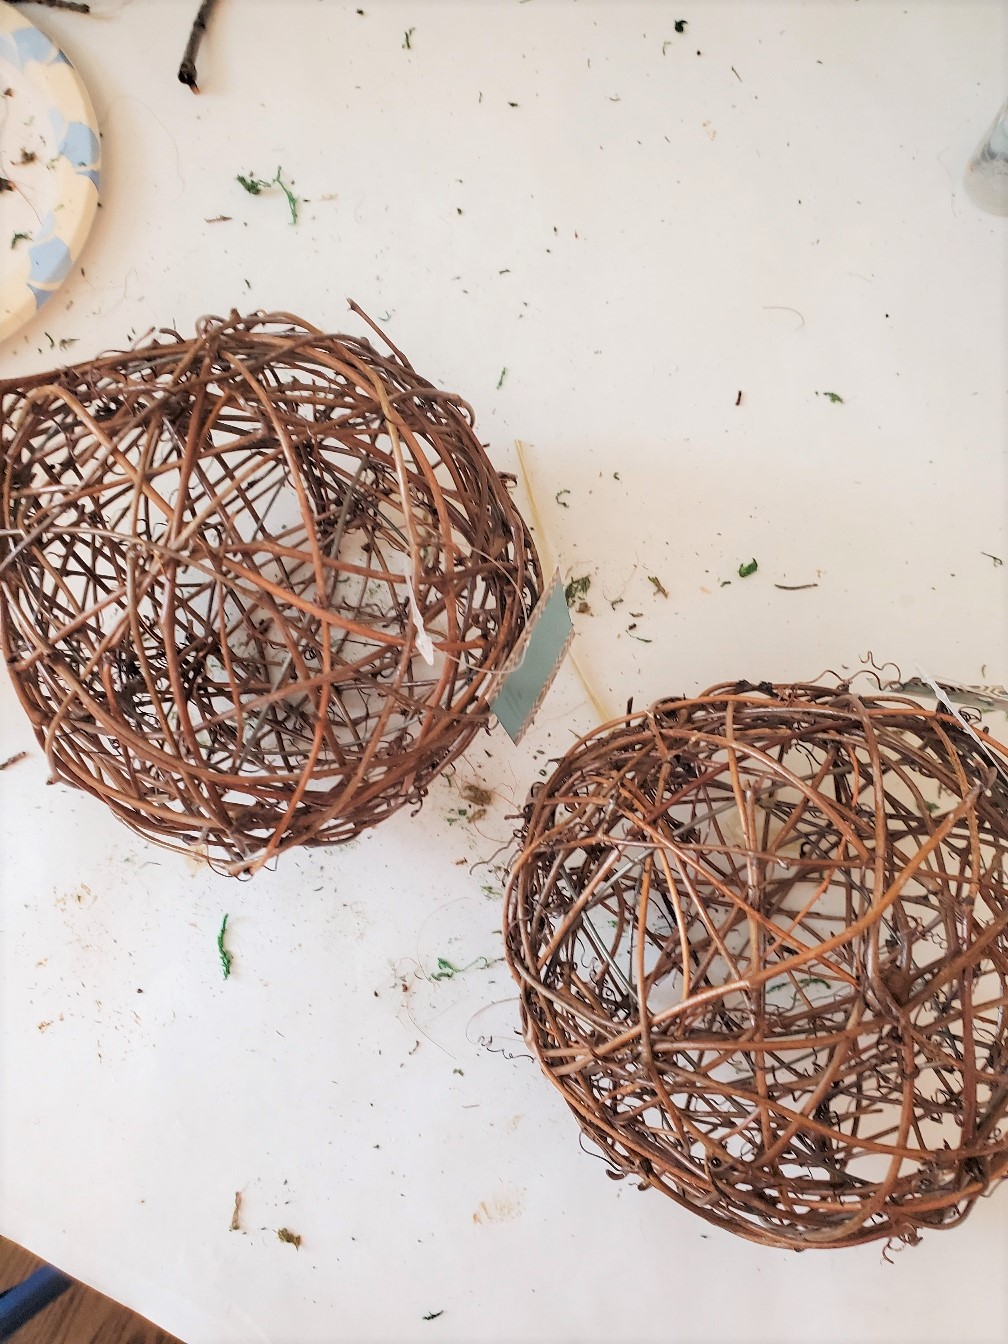
I had bought these from Michaels. I immediately had the idea to add moss for spring.
Over the years I have grown fond of all thing moss once the thought of opening windows and letting the fresh air in the house. After being closed during the colder months it’s great to let spring air in the house finally!
This is at the time welcome greenery in the home too!
Of course, this is a simple, quick project to begin getting ready for spring. Besides this is a great a jumpstart on spring crafts making moss grapevine balls. I’m thinking if I am ready for spring the snow will stop appearing.
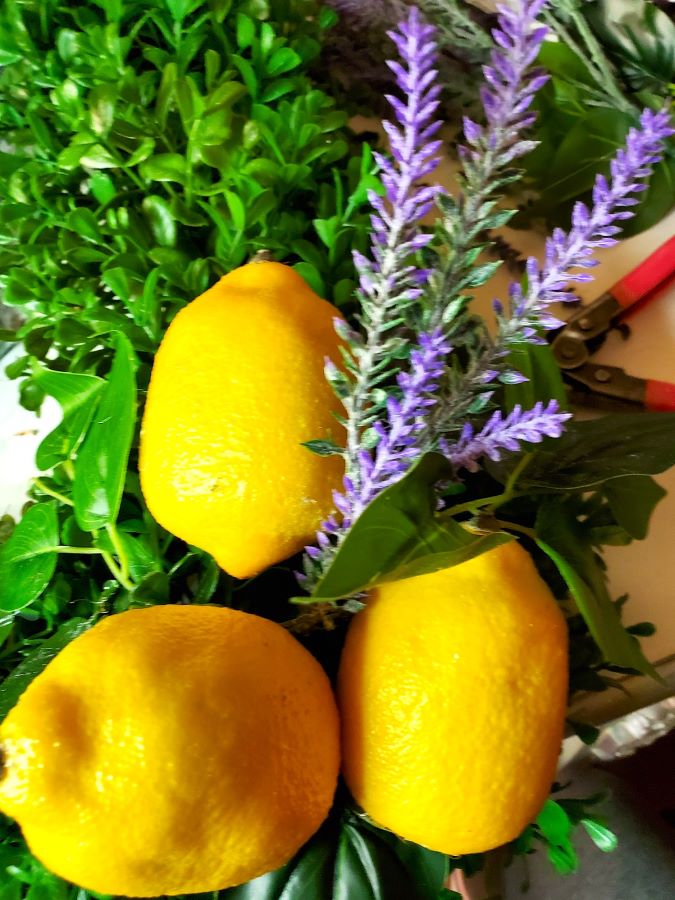
I particularly enjoy using moss in addition to other natural elements such as sticks I find in the yard to begin getting our home ready for the warmer months ahead.
As a result, you may enjoy reading this post as an example of how I mix these elements together.
First Step for Making This Basic Project
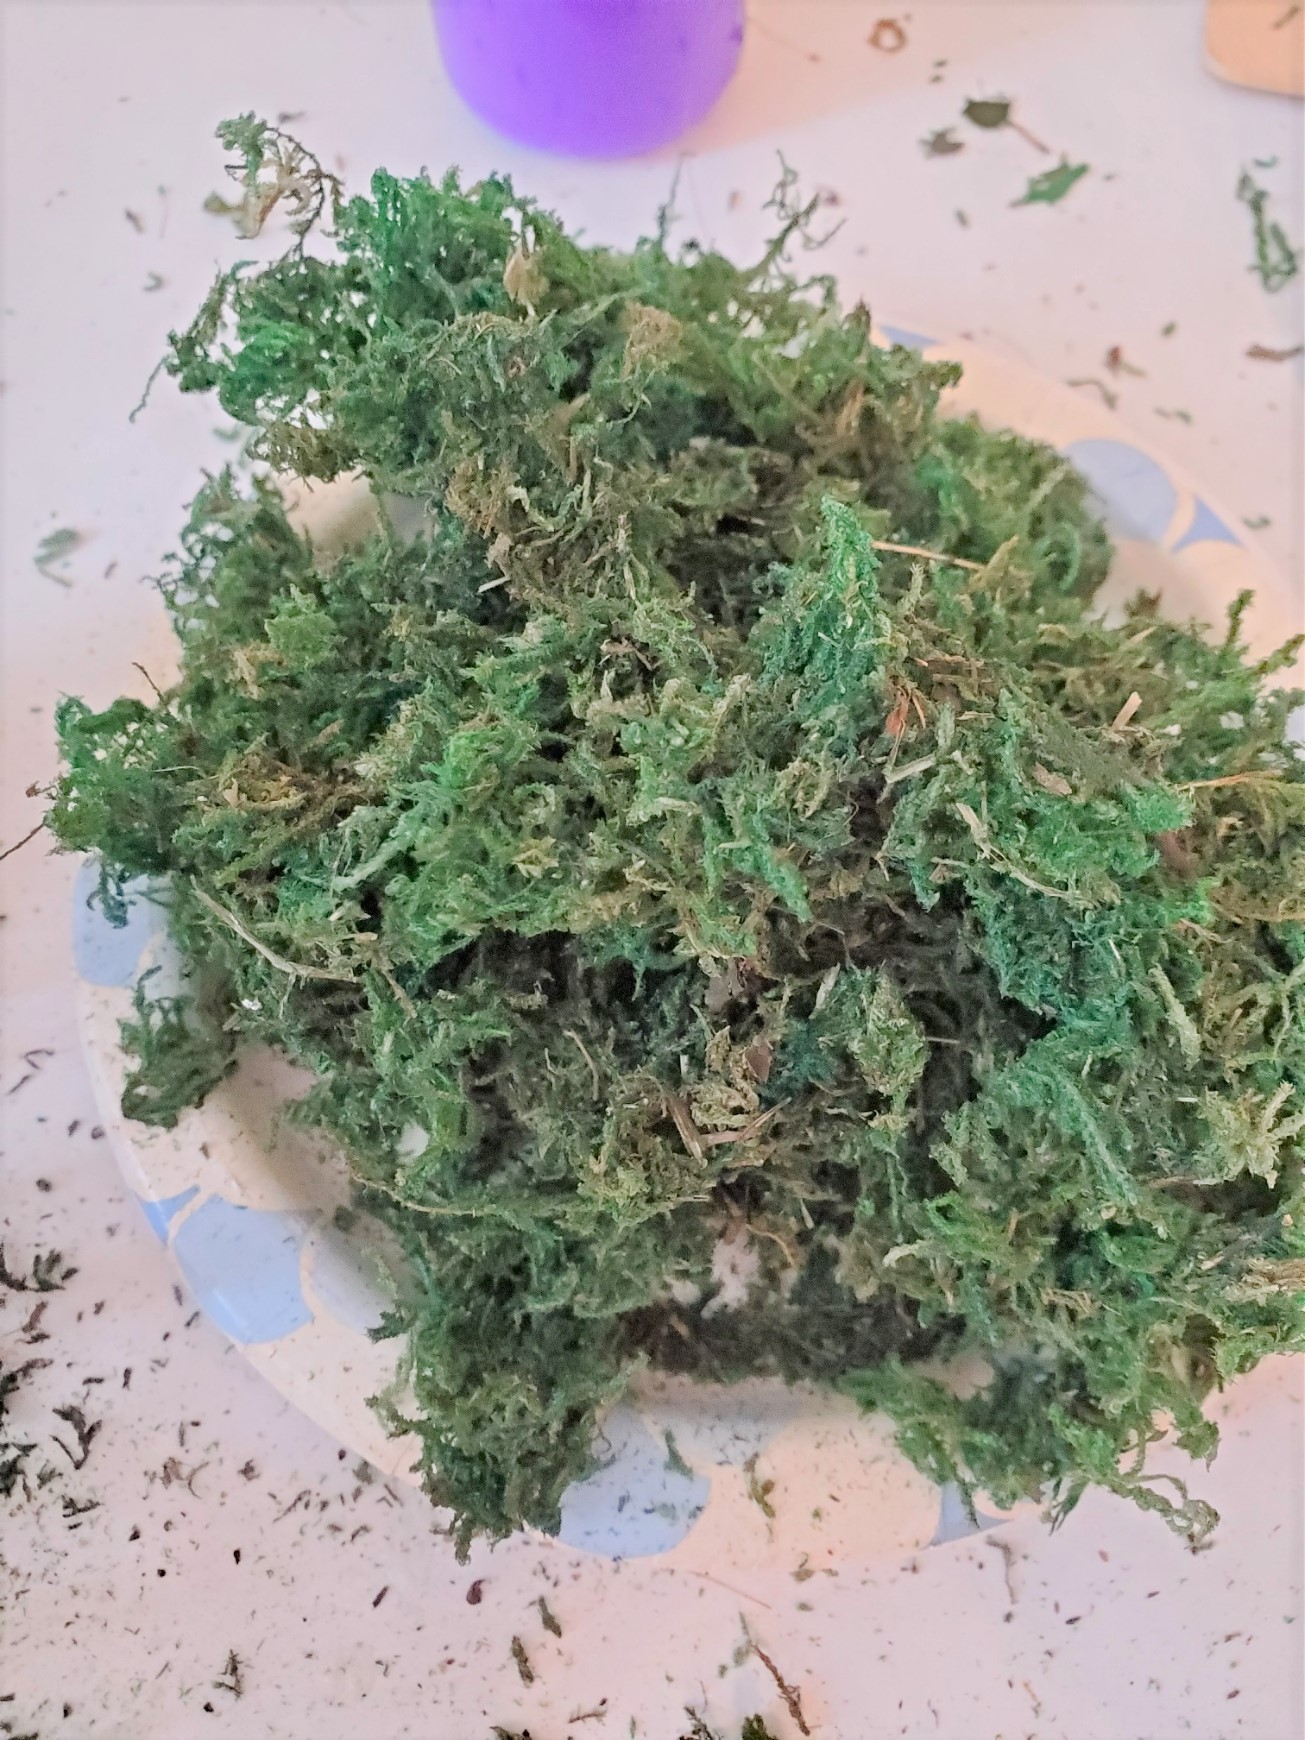
By the way, here is a look at the moss I am using for these quick spring grapevine balls.
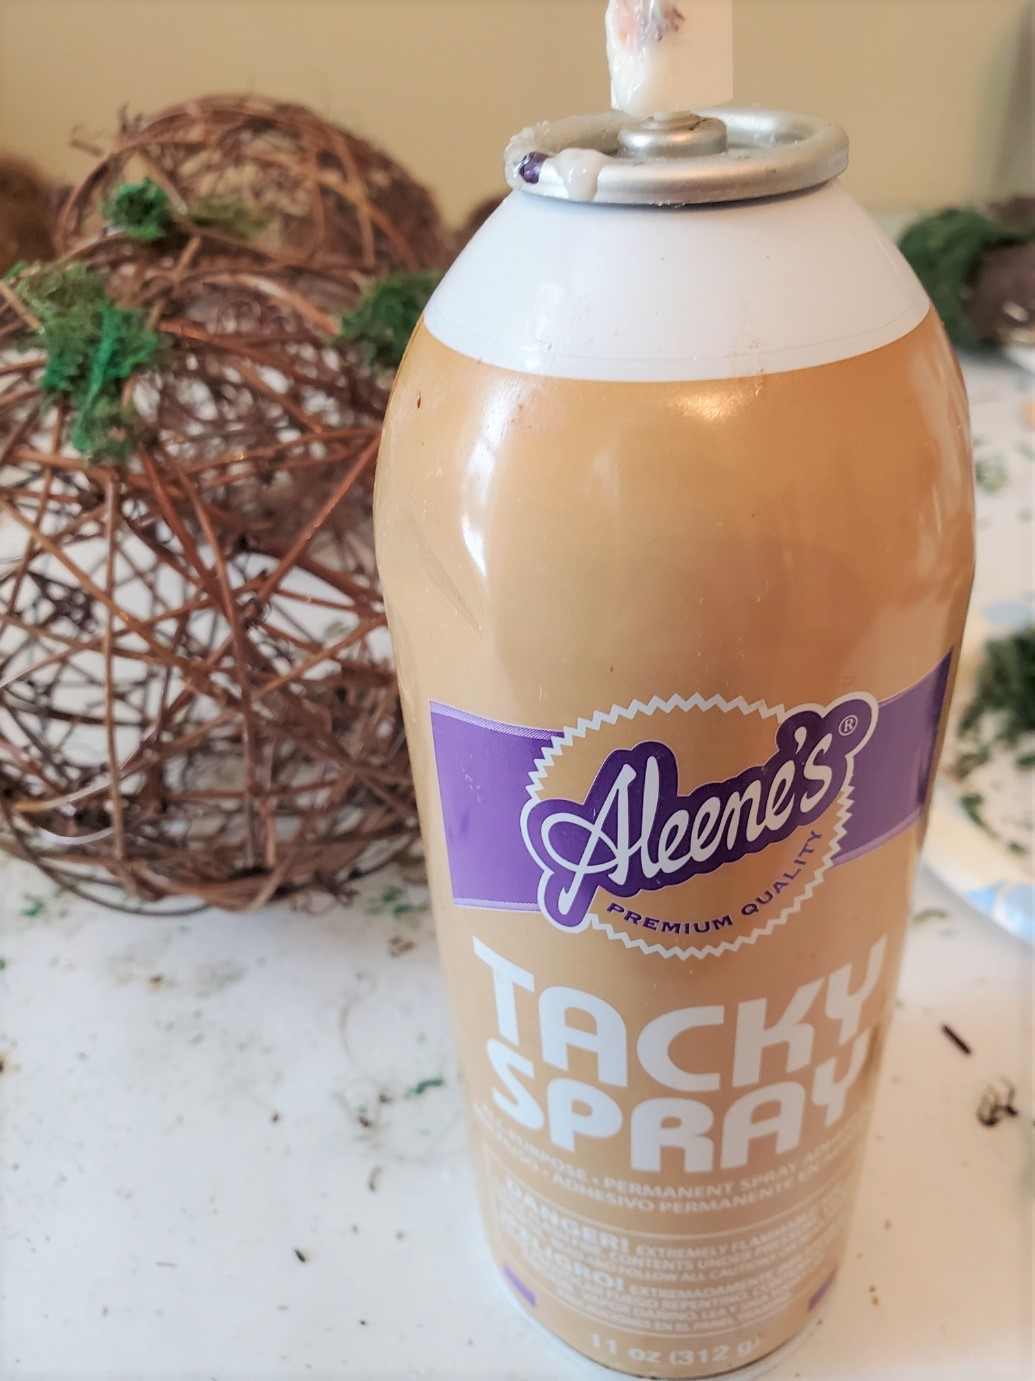
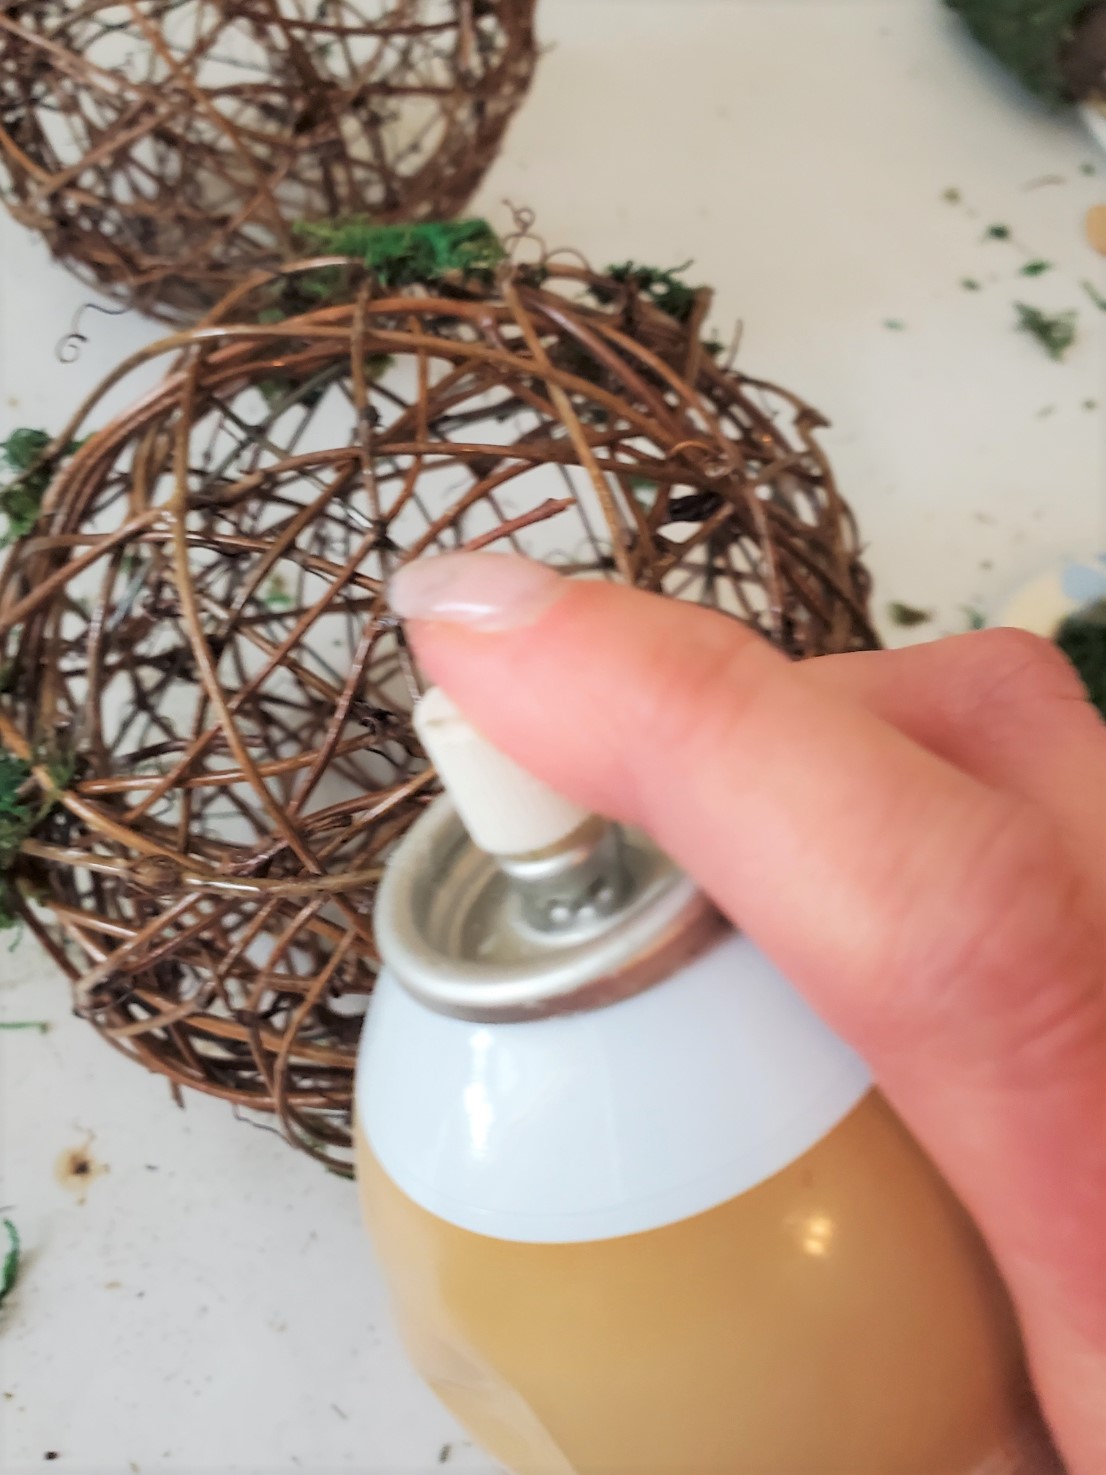
First, I spray a very tiny amount of spray adhesive on the grapevine ball. So then, I add a bit of moss and let dry.
Meanwhile, I begin moving around the grapevine adding tiny amounts of spray adhesive and moss.
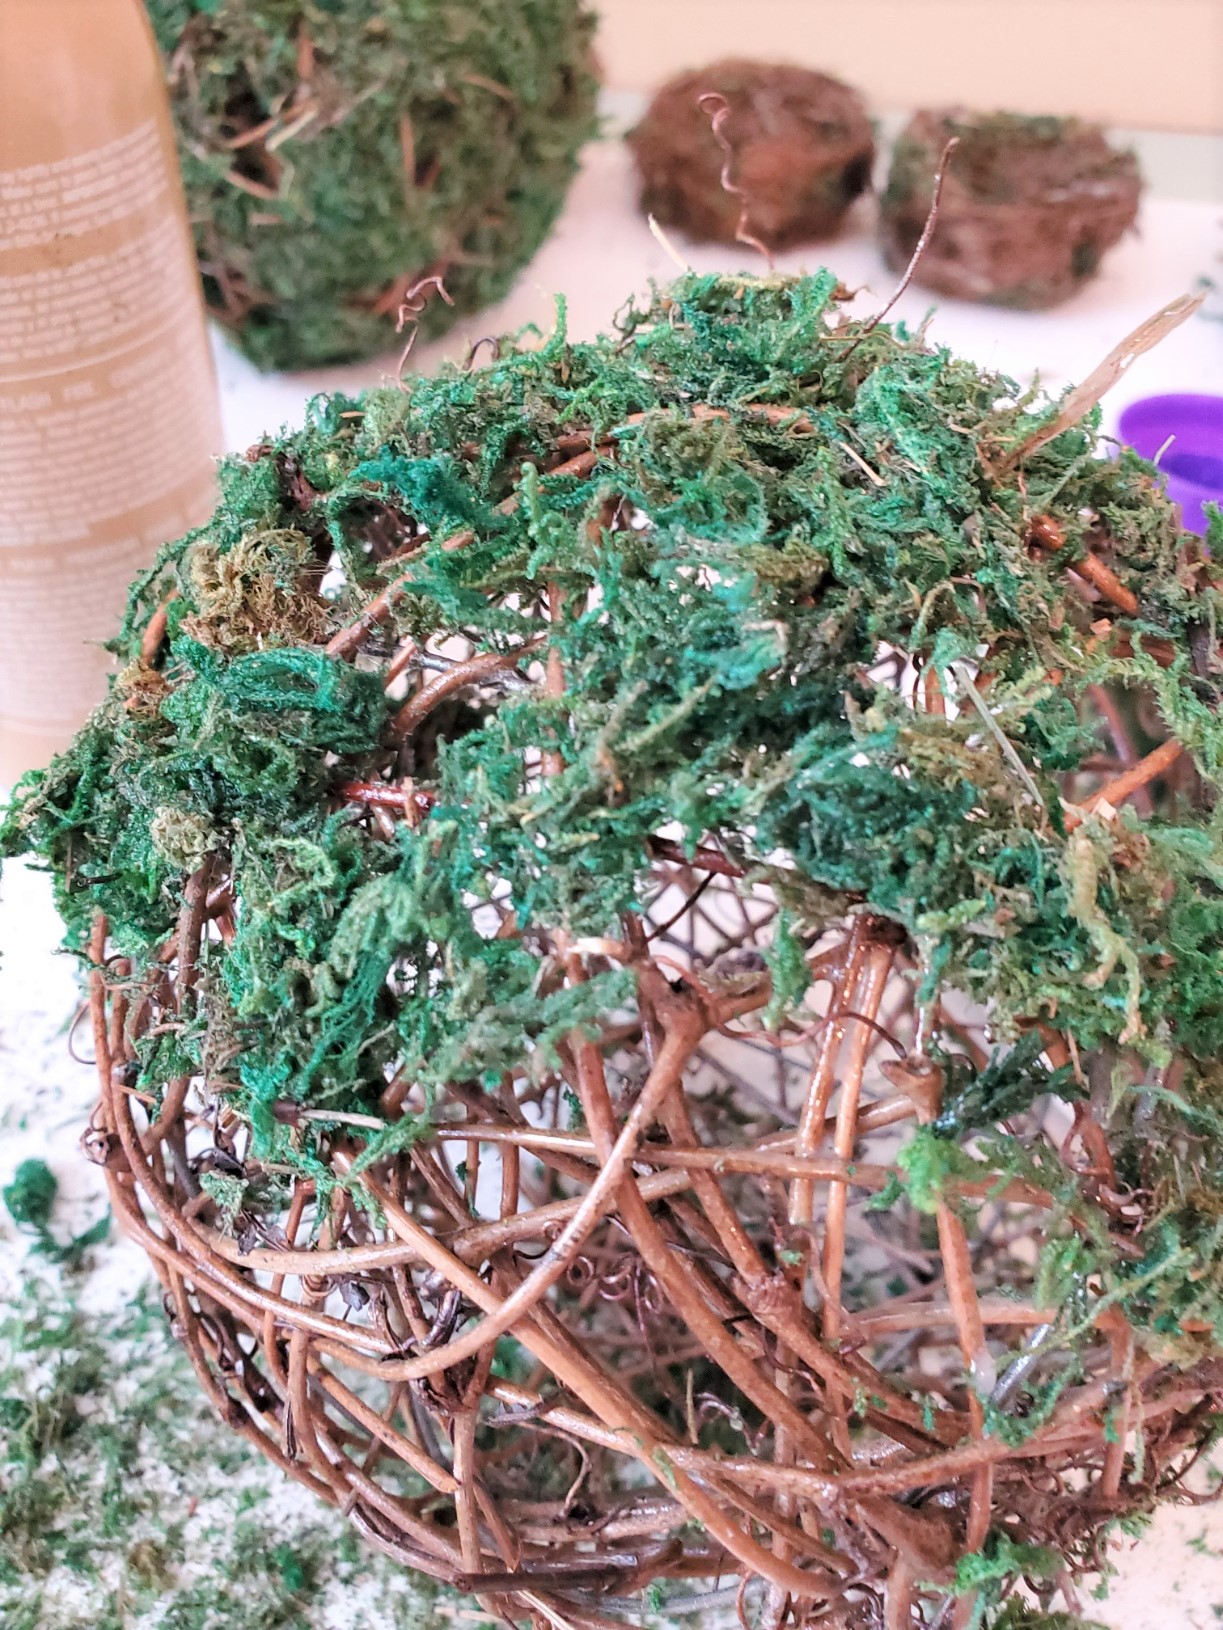
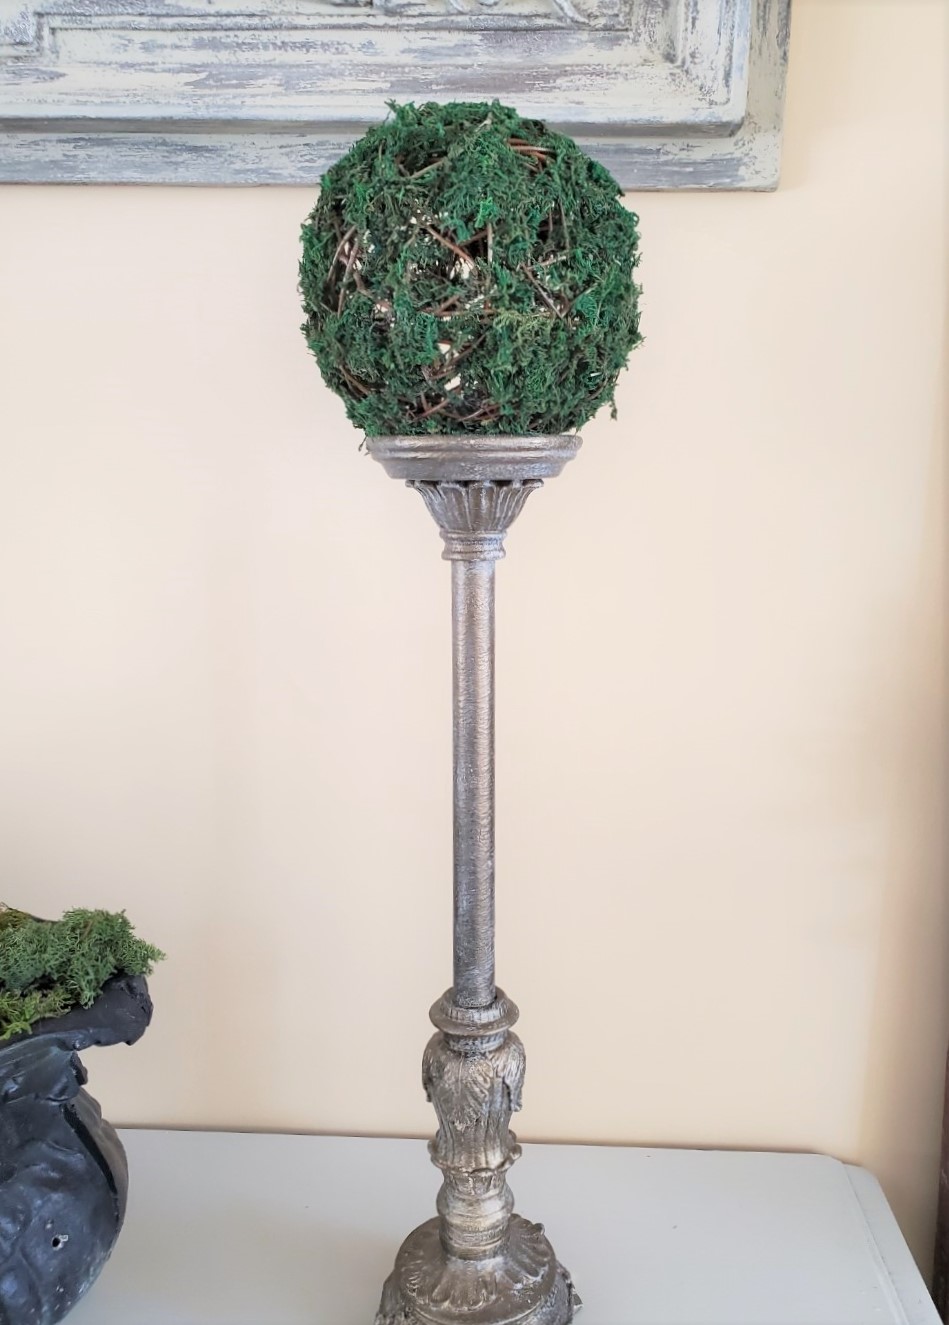
After I complete adding the moss to the grapevine balls, I let them dry overnight. This simple craft took me minimal time and effort and adds texture, interest and natural elements I enjoy using especially for spring decorating.

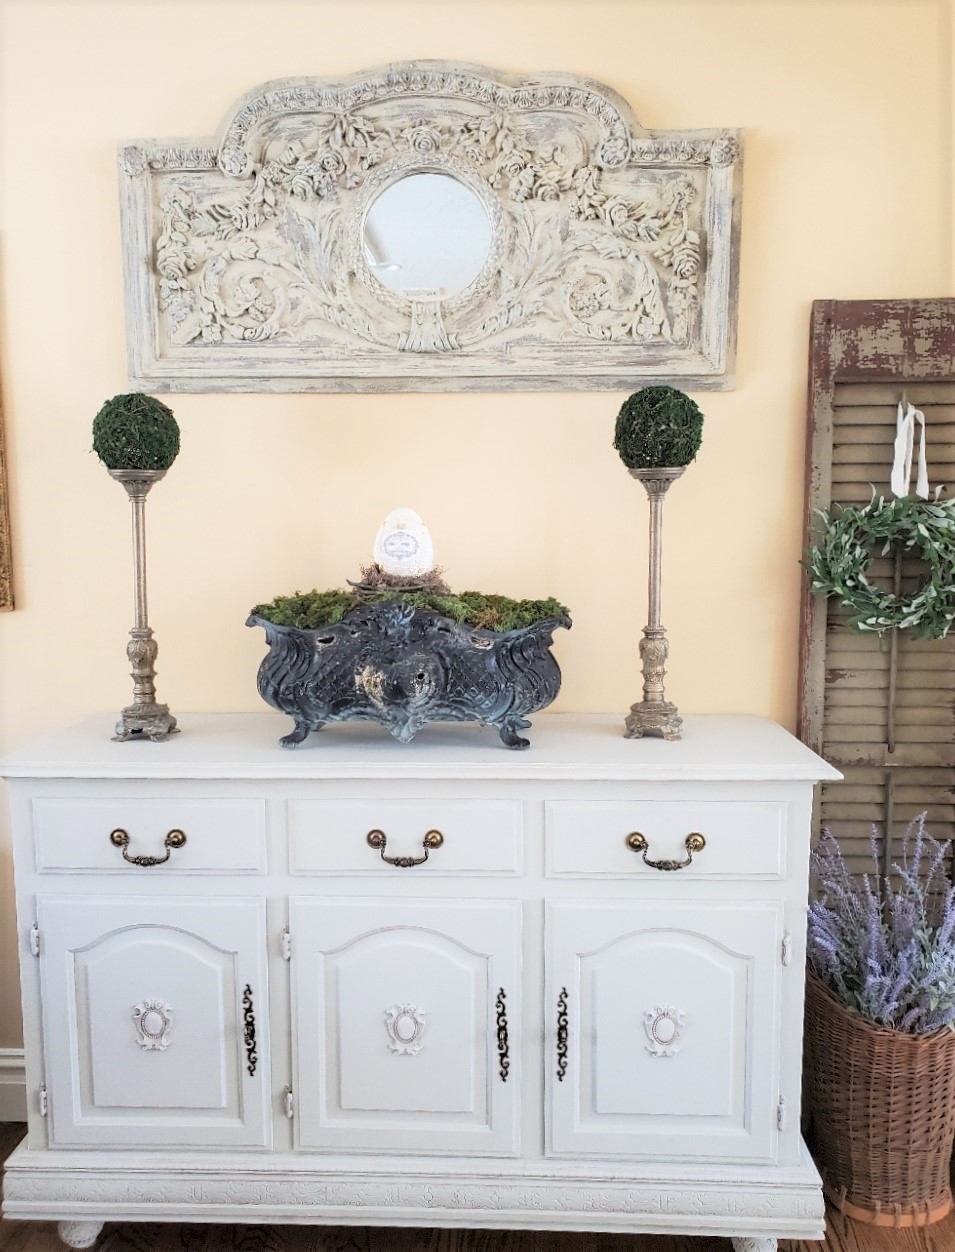
Final Reveal of the Moss
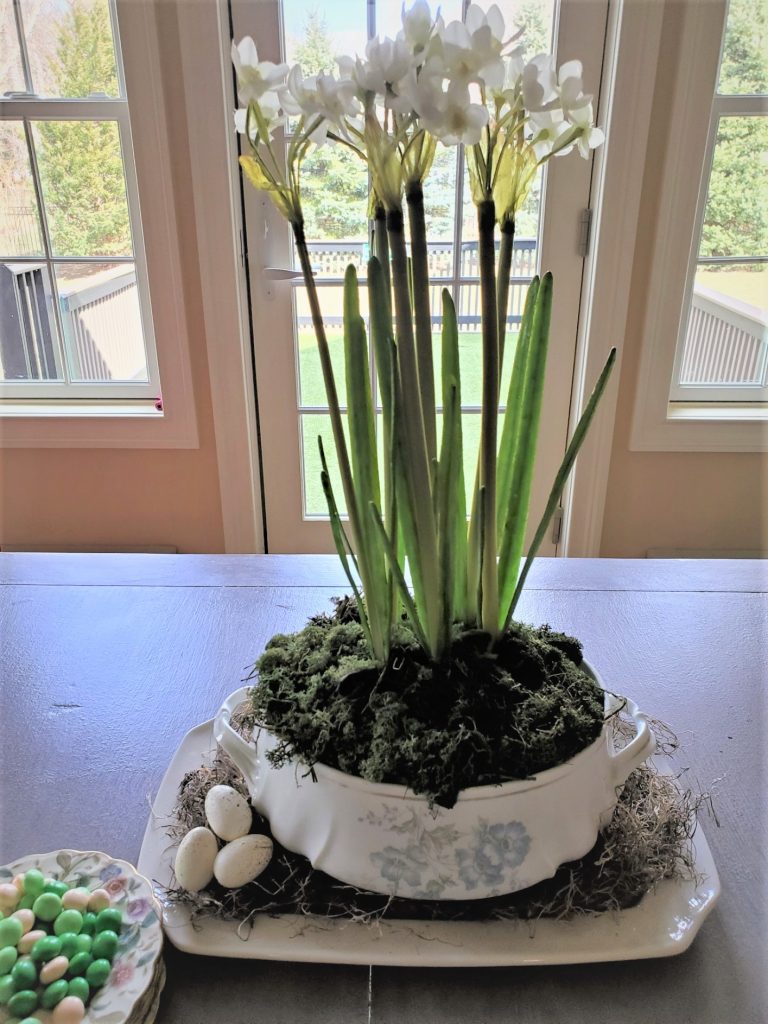
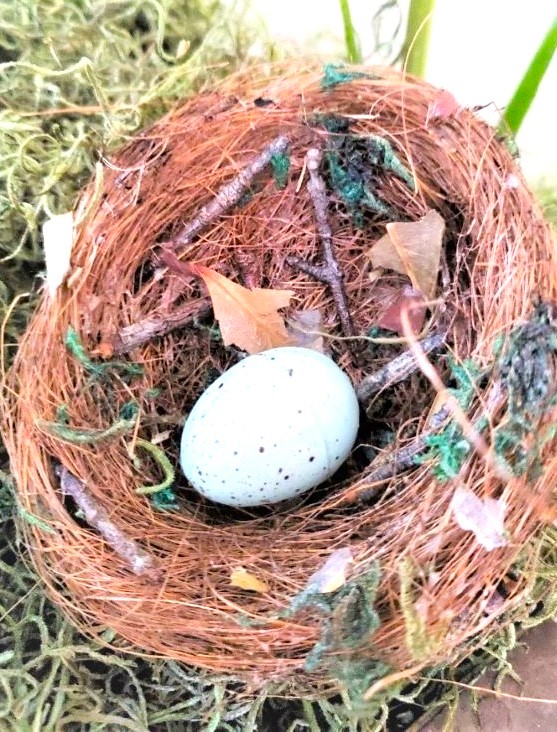
In the final reveal you will see this large egg in my French antique Jardinière with the moss balls.
Next post or the one after I will share how I made this pretty egg to complete my buffet for spring.
I hope you enjoyed this post on making easy moss grapevine balls. Are you getting ready for spring?
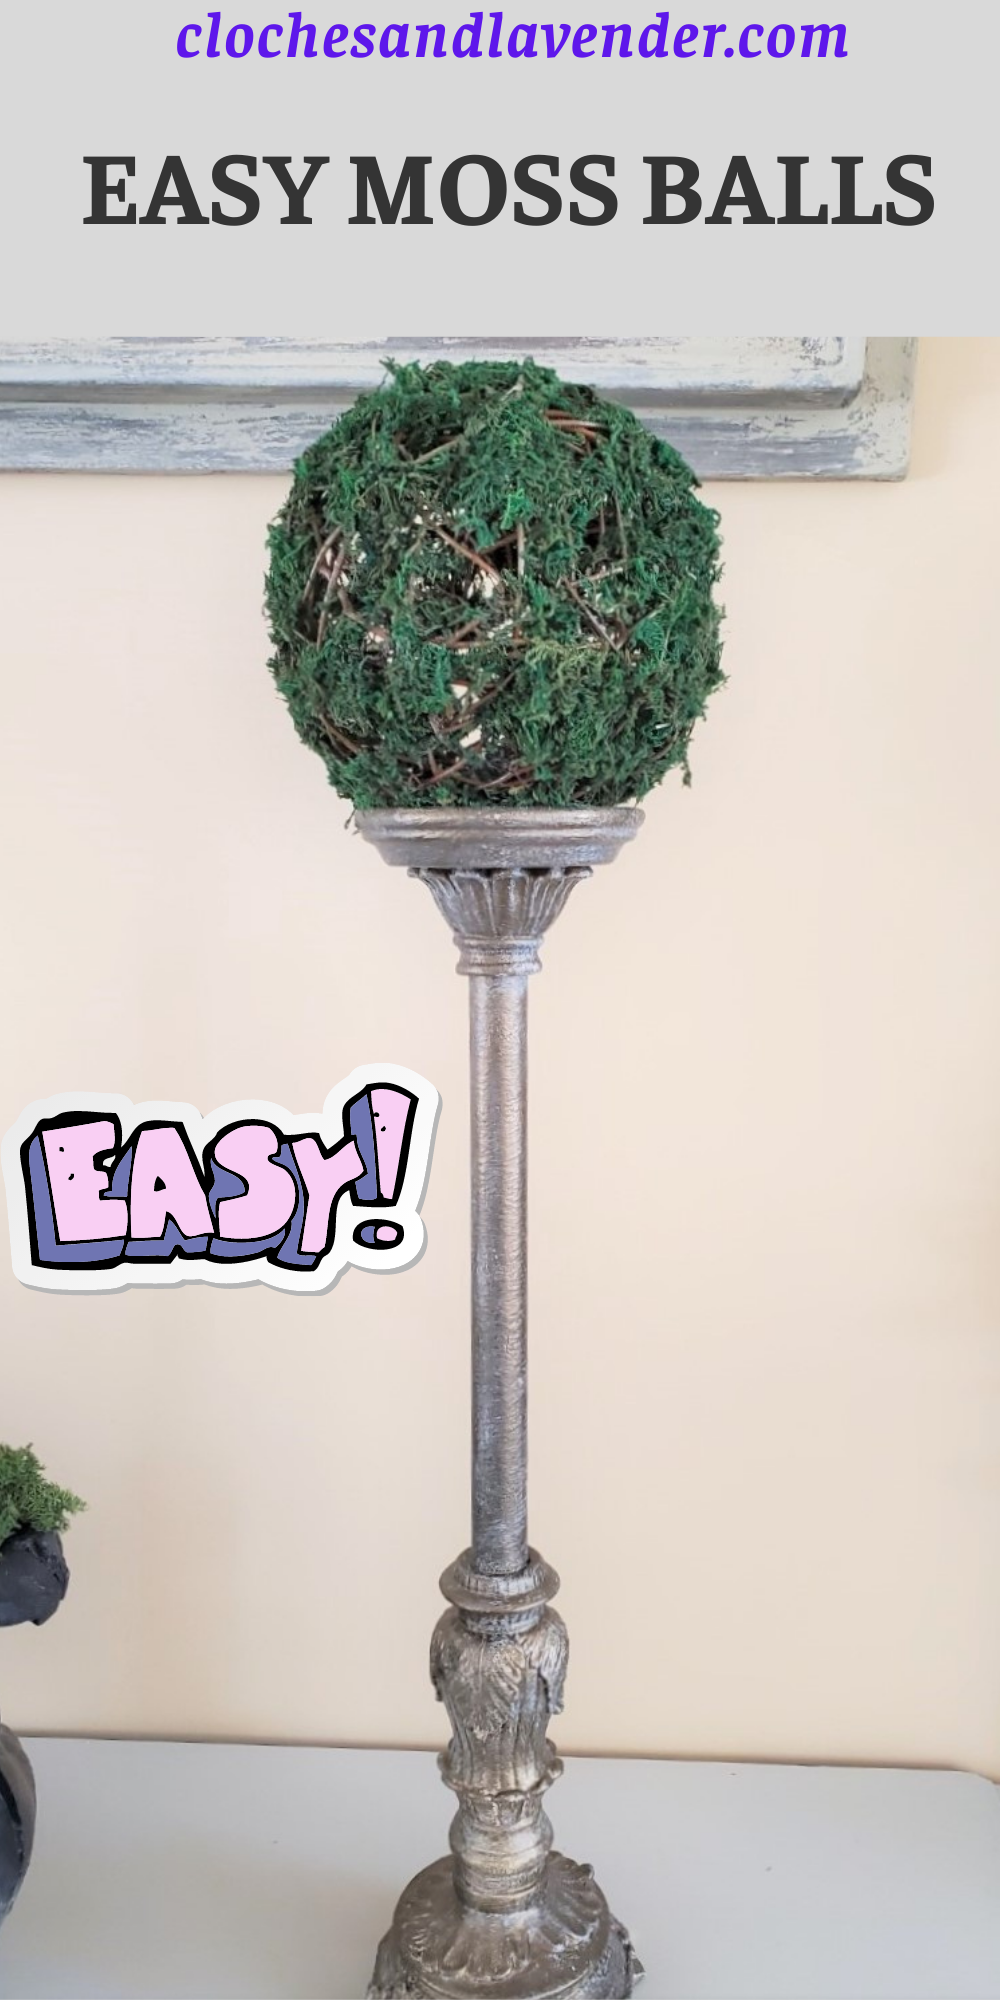
DON’T FOR GET TO PIN IT TO REMEMBER HOW TO MAKE IT!

Very cute and easy Cindy. I like the spray glue to make this easier too. Happy Friday.
I have toms of wicker balls up in the attic collected dust. I need to do this to them. Thanks for inspiring me
Looks so pretty on your buffet. an easy project to have for spring. Happy weekend.
Using the spray is such a great idea! I really love how these turned out.
Thanks Michelle, very fast craft
Oh…all that moss has me thinking spring!!
What a cute and clever project. I am pinning!
Cindy, these turned out so pretty and add such a fresh look for spring. I’m so ready for spring to arrive. That French jardiniere is gorgeous! Happy Monday, sweet friend!
Love these so much, Cindy! I’m always amazed at how expensive these are in the store. Sometimes I have entire containers to fill up so I’m super excited to try your budget friendly technique and pass along to my friends and family too. These are fabulous and perfect in every season. Hugs, CoCo
Thank you for opening up this mind of mine. Something so simple and most crafters have on hand …… will be done b4 Easter
So happy I inspired you to make these. They’re easy and fast. Enjoy