
Easy Easter Egg Crafts
Today I’m sharing Easter egg crafts. The days are getting longer and soon will be spring. Easter isn’t far it’s April 4th, so I think it’s a great time to begin sharing ideas for spring, don’t you?
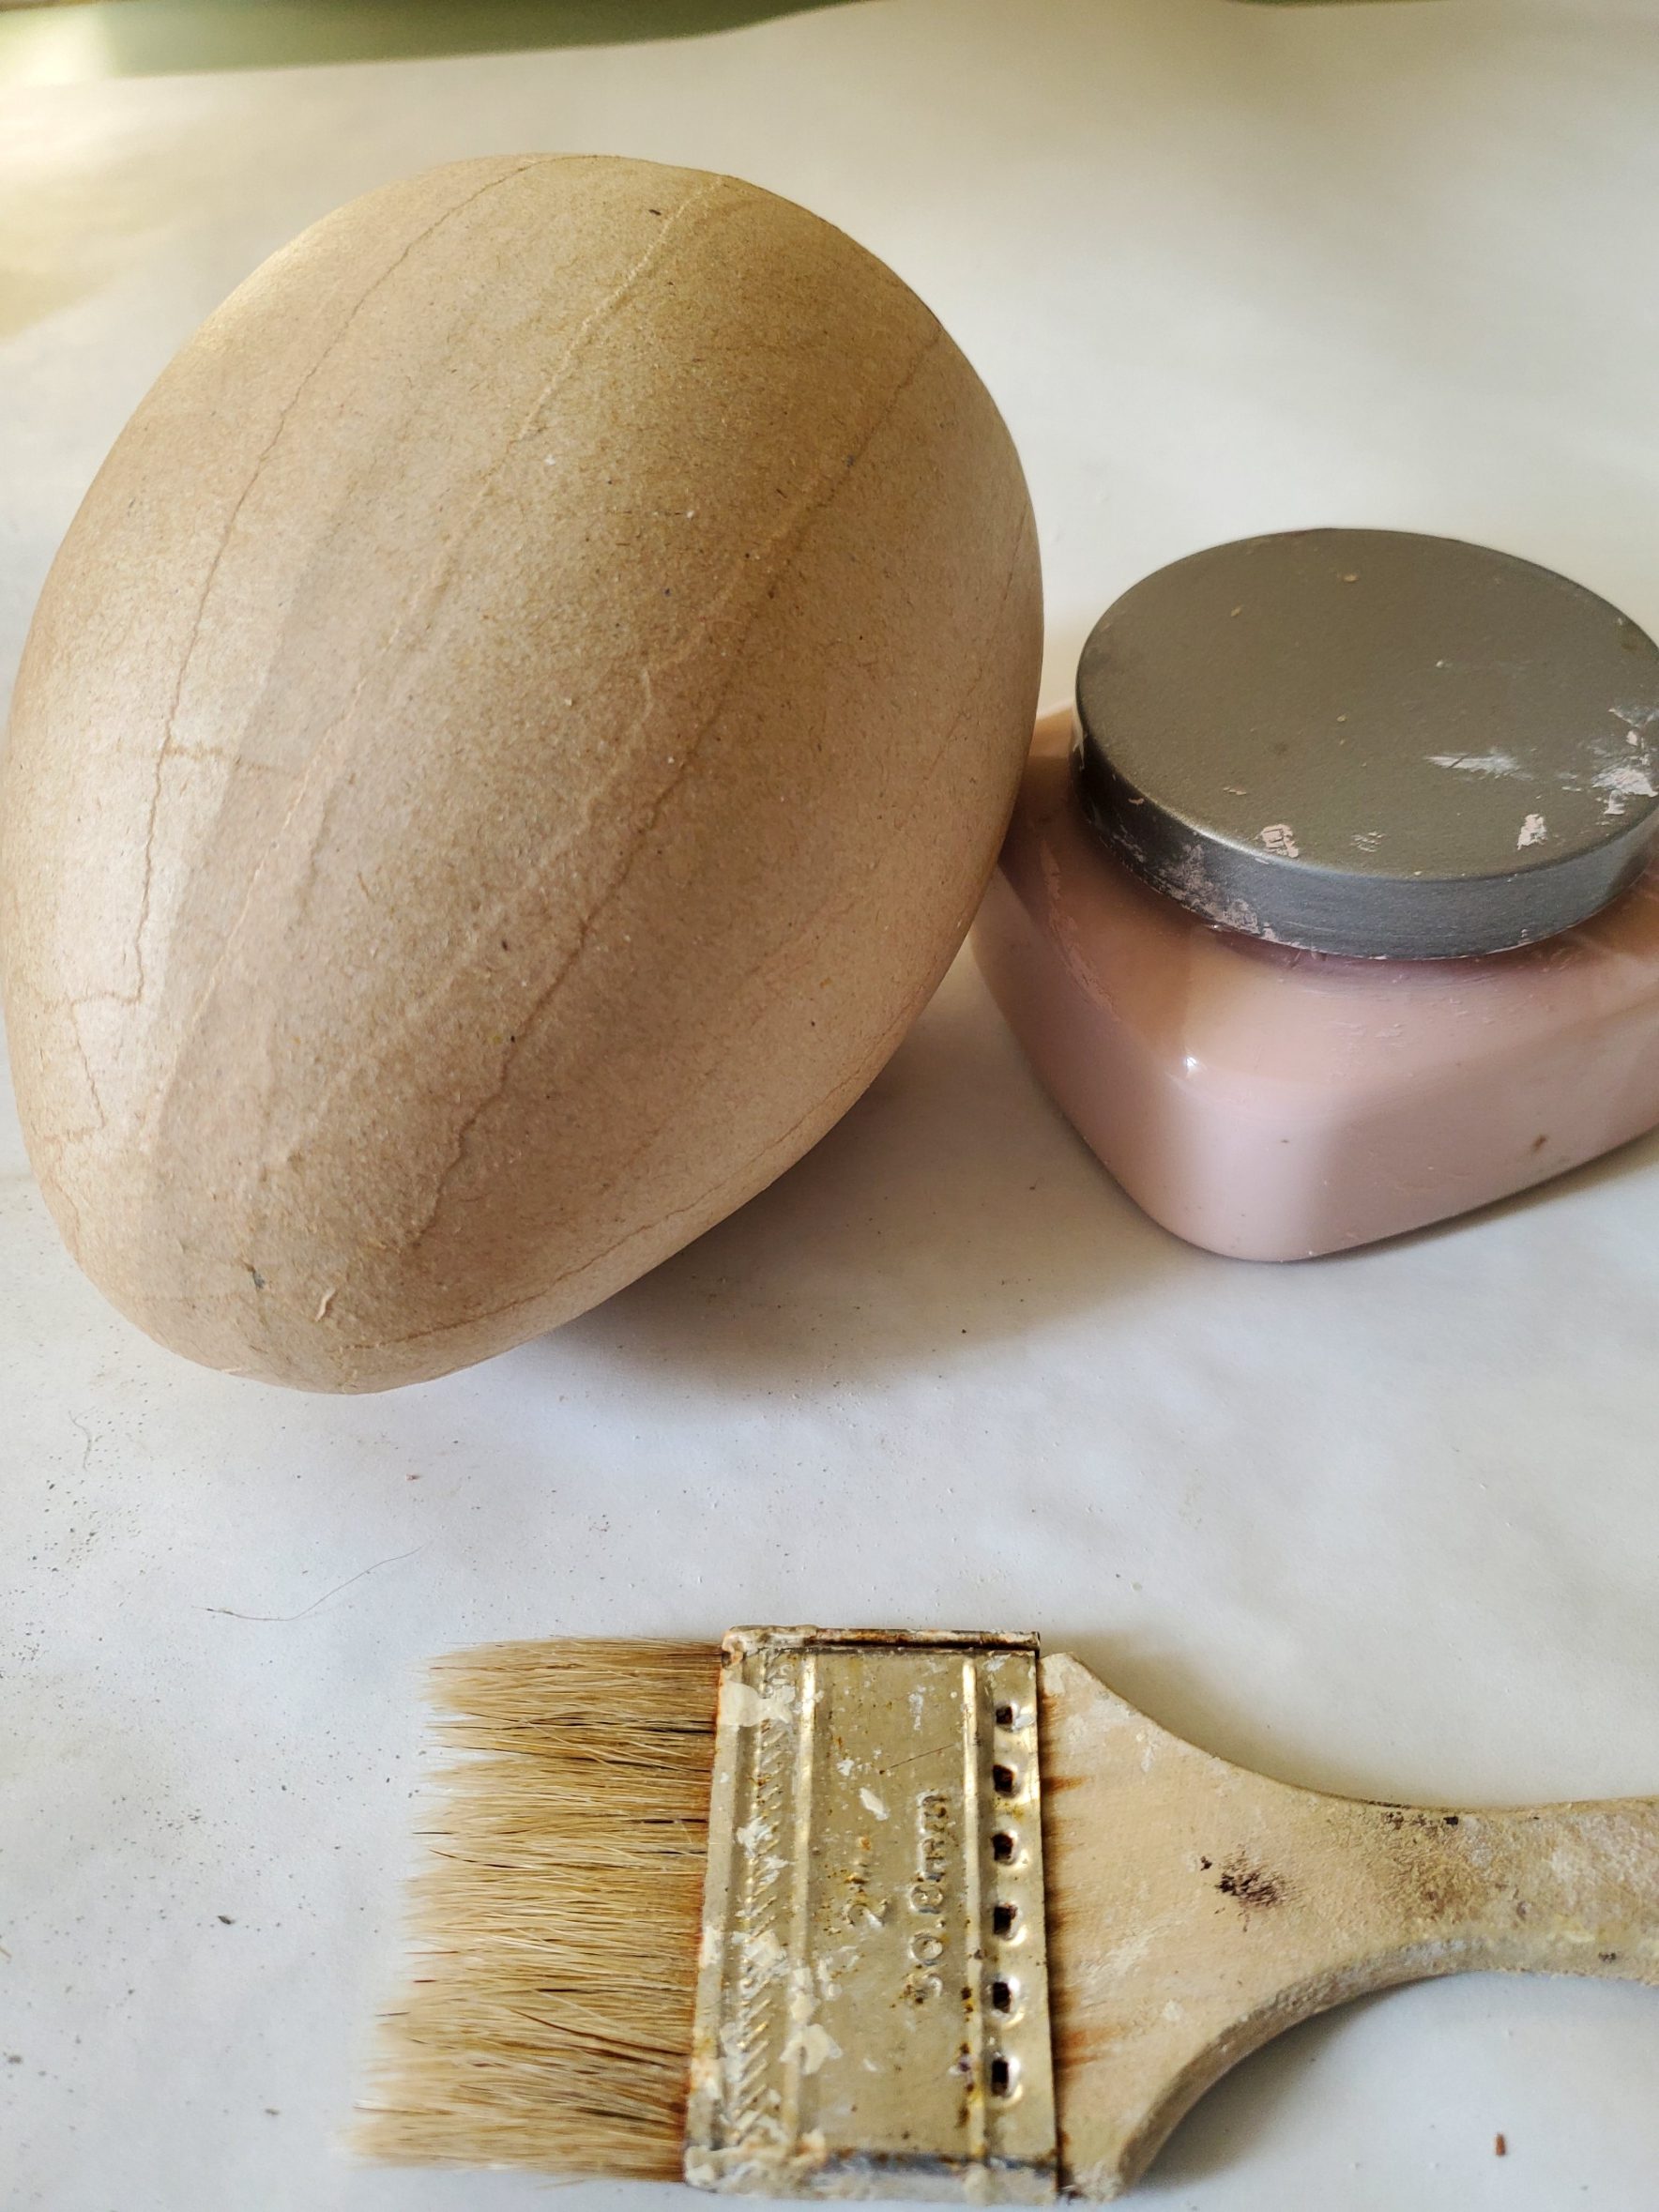
After finding this 6″ paper Mache egg on Factory Direct Crafts I bought the egg and began thinking of spring egg craft ideas.
Today also happens to be $10 on the 10th hosted by Tammy from Patina and Paint and this month’s theme is spring/Easter. We can spend $10 or under to create a craft or décor. I enjoy the challenge of staying in budget and sharing ideas you may like to achieve with sources you can find to accomplish what I am sharing.
At the bottom of this post, I will share the links to all the talented bloggers that participate in the $10 on the 10th. Please be sure to visit each one of them to see the inspiration they are sharing this month.
Items Needed:
- paper Mache egg in size of your choice HERE
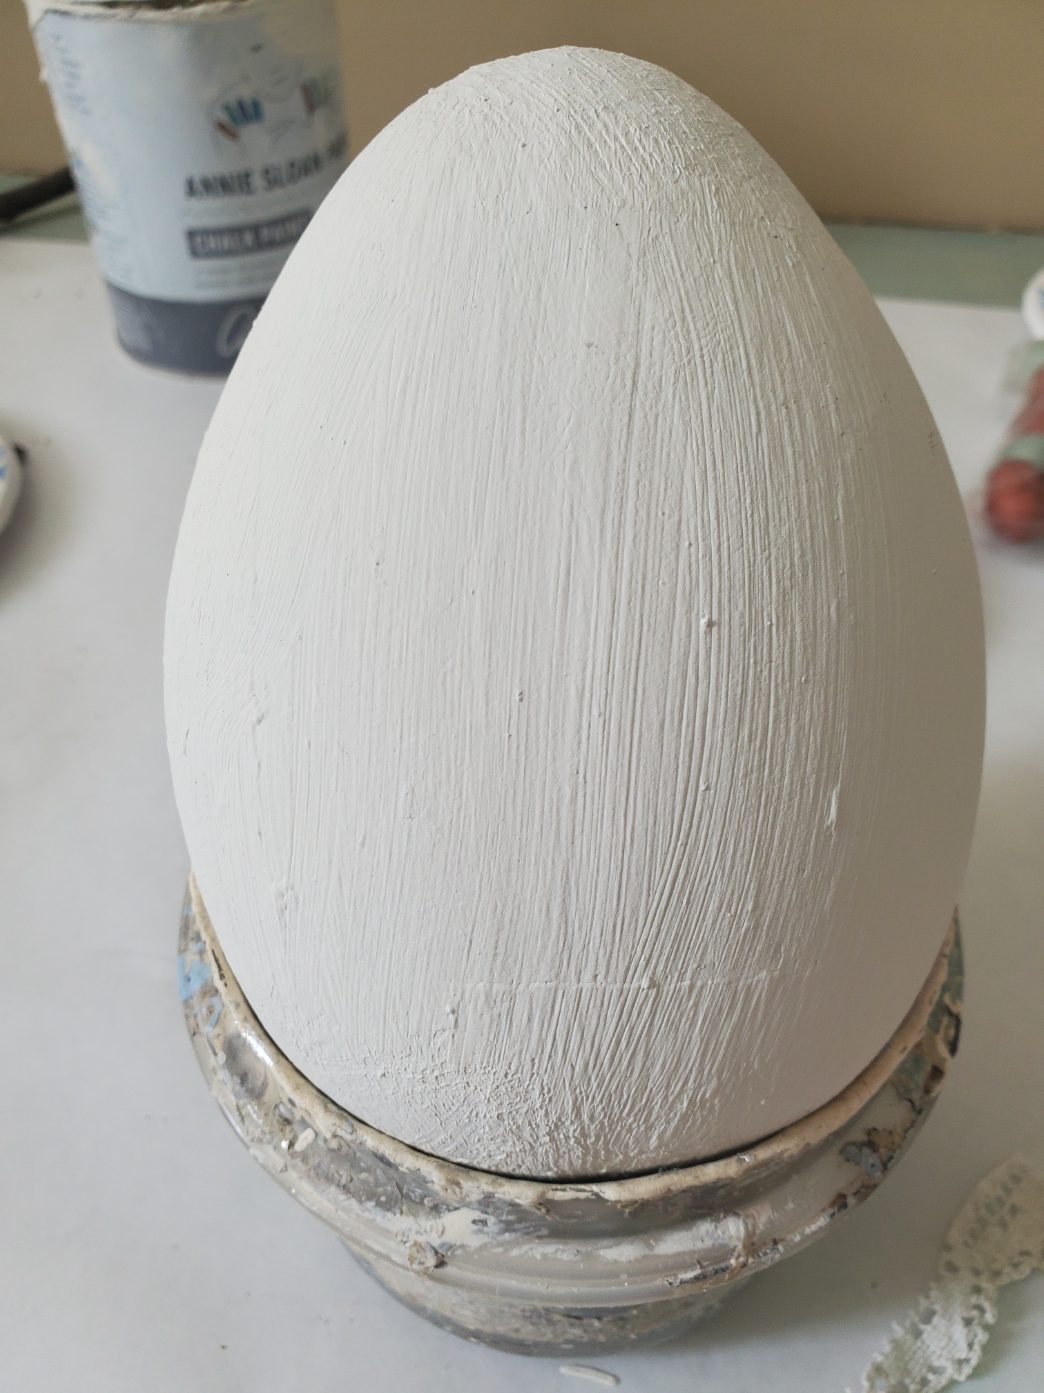
- ASCP Old White paint or white paint of your choice HERE
- scissors
- lace can purchase it here if you don’t have any on hand HERE
- graphic image of your choice
- lace ribbon or ribbon of your choice HERE
- dried flowers optional
- glue gun and glue sticks
All the links I’m providing are on sale and there are coupons to keep you in budget.
How I Began My Easter Egg Crafts
Briefly, I was planning to paint the egg pink as you can see in this picture. However, thinking how using smaller paper Mache eggs I had bought. I had decided keeping the eggs in the same color is best, so I begin creating my Spring egg project.
So now, I begin painting my egg two coats ASCP Old white and let it dry in between coats.
As you can see in this picture, before I made plans to use a graphic image an applique was the plan for Easter egg craft. However, realizing the applique may be a problem since the paper Mache egg has an arc the applique would be an issue.
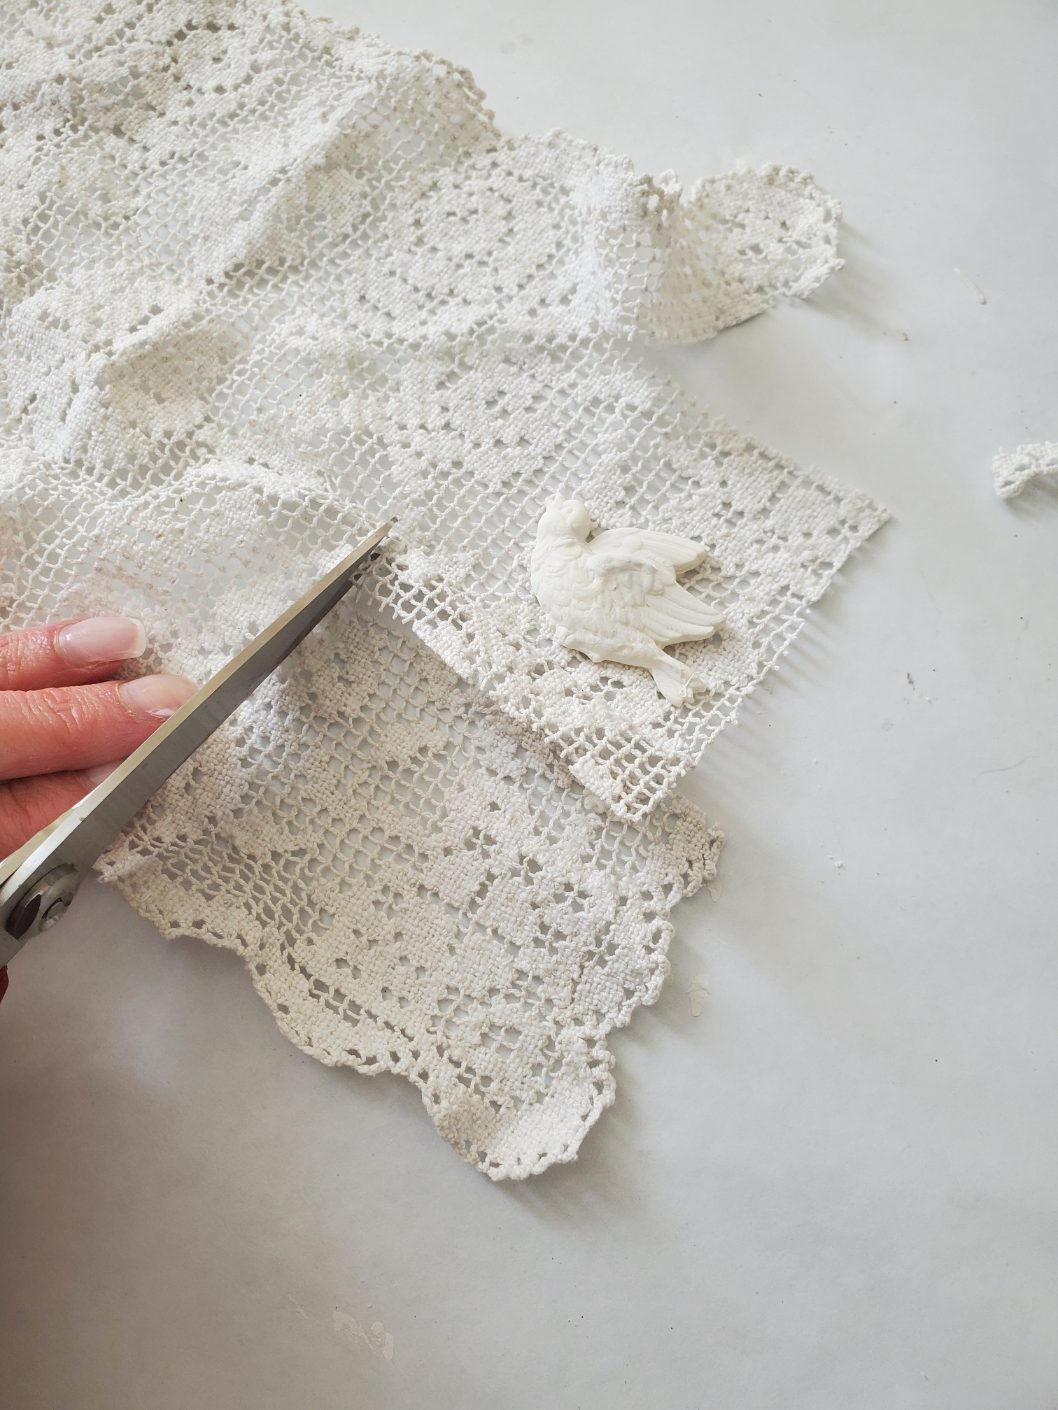
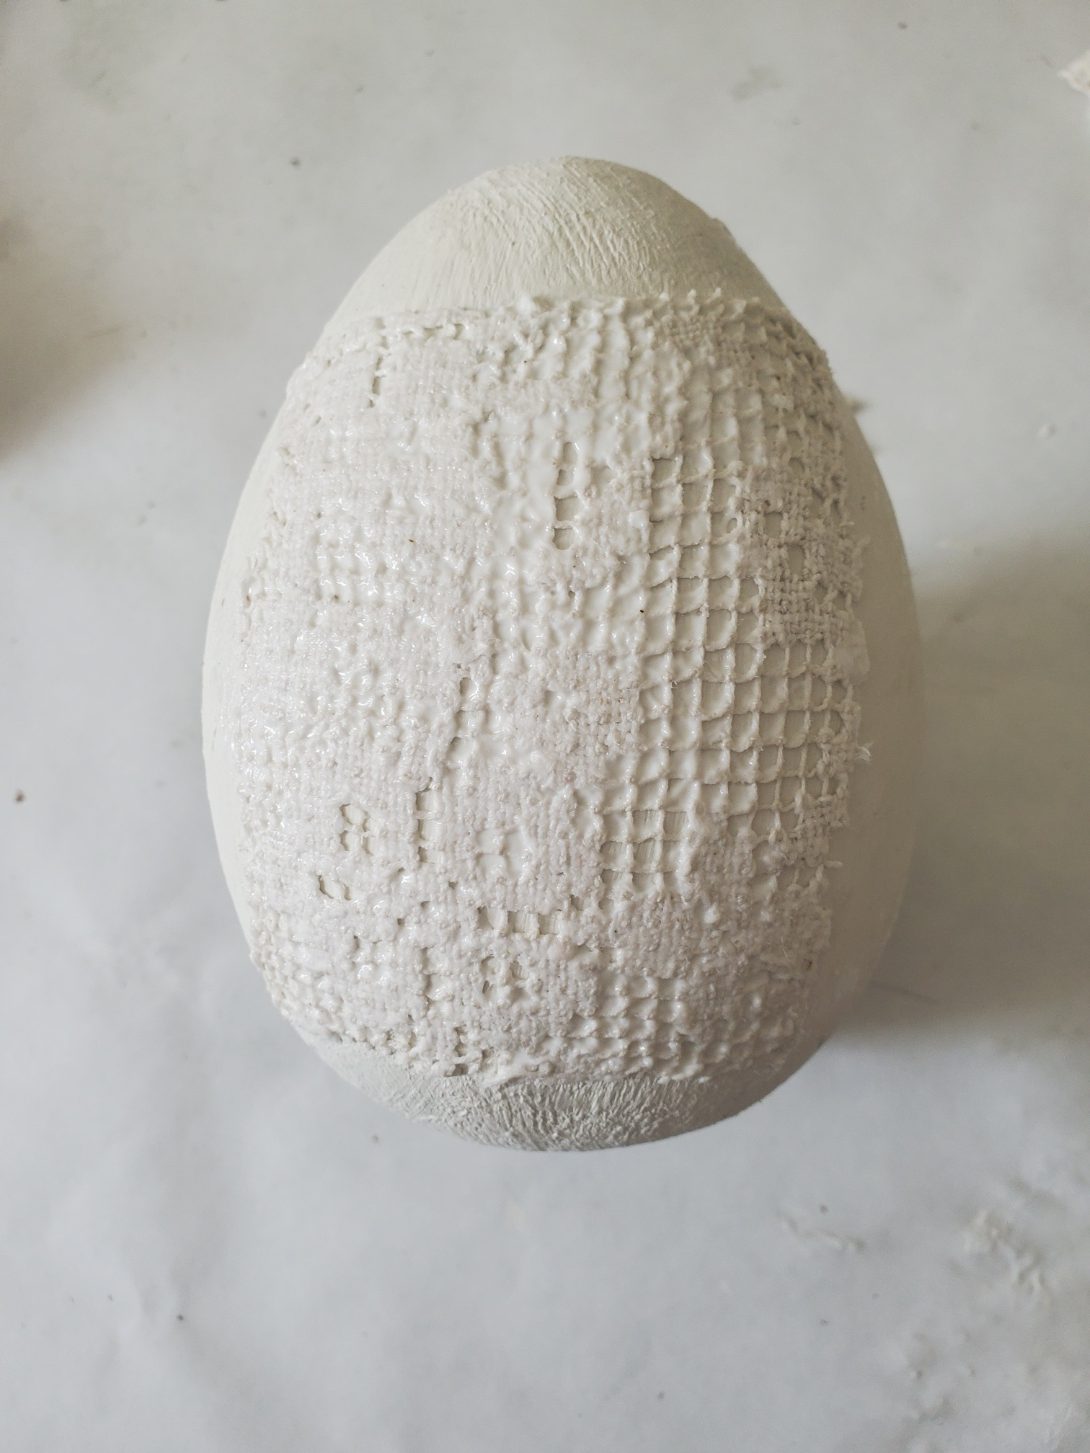
Adding a Piece of Lace to the Egg Craft
So then, I continue cutting my lace and using Mod Podge I add the lace and pat to adhere to the egg project. Incidentally, I used plastic wrap to keep the lace from wrinkling however, I did forget to take a picture.
This is where I learned about the plastic wrap trick The Apple Street Cottage, take a look.
By the way, this is when I had chosen my graphic I have had on my computer. Also using scissors that add a fancy edge gives this graphic a pretty look to my Easter egg craft.
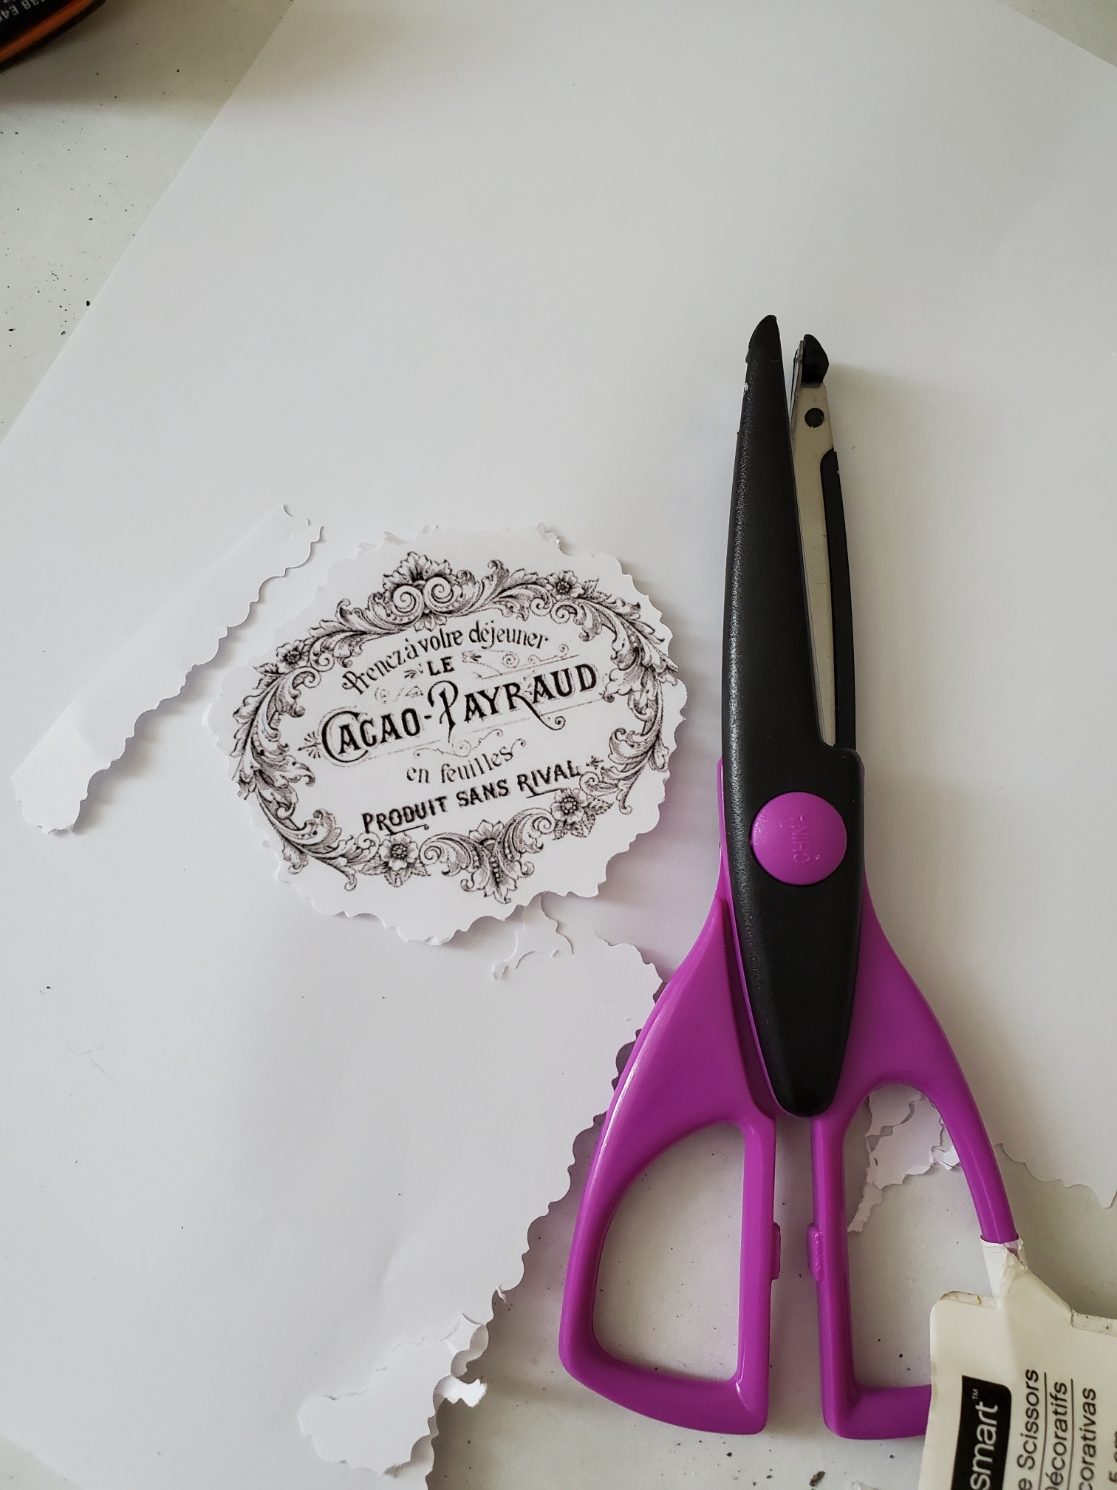
After I cut the graphic, I add Mod Podge and I place it on the Easter egg project. Computer paper has gotten thinner, so I immediately use the plastic wrap again and the image is perfect. The plastic wrap together with the Mod Podge will definitely be something I do when using graphic image.
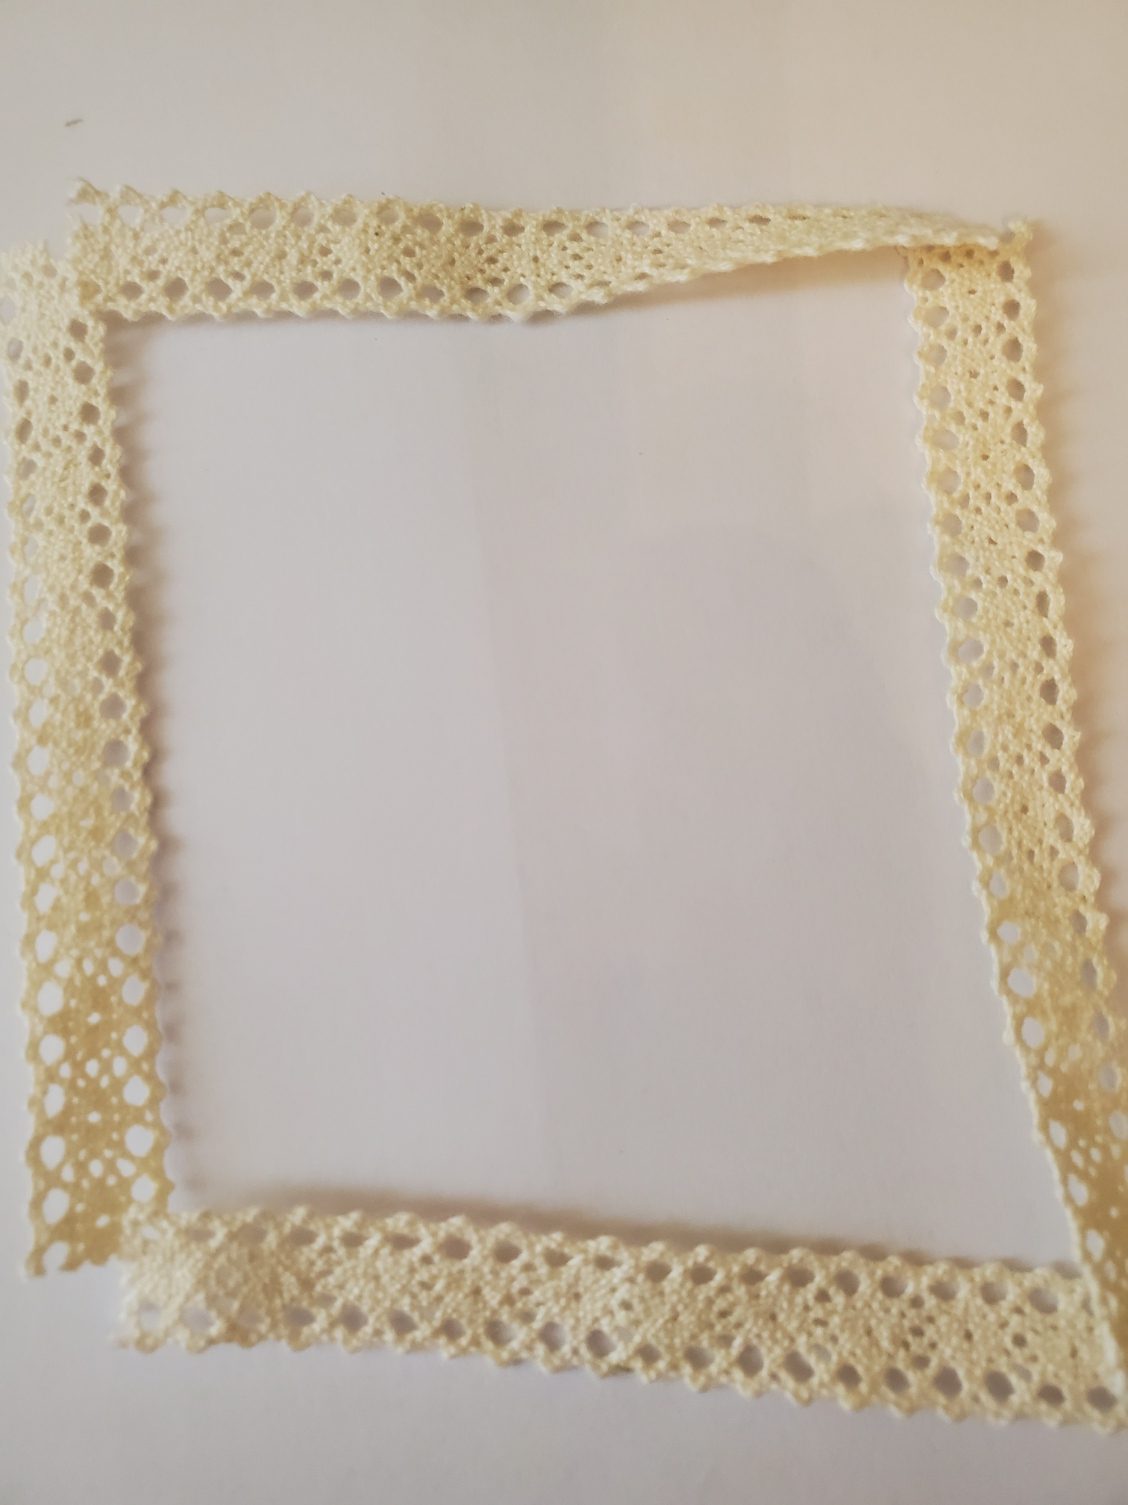
Adding Lace Ribbon to Give the Lace Finished Edges
In the meantime, I cut lace ribbon to finish the lace off. It gives the lace a nice, finished edge and also adds another layer of texture to the front of my Easter egg project.
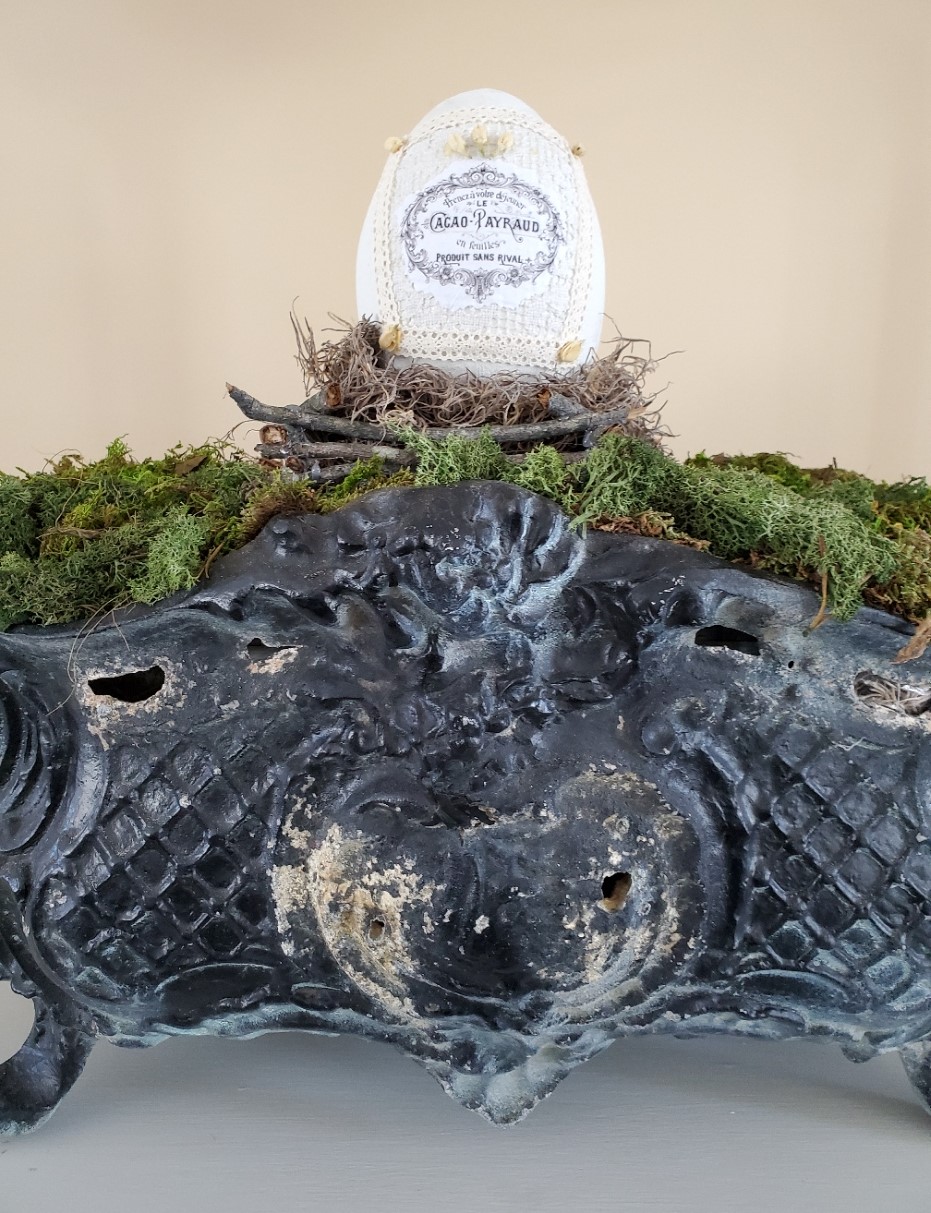
So then, using dry Chamomile buds I have and add them using Elmer’s glue giving my Easter egg craft elegance.
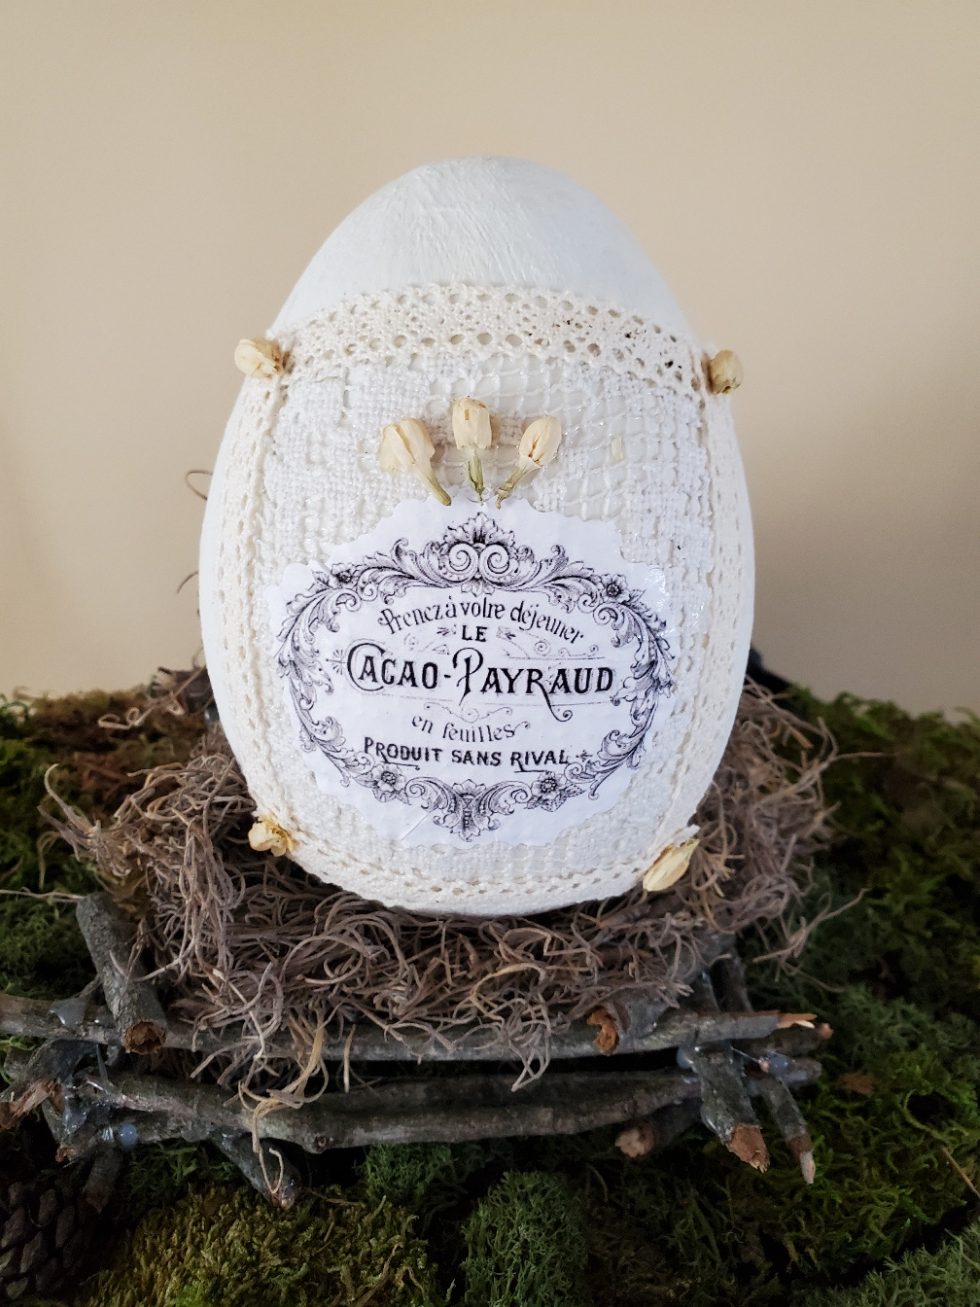
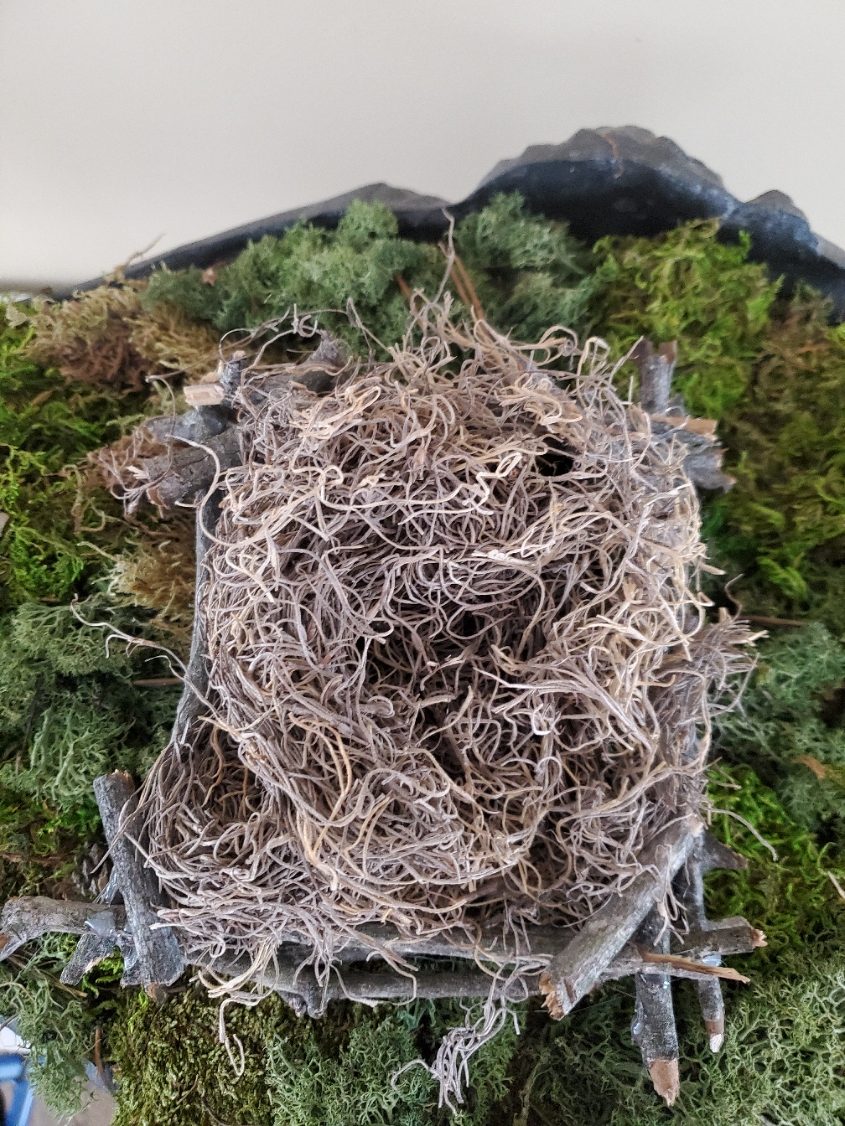
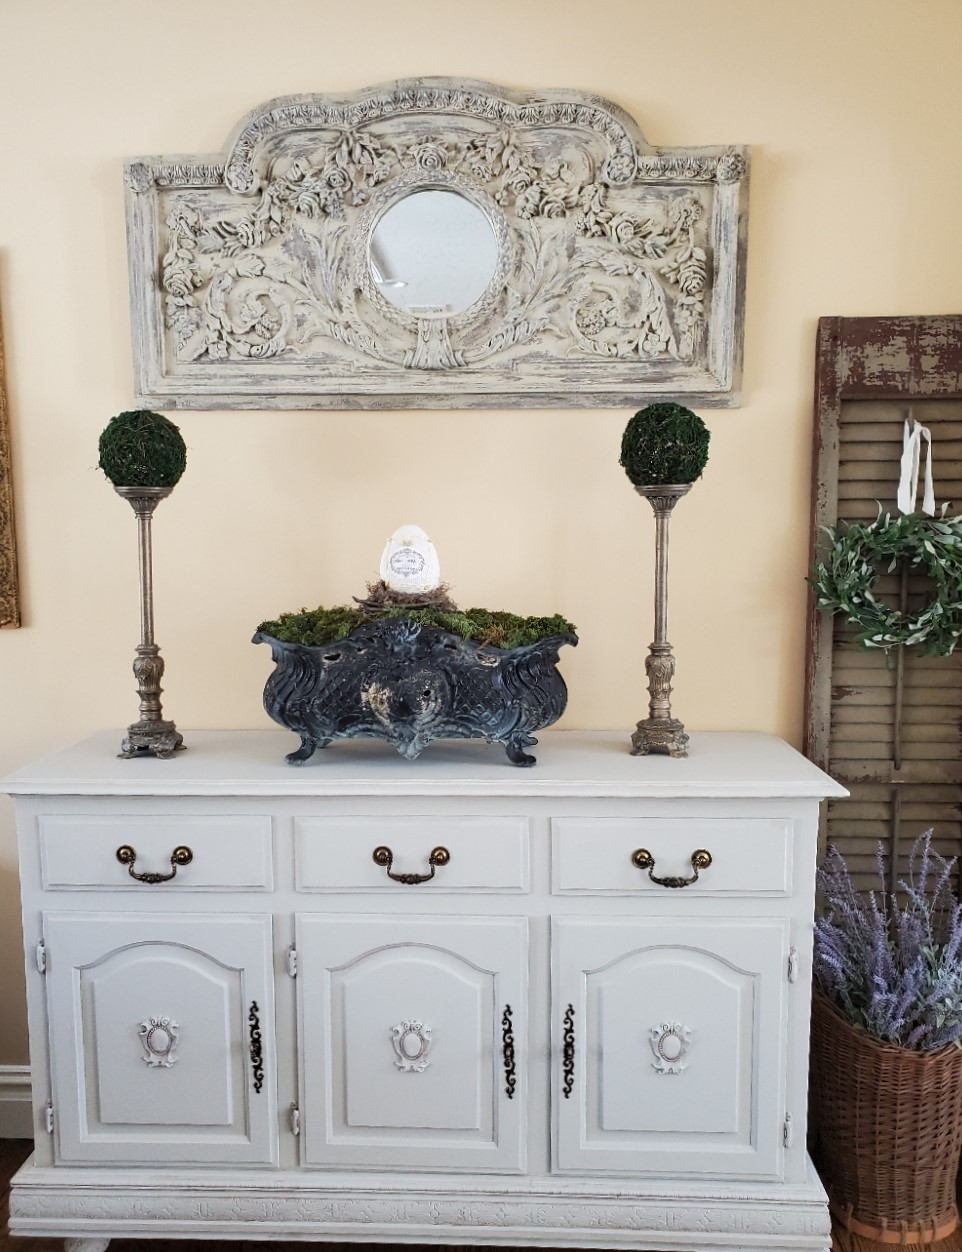
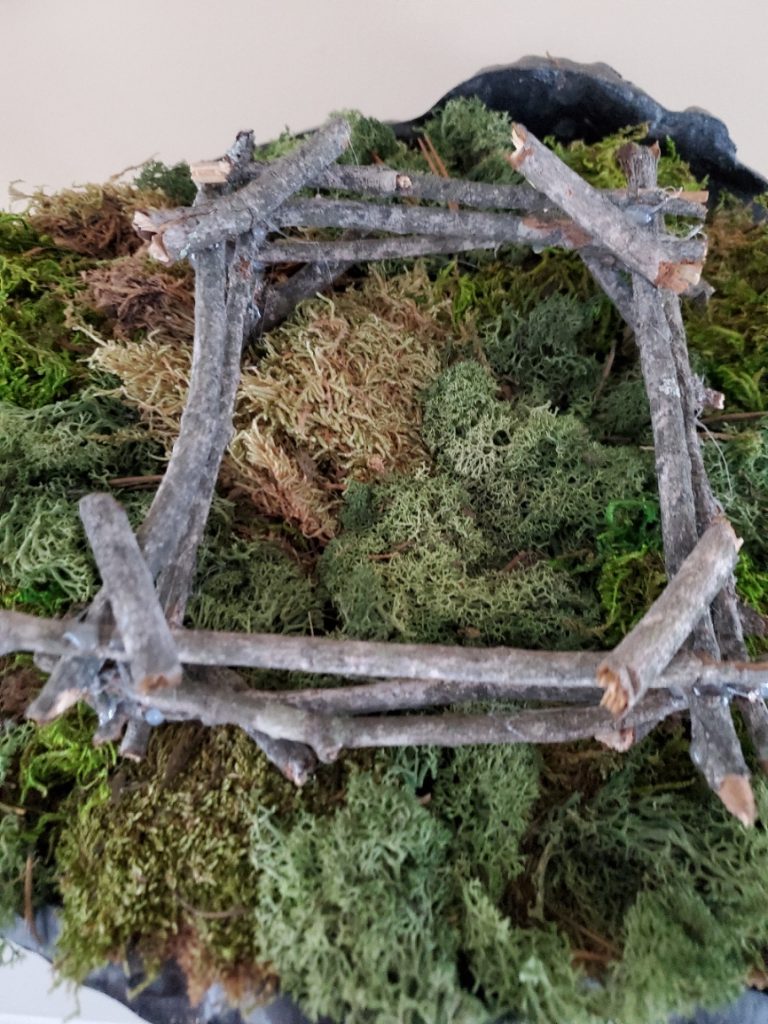
Lastly, I place the Easter egg piece into my French Jardinière where I have added moss and a nest, I created that you may enjoy seeing in this post. Spanish moss is placed inside for another element of texture and spring craft project fits nicely inside the nest.
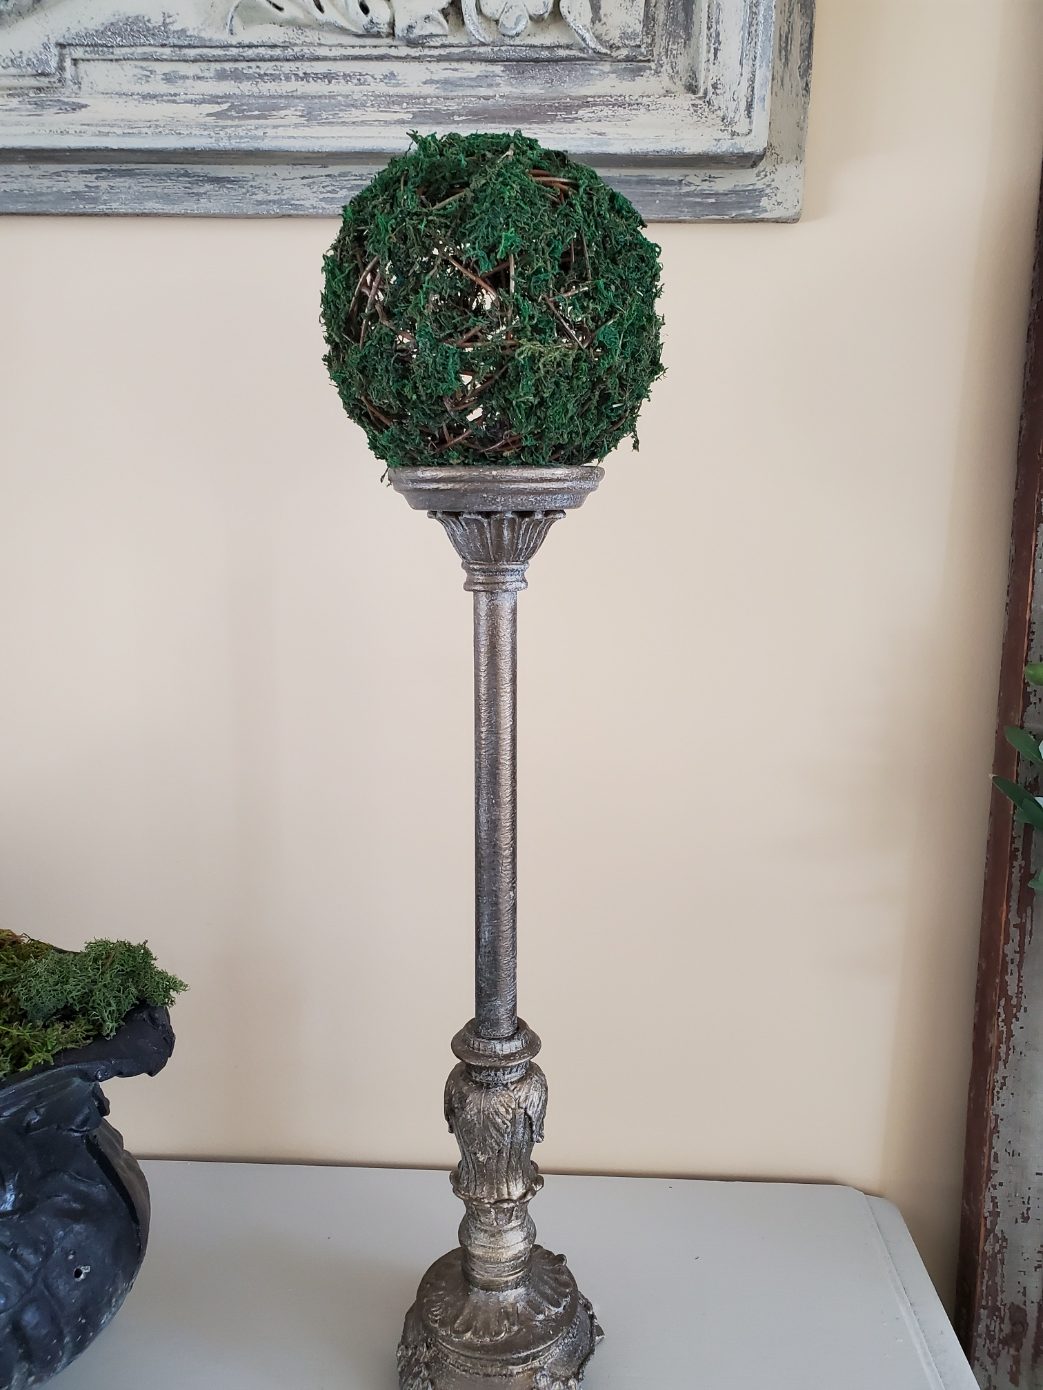
You may also enjoy reading how I made these easy moss grapevine balls and are fast to make.
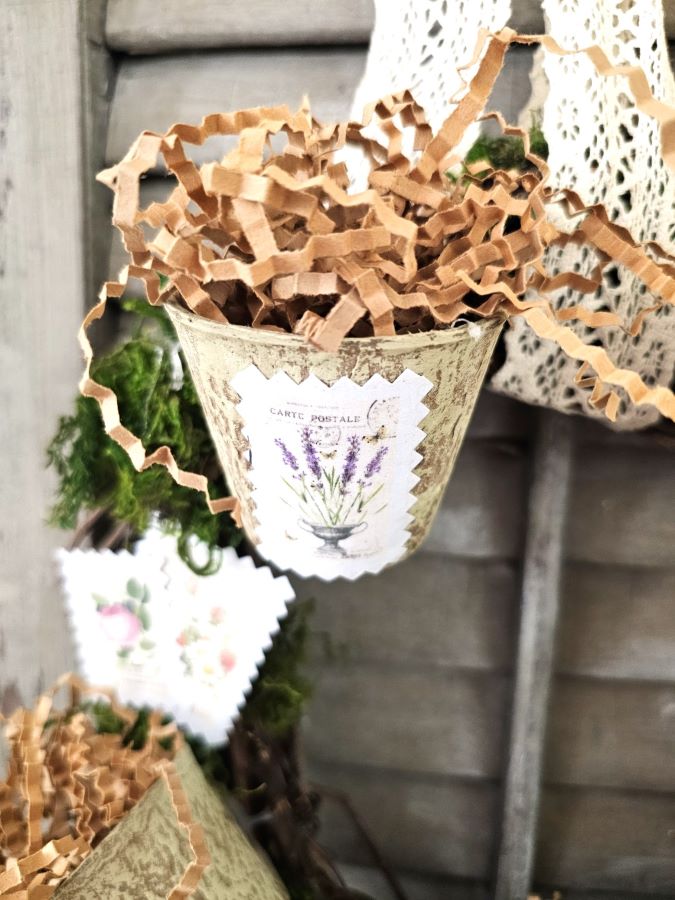
The antique shutter and the easy wreath I made recently finish spring egg craft off with a French Market basket filled with lavender for an additional French look.

I hope you enjoyed the Easter egg crafts and I would love for you to share on Pinterest and save for the future. This craft is quite easy to create.
Please take a look at the links below and visit these talented ladies.
Cute egg and a pretty display – you are certainly enjoying the moss projects, too! Can’t wait for spring to arrive.
That egg is so pretty and I love how you displayed it. It goes perfectly with your moss balls. Thanks for sharing!
So So cute! I love this you did such a great job!
Super Cute Cindy. xoxo
Love all the touches you placed on the egg. Looks so pretty Cindy. You have the touch to make something very beautiful.
The egg looks so pretty, Cindy. Plastic wrap works every time – thanks for the ‘shout-out’!
Always give credit where credit is due. Hope you’re doing okay
Cindy,
It’s so pretty! I love how you styled the egg, too! Brilliant my friend!
Happy day!
KariAnne
Thank you so much!
Excellent!
This is brilliant , love what you have done here , the display is beautiful , you always have such good flair..
Teresa!
Thanks so much Teresa. Hope everything is going well
Oh my word, CIndy, would this be any prettier! What a great way to use the lace and crochet pieces. I love how you added the graphic too. It has a perfect vintage vibe and would make such a fabulous addition to any Easter basket. Hugs, loved and pinned, CoCo
This is such a pretty idea. Great job Cindy!
Such a fabulous project. Bravo!
Absolutely love this! The lace just makes it so elegant. Such a wonderful project for spring. Pinned!
I love how the lace looks on the egg. It’s amazing!
Thanks so much for sharing this at our Party in Your PJs link party.
I love how you created your stunning egg! Thanks so much for sharing it at Farmhouse Friday – we’re featuring you at tomorrow’s party!
Thanks so much!!!
Thanks so much!