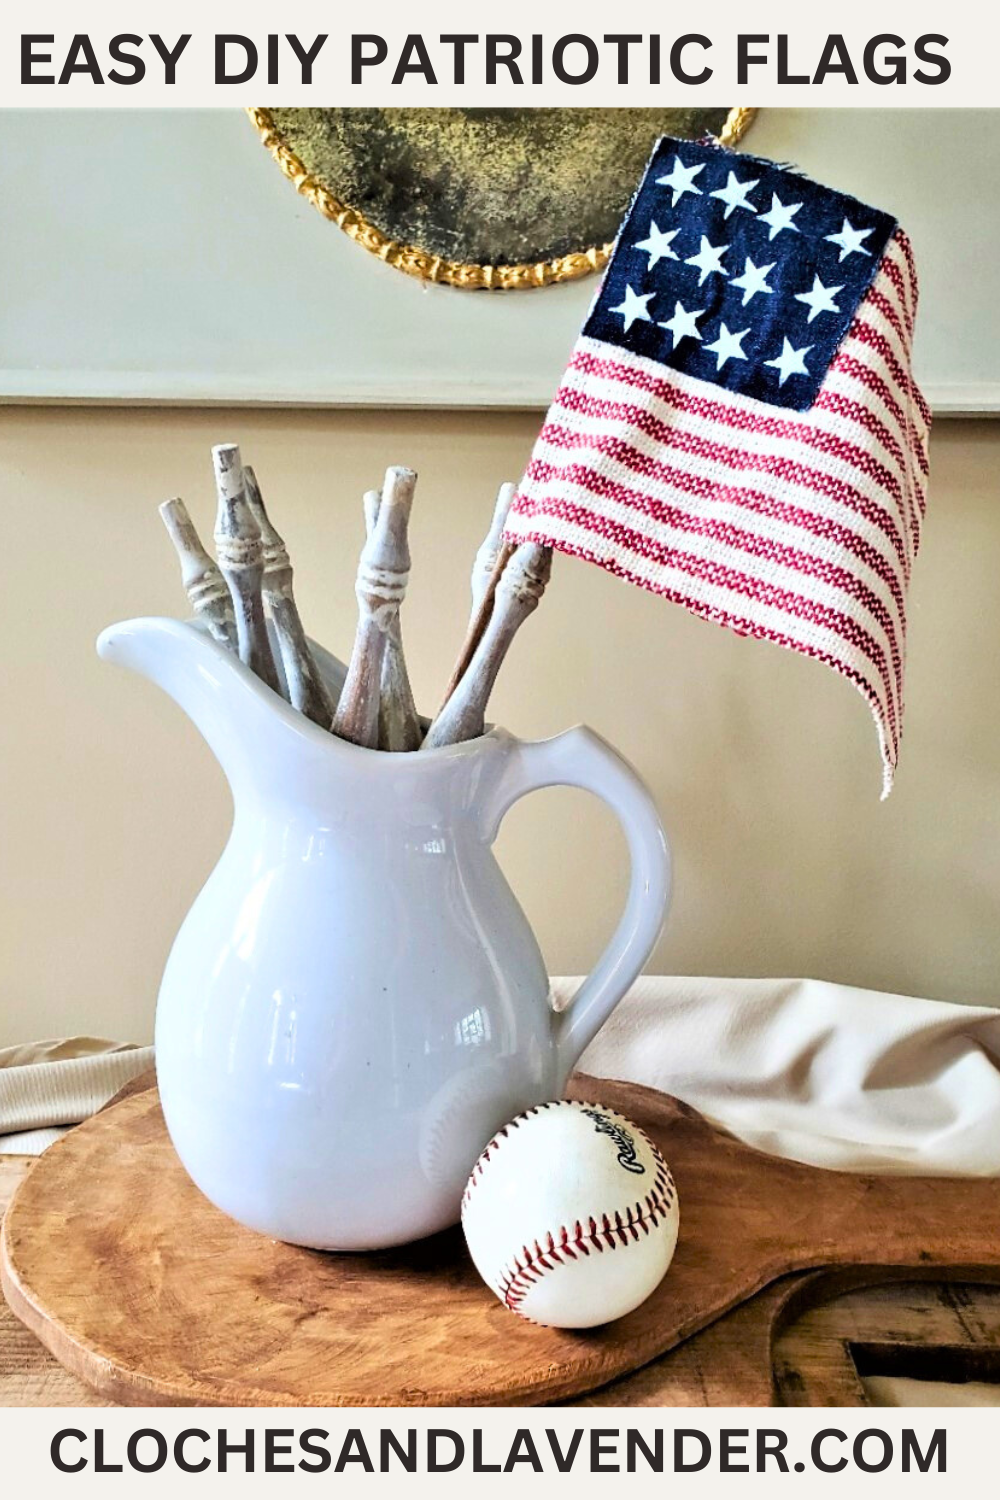
Easy DIY Patriotic Flags For The Fourth
Looking for easy ways to create patriotic decorations for Independence Day or Memorial Day? Here are easy DIY patriotic flags for the fourth. Making cloth flags is a great idea to showcase your patriotic spirit and add a festive touch to your home decor.
Jump to DIYIn this step-by-step craft post, we’ll guide you through creating your own flag with red and white fabrics, using affordable materials and various techniques. Whether you’re celebrating July 4th, Labor Day, Veterans Day, or any patriotic holiday, this homemade flag will be a great addition to your holiday celebrations.
Table of Contents
- 0.1 Supplies List: Easy DIY Patriotic Flags for the Fourth
- 0.1.1 Step 1: Gather All Your Supplies: Making Patriotic Flags
- 0.1.2 Step 2: Measure And Cut The Fabric for Cloth Flags
- 0.1.3 Step 3: Adding Blue Fabrics to Patriotic Decorations
- 0.1.4 Step 4: Stencil The Stars with White Paint
- 0.1.5 Step 5: Make A Dowel Flag Pole to Wave Old Glory
- 0.1.6 Step 6: Attaching The Flag To The Flag Pole
- 0.1.7 Step 7: Glue Blue Fabric with Hot Glue Gun
- 0.2 Displaying Your Patriotic Flag In Different Ways
- 0.3 Conclusion:
- 0.4 Easy DIY How To Make Patriotic Flags For The Fourth
- 1 Easy DIY How To Make Patriotic Flags For The Fourth
Supplies List: Easy DIY Patriotic Flags for the Fourth
- Red and white cotton fabric (can be purchased at Hobby Lobby), cloth napkins (HERE)
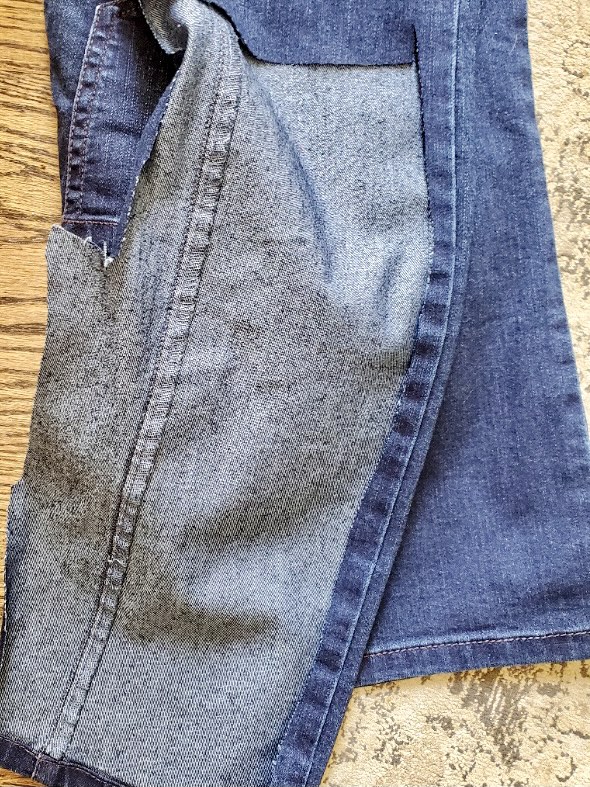
- Blue Fabric (repurpose old clothes), for example, I’m using old blue jeans. Blue fabric with white stars (HERE)
- White paint
- Paper plate
- Paper towel or rag
- Paintbrush
- Scissors – I used these for crafting. They are the best (HERE)
- Hot glue gun or fabric glue (HERE)
- Stop fraying -(HERE)
- Carpenter Square
- Wooden dowel or stick (HERE)
- Blue Mason jars (optional)
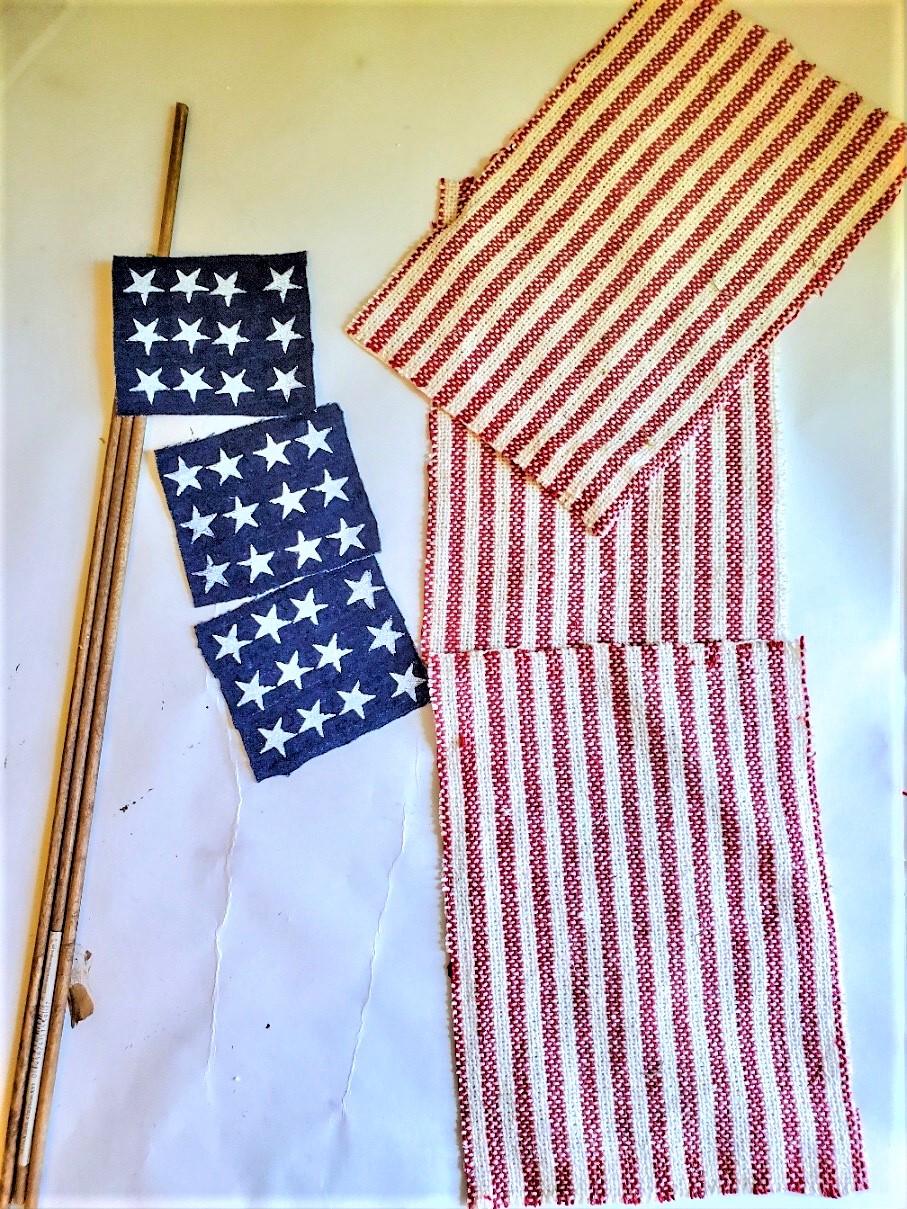
Step 1: Gather All Your Supplies: Making Patriotic Flags
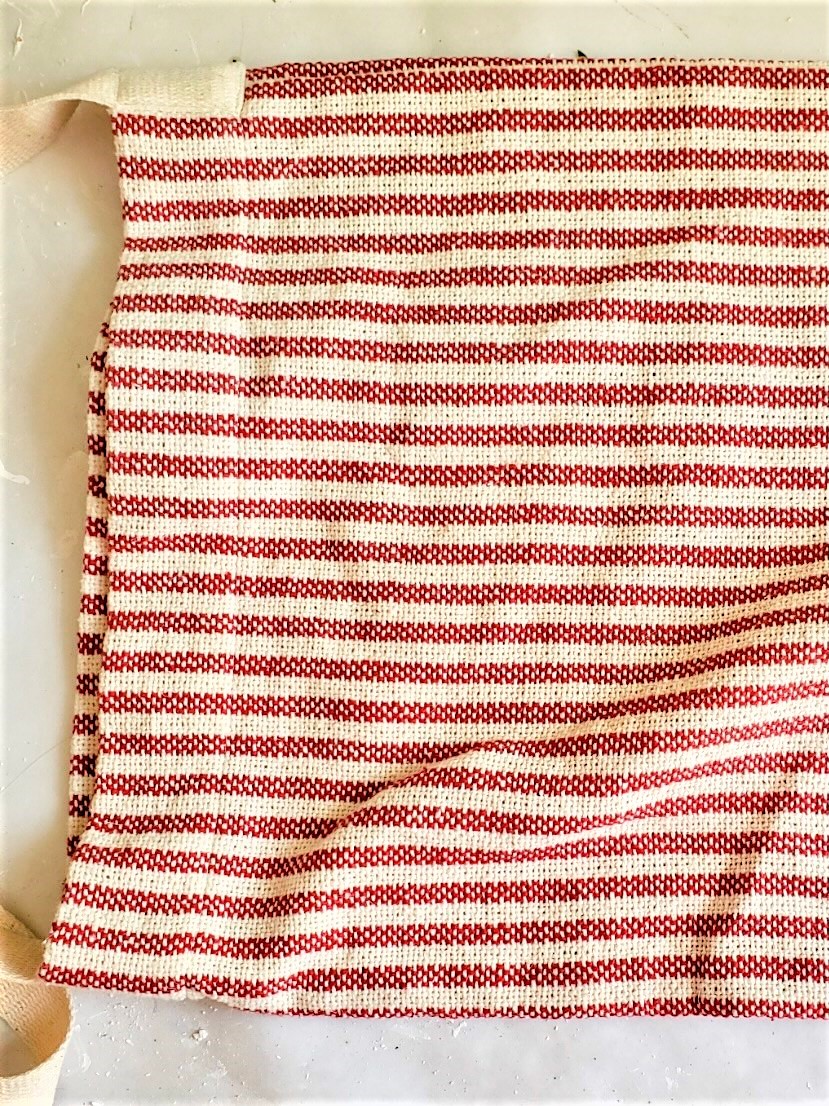
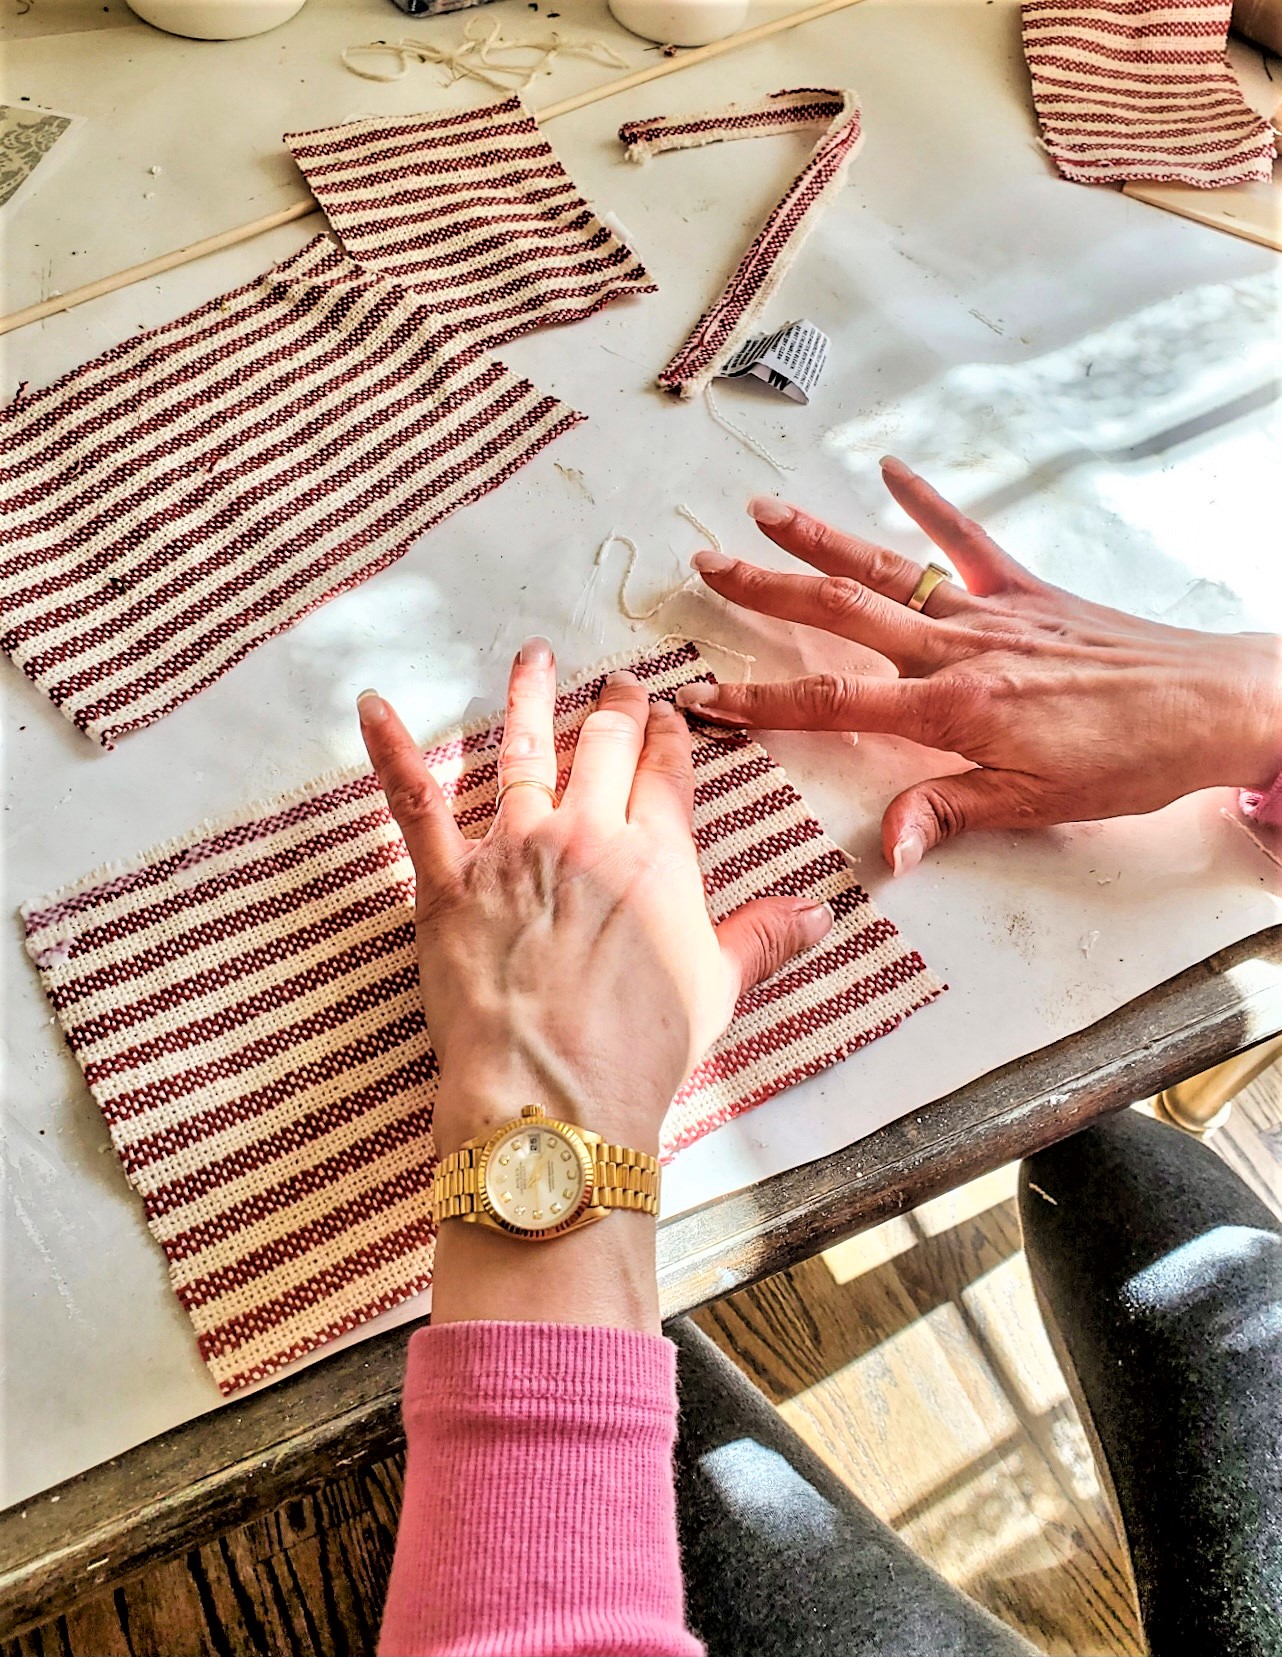
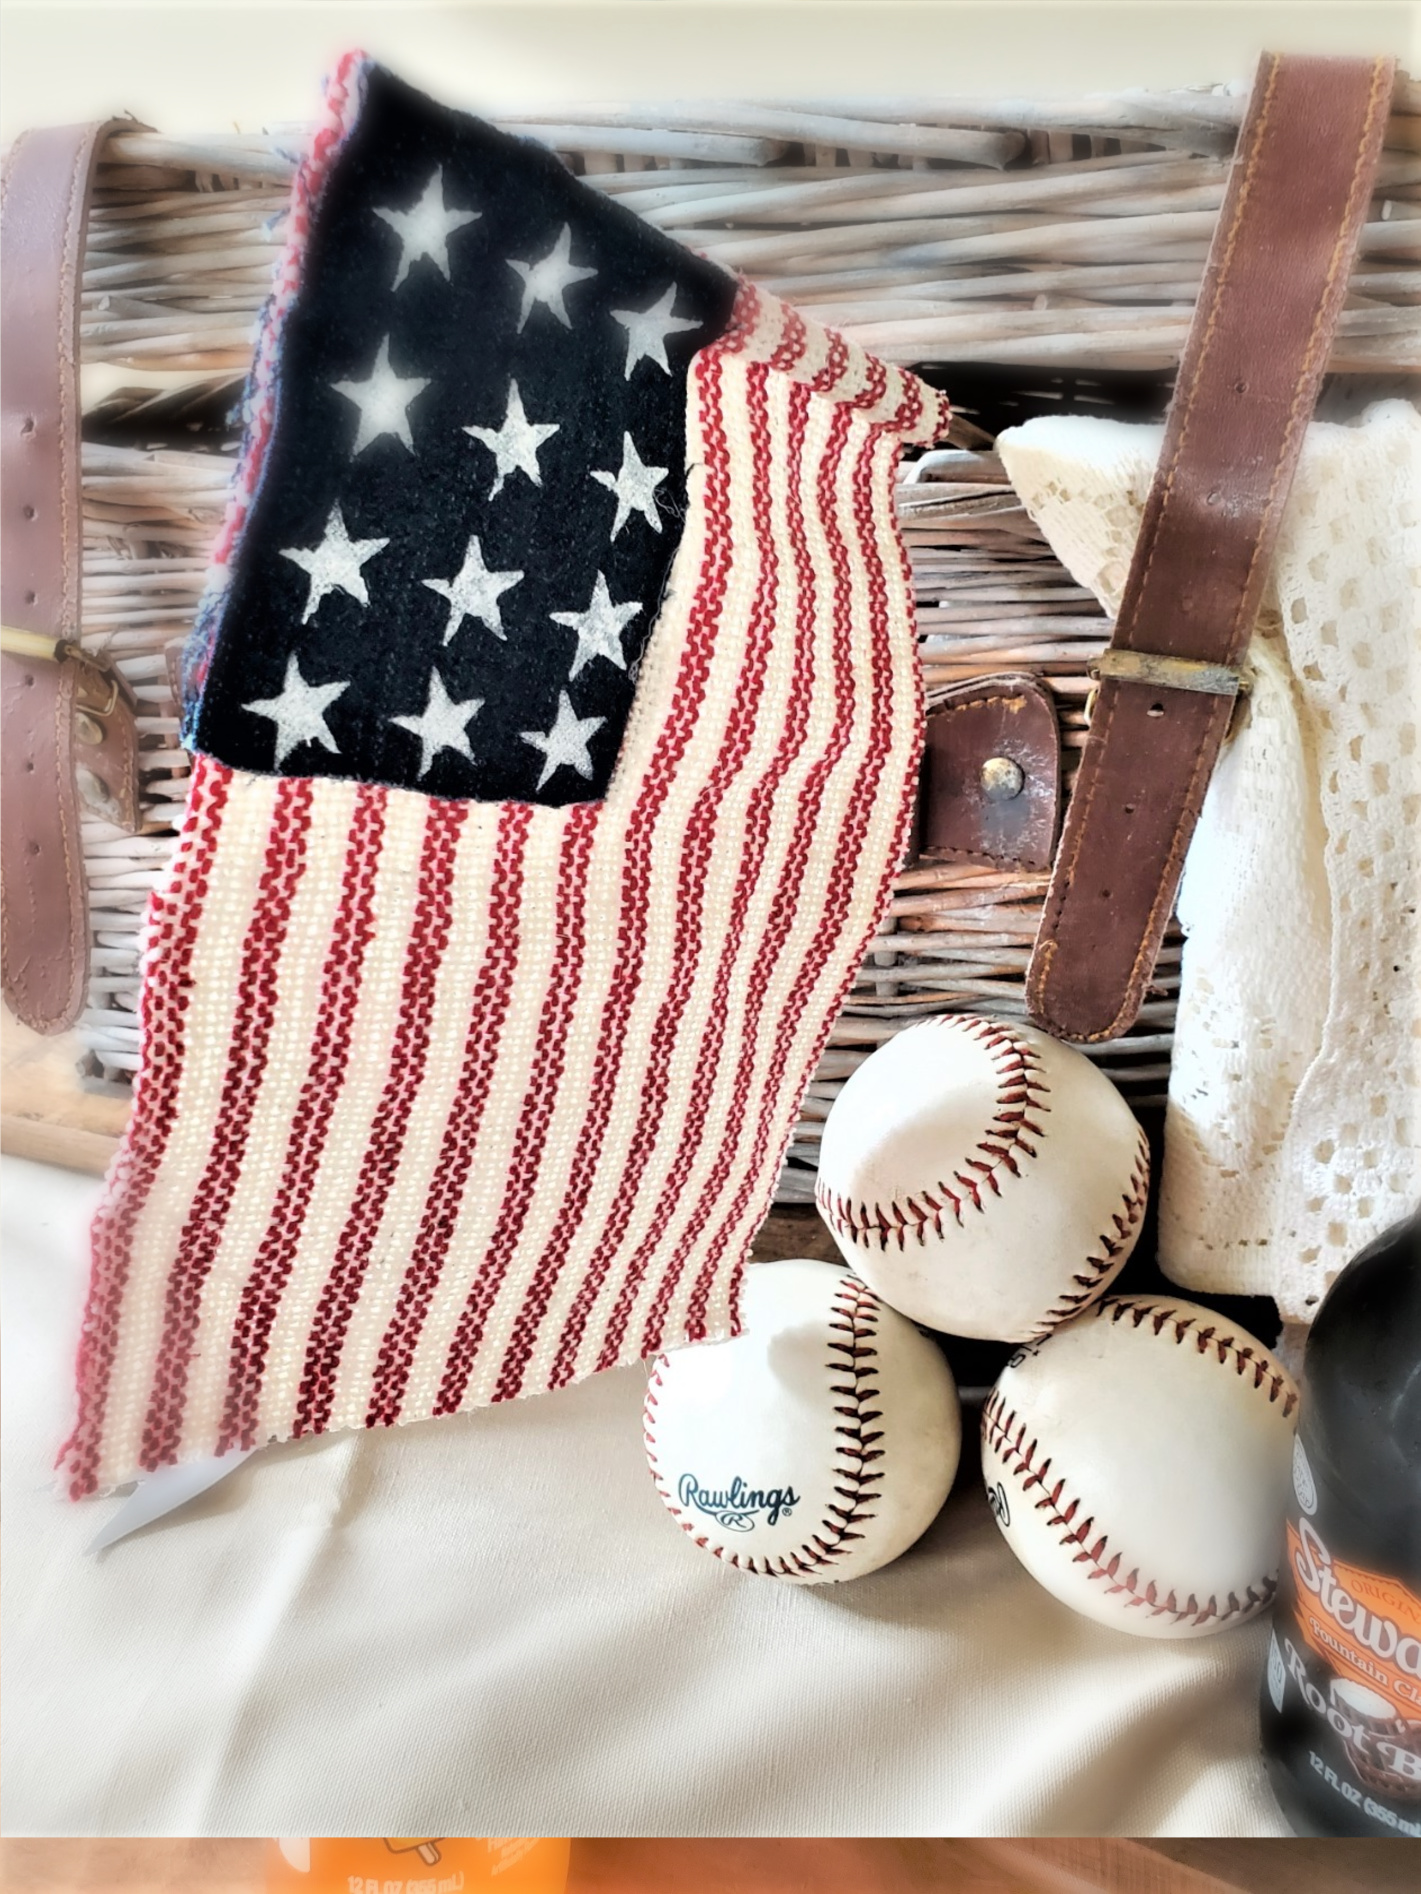
Use red and white stripe fabric for the flag itself. I’m using a red and white stripe fabric bag from a product I received.
If you have old red and white dish towels, red and white clothing items, old placemats, or white pillowcases, consider repurposing them for your patriotic flag project. This is a sustainable and budget-friendly option that adds no additional cost. Fabric with red and white stripes (HERE)
Tip: If you want to create an aged look for your flag, you can use primitive American flags as a reference. Add a tea stain to the fabric to give it an antique appearance. I have used tea stains for other projects. See these in-depth, easy details on how to apply tea stain to fabrics. This technique is a great idea for tea-staining pillow covers, too!
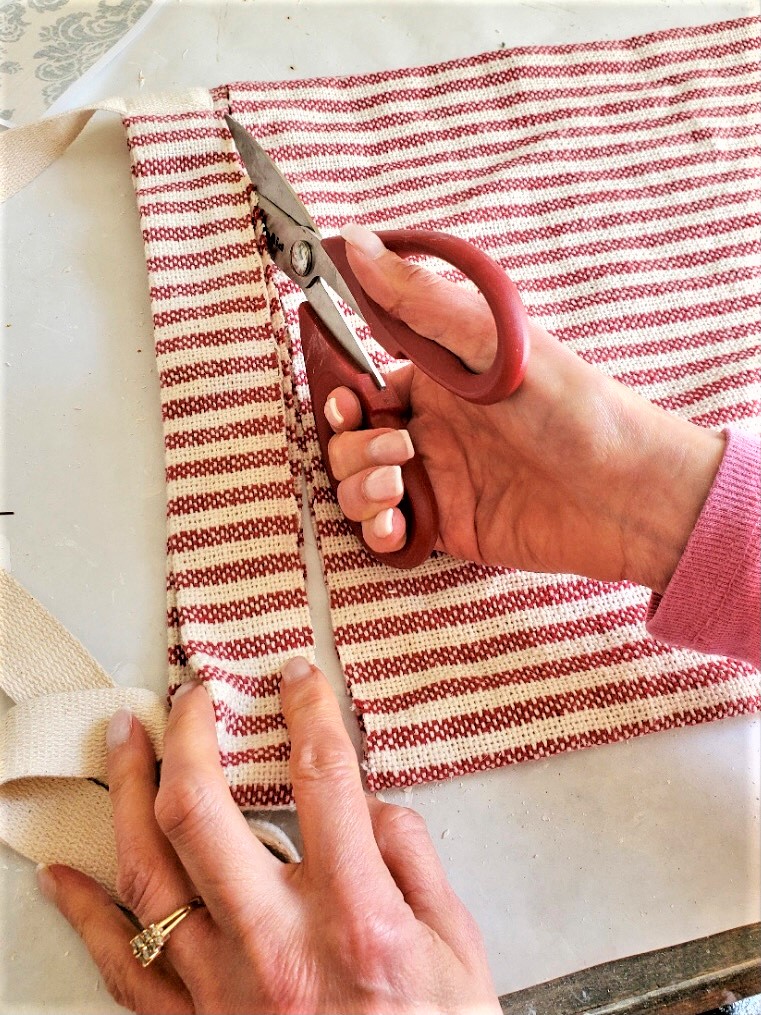
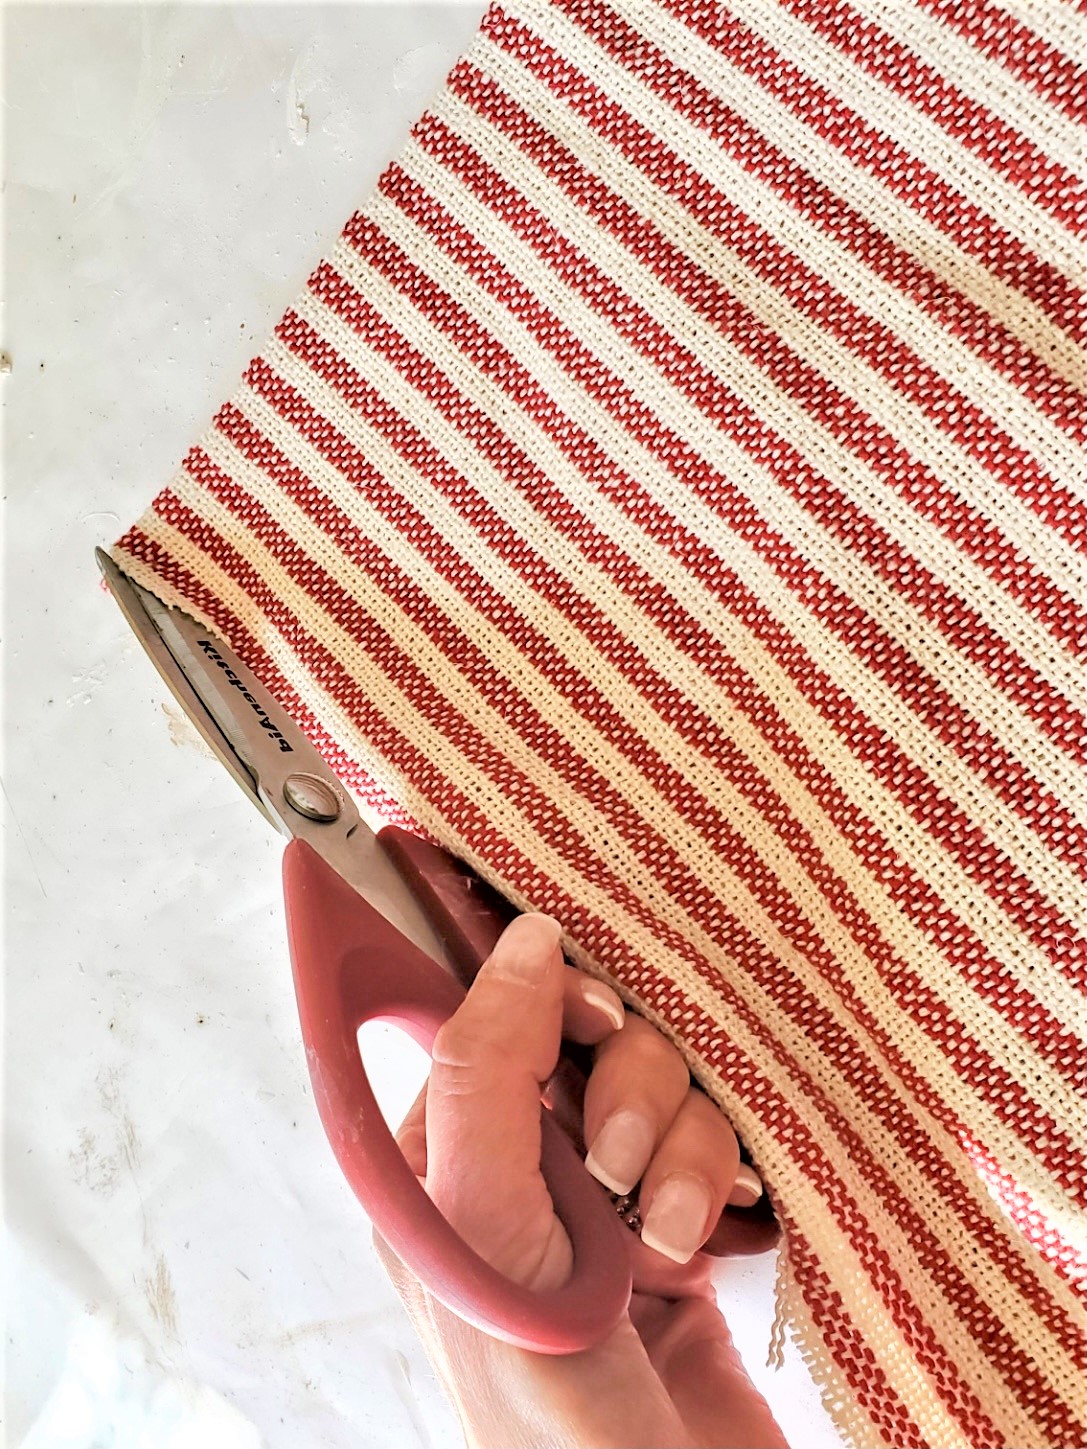
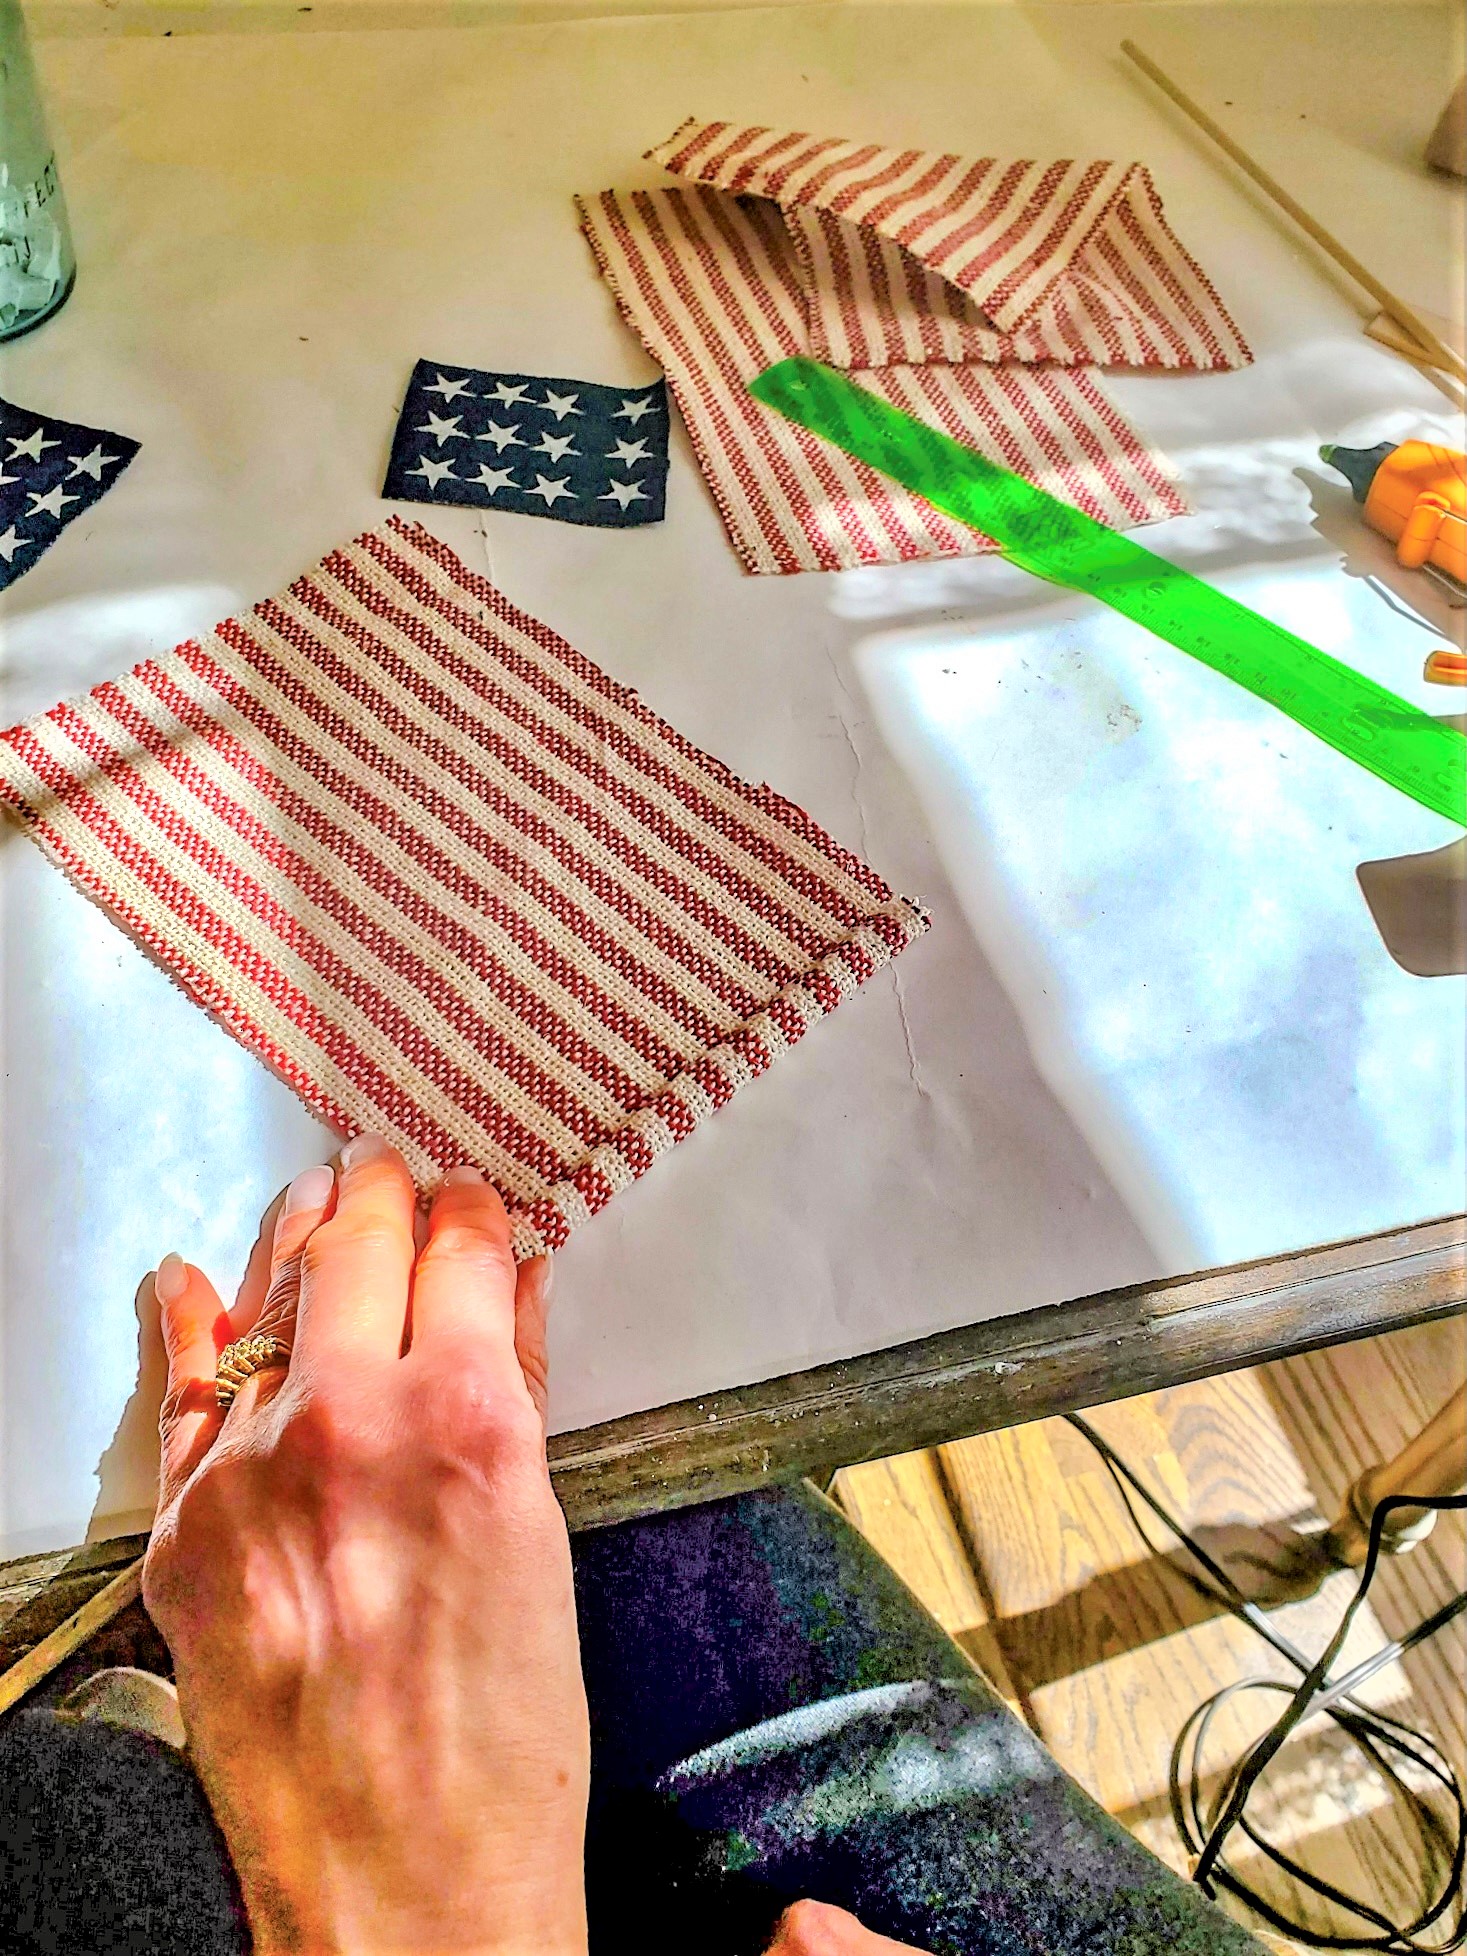
Step 2: Measure And Cut The Fabric for Cloth Flags
Measure and cut your fabric 9″x6″ to create the flags. Add Aleene’s Fabric Fusion to the edges of the fabric flags, and let dry completely. After drying, carefully remove any extra fibers with scissors. Also, hot glue will work; however, the edges of the red and white cloth flags may continue to fray.
Step 3: Adding Blue Fabrics to Patriotic Decorations
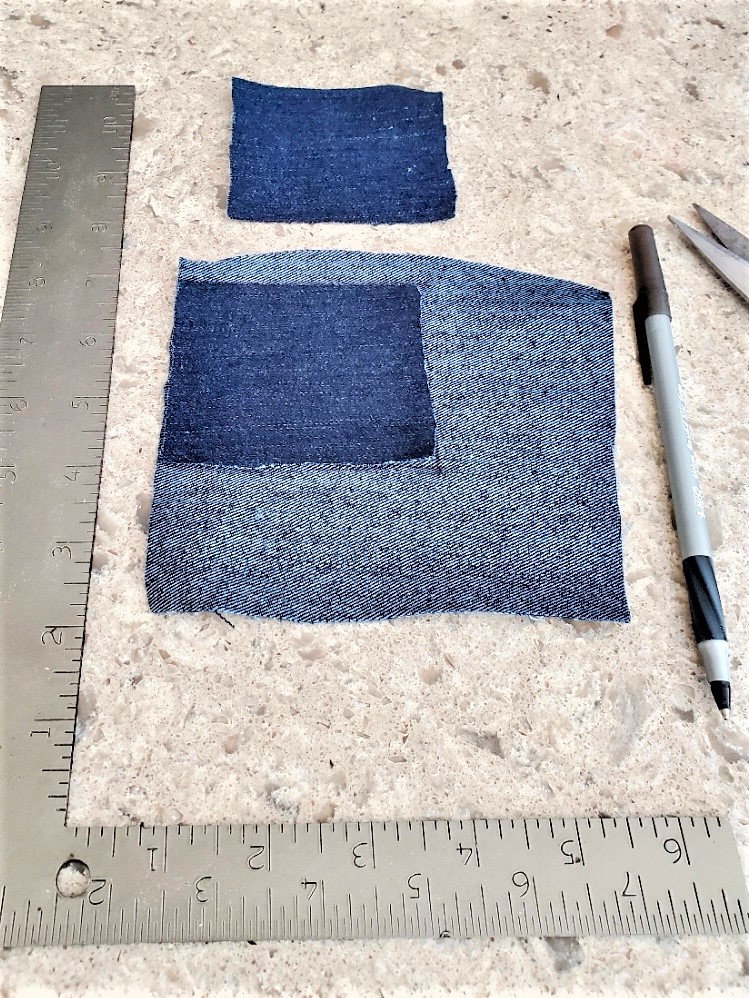
Next step, cut old blue jeans into six rectangular pieces 3×3. I’m making three flags, so cut six pieces; this makes both sides of Old Glory pretty from two sides. To make sure the blue fabric is straight and square for the flags, it’s a great idea to use a carpenter’s square.
Tip: This is where blue paint will work too. Again, make sure to use the carpenter square and painter’s tape.
As an Amazon Associate and through other affiliate links, I earn a small commission from qualifying purchases through affiliate links. The price will be the same whether you use the affiliate links or go directly to the website. All opinions are my own. (Check our full disclosure and privacy policy)
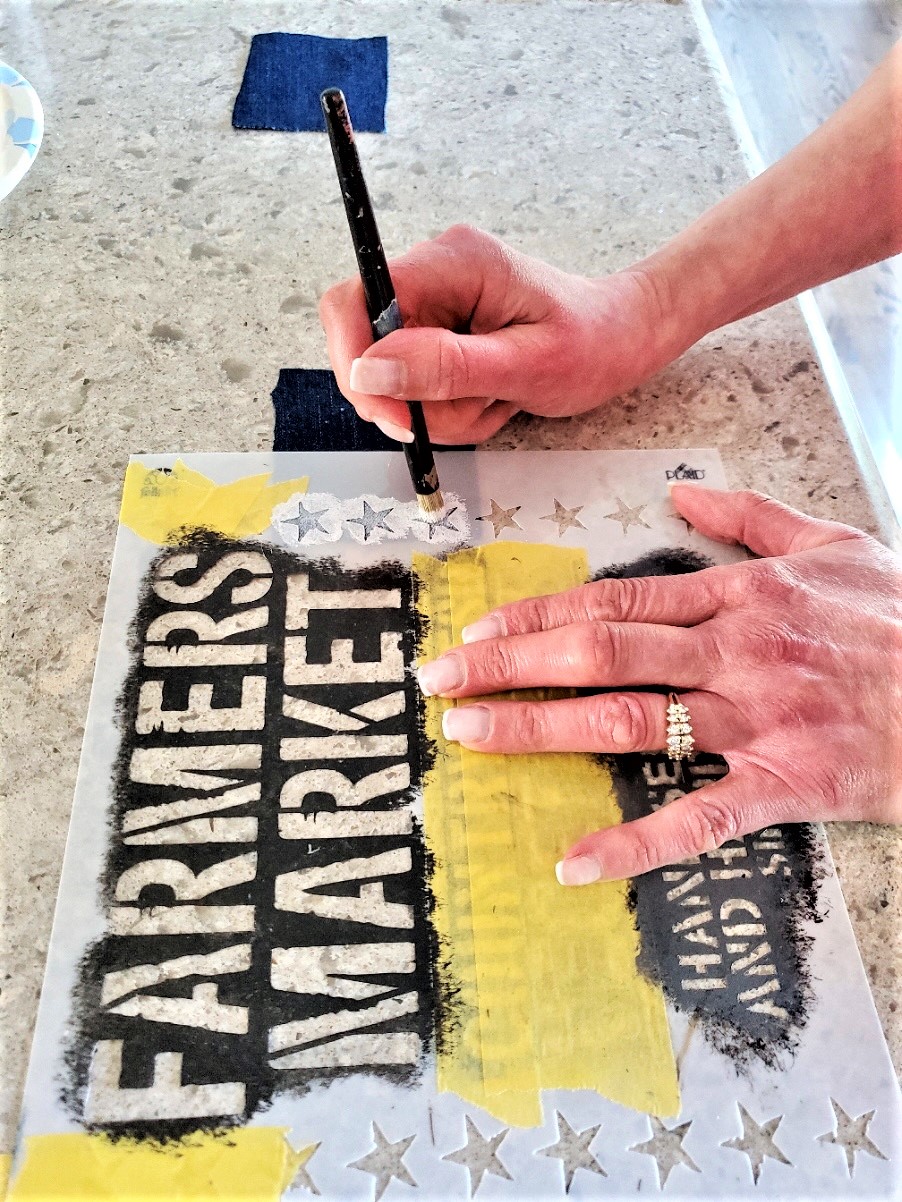
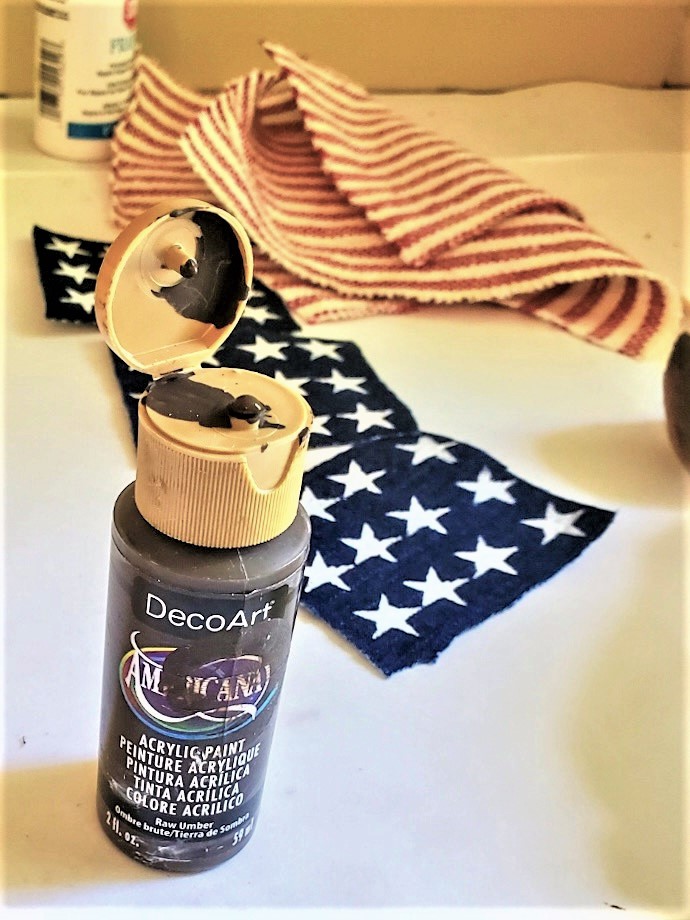
Step 4: Stencil The Stars with White Paint
Once the blue jeans are cut, stencil stars using white paint and a star stencil and let dry.
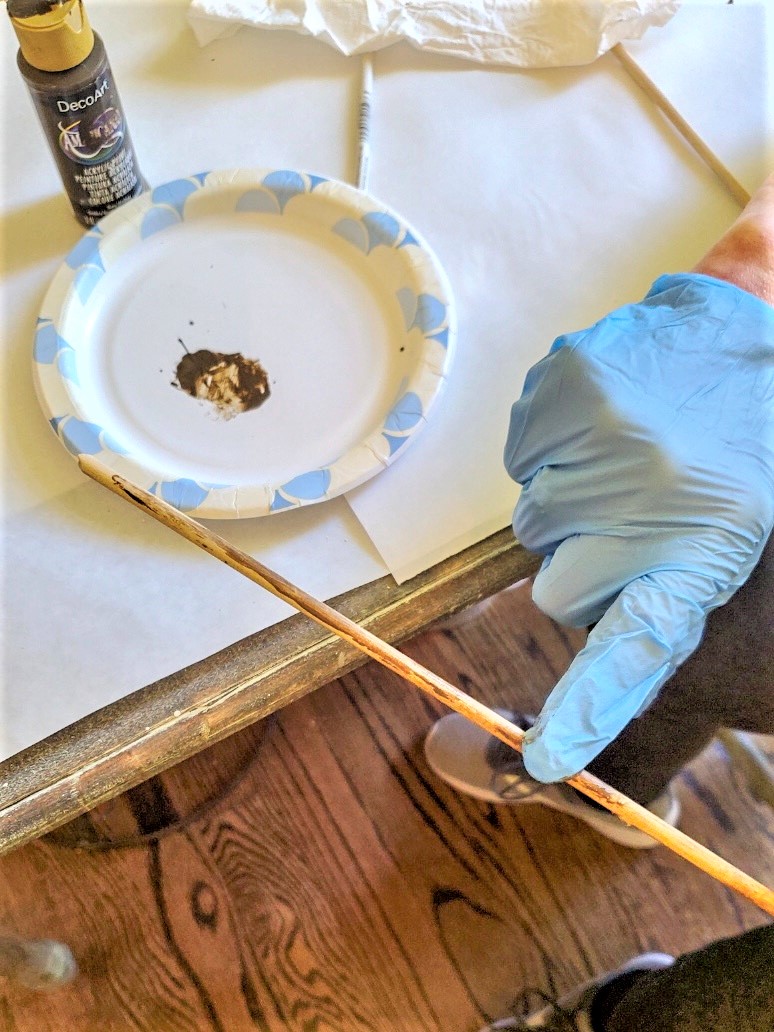
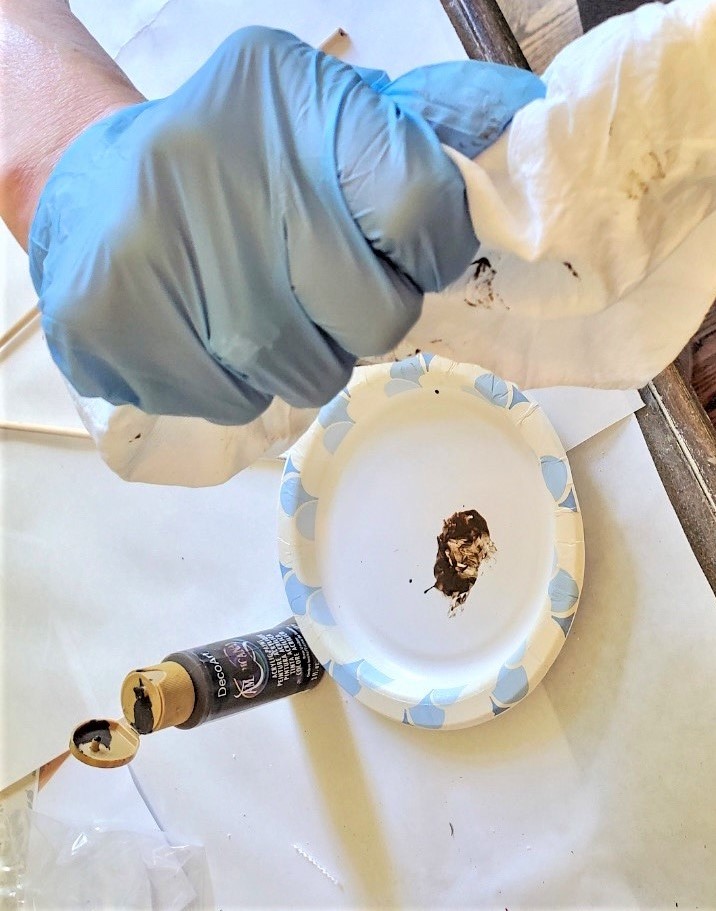
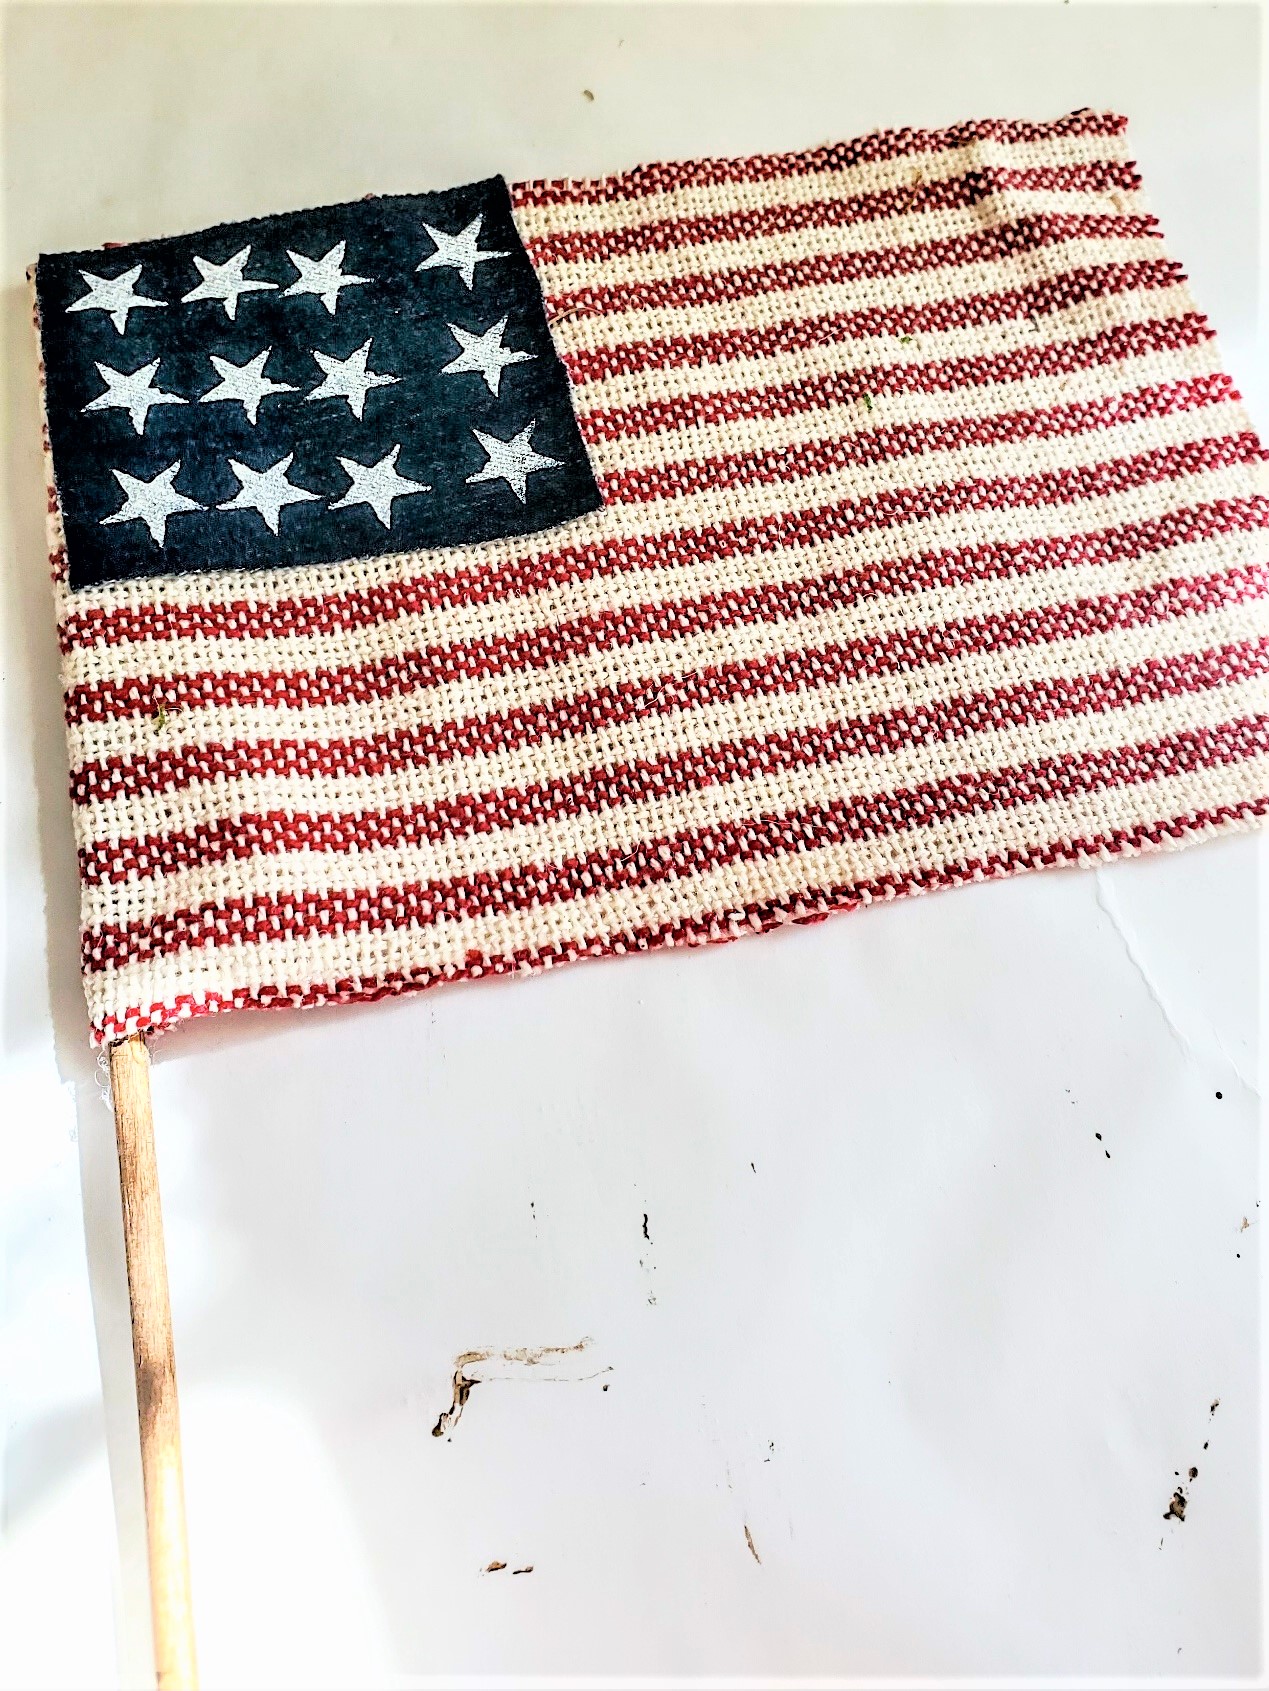
Step 5: Make A Dowel Flag Pole to Wave Old Glory
The next step for this patriotic craft is to add a flag pole. Here, using a dowel, cut the dowel into three pieces 16″ long. After these are cut, add a small amount of raw umber craft paint or dark brown wax.
Step 6: Attaching The Flag To The Flag Pole
For the next step, carefully add hot glue or fabric glue to the edge of the flags. Lay down the dowel and let it set for a moment.
Add additional glue to the rest of the dowel and roll the flag over the dowel to securely attach the flag and press lightly.

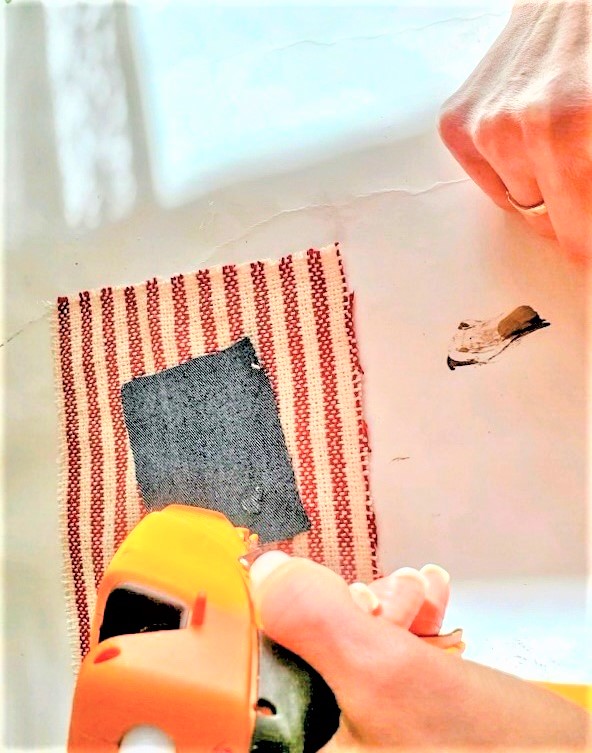
Step 7: Glue Blue Fabric with Hot Glue Gun
Lastly, carefully use the hot glue gun and add glue to the blue fabric. Make sure to add enough glue to the corners to keep them in place. Now, carefully flip it over and attach it to the flag.
This is a great flag for getting in the patriotic spirit to celebrate the United States!
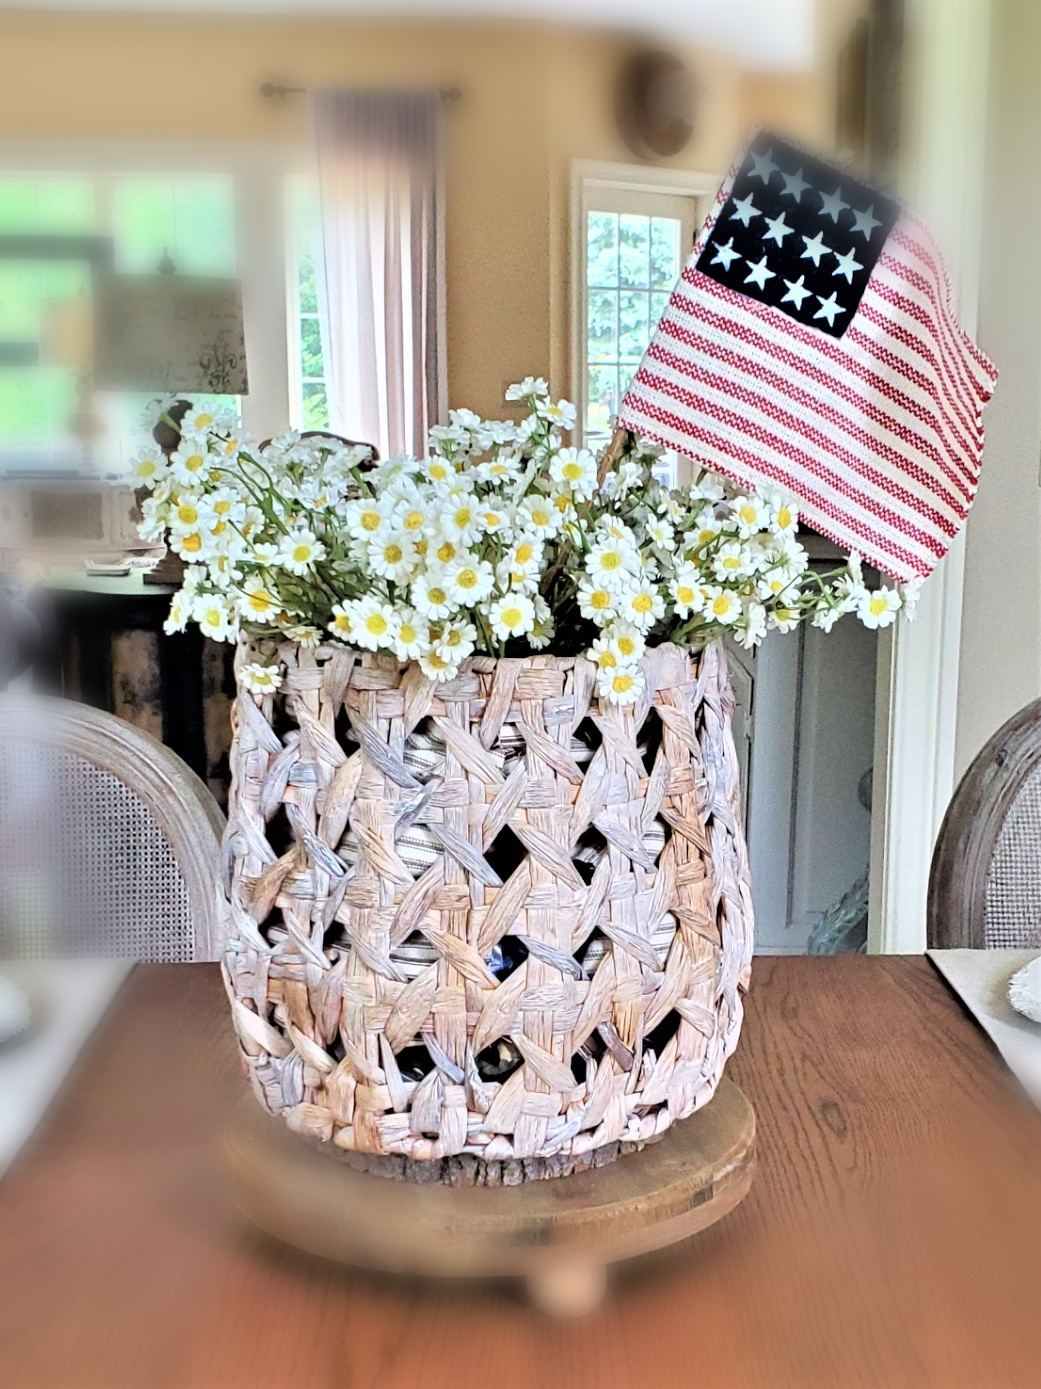
Displaying Your Patriotic Flag In Different Ways
- Add the flags to antique or new blue mason jars for patriotic holidays. Add white rice for contrast.
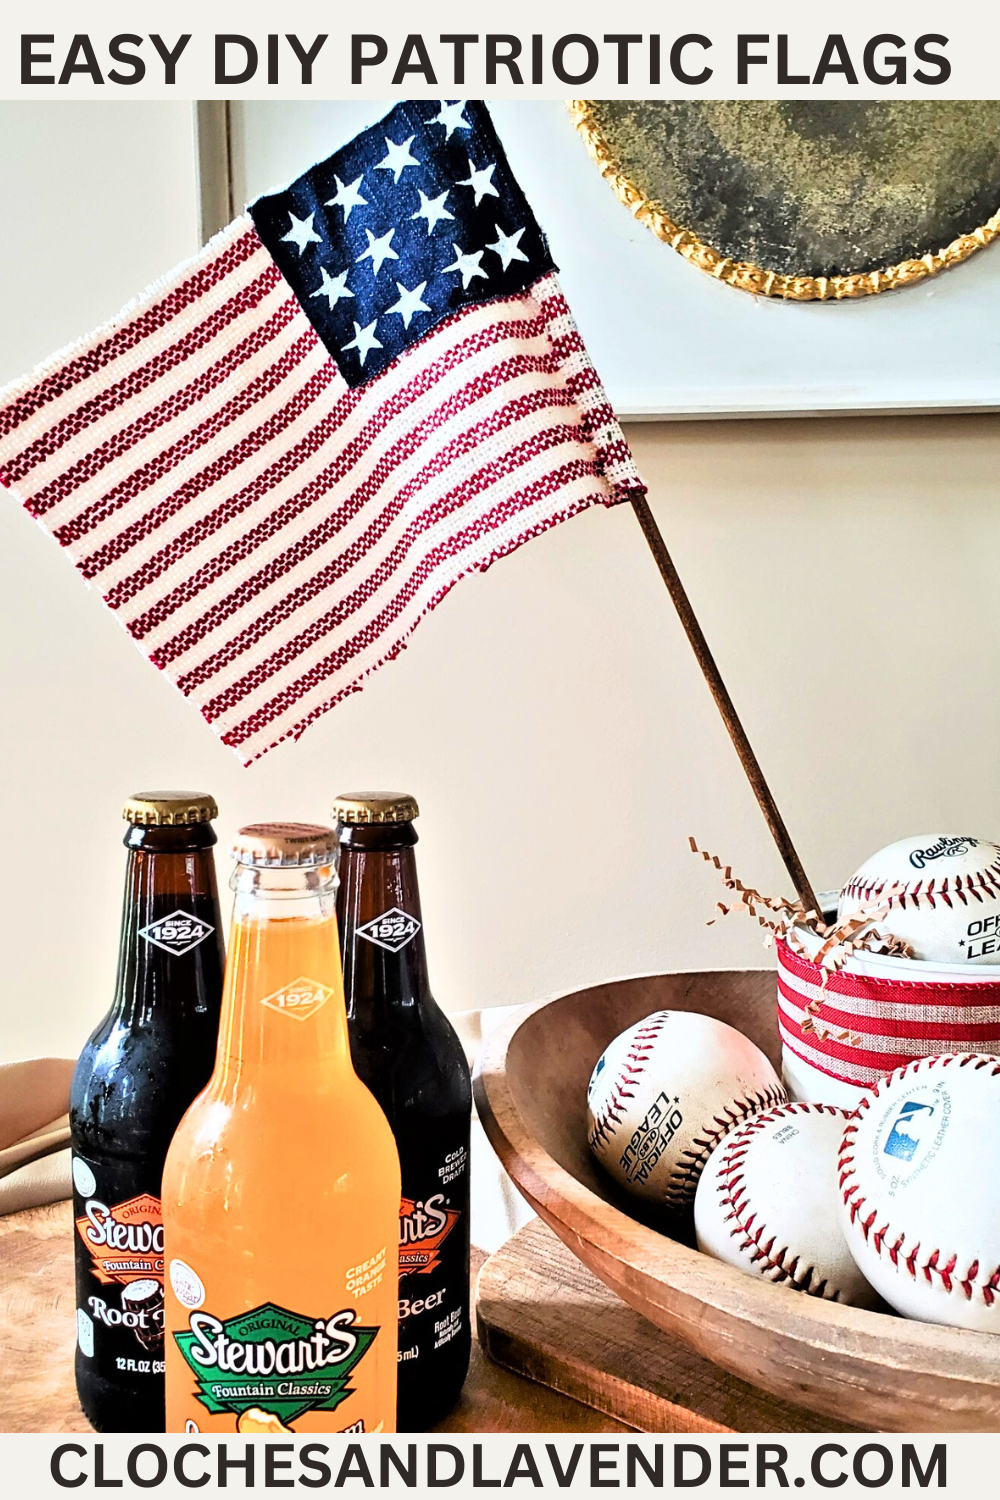
- Paint empty cans white, add a patriotic ribbon with natural color shredded paper inside, and add flags for patriotic holidays.
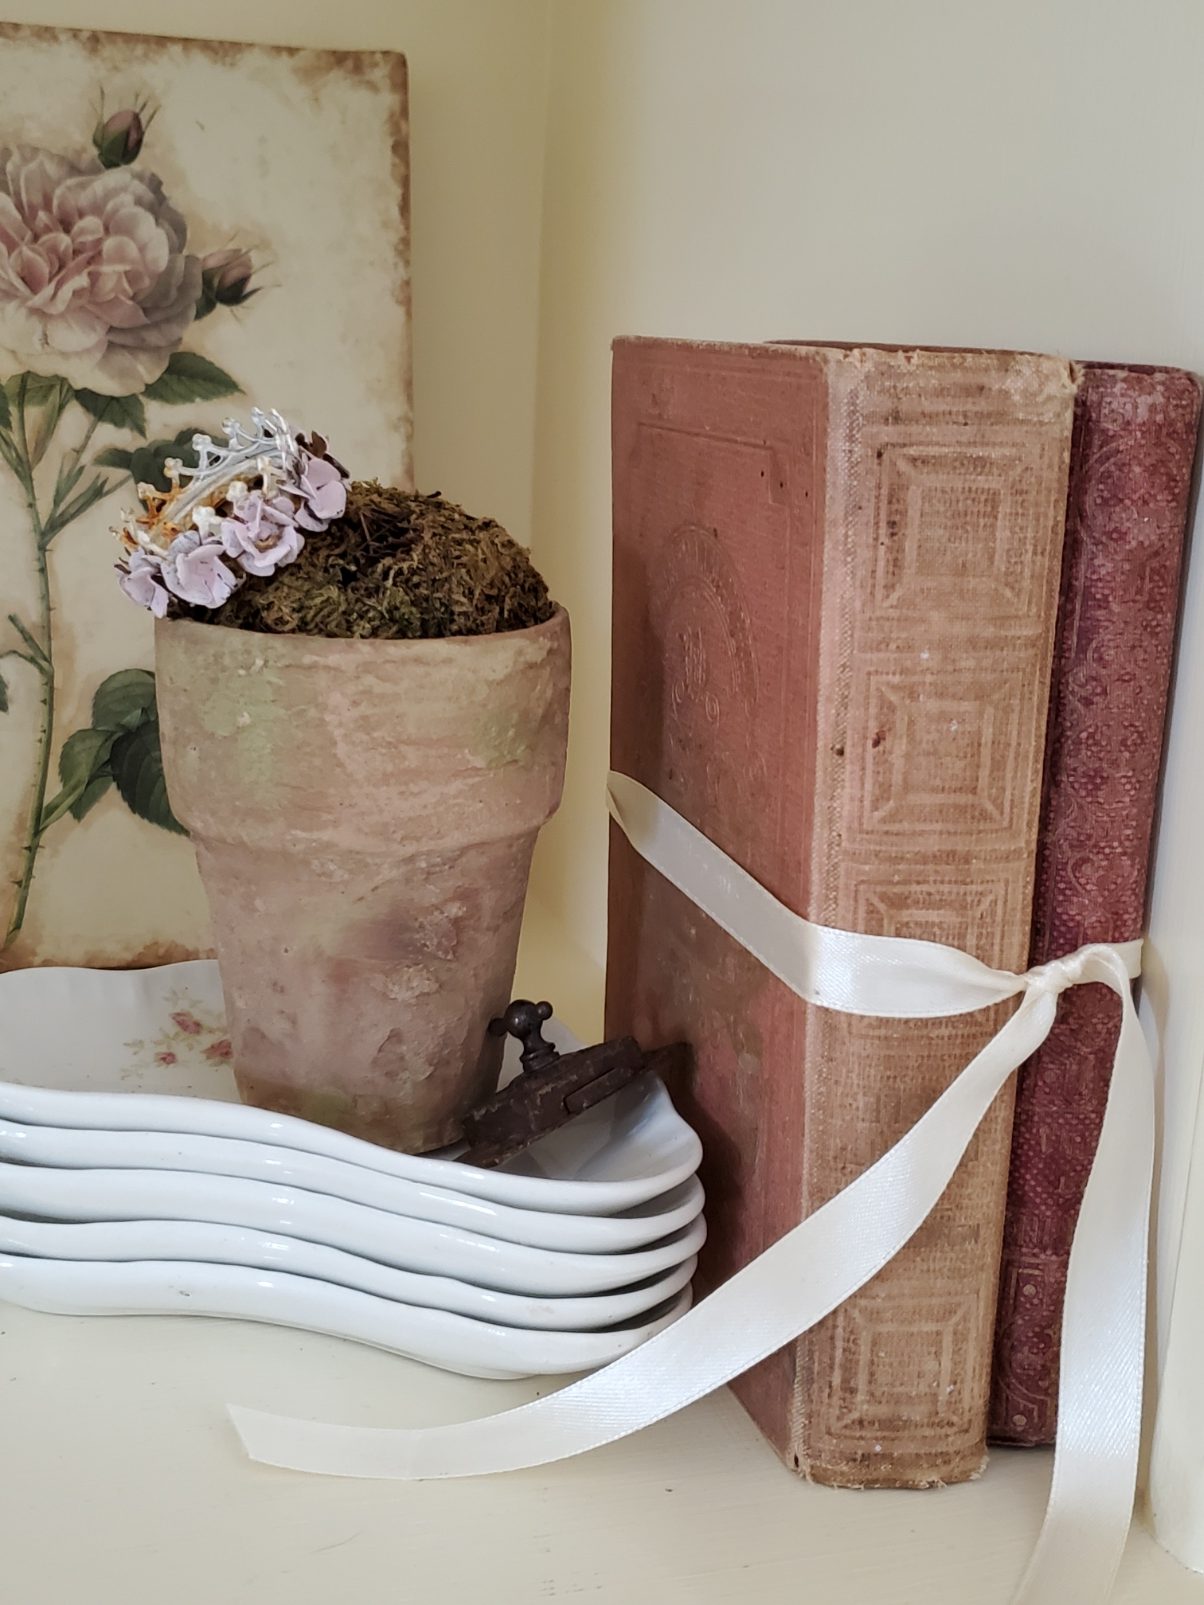
- Have flowerpots? Add these to a basket or urn and add a flag, and done! These are easy, and they look like real vintage clay pots and are perfect for summer. Get all the easy details!
- Add red, white, and blue candies and add a flag into blue or clear mason jars down the center of the table.
- Save corks from empty wine bottles for next year and make a flag. Paint the corks red, white, and blue and add them to the frame.
- Here’s an easy and great idea: add white flowers to a basket and add a flag. This will take a minute to put together.
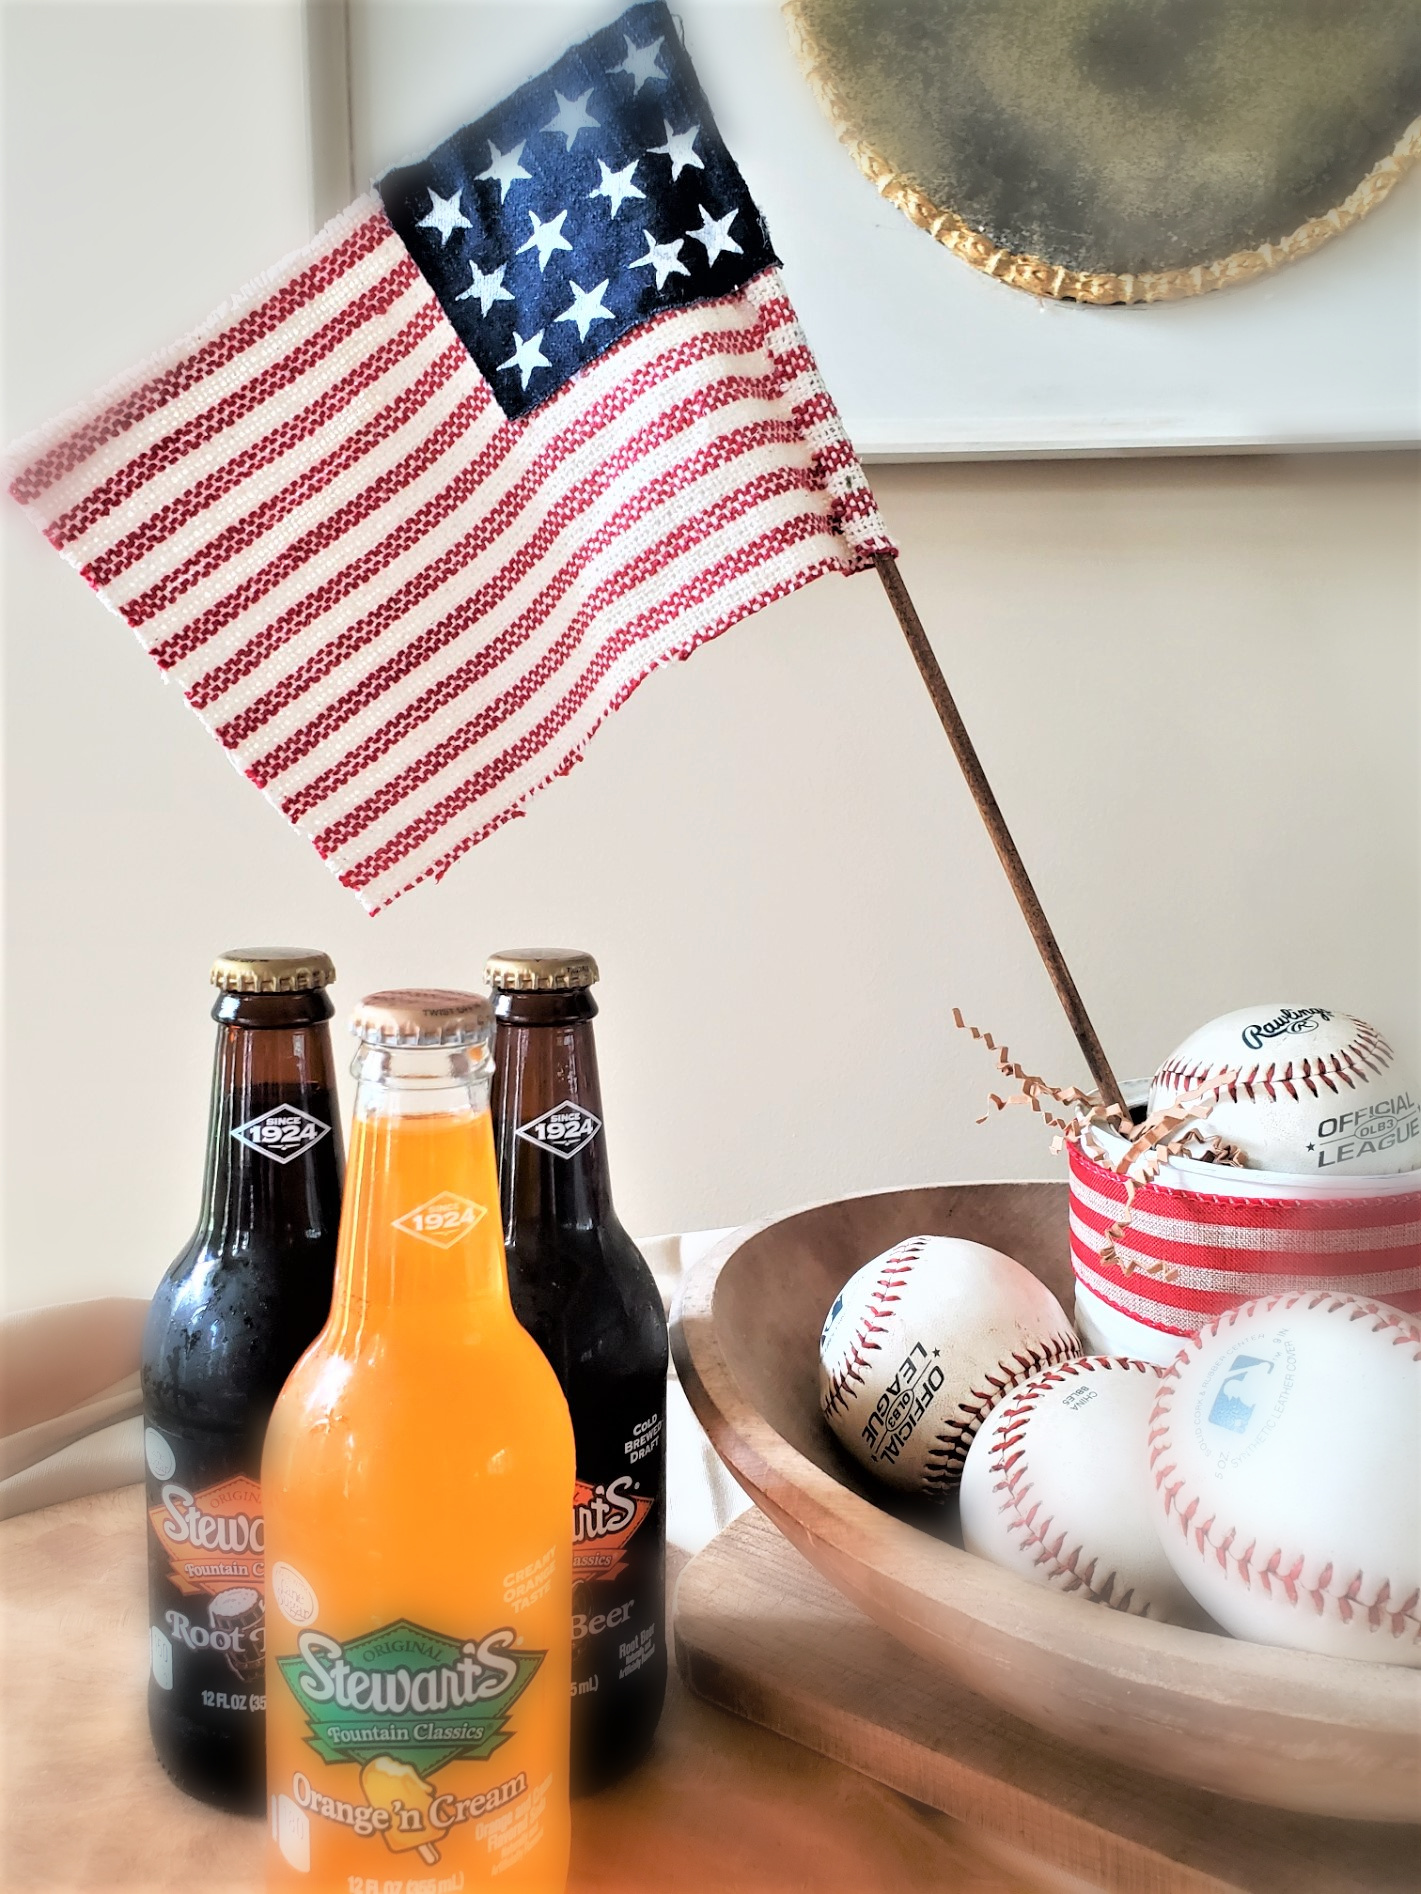

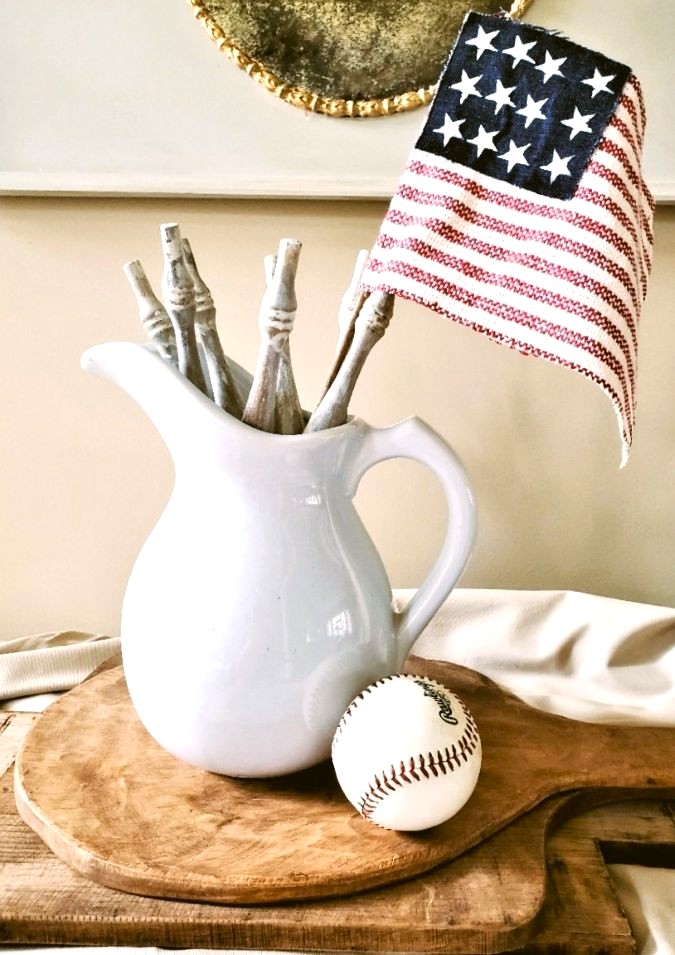
What’s more patriotic than baseball? Aren’t I right? Add old baseballs to a wooden bowl and a flag for an easy centerpiece.
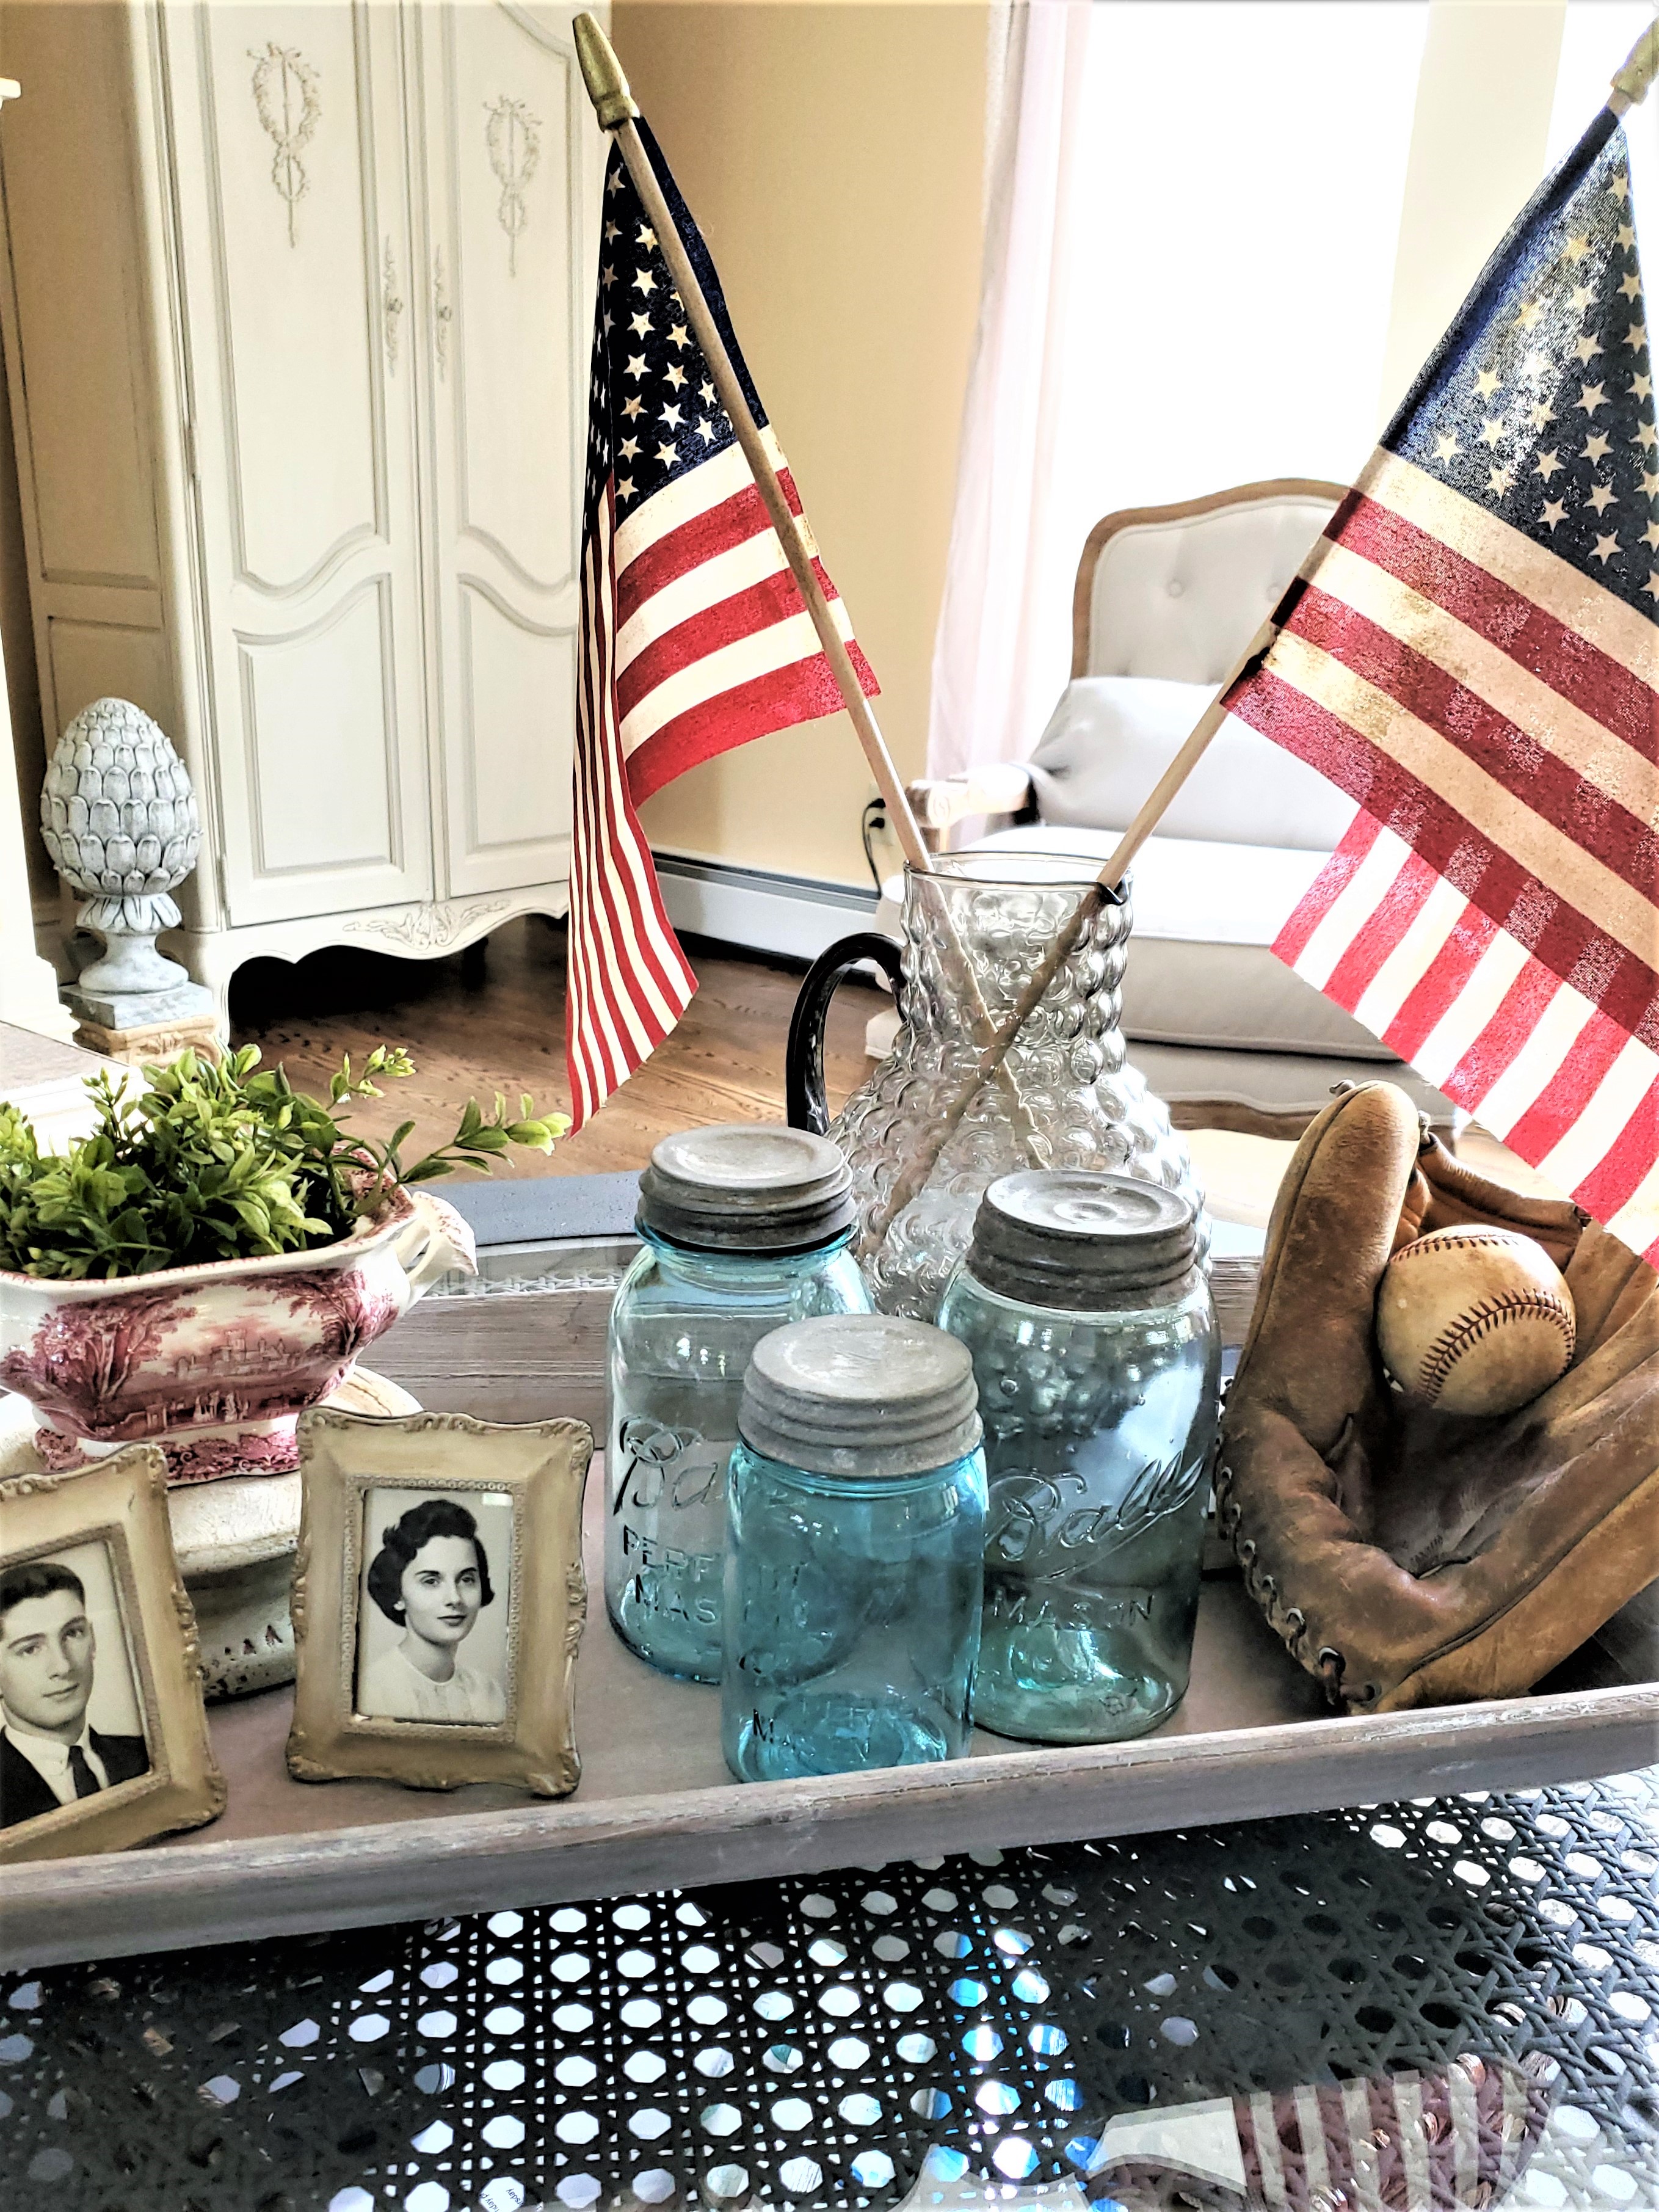
Make a patriotic tray with blue mason jars, add a flag, with baseballs and a baseball glove.
This is easy and a good thing to use to keep these empty cans from the compost heap. Empty cans of any kind make excellent vases and projects for your home.
Conclusion:
Creating your patriotic flag is an easy way to celebrate holidays. By following these step-by-step instructions, you can make a great quality flag. I hope you enjoyed this easy DIY how to make patriotic flags for the fourth.

Easy DIY How To Make Patriotic Flags For The Fourth
Equipment
- 1 Pair of Scissors (can be purchased at Hobby Lobby)
- 1 Blue Fabric (repurpose old clothes) I'm using old blue jeans
- 1 White paint
- 1 Paper plate
- 1 Paper towel or rag
- 1 Paintbrush
- 1 Hot glue gun or fabric glue
- 1 Carpenter Square
- 1 Wooden dowel or stick flag pole
- 1-3 Blue Mason jars (optional)
- 1 scissors
Notes
Easy DIY How To Make Patriotic Flags For The Fourth
Looking for easy ways to create patriotic decorations for Independence Day or Memorial Day? Here’s an easy DIY how to make patriotic flags for the fourth. Making cloth flags is a great idea to showcase your patriotic spirit and add a festive touch to your home decor. In this step-by-step craft post, we’ll guide you through creating your flag with red and white fabrics, using affordable materials and various techniques. Whether you’re celebrating July 4th, Labor Day, Veterans Day, or any patriotic holiday, this homemade flag will be a great addition to your holiday celebrations. Supplies List:- Red and white cotton fabric (can be purchased at Hobby Lobby)
- Blue Fabric (repurpose old clothes) for example I’m using old blue jeans
- White paint
- Aleene’s Fabric Fusion
- Paper plate
- Paper towel or rag
- Paintbrush
- Scissors
- Hot glue gun or fabric glue
- Carpenter Square
- Wooden dowel or stick
- Blue Mason jars (optional)
Making Patriotic Flags
Step 1: Gather All Your Supplies
Use red and white stripe fabric for the flag itself. I’m using a red and white stripe fabric bag from a product I received.Step 2: Measure And Cut The Fabric
Measure and cut your fabric 9″³x6″³ to create the flags. Add Aleene’s Fabric Fusion to the edges of the fabric flags, and let dry completely. After drying, carefully remove any extra fibers with scissors. Also, hot glue will work however the edges of the red and white cloth flags may continue to fray.Step 3: Adding Blue Fabrics
Next step, cut old blue jeans into six rectangular pieces 3×3. I’m making three flags, so cut six pieces this makes both sides of old glory pretty from two sides. To make sure the blue fabric is straight and square for the flags it’s a great idea to use a carpenter square. Tip: This is where blue paint will work too. Again, make sure to use the carpenter square and painter’s tape.Step 4: Stencil The Stars
Once the blue jeans are cut stencil stars using white paint and let dry.Step 5: Make A Dowel Flag Pole
The next step for this patriotic craft is to add a flag pole. Cut the dowel into three pieces 16″ long using a dowel. After these are cut, add some raw umber craft paint or dark brown wax.Step 6: Attaching The Flag To The Flag Pole
For the next step, carefully add hot glue or fabric glue to the edge of the flags. Lay down the dowel and let it set for a moment. Add additional glue to the rest of the dowel and roll the flag over the dowel to securely attach the flag and press lightly.Step 7: Glue Blue Fabric
Lastly, carefully use the hot glue gun and add glue to the blue fabric. Make sure to add enough glue to the corners to keep them in place. Now carefully flip it over and attach it to the flag.Conclusion:
Creating your patriotic flag is an easy way to celebrate holidays. By following these step-by-step instructions, you can make an excellent quality flag. I hope;e you enjoyed this easy DIY how-to-make patriotic flags for the fourthPosts Of Interest!
Ultimate Guide French Country Farmhouse
Cindy how cute are those flags! I have used napkins like those for a lot of things and they are great quality and work really well and it IS a bonus that you have left over ones for the table. I love everything about these cute flags. Much better than the cheap looking ones you buy now days. Great job. Thanks for sharing!
Thanks so much Tammy!
I love your flags! What a great idea! The fabric you used was just perfect. And what a great way to recycle old jeans!
I have so many okd jeans . I have plans to use them for other projects too
Cindy, your patriotic flags are precious! They are perfect for the upcoming Fourth of July holiday. I love the pretty vignette you created for you table. Wishing you a beautiful day, sweet friend!
Thanks so much Shannon!
I love these! Love the vintage look of them and how easy they look to make. Great job, Cindy!
So easy and worth it!
They turned out so great!
Thank you
These are super cute. Love that you could make them yourself and they are so much nicer than the ones you buy in the store. Great job Cindy. xoxo
They were fun to make. I agree the ones in the store aren’t great. I have tea stranded and waxed them but not much better
Cindy you are so creative. I love your flags better than the ones you can purchase. Thanks for sharing, I would of never thought of using napkins or bags to make a flag, these are adorable! Pinned and shared!
I forgot I had it. When I saw flags jumped in my head
I love the idea of making your own flags and the vintage look is perfection! Thank you for sharing the tutorial, Cindy! Great job!
Thanks so much Christine!
I love this idea! Your flags look great in your antique blue jars.
What a great little project. Fun!
This is a great DIY! Love it! I had to pin it.
Good idea to use striped red and white fabric for the flags!
The flags are so good!!!!! What a great DIY!
Thanks so much!
How sweet is this. Love the vintage look.
Thank you so much! You garden area is really coming along too
I’m sure your handcrafted flags are a big hit during any of your patriotic celebrations! What a clever idea to make your own flags! They turned out quite lovely!
The vintage look…love! Would never have thought to have used a napkin. Thank you for sharing the tip on the glue to keep fabric from fraying. I hate sewing so this product will for sure be added to my craft supplies. Your flags and Niky’s cork decor would look perfect together.
What a wonderful upcycling project. Your flags look great and I love the vintage vibe!
Thank you so much Lora!!
Oh my word, Cindy, these are SUPER CUTE! I can’t believe these are made from jeans and napkins that is so cool. Only you would be able to pull off something so creative. Loved, pinned and can’t wait to make these too. Big hugs, CoCo
I’ll be featuring you this week! Thanks for sharing with us at the To Grandma’s house we go link party!
What a great craft for the fourth. I like recycled projects and this one has the look of vintage. I also like that they can easily be stored – always a plus with me!
Thanks for sharing at the FWF link party.
RR
These flags are adorable!! I love that you used scrap fabric for them! Simple and affordable…my kind of DIY! Pinned!
Thank you so much. I’m all about upcycling and recycling. I always shop our home first.
Thanks for the feature. Hope you read my note on the blog
Thanks for the feature!
Cindy,
What a great idea!! I will need to make some of these!! Thanks so much for the inspiration!!
Hugs,
Deb
Thank you Debbie!