DIY Bottle Brush Star Tree Topper Easy Craft Idea
If you’ve been following Cloches & Lavender, you already know how much I love bottlebrush trees. And you also know I can’t resist a good DIY project, especially one that comes together quickly. This craft project took about 15 minutes, 10 of those were waiting for the spray paint to dry. With this DIY bottle brush star tree topper easy craft idea, wait until you see the whimsical look it brings to your Christmas tree.
Jump to Printable DIY CardTable of Contents
- 1 DIY Bottle Brush Star Tree Topper Easy Craft Idea: Supply List:
- 1.1 Step 1: Spray Paint the Wooden Star
- 1.2 Step 2: Bend the Wood Bases of the Trees
- 1.3 Step 3: Glue the Base of the Tree to the Star
- 1.4 Step 4: Add Two Clothespins to the Tree Star
- 1.5 Step 5: Add a Pine Cone or Ornament to the Center
- 1.6 Quick Note:
- 1.7 Want white bottle brush trees, but only have different colors?
- 1.8 Where to buy bottle brush trees?
- 1.9 Small Trees for Christmas Decor
- 1.10 Whimsical Festive Touch
- 1.11 Finish Your Bottle Brush DIY Craft Project
- 1.12 DIY Christmas Decor Projects of Interest:
- 1.13 Christmas Decor Just for You: Click the Purple Link to Shop!
- 2 DIY Bottle Brush Star Topper Easy Craft Idea
DIY Bottle Brush Star Tree Topper Easy Craft Idea: Supply List:
- 5 Bottle brush trees – (HERE)
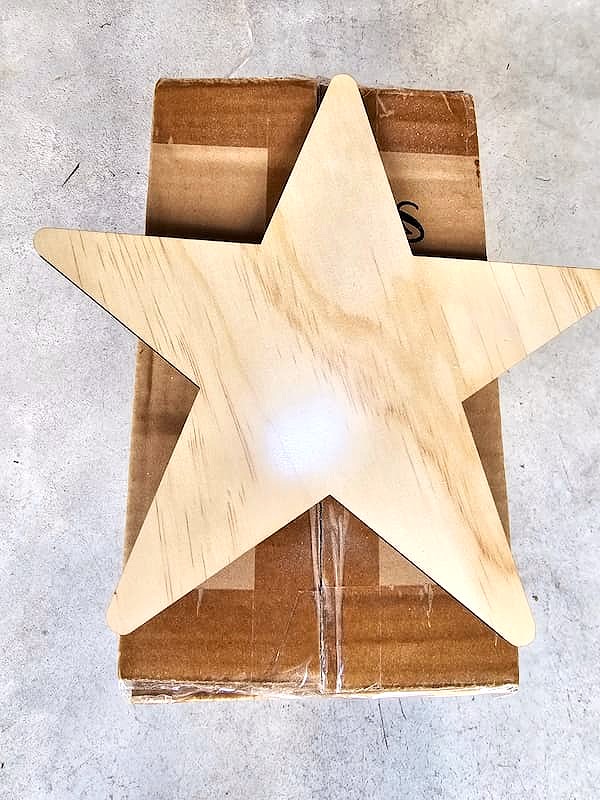
- 8” wood star – (GET IT HERE)
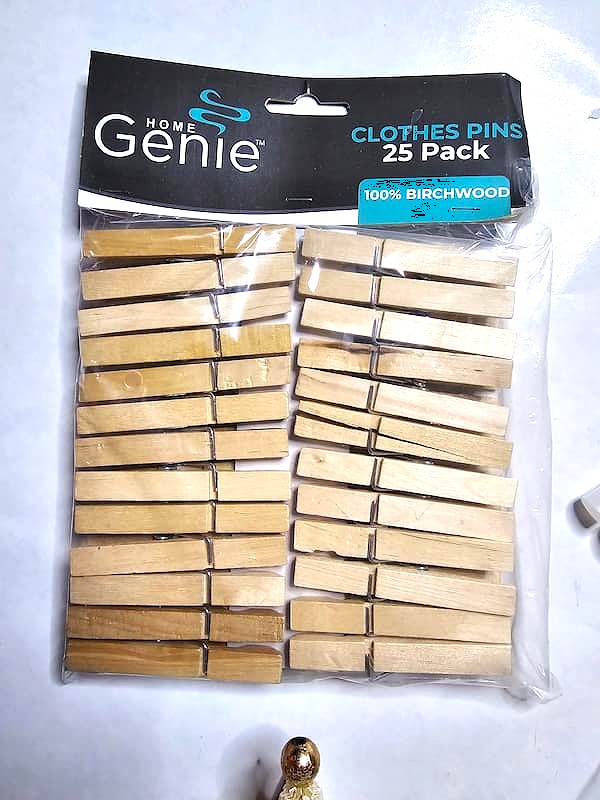
- 2 Small clothespins – (HERE)
- Spray paint – optional
- Hot glue gun – (MY FAVORITE)
- 1 Pine cone or ornament
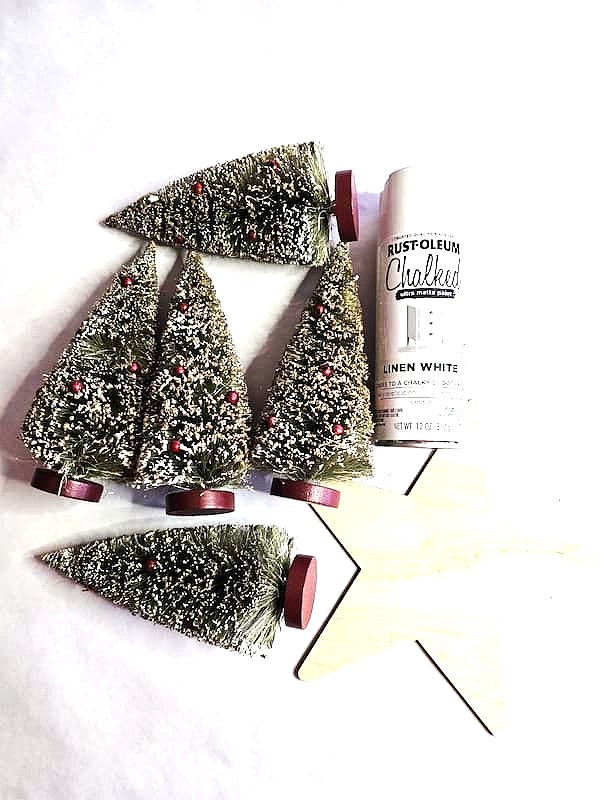
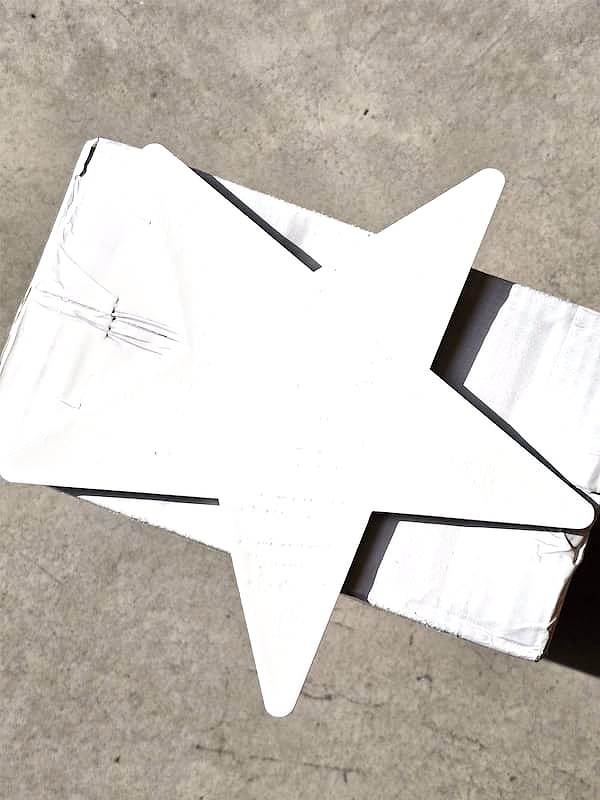
Step 1: Spray Paint the Wooden Star
Give your wooden star a quick coat of spray paint. Pick a color that complements your trees; you want the star to blend right in with your bottlebrush trees. Let dry for about 10 minutes.

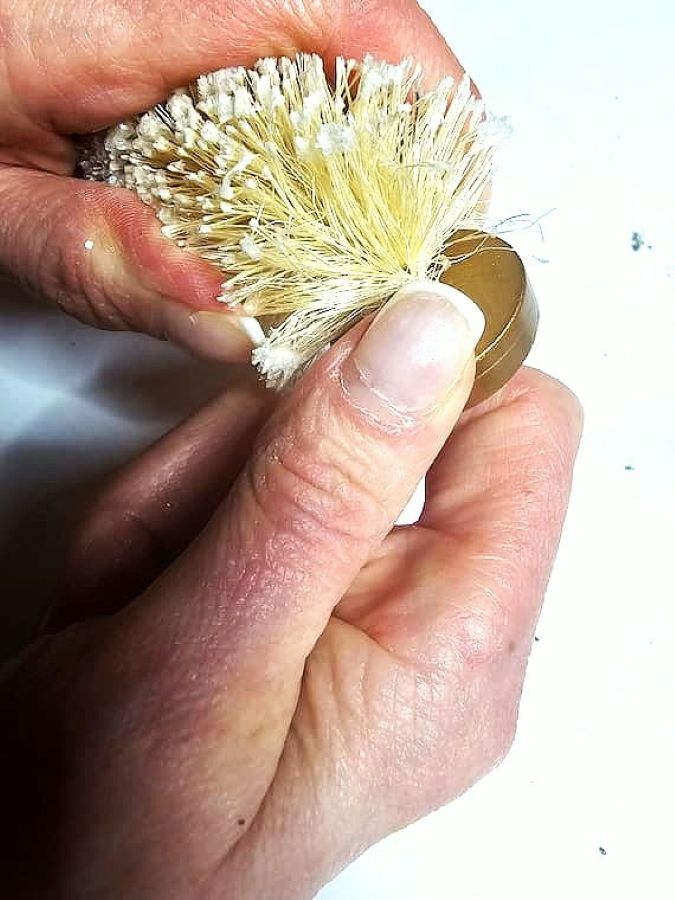
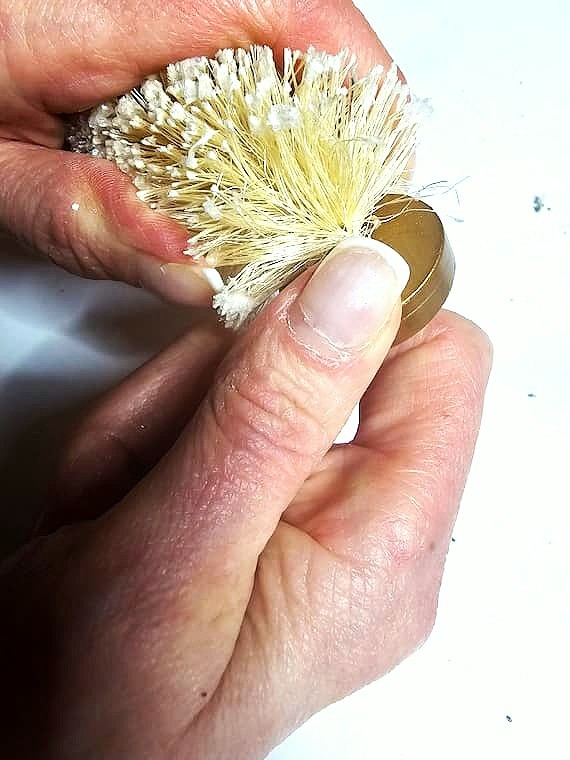
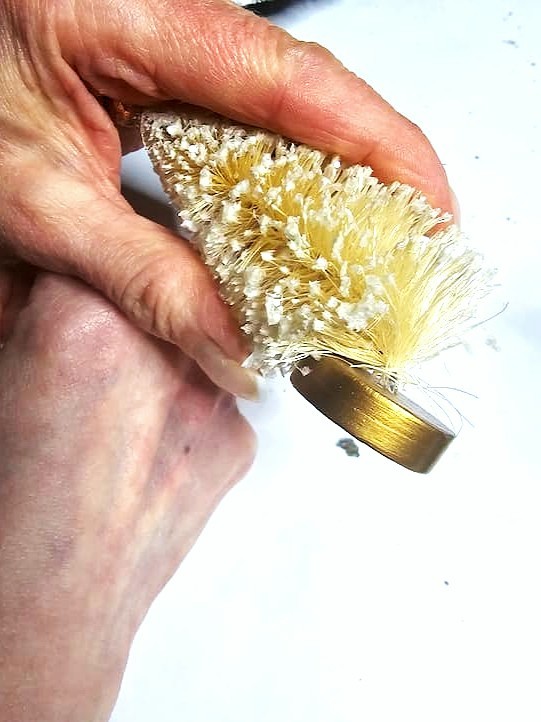
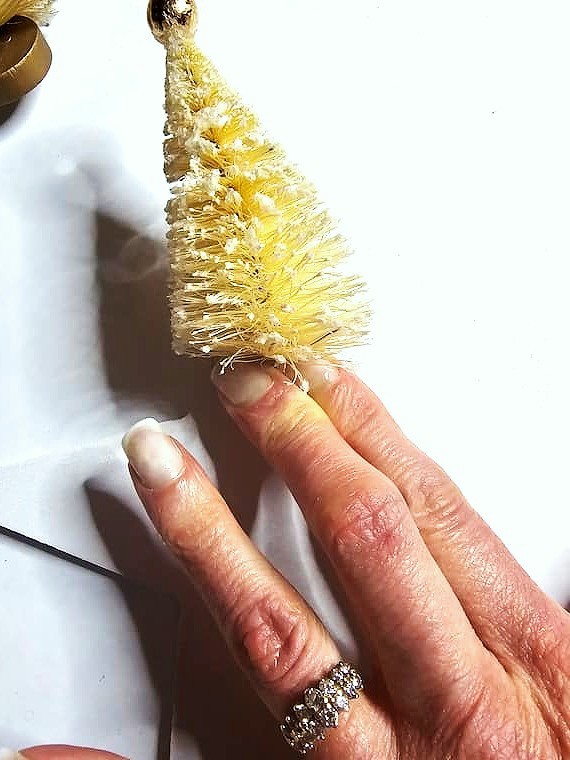
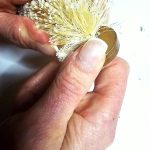
Step 2: Bend the Wood Bases of the Trees
While your paint dries, plug in your hot glue gun. Gently bend the wood bases of each small tree so they’ll sit flat when you glue them down. This helps everything come together neatly for your tree topper.
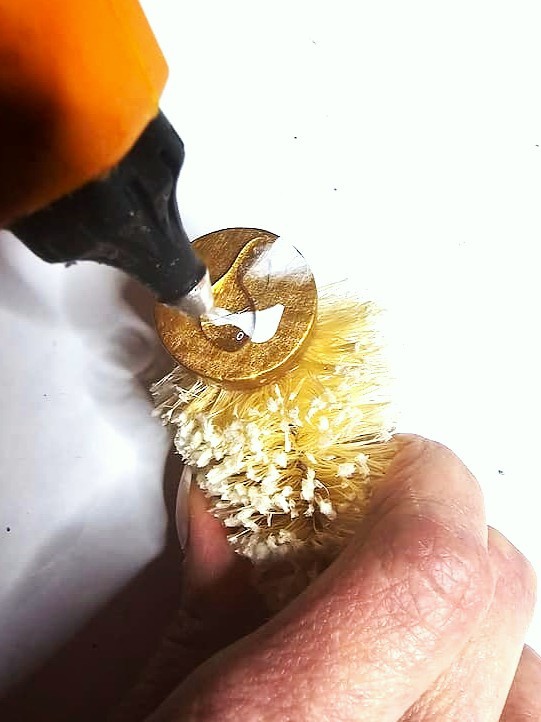
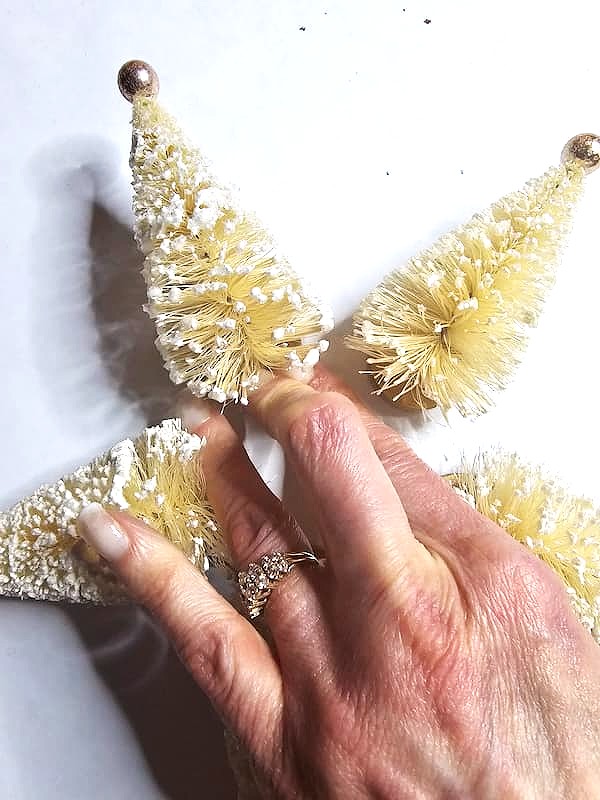
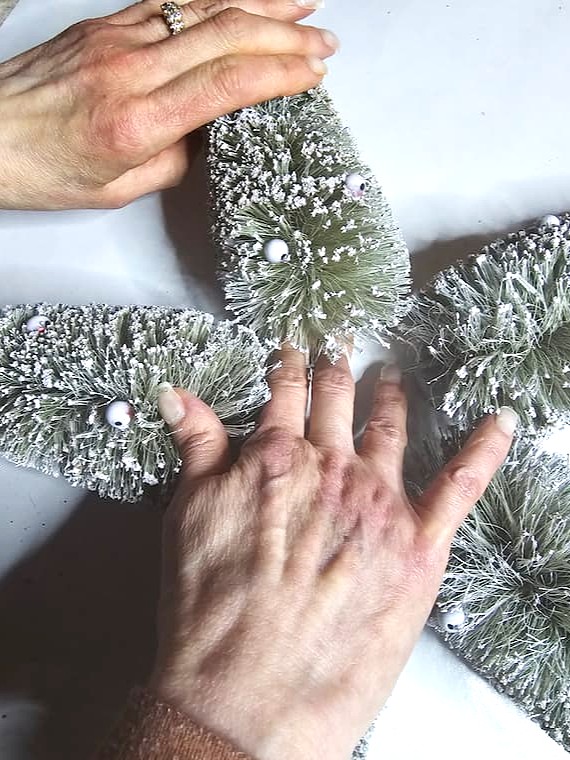
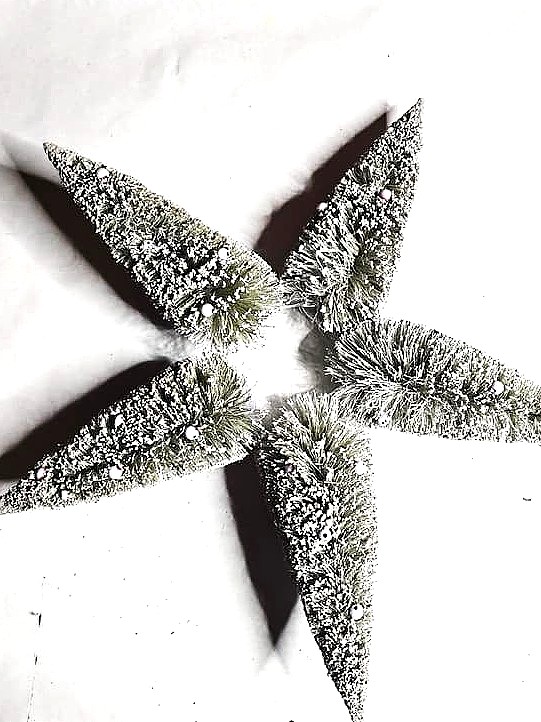
Step 3: Glue the Base of the Tree to the Star
Add a bit of hot glue to the base of the tree and press it onto the star until it sets. Then glue the remaining bottlebrush trees next to it. The top of the tree will hang slightly over the edge of the star, giving your tree topper that cute, layered look.

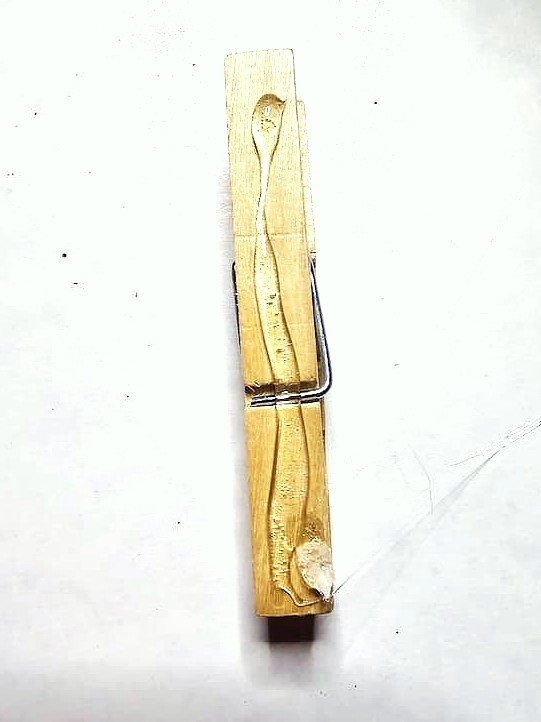
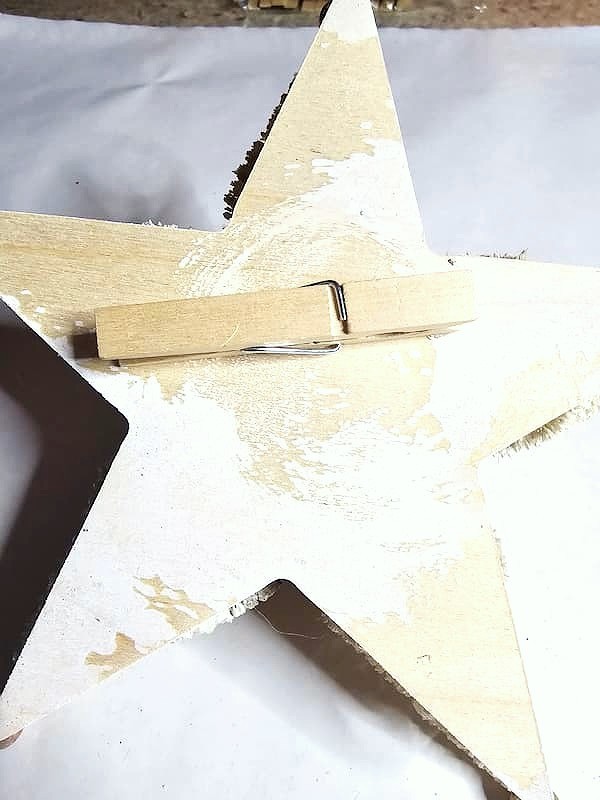
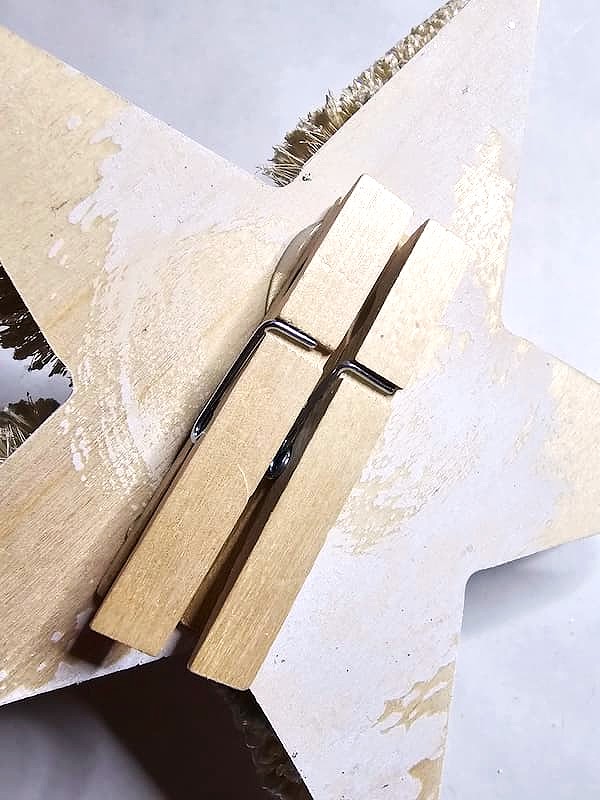
Step 4: Add Two Clothespins to the Tree Star
Using your hot glue gun, add glue to the back of two clothespins and press them onto the center of the star. These little clips are what will attach your tree topper to your Christmas tree. Just clip the clothespins onto a sturdy branch.

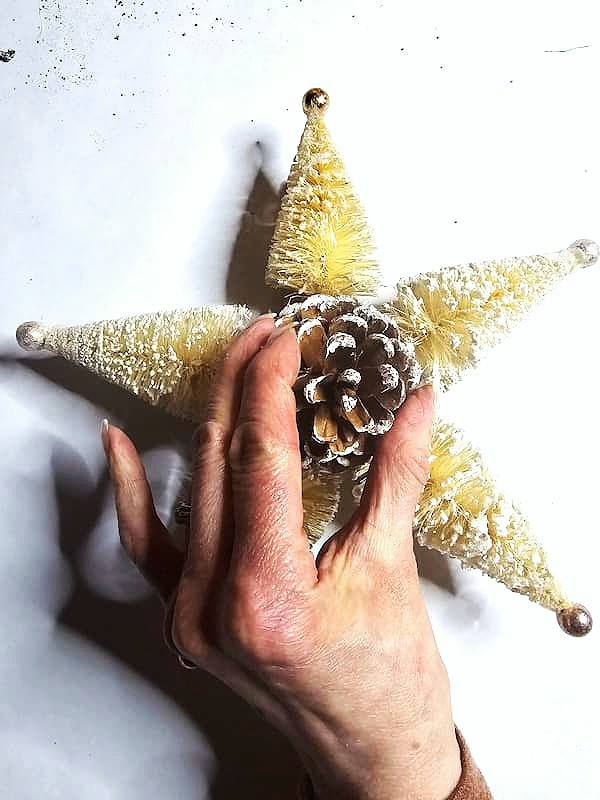
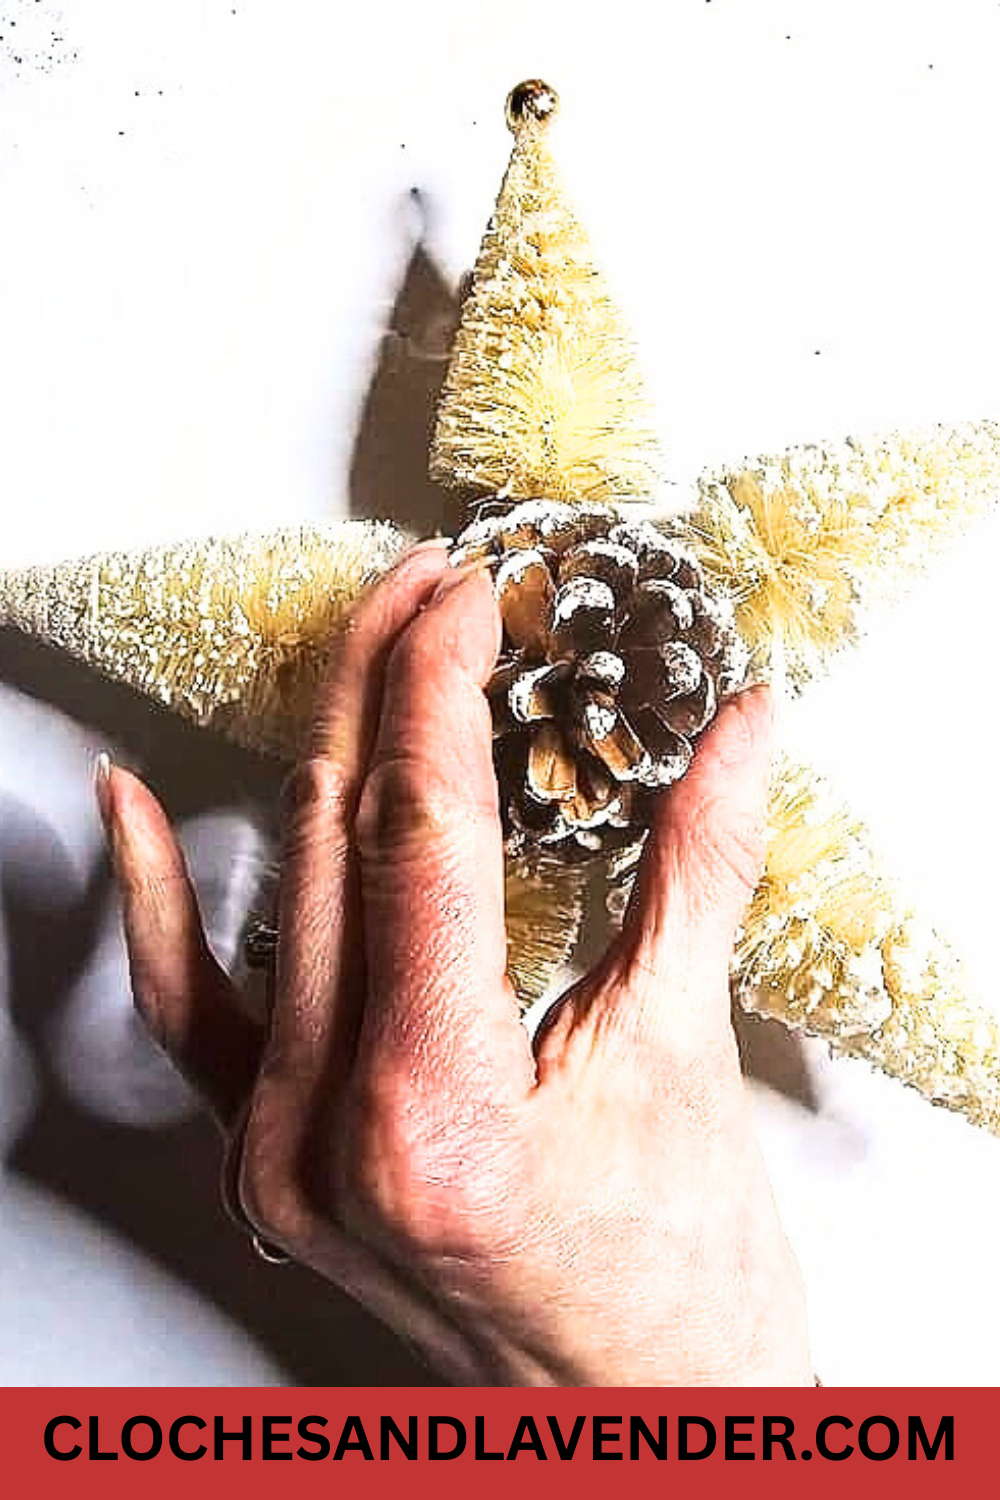
Step 5: Add a Pine Cone or Ornament to the Center
For the last step, add a dab of hot glue to the bottom of a pine cone or small ornament. Place it right in the center of your topper and hold it until it sets. It’s the perfect finishing touch to this DIY craft project!
Cindy’s Note: When adding hot glue, cover the inner and outer edges. If you add a pinecone, make sure the bottom is flat. For the ornament, remove the ornament holder.

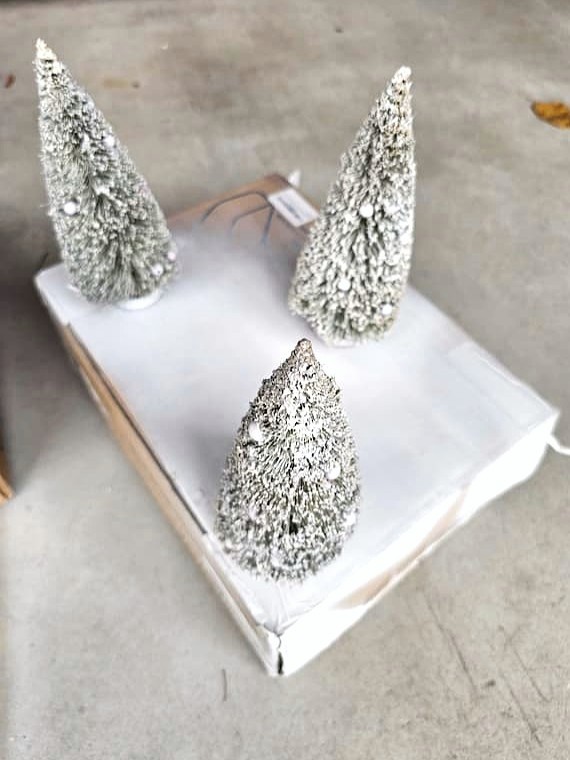
Quick Note:
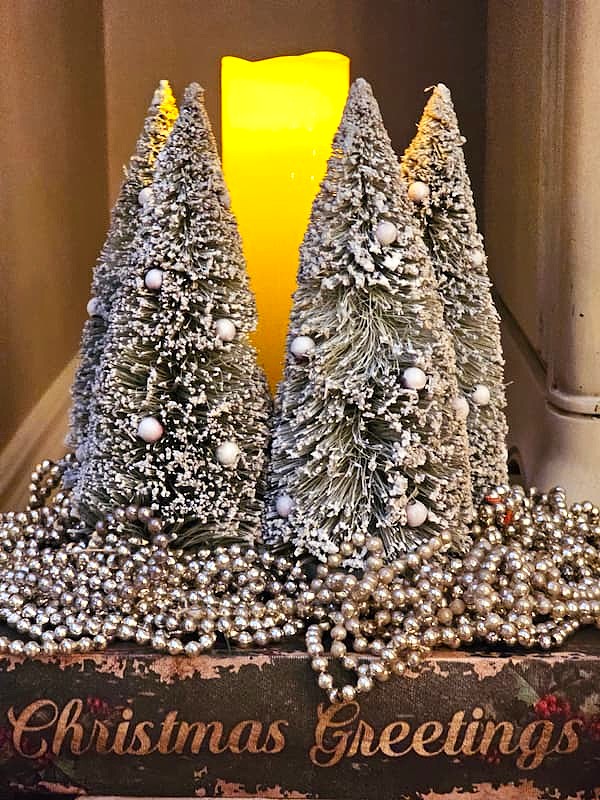
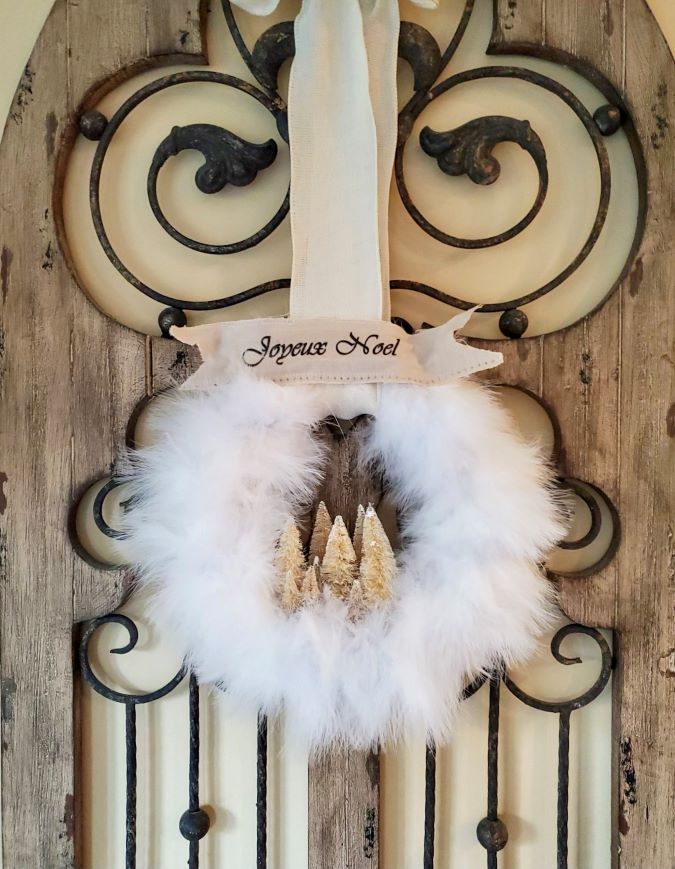
You might notice in the supply photos that I used larger green bottle brush trees. When I first made this craft project, I spray-painted them white. Once they dried, they were too big for our tree. Instead of tucking them away, I turned that first version into a sweet little candle holder. That’s what you’ll see in the photos below. I love how it looks in our home, and I think you will too. This size would be perfect for a 9-foot tree.
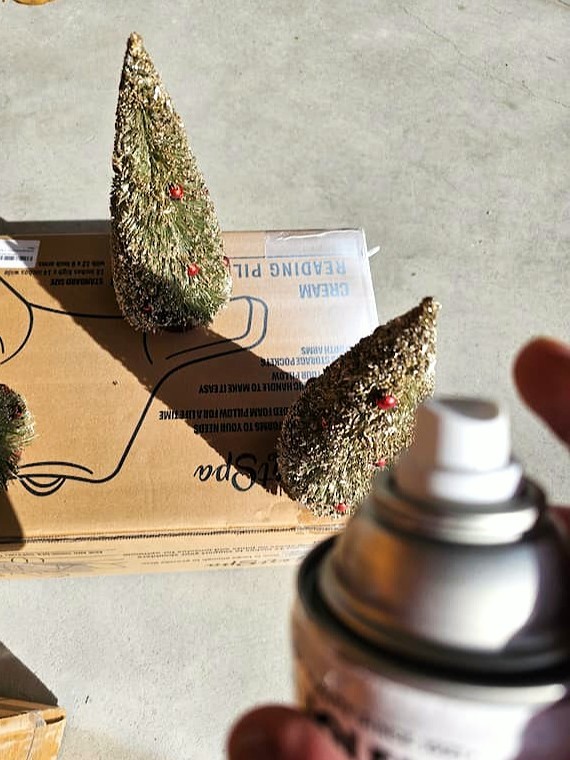
Want white bottle brush trees, but only have different colors?
No worries! You can absolutely use different colors or even a new color for your star DIY project. But if you’re hoping for white trees, here’s a simple tip: lightly spray them with white spray paint. It might not reach every crevice, but it will give your trees a soft, snowy look that’s perfect for your Christmas decor.
Where to buy bottle brush trees?
- Dollar Tree
- Hobby Lobby
- Thrift Stores
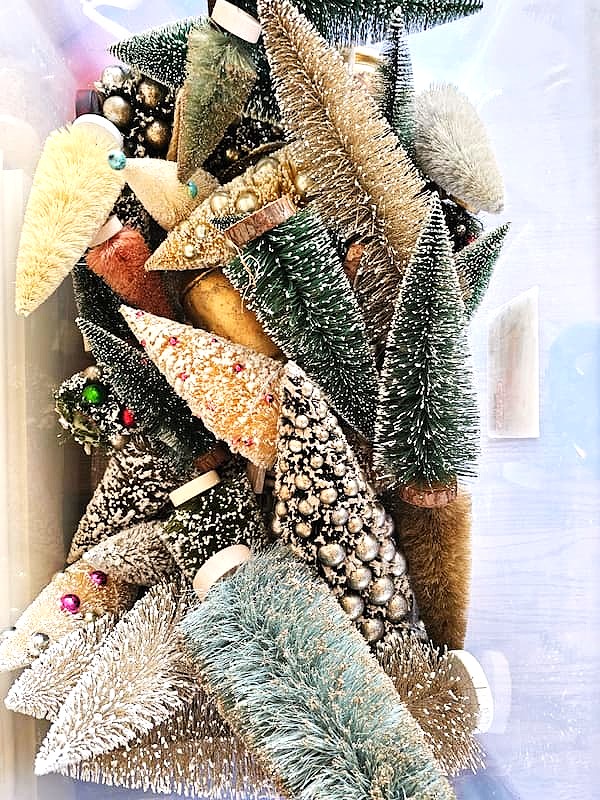
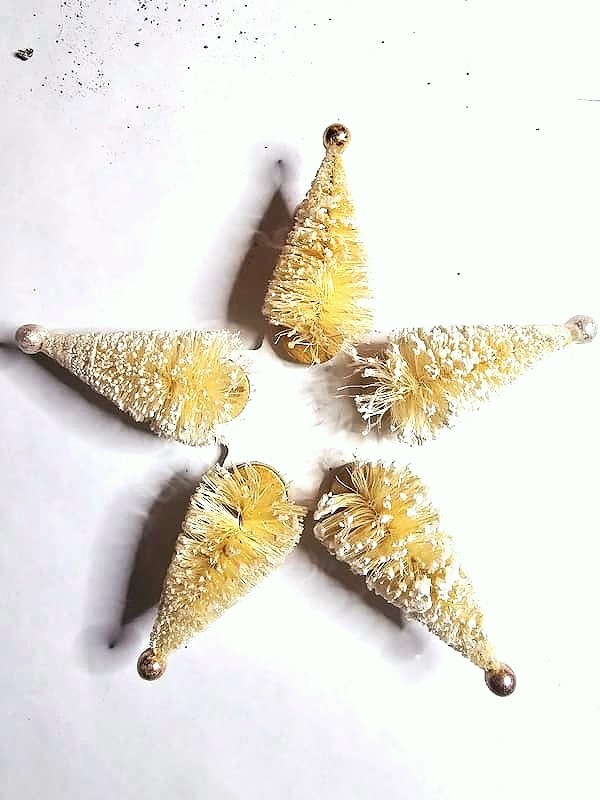
Small Trees for Christmas Decor
As you can see in this picture, I have a collection of bottlebrush trees in a variety of sizes. This year, I finally decided to take some of the smaller bottle brush trees and turn them into a star on top of the tree for our Christmas tree. Honestly, I don’t know why it took me so long to make this star for the top of the tree, but I’m glad I did!
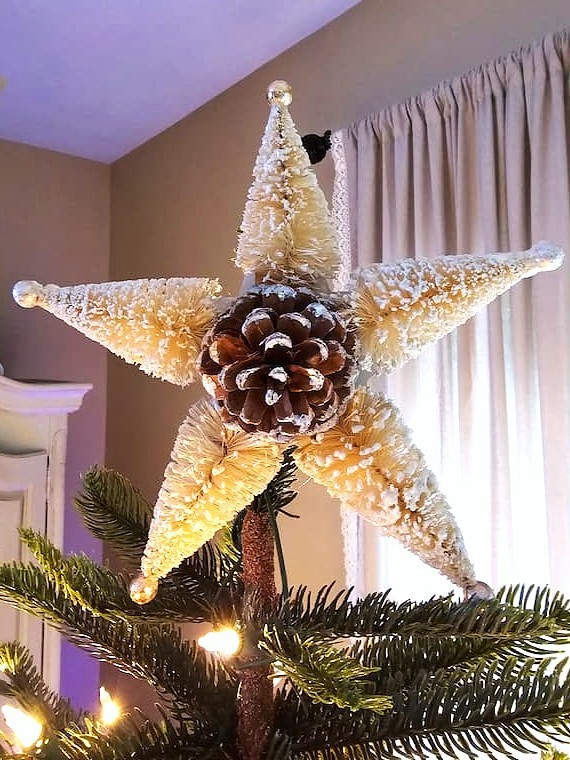
Whimsical Festive Touch
- Try adding these vintage ornaments and colorful pom poms to complement the star.
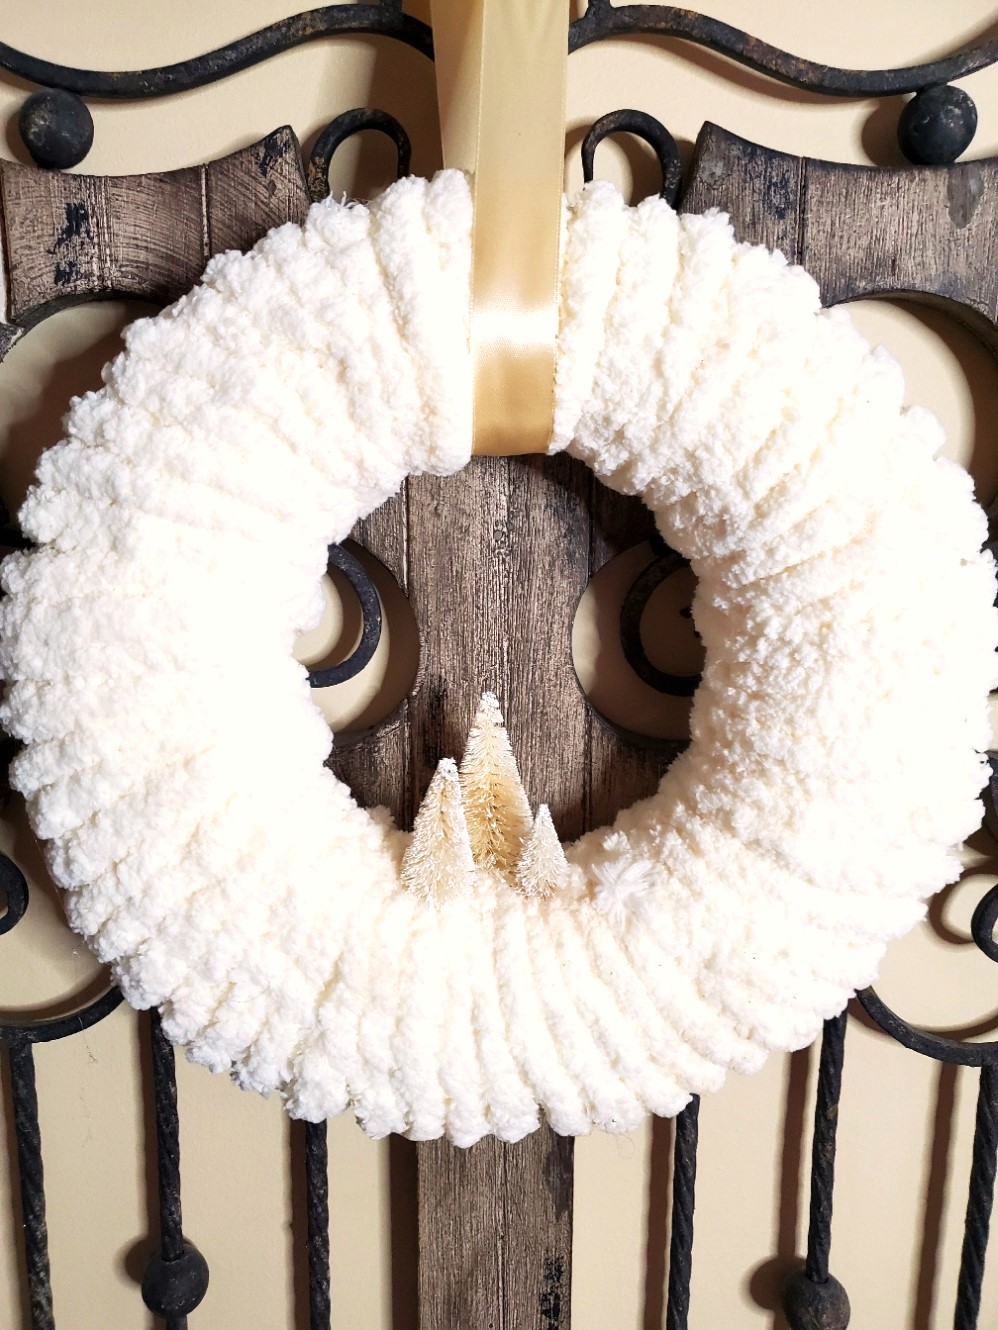
- Make a bottle brush tree wreath with the smaller bottle brush trees for a cozy touch.
- If you want a more dramatic look, try using larger trees for a larger star or even larger trees as part of a candle holder.
- Whether you stick to a traditional star shape or mix in fun Christmas ornaments, these little projects add a festive touch that makes your holiday decorating special. It will add a whimsical star on top of the tree that adds a playful finishing touch!

Finish Your Bottle Brush DIY Craft Project
I hope you’ve enjoyed this bottle brush DIY craft project and the DIY bottle brush star tree topper easy craft idea! It’s a fun and easy way to add a festive touch to your Christmas tree. Whether you mix in vintage ornaments, colorful pom poms, or create a bottle brush tree wreath with smaller bottle brush trees, this project adds charm to your holiday decorating. Don’t forget, using larger trees for a larger star or larger trees in candle holders for added variety. Sticking to a traditional star shape or adding your favorite Christmas ornaments keeps it fun and unique. I hope this little star brings a warm, handmade feel to your decorating and adds charm to your Christmas decor.

DIY Christmas Decor Projects of Interest:
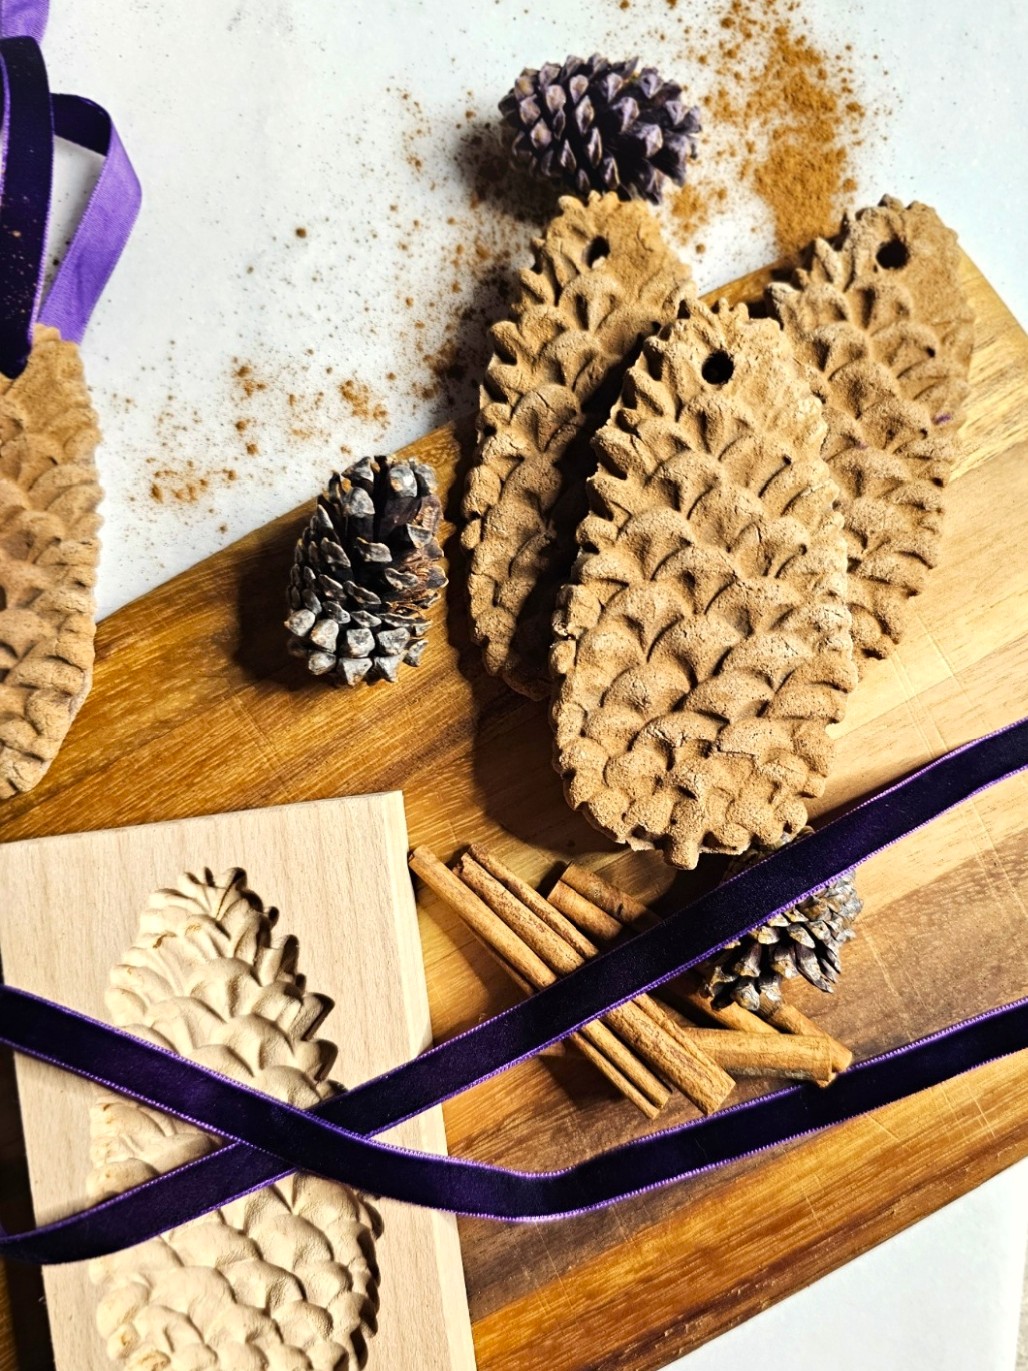
Salt Dough Christmas Ornaments
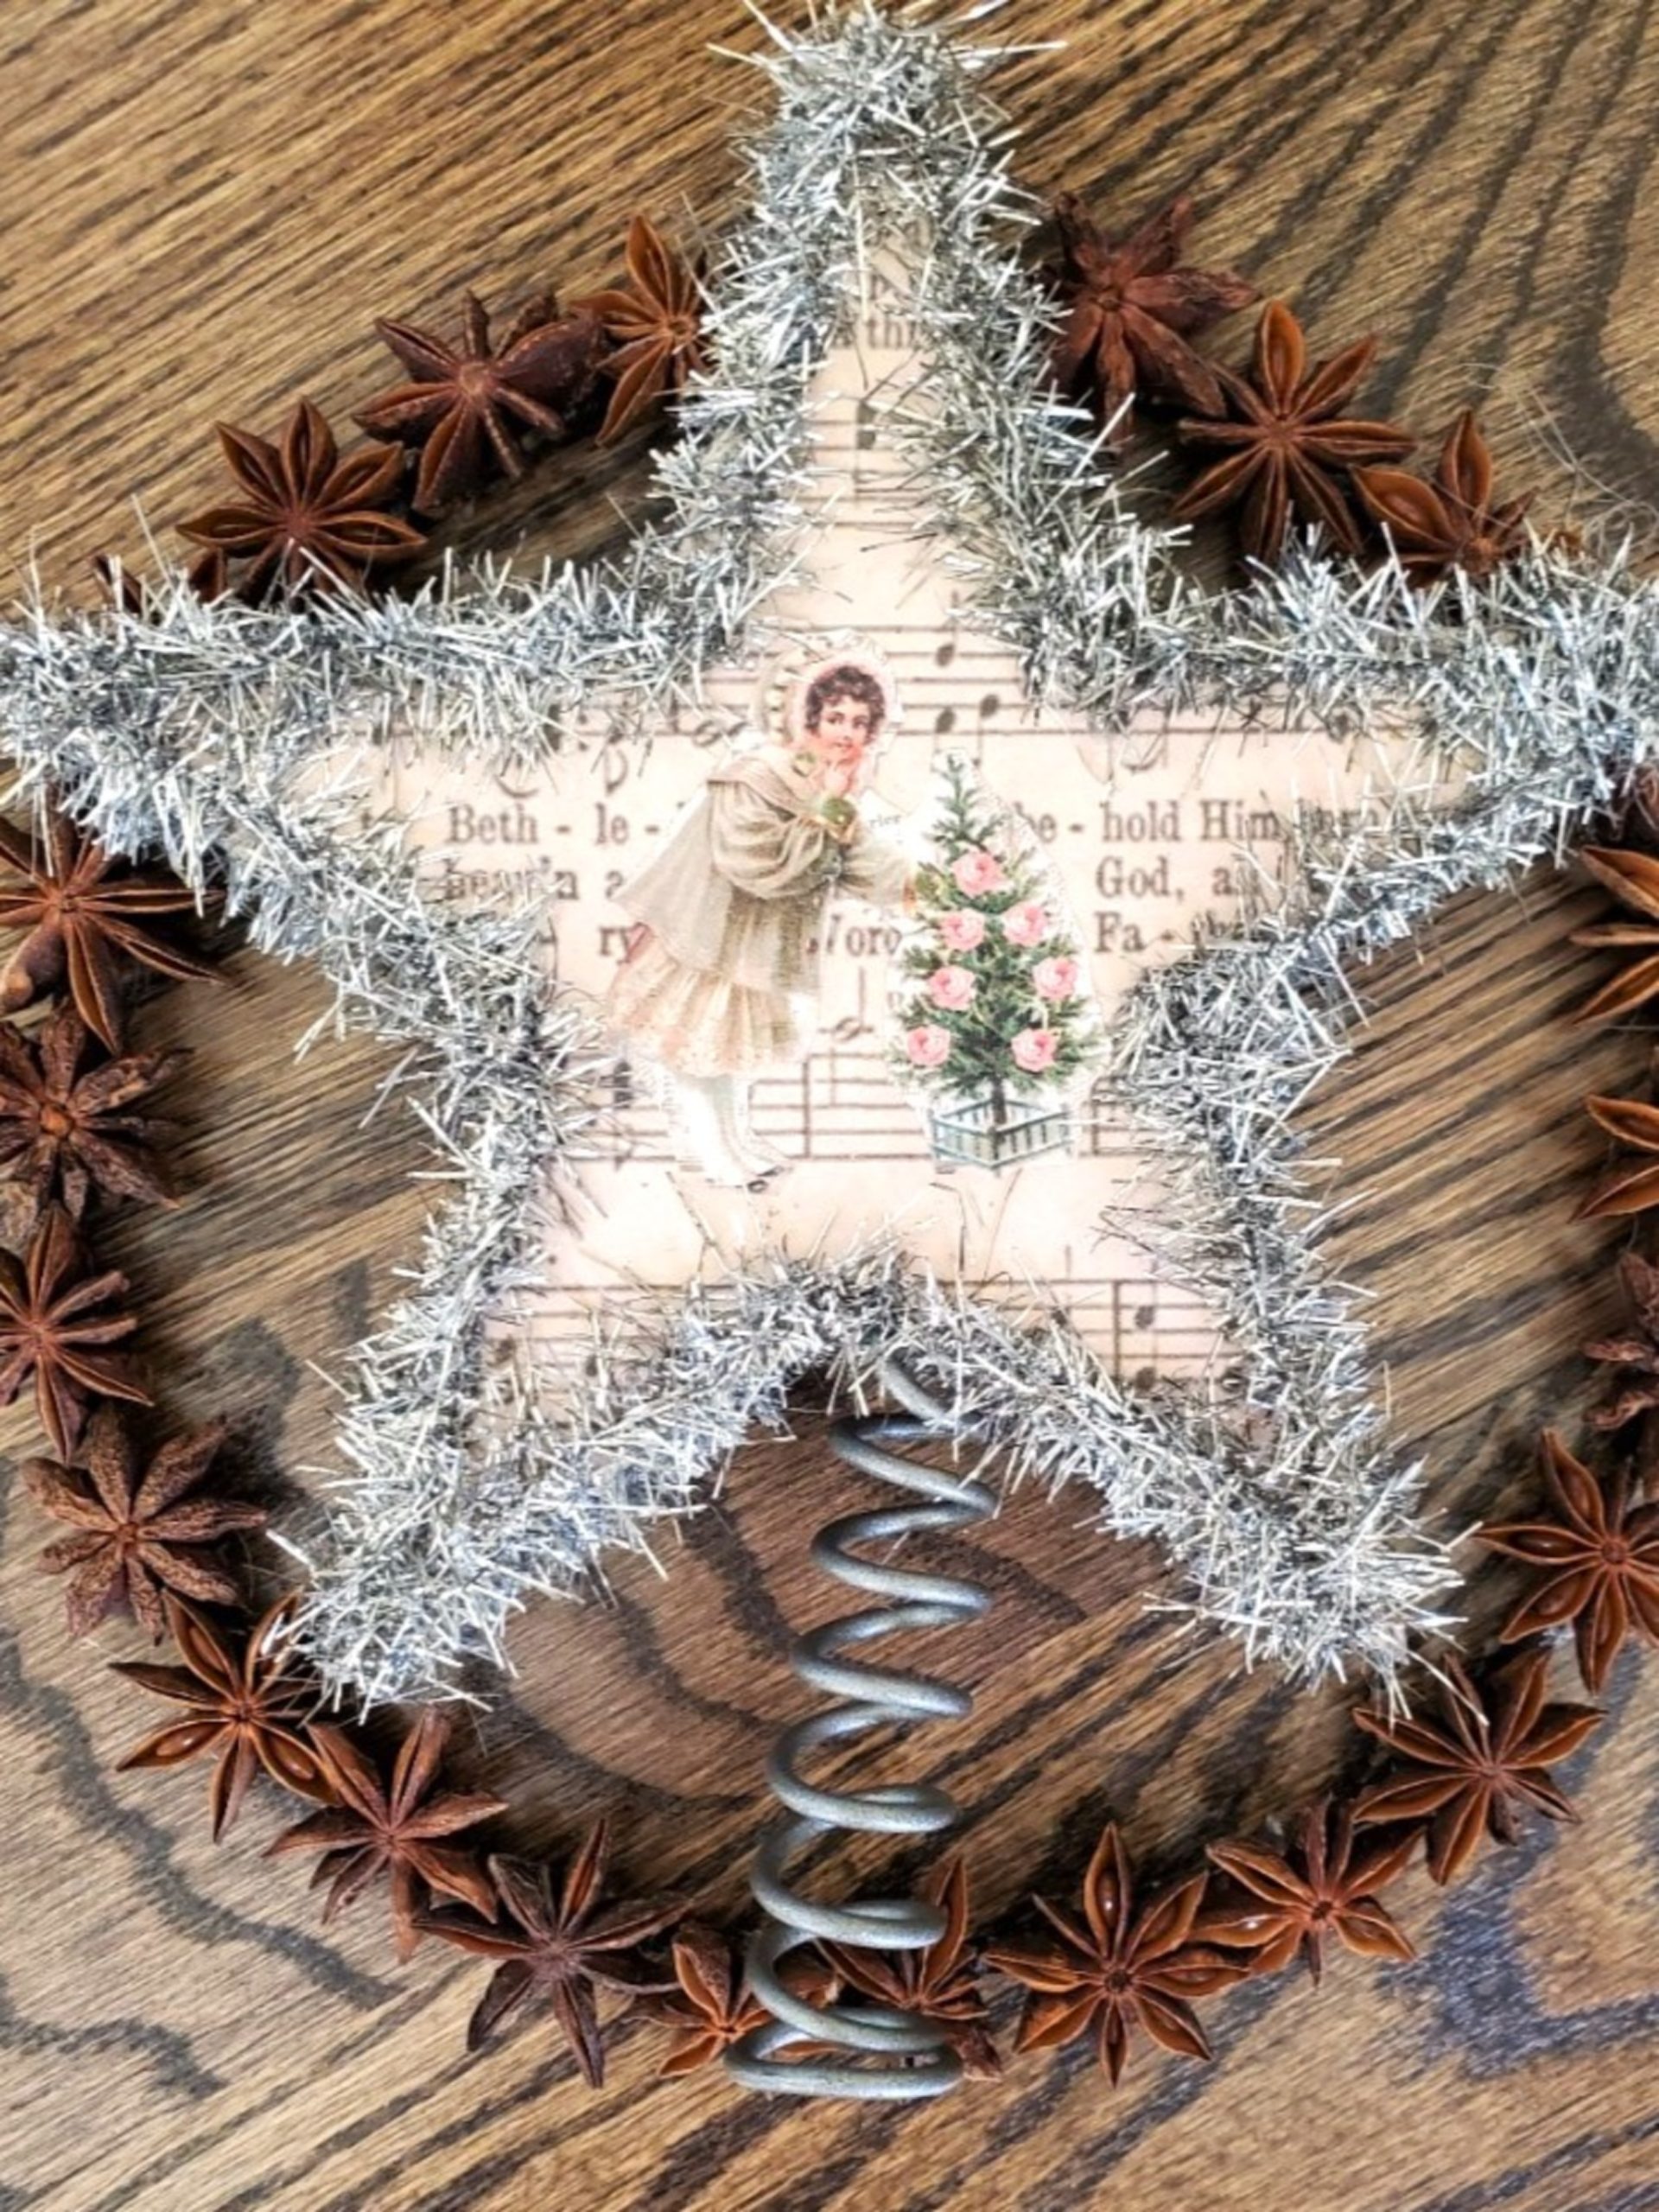
Easy Vintage Looking Star Topper
Christmas Decor Just for You: Click the Purple Link to Shop!
I love this product: Hyacinth Christmas Tree Collar with Cord Cut-Out Natural
We have two of these trees and love them
These stockings are perfect, and there are 6!
DIY Bottle Brush Star Topper Easy Craft Idea
Notes
Craft Project Supply List:
- 5 Bottle brush trees – (HERE)
- 8” wood star – (GET IT HERE)
- 2 Small clothespins – (HERE)
- Spray paint – optional
- Hot glue gun – (MY FAVORITE)
- 1 Pine cone or ornament
Step 1: Spray Paint the Wooden Star
Give your wooden star a quick coat of spray paint. Pick a color that complements your trees; you want the star to blend right in with your bottlebrush trees. Let dry for about 10 minutes.
Step 2: Bend the Wood Bases of the Trees
While your paint dries, plug in your hot glue gun. Gently bend the wood bases of each small tree so they’ll sit flat when you glue them down. This helps everything come together neatly for your tree topper.
Step 3: Glue the Base of the Tree to the Star
Add a bit of hot glue to the base of the tree and press it onto the star until it sets. Then glue the remaining bottlebrush trees next to it. The top of the tree will hang slightly over the edge of the star, giving your tree topper that cute, layered look.
Step 4: Add Two Clothespins to the Tree Star
Using your hot glue gun, add glue to the back of two clothespins and press them onto the center of the star. These little clips are what will attach your tree topper to your Christmas tree. Just clip the clothespins onto a sturdy branch.
Step 5: Add a Pine Cone or Ornament to the Center
For the last step, add a dab of hot glue to the bottom of a pine cone or small ornament. Place it right in the center of your topper and hold it until it sets. It’s the perfect finishing touch to this DIY craft project! Cindy’s Note: When adding hot glue, cover the inner and outer edges. If you add a pinecone, make sure the bottom is flat. For the ornament, remove the ornament holder.

Very cute idea, Cindy! I have a ton of those trees laying around.
Thanks Kim, we love it!
What a clever idea! This turned out fabulous!
Thank you so much Donna! Merry Christmas
Thank you for sharing with us, I’m featuring you when the next To Grandma’s house we go link party starts!
Thank you so much! Merry Christmas