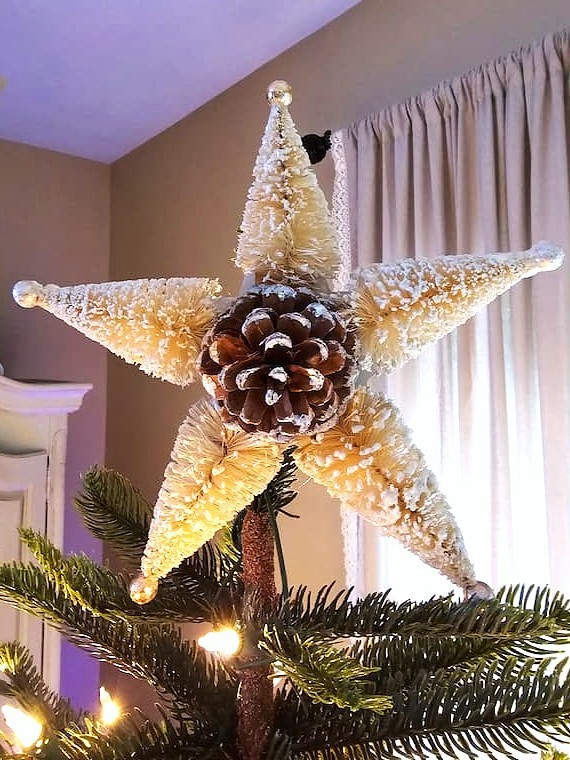
DIY Bottle Brush Star Topper Easy Craft Idea
This craft project took about 15 minutes, 10 of those were waiting for the spray paint to dry. With this DIY bottle brush star topper
Yield: 1 topper
Cost: $15
Notes
Craft Project Supply List:
- 5 Bottle brush trees - (HERE)
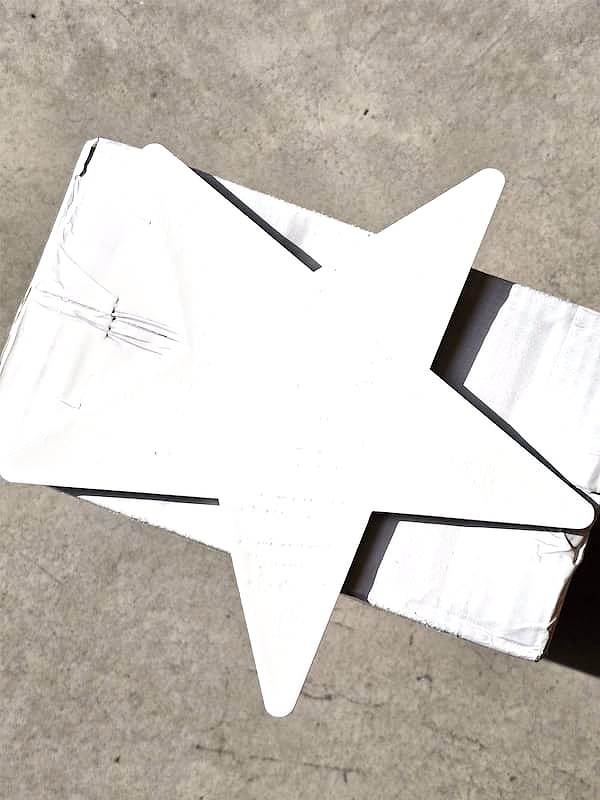
- 8” wood star - (GET IT HERE)
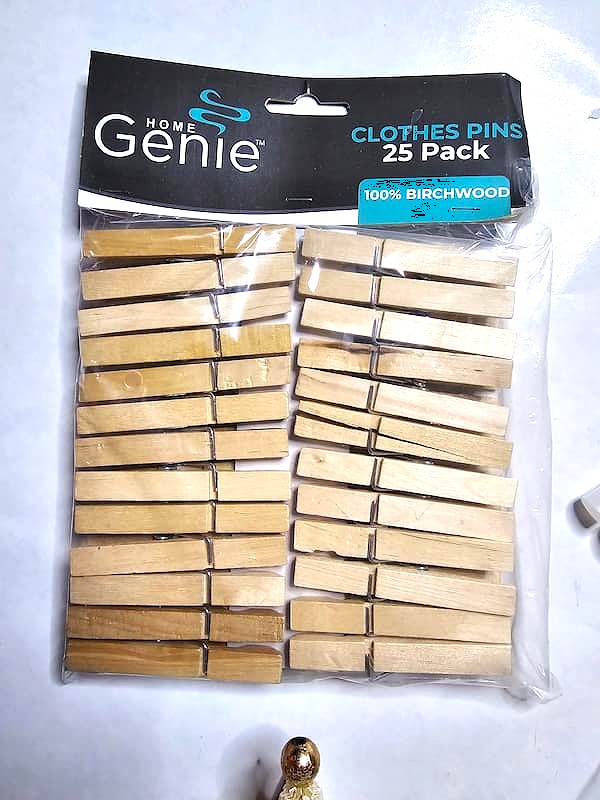
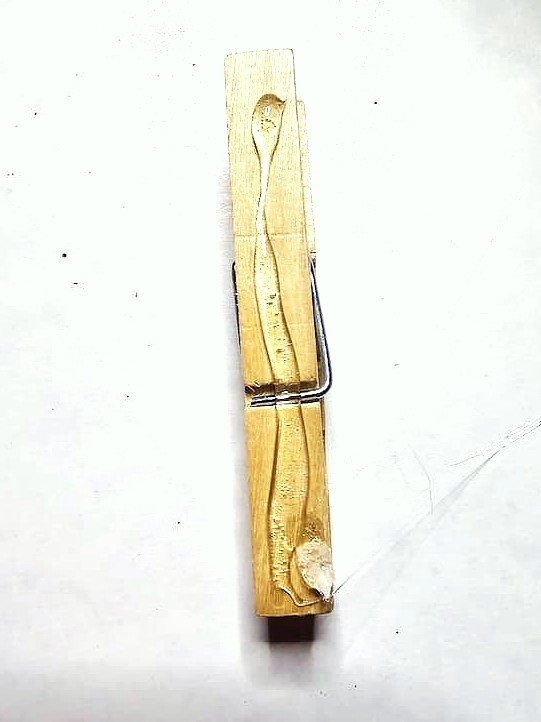
- 2 Small clothespins - (HERE)
- Spray paint - optional
- Hot glue gun - (MY FAVORITE)
- 1 Pine cone or ornament
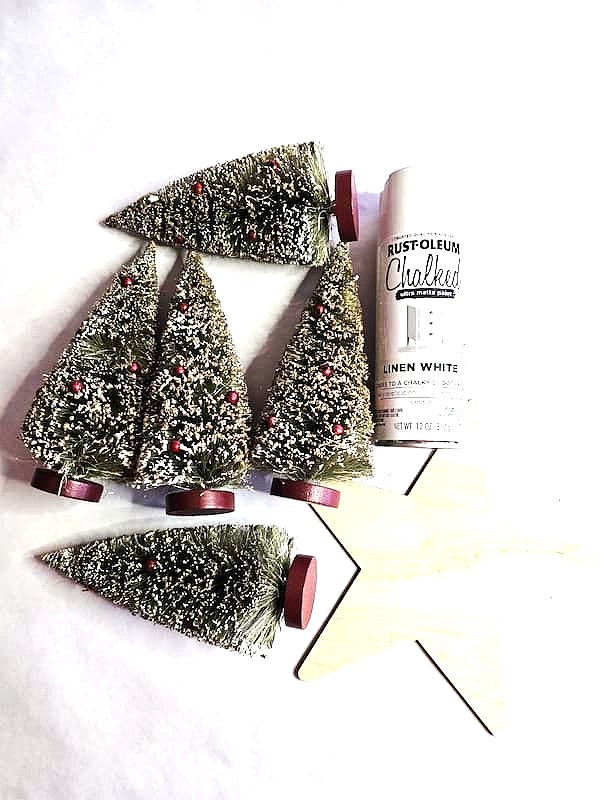
Step 1: Spray Paint the Wooden Star
Give your wooden star a quick coat of spray paint. Pick a color that complements your trees; you want the star to blend right in with your bottlebrush trees. Let dry for about 10 minutes.
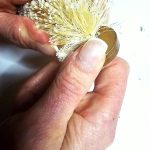
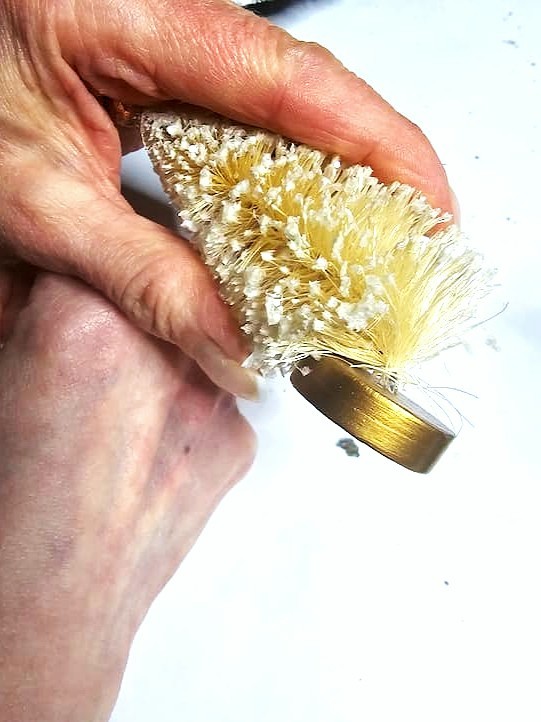
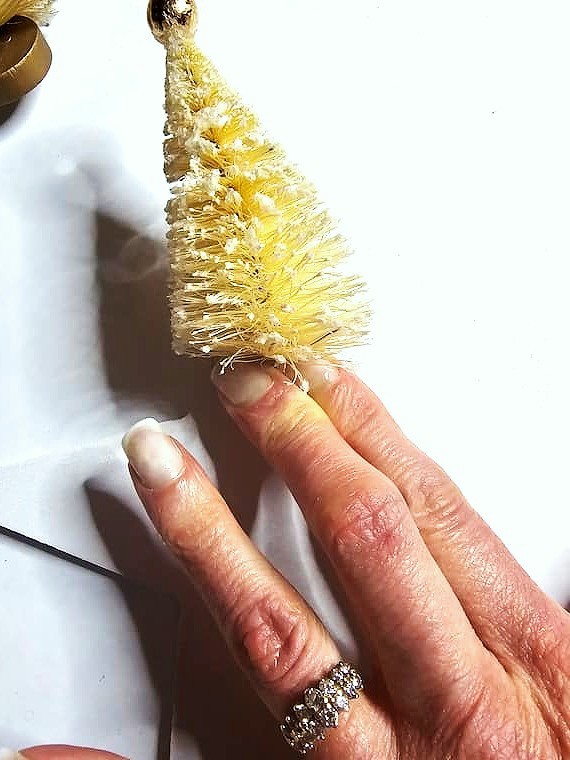
Step 2: Bend the Wood Bases of the Trees
While your paint dries, plug in your hot glue gun. Gently bend the wood bases of each small tree so they’ll sit flat when you glue them down. This helps everything come together neatly for your tree topper.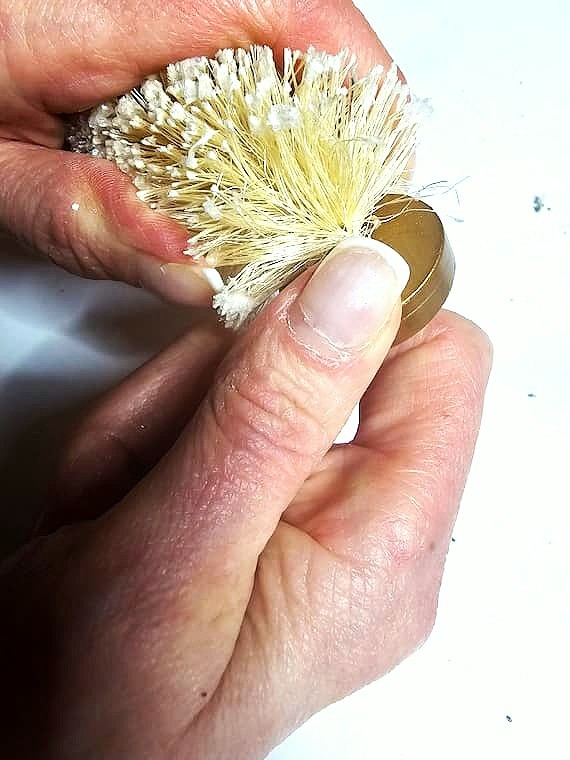
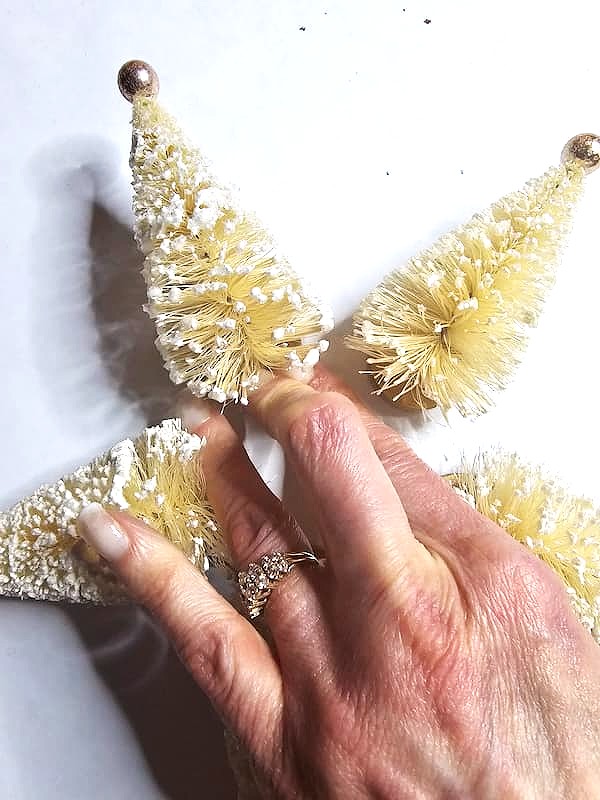
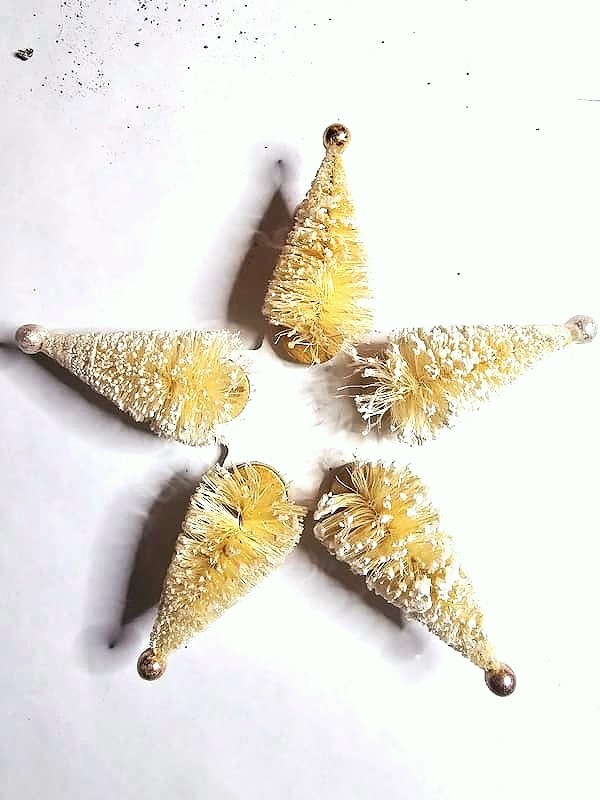
Step 3: Glue the Base of the Tree to the Star
Add a bit of hot glue to the base of the tree and press it onto the star until it sets. Then glue the remaining bottlebrush trees next to it. The top of the tree will hang slightly over the edge of the star, giving your tree topper that cute, layered look.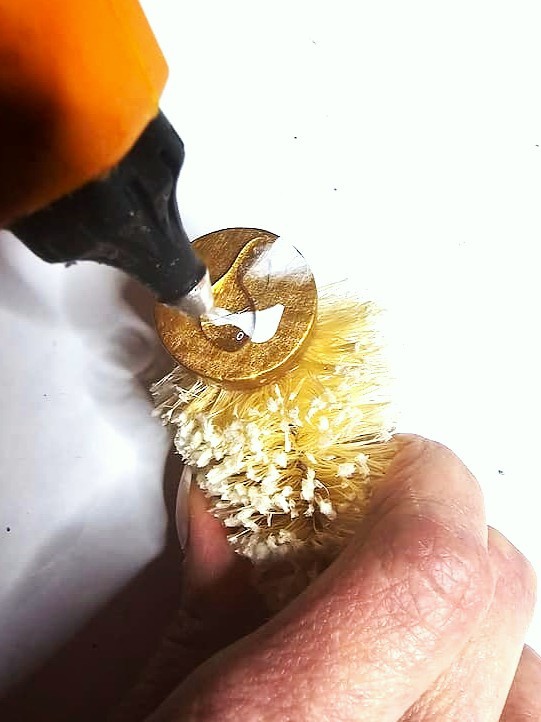
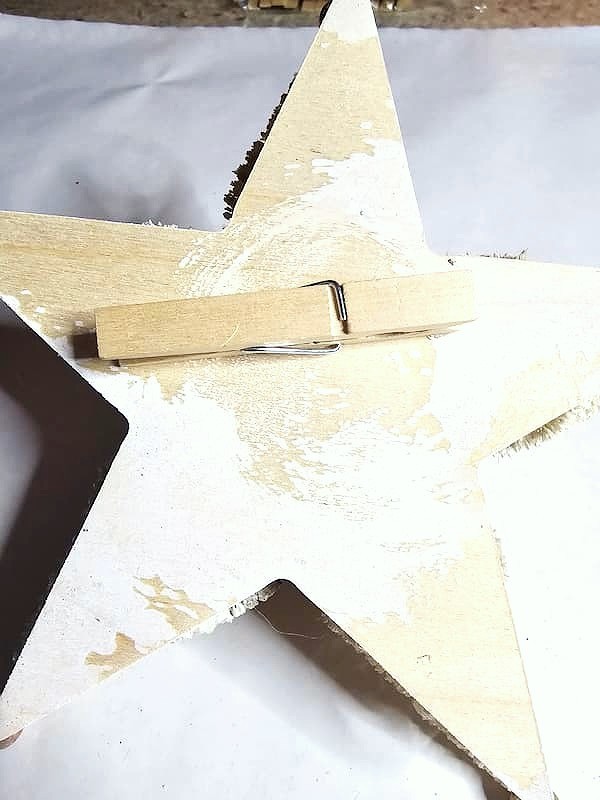
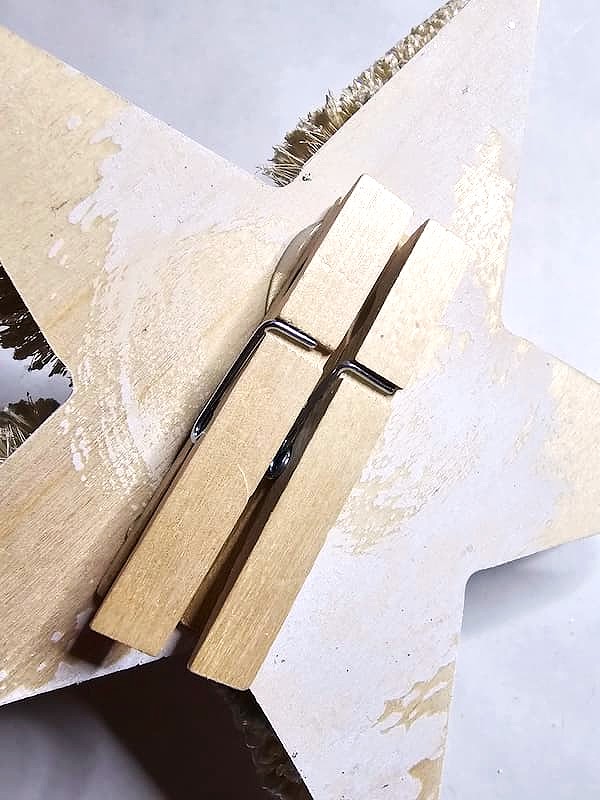
Step 4: Add Two Clothespins to the Tree Star
Using your hot glue gun, add glue to the back of two clothespins and press them onto the center of the star. These little clips are what will attach your tree topper to your Christmas tree. Just clip the clothespins onto a sturdy branch.
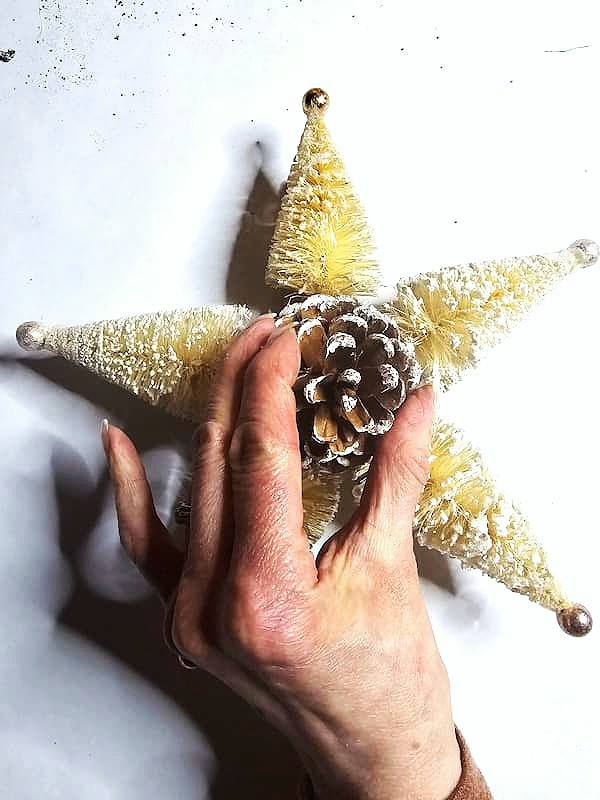
Step 5: Add a Pine Cone or Ornament to the Center
For the last step, add a dab of hot glue to the bottom of a pine cone or small ornament. Place it right in the center of your topper and hold it until it sets. It’s the perfect finishing touch to this DIY craft project! Cindy’s Note: When adding hot glue, cover the inner and outer edges. If you add a pinecone, make sure the bottom is flat. For the ornament, remove the ornament holder.