
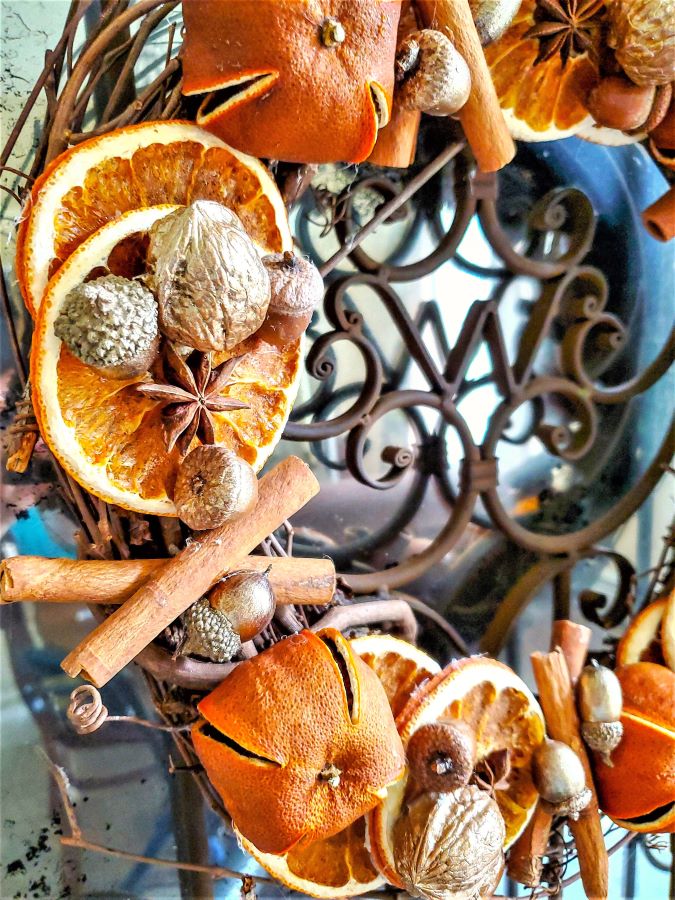
Dried Orange Wreath With Natural Decorations
Discover a simple crafting project: a dried orange wreath with natural elements. In this step-by-step tutorial, I’ll share easy DIY ideas to enhance your orange wreath and citrus garlands. When it comes to holiday decor, one of my favorite ways to add charm to the season is by adding natural elements and making an easy project the perfect choice for your home.
The good news is this DIY Christmas wreath is a great activity for the whole family during cozy months, with a roaring fire, hot cocoa, and music. And this wreath isn’t just for Christmas. It works as fall decor, holiday decor, and winter. Making it a versatile natural decoration you can enjoy throughout the season.
The best part? This is an eco-friendly way to get a head start on your holiday decorating.
Jump to Printable DIY CardSupplies: Dried Orange Wreath with Natural Decorations
- 18″ wreath blank of your choice
- dried oranges navel oranges work best
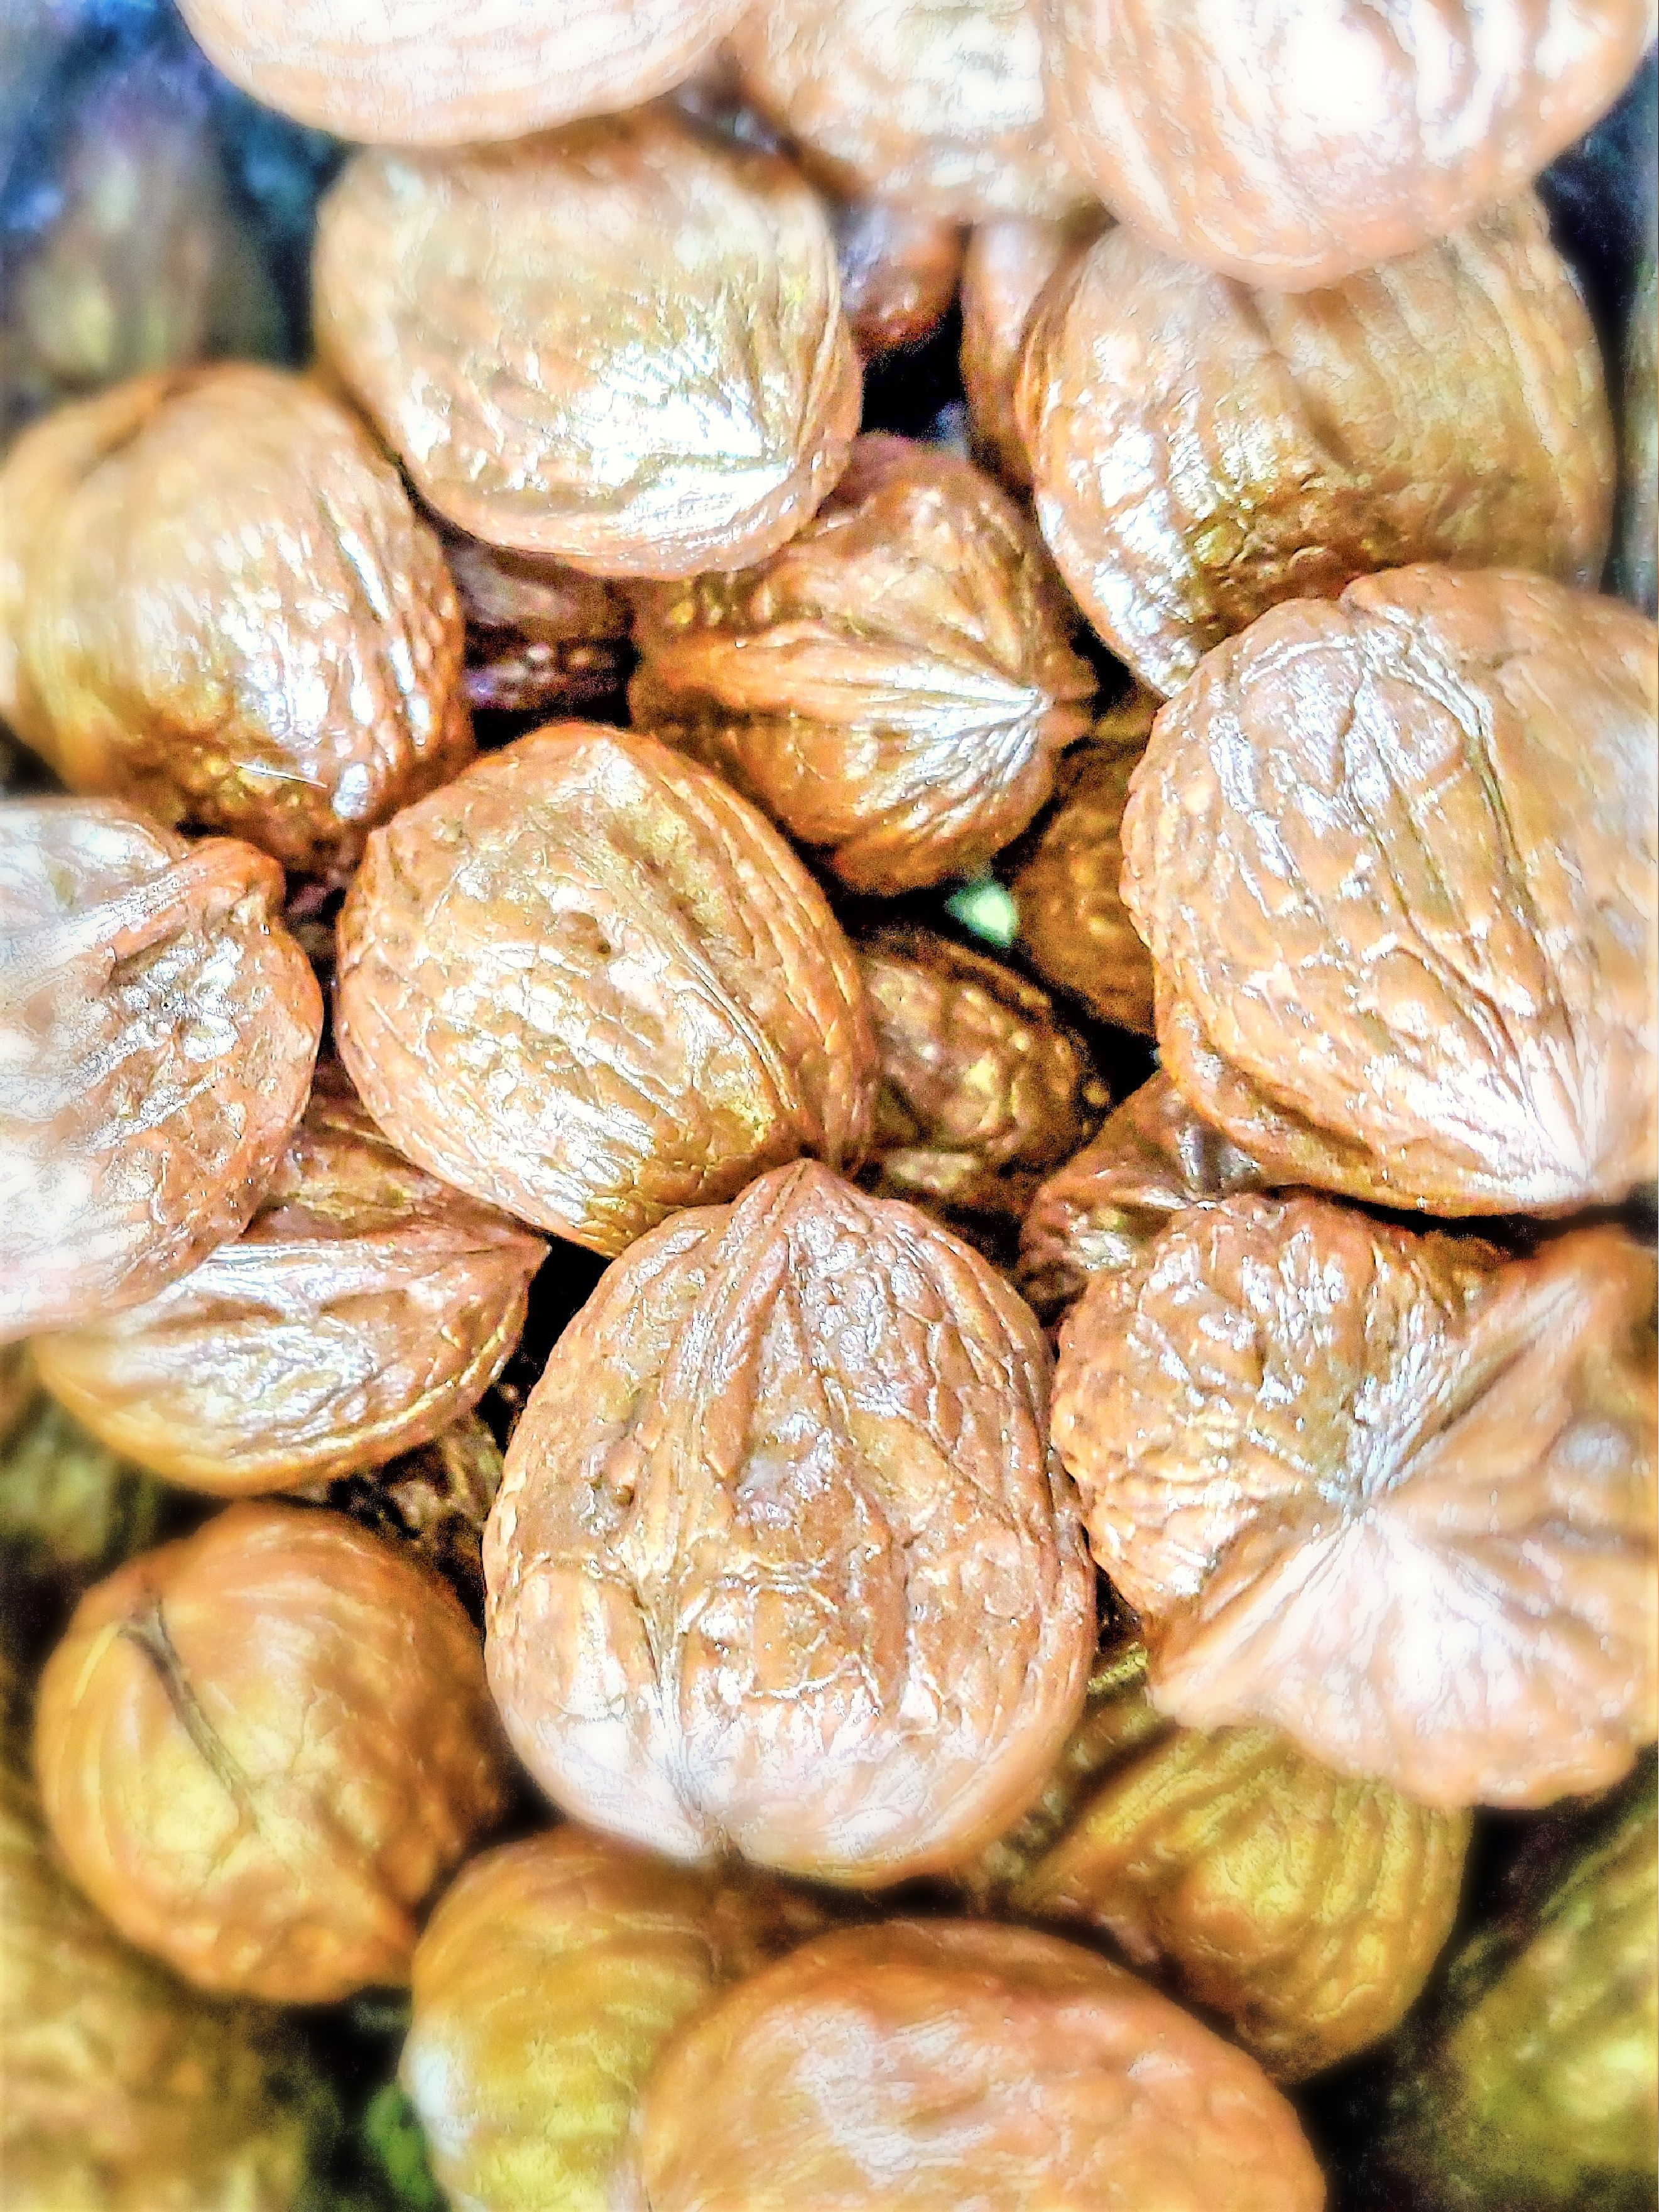
- walnuts in the shell
- paint
- hot glue gun and glue sticks
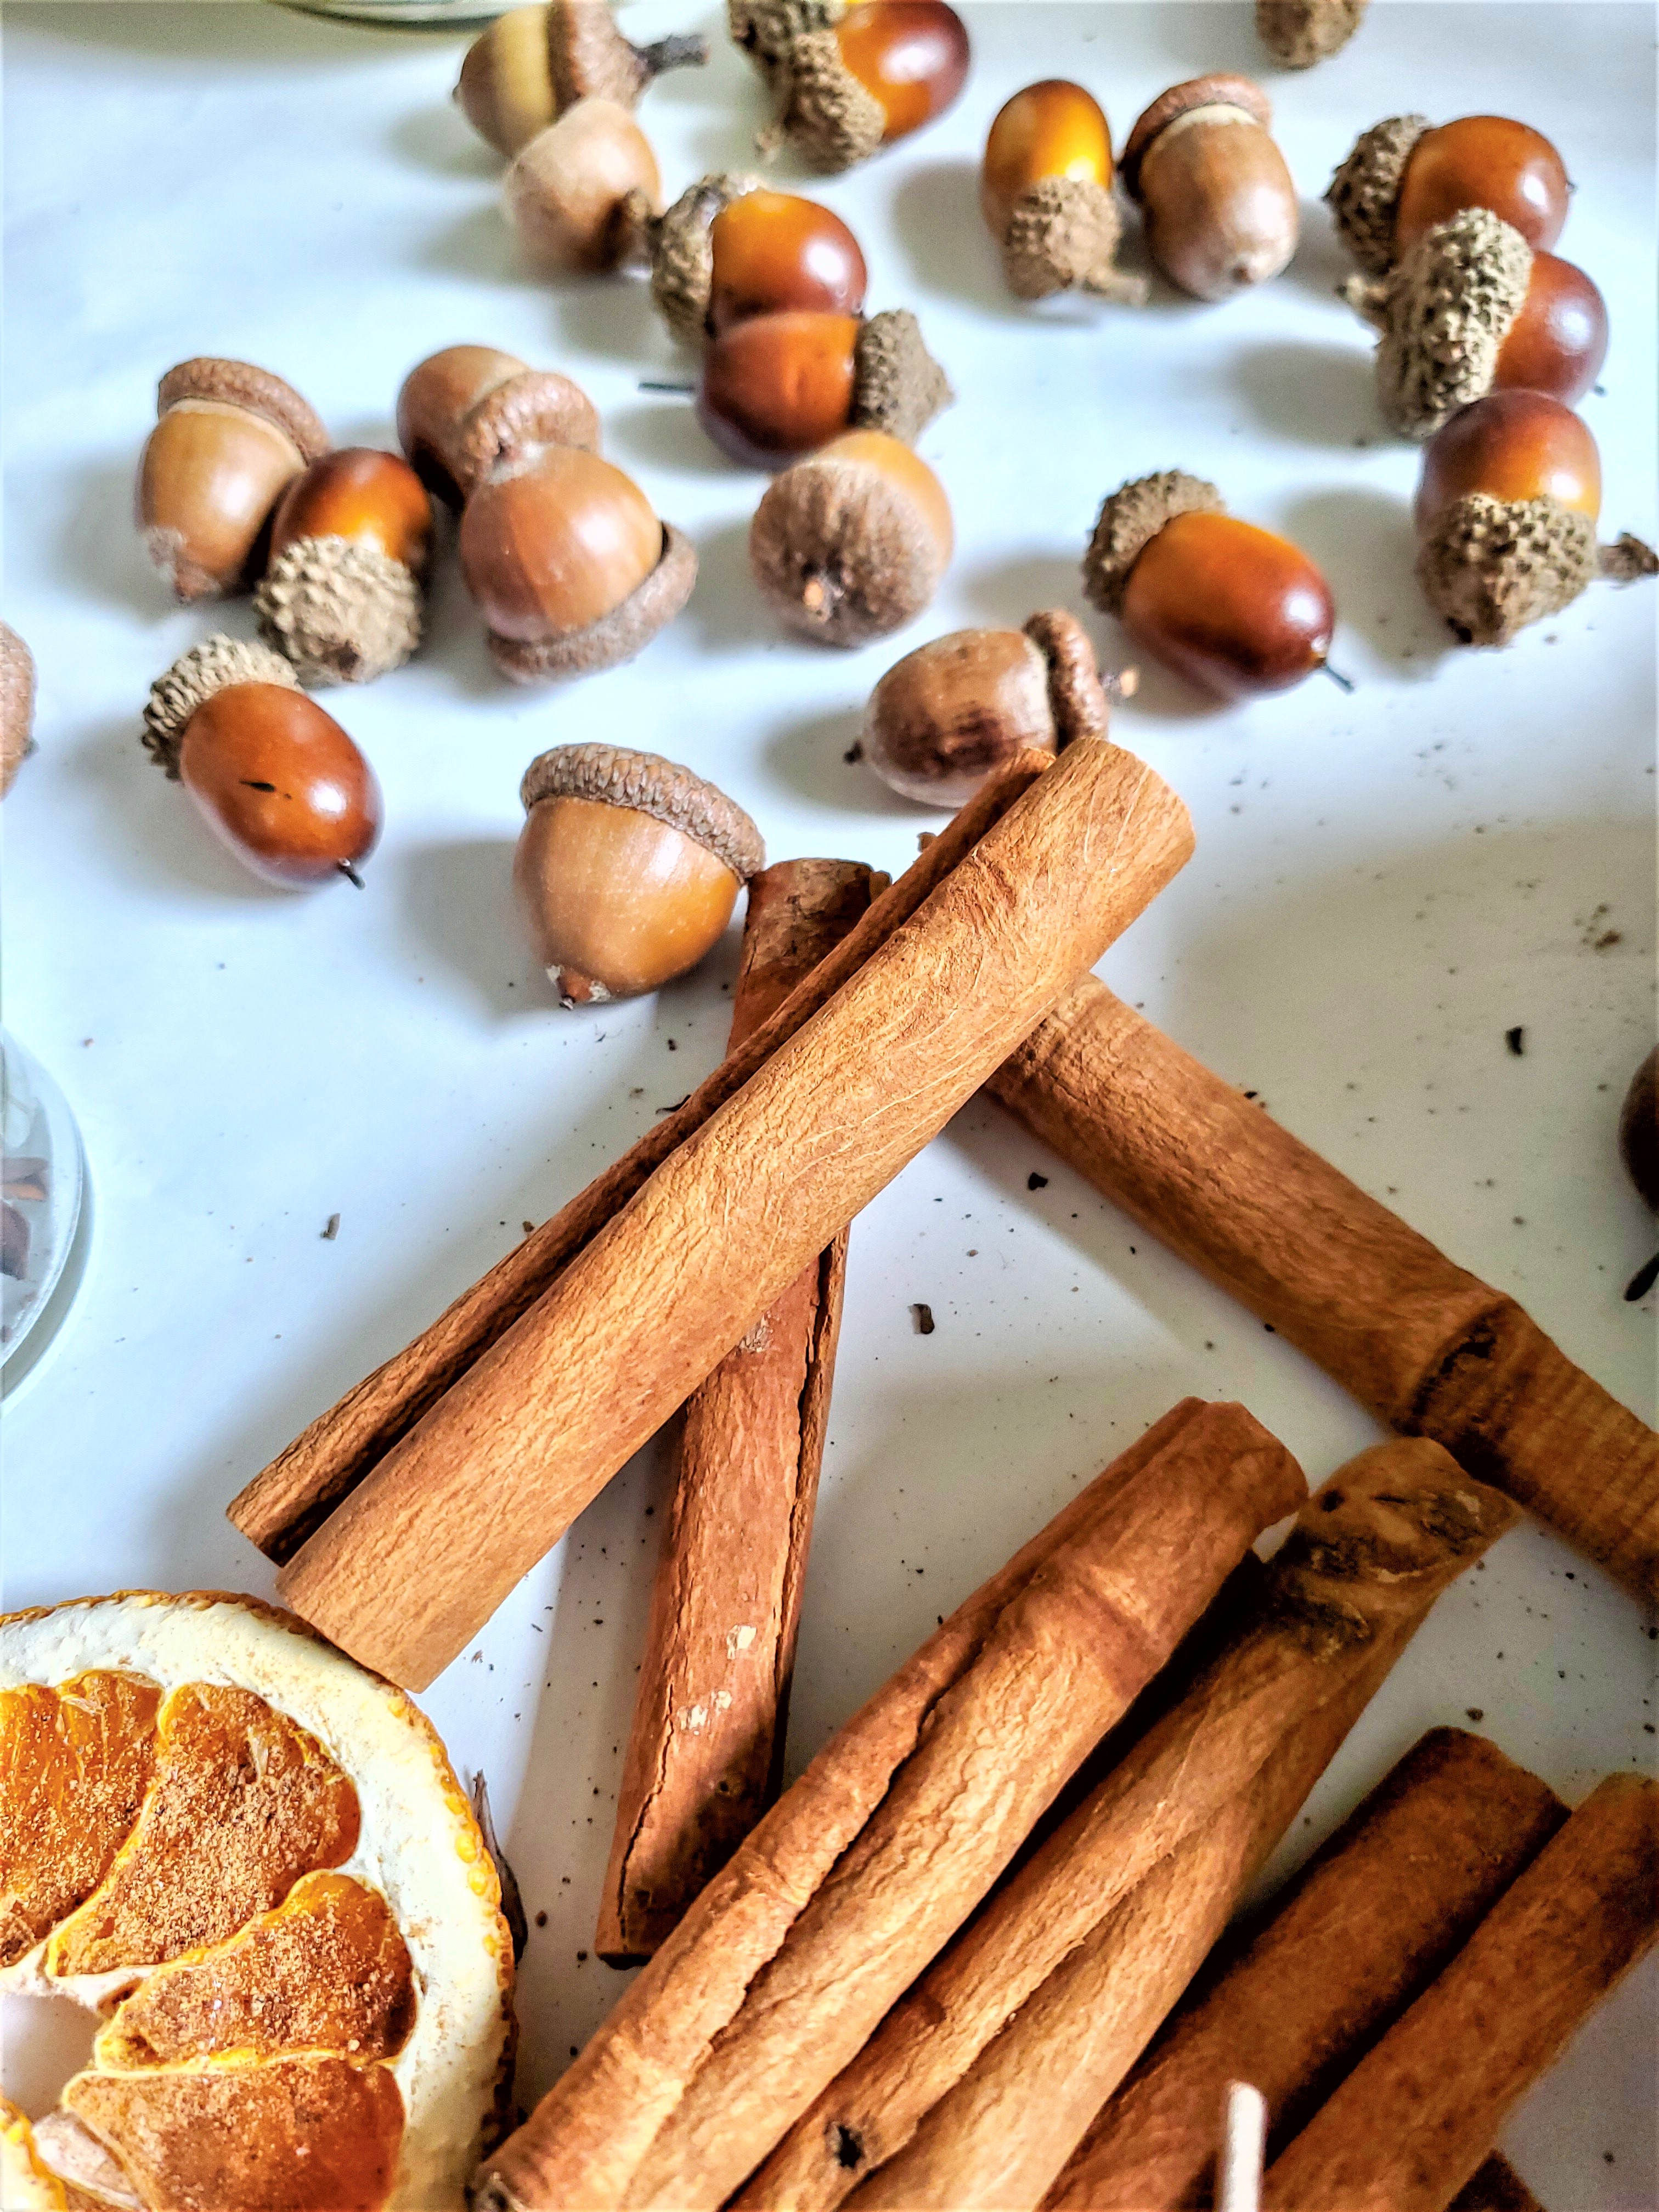
- cinnamon sticks
- acorns
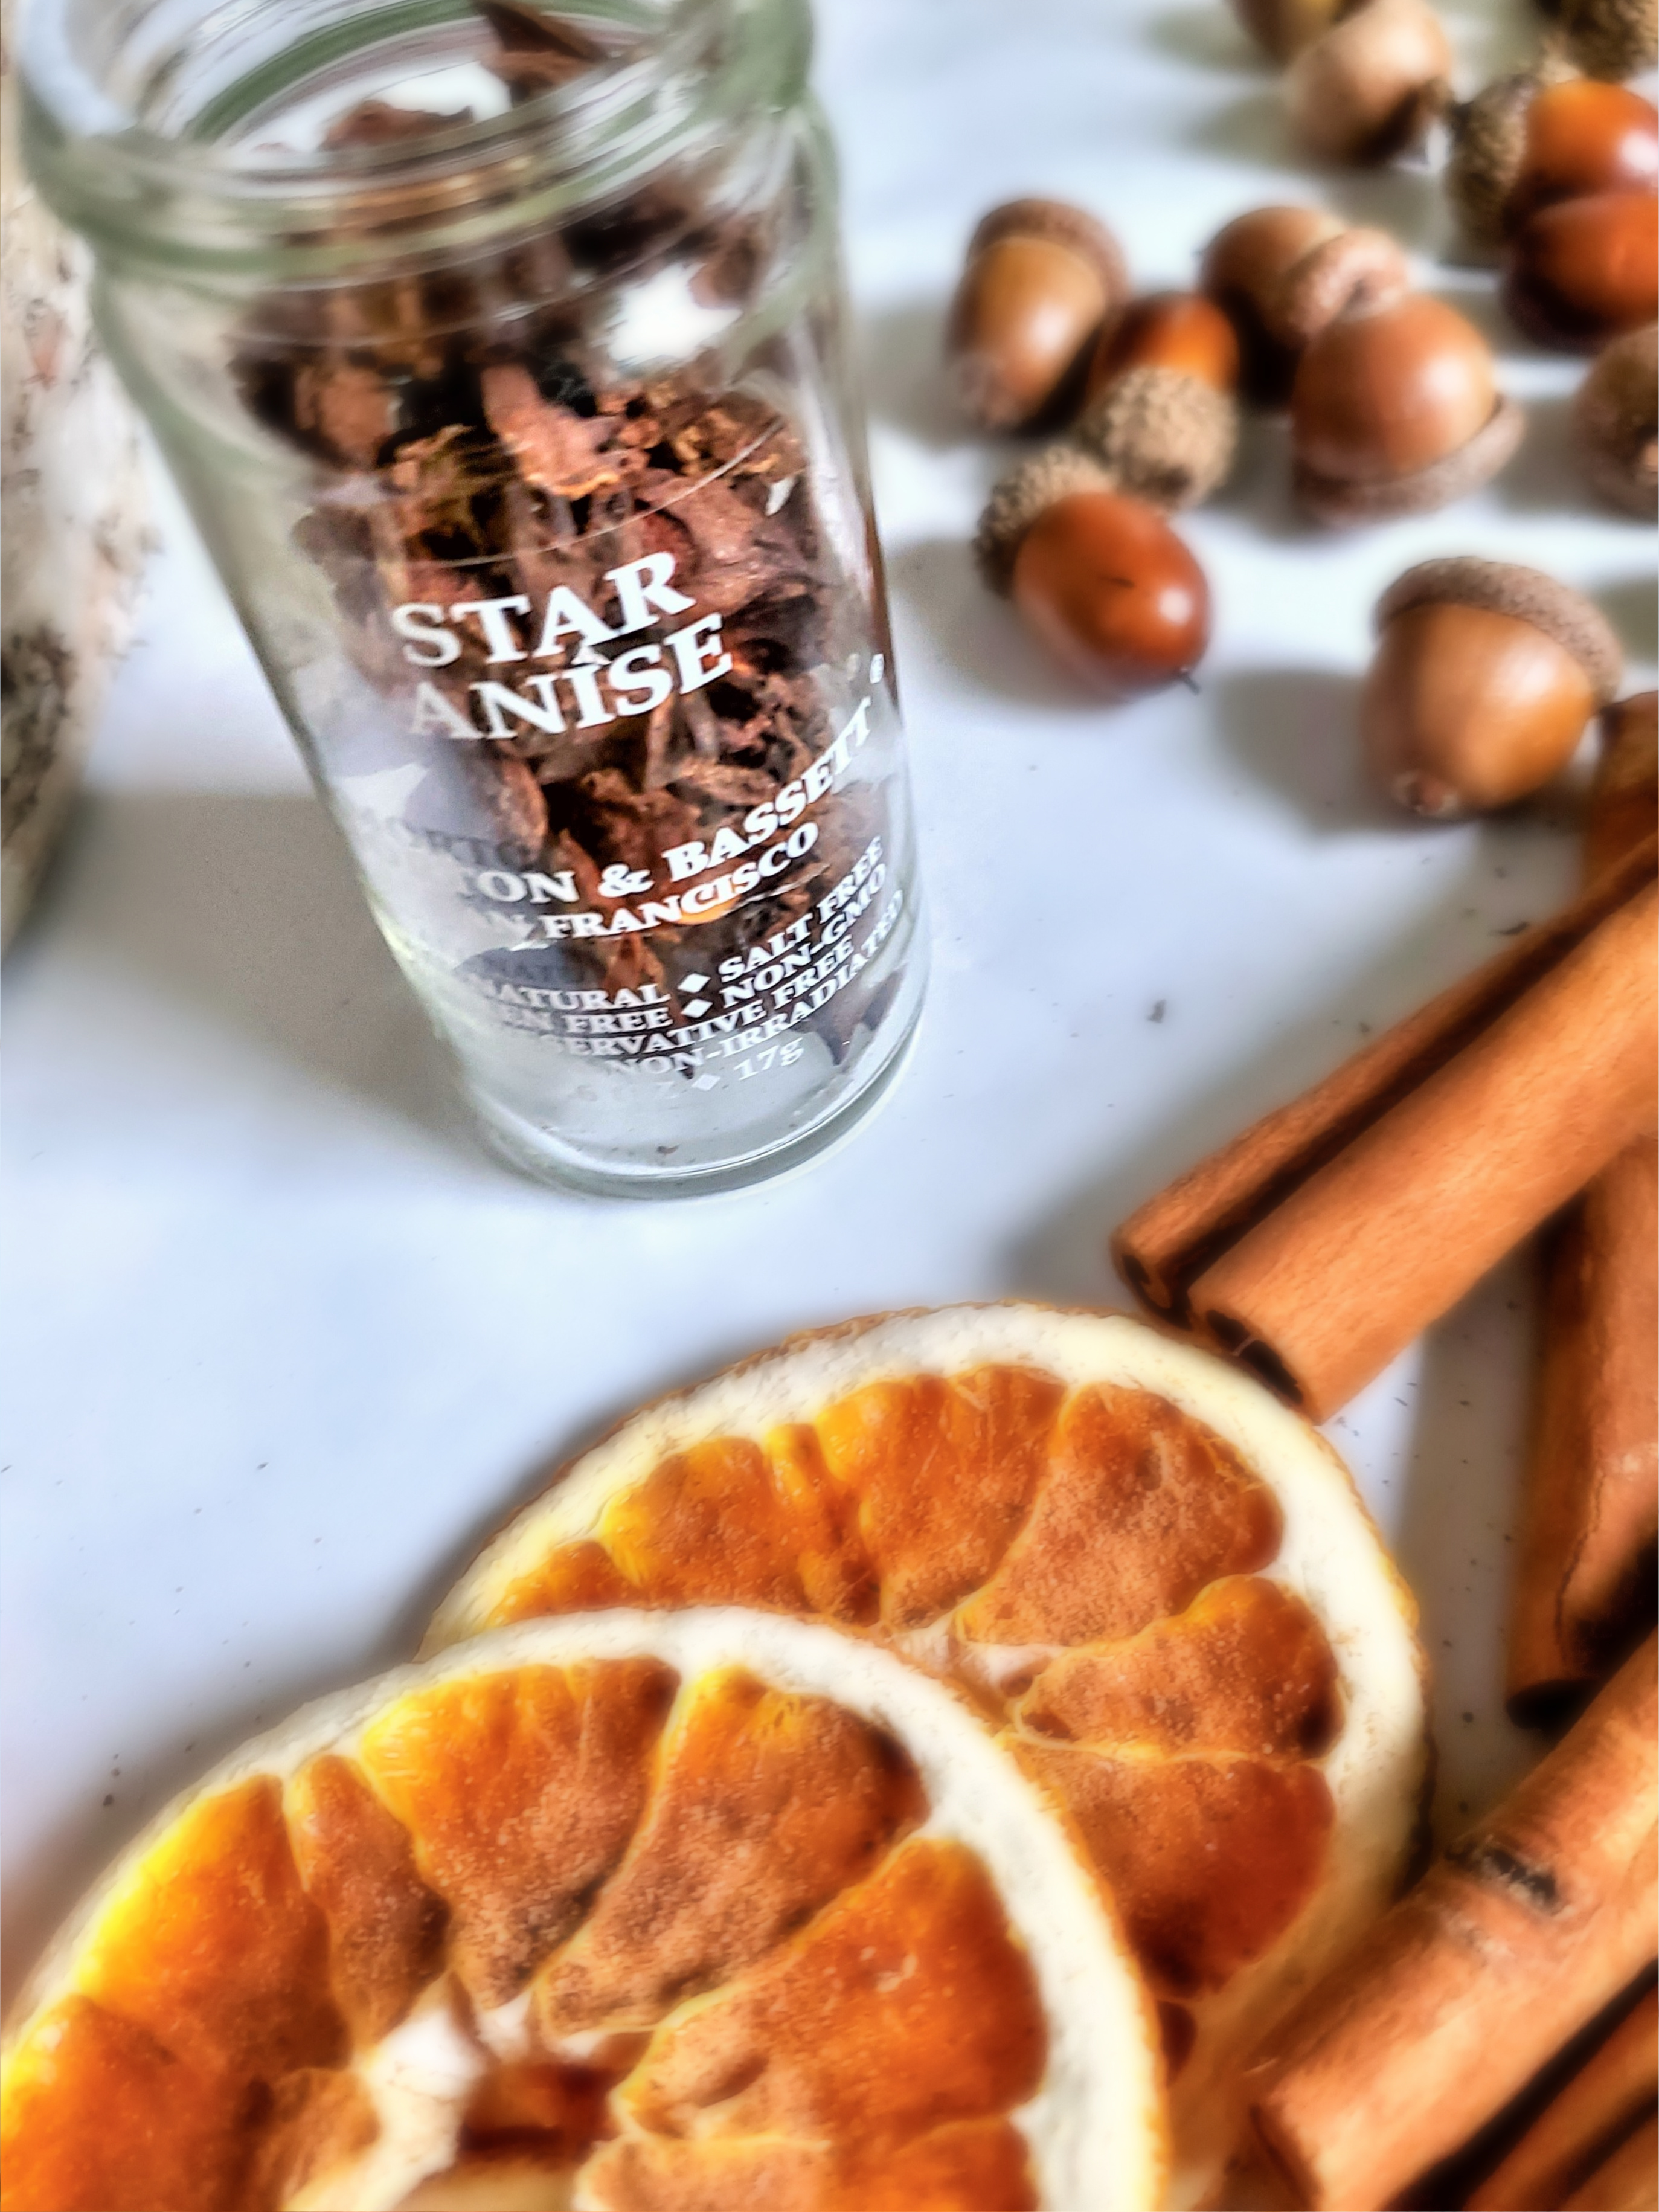
- star Anise
- paint brush
- floral wire (optional)
- glue pot (optional)
Step 1: Painting the Walnuts Adds Sparkle to the Entire Wreath
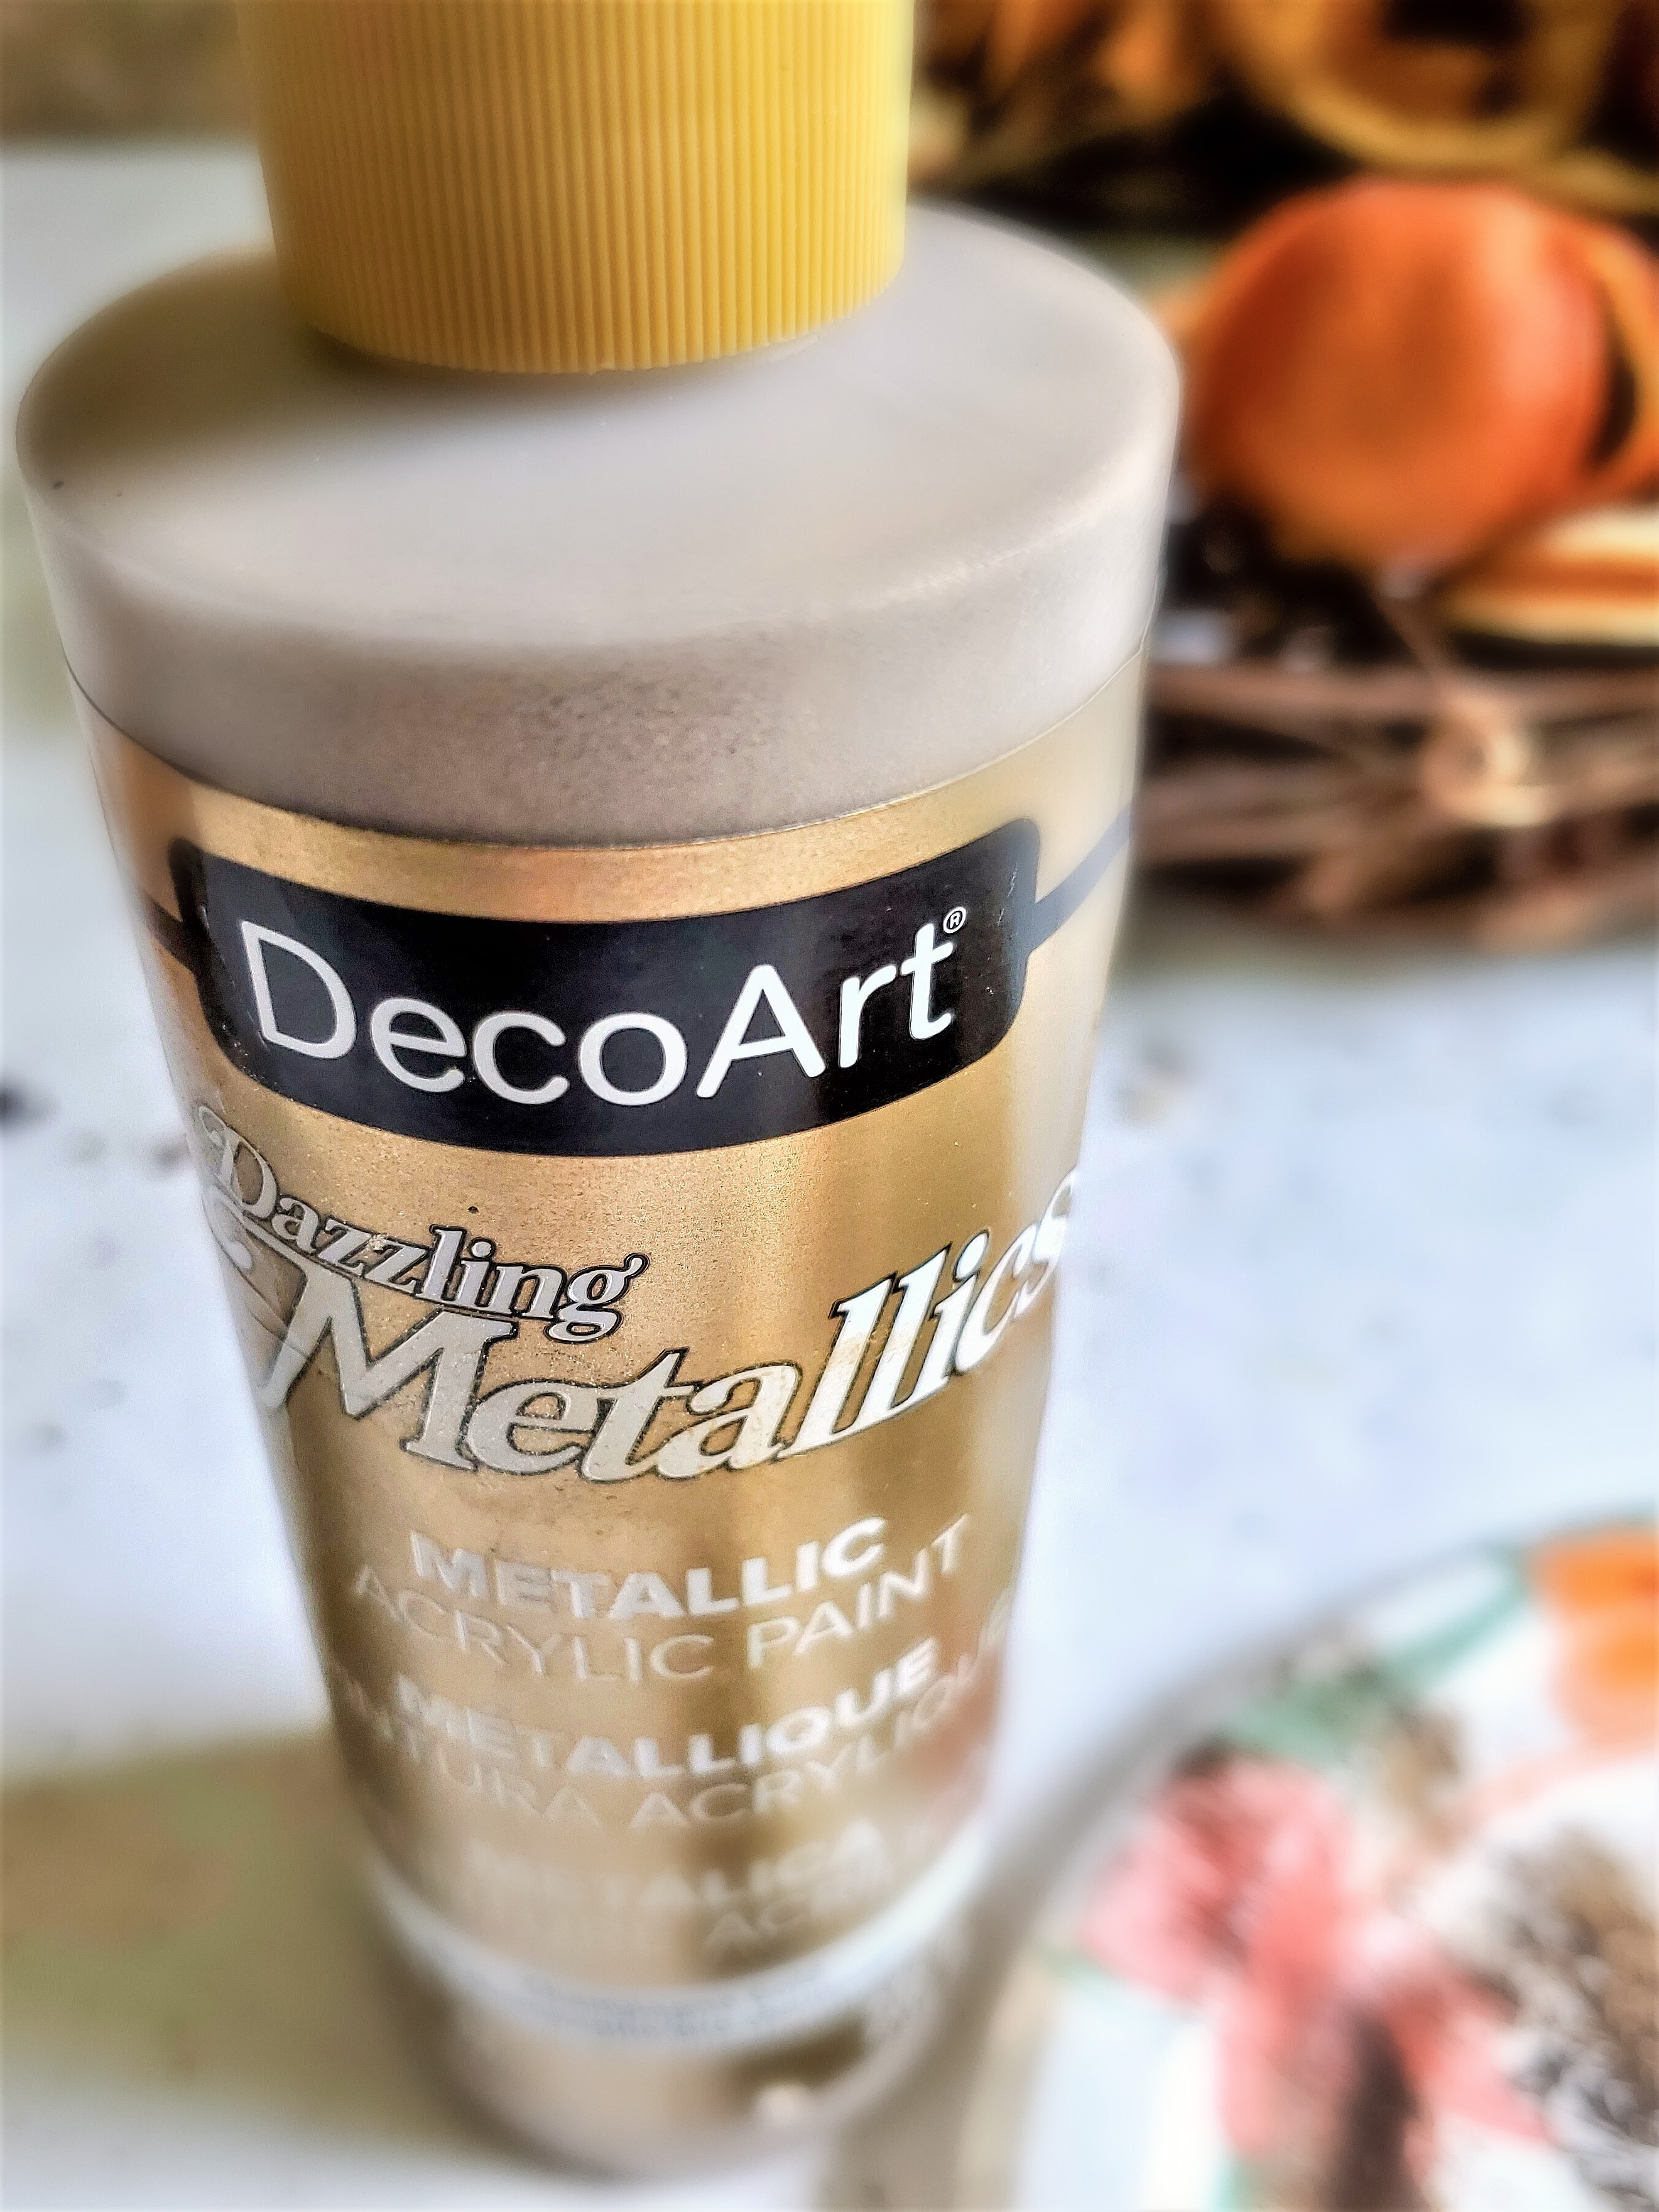
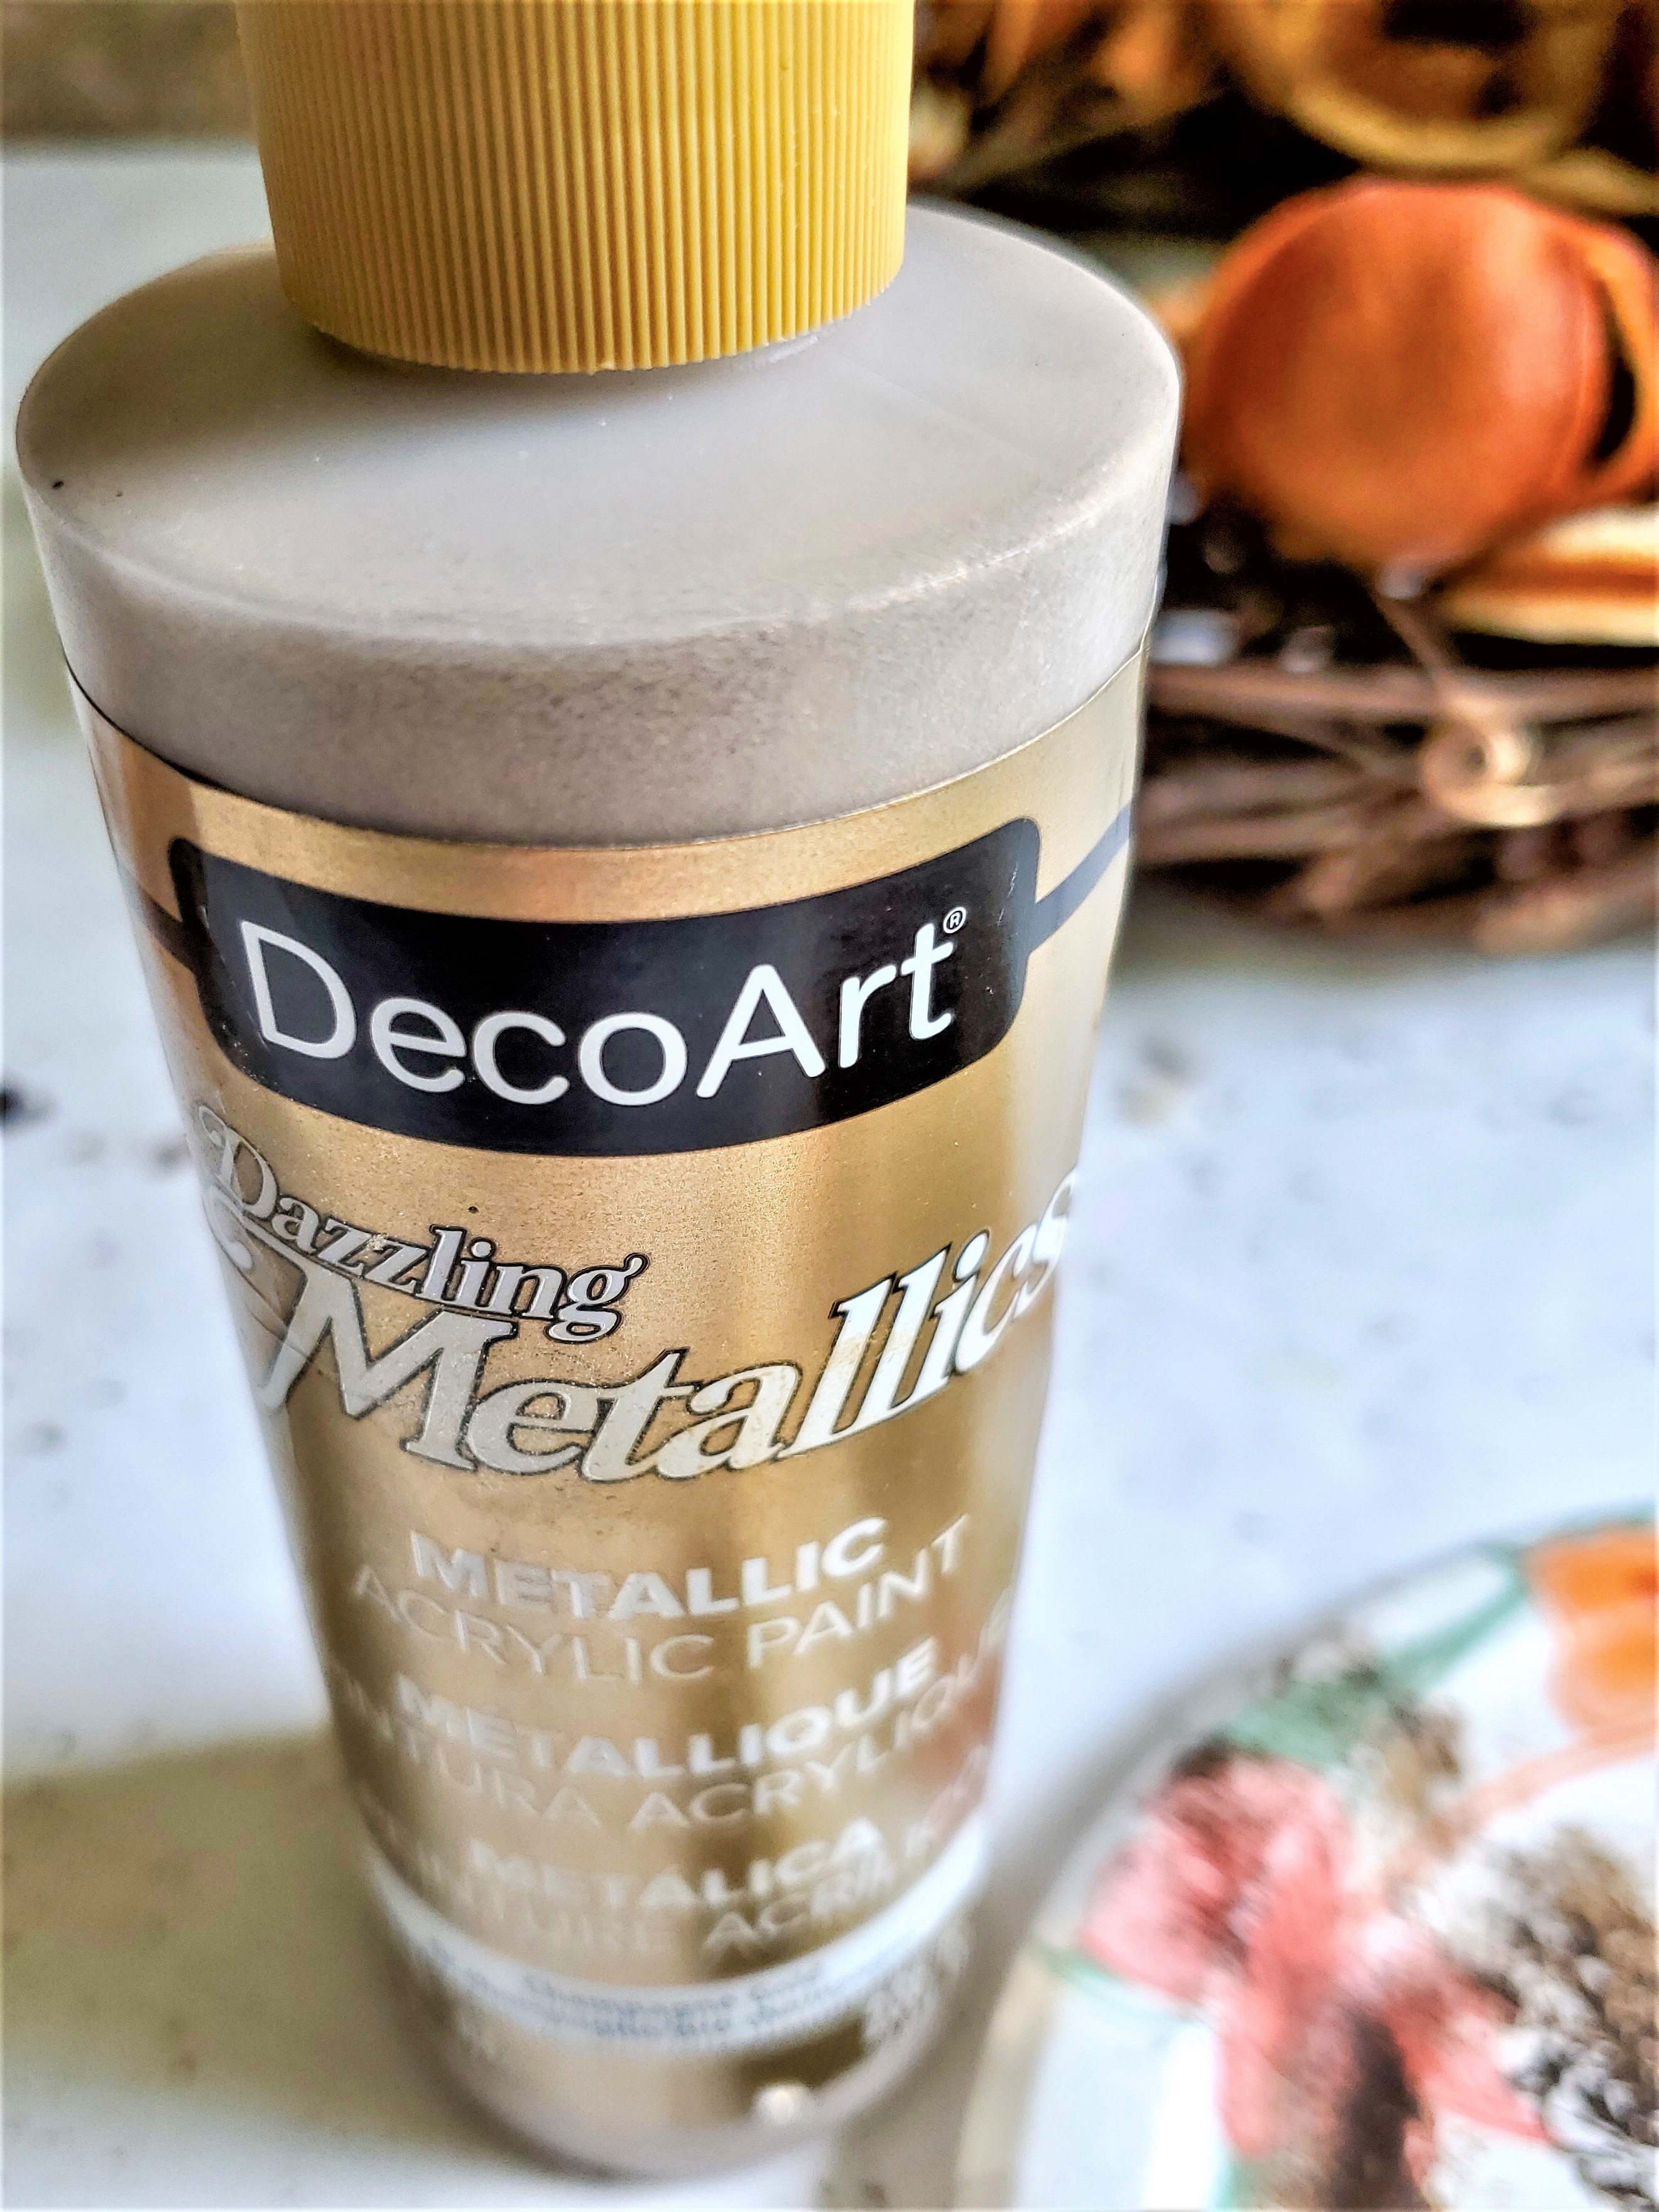
Start gilding walnuts using champagne craft paint. It’s best to make this orange slice wreath on a flat surface.
Step 2: Glue the Dry Citrus Slices to the Base
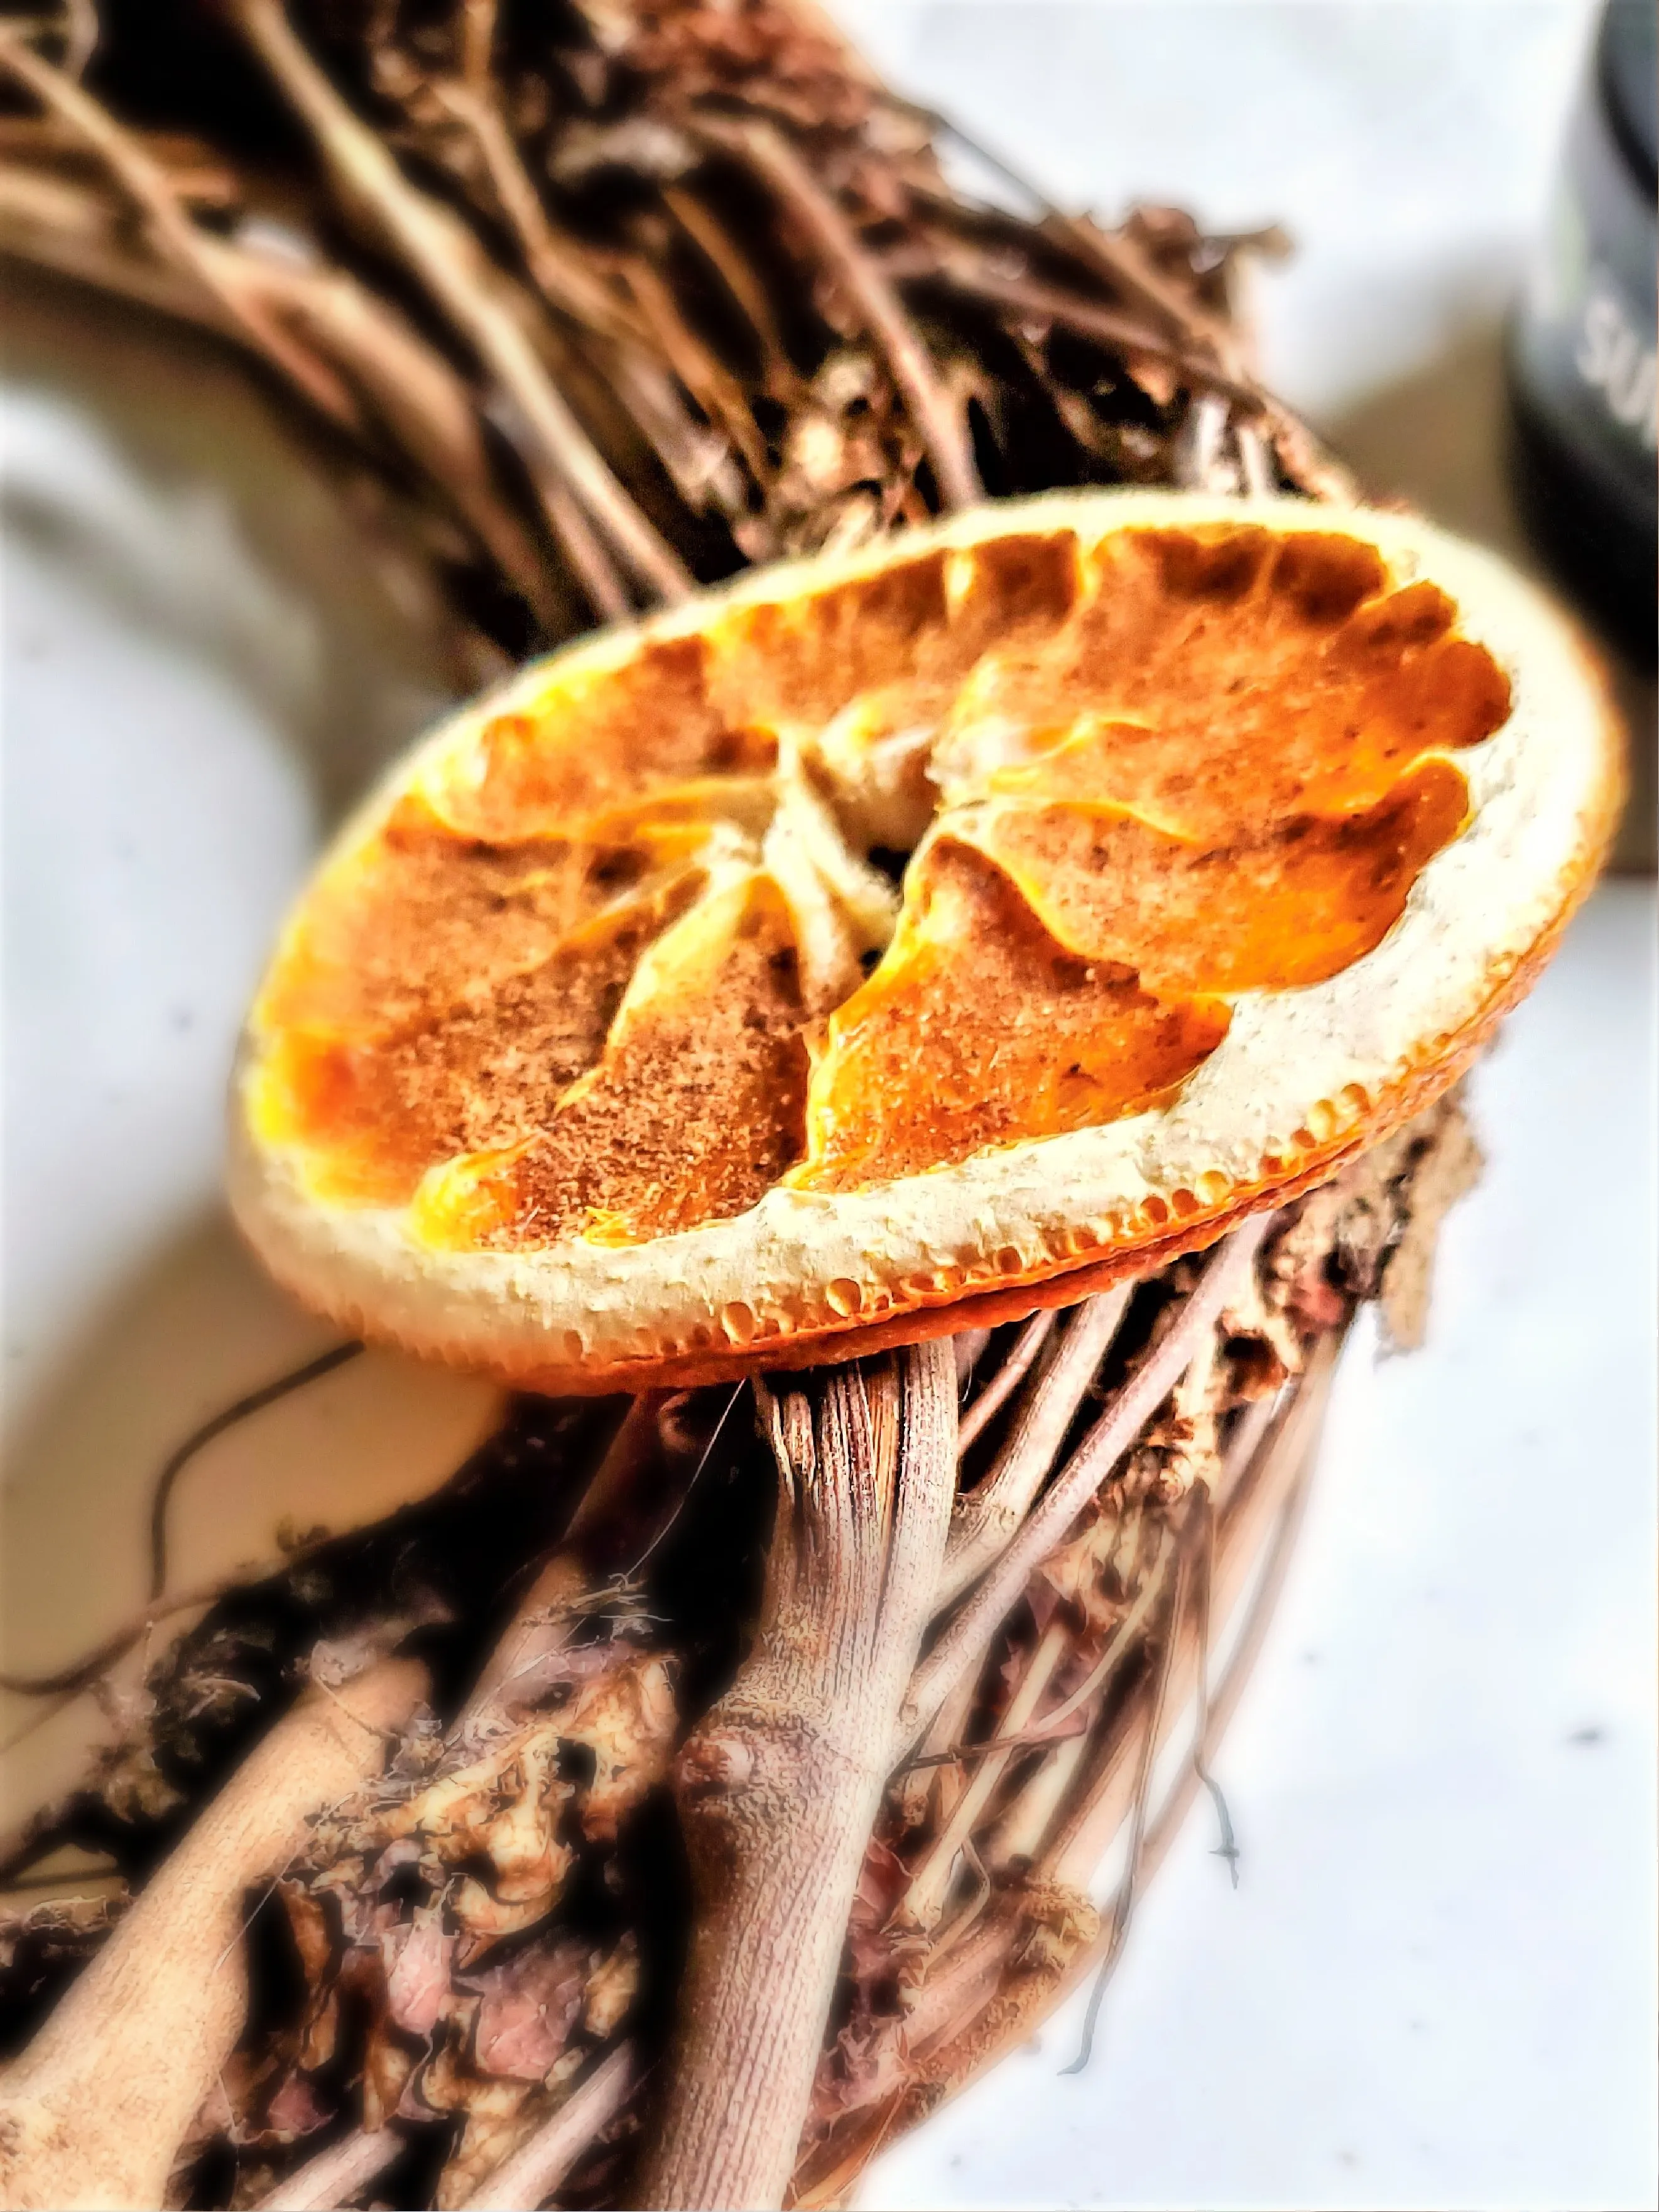
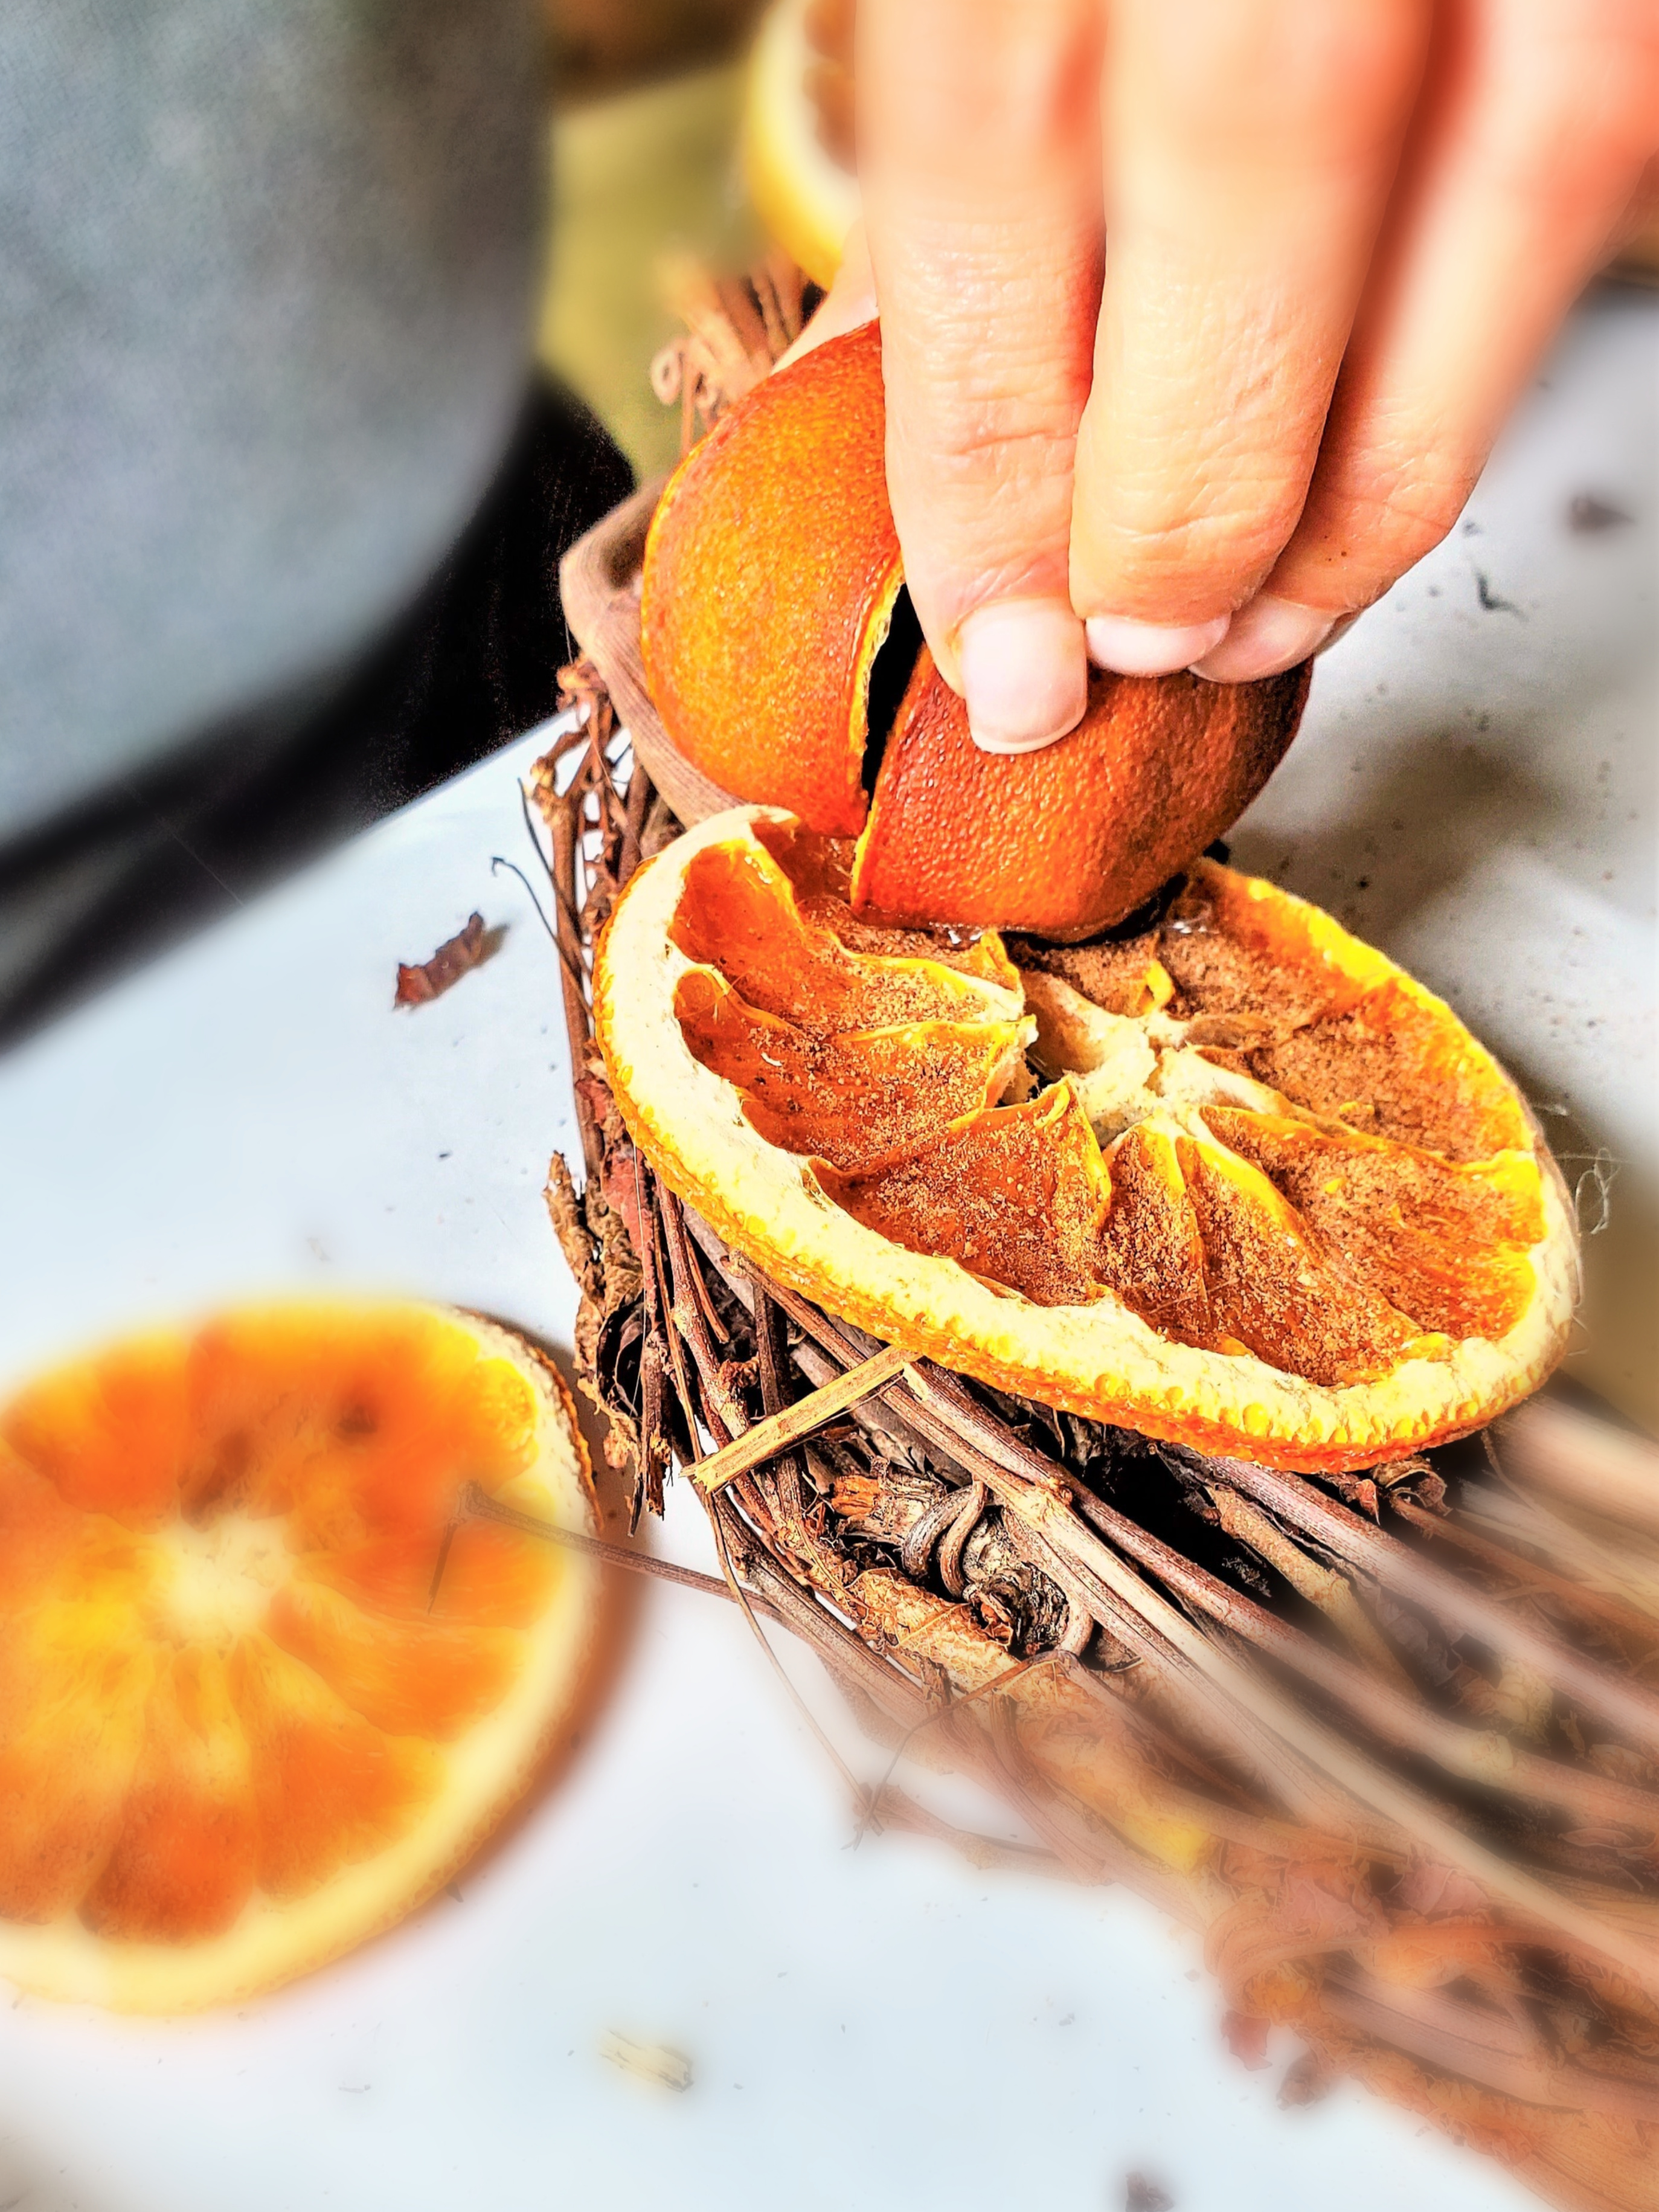
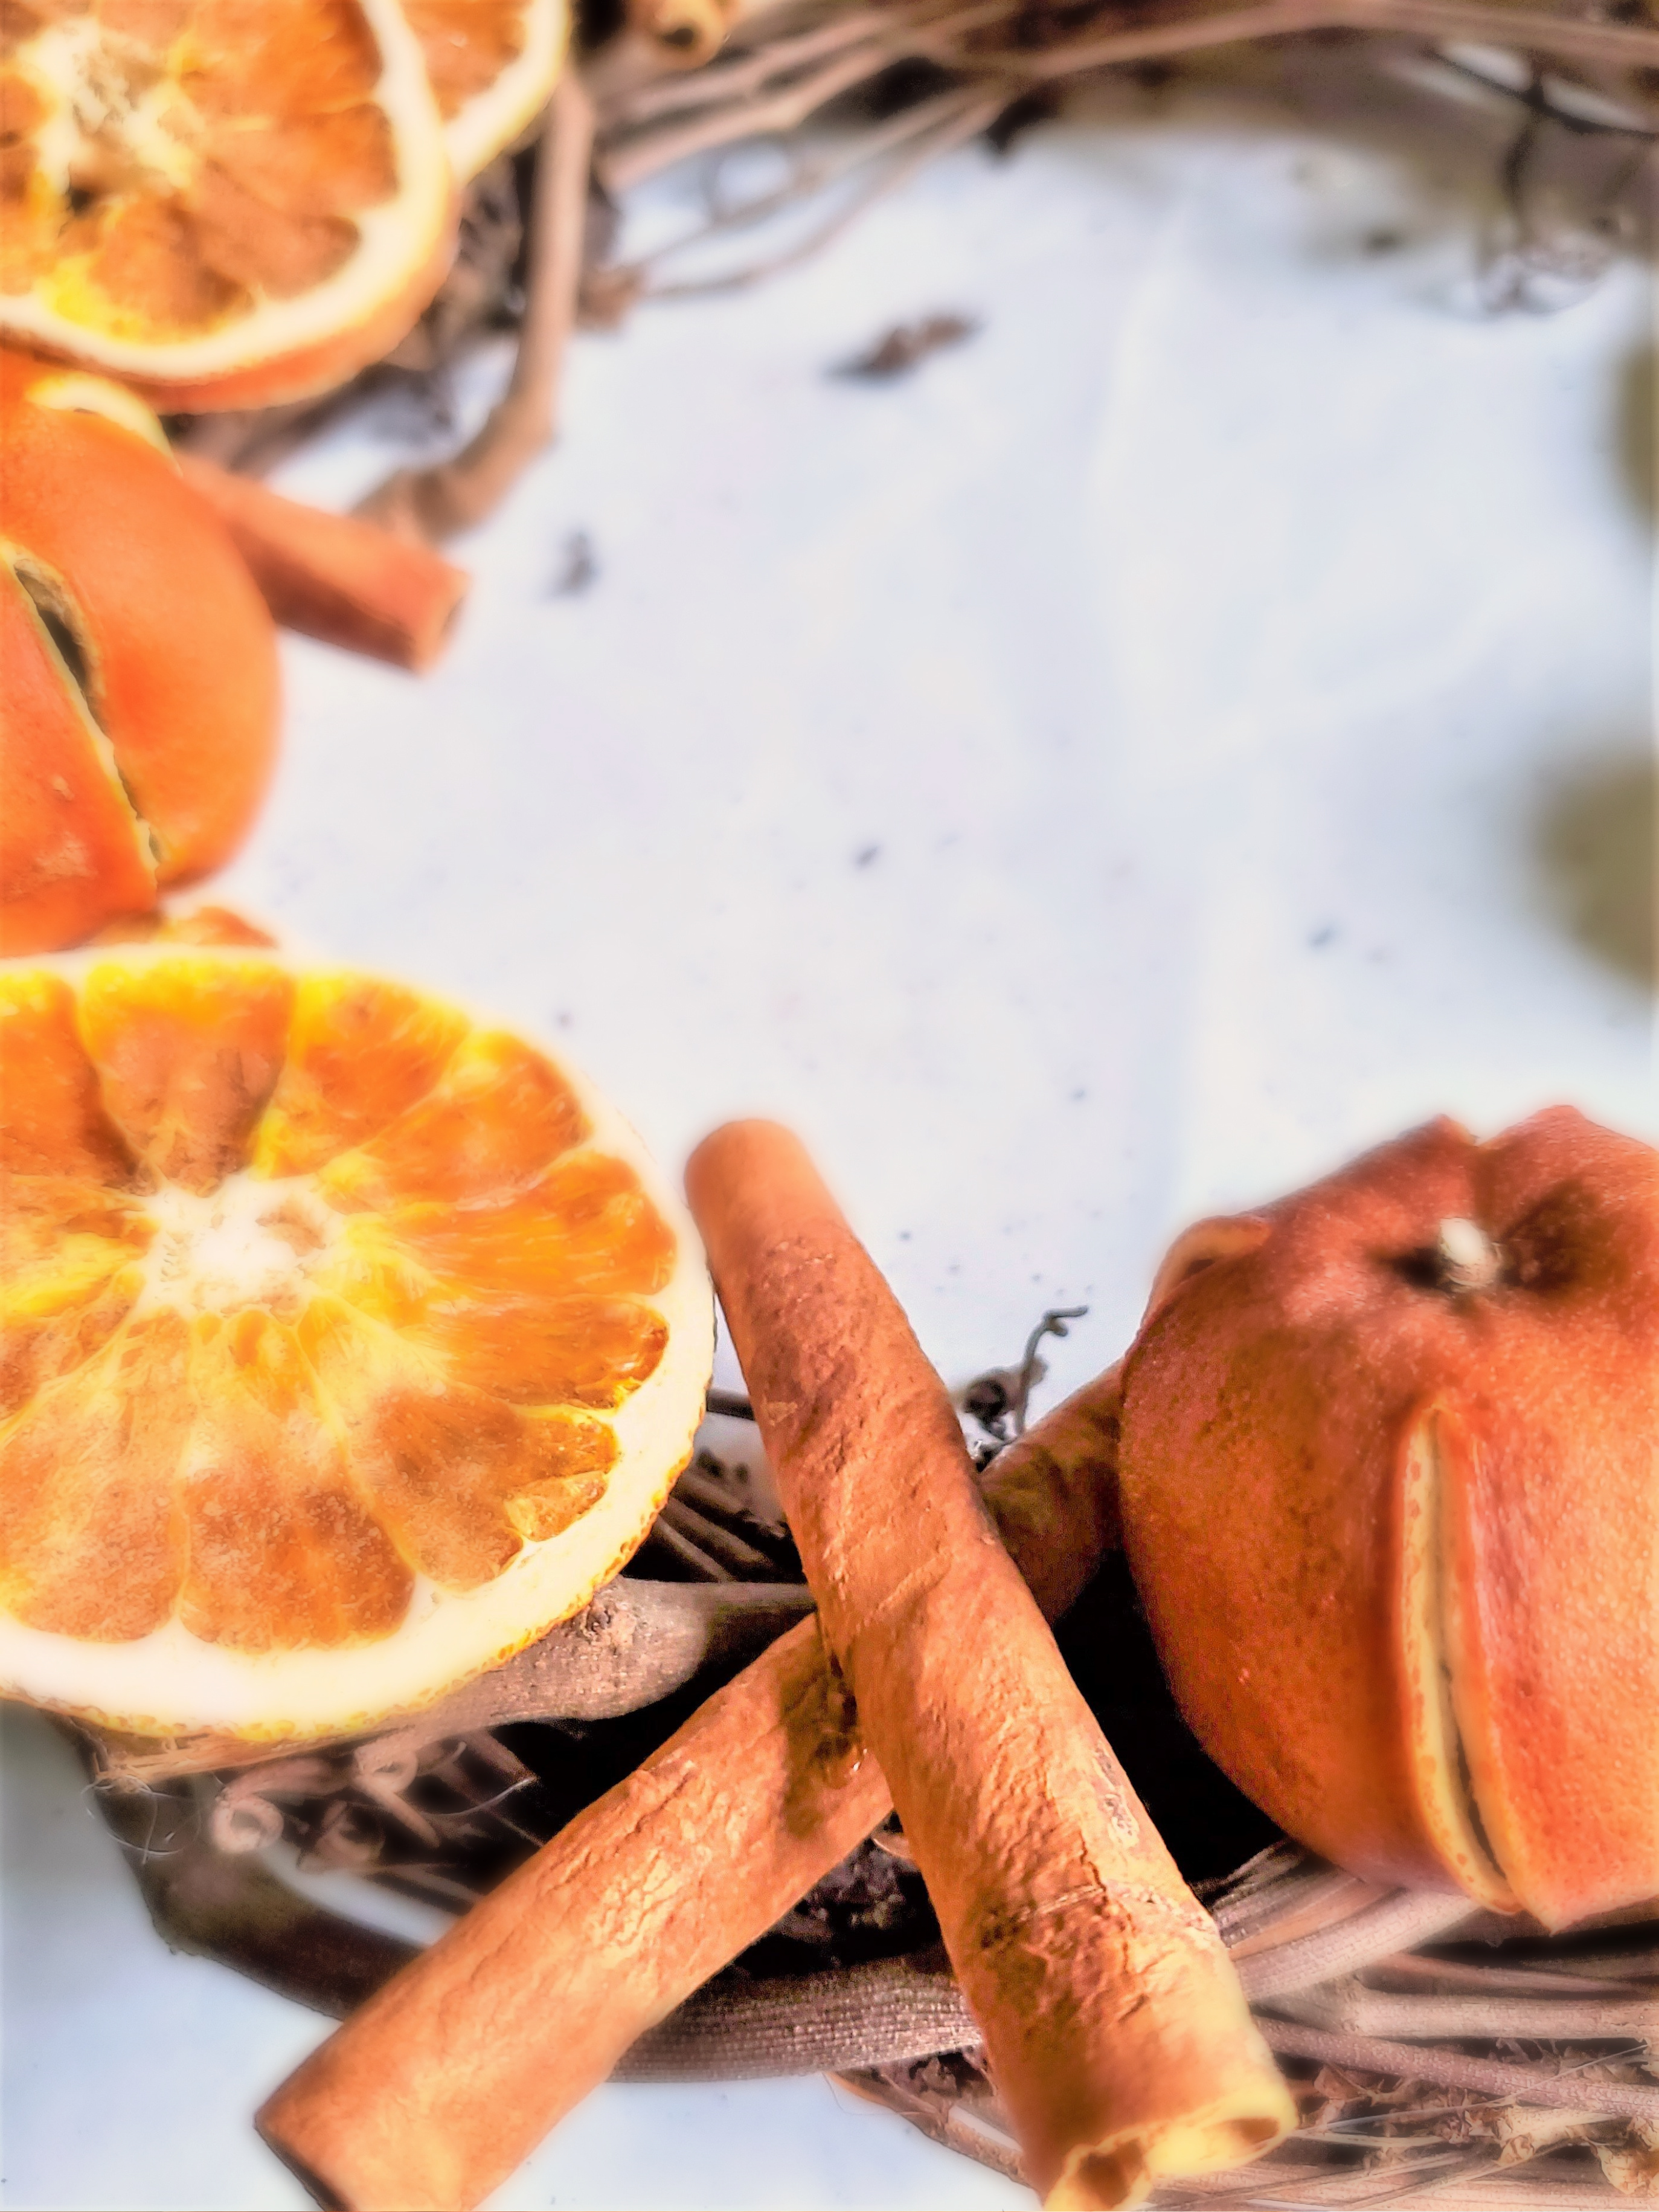
First step use a hot glue set on low temperature and add sliced oranges in smaller sections on top of the wreath.
Another great way to attach dried citrus slices is to use a clear fishing line or a piece of florist wire. Make sure to pull the fishing line tight to keep each orange slice tight and flat,
Editor’s Tip: When using a glue gun keep children and pets away to avoid burns.
Step 3: The Glue Pot: Attaching Whole Mandarin Oranges
Typically, I would utilize my glue gun to attach the oranges for this DIY Christmas wreath. However, I recently decided to experiment with a new product offered by Surebonder, and I must say, I am impressed. This product has exceeded my expectations and I bought a larger size last year. It provides a secure and reliable hold, allowing me to incorporate the pieced onto this orange slice wreath.
Step 4: Adding Nature to Orange Slices
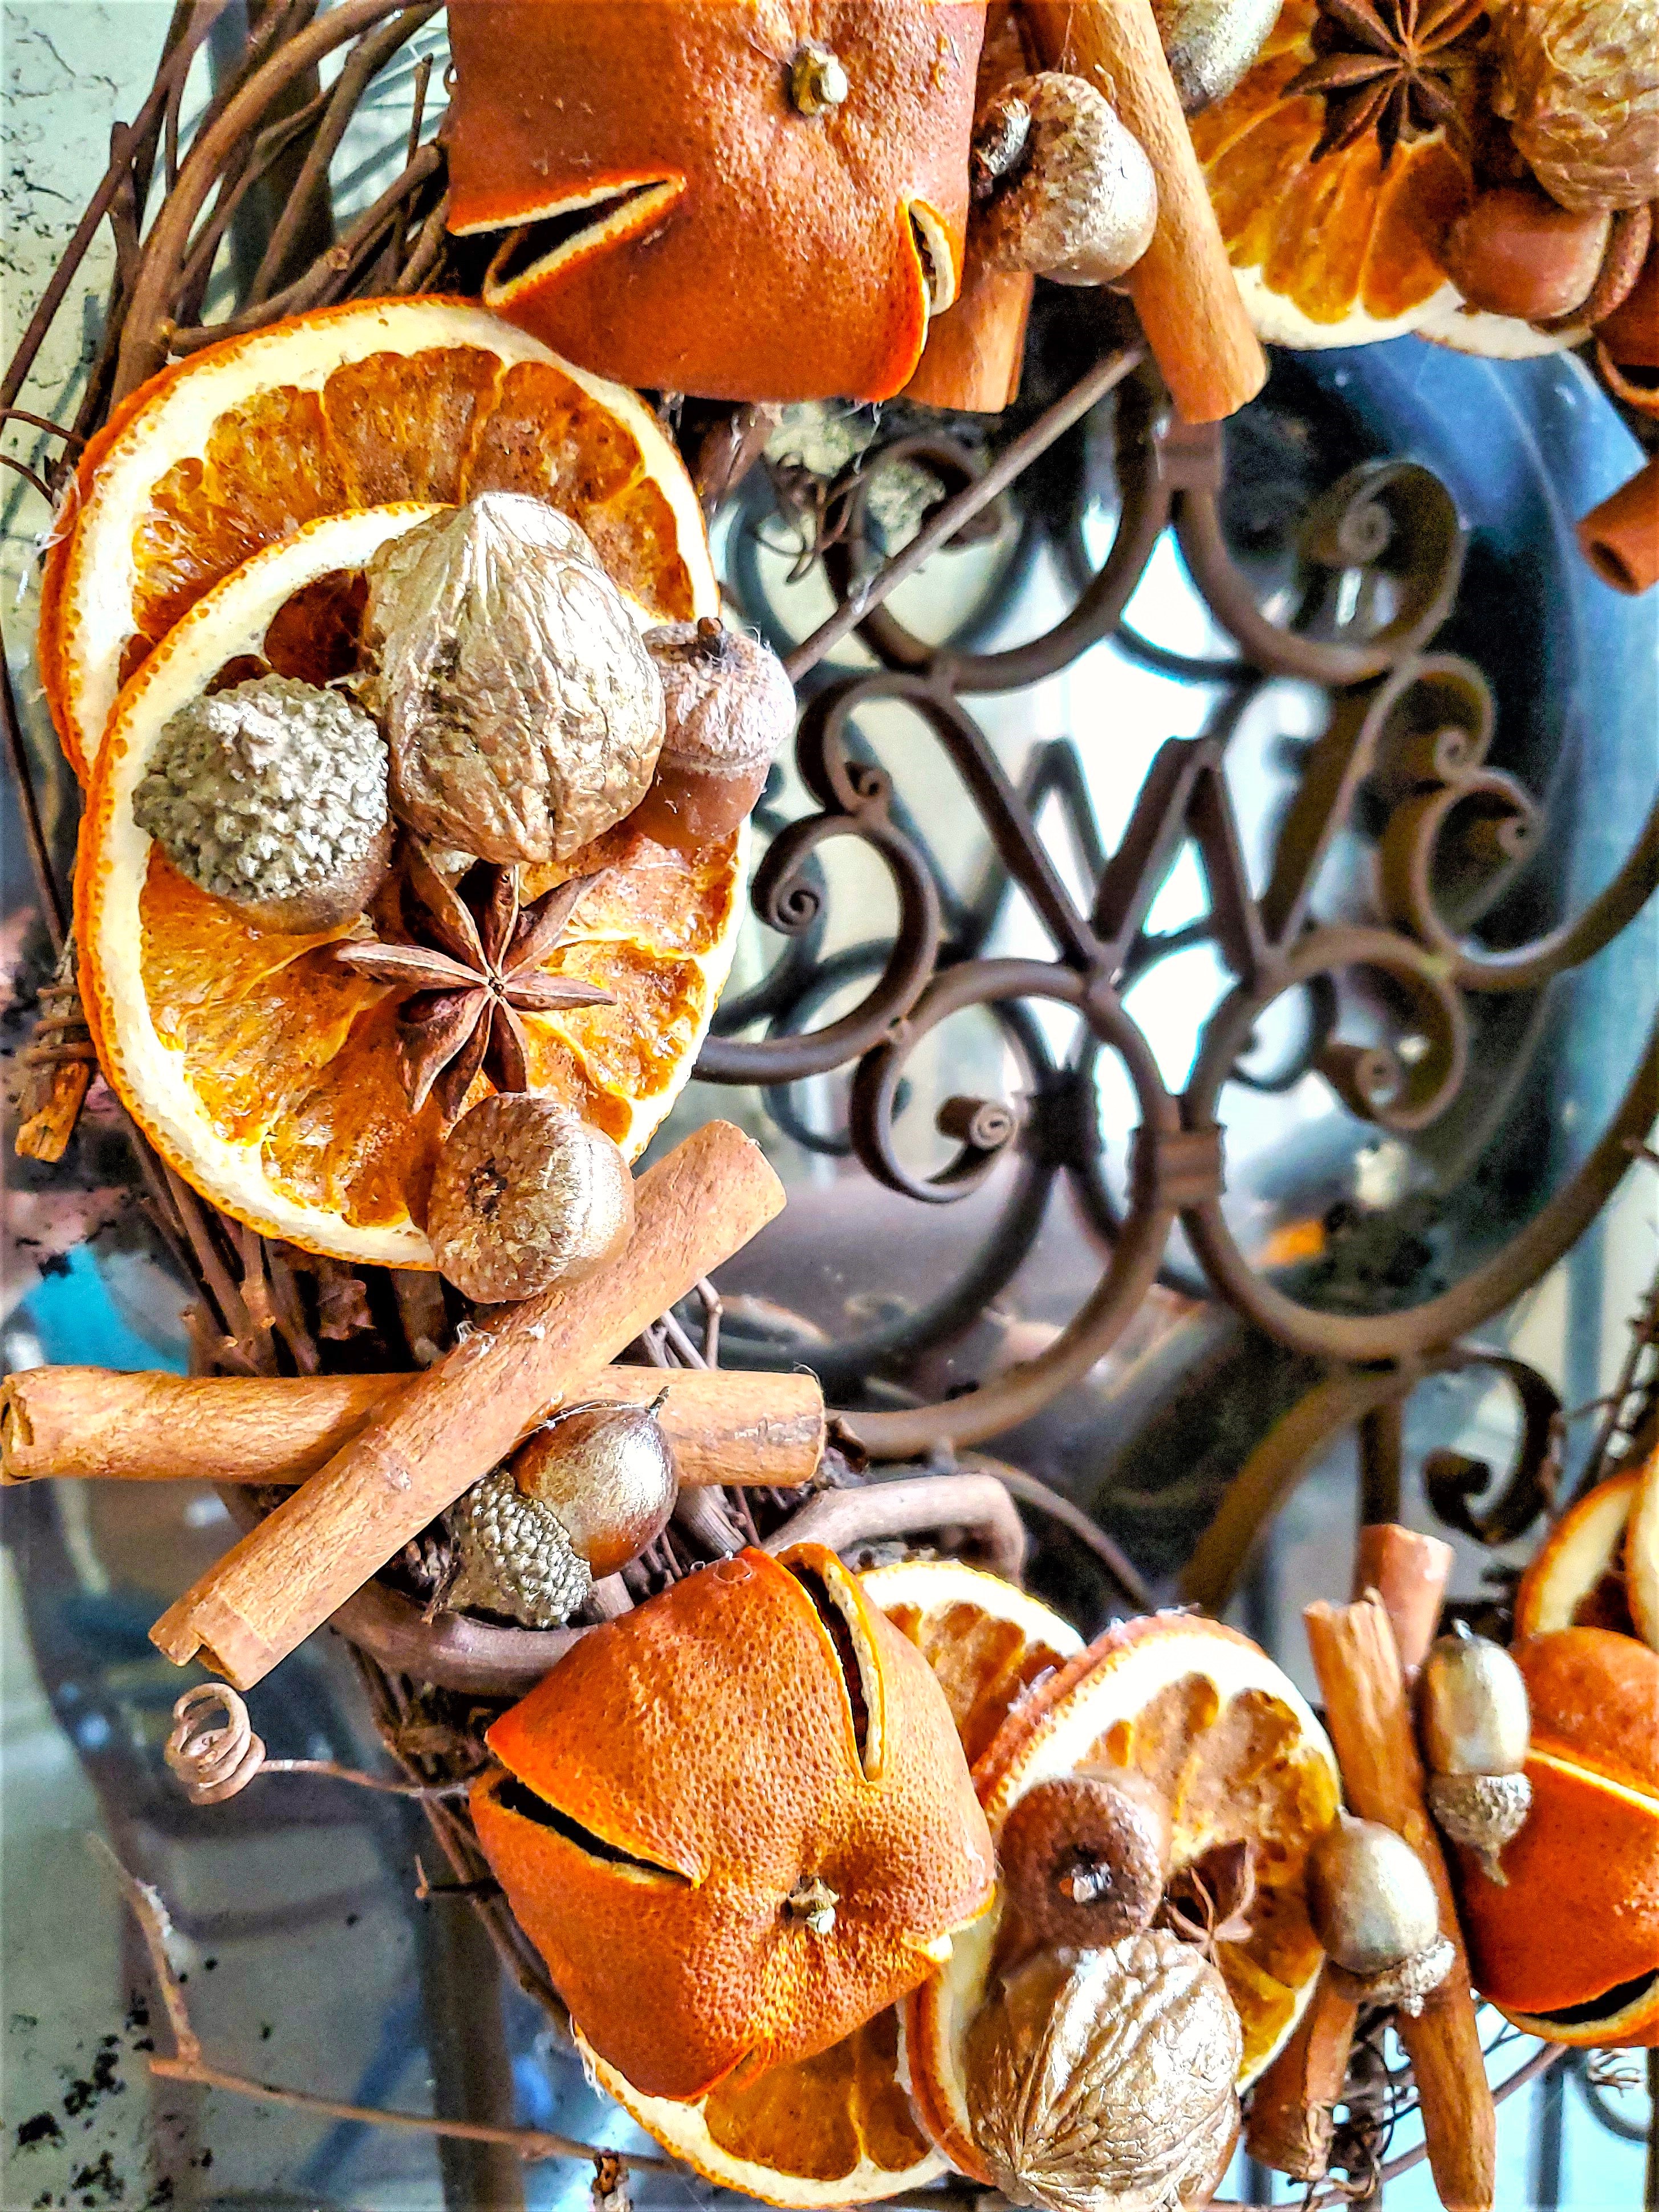
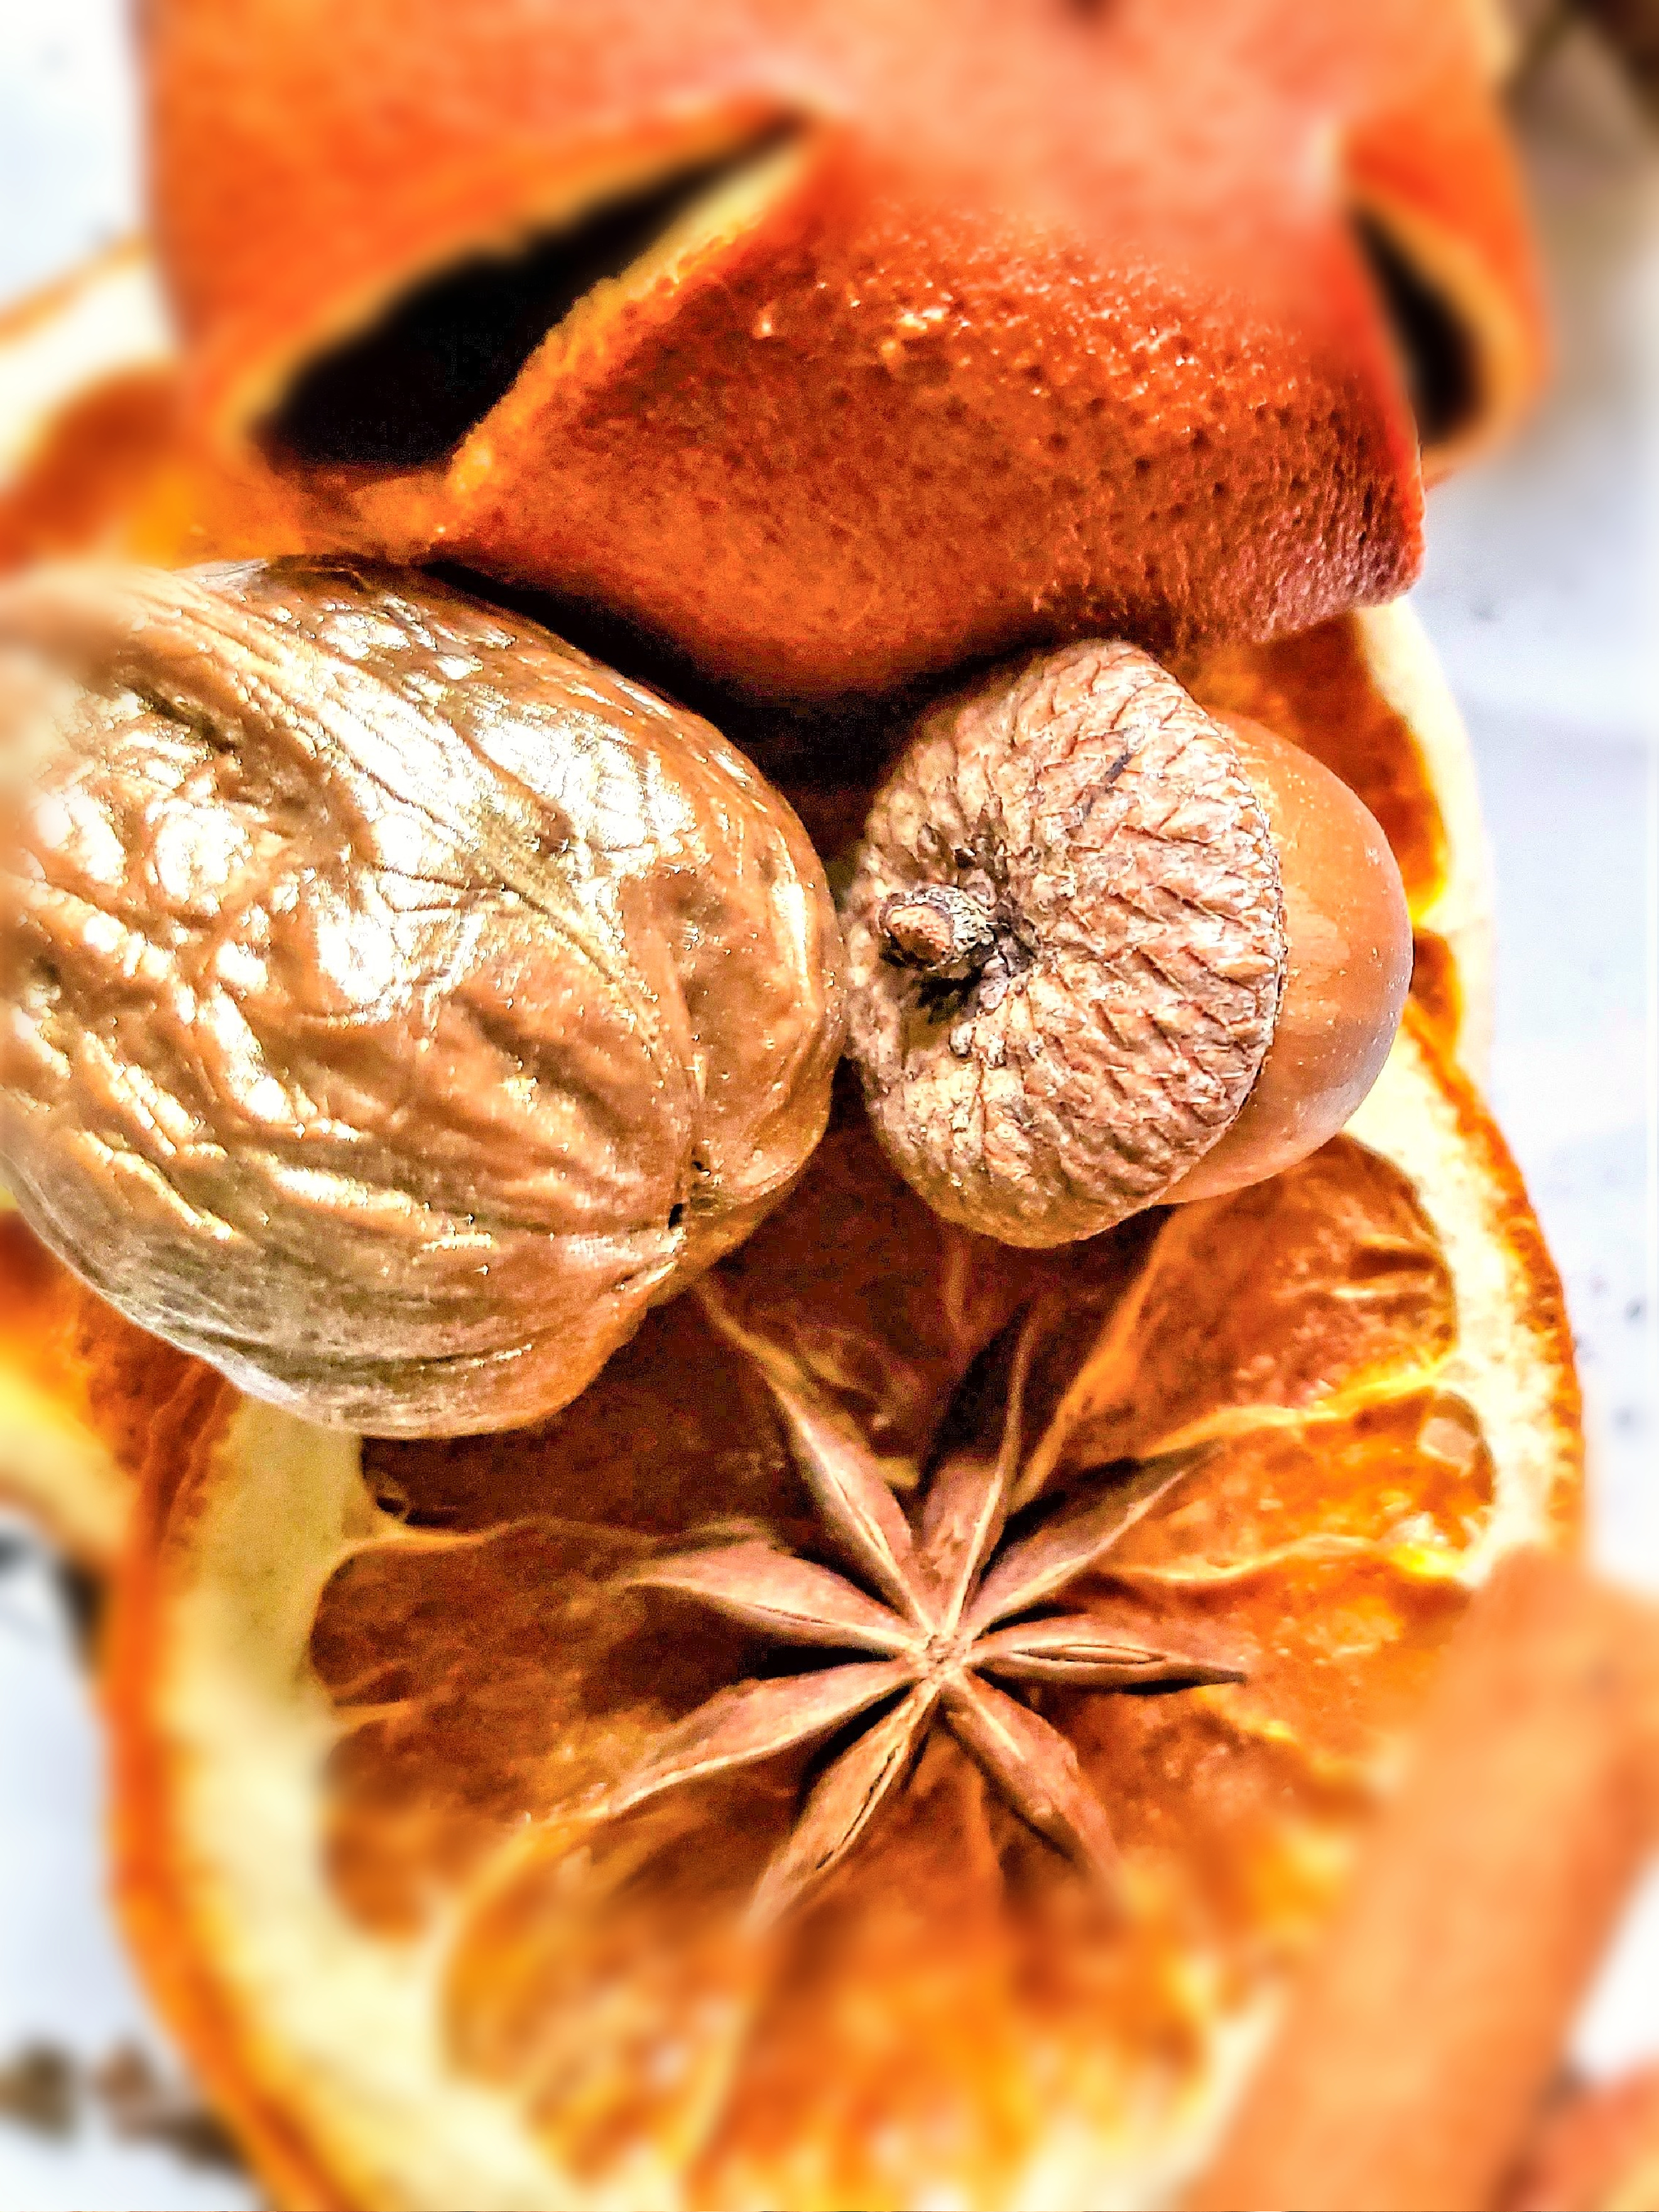
The paint of the walnuts and cinnamon is a beautiful addition to the oranges and adds another natural element and texture to the entire wreath.
Next, glue the walnuts nestling them beside the dried oranges.
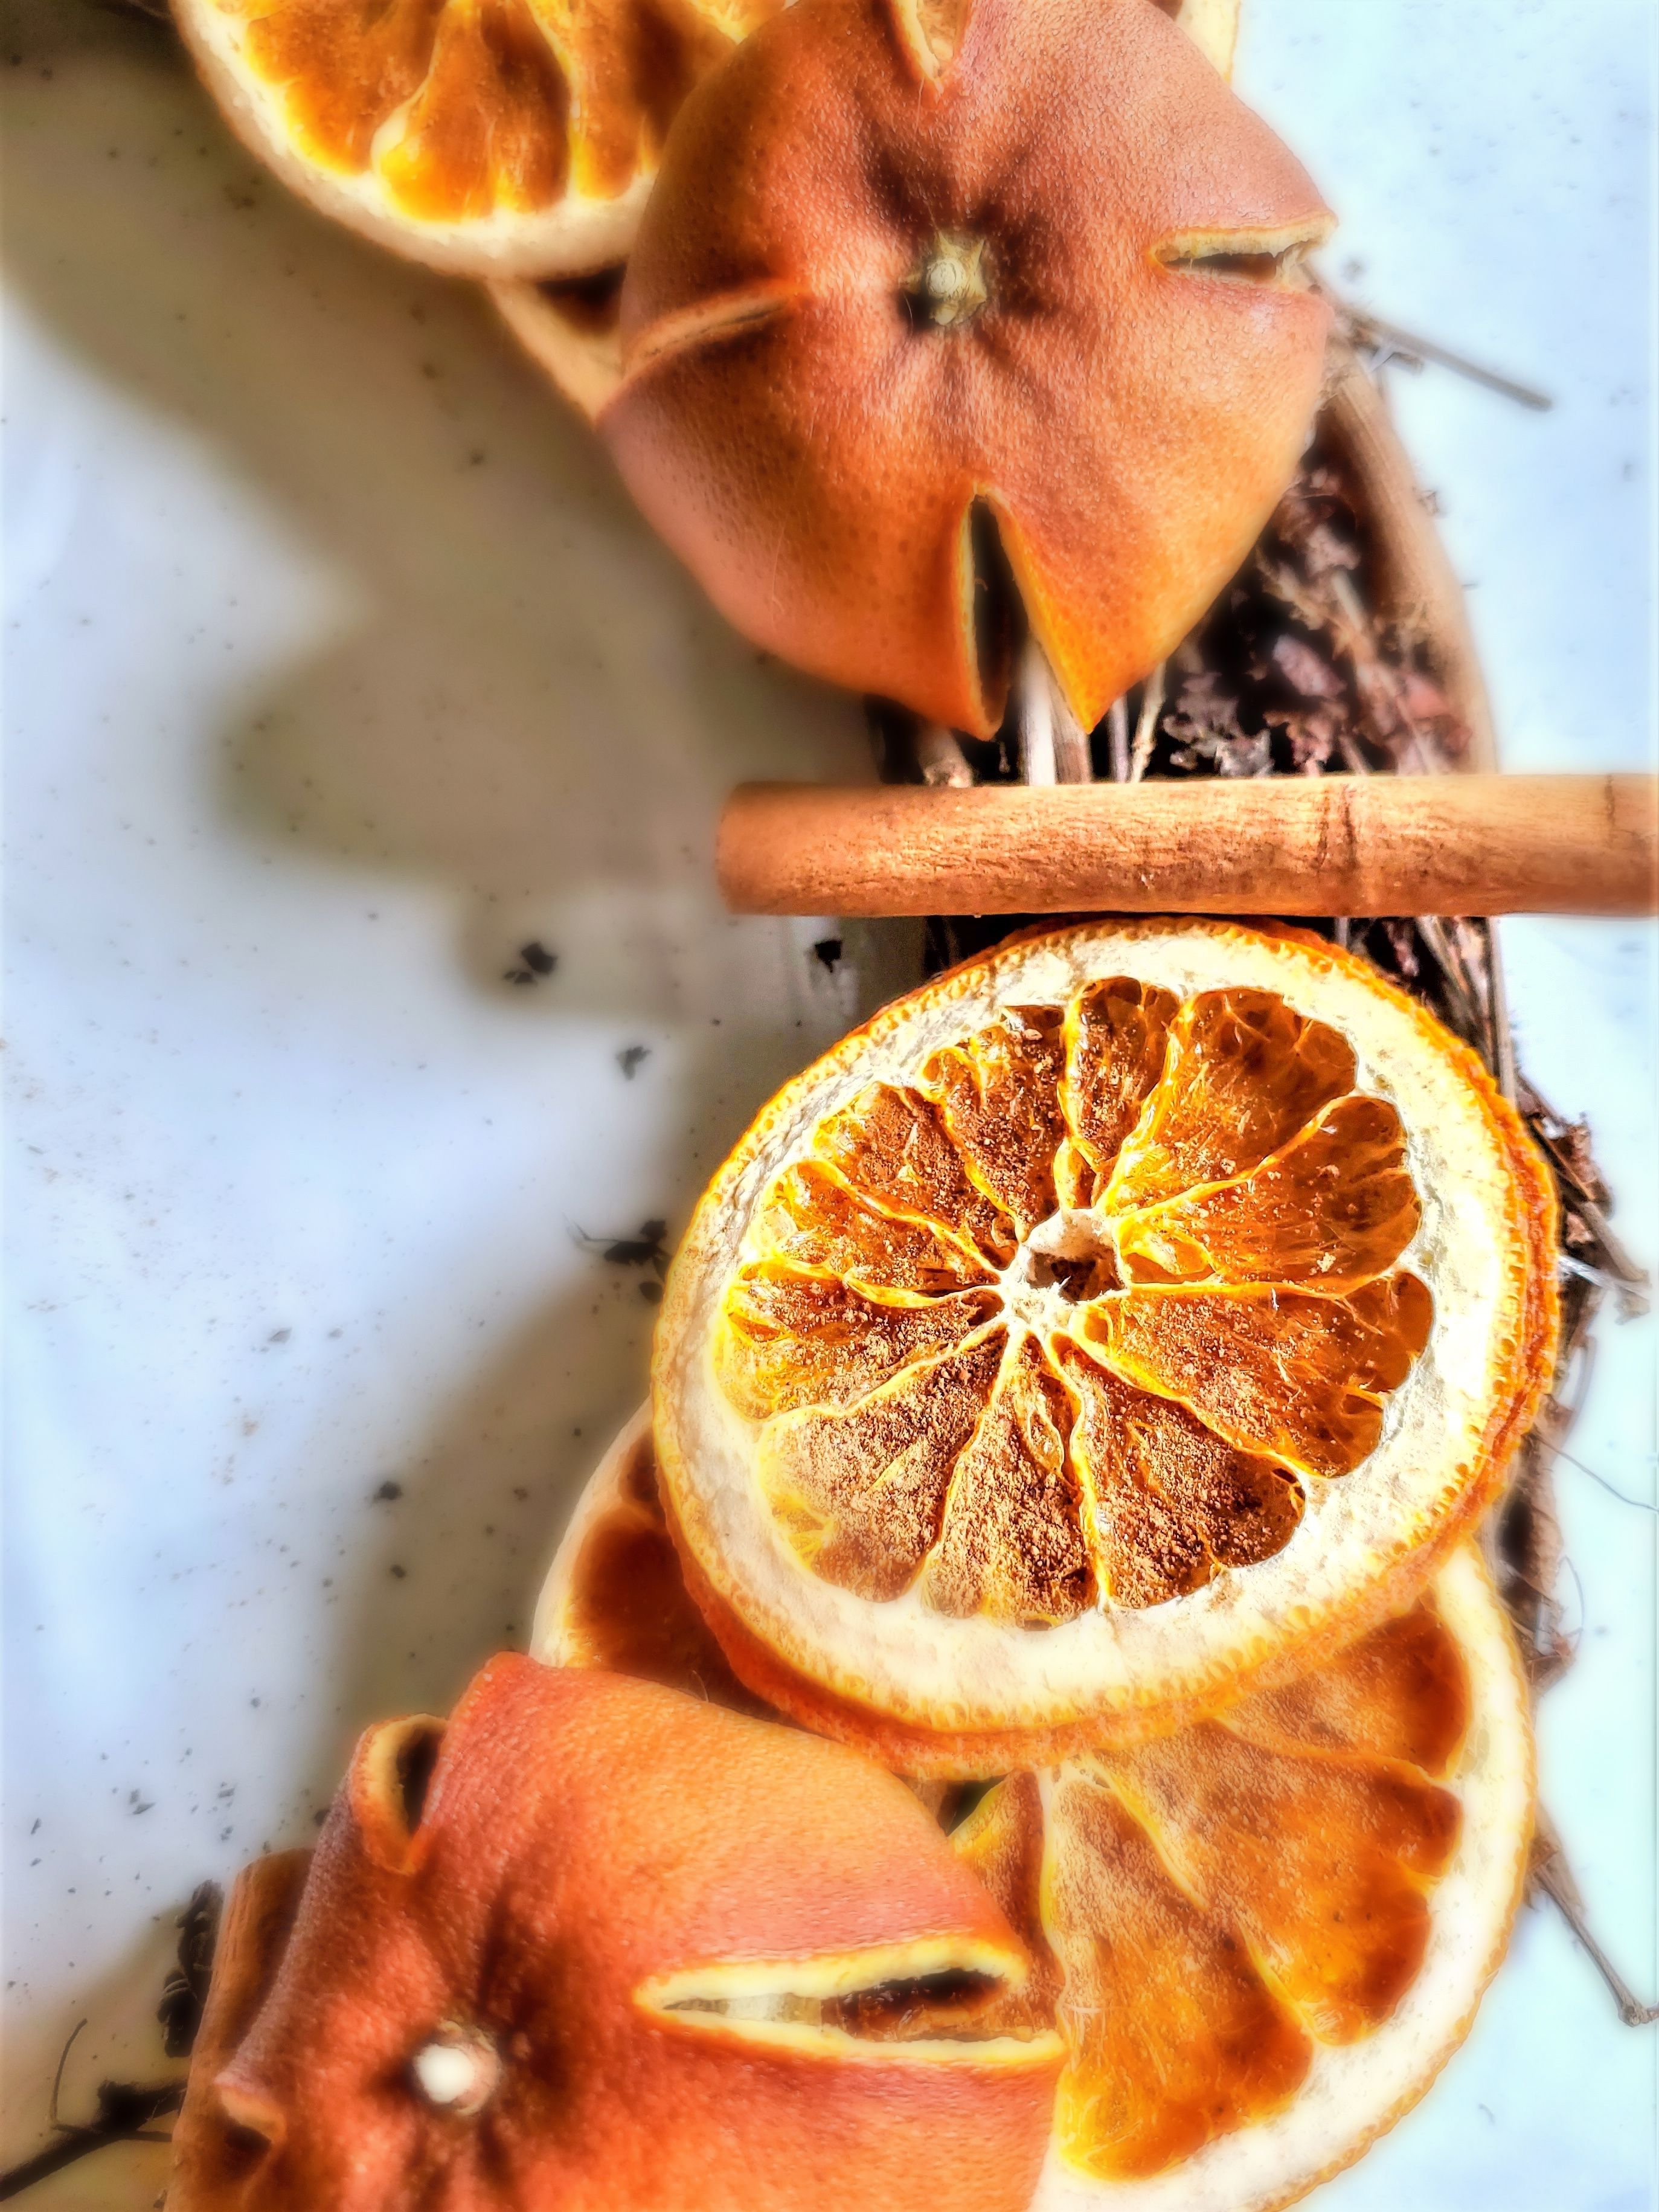
Carefully glue the cinnamon next to the dried orange slices and add another beautiful aroma to this wreath as well as more texture to the Christmas decoration.
The fragrance of the cinnamon sticks fills the wreath with a warm and inviting fragrance that complements its charming appeal. Furthermore, the contrast of the dried orange slices and the rough, textured surface of the cinnamon sticks adds depth and interest to the wreath, making it a centerpiece for the holidays.
Editor’s Tip: Use caution when applying hot glue. Keep children and pets away from the wires and hot glue gun to avoid injury and burns.
Step 5: Add Rustic Charm with Star Anise
Adding anise stars adds a beautiful woodsy smell with its design to the dried orange slices on the wreath for holiday decor through winter.
Step 6: Dry Brush and Glue the Acorns
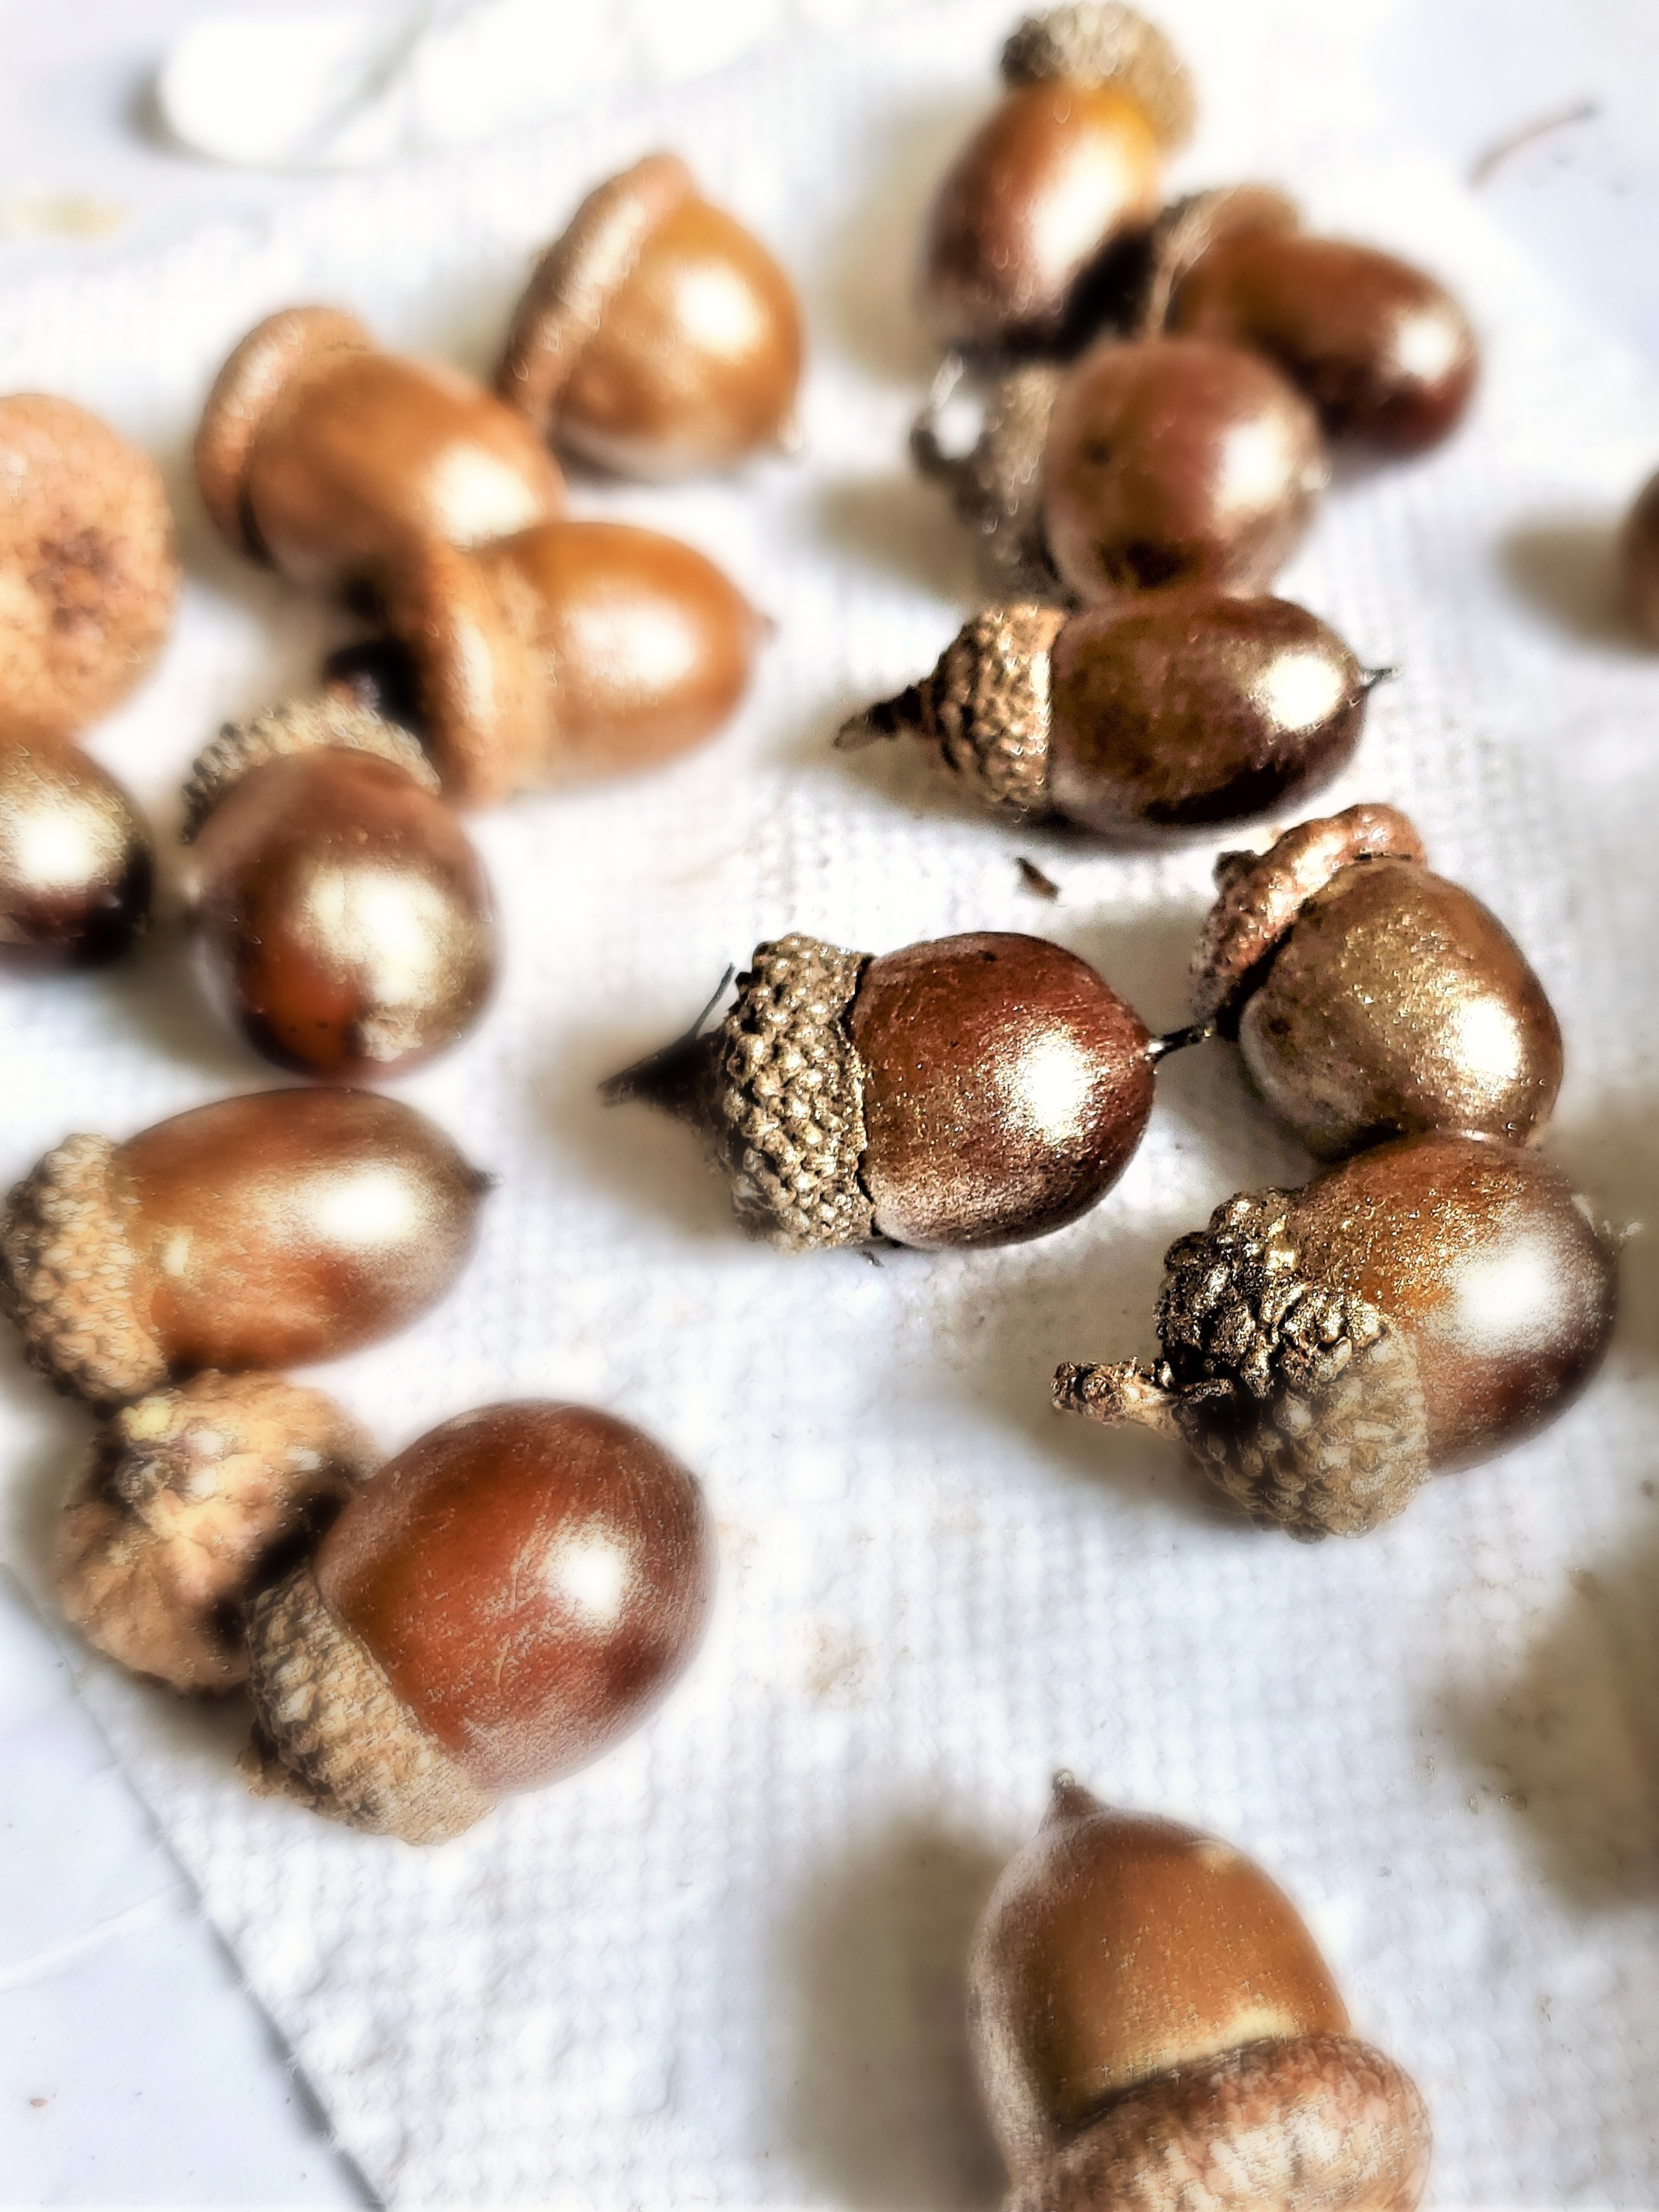
The next step, enhancing the acorns with the same paint used on the walnuts is a great way to add an elegant touch to these pieces of nature. Use a dry brush technique. I’ve shared a detailed tutorial for this simple process.
Not only is this technique quick, but it’s also incredibly easy to apply. The key is to use a small amount of paint on your brush. Dip only the tip of the brush into the paint and then wipe off any excess on a paper towel before applying it to the acorns.
Lightly brush over the surface of the acorns. This technique allows the natural look of the acorns to shine through while adding a touch of color. It’s a way to maintain the organic look of the acorns and incorporate them alongside the dry navel orange slices on the wreath.
Step 7: Hang the Finished Wreath
When adding this to natural Christmas decor, don’t forget to add a ribbon of your choice to the top of the wreath. Instead of using a traditional red ribbon or a piece of gray buffalo check ribbon, consider using a contrasting velvet with the rustic nature of the Farmhouse wreath. The delicate and intricate patterns create a charming look when paired with the other elements of this wreath. Attach the ribbon to the top of the wreath, allowing it to hang from the top of the door frame. Now, find the perfect spot in your home to display this inexpensive Christmas craft and let its natural beauty shine throughout the holidays into the winter months.
Cindy’s Note: This would make a great centerpiece. Add a flameless candle to the center. You have a natural focal point for your dining table or coffee table through winter.
Step 8: Storing This Rustic Natural Wreath
The good news is that this Christmas decoration will last for two seasons allowing it to be used next Christmas, making this an eco-friendly way and a reason to craft dry orange Christmas decorations. Store the wreath in a cool and dry place in your home. You can lay it on a flat surface or hang it from a shelf in a basement, attic, or closet whichever works best. By taking proper care of this farmhouse wreath during the off-season, you can look forward to bringing it out again next Christmas and continue to enjoy its timeless beauty.
How Long Do Dried Oranges Last?
Dry orange slices generally last about two or three years. Meaning they’ll look their best for the first couple of years, and start to turn darker. However, this doesn’t mean the darker orange slice is bad or unusable!
Do Dried Citrus Slices Attract Bugs?
NO! Craft with confidence. Bugs are attracted to the juice in citrus. So, as long as your dried orange slices are completely dry and excess moisture is removed they will not attract bugs. Thank goodness for this fact. What would we do without dried oranges in our homes, especially during the fall and winter?
Is The Drying Process Difficult?
I’m excited to share just how easy it is to dry oranges. At Cloches & Lavender, we strive to provide our readers with answers and solutions.
Editor’s Tip: The best oranges to dry are navel oranges and blood oranges. These are known for their round shape and size. Store them in a brown bag or an airtight container.
I’m excited to share with you just how easy it is to dry oranges. At Cloches & Lavender, we strive to provide our readers with extensive answers and solutions.
Supplies List:
- Paper towel
- Parchment paper
- Wire rack or cooling rack
- Sharp knife
- A baking tray or a large baking sheet
Perfect Orange Slices: Best Way to Prepare for Christmas Decorating
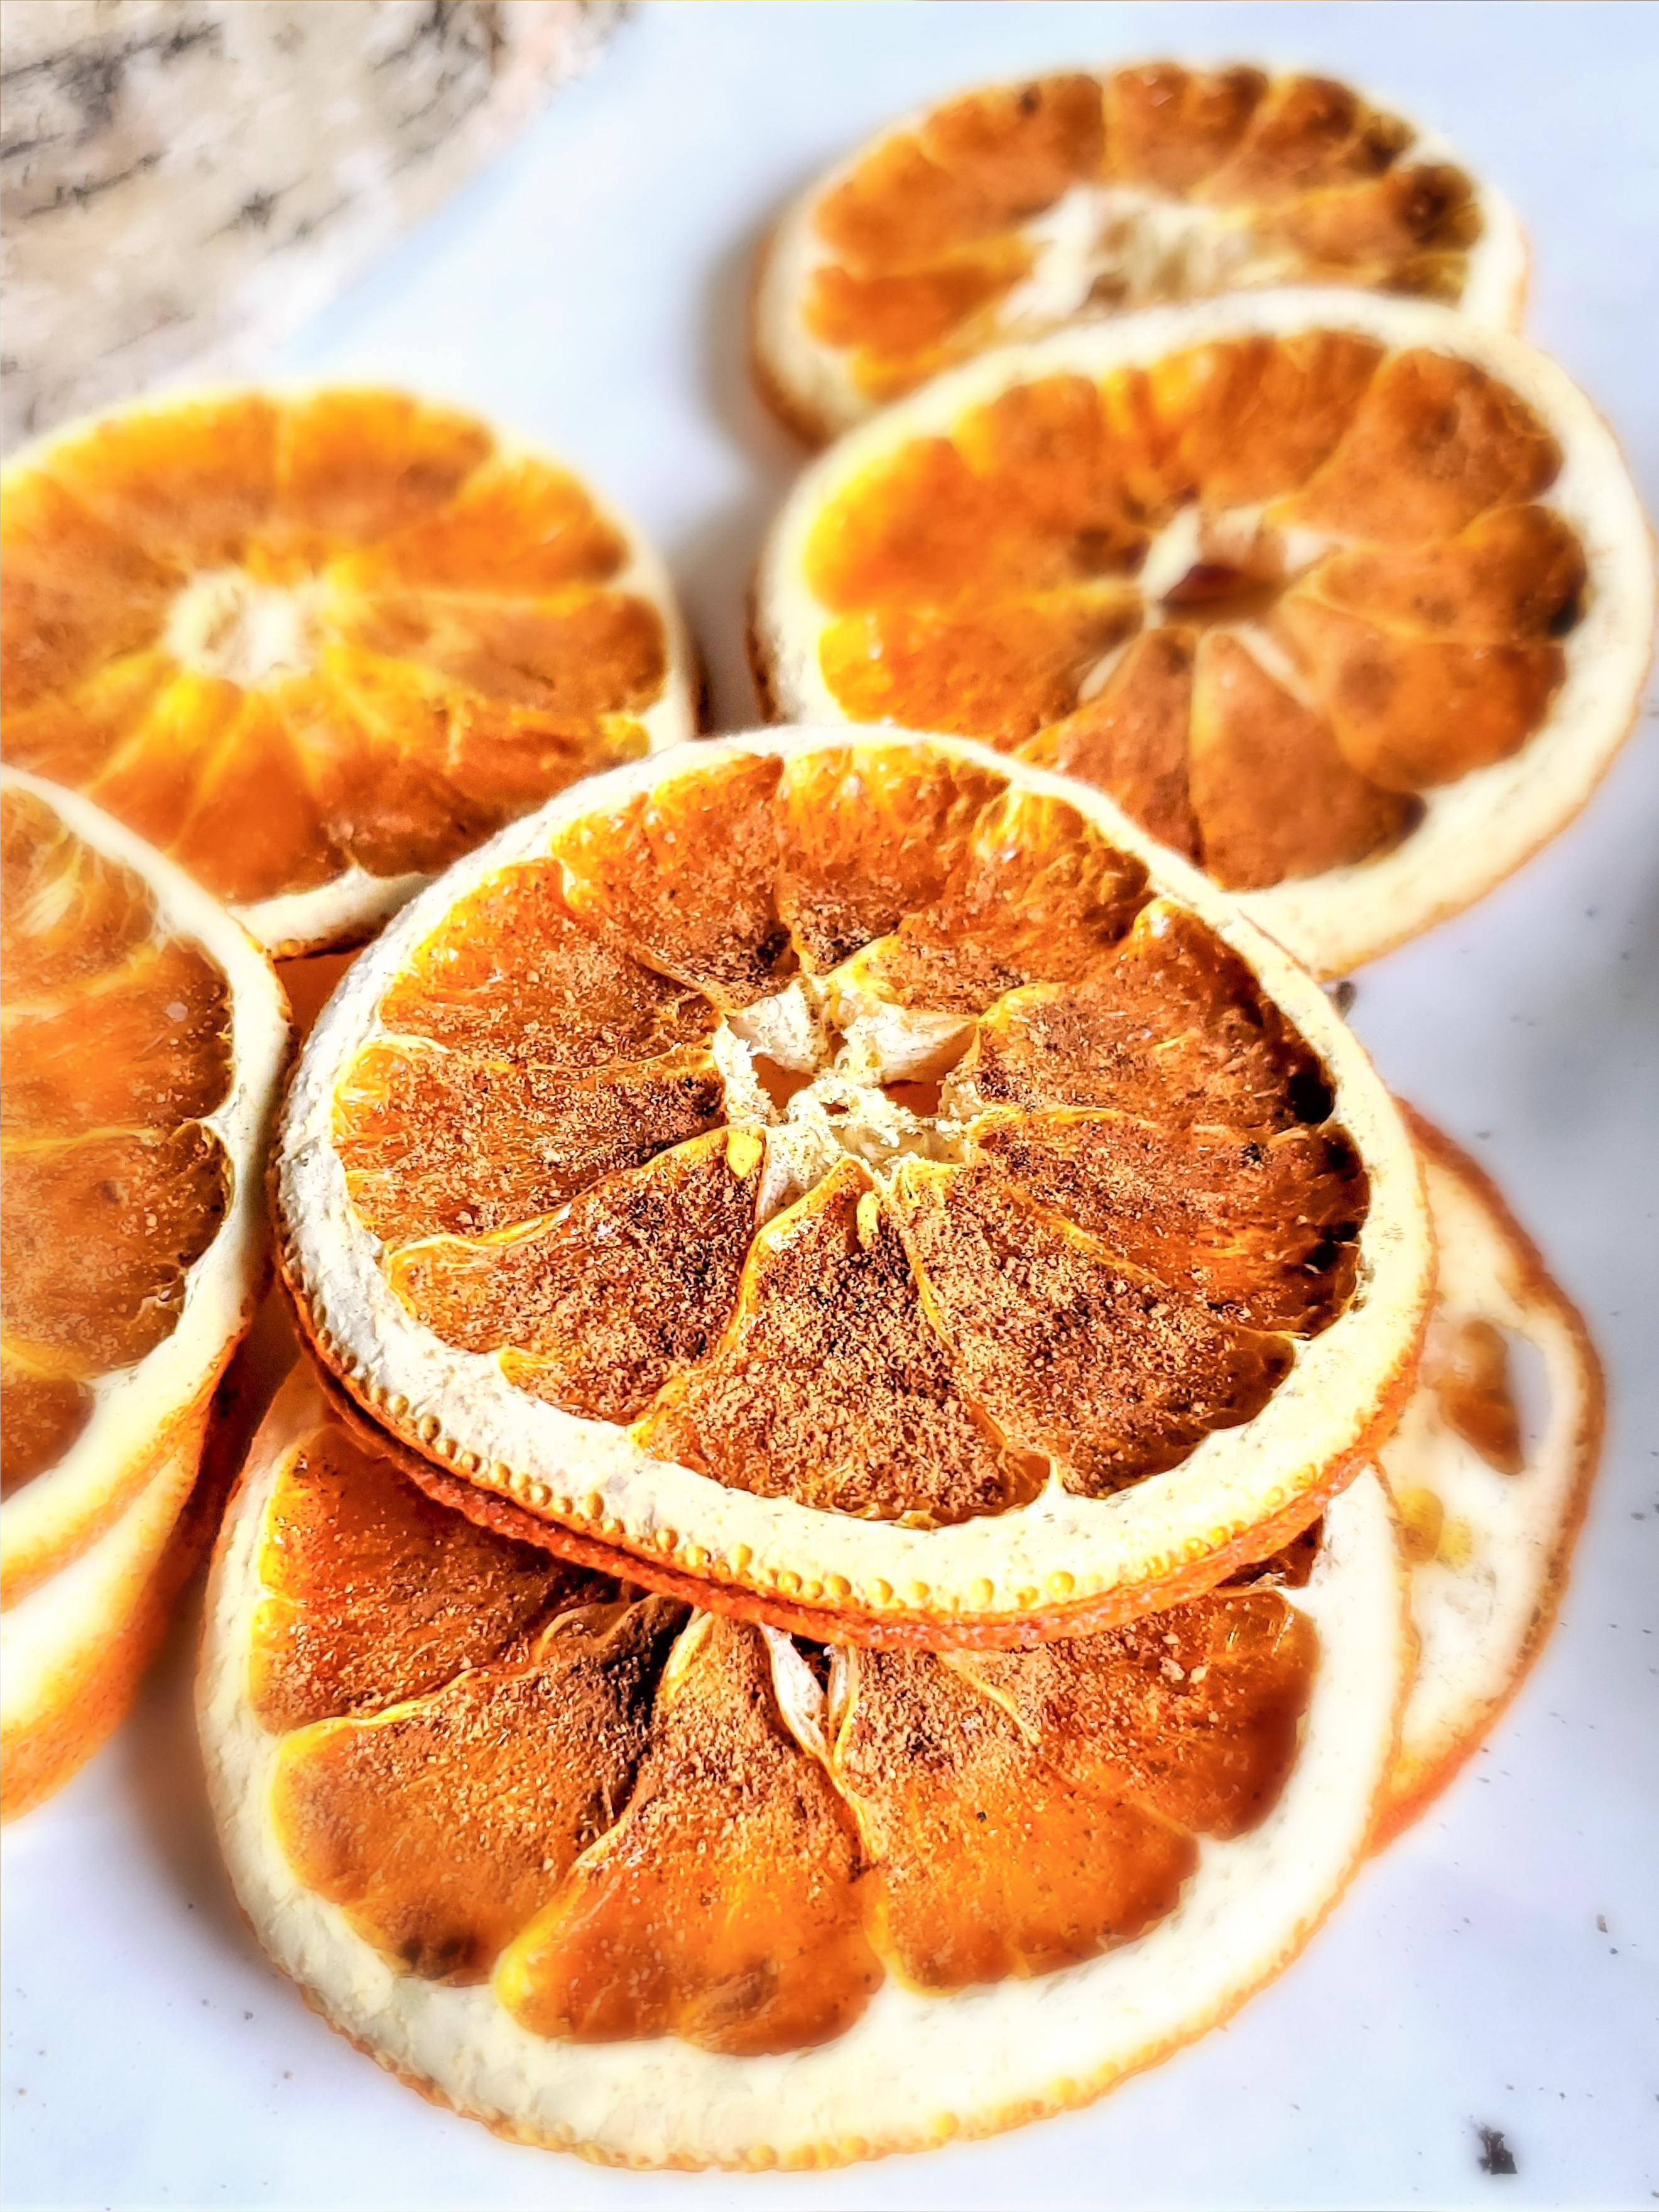
The perfect way to dry oranges is a low temperature oven. Slice oranges with a sharp knife into approximately 1/4-inch thick slices and dab them with paper towels This is the best way to remove excess moisture from fresh orange slices. Flip slice oranges and dab with a paper towel. Removing the1/4 inch thick slices of excess moisture on both sides with a paper towel before drying is a great way to ensure the slices dry evenly and thoroughly.
Next, arrange the slices in a single layer on an oven-safe wire rack or cooling rack for a flat surface over a piece of parchment paper on a baking tray, large baking sheet, or cookie sheet. Place them in a low temperature oven. Adding parchment paper to the baking sheet is optional, I don’t find it necessary.
The good news it only takes about 4-6 hours to make dried oranges. Flip them halfway during the process. The rotation guarantees that the top of the orange slices dry evenly, resulting in oranges making a beautiful orange slice garland or orange ornaments hanging on the tree.
To dry oranges, use your oven and follow a low-and-slow method. Slice oranges with a sharp knife into approximately 1/4-inch slices and dab them with a paper towel. Flip the citrus slices and dab them with a paper towel. This thickness is a great way to ensure the citrus slices dry evenly and thoroughly.
- Drying Process: Be sure to read about how to dry orange slices and how dried oranges are an eco-friendly way to decorate our home or front door.
- Heat Oven: Heat oven at a low temperature to cut with a sharp knife 1/4 inch thick slices. Place on parchment paper in a single layer on a wire rack on a cookie sheet to dry orange slices. This is the perfect way to decorate without extra cost and the best way to add other touches of nature such as pine cones on a Christmas tree, a eucalyptus wreath, a DIY dried orange garland, or a front door.
- Best Oranges To Dry: The best for the drying process, are the navel orange and blood oranges.
- An Easy Project: Learn the best part about drying oranges whole and dry fresh orange slices. Learn a perfect way to make a DIY dried orange garland to add to the top of the door frame or mantle, and an orange slice wreath. The good news, it’s so much fun and a great activity for the whole family to make memories. We share how to use a clear fishing line or jute and other elements for this inexpensive Christmas craft. It can be hung on top of the door frame, or mantle, or made long enough to hang on the tree.
Rustic Dry Orange Decoration for Festive Family Fun
Using this drying process, dried citrus can be used for natural Christmas decor throughout winter. For Christmas decorating, make dehydrated oranges to add to an orange slice garland, with cinnamon, and anise star. This is a pretty and rustic DIY dried orange garland.
Add them to a eucalyptus wreath, and fresh greenery to make beautiful garlands. Add a piece of floral wire through the small holes in the center of the thin slices and twist each end of the florist wire to secure. This would be so much fun and an inexpensive Christmas craft. This is a great activity to do with the whole family.
Editor’s Tip: Make orange ornaments to hang on the Christmas tree. Add twine, jute, or ribbon through the small holes in the center. This is a perfect way to add small pine cones, anise stars, and evergreen branches.
Rustic Charm: Natural Christmas Wreath with Oranges and Grapevine
Incorporating dried oranges and 1/4 inch thick slices of orange into the entire wreath adds a bit of nature for the cooler weather and holiday decor. It brings together elegant rustic elements, a combination that is one of my favorite ways to add natural Christmas decor to our home.
Using a grapevine base is the perfect choice for this wreath project. The grapevine base adds a touch of organic beauty complements the look of this simple DIY Christmas wreath and adds to the other natural elements.
Other Wreath Base Options:
- straw
- wire wreath frame wrapped with burlap
- foam wreath form
- eucalyptus wreath
Set the hot glue gun on a low setting when using a foam wreath form. The glue will break down the Styrofoam.
I especially like the texture a grapevine round adds to this DIY Christmas wreath.

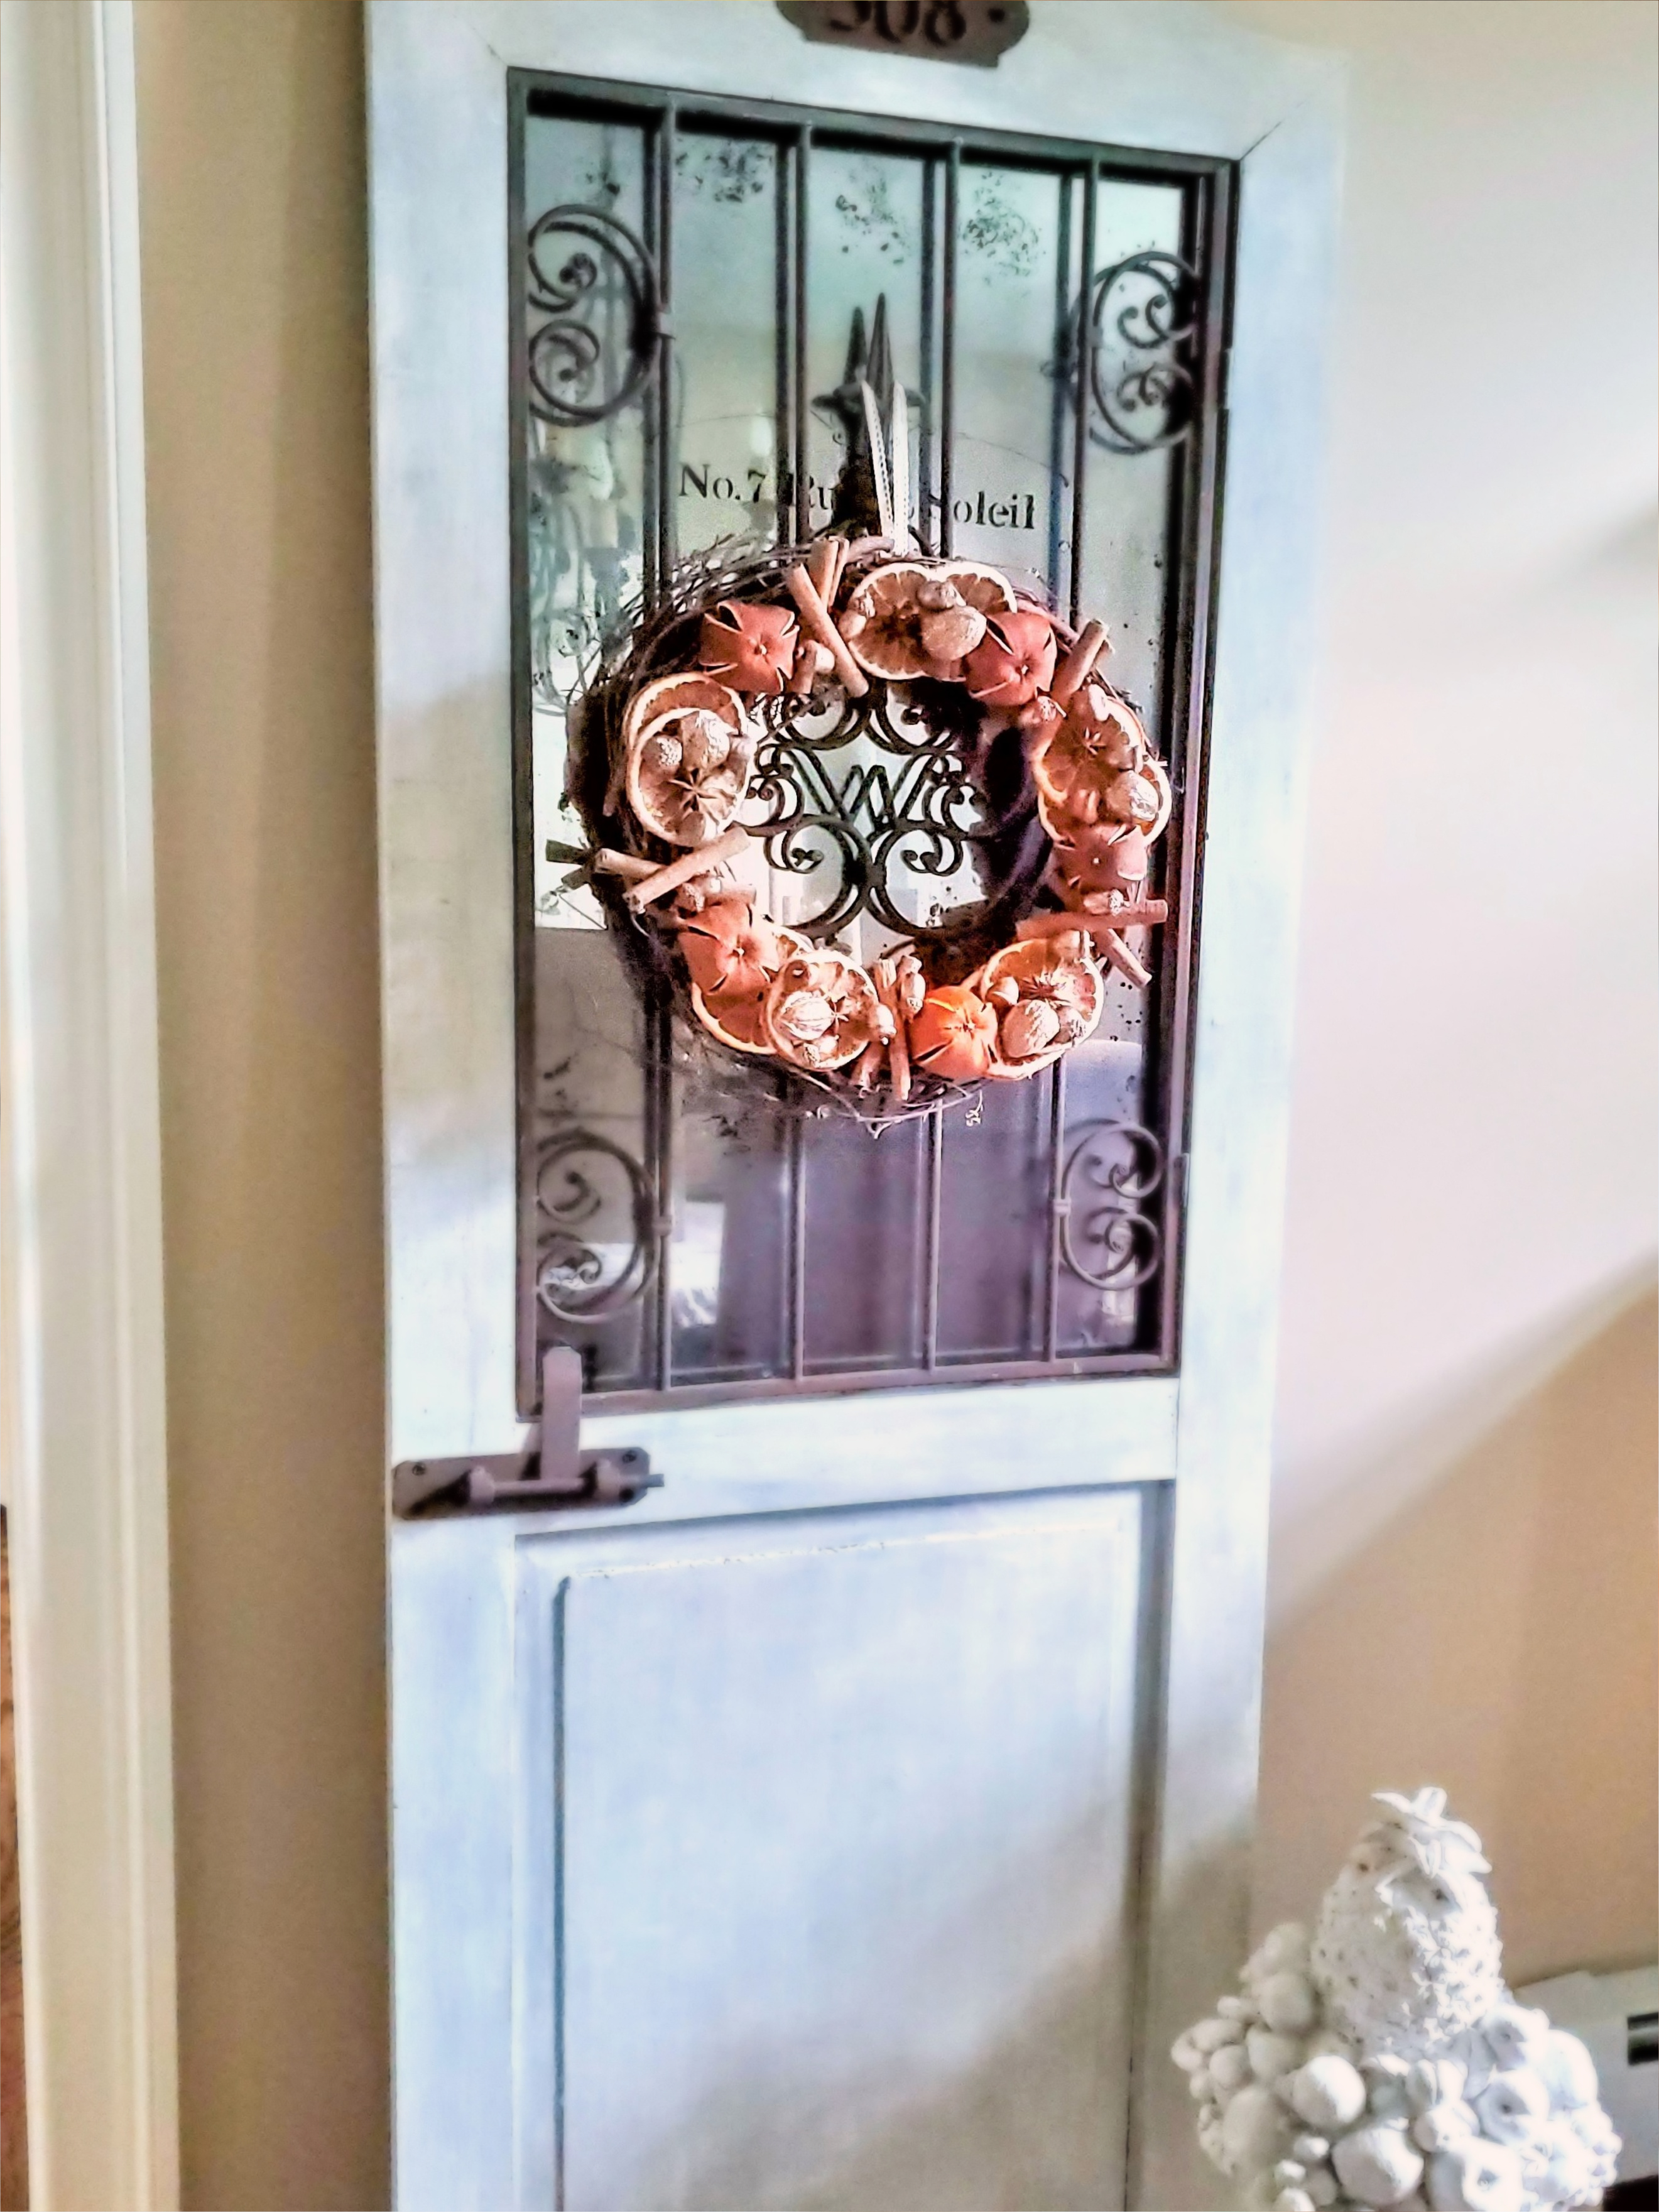
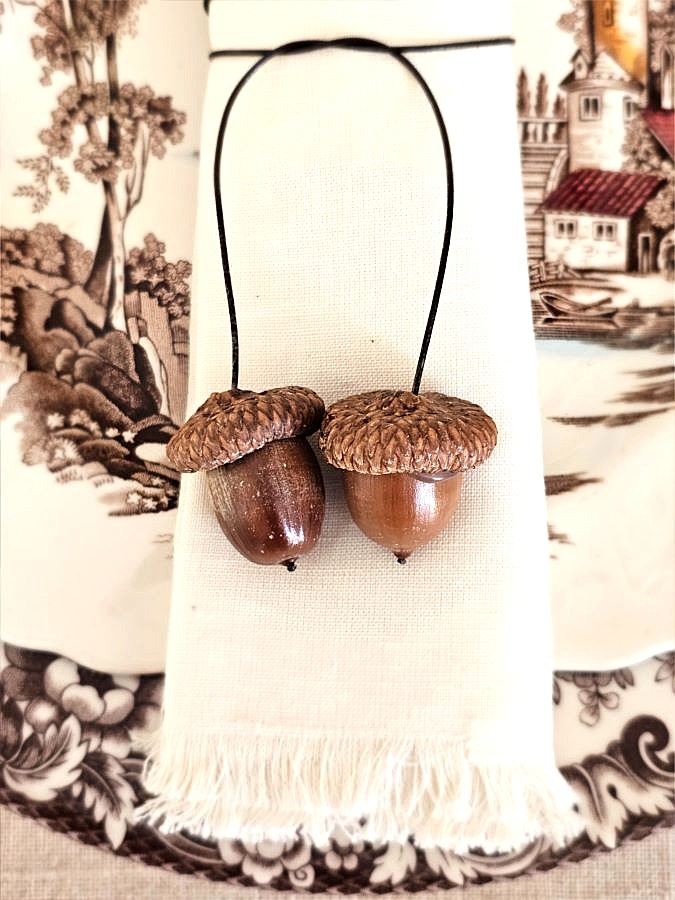
Collect Acorns From The Yard
The acorns used for this easy project are gathered from the yard. When working with real acorns collected from nature, it is important to clean and bake them before including them in crafts.
In the mentioned blog post, I provide a detailed guide on the process of saving, cleaning, and preserving real acorns, guaranteeing their longevity for years to come. My collection of acorns is over 20 years old and still retains its original beauty. Additionally, I share creative ways to decorate our home with these tiny natural treasures alongside dehydrated fruit.
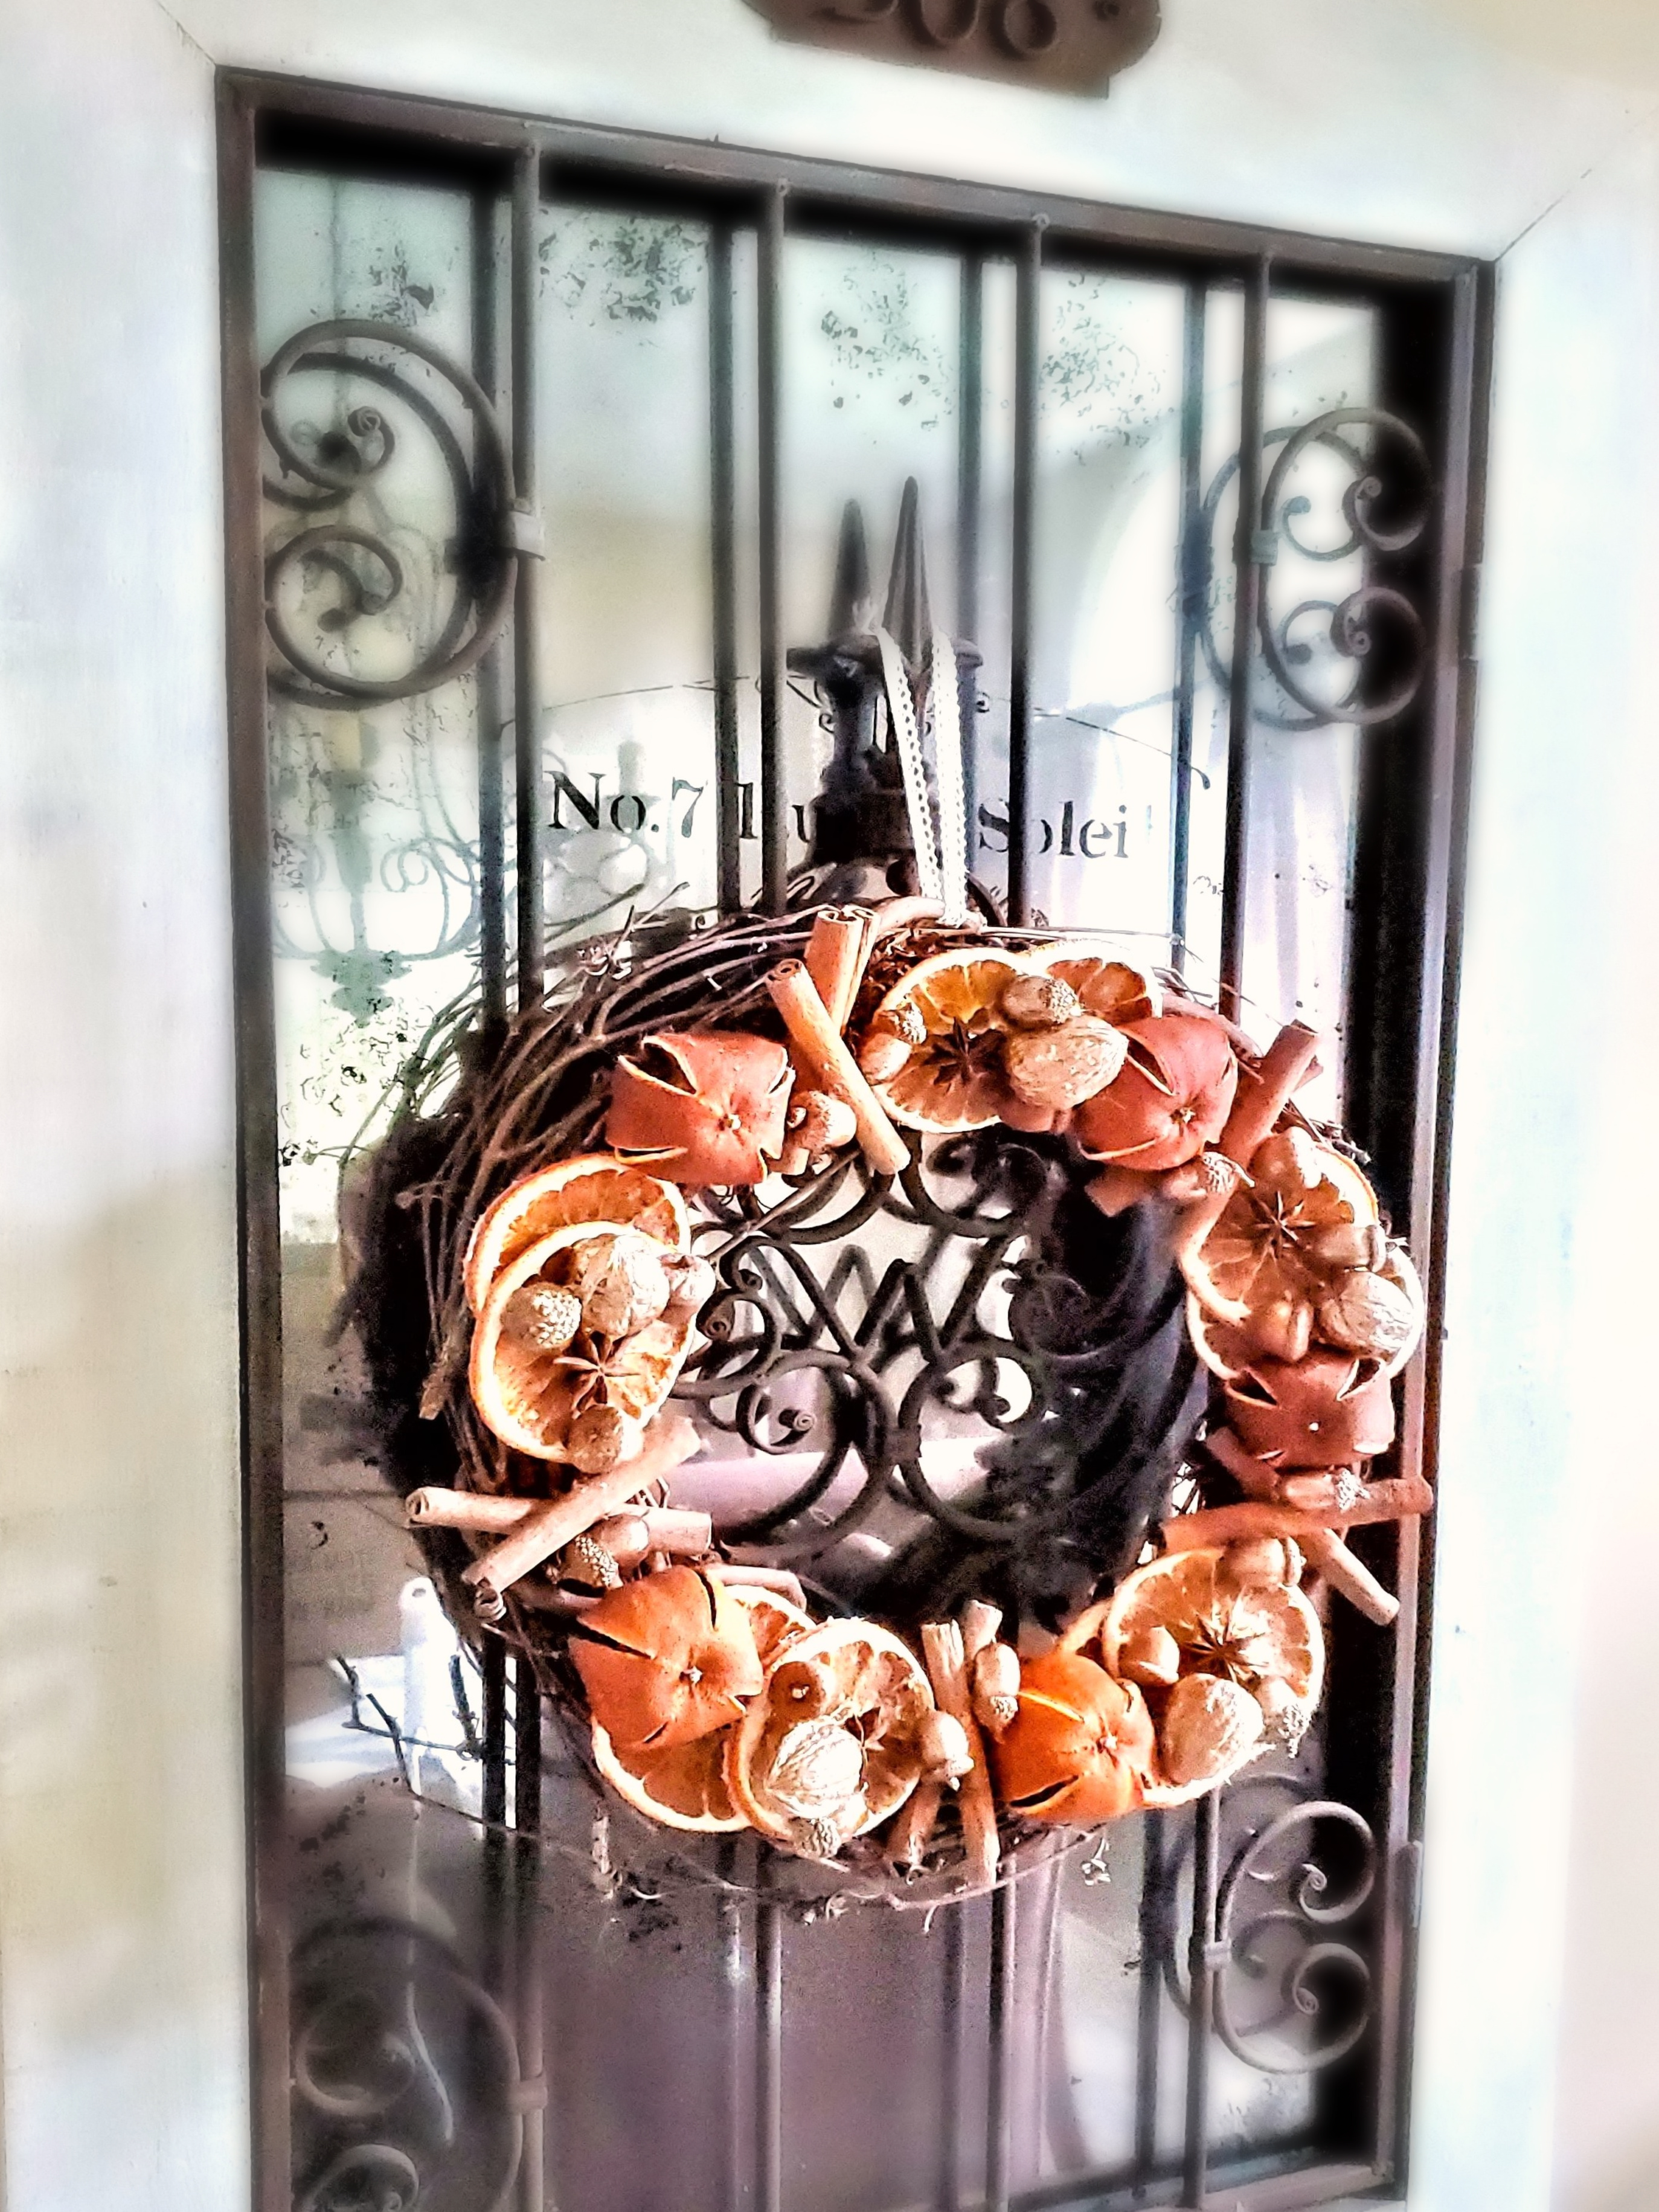
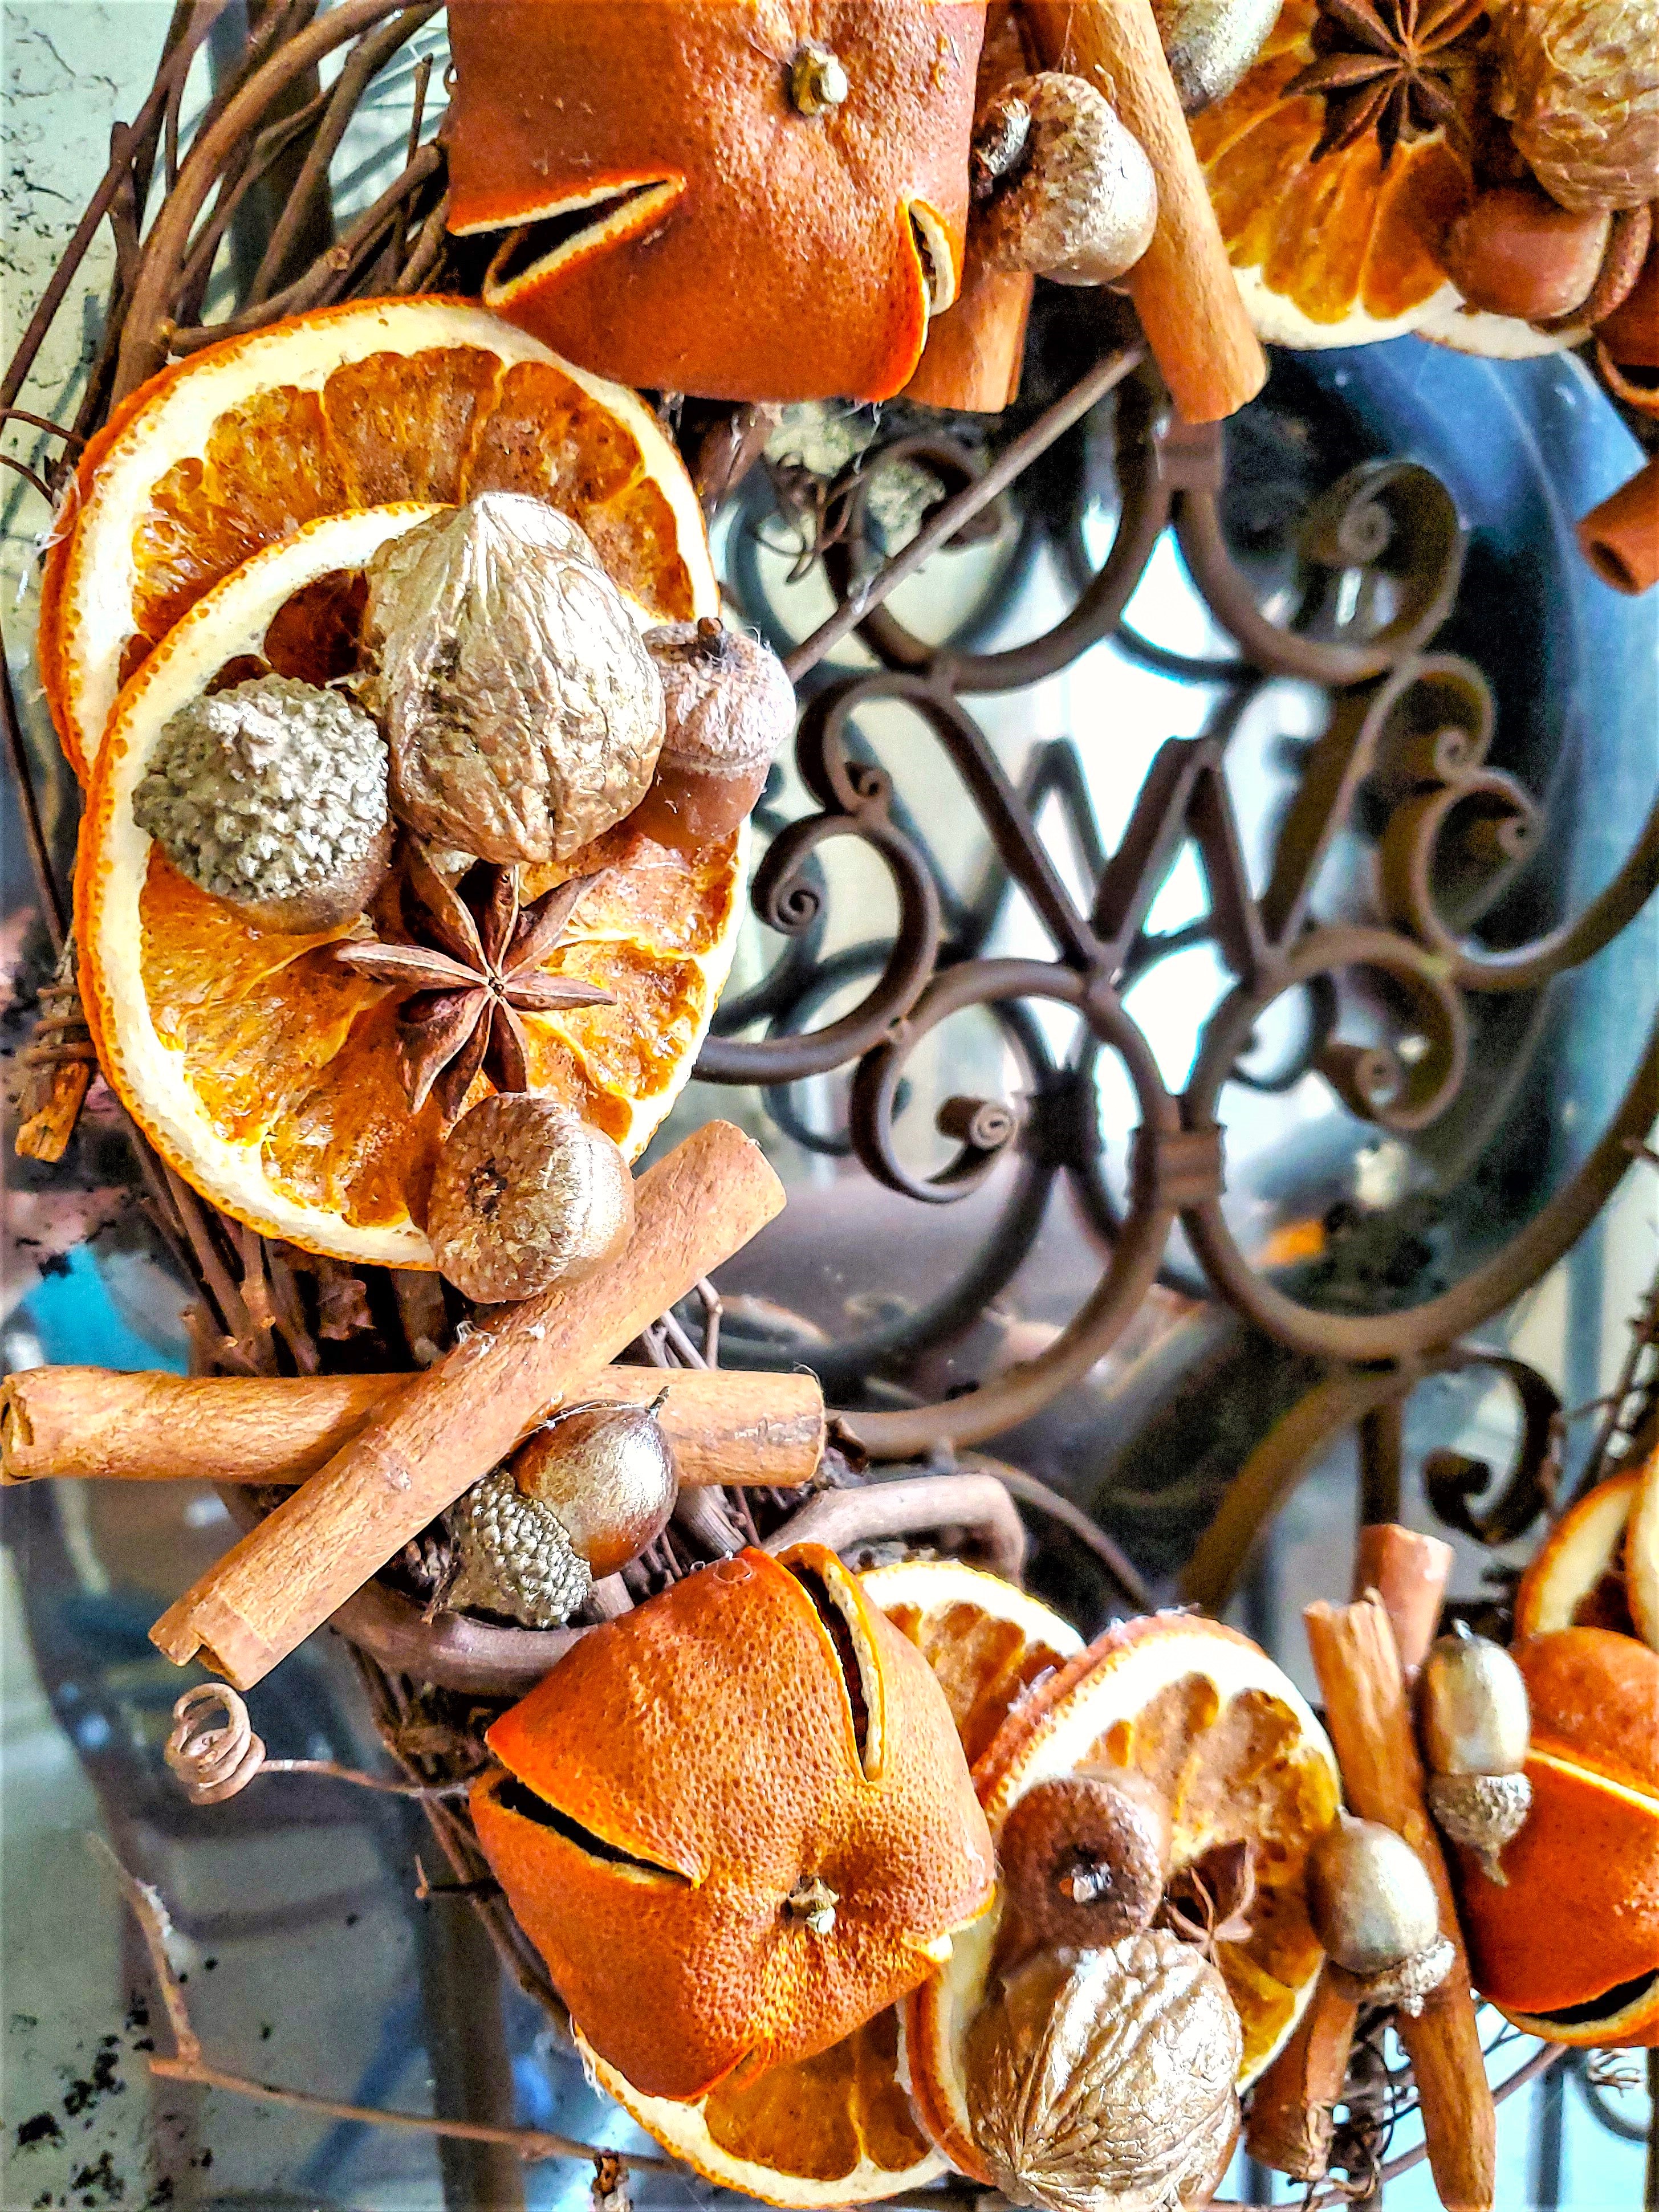
I hope this inspires you to try a dried orange wreath with natural decorations, a DIY dried orange garland, or orange ornaments for the holiday season and winter. I would love to know if you will make beautiful garlands, or gilding nuts for the cooler seasons. So grab a sharp knife, and wire rack, slice oranges, remove excess moisture, and lay in a single layer, on a baking sheet. Add them to a low temperature oven and make dried slices to make beautiful garlands to add to your home. Share your favorite ways to add these to your decor @clochesandlavenderchristmasdecor so we can see and share your projects. Remember to make one project at a time as I do.
PLEASE SHARE THIS ON: FACEBOOK, INSTAGRAM, PINTEREST. Thank you for sharing this project. I help Cloches & Lavender grow and bring more fun ideas. I look forward to sharing more ideas soon!

Shop The Post
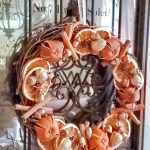
DRIED ORANGE WREATH WITH NATURAL DECORATIONS
Equipment
- 1 A hot glue gun and glue sticks
- 1 Hot glue pot optional
- 1 Baking tray or cookie sheet drying oranges
- 1 paper towel
- 1 paint brush optional
- 1 grapevine wreath blank or a wire wreath frame
- 1 sharp knife optional
- 1 floral wire
Materials
- 1 whole dried orange
- 12 pieces dry orange slices
- 10 walnuts
- 12 acorns
- 1 bottle champagne craft paint or gold paint
- 24 cinnamon sticks
- 1 jar Star anise
Instructions
- Step 1: Painting the Walnuts Adds Sparkle to the Entire WreathStart gilding walnuts using champagne craft paint. It's best to make this orange slice wreath on a flat surface.
- Step 2: Glue the Dried Slices to the BaseFirst step use a hot glue set on low temperature and add sliced oranges in smaller sections on top of the wreath. Another great way to attach dried citrus is to use a clear fishing line or a piece of florist wire. Make sure to pull the fishing line tight to keep each orange slice tight and flat,Tip: When using a glue gun keep children and pets away to avoid burns.
- Step 3: The Glue Pot: Attaching Oranges to a Nature Inspired WreathTypically, I would utilize my glue gun to attach the oranges for this DIY Christmas wreath.
- Step 4: Adding Nature to Orange SlicesThe paint of the walnuts and cinnamon is a beautiful addition to the oranges and adds another natural element and texture to the entire wreath.Next, glue the walnuts nestling them beside the dried oranges.Carefully glue the cinnamon next to the dried orange slices and add another beautiful aroma to this wreath as well as more texture to the Christmas decoration.
- Step 5: Elevate the Entire Wreath with Rustic Charm Star Anise Magic Adding anise stars adds a beautiful woodsy smell with its design to the dried orange slices on the wreath for holiday decor through winter.
- Step 6: Finishing the Seasonal Wreath: Glue the Acorns The next step, enhancing the acorns with the same paint used on the walnuts is a great way to add an elegant touch to these pieces of nature. Use a dry brush technique. I’ve shared a detailed tutorial for this simple process.Not only is this technique quick, but it’s also incredibly easy to apply. The key is to use a small amount of paint on your brush. Dip only the tip of the brush into the paint and then wipe off any excess on a paper towel before applying it to the acorns.Lightly brush over the surface of the acorns. This technique allows the natural look of the acorns to shine through while adding a touch of color. It’s a way to maintain the organic look of the acorns and incorporate them alongside the dry navel orange slices on the wreath.
- Step 7: Hang the Finished WreathWhen adding this to natural Christmas decor, don’t forget to add a ribbon of your choice to the top of the wreath. Think outside the box, instead of using a traditional red ribbon, or a piece of gray buffalo check ribbon, consider using lace as an option that contrasts with the rustic nature of the Farmhouse wreath. The delicate and intricate patterns create a charming look when paired with the other elements of this wreath. Attach the ribbon to the top of the wreath, allowing it to hang from the top of the door frame. Now, find the perfect spot in your home to display this inexpensive Christmas craft and let its natural beauty shine throughout the holidays into the winter months.
Notes
Dried Orange Wreath With Natural Decorations
Supplies: Dried Orange Wreath with Natural Decorations
- 18″ grapevine wreath
- Blood oranges and navel oranges work
- walnuts in the shell
- paint
- hot glue gun and glue sticks
- cinnamon sticks
- acorn
- Star Anise
- paint brush
- paper plate
- paper towel
- floral wire (optional)
- glue pot (optional)
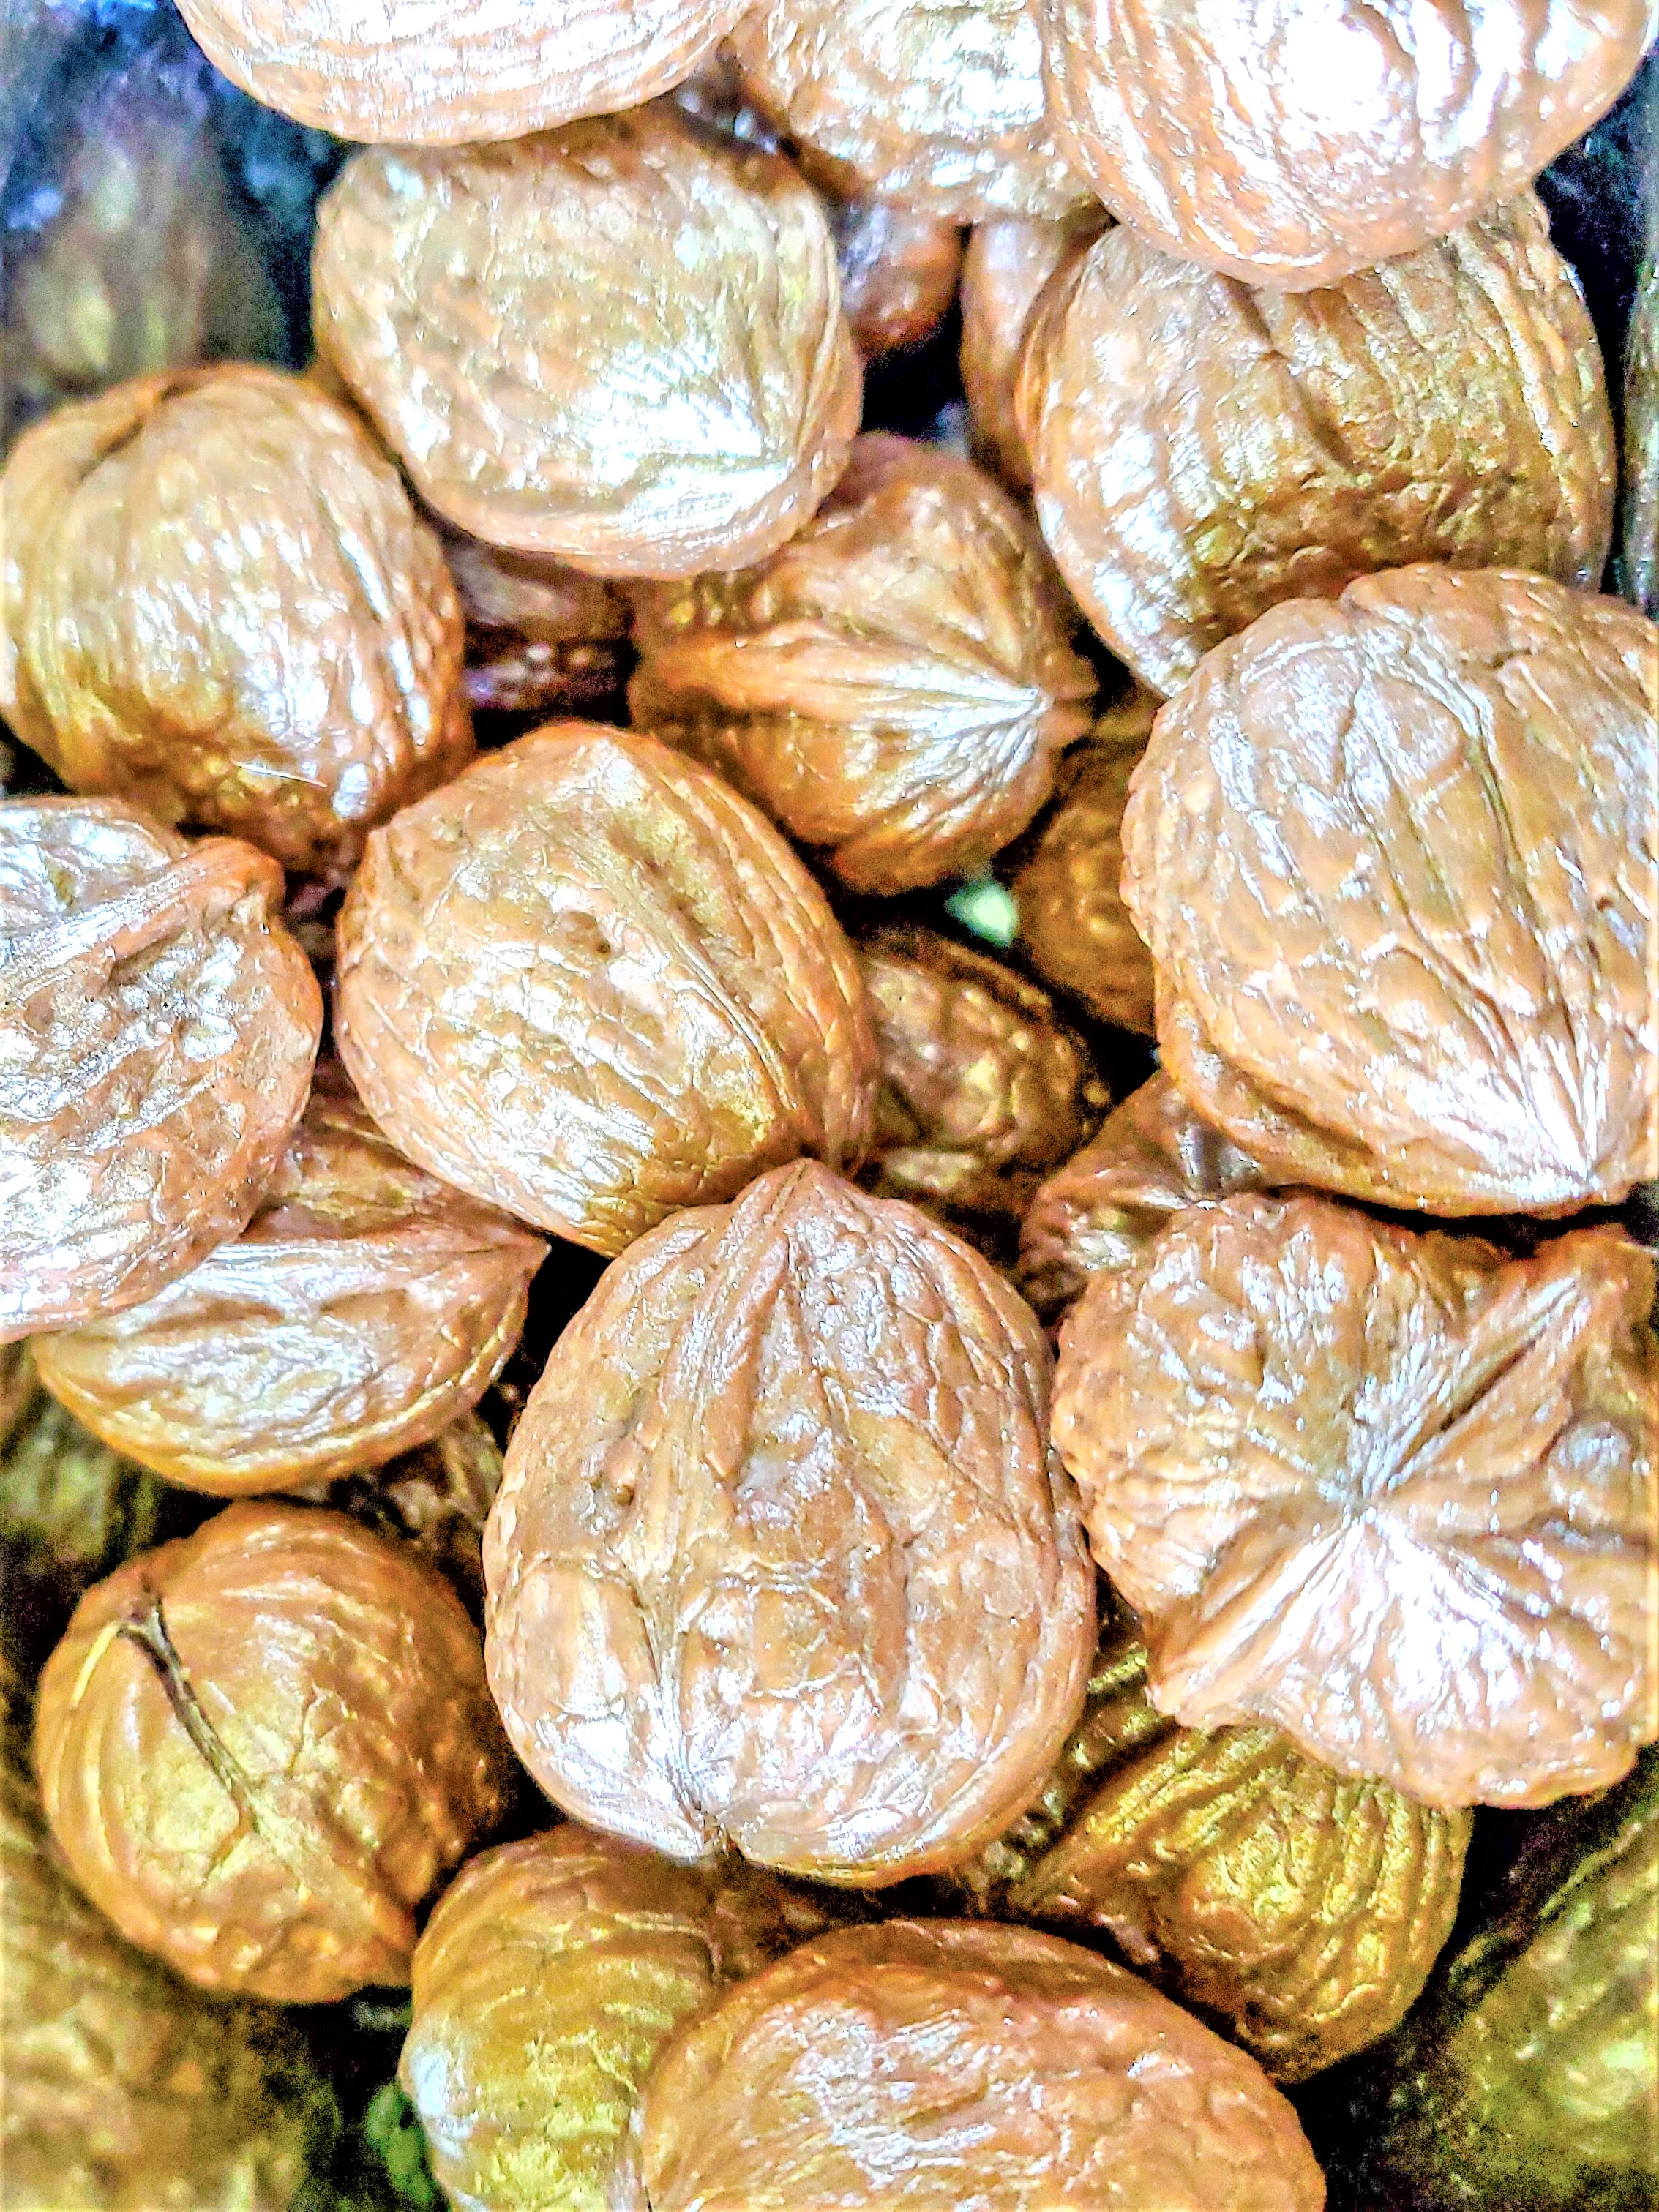
Step 1: Painting the Walnuts Adds Sparkle to the Entire Wreath
Start gilding walnuts using champagne craft paint. It’s best to make this orange slice wreath on a flat surface.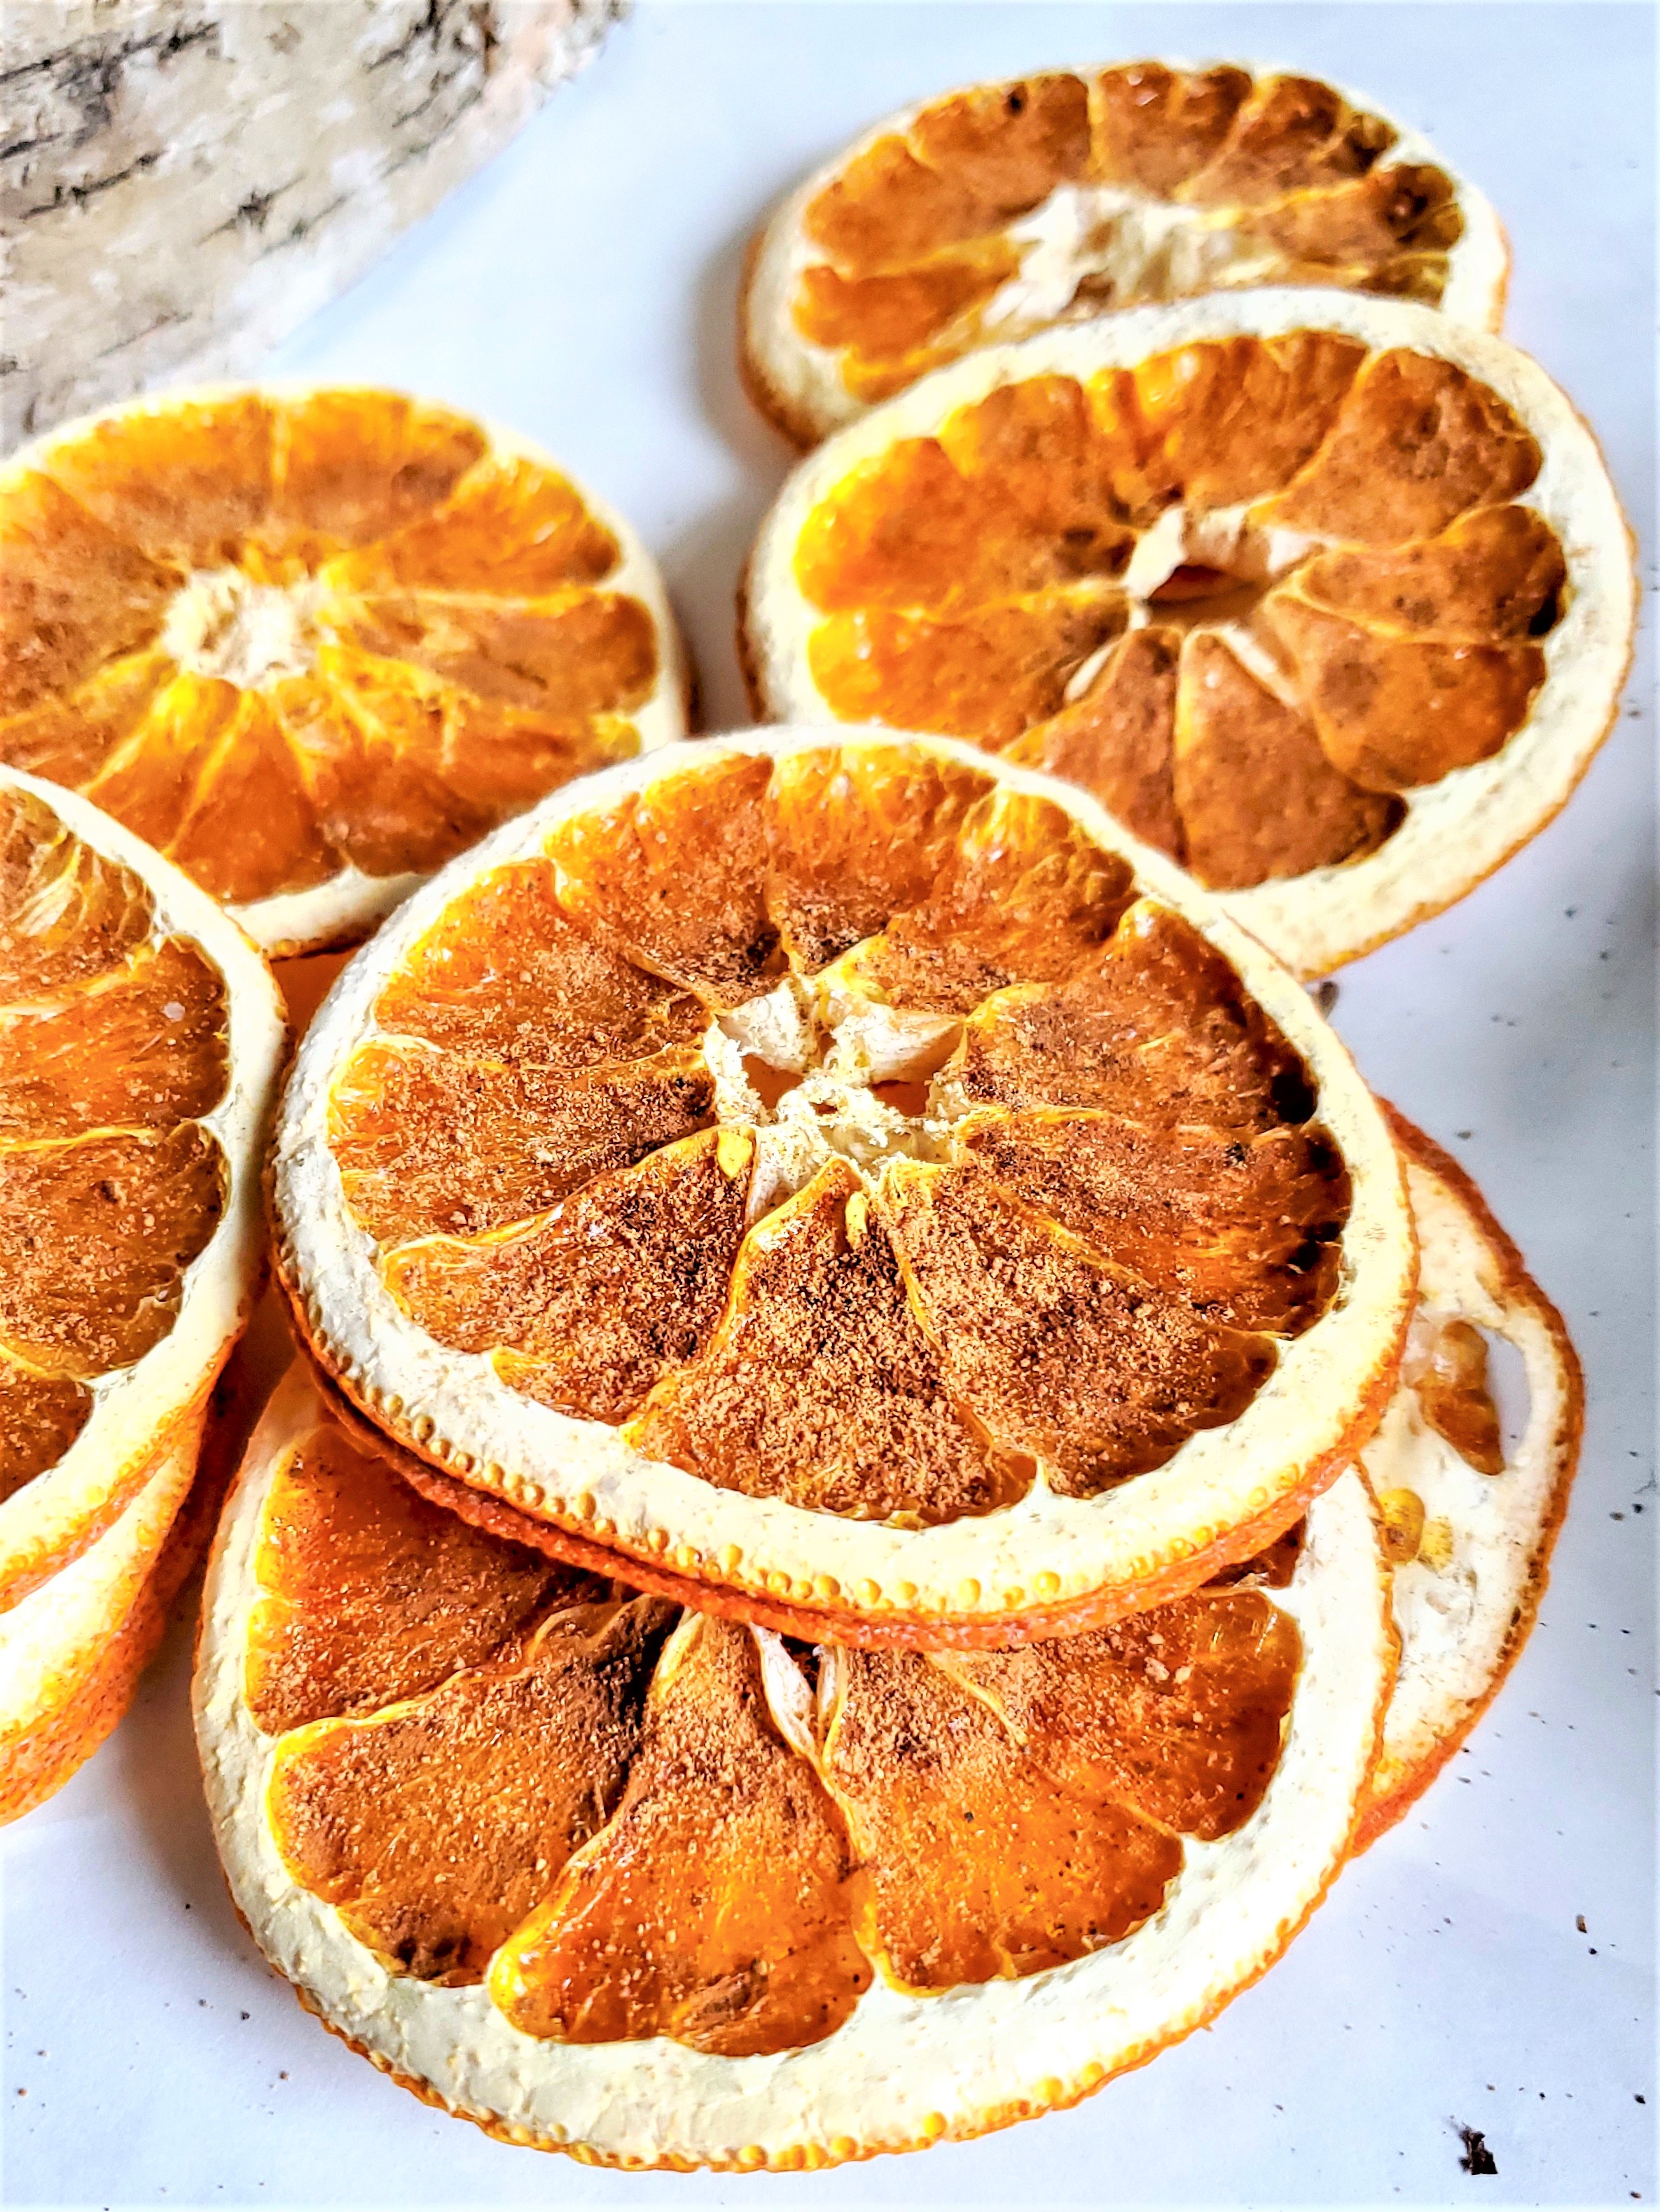
Step 2: Glue the Dried Slices to the Base
First step use a hot glue set on low temperature and add sliced oranges in smaller sections on top of the wreath. Another great way to attach dried citrus is to use a clear fishing line or a piece of florist wire. Make sure to pull the fishing line tight to keep each orange slice tight and flat. Overlap different sizes of dried citrus slices when making this simple orange decoration for your holiday decor. Next, glue each dried whole orange to the top of the orange slices and them to the farmhouse wreath Editor’s Tip: When using a glue gun keep children and pets away to avoid burns.
Step 3: Attaching Oranges to a Nature Inspired Wreath
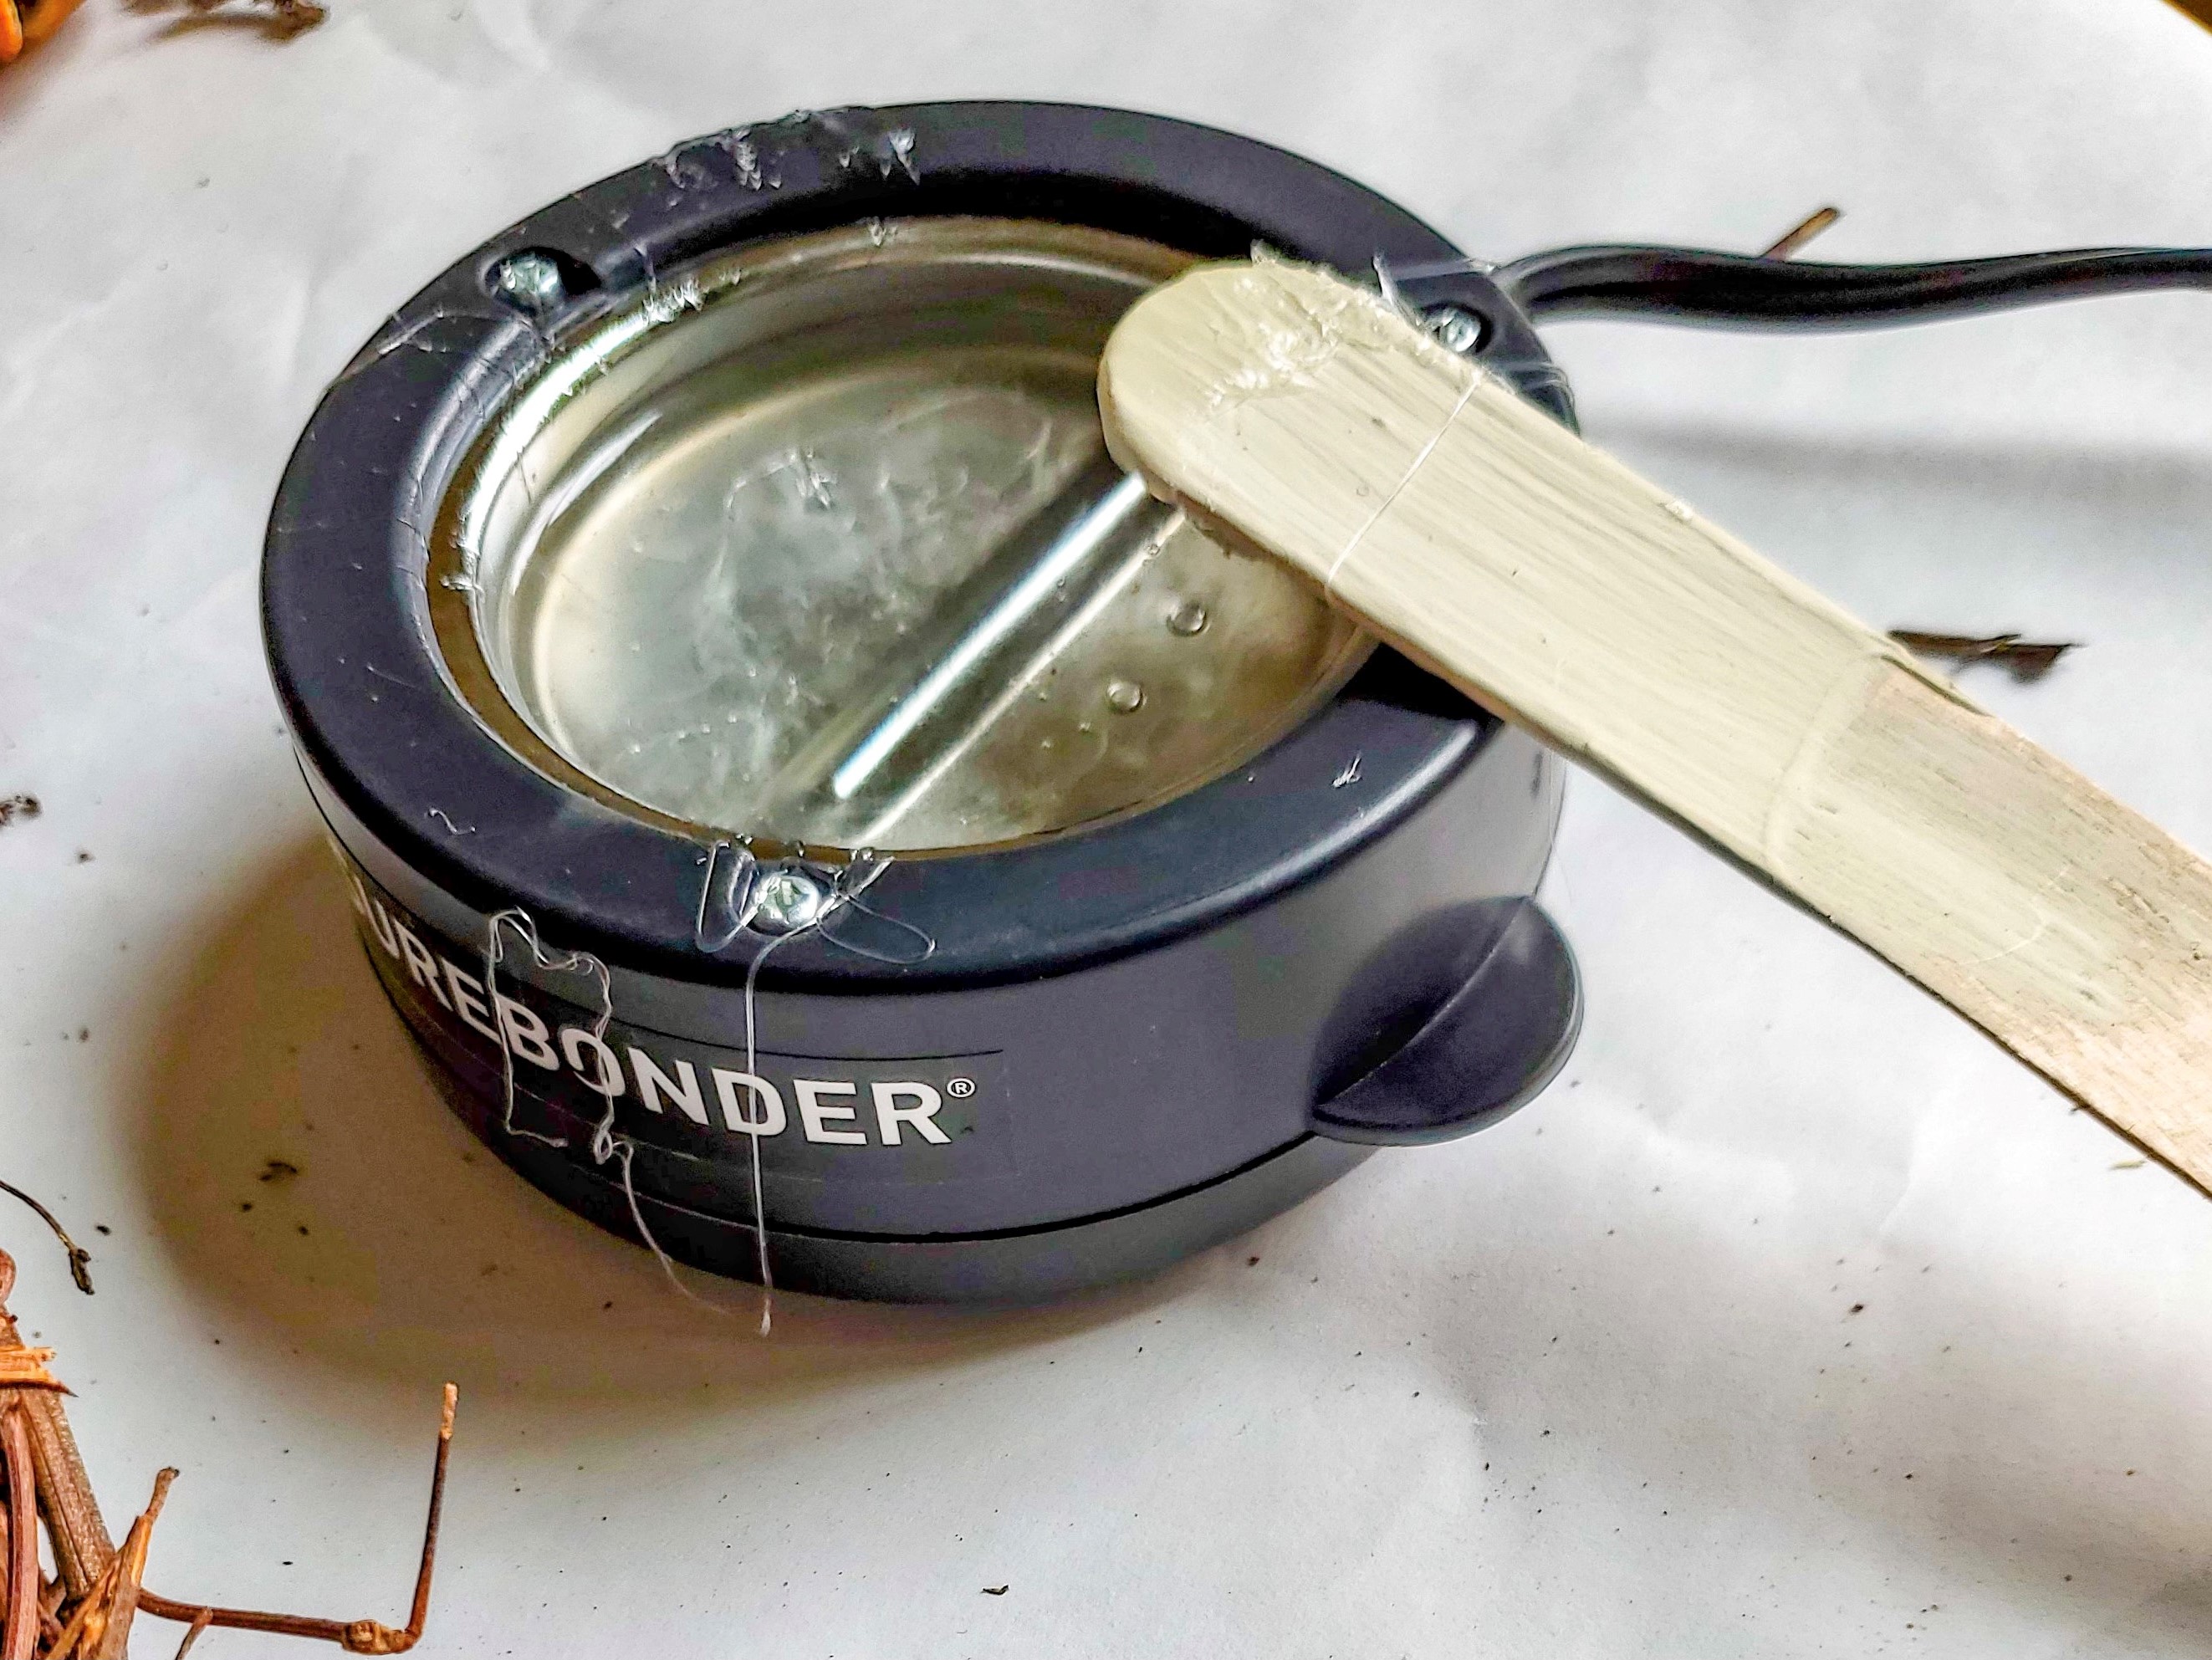
Typically, I would utilize my glue gun to attach the oranges for this DIY Christmas wreath. However, I recently decided to experiment with a new product offered by Surebonder, and I must say, I am impressed. This product has exceeded my expectations and I bought a larger size last year. It provides a secure and reliable hold, allowing me to incorporate the pieced onto this orange slice wreath..
Step 4: Adding Nature to Orange Slices
The paint of the walnuts and cinnamon is a beautiful addition to the oranges and adds another natural element and texture to the entire wreath. Next, glue the walnuts nestling them beside the dried oranges. Carefully glue the cinnamon next to the dried orange slices and add another beautiful aroma to this wreath as well as more texture to the wreath. Editor’s Tip: Use caution when applying hot glue. Keep children and pets away from the wires and hot glue gun to avoid injury and burns. The fragrance of the cinnamon sticks fills the wreath with a warm and inviting fragrance that complements its charming appeal. Furthermore, the contrast of the dried orange slices and the rough, textured surface of the cinnamon sticks adds depth and interest to the wreath, making it a centerpiece for the holidays.
Step 5: Elevate the Entire Wreath with Rustic Charm Star Anise Magic
Adding anise stars adds a beautiful woodsy smell with its design to the dried orange slices on the wreath for holiday decor through winter.
Step 6: Finishing the Seasonal Wreath: Glue the Acorns
The next step, enhancing the acorns with the same paint used on the walnuts is a great way to add an elegant touch to these pieces of nature. Use a dry brush technique. Not only is this technique quick, but it’s also incredibly easy to apply. The key is to use a small amount of paint on your brush. Dip only the tip of the brush into the paint and then wipe off any excess on a paper towel before applying it to the acorns. Lightly brush over the surface of the acorns. This technique allows the natural look of the acorns to shine through while adding a touch of color. It’s a way to maintain the organic look of the acorns and incorporate them alongside the dry navel orange slices on the wreath.Editor’s Tip: Dip the tip of the paintbrush into the paint and then wipe off any excess on a paper towel before applying it to the acorns.
Lightly brush over the surface of the acorns.
Step 7: Hang the Finished Wreath
When adding this to natural Christmas decor, don’t forget to add a ribbon of your choice to the top of the wreath. Think outside the box, instead of using a traditional red ribbon, or a piece of gray buffalo check ribbon, consider using lace as an option that contrasts with the rustic nature of the Farmhouse wreath. The delicate and intricate patterns create a charming look when paired with the other elements of this wreath. Attach the ribbon to the top of the wreath, allowing it to hang from the top of the door frame. Now, find the perfect spot in your home to display this inexpensive Christmas craft and let its natural beauty shine throughout the holidays into the winter months.
Happy crafting!

Cindy, this is so beautiful! I think decor made of natural elements are the most beautiful.
This is so pretty! I love the neutral colors, and the organic feel of this wreath!
Thanks, I love it too
Your wreath is so pretty and I love all the natural elements. The acorns and Star Anise do make a nice added texture to your wreath. Looks good on your front door too. xoxo Kris
Thanks Kris, it’s fun to make
Loved this tutorial! Your wreath turned out just beautiful!!!
Thank you so much!
This is so pretty! I’ve pinned it for later – I really would love to make this for Christmas this year!
It’s easy to make. The longest part is drying the citrus
Your wreath is beautiful! I love all of the natural elements. Pinned for later!
So happy you Pinned it. I hope you make one or something similar. It’s fun
so many possibilities for using the dried fruit. I love your wreath Cindy.
Thanks Terrie
This wreath is so gorgeous, Cindy! I love how you mixed the different types of dried orange and painted the walnuts. Pinned!
Thanks for Pinning!
It’s absolutely beautiful!! I love the addition of the whole clementine. I don’t think I’ve seen that before. It really makes the wreath look extra special!
Thanks Kim. I never dried whole Clementines before Figured what did I have to lose
Beautiful wreath! I’m looking forward to making this in the fall.
Great Tammie. Hope you make it and it will last through Christmas
Thank you for this post, I have always wanted to make one, and now I have the instructions to do so! Looks great and I bet it smells pretty good too!
Great I’m so happy you like it.
This turned out so cute, you got me thinking of Fall. Love it!
Ah that’s my favorite seasons cold weather girl here
Really love the way it turned out. Usually they are so flat looking, but yours has so much dimension to it. Great job!
Thank you, I love it
Gorgeous wreath! Where did you find your anise stars?
Hugs,
Kippi
I guess I should have mentioned it. Anise stars can be found in the food store
This wreath is seriously so stunning! I always appreciate all the layers of texture you add to your wreaths and vignettes. They’re really pretty! Can’t wait to try your wreath making technique. I swear you make it look so easy! Hugs, CoCo
Thanks so much CoCo
Your wreath is gorgeous!
Beautiful!
This is wonderful. And thanks for the tip about storing it in a paper bag. Wouldn’t have thought of that.
This is just wonderful!
I just adore your wreath!!! The devil is definitely in the details here as you have created so much texture!
I love it and just may need to make one myself:)
Thank you so much Maria. I highly recommend making one!
I love wreaths with natural elements. Gives a comforting feel.
Thank you so much!
The wreath is beautiful! Thanks for sharing how to make it! I love your front door, by the way!
Thanks for the feature
Thanks for the feature!
thanks for the feature!
Thanks for the feature!
ooh, I love this. I definitely want o make one.
This was a fun project
Looks like you are all ready for fall!
Thanks for adding post to the FWF party fun.
RR
Not quite yet
Darn, I just passed up a bunch of acorns on my walk this morning. I had so wanted them, but I had a pup who was being mischievous and I could not get acorns and hold him on his leash at the same time. Thanks for the inspiration. I will have to go back less one pup to pick them up!
If you can grab them they last for years. Mine are 10 years old
This is a great wreath. I love that it is all natural components.
Thank you so much!
Cindy, I love this wreath! You can never go wrong with natural elements. Painting some of the elements is a great idea! Pinned!
Love this dried citrus wreath! Pinned!
Thanks so much Jayne!
Thank you Jayne
Oh Cindy! What a gorgeous way to bring natural elements to a seasonal wreath. Thanks for the tutorial so I can make my own. This would make a lovely gift, as well.
I love natural elements for these seasons
Can you be more specific about the content of your article? After reading it, I still have some doubts. Hope you can help me.