Easy Chocolate Candy Cups
Well, today I’m sharing how to make easy chocolate candy cups! These are so easy and fast you are going to love these!
First of all, these are HUGE crowd pleasers and are delicious! I actually should have added a row of exclamation marks because these are so simple, but I won’t. Okay, maybe one more time!!!!!!!!!!!!
A bit of a backstory on these little pieces of fast chocolate cups. The first time I made these for my family suggestions on what to fill these with came out so fast it was hysterical. Everyone was truly screaming out ideas for these sweets. Then we were laughing so hard we couldn’t talk.
You know what I’m talking about. The kind of laughing when you have trouble standing up. The kind when your stomach actually hurts. It may seem odd to some that we were so hysterical; however, with my family, it has been known to happen on occasion over little things.
Okay so are you ready for this recipe?
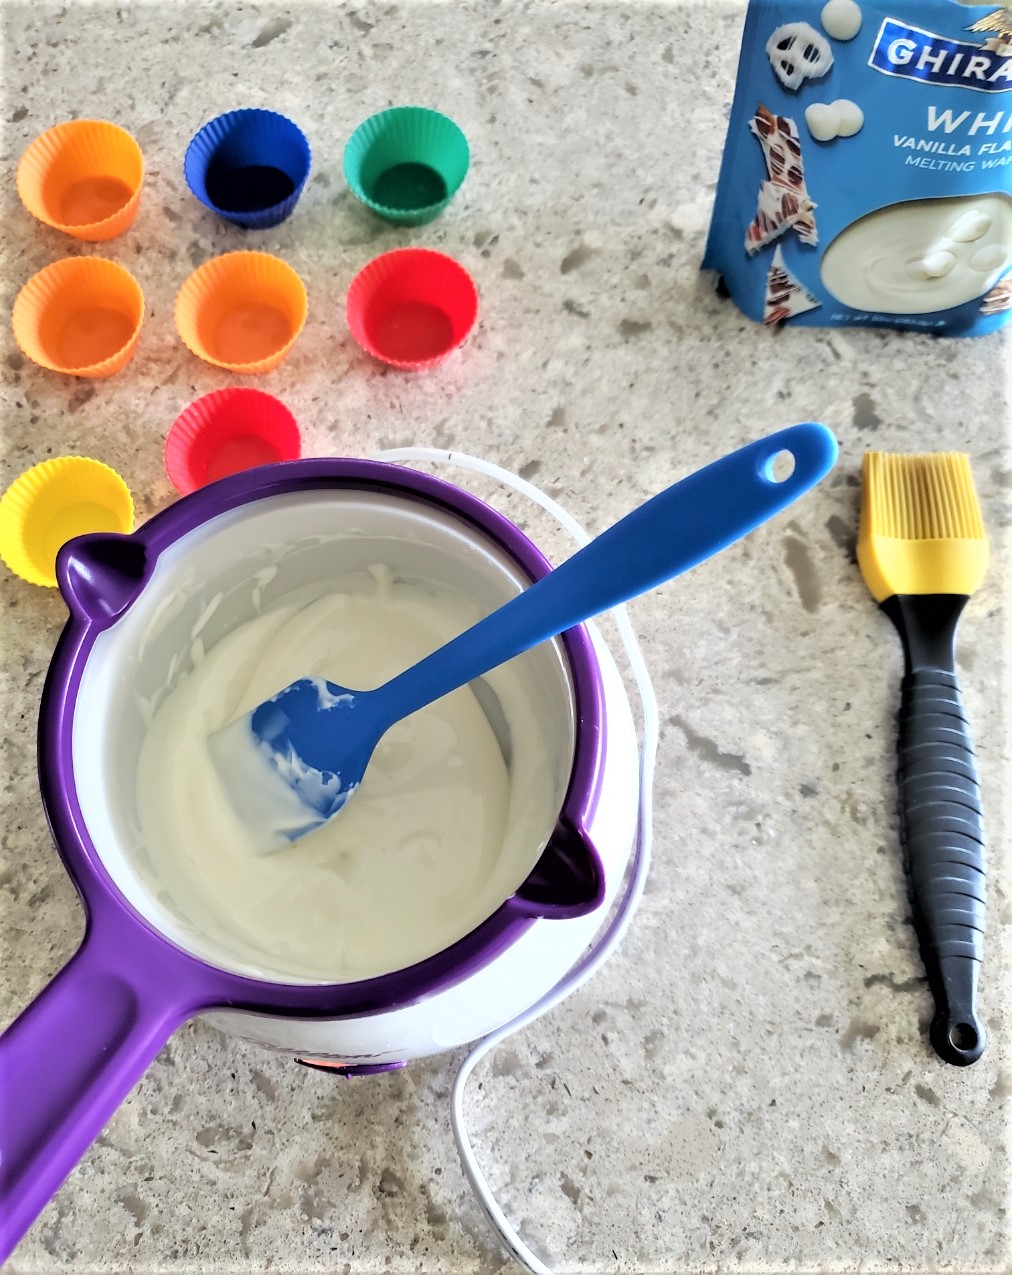
Items Needed:
- Chocolate Melt or double boiler
- Chocolate melting wafers
- Mini silicone cupcake holders
- Silicone spatula
- Silicone pastry brush
Tip 1: If you are using white chocolate and not melting wafers, add a bit of vegetable oil. This helps it have a tempered affect.
Tip 2: It’s especially important to continuously stir the candy in a double boiler to avoid seizing which happens extremely easy to white chocolate
Tip 3: Never get water in chocolate when melting because it will seize
How to Make Easy Chocolate Candy Cups for Company
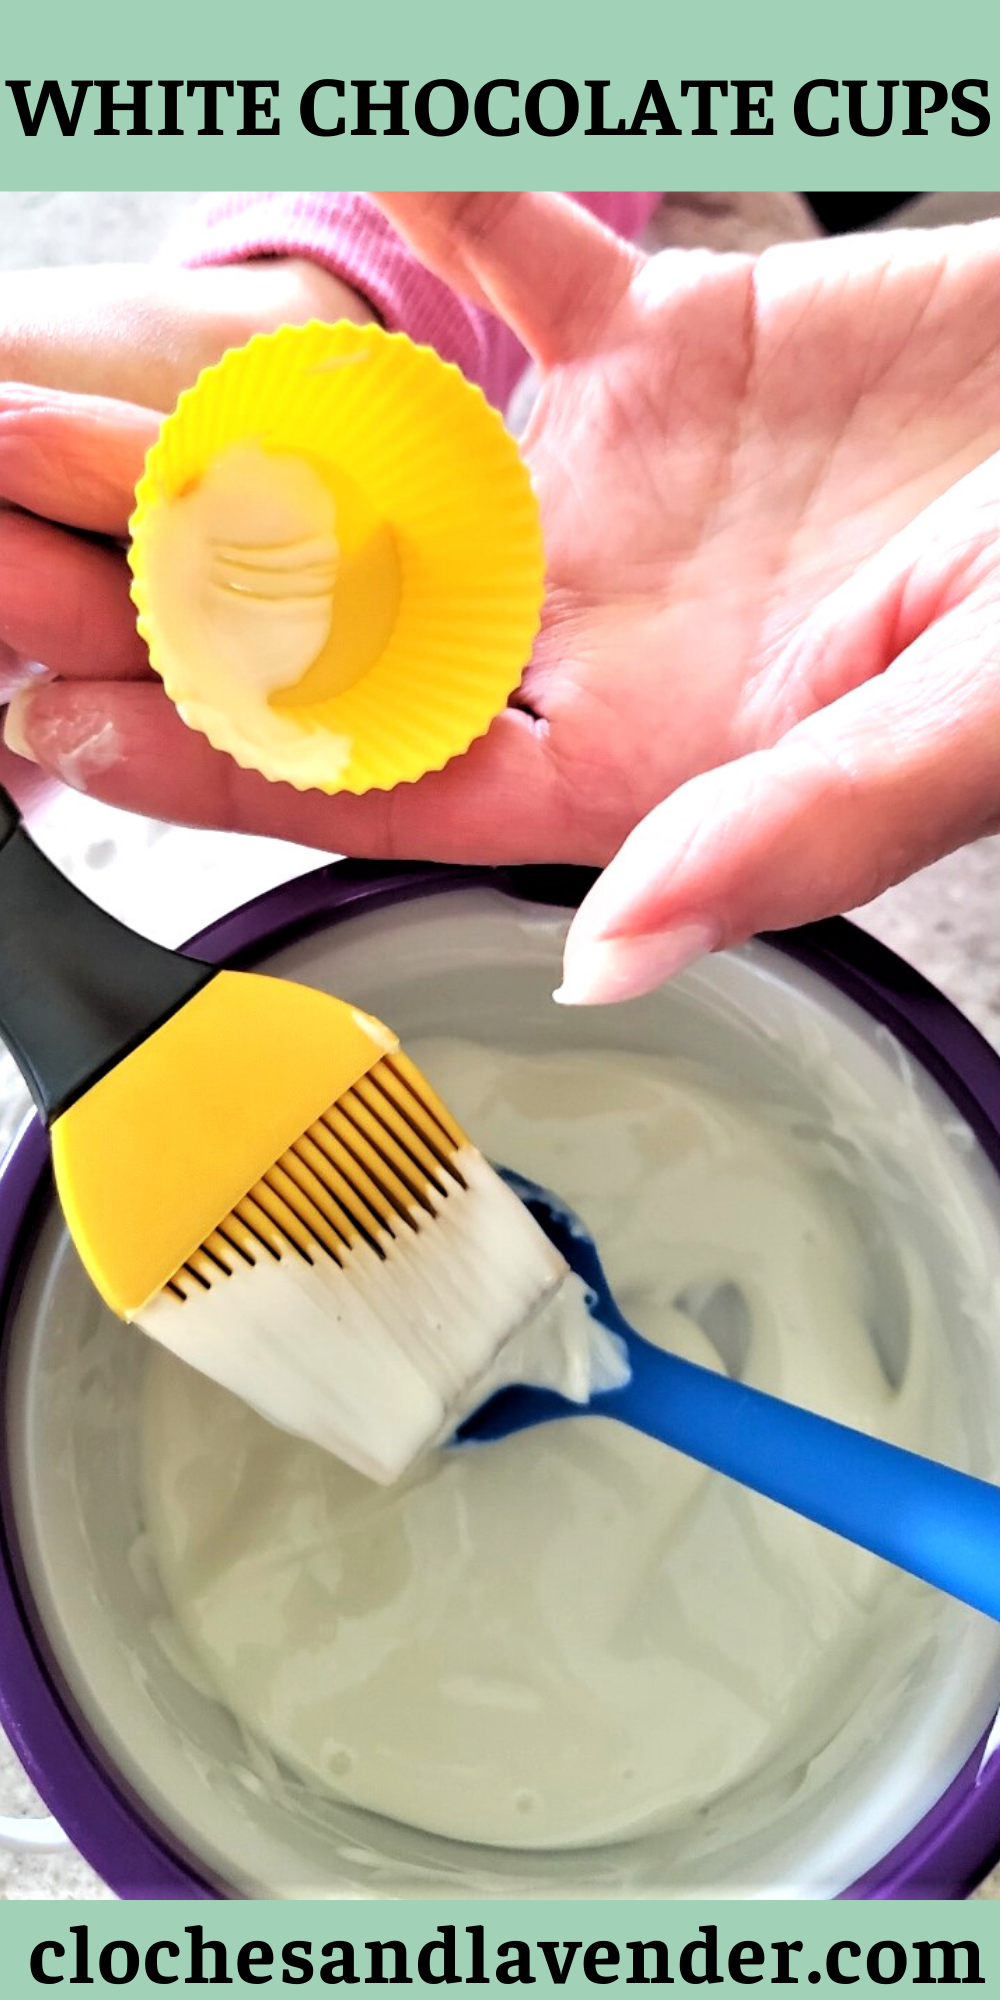
Step 1: Using Melting Wafers
Begin with melting the chocolate wafers. If using a candy melt, follow the instructions on the packaging. I highly recommend this Melter.

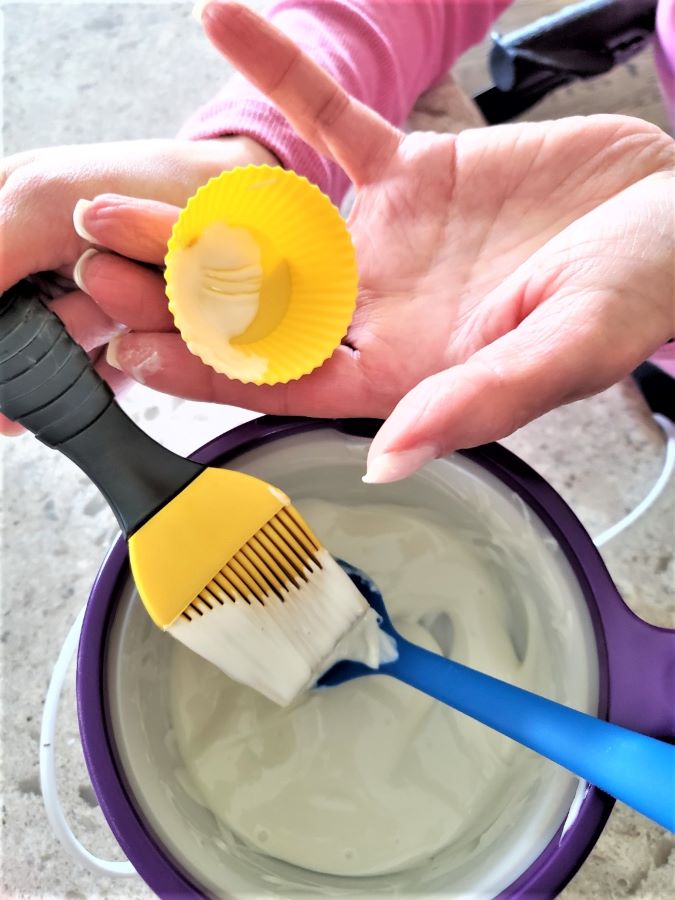
After melting using a silicone pastry brush begin adding a layer of your chocolate. Because this sweet treat is melted when adding this to the cup it will drop to the bottom a bit. This is normal so don’t worry.
*As an Amazon Associate and other Affiliate programs I earn from qualifying purchases*
This post and photos may contain Amazon, Antique Farmhouse, and Etsy links.
As an Amazon Associate and other Affiliates, I earn from qualifying purchases. If you purchase something through any link, I may receive a small commission with no extra charge to you. All opinions are my own
By the way, do one cup at a time, and as soon as the first one is finished put it in the freezer.
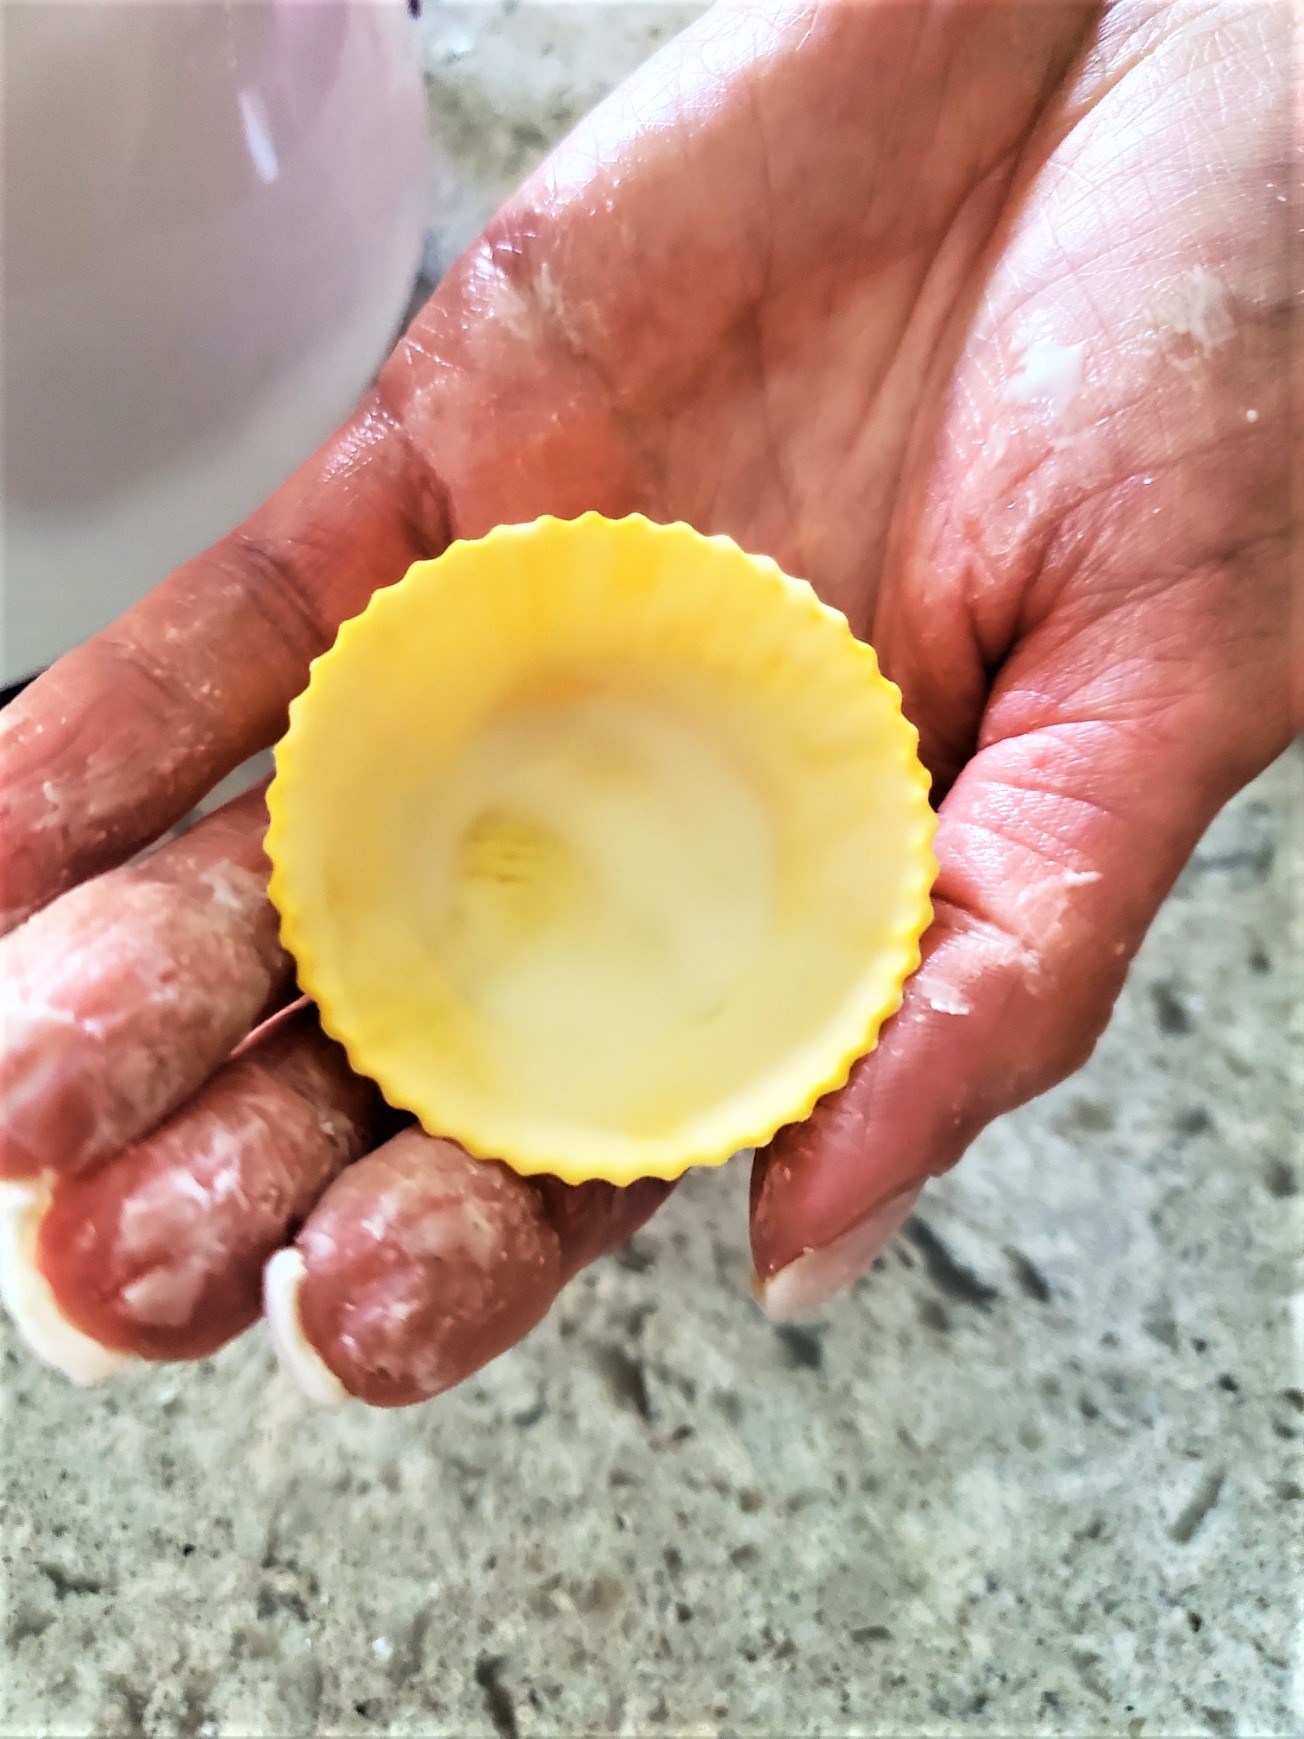
It’s particularly important to make sure to get all the edges well. Continue filling as many cups as you like until the first layer of the candy is done.

Now grab the first cup you filled with white chocolate and do the same process again.
Tip 4: Make sure the silicone cups are covered completely with no empty spots
Throw these immediately into the freezer for a minimum of 4 hours to make them solid.
Tip 5: Why am I using small cupcake cups? I am using a smaller size because I am sharing this specifically for summer, they are easier to eat. Two bites and done. No mess for your guests to deal with when enjoying their dessert!
Incidentally, I shared these at an indoor garden party, which you may enjoy. It’s filled with great tips for gatherings in the warmer months.
Removing the Sweet Treats from the Cups
Step 2: Removing the Candy from the Silicone
This is an easy process to do. Begin by taking the edge of the silicone wrapper off. After you begin peeling the edge the candy will release from the cup.
And you’re ready to go, now how is that for easy chocolate candy cups?
Recommendations for Cold Fillings to Add to the Cold Candy Cups
Step 3: Filling with You Favorite Item
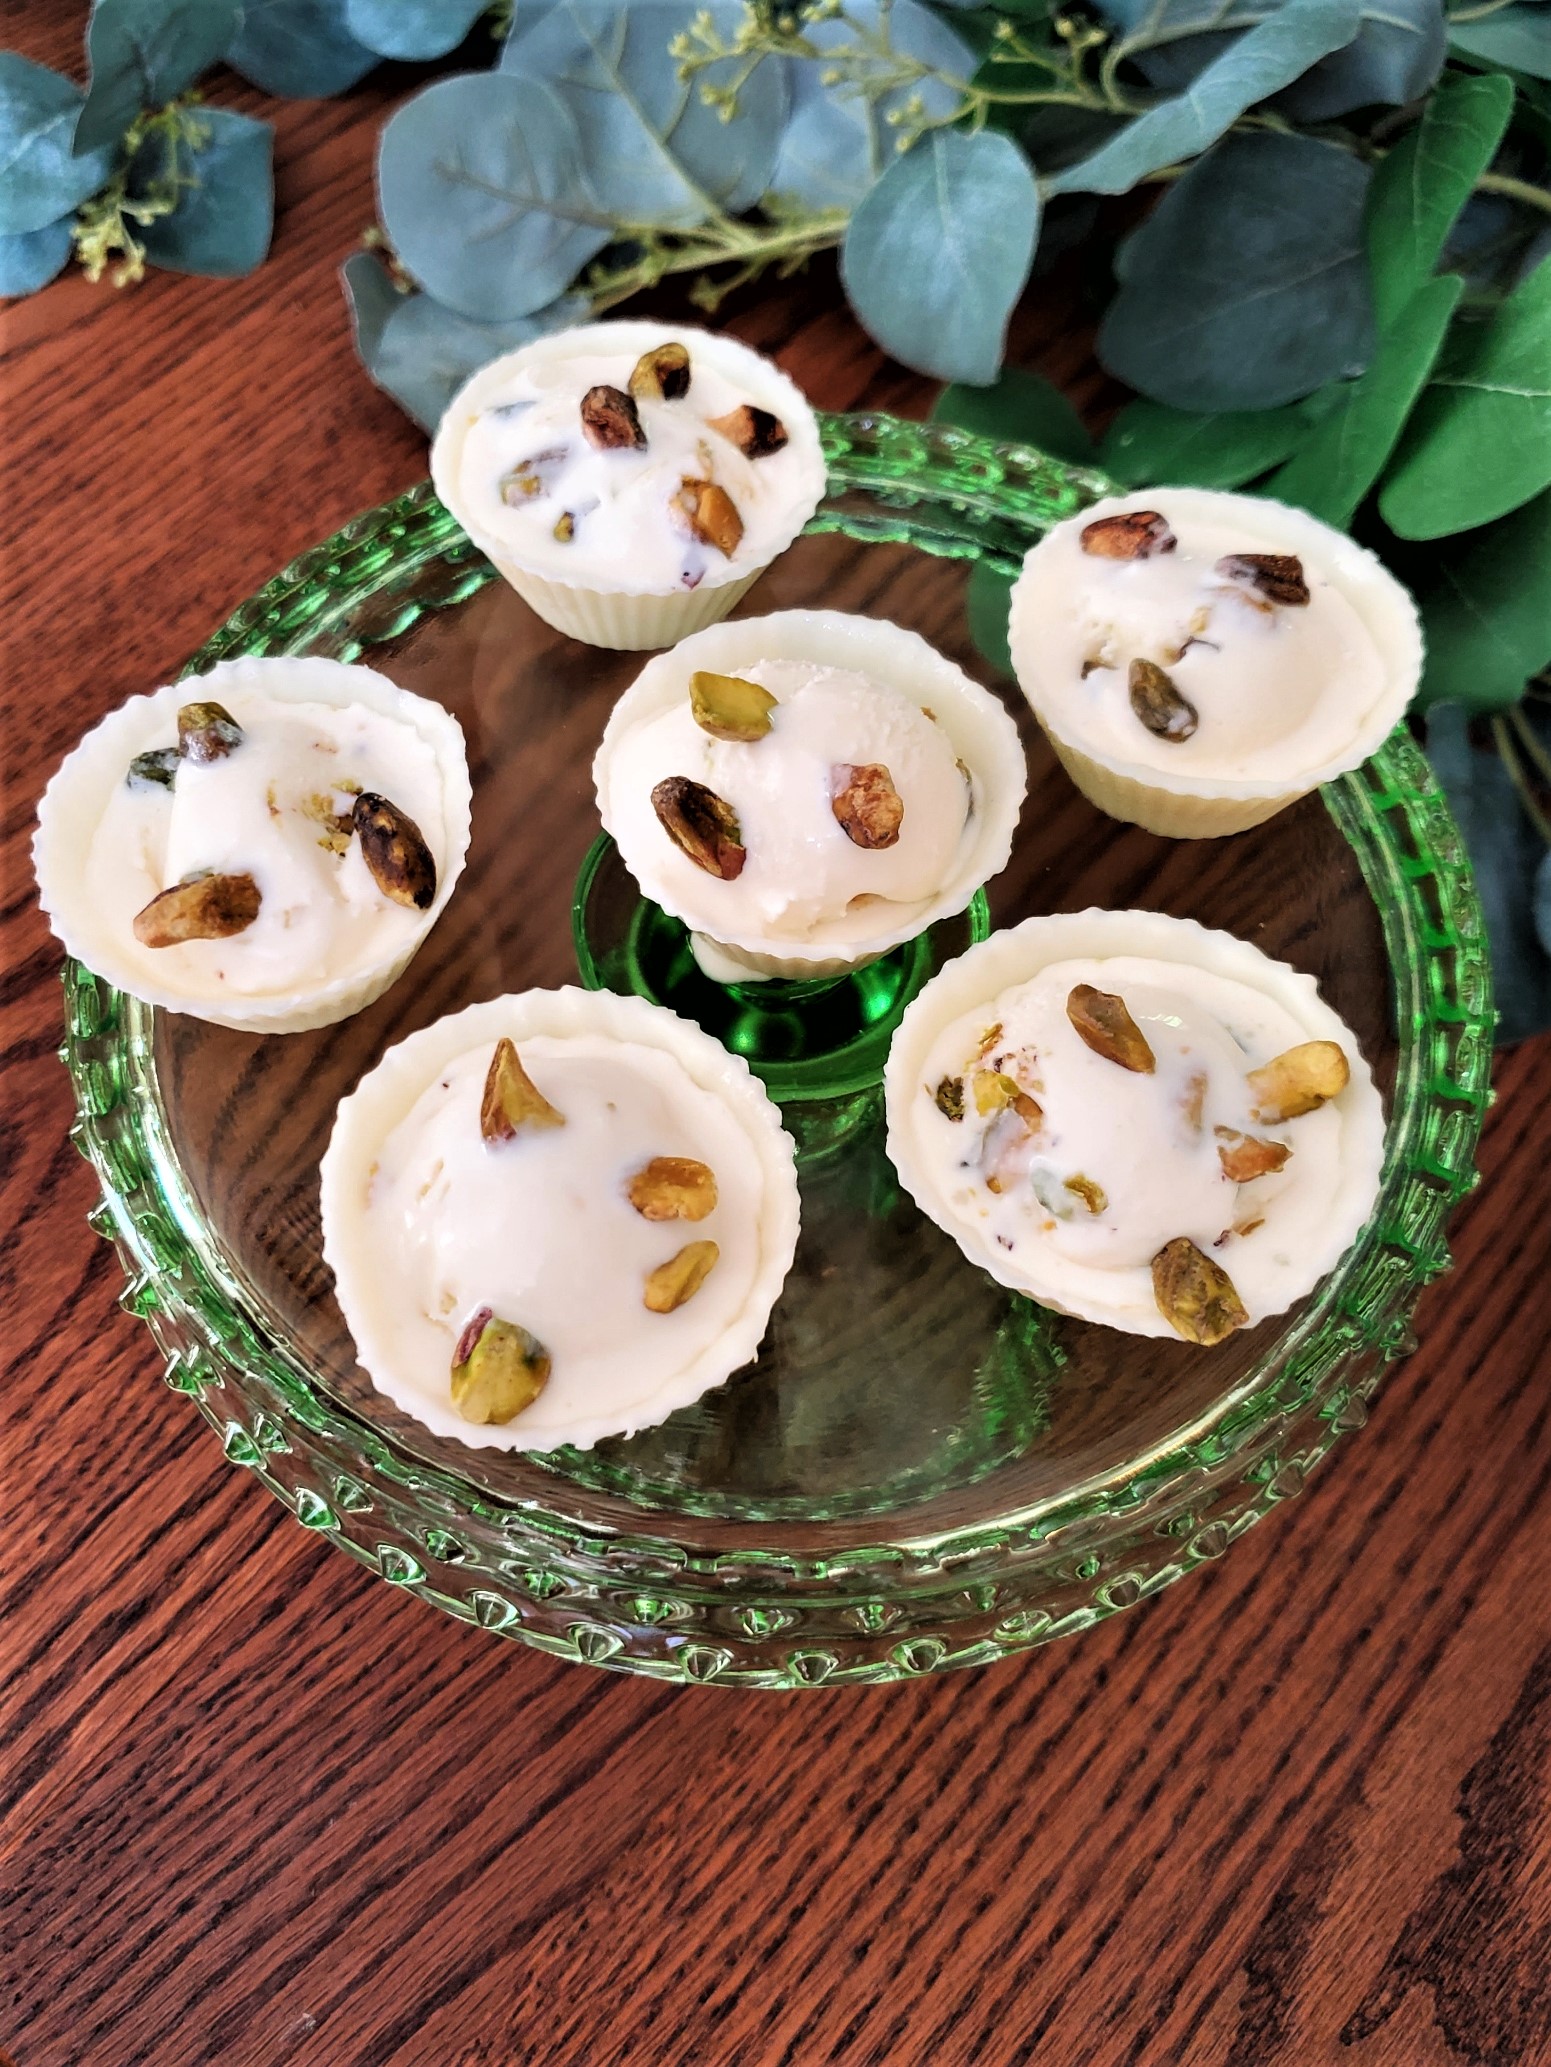
And fill them with your desired filling. These dessert cups are great and filled with a variety of tasty ideas.
For example, if you are using dark chocolate raspberry sorbet is a fantastic combination. How about adding a small amount of mini semi-sweet chips to the top for an easy garnish?
Mint Chocolate chip ice cream is also another great option for these sweet treats, especially dark chocolate.
Another example of dark chocolate cups is adding coconut gelato or ice cream and toasting coconut shavings to add to these sweets for an easy extra touch.
These are also very good filled with raspberry sorbet. These sweet berries will work well and add to the dish for a garnish. This is also quick to make and is perfect for a gathering.
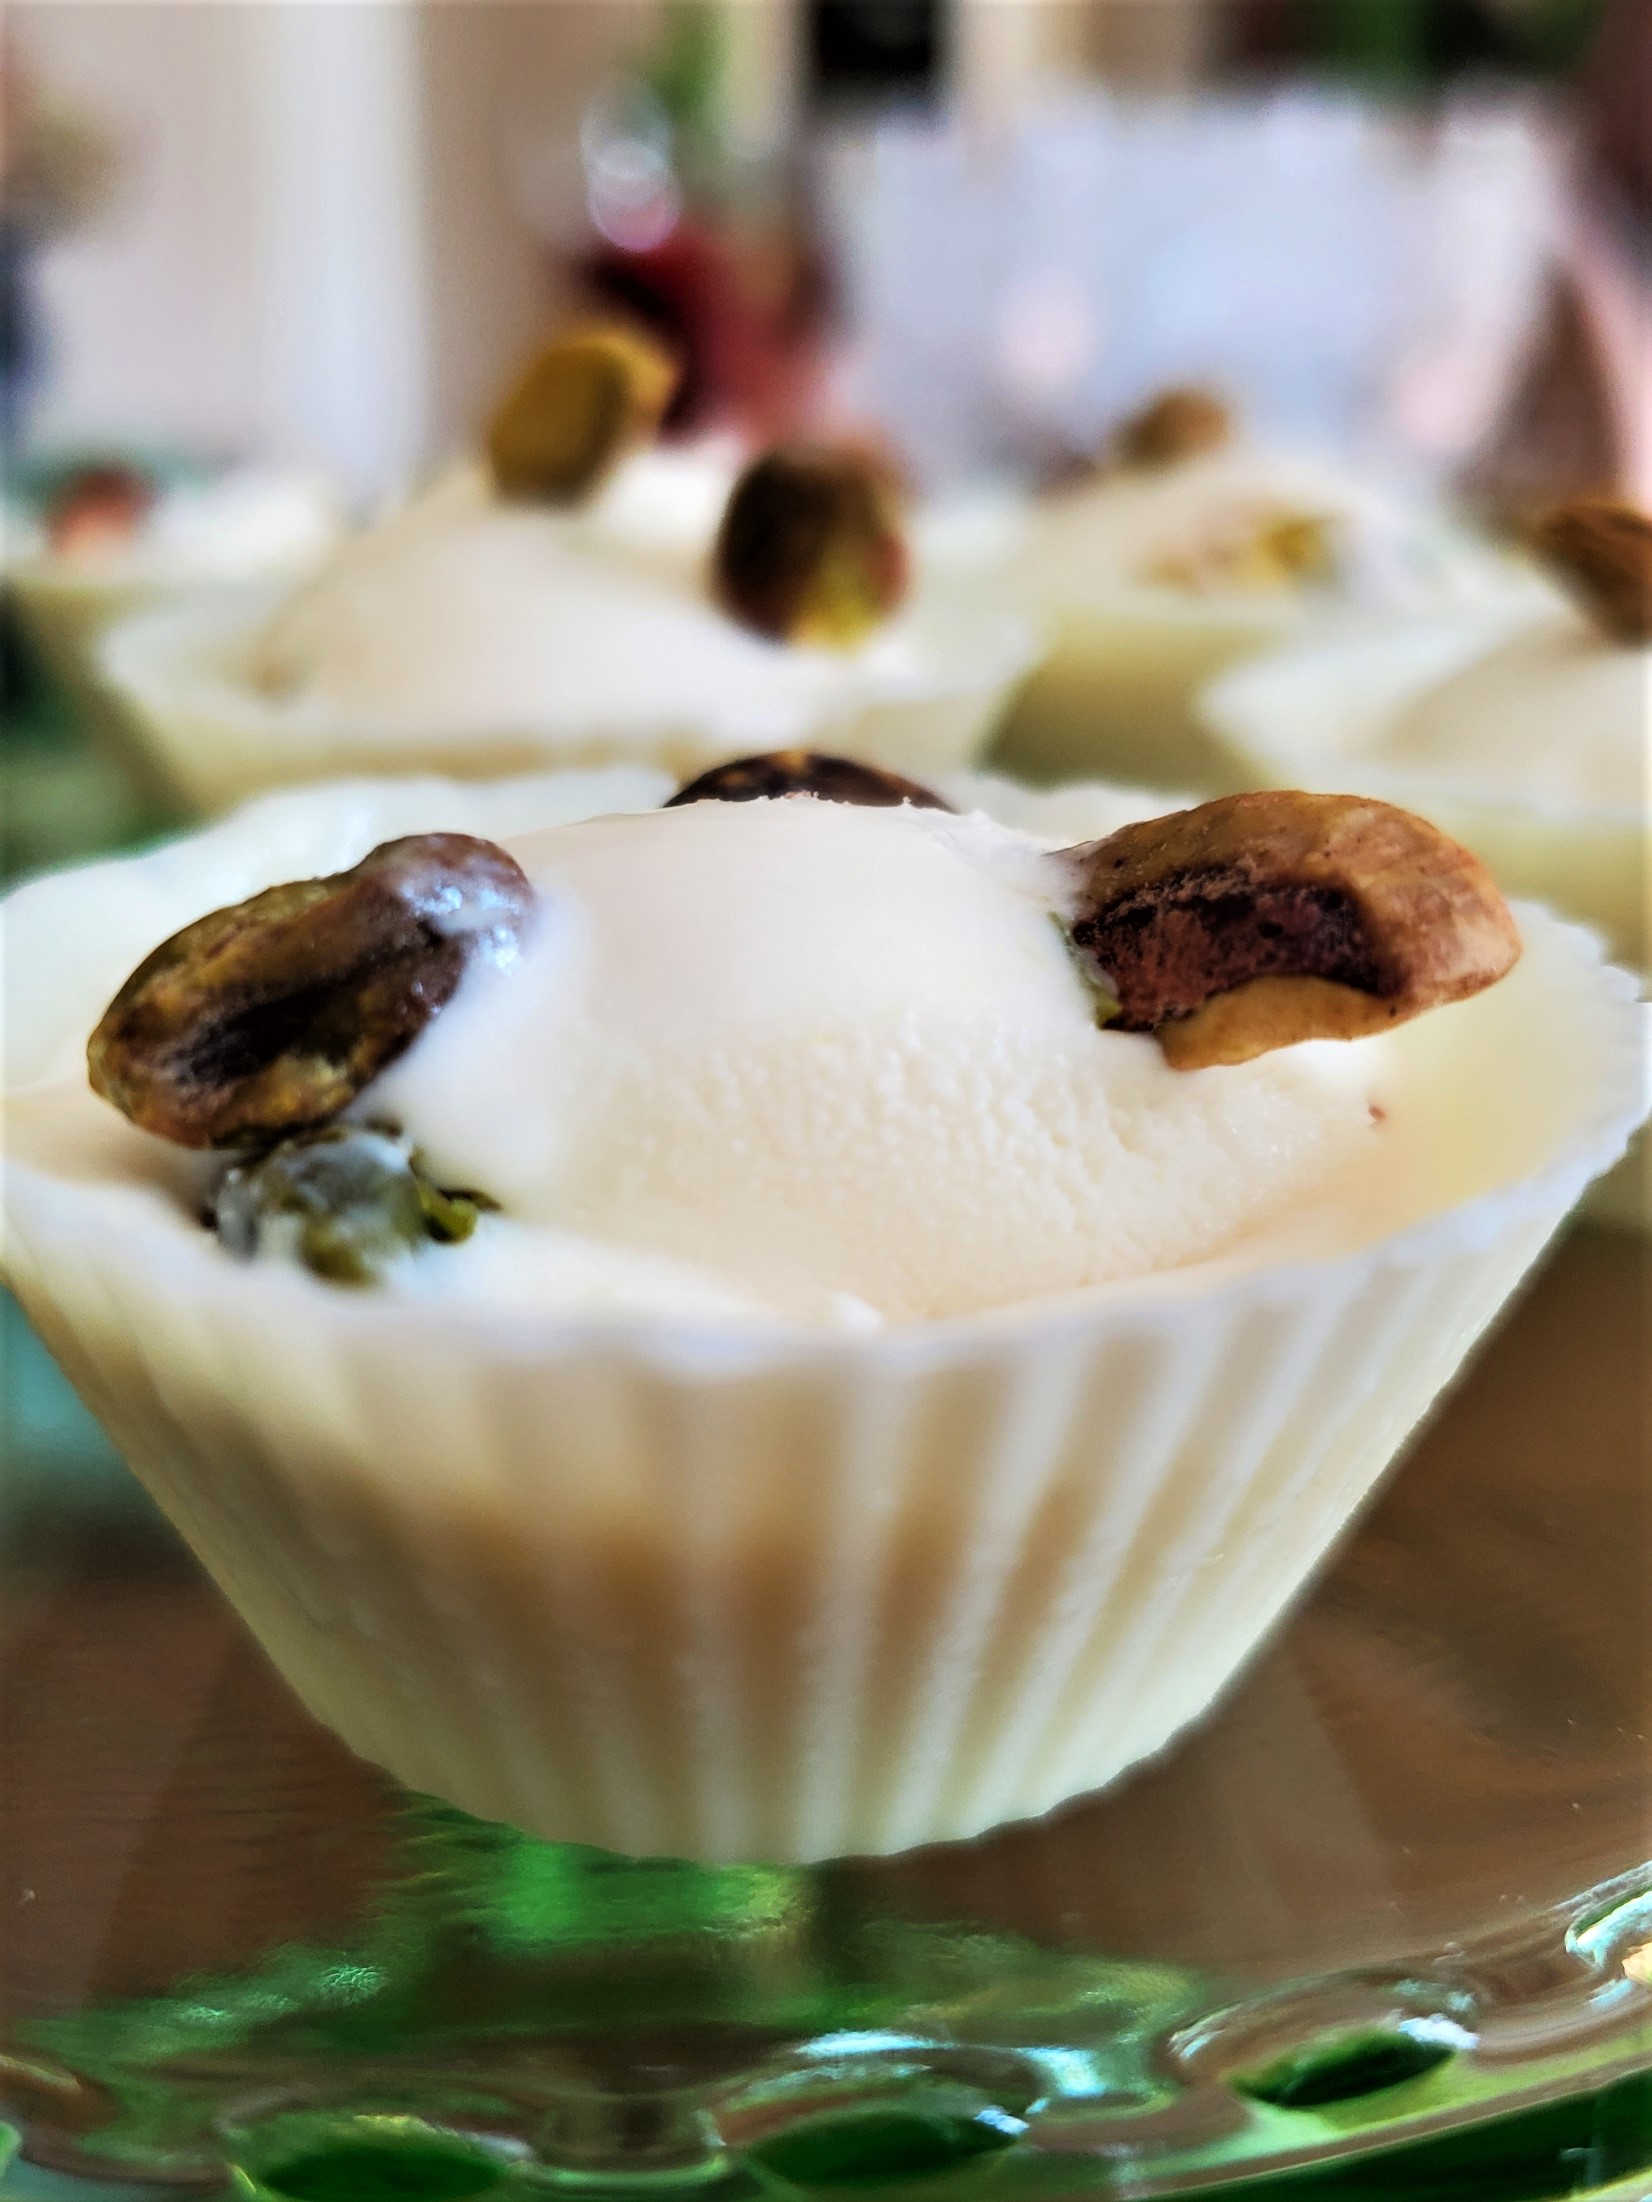
Also, pistachio ice cream and garnish with roasted nuts add a nice touch to this sweet summer treat.
Lastly, add a chocolate mousse to these desserts too! Add sprinkles for garnish and done!
I hope you enjoyed this post on how to make easy chocolate candy cups. I hope you give these a try, they truly are very fast and simple! These are perfect for gatherings!
Make sure to follow us on FACEBOOK, PINTEREST, INSTAGRAM AND TITOK
PIN THIS RECIPE TO HAVE FOR A GATHERING!


Easy Chocolate Candy Cups
Equipment
- 1 chocolate melt or double boiler I highly recommend chocolate melt it's inexpensive and works like a charm every time
- 6 mini silicone cupcake cups these usually come in packages of 24 so perfect for gatherings
- 1 silicone spatula
- 1 silicone pastry brush
Ingredients
- 1 bag white chocolate melting wafers if you are using regular white chocolate, I advise adding a bit of vegetable oil. It helps give a temper look and texture
- 1 container ice cream sorbet, gelato, Sherbert work too
Instructions
- Begin with melting the chocolate wafers. If using a candy melt, such as a Wilton follow the instructions white or chocolate candy melts on the package
- After melting the candy using a silicone pastry brush begin adding a layer of your chocolate. Because this sweet treat is melted when adding this to the cup it will drop to the bottom a bit. This is normal so don't worry.
- By the way, do one cup at a time and as soon as the first one is finished put it in the freezer.
- It's particularly important to make sure to get all the edges well. Continue filling as many cups as you like until the first layer of the candy is done.
- Now grab the first cup you filled with white chocolate and do the same process again. Adding another layer of melted candy. Make sure to cover the silicone cup well with the chocolate
- Add these immediately to the freezer for a minimum of 4 hours to make them the chocolate cups solid and hard.
- Begin by peeling the edge of the silicone wrapper off. After you begin peeling the edge the candy will release from the cup easily.
- And you're ready to serve, now how is that for easy chocolate candy cups?


You are blowing my mind,Cindy! I had no idea you could even make cups like these – that is so cool. I can’t wait to try them and share them with the littles. They are going to be delighted! Hope your week is off to a great start, CoCo
Hi CoCo These are so easy and perfect for gatherings.
For colder months I make them regular cupcake size.
Cindy these are so great. Pretty and yummy. Have a good week. xoxo Kris
These look so easy and yummy! Perfect for a gathering of family or friends!
What a “sweet” idea, Cindy! Thanks for all the tips!
Thank you Amy
What a great idea! I’m gluten/dairy free and now I can make my own dairy-free Reese’s cups! Thanks, Donna
So happy for you. Let me know how they come out
I like this recipe, Cindy. The white chocolate cups turned out great! We have my husband’s sister flying in for a visit. It will be the first time Terri has been to our new home.
So exciting. I’m making them for our friends for Sunday
This is such a super fun idea. It’s so easy but so effective. I have pinned for future reference.
Thank you Carol
These look amazing, Cindy! So many possibilities!
Yes and so easy to make
Yummy!
These look so fun Cindy! And you make them look relatively easy. Besides, you had me at White Chocolate
They look delicious, but wondering when you add the “filling”, ice cream, gelato, peanut butter etc? Also wondering if you can color the white chocolate? I’m having a party & would love them to go with the theme.
You can purchase chocolate color melts. They sell them on Amazon and at Michaels
Adding liquid color will seize the chocolate
How about marbleizing, I made up a word, lol
With color chocolate melts? Use a skewer to move tge color or
brush white chocolate and add the color melt with a different brush.
Your article helped me a lot, is there any more related content? Thanks!