Make a Lavender Bud Wreath Now — Easy DIY Decor!
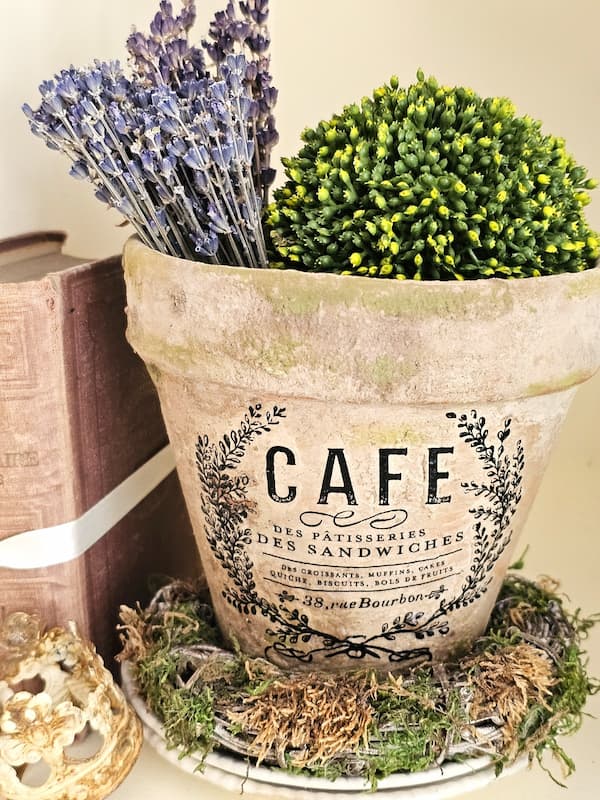
Do you enjoy fragrant lavender as much as I do? As you may notice from my blog’s name, I love lavender. It works all year round. I have lavender stems and small bundles in baskets, flower pots, and more in our home. Would you like an easy way to make a dried lavender wreath for your home decor? In this blog post, I’ll show you how to create a lovely wreath that will fill your space with fragrant lavender for years to come. Let’s Make a Lavender Bud Wreath Now — Easy DIY Decor!
As an Amazon Associate and through other affiliate links, I earn a small commission from qualifying purchases made through affiliate links. The price is the same whether you use the affiliate links or the website. All opinions are my own. (Check our full disclosure and privacy policy.)
Table of Contents
- 1 Make a Lavender Bud Wreath Now! Supply List
- 1.1 Step 1: Spray Your Wreath Base
- 1.2 Step 2: Gather Your Materials and Prep Your Workspace
- 1.3 Step 3: Add Spray Adhesive
- 1.4 Step 4: Make Your Dried Flower Wreath
- 1.5 Step 5: Adding Extra Charm with Small Lavender Bunches
- 1.6 Step 6: Spray the Lavender Wreath with Sealer
- 1.7 Lush Greenery That Pairs With Dried Lavender
- 1.8 Pair Lavender with Dried Oranges & Star Anise
- 1.9 Perfect for Every Season
- 1.10 What to Do With Leftover Tiny Lavender Flowers
- 1.11 A Dried Lavender Wreath Belongs in Your Fall Decor
- 1.12 Blogs Posts of Interest
- 1.13 Shop the Post: Click on the Image of Choice to Shop
Make a Lavender Bud Wreath Now! Supply List
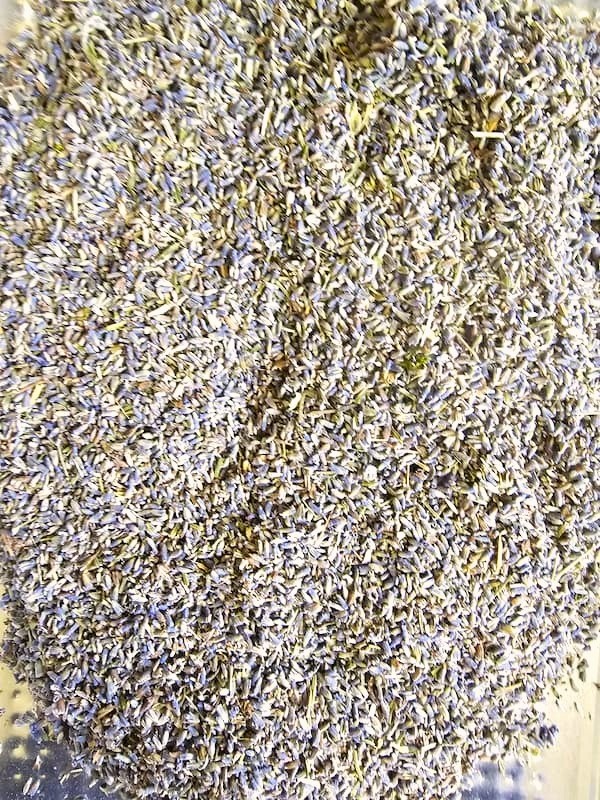
- Dried lavender buds – HERE
- Small lavender bunches (bouquet) – (optional) HERE and HERE
- Burlap ribbon – or ribbon of your choice (optional)
- Jute Twine (optional)
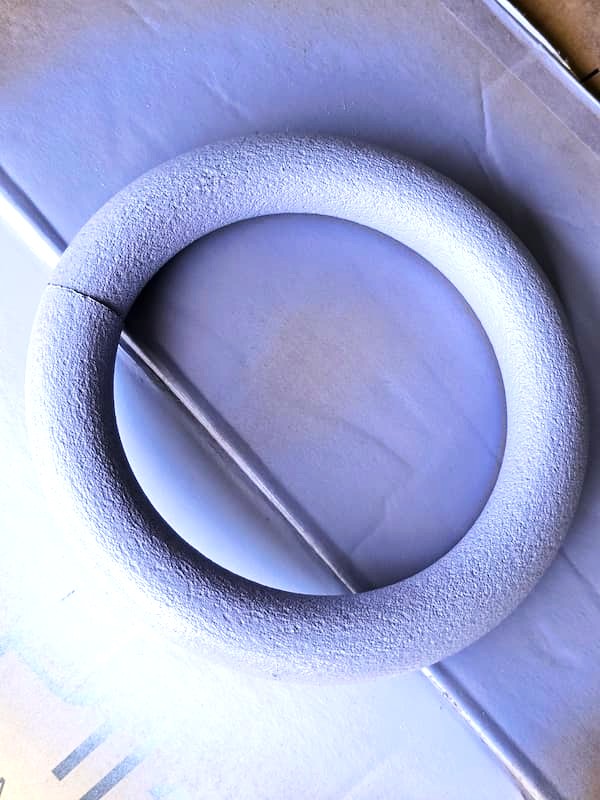
- 10” foam wreath form or size of your choice
- Lavender Spray Paint – HERE
- Hot glue gun (optional)
- UV Sealer – HERE
- Spray Adhesive foam safe, the brand I recommend – HERE
- Rubber gloves – major importance, adhesive gets sticky
- Silicone rubber finger protectors – HERE
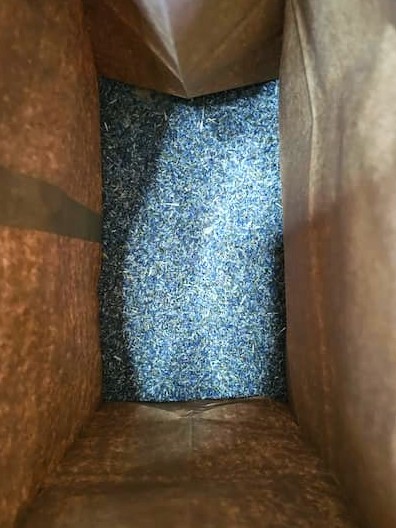
- Paper bag
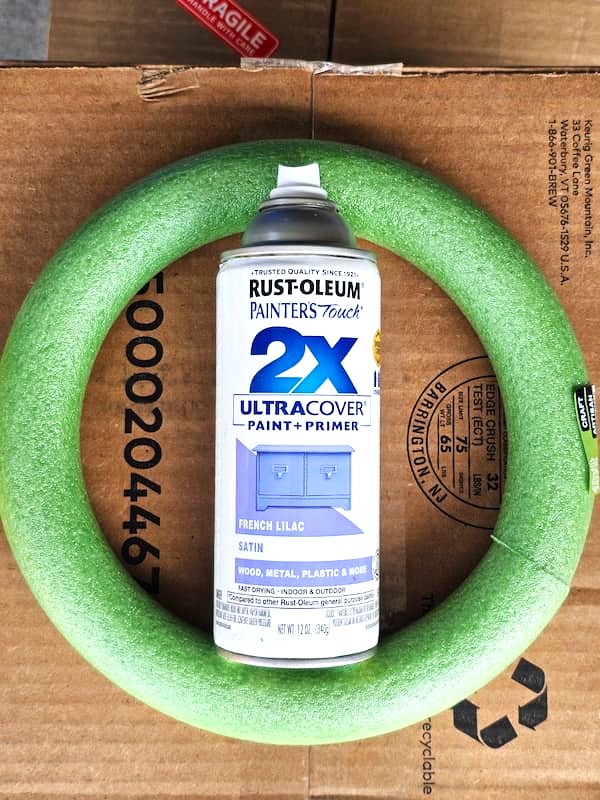
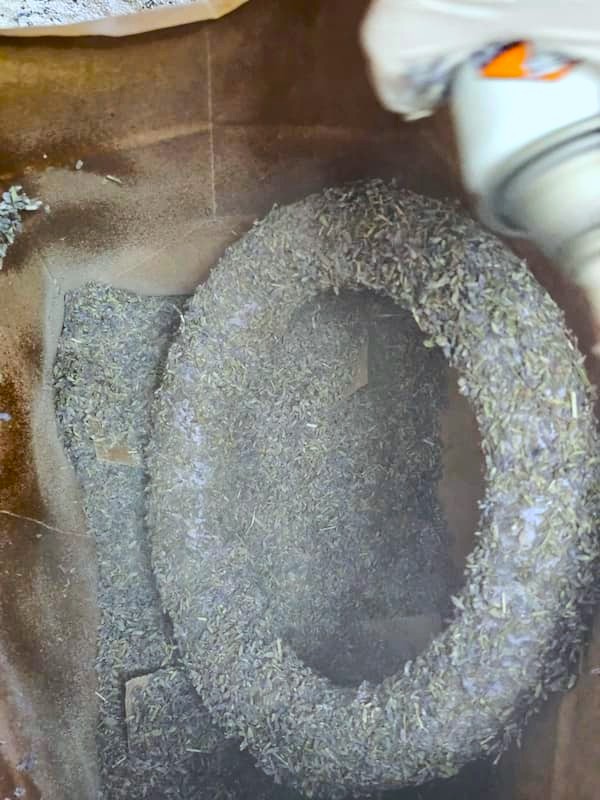
Step 1: Spray Your Wreath Base
First, grab your spray paint and give the foam wreath base a coat of purple spray paint. This gives the wreath form a purple background, helping it blend in with the dried flowers. Let it dry completely before the next step.
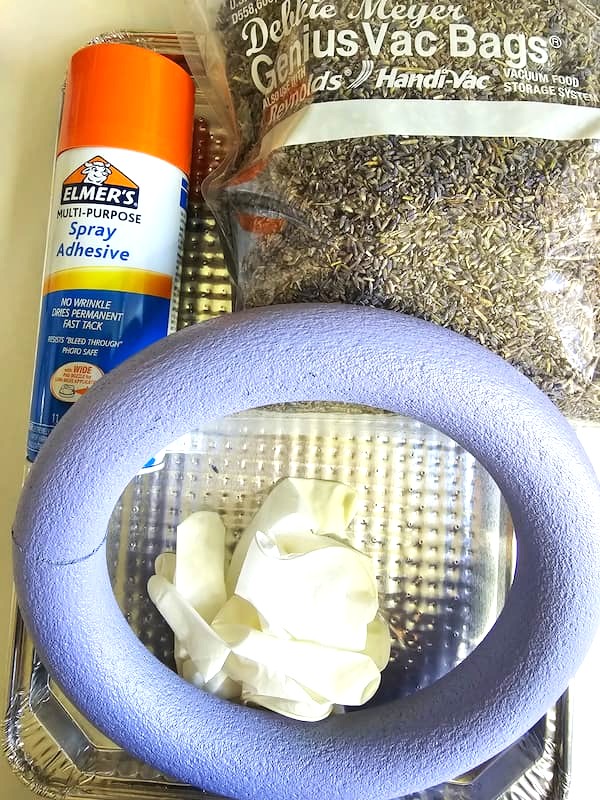
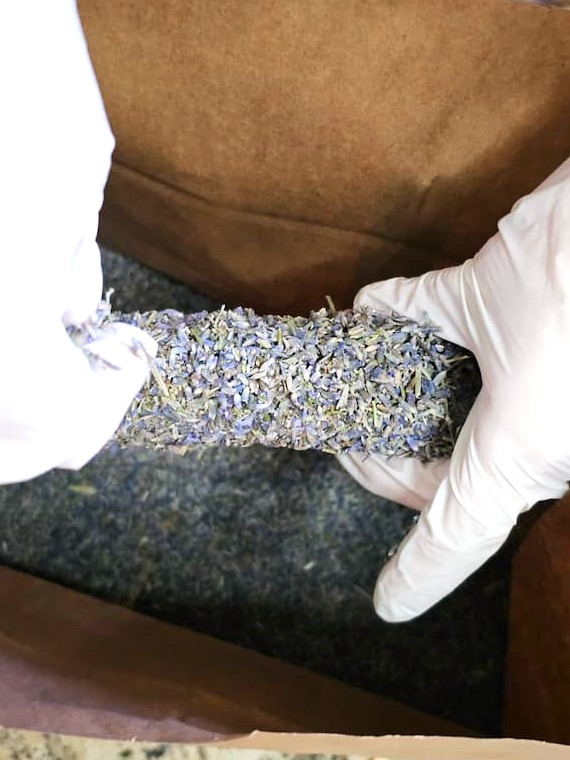
Step 2: Gather Your Materials and Prep Your Workspace
Working with dried lavender is so much fun, but I won’t lie, it can get a bit messy. You’ll see in my supplies picture that I initially planned to use a throwaway baking sheet. After giving it some thought, though, I realized it would be a mistake. I quickly switched to a brown paper bag instead. When you start adding the dried lavender flowers to create this classic wreath filled with fragrant lavender, the paper bag will help keep your workspace clean.
Step 3: Add Spray Adhesive
I added spray adhesive to my foam wreath form. Let this sit for a few moments to get tacky before the next step.
Cindy’s Wreath Note: Using Elmer’s spray glue is of major importance. You may wonder why. Elmer’s is recommended for foam wreath forms. The glue doesn’t have anything in it that will break down the foam, so the dried form lasts.

Step 4: Make Your Dried Flower Wreath
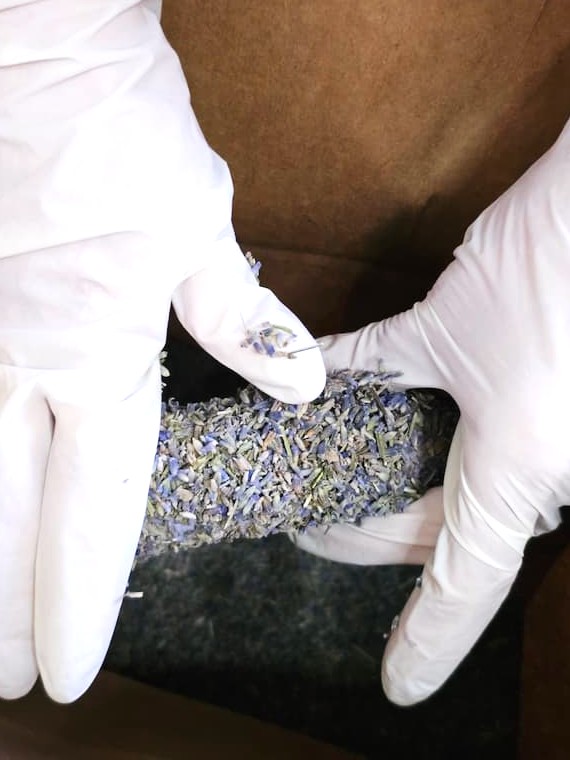
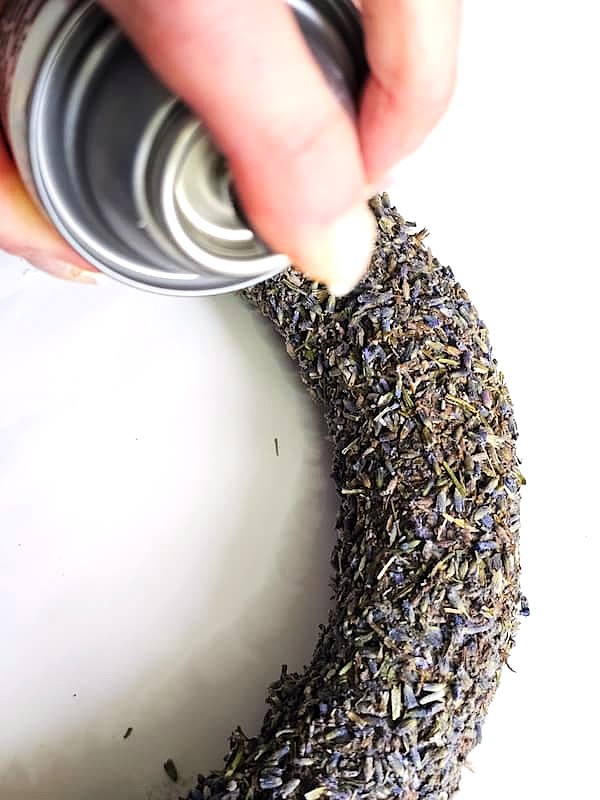
Now let’s begin adding our lavender buds. This is going to be the most time-consuming part of this lavender wreath. It’s not that it takes tons of time. It takes patience to create the best-looking wreath. About 10-15 minutes. Now is the time to put on your rubber gloves. This next step gets very sticky.
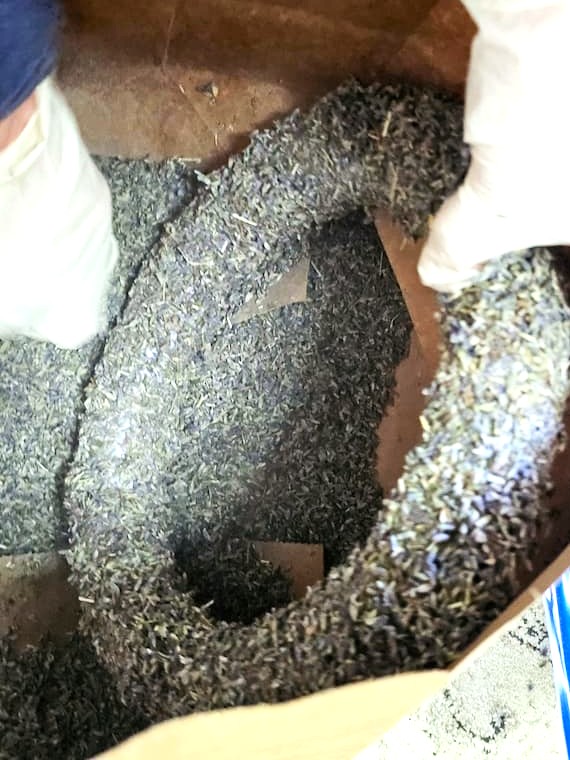
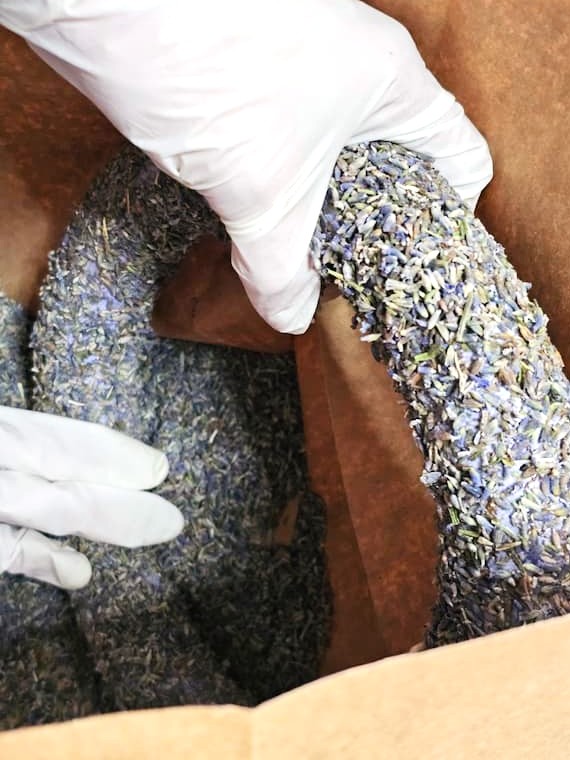
Once your wreath base is tacky, place it inside the paper bag. Grab the tiny lavender flowers and add them to the wreath, pressing lightly. Spray small amounts of spray glue and add the dried flowers until the entire wreath is covered. This step took me about 10-15 minutes. I wanted this to be filled with lavender buds.
After adding my first layer of dried lavender flowers, I randomly added spray glue. Poured more of the tiny lavender flowers, pressing them on the wreath base. This gave me excellent coverage, and this handmade dried flower wreath is a showstopper.

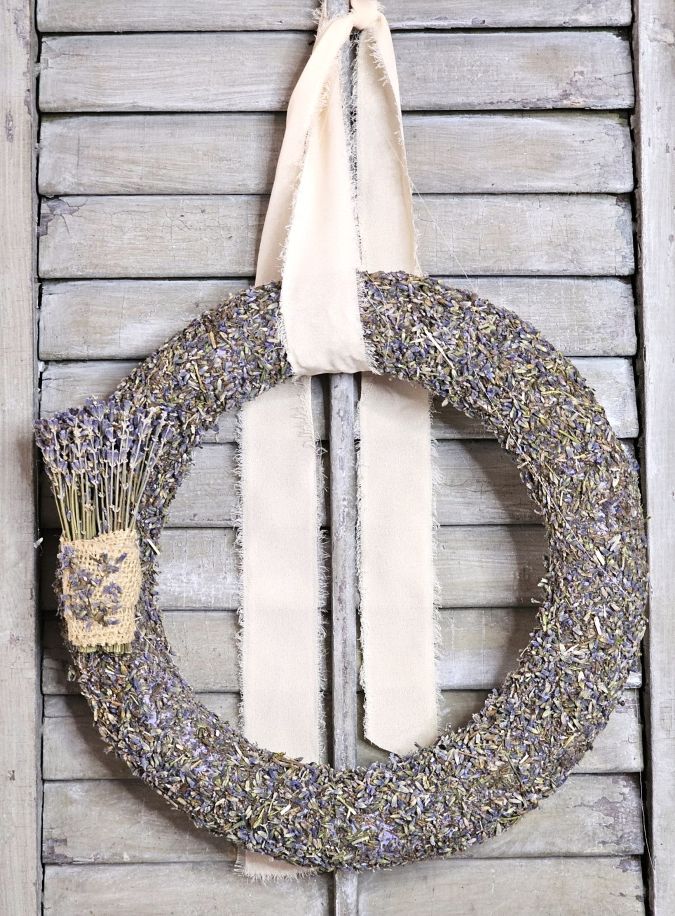
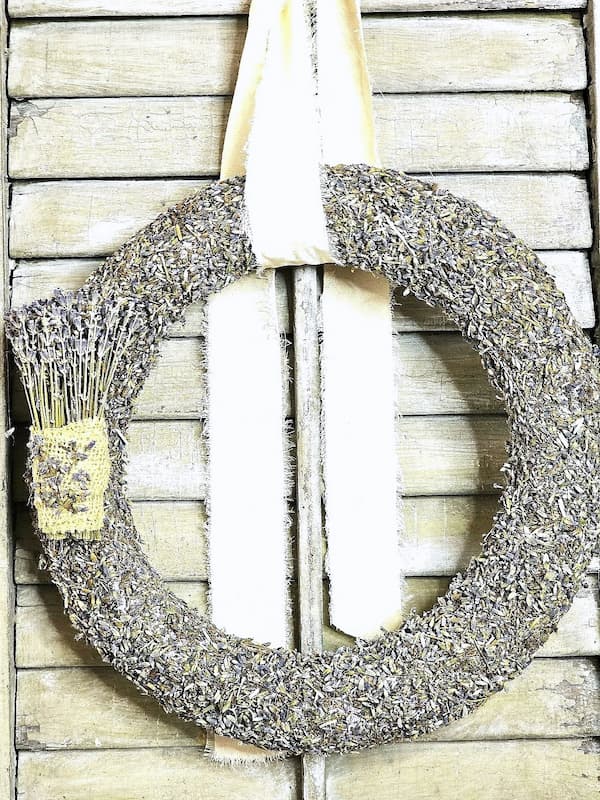
Step 5: Adding Extra Charm with Small Lavender Bunches
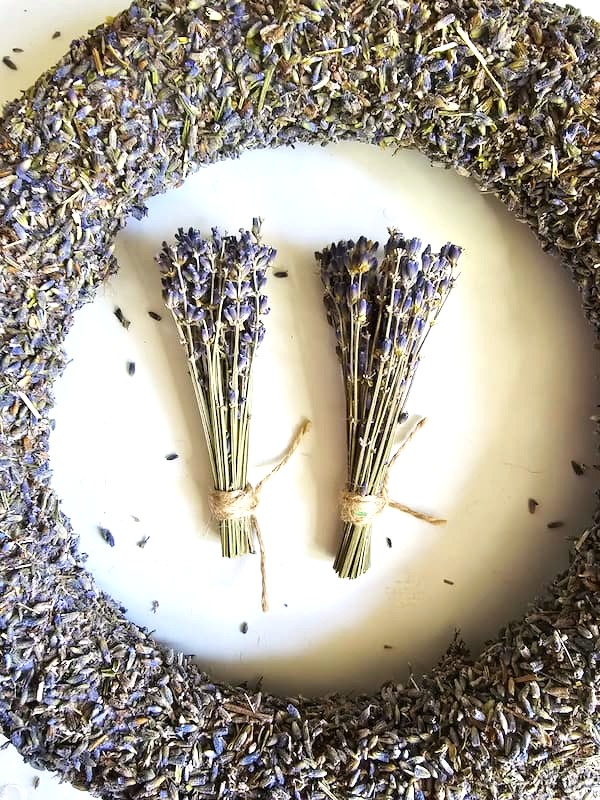
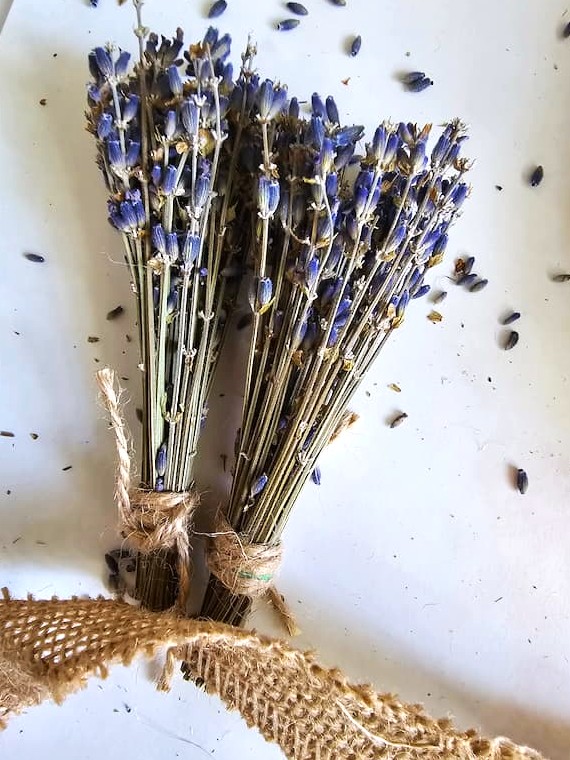
This step is optional; however, it adds extra charm to the overall theme. I had small lavender bunches in my stash. Of course I did, I’m a lavender fanatic, lol. I decided to add these dried flowers to the side of the wreath. These small lavender bundles are wrapped in jute twine. I cut the ends of the jute twine. If you cut these too short, the bundles may come apart, a word of caution.
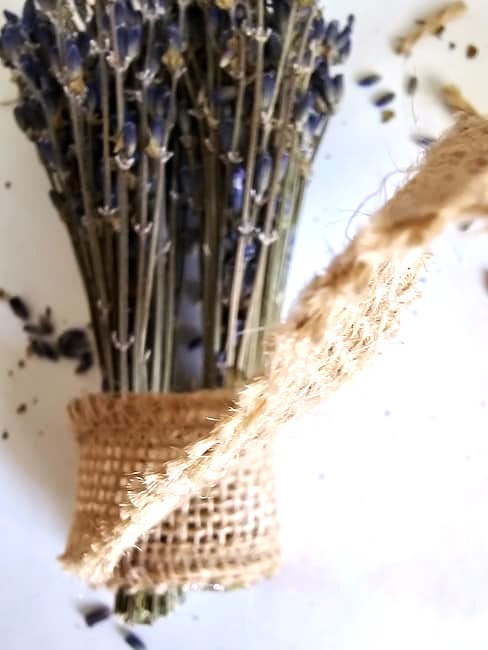
Wrap the lavender bundles with burlap ribbon three times. For this step, I recommend putting on silicone rubber finger protectors. This avoids burns. Add a little bit of hot glue to the burlap and pull it tight. Use your finger protectors. Hold them to set. The hot glue sets quickly. I also added a little bit of hot glue to the top of the burlap and sprinkled a few dried lavender flowers on top of the burlap.
Cindy’s Lavender Note: Don’t use the lavender already glued onto your wreath, it will be sticky from the spray adhesive. Instead, use the leftover tiny lavender flowers straight from the bag of buds for lavender sachets, gifts, or other projects.


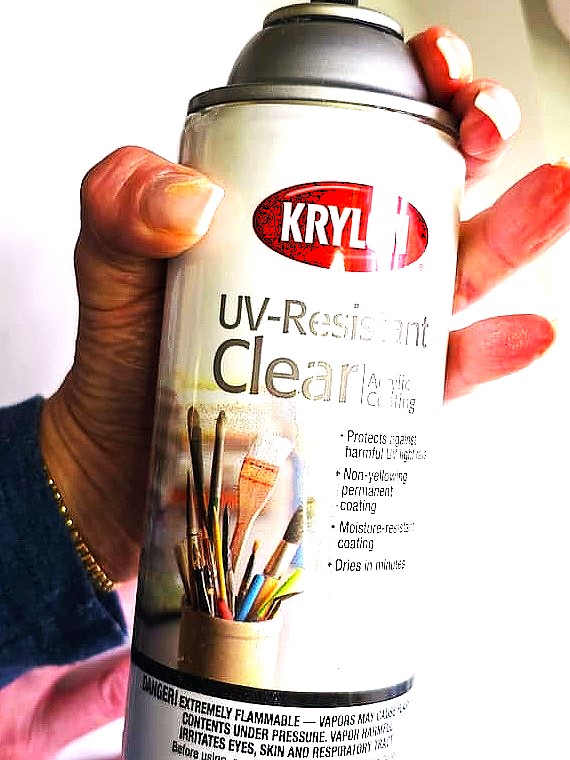
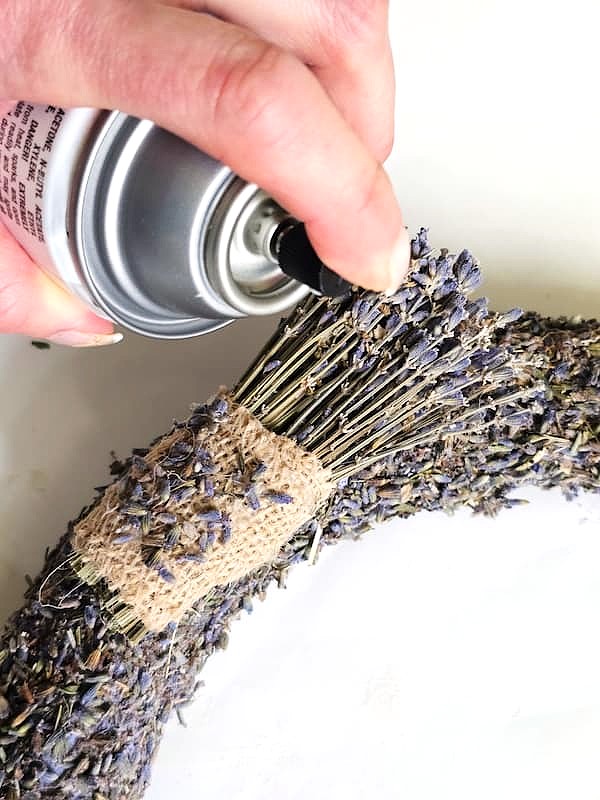
Step 6: Spray the Lavender Wreath with Sealer
This is optional and will take some of the scent from the lavender. I did this because our home has many windows. This is a great way to protect my lavender from fading due to direct sunlight. If you skip this step. Hang your finished lavender wreath away from direct sunlight to avoid fading.
Cindy’s Wreath Note: This wreath can’t hang on the front door because the delicate dried flowers will get damaged from wind, rain, or sunlight exposure. It’s a great way to add charm to your home decor.
Lush Greenery That Pairs With Dried Lavender
- Give your dried lavender wreath extra texture by incorporating lush greenery, such as eucalyptus (seeded or silver dollar), olive branches, or rosemary sprigs, for a pop of fragrance and color. Soft greens such as lamb’s ear make those purple buds stand out, while bay leaves add a wild, natural feel.
- This works beautifully whether you’re pairing fresh flowers with a grapevine wreath or making a dried arrangement. If lavender isn’t your focus, try a substitution of flowers like chamomile, baby’s breath, or fresh herbs for a unique design. Greenery not only complements the soft purple tones, but also makes your wreath feel fuller and more balanced using all-natural materials.
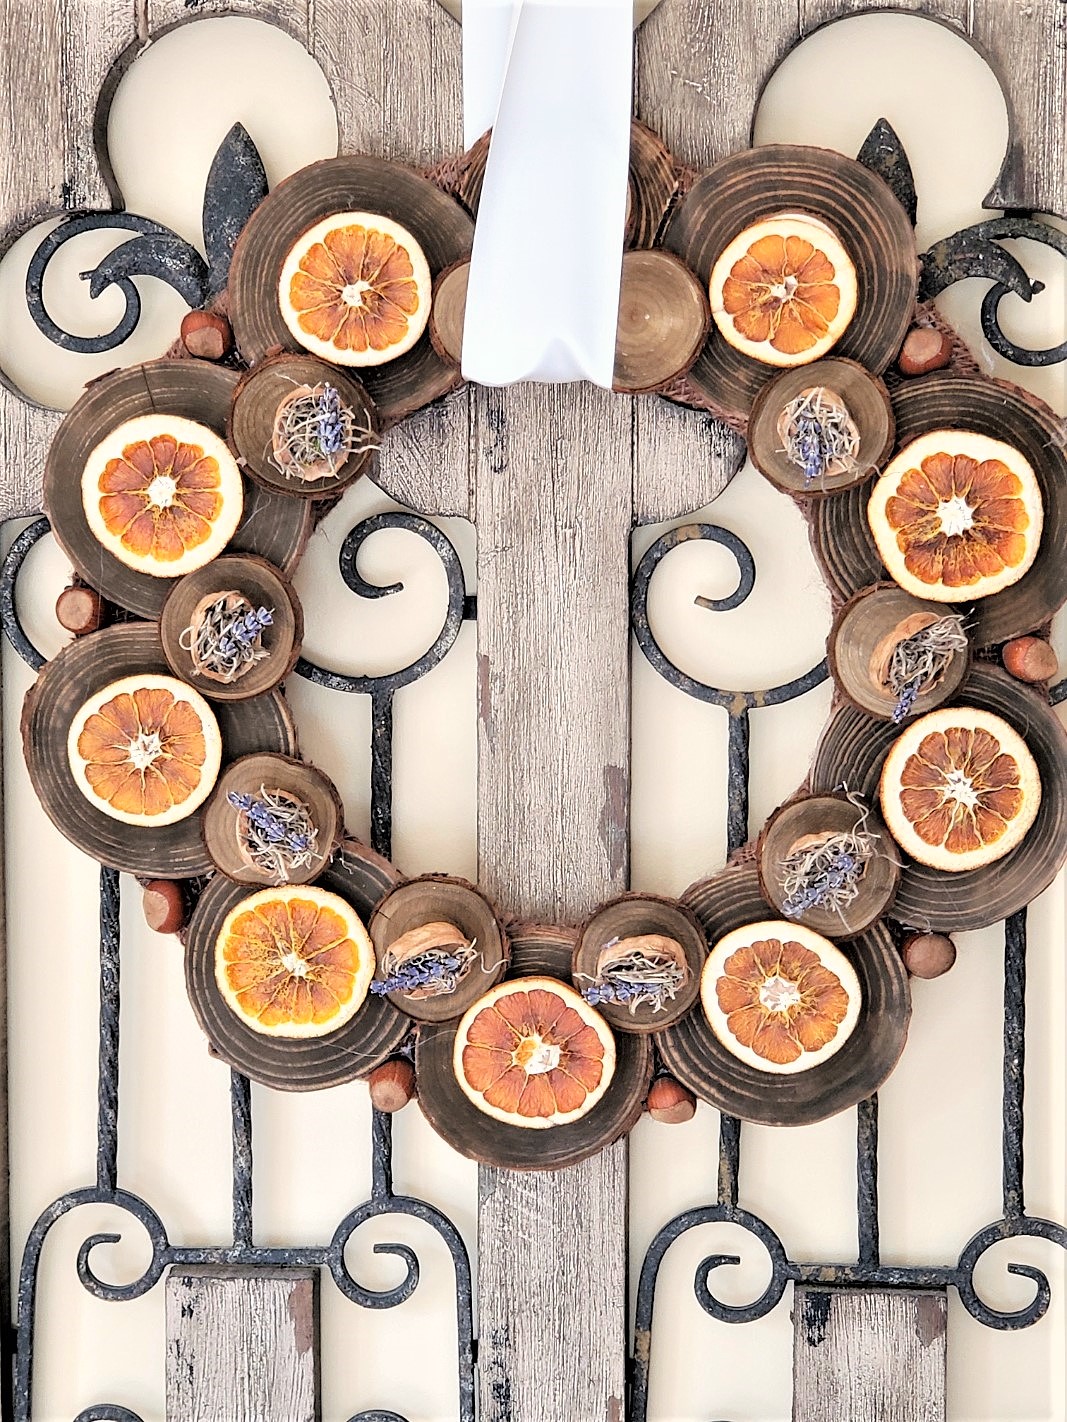
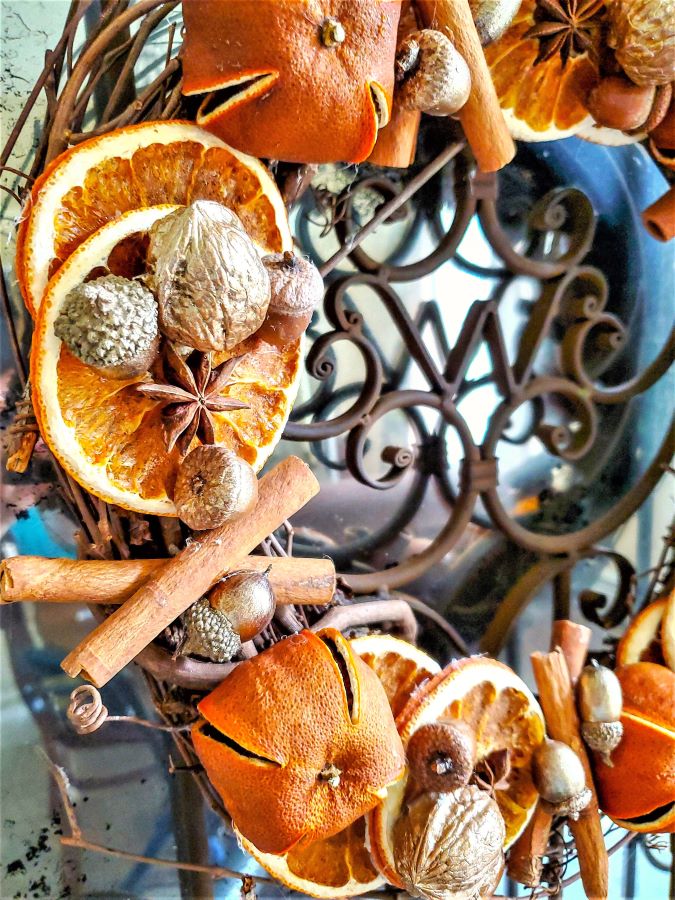
Pair Lavender with Dried Oranges & Star Anise
- Want to take this lovely wreath with lavender to the next level? Pair it with dried orange slices and star anise. The warm citrusy scent of dried oranges and the spicy aroma of star anise blend beautifully with fragrant lavender. Not only does it smell amazing, but it adds pops of color and texture. The oranges give that golden glow, and the star anise brings a rustic charm that makes your wreath look like it came straight out of a high-end floral shop. This pairing also works well if you’re doing a substitution of flowers or experimenting with other natural materials for a truly unique design.
Cindy’s Dried Oranges Note: This blog post shares a great way to dry oranges. Add the dried oranges to an easy craft project with star anise! (HERE)

Perfect for Every Season
- Spring: Brighten your space with fresh lavender stems and pastel bundles for a light, airy feel.
- Summer: Keep it fragrant by mixing fresh flowers and a grapevine wreath with your dried lavender buds.
- Fall: Add cozy natural materials like acorns, pumpkins, and branches to complement your lavender wreath.
- Winter: Use lavender sachets in organza, linen, or cotton pouches with burlap accents for a rustic, warm touch that lasts.
What to Do With Leftover Tiny Lavender Flowers
Use those tiny lavender flowers you got shipped! Create lavender sachets for drawers, closets, or gifts. They make a perfect gift for special occasions or keep your own space smelling amazing. You can also experiment with substitutions of flowers or mix them into potpourri for a beautiful accent to your home decor.
Cindy’s Lavender Note: Don’t use the lavender already glued onto your wreath, it will be sticky from the spray adhesive. Instead, use the leftover tiny lavender flowers straight from the bag of buds for lavender sachets, gifts, or other projects.
A Dried Lavender Wreath Belongs in Your Fall Decor
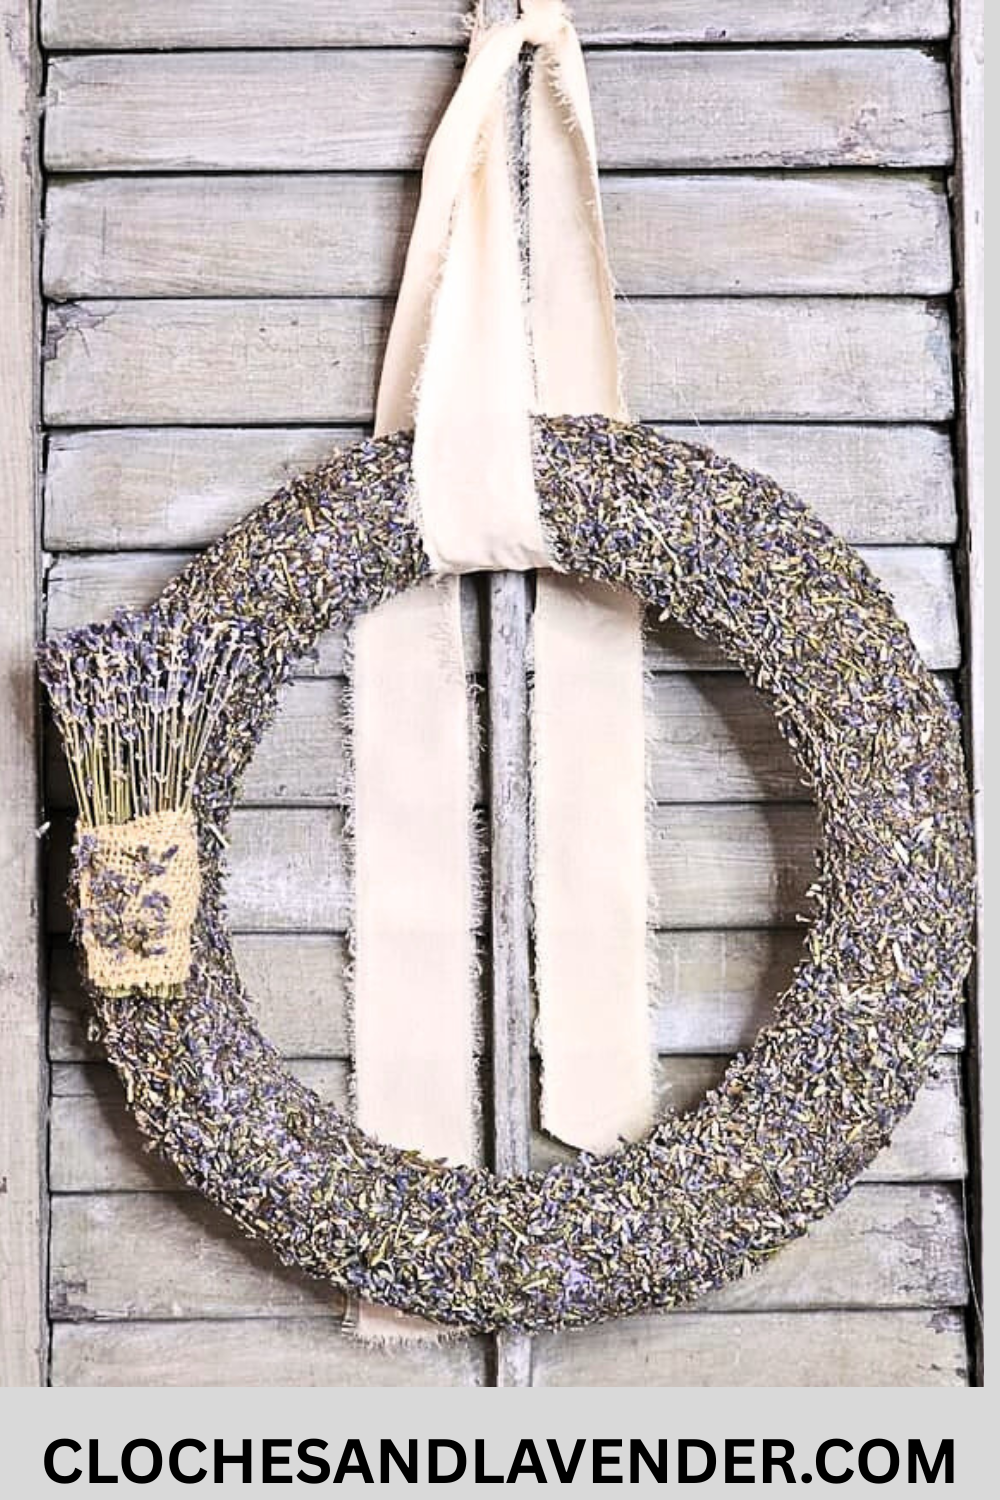
Making this classic wreath with dried lavender buds means I get to enjoy that calming, fragrant lavender scent for a long time. This dried lavender wreath is making its way into my fall decor lineup this year, and it also makes the perfect gift. If you love bringing nature indoors, you’ll find a link in this blog post with easy ways to use natural materials, like leaves, branches, pine cones, pumpkins, and acorns for simple fall decorating. These design elements are mostly free, which means not much extra cost at all, and they work with any decor style. Honestly, who doesn’t love free? I know I do! Ready to bring a bit of nature’s charm into your home? Make a Lavender Bud Wreath Now — Easy DIY Decor! You’ll love how this lovely wreath fills your space with the scent of soothing lavender all year long. Save this to Pinterest to have!

Blogs Posts of Interest
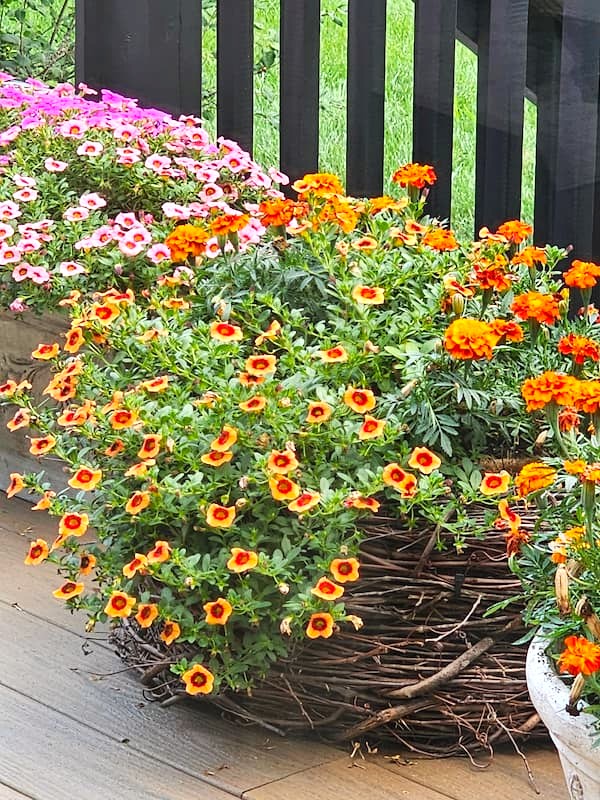
Grapevine Planter for All Year Long
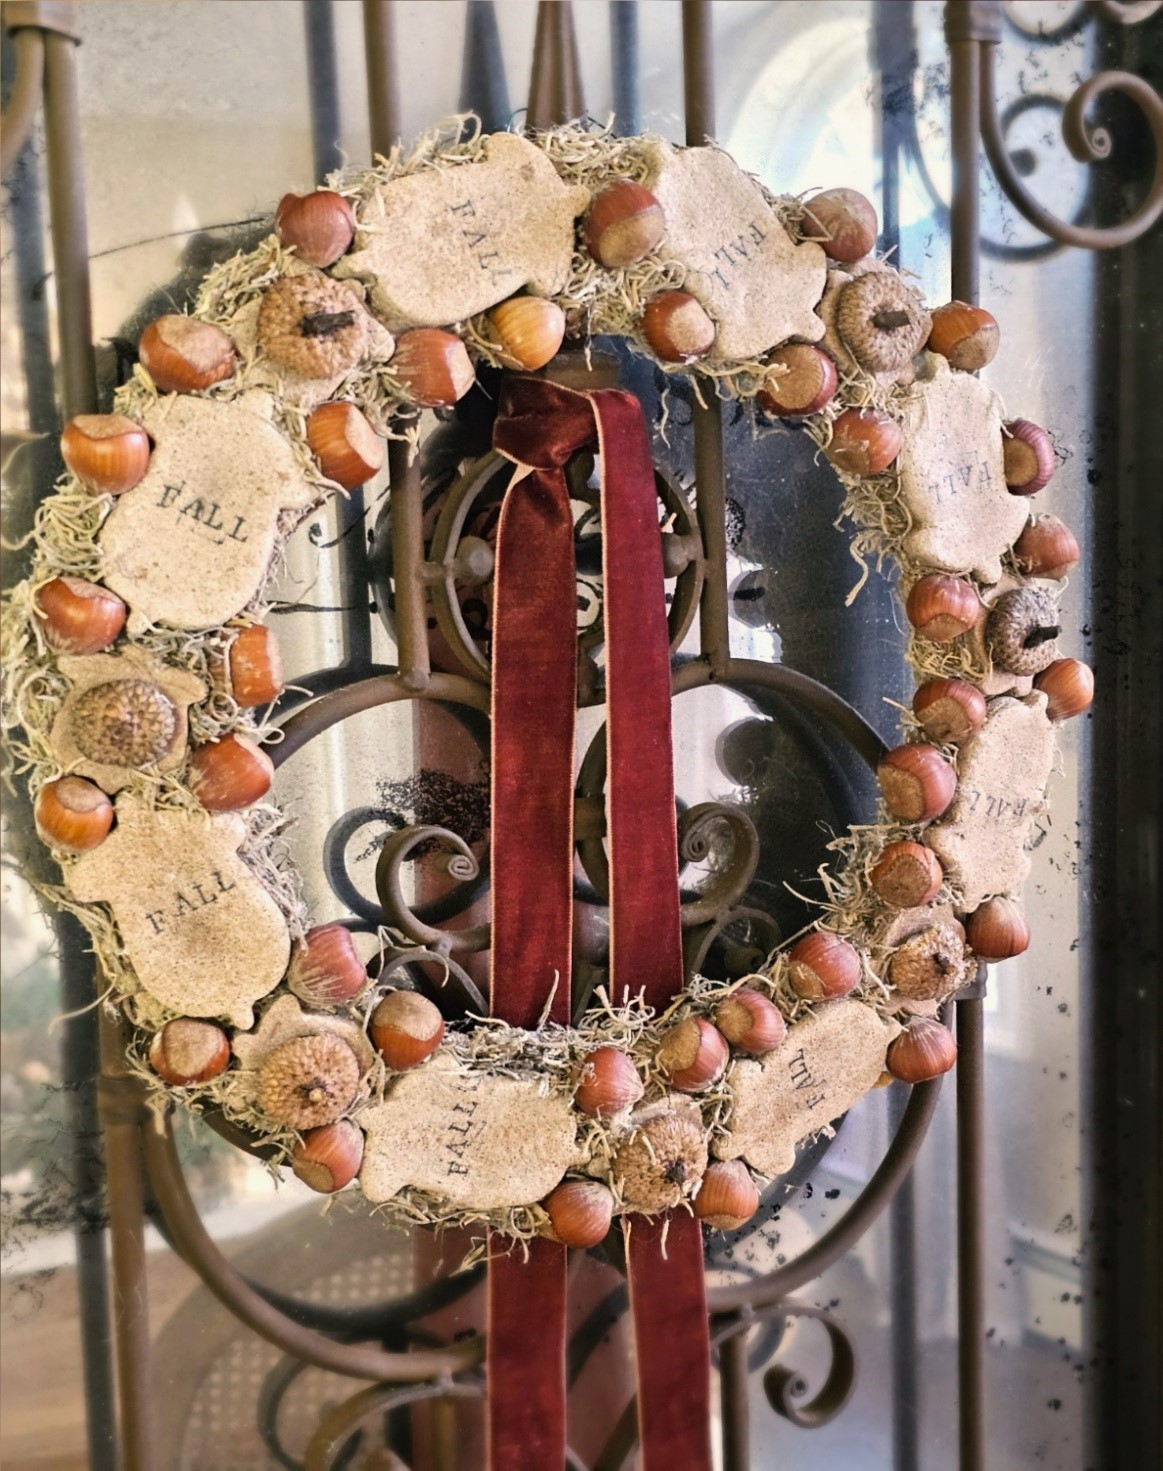
Pumpkin Spice Salt Dough Wreath

That little pocket of lavender is so sweet, Cindy! What a great design!
Your wreath turned out so pretty! I adore lavender, and that little pocket is a fabulous touch!
I bet this smells amazing, Cindy! I love how you can use it during multiple seasons and how it adds a layer of French elegance to any space too. Thank you for the tip on how to perserve the lavender and secure it in place. I can’t wait to try this! Hugs, CoCo