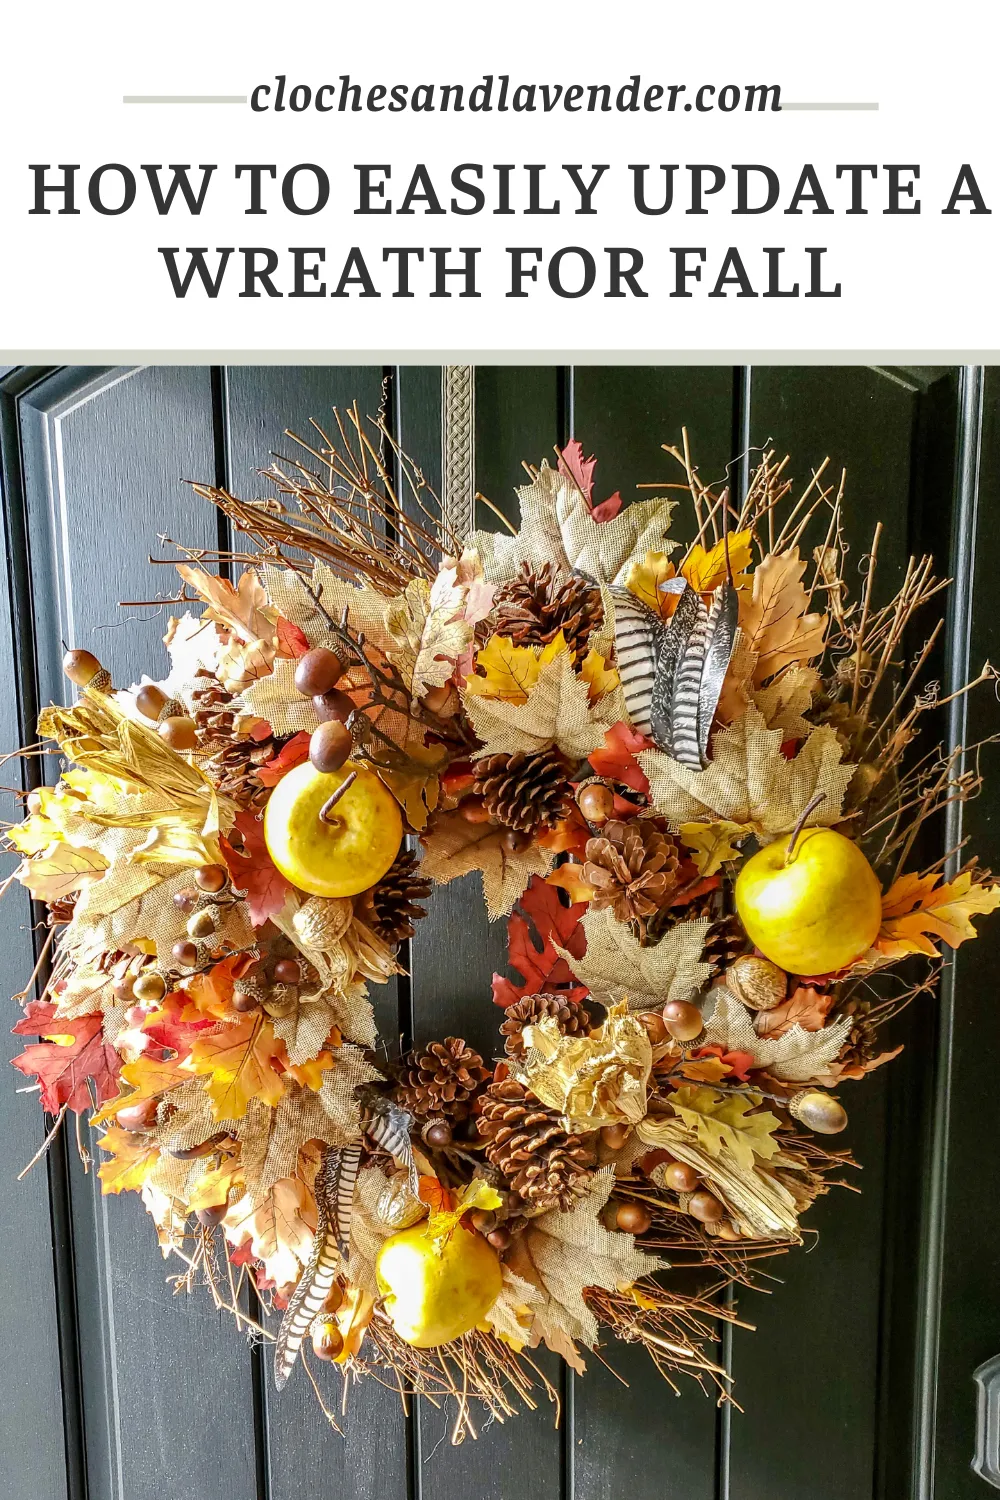
Update a Wreath for Fall
Today I’m sharing how to update a wreath for fall. First off, I am aware that July 4th celebrations are around the corner. However, sharing easy fall inspiration is fun. Also, it’s a great time to get the ideas in the planning stages.
So today, I am joining some blogging friends to share fall inspiration that’s easy and fun to create. I will have links and a list of everyone’s projects at the end of my post. Please visit these talented ladies because they are sharing some pretty autumn inspiration.
Besides, who doesn’t love easy crafts and fall ideas? I especially enjoy seeing inspiration this time of year to get my thoughts to begin moving towards celebrating with friends and family.
I also want to thank Kippi from Kippi At Home for putting this hop together. So now, let’s begin looking at how to update a wreath for fall.
If you are visiting my friend Renae over at Peacock Ridge Farm welcome isn’t her pumpkin beautiful, I love it so much.
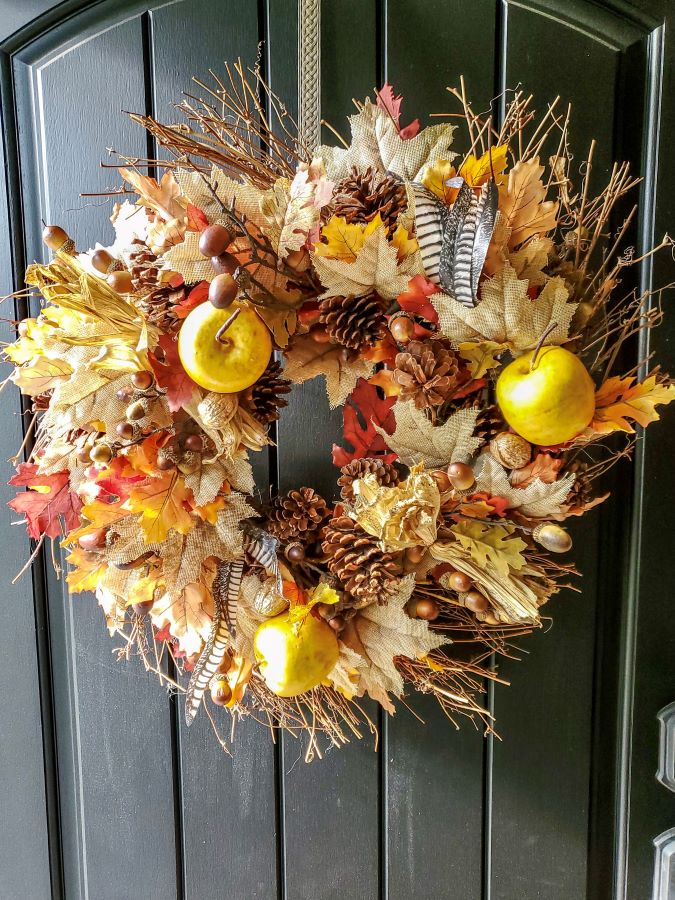
First off, I have had this fall wreath for quite a while. It’s from Pottery Barn and while I still enjoy this wreath it needs updating and a small tweak. See, I told you an easy update!
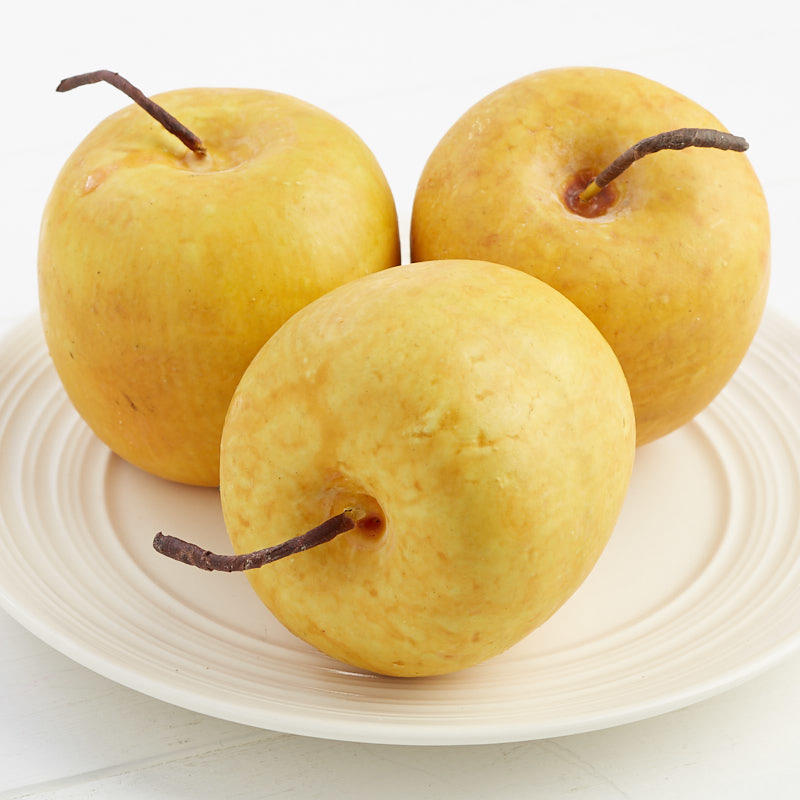
I began this fast craft project by buying golden delicious fake apples from Factory Direct and here’s the link. They especially look real and for the price, I am not disappointed at all.
So Let’s Begin Working on the Front Door Wreath
Step 1: Getting the Placement of the Apples
So, to begin how to easily update this wreath, I did a dry run for placement on my craft table before gluing the apples.
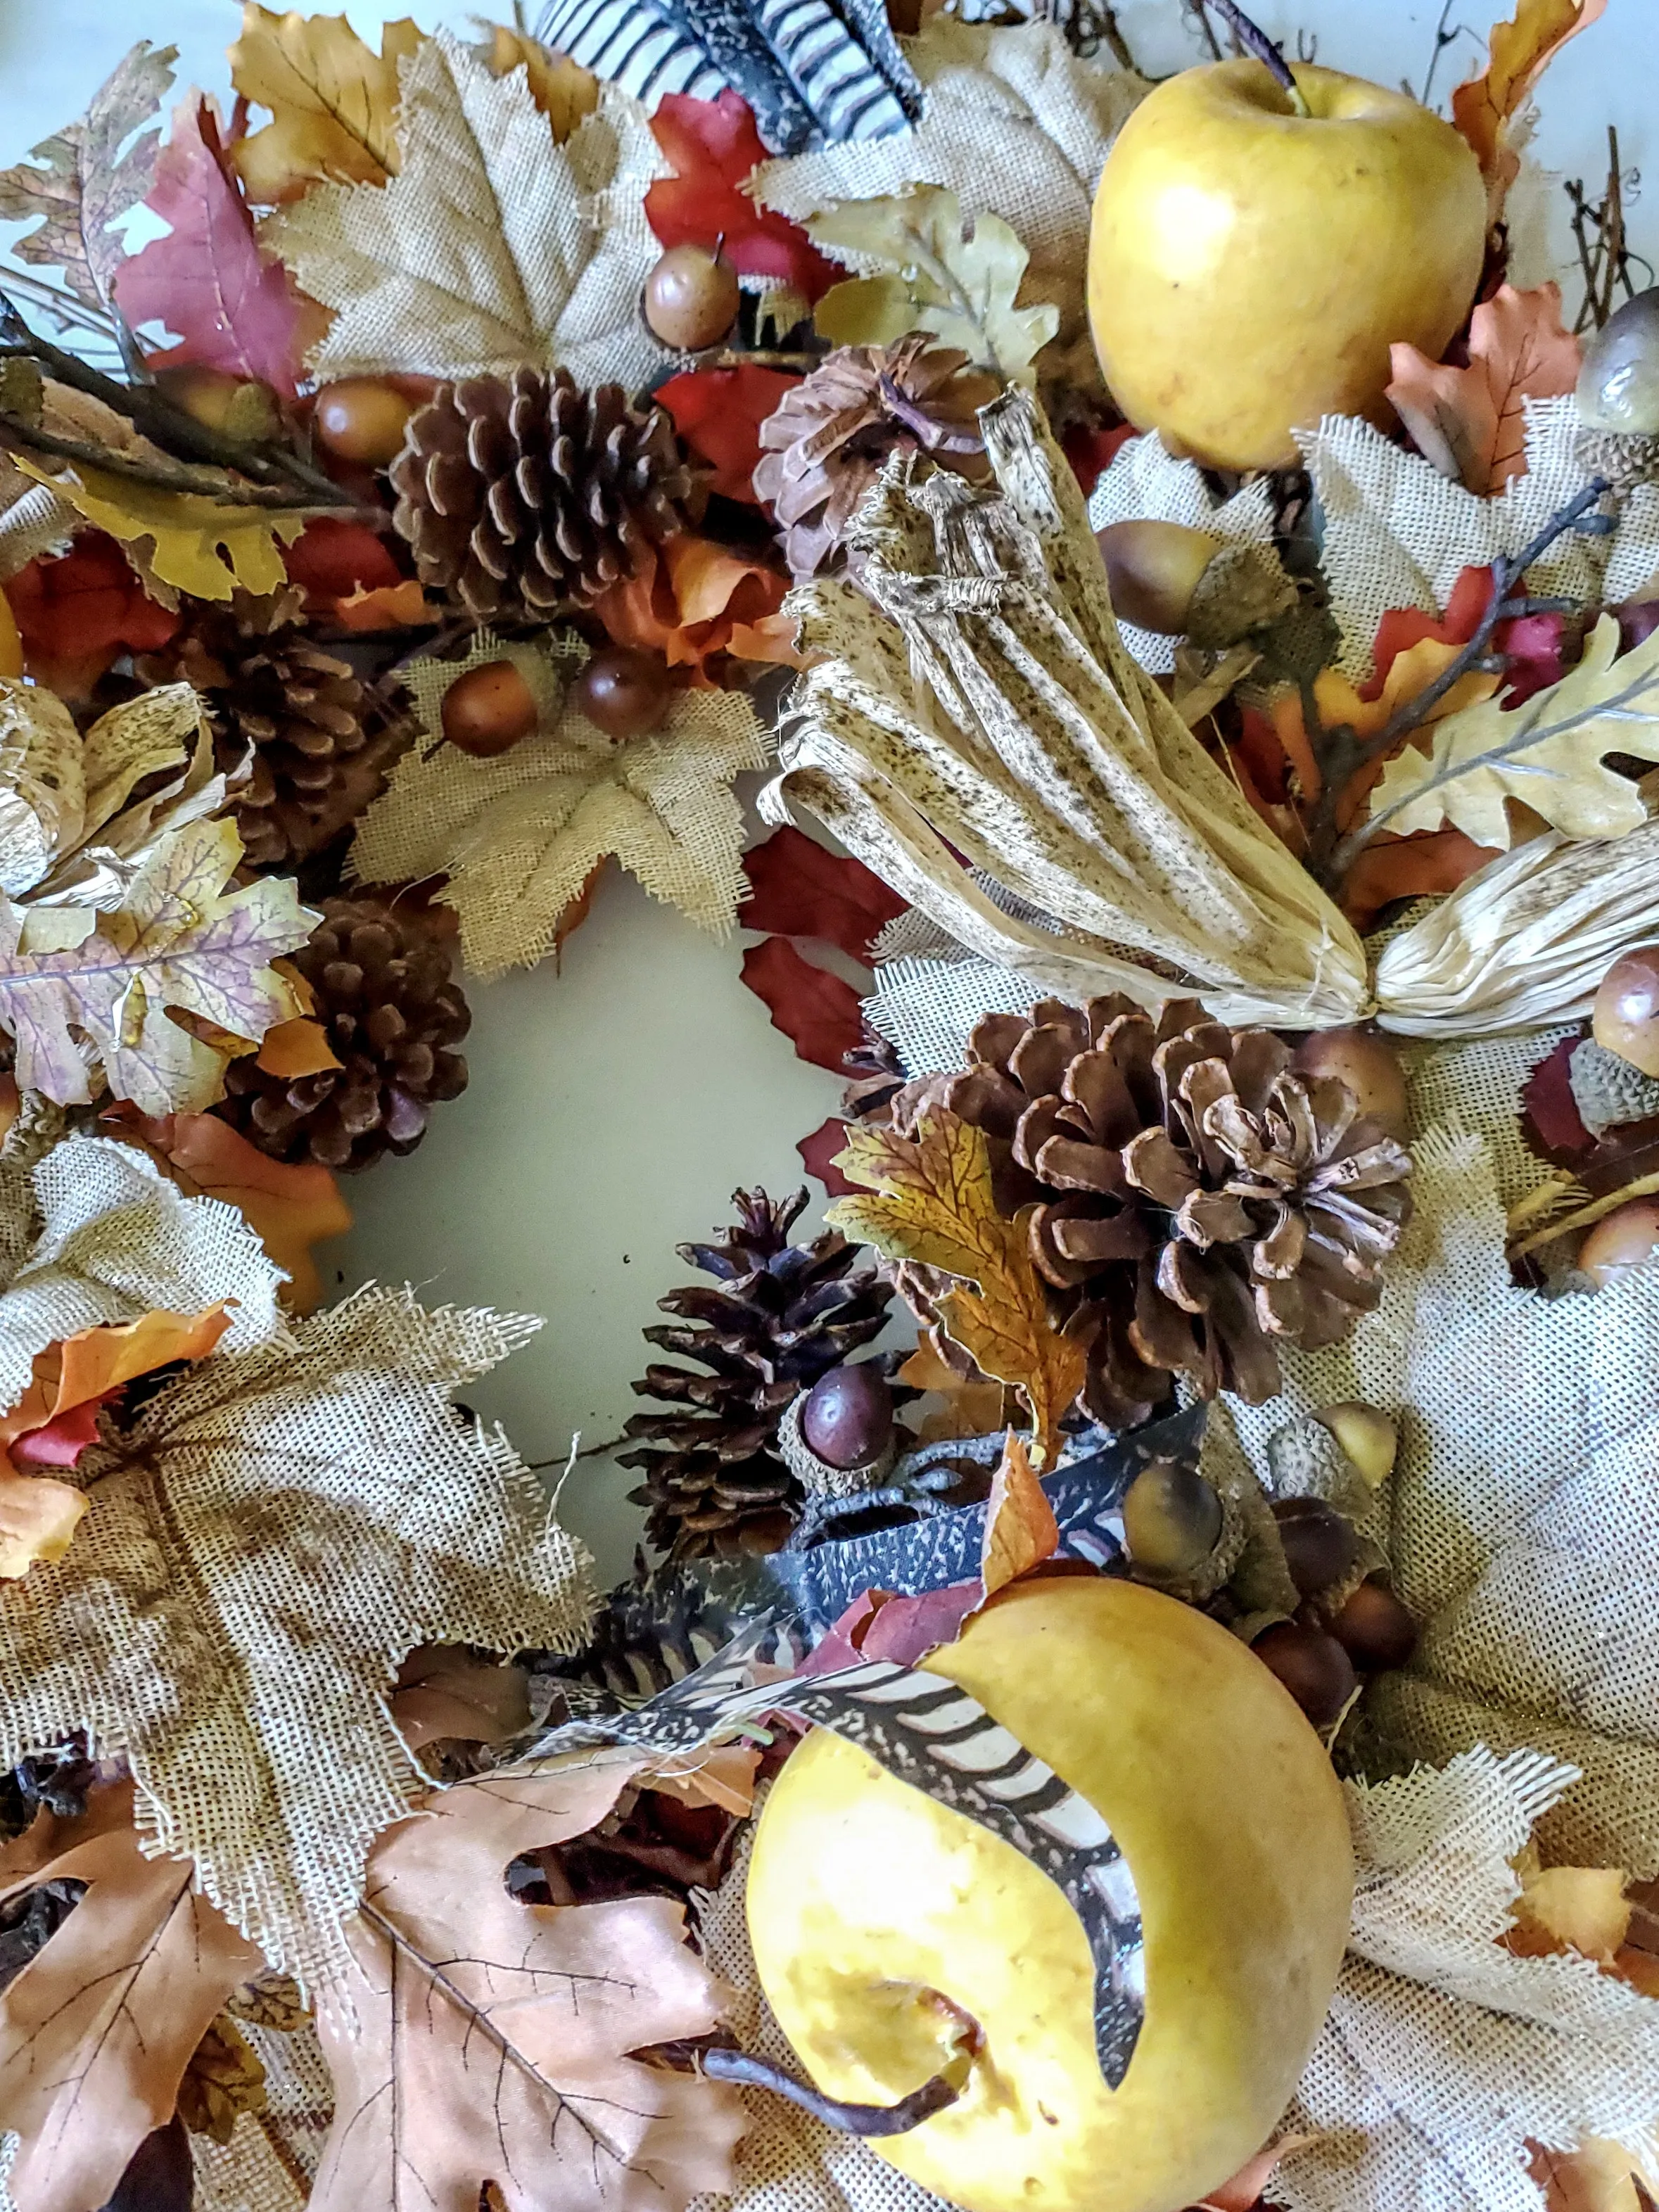
I especially suggest doing a dry run because this way you know exactly where these additions will look best on the craft idea.
After doing my dry run of the apples for this easy update a wreath for fall, I did a bit of tweaking.
My Next Update to the Front Door Wreath Is Snipping Branches
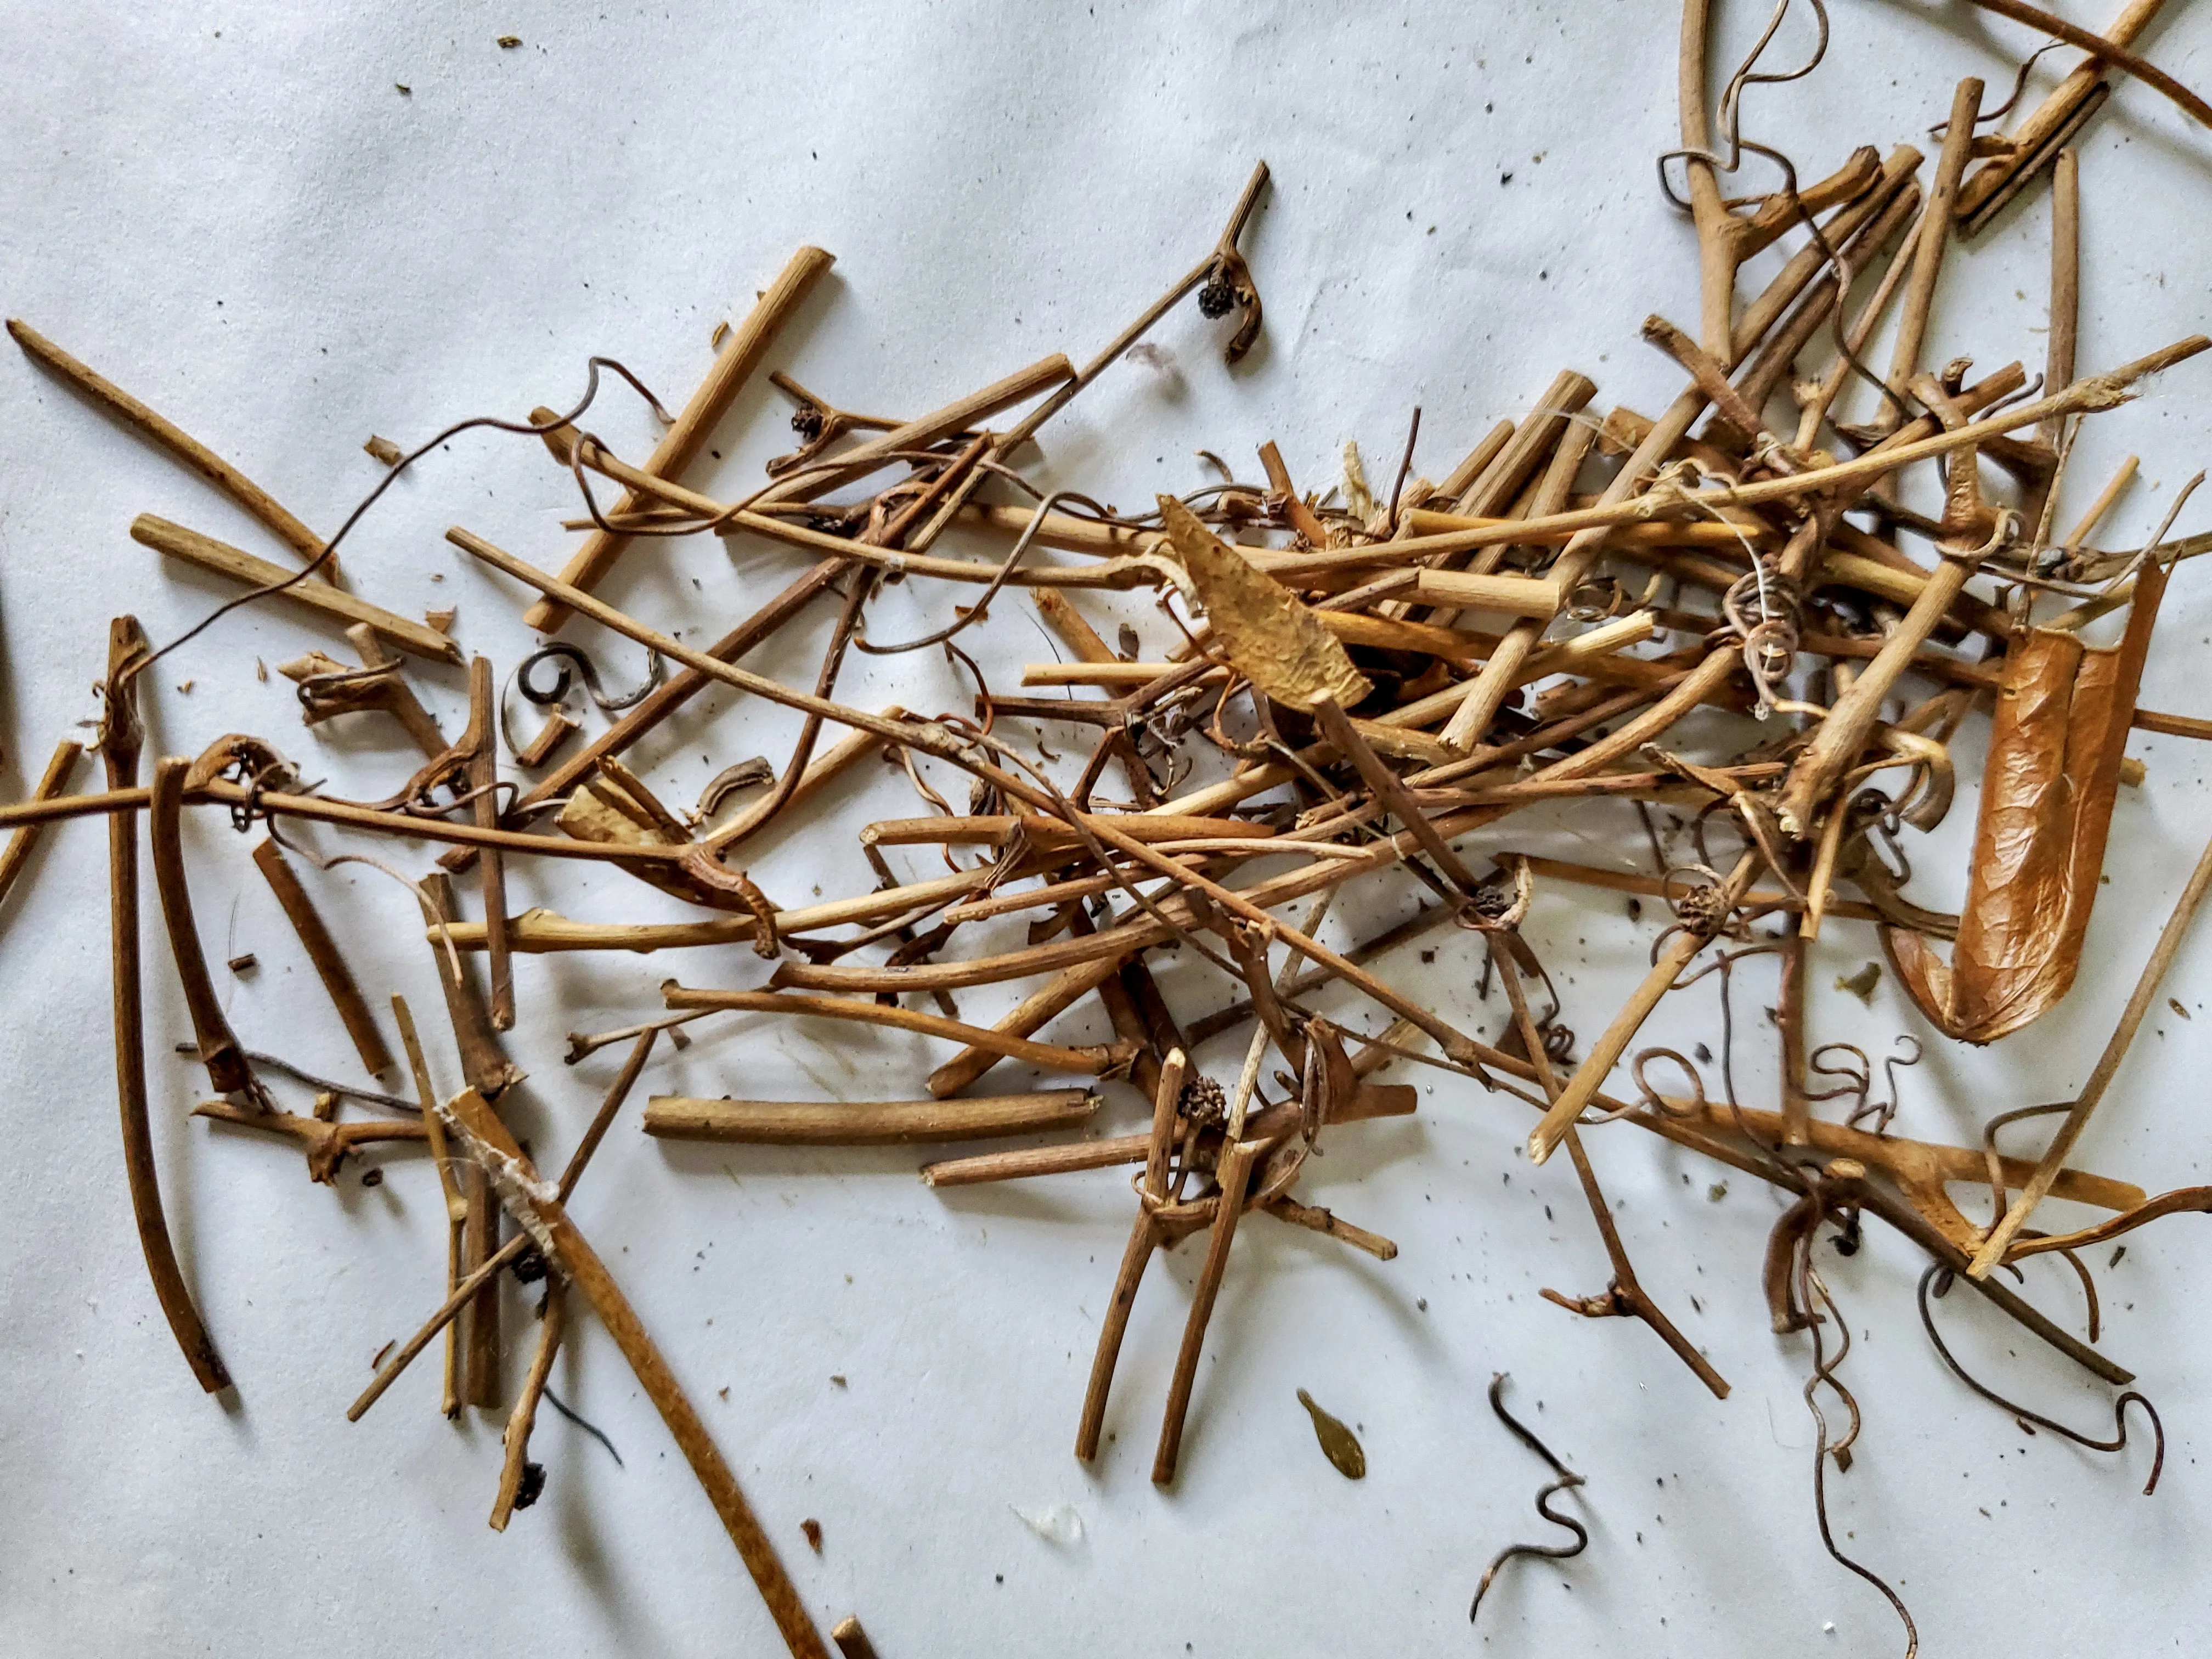
Step 2: Snipping the Edge of the Branches
Because this wreath has been here for a while the ends of the branches are looking a bit worn. So, snipping the edges of the branches began. Using my wire cutters and I began snipping the ends off until I was happy with the way they looked. This takes minutes and makes a big improvement.
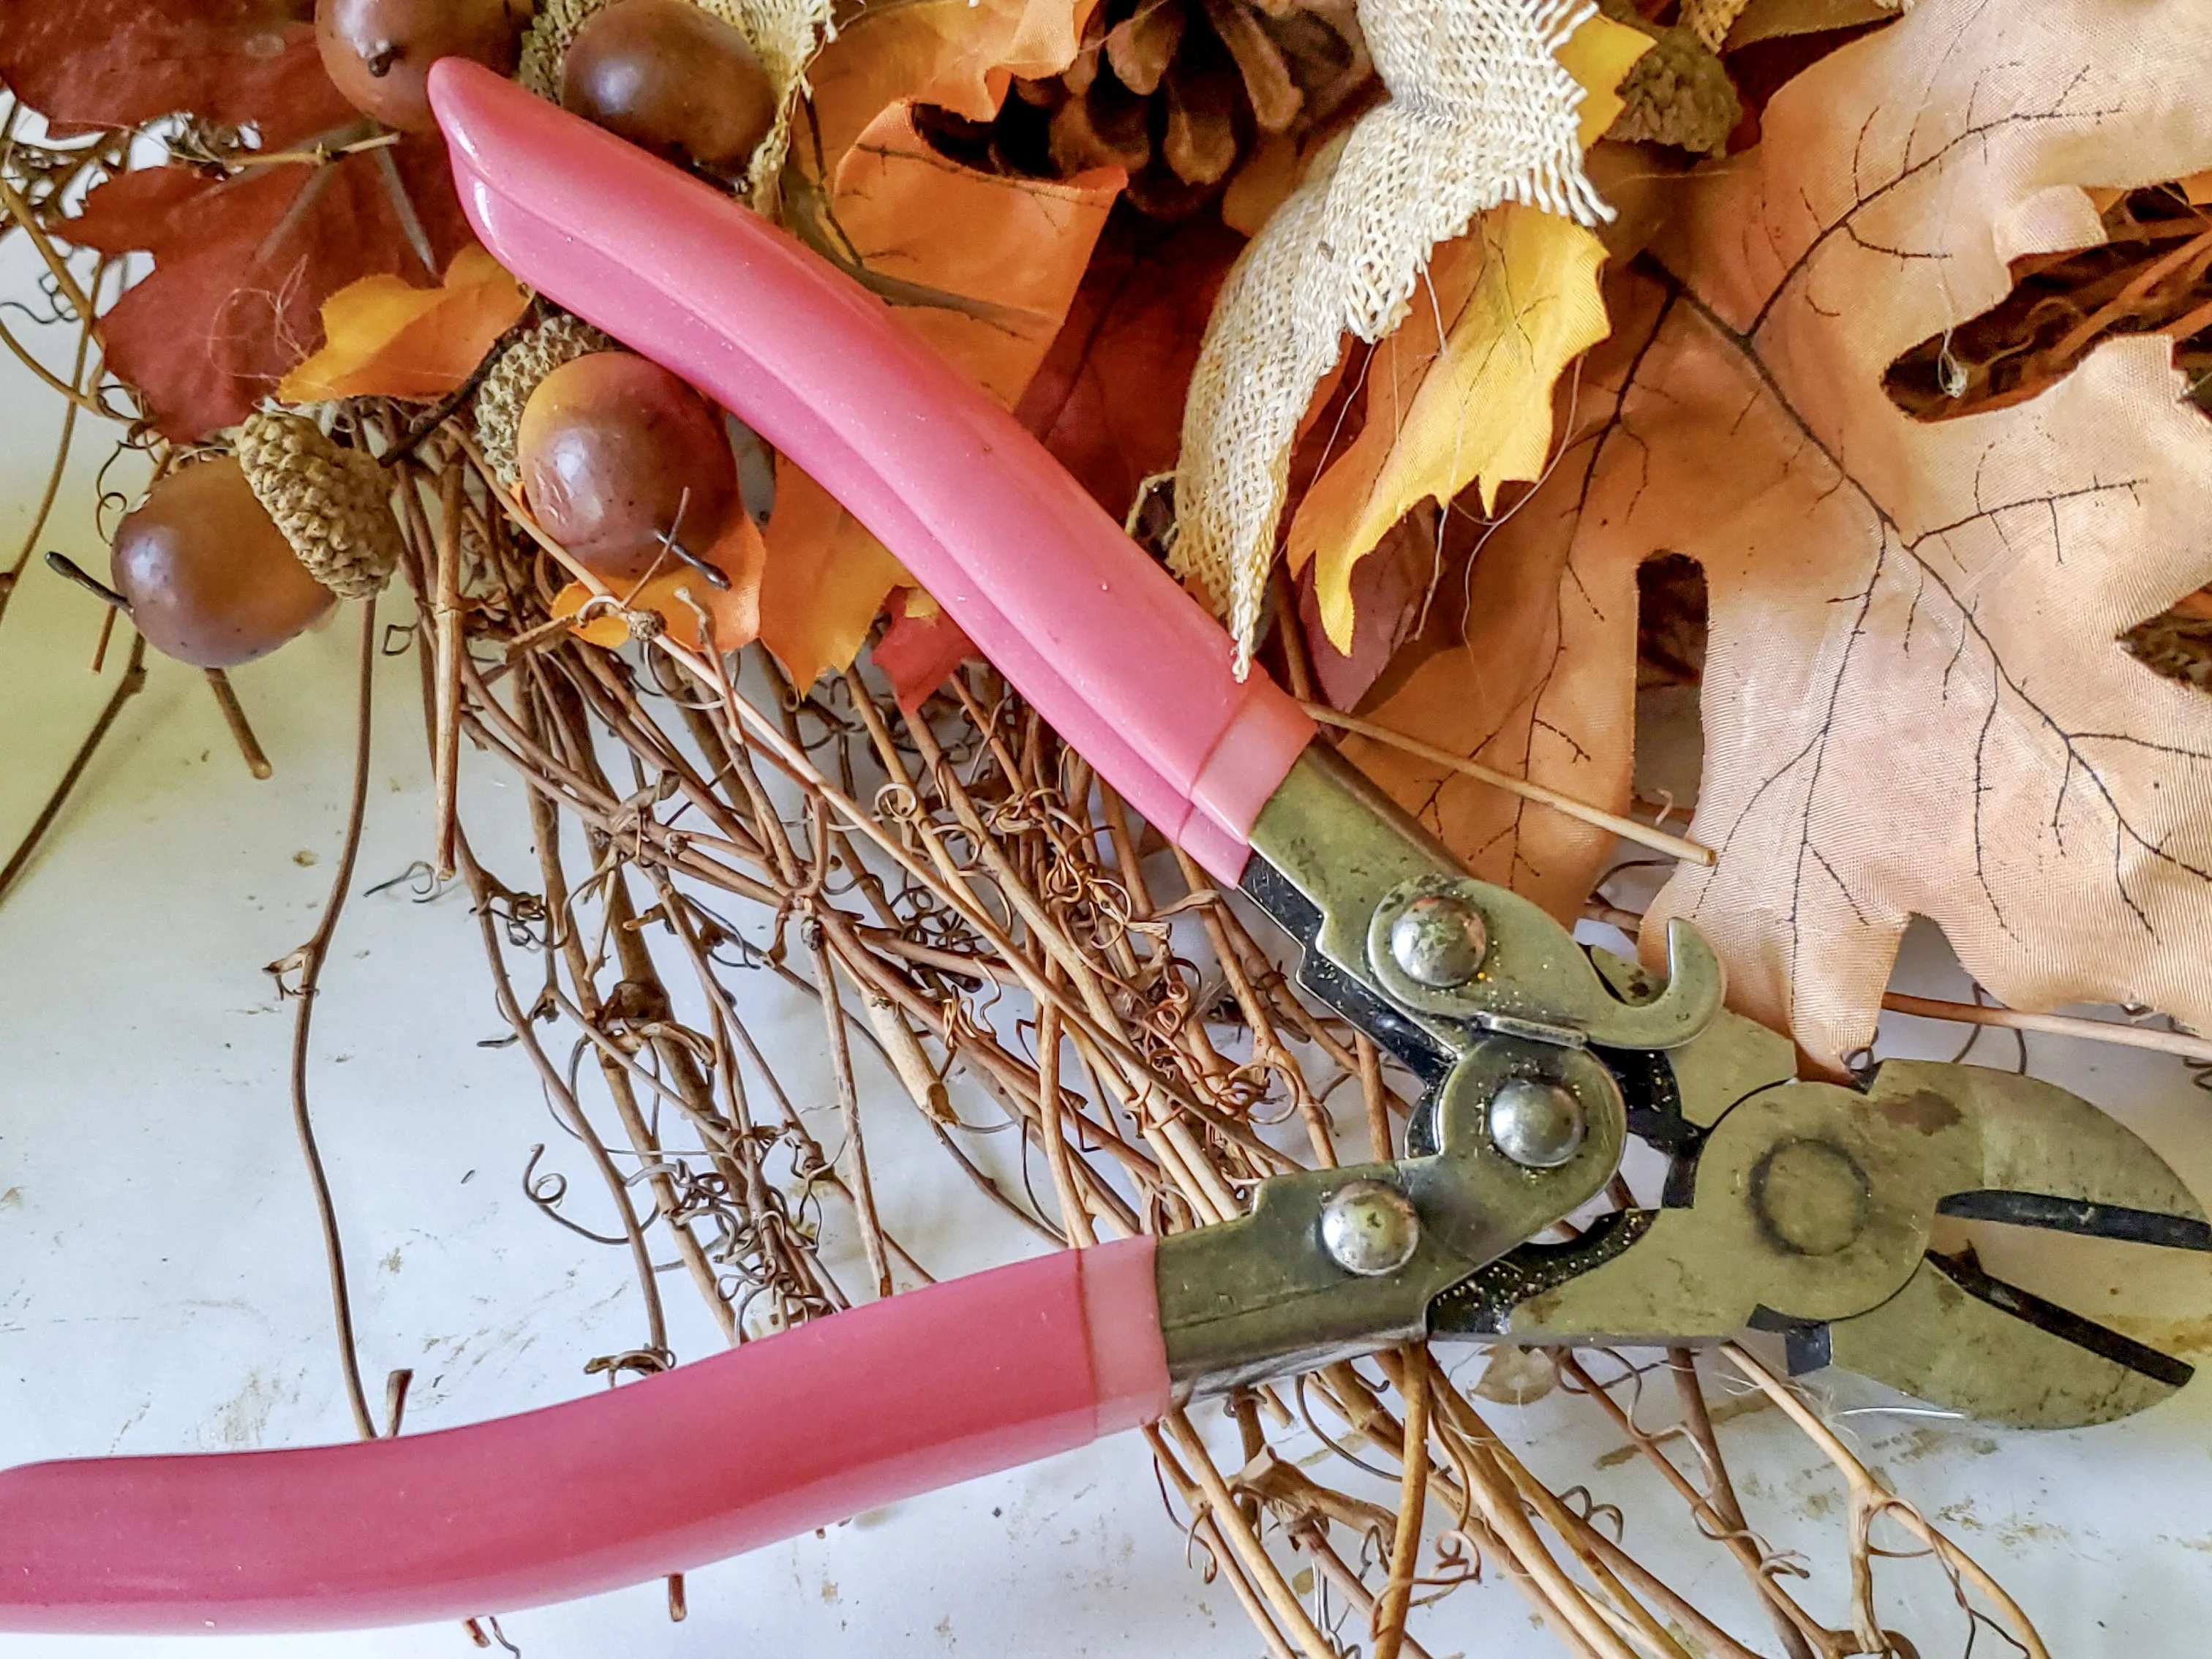
By the way, while I was snipping branches, my glue gun is heating. After this step, I easily add a dab of glue to each apple and place it on the wreath. I did hold each apple a moment to make sure it was dry and attached.
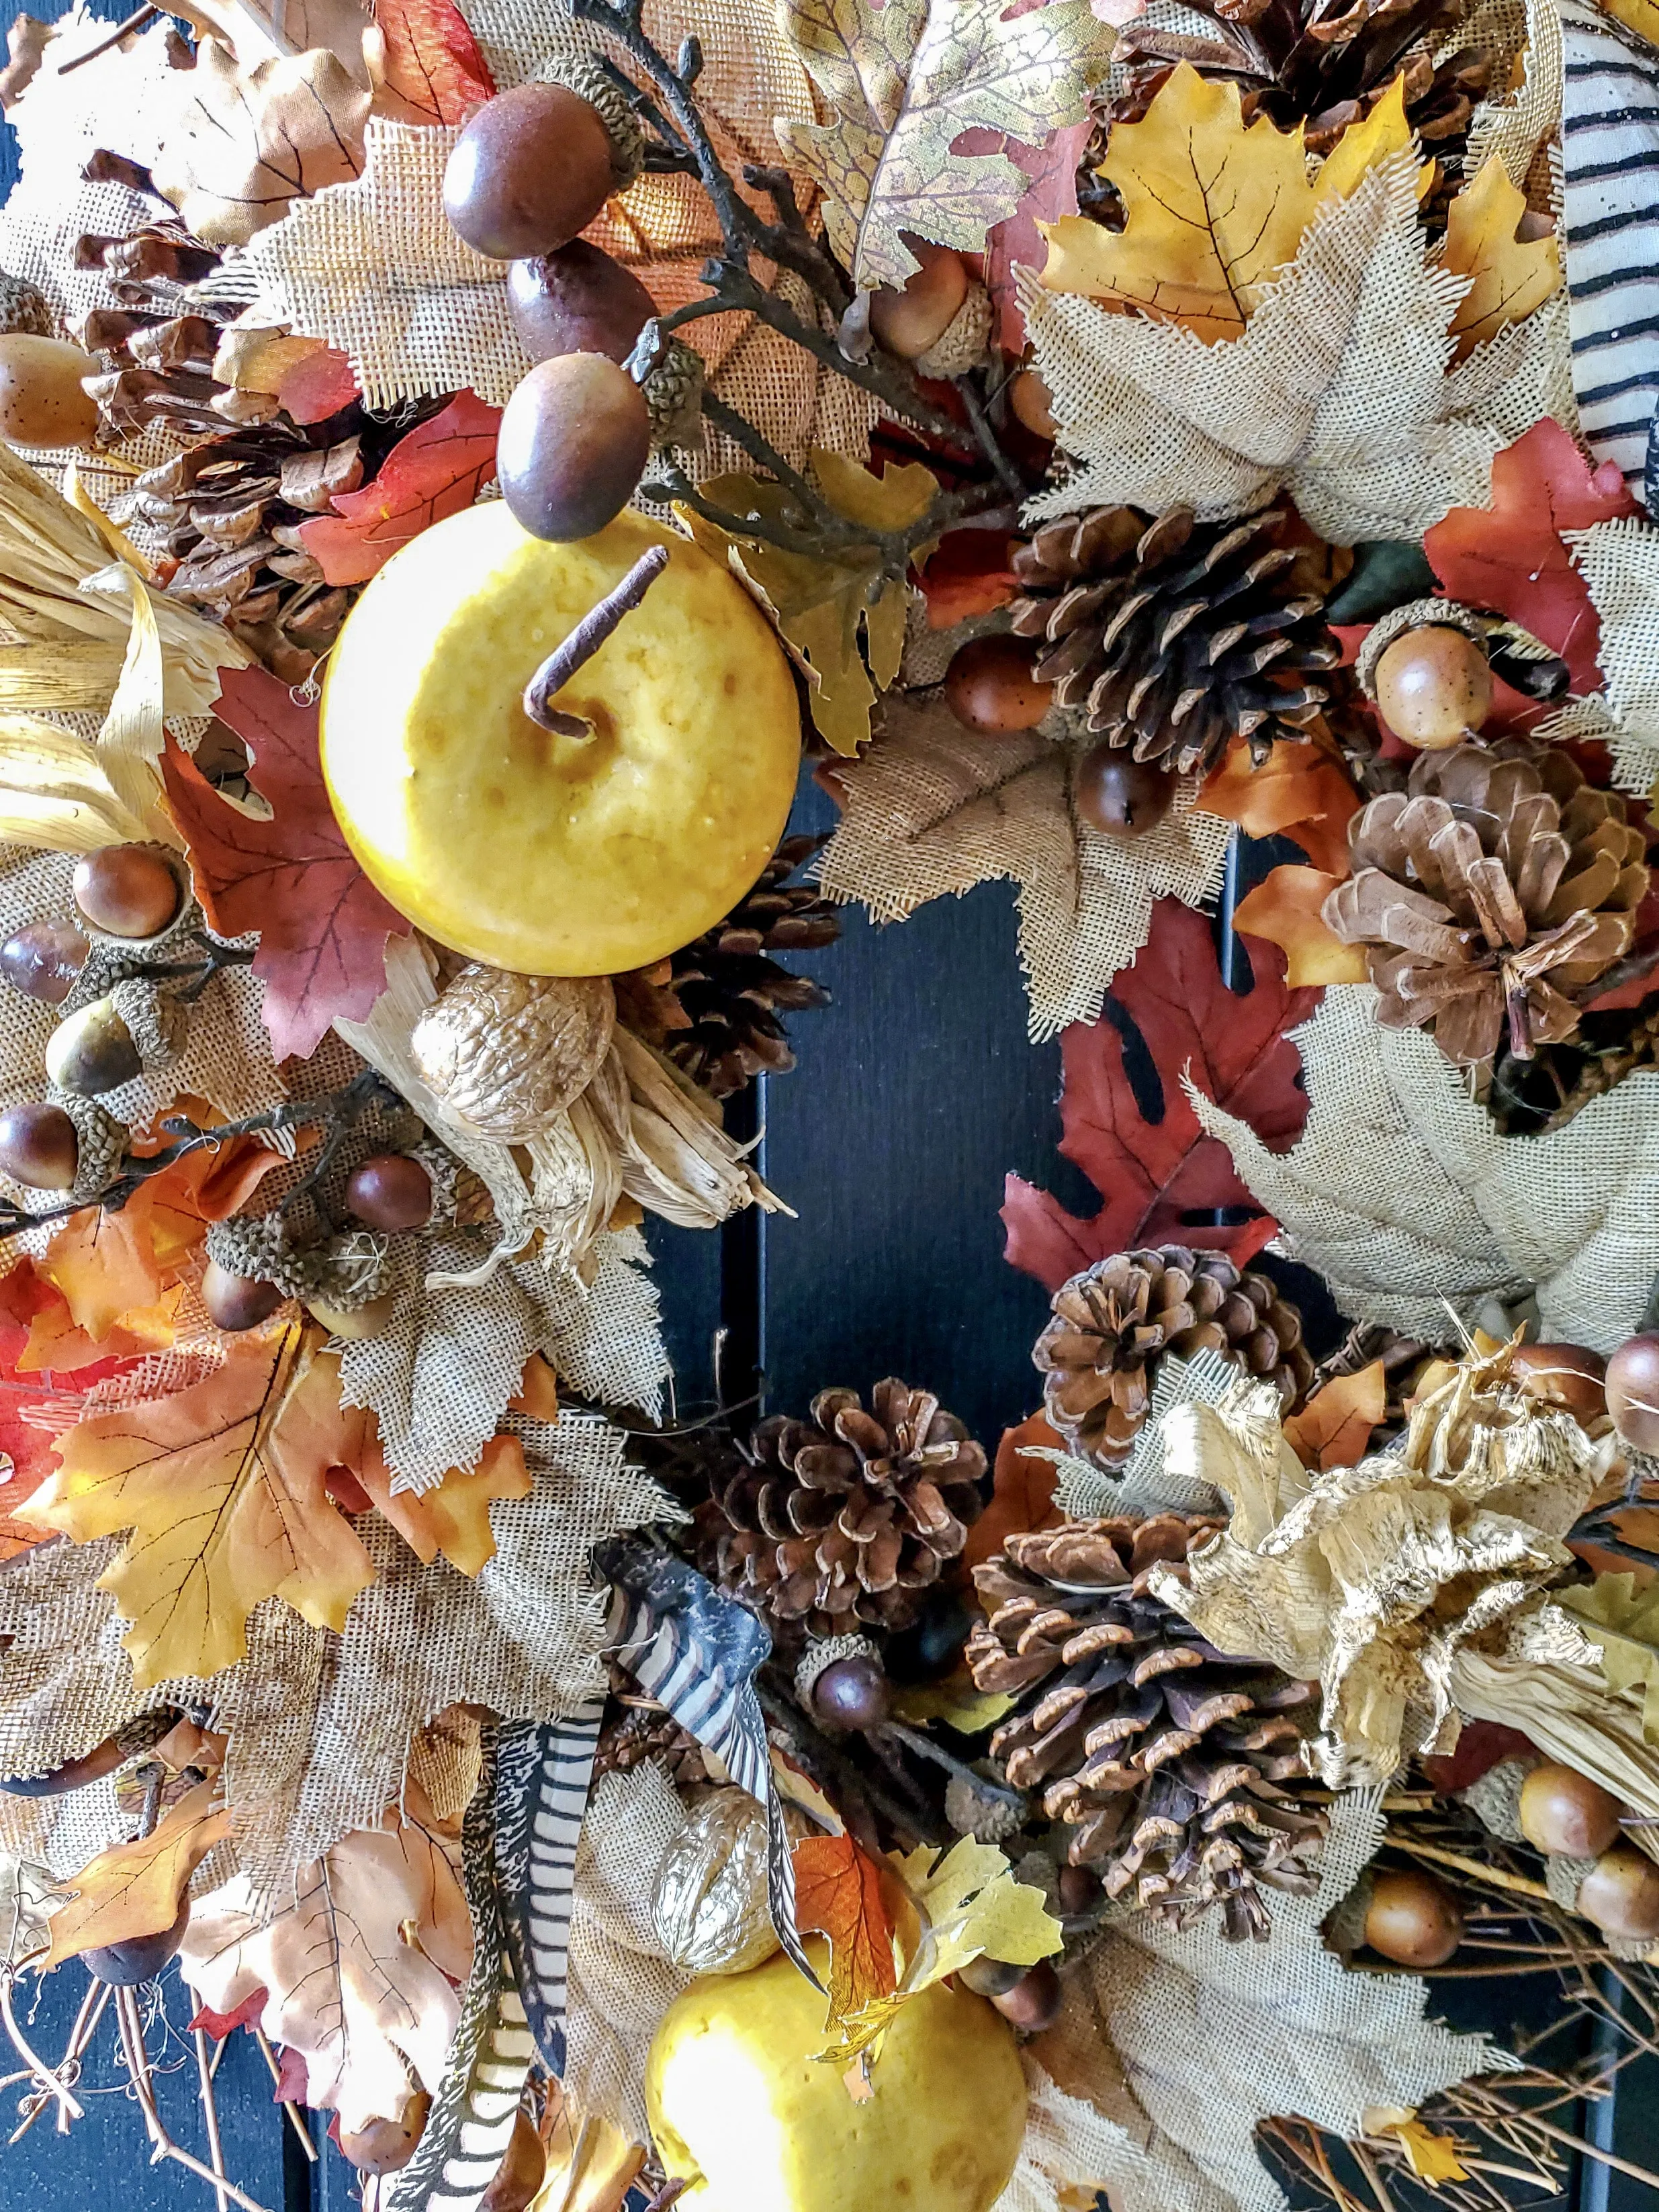
So, for minimal time and money, I have a brand new wreath ready for this upcoming fall season.
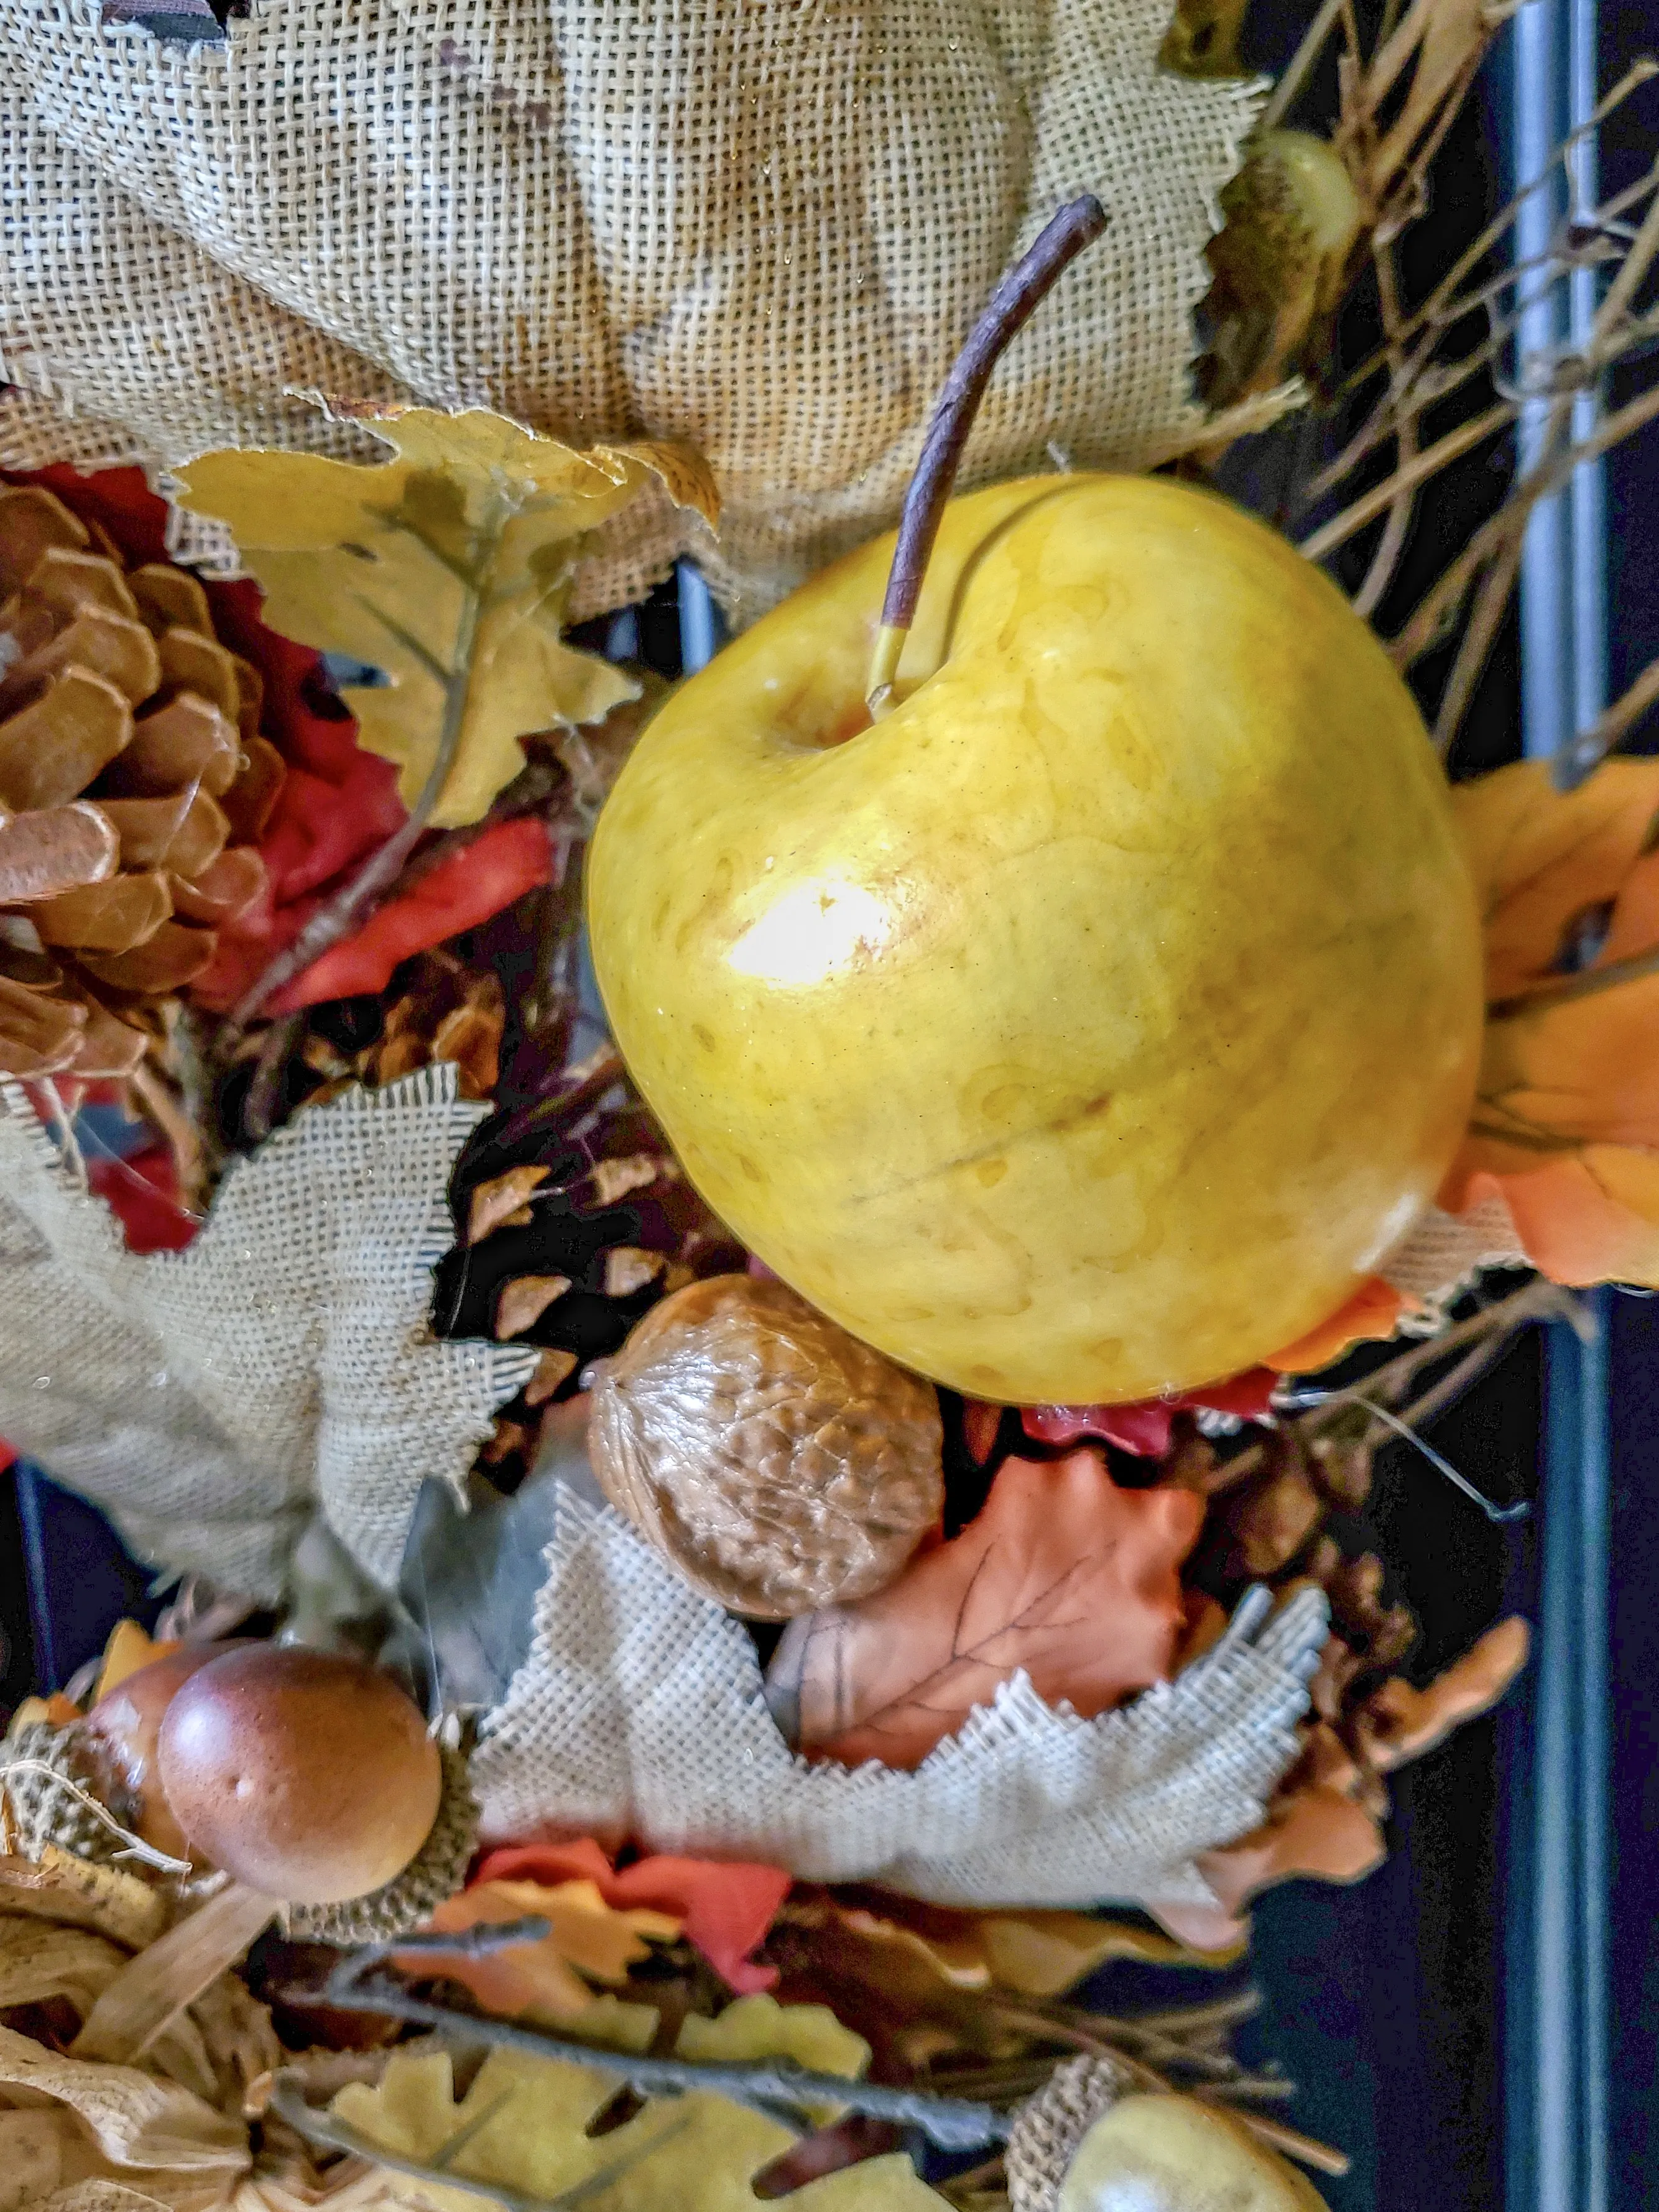
This wreath looks beautiful, especially against our black door with all its fall colors. Also, notice that close up these apples look incredibly real.

By the way, if you have fake pears, artichokes, or even pomegranates, they will work too! This keeps it extremely budget-friendly. So, I hope this gives you some ideas to update a wreath for fall for your front door for this upcoming fall season.
Now please hop over to My Family Thyme to see her gorgeous hydrangeas. They are absolutely stunning ad my favorite summer flower.

Kippi at Home // Zucchini Sisters // Olivia O’Hern // Karin’s Kottage
🂠🂠🂠🂠🂠ðŸ‚

Darling & Dapper Life // Peacock Ridge Farm // Cloches & Lavender // My Family Thyme
🂠🂠🂠🂠🂠ðŸ‚

A Life of Balance // From Farmhouse to Florida // This Dear Casa // Feet Under My Table
PIN IT TO REMEMBER IT!


I love your wreath Cindy and I did hope over to see about the hydrangeas. Her’s are so pretty and great she shared how she dries them. Happy 4th. xoxo Kris
I love how full the wreath is. It is so welcoming.
Your updated wreath looks beautiful! It’s nice to check off a fall project early.
Cindy I love it! Why have I never thought about using apples on a wreath? You gave me some great inspiration. Thank you!
Love this wreath update! Off to order those apples. Great inspiration, friend! Great to hop with you!
I think I see some feathers in there too. Very pretty and full!
Your updated wreath looks amazing.
Your wreath is lovely! I’ve just put those apples in my cart and I can’t wait to get them!
Just pinned this to my Fall board, Cindy, it’s gorgeous! I love all the layers of texture and how you included the apples too. You could totally use this on the front porch all the way into Decemeber! It’s really beautiful! Hugs, CoCo
I just love a simple project! And your updated wreath looks so good against your black front door ðŸ˜
Thanks so much and it took 5 minutes
It’s only mid July and I’m already needing to see pretty fall pics like this one 🙂
Thanks for sharing at the FWF party.
Hugs,
RR
Great update! Thank you for sharing at Party In Your PJ’s.