DIY Patriotic Flags With Vintage Style
Do you enjoy decorating for Independence Day, Memorial Day, and other patriotic holidays? These DIY flags with vintage style are an easy way to add patriotic spirit and a vintage-inspired touch to summer decor.
Yield: 3 flags
Cost: 10
Notes
DIY Flags
Supplies:
- Red and white cotton fabric (fabric with white stripes can be found at Hobby Lobby or (HERE)
- Blue Fabric - repurpose old clothes or denim for an aged look. I used old jeans. Blue fabric with white stars (HERE)
- White paint
- Brown Rit Dye (optional for an aged vintage appearance)
- Paper plate
- Paper towel or rag
- Paintbrush
- Scissors - I used these for crafting. They are the best (HERE)
- Hot glue gun or fabric glue (HERE)
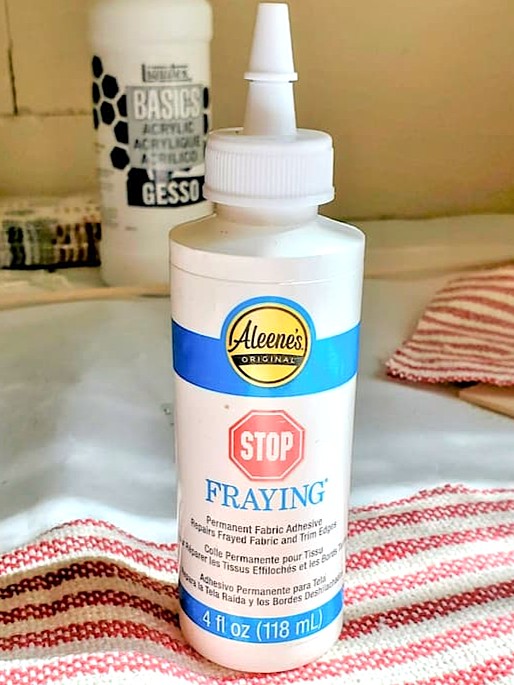
- Stop fraying - (HERE)
- Carpenter Square
- Wooden dowel or stick (HERE)
- Blue Mason jars (optional for display)
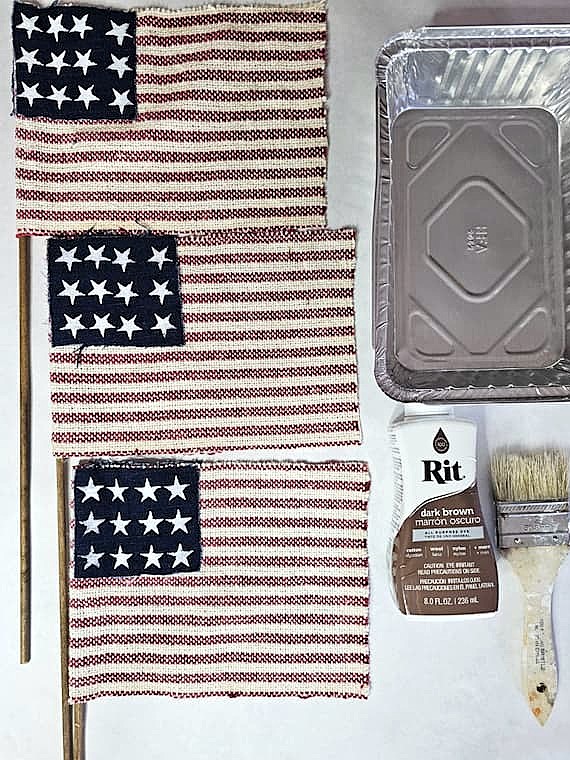
Step 1: Gather all Your Supplies for Making Flags
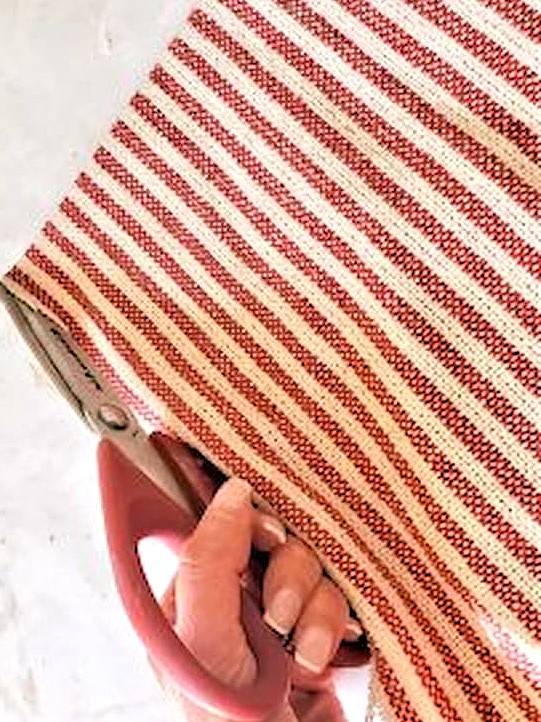
Use red and white striped fabric for the patriotic flag itself. For my own DIY homemade flag project, I used a red and white striped bag I received as part of a product. If you have old red and white dish towels, clothing items, placemats, white fabrics, or even pillowcases, they can all be repurposed into a great flag with a vintage style. This is one of my favorite easy ways to create patriotic decorations without any additional cost. Fabric with red and white stripes can be found at Hobby Lobby or (HERE). Cindy's Tip: If you love primitive American flags with an aged look, try adding a tea stain to the fabric for an antique appearance. I've used tea staining for many patriotic crafts and home decor projects over the years. It creates a soft vintage feel that works for vintage style and holiday celebrations. You can see these (HERE) and (HERE).
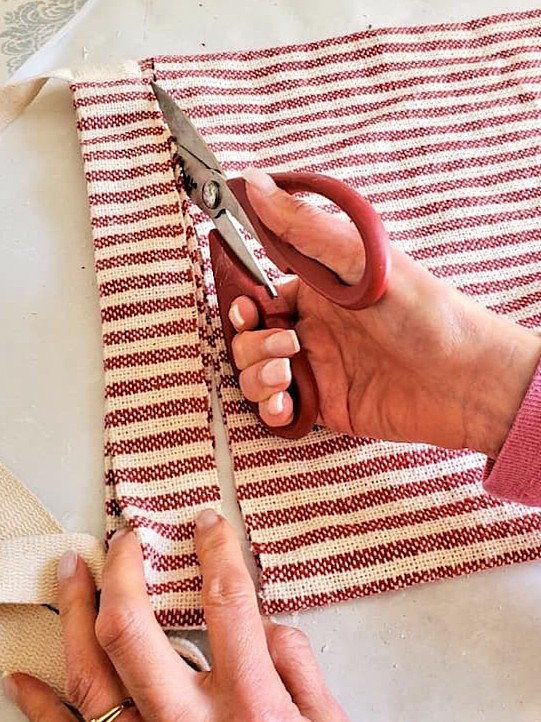
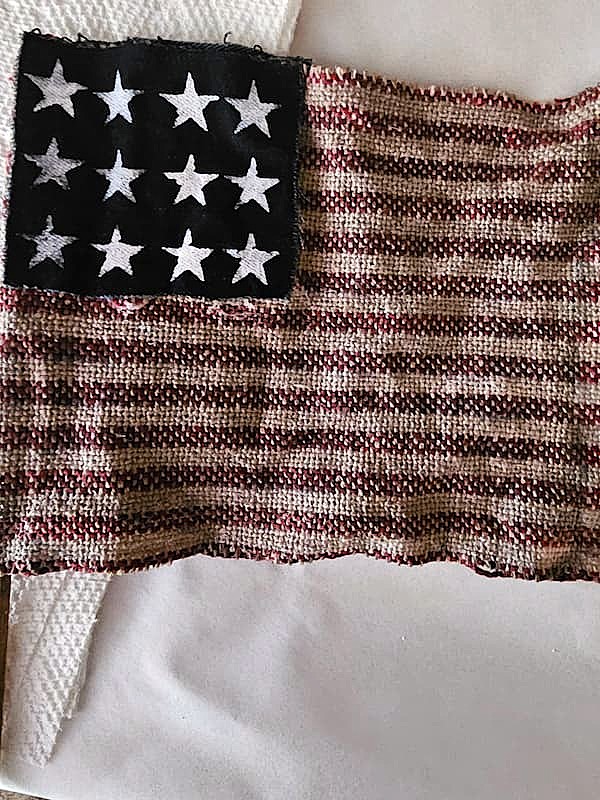
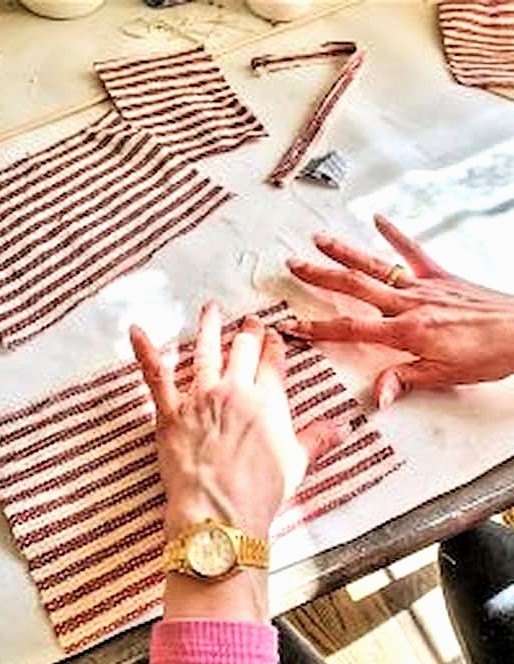
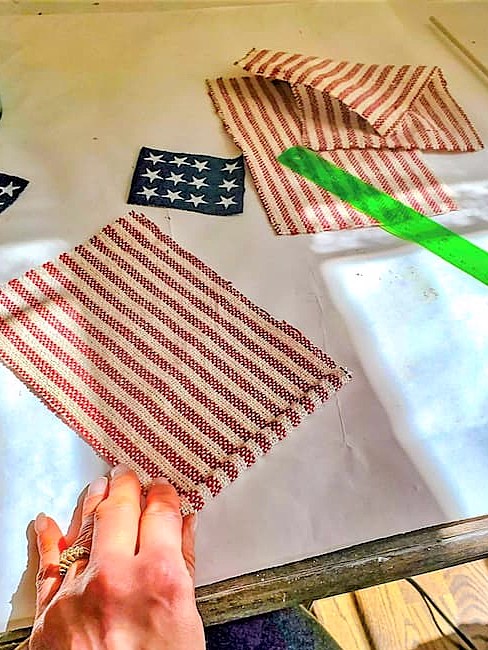
Step 2: Measure and Cut the Fabric
Measure and cut your fabric into 9" x 6" pieces to create cloth flags. This step gives you the base shape for your DIY flags with a vintage style. Once cut, apply Aleene's Fabric Fusion along the edges of each flag and allow each to dry completely. This helps reduce fraying and keeps the fabric more secure as you work. You can find Aleene's Fabric Fusion (HERE) After everything is dry, carefully trim any loose fibers with scissors for a cleaner finish. Cindy's Tip: You can also use hot glue instead of fabric glue. It works well for quick assembly. Keep in mind that the edges of the red and white DIY flags may fray a bit over time. This can add to the look of a vintage American flags aged look.
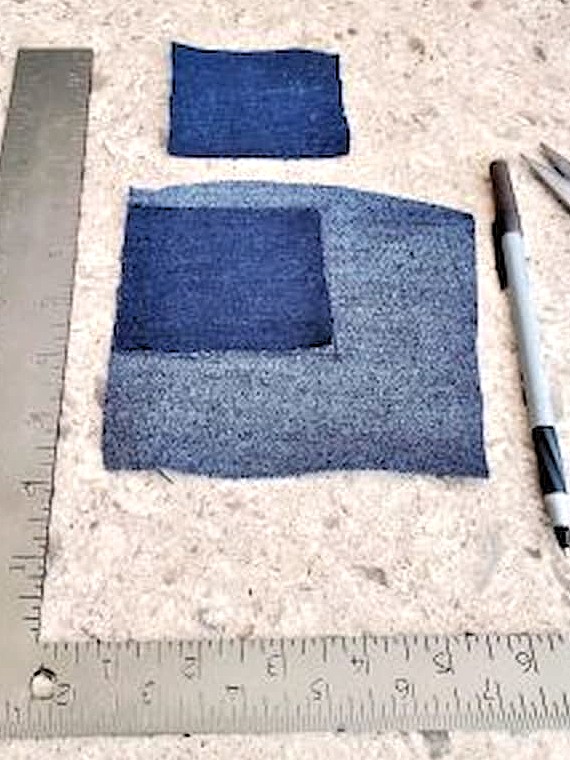
Step 3: Adding Blue Fabrics
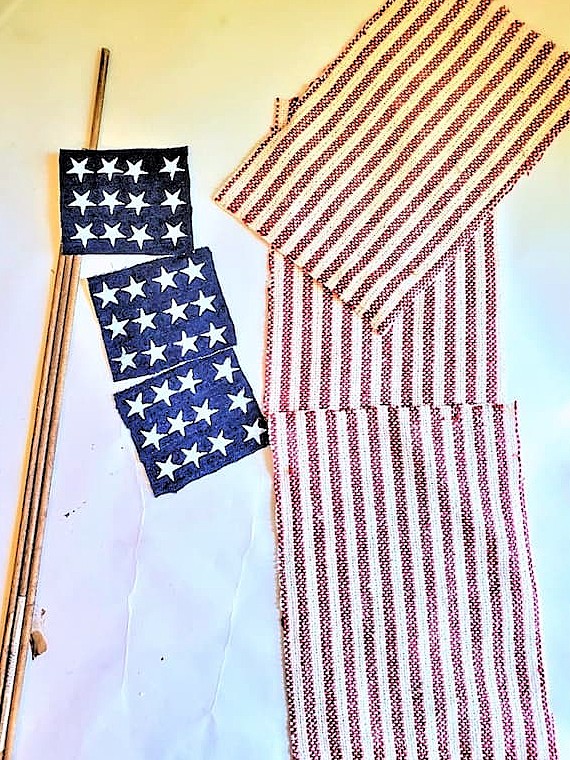
For the next step, cut old blue jeans or blue fabric into 3" x 3" squares. Since I'm making three flags, I cut six pieces total. This gives both sides of Old Glory a finished and pretty look from either side. To make sure the blue fabric is straight and even, it's a great idea to use a carpenter's square. This helps keep your homemade flag neat and consistent, especially if you love the look of primitive American flags. Cindy's Tip: This is where blue paint can work as an alternative. If you prefer not to use fabric, you can paint the blue section instead. Just make sure to use a carpenter's square and painter's tape so your edges stay clean and square for a more polished patriotic craft finish.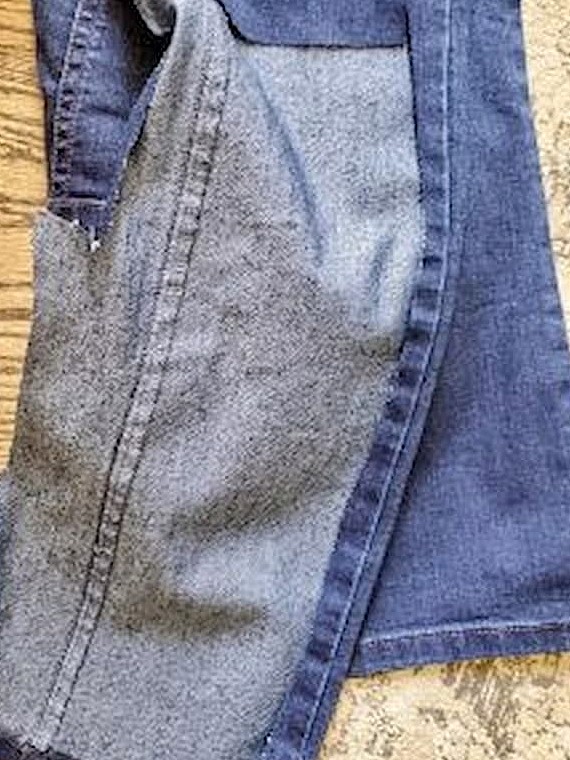
Step 4: Stencil the Stars with White Paint
Once the blue fabric pieces are cut, it's time to complete the classic "white stars" look. Using a star stencil and white paint, carefully stencil the stars onto the blue fabric pieces. Try to keep the stencil still so the stars are evenly spaced. This gives your homemade flag a balanced finish. They don't have to be perfect; this handmade look adds charm and vintage style to Old Glory. Allow the paint to dry completely before moving to the next step. Cindy's Tip: I have been stenciling for years. To create clean, crisp white stars, dip the stencil brush into the white paint and pounce the excess paint onto a paper towel before stenciling. This technique is a good thing. It gives the stars an aged look with character, charm, and a little imperfection that works for vintage-style patriotic decorations.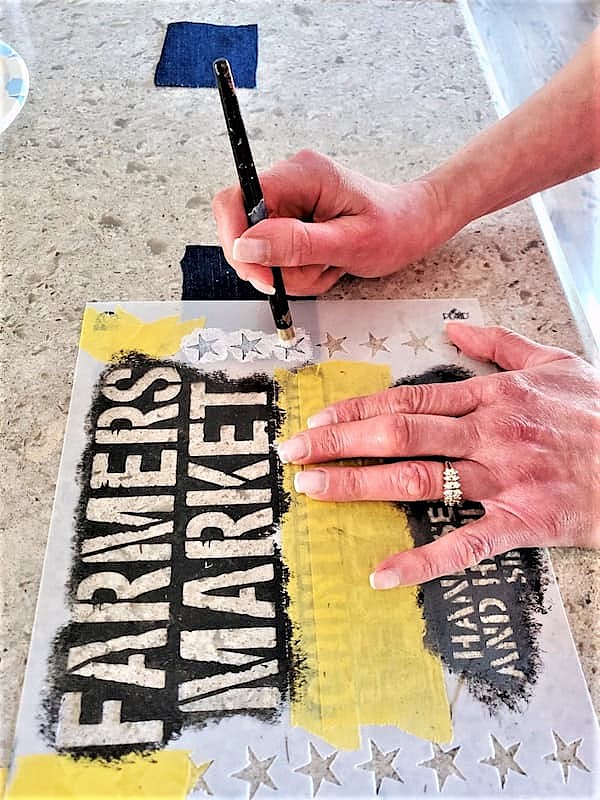
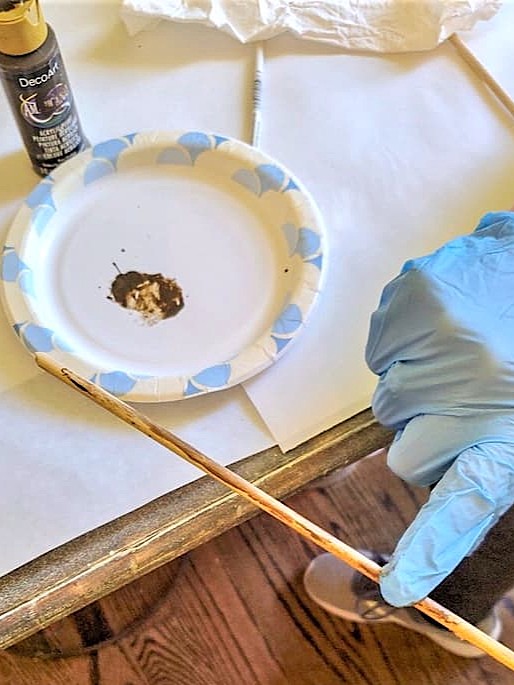
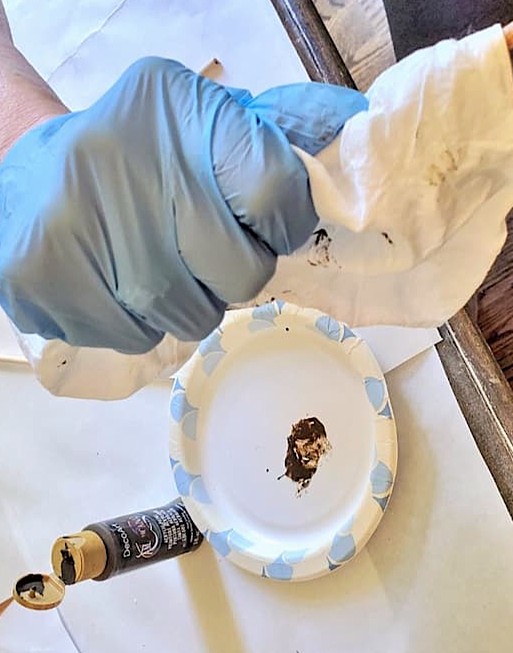
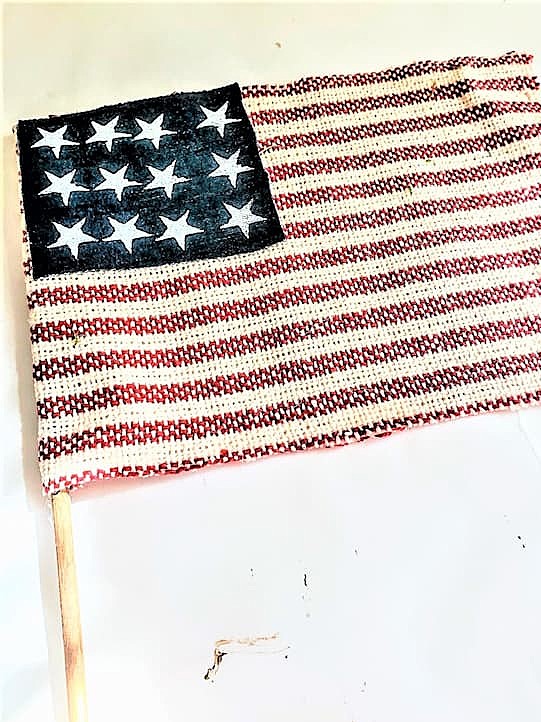
Step 5: Make a Dowel Flag Pole
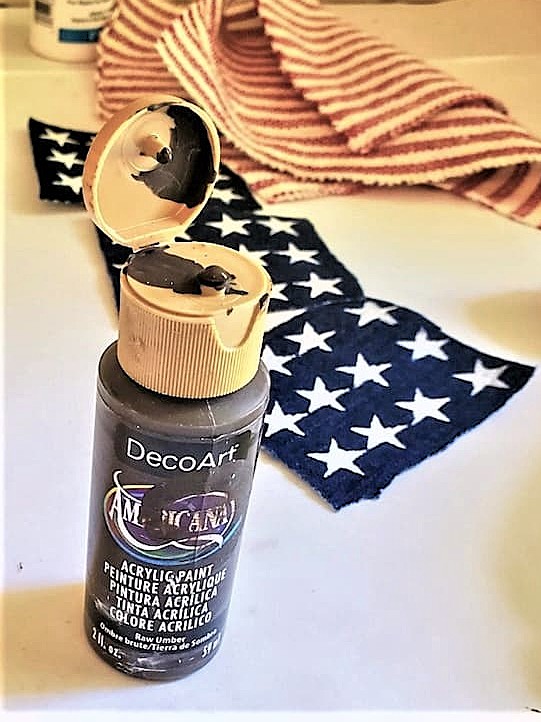
The next step in this patriotic craft is to add a simple flag pole so your DIY flags can be displayed like Old Glory. Using a wooden dowel, cut to the length that works best. These will become flag poles for your DIY flags with a vintage style. Once cut, distress the dowels by brushing on a small amount of raw umber craft paint or dark brown wax. (I used my finger). This helps create an aged look that fits with the primitive American flags and vintage-style patriotic decorations. Allow them to dry completely before attaching your flags for the next step. '

Step 6: Attach the Flag to the Flag Pole
For the next step, carefully add hot glue or fabric glue along one edge of your great flag. Lay the wooden dowel down on top of the glued edge and let it set for a moment; this secures it in place. Add a little more glue along the dowel, then carefully roll the fabric flag around it. Press lightly as you go to make sure the flag is securely attached and smooth. This step helps bring your great flag with vintage style together and prepares it for display with other rustic patriotic decorations throughout your summer displays for holiday celebrations
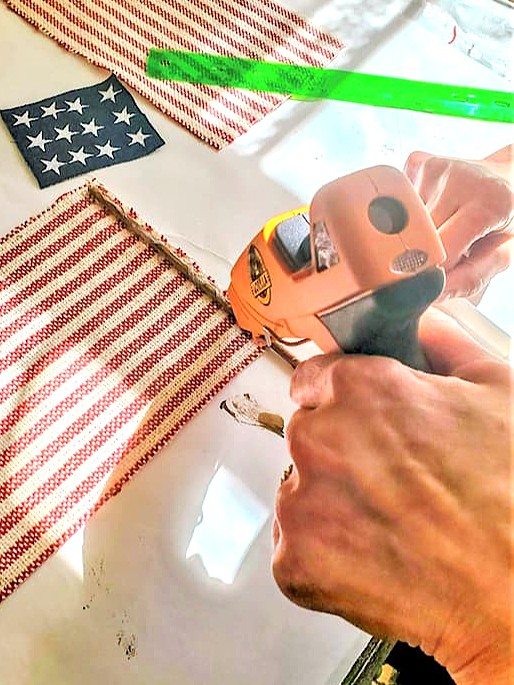
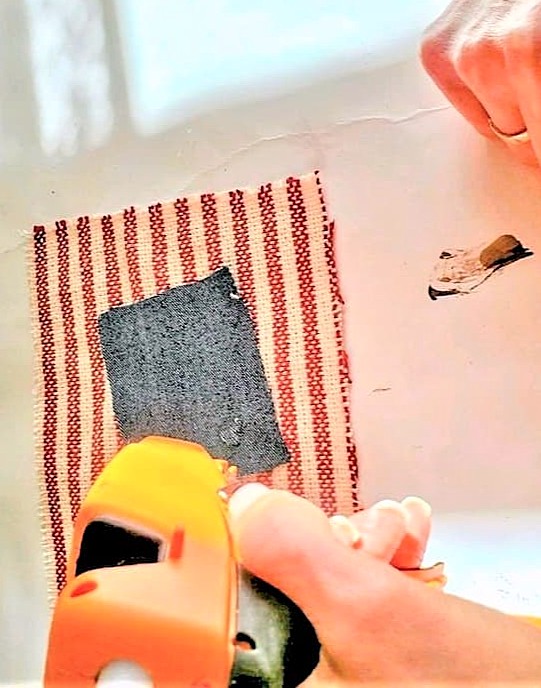
Step 7: Attach Blue Fabric with a Hot Glue Gun
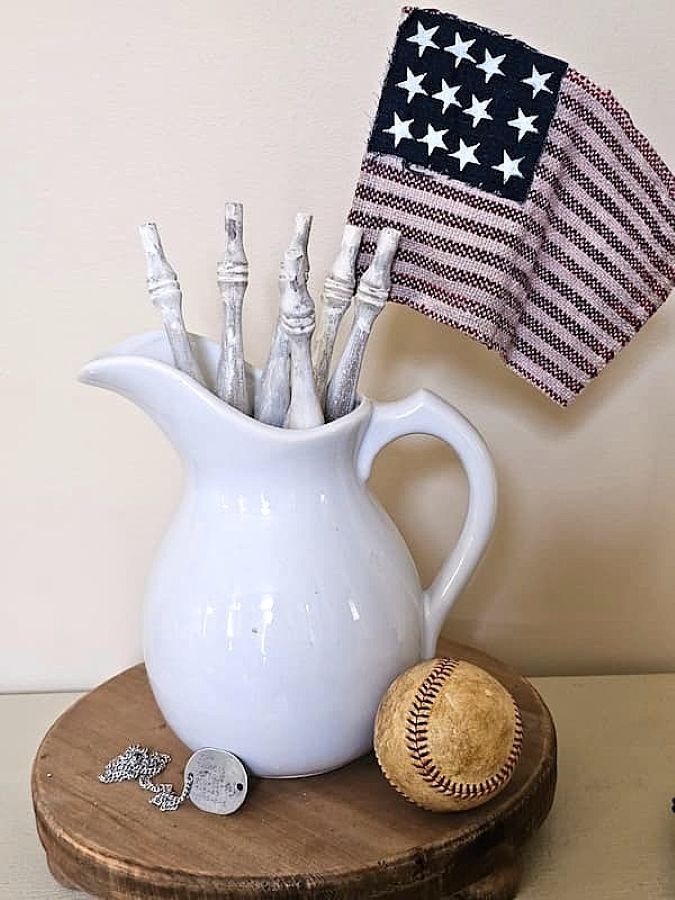
Lastly, carefully use a hot glue gun to attach the blue fabric piece to the top corner of each flag. Add enough glue to the corners so the fabric stays secure and lies flat. Once the glue is in place, gently press the blue fabric onto the flag and hold it for a few seconds to let it set properly. Then carefully flip the flag over and smooth everything to make sure it's attached. This step completes your flags with vintage style and brings together the classic "blue field and white stars" look inspired by Old Glory. These homemade flags are a great way to get in the patriotic spirit and celebrate the United States during summer home decor and patriotic holidays like Memorial Day and Independence Day. Looking for easy ways to create patriotic decorations for Independence Day or Memorial Day?
Optional: Age Your Flags With Brown Rit Dye
When I discover a new idea, I get so excited that I have to try it right away. Anything that gives my home decor a more vintage look has me curious to see the outcome!
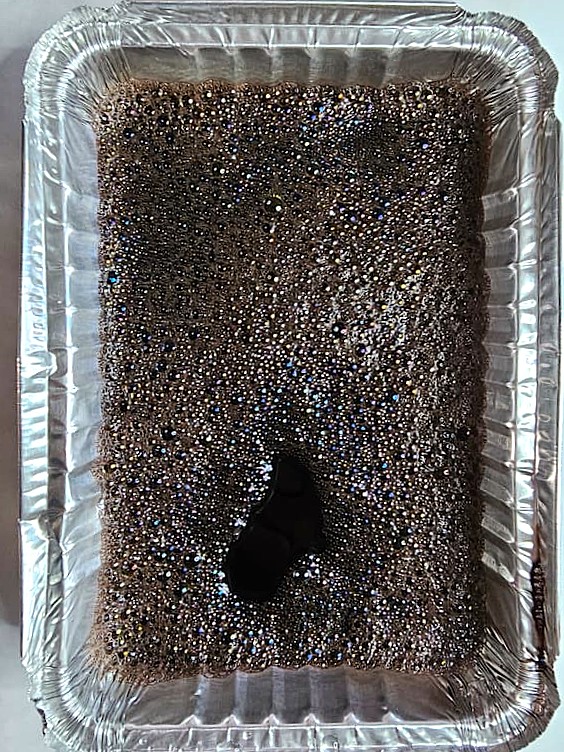
I recently experimented with brown Rit dye on my spindle flags (HERE). They looked amazing. So, I decided to use the same brown dye to give these flags a deeper vintage appearance. Cindy's Dye Tip (recipe): For my dye mixture, I used 1 teaspoon of dish soap, 1 tablespoon of brow it dye, and 1 teaspoon of regular table salt.
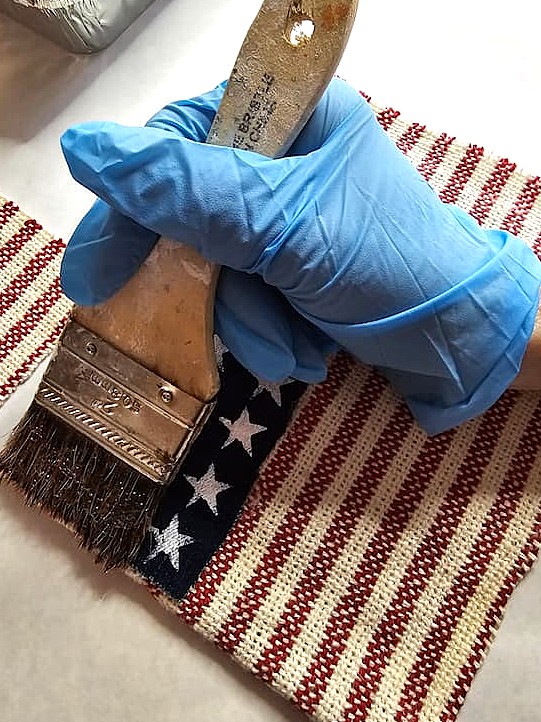
These flags have hot glue, so I didn't wet them before applying the dye, even though the bottle directions recommend it. Since my flags are cotton, I used a 2-inch chip brush. (Don't use a good paintbrush, it will get ruined)
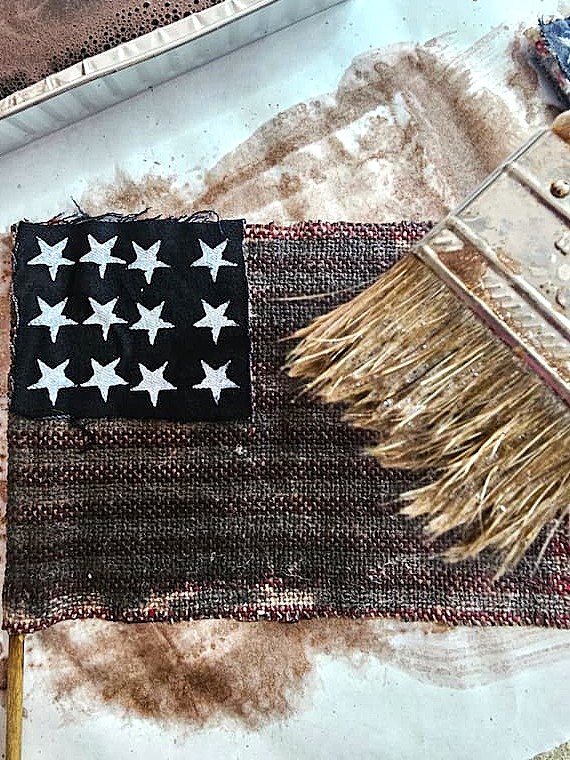
After brushing the dye over the entire flag, I rinsed each one. First, I used the hand sprayer until the water ran clear. Then, I quickly rinsed the flags under the faucet and lightly squeezed out the excess water.
What I loved about squeezing the flags was that it gave them an even more vintage appearance. They aren't perfectly flat, which adds character and charm.
I let them dry completely on paper towels and flipped them over once the first side was dry. Now, my cloth flags have the aged vintage-inspired look I was hoping for.
This simple step also made the flags softer and perfect for displaying throughout my patriotic summer decor and holiday celebrations.
Keep in mind that if they're regularly displayed outdoors, some fading may occur from sun and weather exposure. For best results, display them in a protected outdoor space, such as a covered porch.